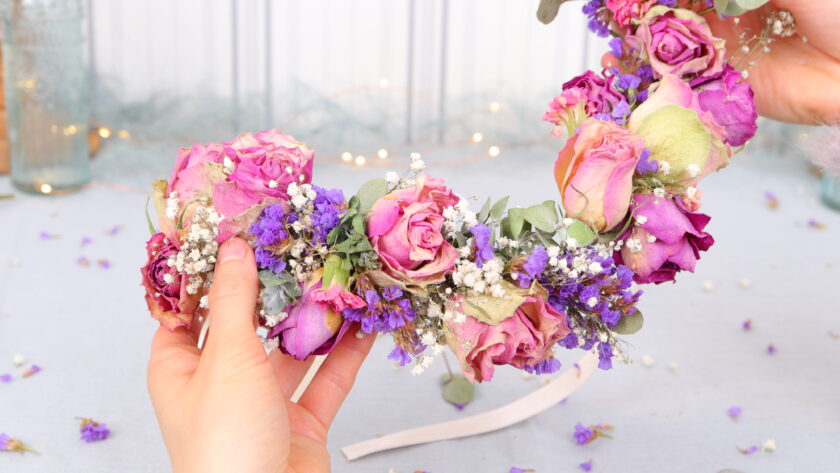
Today I will show you with a detailed step-by-step guide how to make a flower wreath for your hair!
When I think of a flower hair wreath, I immediately associate it with the Swedish summer. Midsommar is celebrated in Sweden in June and this festival typically includes wreaths of flowers for the hair, which are often tied together and then worn during the celebration.
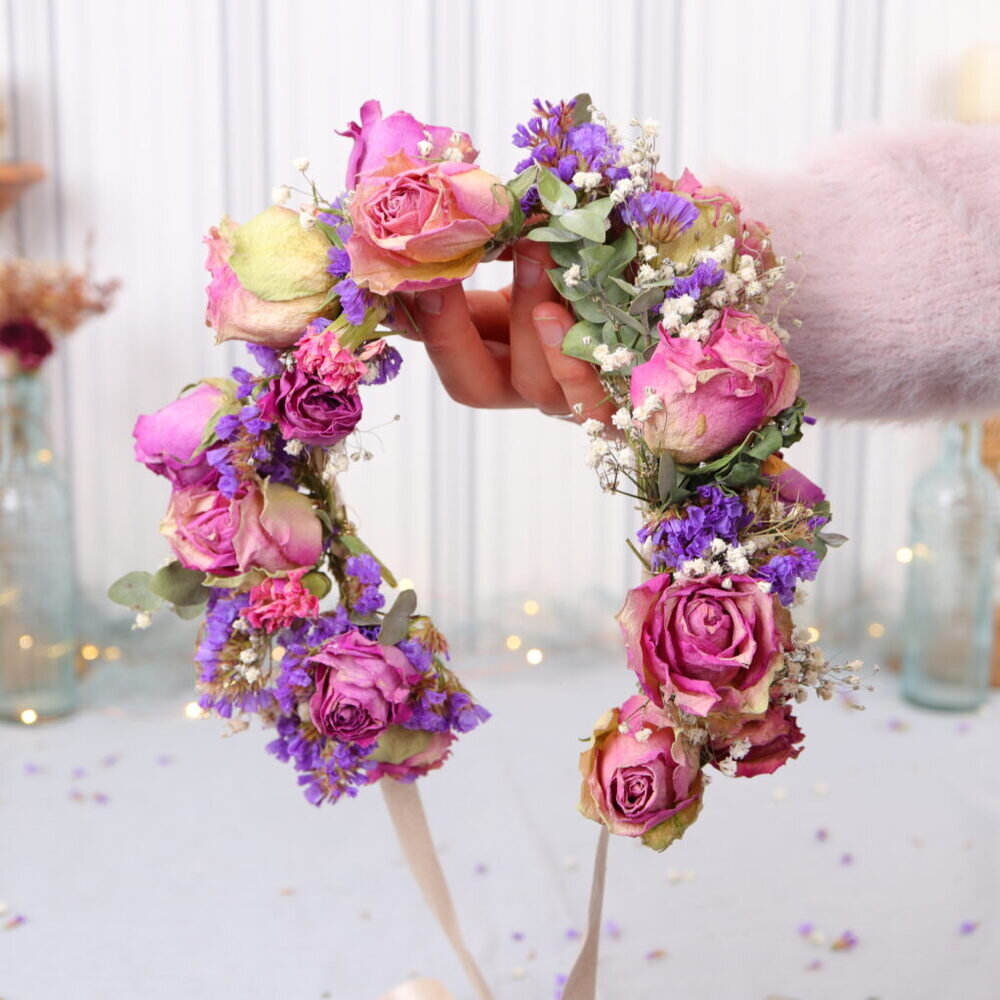
Such wreaths can be worn during all seasons and for all occasions. Flower wreaths are very popular, especially at outdoor weddings and weddings in boho or vintage style. Often they are used as hairstyle element for the bribe, guests and children. A flower wreath is also great for religious occasions.
Hair wreath FAQ
Below I have compiled and answered a few frequently asked questions about floral hair wreaths:
Both real flowers and artificial flowers are suitable for a hair wreath. With real flowers, you can choose whether you want to work with fresh flowers or dried flowers. If you use fresh flowers, you should make sure that they are not too heavy, do not wilt badly and dry up nicely. Make the wreath with fresh flowers just before the event you want to wear it to. Suitable flowers that do well without water are, for example: gypsophila, wax flowers, small roses, eucalyptus, pampas grass, sea lavender, hydrangea and lavender.
How long a flower wreath lasts for the hair depends on the flower material used. If you use artificial flowers, such as silk flowers, the wreath will of course last a very long time. Fresh flowers will keep for a few hours. If you use suitable flowers that do well without water and dry up nicely, you can use the flower wreath longer. Then the fresh flower wreath becomes a pretty dried flower wreath. Gypsophila, for example, is a classic you can’t go wrong with.
I find the easiest way to make a wreath with artificial flowers. Nowadays, you can get beautiful little flowers that look very real. The material is robust and can be worked with very well. You can even correct the wreath by sticking flowers with hot glue where there are gaps, for example. Working with fresh and dried flowers is a bit more difficult. For example, you have to make sure that the flower stems don’t break when wrapping.
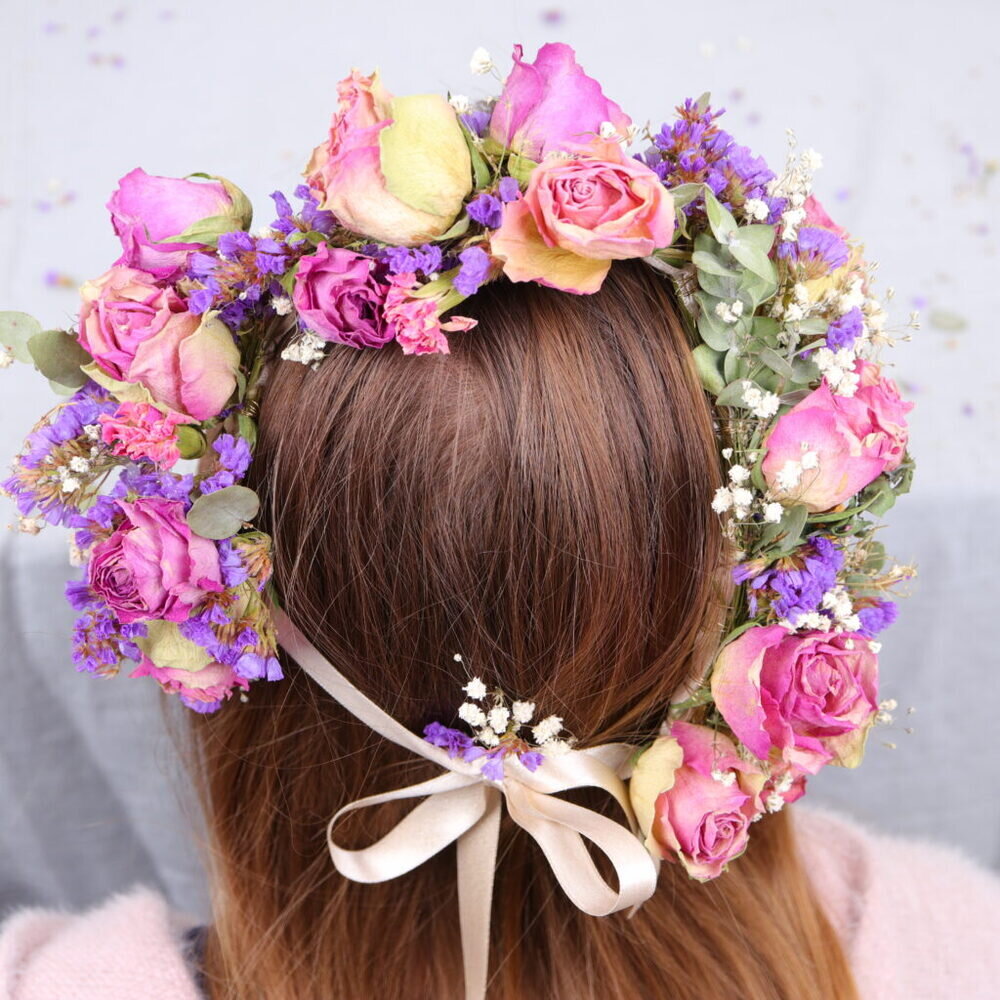
No matter which flower material you choose, the procedure for creating the wreath remains the same. I tied my wreath with dried flowers, but you can also tie artificial flowers or fresh flowers to the hair wreath in the same way. With the following step-by-step instructions I will show you how to make a flower wreath for your hair yourself!
Tools
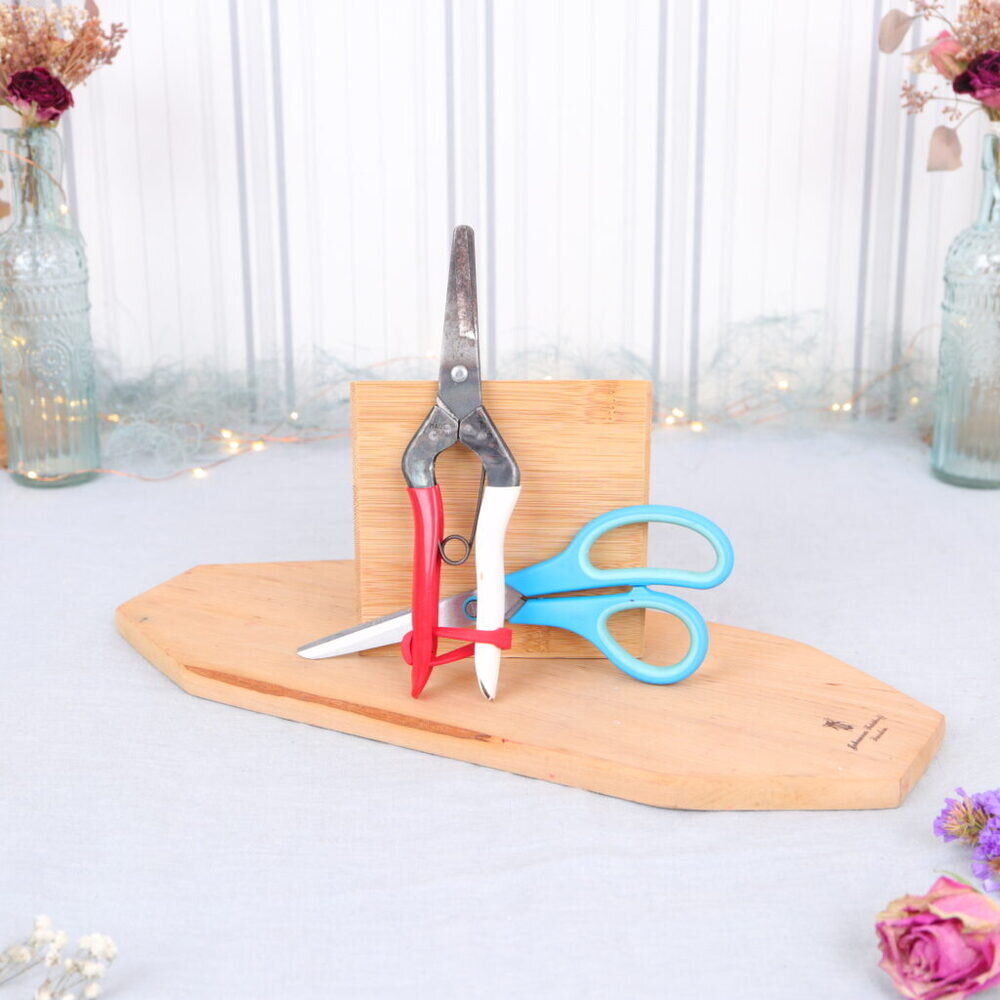
Here you can see which tools I used for the crown of hair. You need flower scissors and household scissors.
Materials
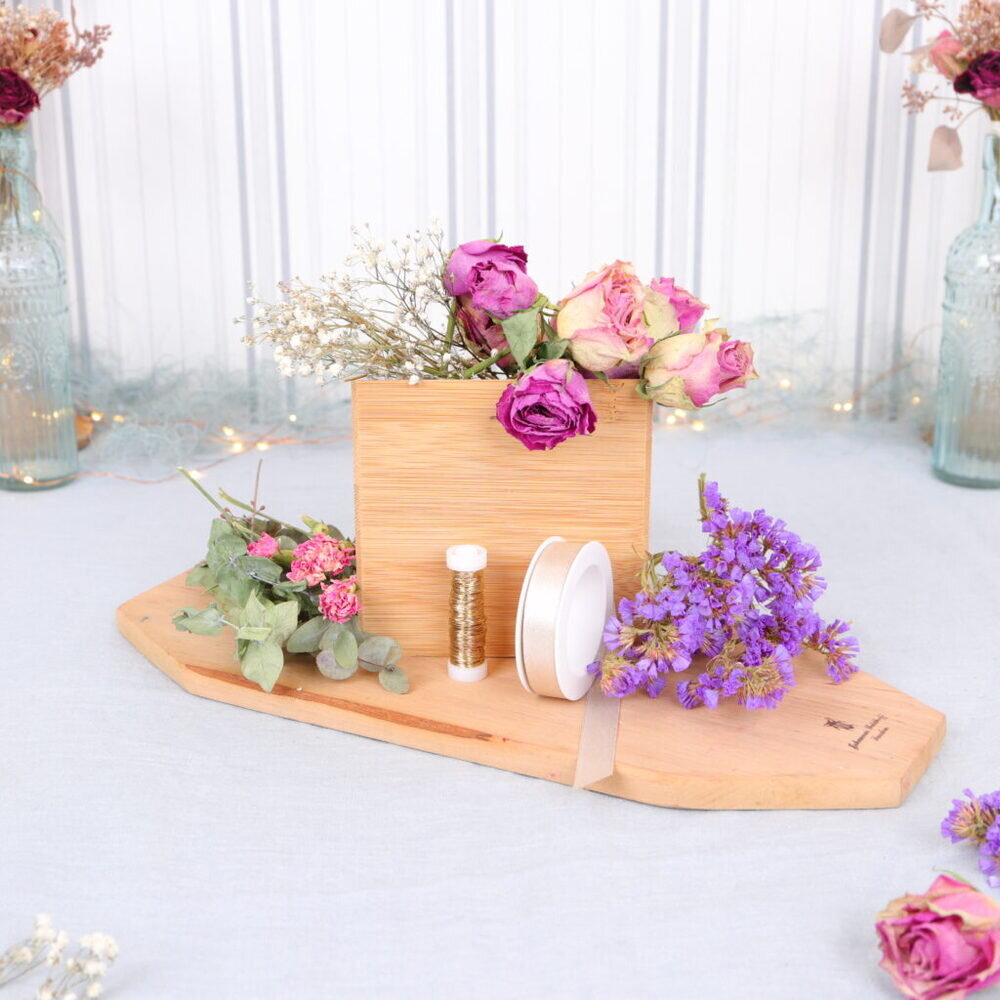
The materials I used for the flower wreath: a silk ribbon, wire and dried flowers such as gypsophila, roses, eucalyptus and sea lavender.
Instructions | Flower wreath for your hair
Step 1: Cut flowers
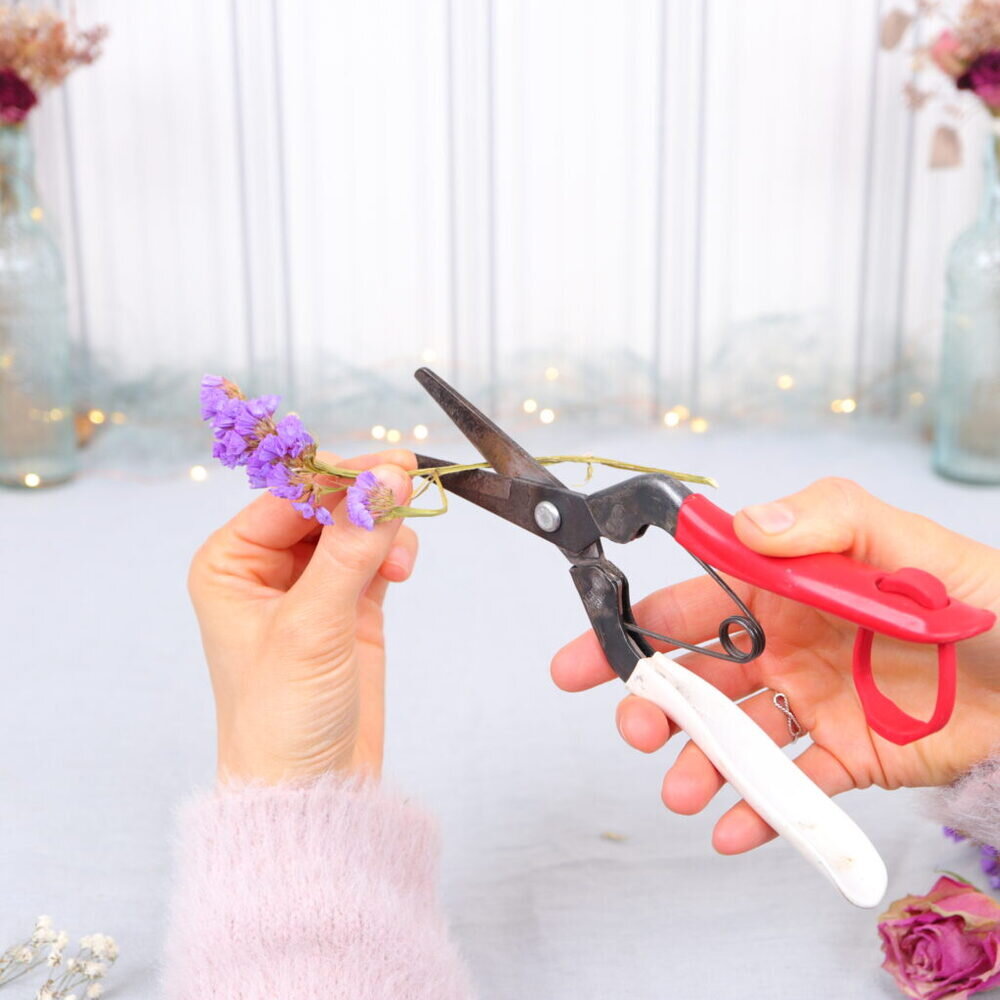
In the first step I cut all flower stems to one length.
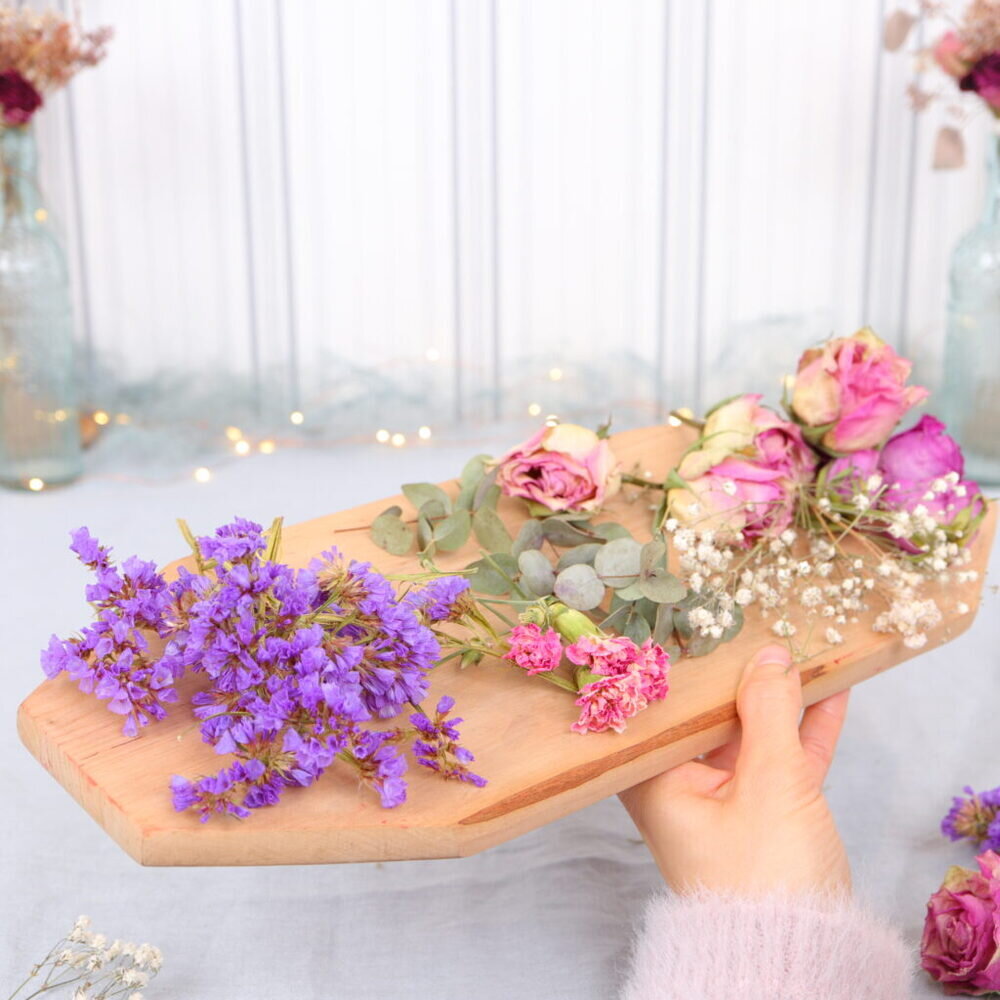
I use my flower scissors and make sure that the stems are not too long and not too short, so that they can still be tied into a small bouquet.
Tip: It is better to leave the stems a little longer, you can always shorten them when tying them.
Step 2: Cut the ribbon
I use silk ribbon as the basis for the hair wreath. You can also use a piece of wire, but I find the band more comfortable to wear. In addition, you can adapt it to different heads, in case someone else wants to wear the wreath.
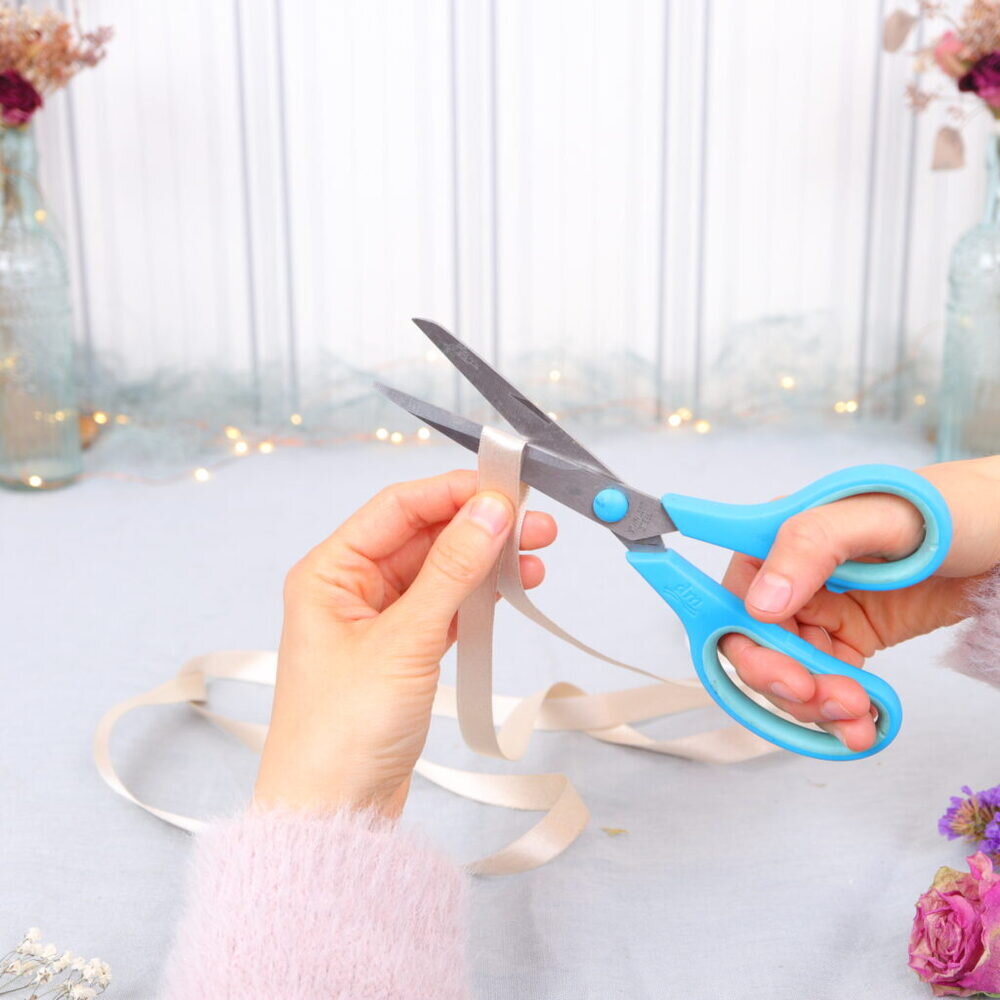
So in this step I cut the ribbon for the wreath.
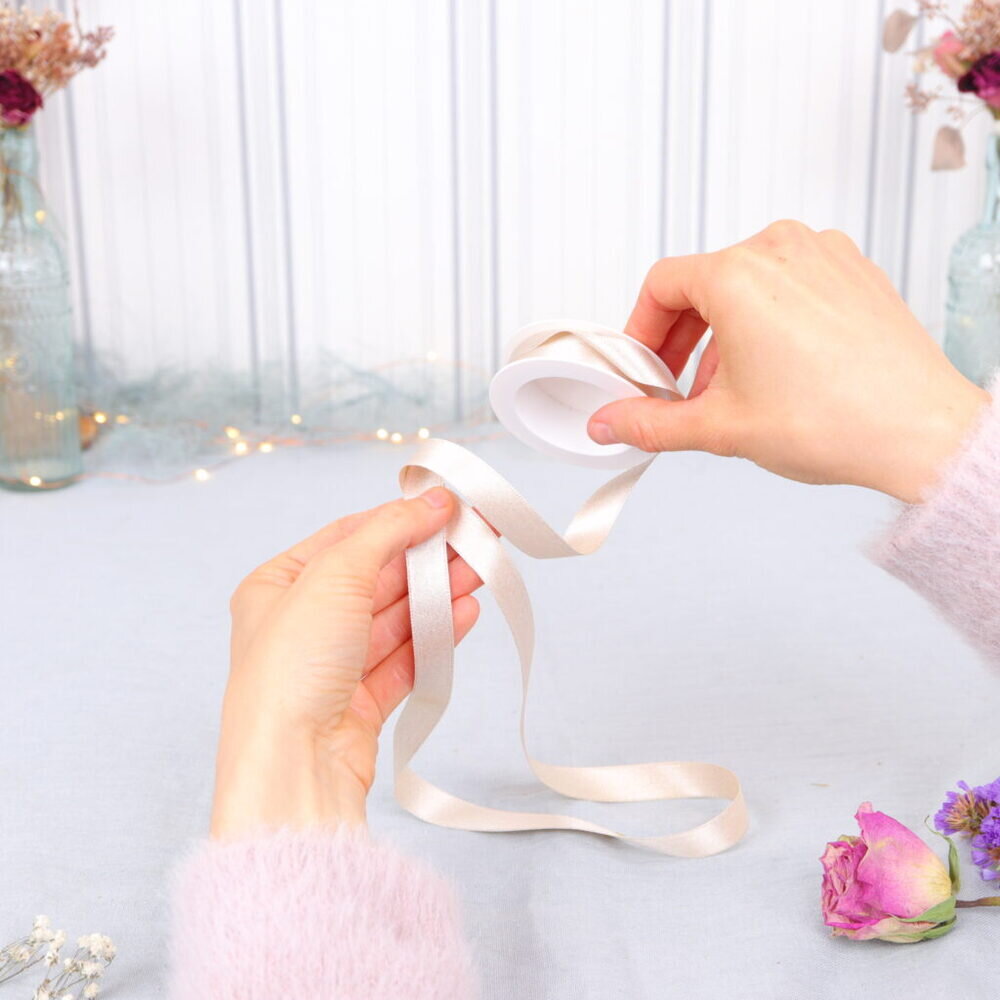
I measure the circumference of my head by putting the band around my head. I’ll add a bit more to this length. We need this extra length so that we can close the wreath with a bow knot when it is finished.
Step 3: Tie small bouquets of flowers
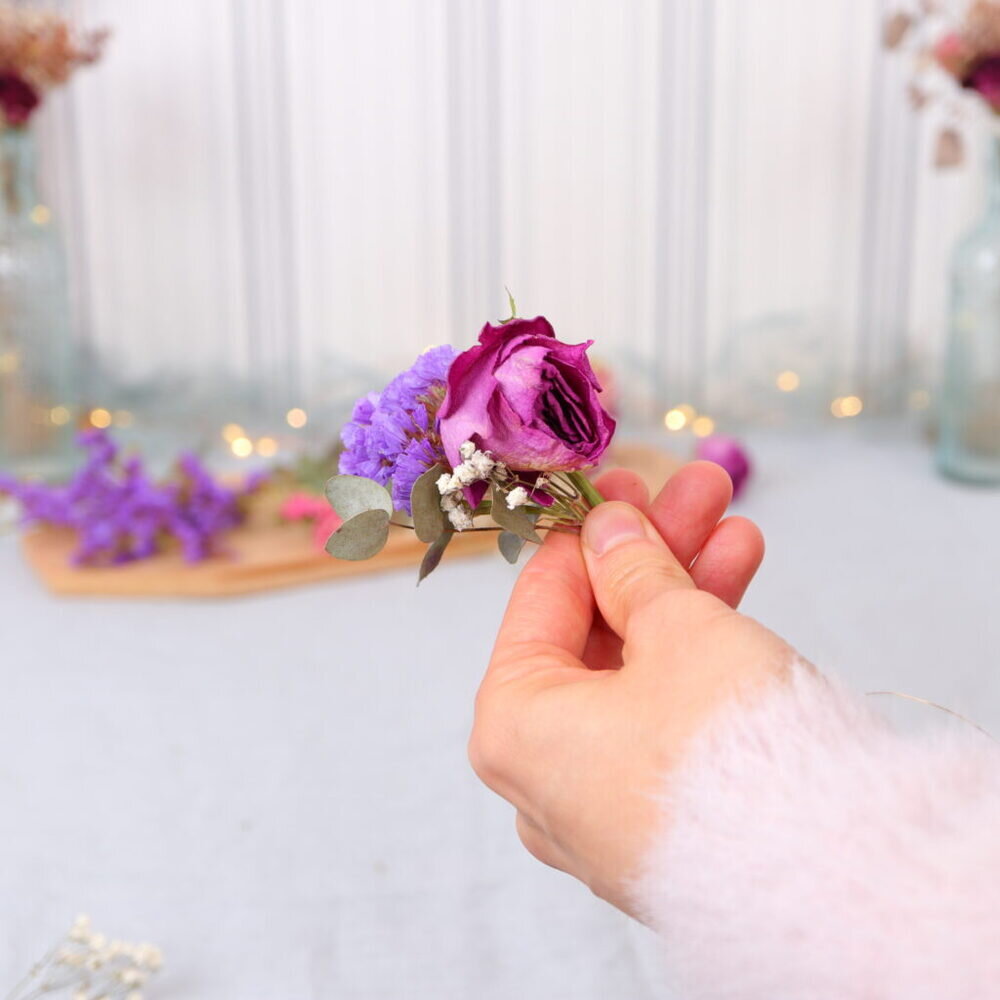
Now I tie small bouquets of flowers from the cut flowers.
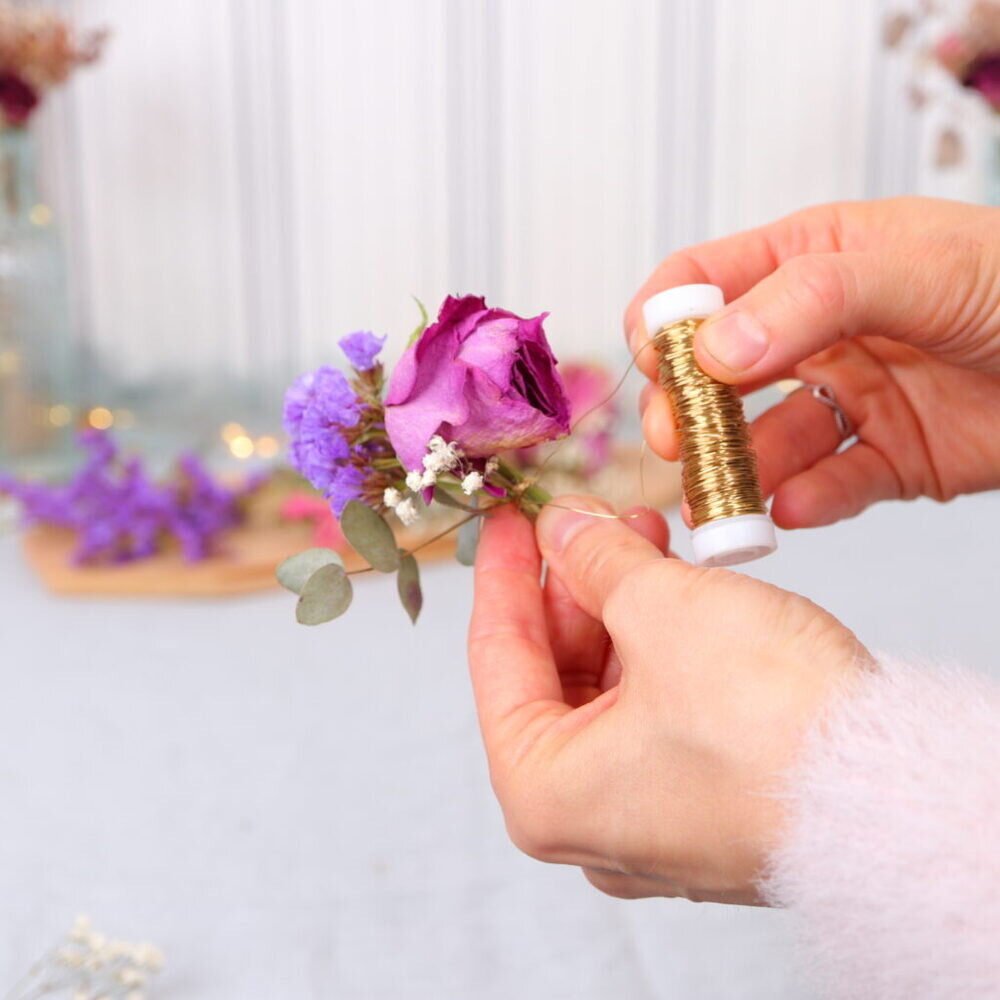
For this I always take a few different flowers and wrap them several times with a piece of wire.
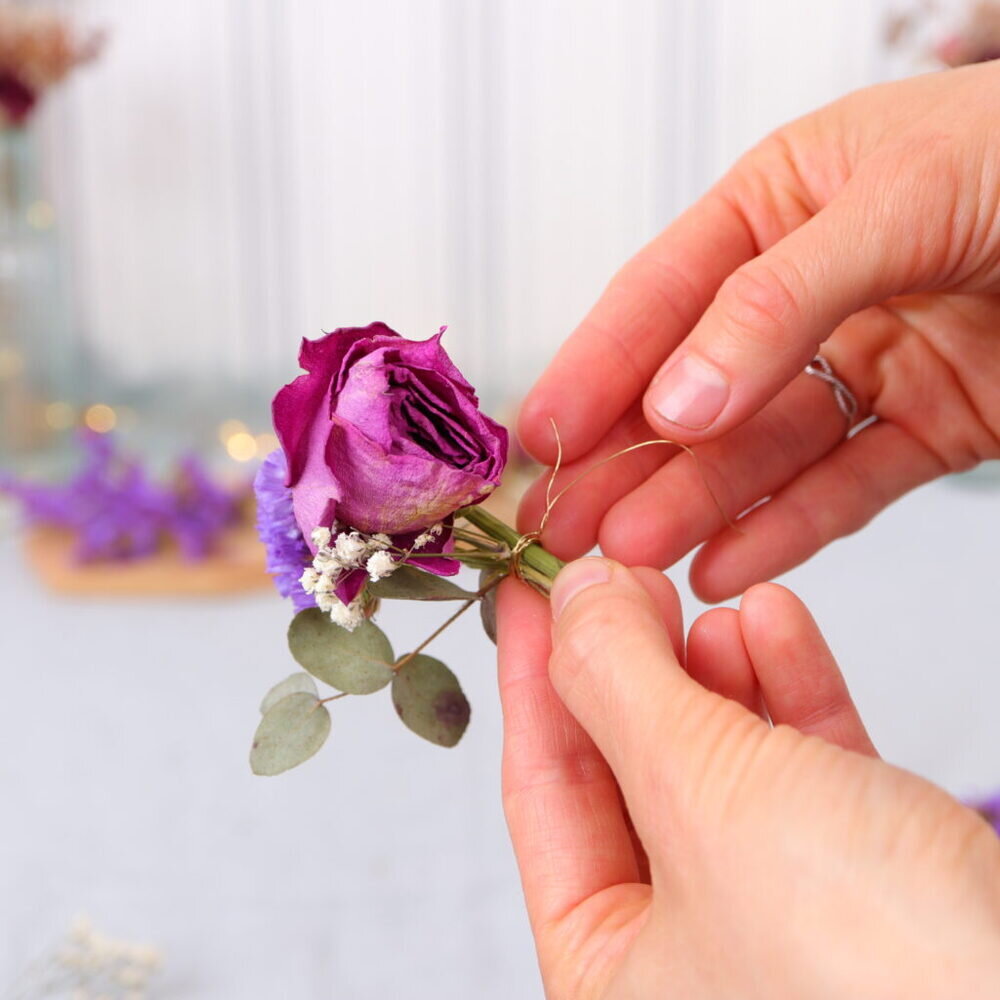
After wrapping, I twist the ends of the wire together and trim off any excess wire.
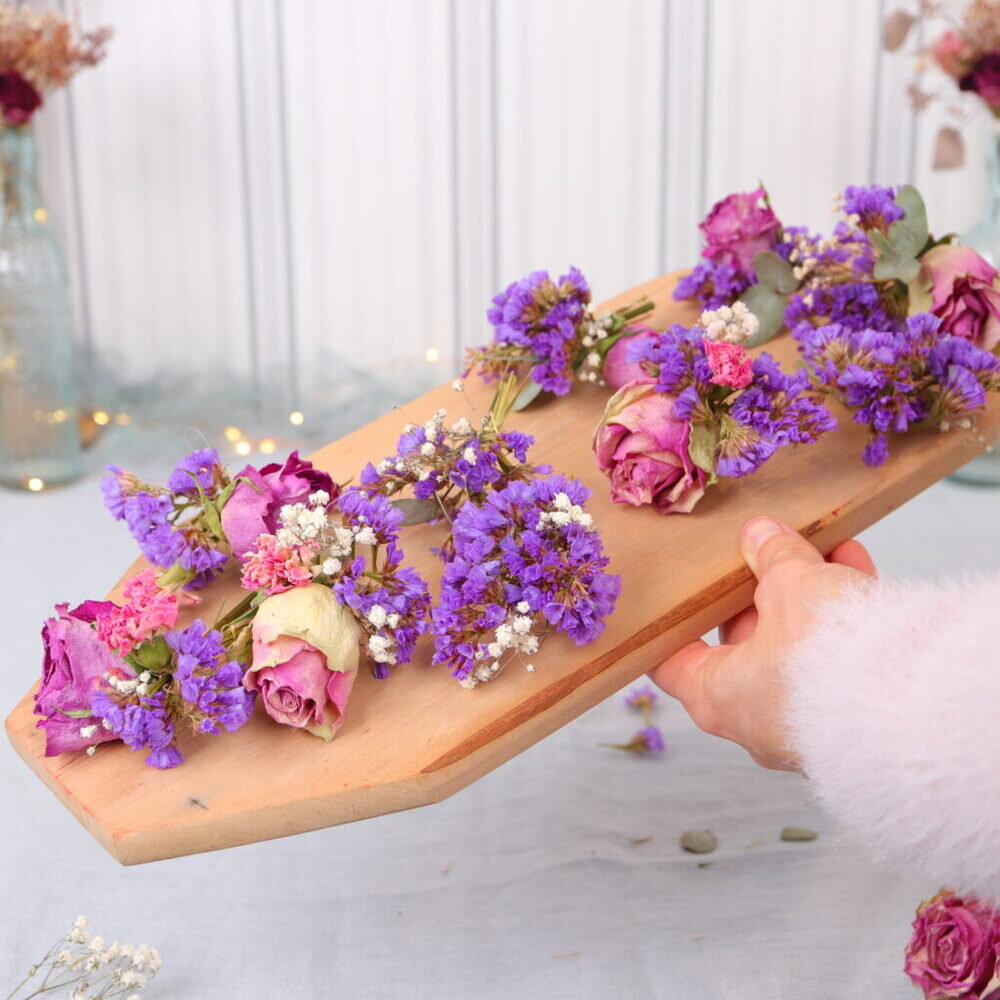
This is what my little dried flower bouquets look like 🙂
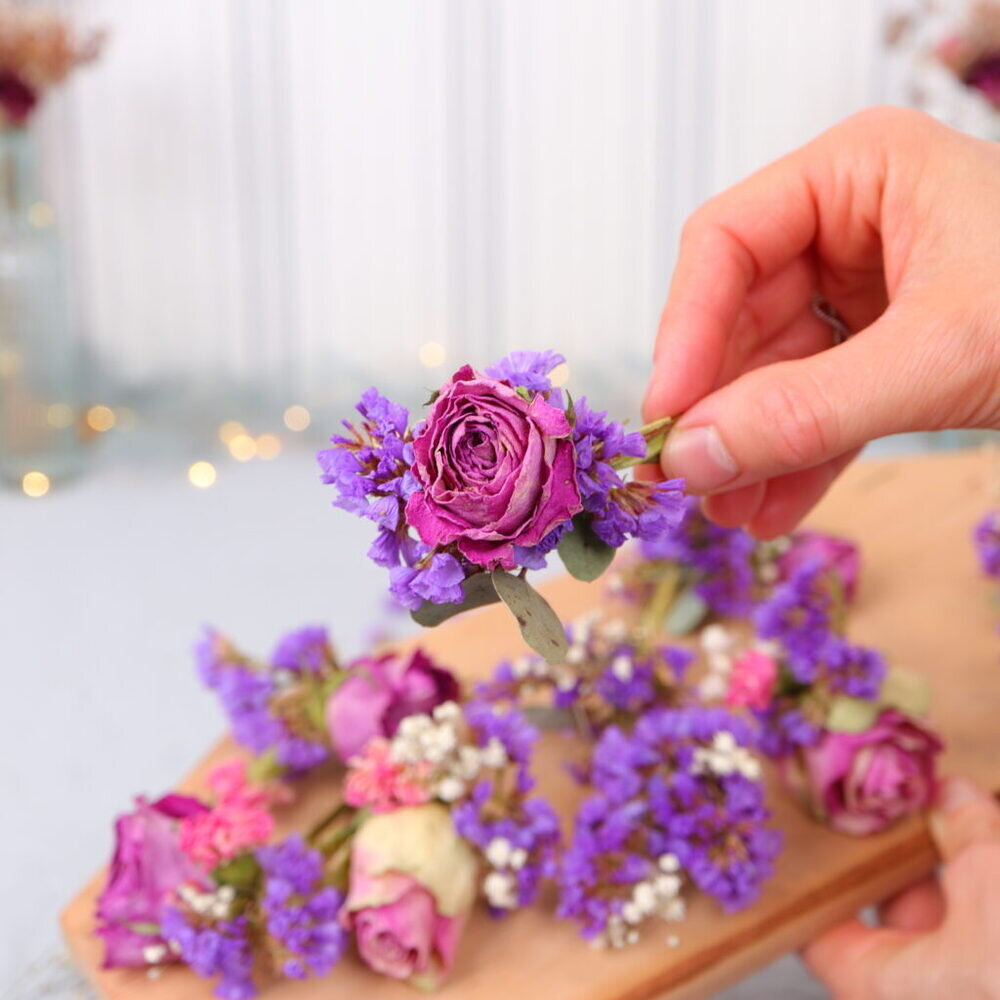
Step 4: Tie the bouquet onto the silk ribbon
Now I tie the little bouquets to the ribbon.
To do this, I first look for the starting point on the ribbon where I want to tie the first flowers. I put the band evenly, symmetrically around my head so that both ends of the band are the same length. Then I hold the starting point with my fingers.
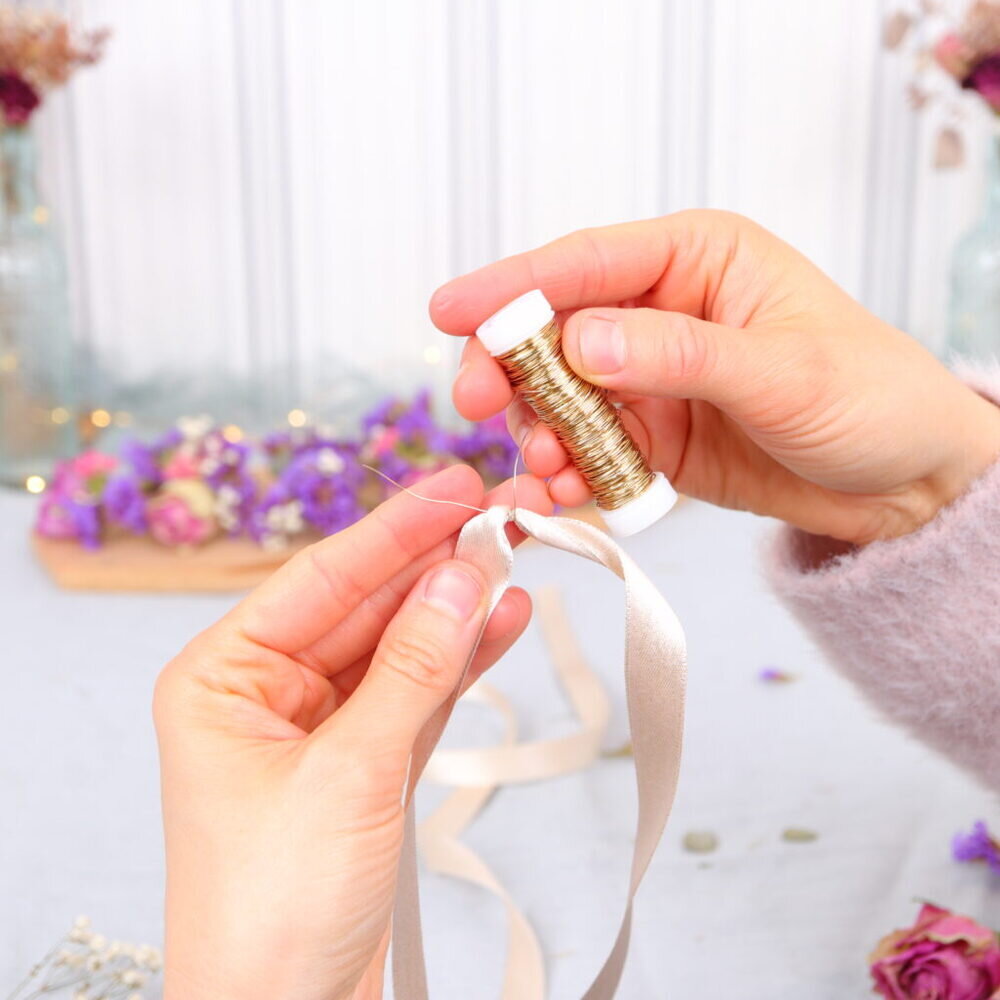
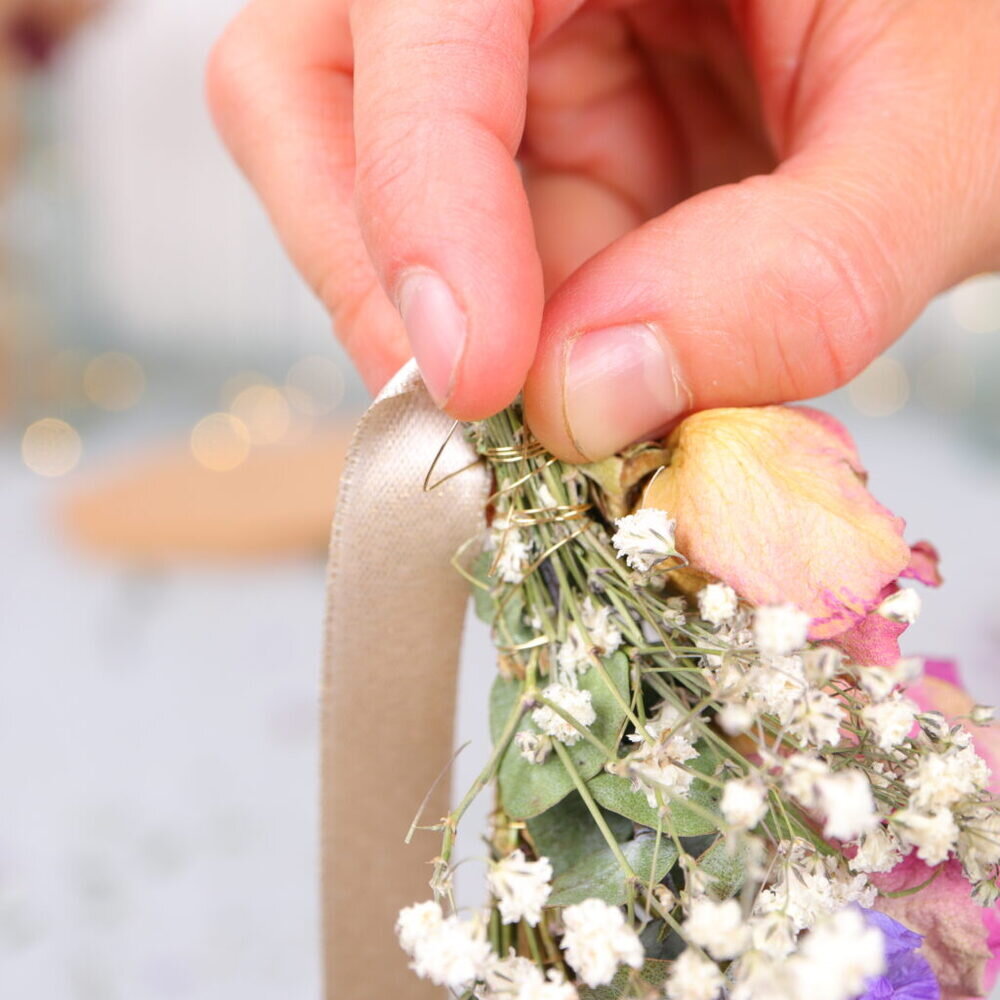
At this point I tie the beginning of the wire. I wrap the ribbon around and twist the wire.
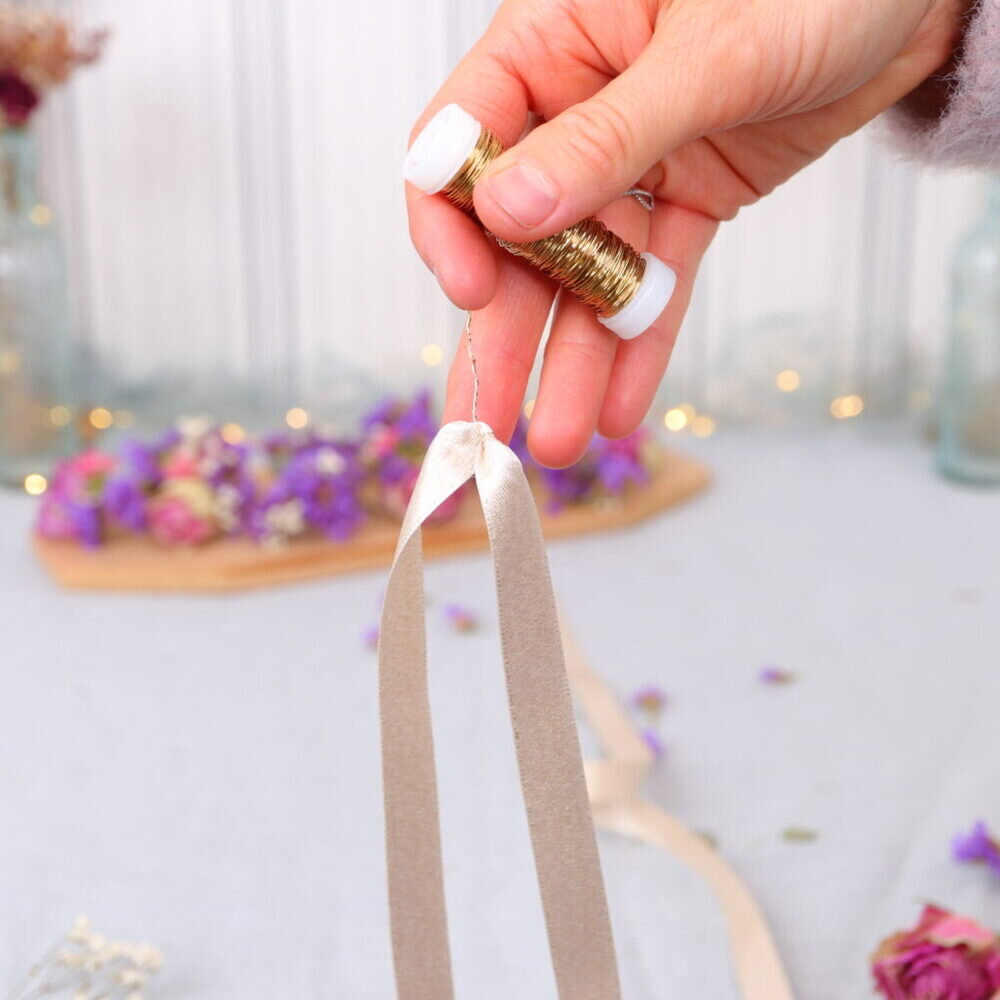
Tip: When tying, always leave the wire on the roll and hold it in your hand.
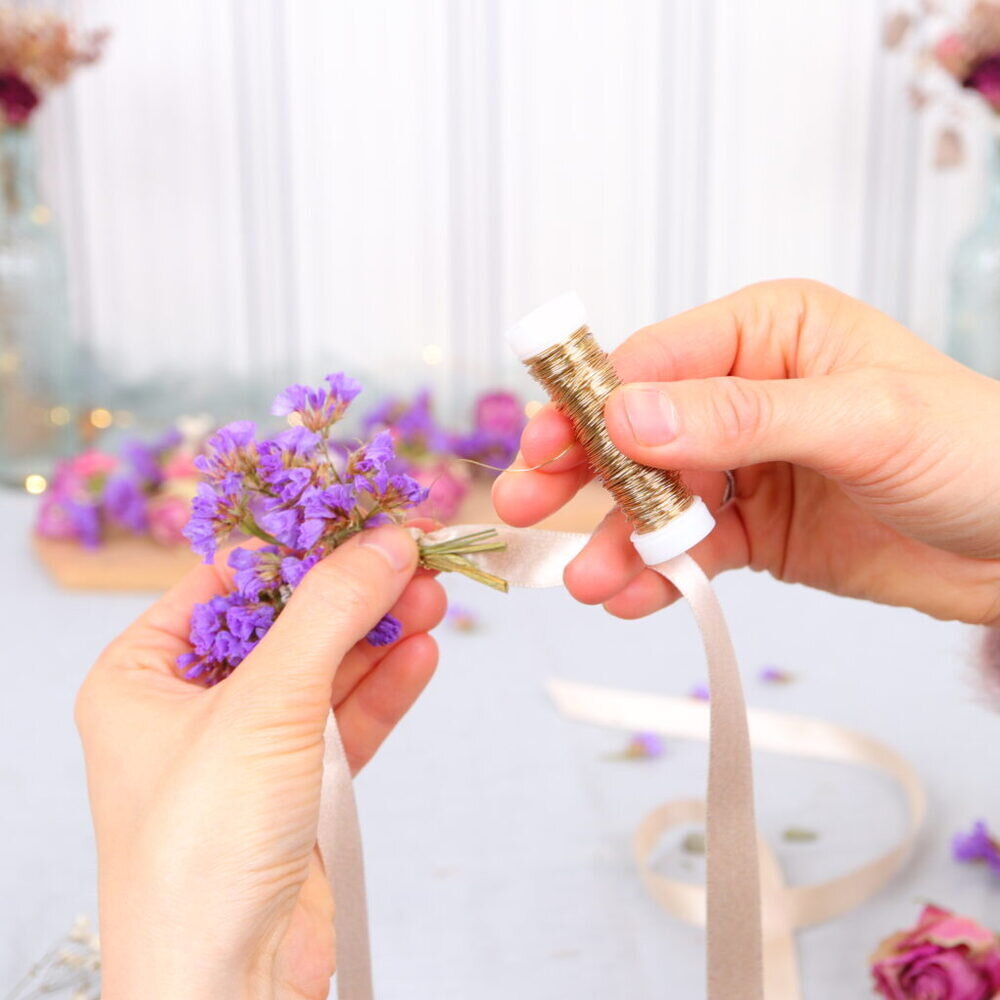
I now place the first bouquet on the wire and wrap it tightly with the wire several times.
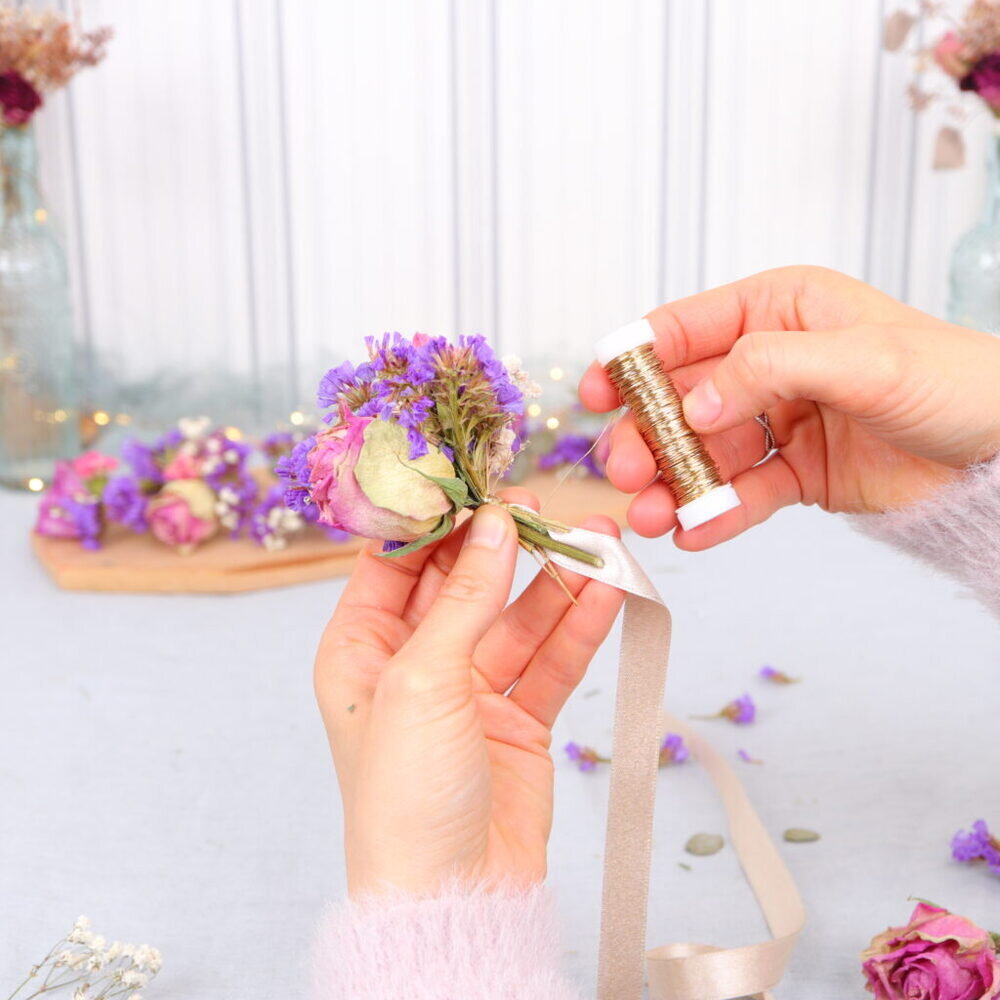
Then I put the next bouquet on top and wrap it again.
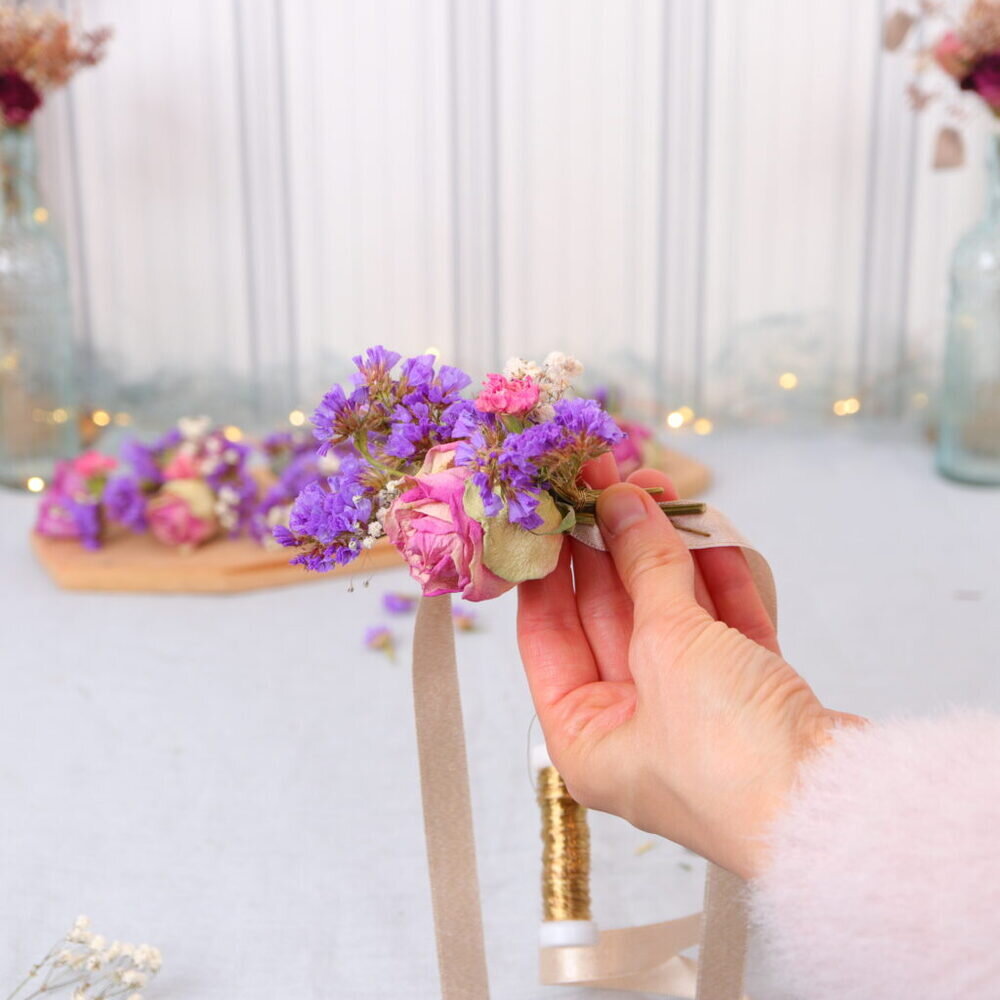
I continue like this until I have reached the last bouquet.
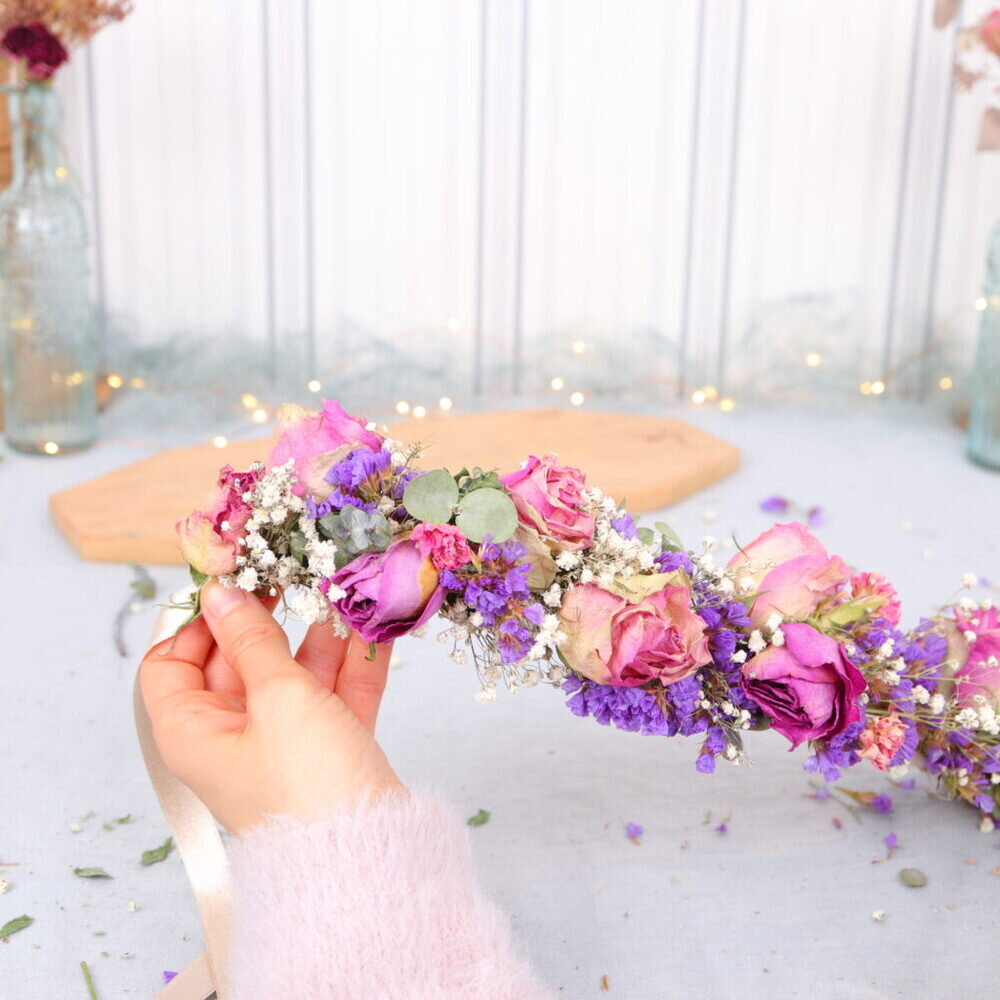
I also tie this tightly, cut off the wire and put it several times under the wire that has already been wound, so that everything holds up well.
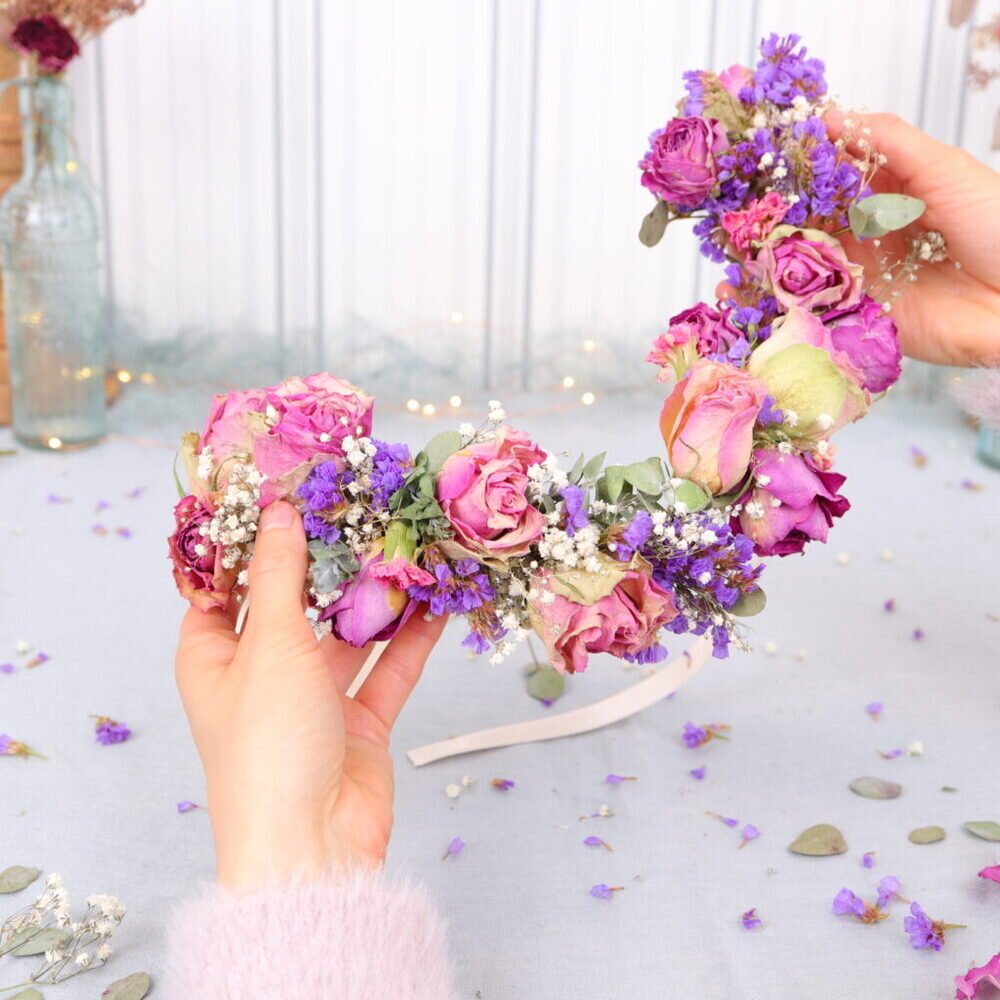
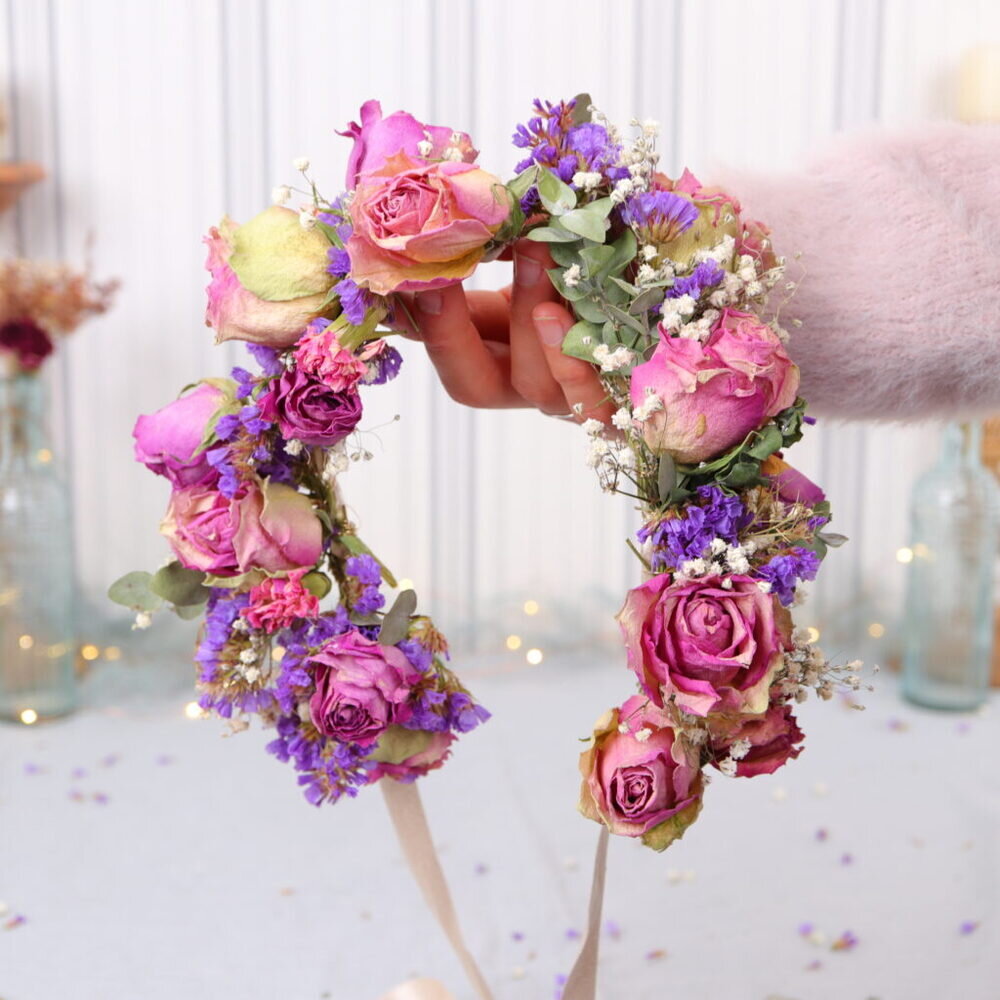
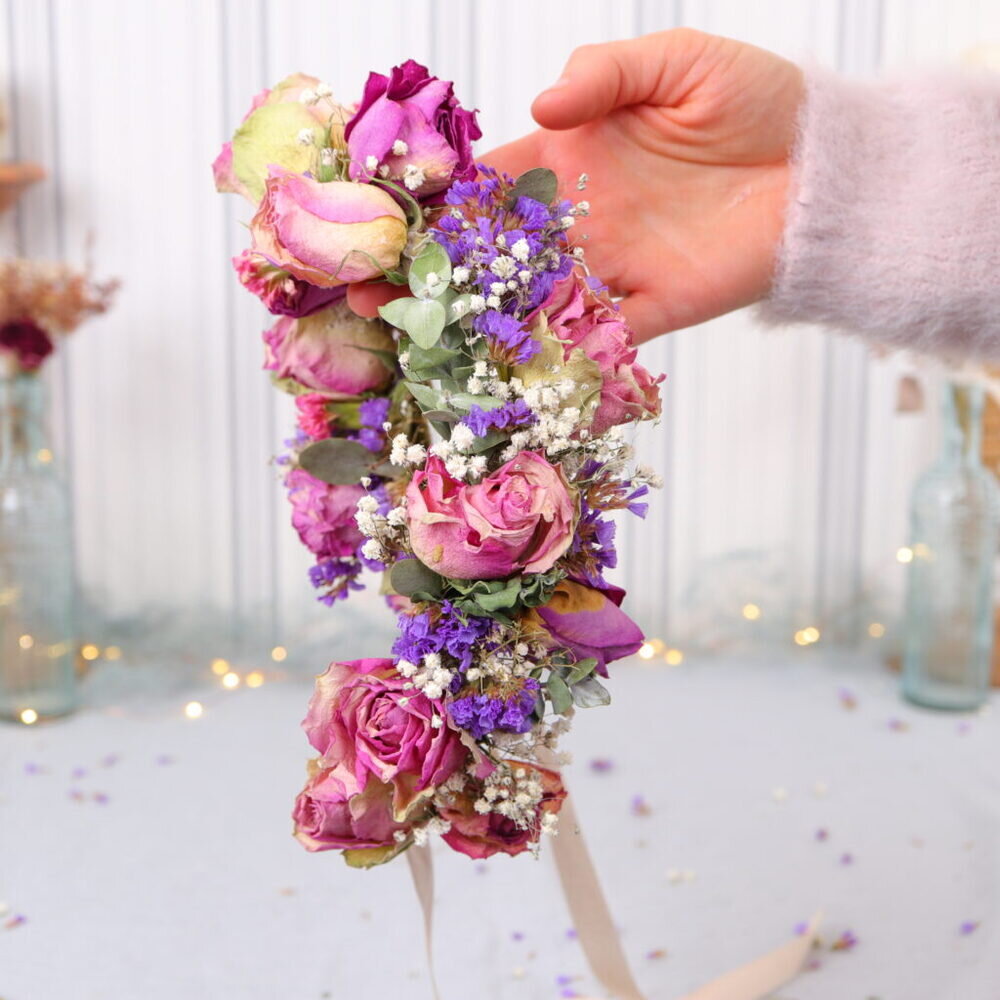
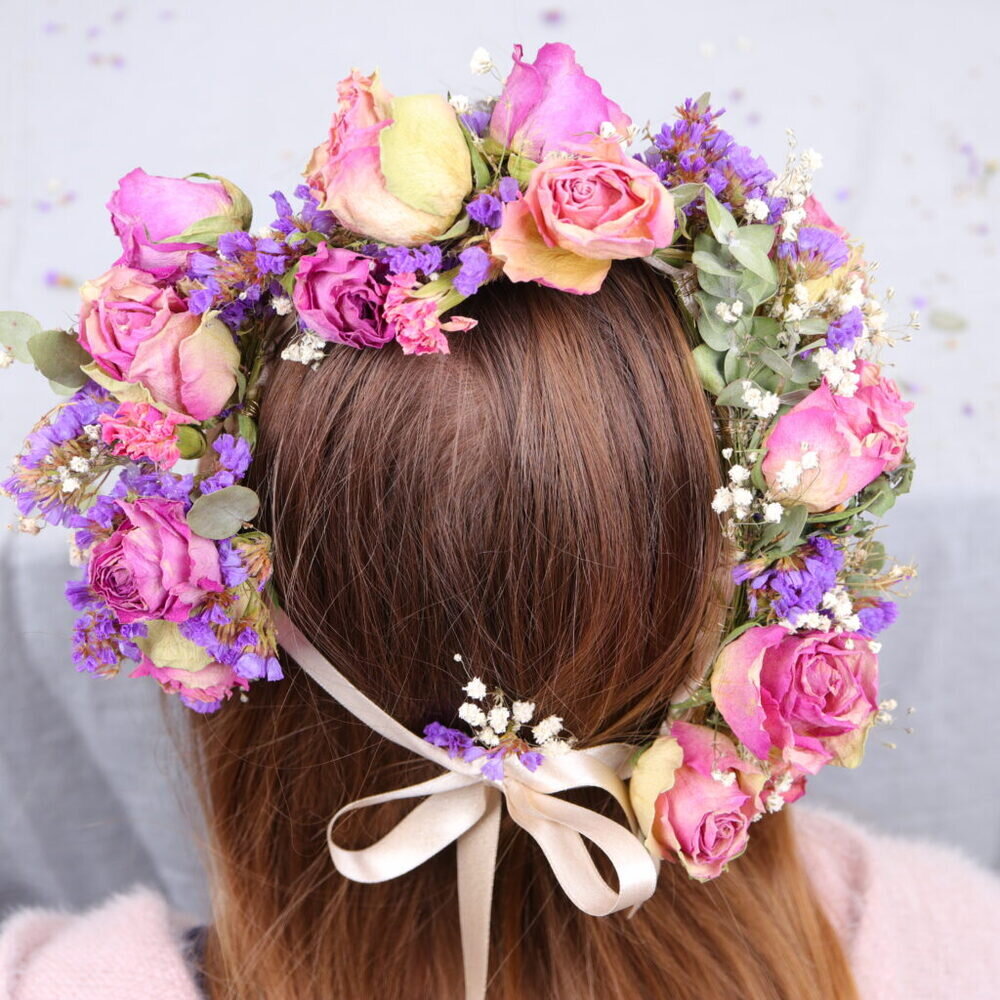
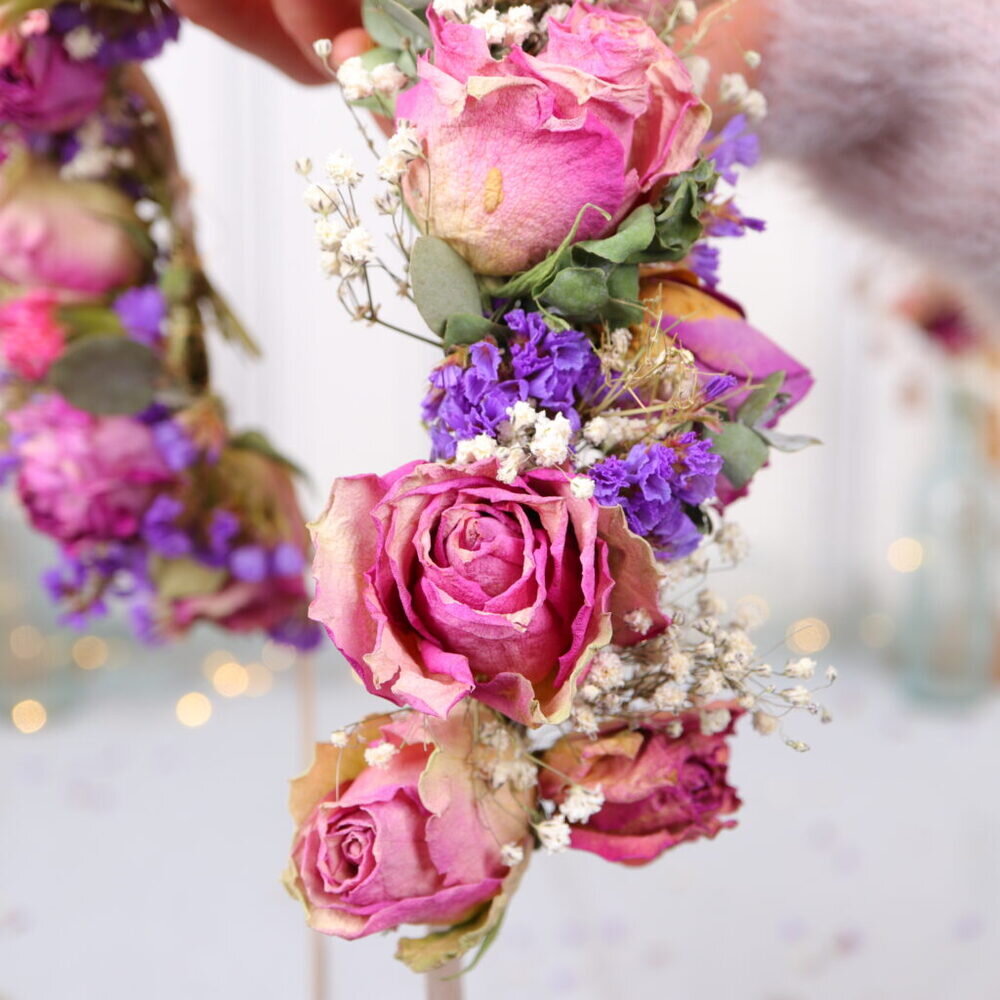
And the flower hair wreath is ready! I wish you a lot of fun recreating the DIY and I hope you enjoy looking at and wearing the wreath!
Are you looking for more wreath ideas? Then have a look here:
Have a nice day!
Jenny <3
