
Today I’ll show you how to make a small spring wreath yourself with birch twigs and wax flowers! I like to use birch twigs as a natural material for making wreaths. The branches can be bent into shape and stay beautiful for a long time. For my last DIY, for example, I tied a heart-shaped bouquet out of birch twigs. Today I want to make a small spring wreath with the birch branches. I use a transparent plastic lid from a yoghurt packaging as the wreath basis. Plastic lids can be super upcycled and is decorated with birch branches, fragrant wax flowers and gypsophila.

With the following step-by-step instructions, you can easily make the spring wreath yourself with birch twigs and wax flowers!
Tools
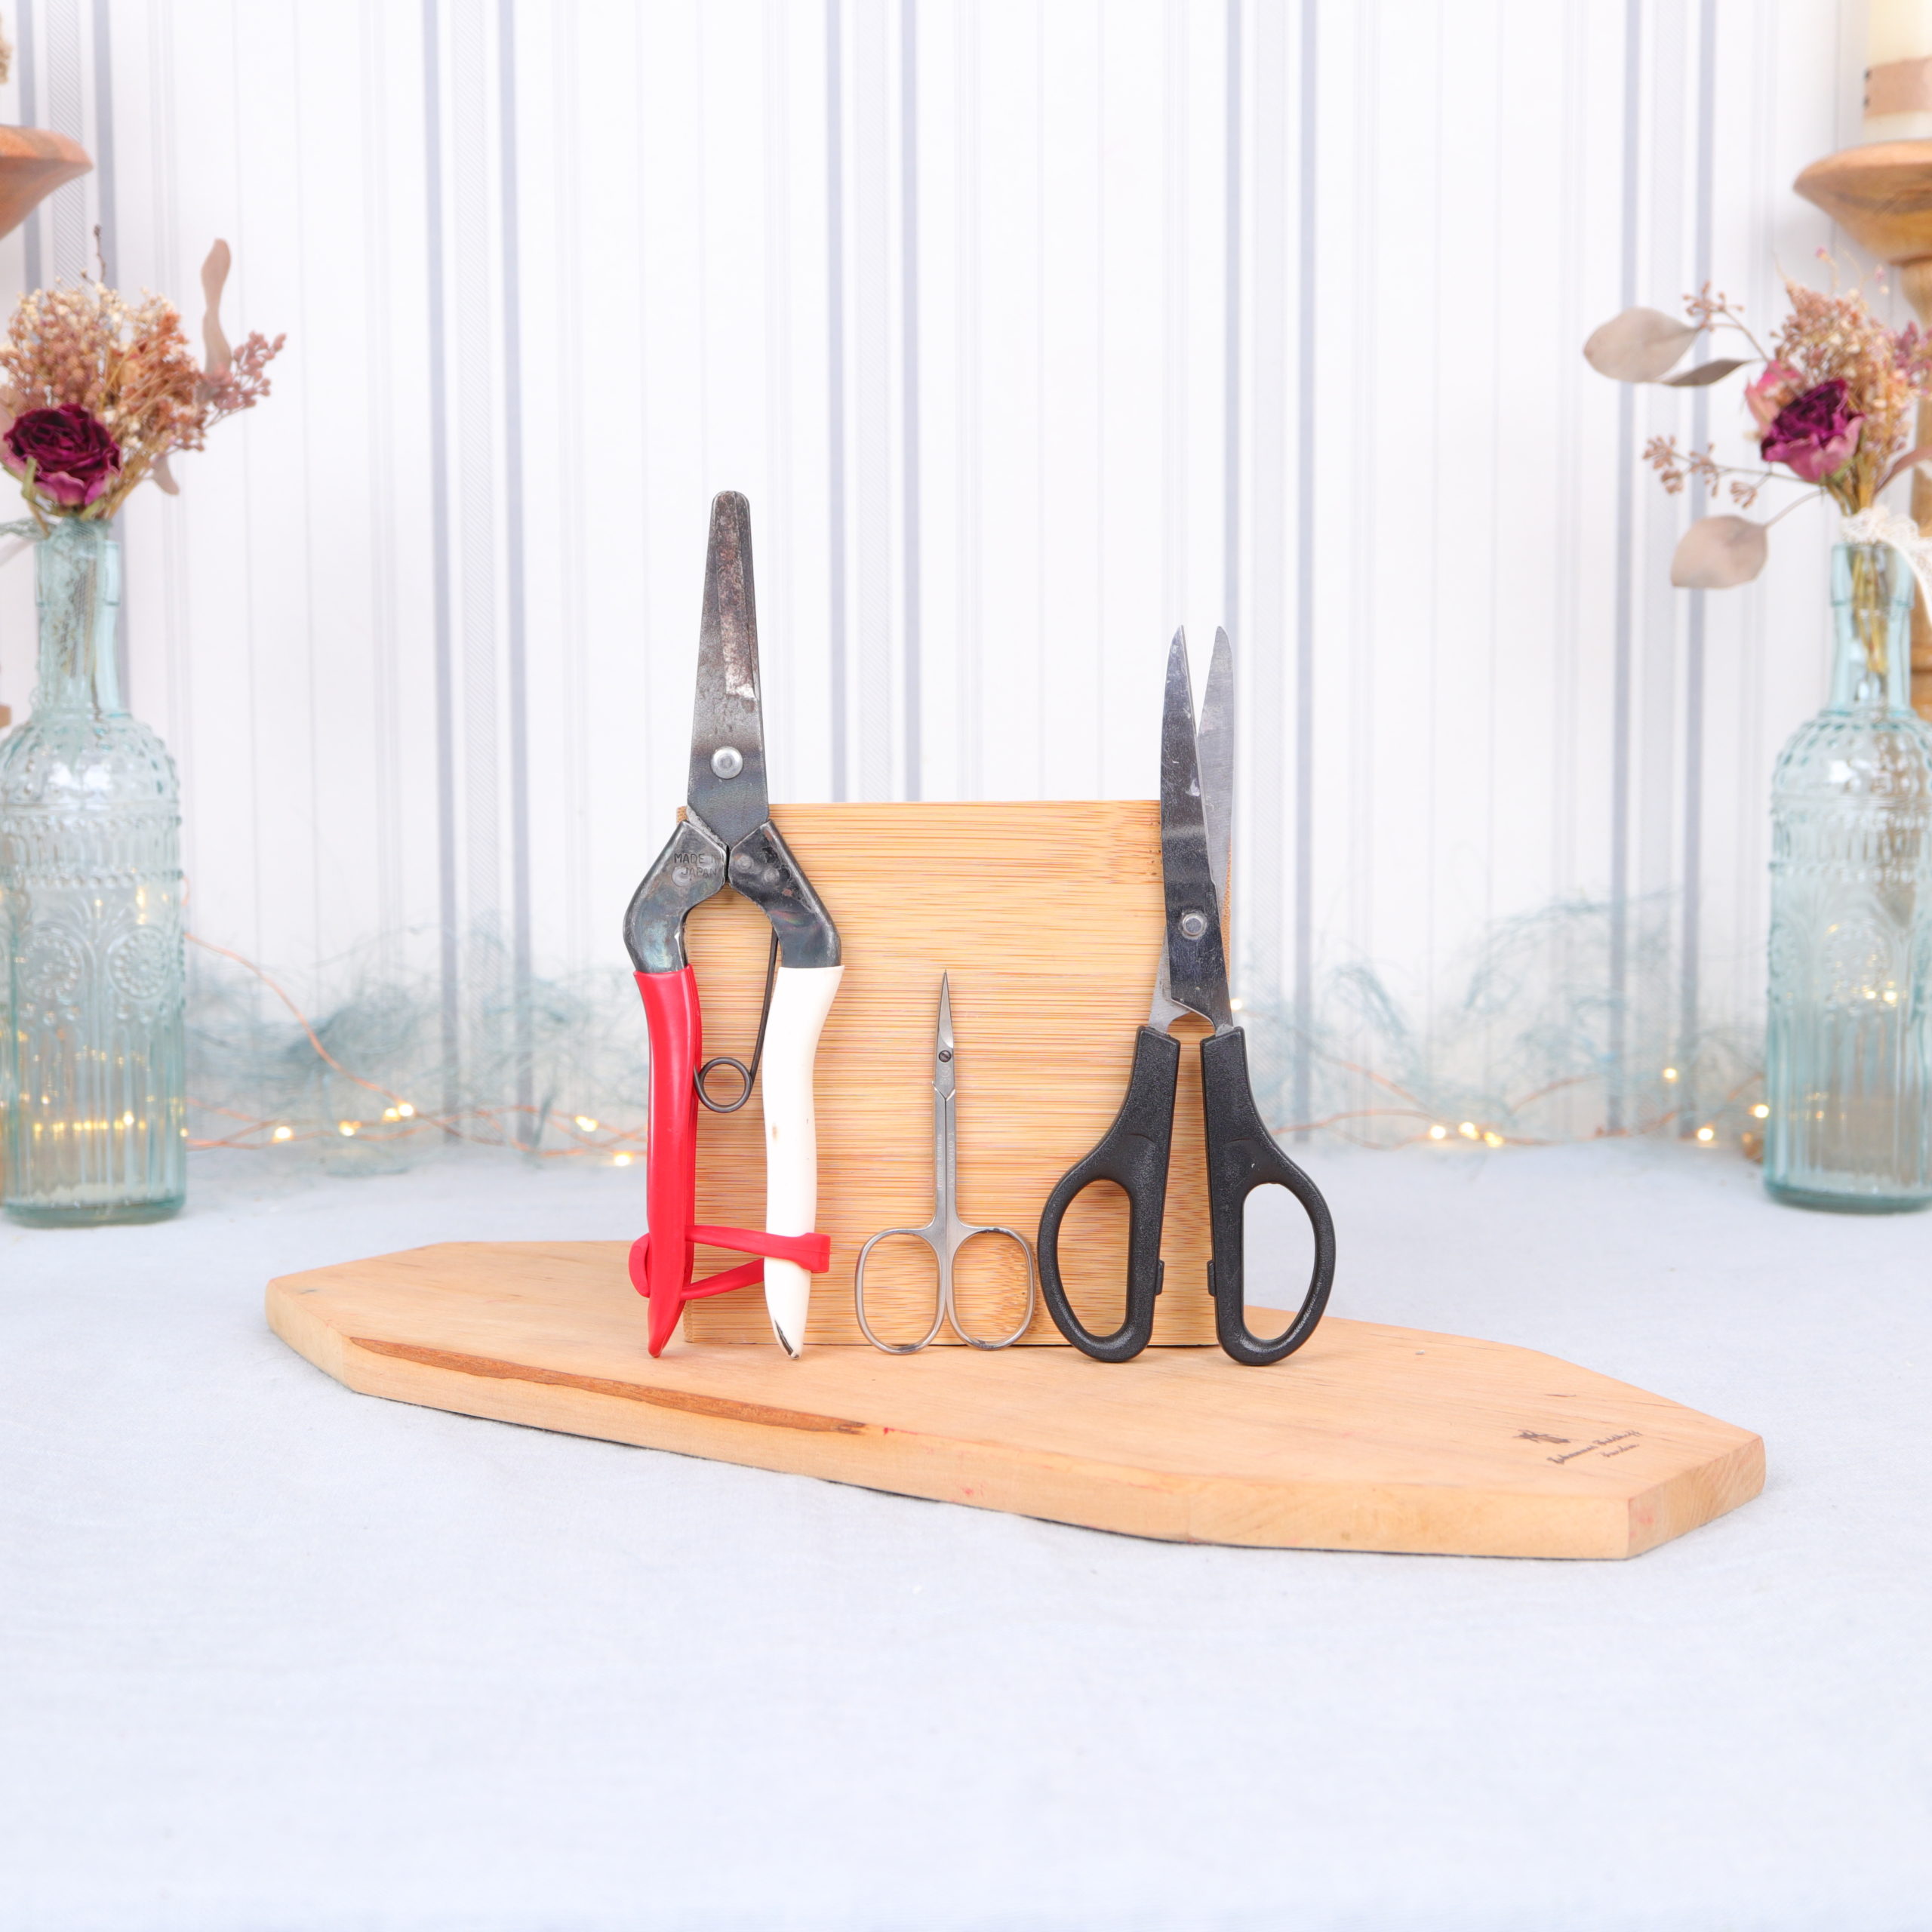
Here you can see which tools I used for the spring decoration. You will need flower scissors to cut the birch twigs and flowers, small scissors to cut the plastic lid, and regular scissors to cut the wire and cord.
Materials

I used these materials for the birch wreath: a plastic lid from a yoghurt packaging as a wreath basis, birch twigs, craft wire, wax flowers, gypsophila and a pink woolen cord.
Tip: My gypsophila had already dried up a bit. You can work with it, but it works even better with fresh gypsophila. This is because dried stalks break more easily when wire wrapped than fresh stalks.
Instructions | Make your own spring wreath with birch branches and wax flowers
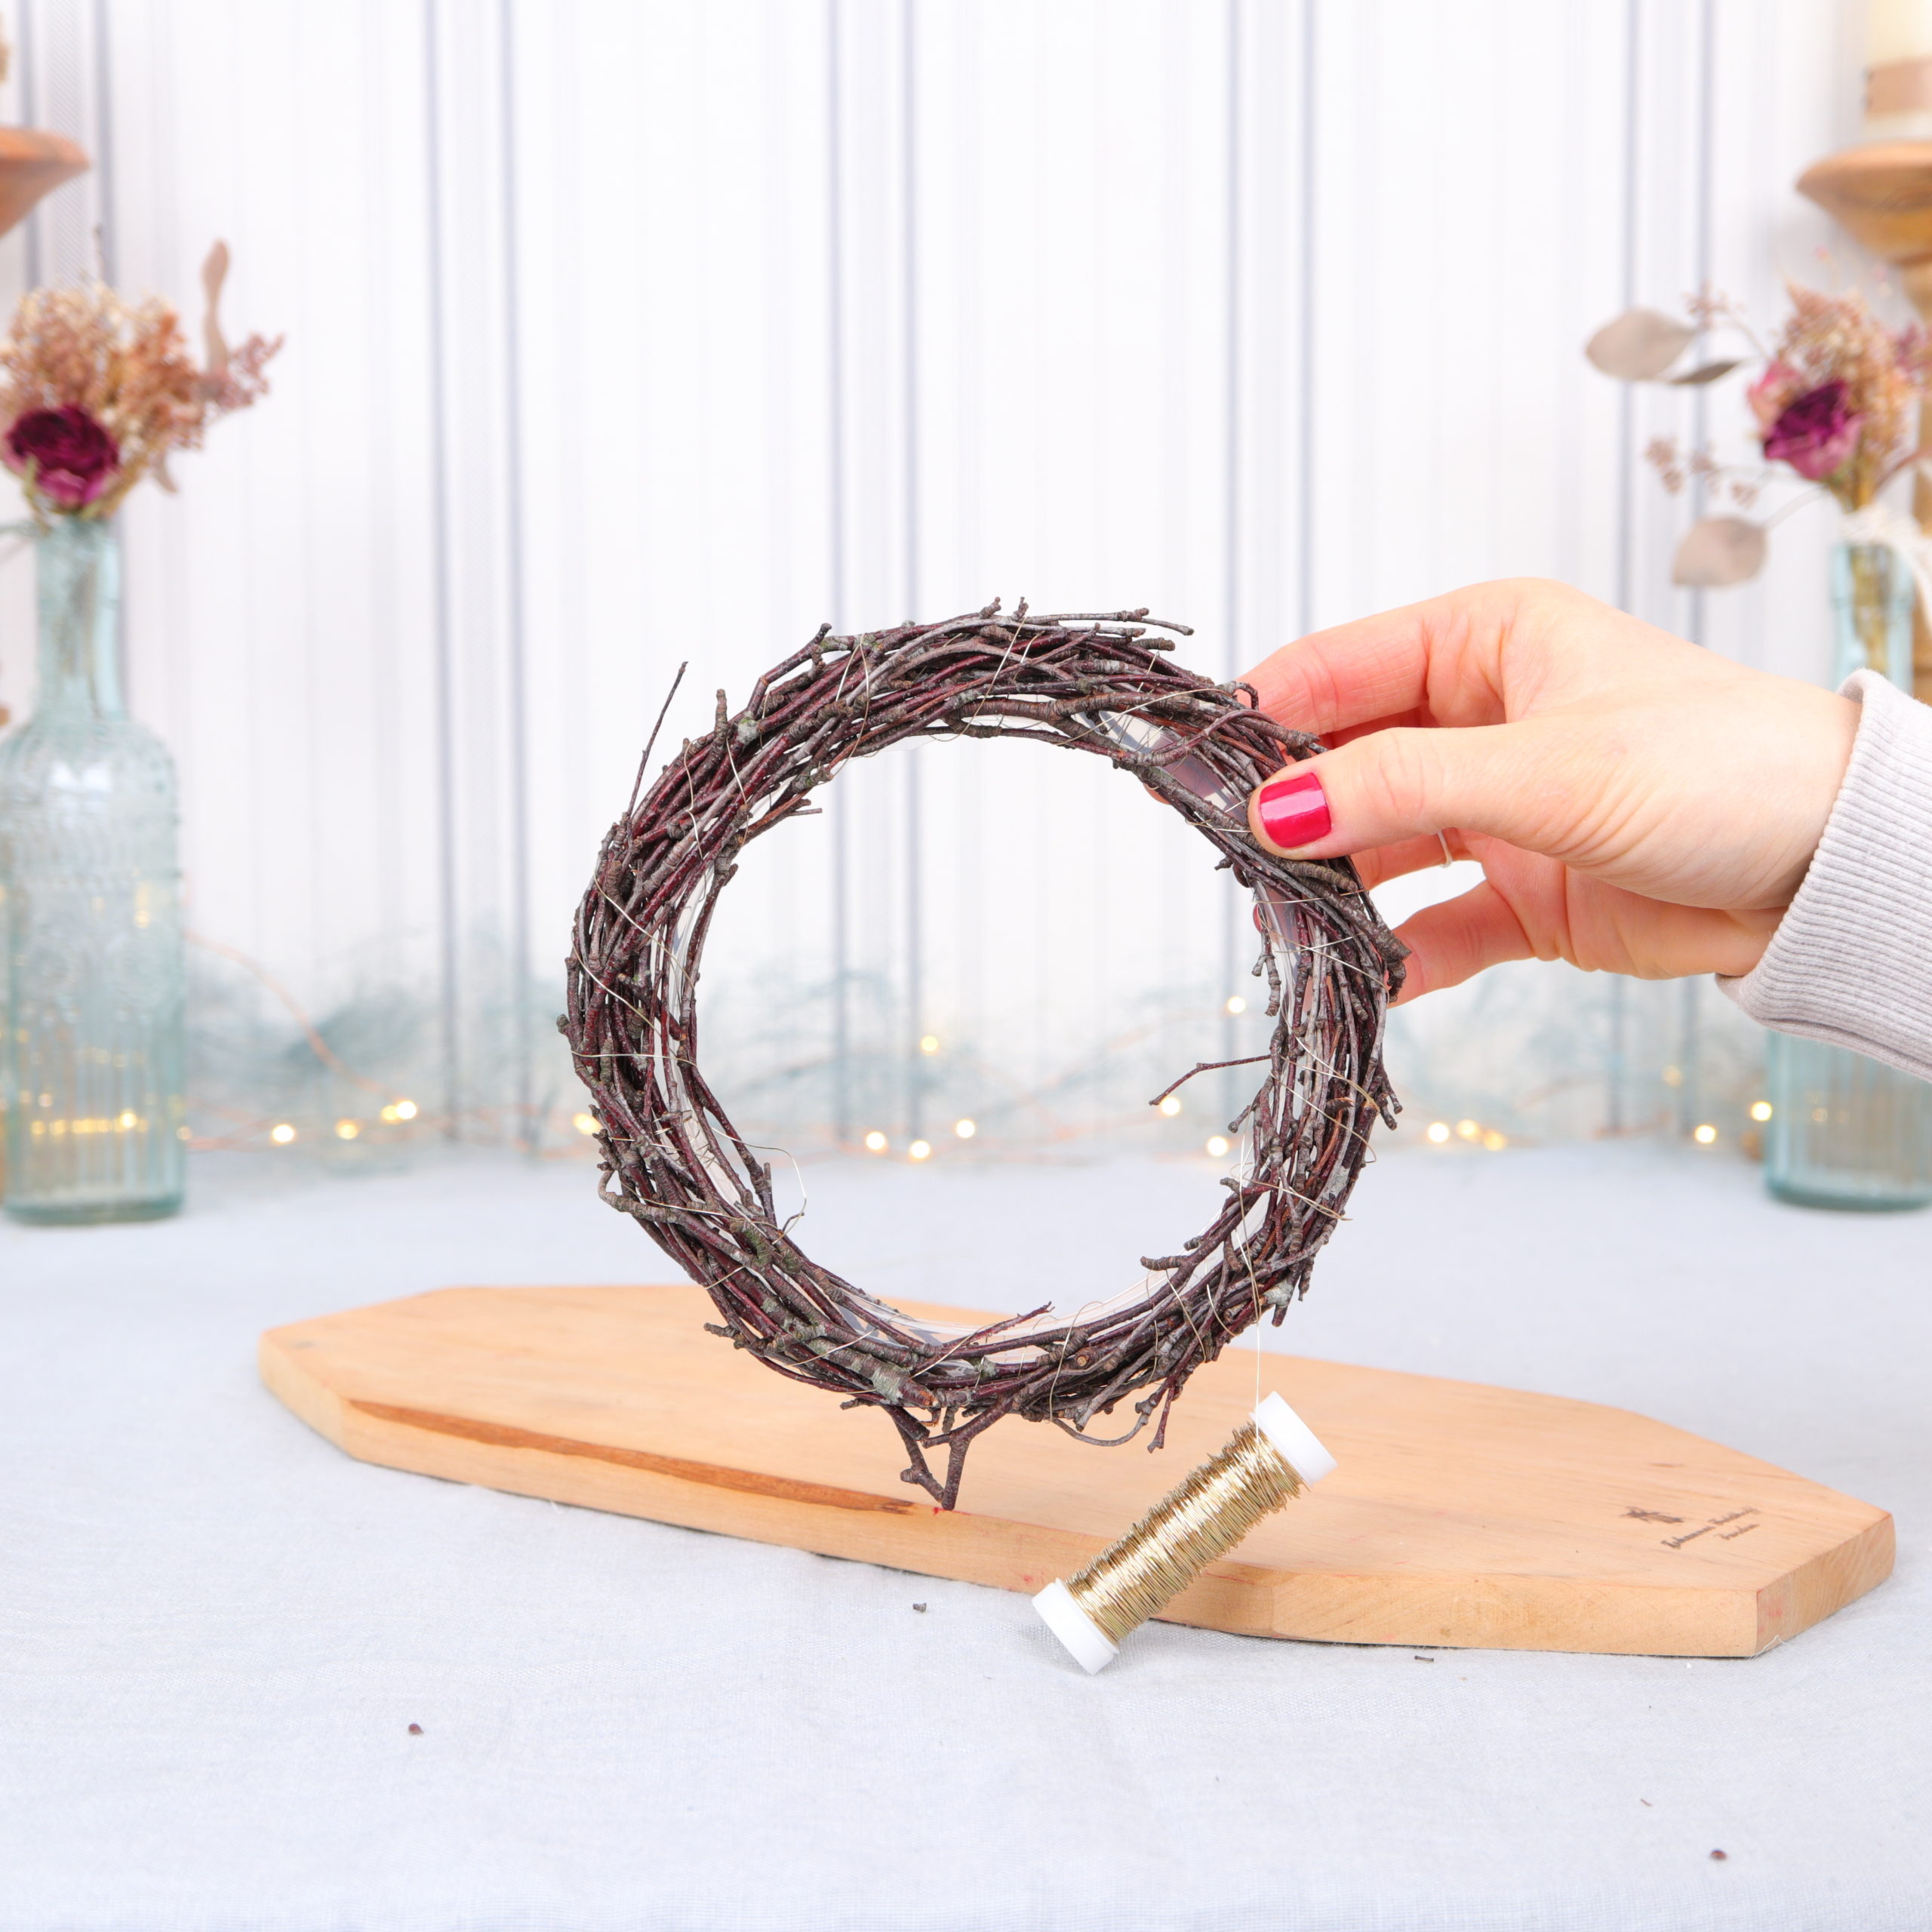
Step 1: Cut a ring out of the plastic lid
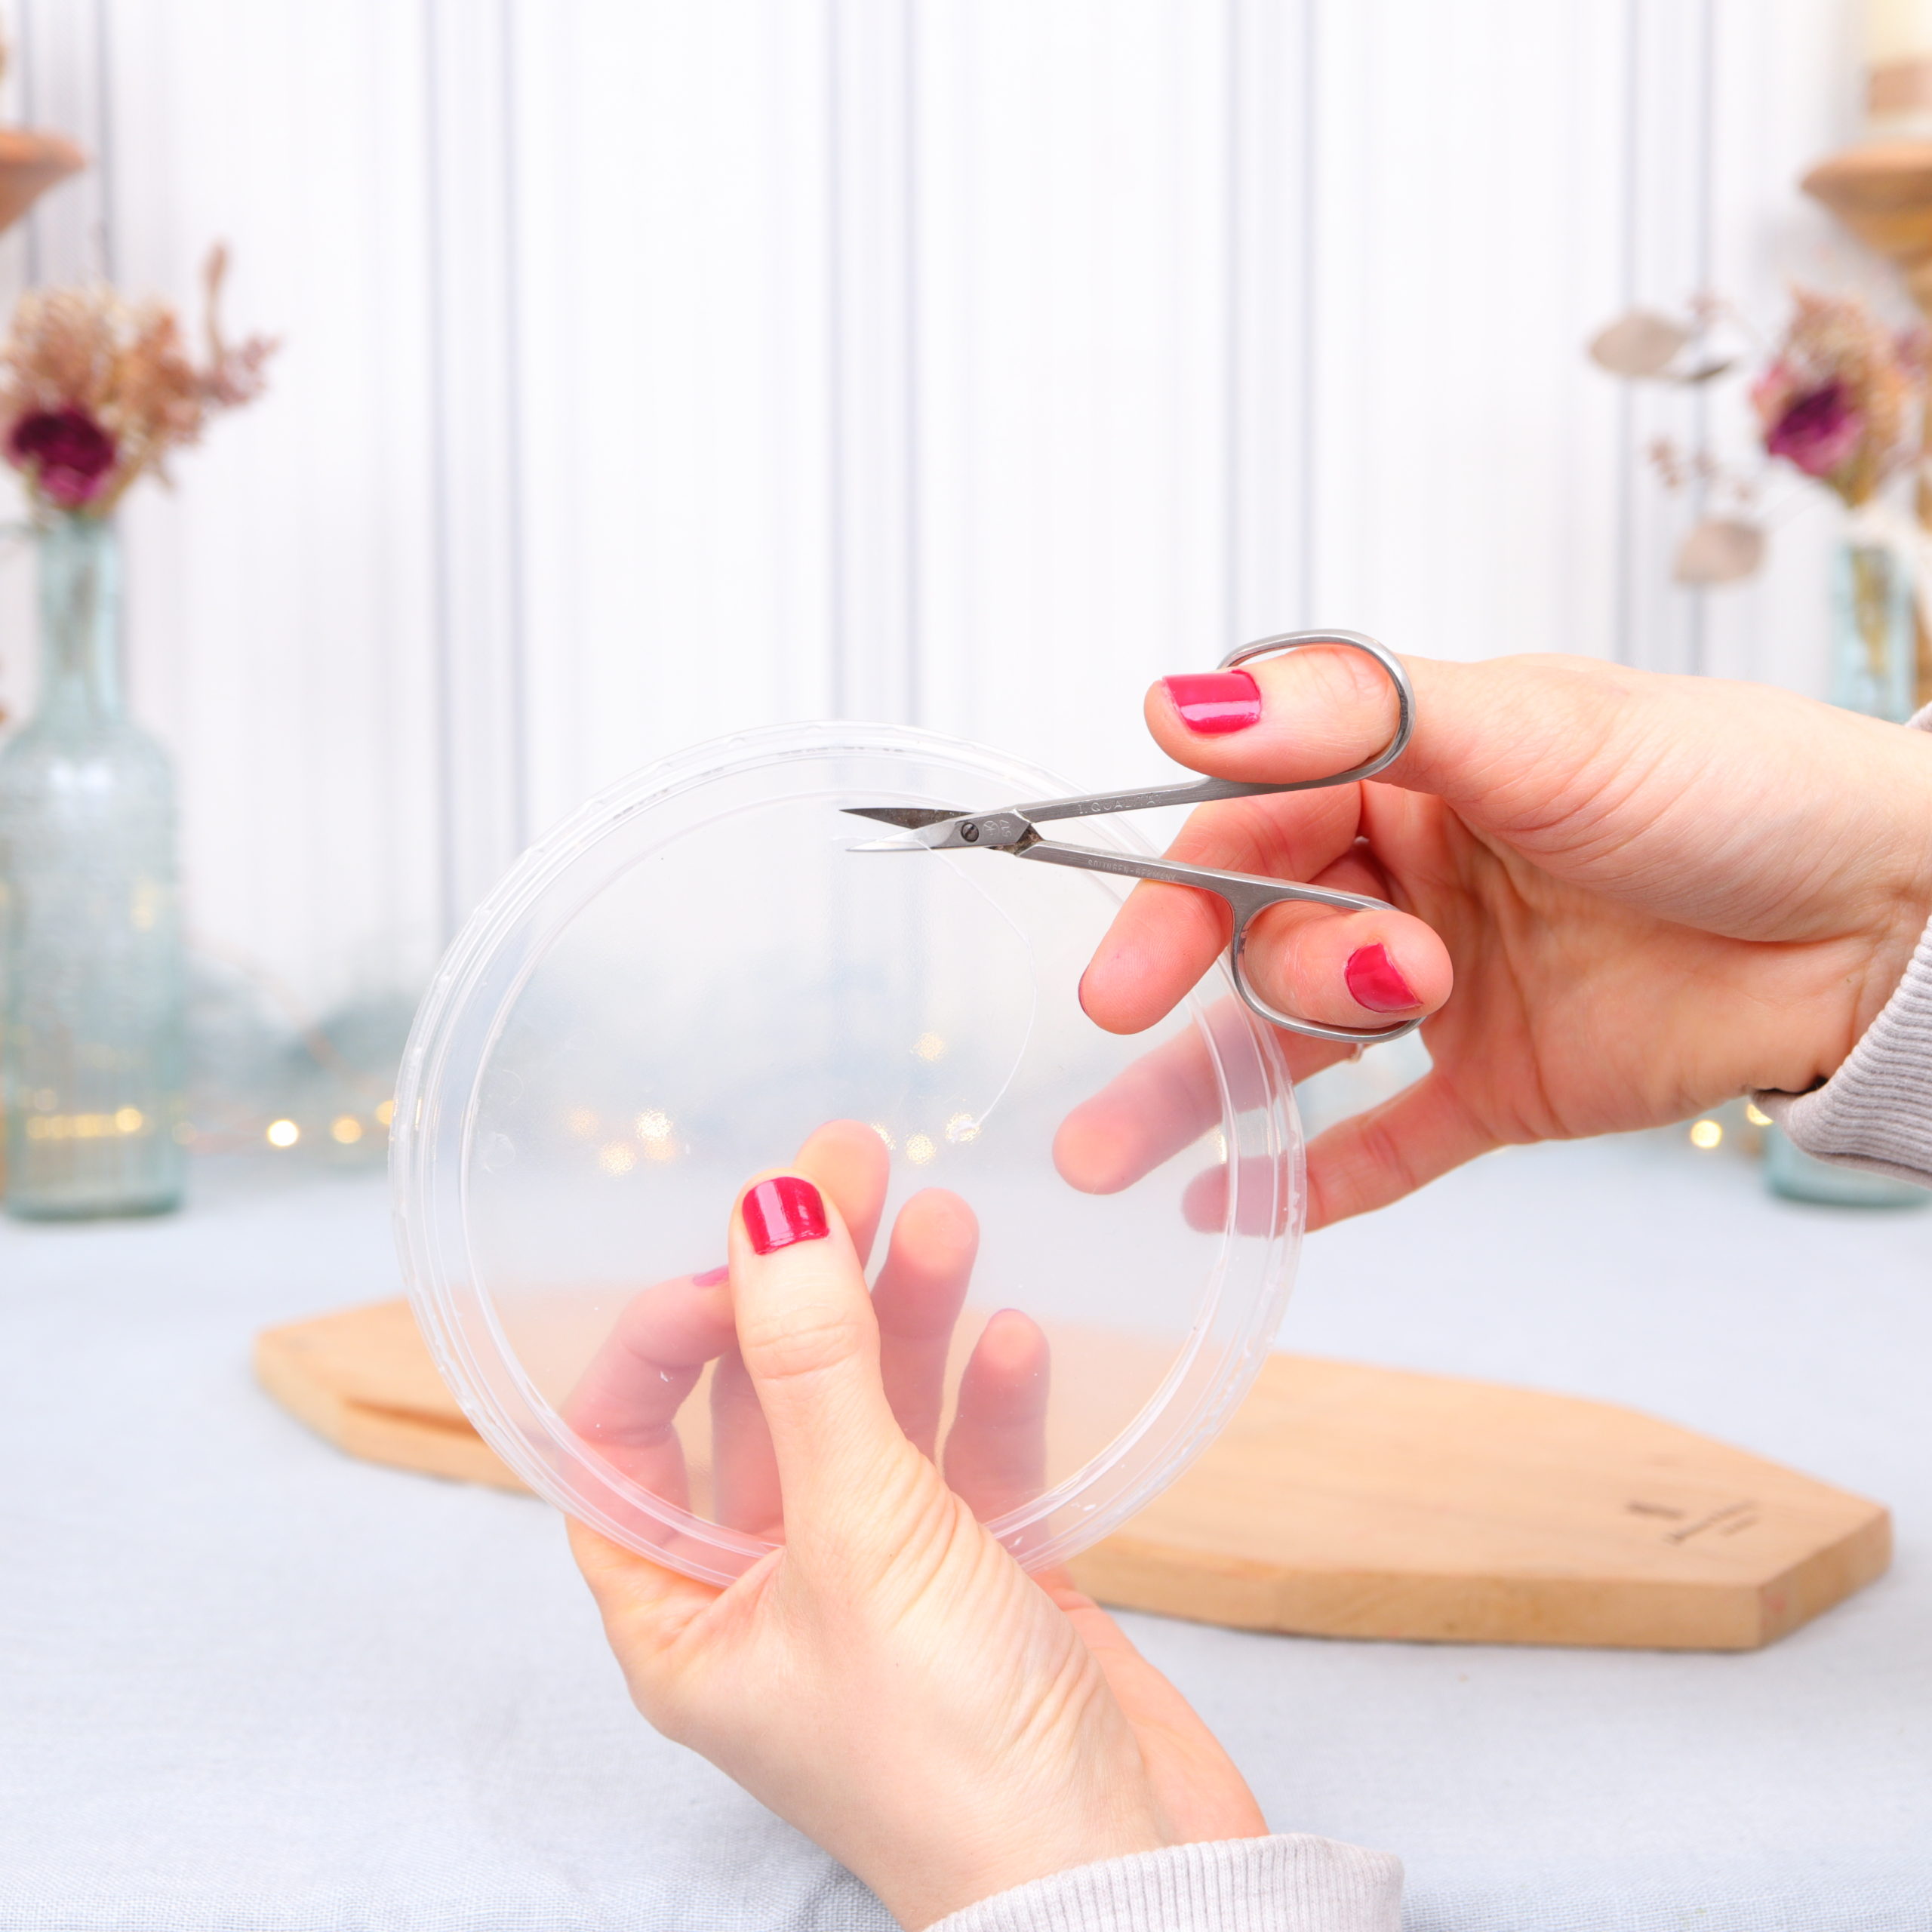
In the first step I tinker my wreath basis. A larger plastic lid from a yoghurt pot works great. The lid is perfectly round and weatherproof, so you can also decorate the wreath outside.
I use the small scissors to cut it because it’s so easy to do. I pierce the lid with the small scissors and cut out the inside, leaving the outer ring.
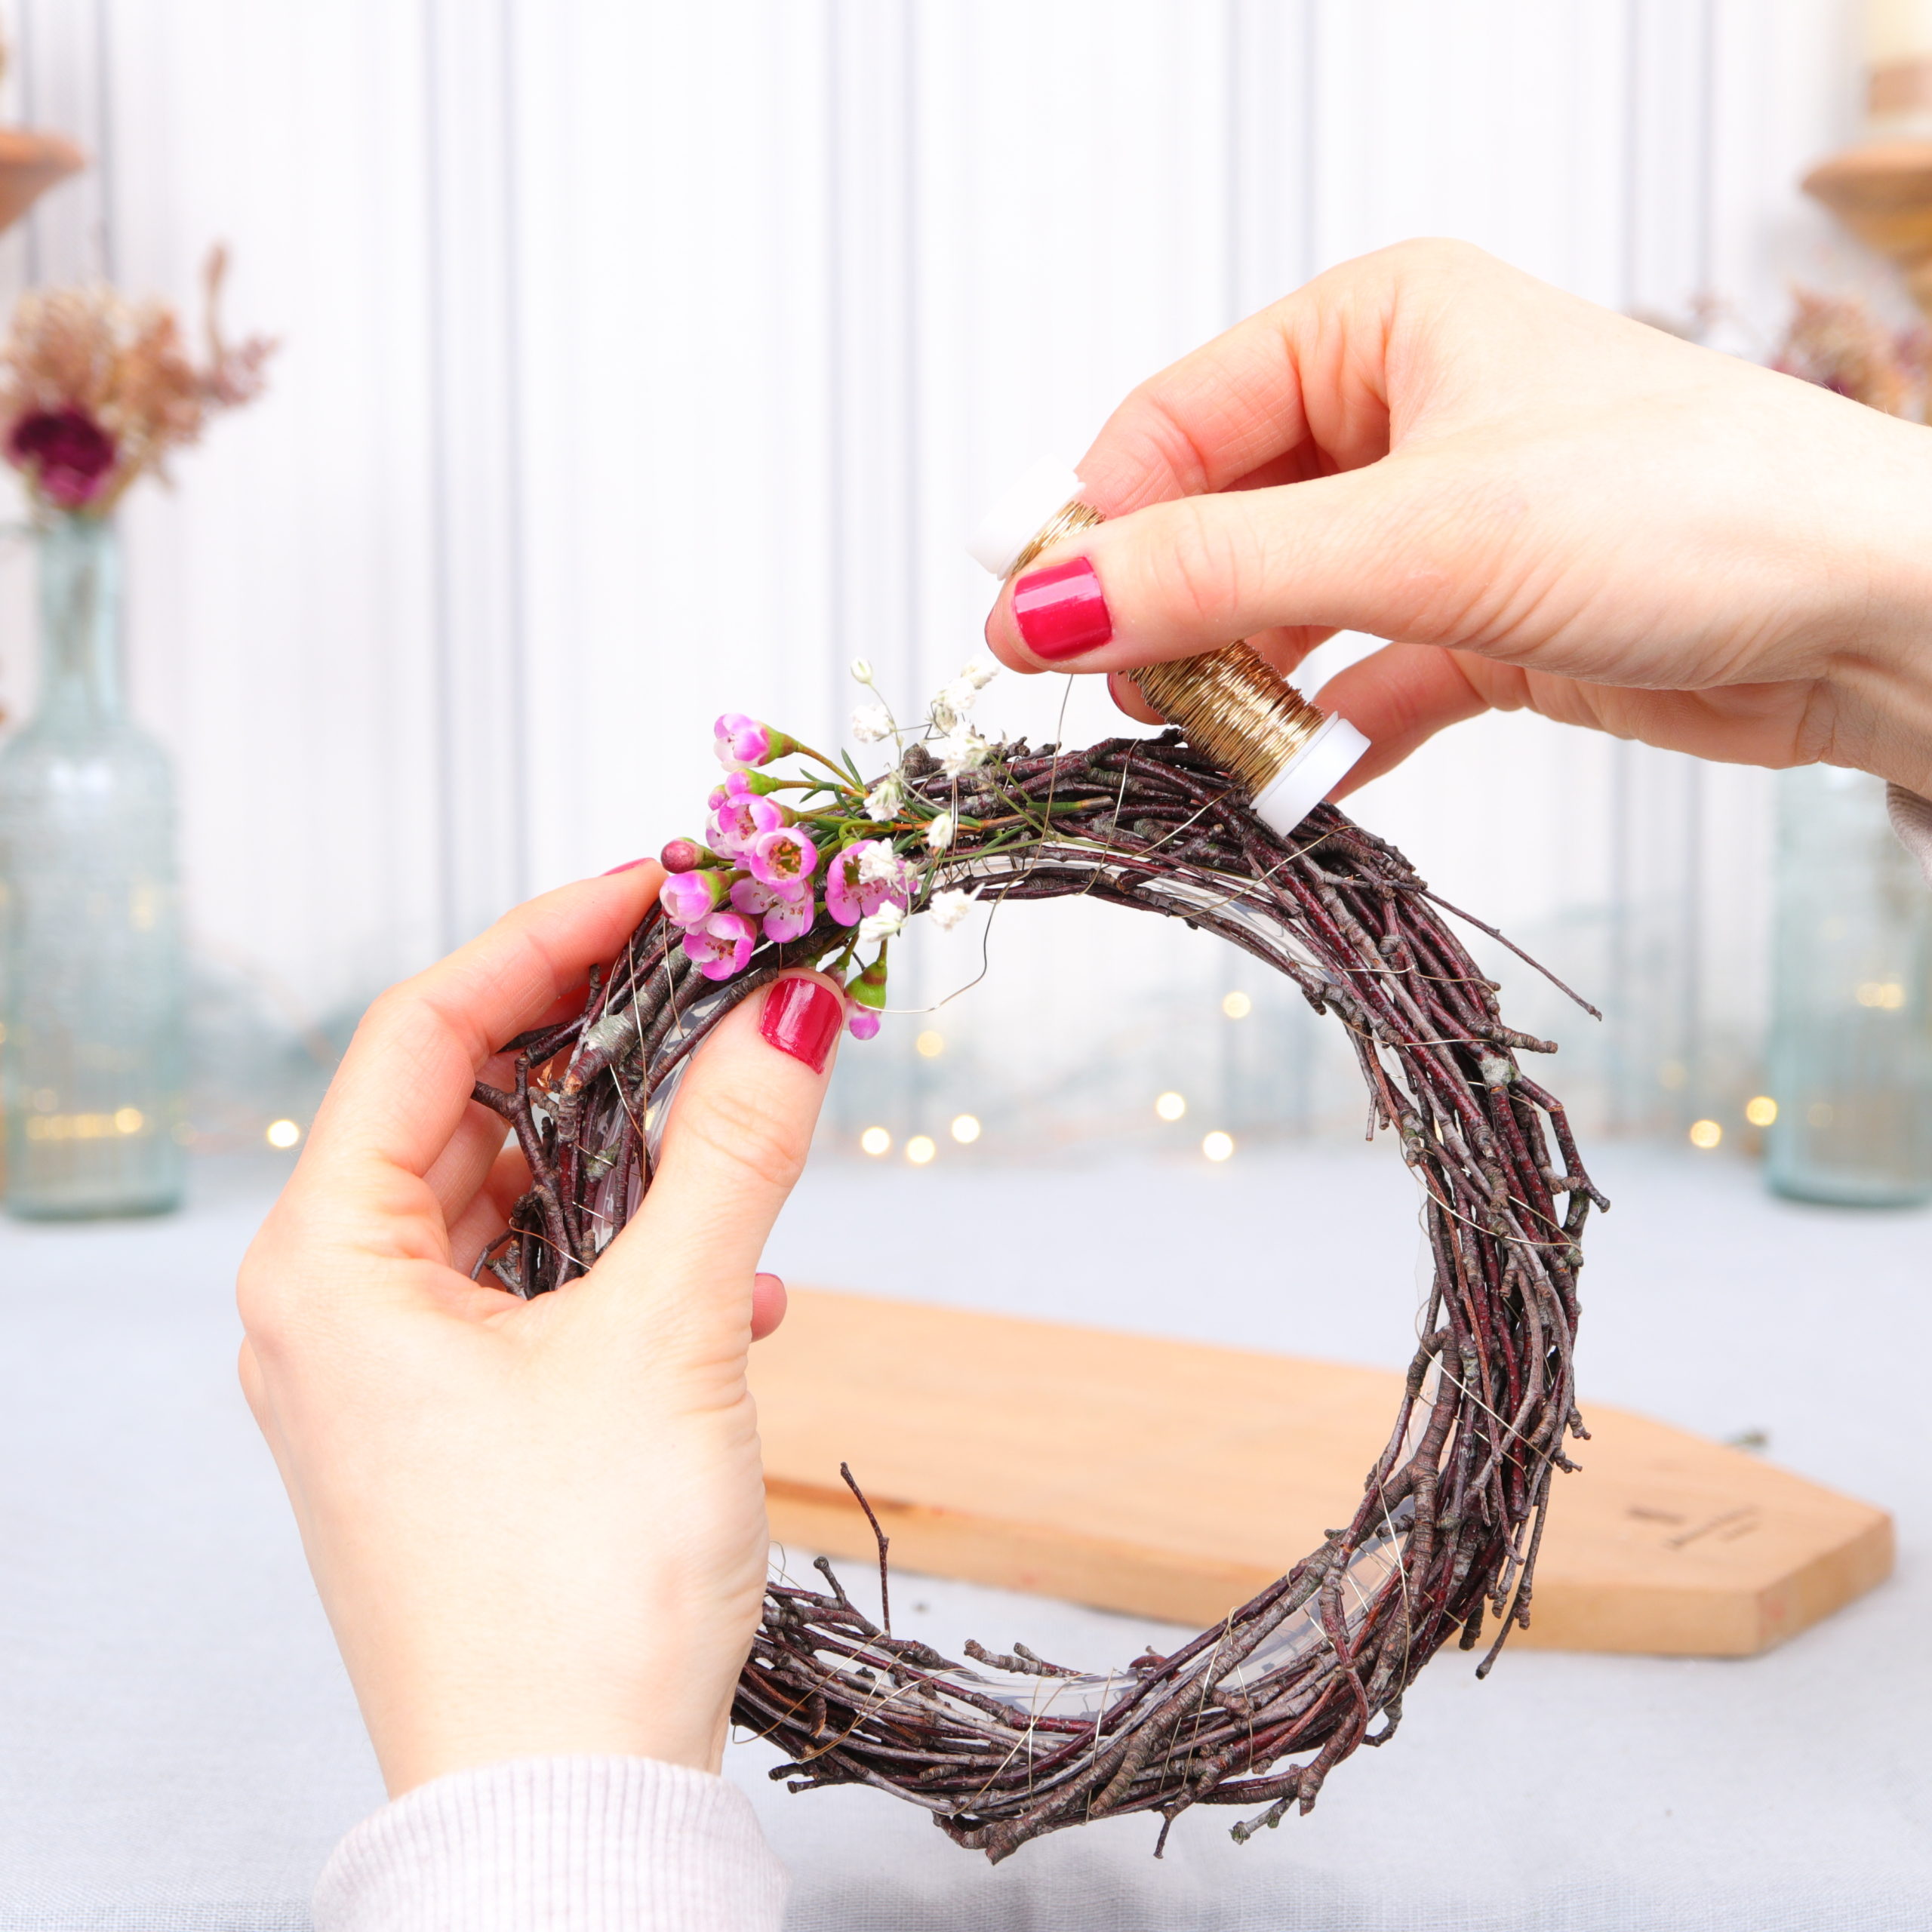
Step 2: Attach birch twigs
Now let’s tie the wreath!

First I tie the binding wire to the ring. To do this, I wrap the ring around several times in one place and then twist the wire onto itself.
Tip: Leave the beginning of the wire a little longer (see left thumb in the picture) so that you can twist the end piece with it at the end (when the wreath is finished).
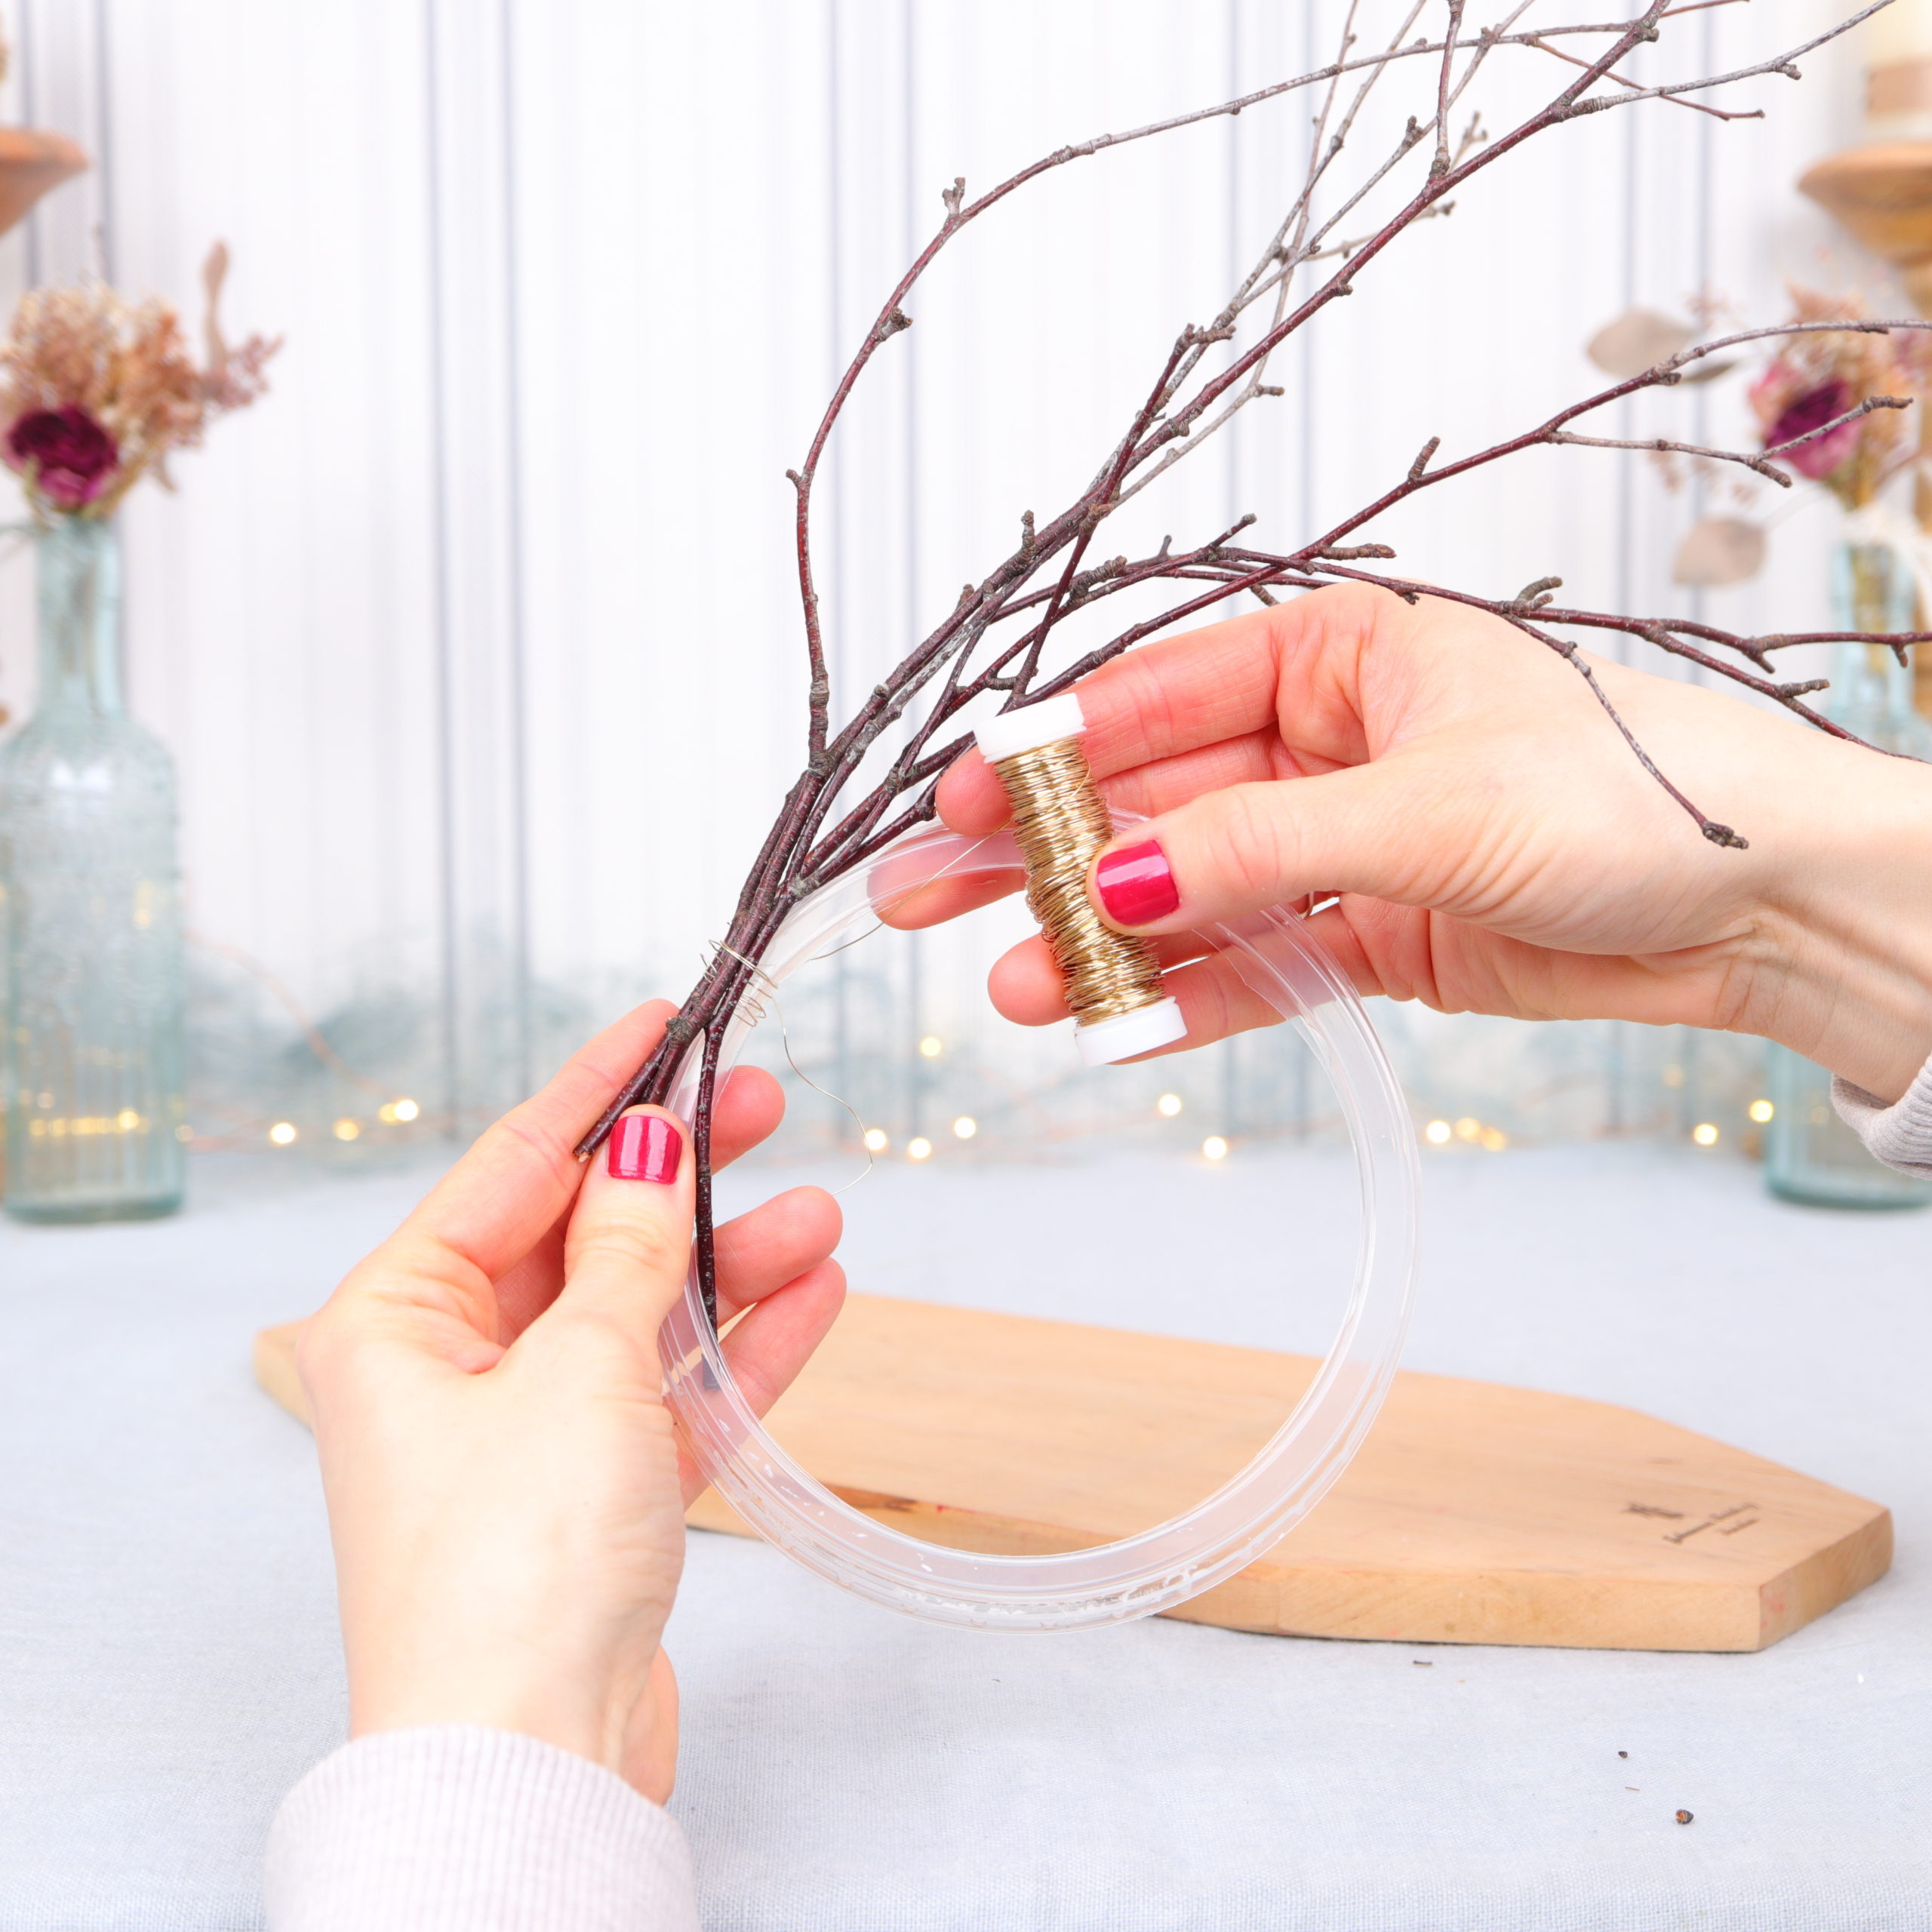
Now I put several birch twigs on the ring and wrap the wire around it several times.
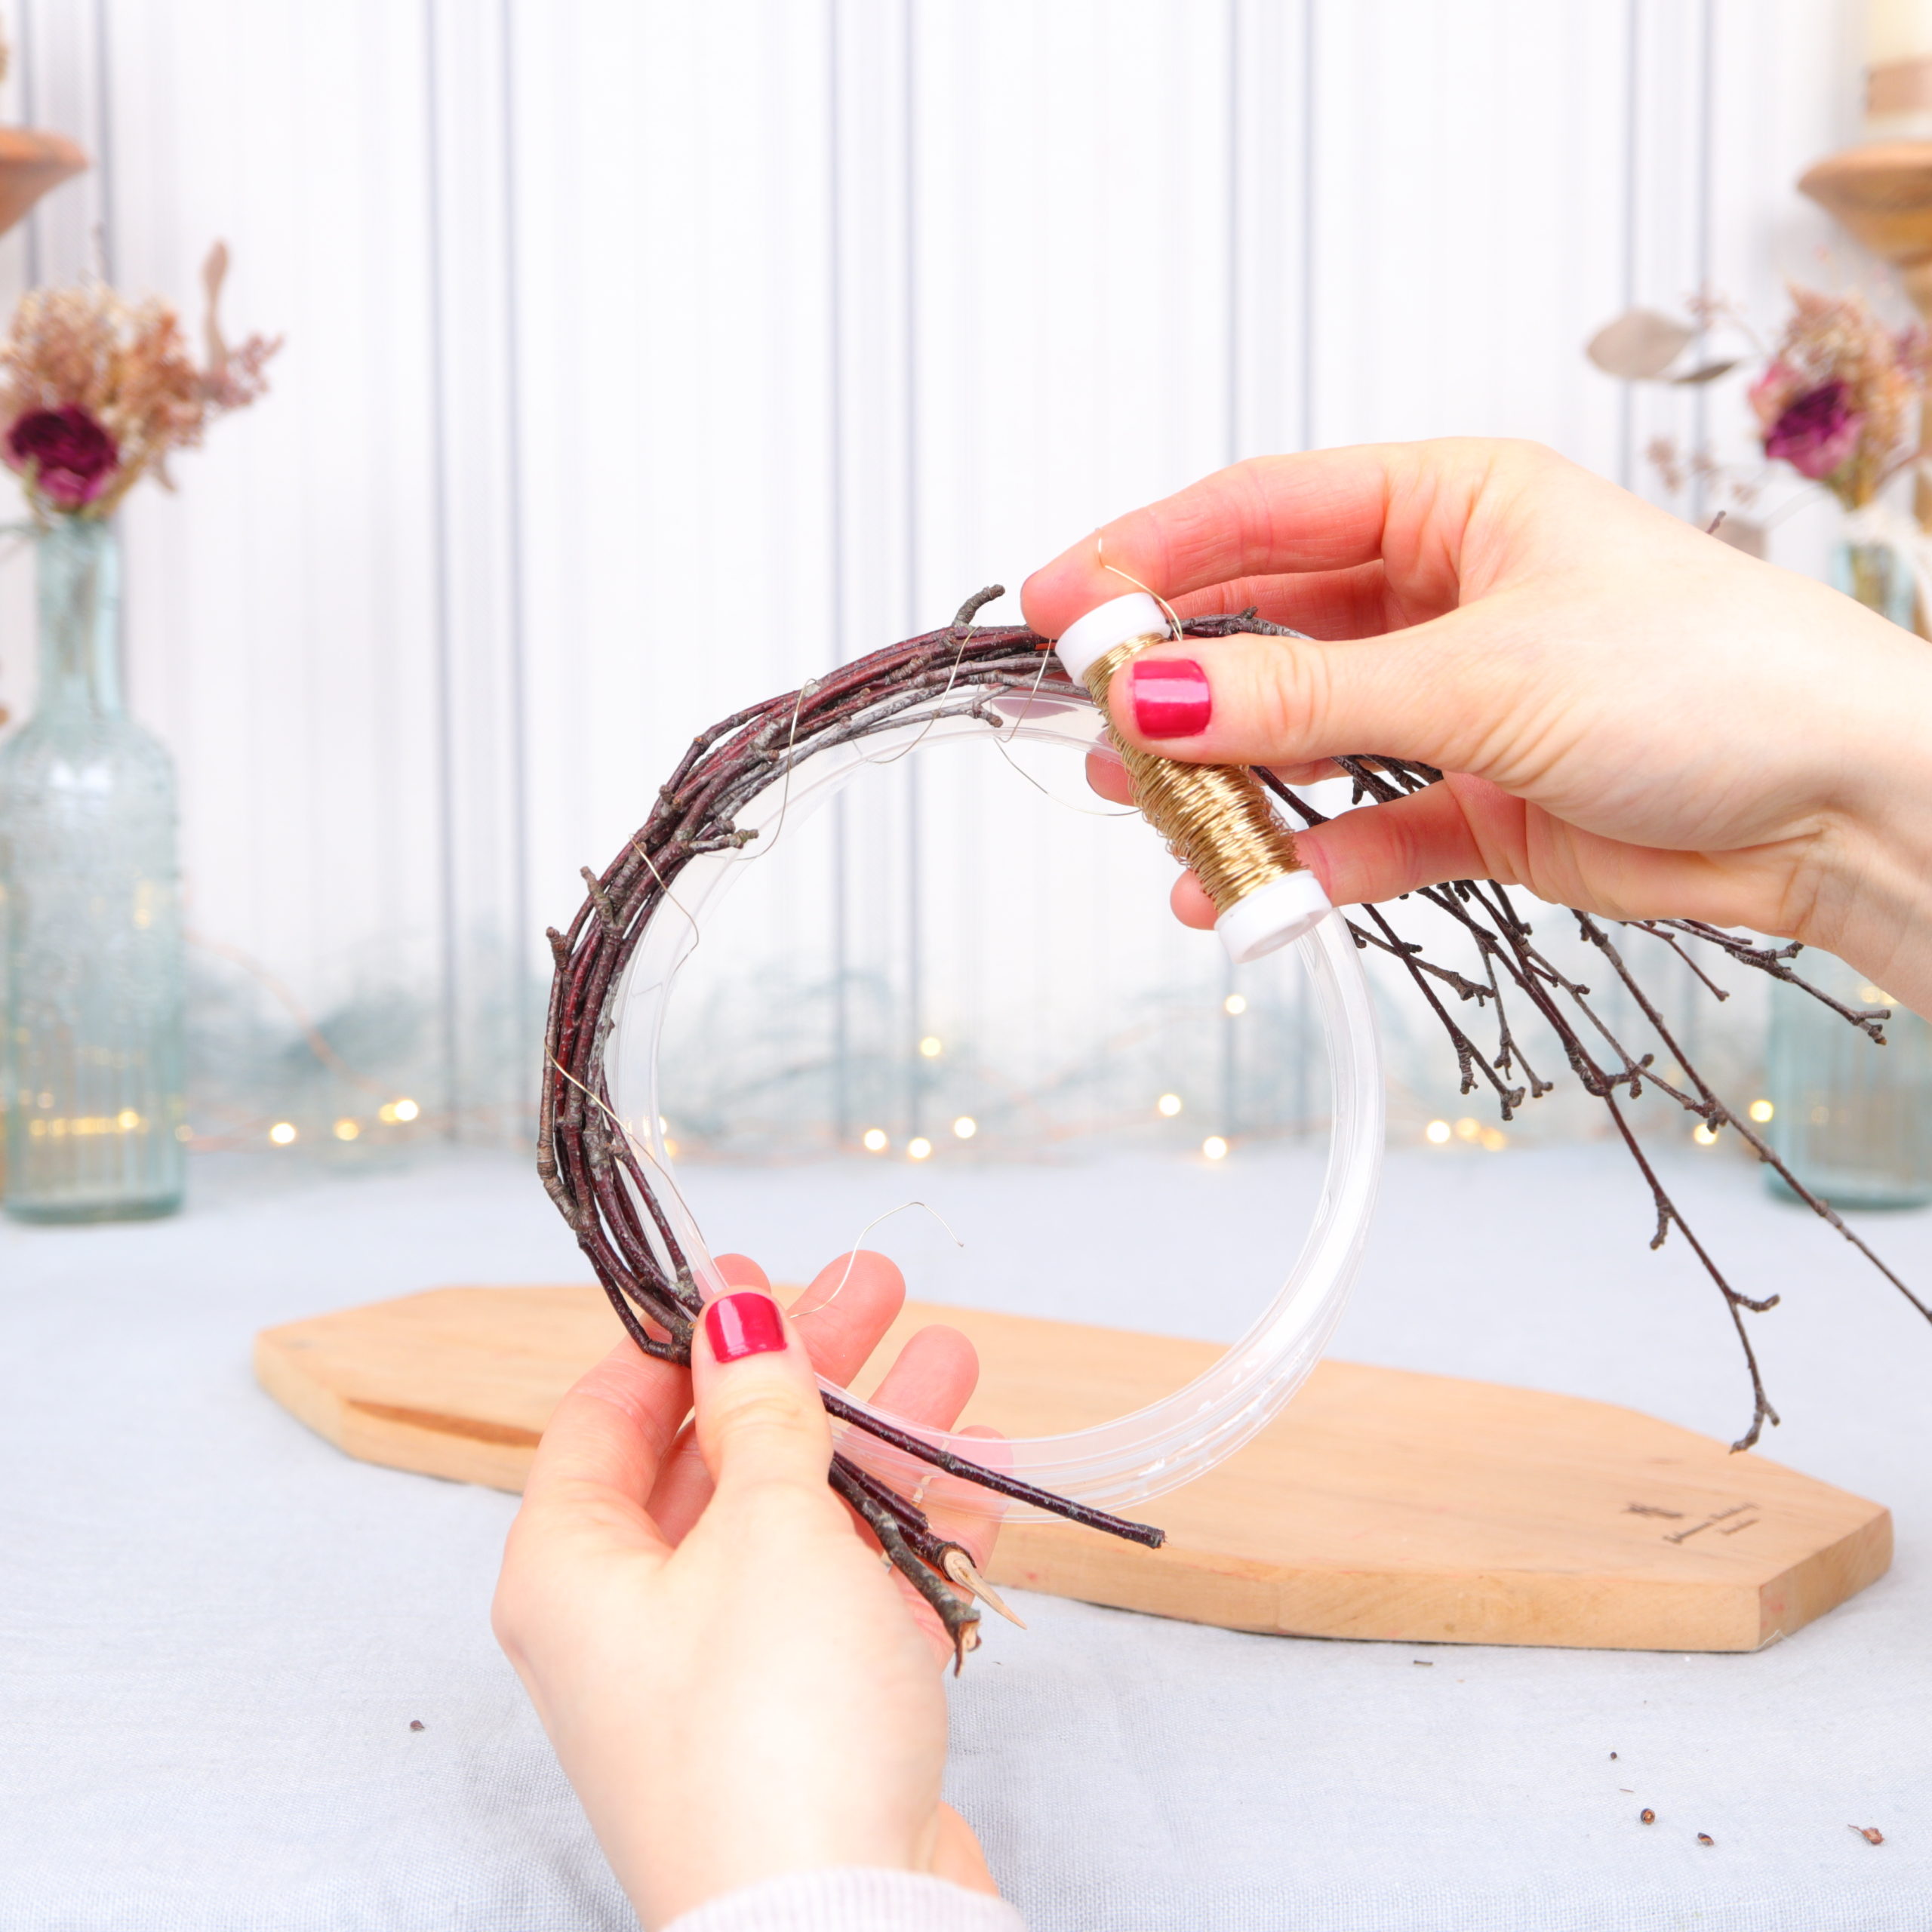
You can also loop the birch twigs around the ring and then wrap them tightly with the wire.
You can always put new twigs on top of the previous ones or insert twigs in between and wrap them so that the plastic ring is well covered.
Step 3: Cut flowers
In the next step I put the ring aside and cut my flowers.
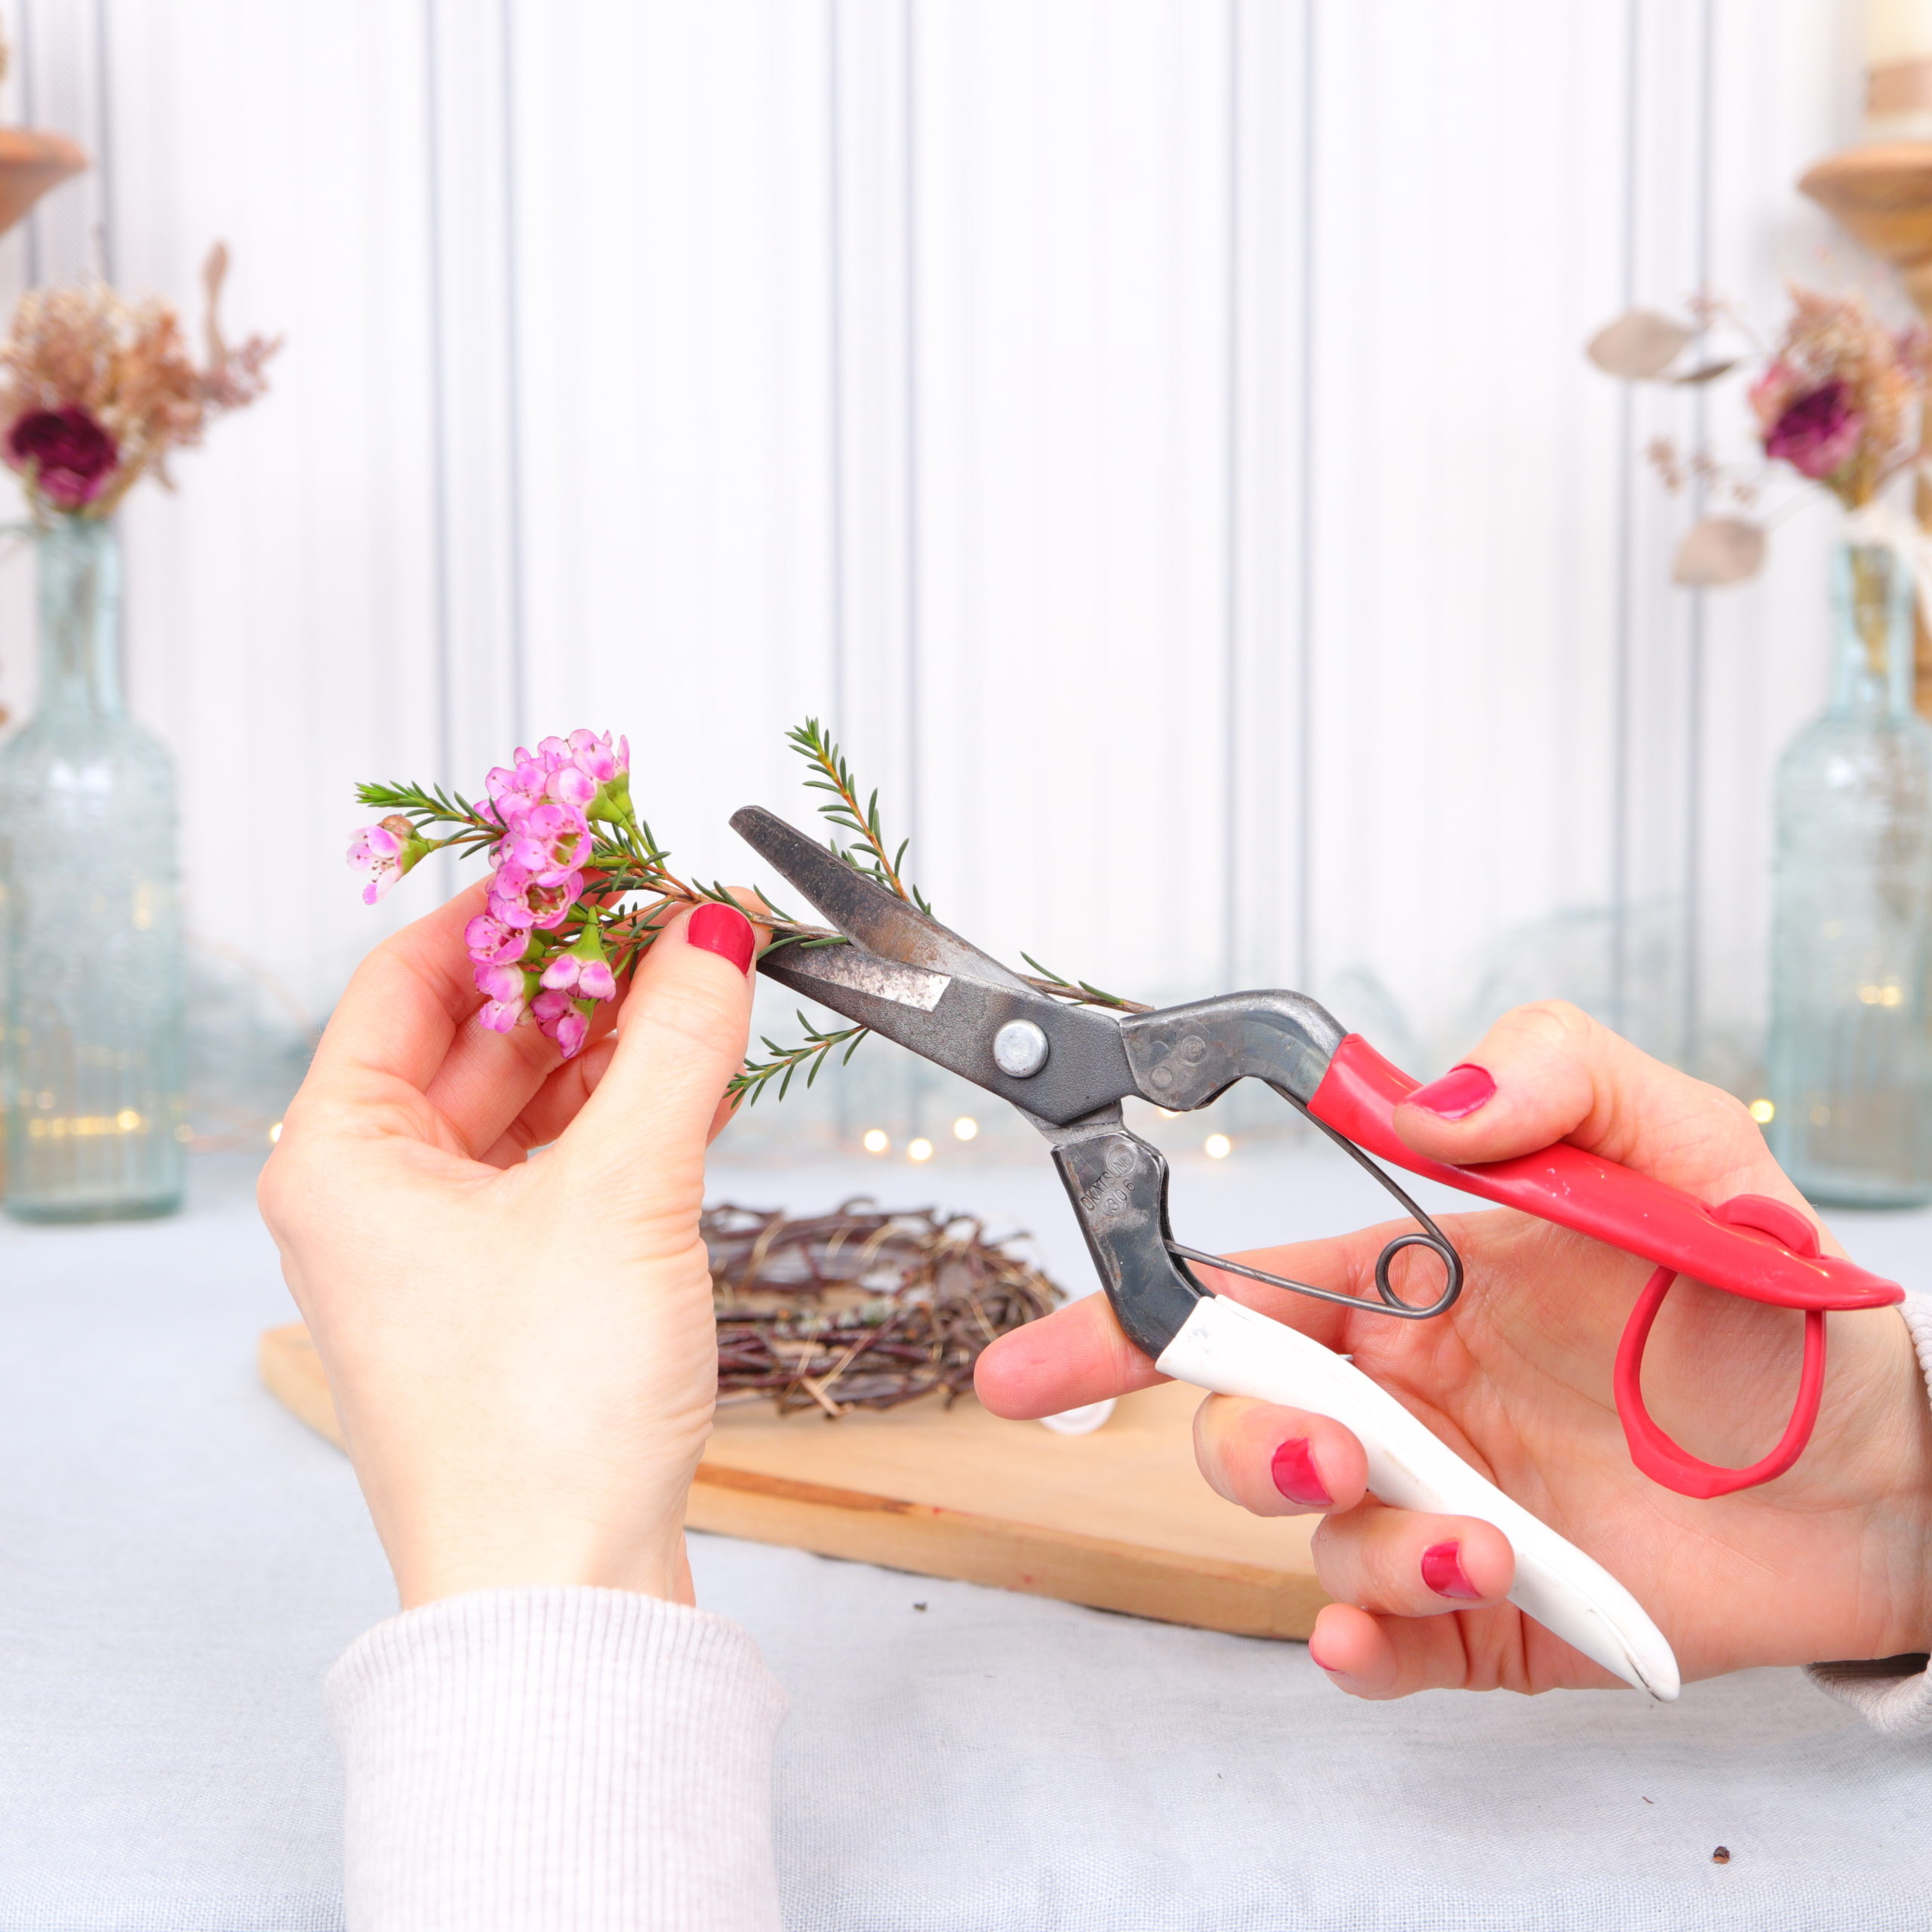
I use my flower scissors to trim and cut off the long stems of the wax flower.

Tip: I not only use the blossoms of the wax flowers, but also cut small green stems with just the leaves.
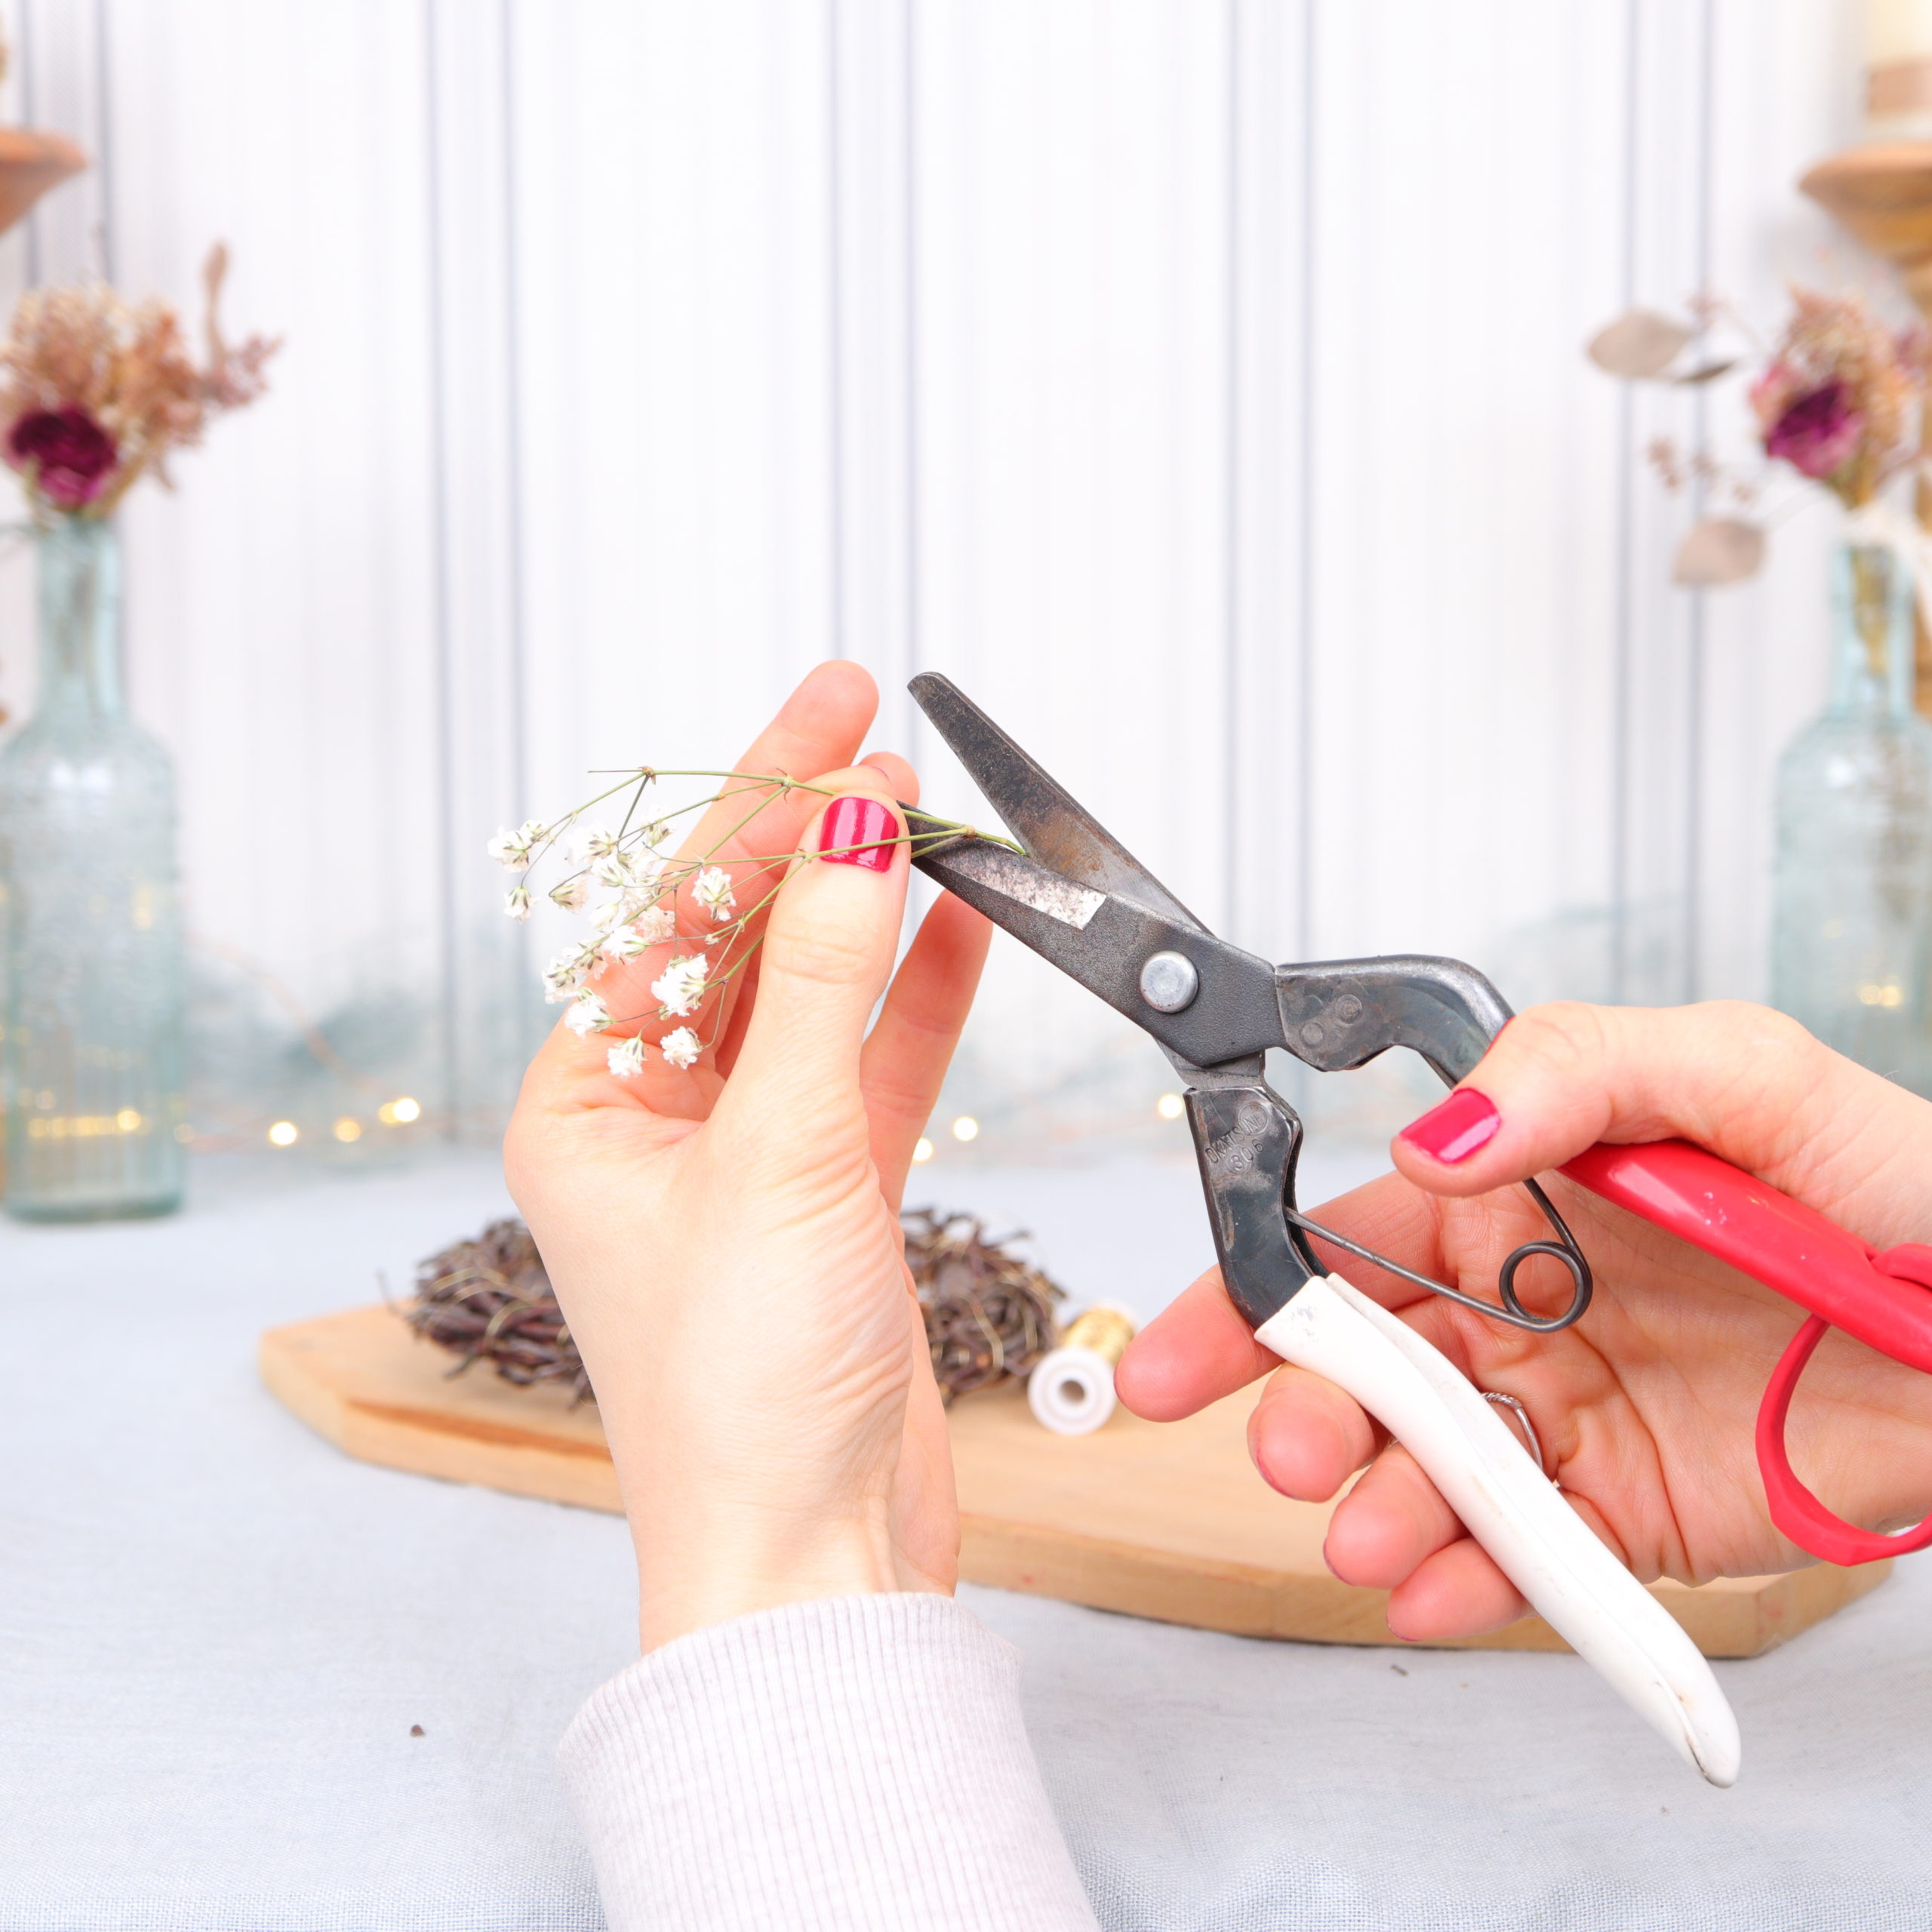
I also cut the gypsophila.

Step 4: Attach flowers
Now the flowers can be tied to the birch wreath.
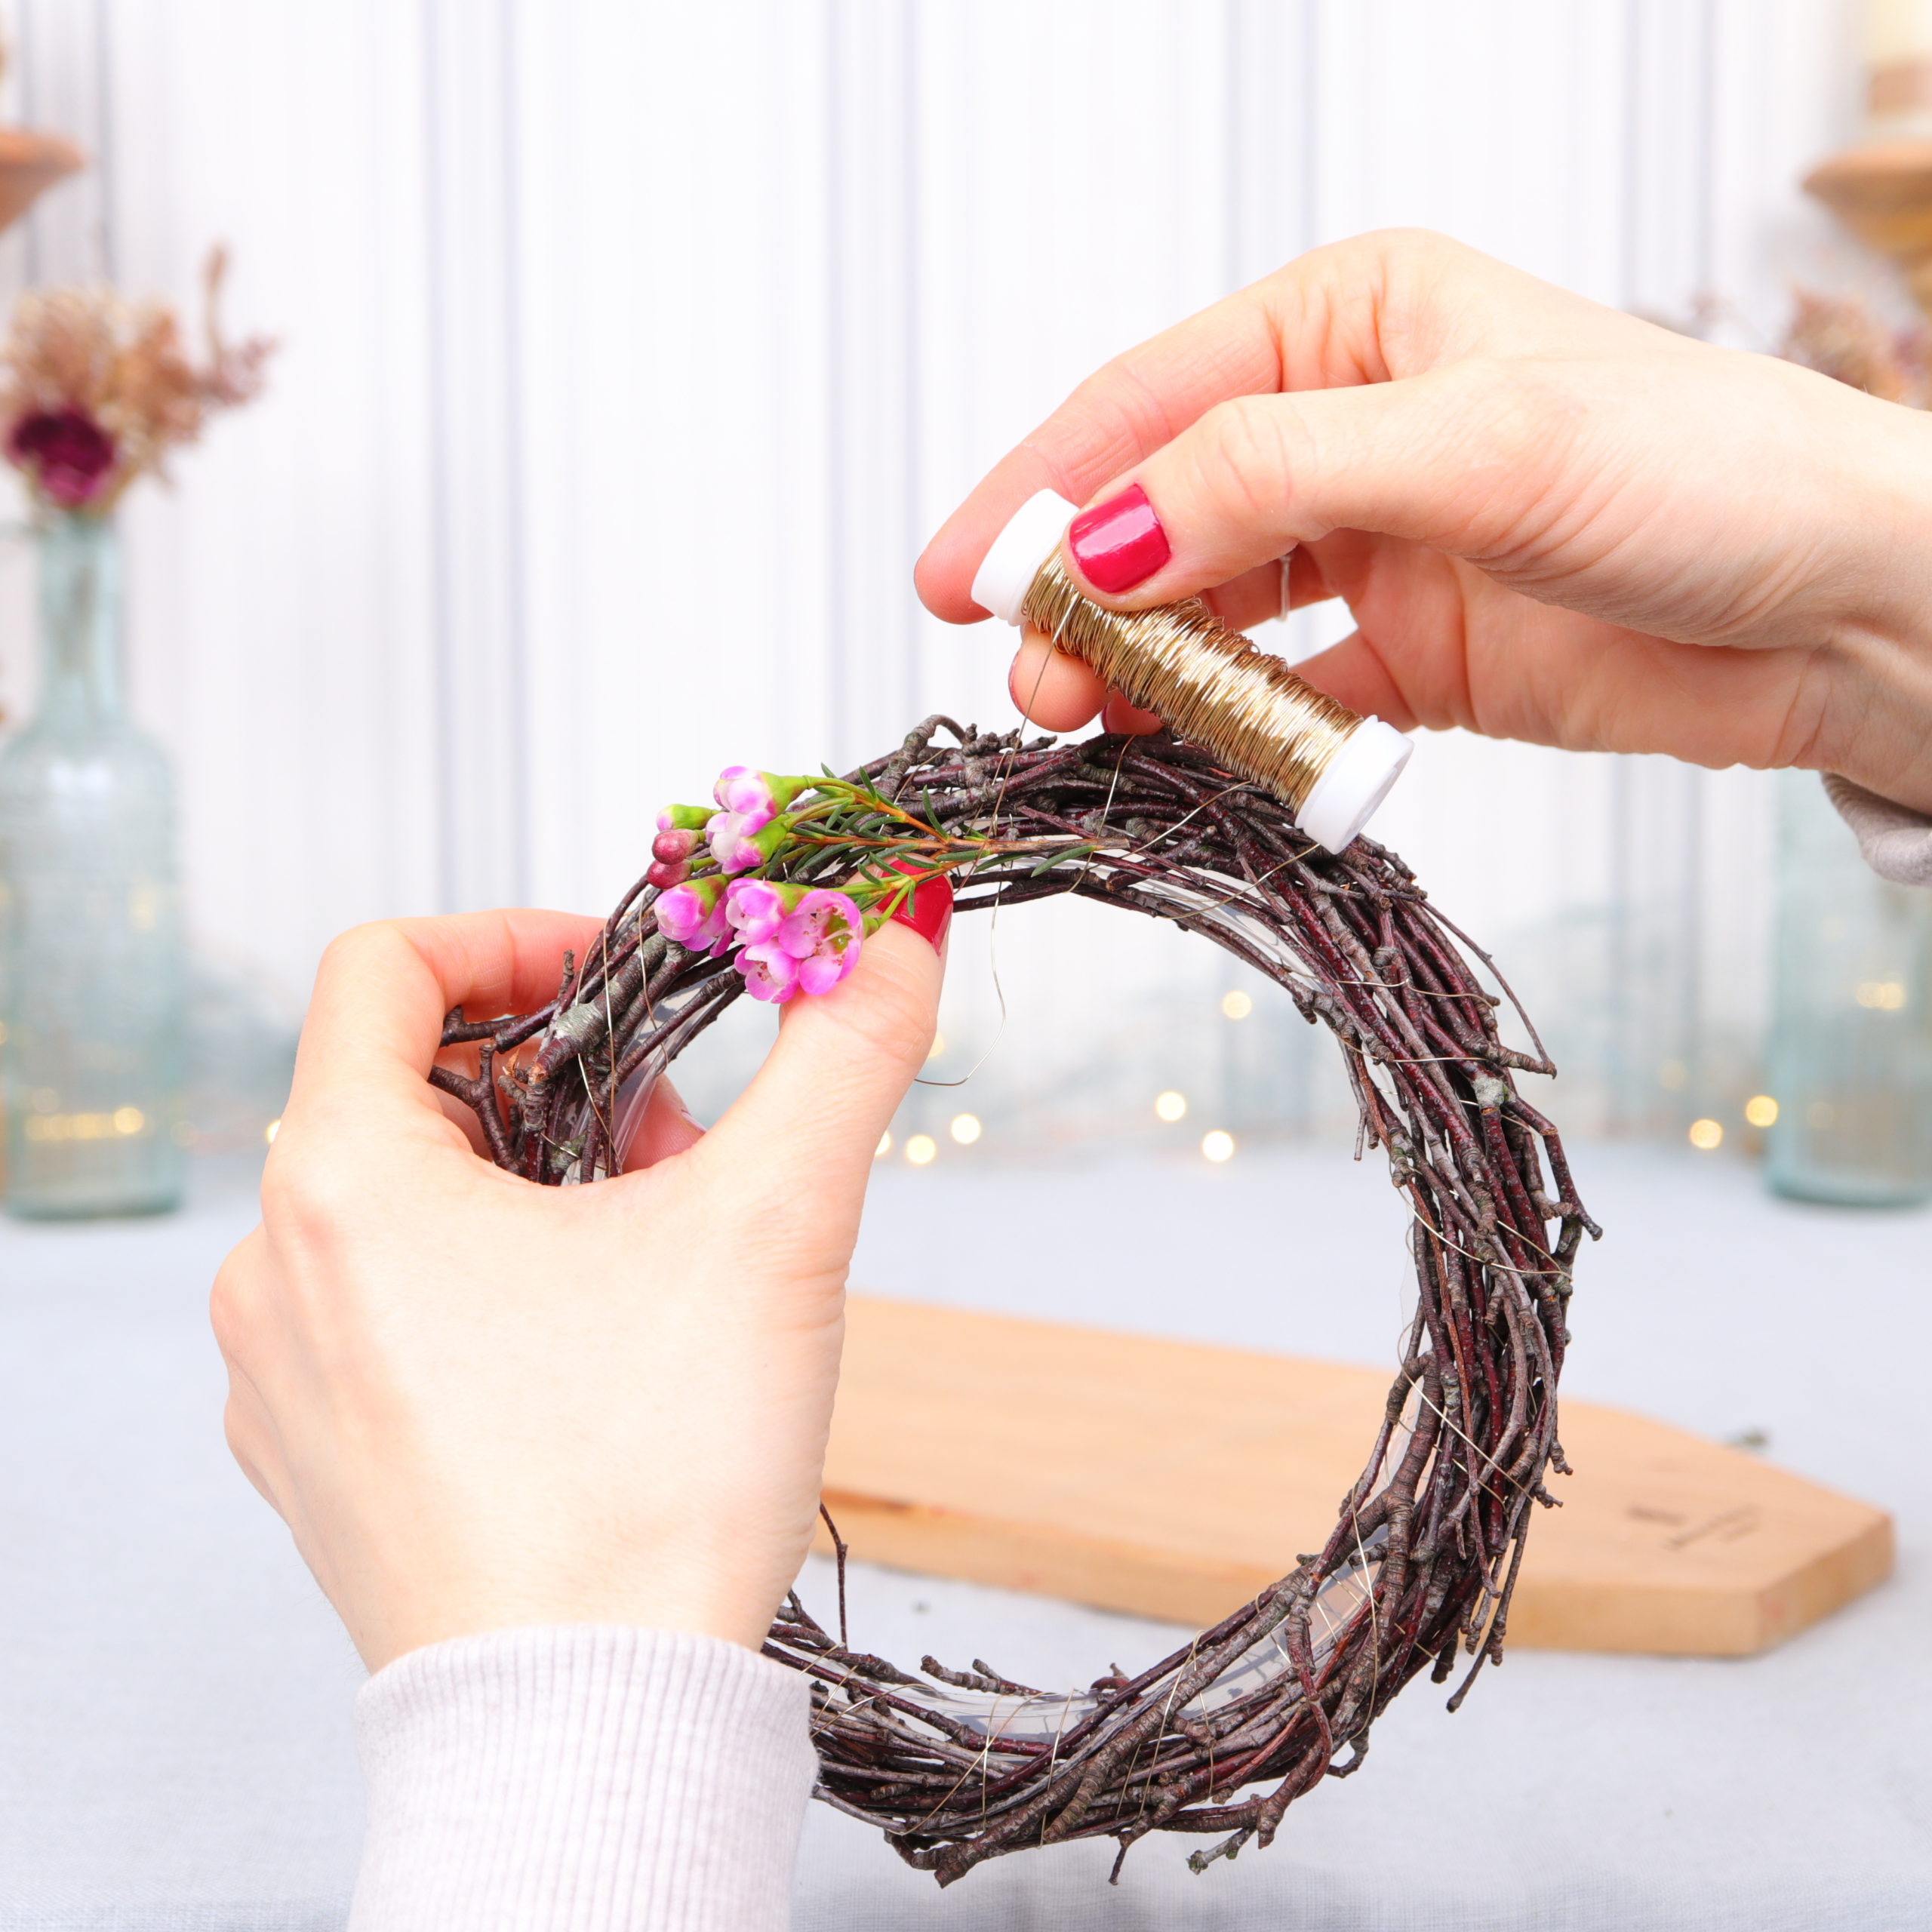
To do this, I place the wax flowers on the ring and wrap the lower part tightly with the binding wire.
I now put gypsophila over the stalk of the wax flower that I just tied up and wrap it again.

I put another wax flower over the gypsophila and wrap it around. I continue like this until the whole wreath is covered with flowers. I hide the last flowers under the first flowers so that no transition can be seen.
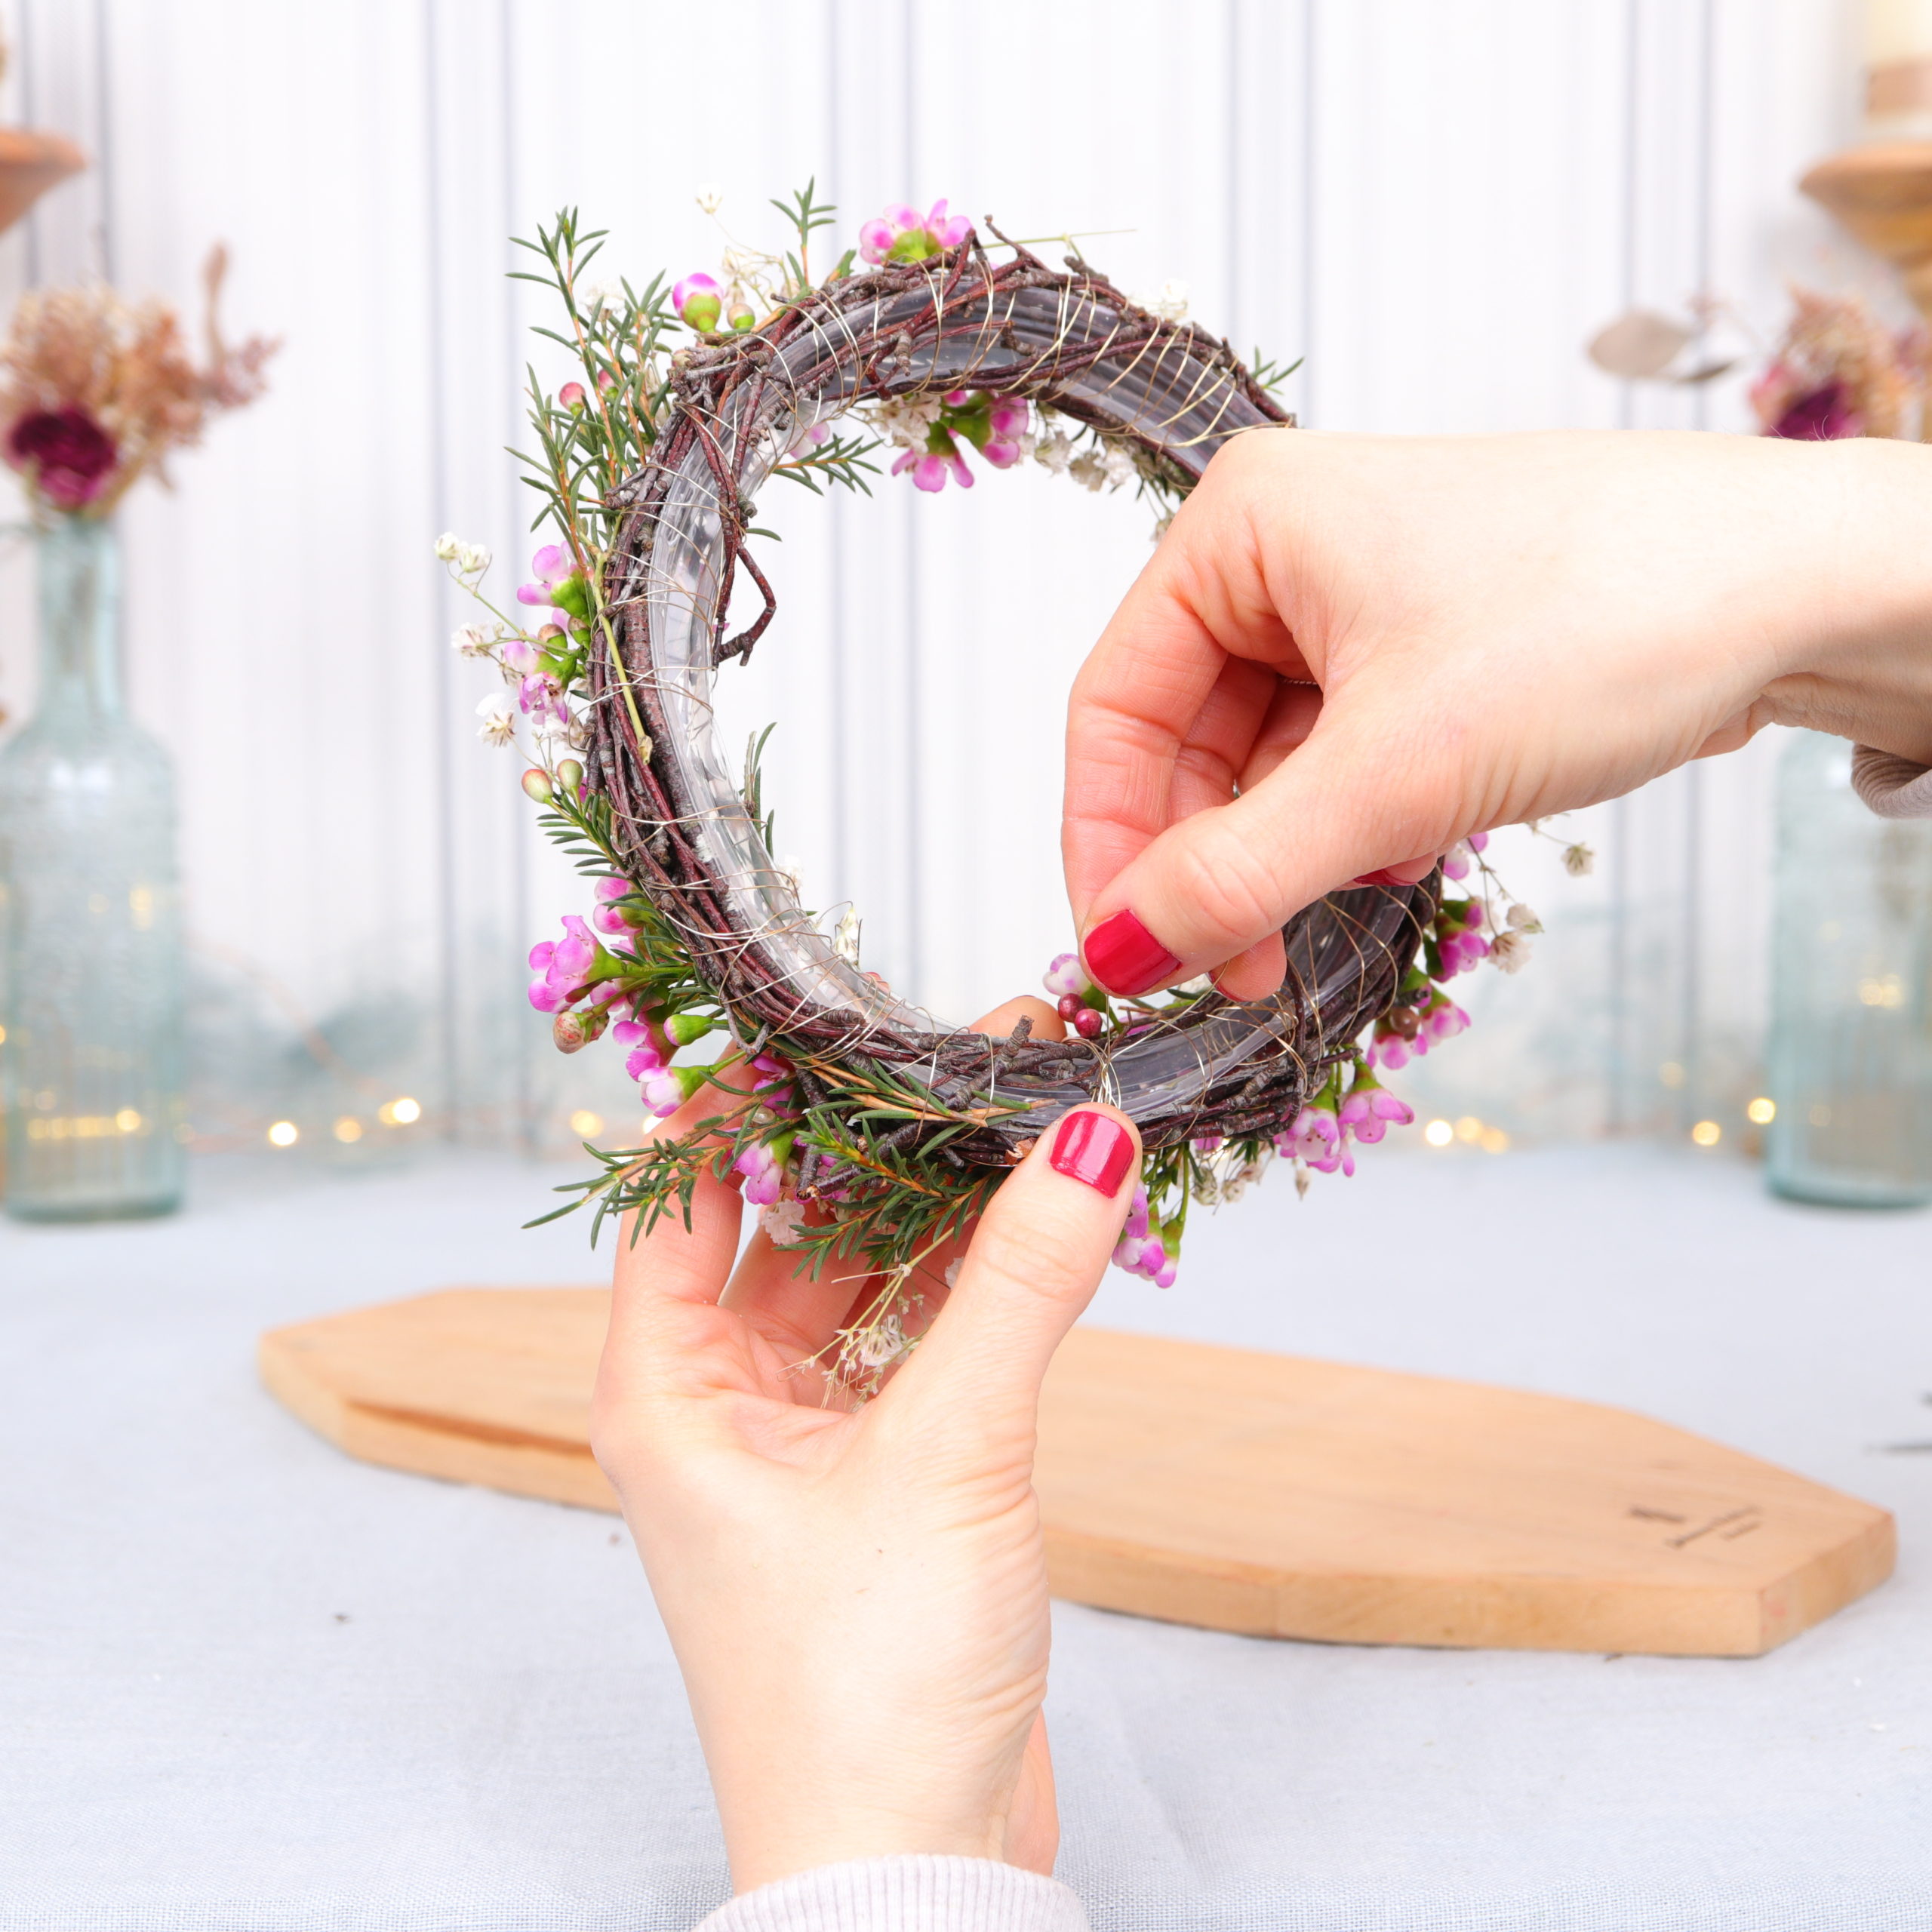
Then I turn the wreath over and twist the wire with the starting piece I left at the beginning. I cut off the pieces of wire with the scissors.
Step 5: Tie the wool cord
In the last step I attach the pink wool cord to the wreath.
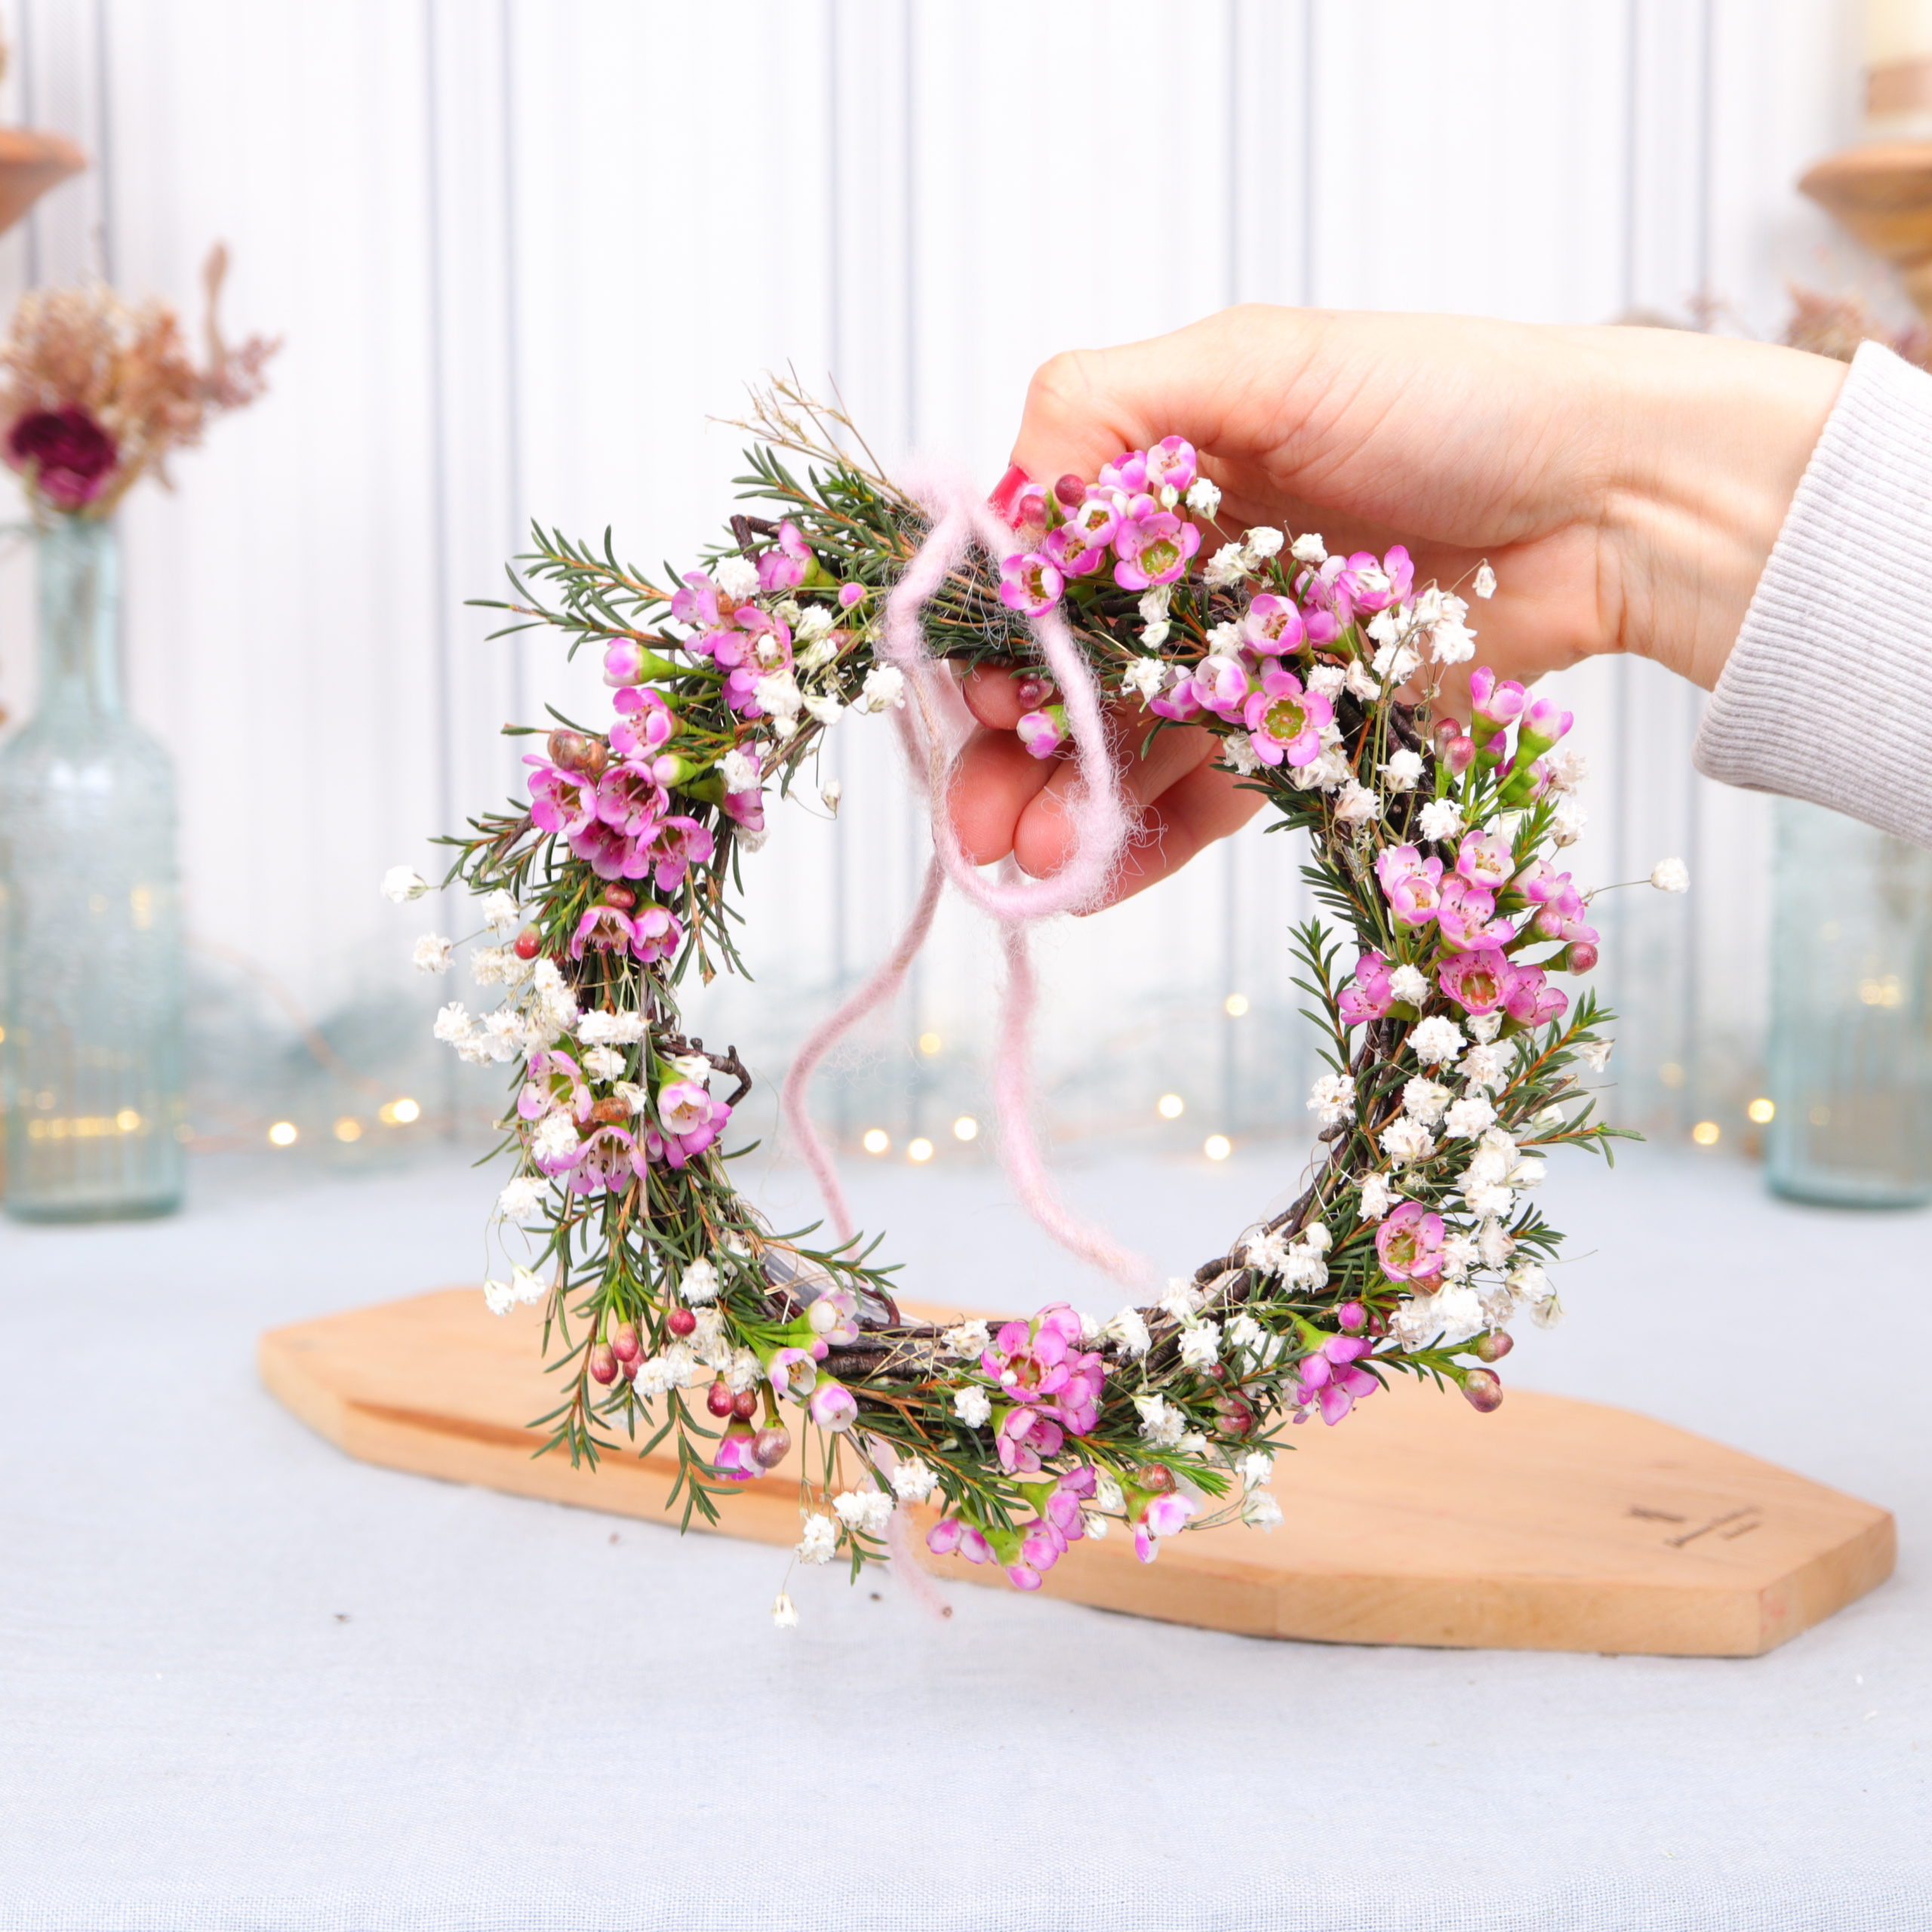
To do this, I “fold” the cord in the middle and place the loop over the wreath.
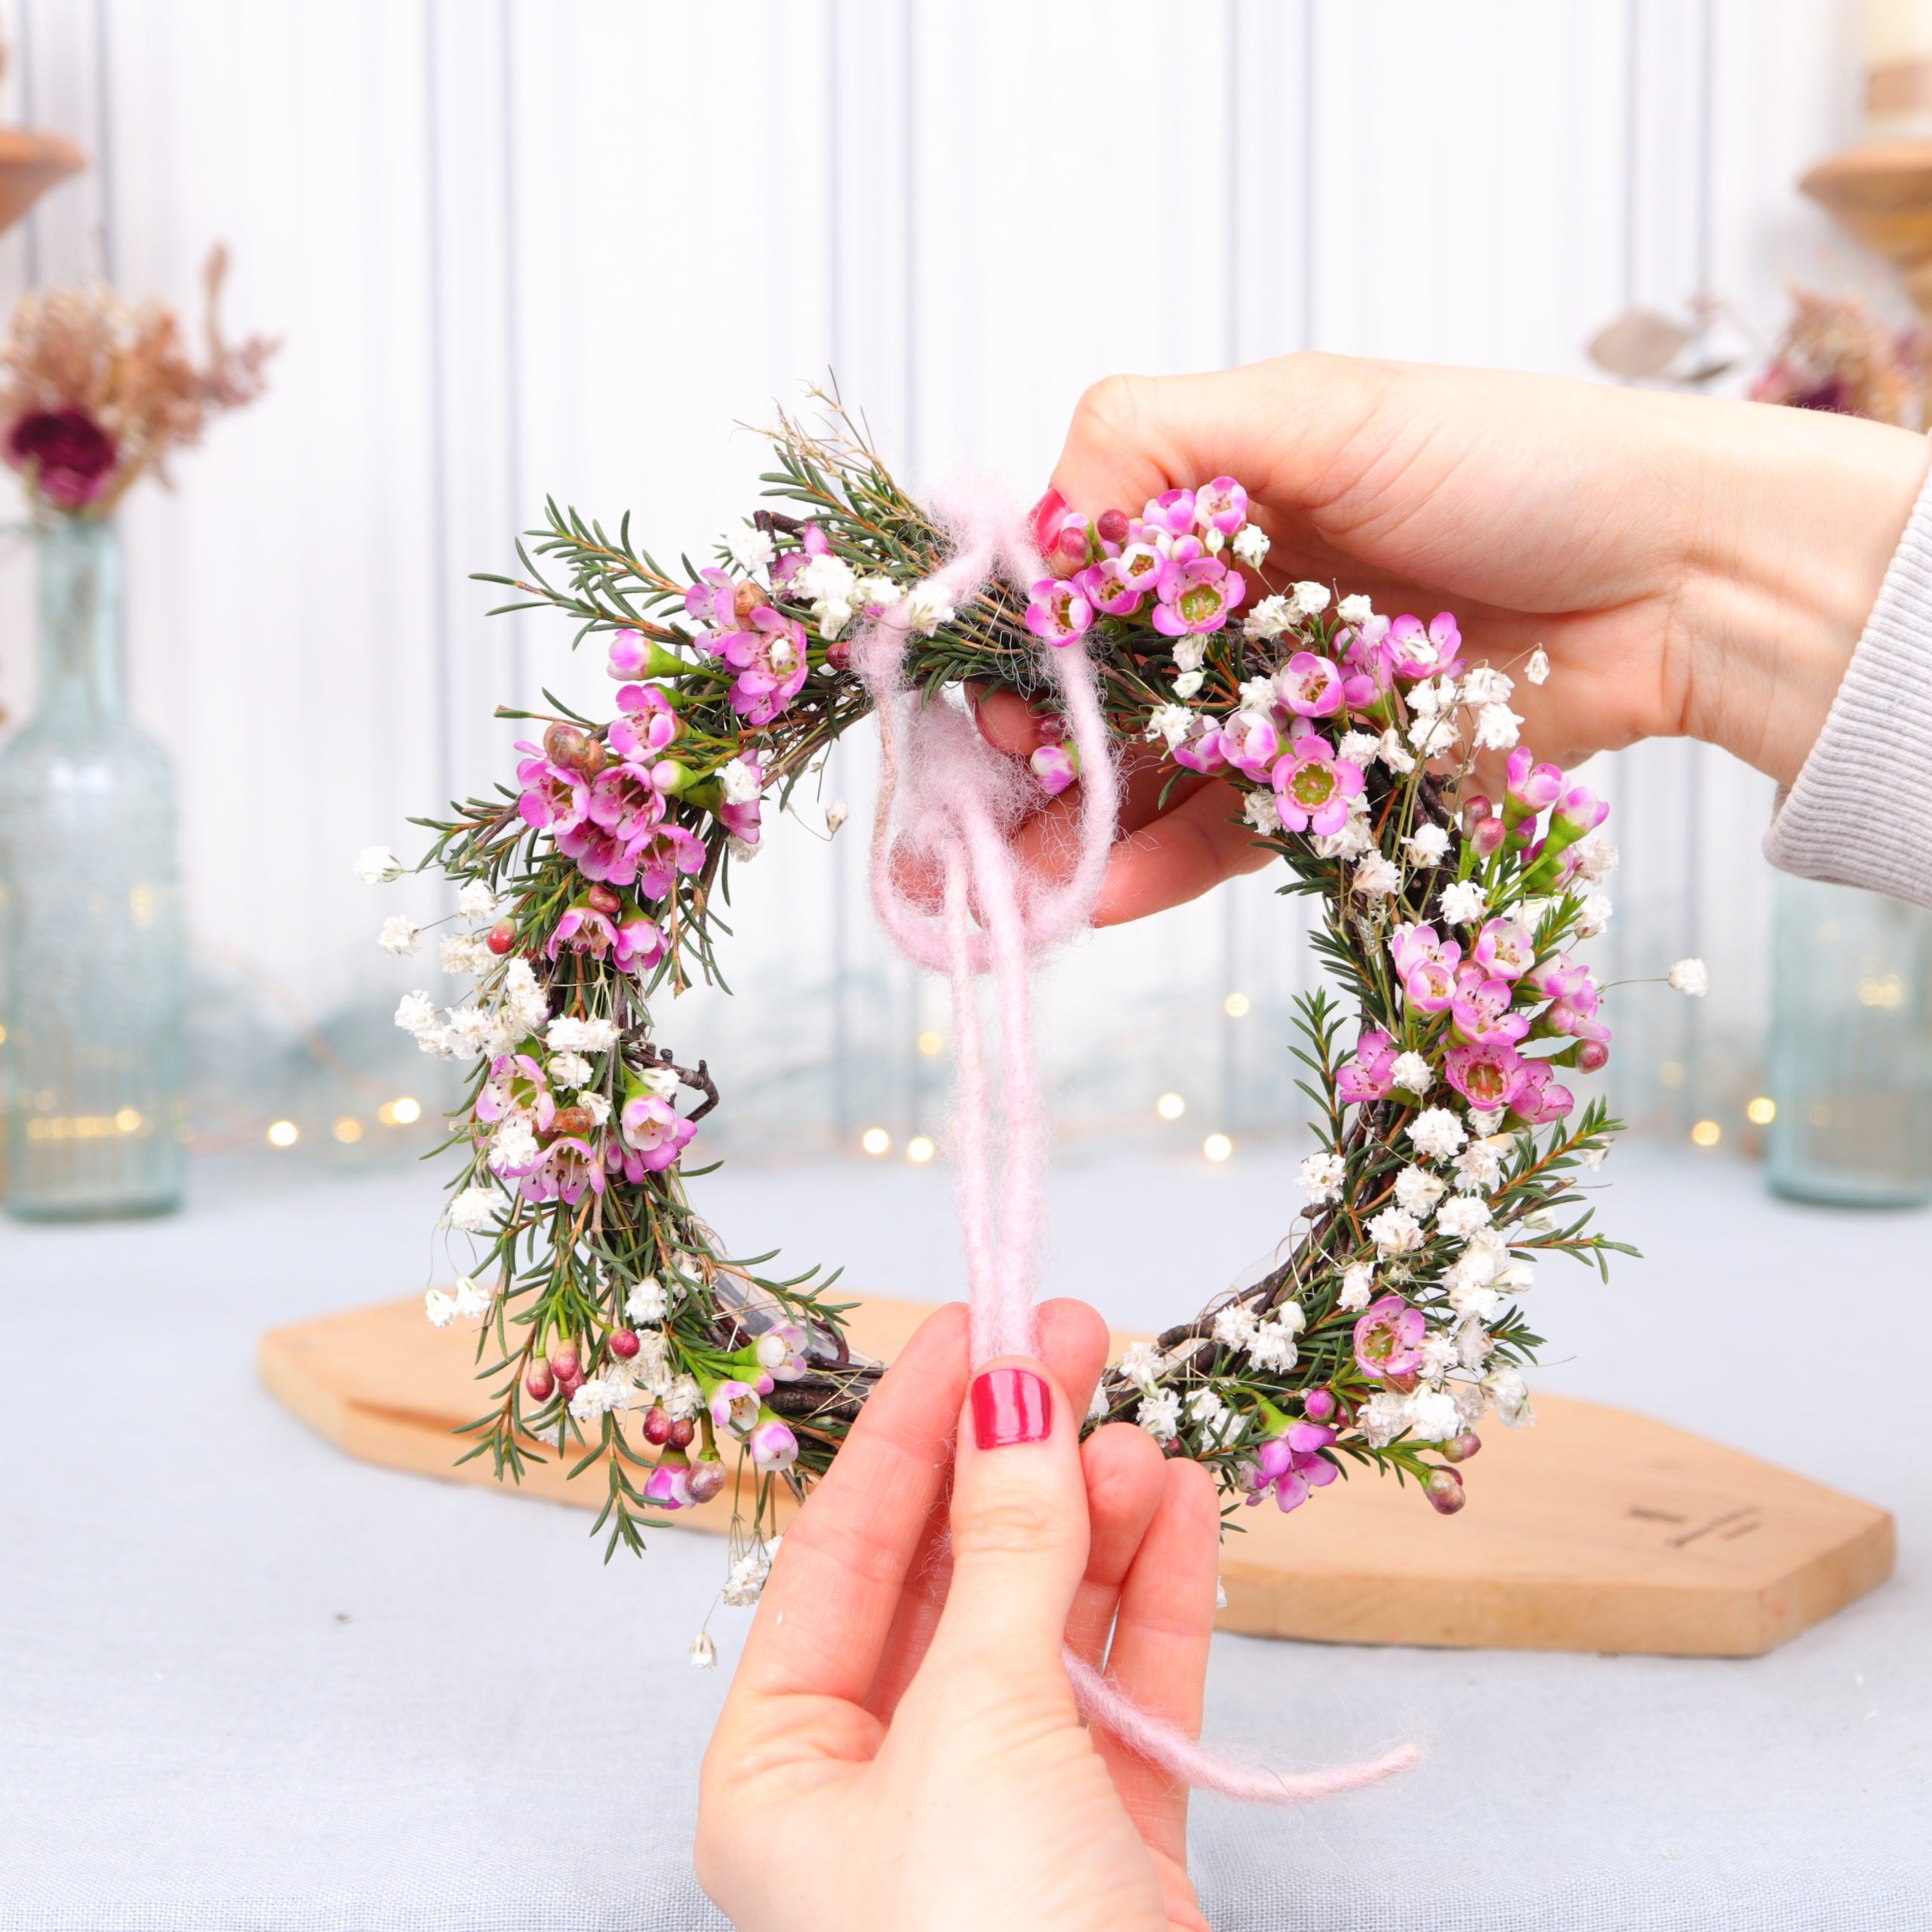
Then I thread the ends of the cord through the loop from below and pull tight.

You can still knot the ends so that the wreath can be hung up.

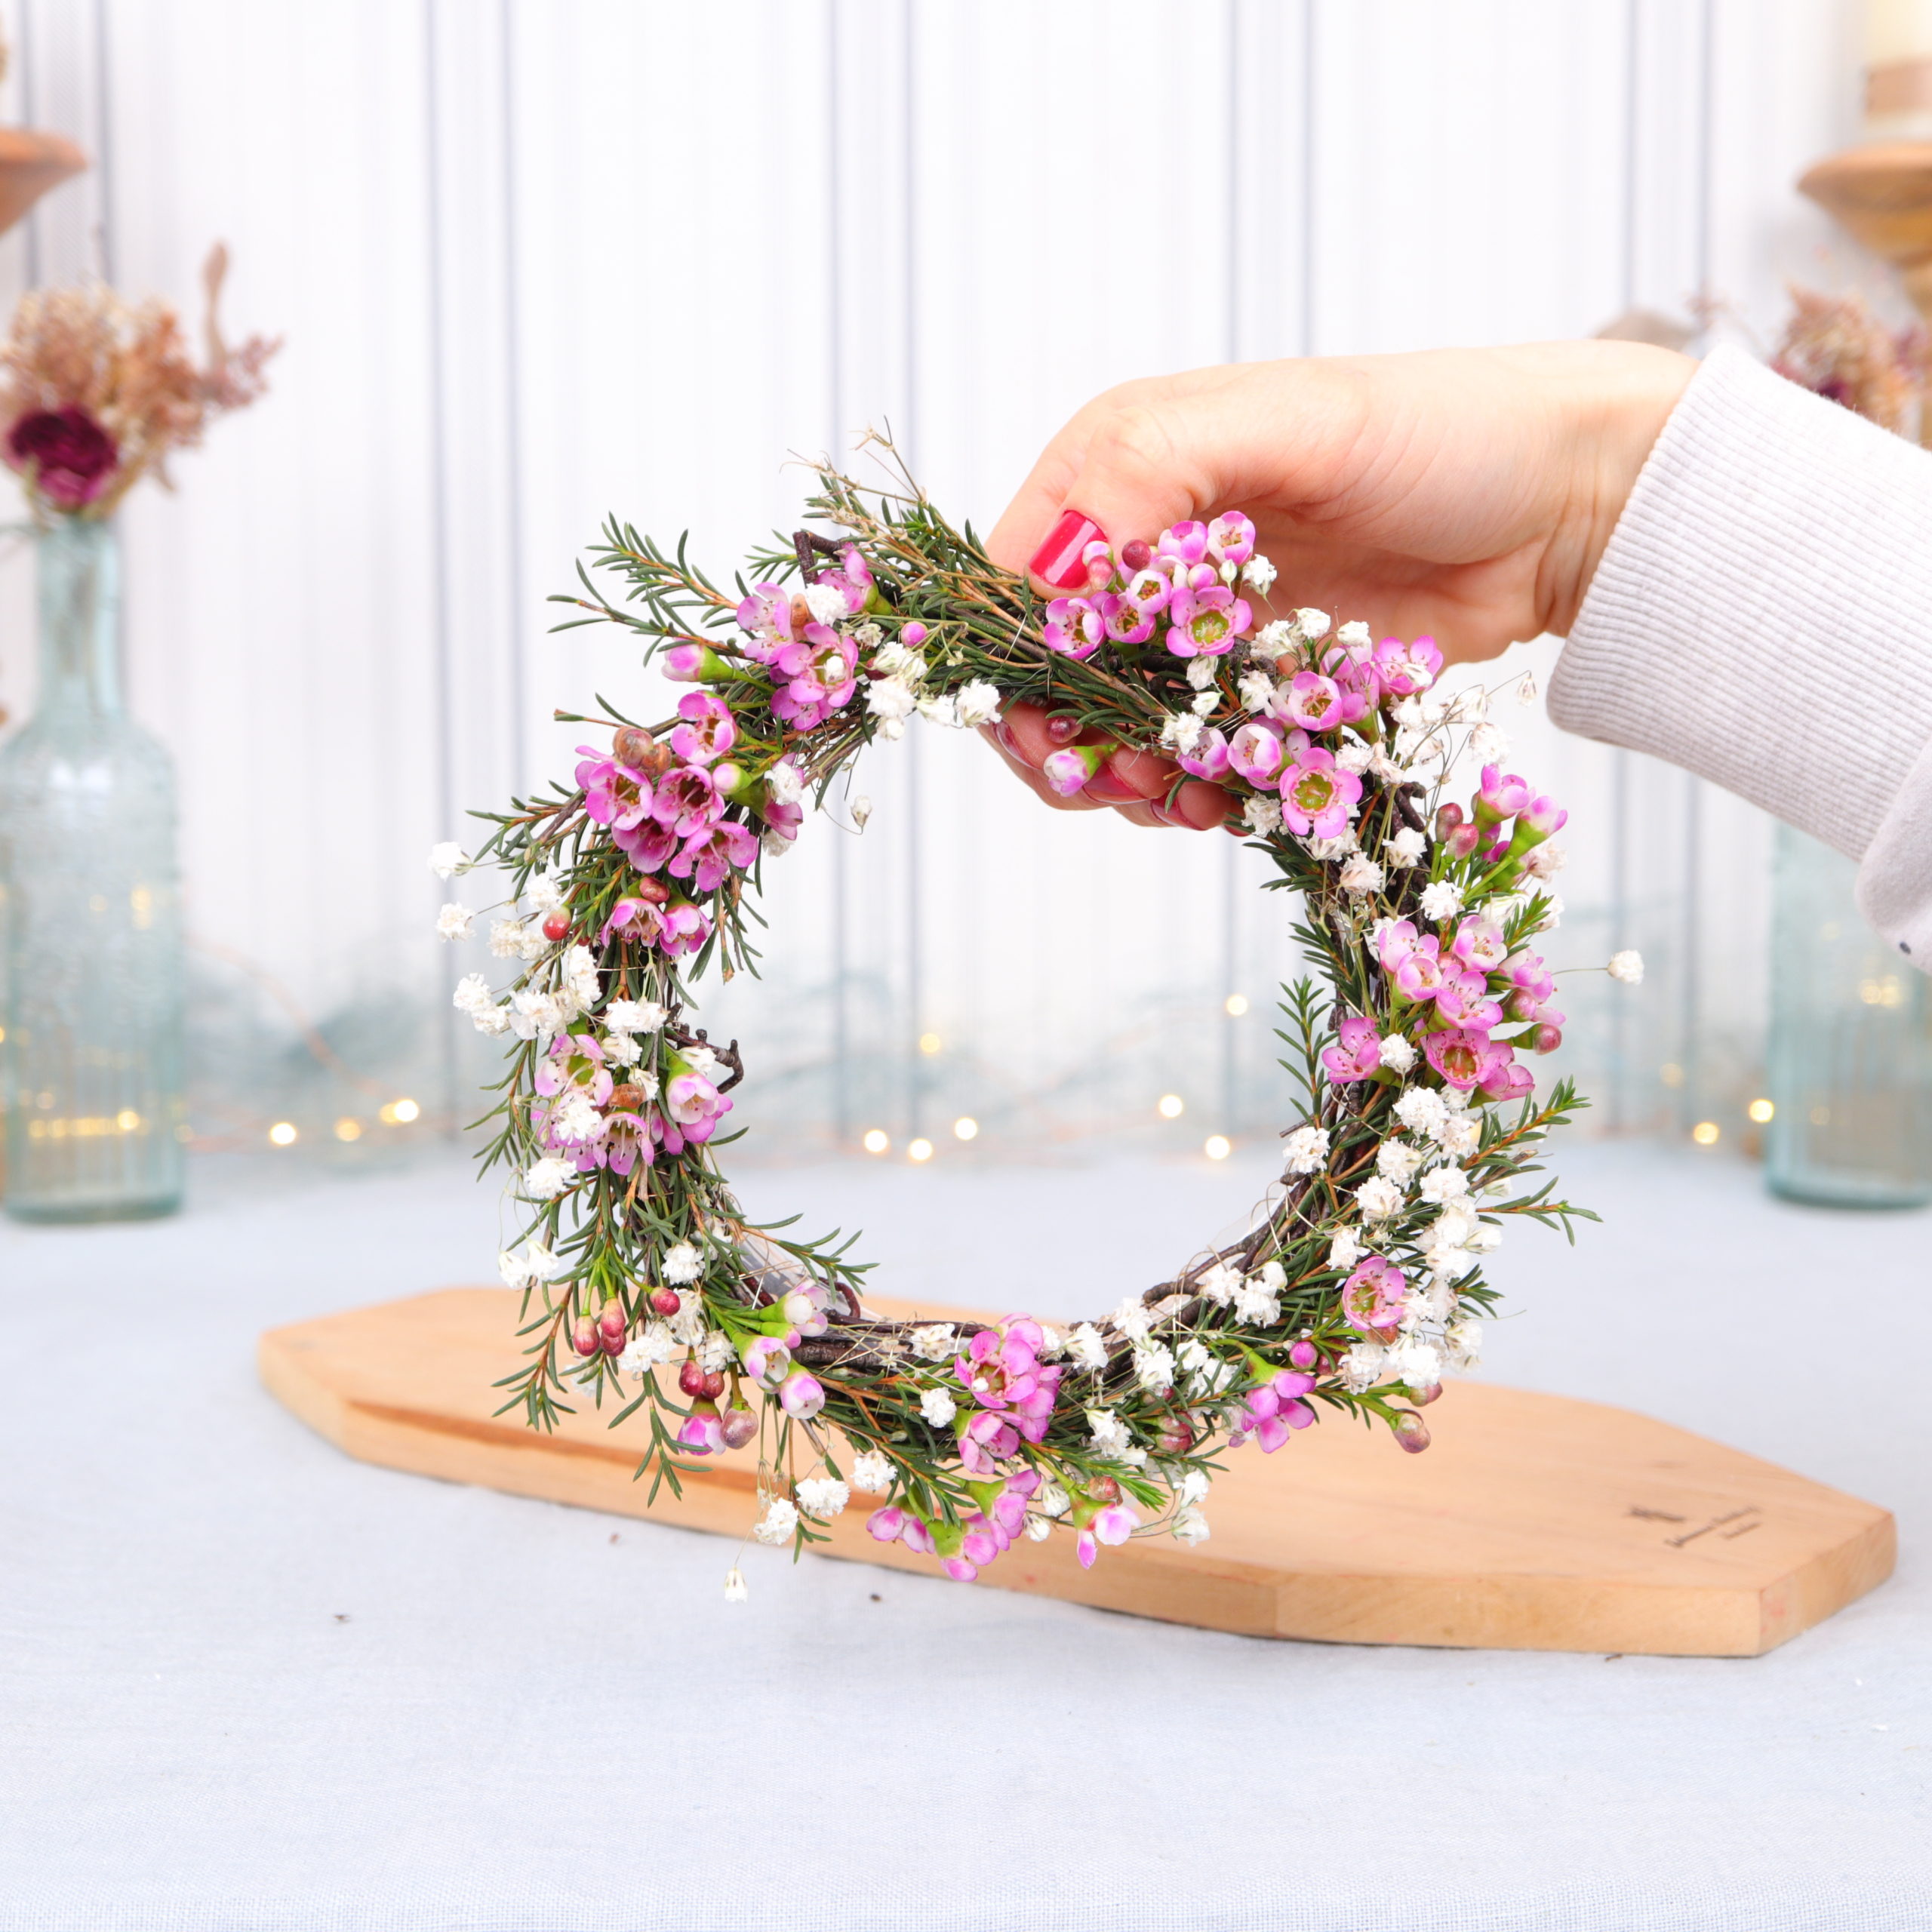
And the spring wreath with birch twigs and wax flowers is ready! I hope you had as much fun with this DIY as I did and that you enjoy looking at the flowery spring decorations!

Are you looking for more wreath ideas? Then have a look here:
Have a nice day!
Jenny