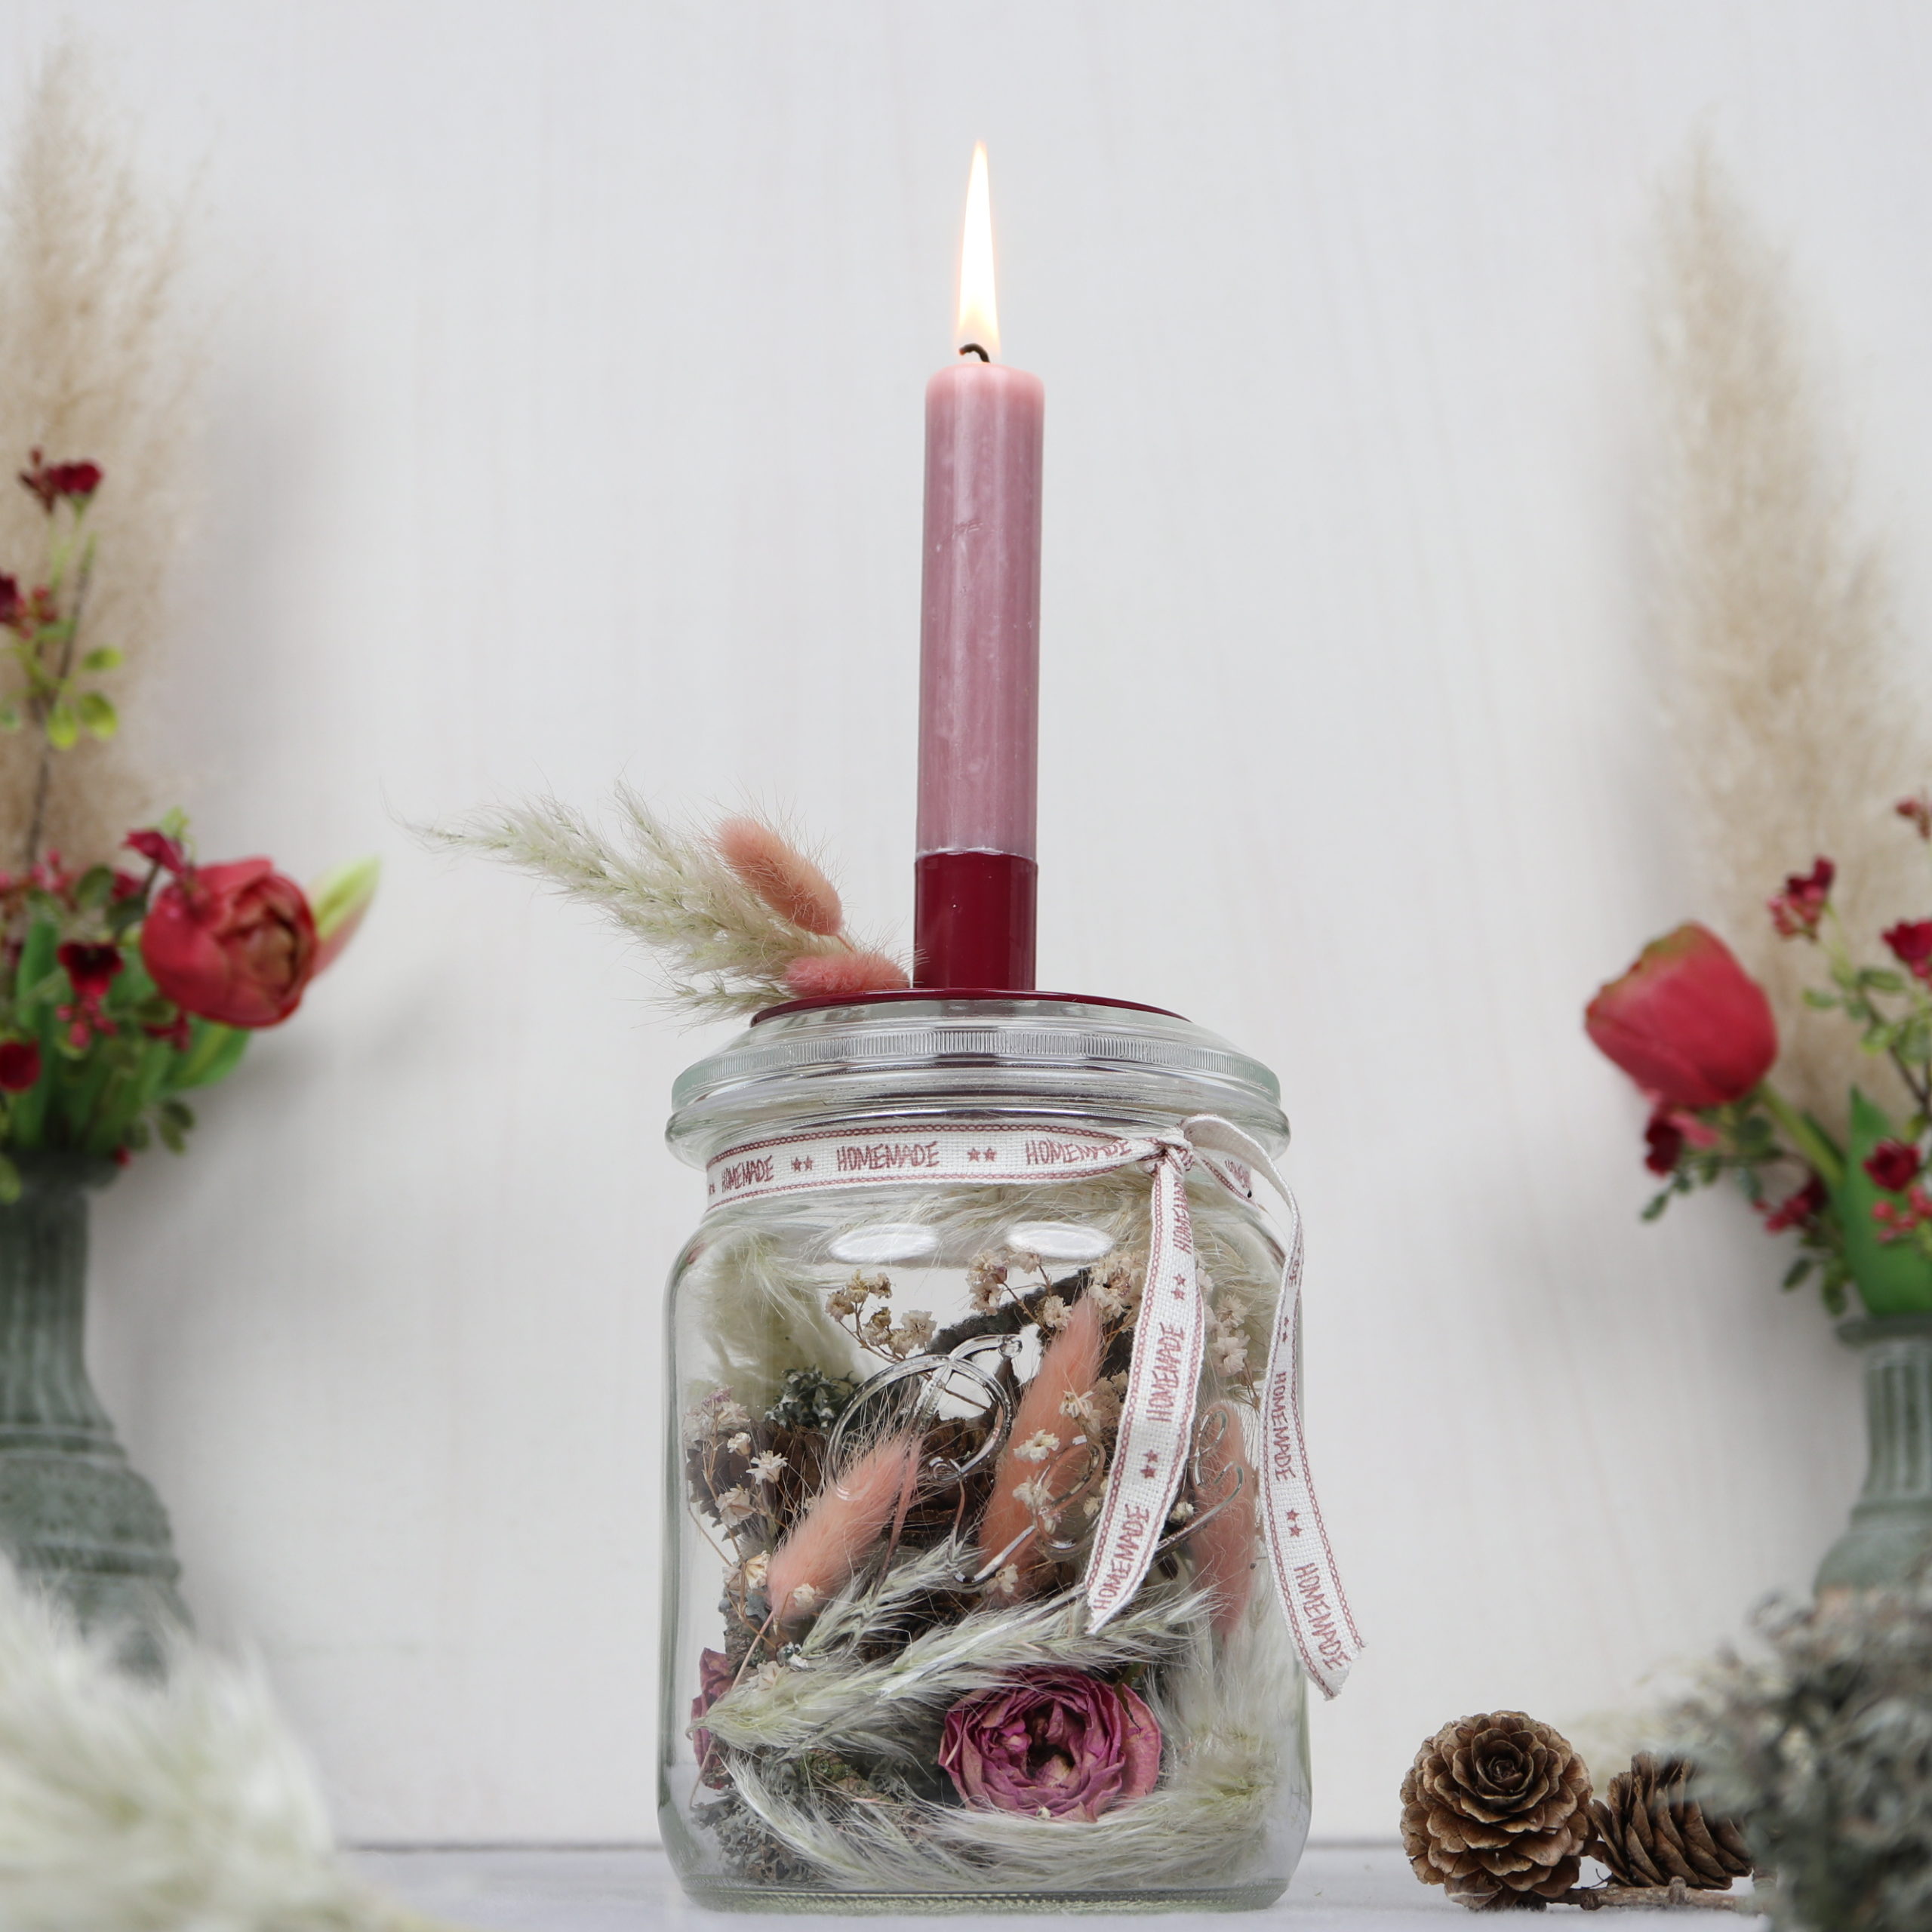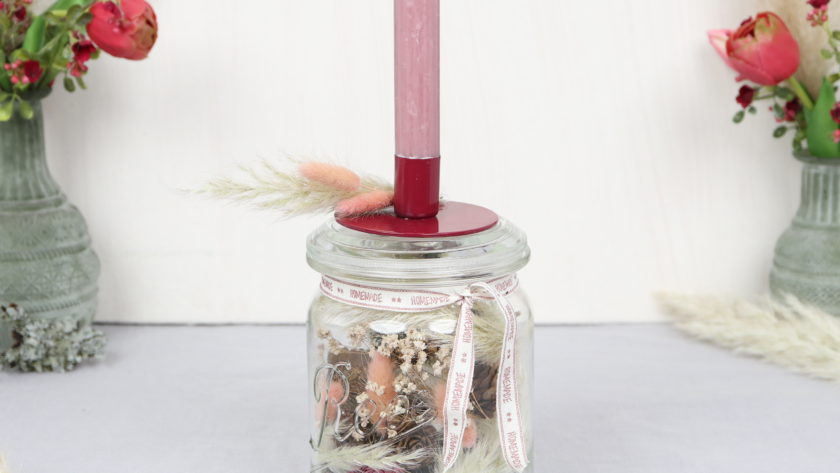
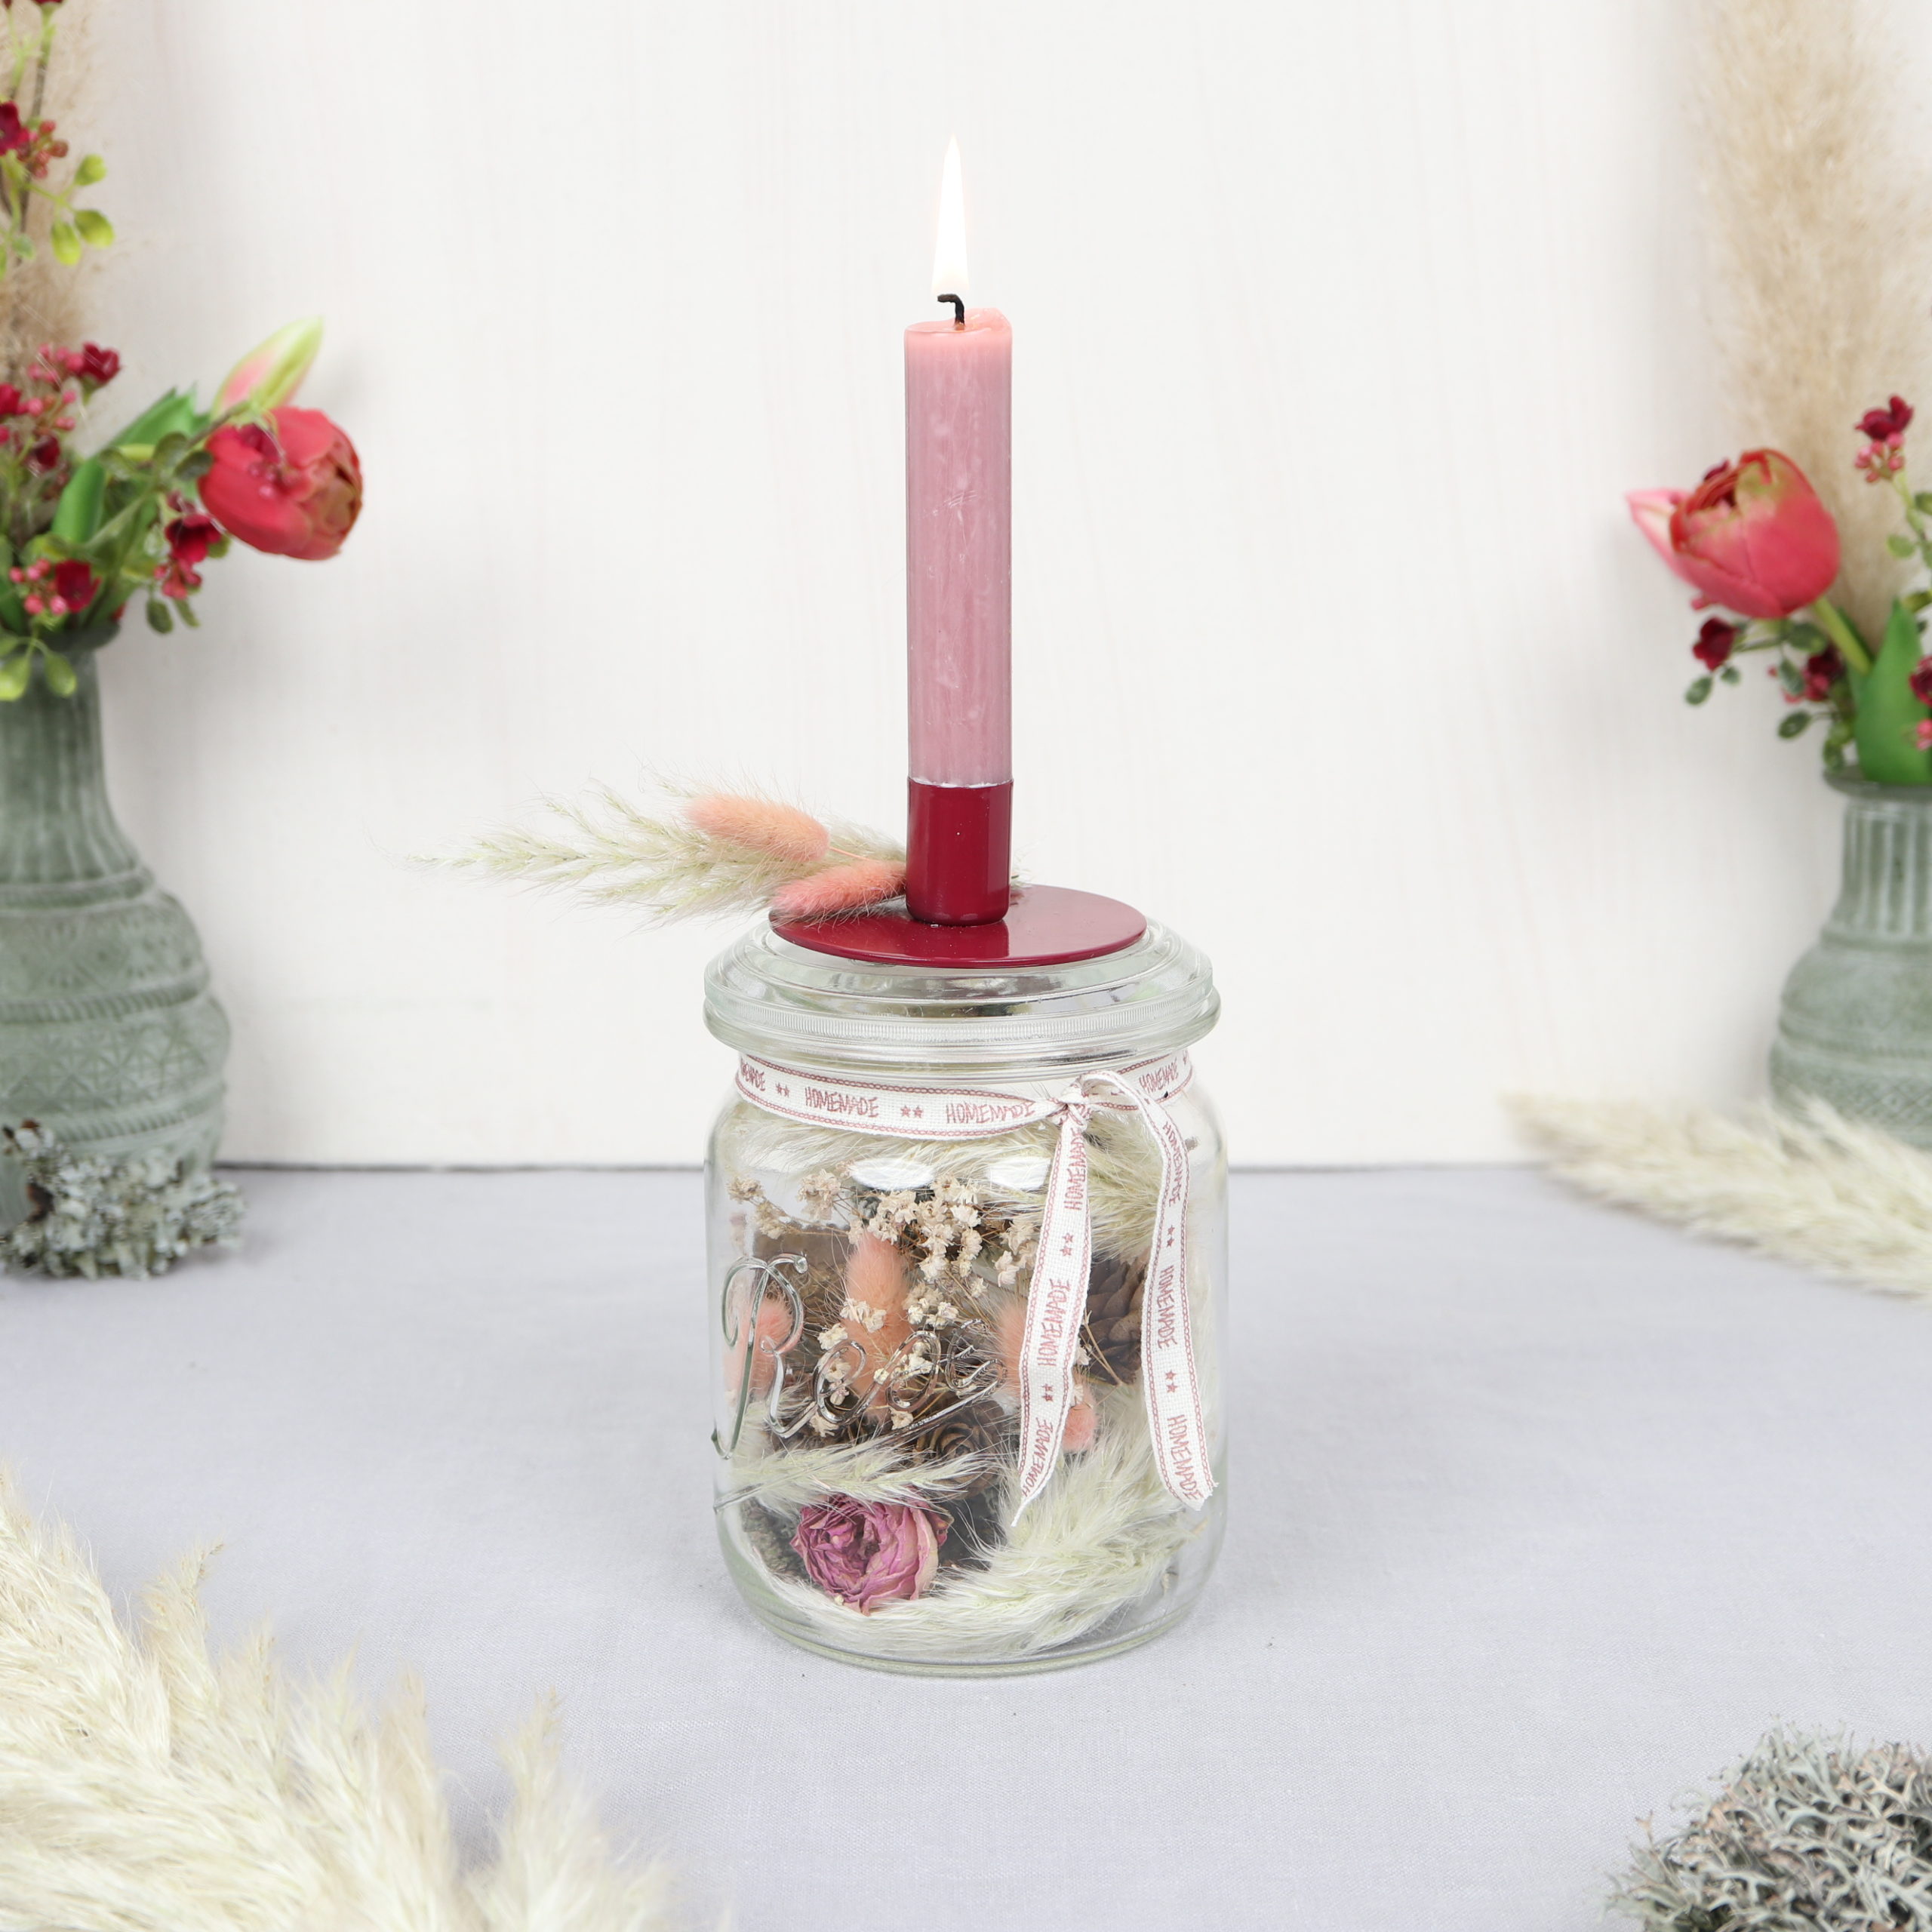
Today I show you how you can make a beautiful candle jar yourself! Candle jars are a great decoration elements, because the inside can be filled so beautiful and easily exchanged depending on the season.
For the homemade candle jar, I use a canning jar and some glue to attach a candle holder on the lid. The jar’s inside fits to the winter season: lichen, cones and dried flowers.
With the following step by step instructions you can easily make the candle jar yourself!
Tool
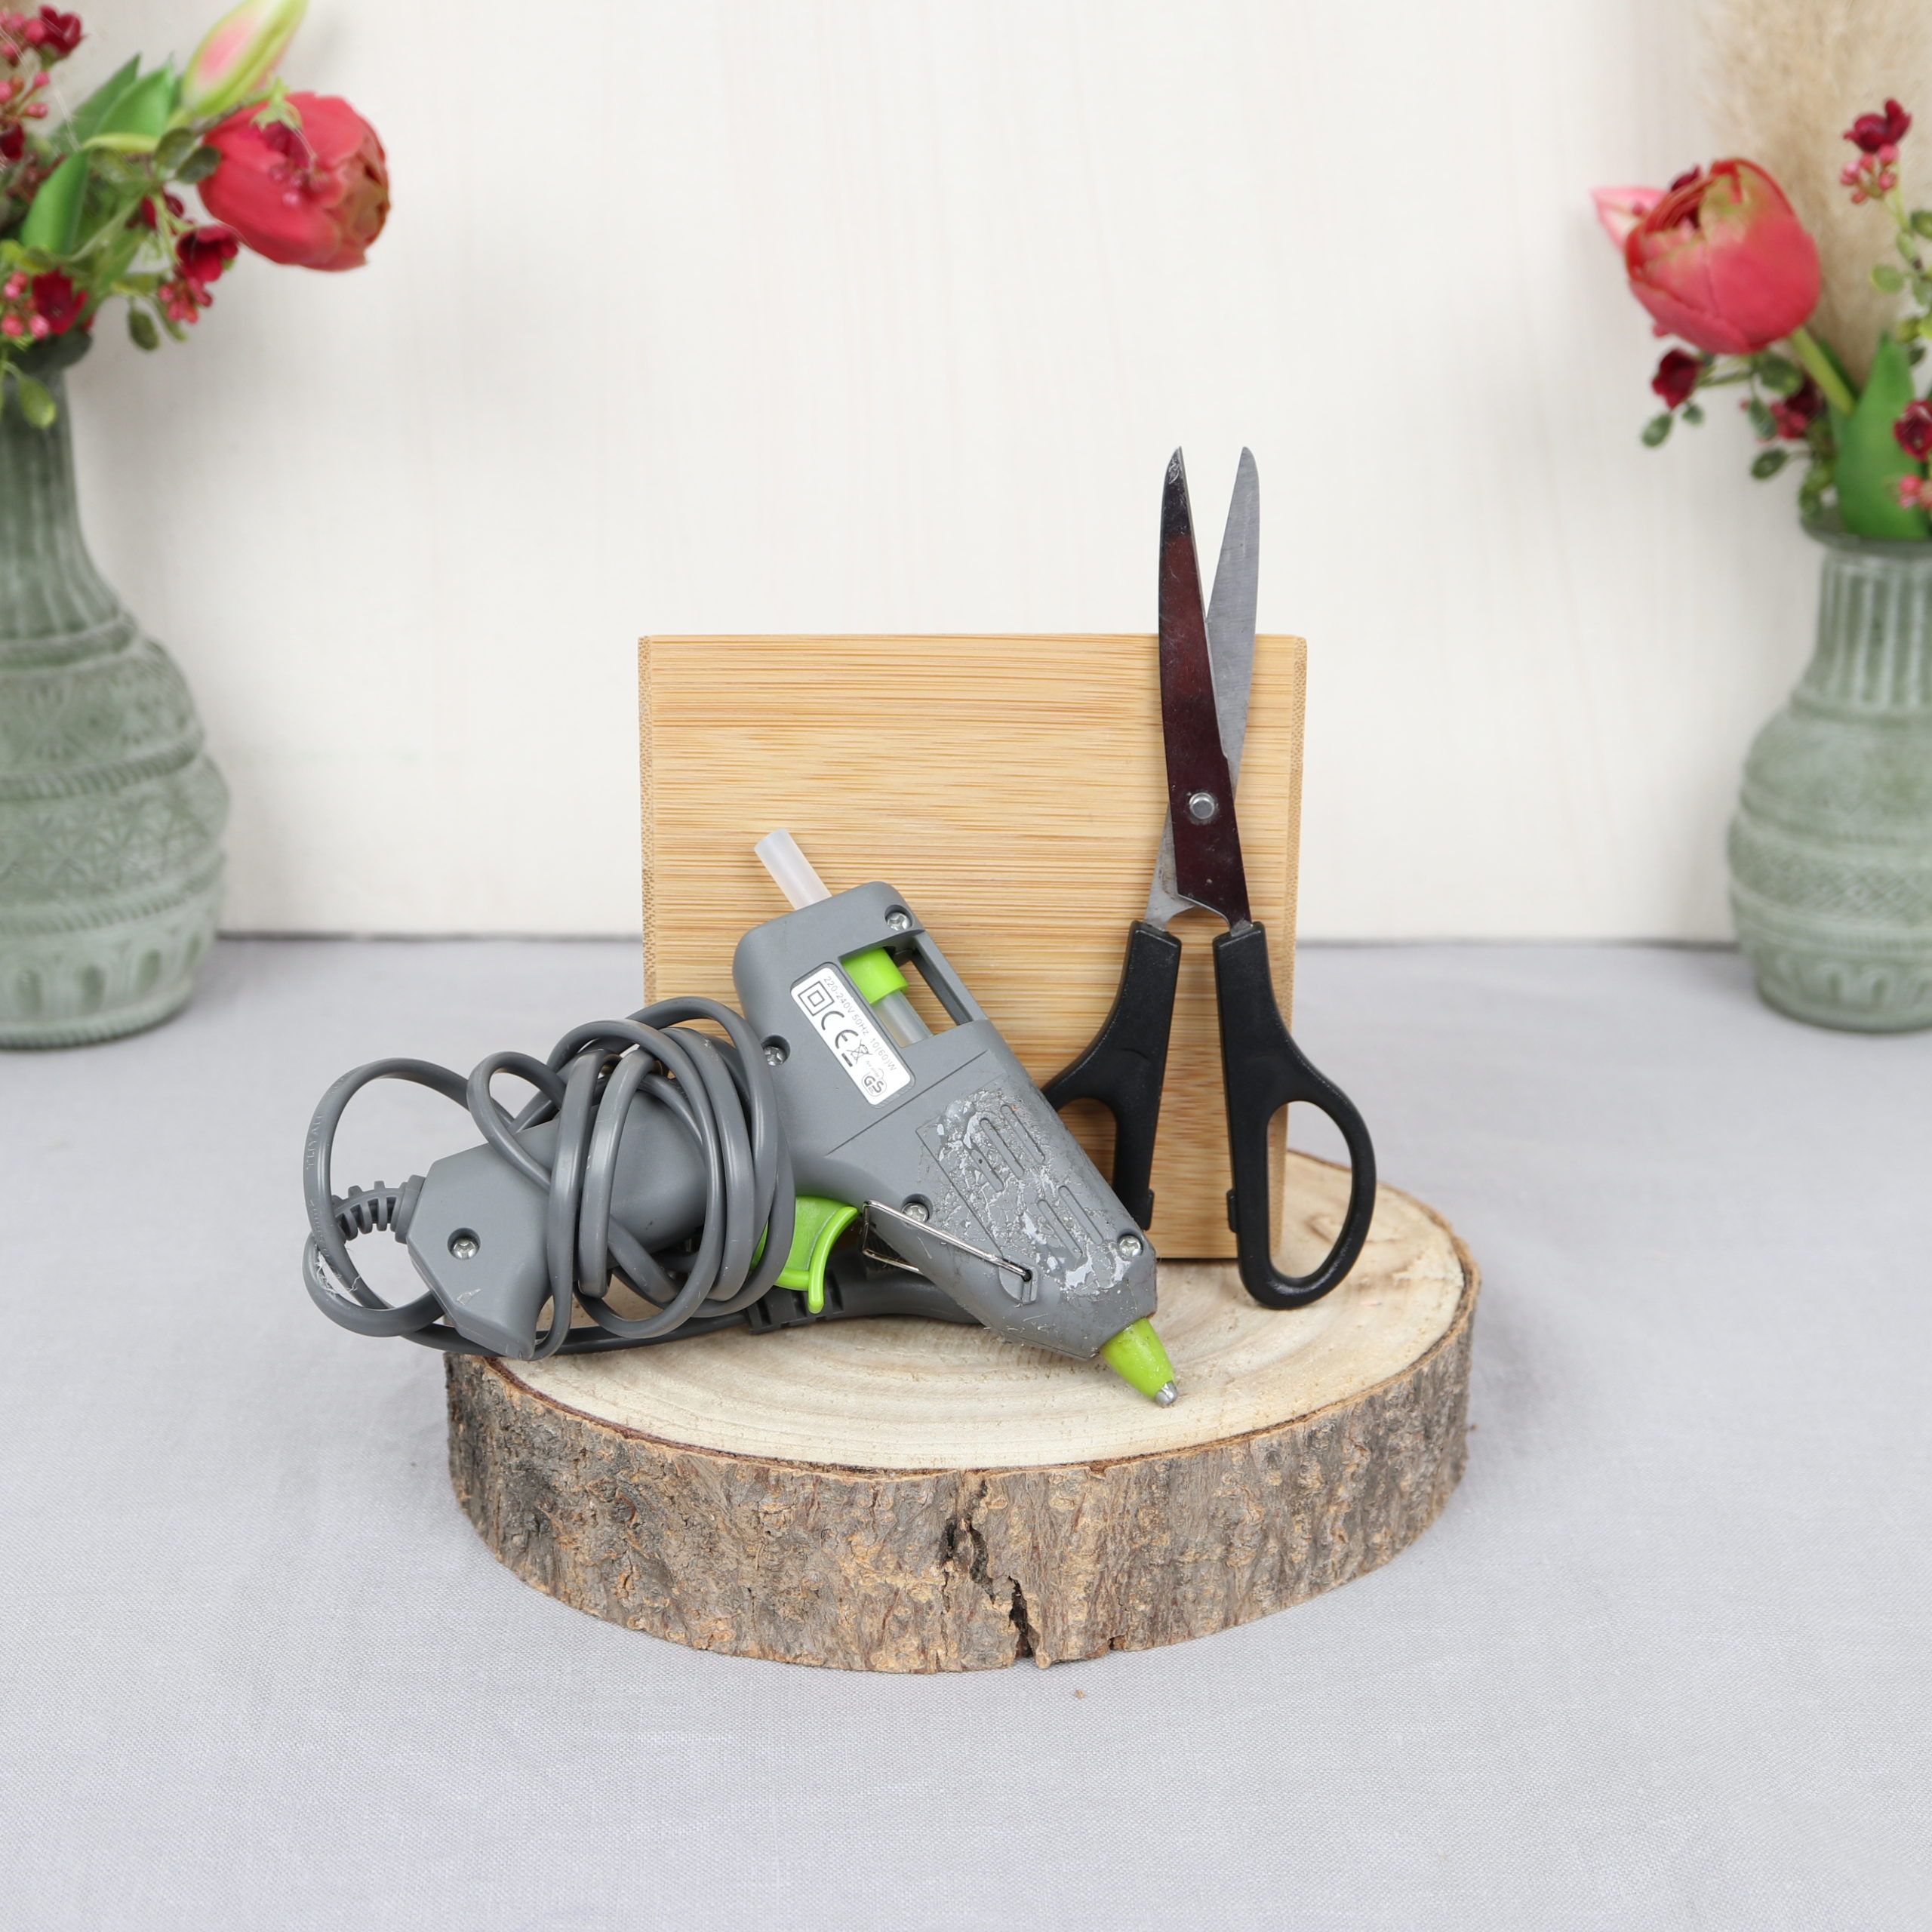
Here you can see what tools I used for the candle jar. You need a hot glue gun with hot glue sticks and scissors.
Materials

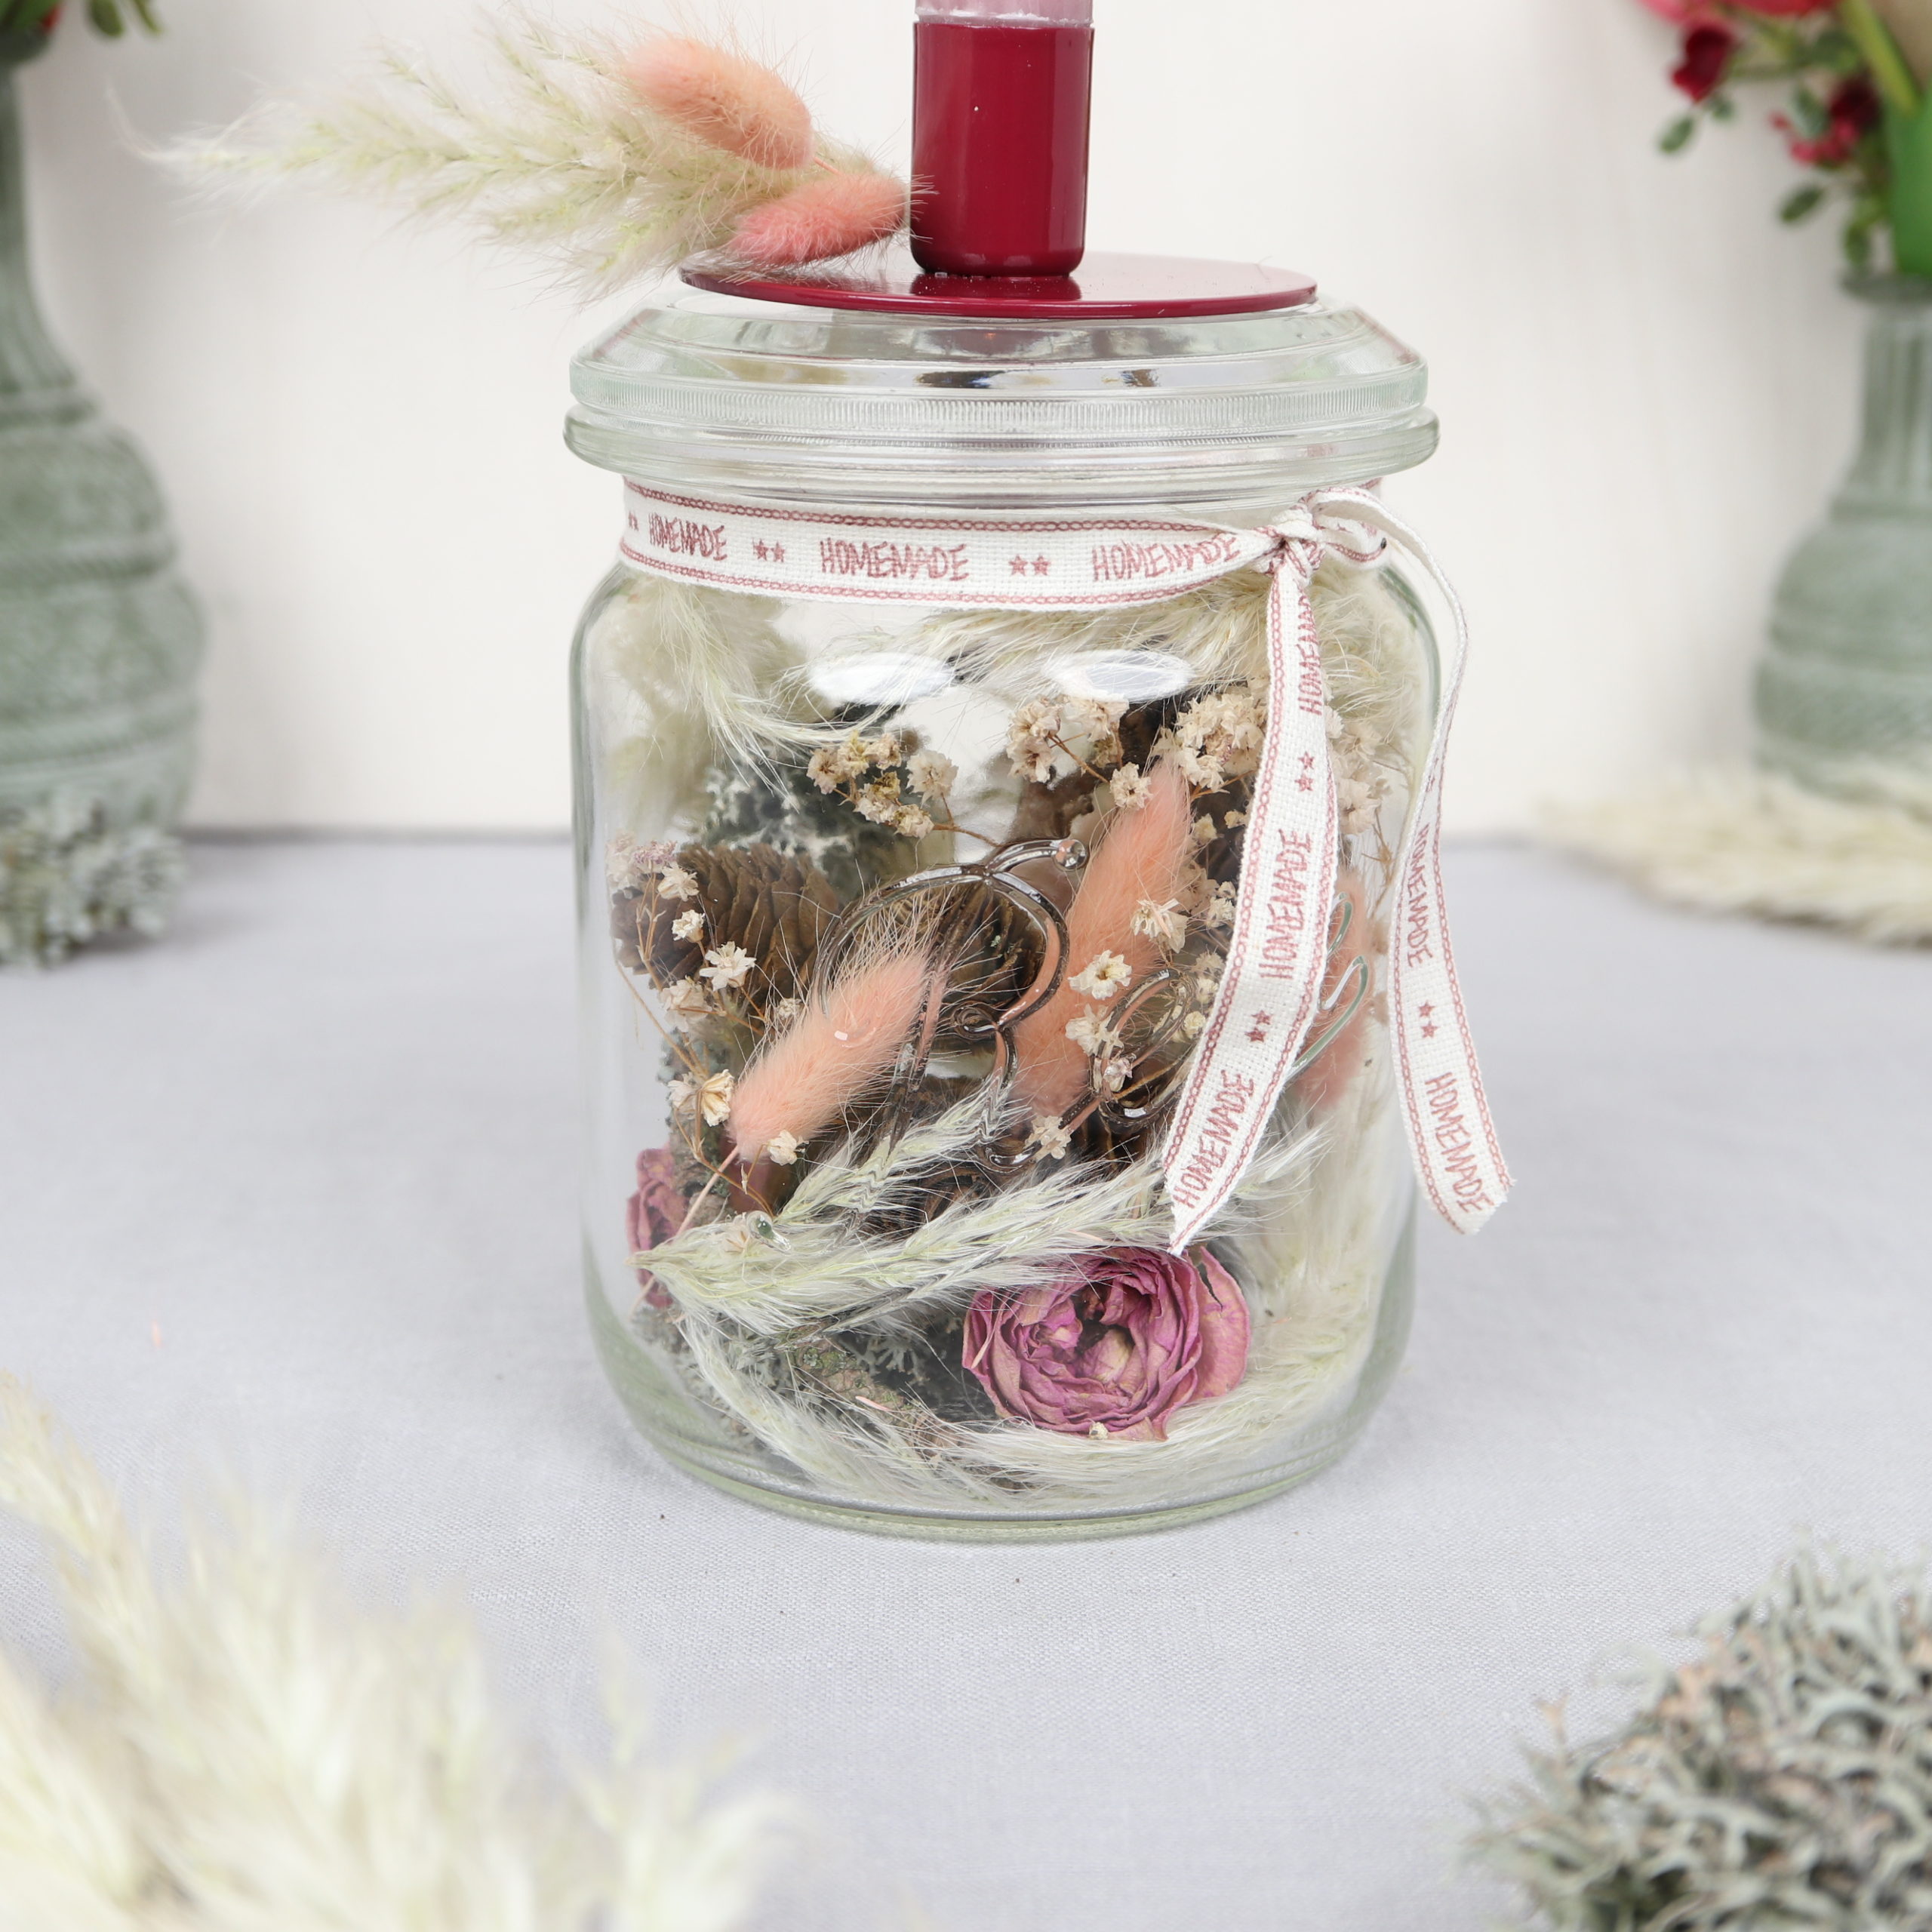
I used these materials for the winter candle jar: A canning jar with a lid, a red stick candle holder, an antique pink candle and a ribbon. I filled the jar with the following: Lichen, larch cones and dried flowers (pampas grass, roses, hare’s tail grass, baby’s breath).
Guide | Candle Jar
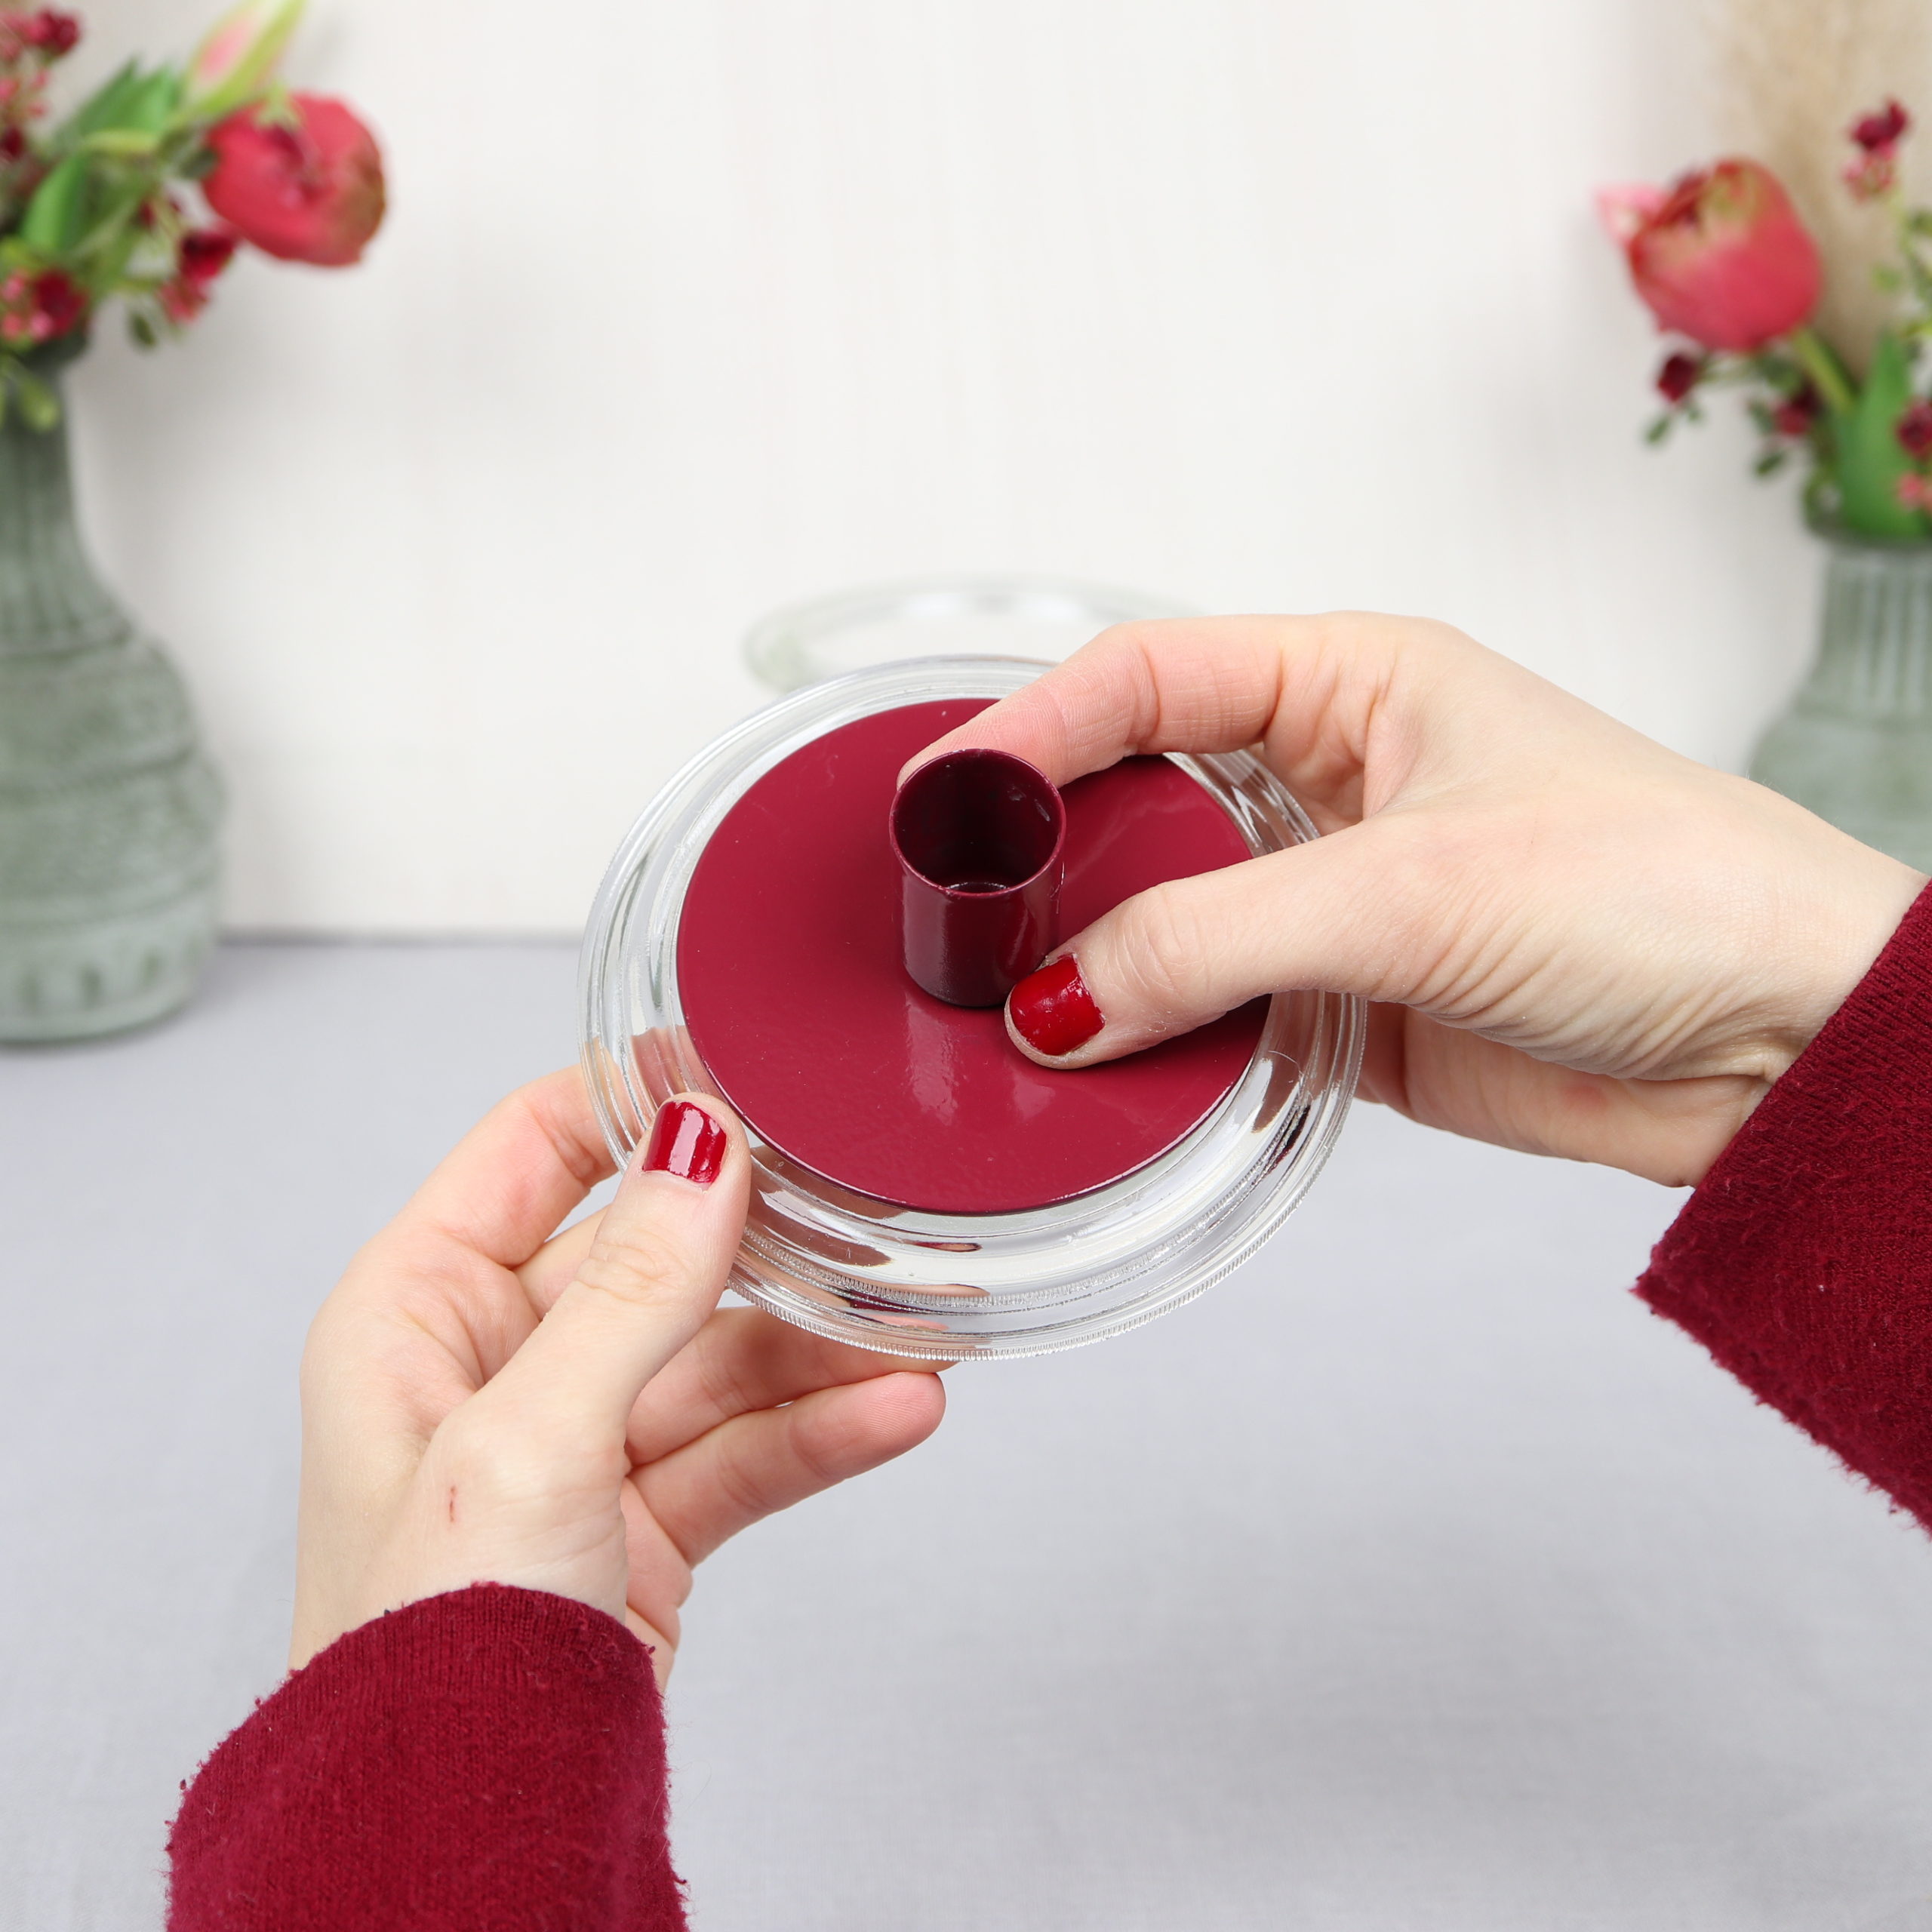
Step 1: Glue candlestick on lid
In the first step, I attach the candle holder to the lid of the canning jar.
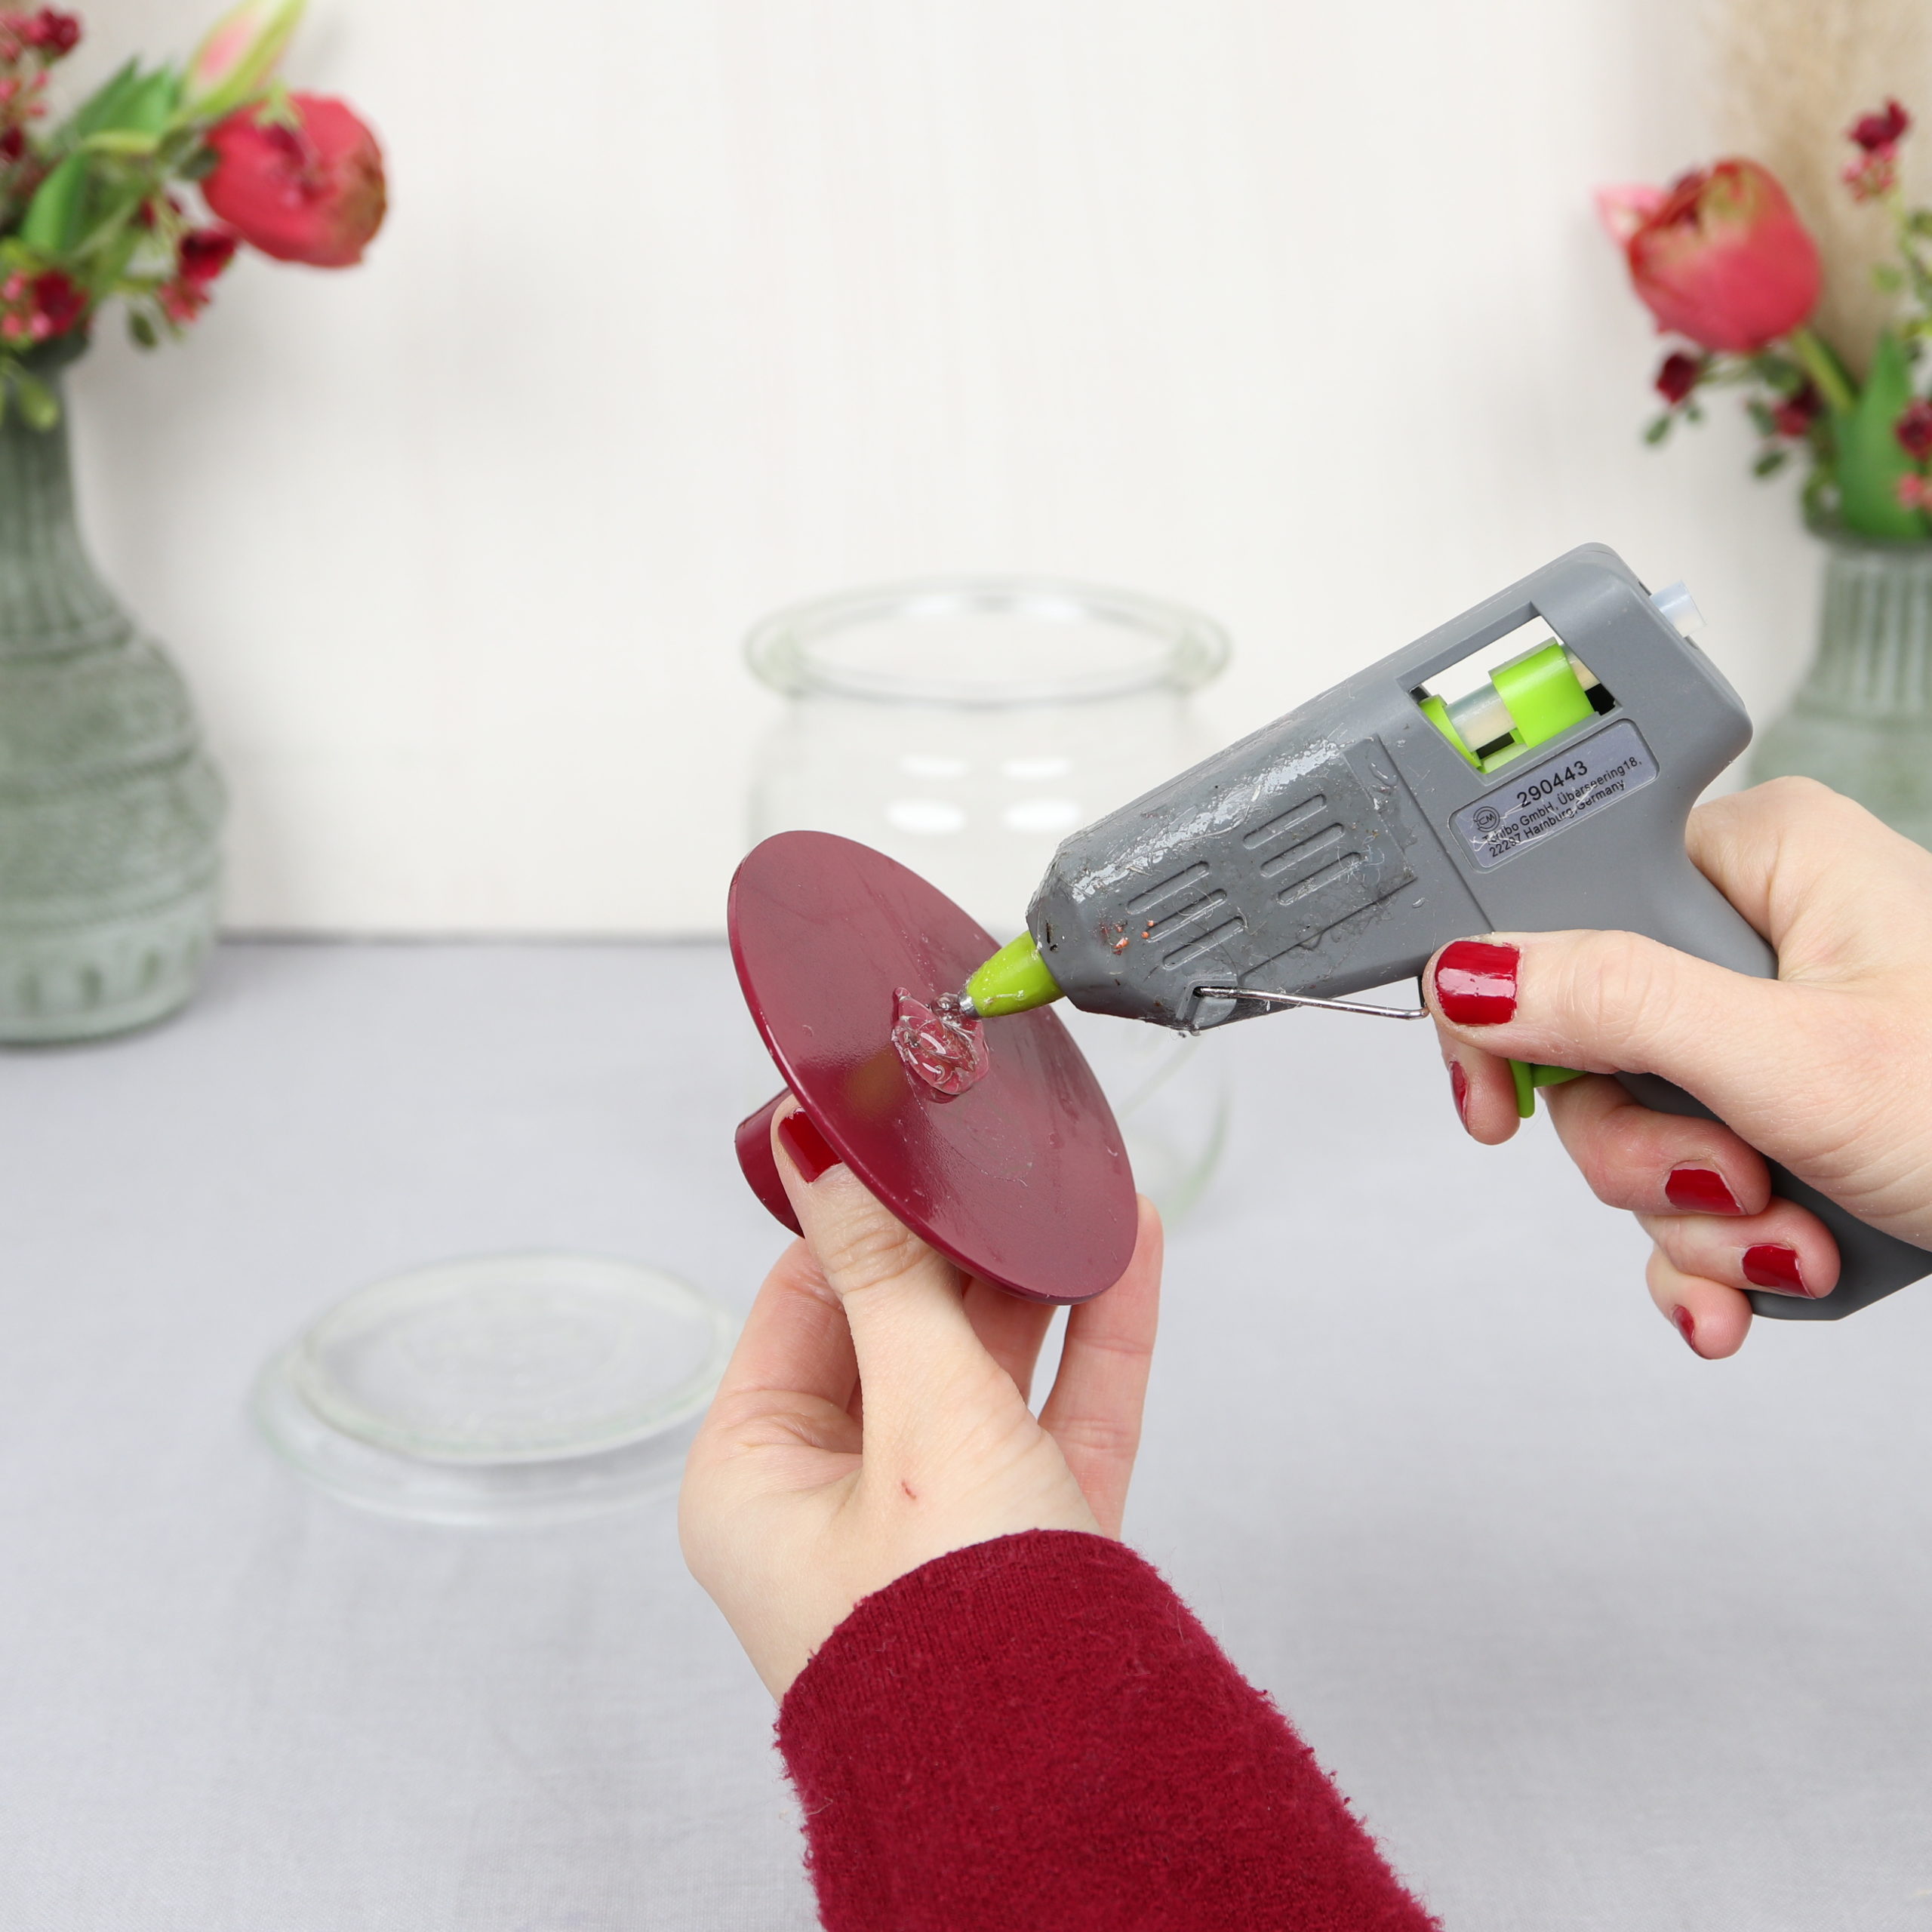
To do this, I use my hot glue gun and glue the candle holder to the center of the lid.
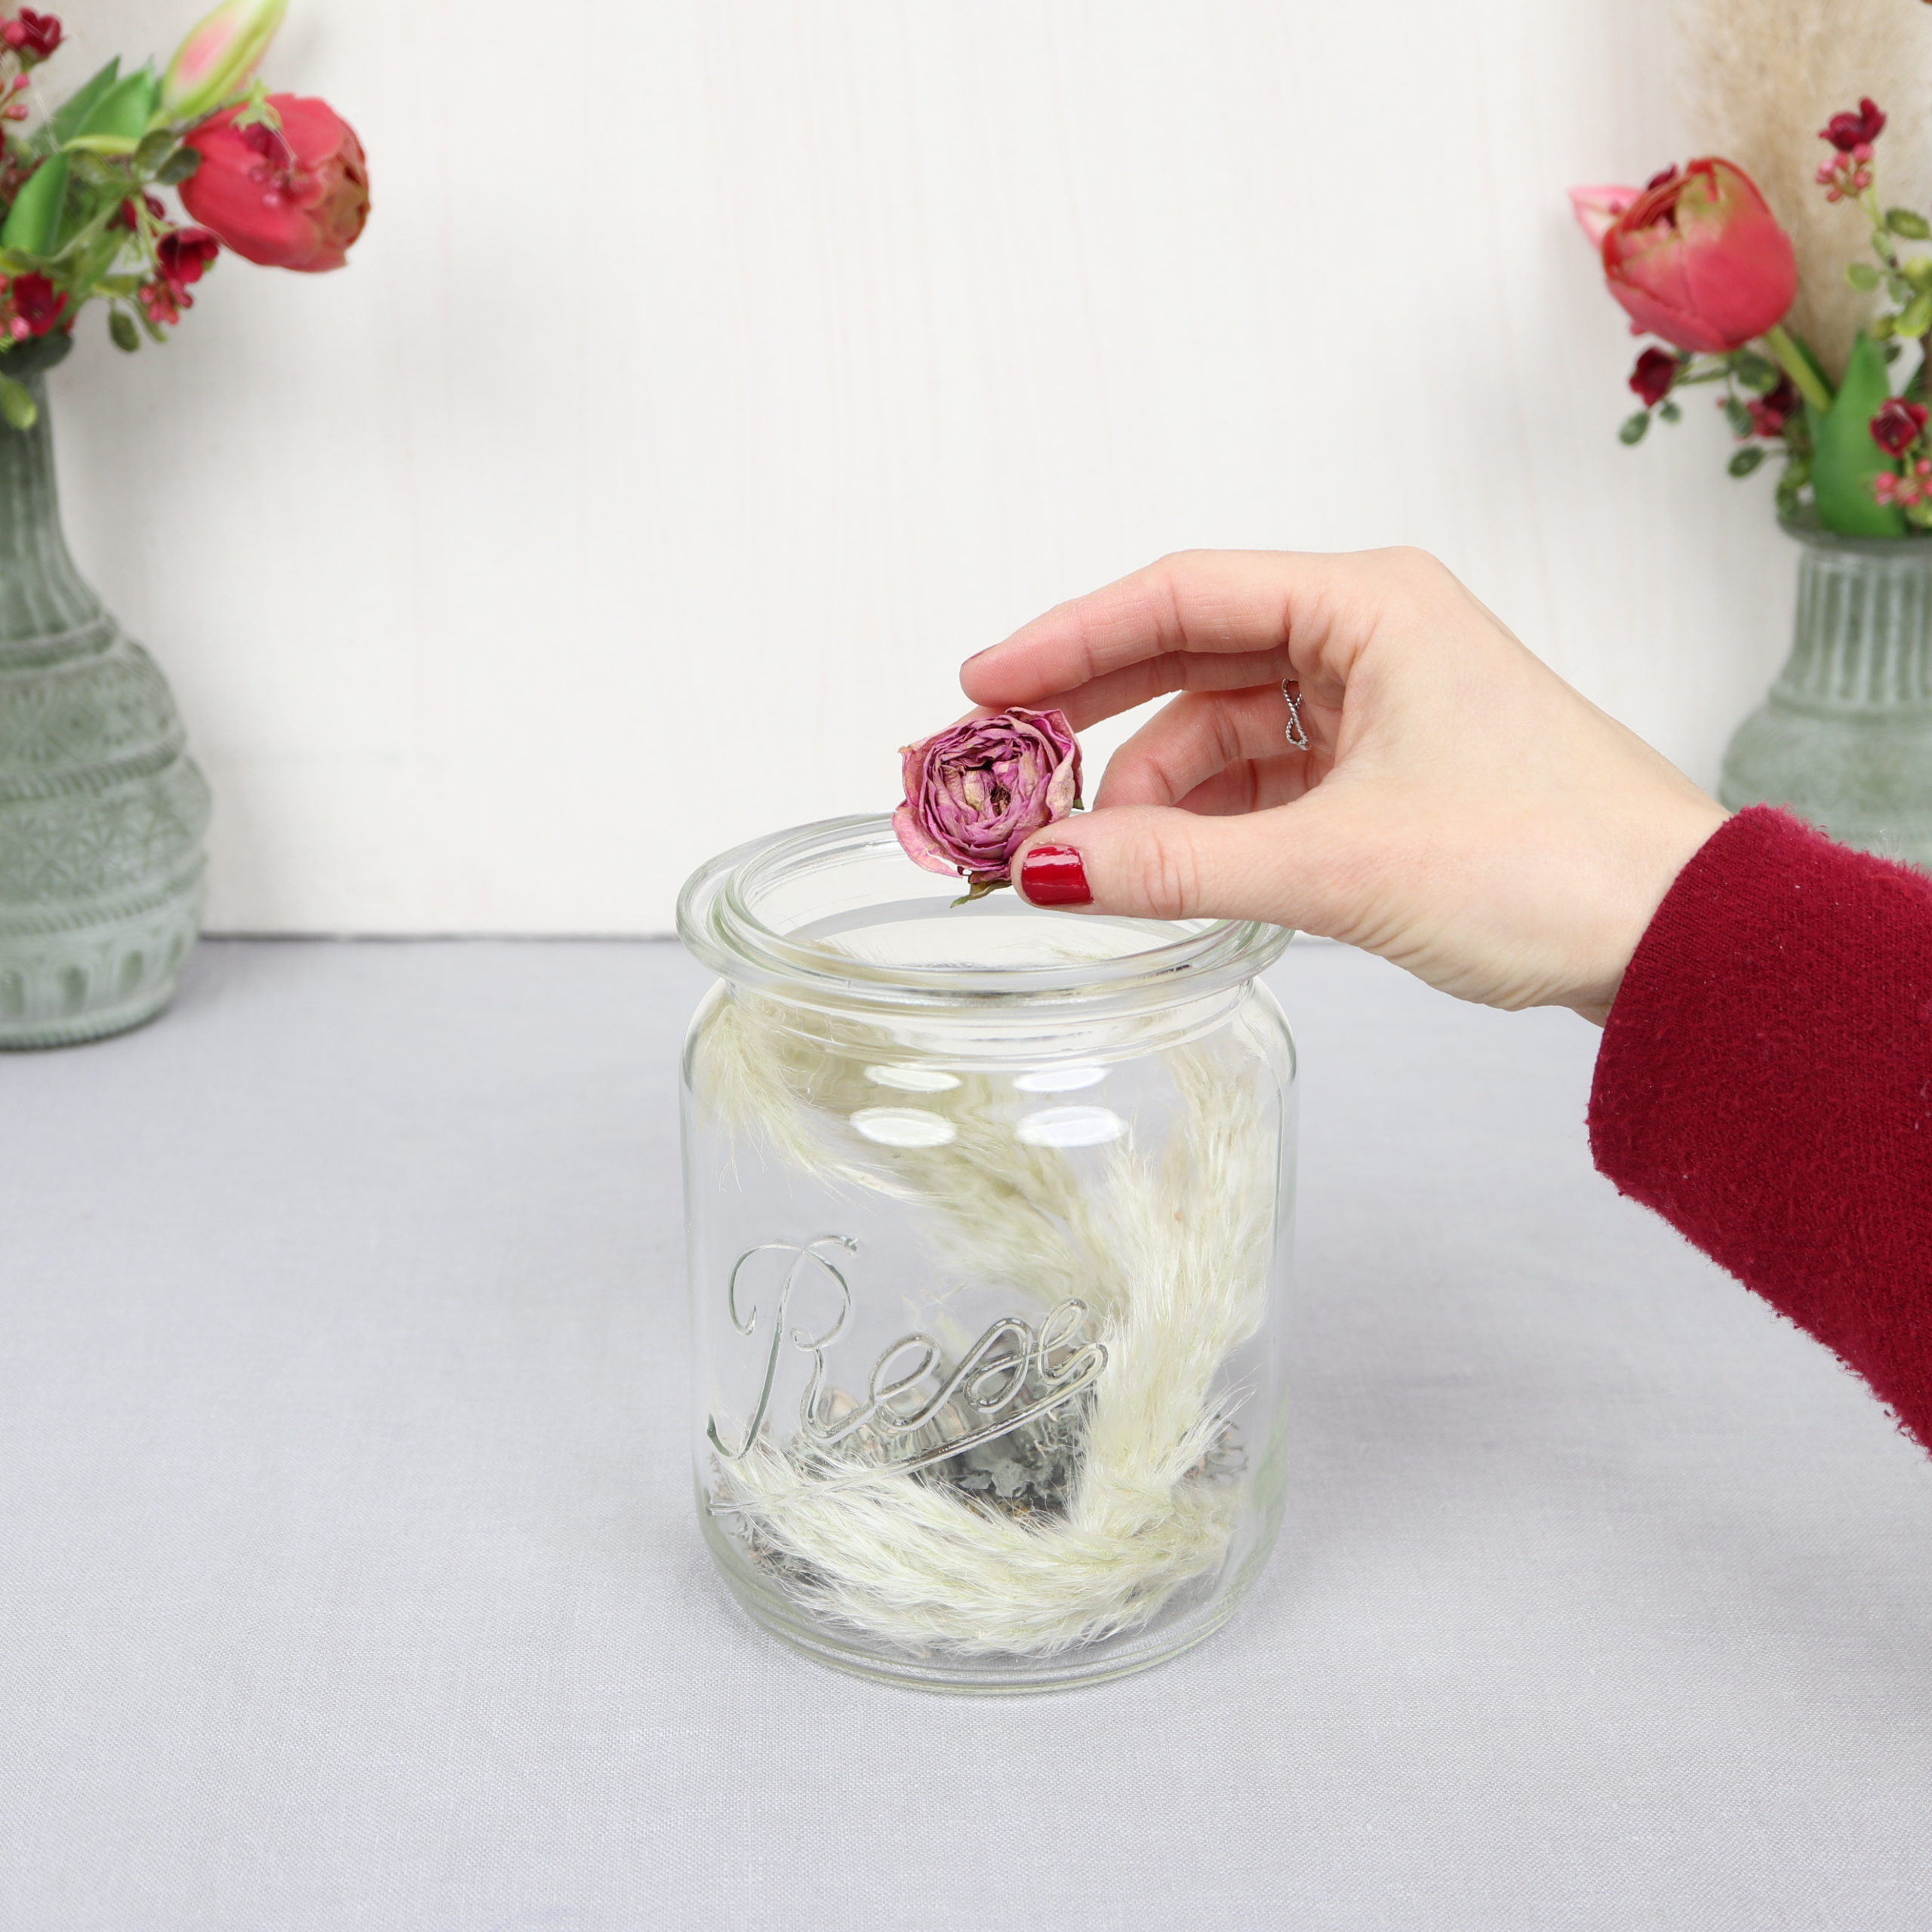
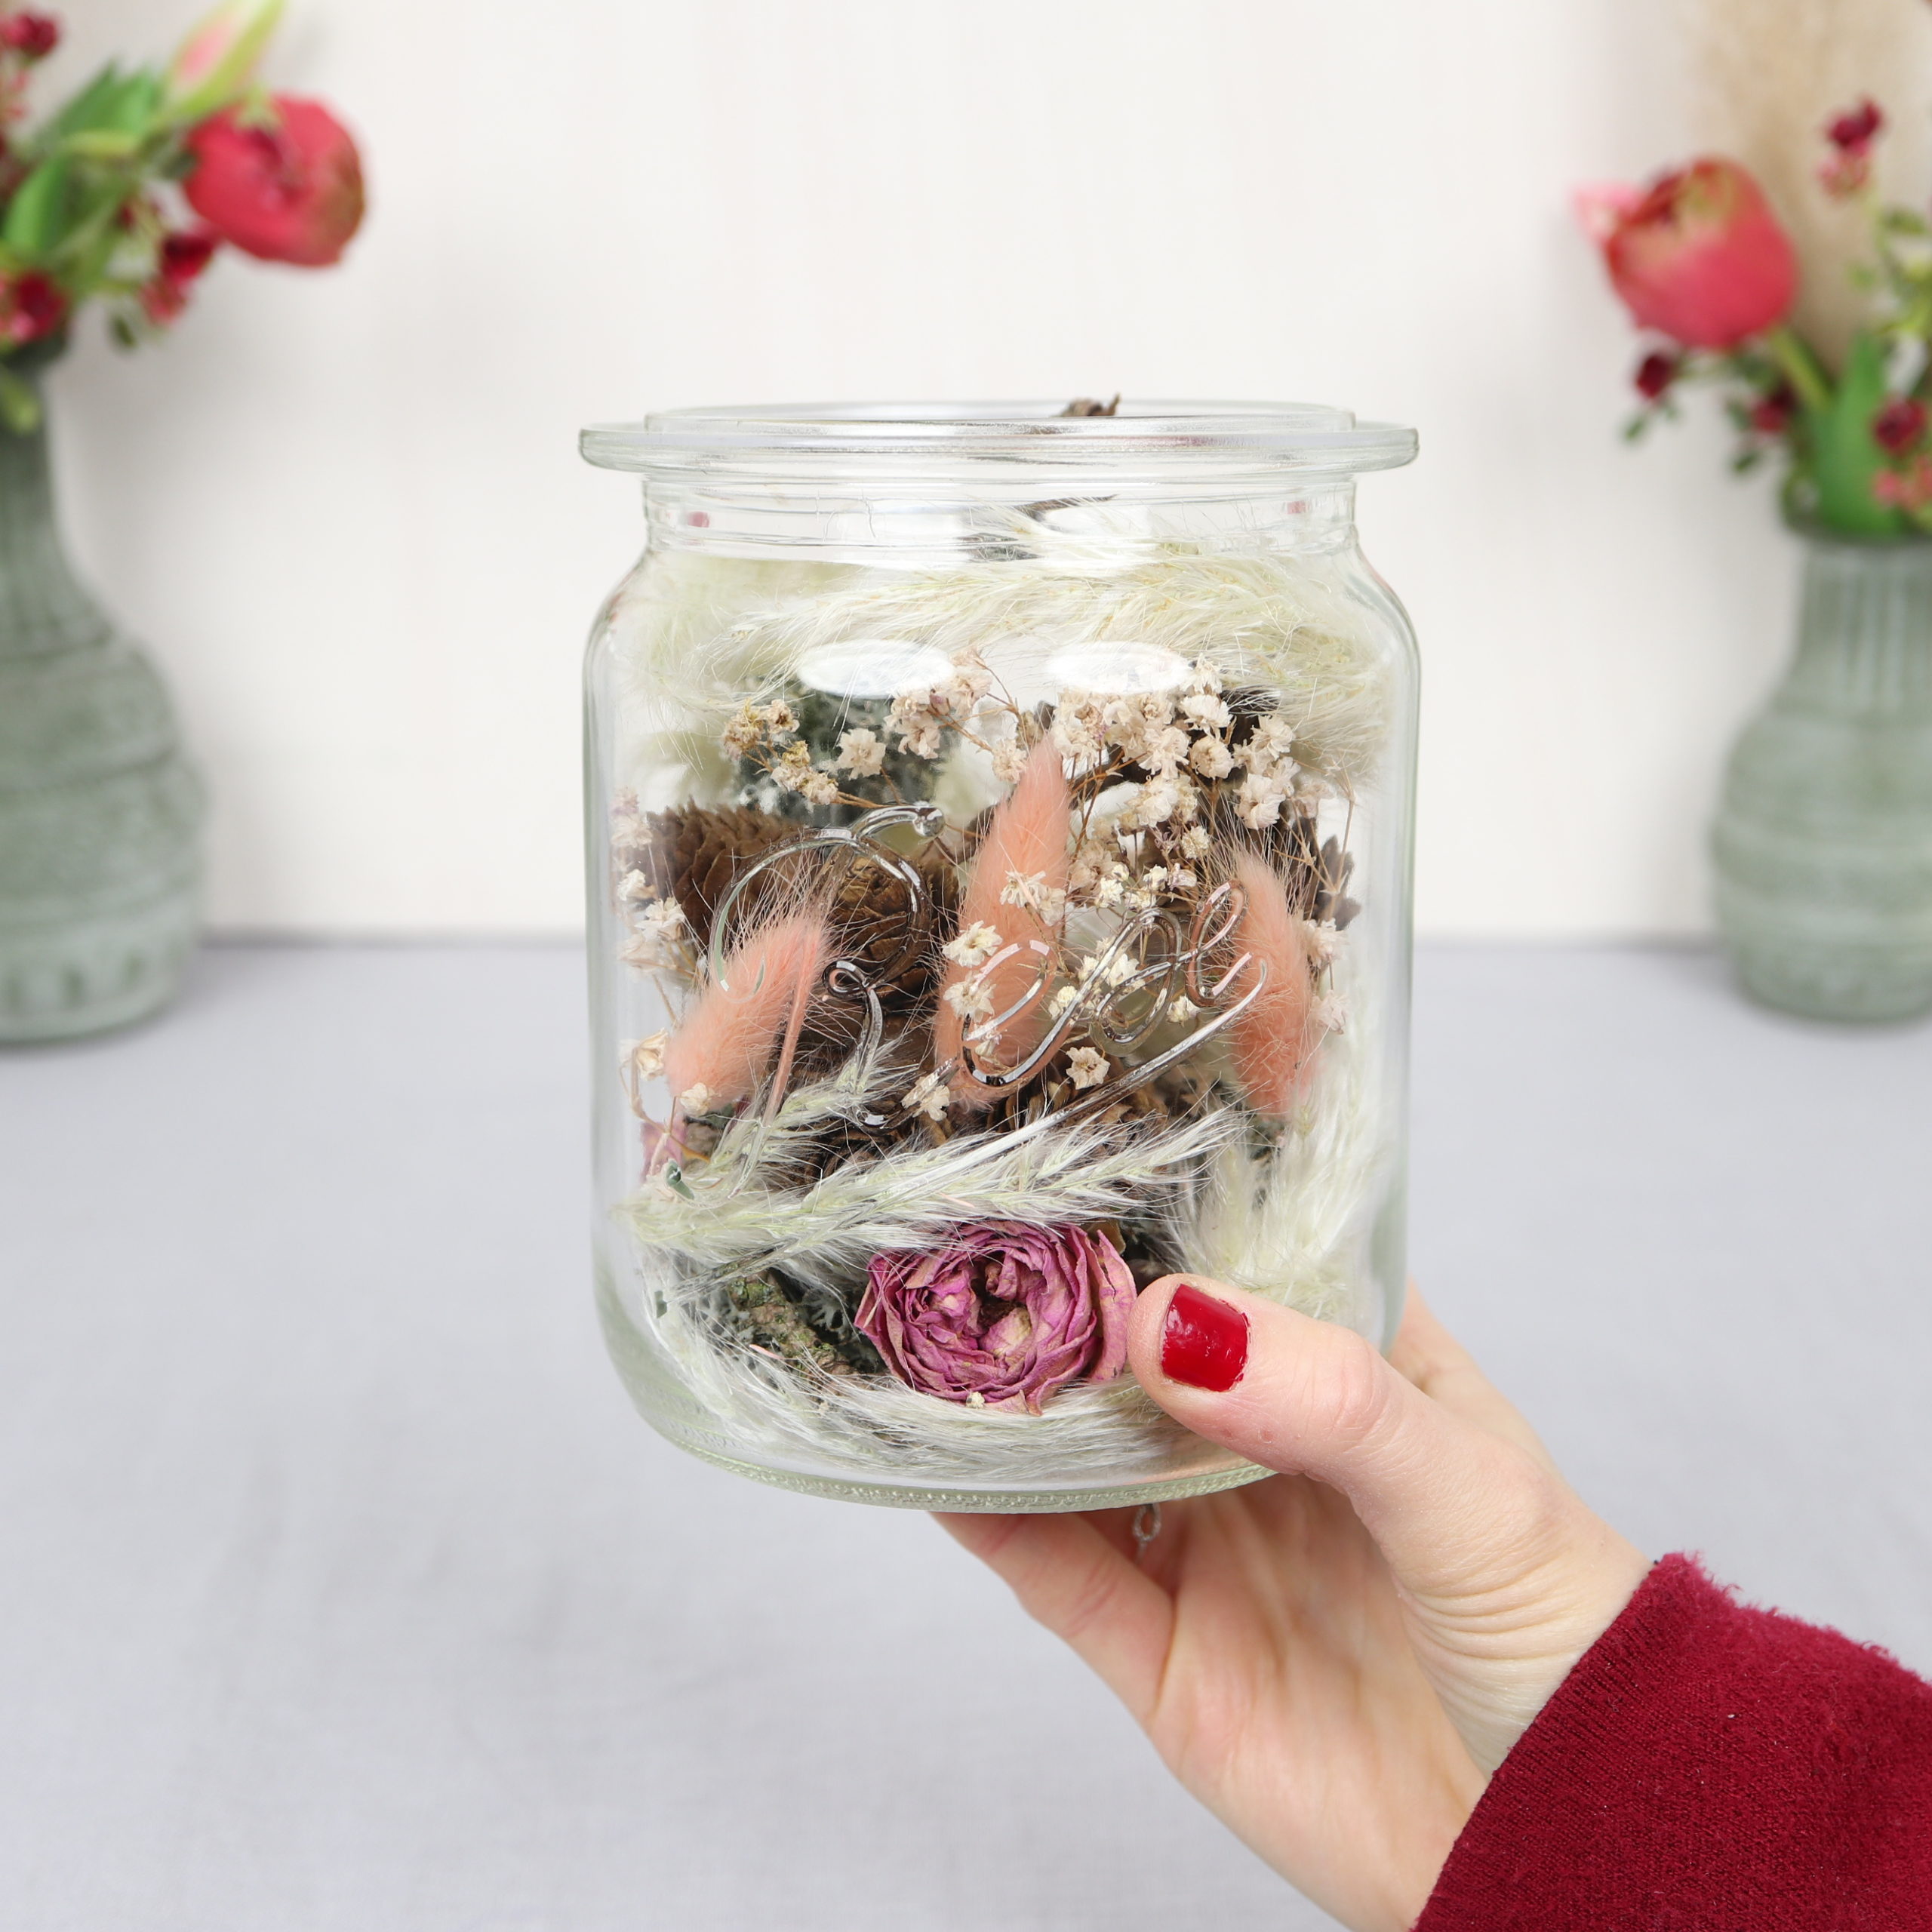
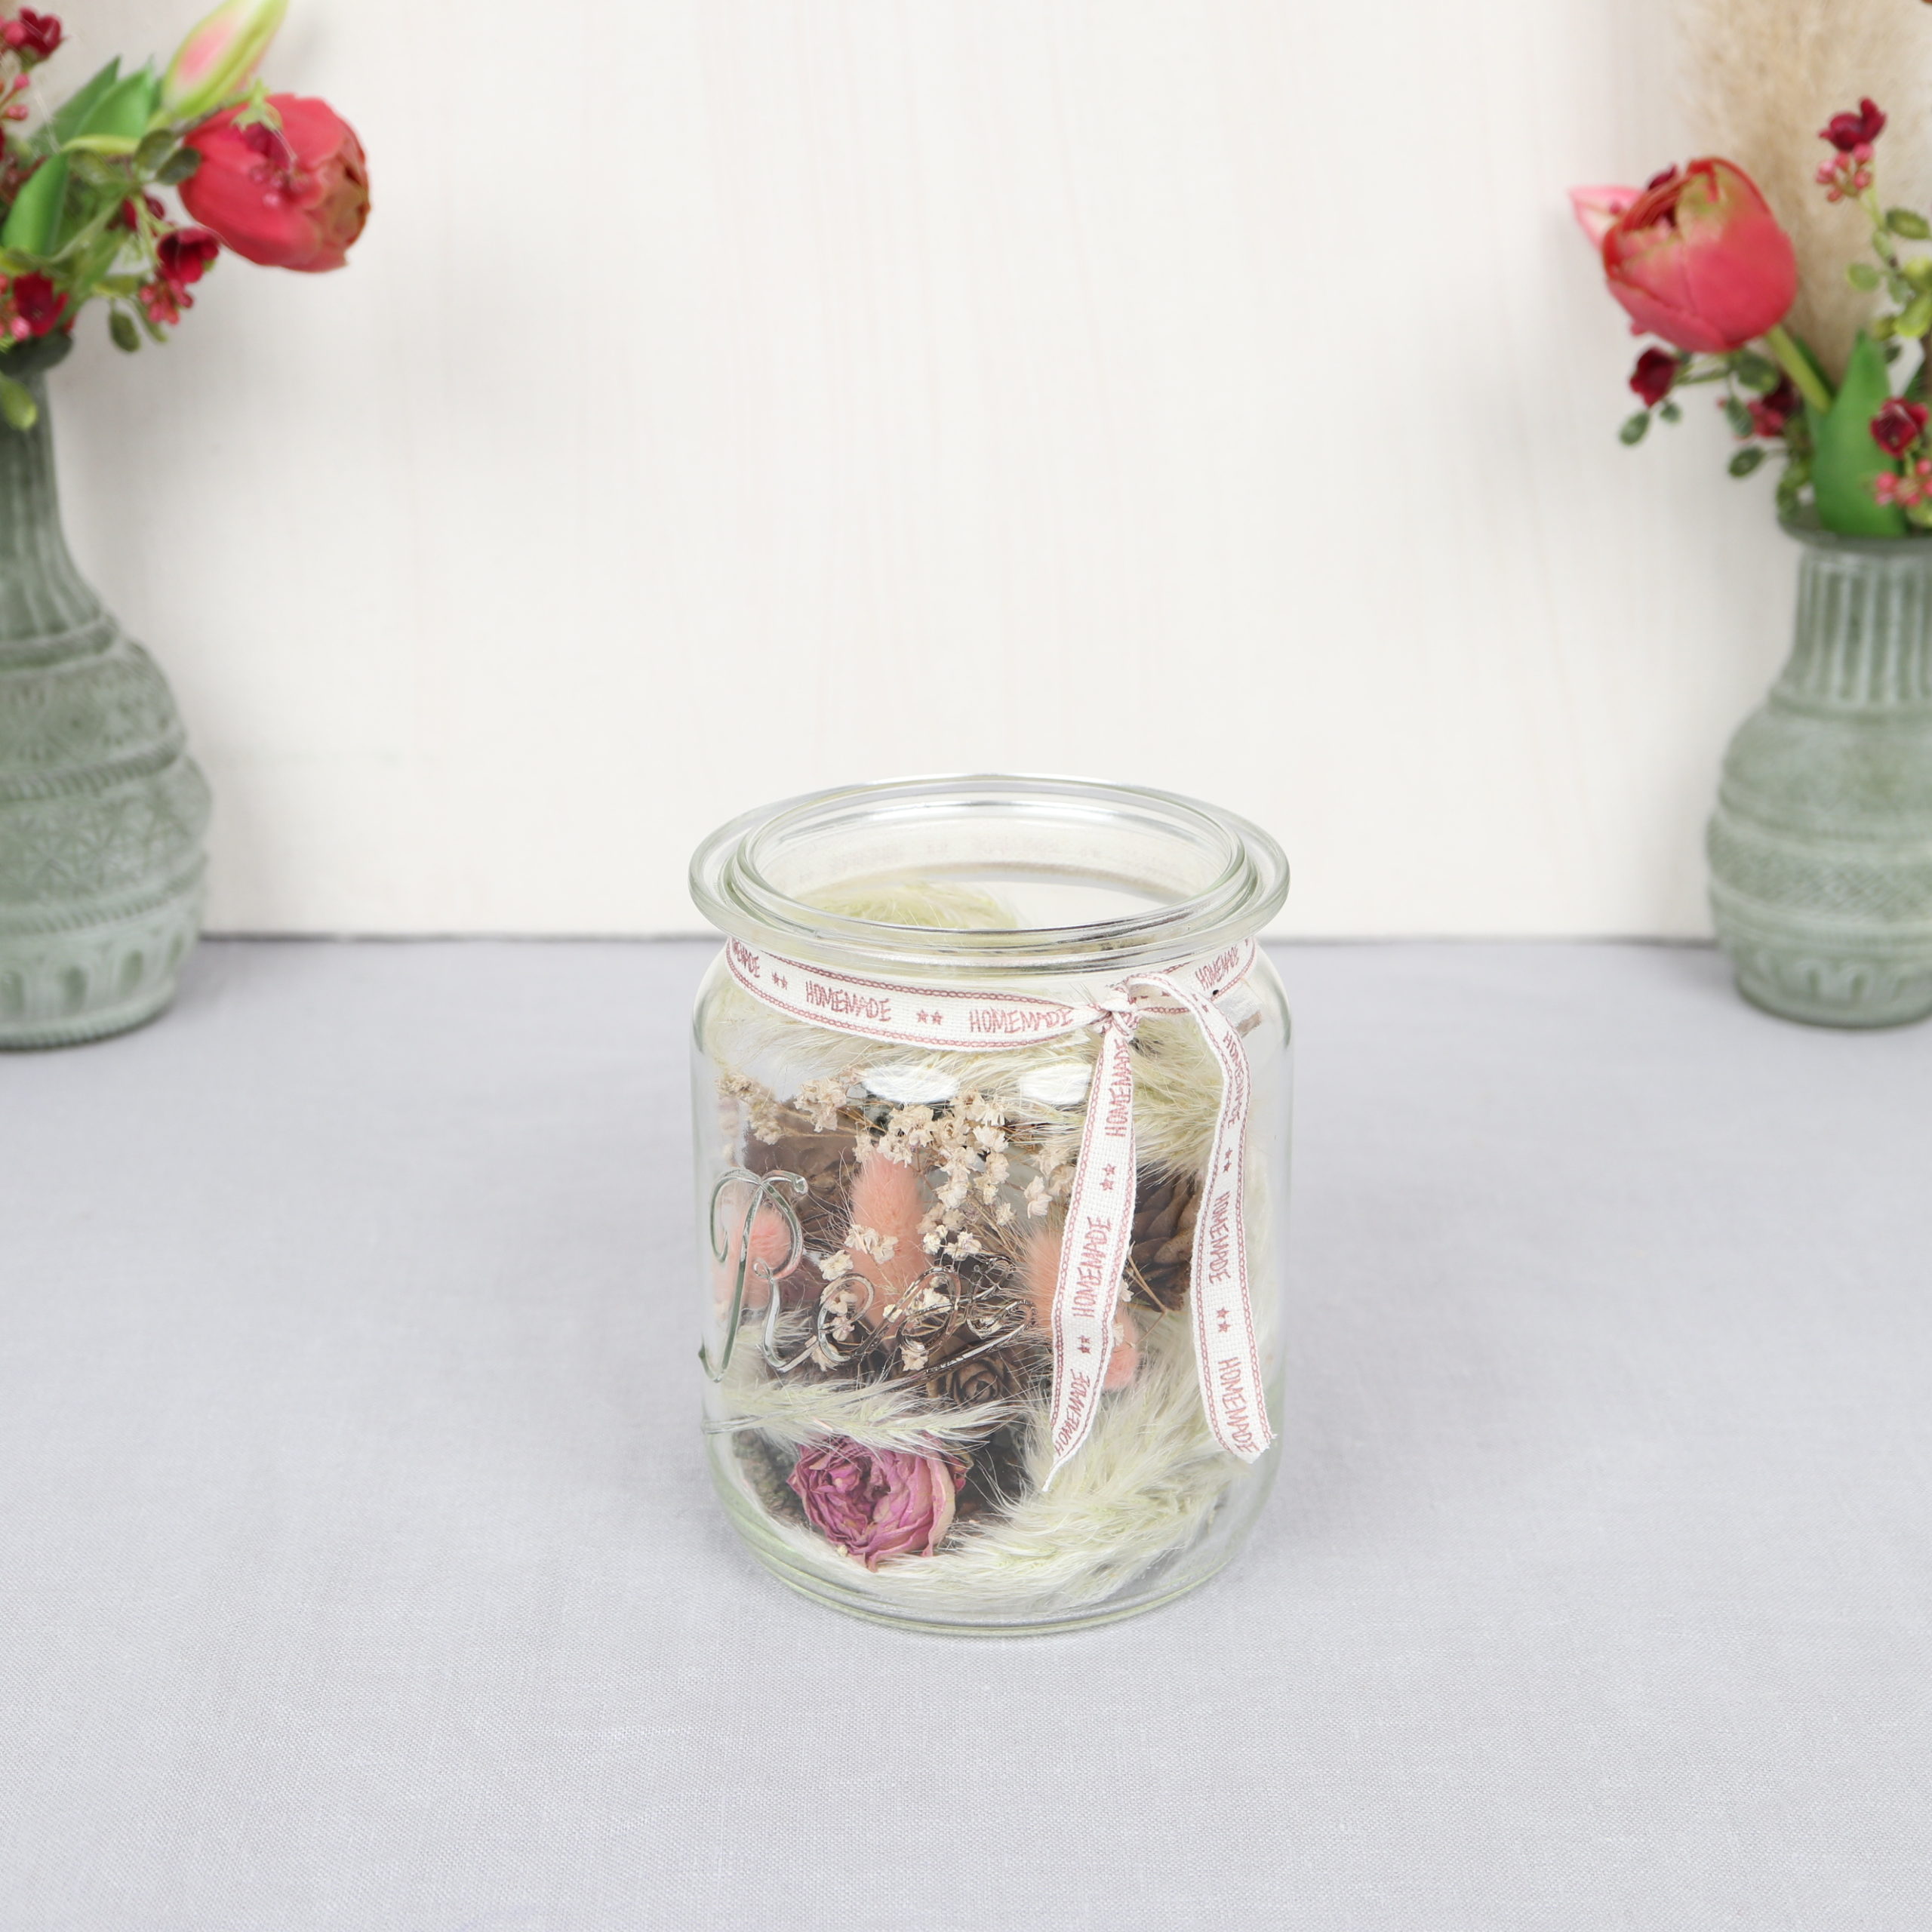
Step 2: Decorate jar
Then I fill the canning jar.

First, I put the lichens in the jar.
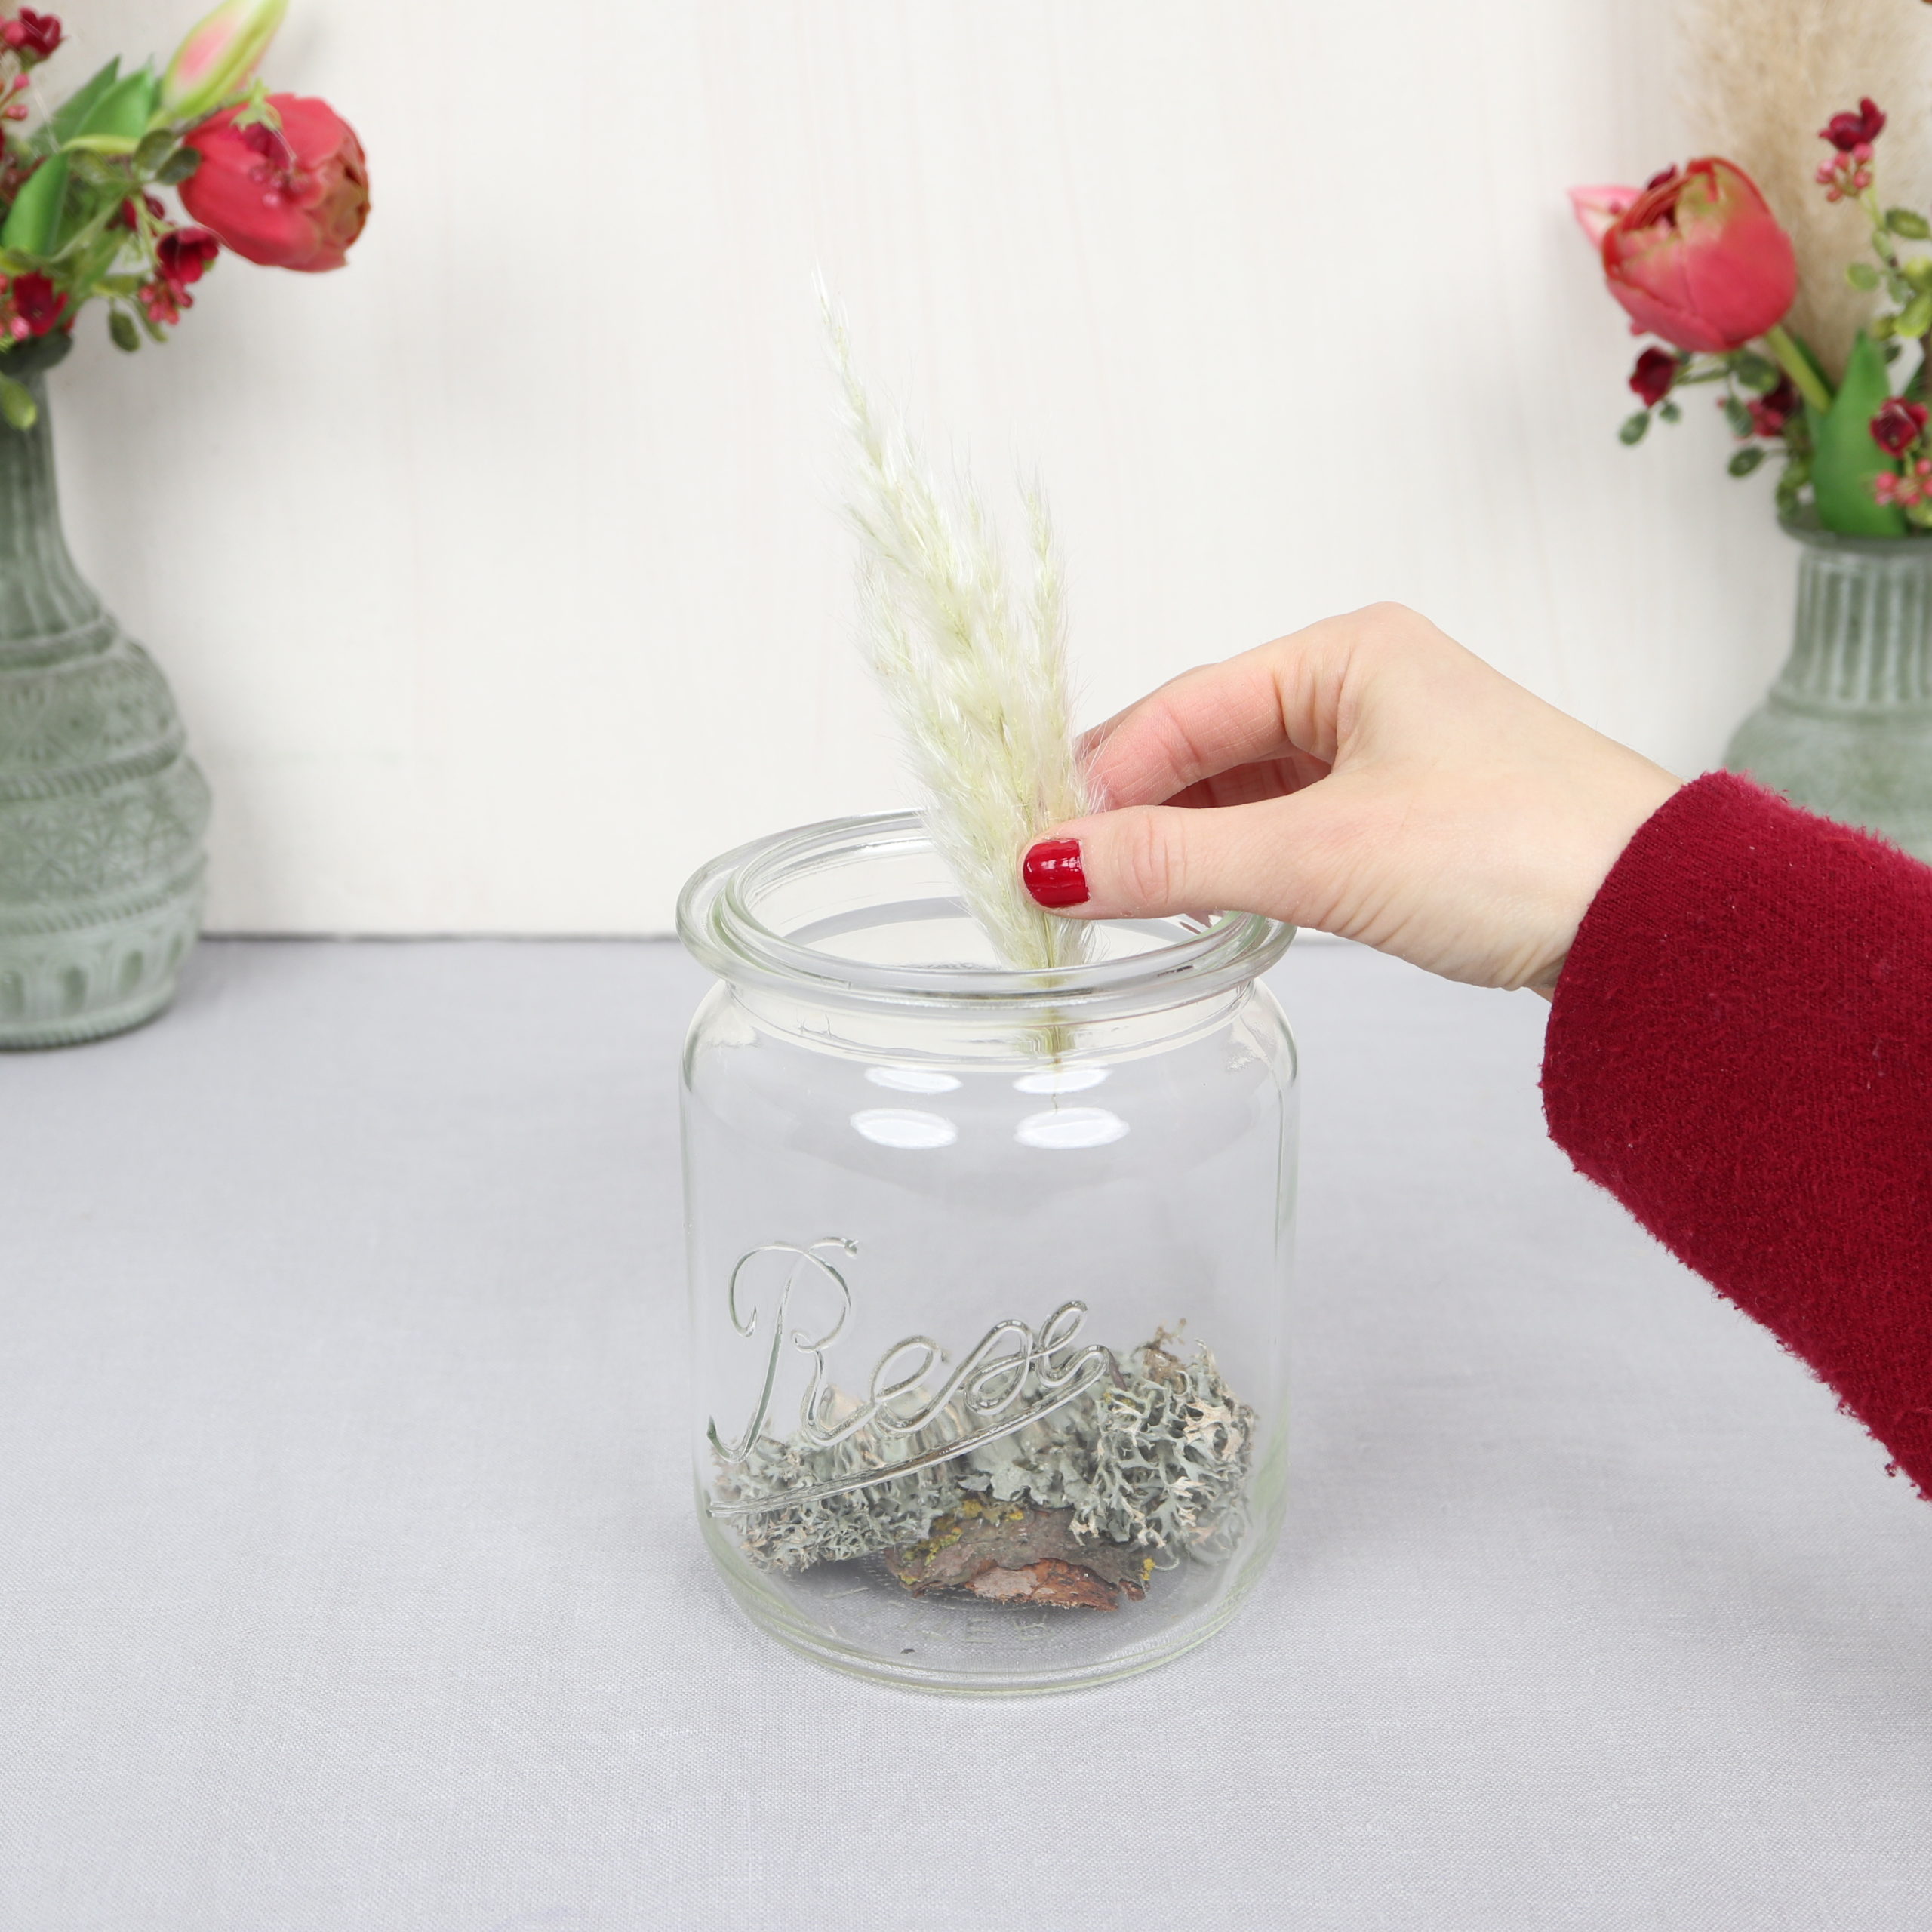
Then I put the dried flowers and larch cones.
Step 3: Attach ribbon
Just below the jar opening, I now add a decorative ribbon.
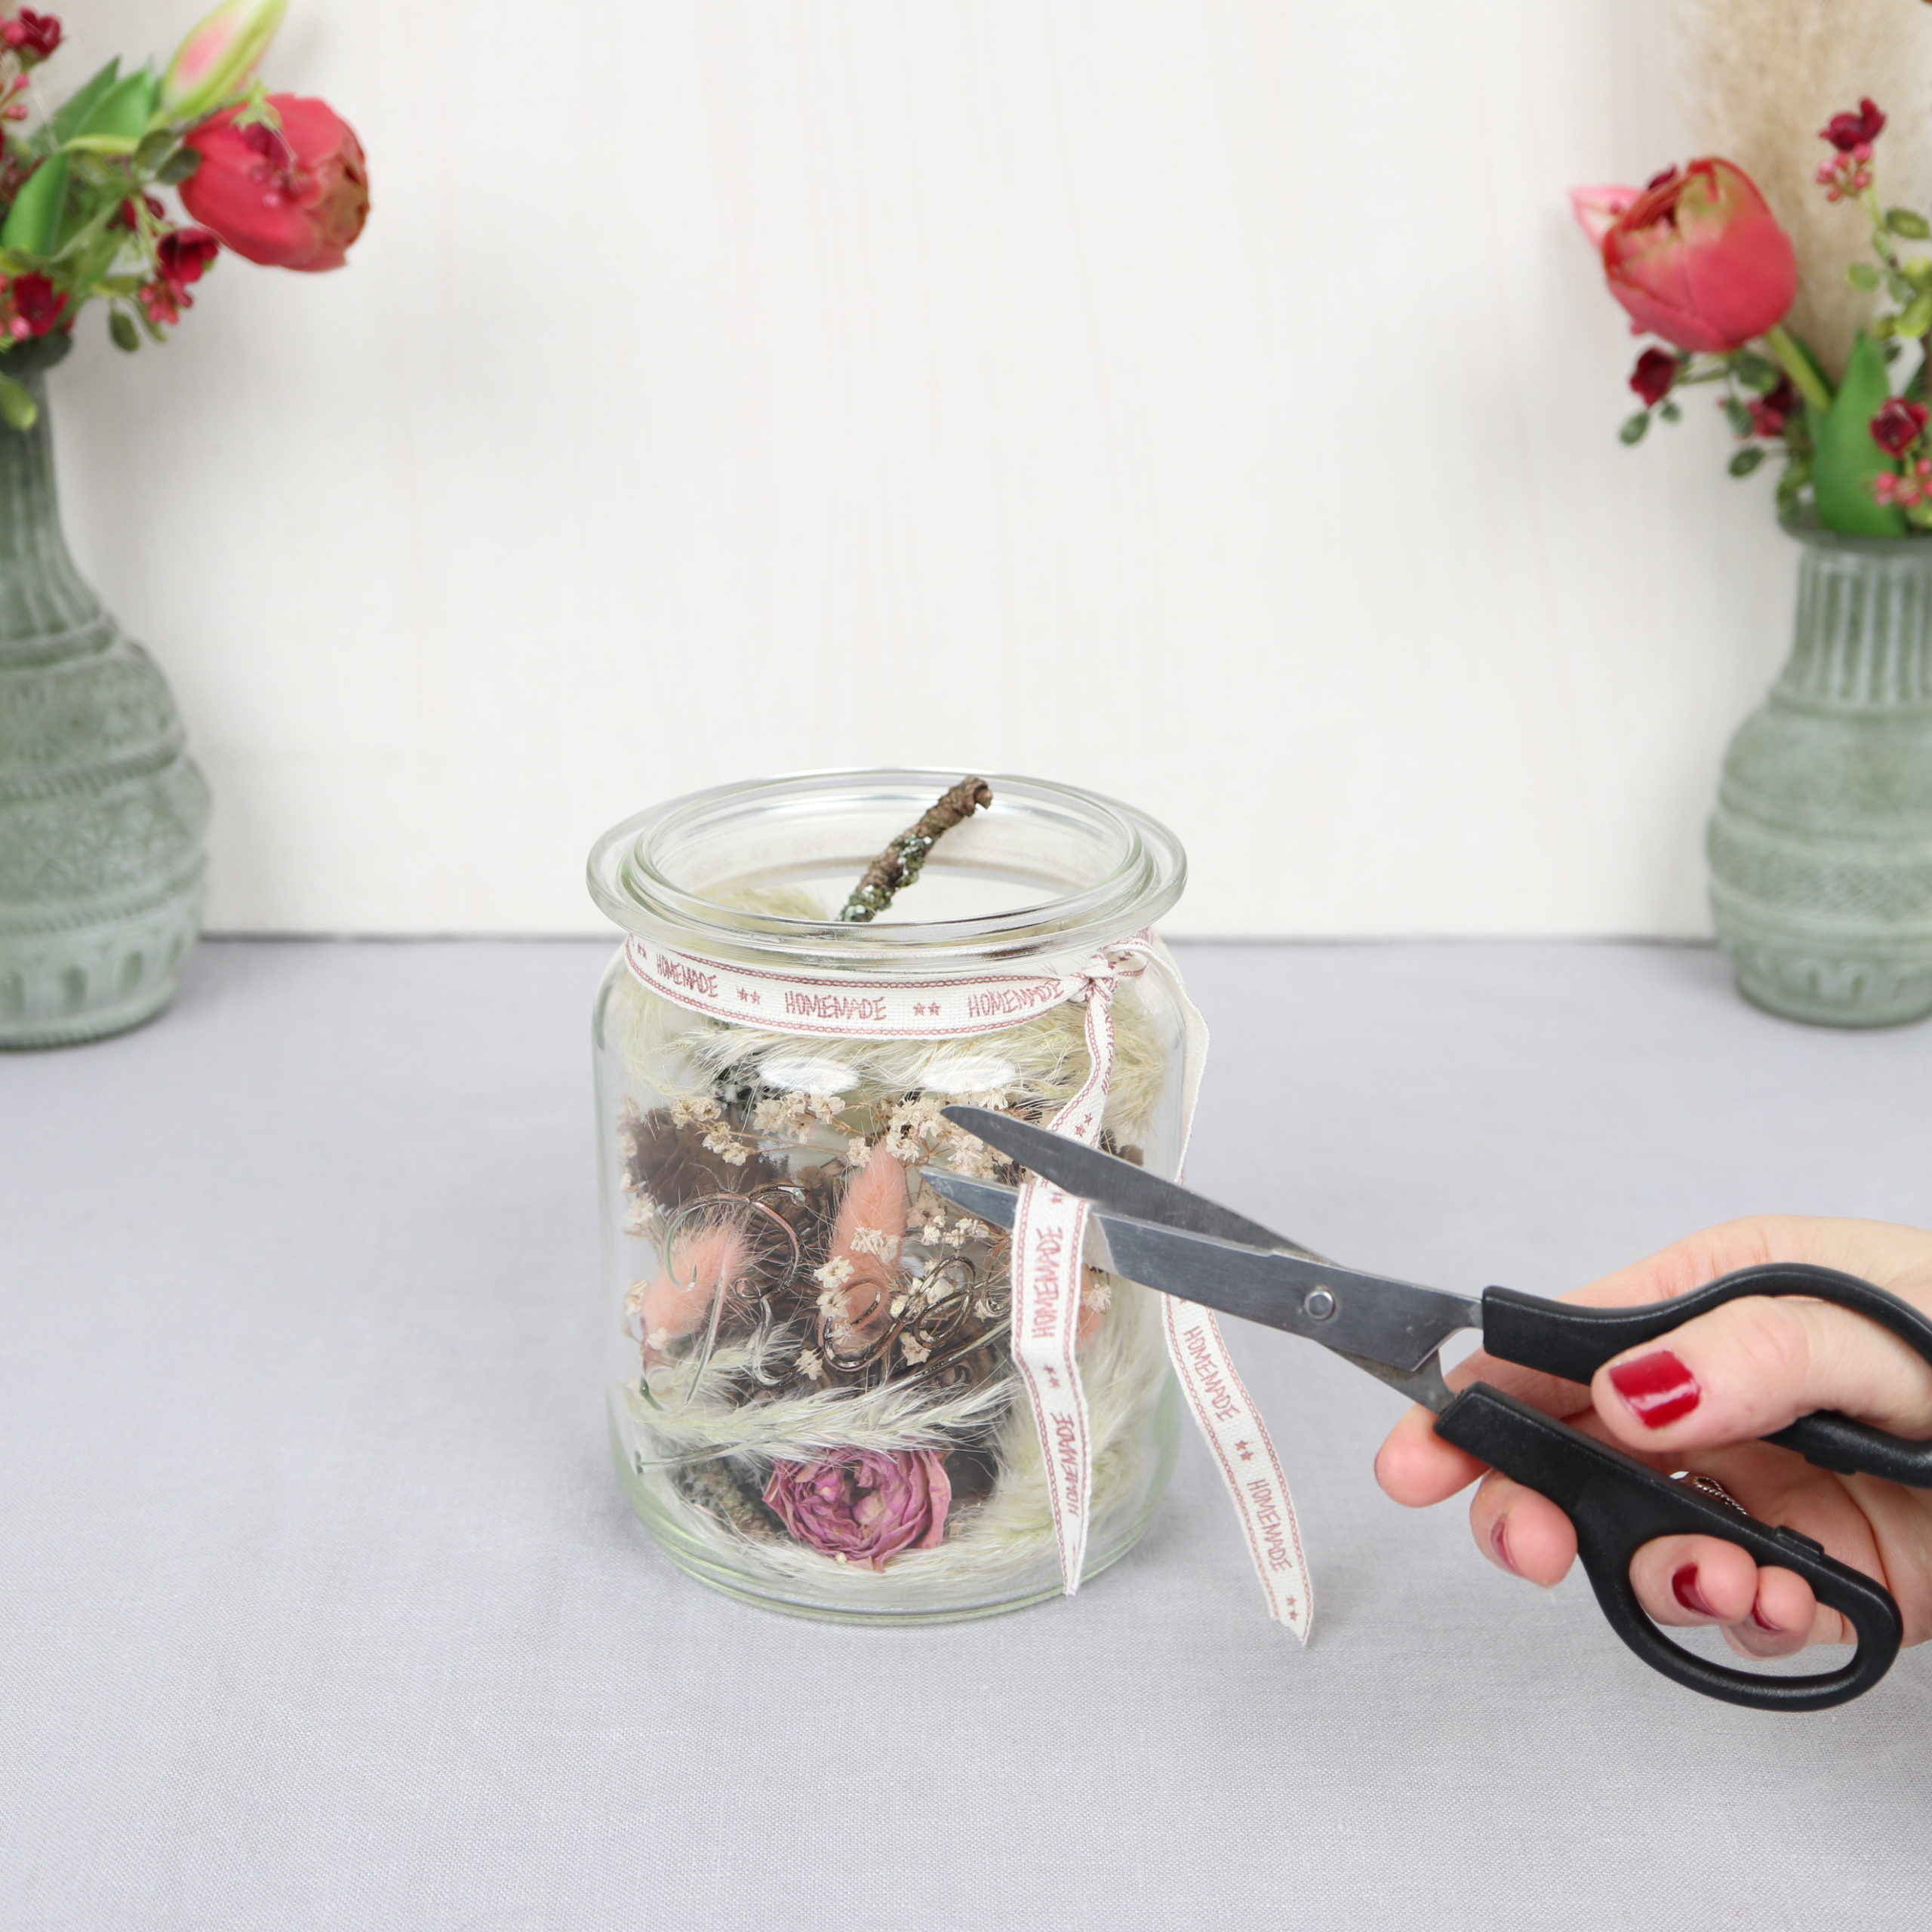
I knot the ribbon and cut the ends of the ribbon at an angle with the scissors.
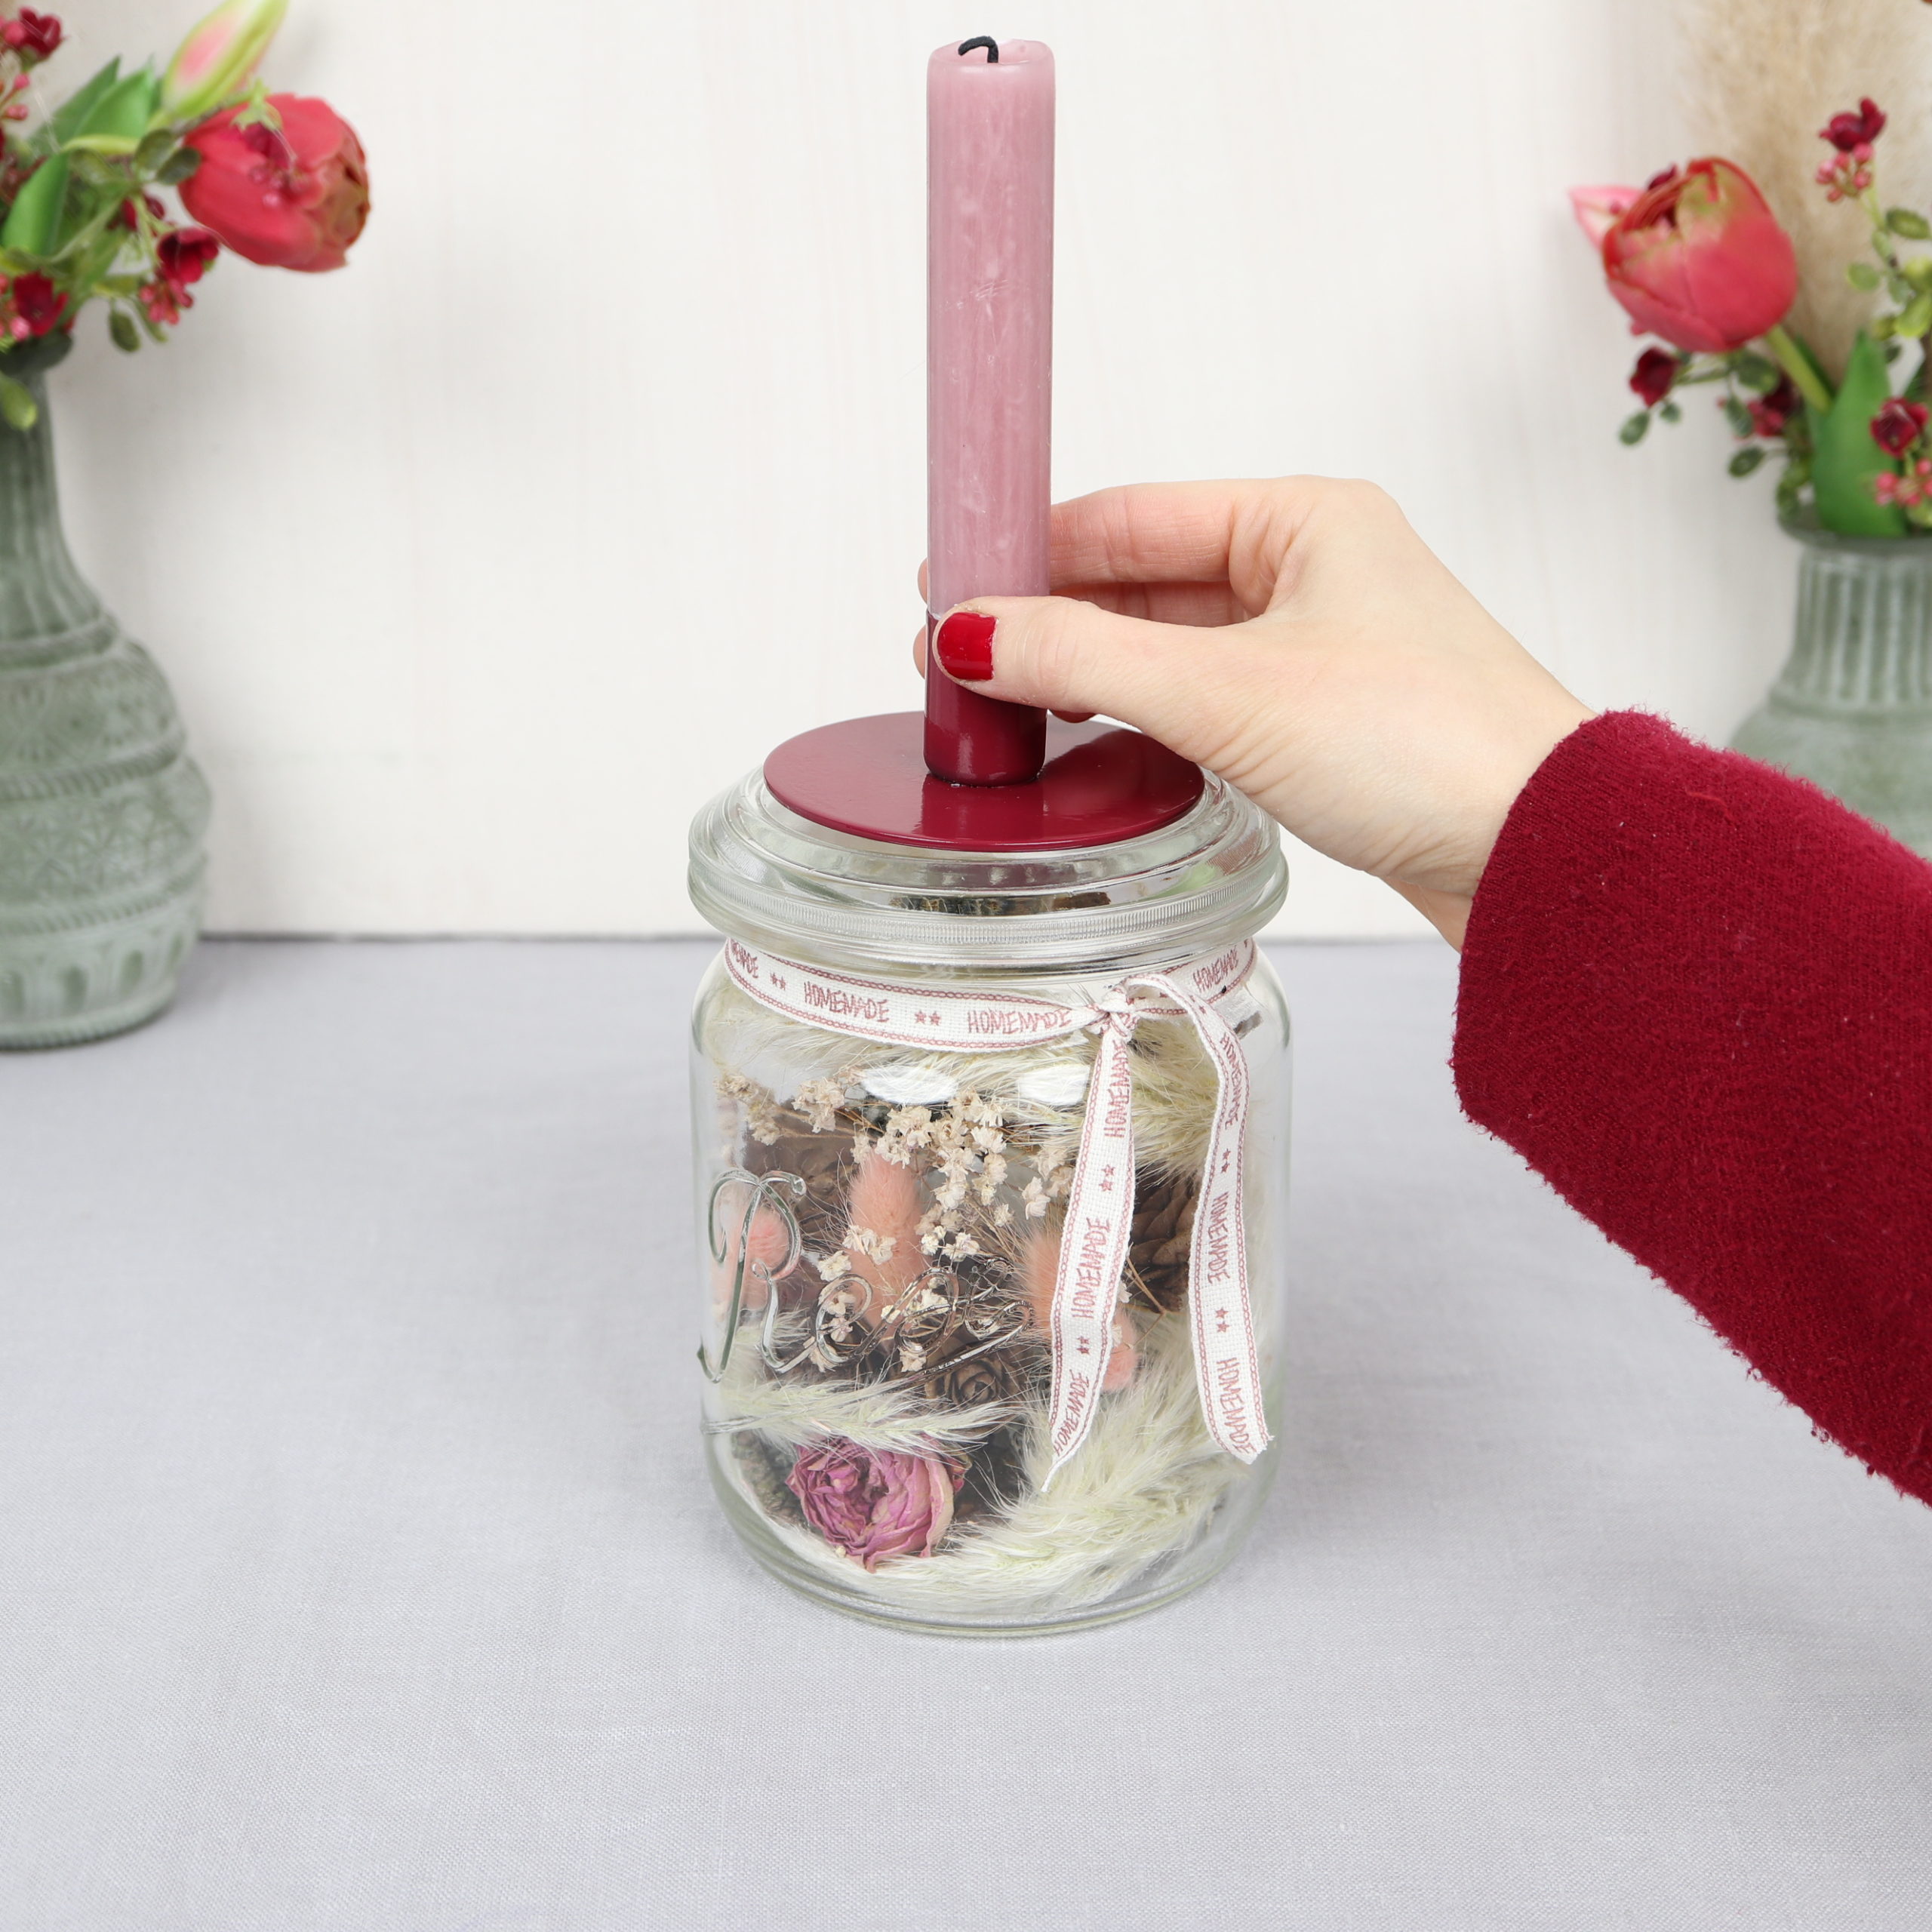
Step 4: Put candle on in holder
Now I put the candle in the candle holder and put the lid on the jar.

And the DIY candle jar is ready! I hope this DIY has made you as much fun as me and you like the sight of the candle decoration!