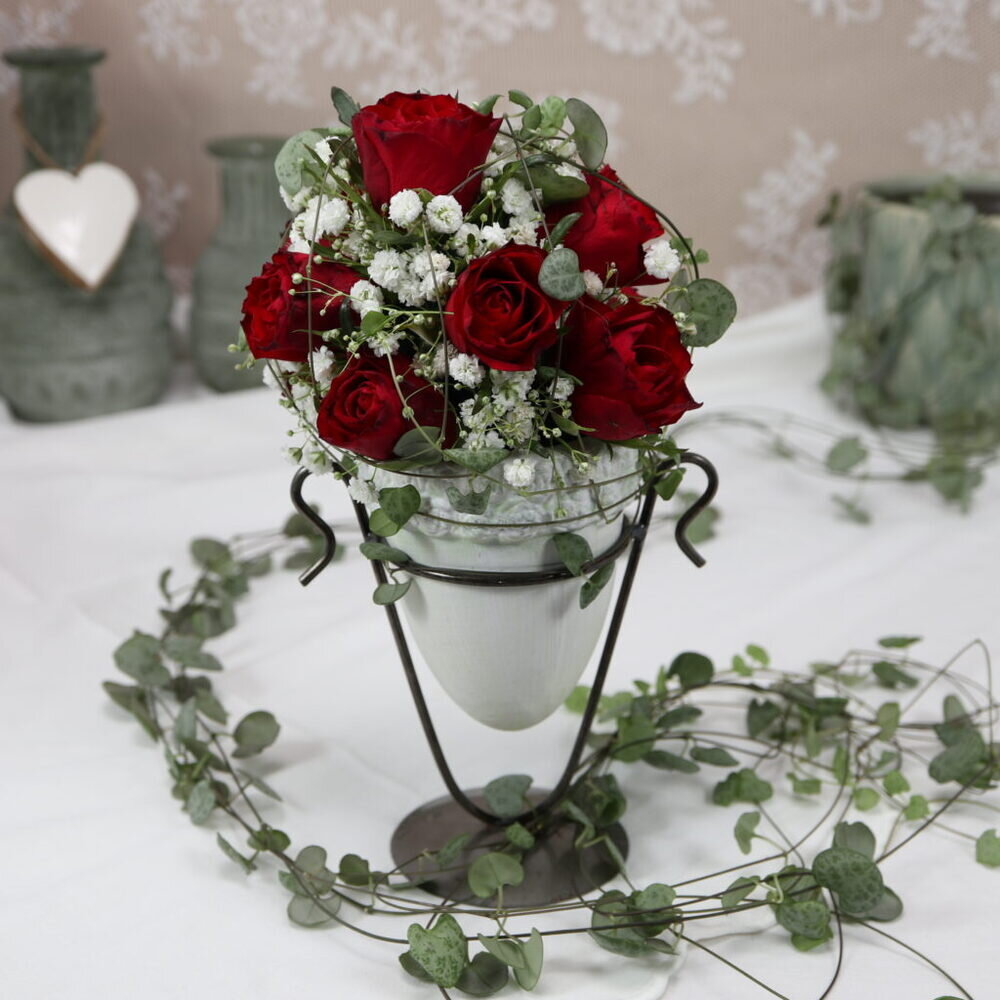
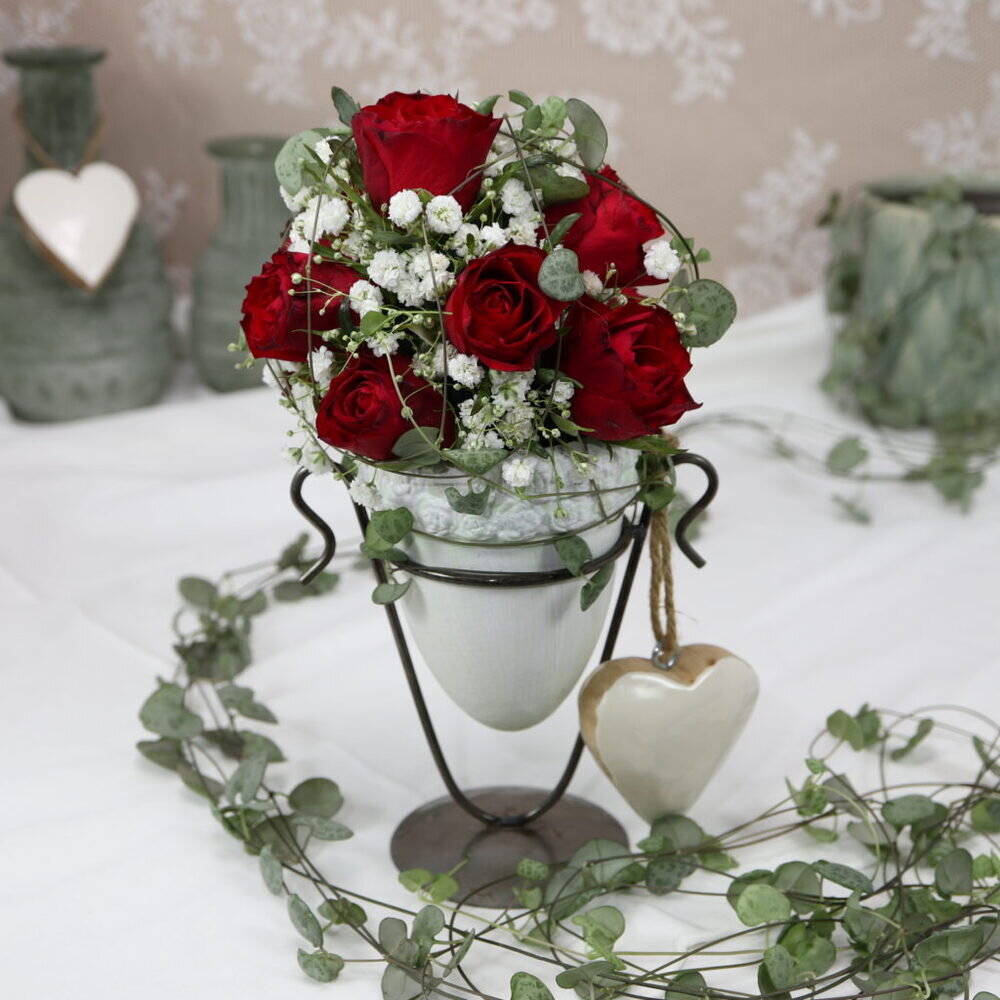
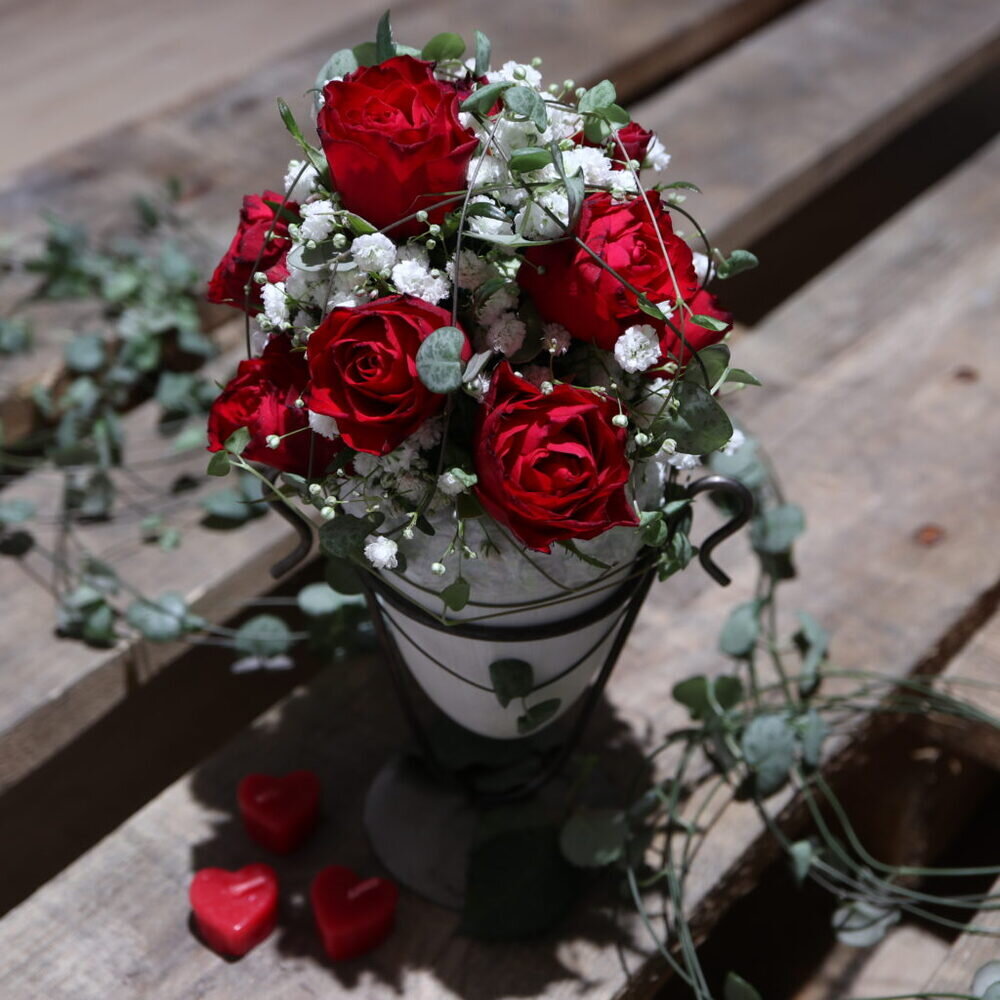
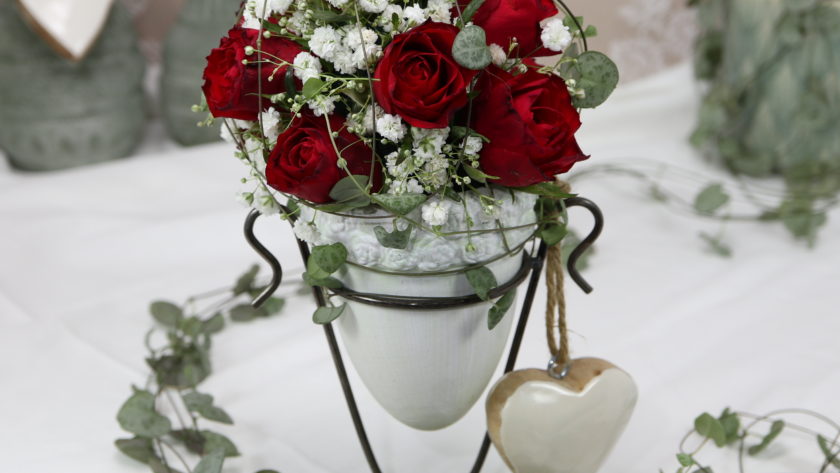
Recently, my Chain of Hearts plant (Ceropegia woodii) had a grow spurt, since it got very long shoots. So, I thought to prune my plant and to use it to create a new DIY tutorial. This tutorial teaches how to combine red roses, baby’s breath and chain of hearts to create a romantic flower arrangement. The arrangement can be used as table decoration element for many occasions.
Tools
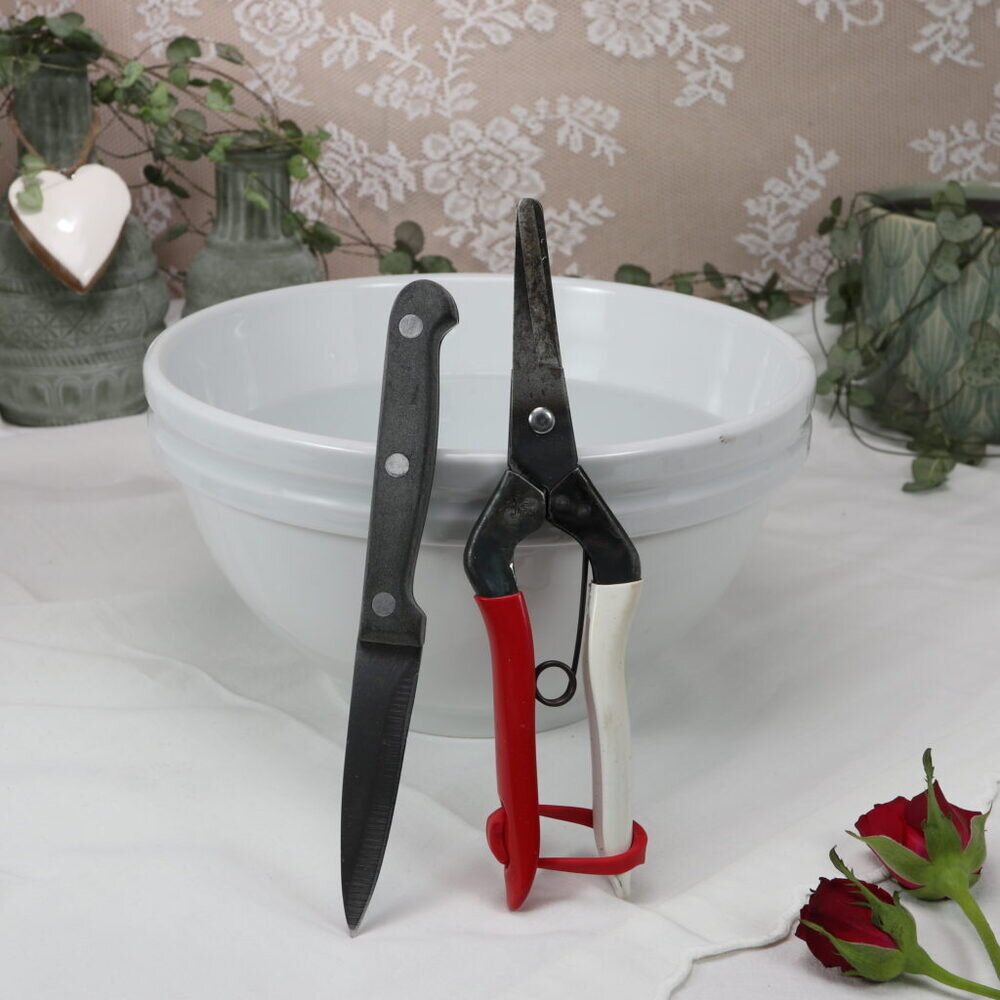
These are the tools that I used for the romantic table decoration: harvest shears, a knife and a bowl.
| Tool | Search on… |
|---|---|
| Harvest shears | |
| I use the Japanese harvest shears Okatsune 304 | |
| Knife | |
| Bowl (for watering) |
Materials
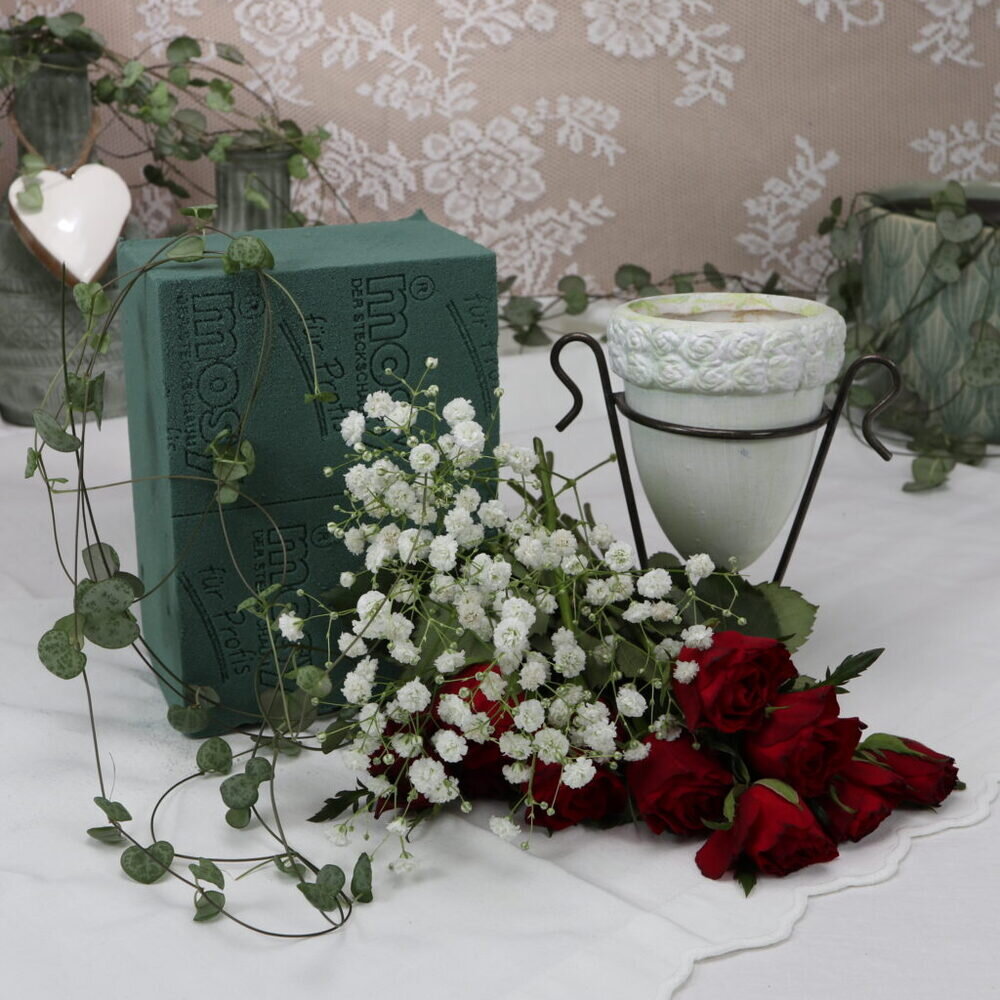
These are the materials that are required: Floral foam, red roses, baby’s breath, chain of hearts, and a planter. I used a planter with a stand.
| Material | Search on… |
|---|---|
| Floral foam | |
| Roses (red) | |
| Baby’s breath (white) | |
| Chain of Hearts | |
| Planter (with stand) |
Guide
Step 1: Floral foam
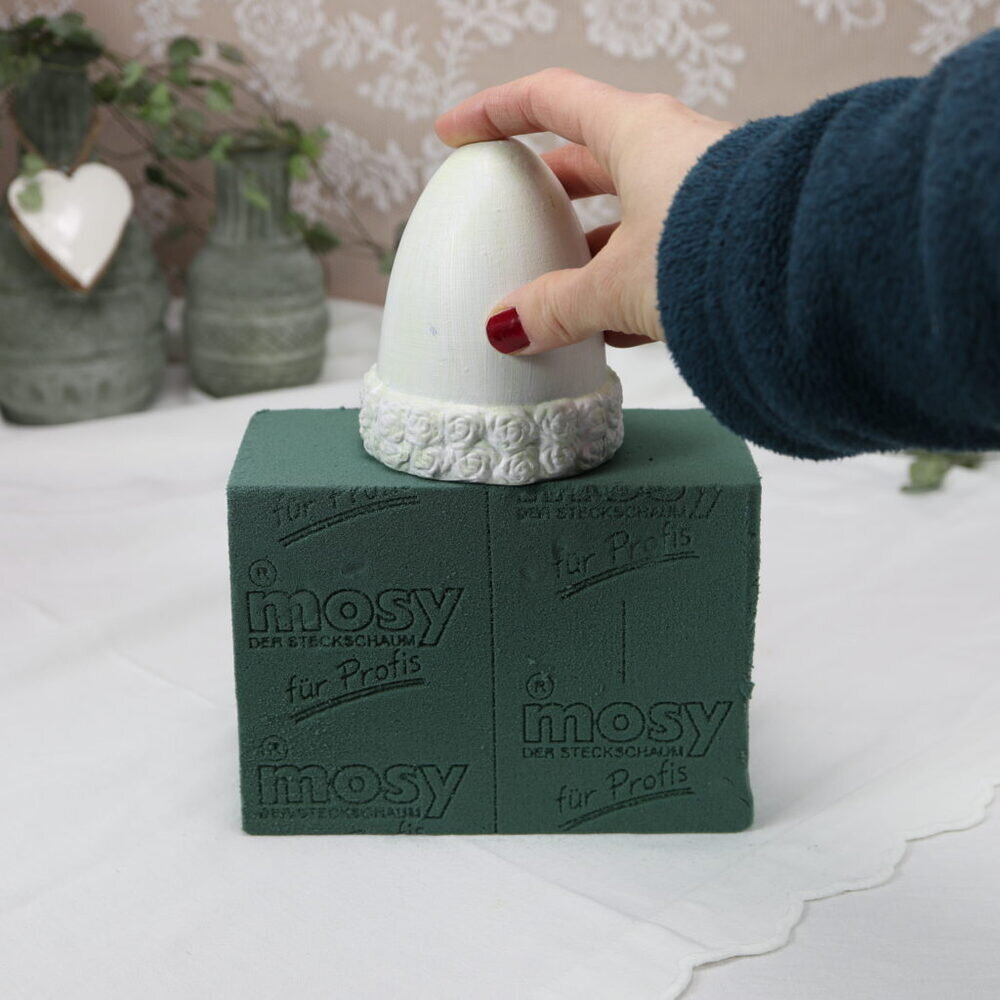
First, the floral foam is cut in order to fit into the planter. I press the planter a little bit into the floral foam. This helps me when cutting away floral foam.
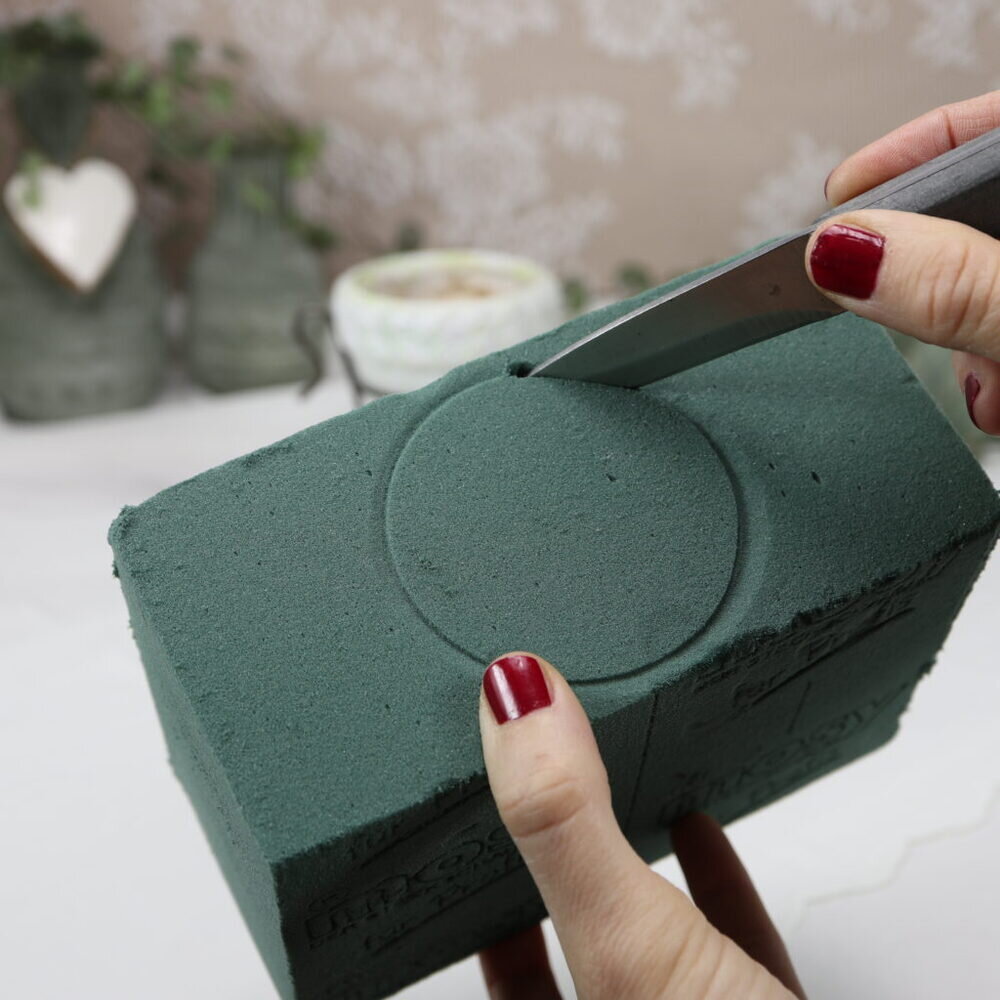
I use the knife for cutting the foam.
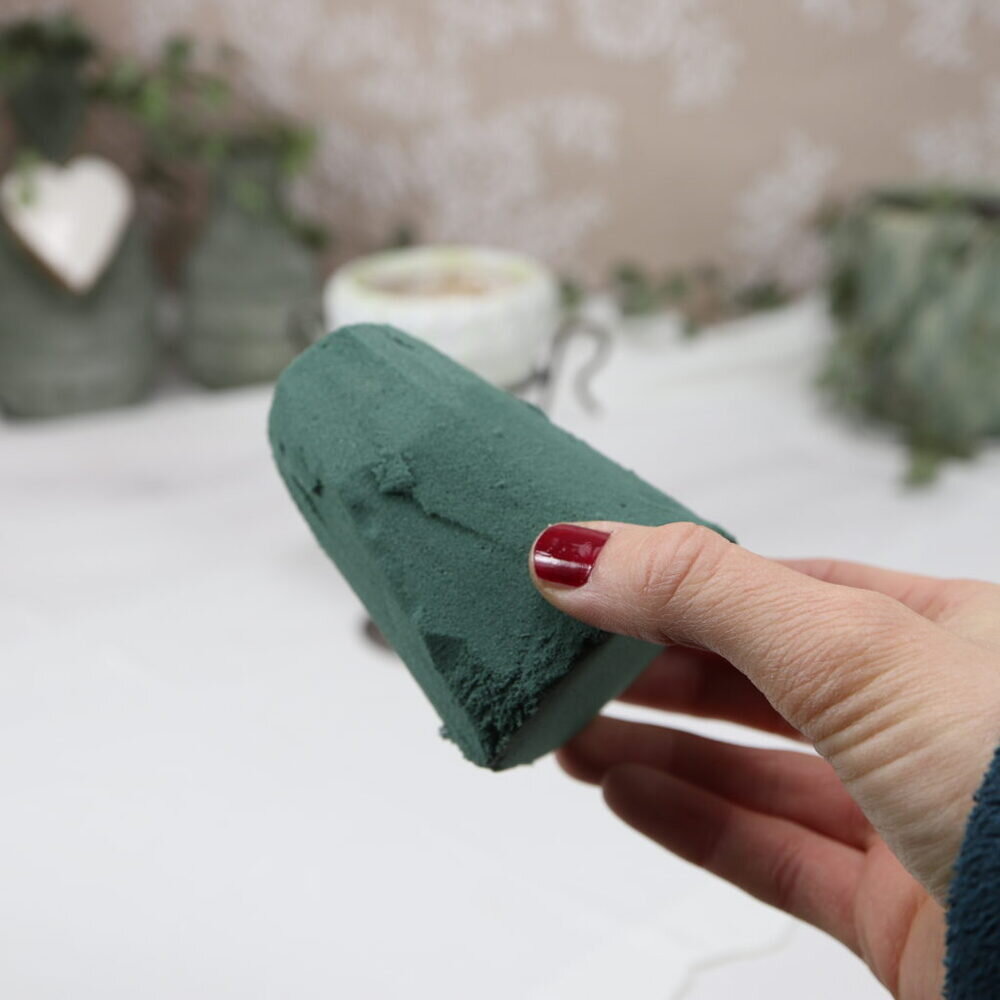
Step 2: Floral foam watering
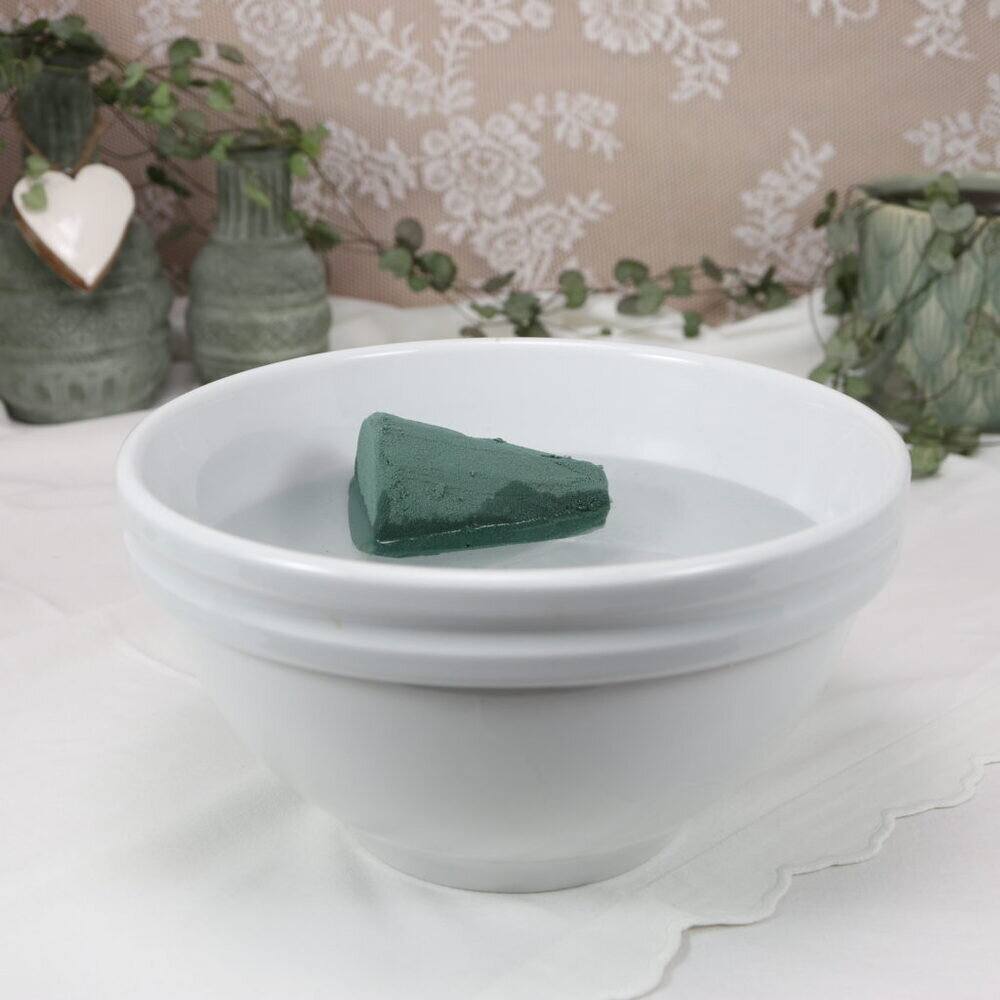
The second step is to water the floral foam. Start with filling water into the bowl. Then, put the floral foam onto the water. Wait a few moments until the floral foam is fully soaked with water.
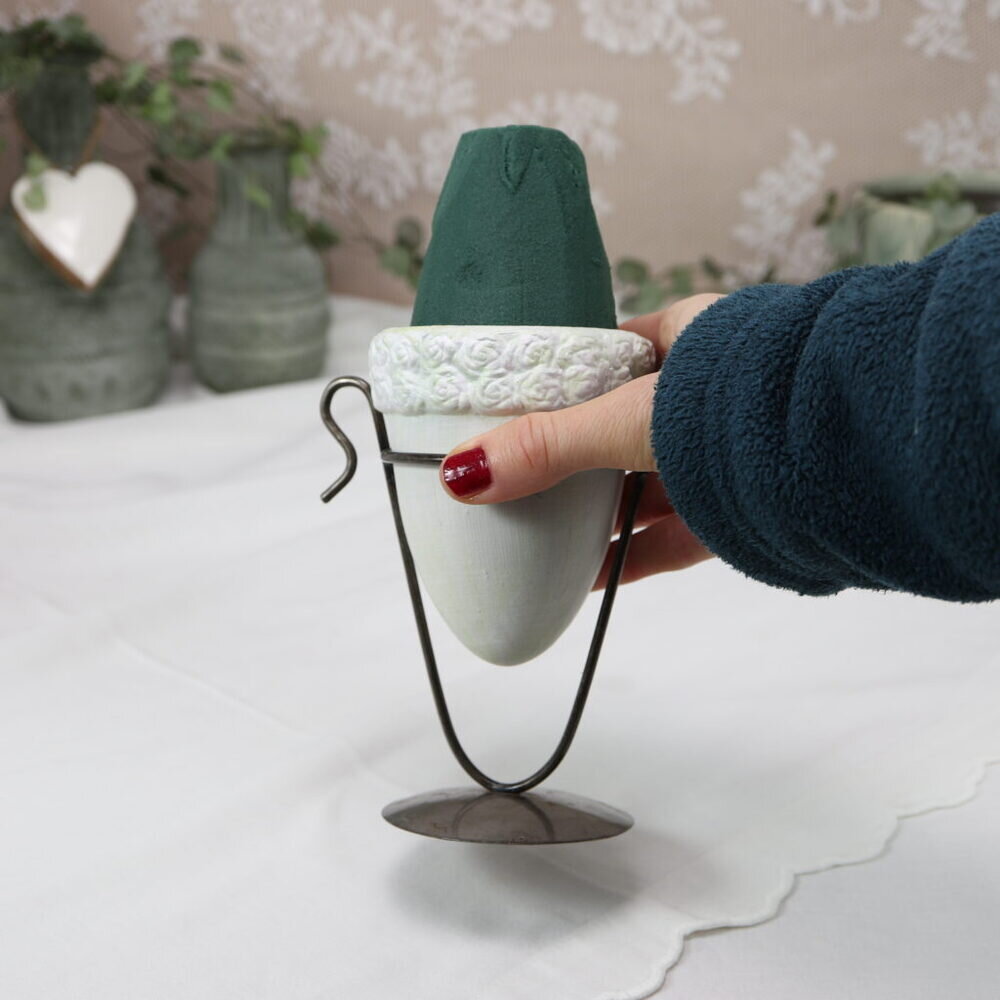
Now, you can insert the floral foam into the planter.
Step 3: Cut flowers
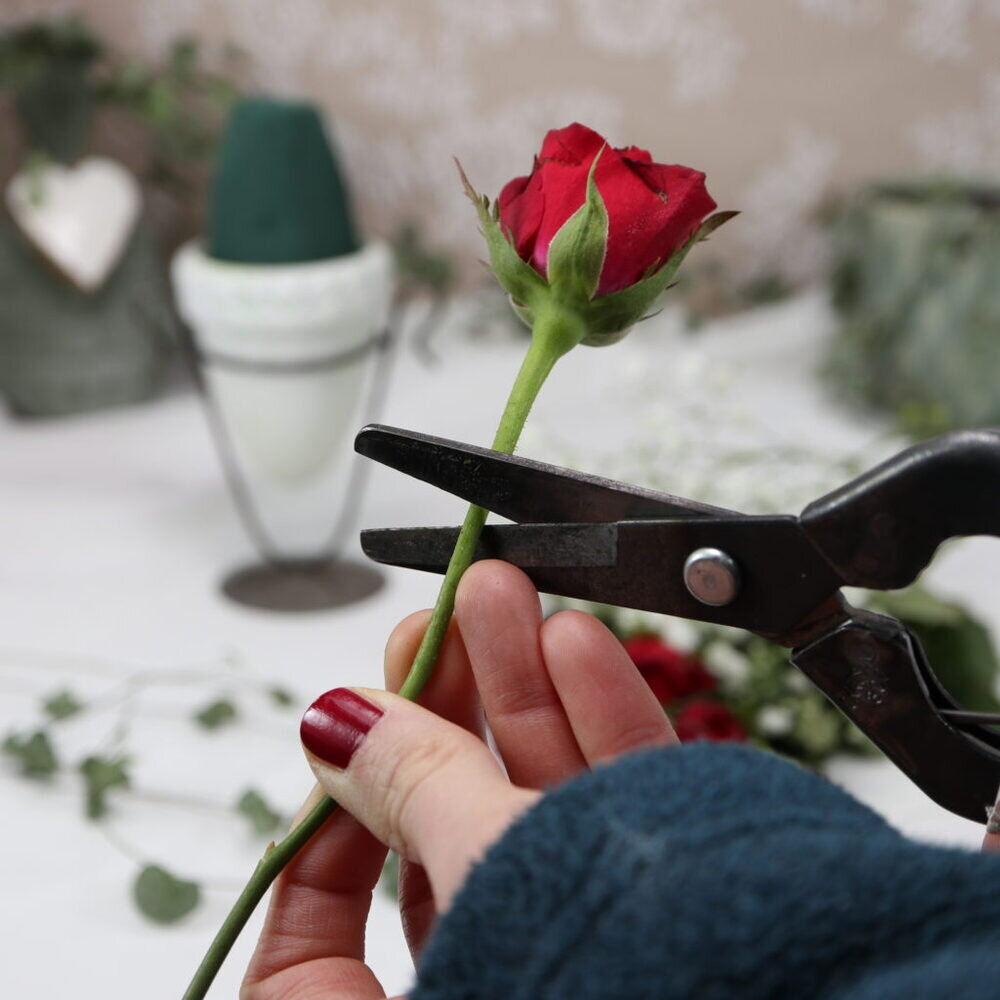
Next, cut the right flowers to the right length. I have a very small planter. Therefore, I cut the roses and baby’s breath to a very short length. The chain of hearts are cut to a longer length.
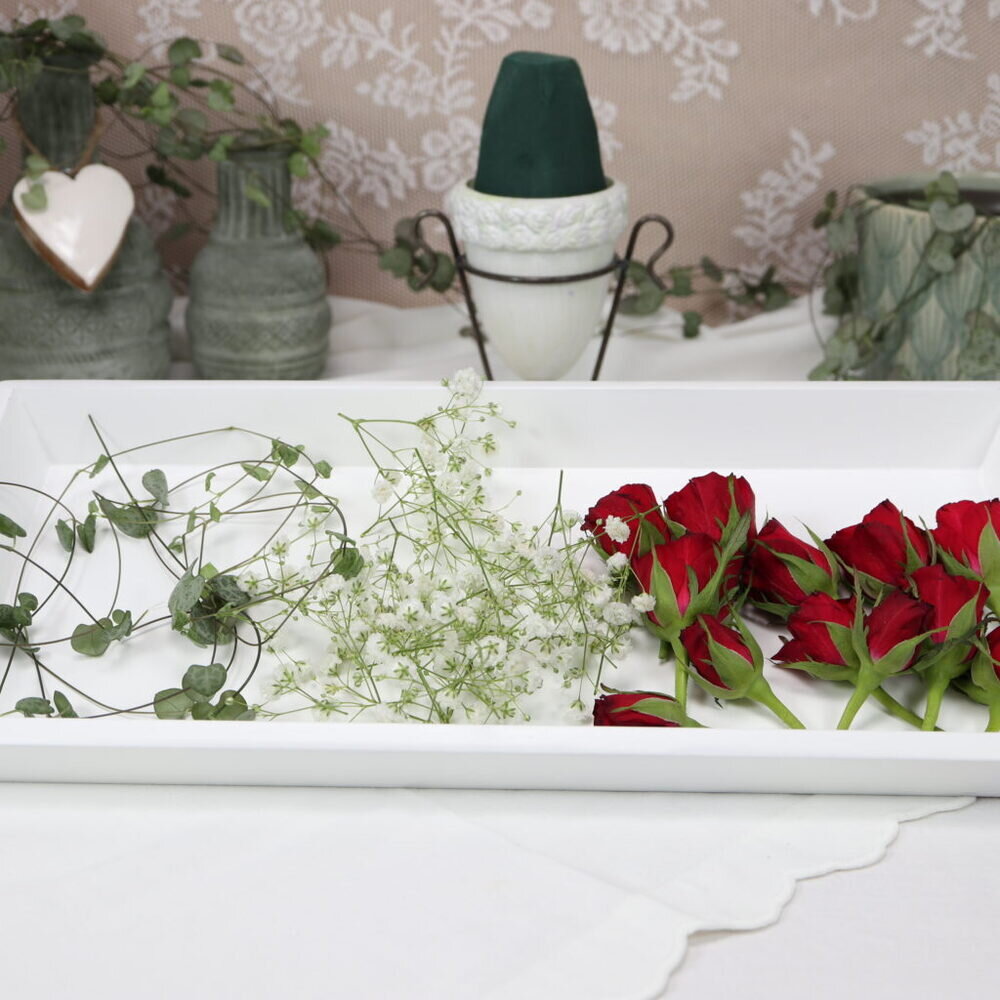
Step 4: Insert flowers into floral foam
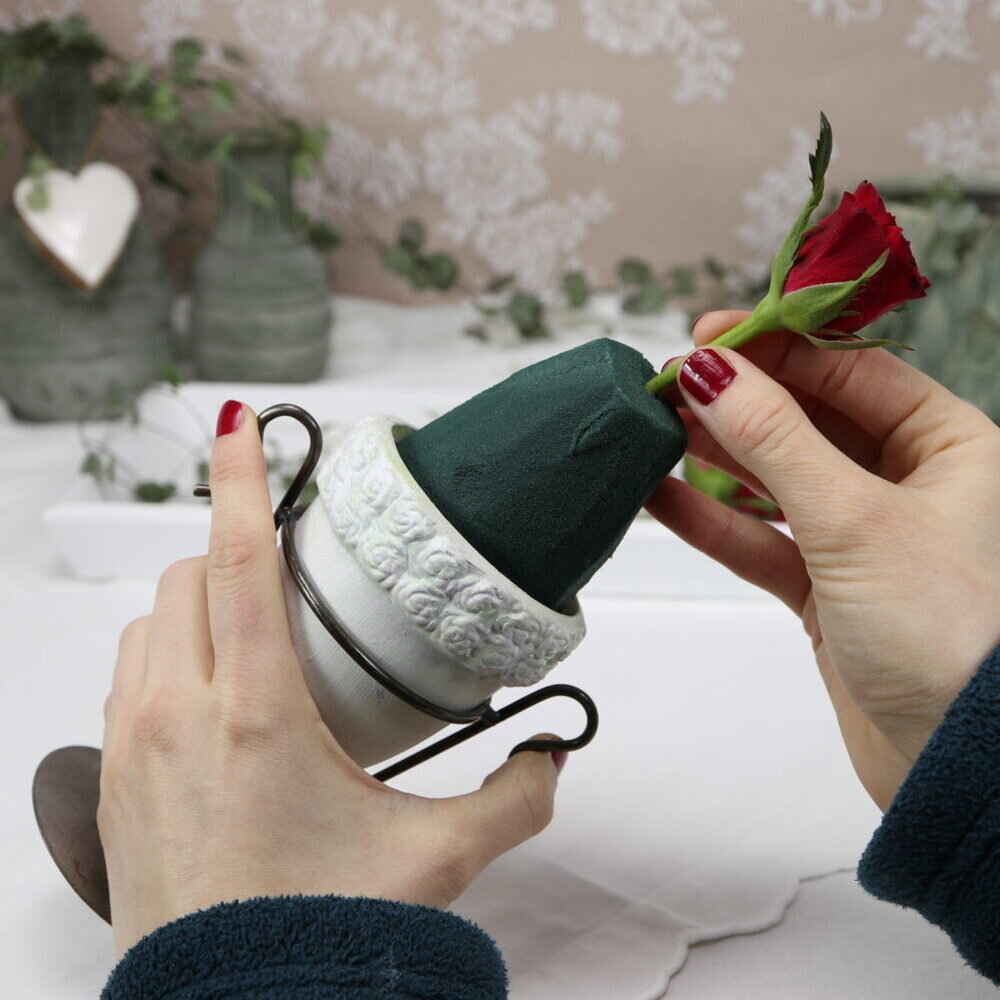
Next, I inserted the flowers and plants into the floral foam. I start with the roses and arrange them evenly around the foam.
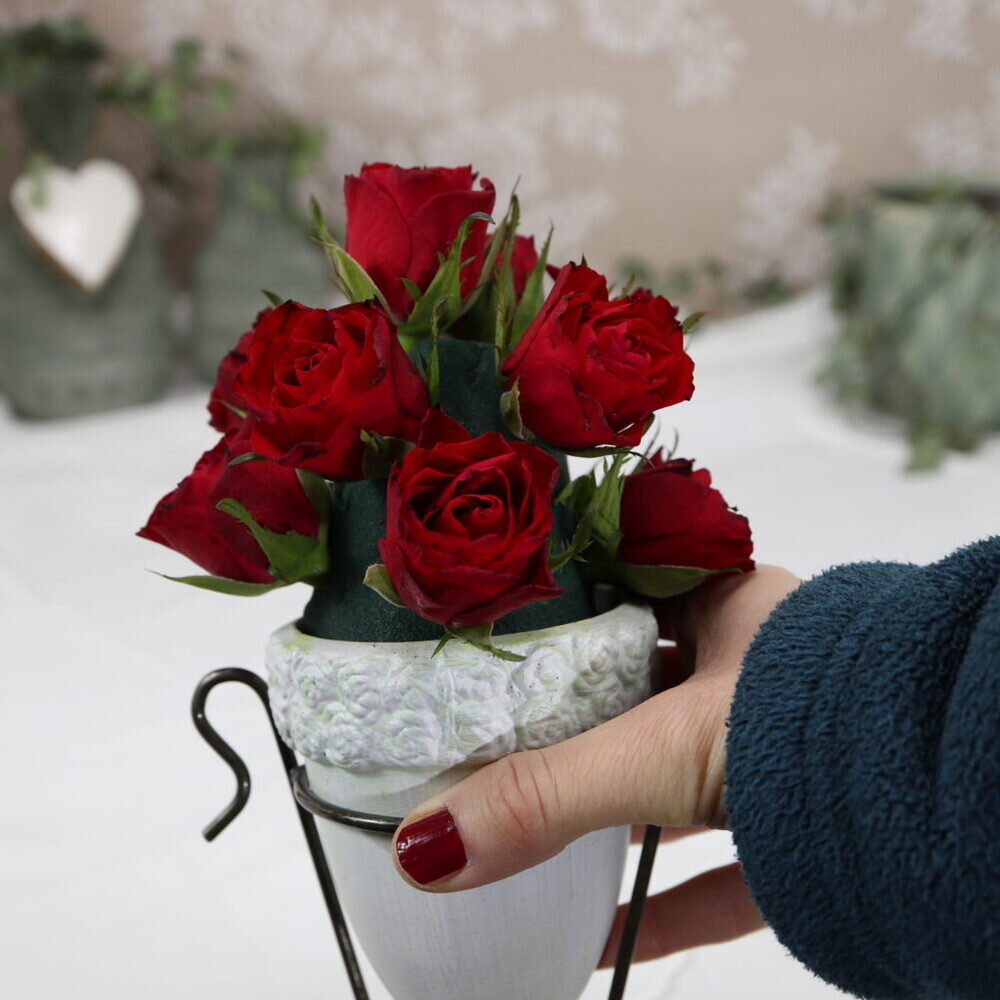
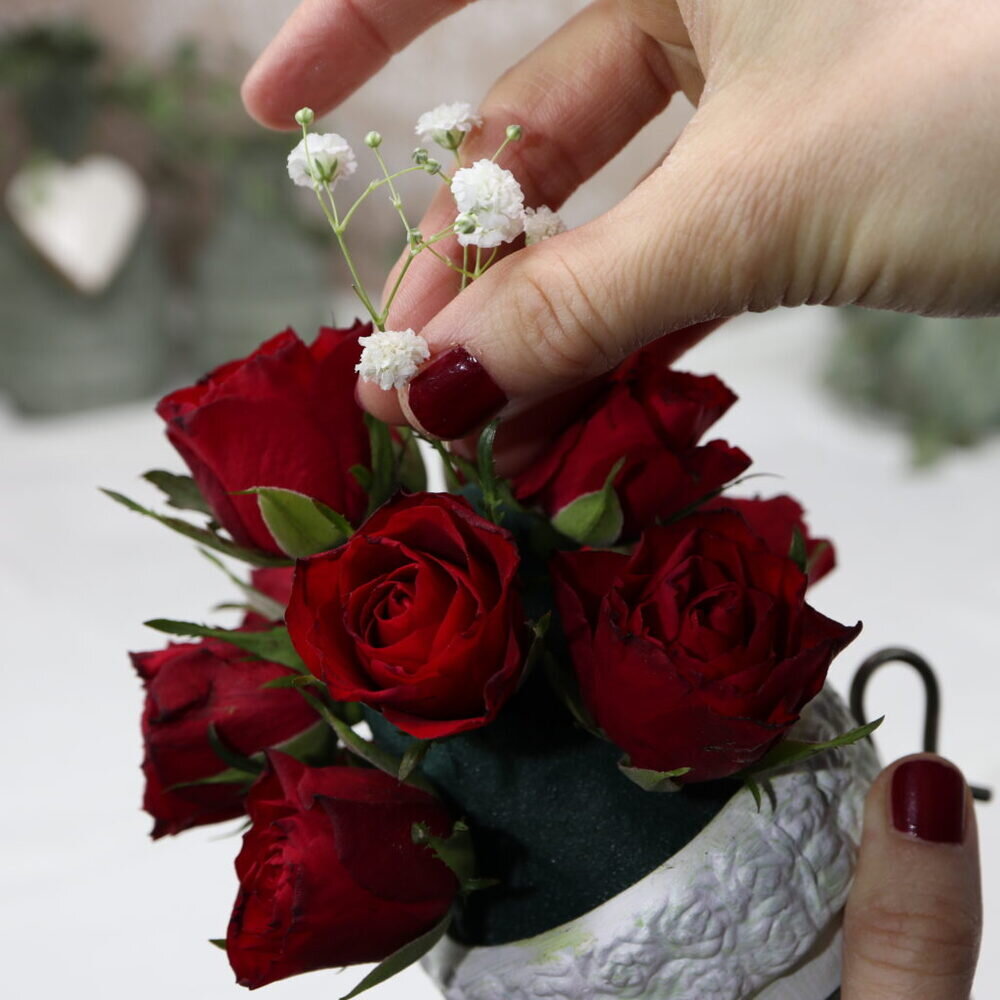
Then, I insert the baby’s breath into the remaining spots of the floral foam.
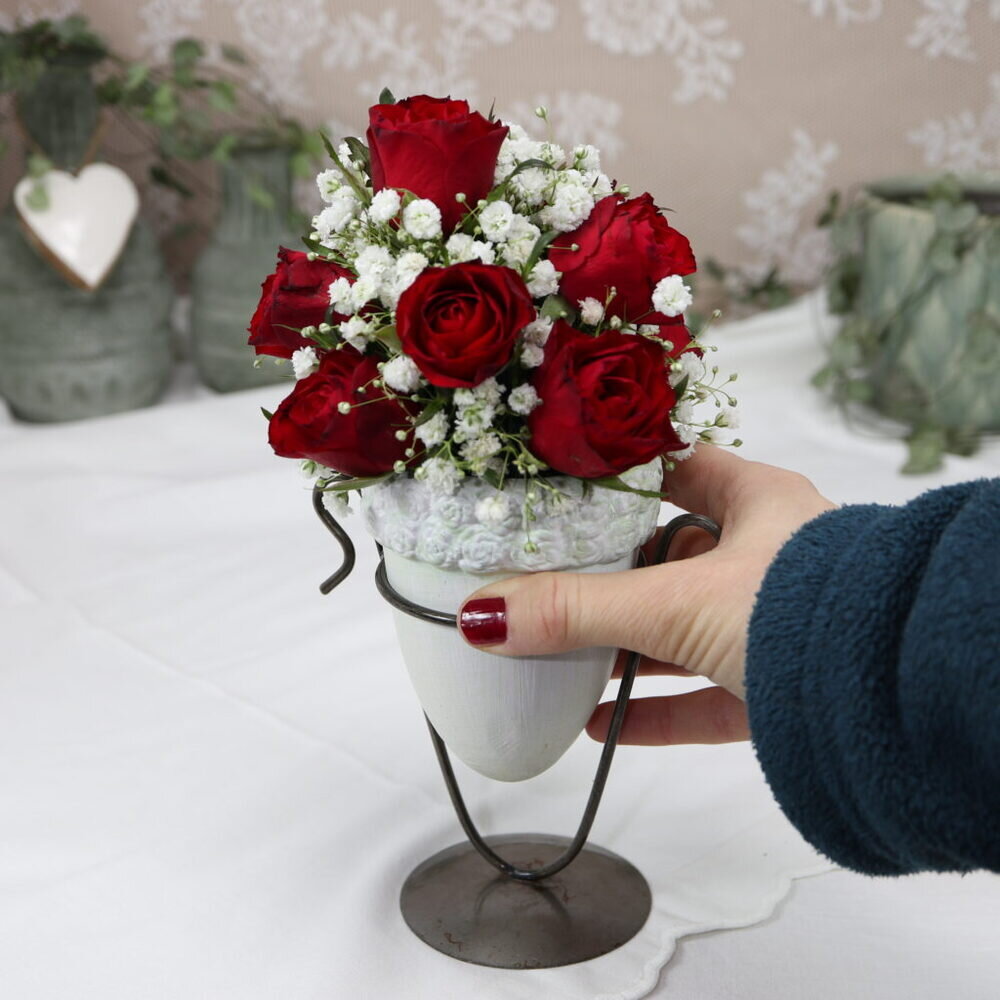
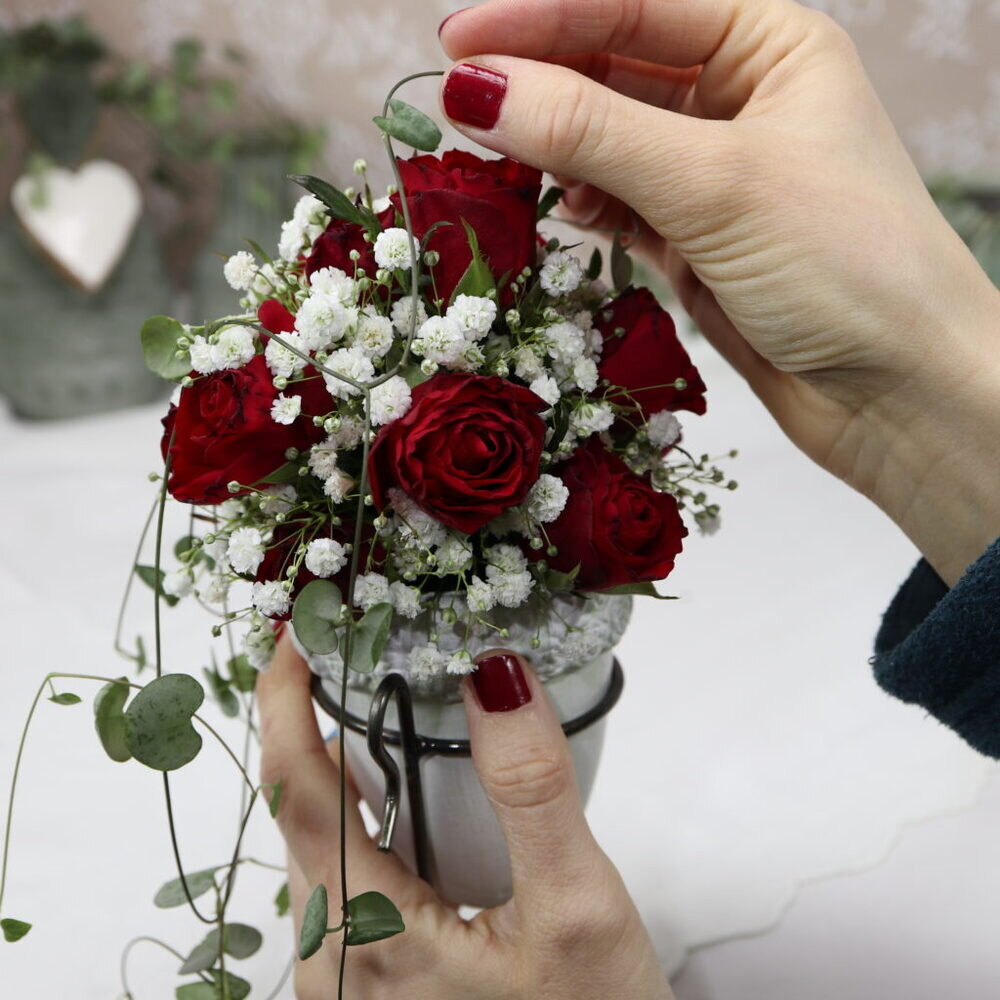
Finally, the chain of hearts are wrapped around the arrangement.
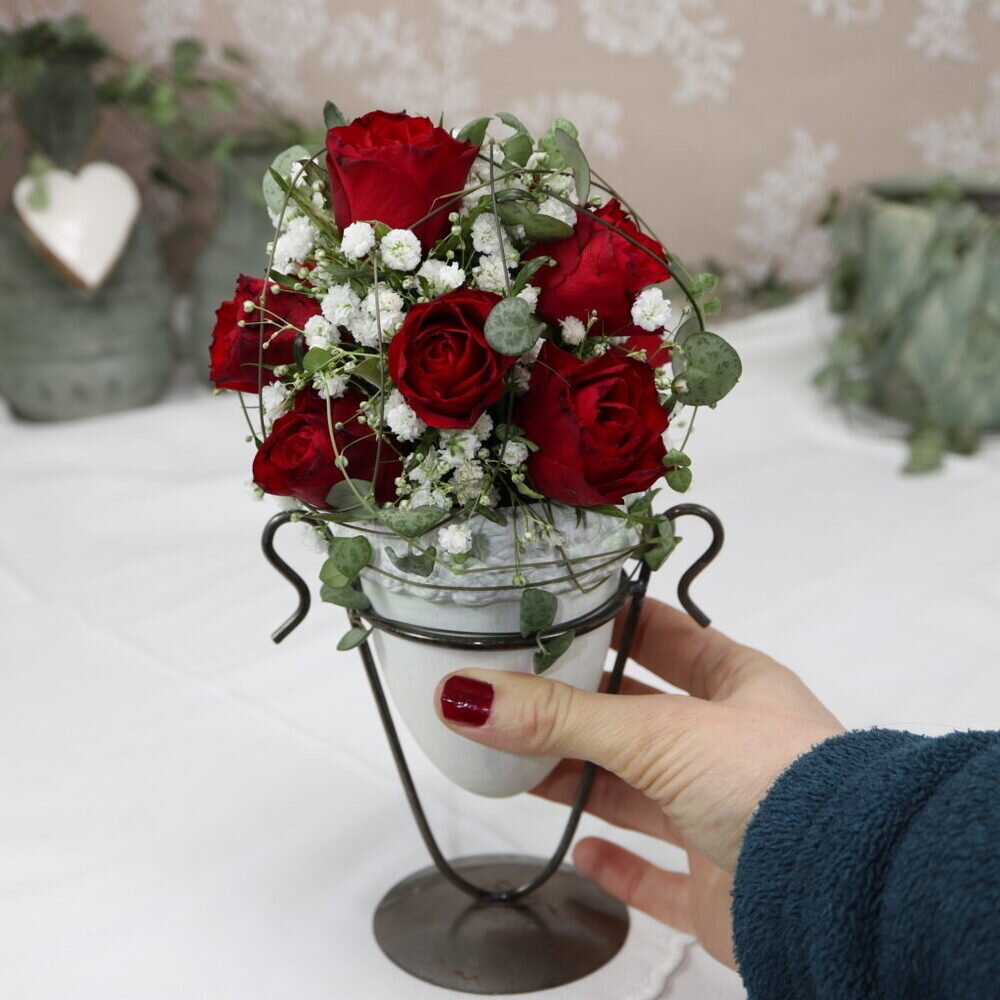
Now, you have a romantic flower arrangement than can be used as table decoration. I hope you had a lot of fun while making this DIY!
