I often keep some empty milk cartoons to use them later for DIYs. Recently, I made a planter out of a milk carton. This article shows how you can make one, too.
Tools
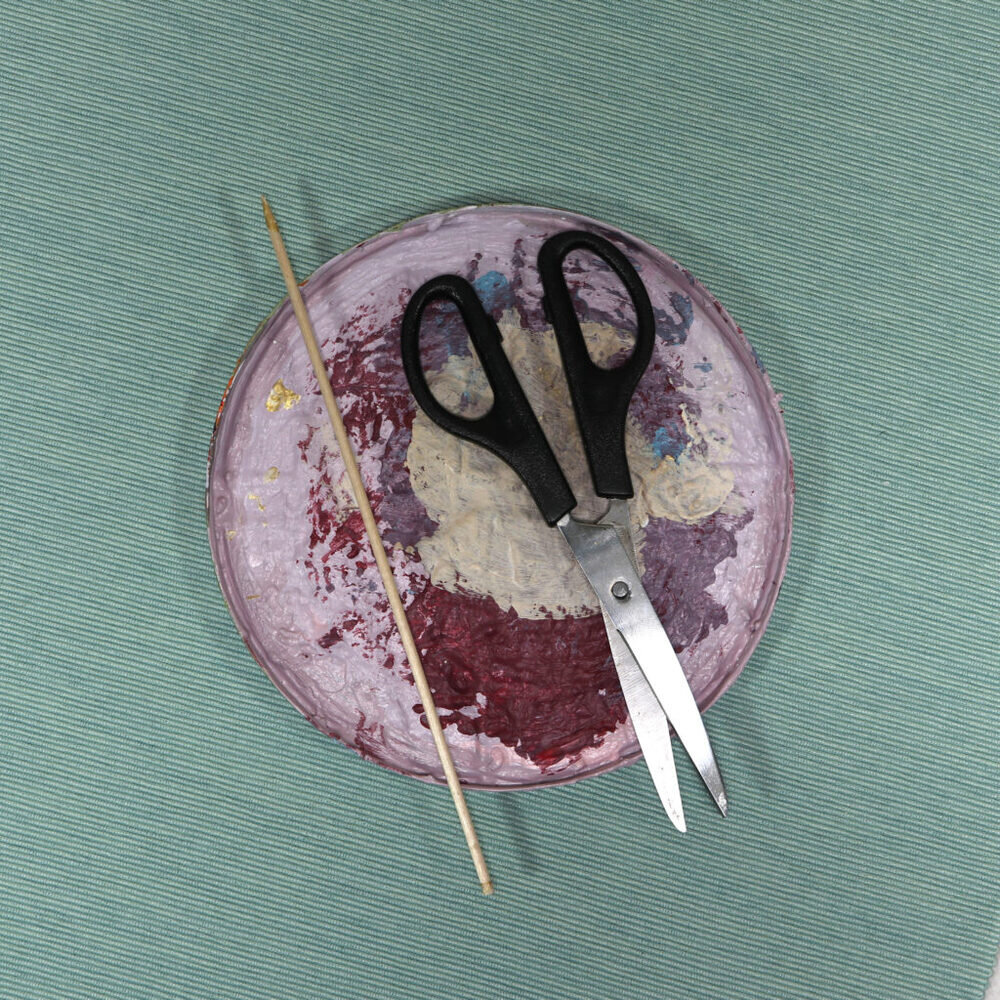
These are the tools that I used for making the plant pot: Household scissors, mixing palette, and natural skewers.
Materials
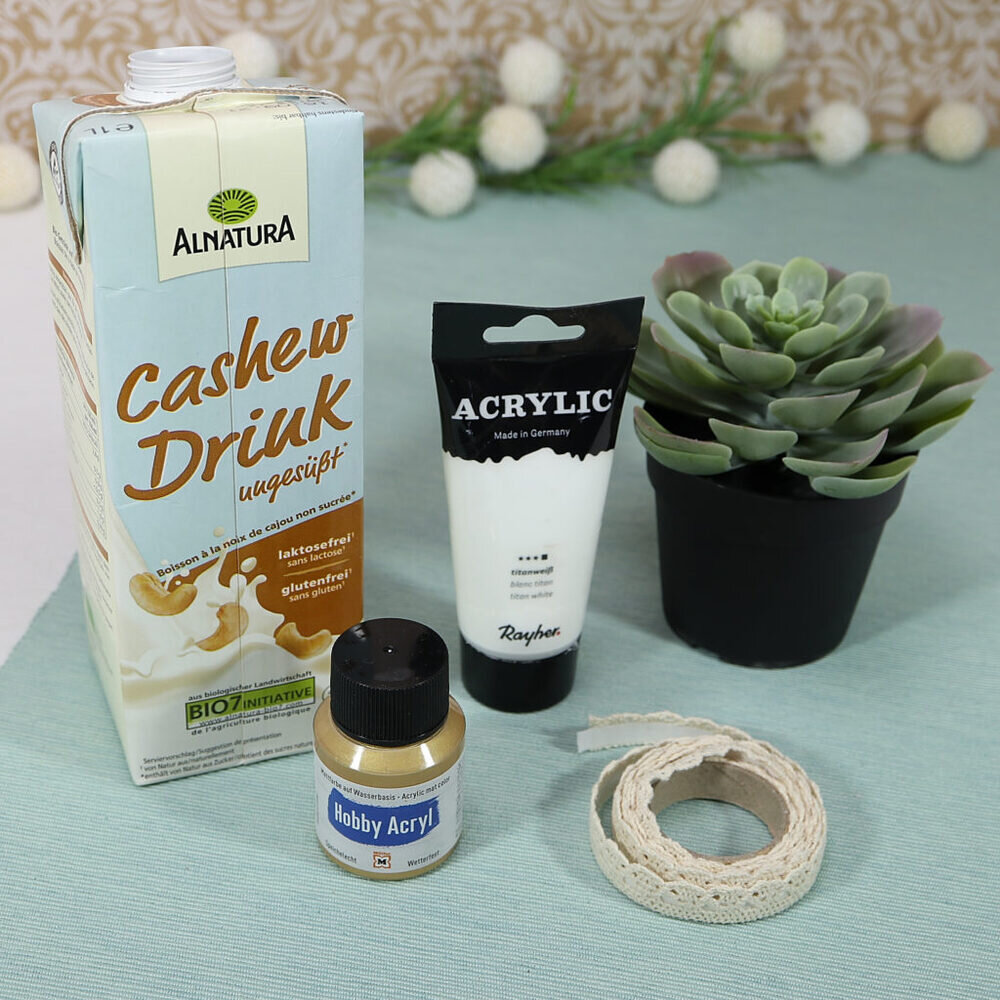
These are the materials that I used to make a planter out of the milk carton: milk carton, succulent plant, crochet ribbon (self-adhesive) and acrylic paint (white+gold).
| Material | Search on… |
|---|---|
| Milk carton | |
| Succulent plant (artificial) | |
| (Self-adhesive) crochet ribbon | |
| Acrylic paint (white) | |
| Acrylic paint (gold) |
Guide
Step 1: Cut milk carton
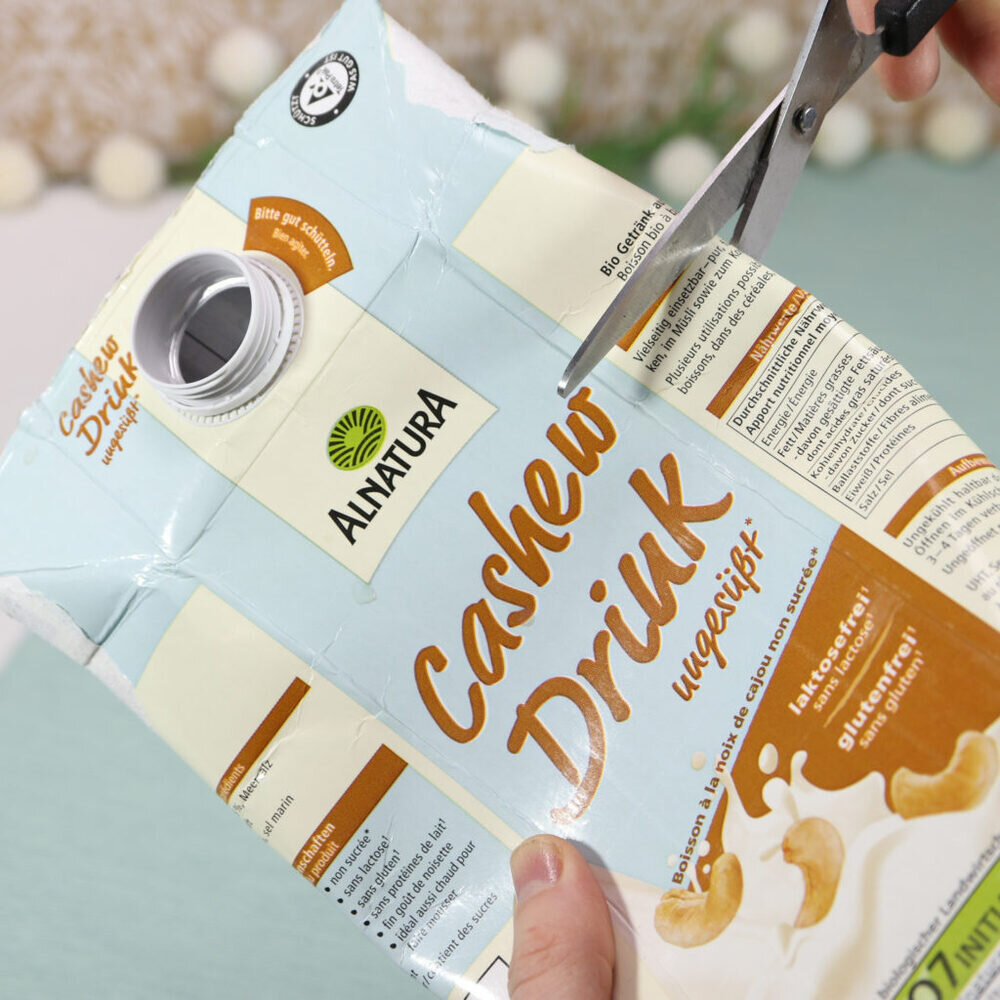
The first step is to cut the milk carton. Fold it in a way that it becomes a flat milk carton. Then, cut off the upper part of the milk carton. Keep in mind that a small part is folded down when making the planter. Therefore, the final height of the planter will be a bit lower.
Step 2: Crumple up milk carton

I crumpled up the milk carton to create a “used look” style.
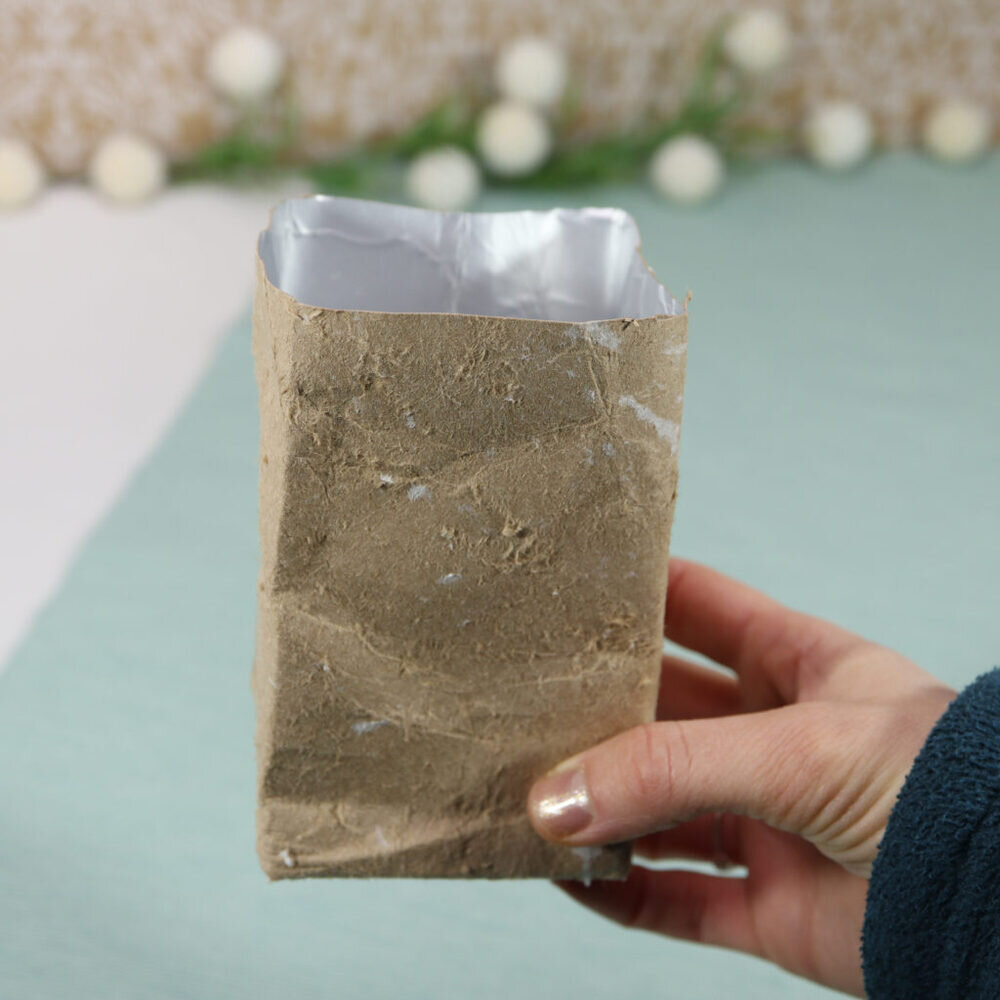
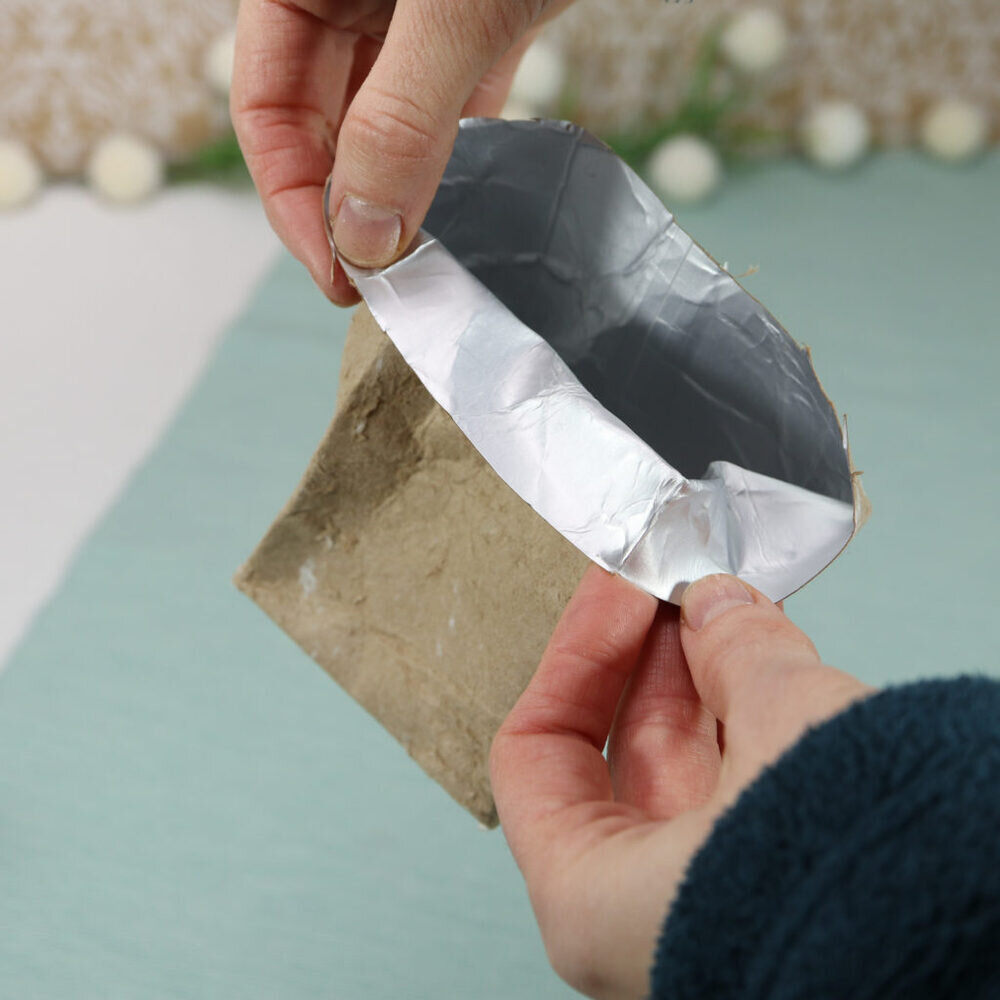
Step 3: Remove the outer layer
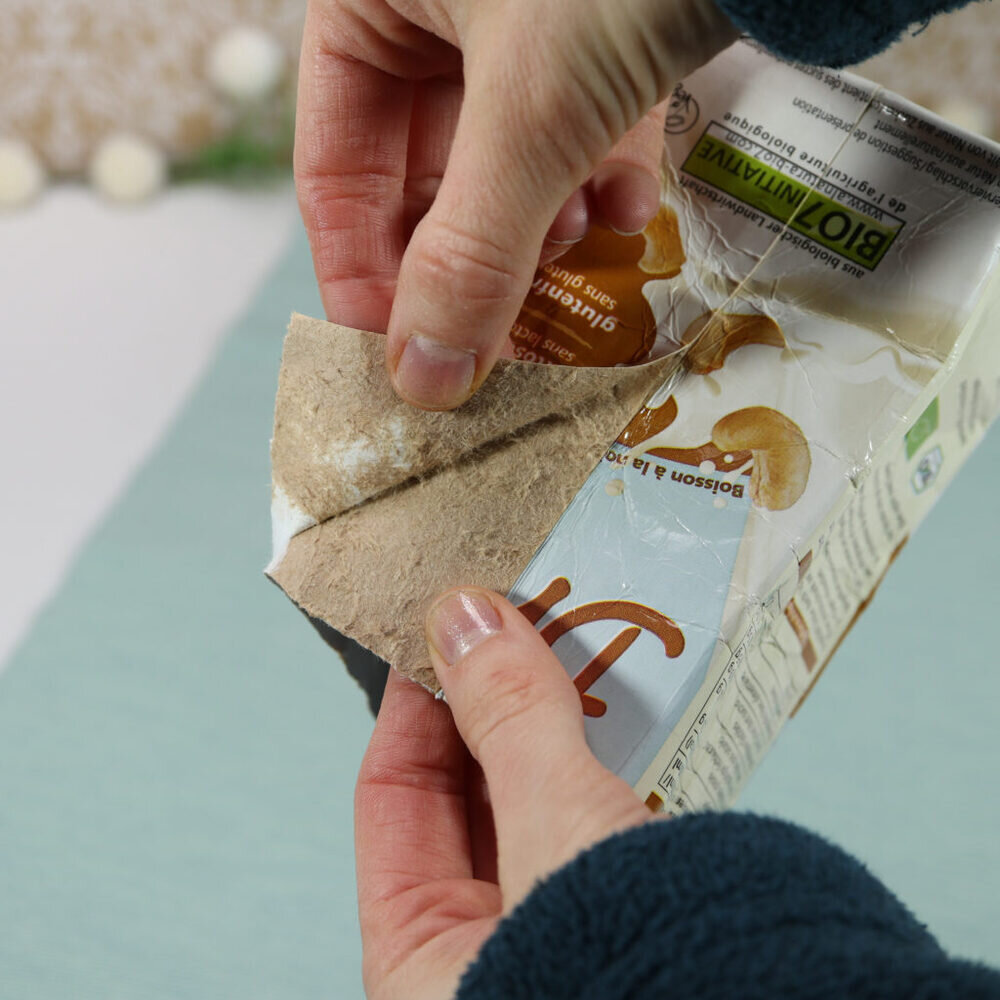
Next, I removed the outer layer of the milk carton. This step becomes much easier when starting at the “seam” of the milk carton.
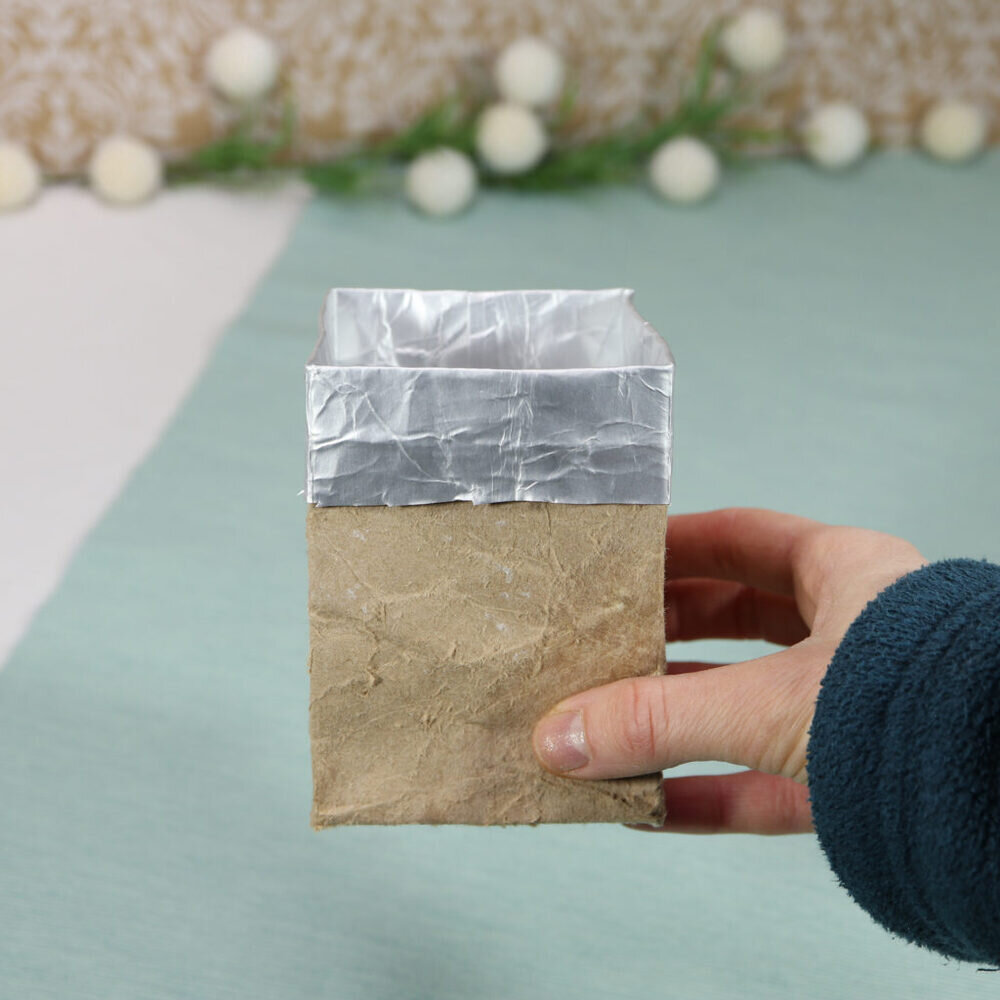
Step 4: Folding the milk carton
Next, full down the upper part of the milk carton. This step defines the final height of your planter. If your planter is still too high after folding, you can again cut away some part (see step 1).
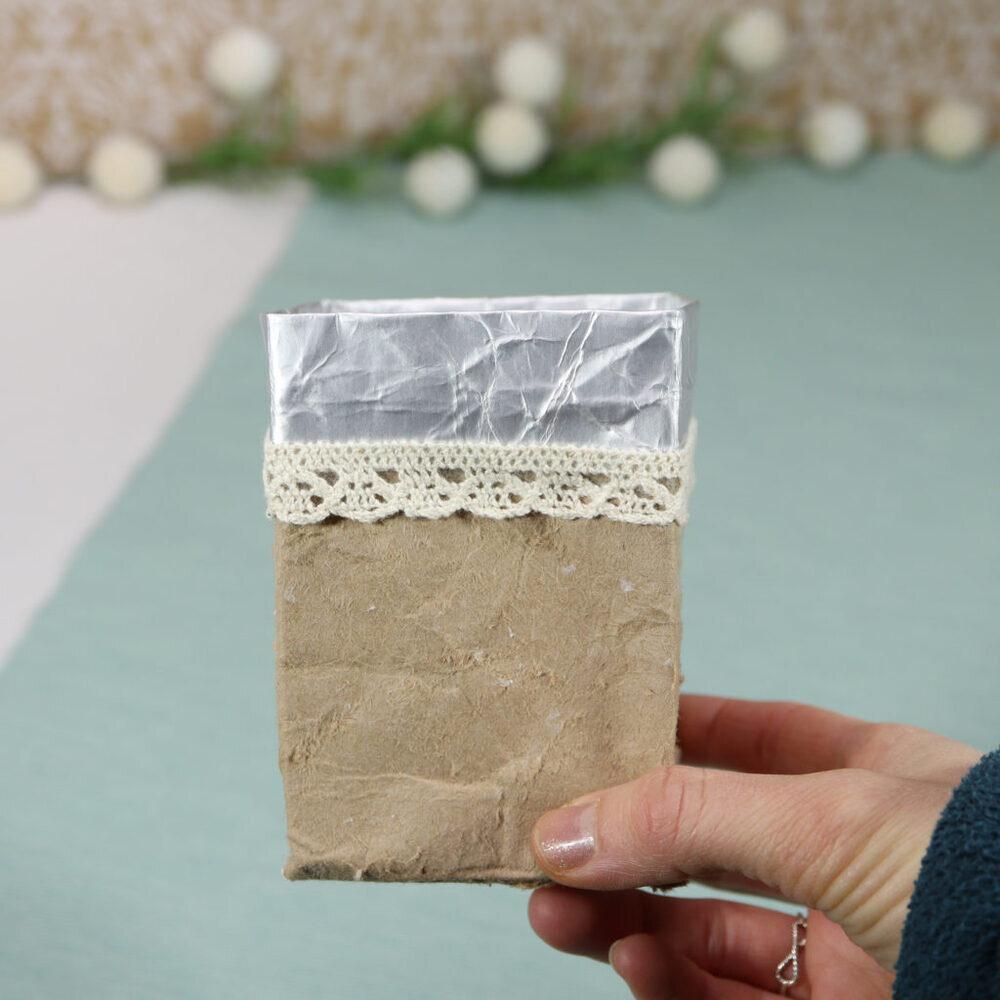
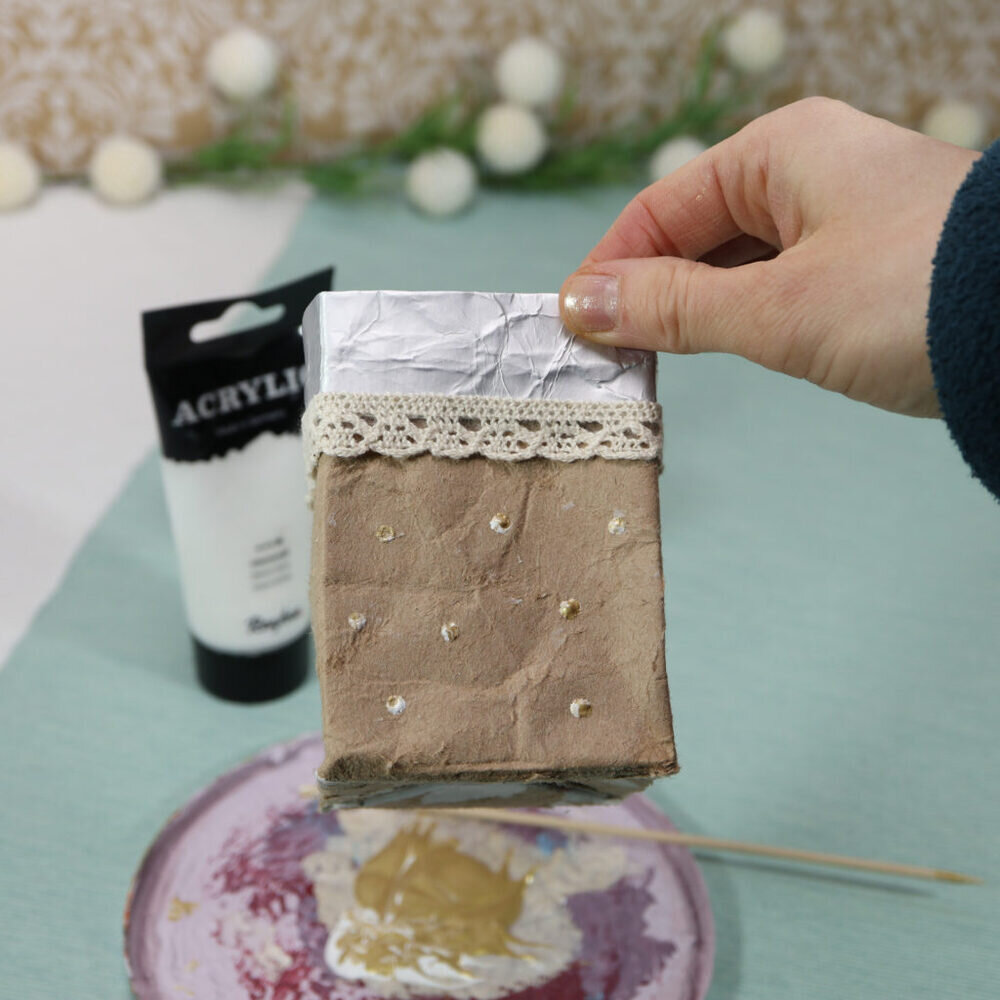
Step 5: Add crochet ribbon

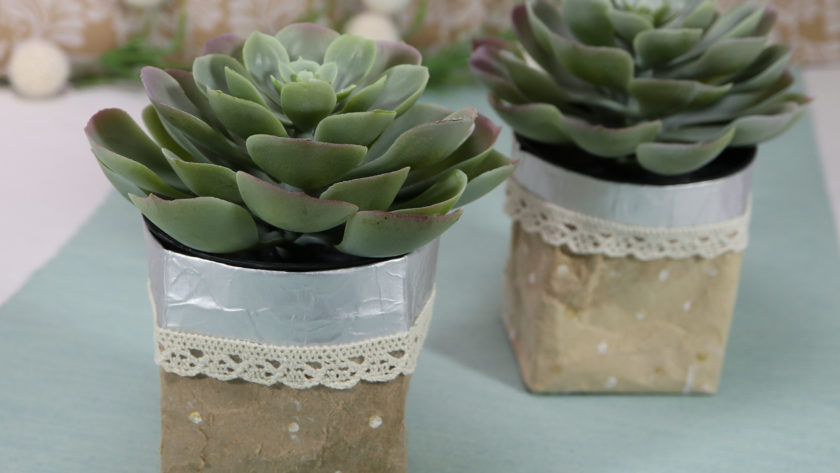
I added a crochet ribbon to my milk carton. This helps me also to conceal the parts where I did not cut very accurately. I used self-adhesive crochet ribbon.
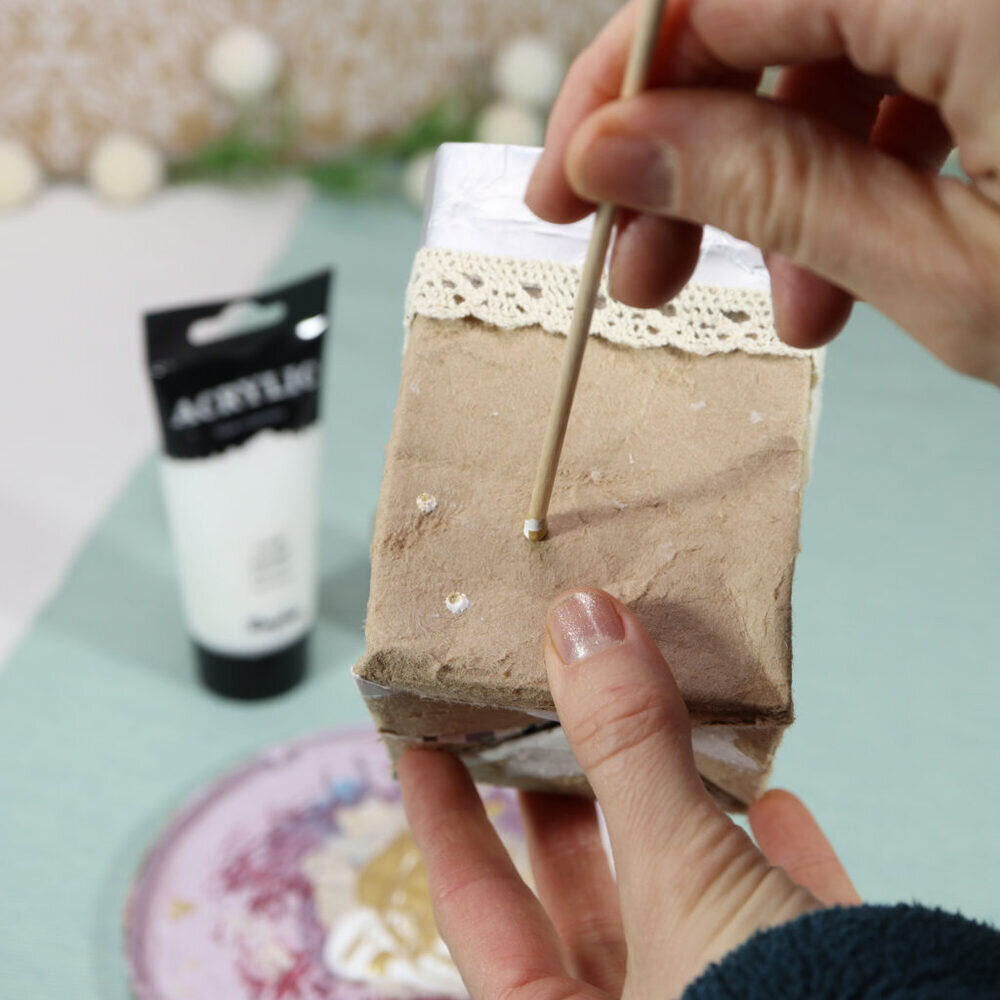
Step 6: Add some paint
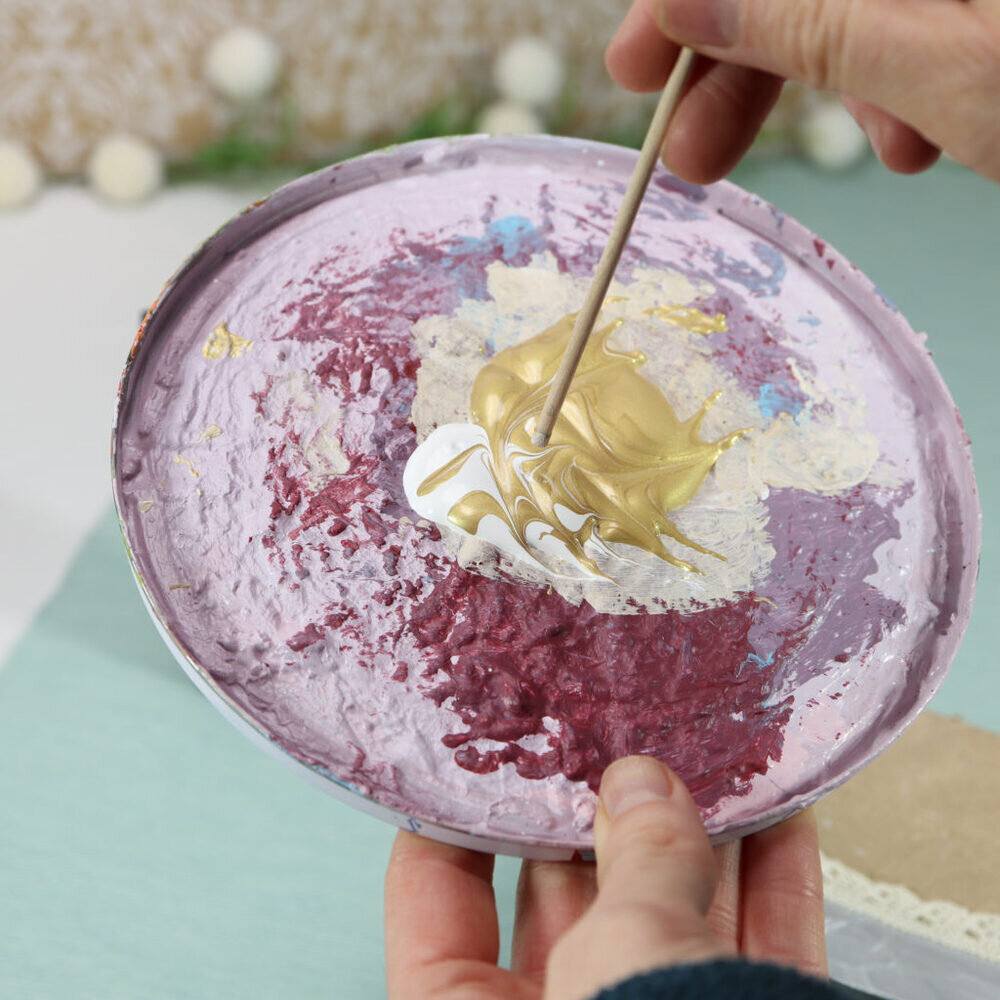
To make it look more interesting, I added some paint to my planter. I mixed white and golden acrylic paint to paint some dots onto the outer layer of the milk carton. I made use of the natural skewers to mix the paints and to draw the dots.
Step 7: Insert the Succulent plant
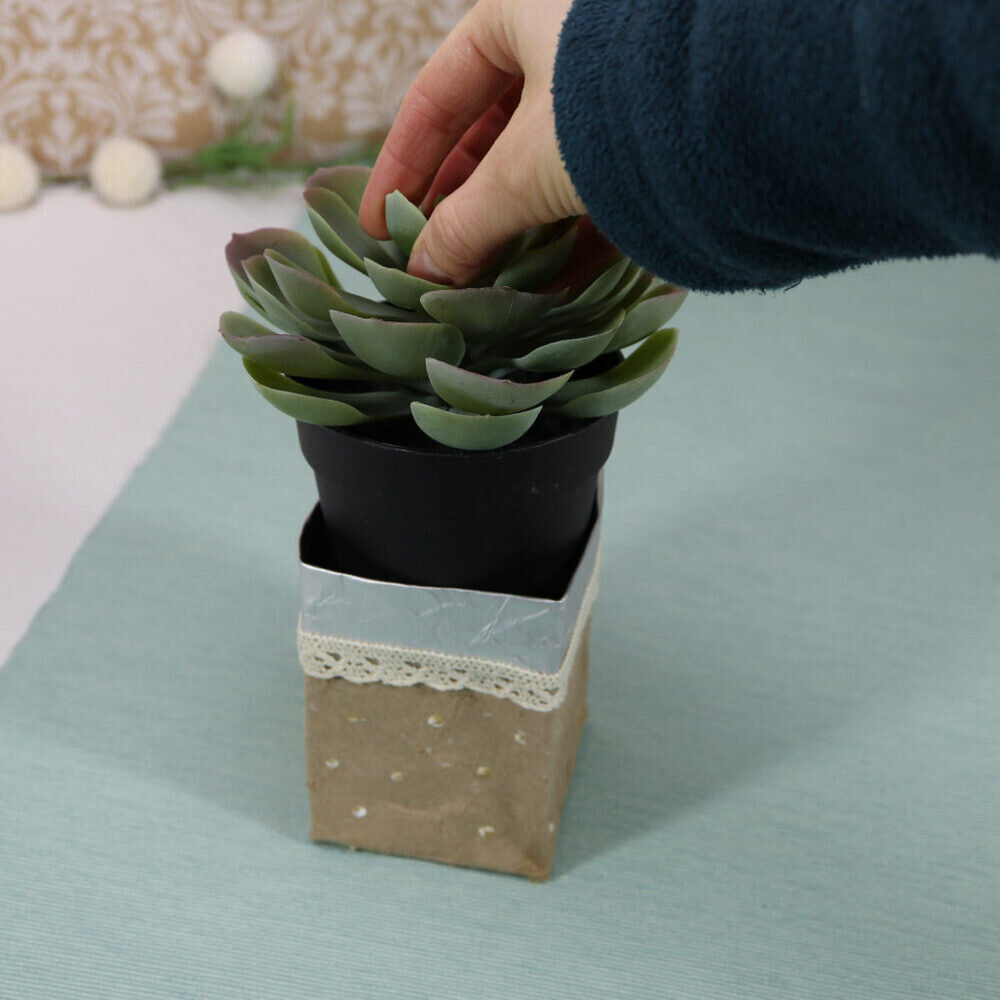
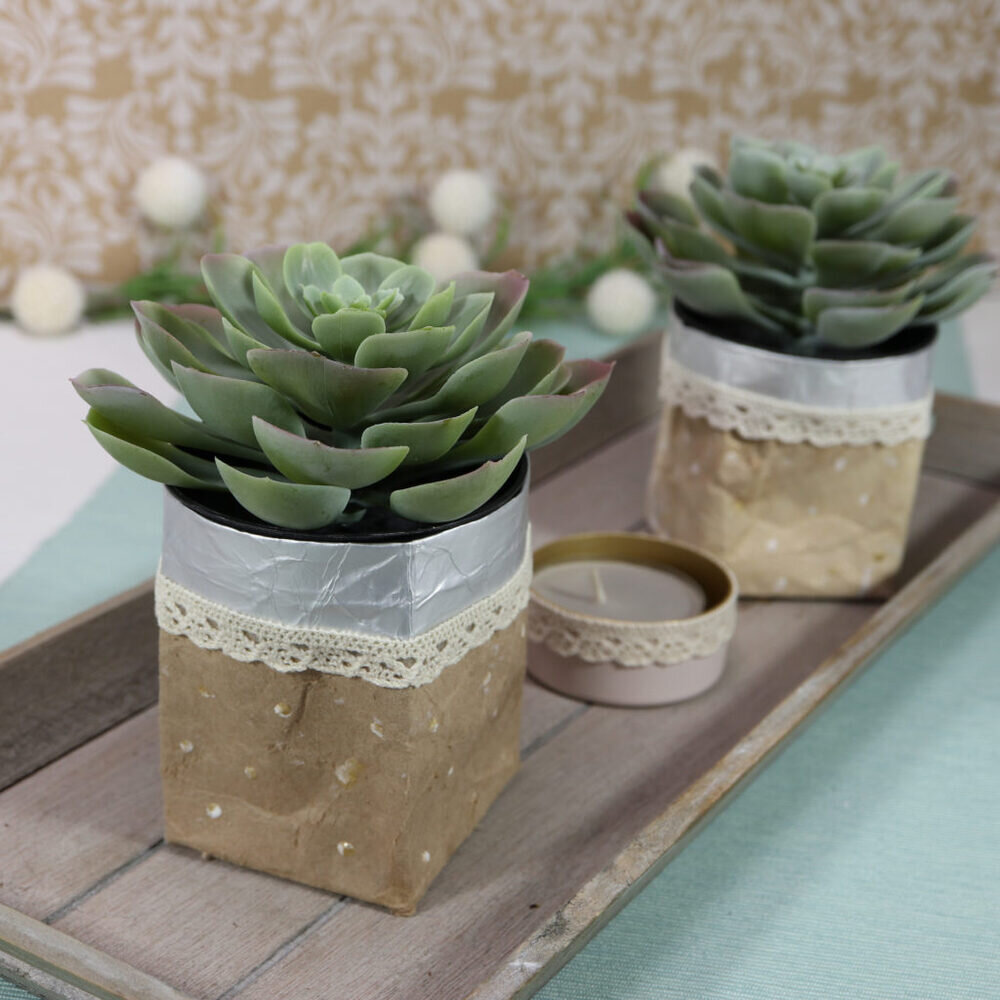
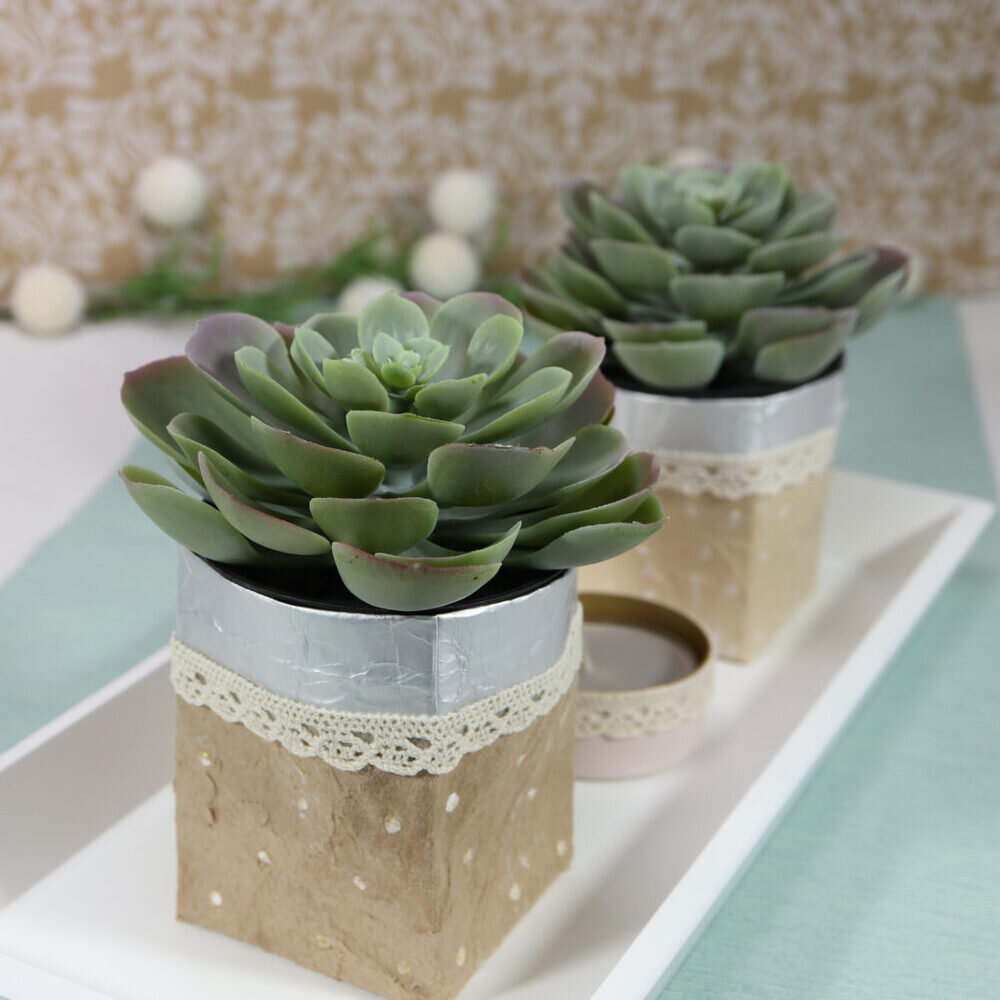
The last step is to insert the succulent plant into the DIY planter.
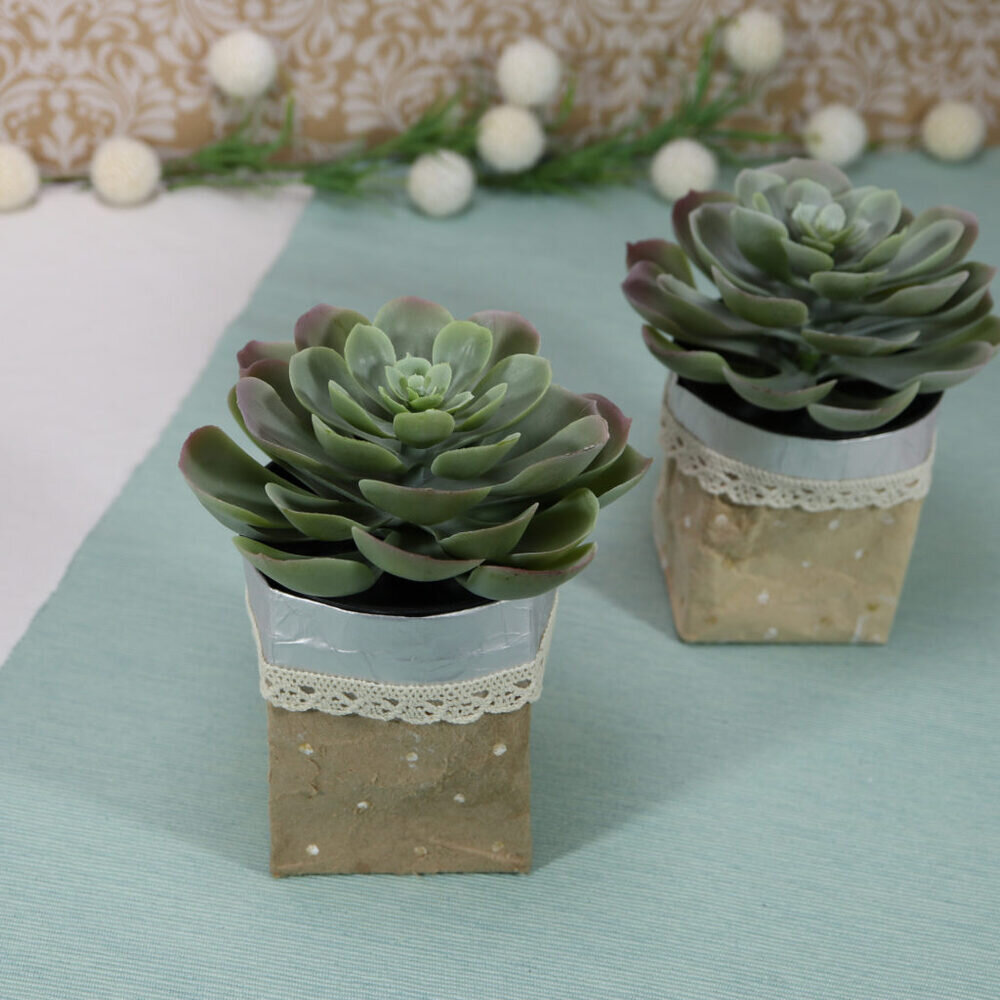
Finished! I hope you enjoyed this DIY tutorial!