You can easily make flower arrangements yourself. Floral foam, which consists of synthetic resin foam, is often used for this purpose. This has the advantage of being easy to work with and holding the flowers in place. Unfortunately, floral foam does not fare well when it comes to environmental friendliness and sustainability (see Floral Foam FAQ – Sustainability, Disposal, Microplastics).
So what can you use instead of floral foam? I have already presented several DIYs with alternative plug-in aids here. For this I used, for example, clay, rabbit wire, a flower frog / kenzan or a perforated lid. In these floral arrangements, the insertion aid was always hidden so that you couldn’t see it.
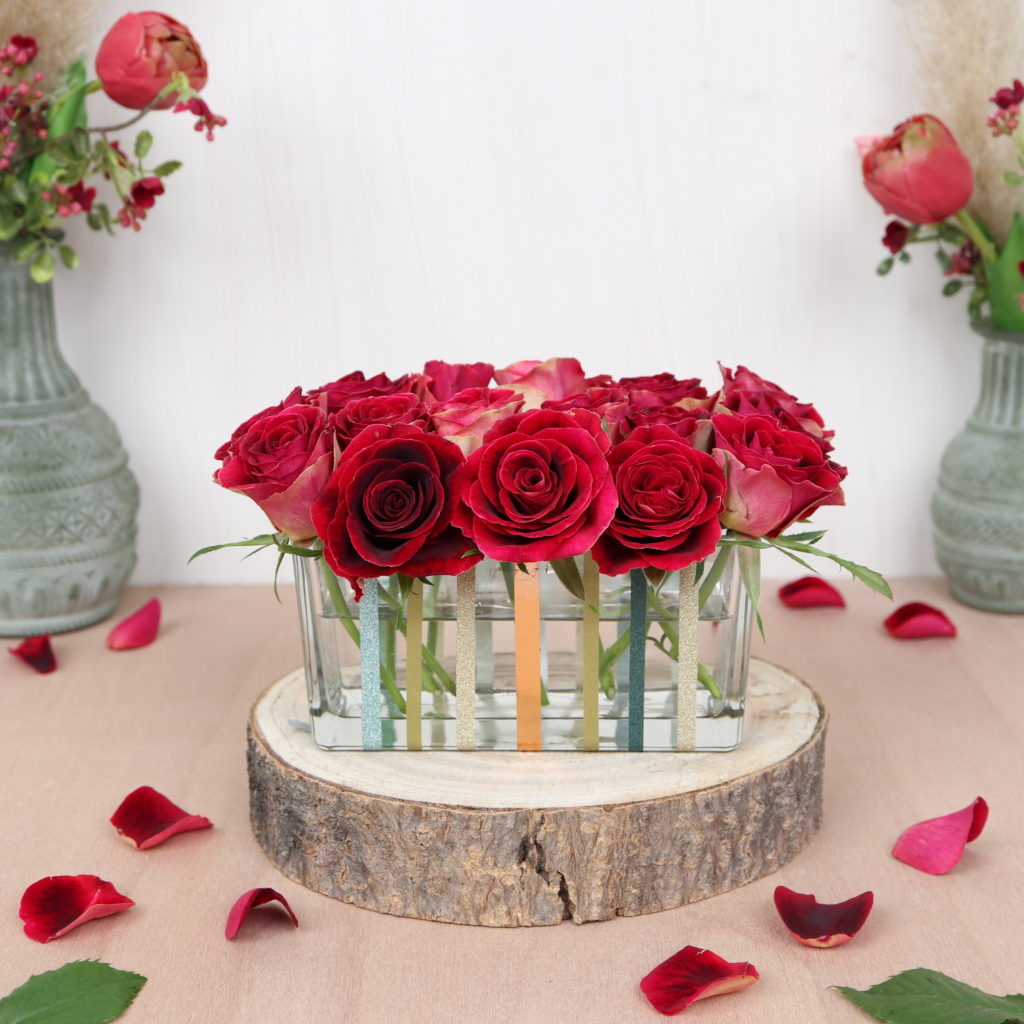
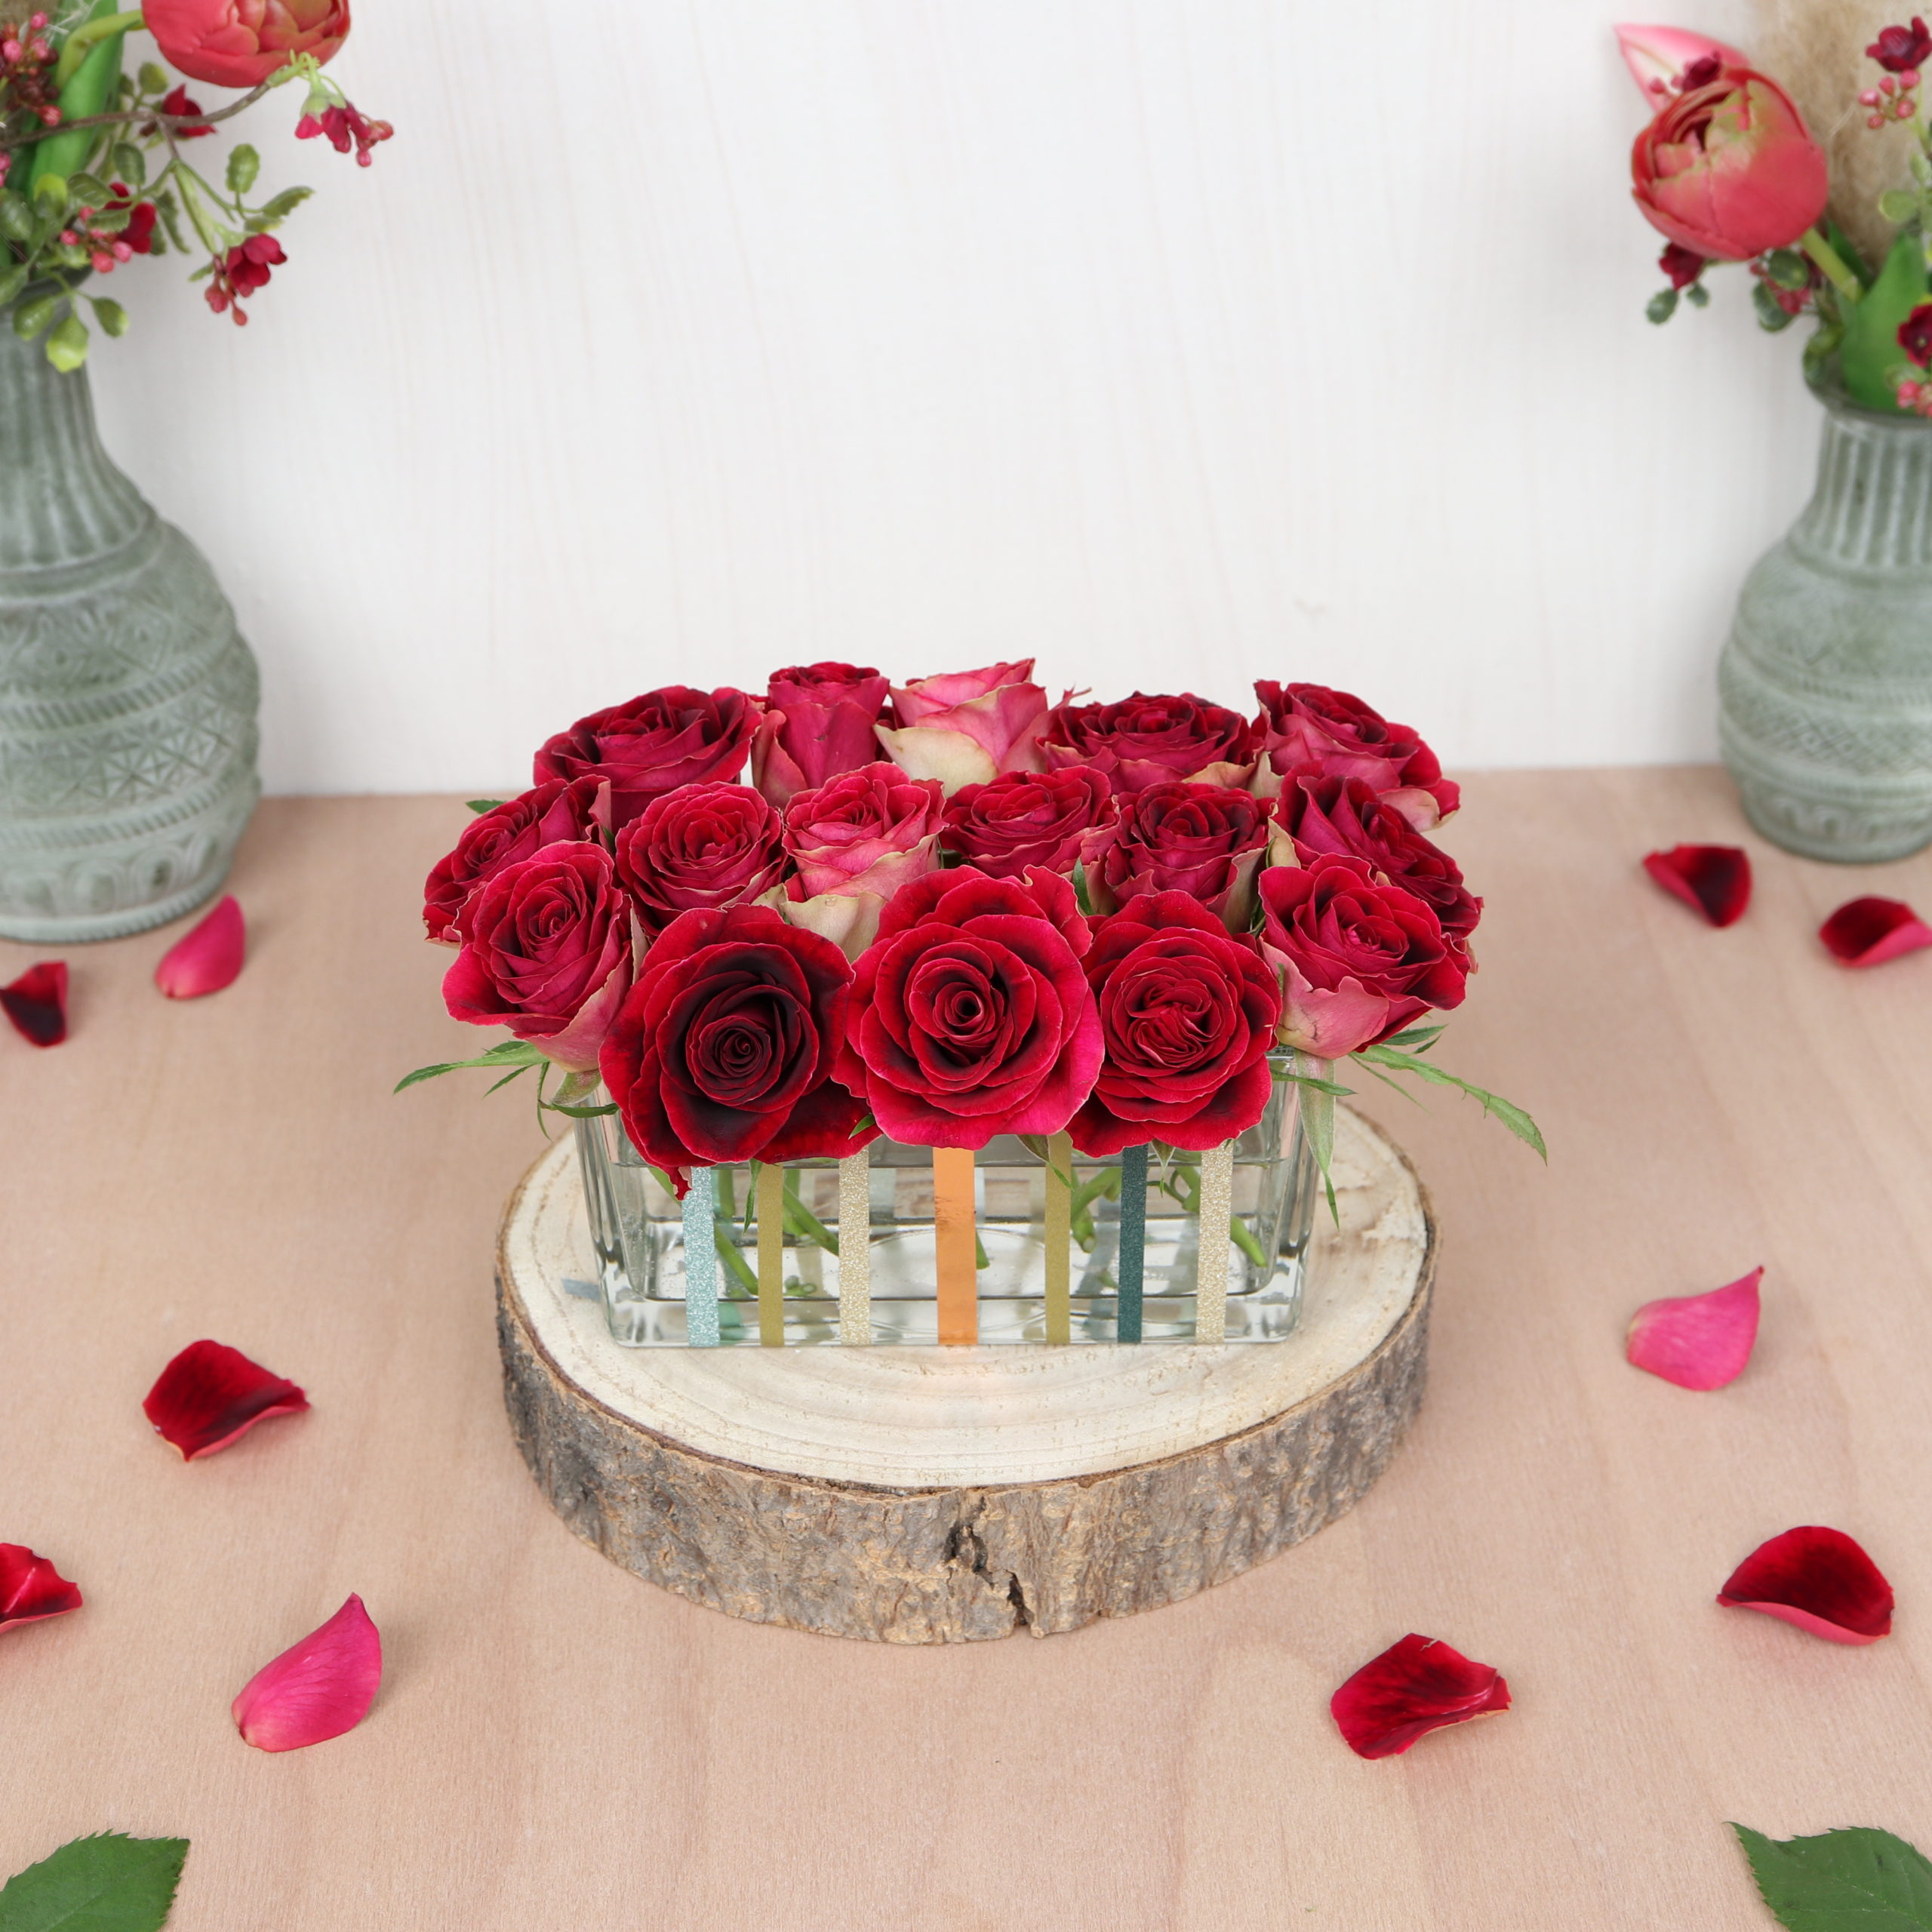
Today I would like to introduce you to an idea in which I make the insertion aid visible. I’ll show you how to use the washitape trick to easily arrange roses in a rectangular glass vase so that they don’t slip. The trick works just like the sticky tape trick, except that instead of hiding the sticky grid, it decorates the jar as well. The great thing about washitape is that it can be easily removed from surfaces without leaving any residue. So it can also be reused.
With the following step-by-step instructions you can easily make the flower arrangement with alternative and visible plug-in aid yourself!
Tools
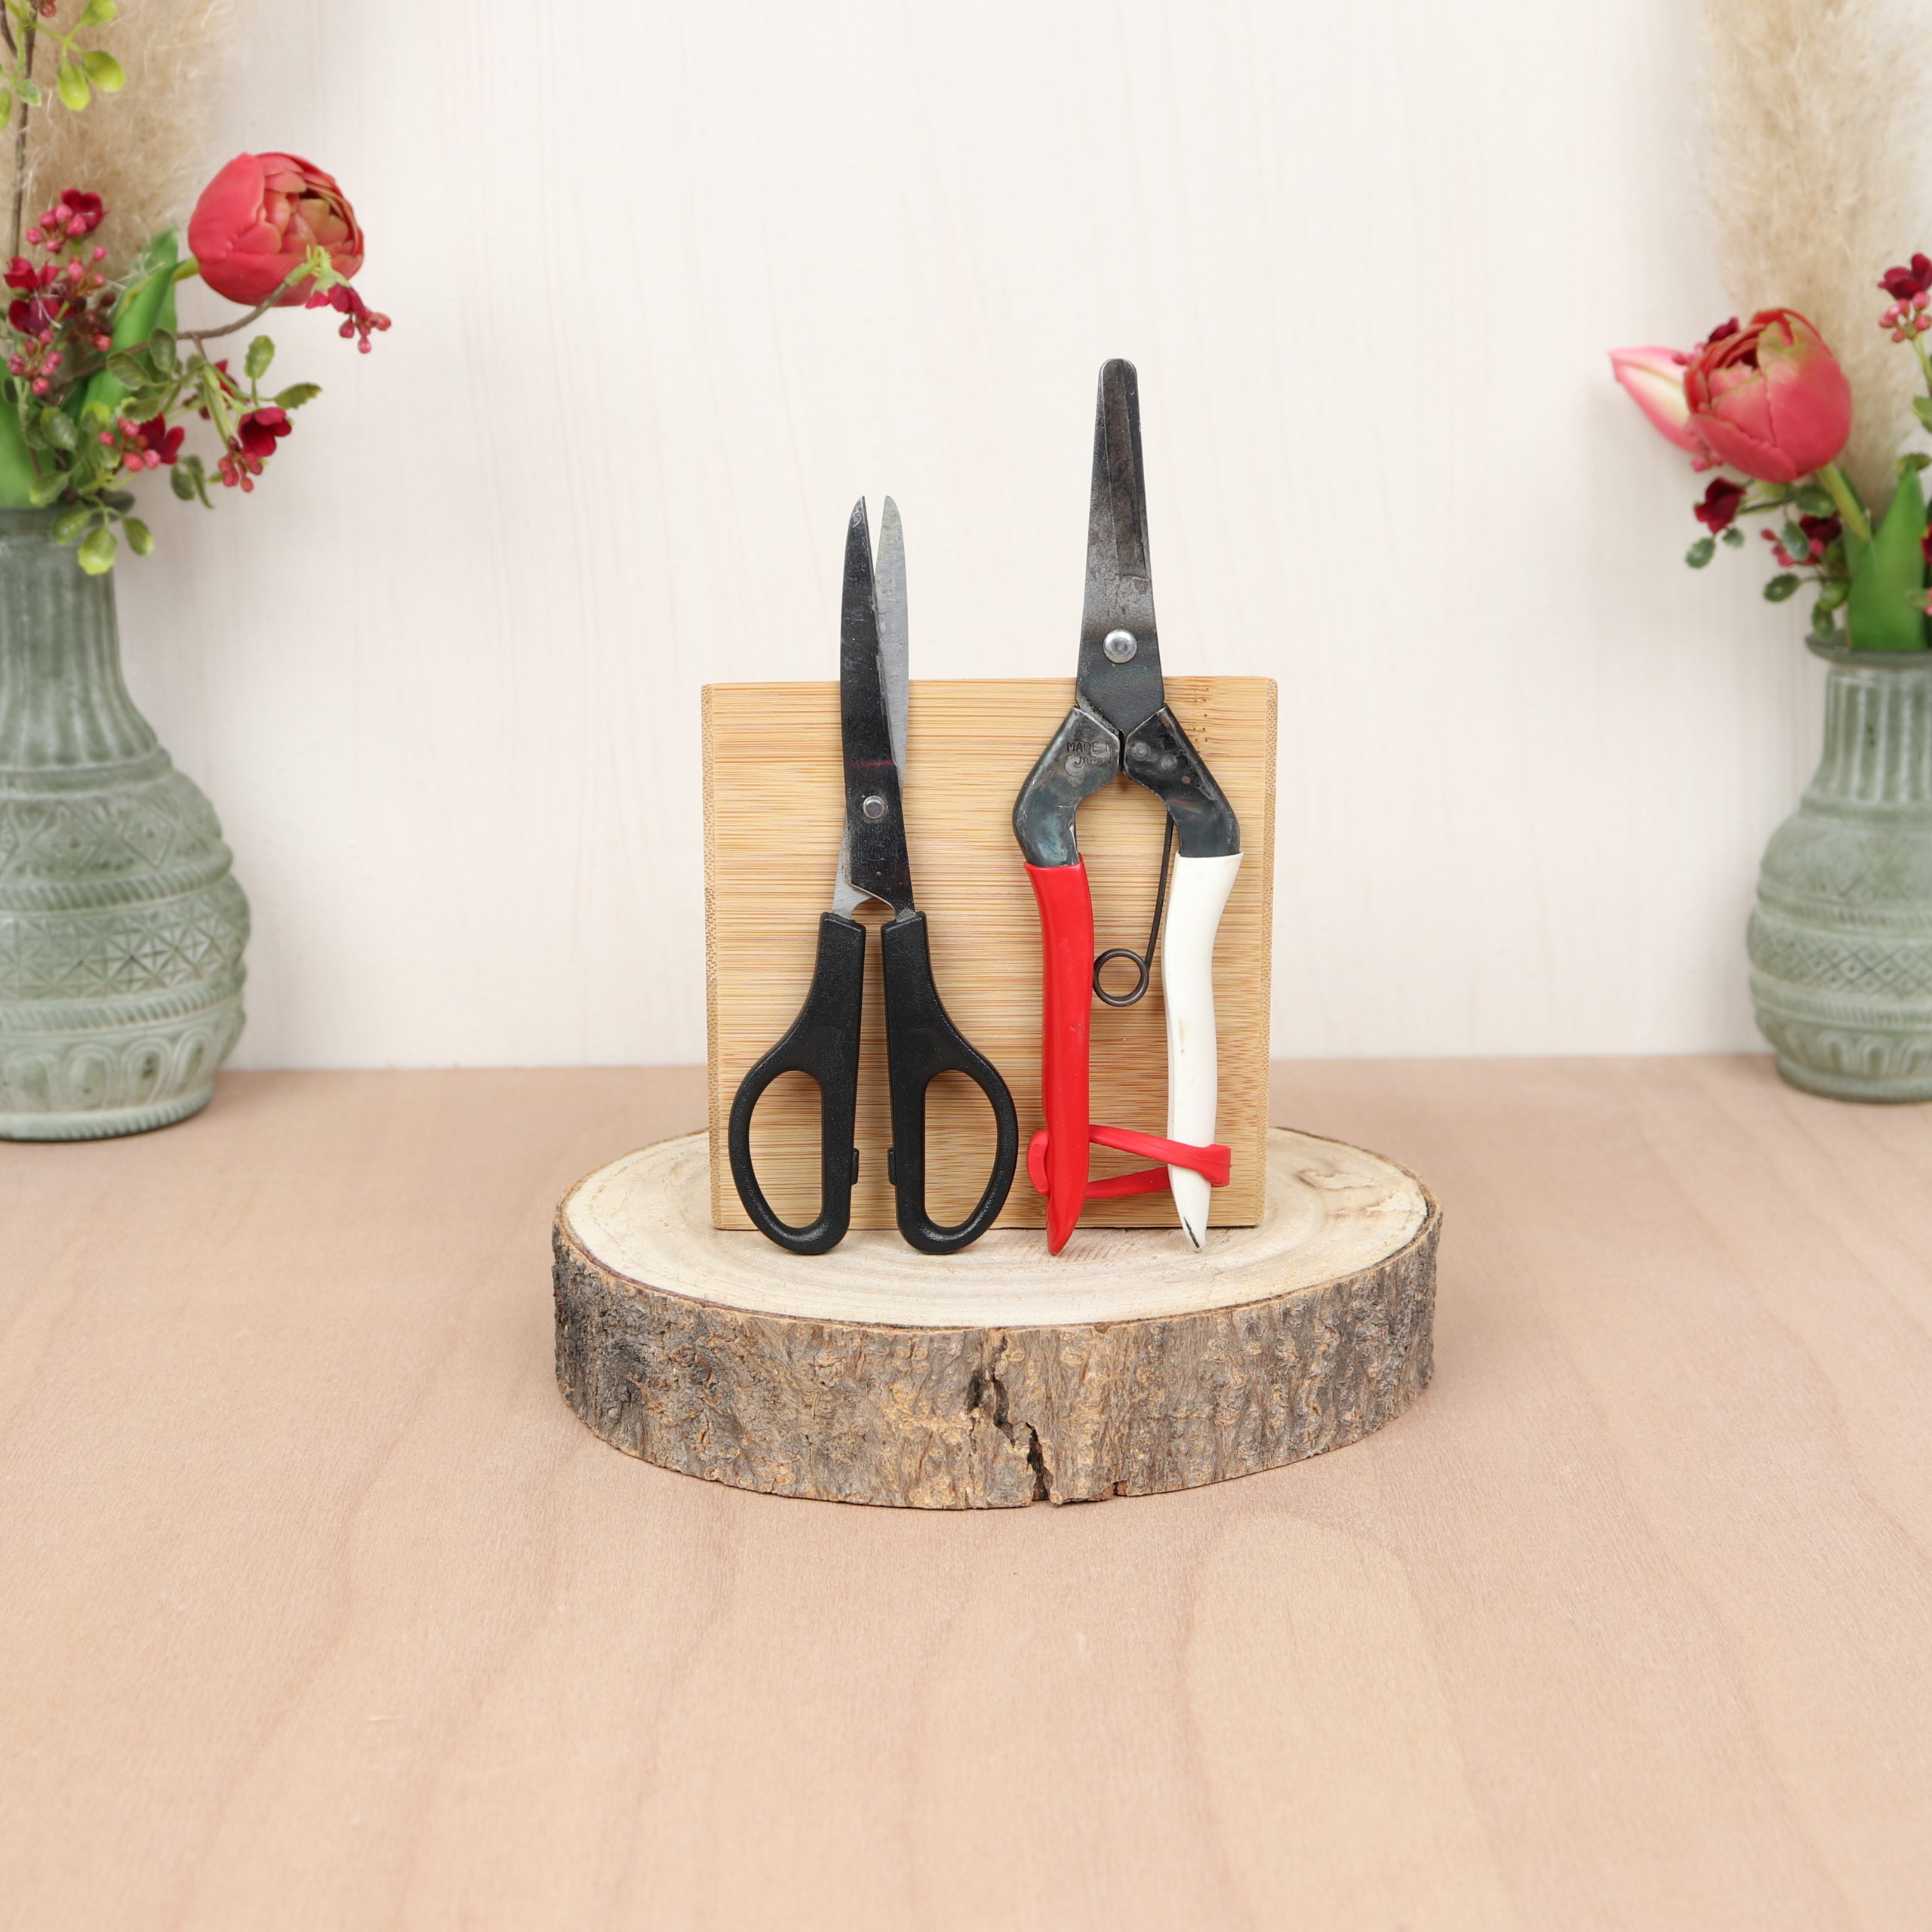
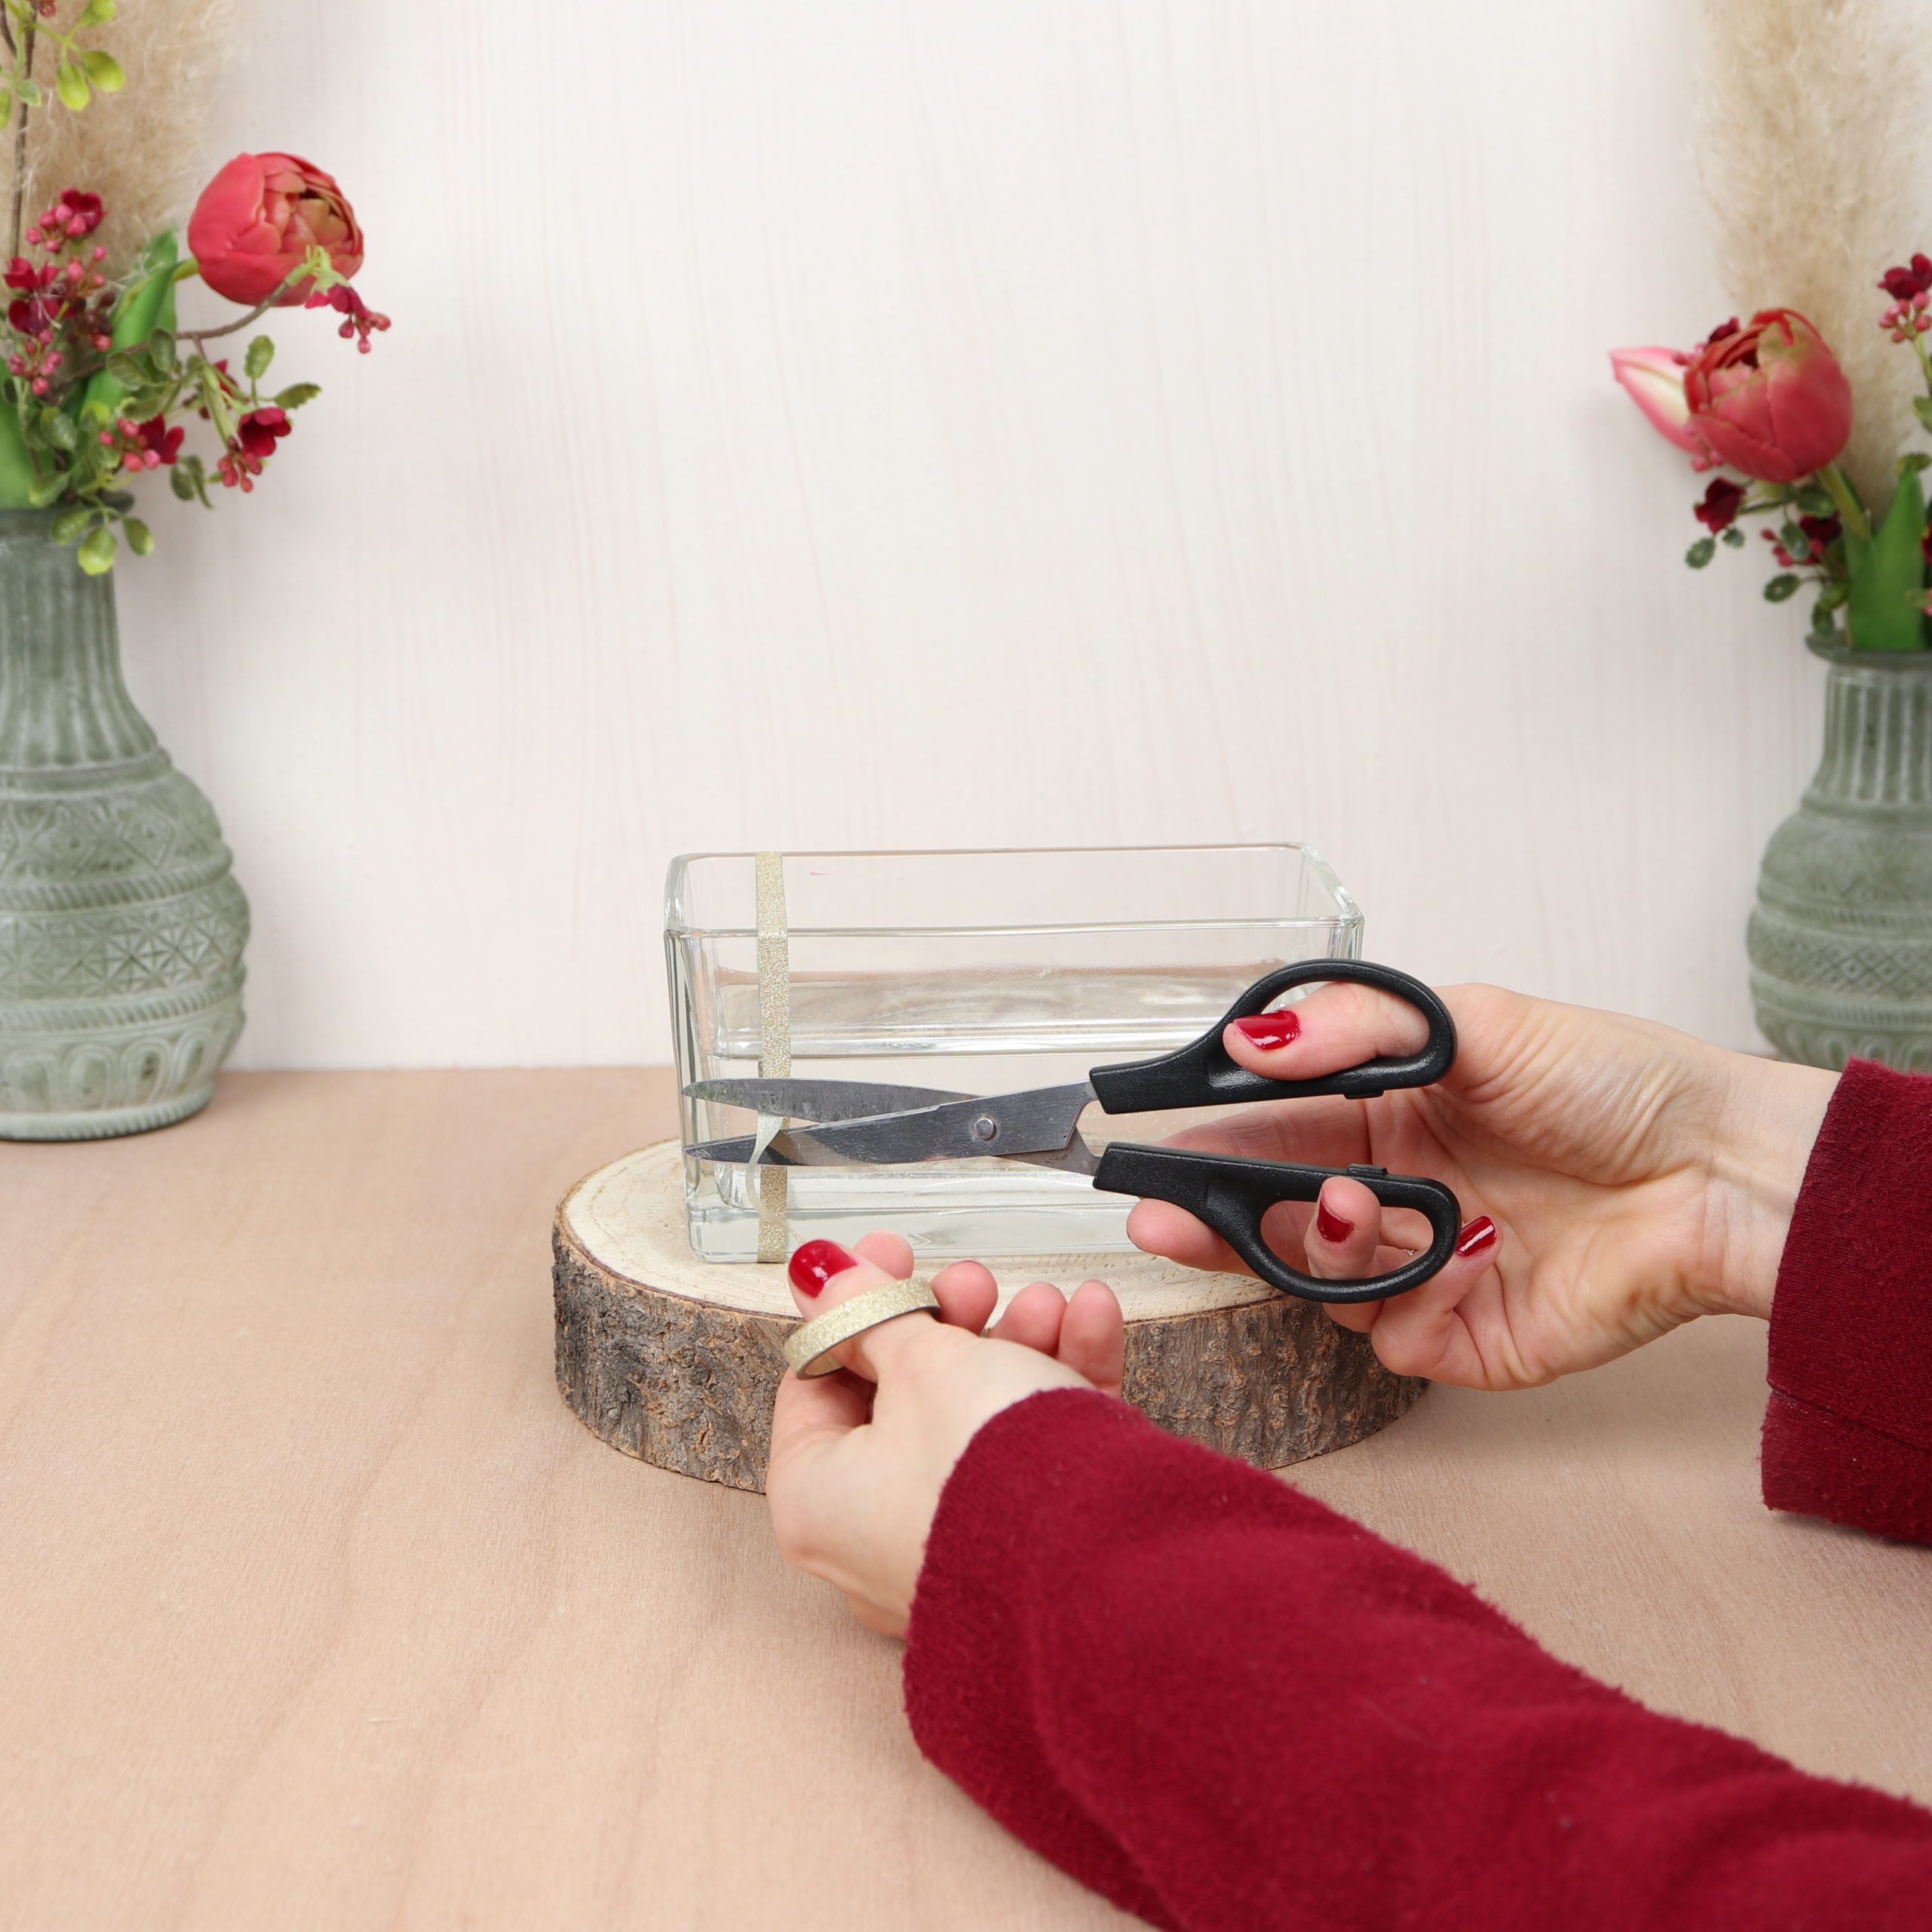
Here you see the tools I used to make the floral arrangement with washitape trick. You need a pair of flower scissors and normal scissors.
Materials
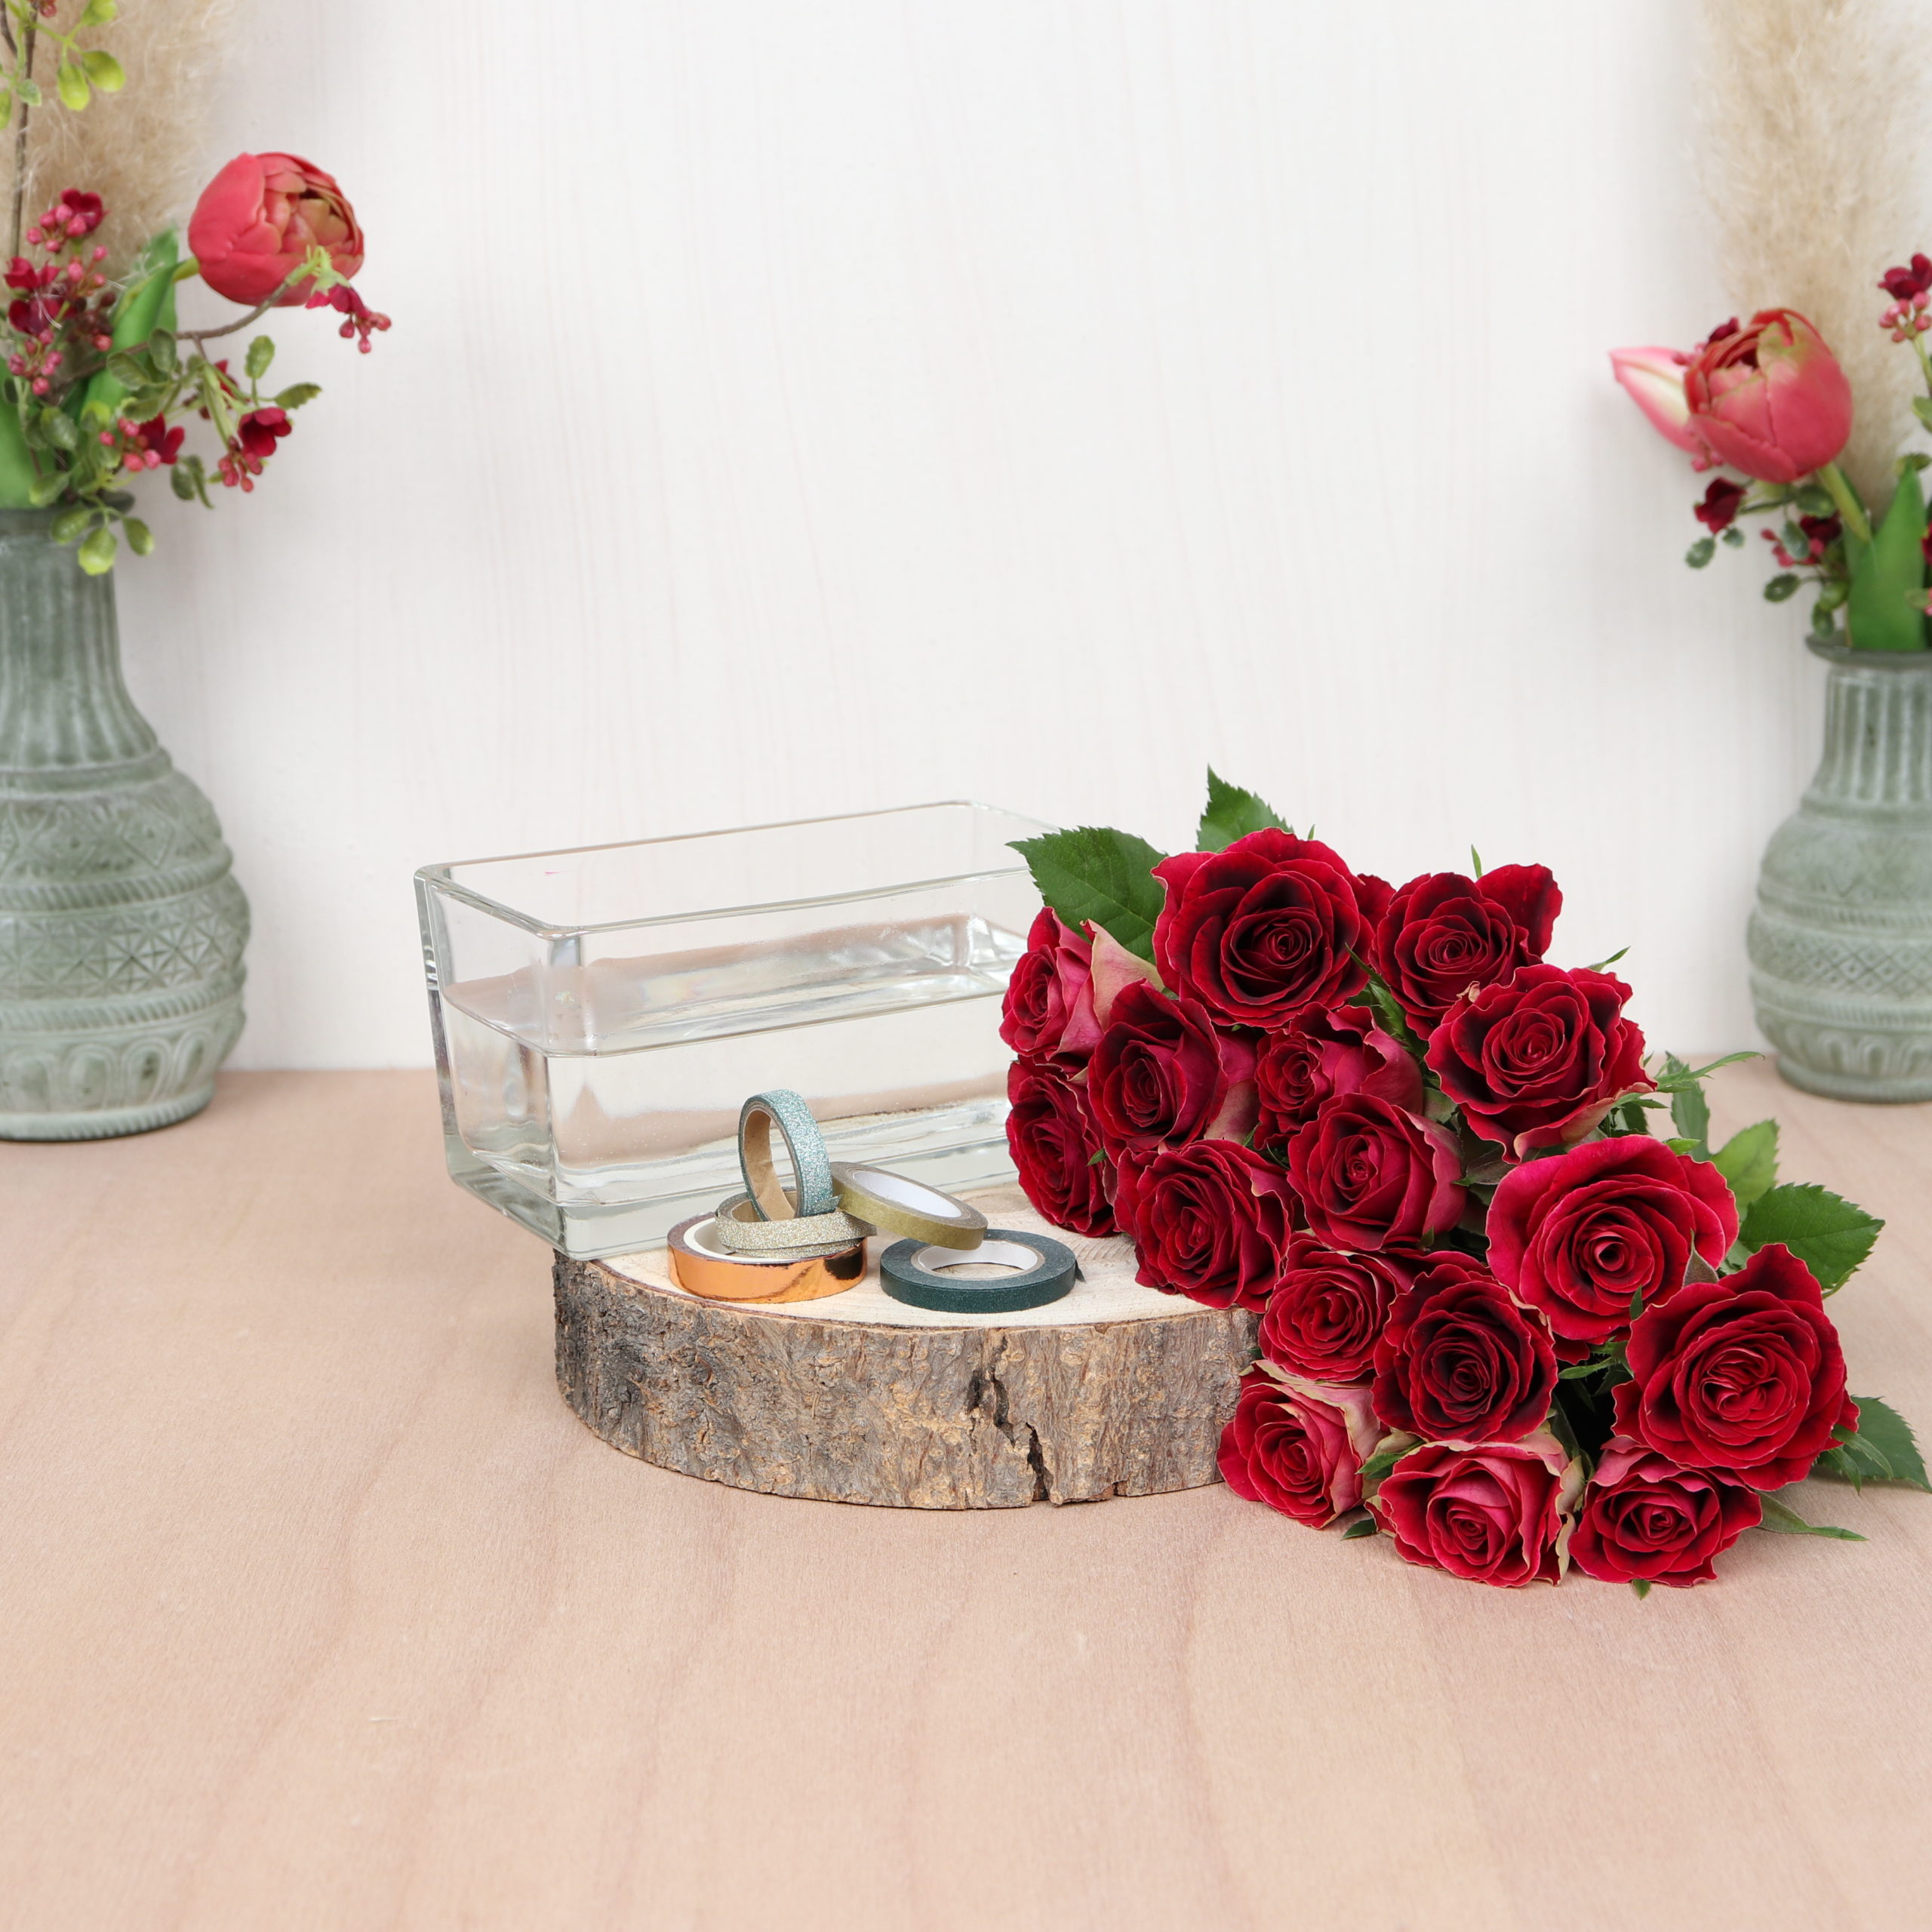
These are the materials I used for the alternative flower arrangement with roses: an elongated glass vase (filled with water), washitape in different colors and red roses.
Guide | Visible plug-in aid: Arrange flowers with washitape trick
Step 1: Tape the rectangular glass vase with washitape
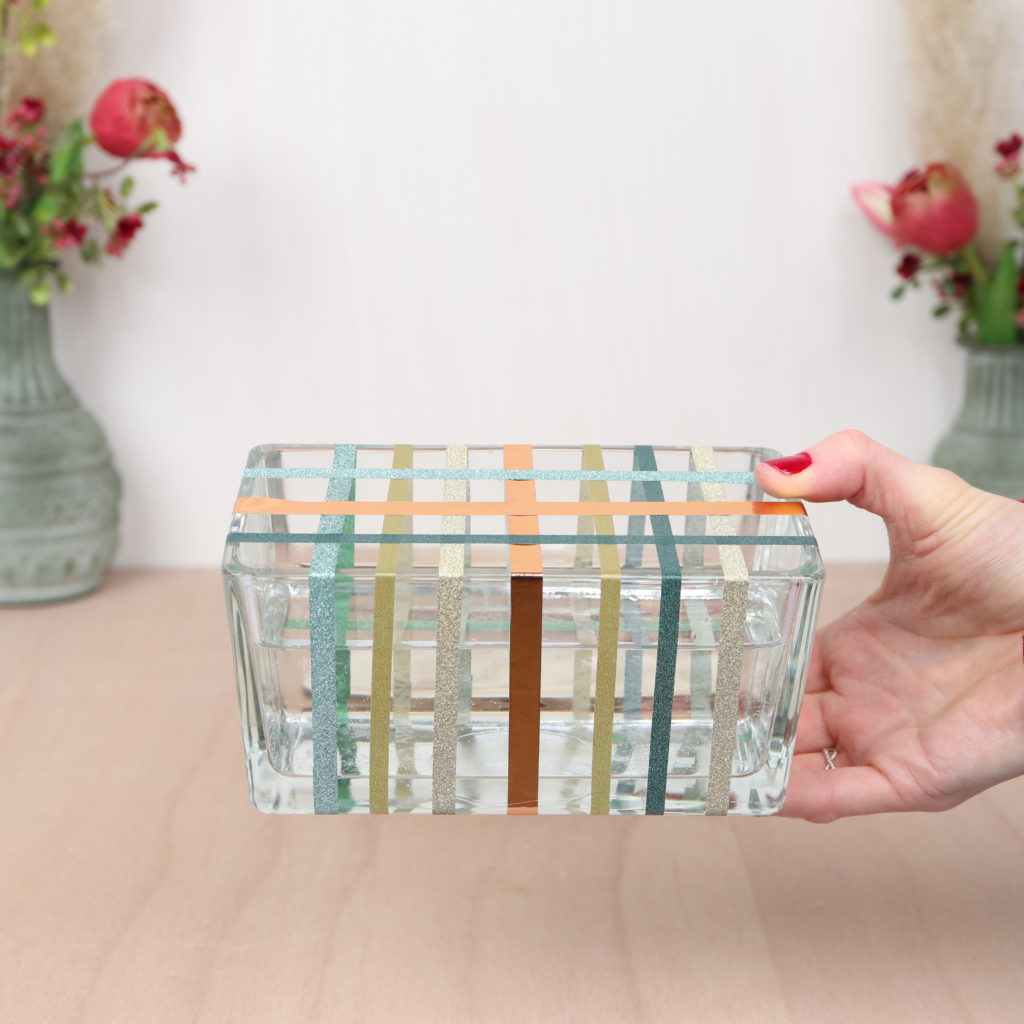
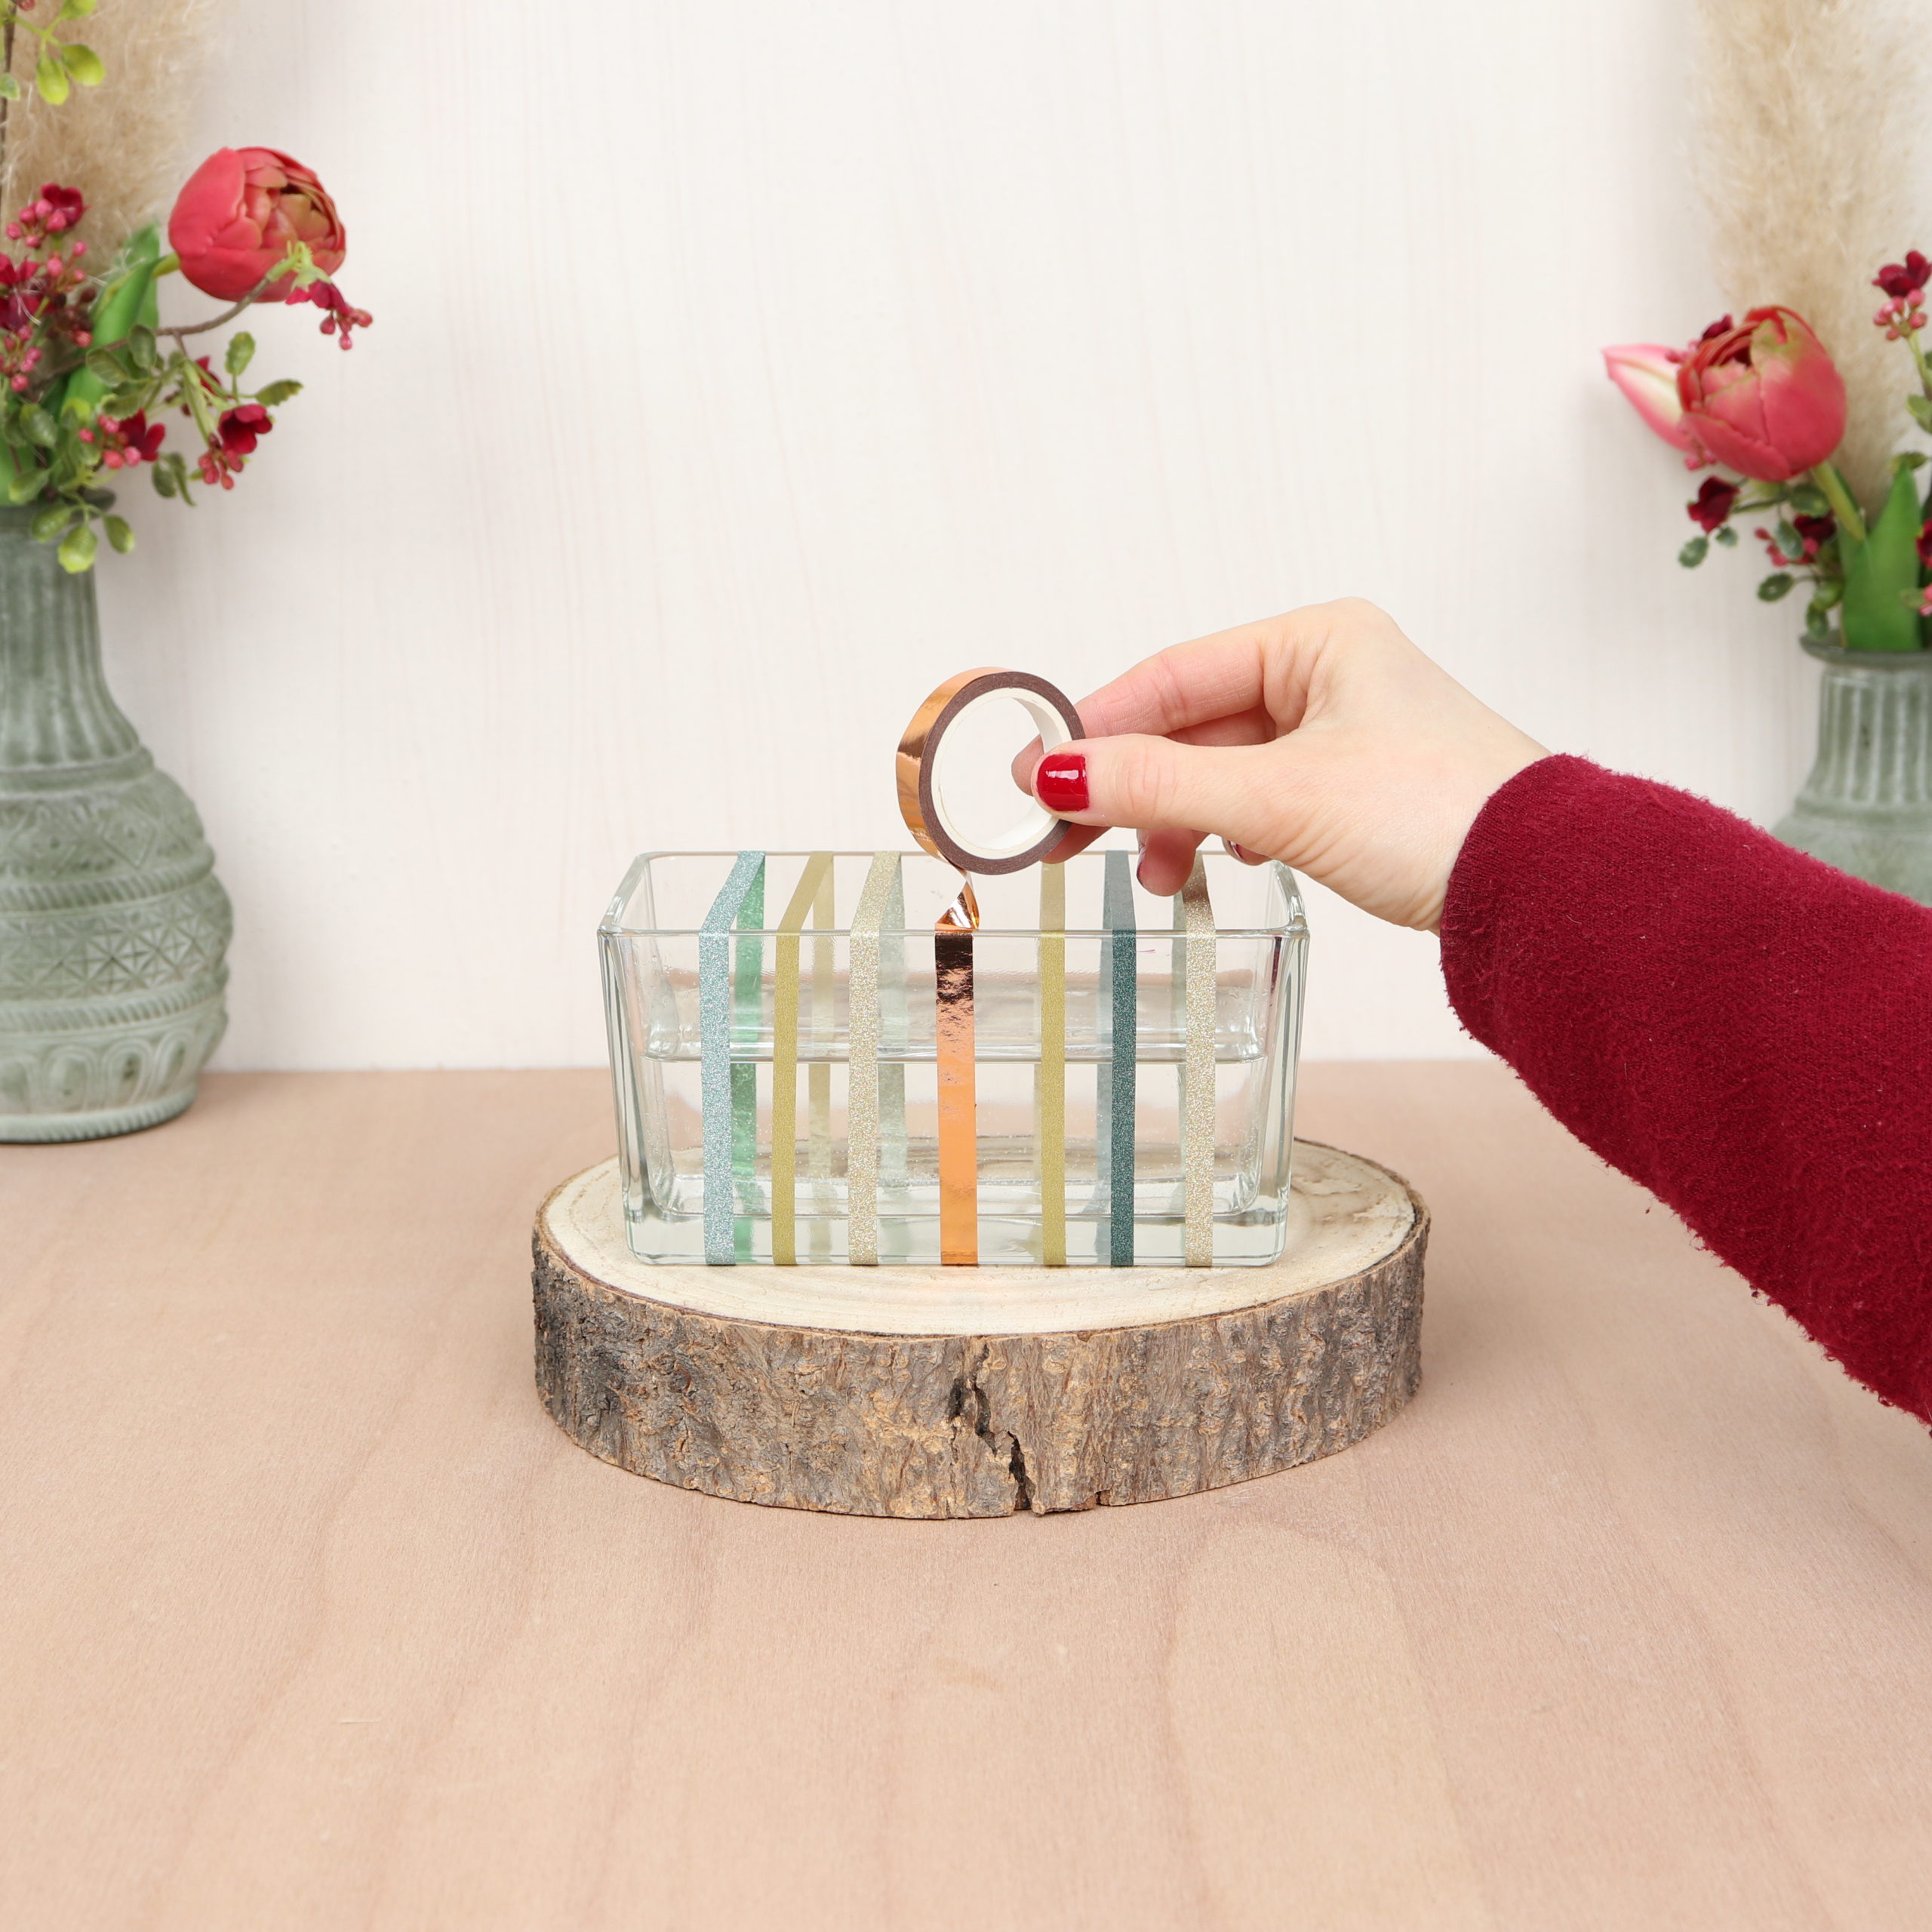
In the first step, I stick a grid onto the rectangular glass vase with the washitape rolls. I use different widths of tape in different colors to make the result more interesting. I added water to the vase before I started to tape.
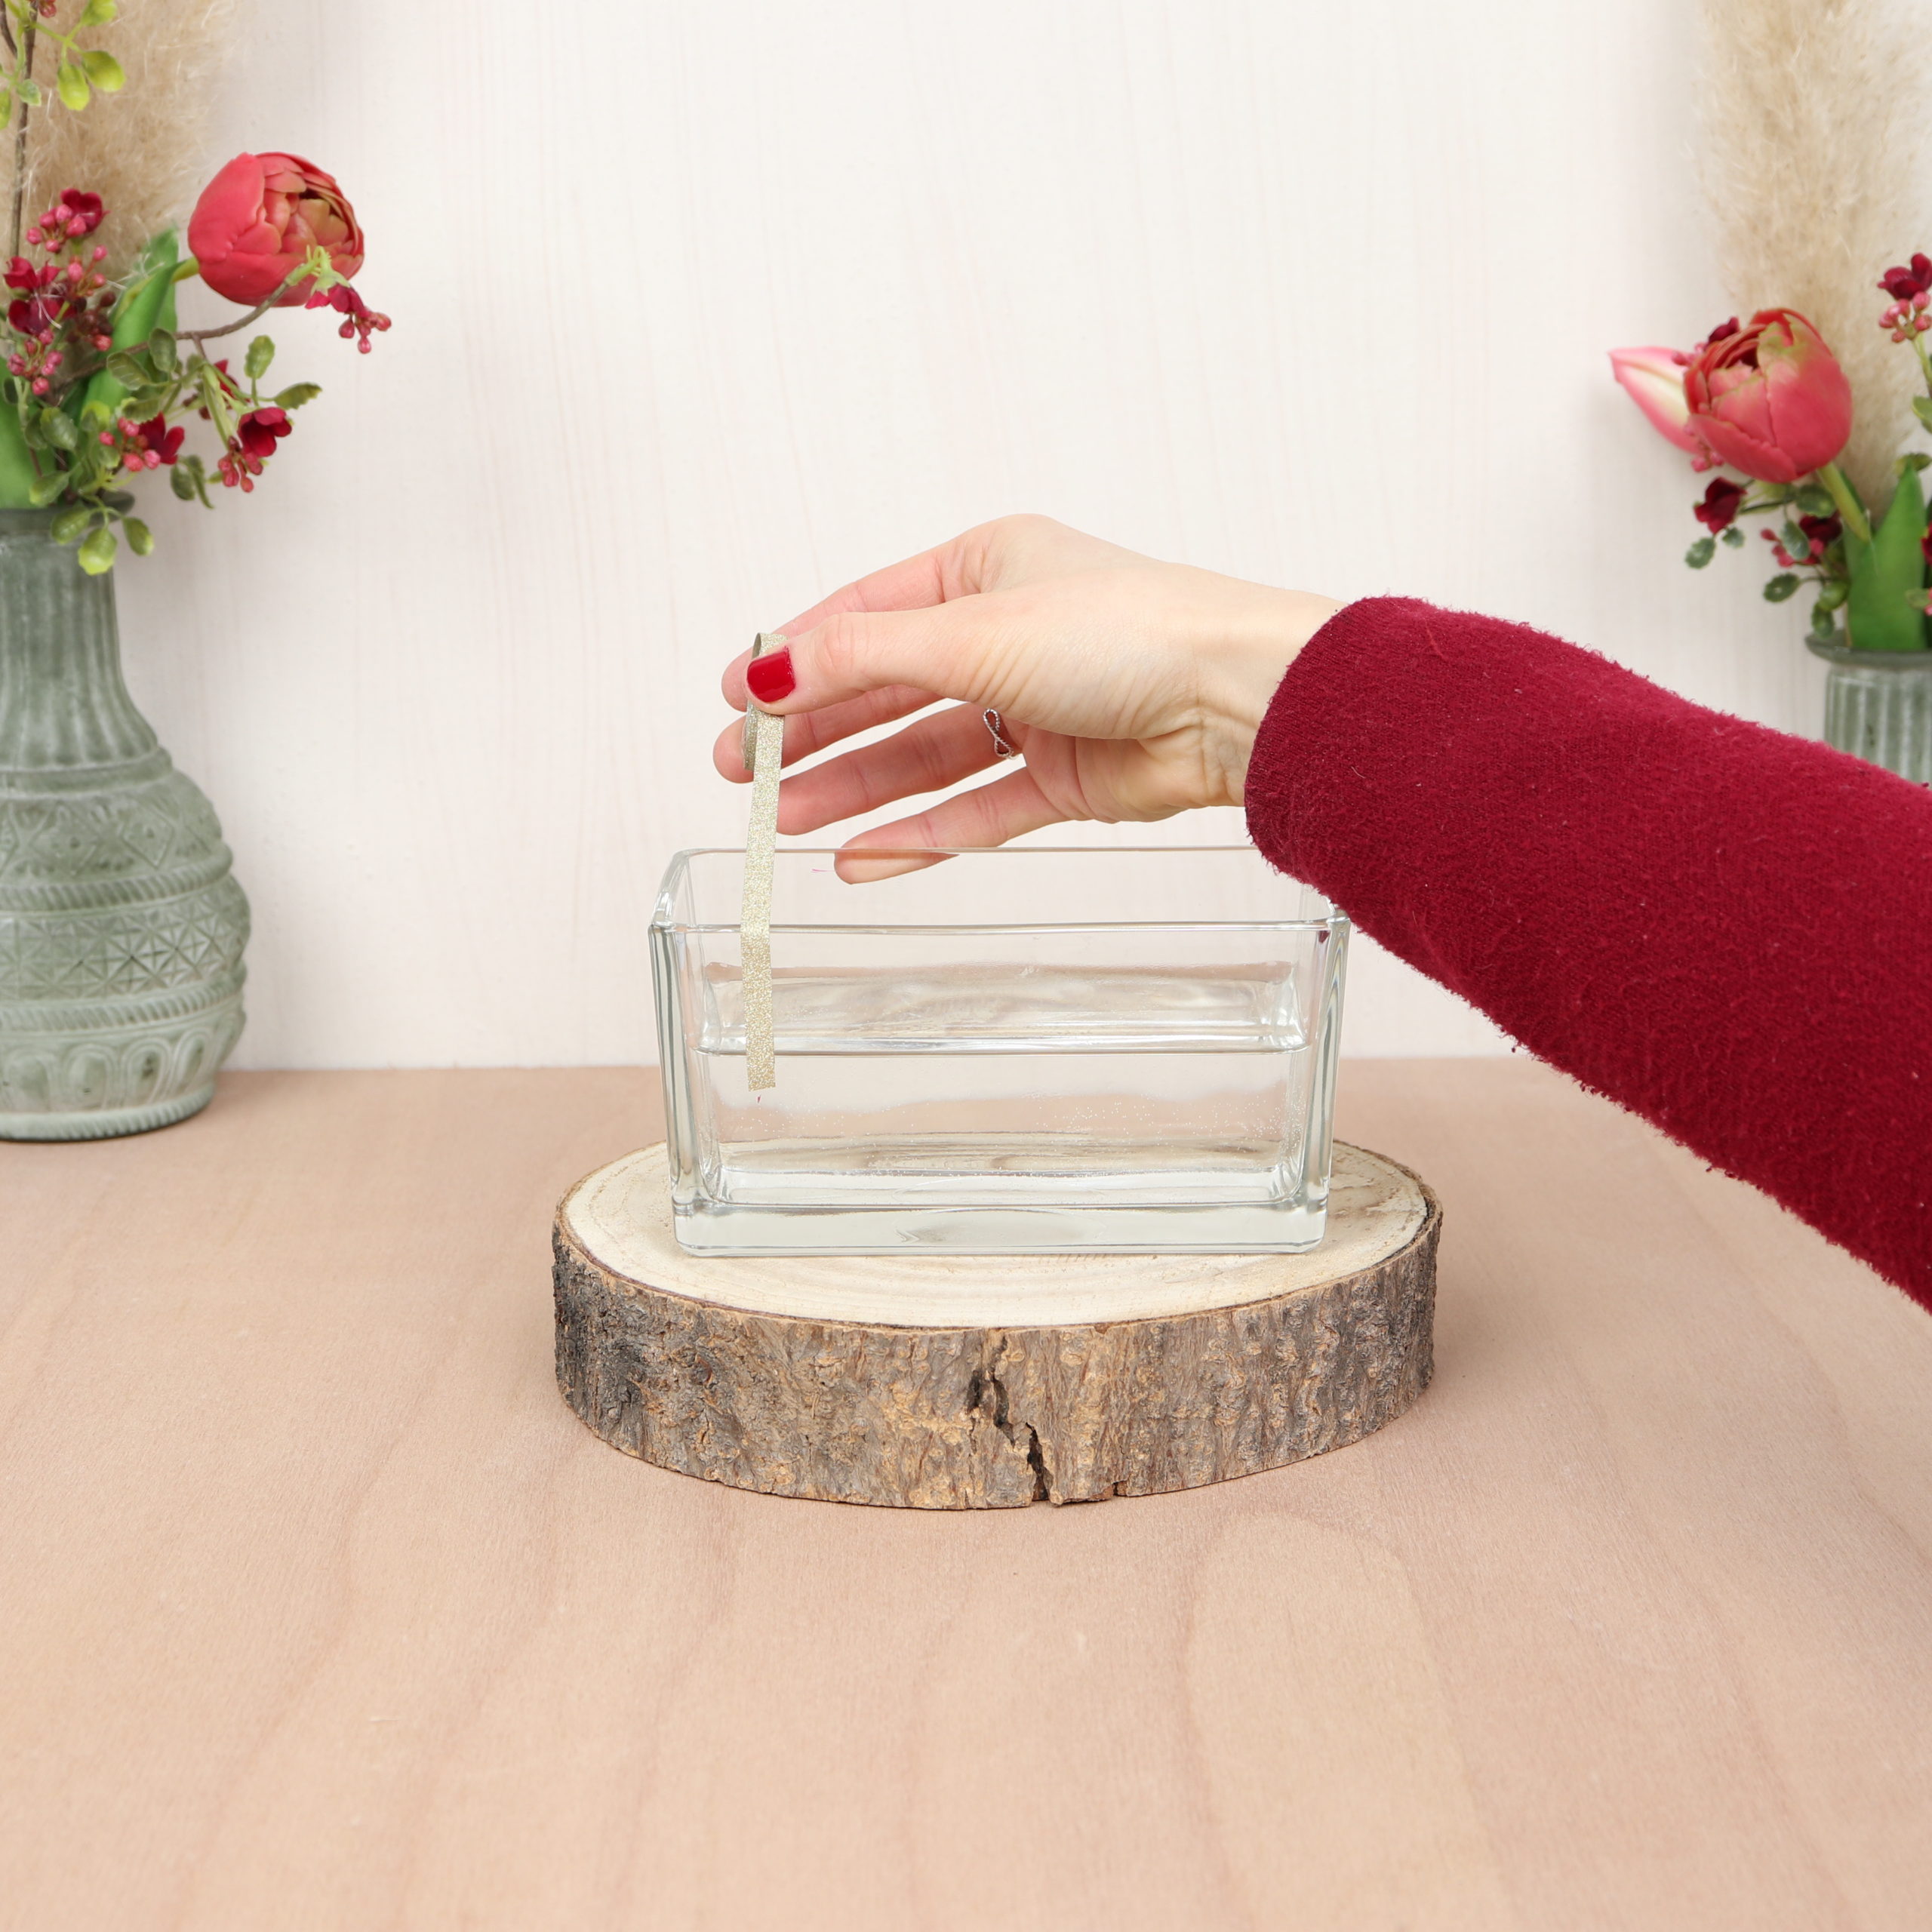
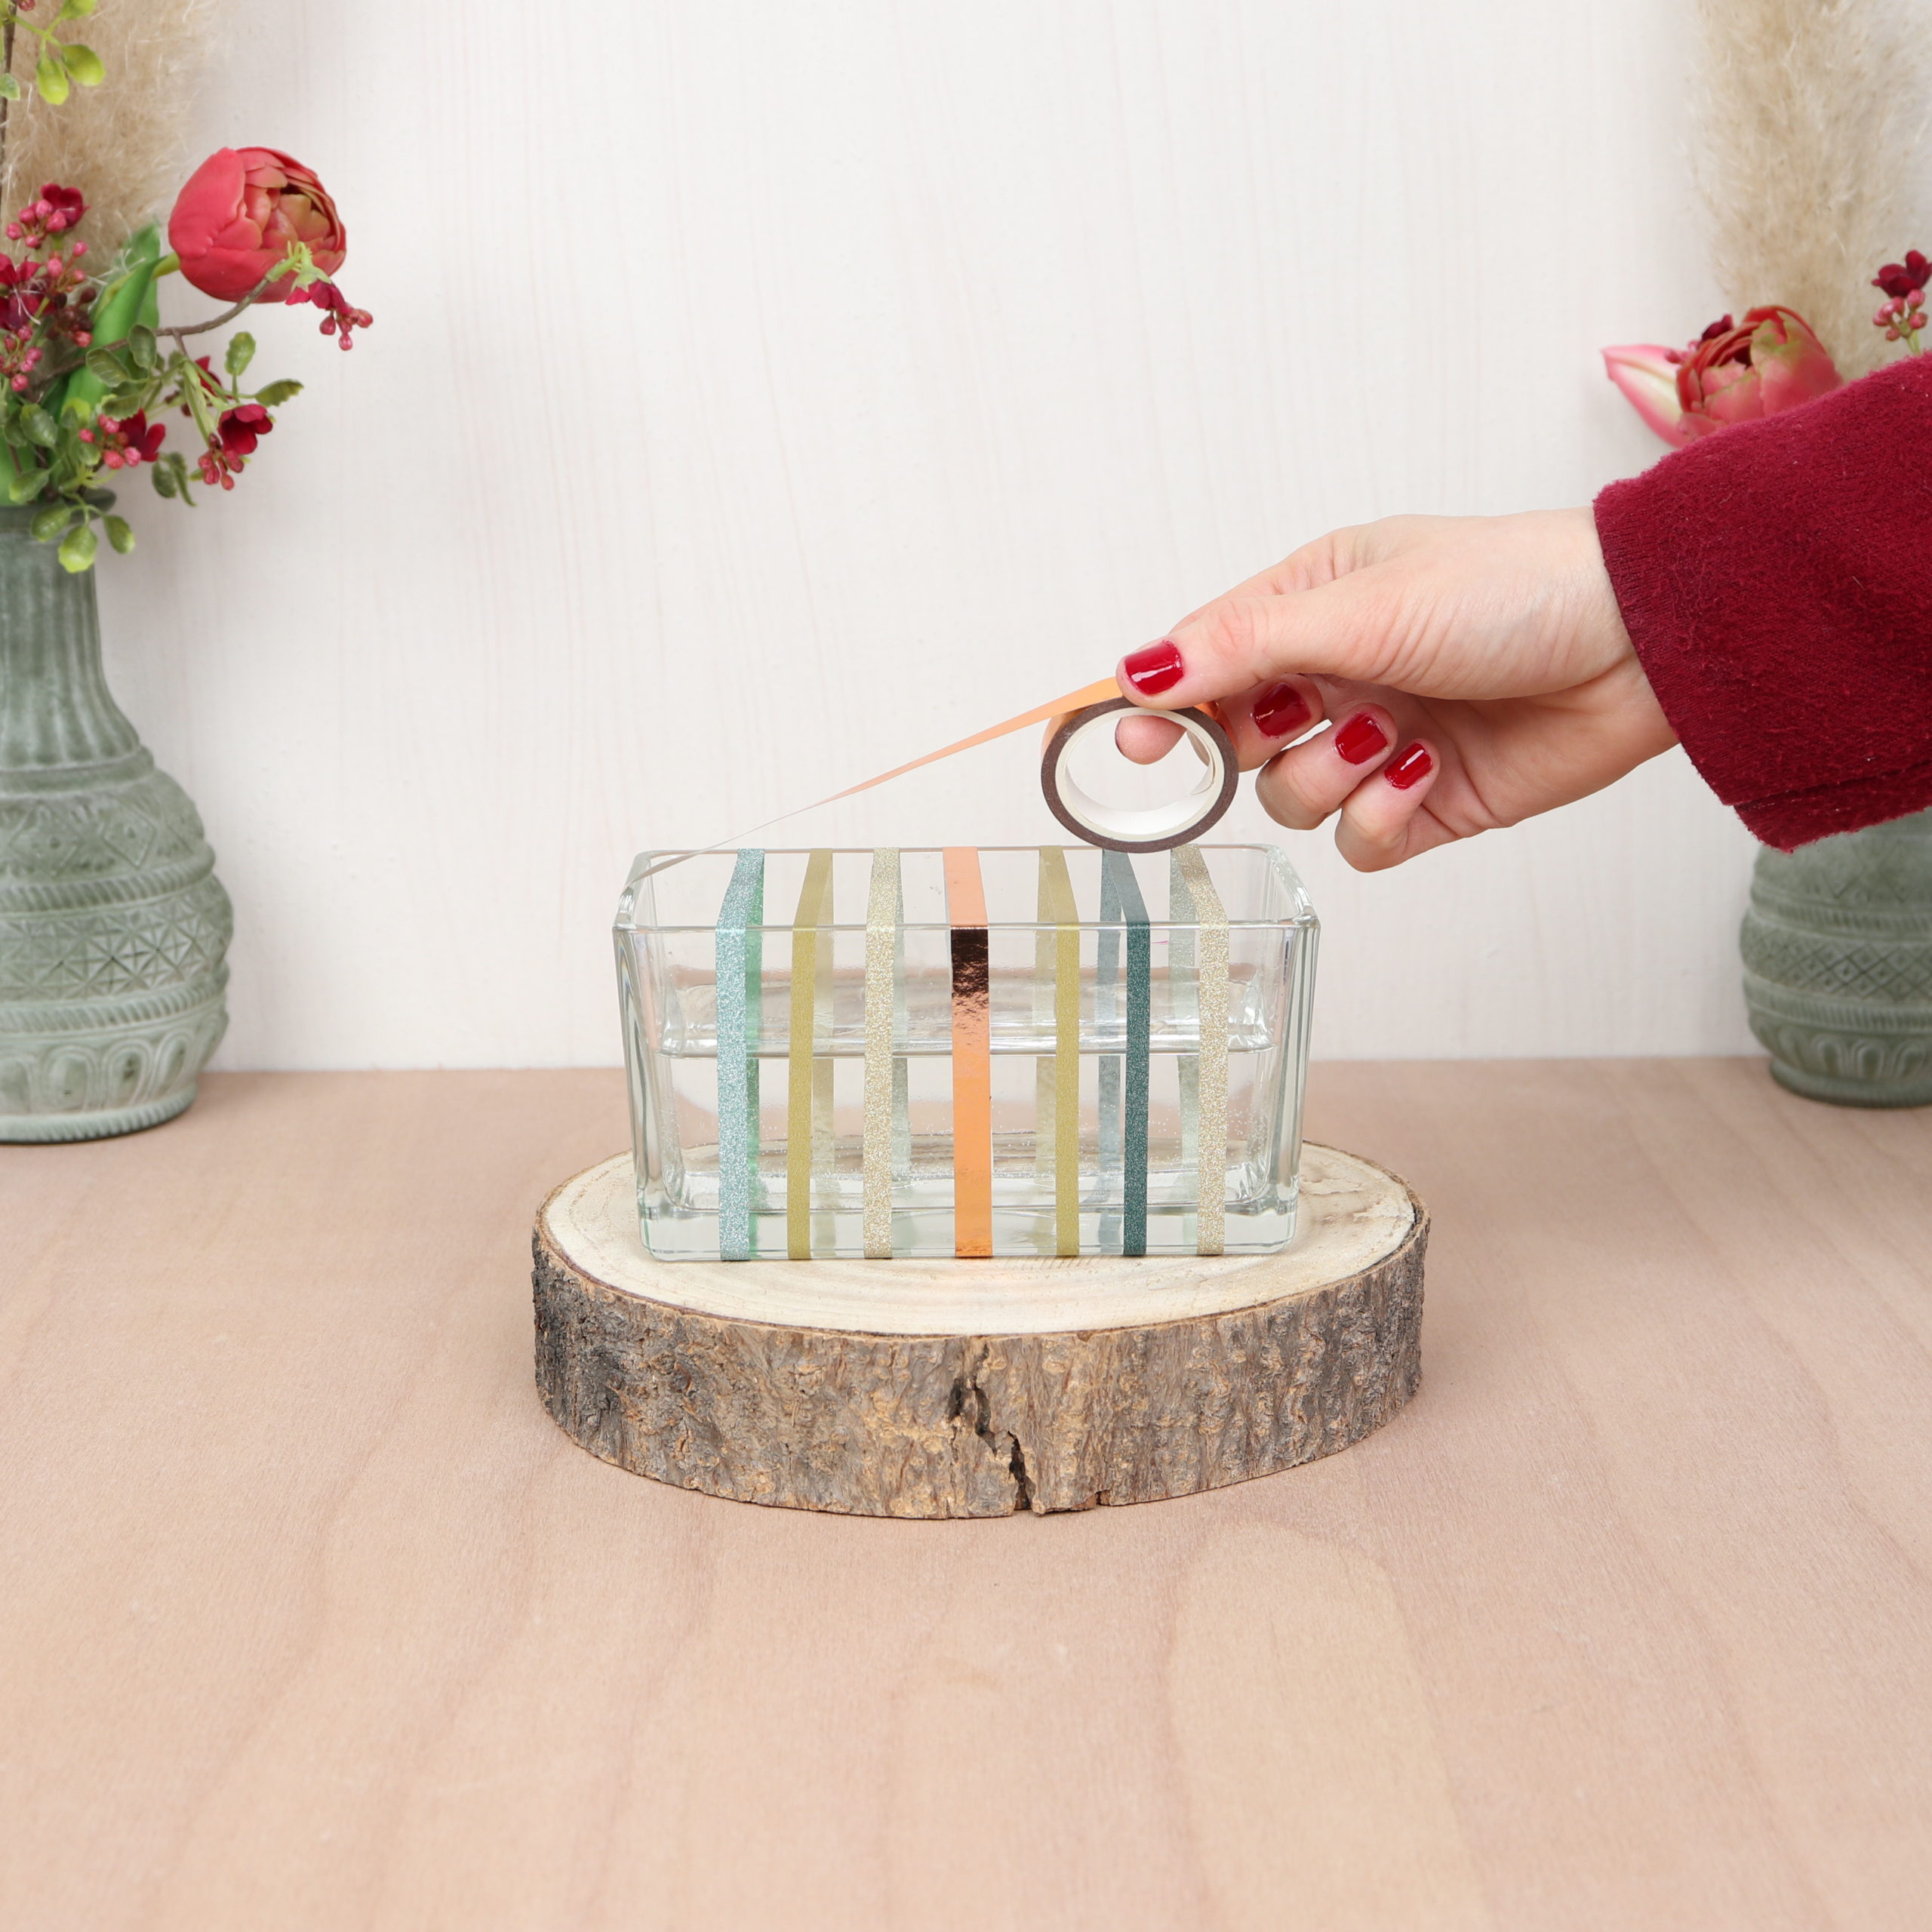
To do this, I stick the tape once around the vase and cut it off with the scissors.
I tape the next strips parallel to it in the same direction.
You can choose the distance between the strips depending on the thickness of the flower stems.
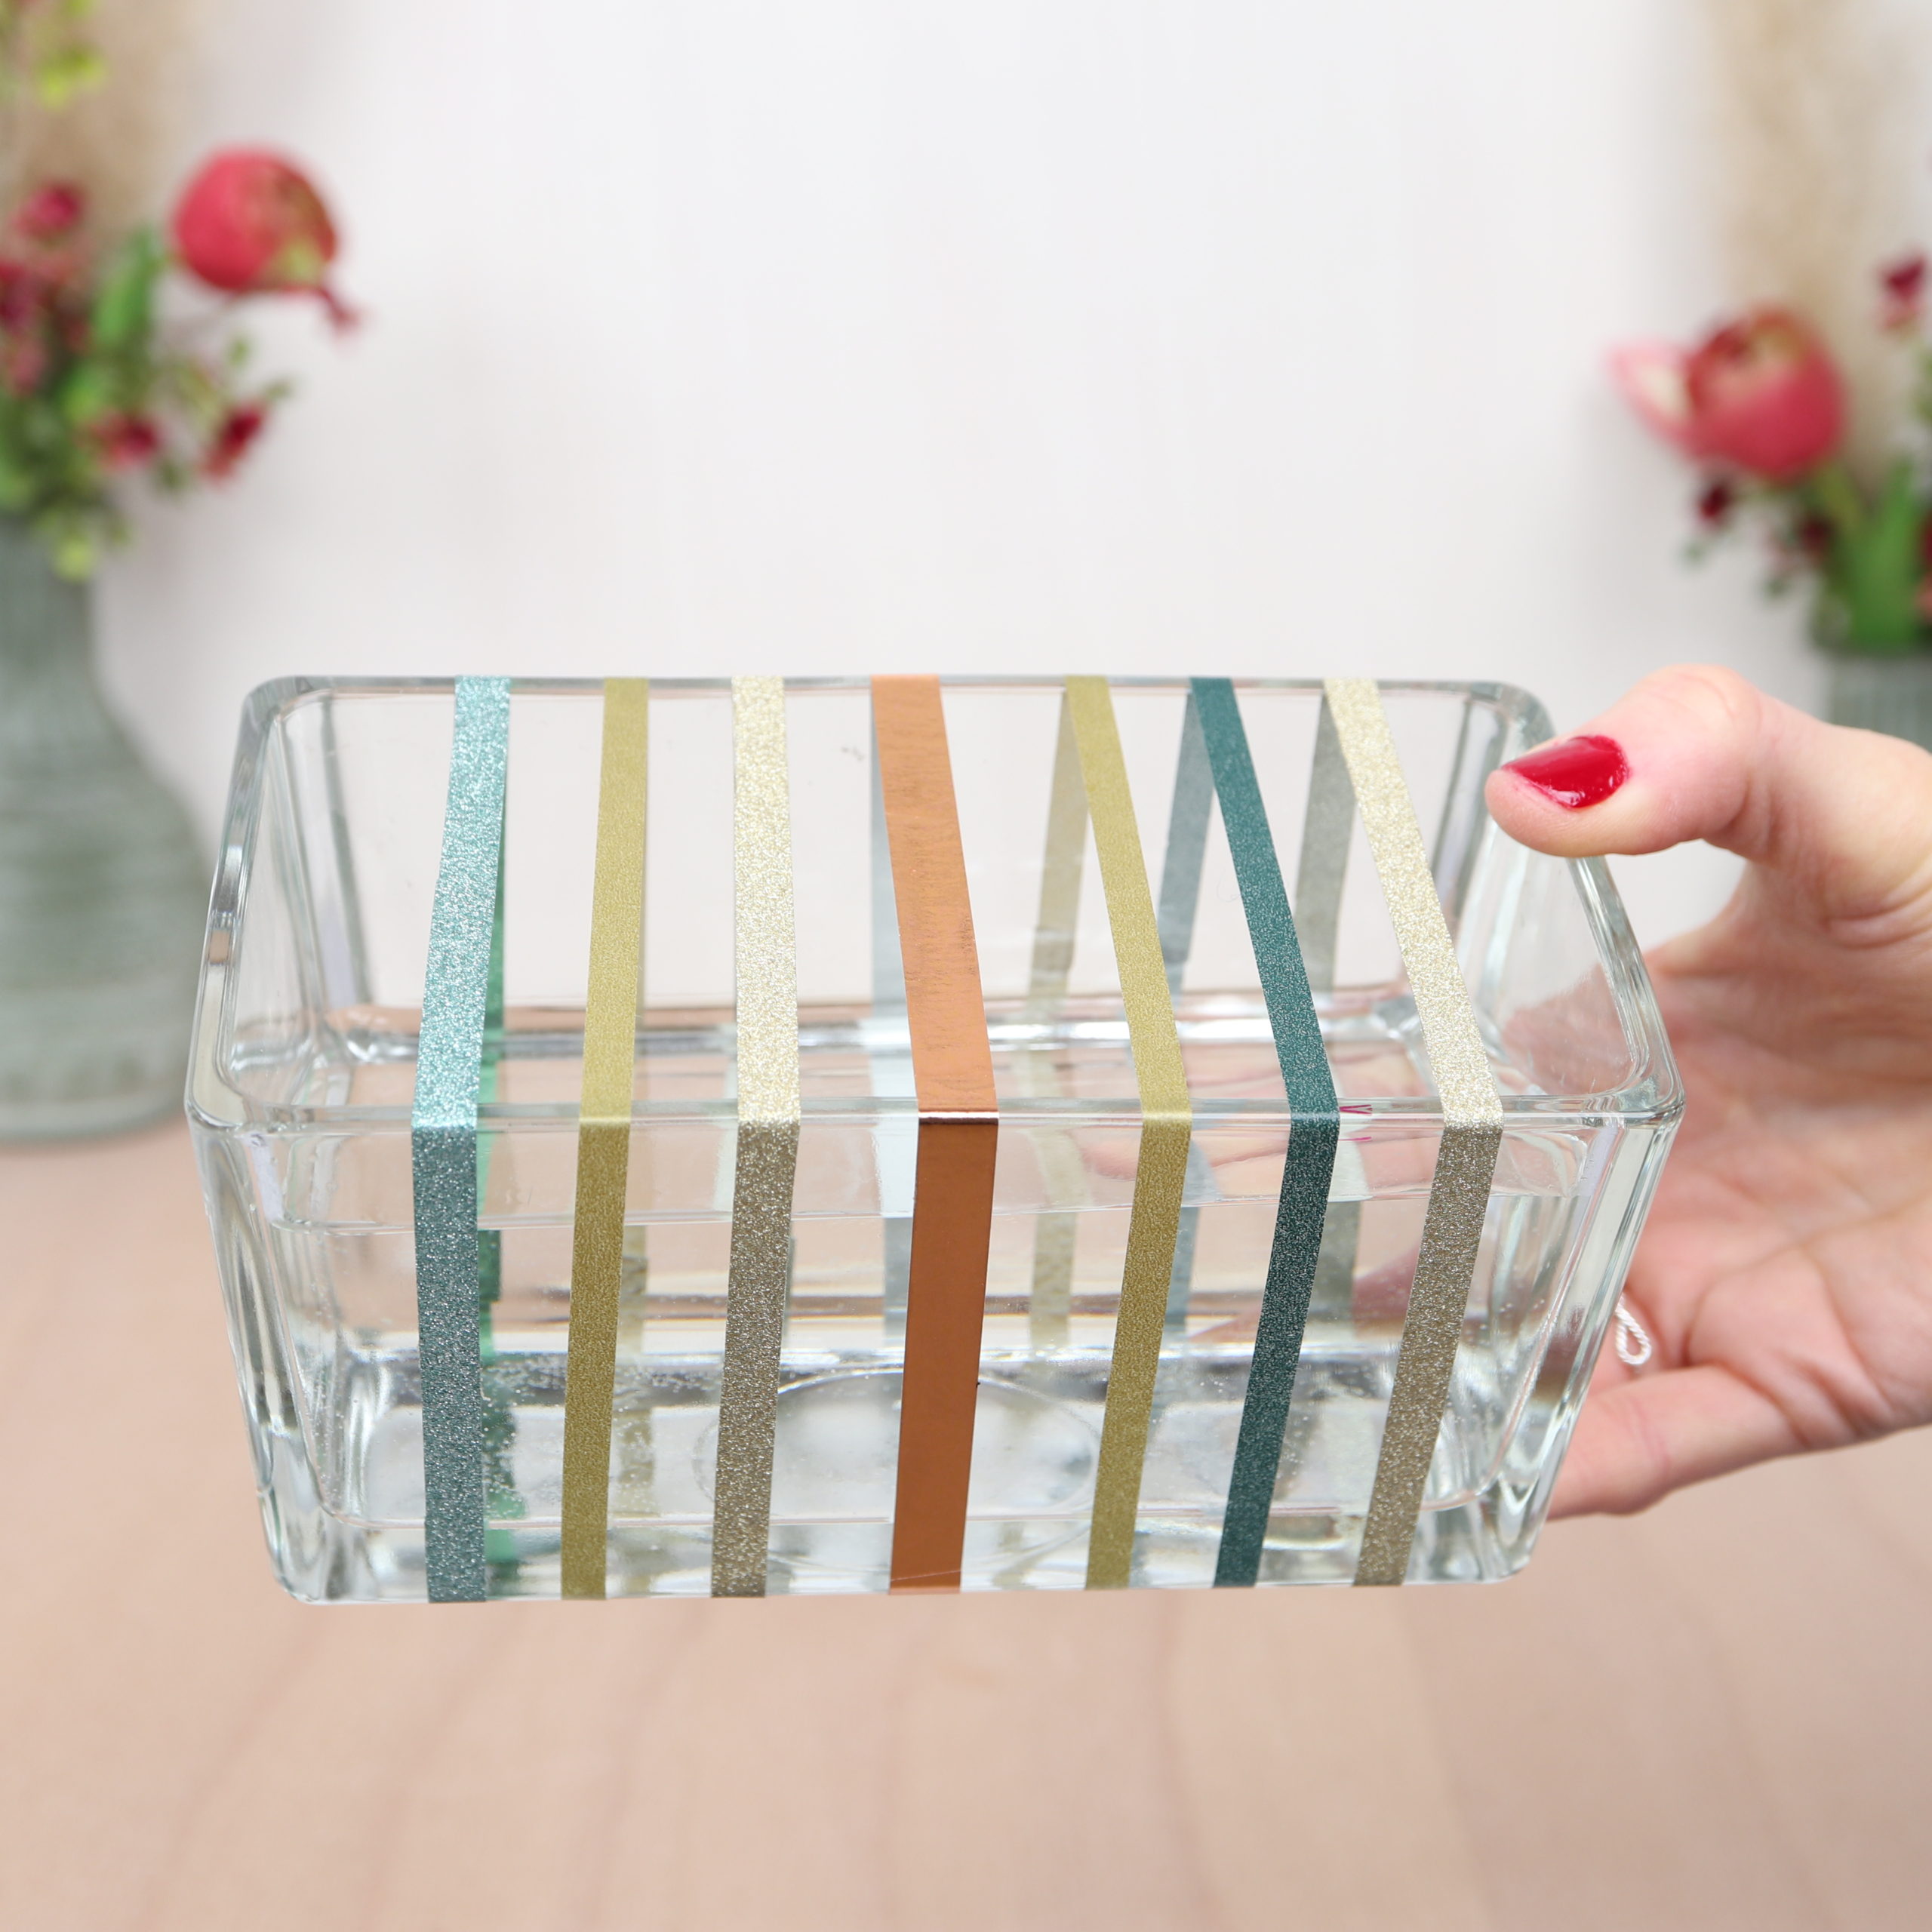
Then I tape the strips with the same spacing in the other direction.
This creates a grid that later gives the roses a good hold.

Step 2: Cut flowers
Now I cut the roses. I use my flower scissors for this.
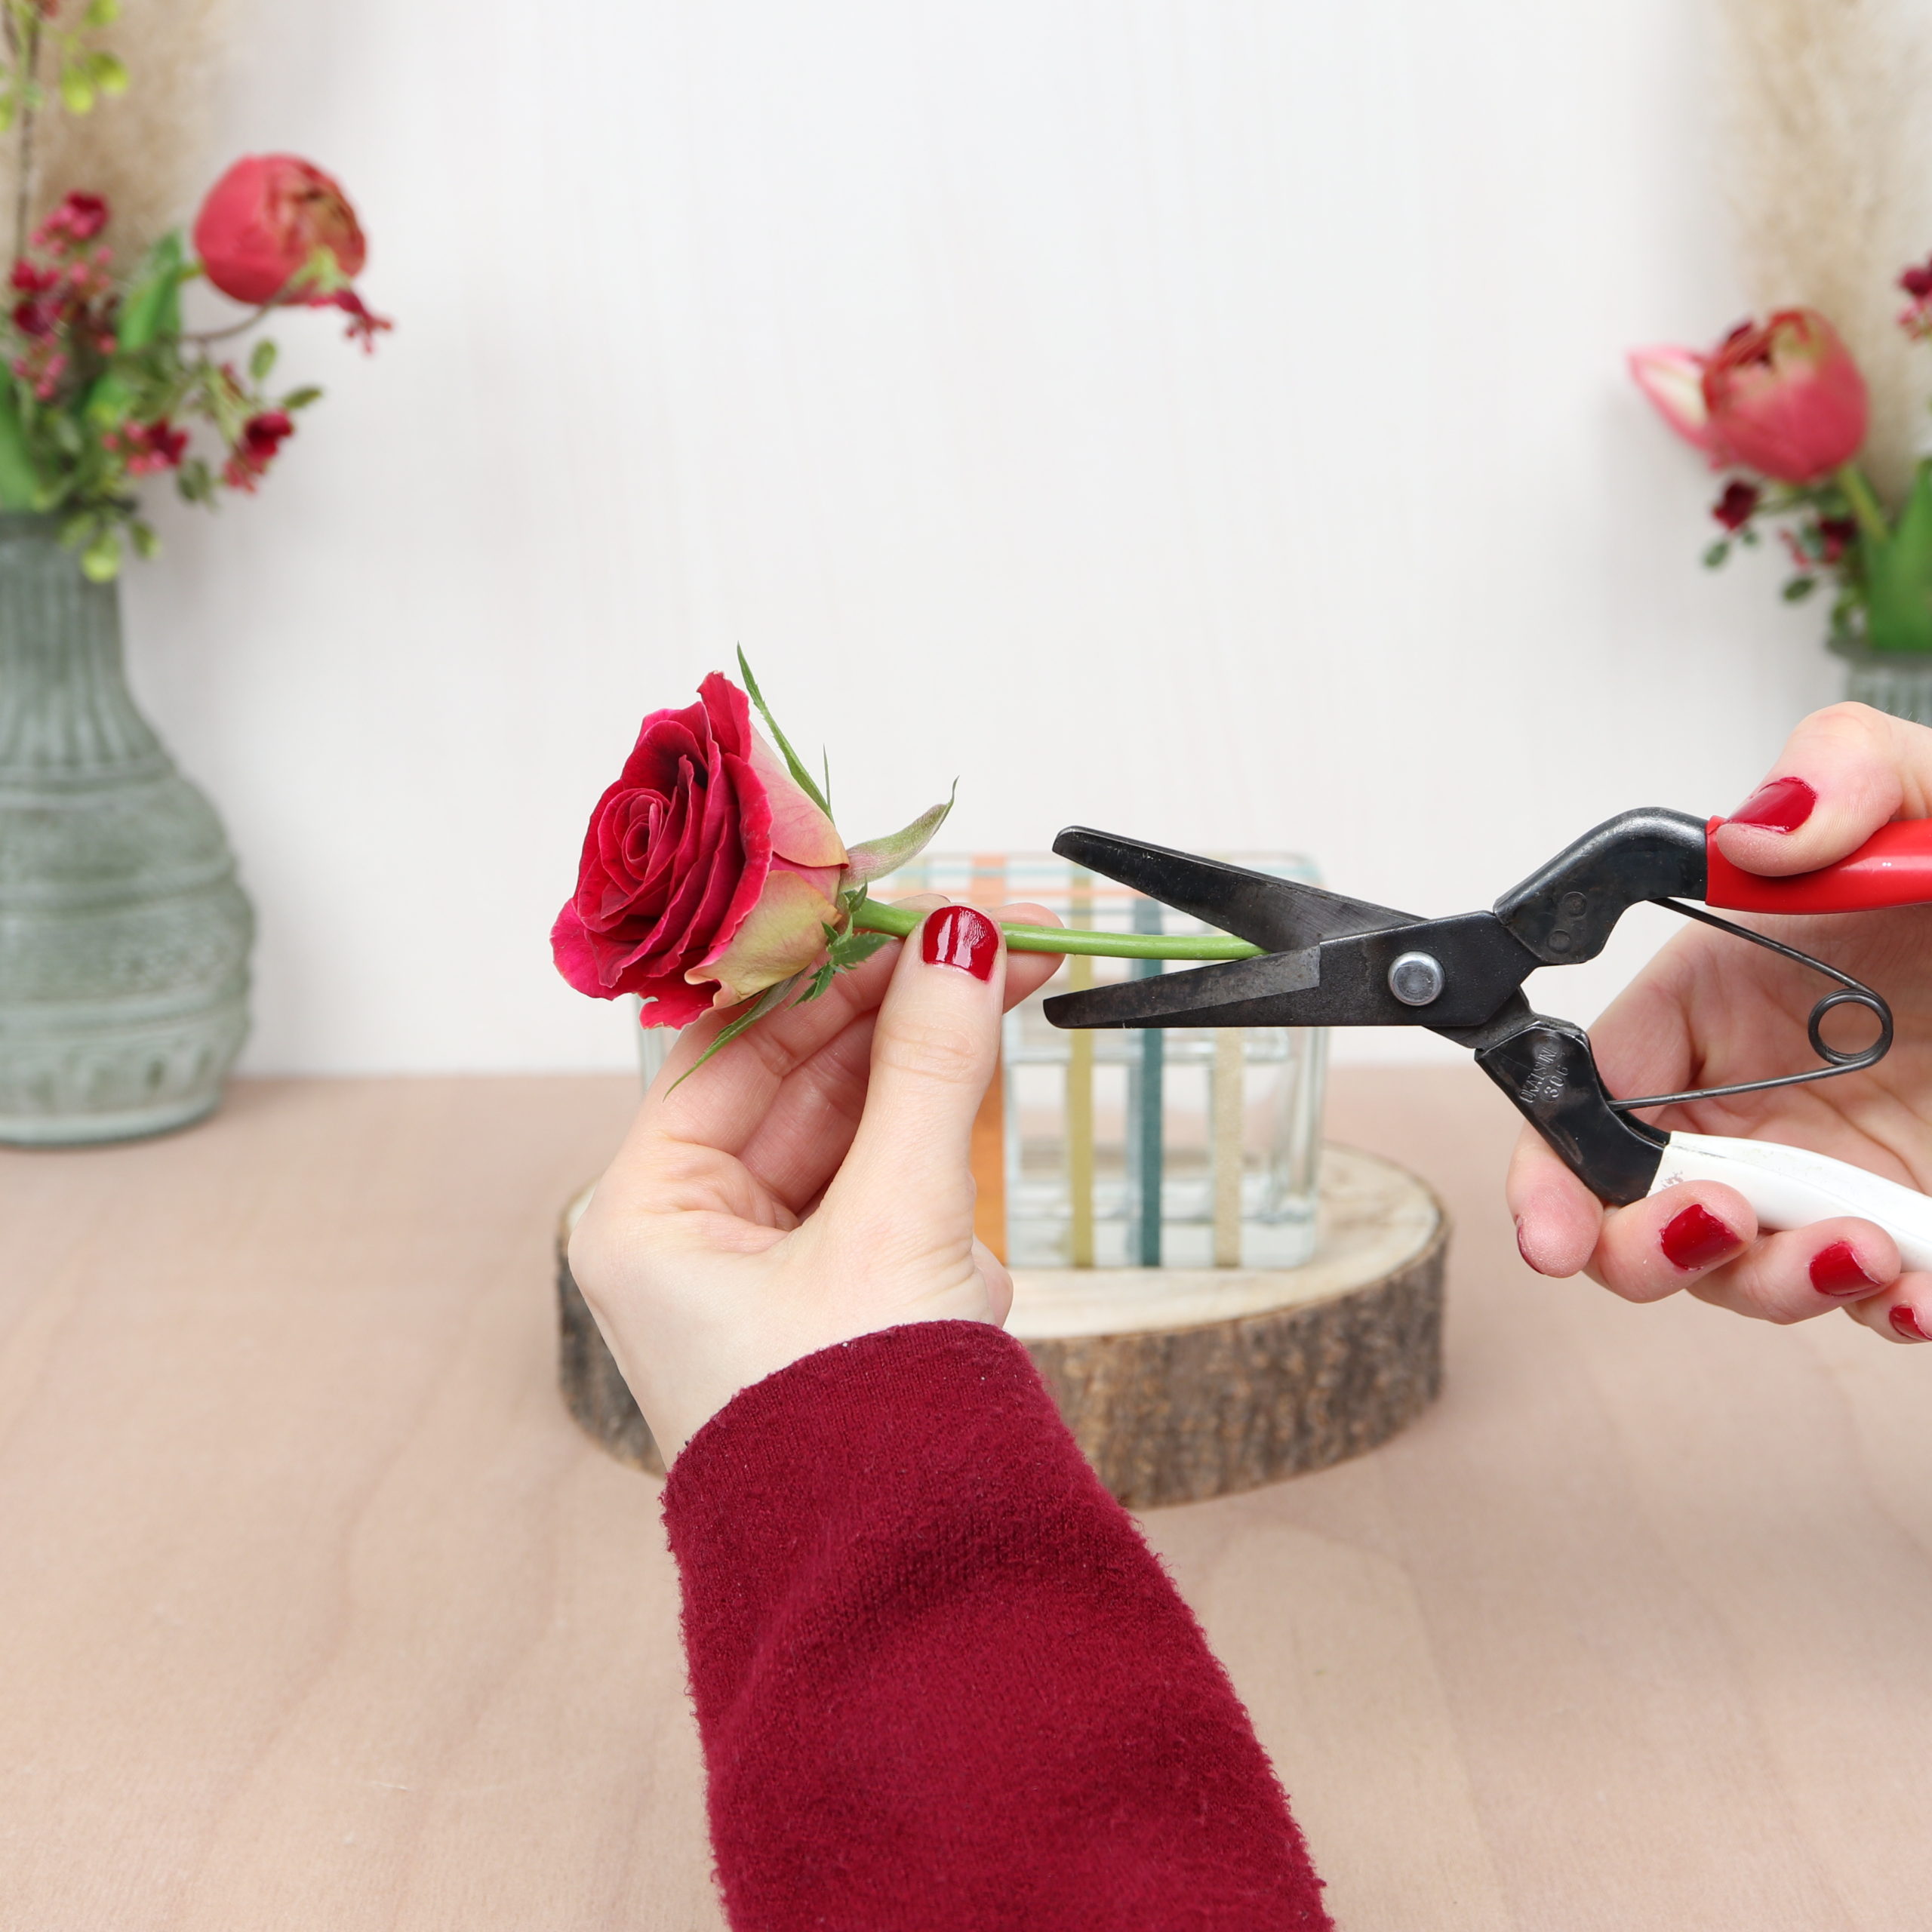
You can test how the flower stands in the grid and then adjust the length of the stem.
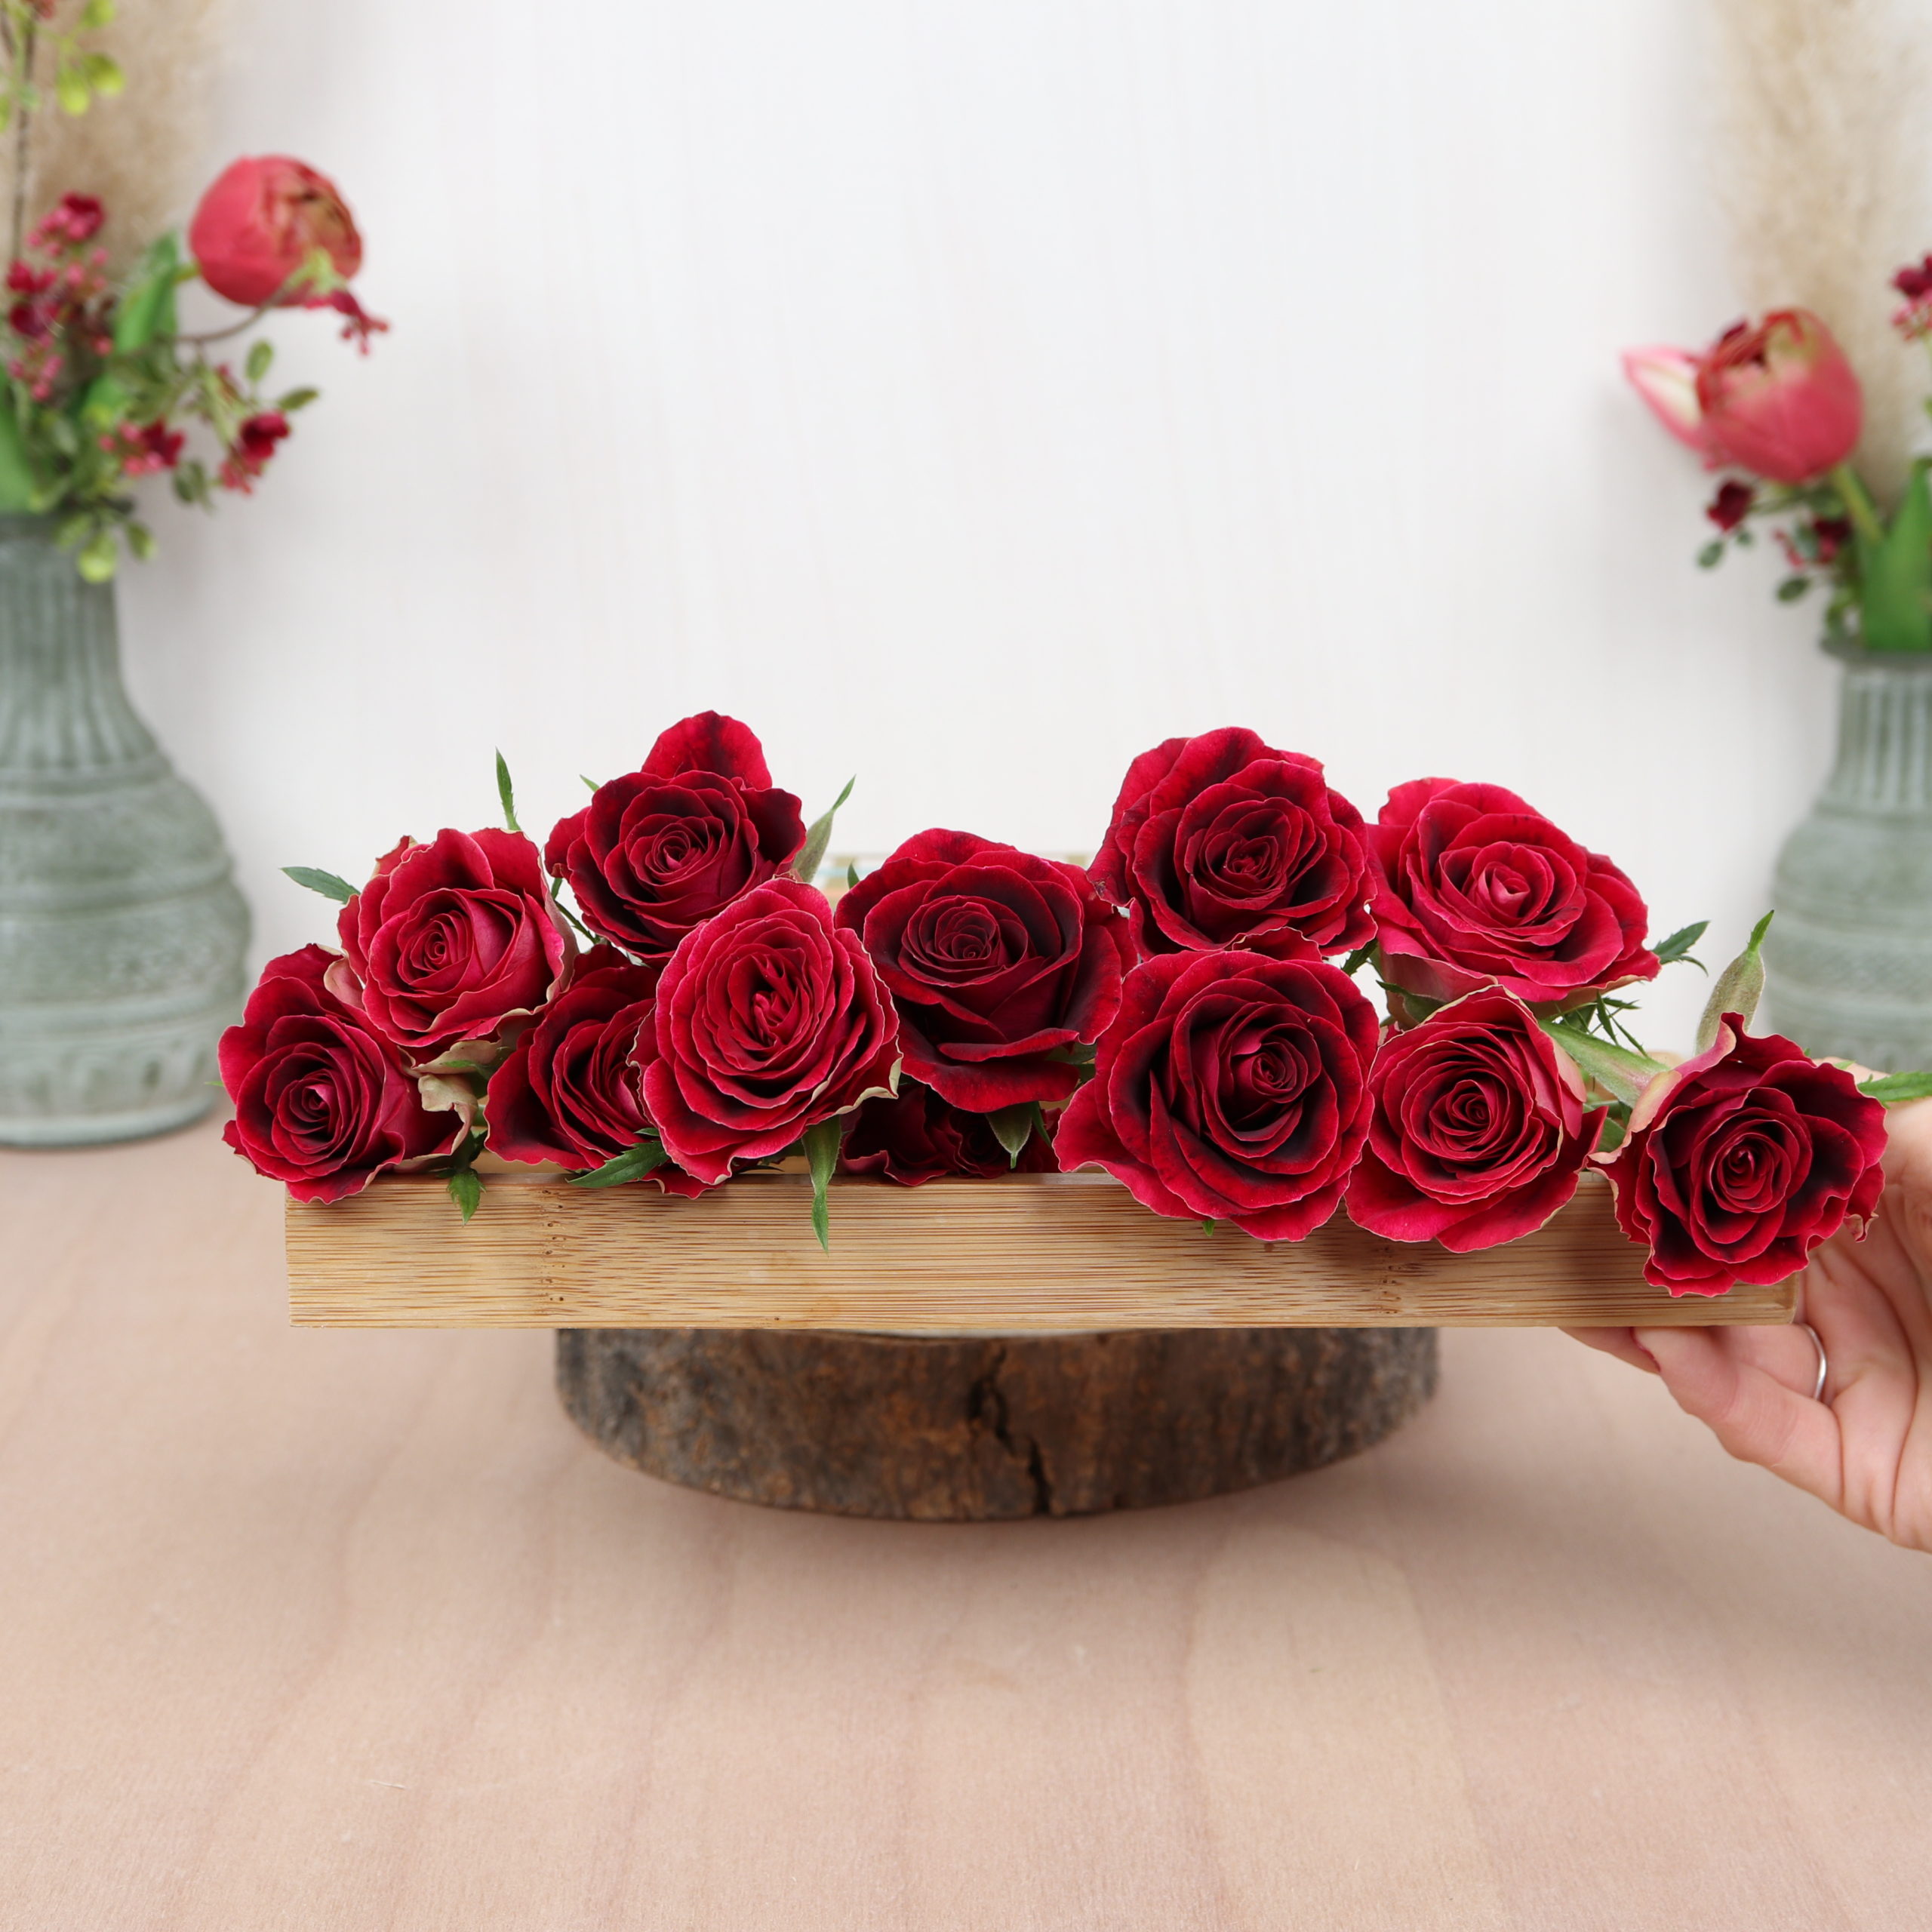
Step 3: Insert flowers
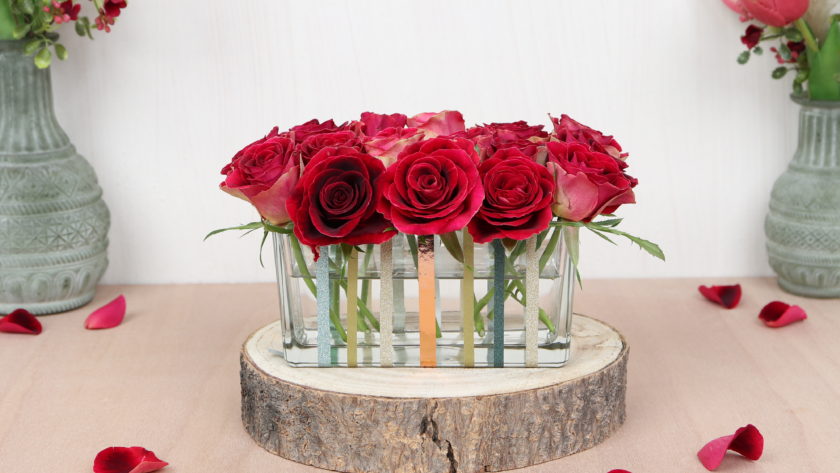
Now you can insert the flowers into the grid.

You could also leave some parts of the vase free, for example on the left and right sides. This would make the grid even more visible.

I hope you had as much fun with this DIY as I did and that you enjoy looking at the floral decoration!