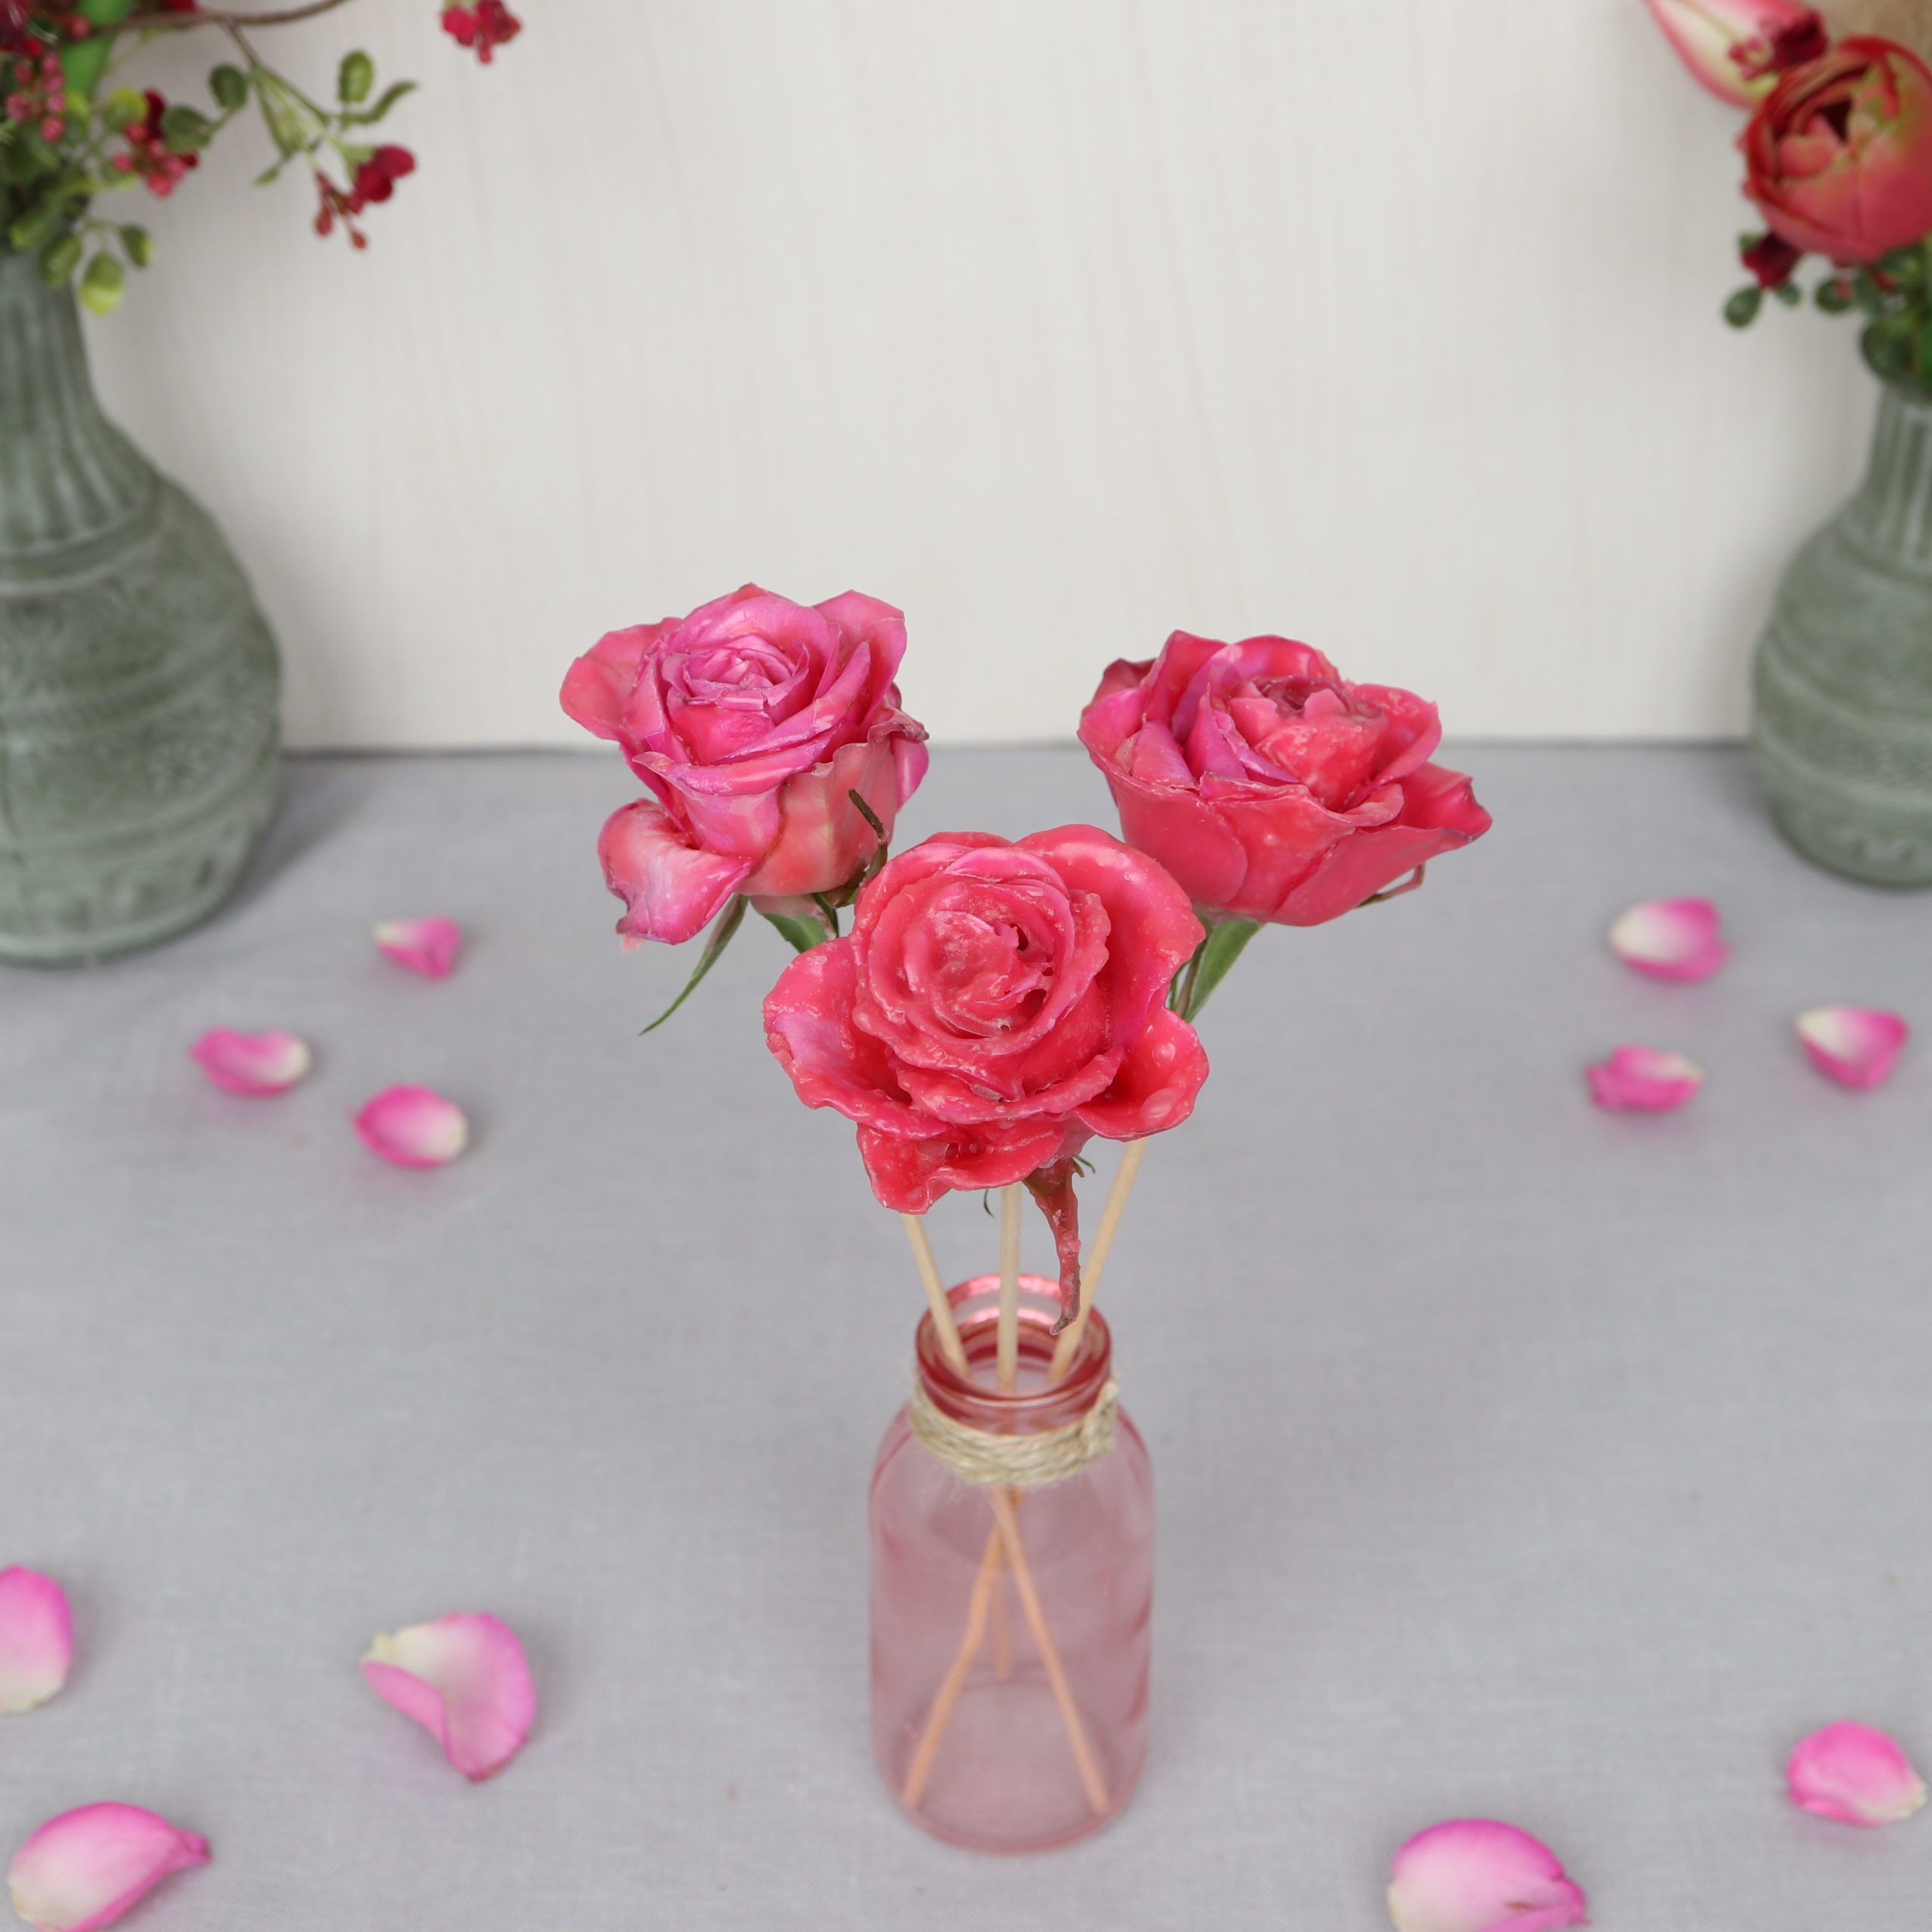
With today’s step by step tutorial I’ll show you how you can easily make a wax rose yourself!
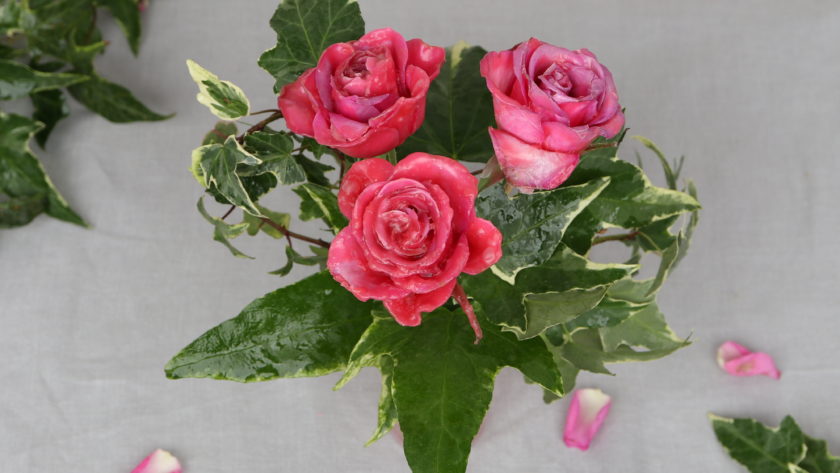
The rose is one of the most beautiful flowers for me. Luckily, there are great ways to preserve their beauty. A common method is air drying the roses. Other common methods are the use of silica gel or to put the roses in a glycerin-water mixture. Today, I want to show you another preservation method: the use of liquid wax. After preservation, you can use the waxed rose for a flower arrangement.
Tools
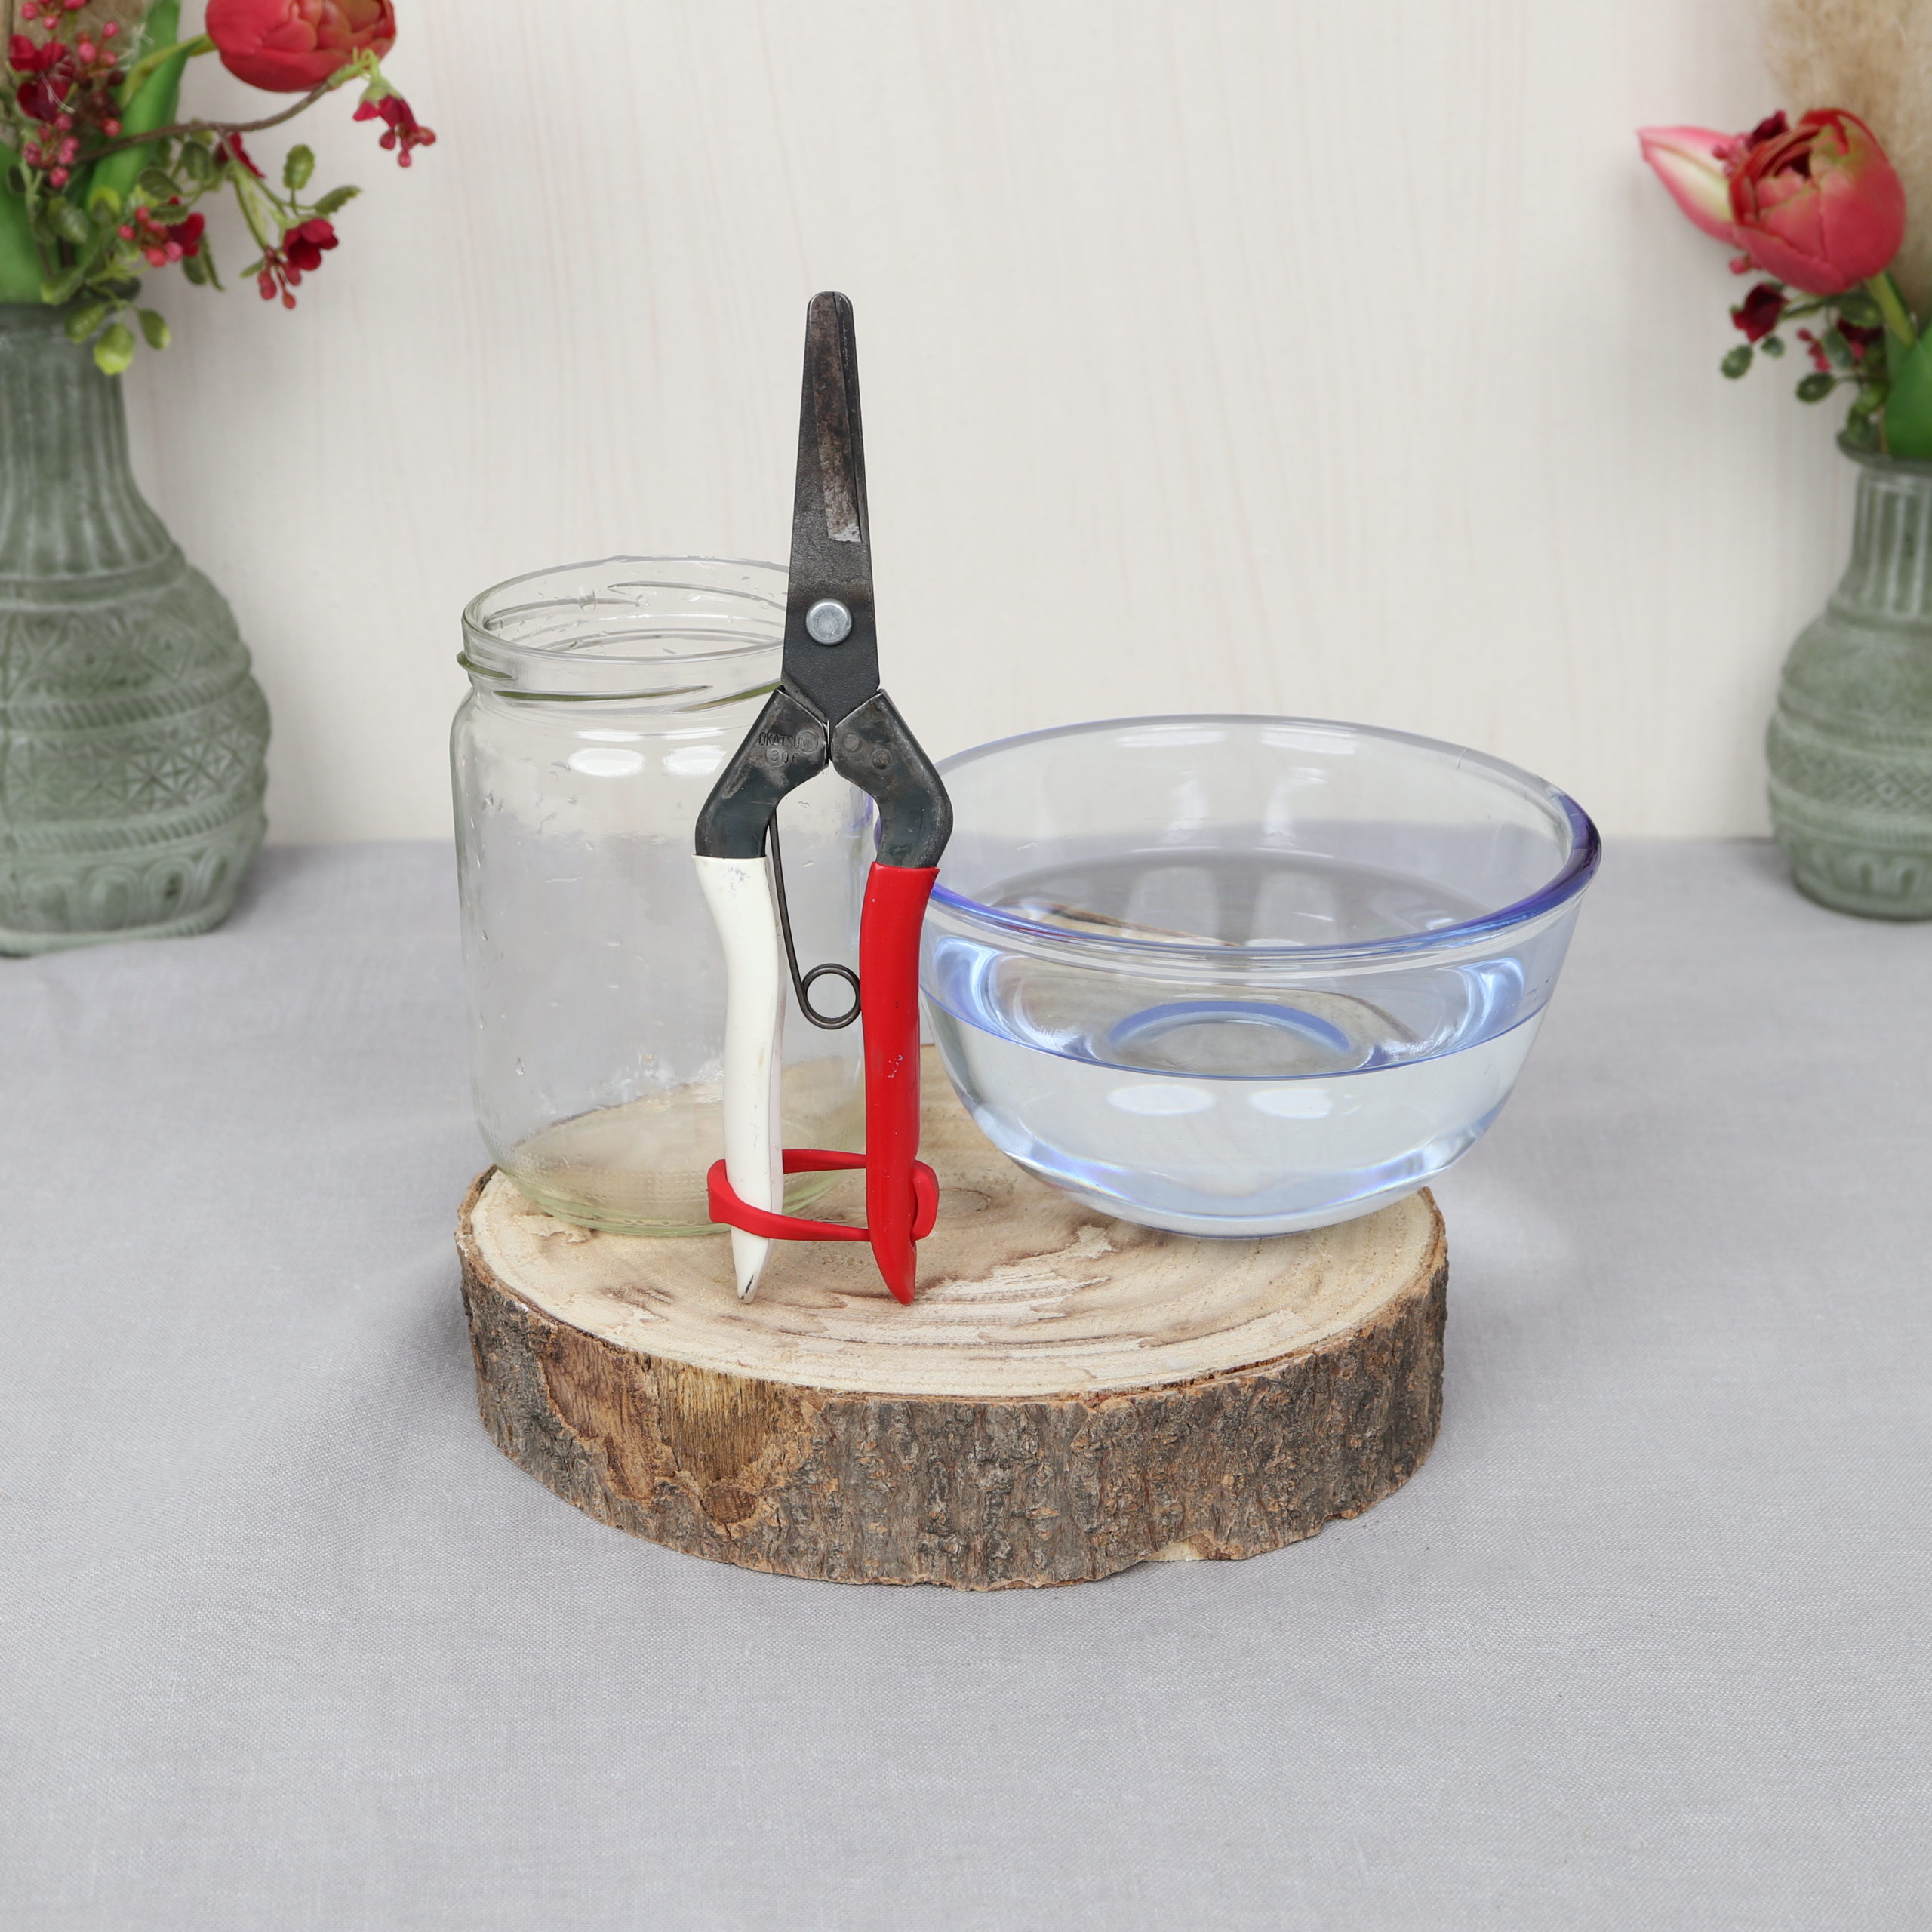
Here you see the tools I used to make the waxed rose DIY: a pair of flower scissors, an old glass jar to melt the wax residue, and an old glass bowl of cold water to dip the wax rose in at the end.
Materials

These are the materials I used for the wax rose: a fresh rose, wax scraps (candle scraps), and two skewers.
Guide| Make a wax rose yourself
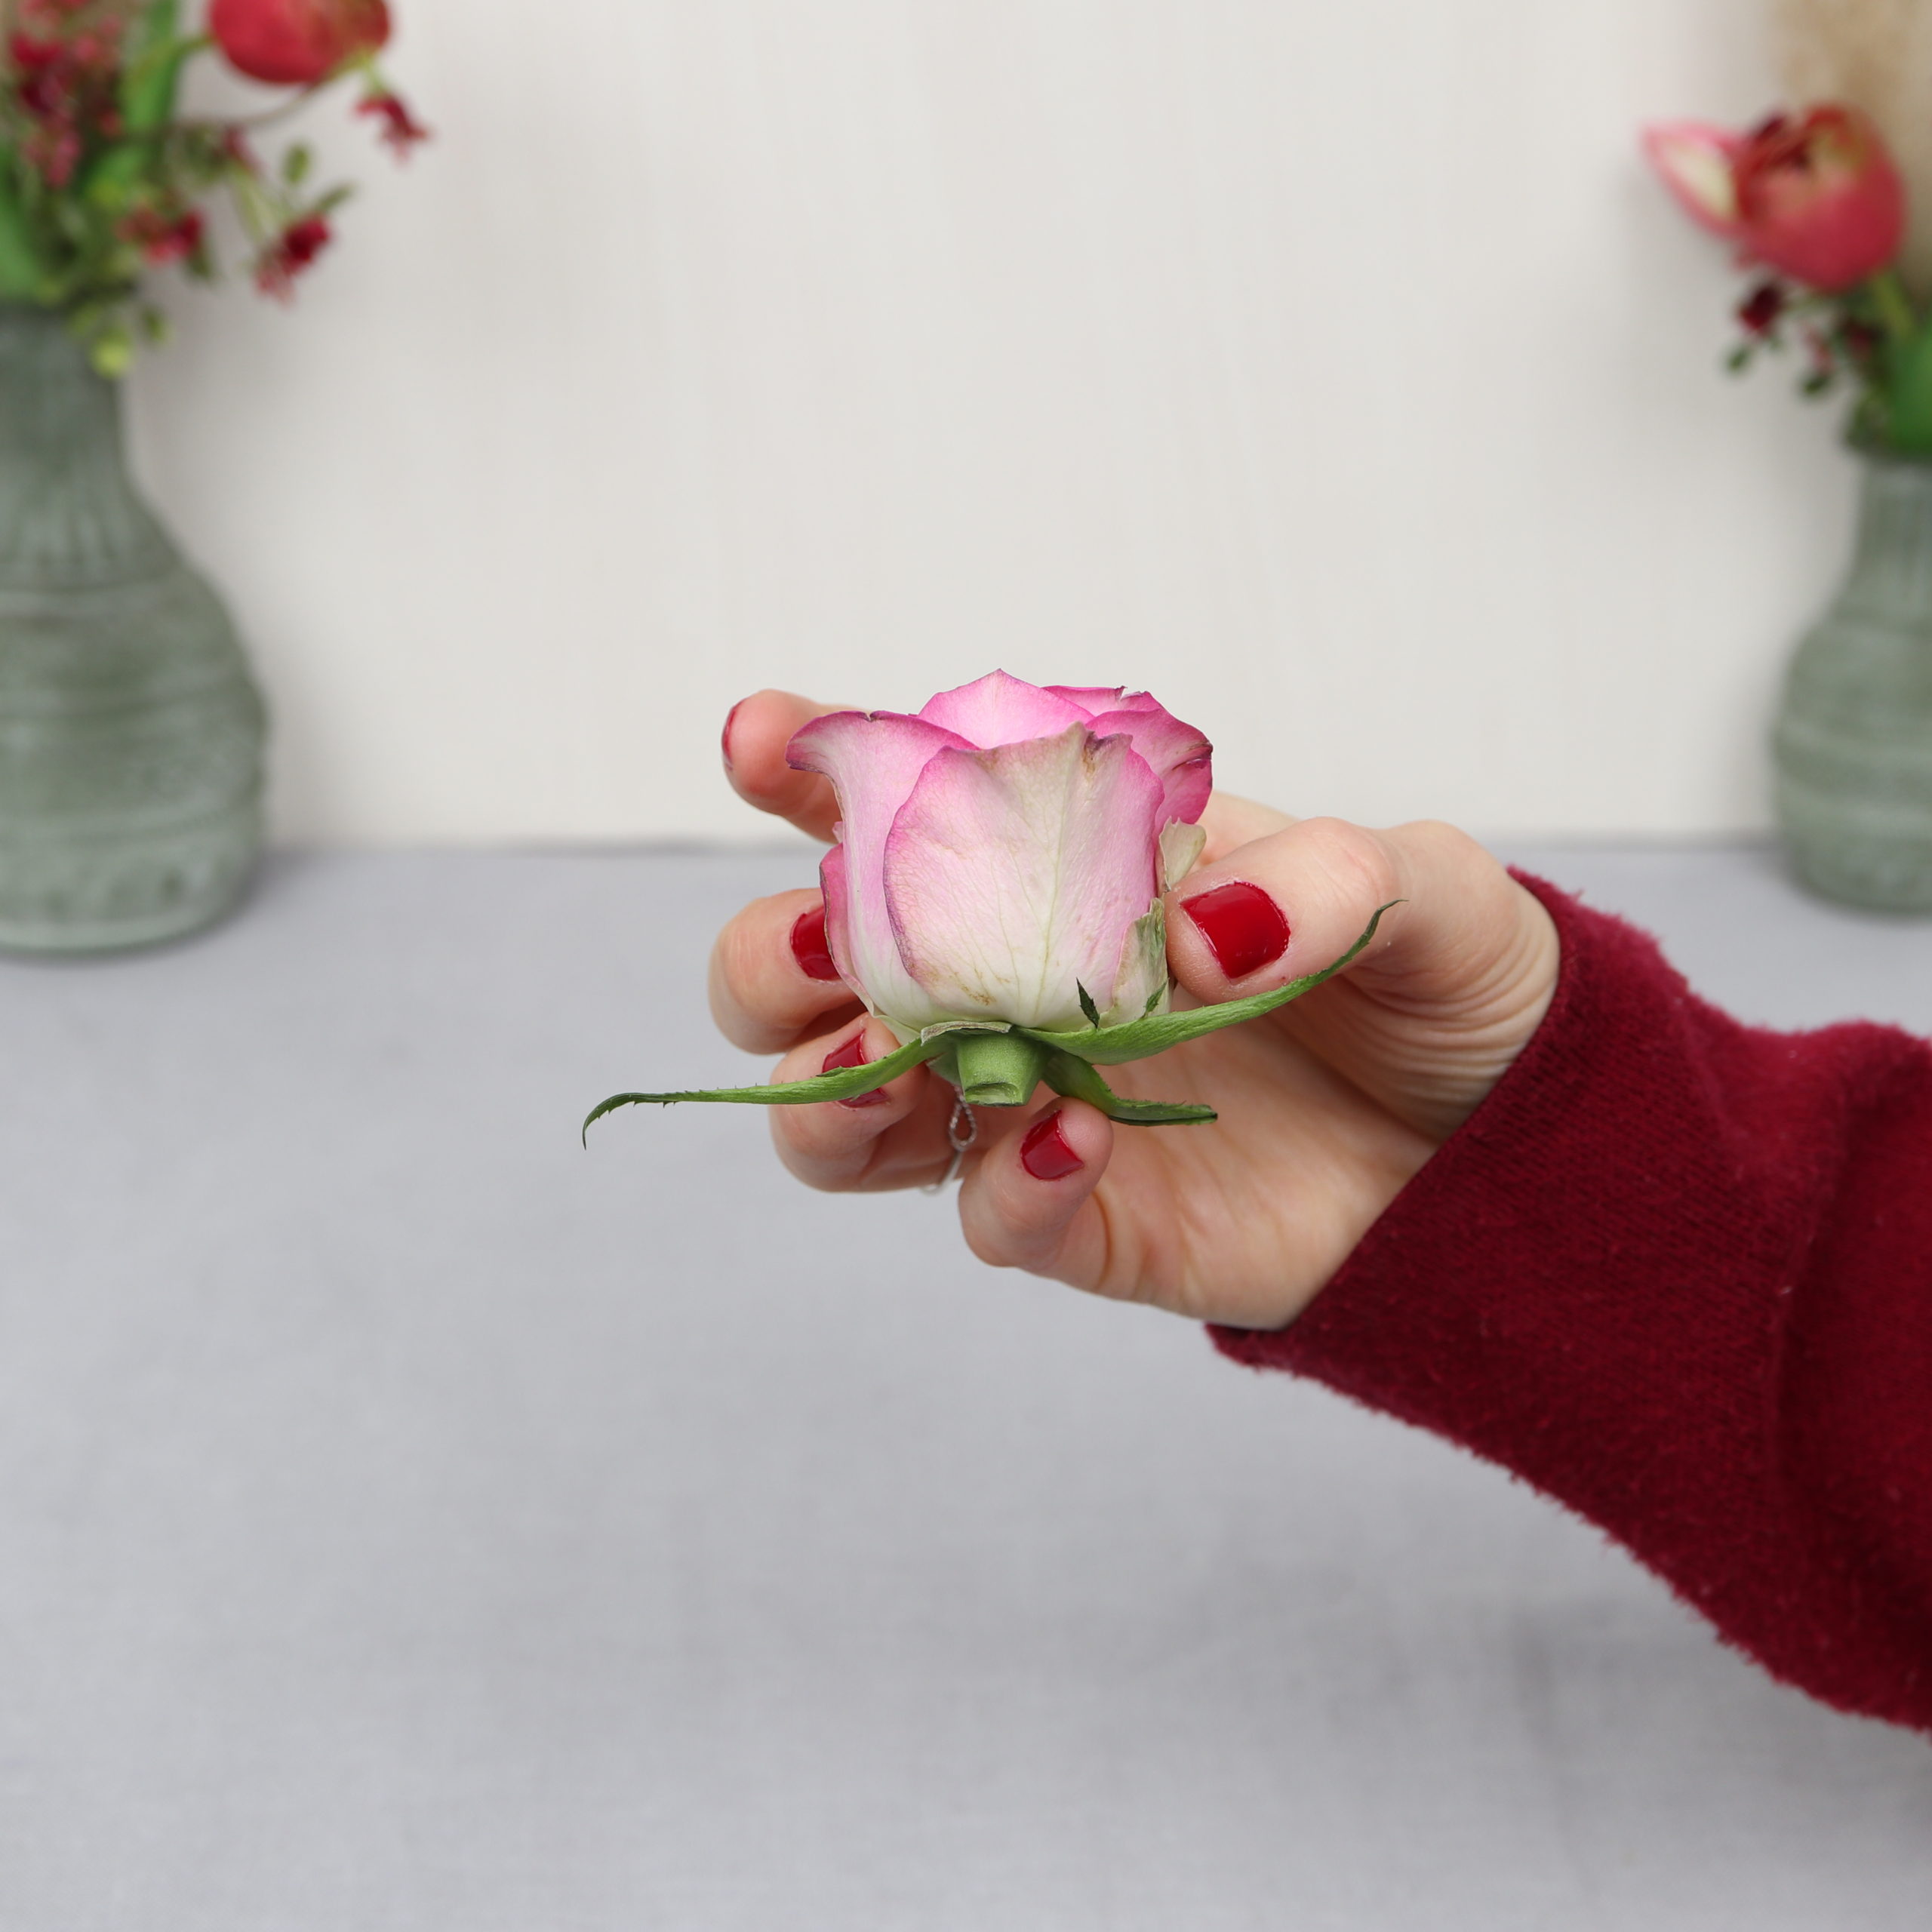
Step 1: Remove rose stem
In the first step, I cut the rose stem slightly below the petals with the flower scissors.

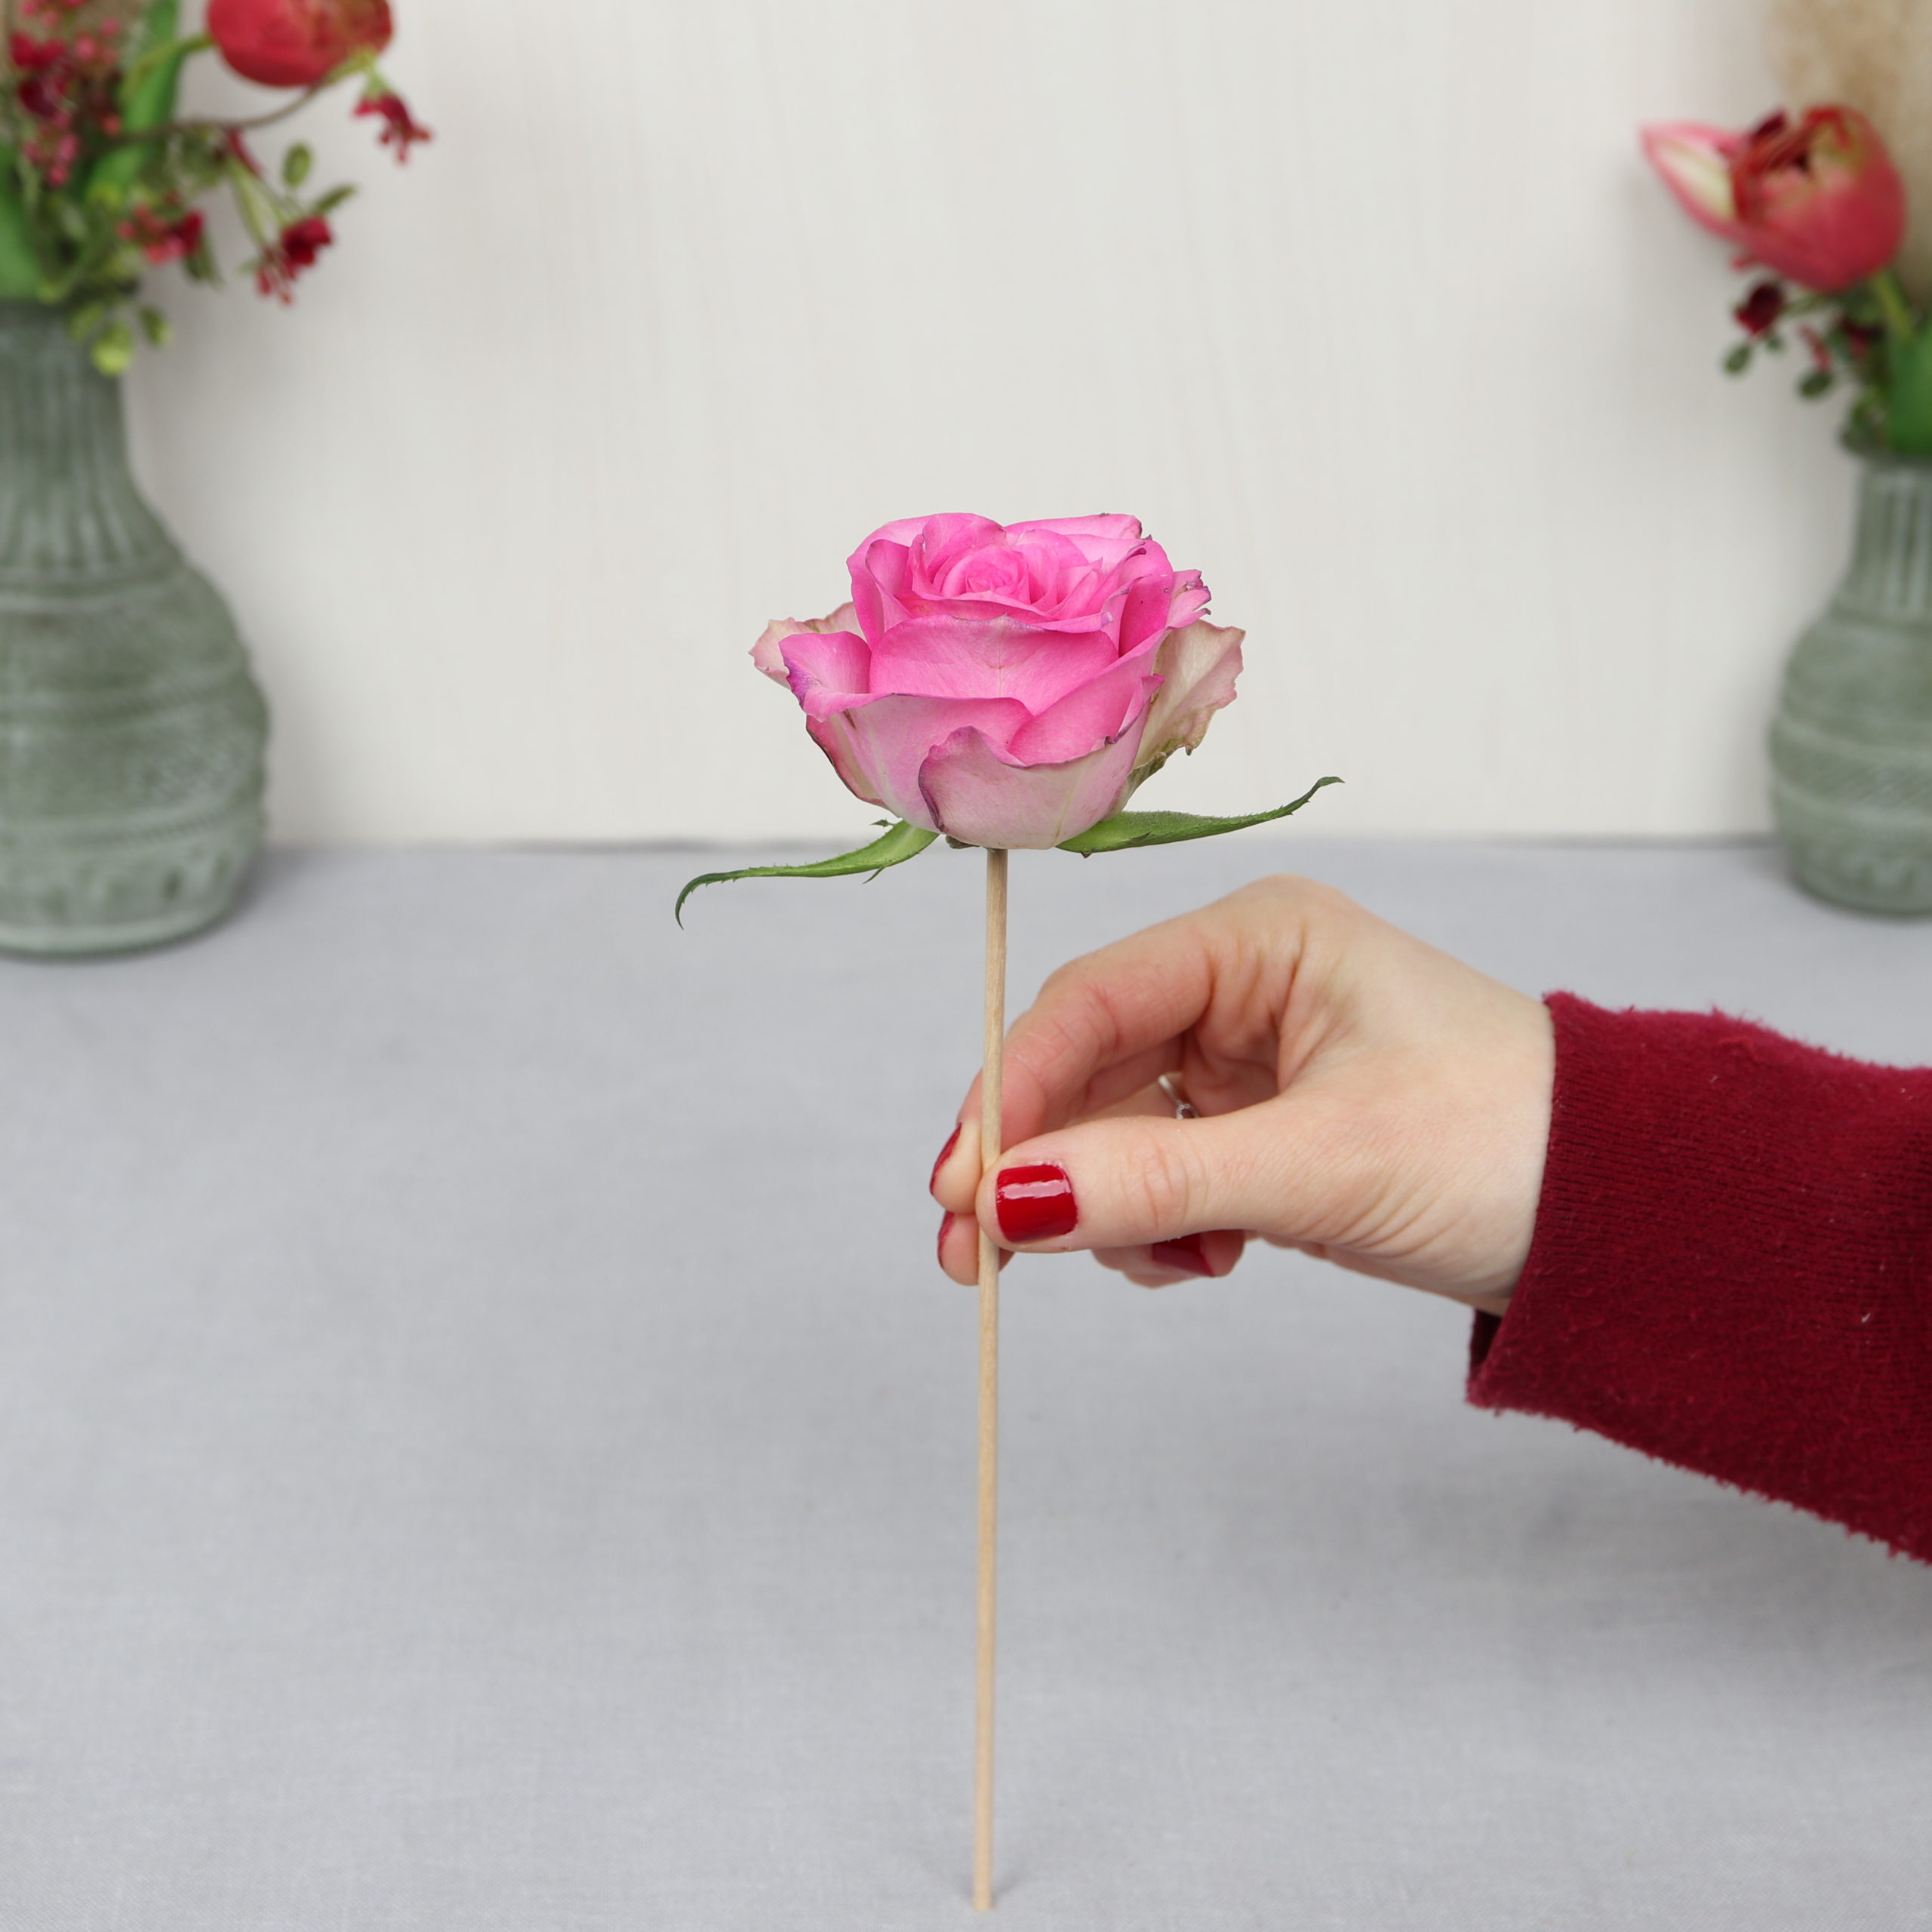
Step 2: Put rose on skewer
Now the tip of the skewer is inserted through the rose head.

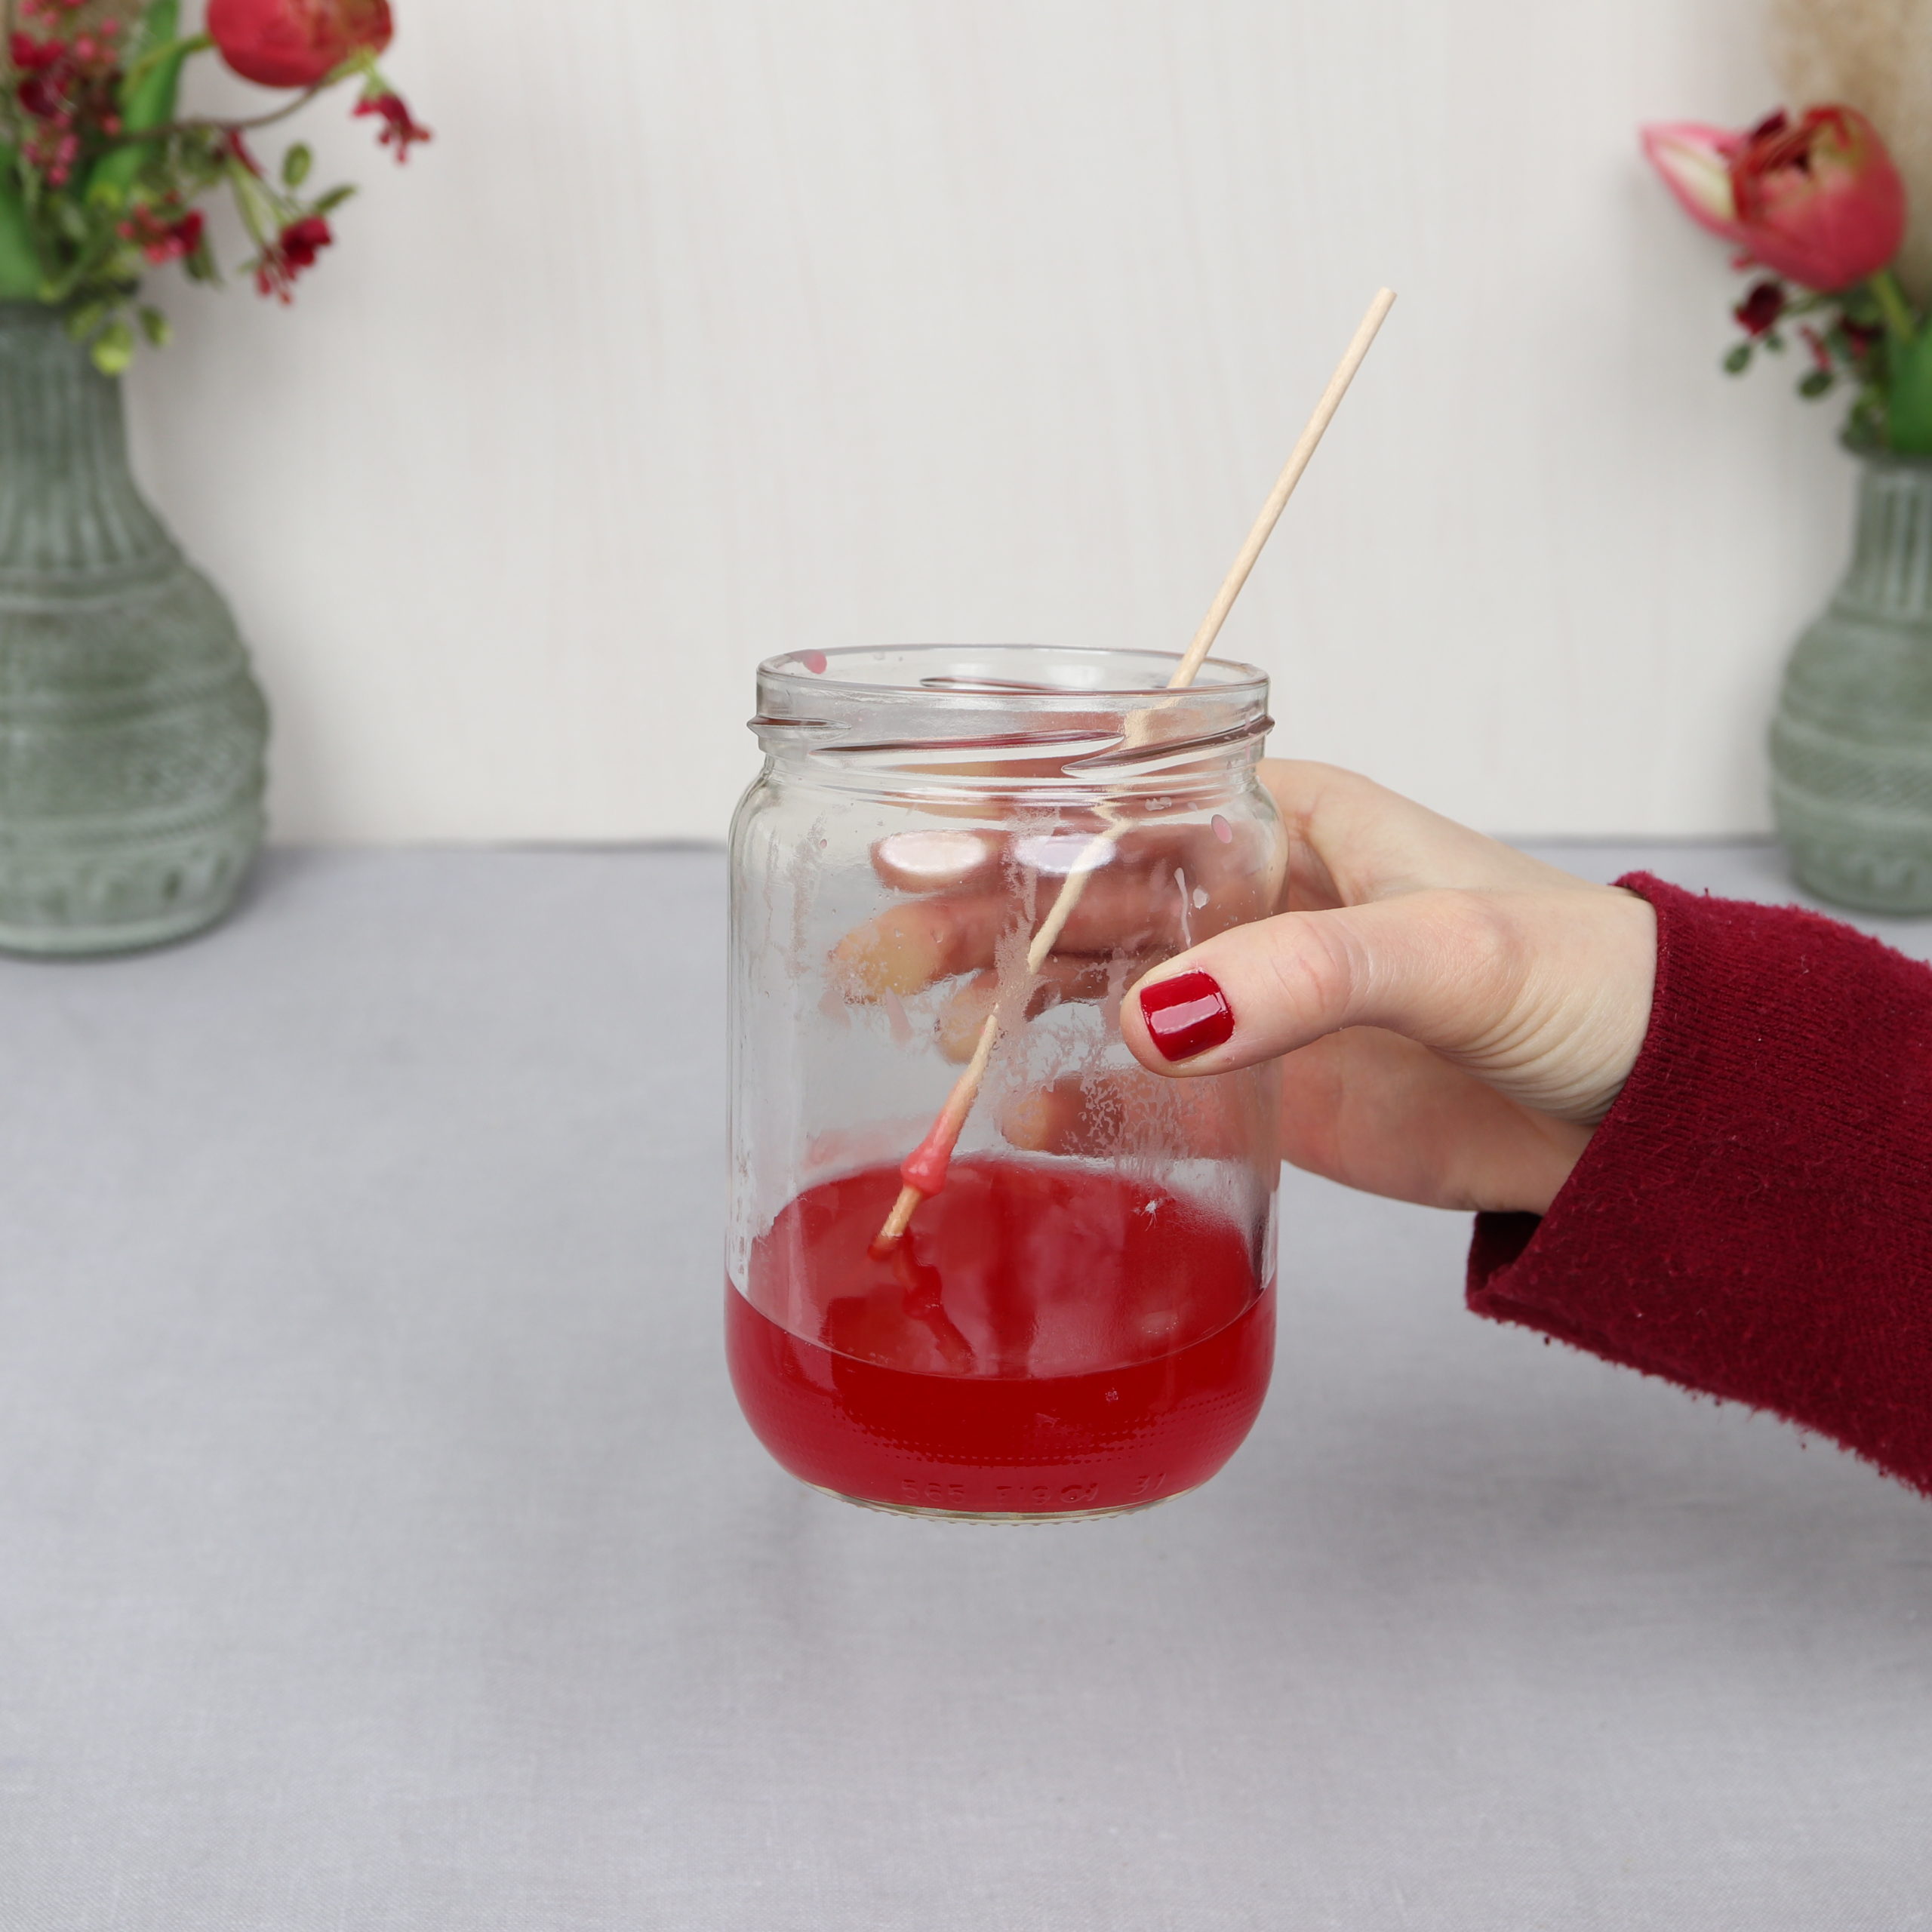
Step 3: Heat up wax
Now the wax is melted. Before you get started, here are a few tips:
- Protect your workplace and your hands from the hot wax.
- Use only old containers for the wax, it is rather difficult to remove the wax afterwards.
- I melt the wax very slowly in a glass jar in the microwave.
- You can also melt the wax in a water bath, then make sure that you use an old pot. In addition, the pot should be only a little bit larger than the glass jar, so that it can not tip over in it.
- The opening of the glass jar should be large enough for the rose to fit through.
- The wax should not be too hot, otherwise the leaves of the rose will turn brown. You should still be able to touch the wax.
- If you have very large chunks of wax, you can chop them before melting, then the wax melts a little faster.
- If you want to wax several roses, you may have to heat the wax again in between, as it cools down and becomes solid again over time.
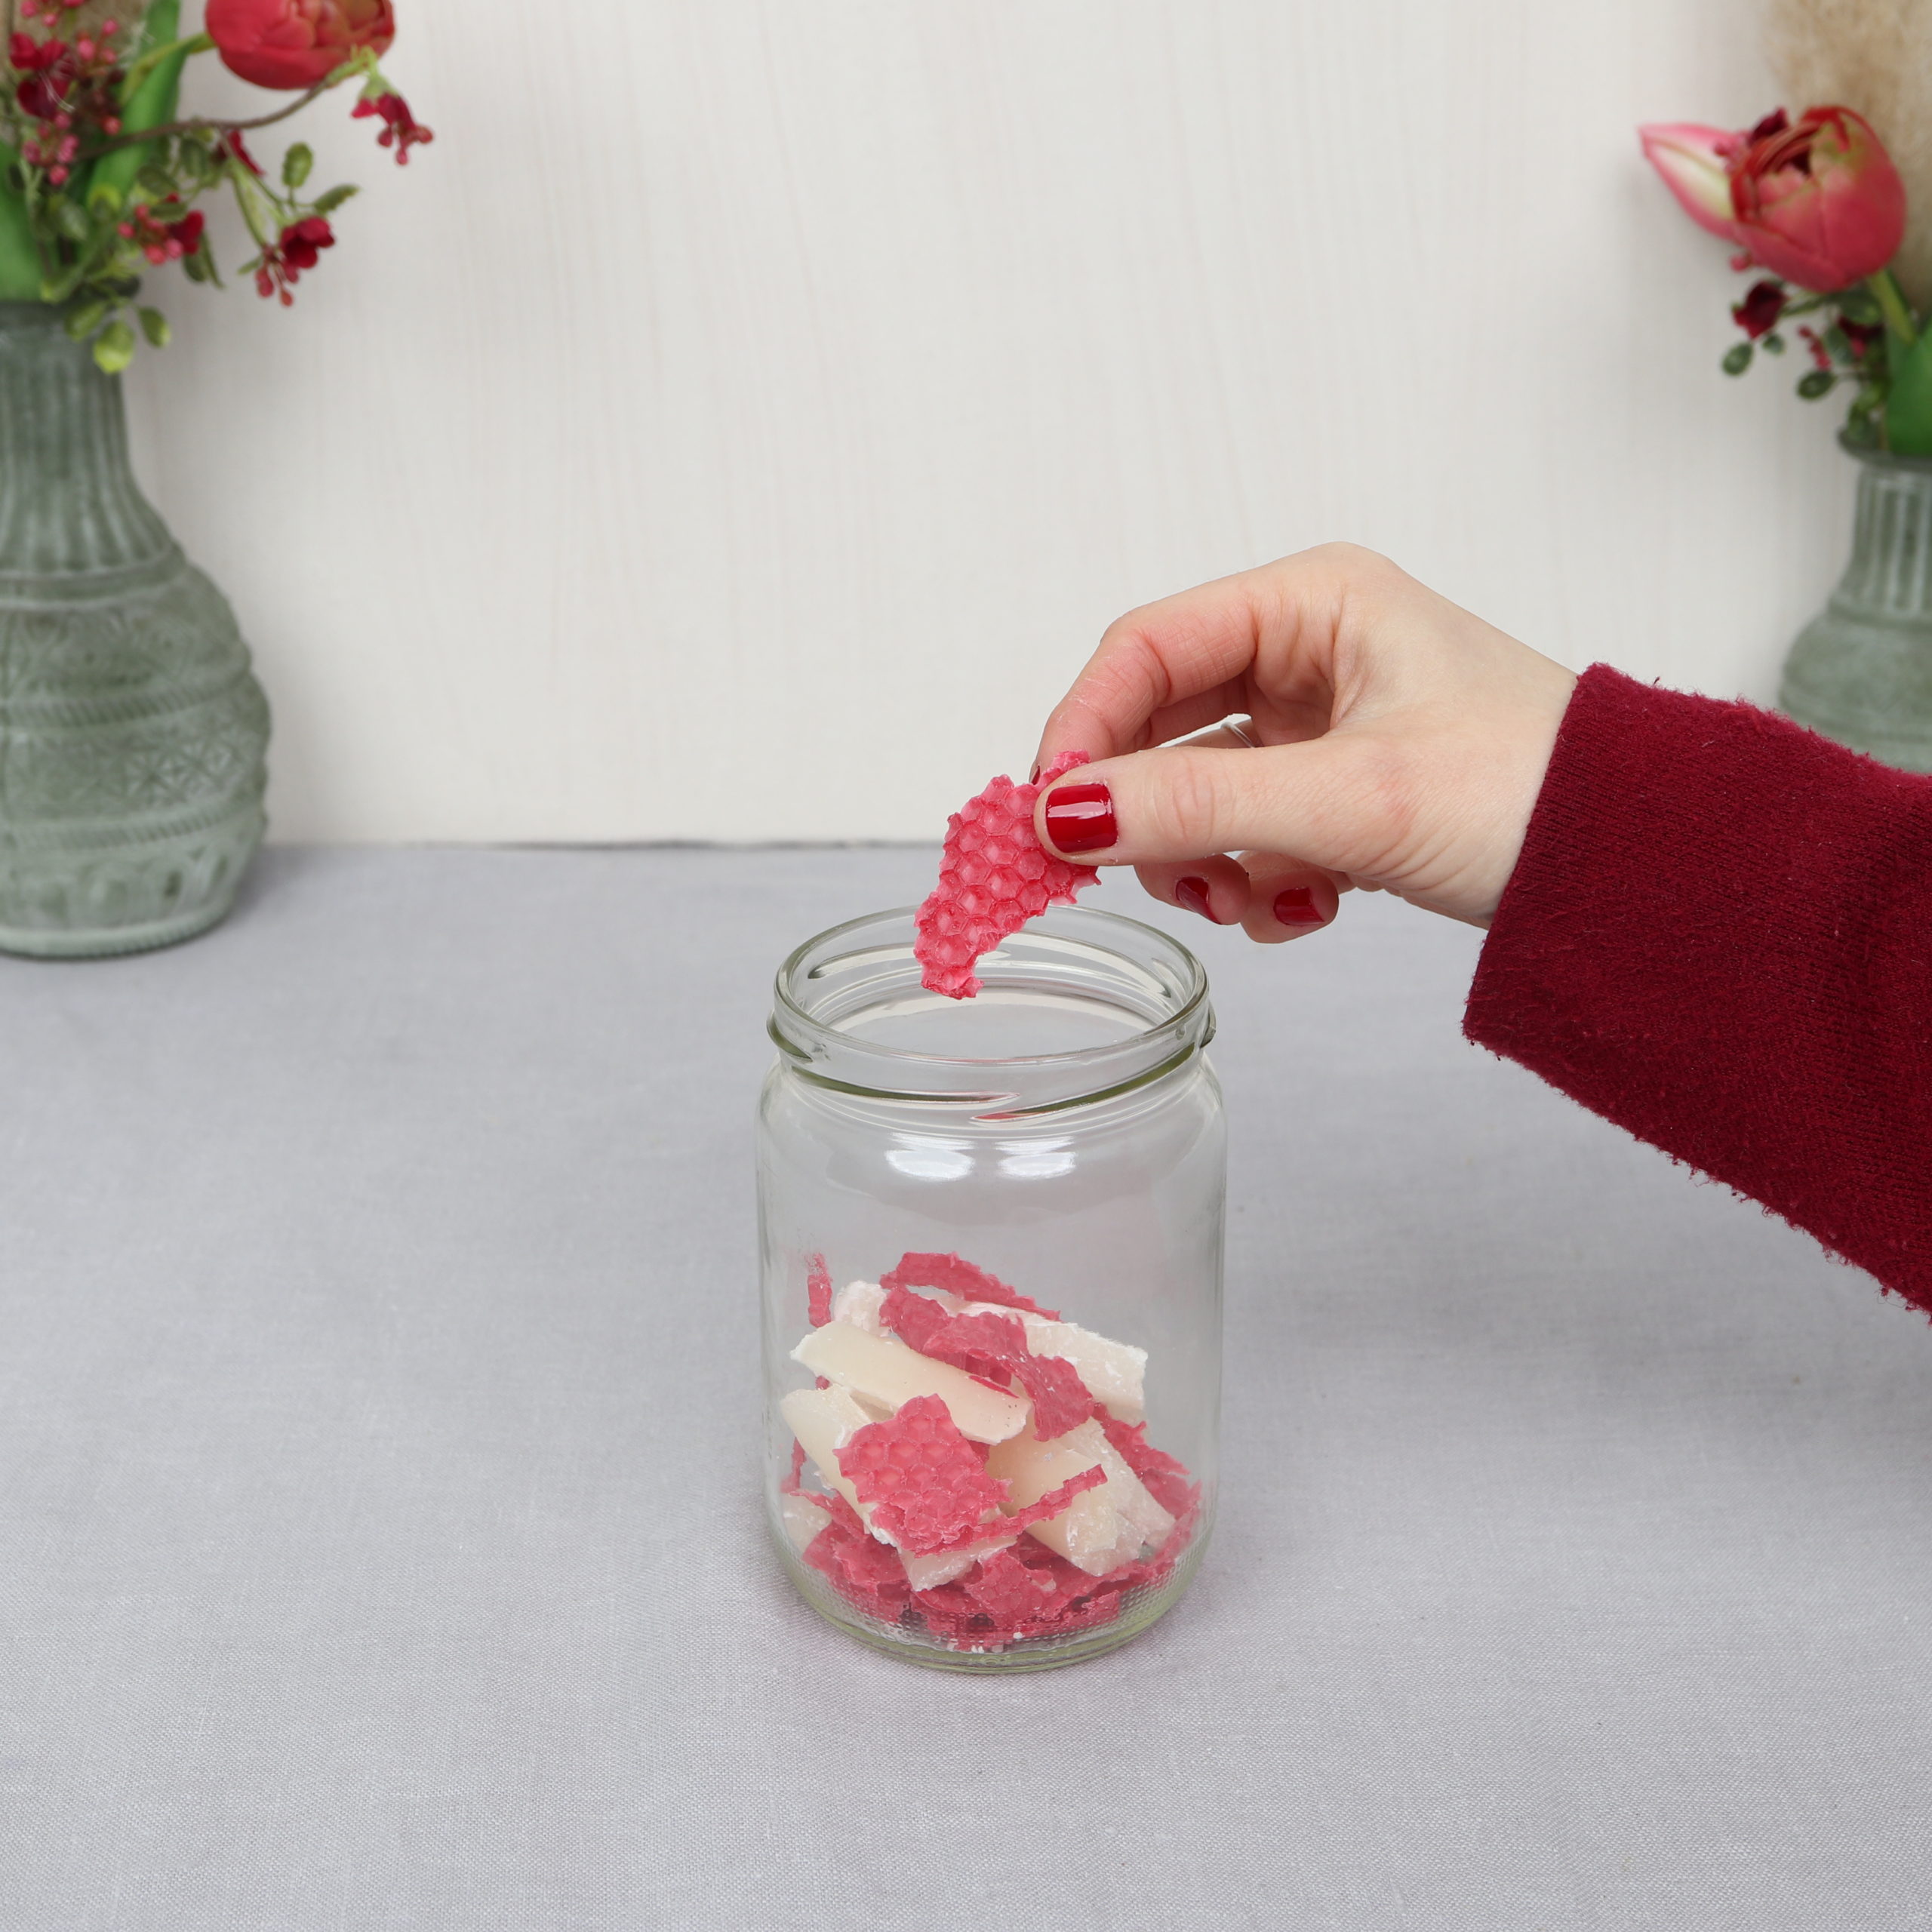
I now put the wax into the glass jar and melt it slowly. With the wooden skewer you can stir the wax again and again.
Step 4: Dip rose in warm wax
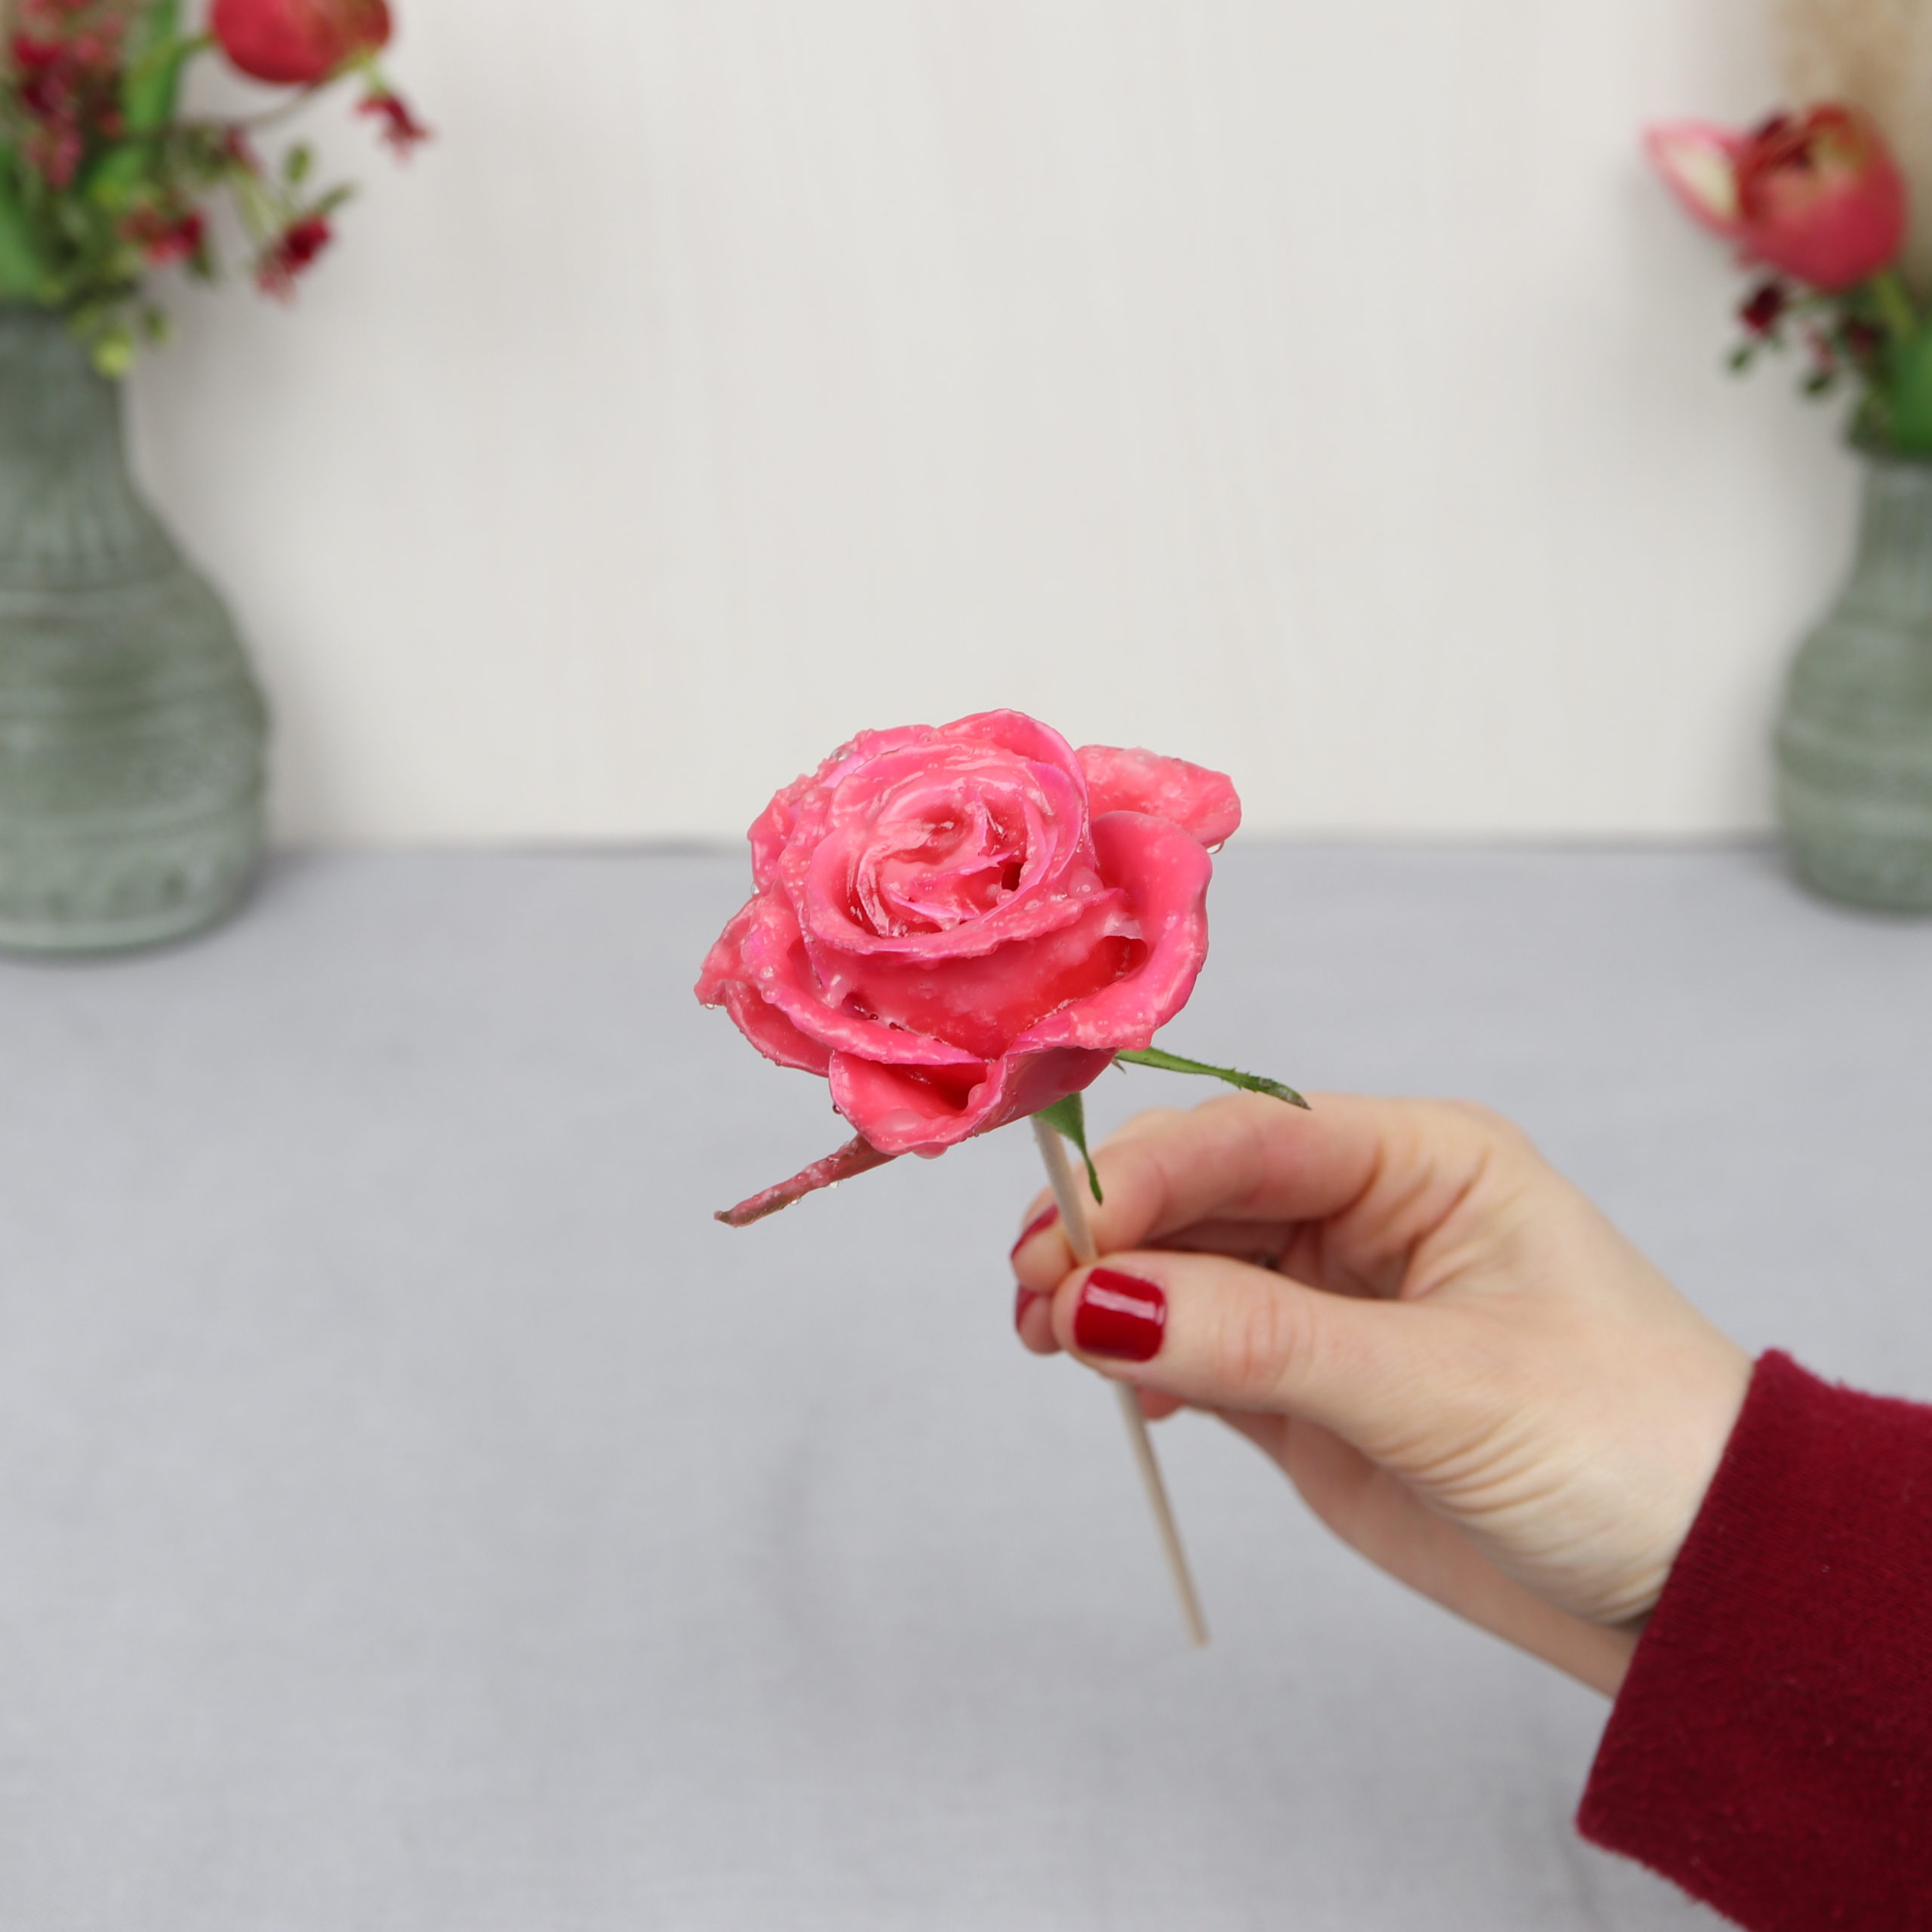
Then I completely put the rose head into the warm wax.
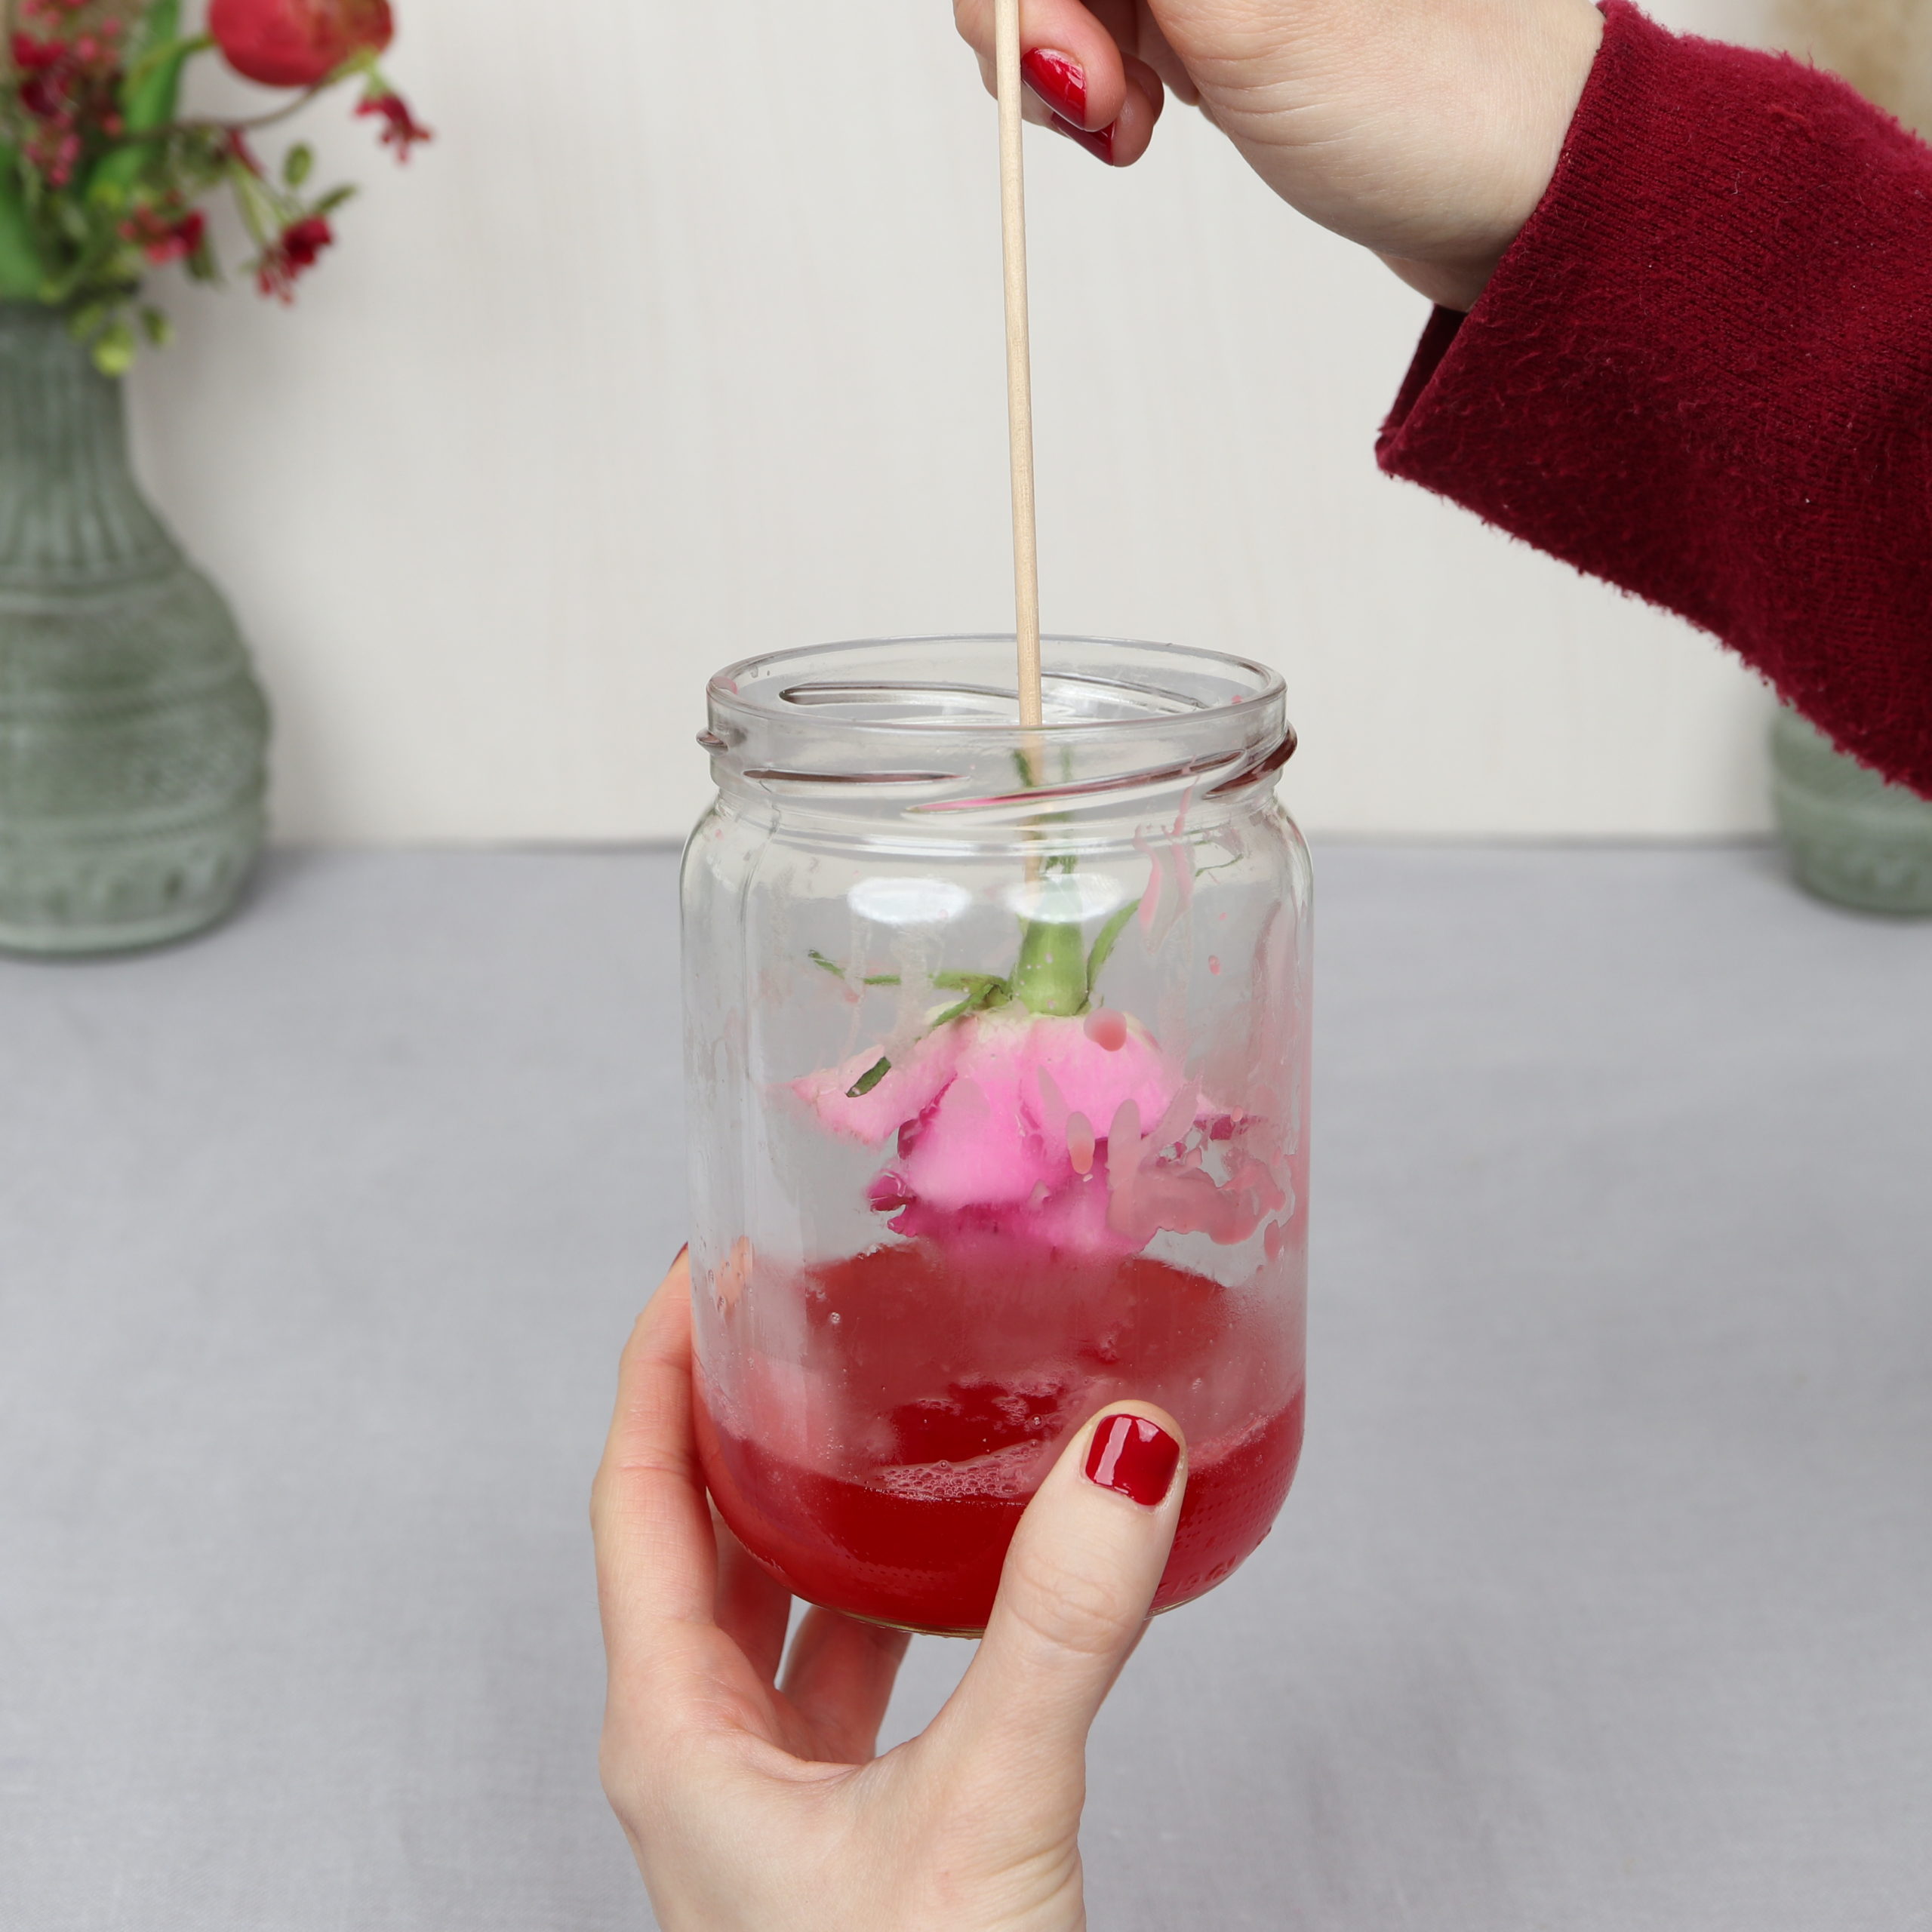
I then turn and swirl the rose so that the wax is evenly distributed everywhere.
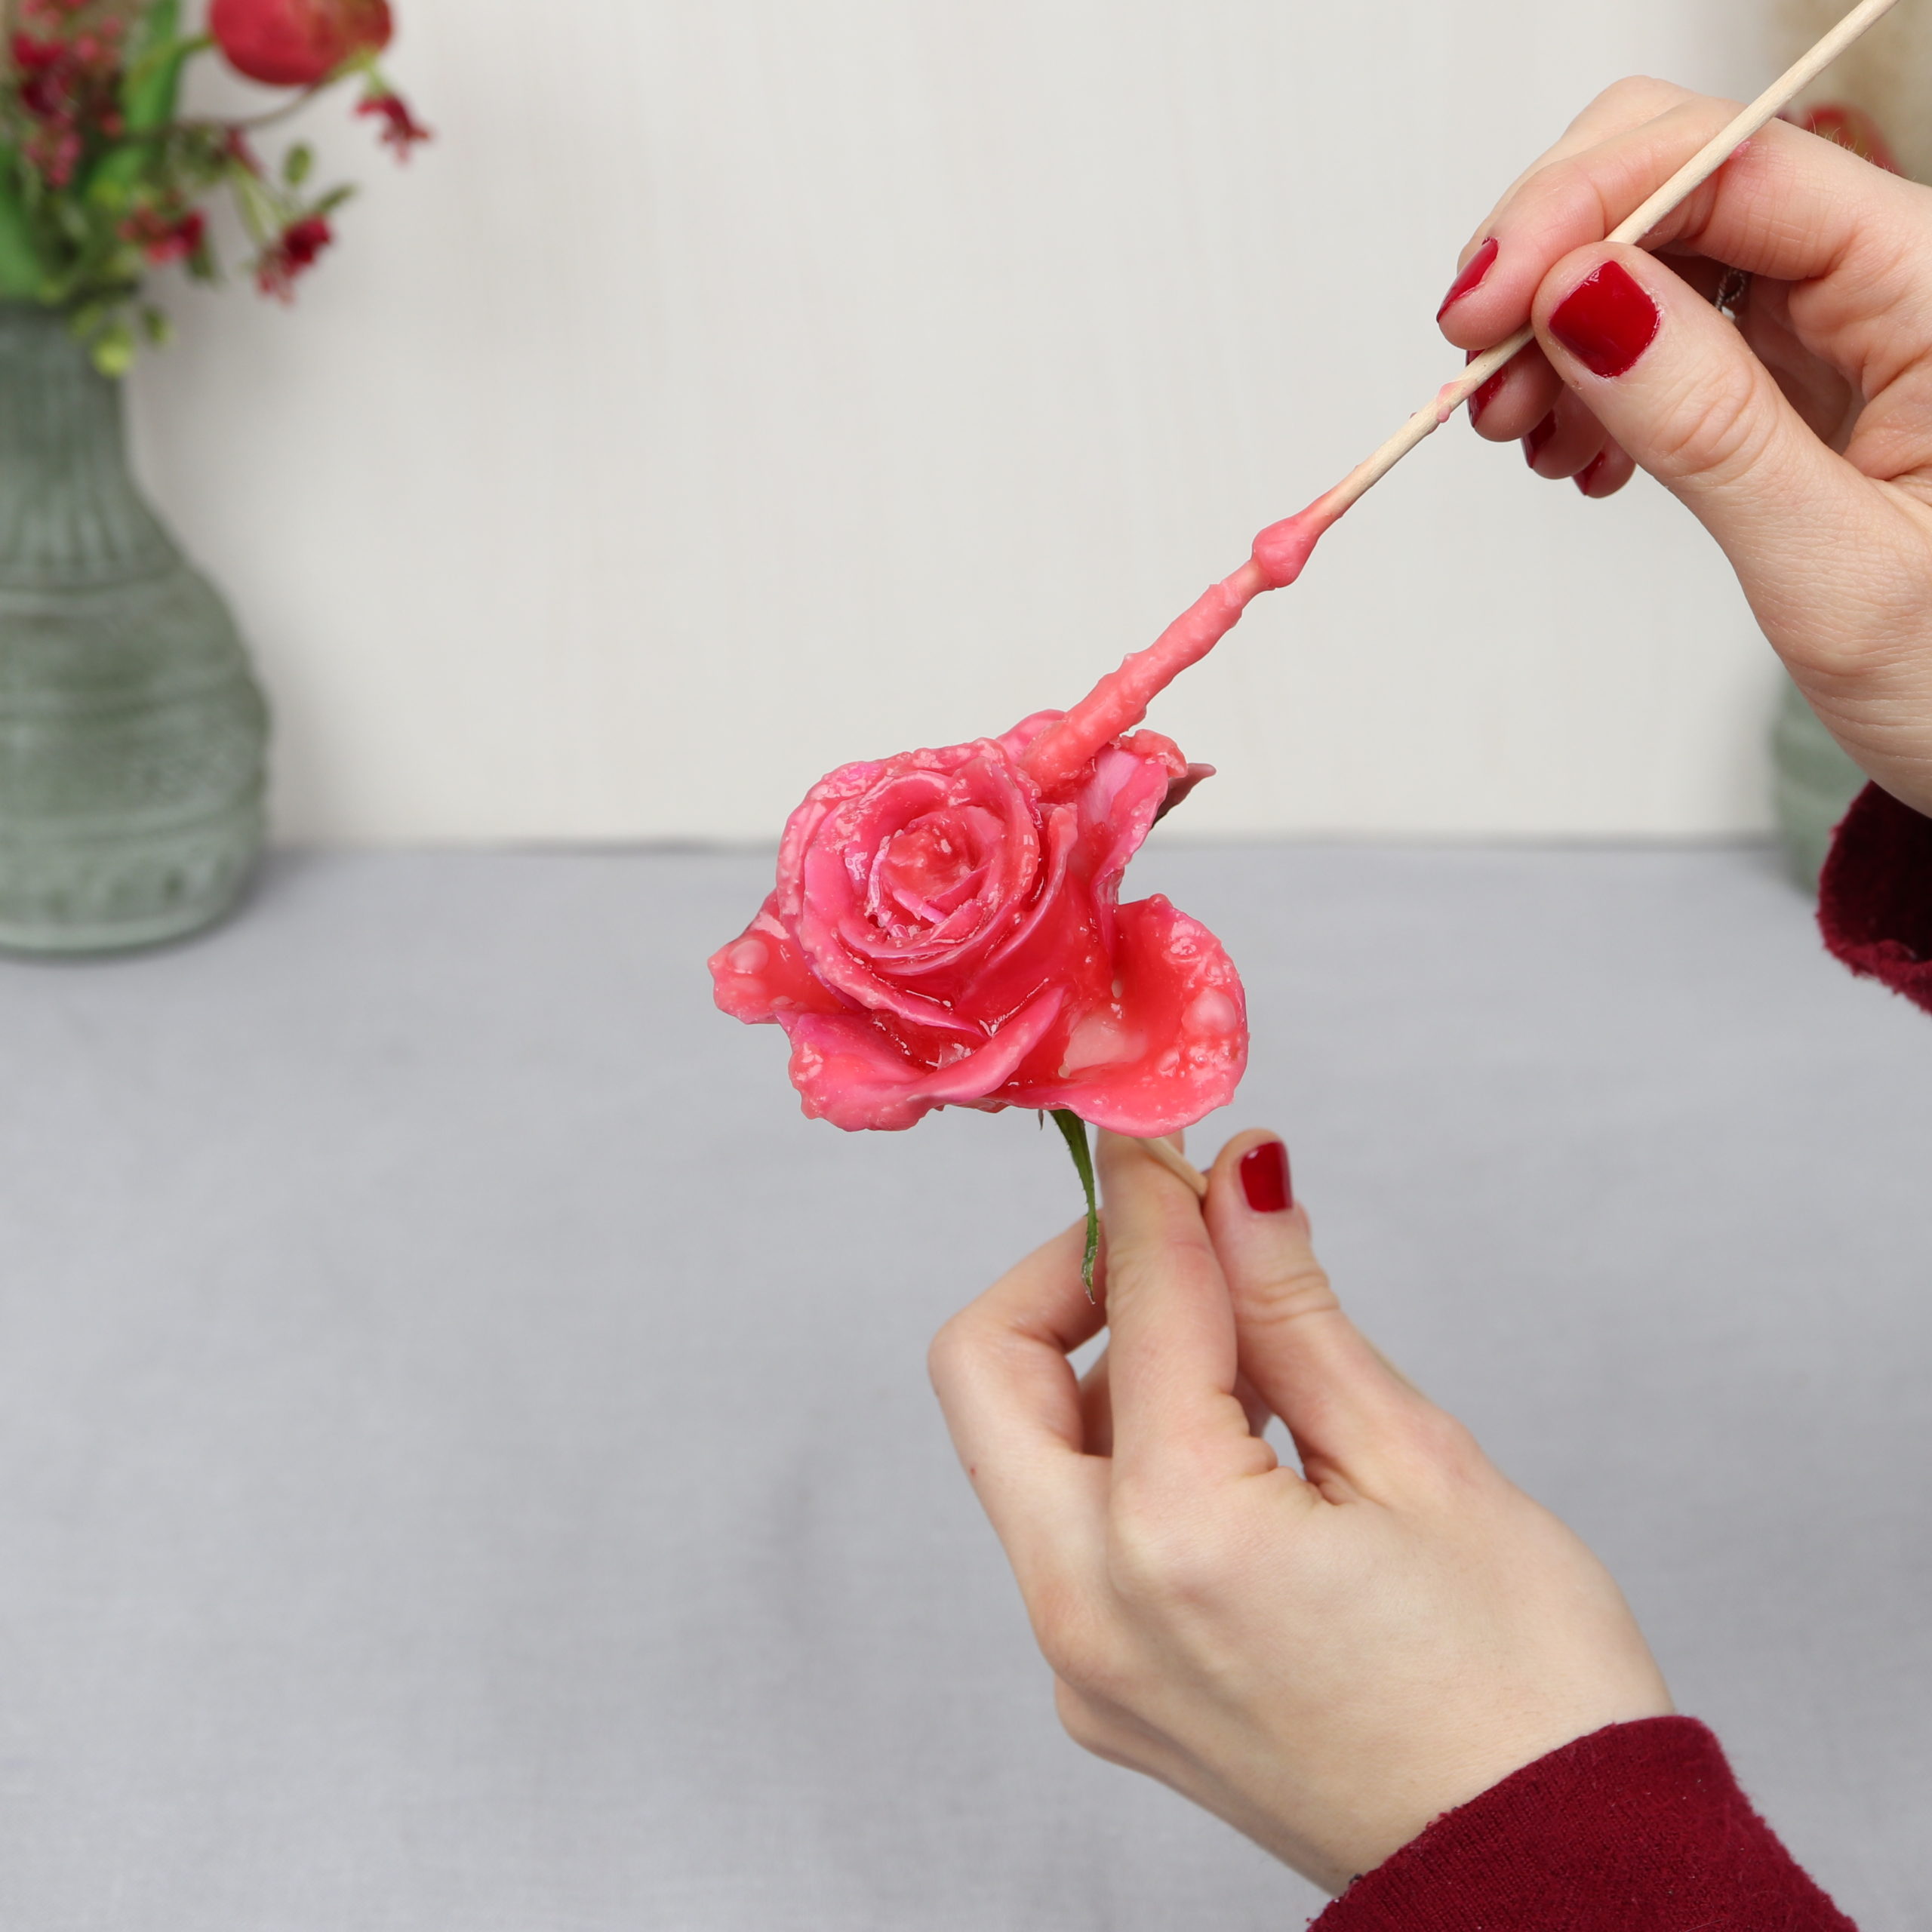
I use the wooden skewer to bend the petals outward a bit more to make them look nicer.
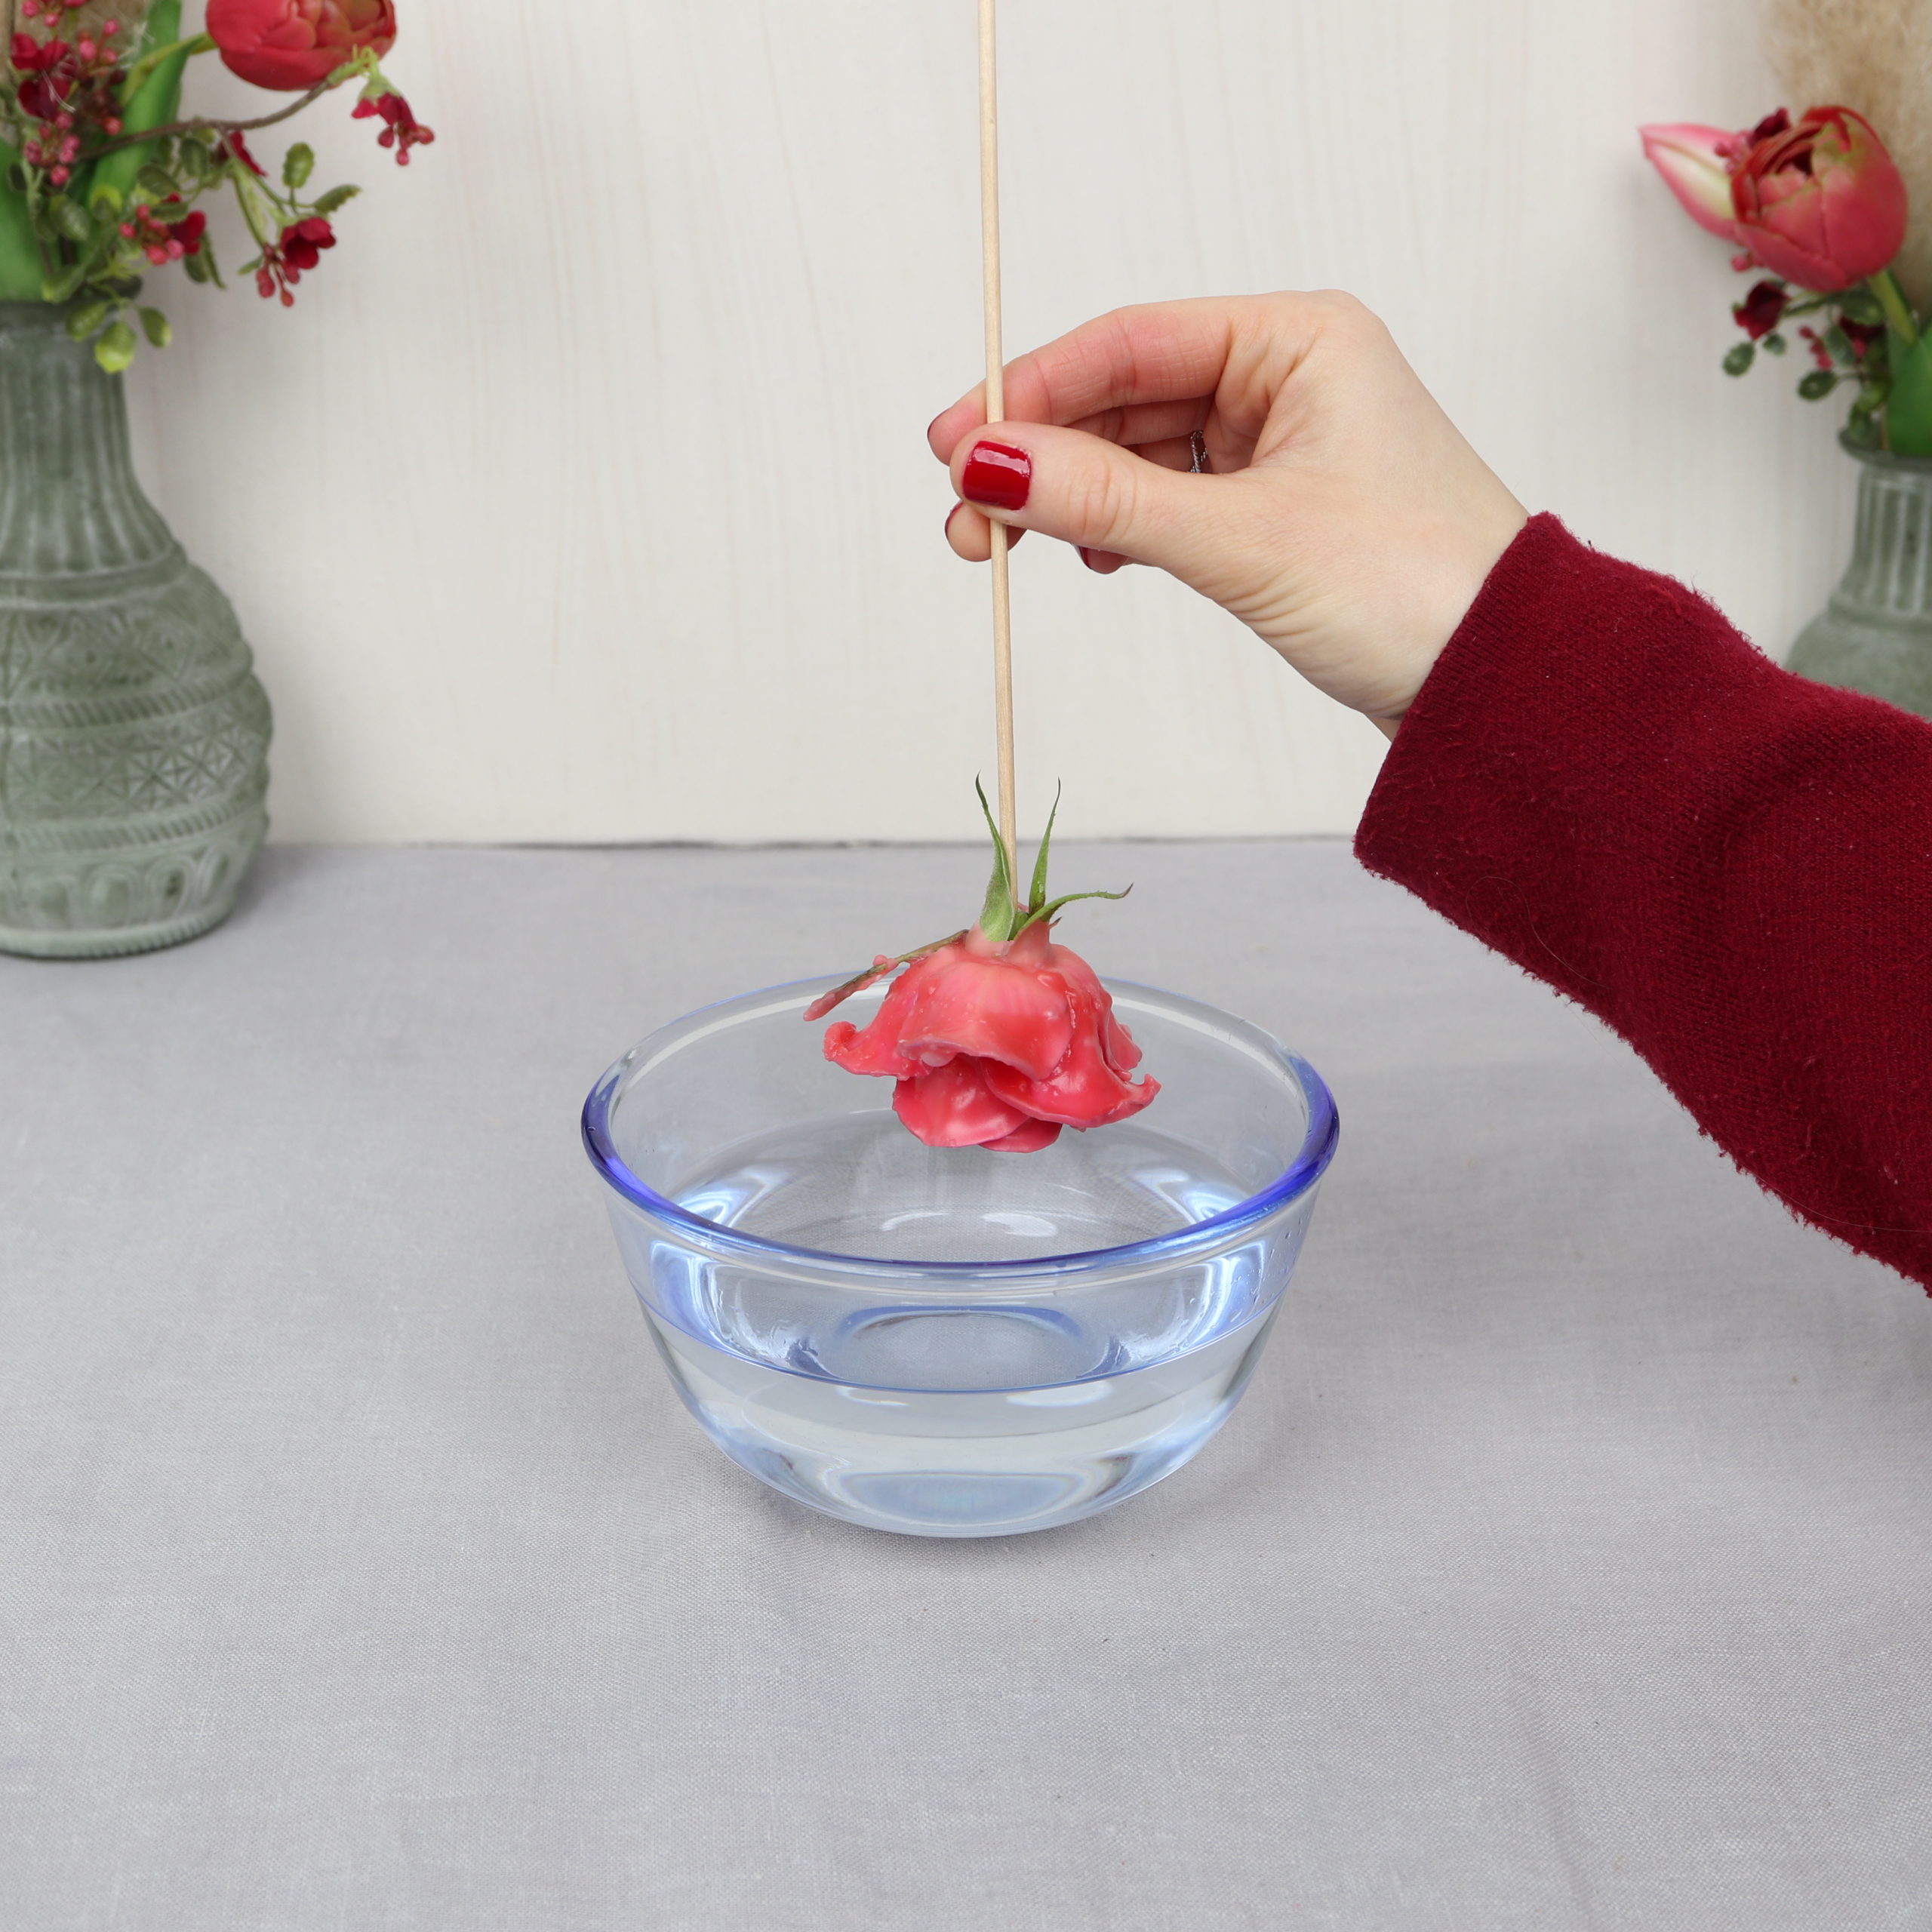
Step 5: Put wax rose into cold water
Immediately after, I dip the wax rose into the cold water.
If the rose can handle more wax, I simply repeat steps 4 and 5 and dip the rose into the wax and water again.

The water cools down the wax so that you can use the rose immediately.

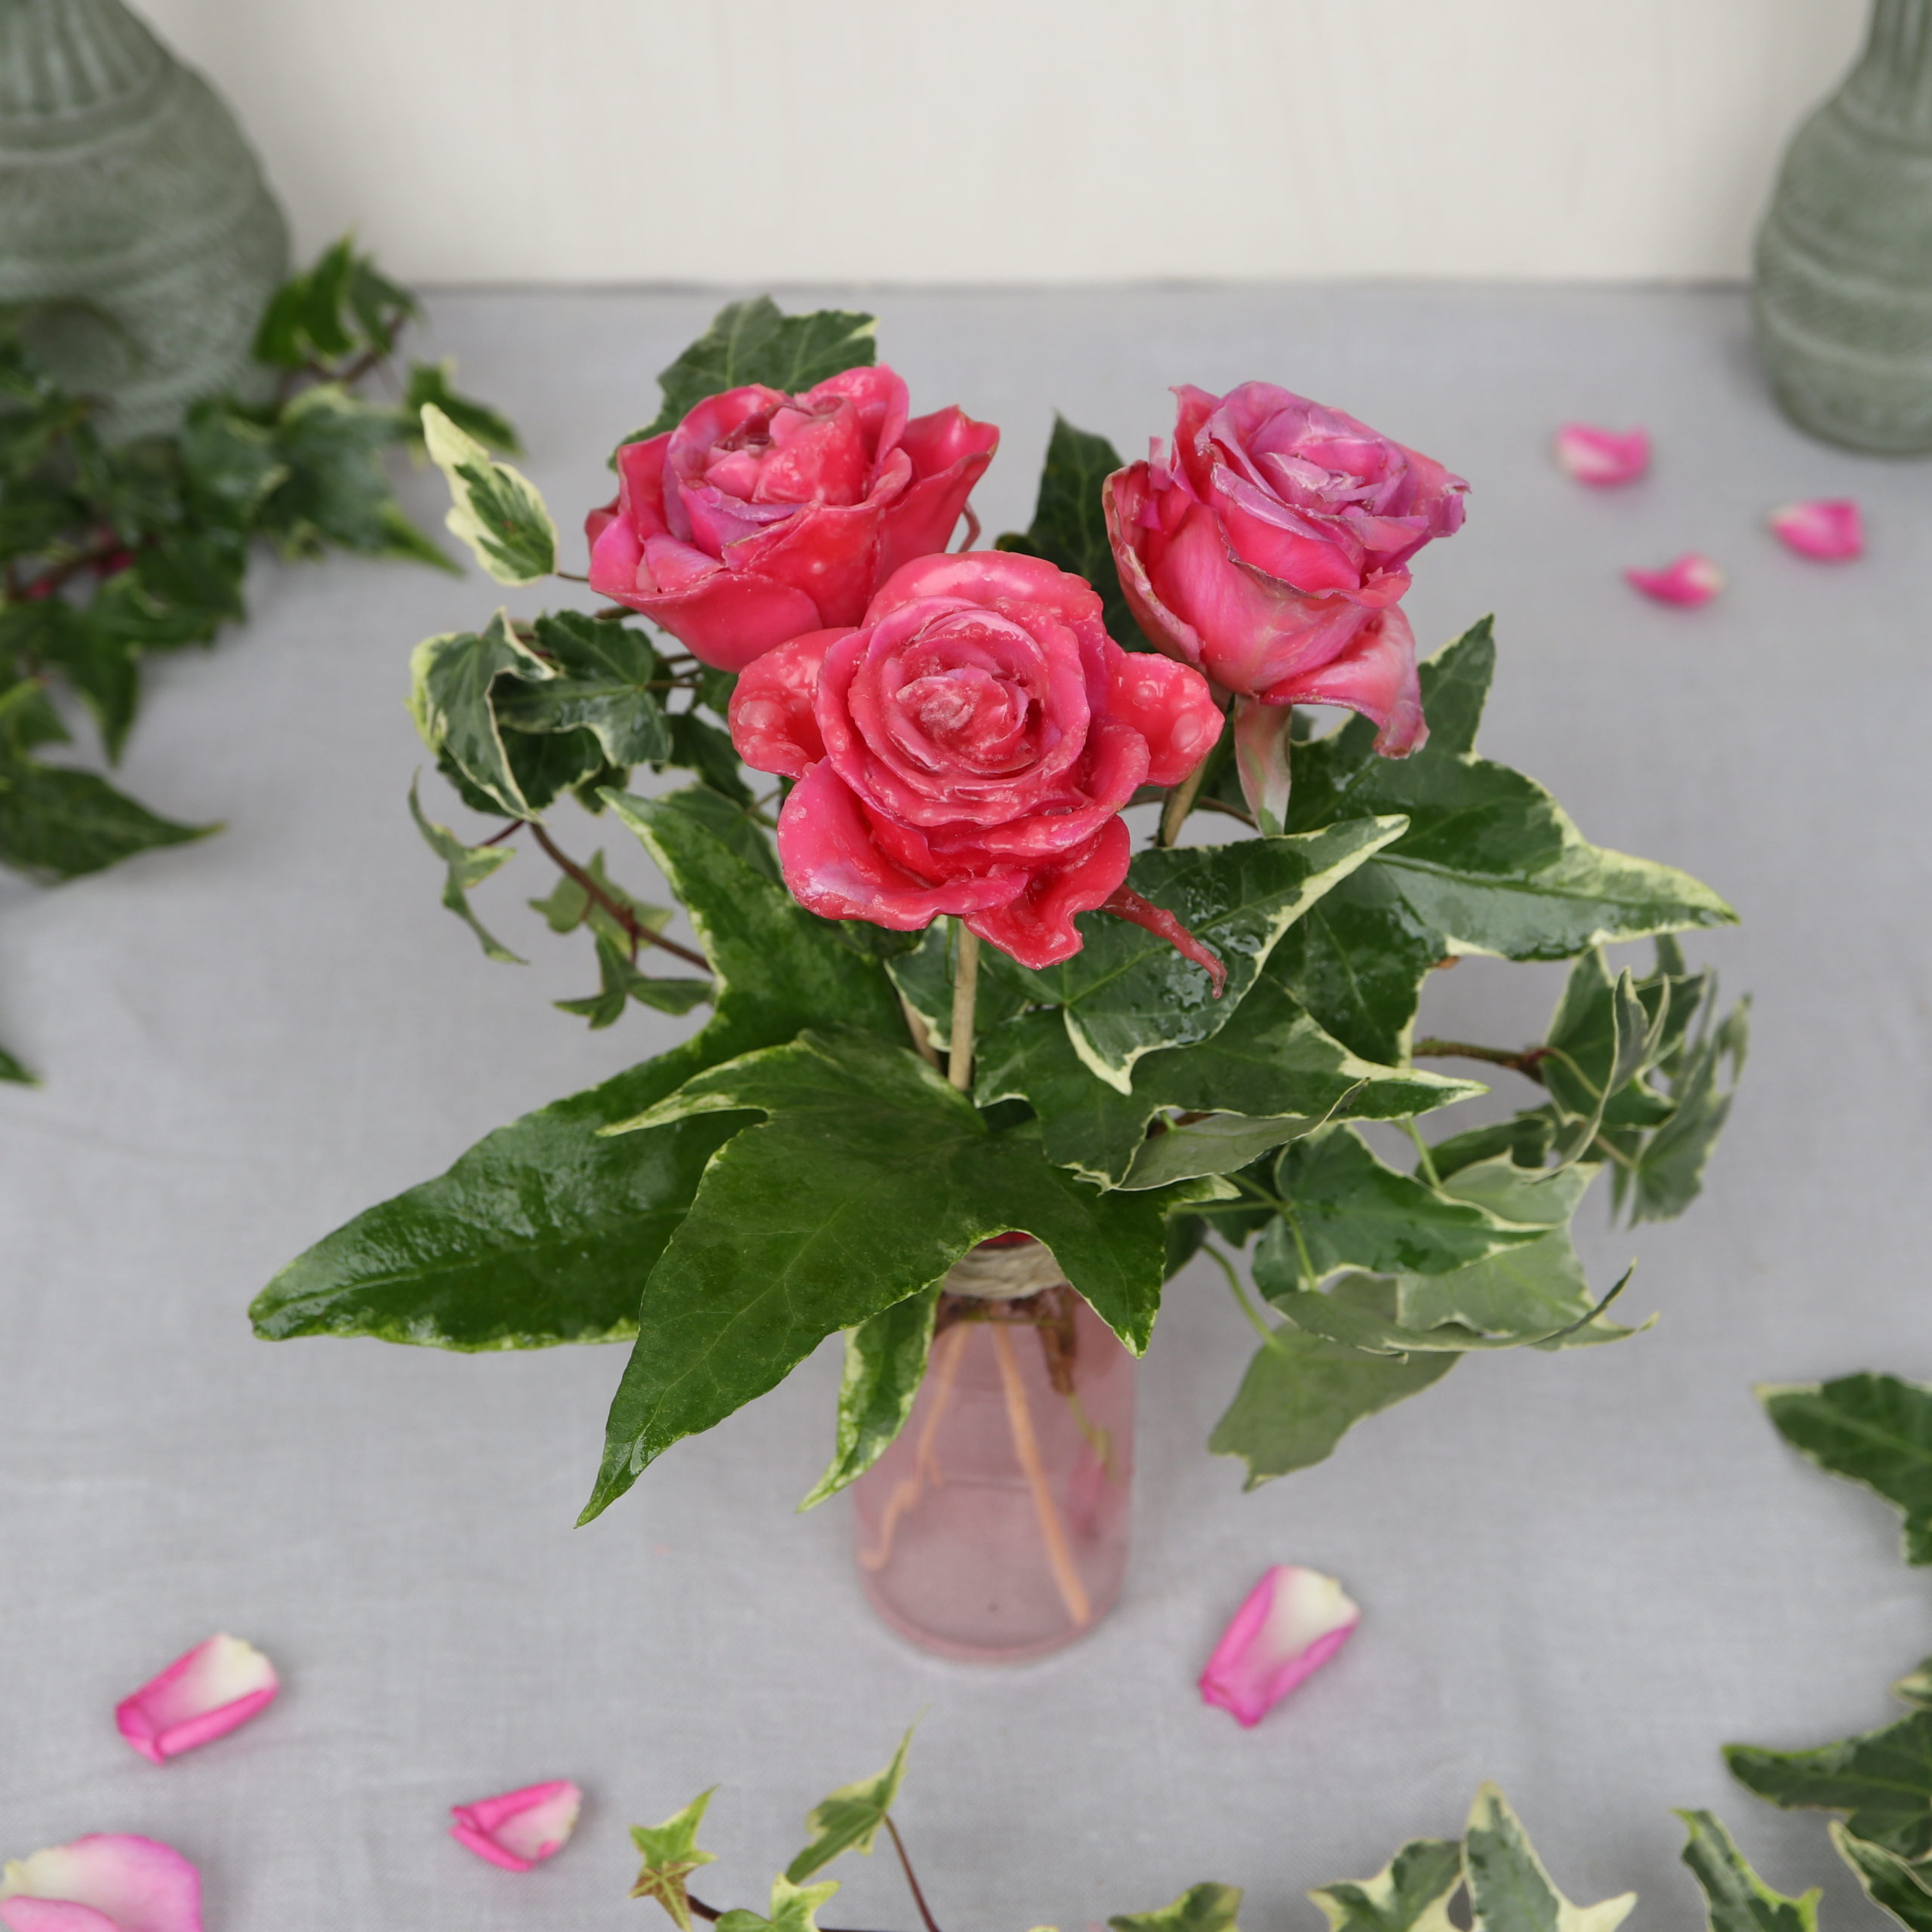
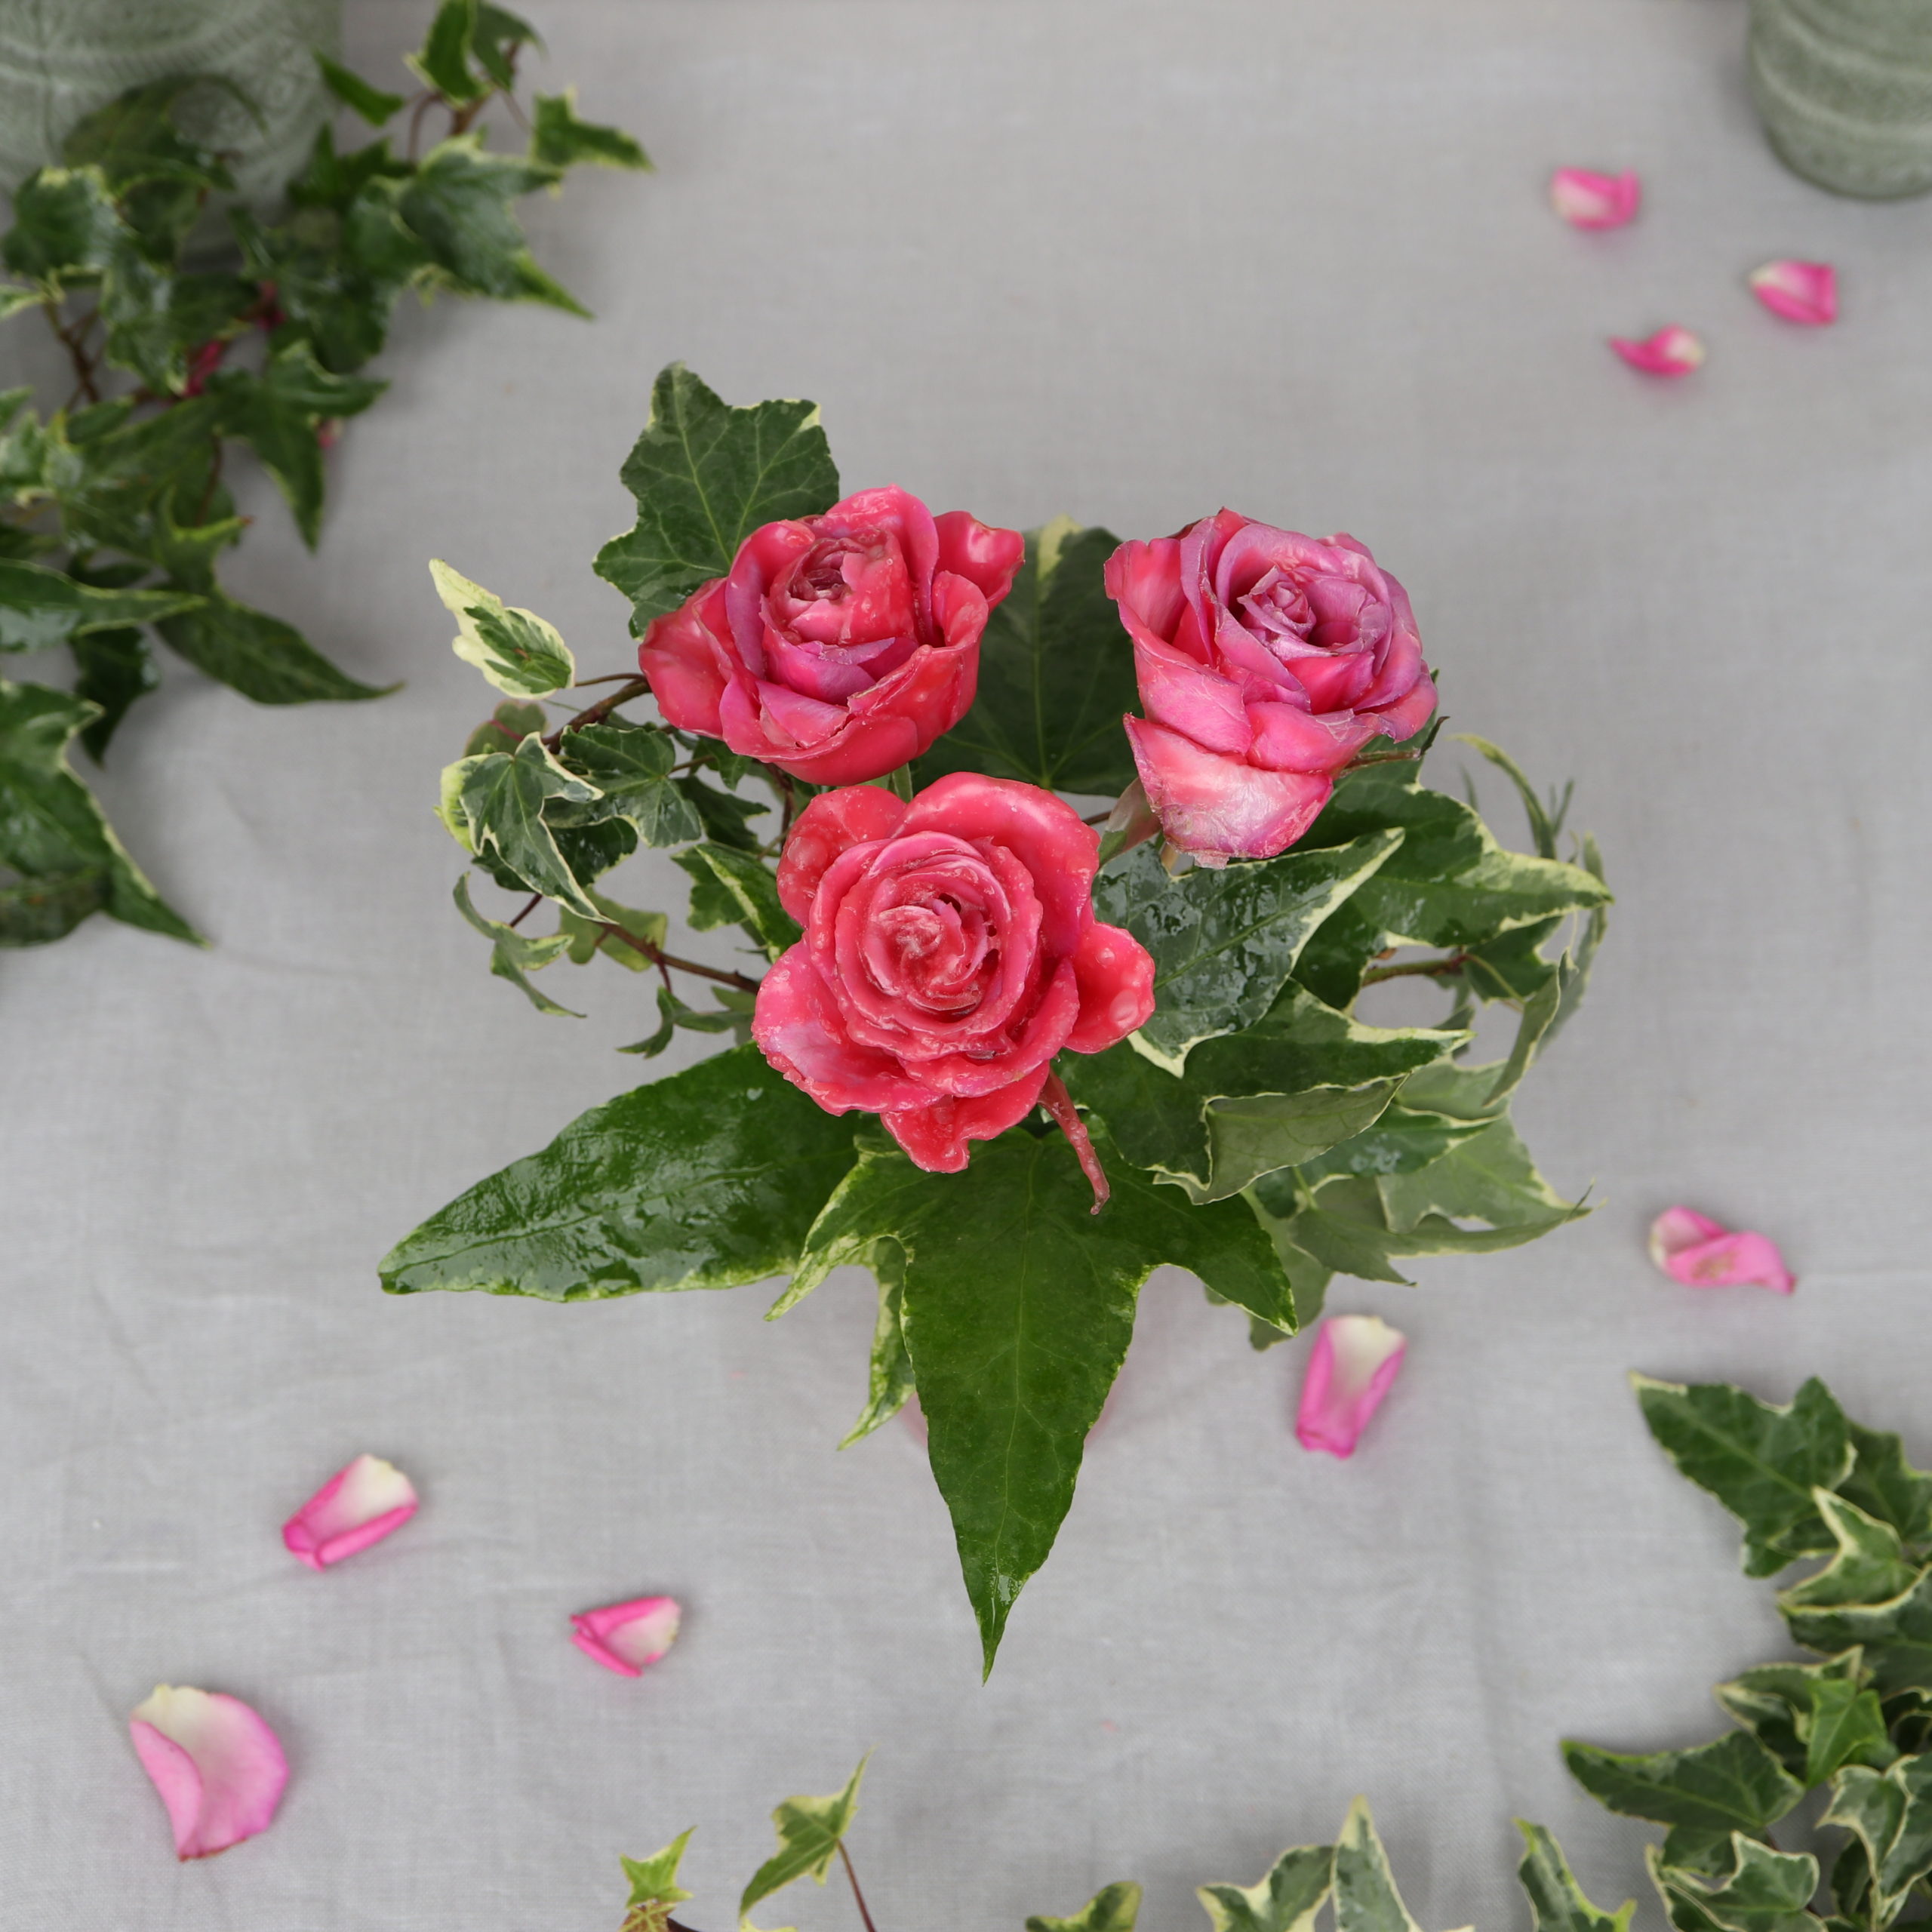
And the wax rose is ready! I hope you enjoyed this DIY as much as I did and you enjoy the sight of the preserved rose!
For more DIY ideas with roses feel free to look here: