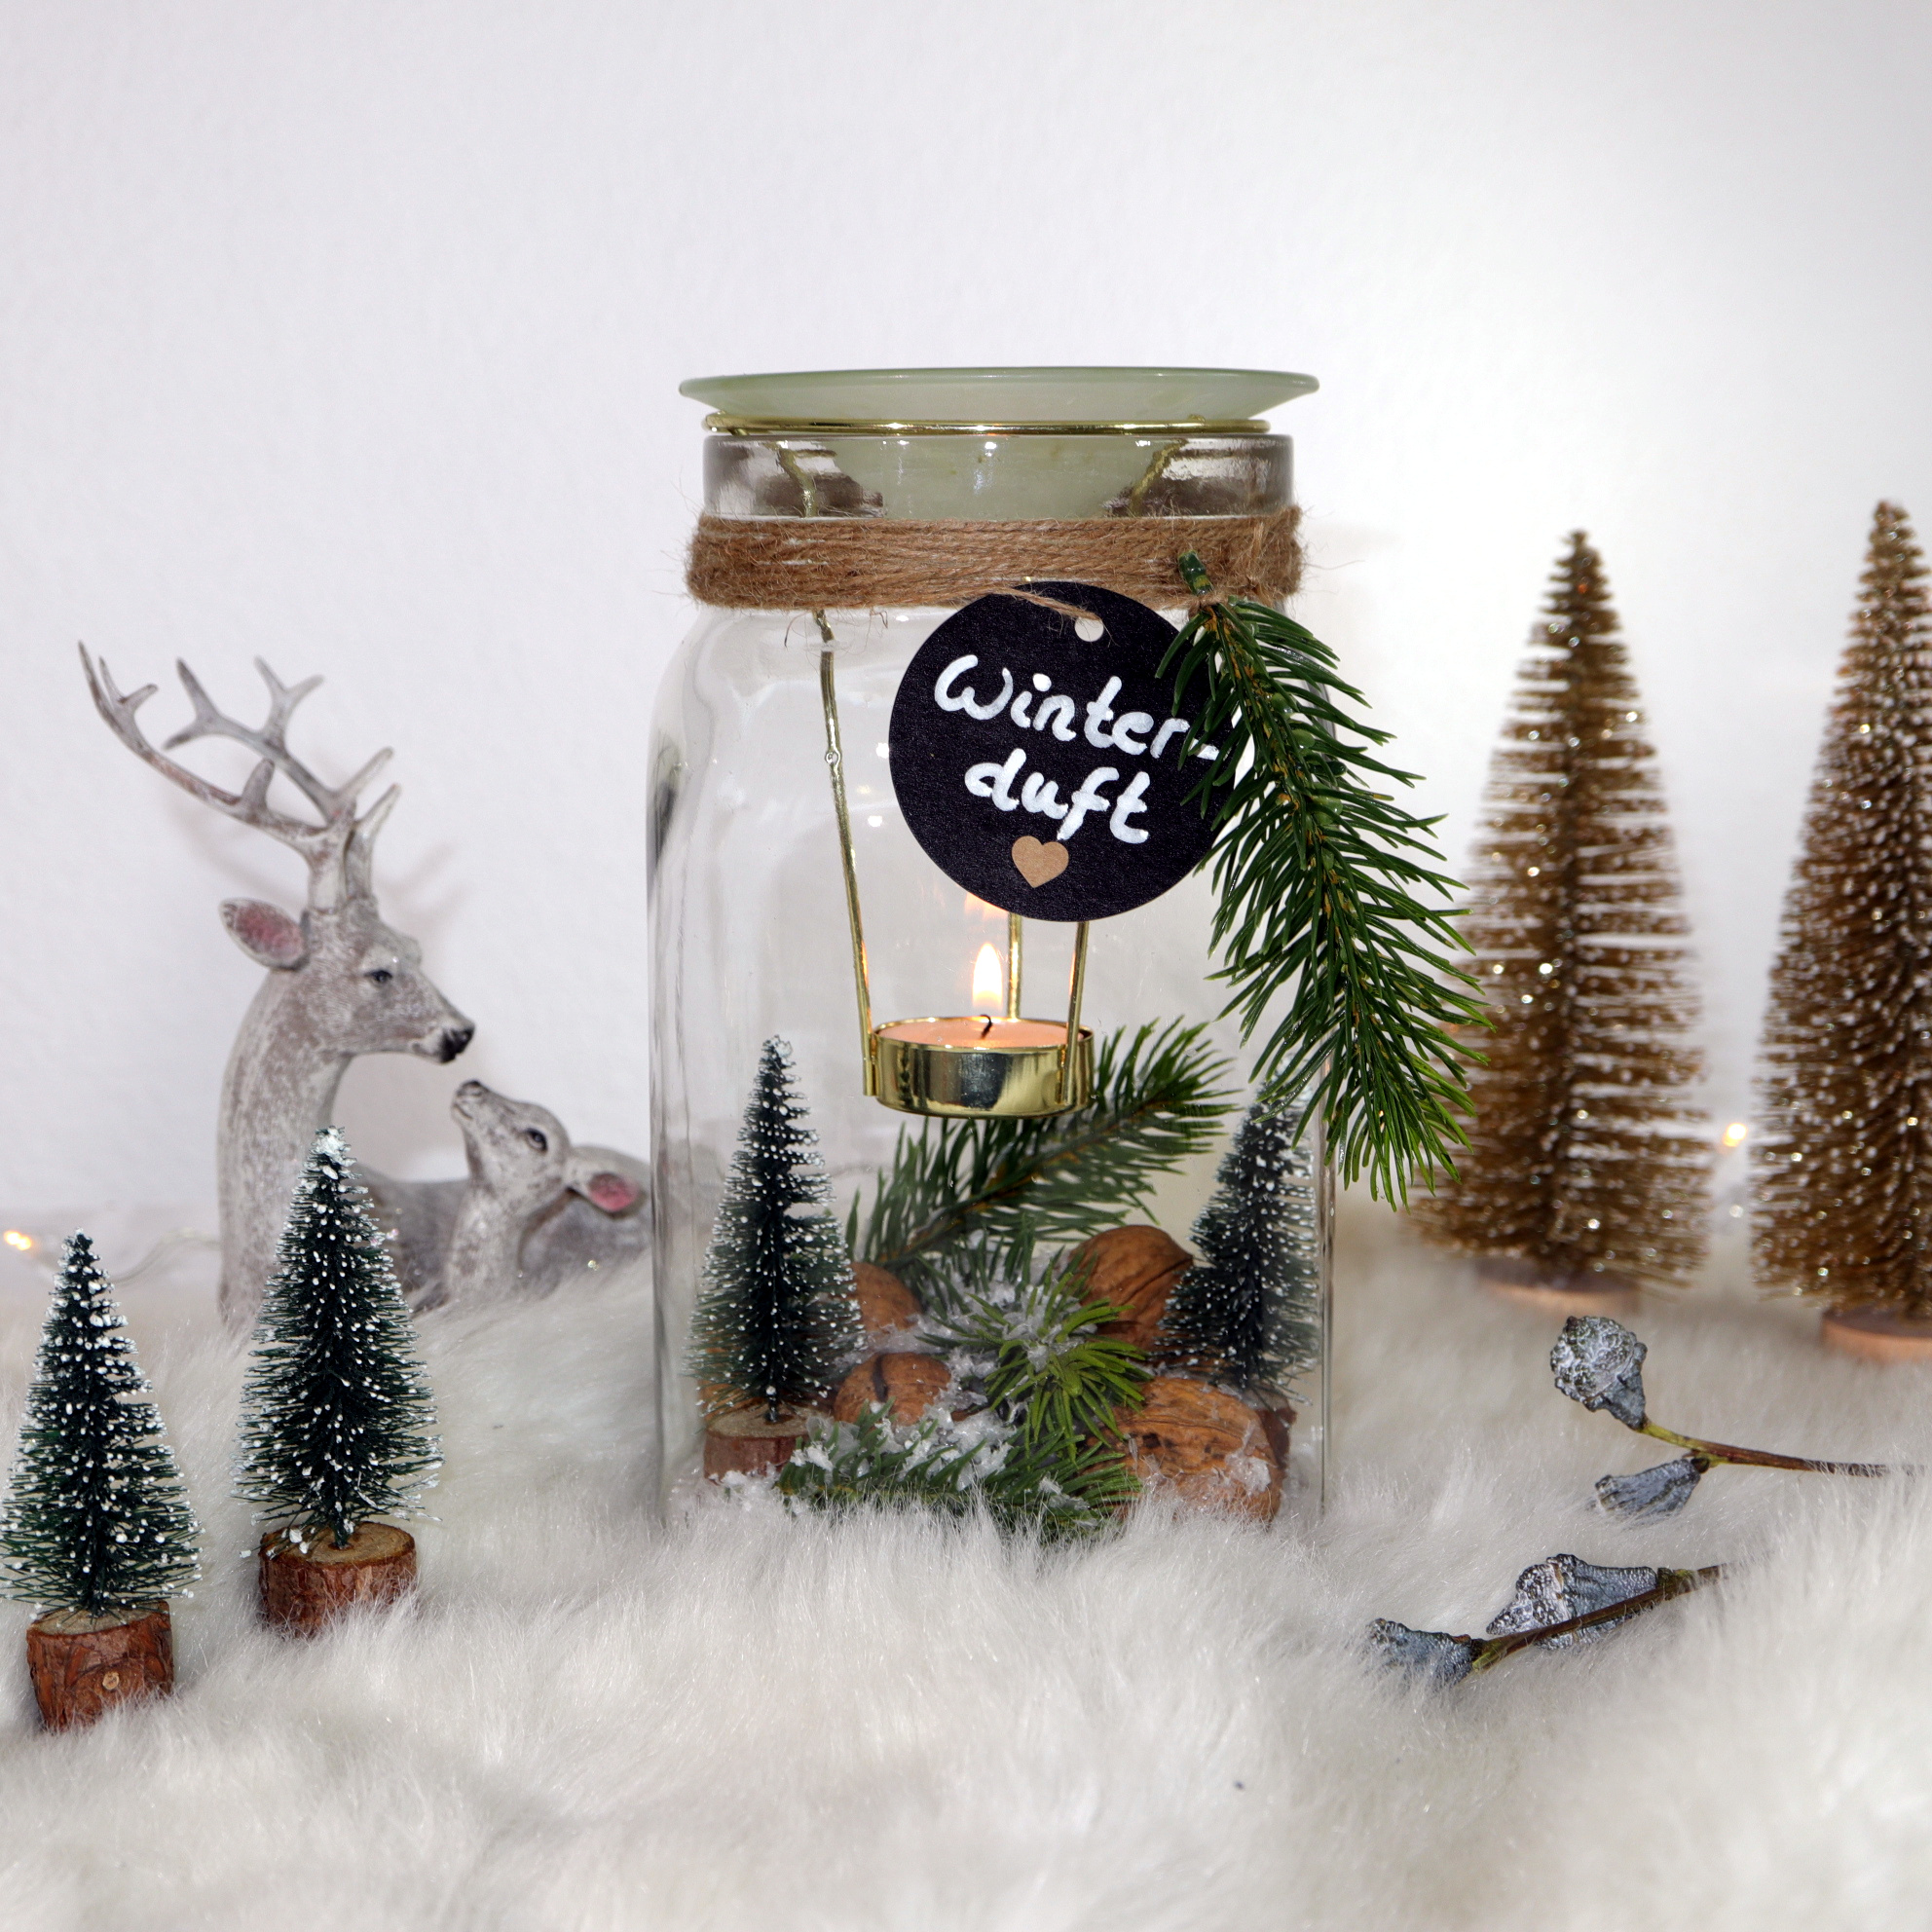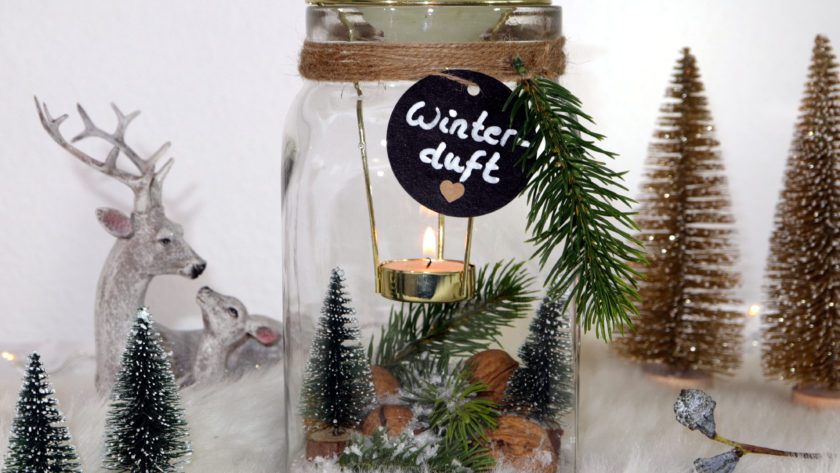
Especially when the nights are getting colder, I enjoy the scent of aromatic oils. This DIY tutorial teaches how to make an aromatic candle jar for Winter and Christmas times.
Tools

These are the tools that I used: Pen, scissors and liquid chalk marker.
Materials
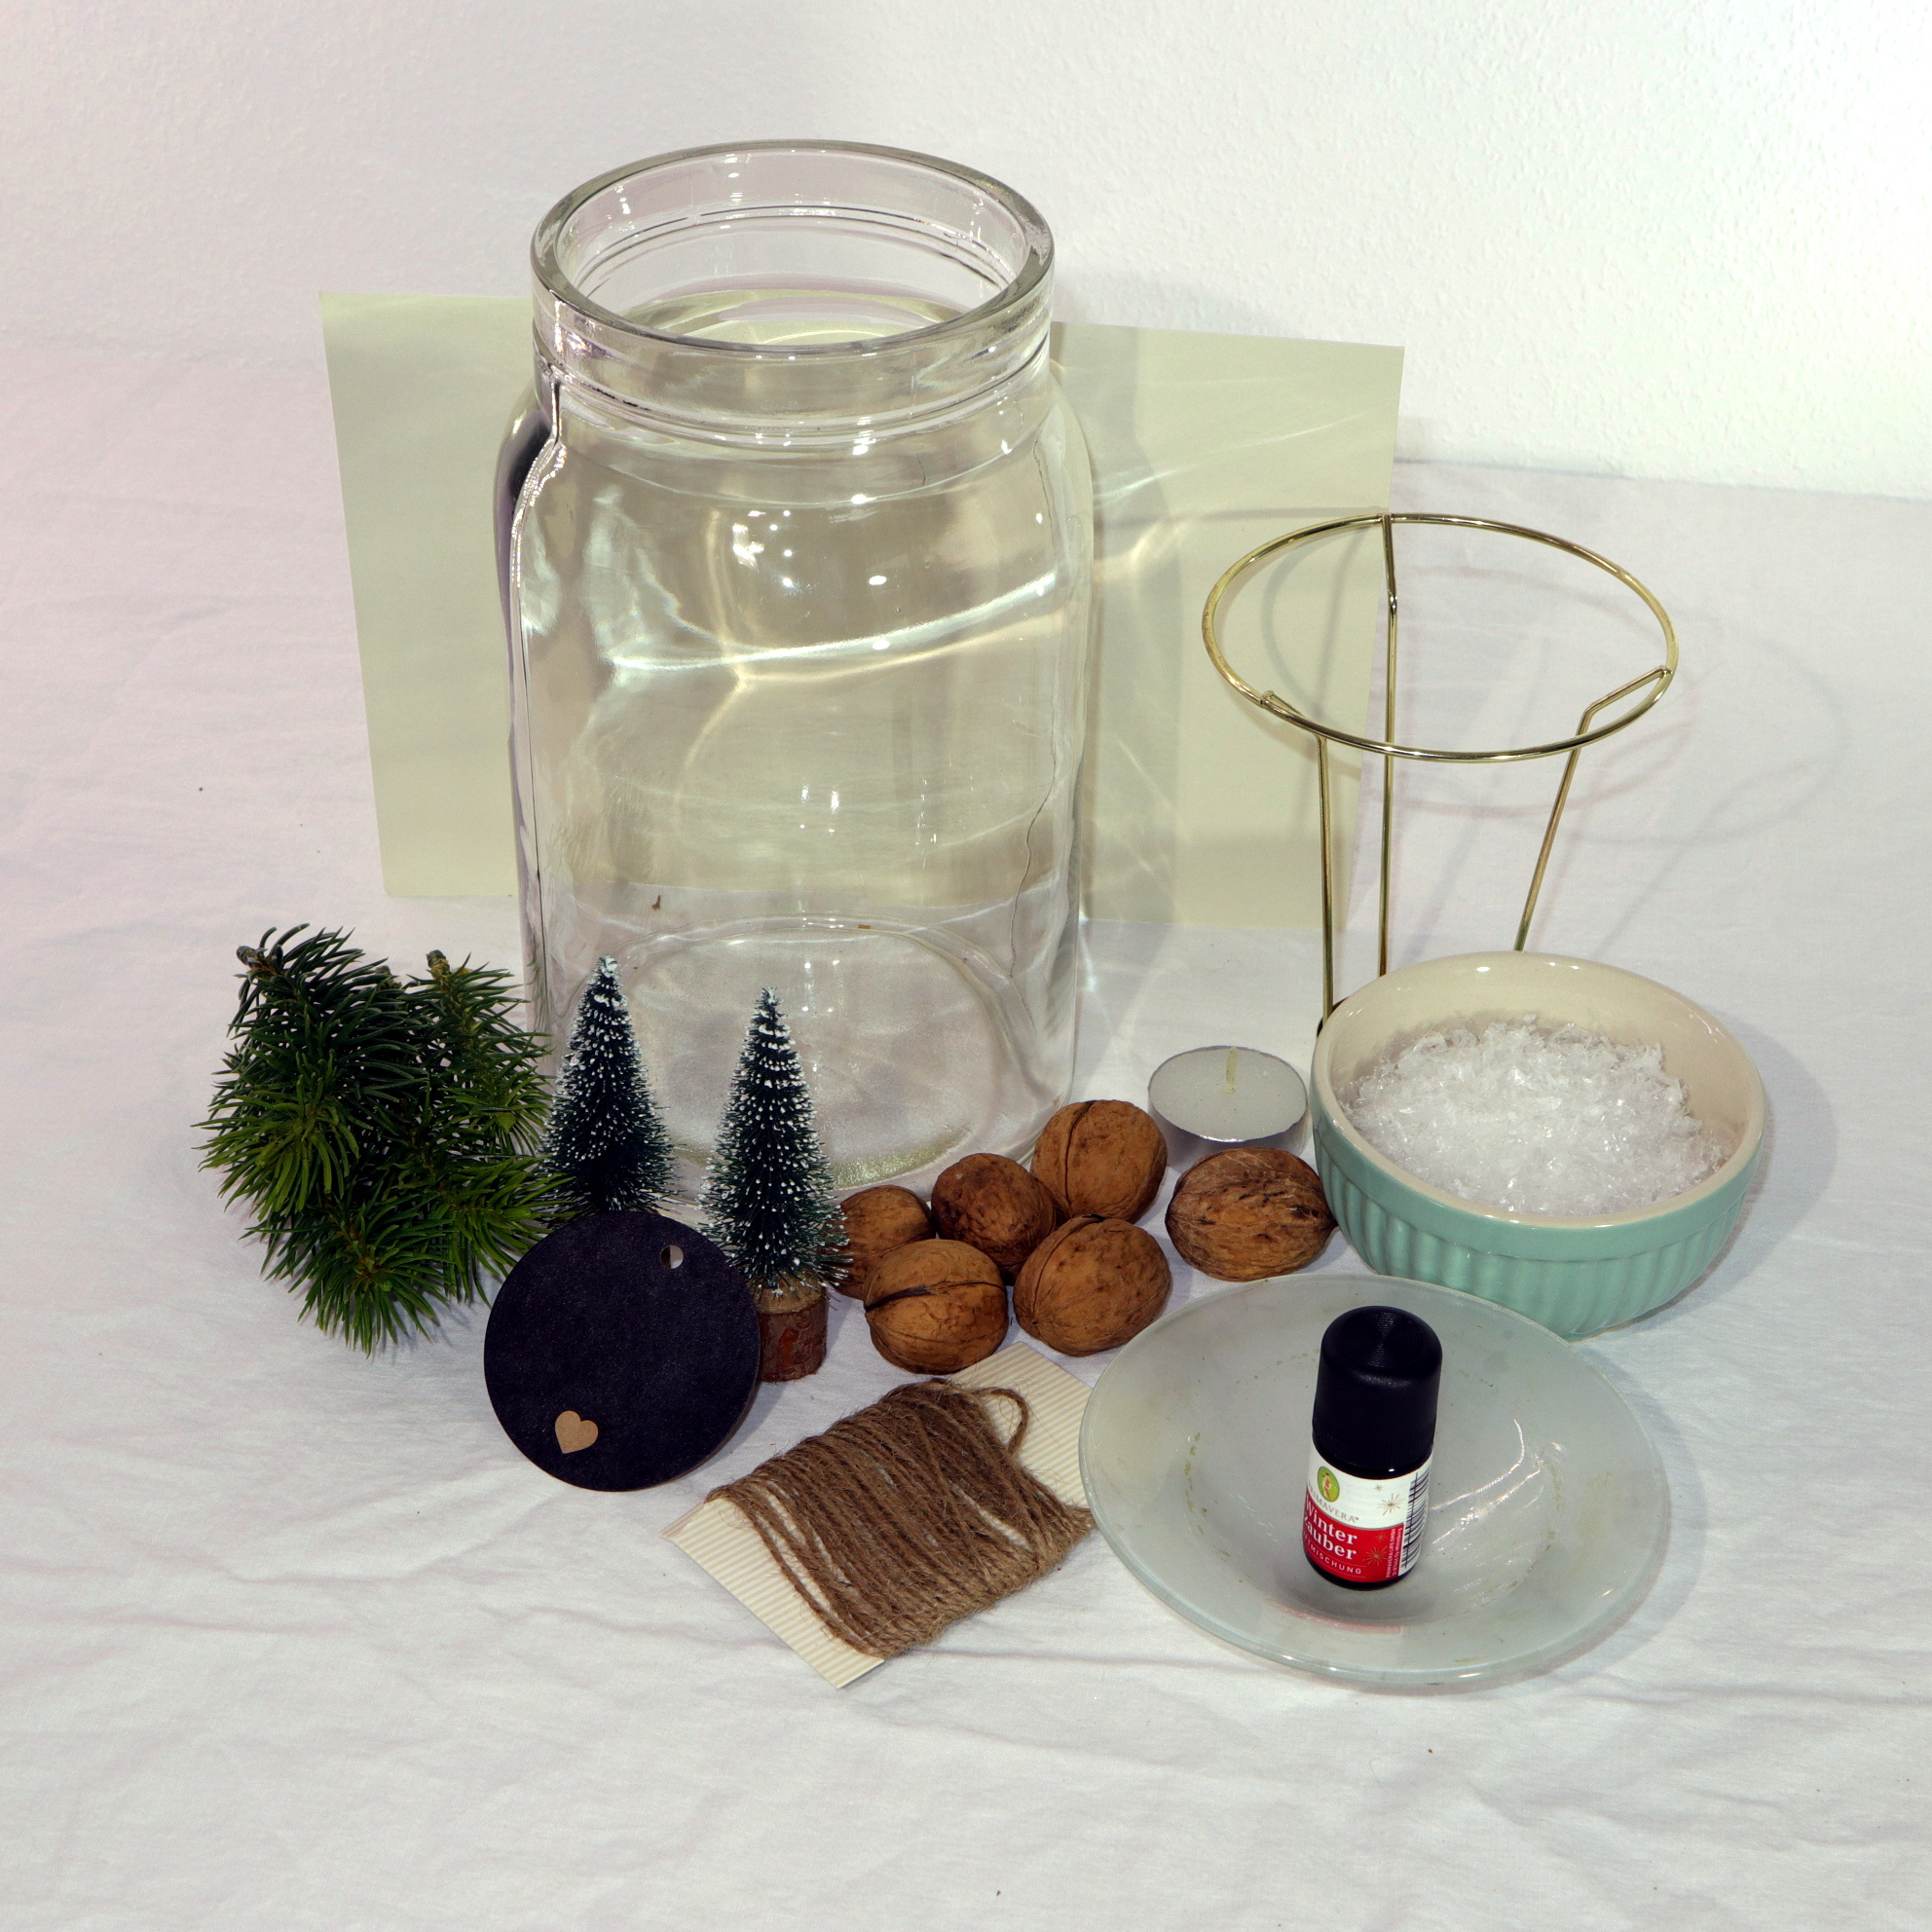
These are the materials that I used:
Guide
Step 1: Cut out construction paper
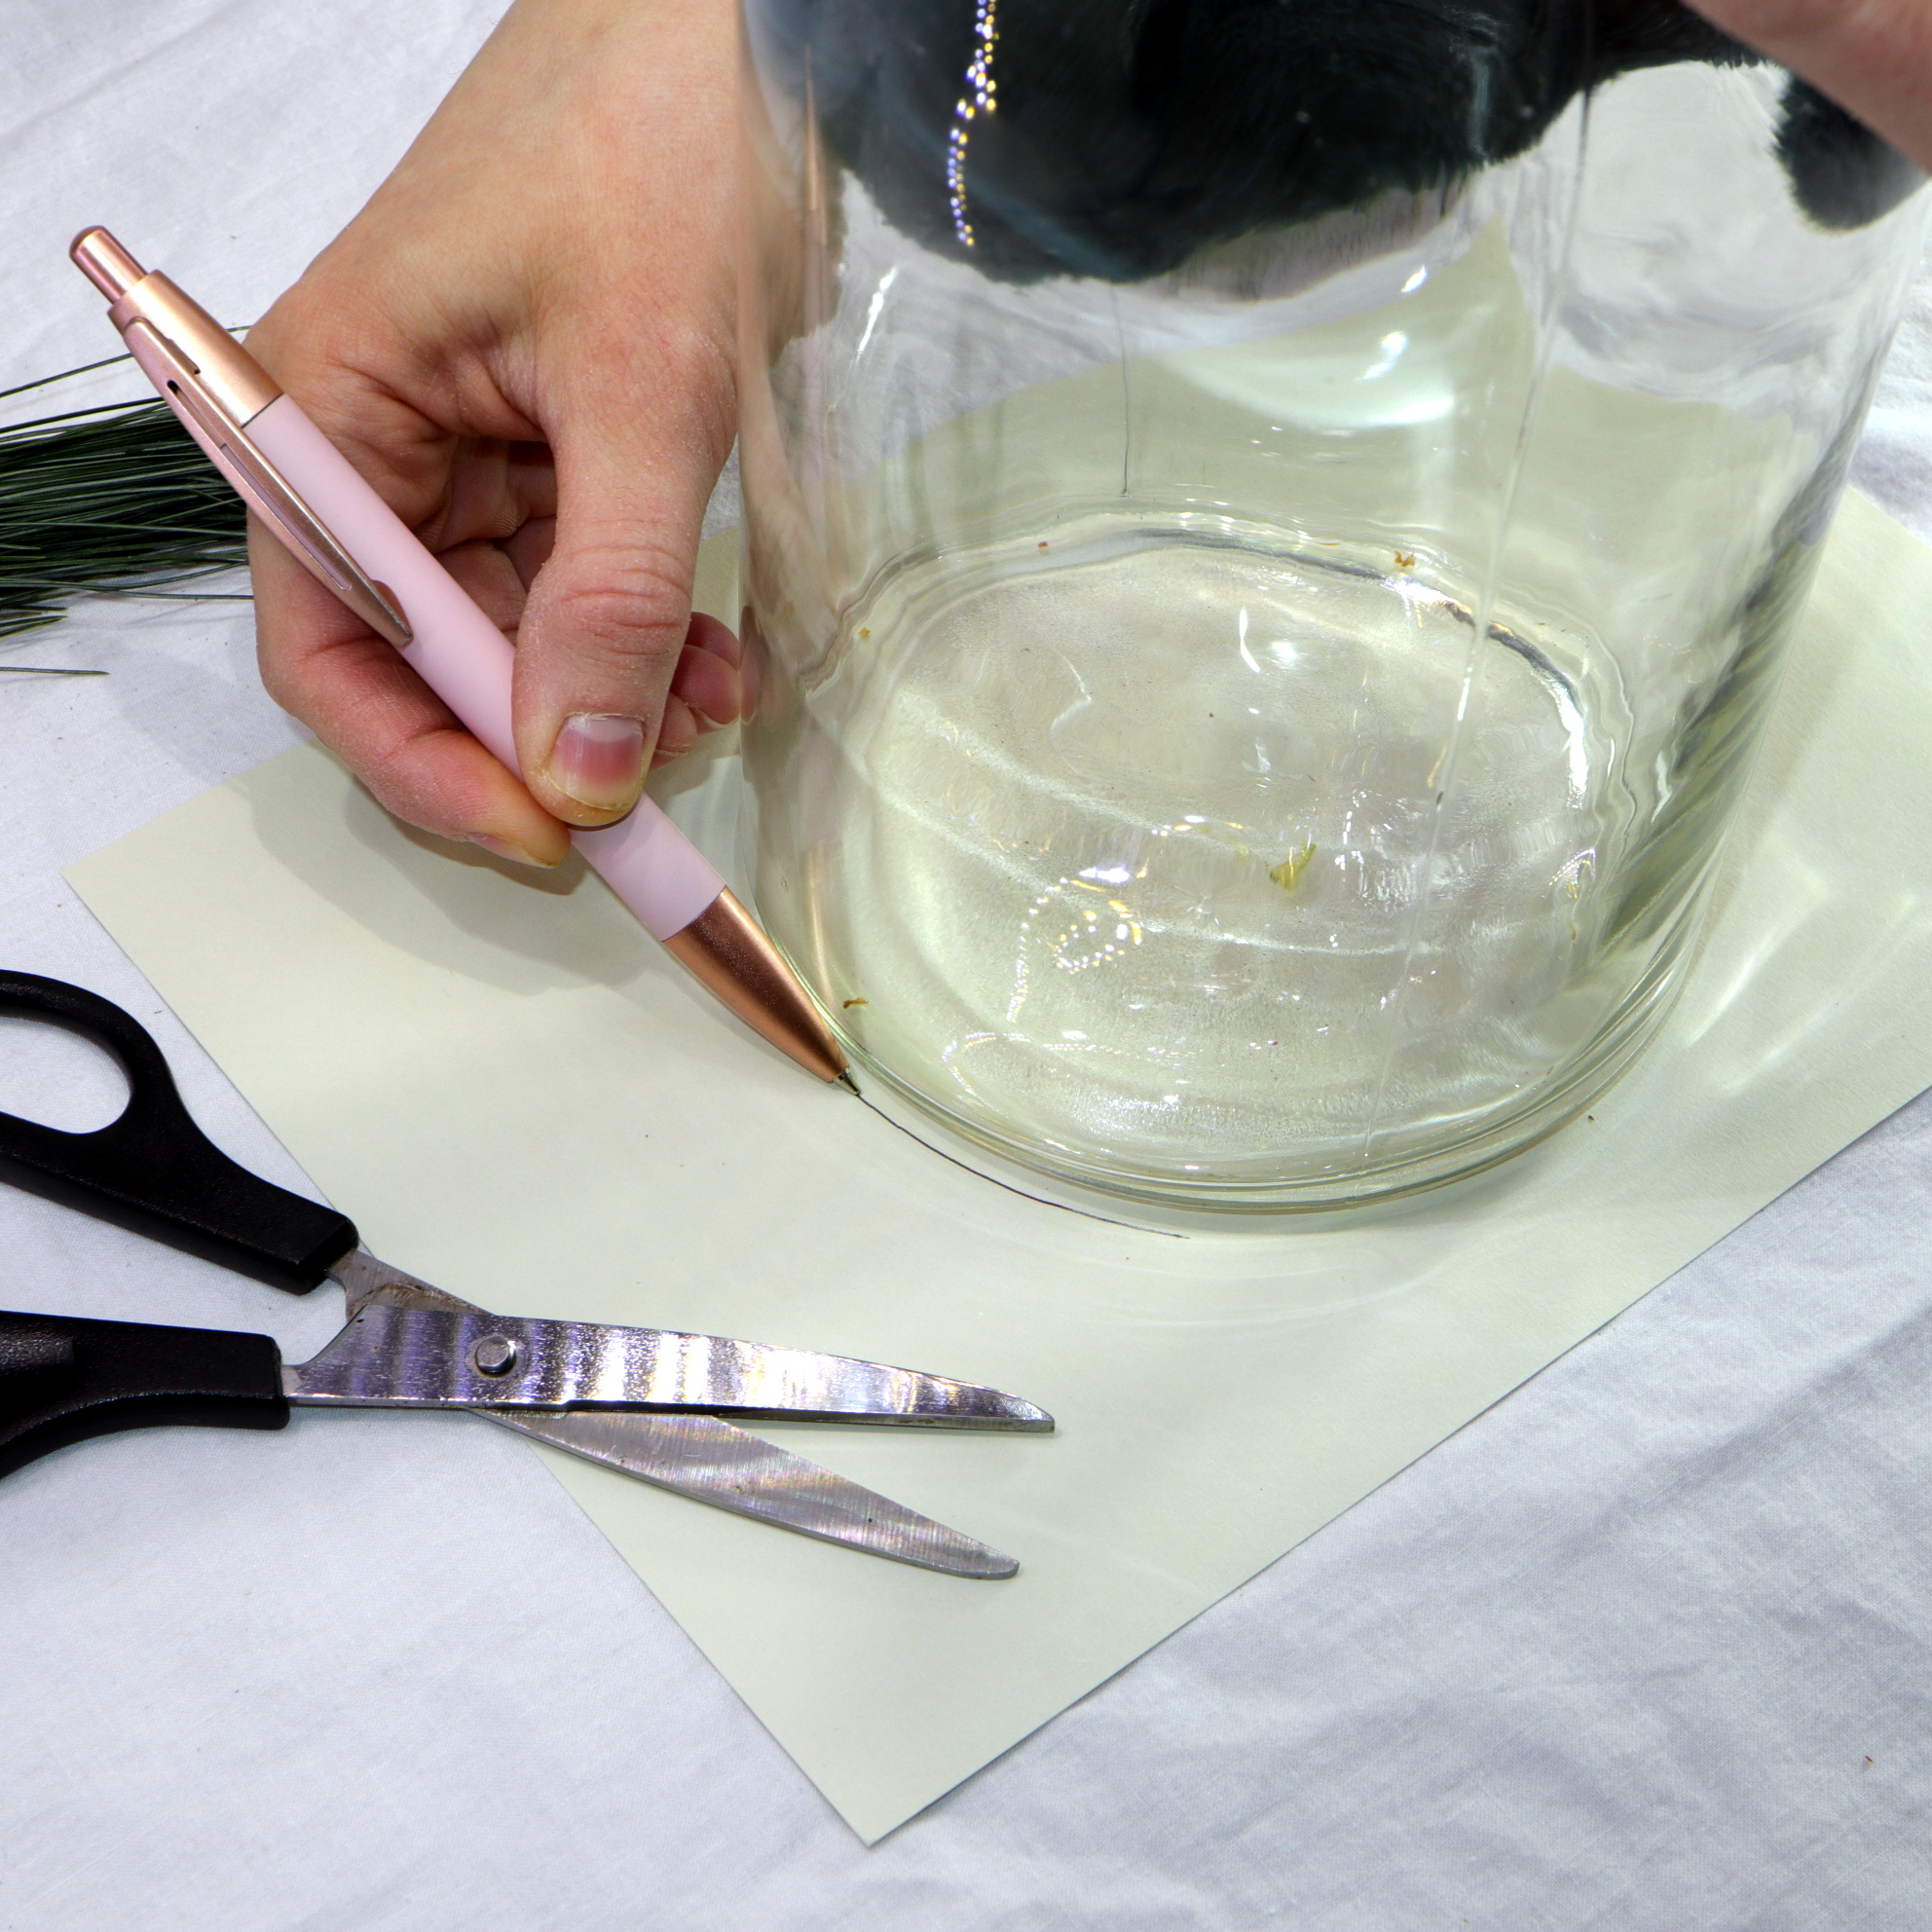
The first step is to cut out the construction paper. A round shape is required that has almost the same diameter as the the jar. In particular, the diameter must be a little bit smaller than the diameter of the jar. I use the jar as a template for the round shape out of construction paper.
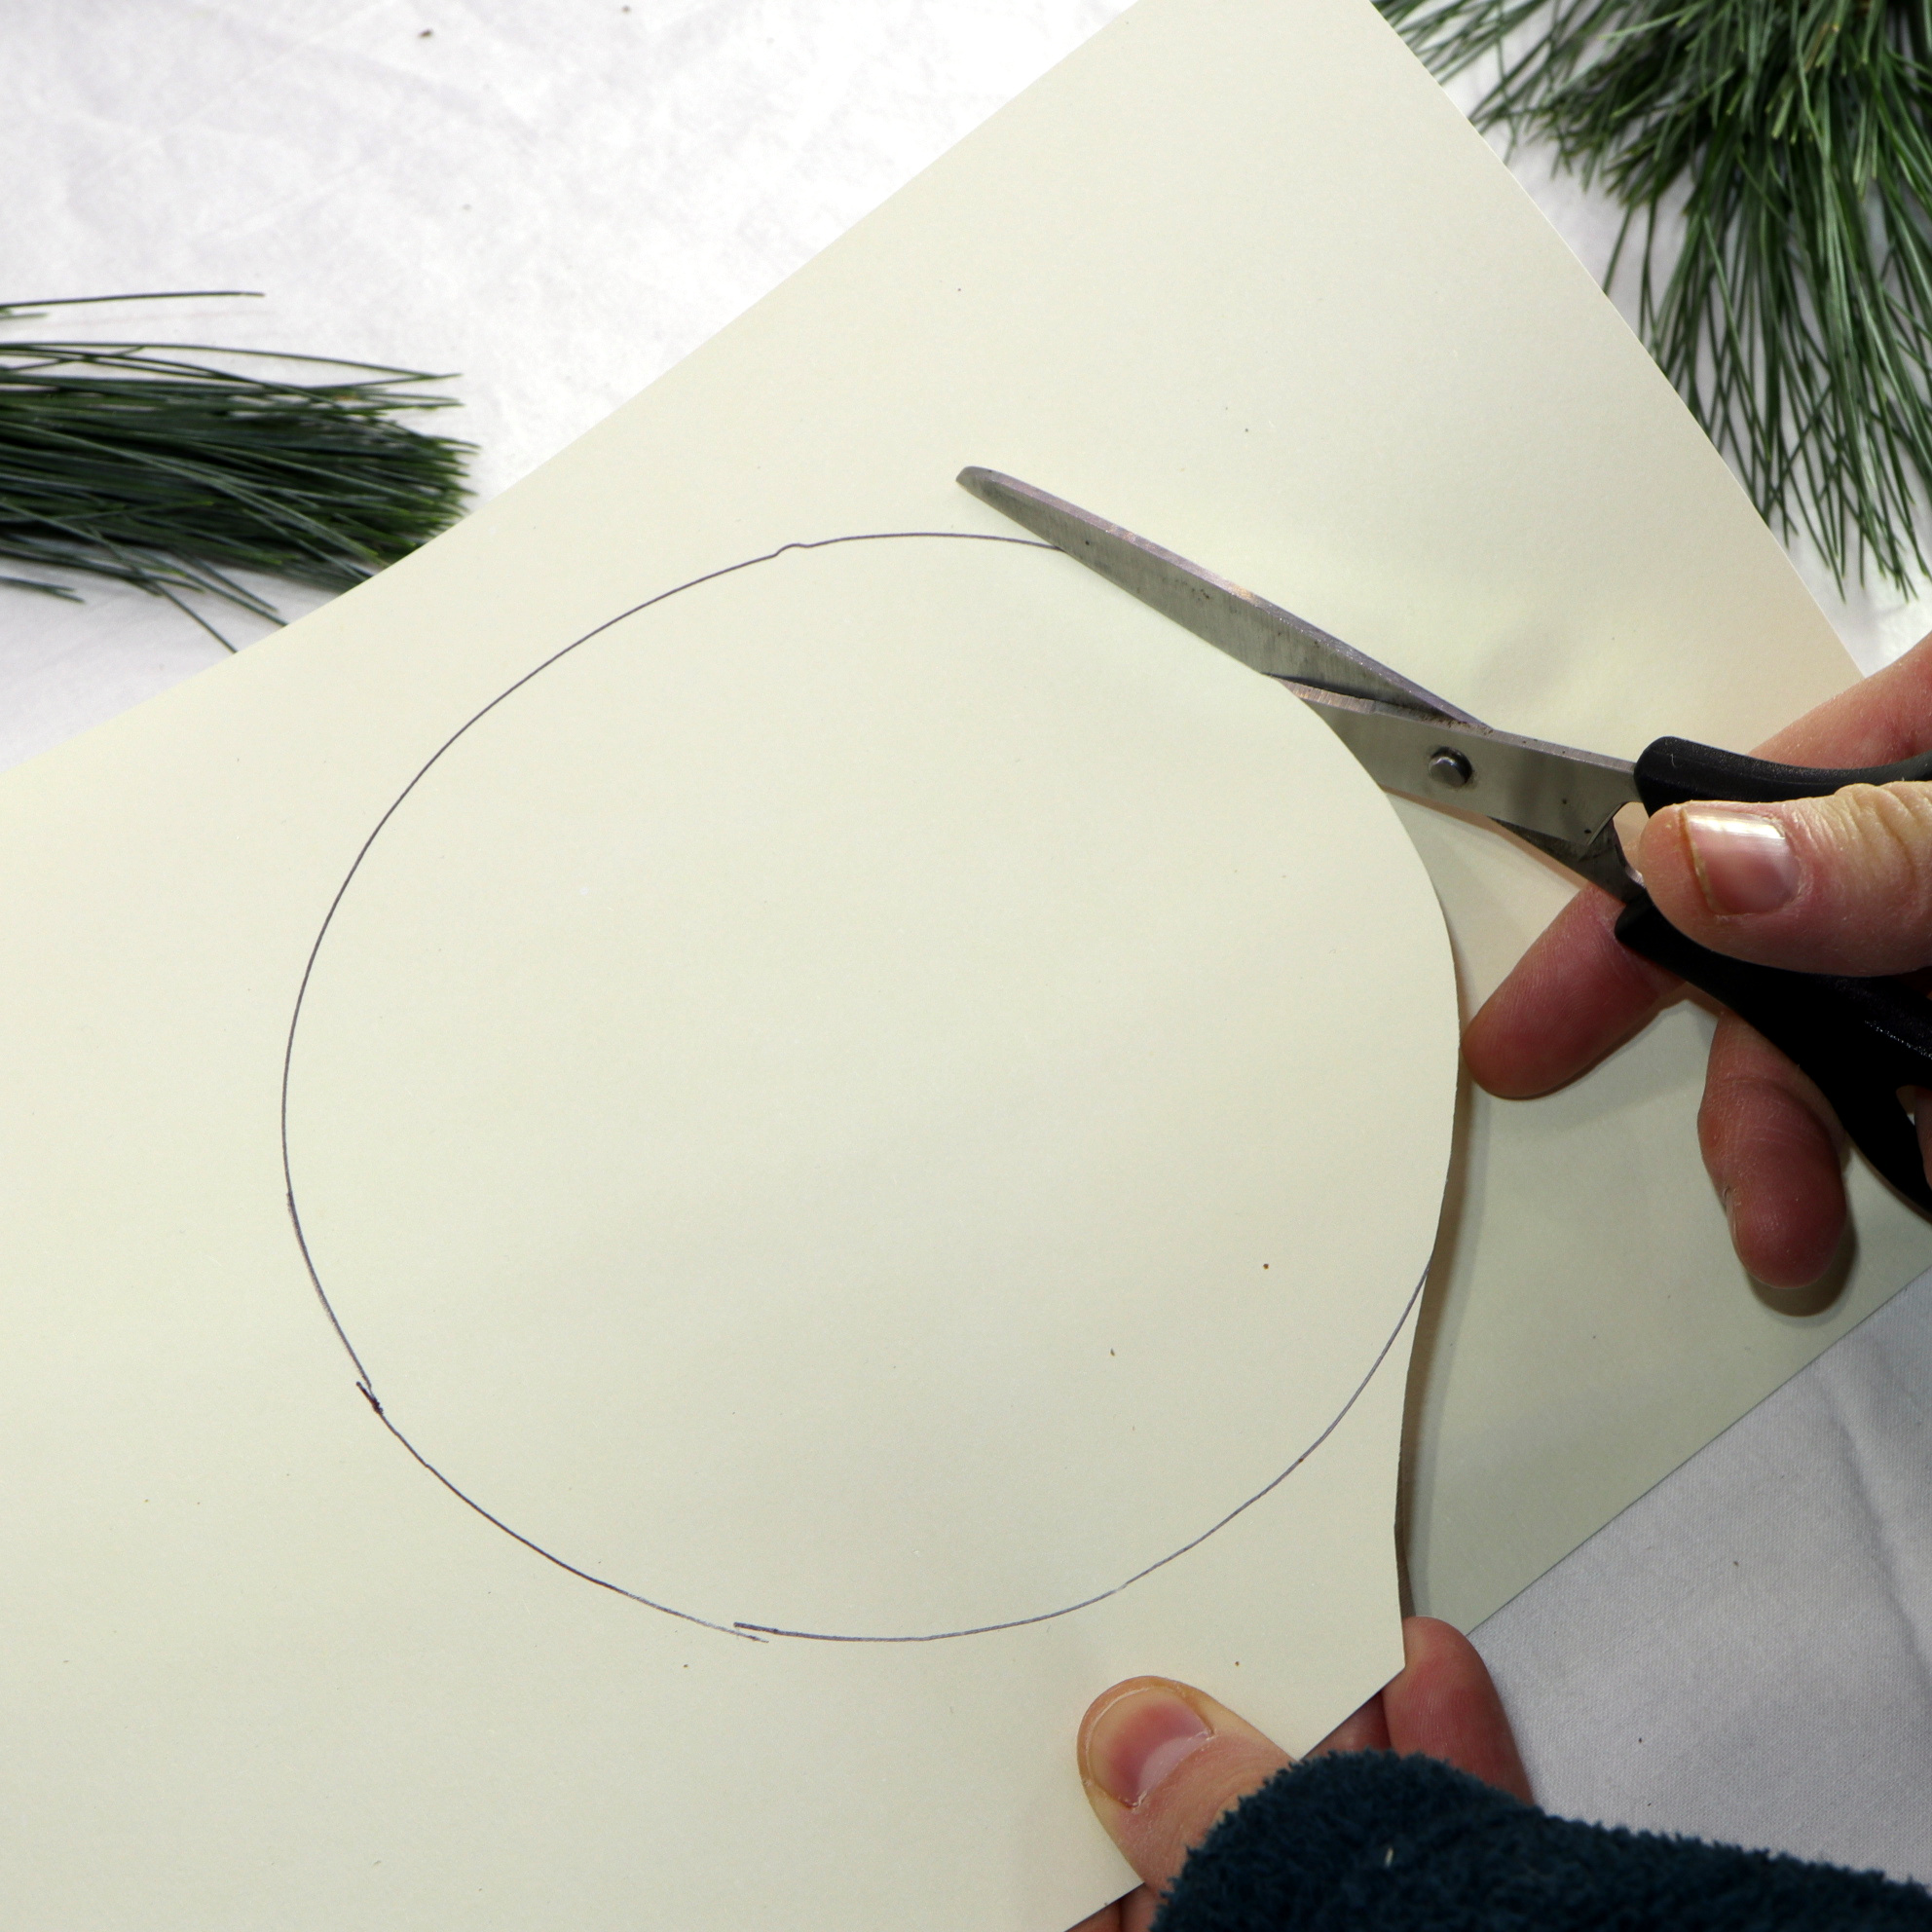
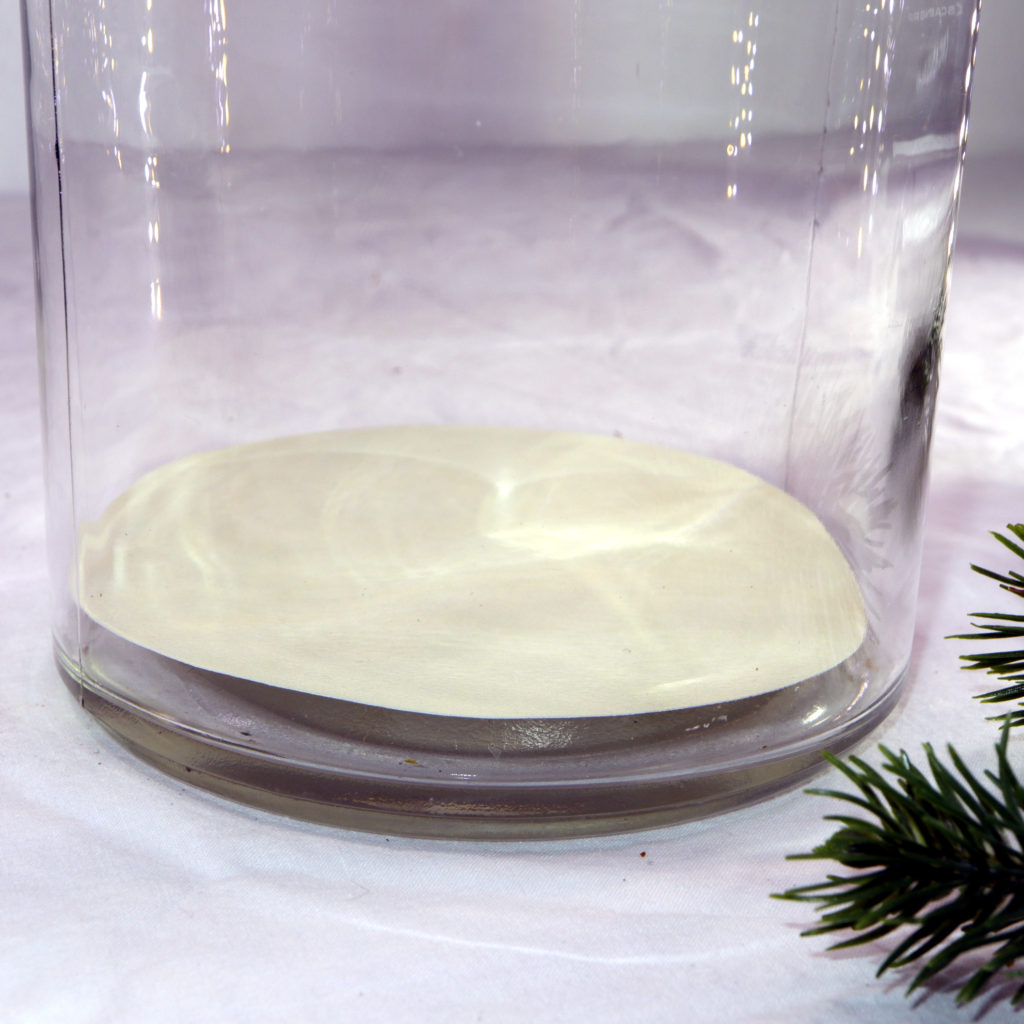
Then, I cut out the construction paper. The construction paper must fit into the jar:
Step 2: Jar decoration
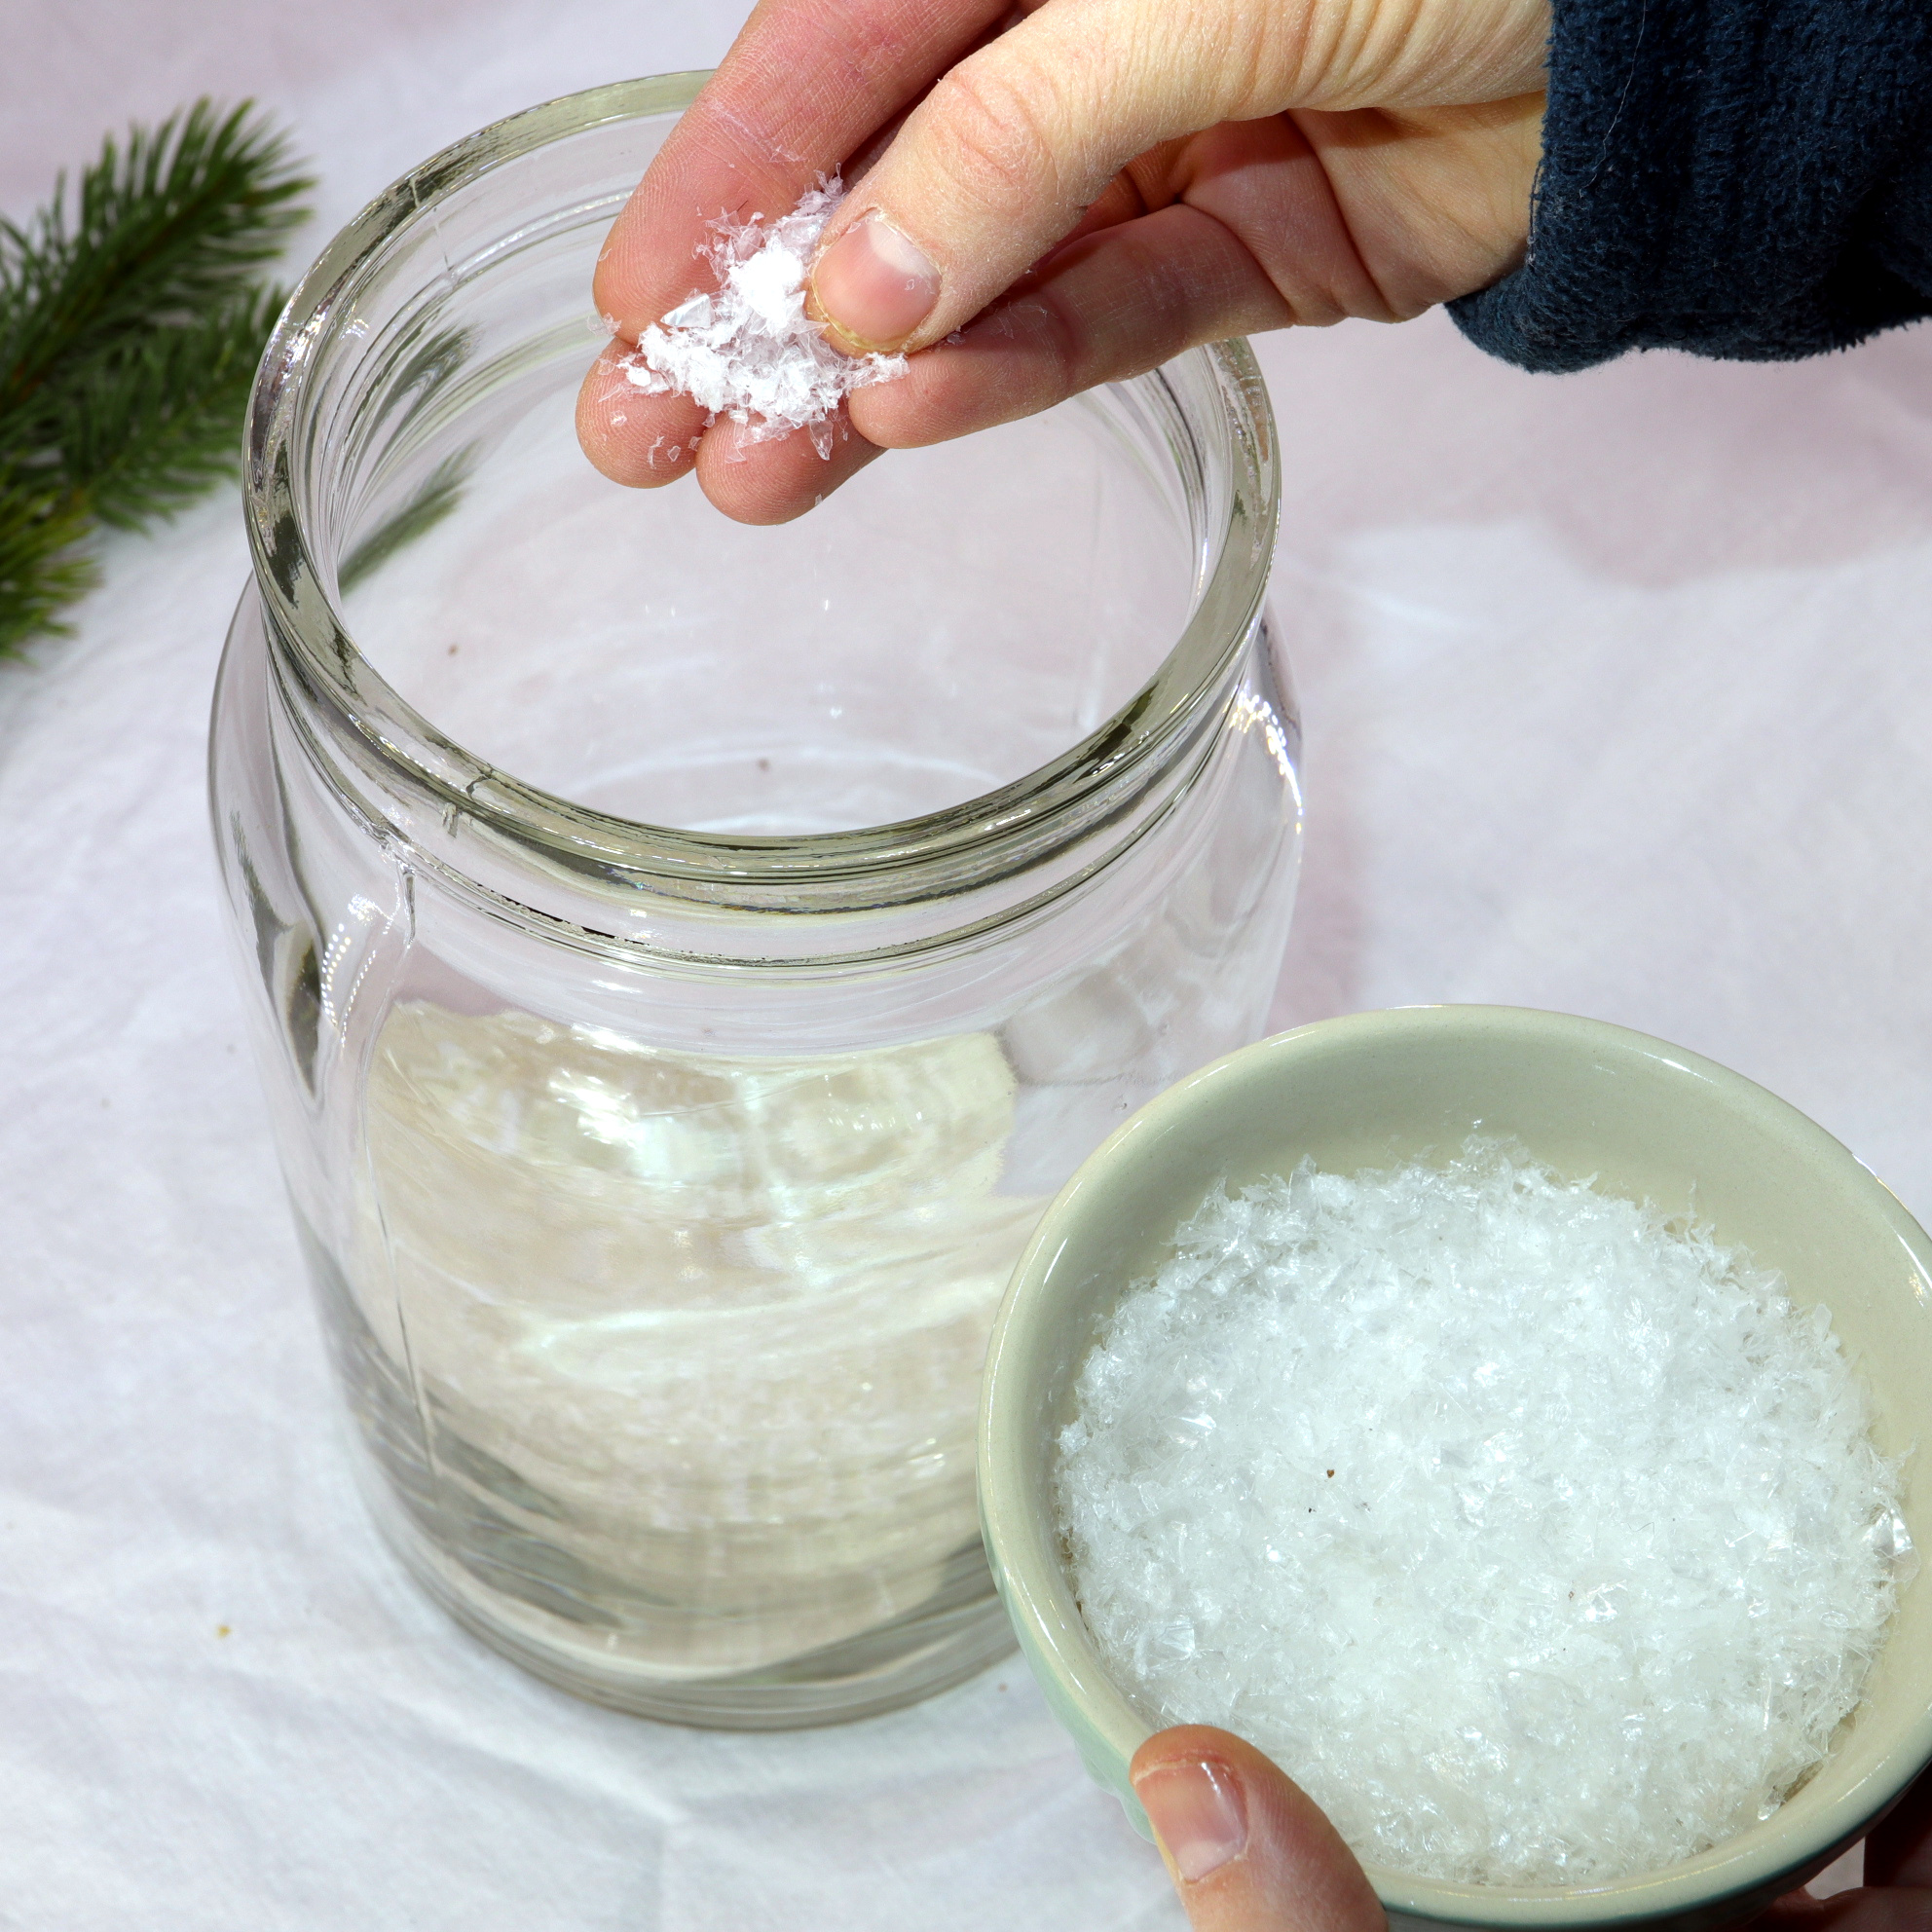
Next, decoration snow is given into the jar.
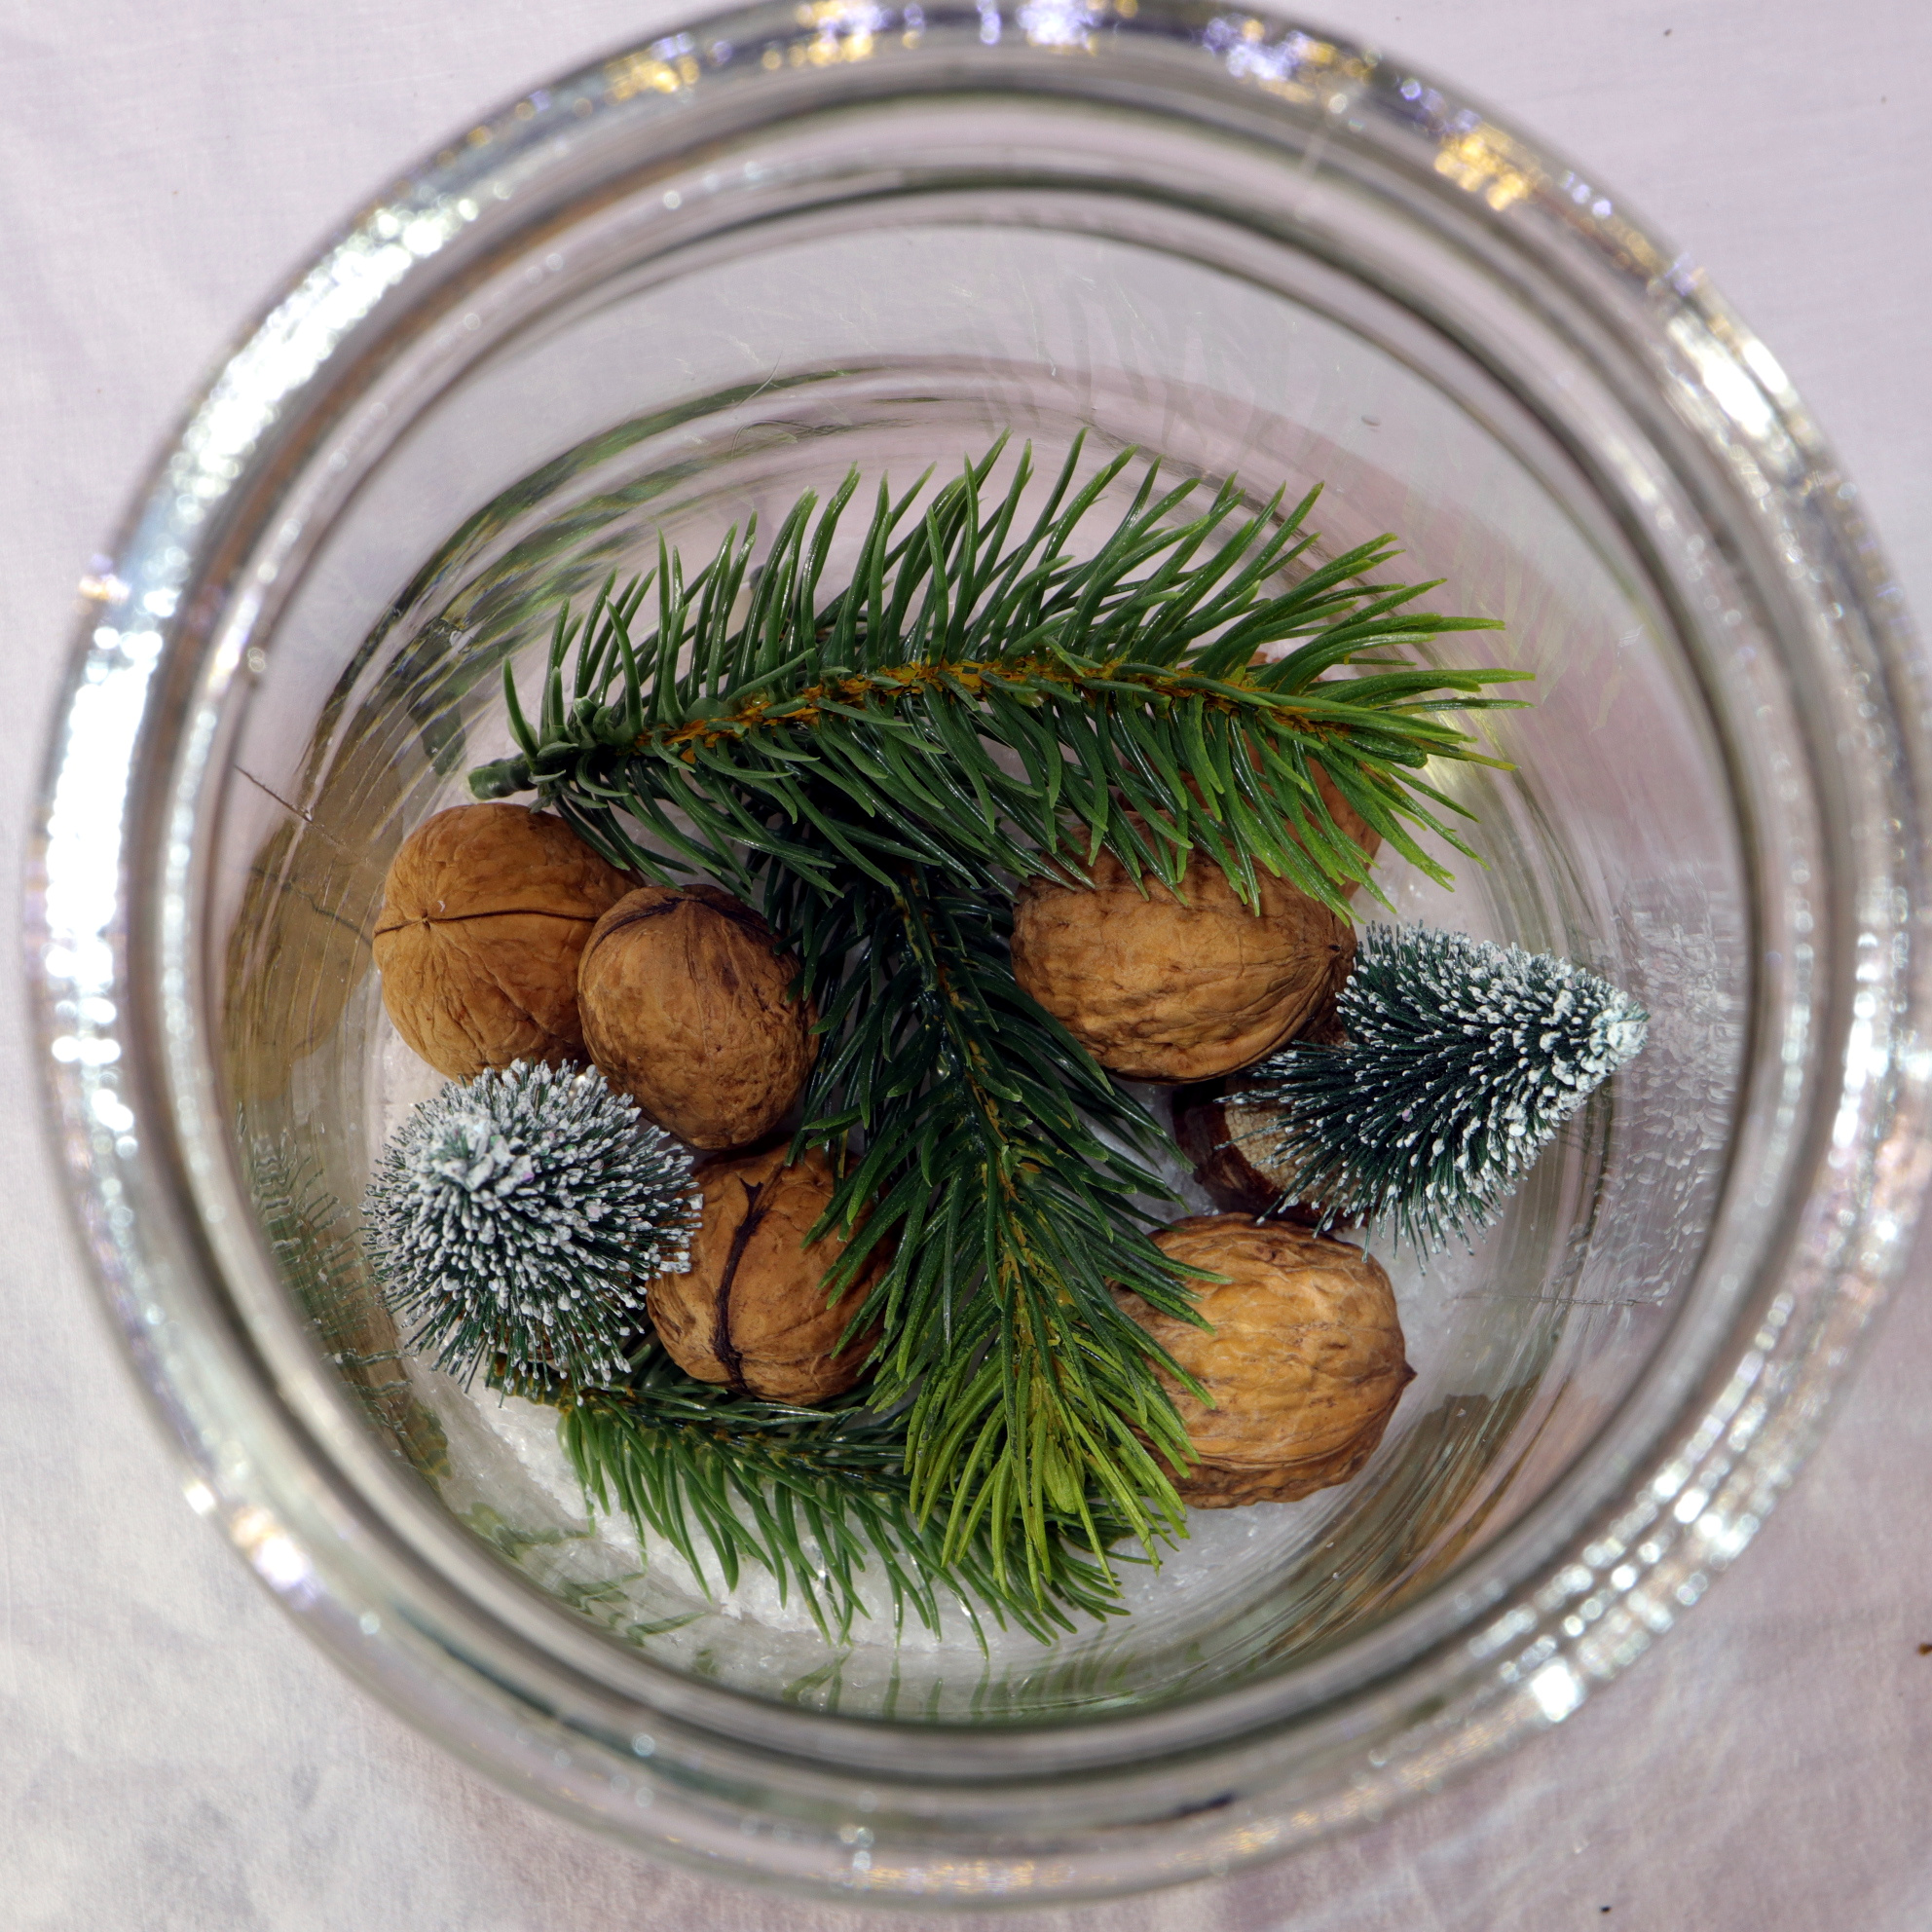
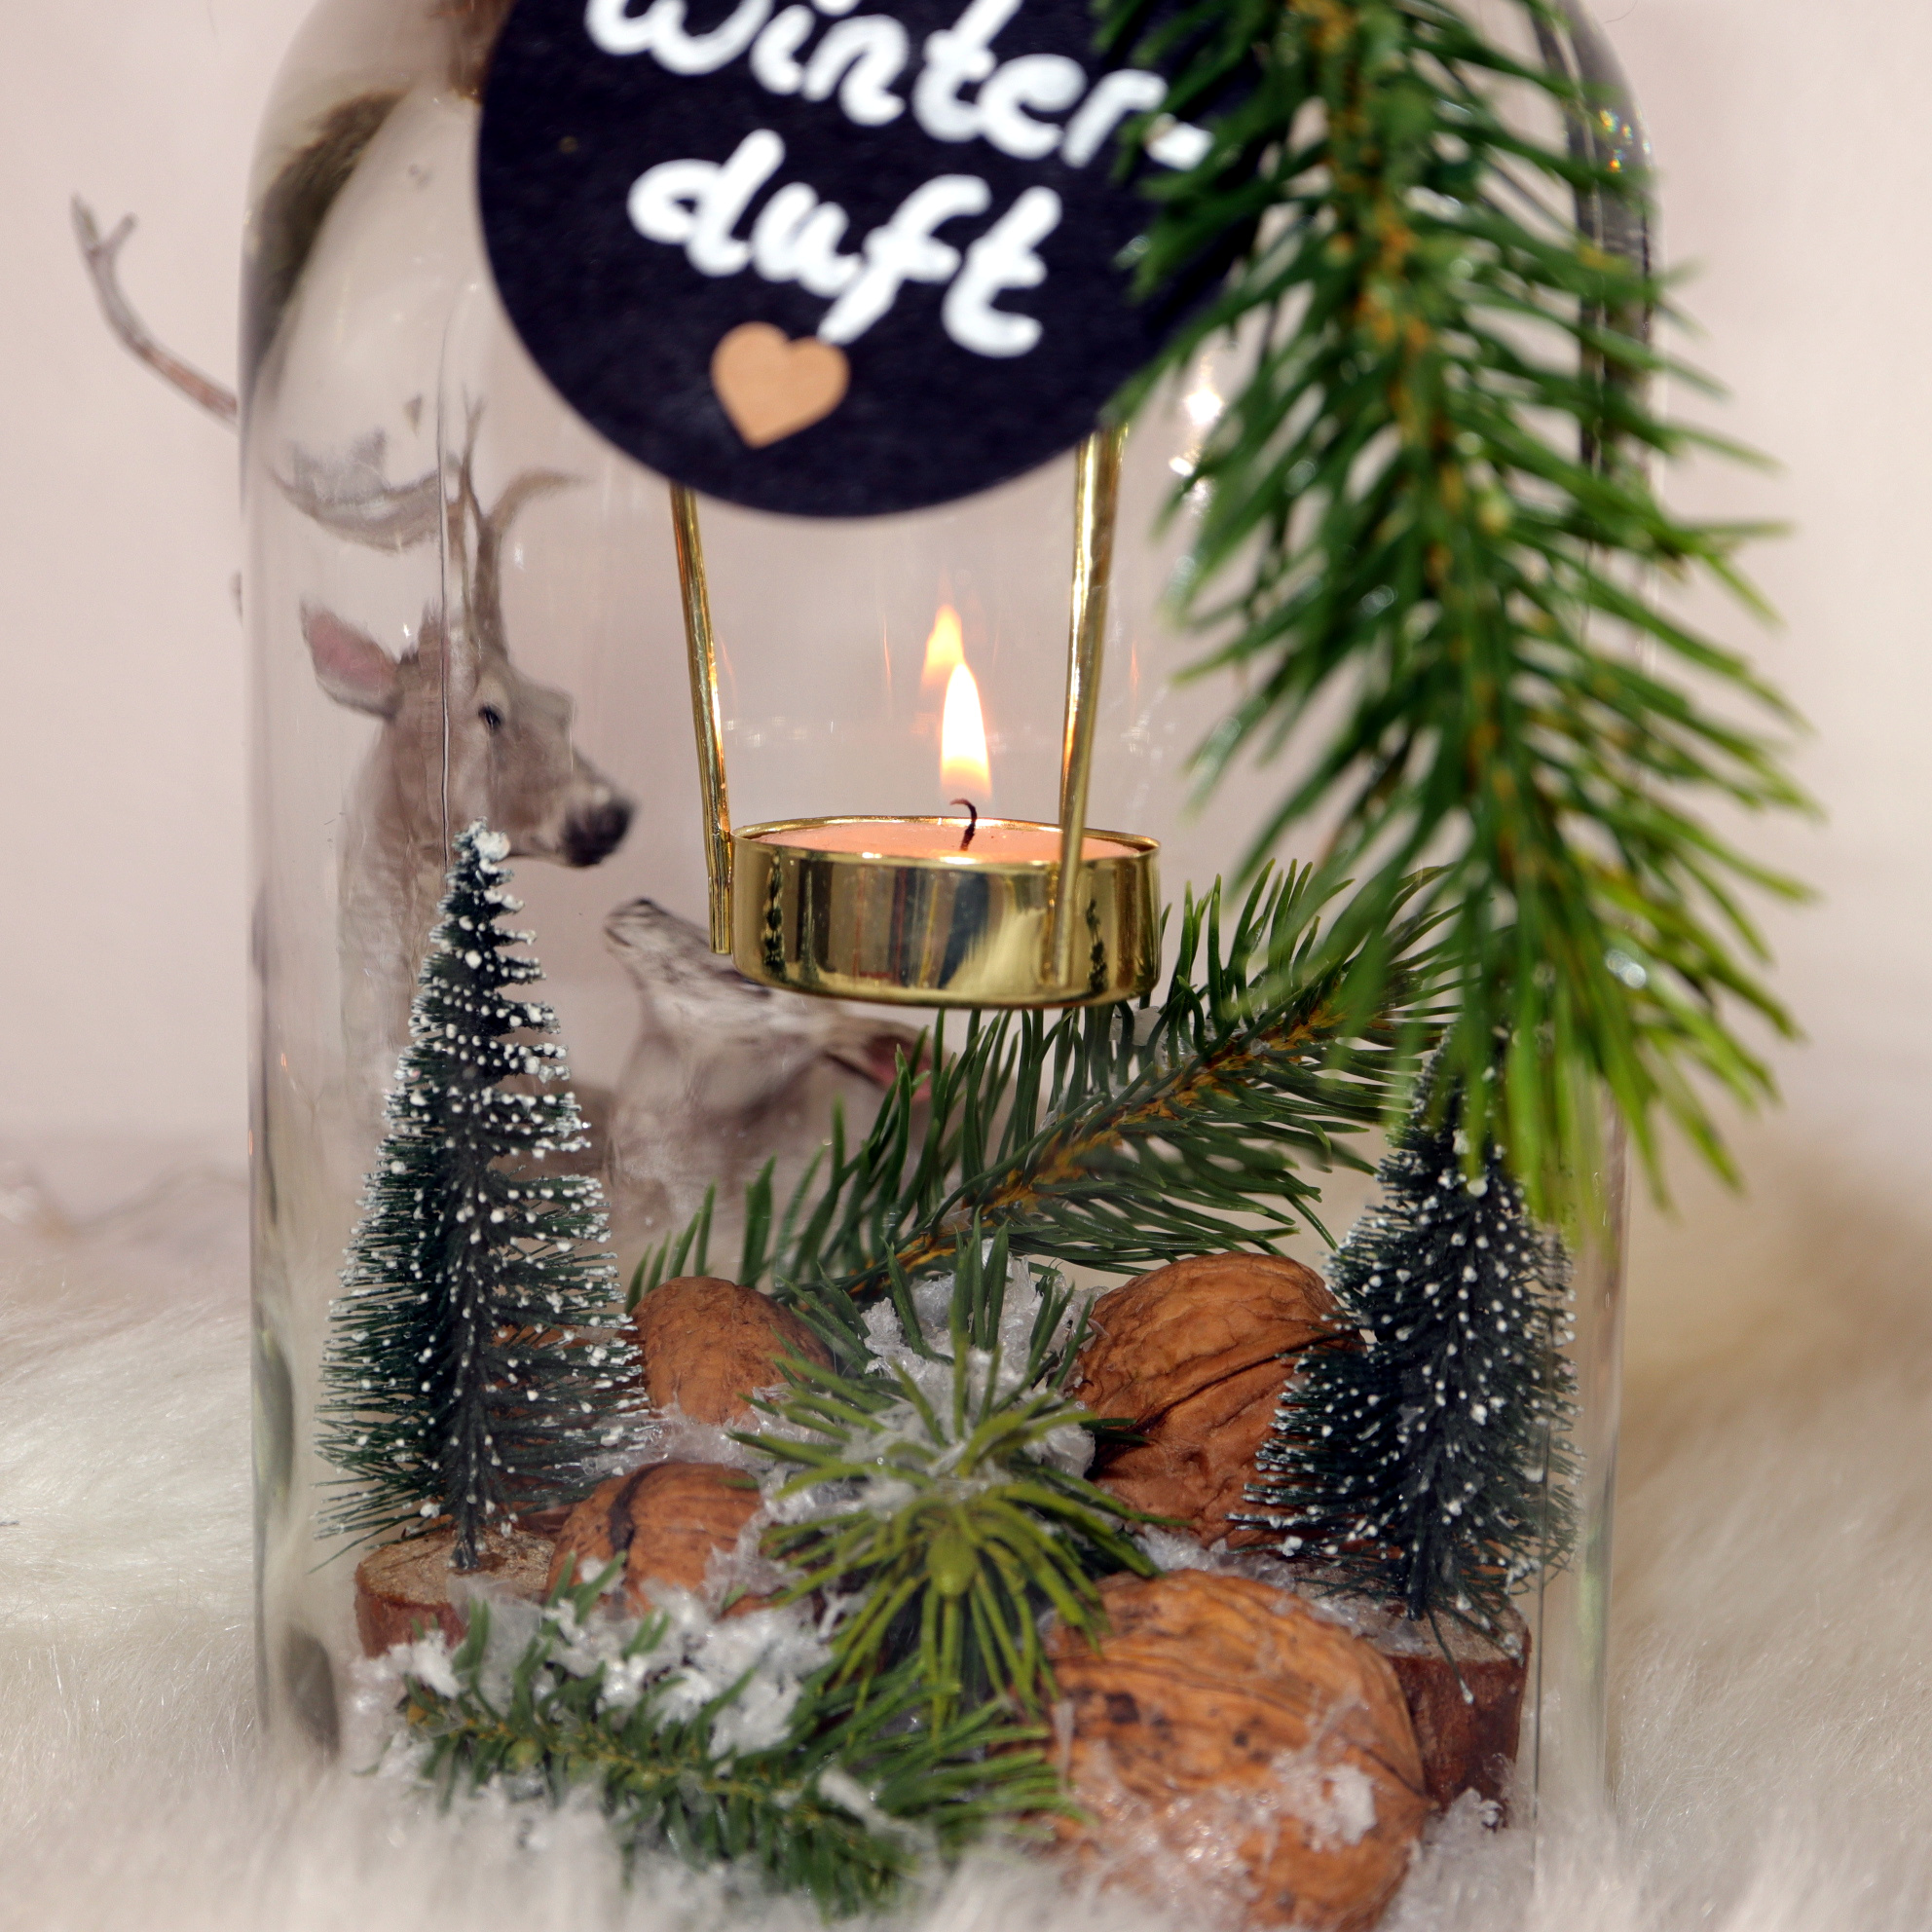
Then, decorate the jar with decoration elements. I used evergreen twigs, walnuts and some miniature pine tree. When all elements are placed inside the jar, add some additional snow to the elements.

Step 3: Add a label to the jar
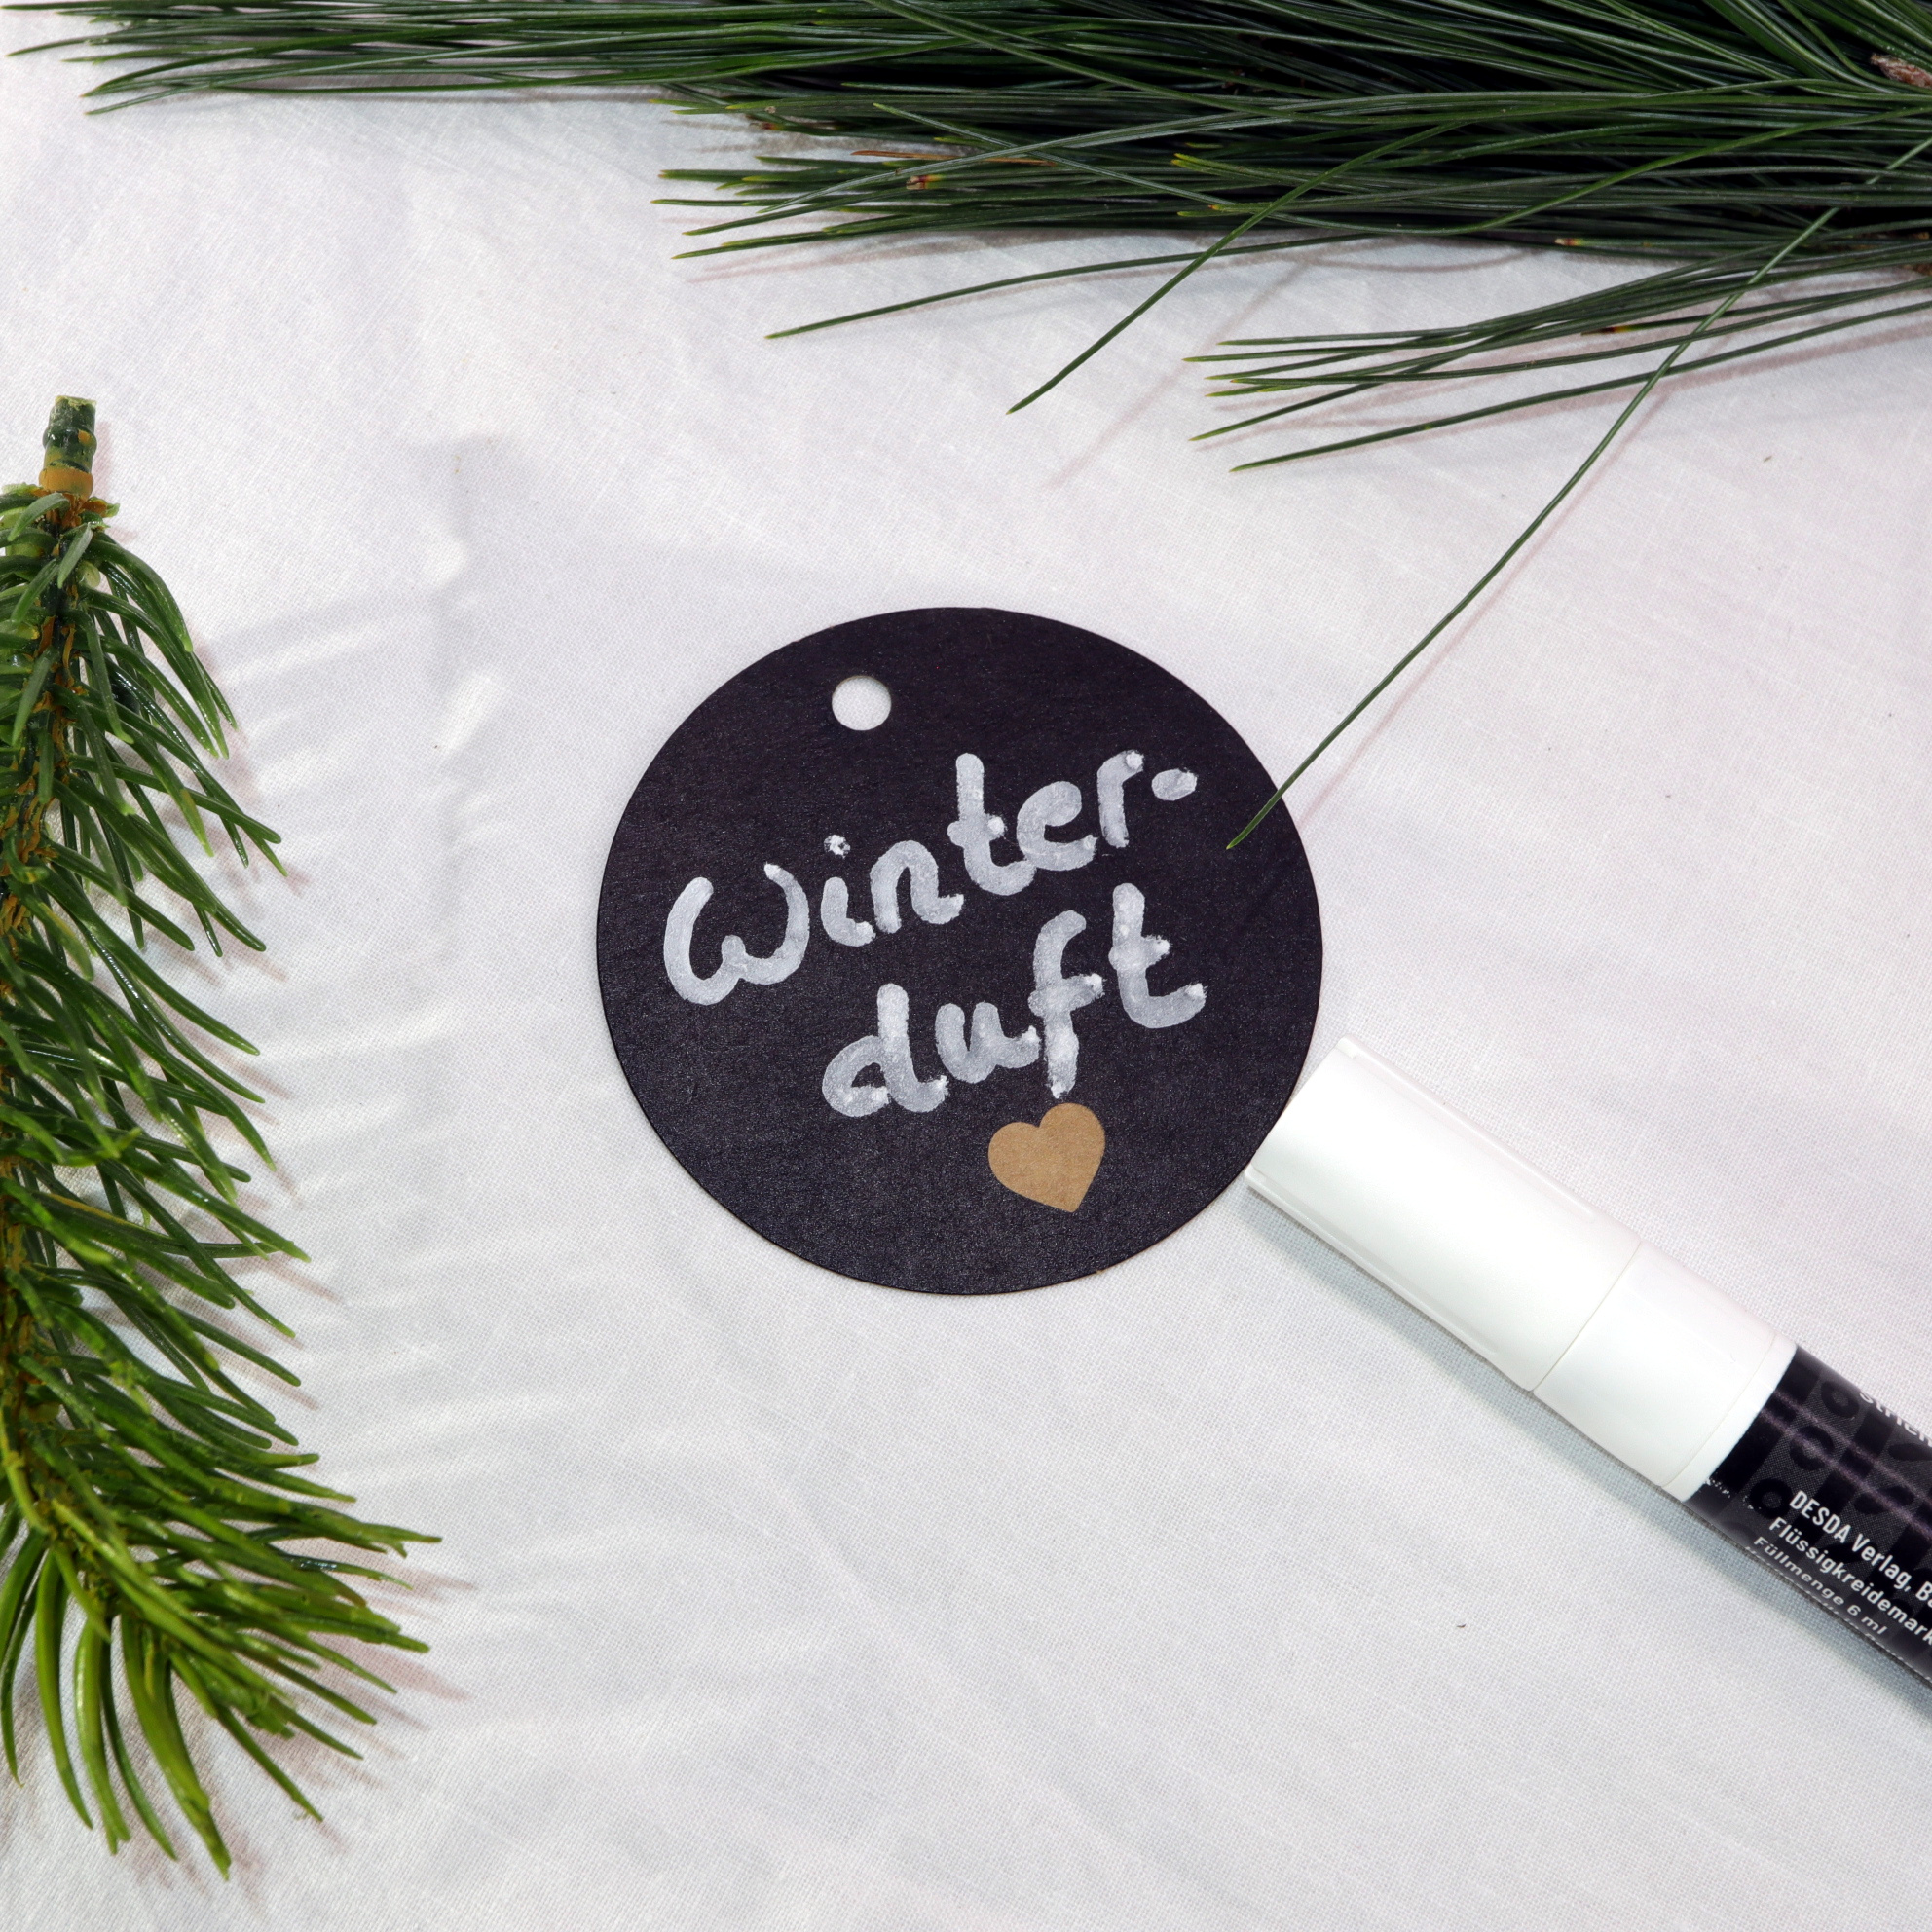
Now, the chalkboard label is used to write some words or message on it. For my aromatic candle jar, I wrote “Winterduft” on it with the liquid chalkboard marker. “Winterduft” is the German word for “Winter scent”. Label the jar as you like. Alternatively, you can also write directly onto the jar with the liquid chalkboard marker.
Step 4: Wrap around the thread

Next, wrap around some thread on the upper part of the jar. Use also the thread to add the chalkboard label to the jar. For my aromatic candle jar, I added an evergreen twig, too.
Step 5: Candle holder
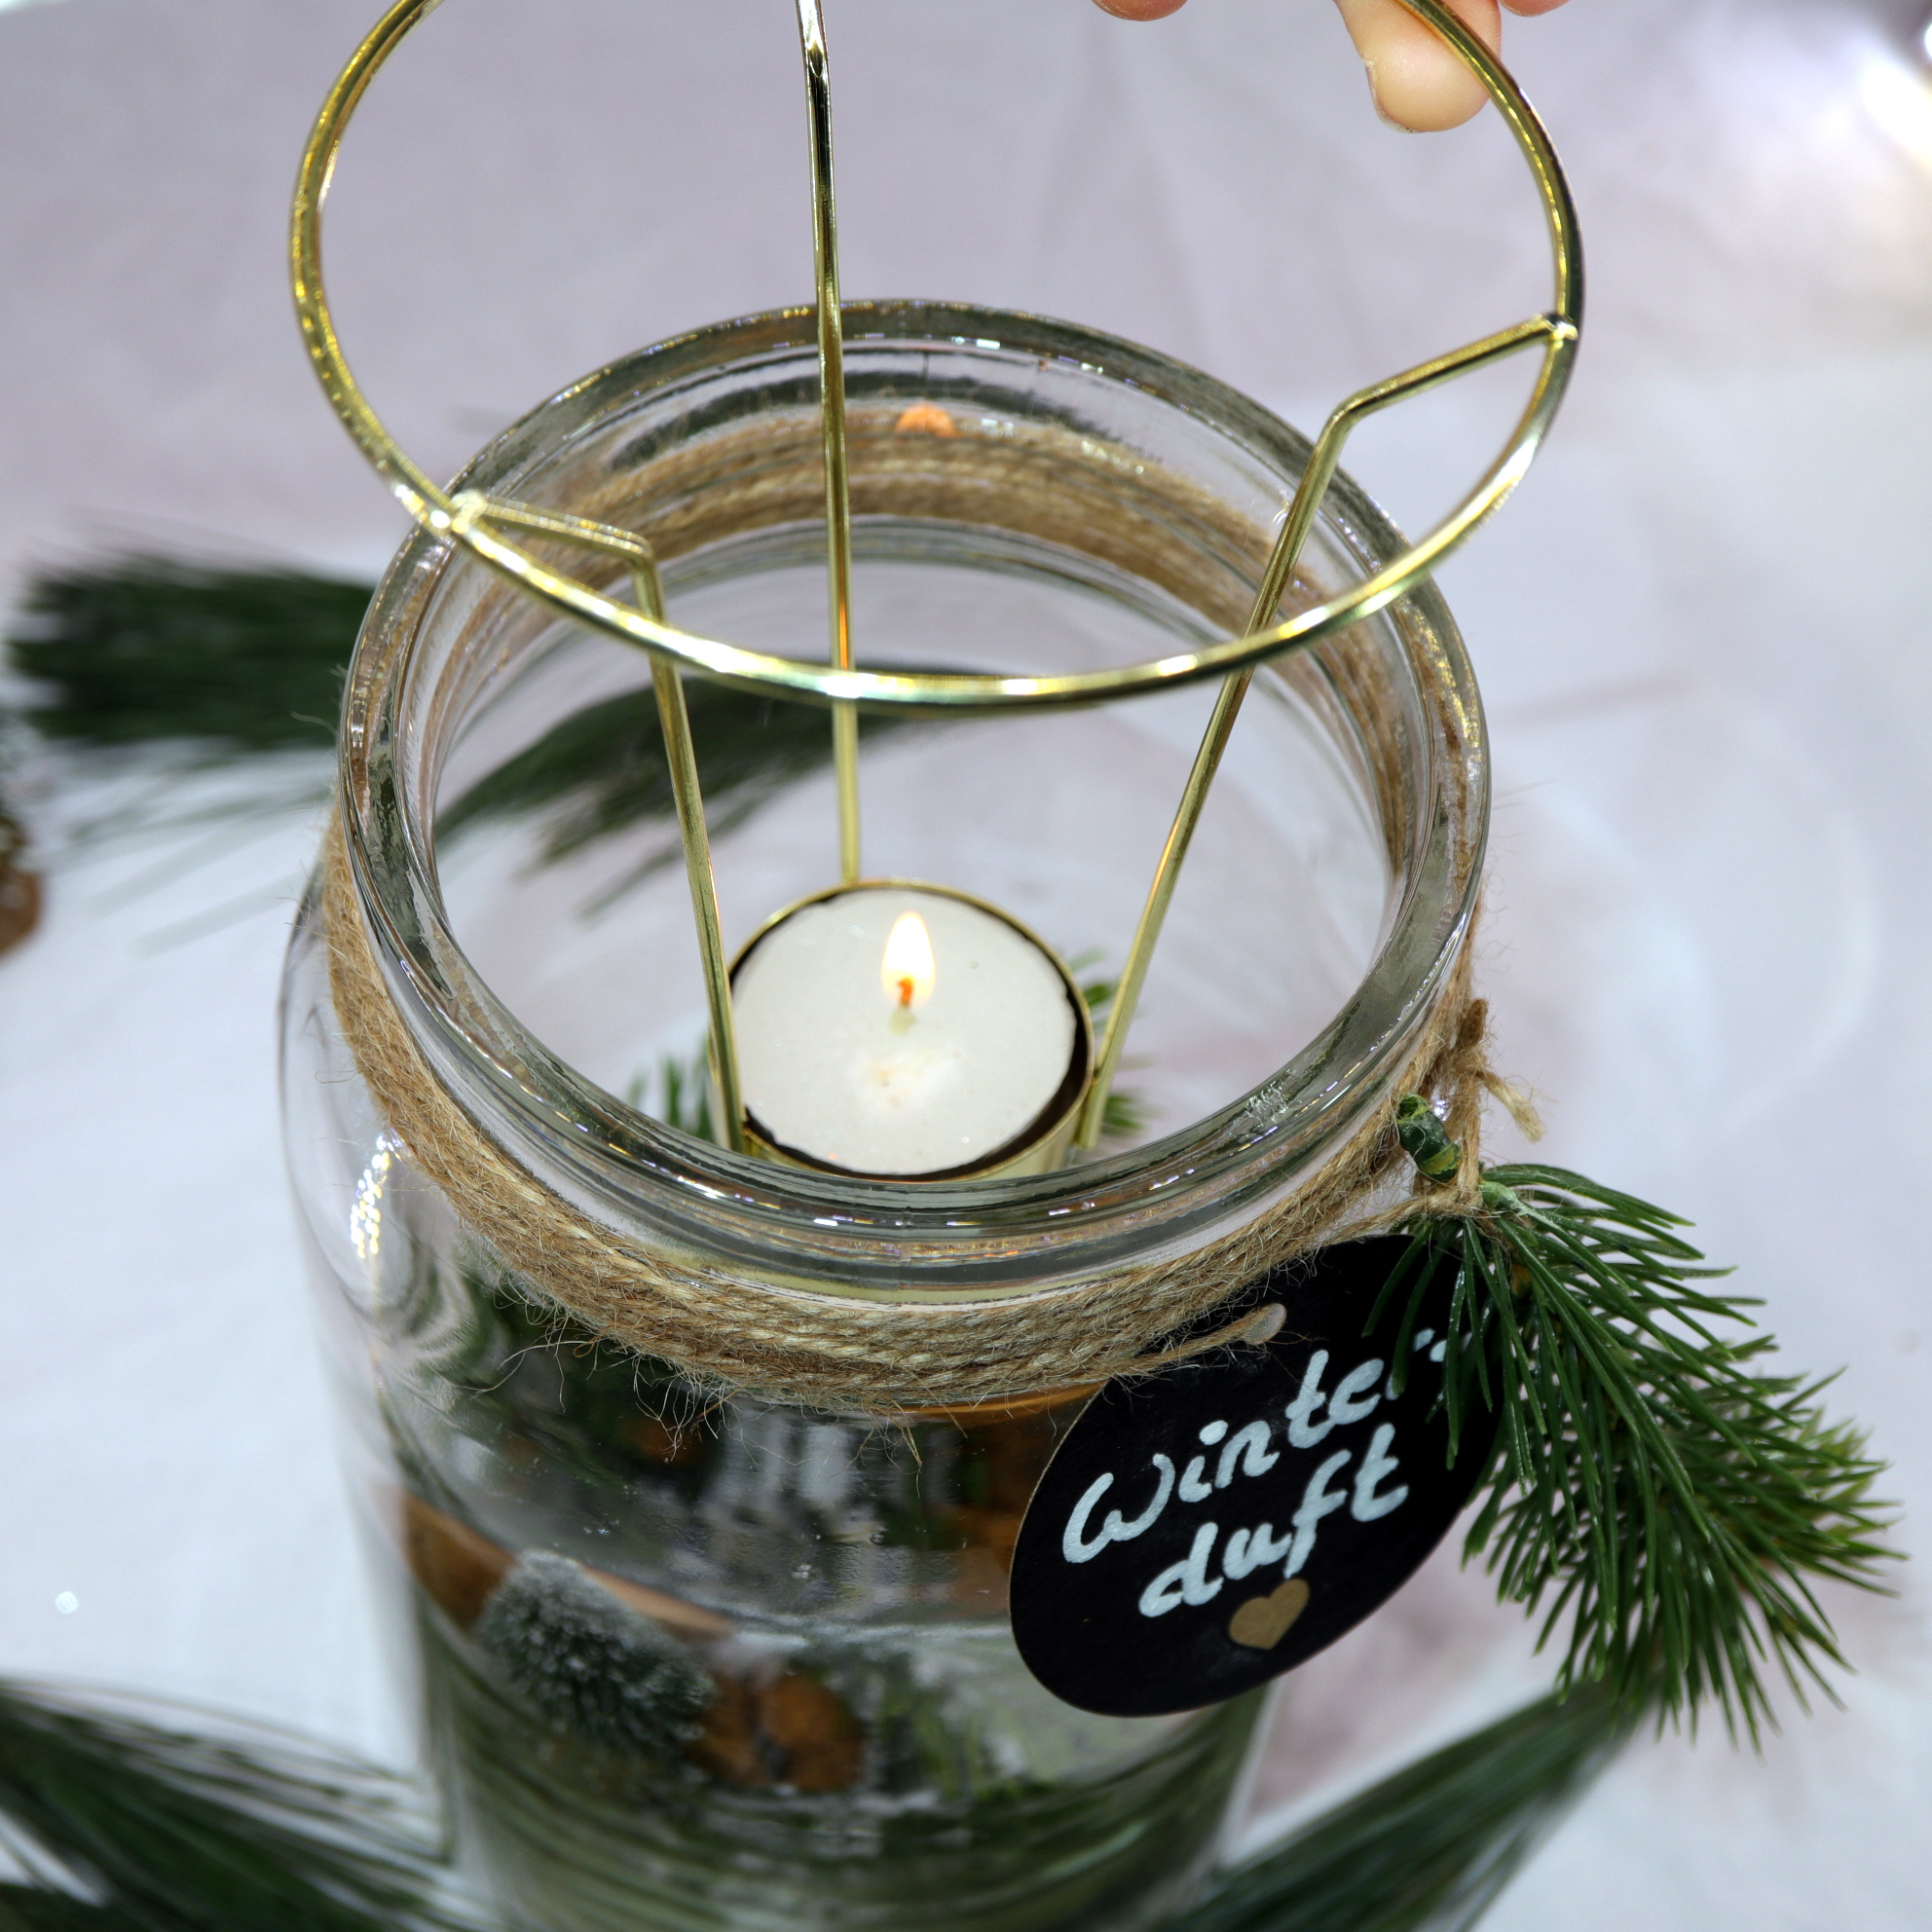
Now, add the candle holder and tea light candle on top of the jar. Please be careful, there should be enough distance between the decoration elements and the candle. Otherwise, the elements could catch fire in the worst case scenario.
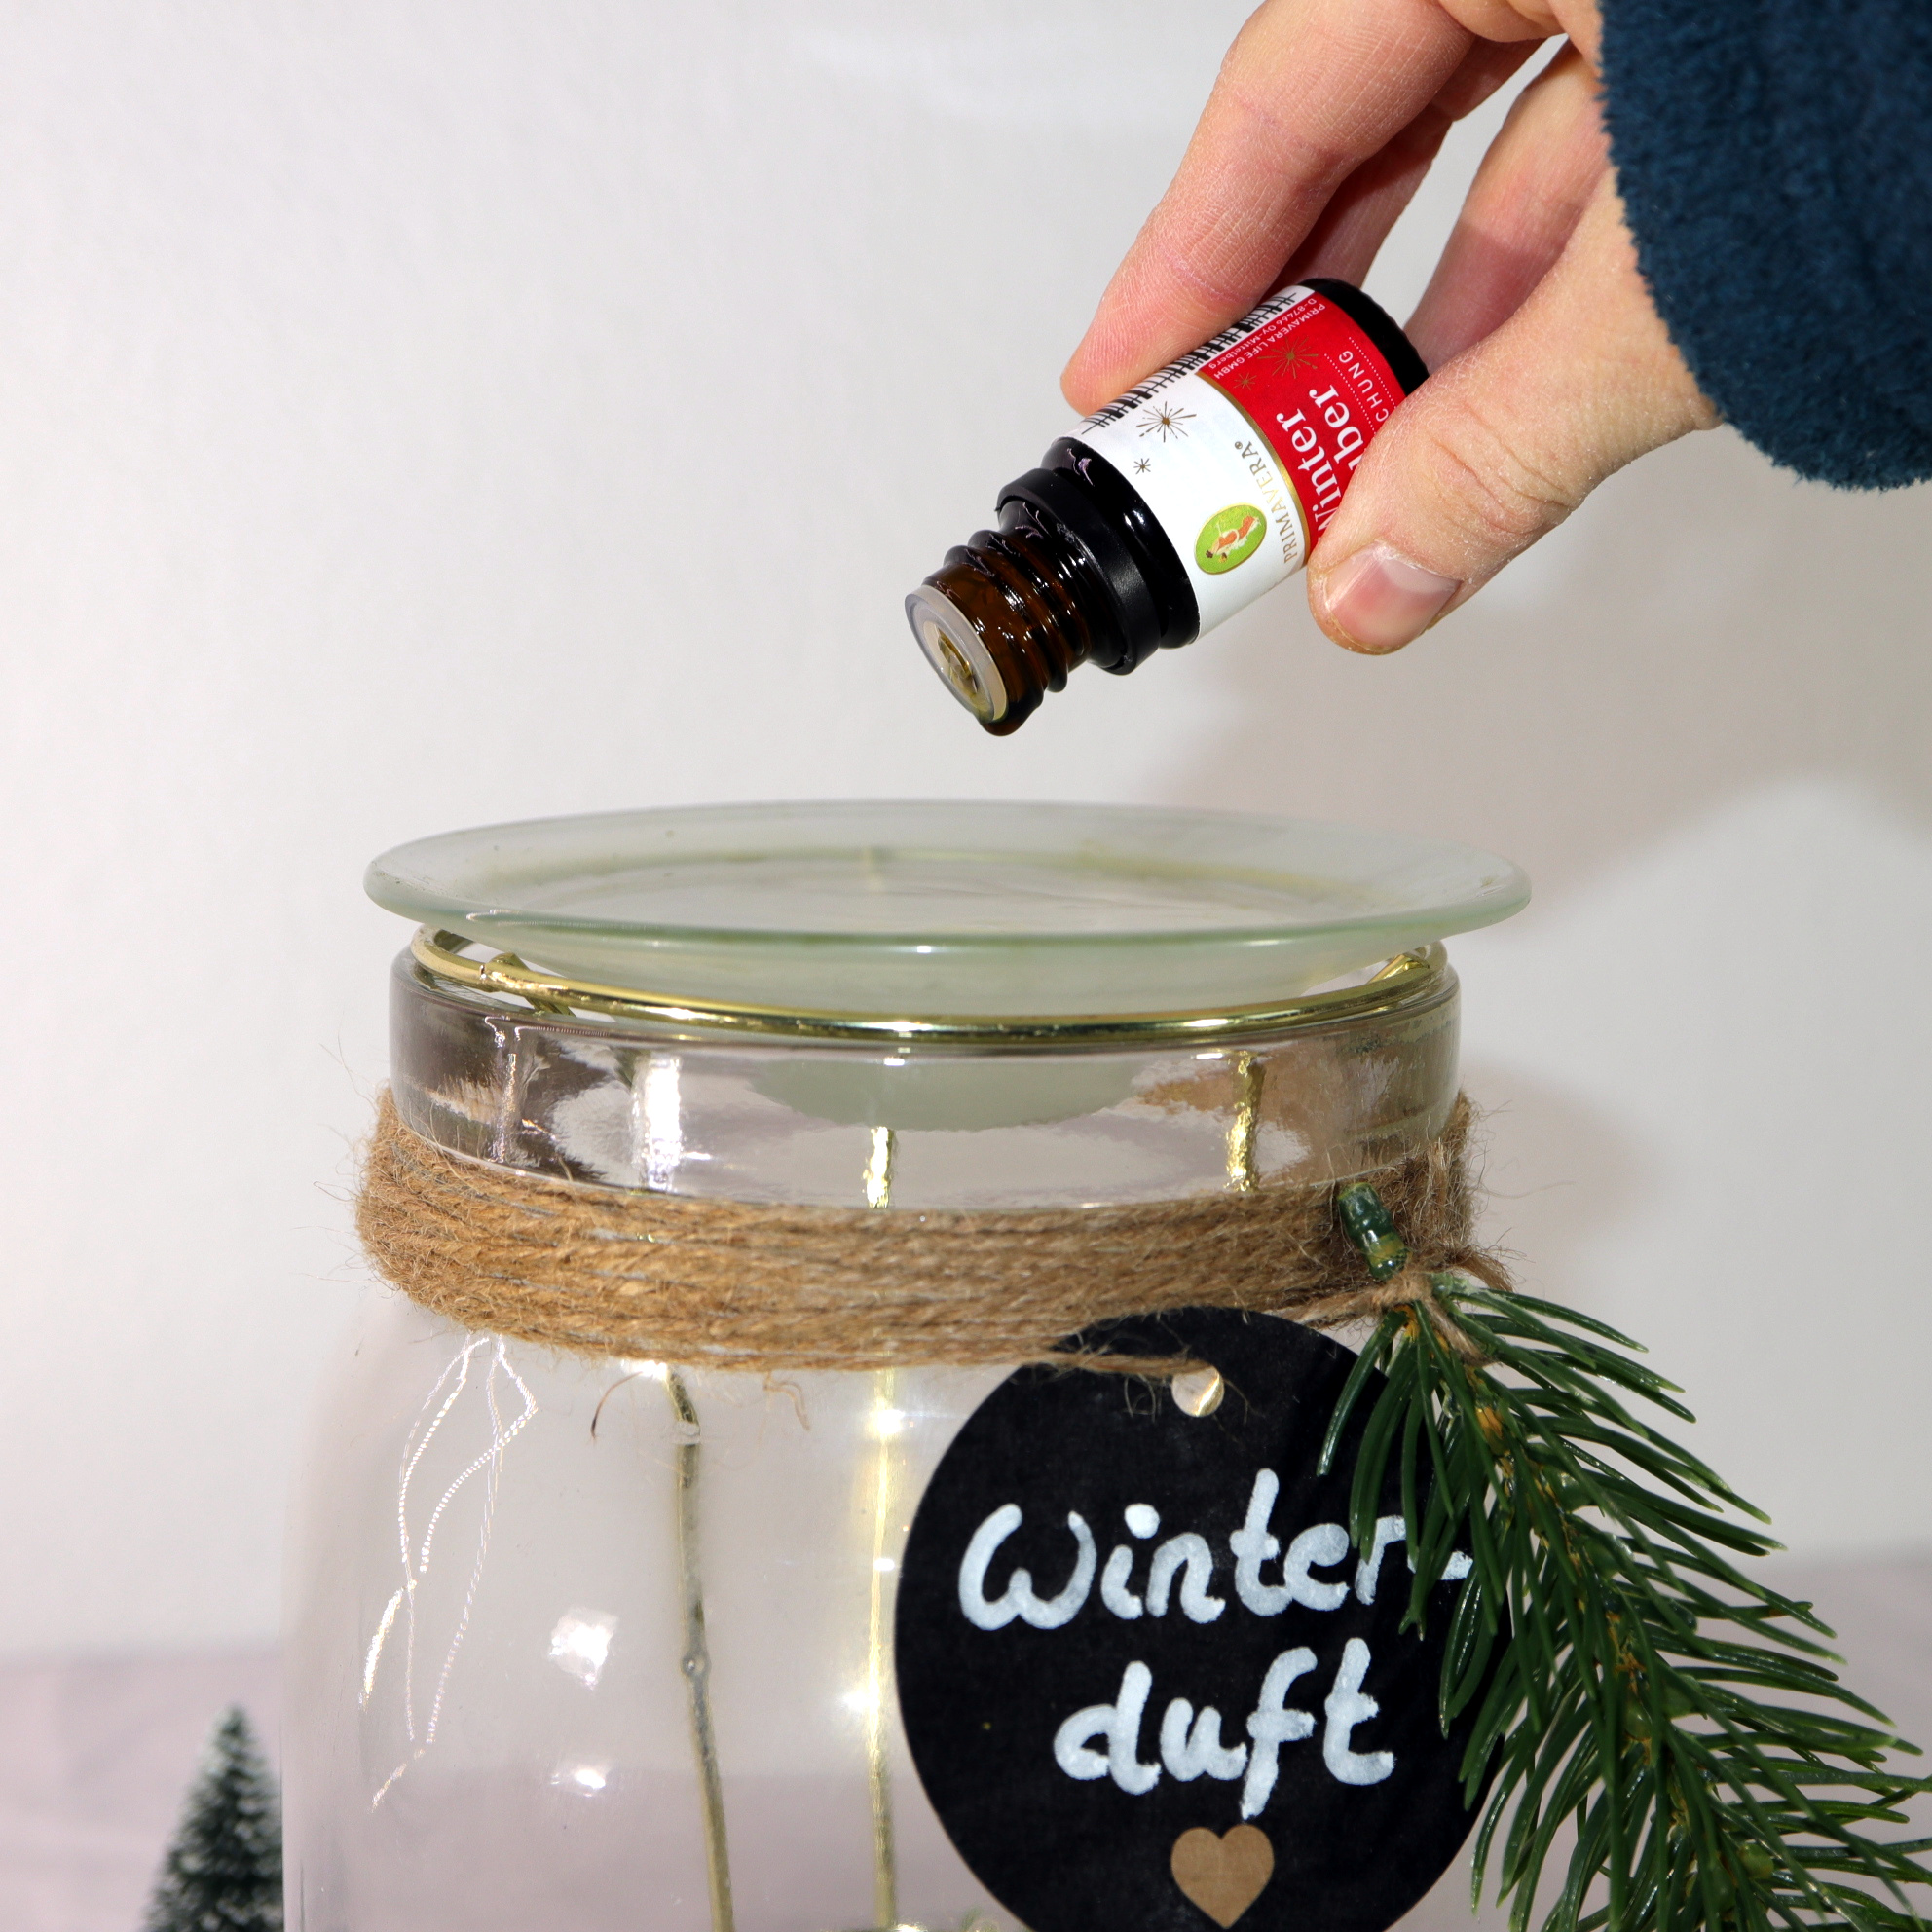
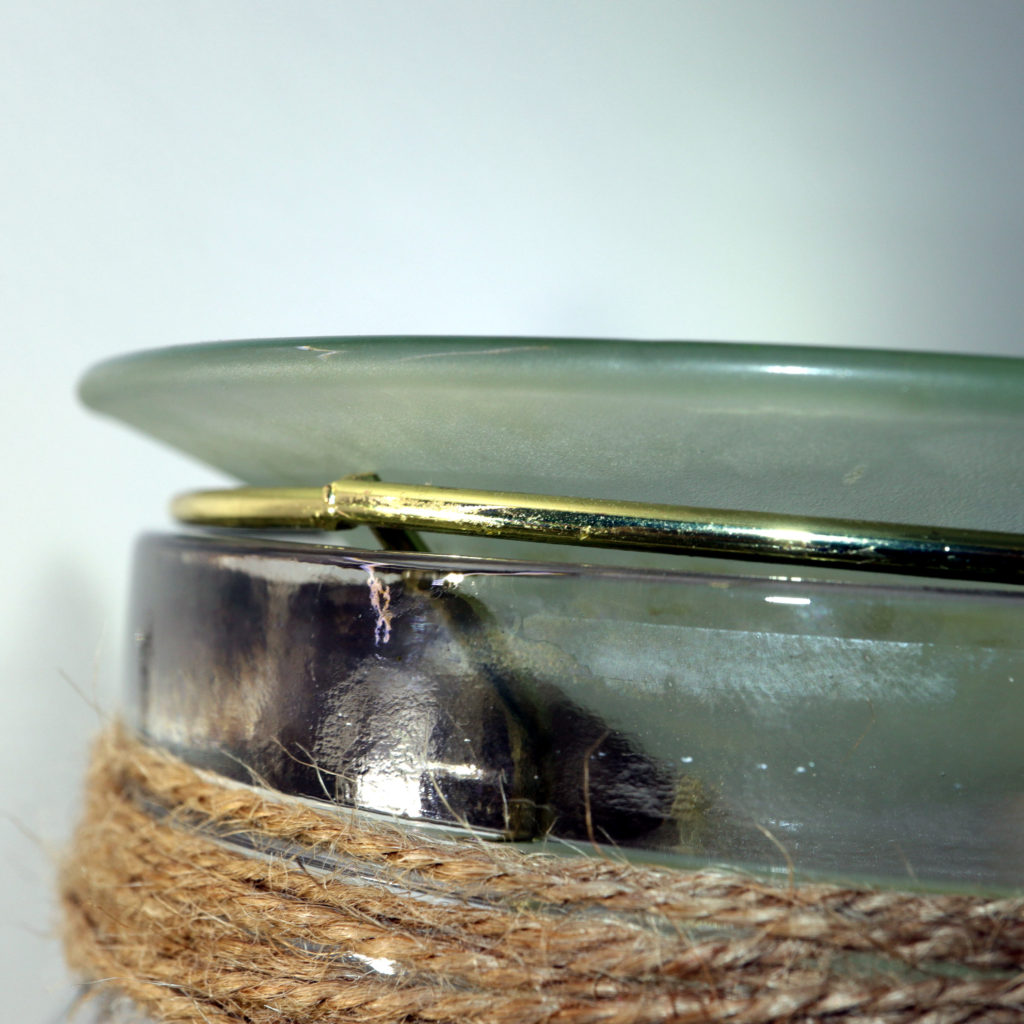
Step 6: Bowl for aromatic oil
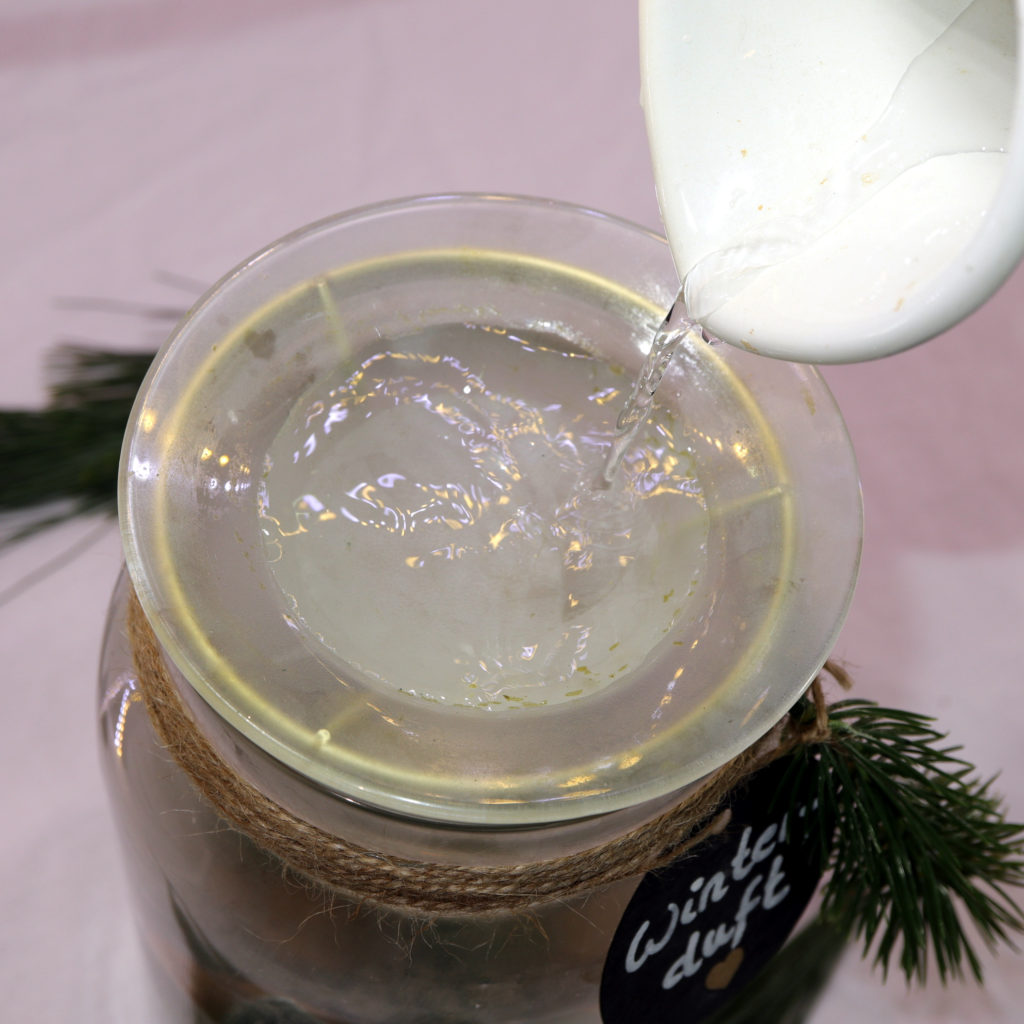
The last step is to add a bowl onto the jar and candle holder. I poured some water and a few drops of aromatic oil into the bowl.
Please take care, that the tea light is not light up when the bowl is empty. Some bowls tend to crack or burn out black if there is no water left.
If you performed all steps, you are done with making an aromatic candle jar. I hope you had a lot of fun!