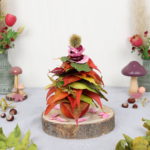
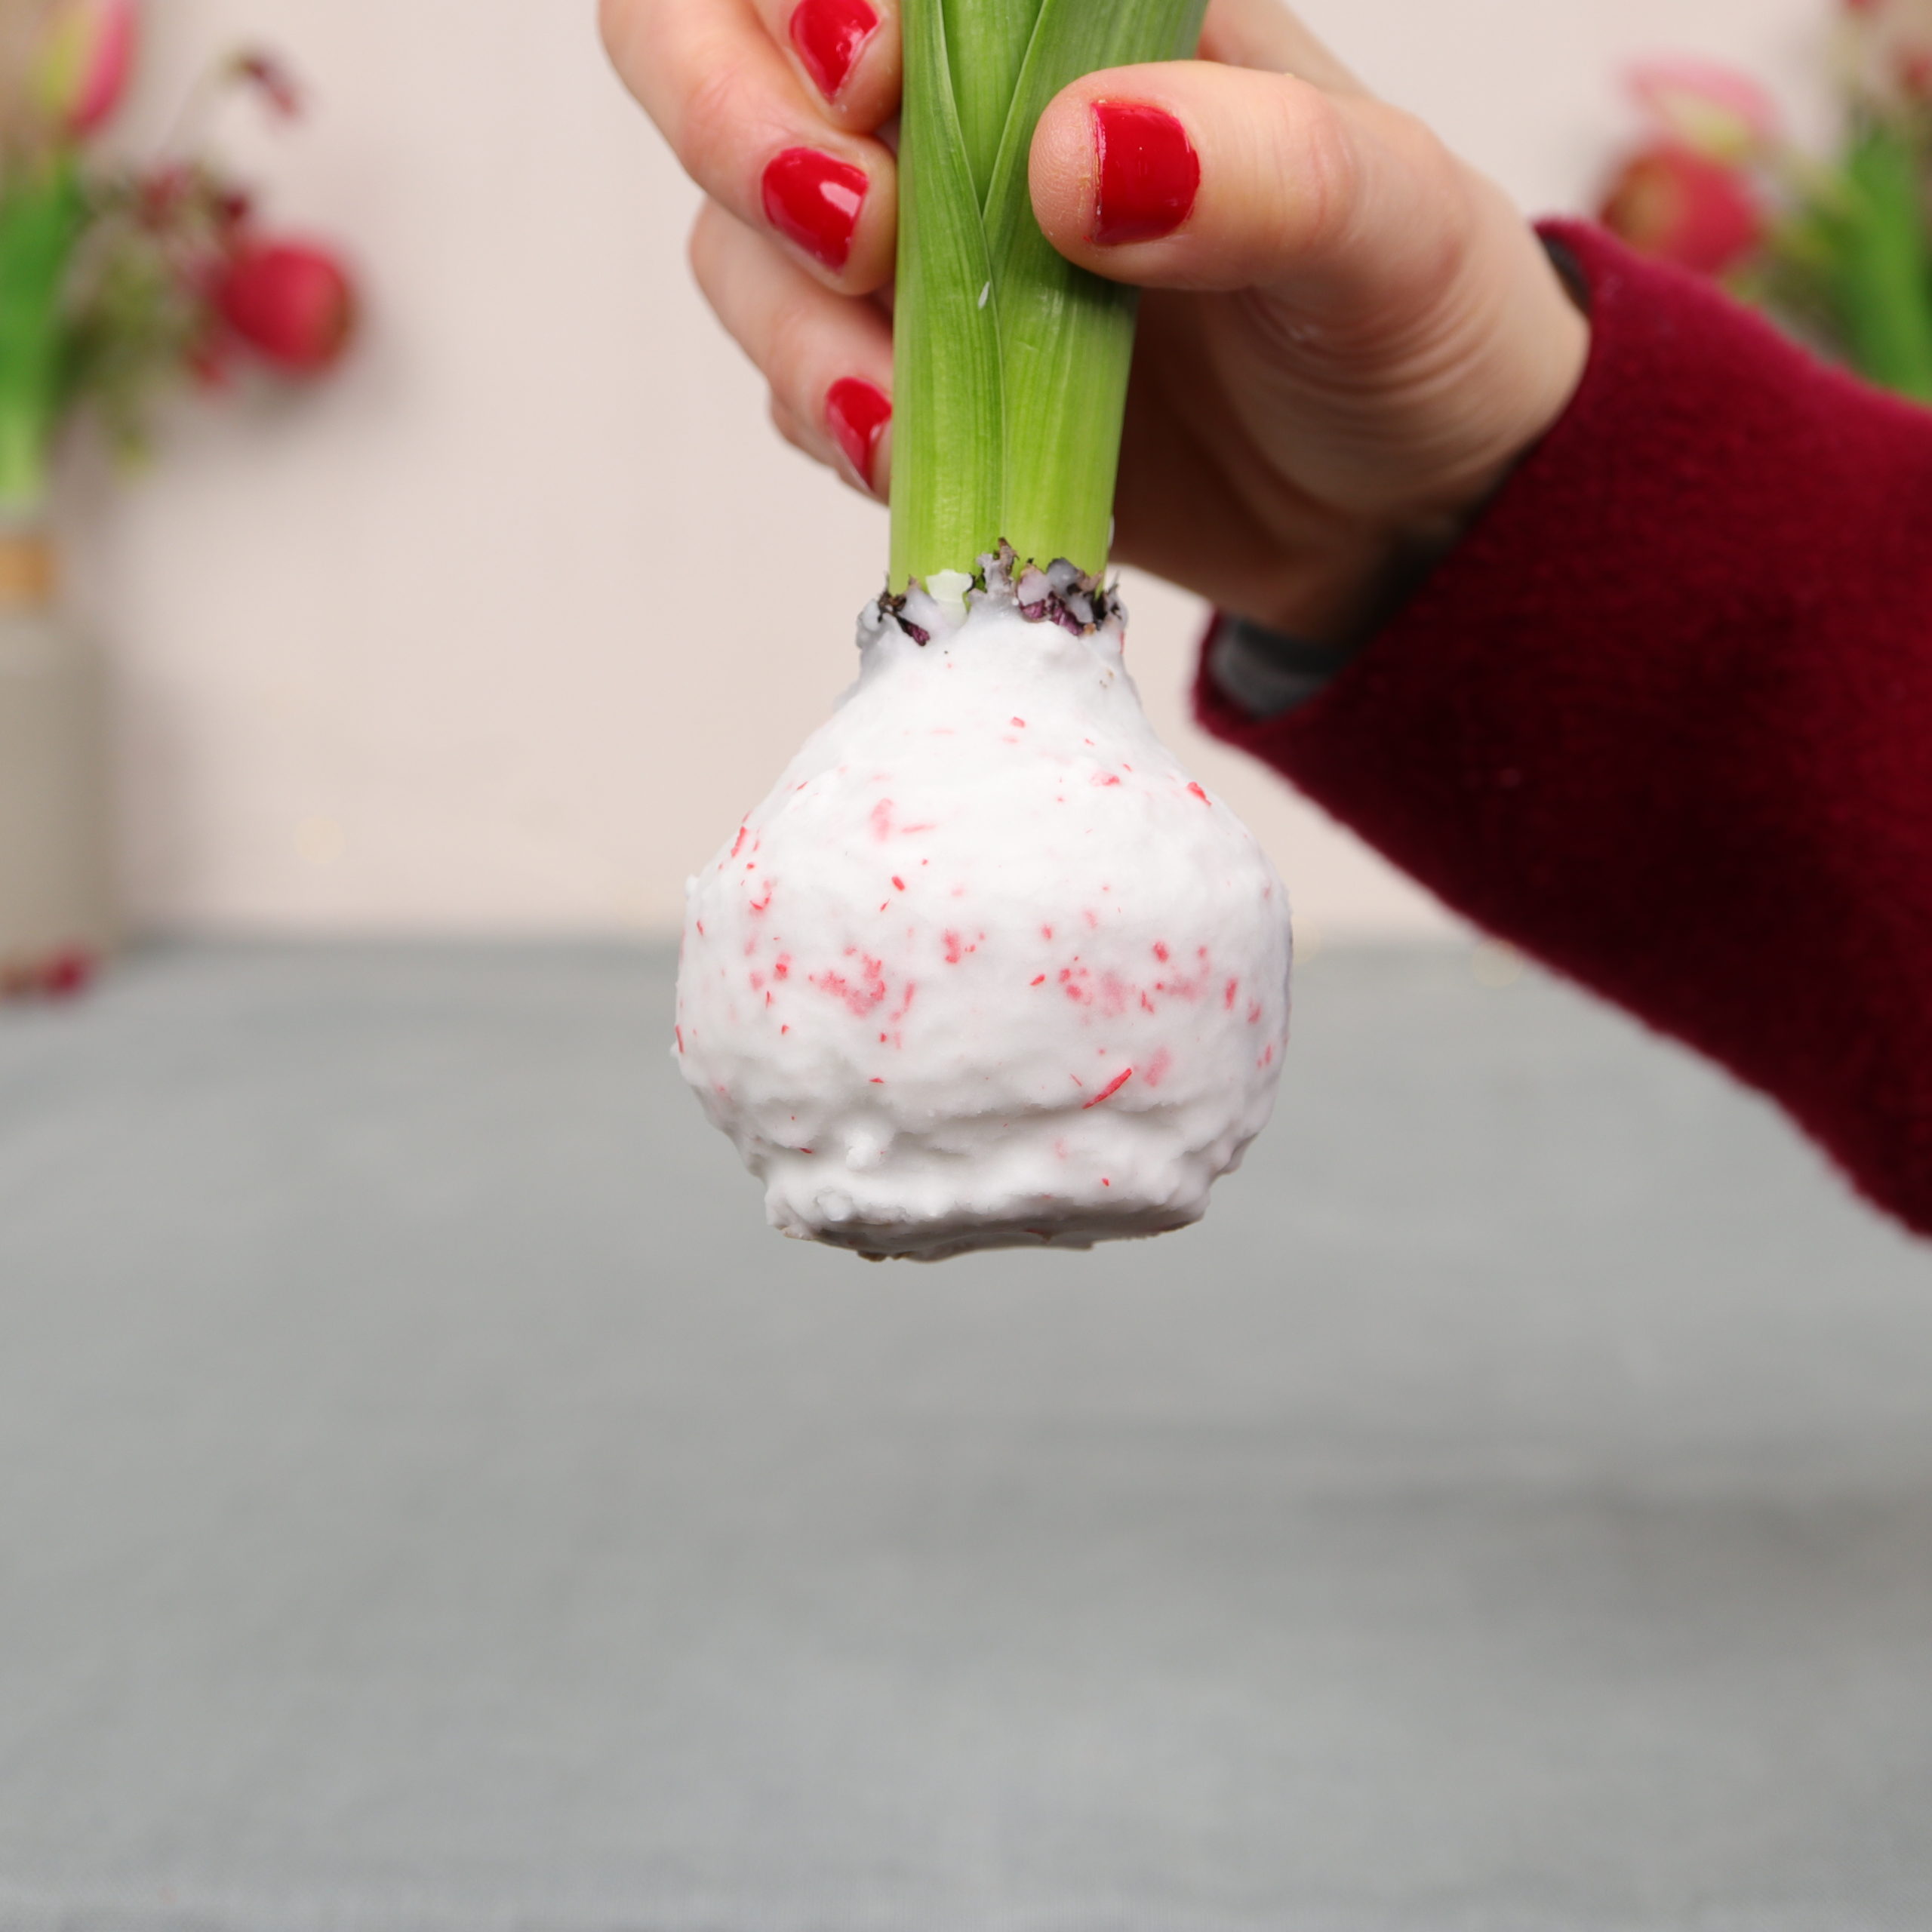
Today I will show you how to make waxed hyacinth bulbs yourself! The heralds of spring in a wax coat are beautiful and also easy to care for. Because of the wax cover, they don’ need to be watered. I tried out two little helpers to color the wax: a wax crayon and a chalk pencil. Actually, I let the wax crayon melt into the wax which should in a delicate pink. Unfortunately this did not work 🙁 Instead the wax turned out to have red speckles, which I thought was still pretty :). The chalk, on the other hand, dissolved really well in the wax.

With the following step-by-step instructions you can easily make the waxed hyacinth bulb yourself!
Tools
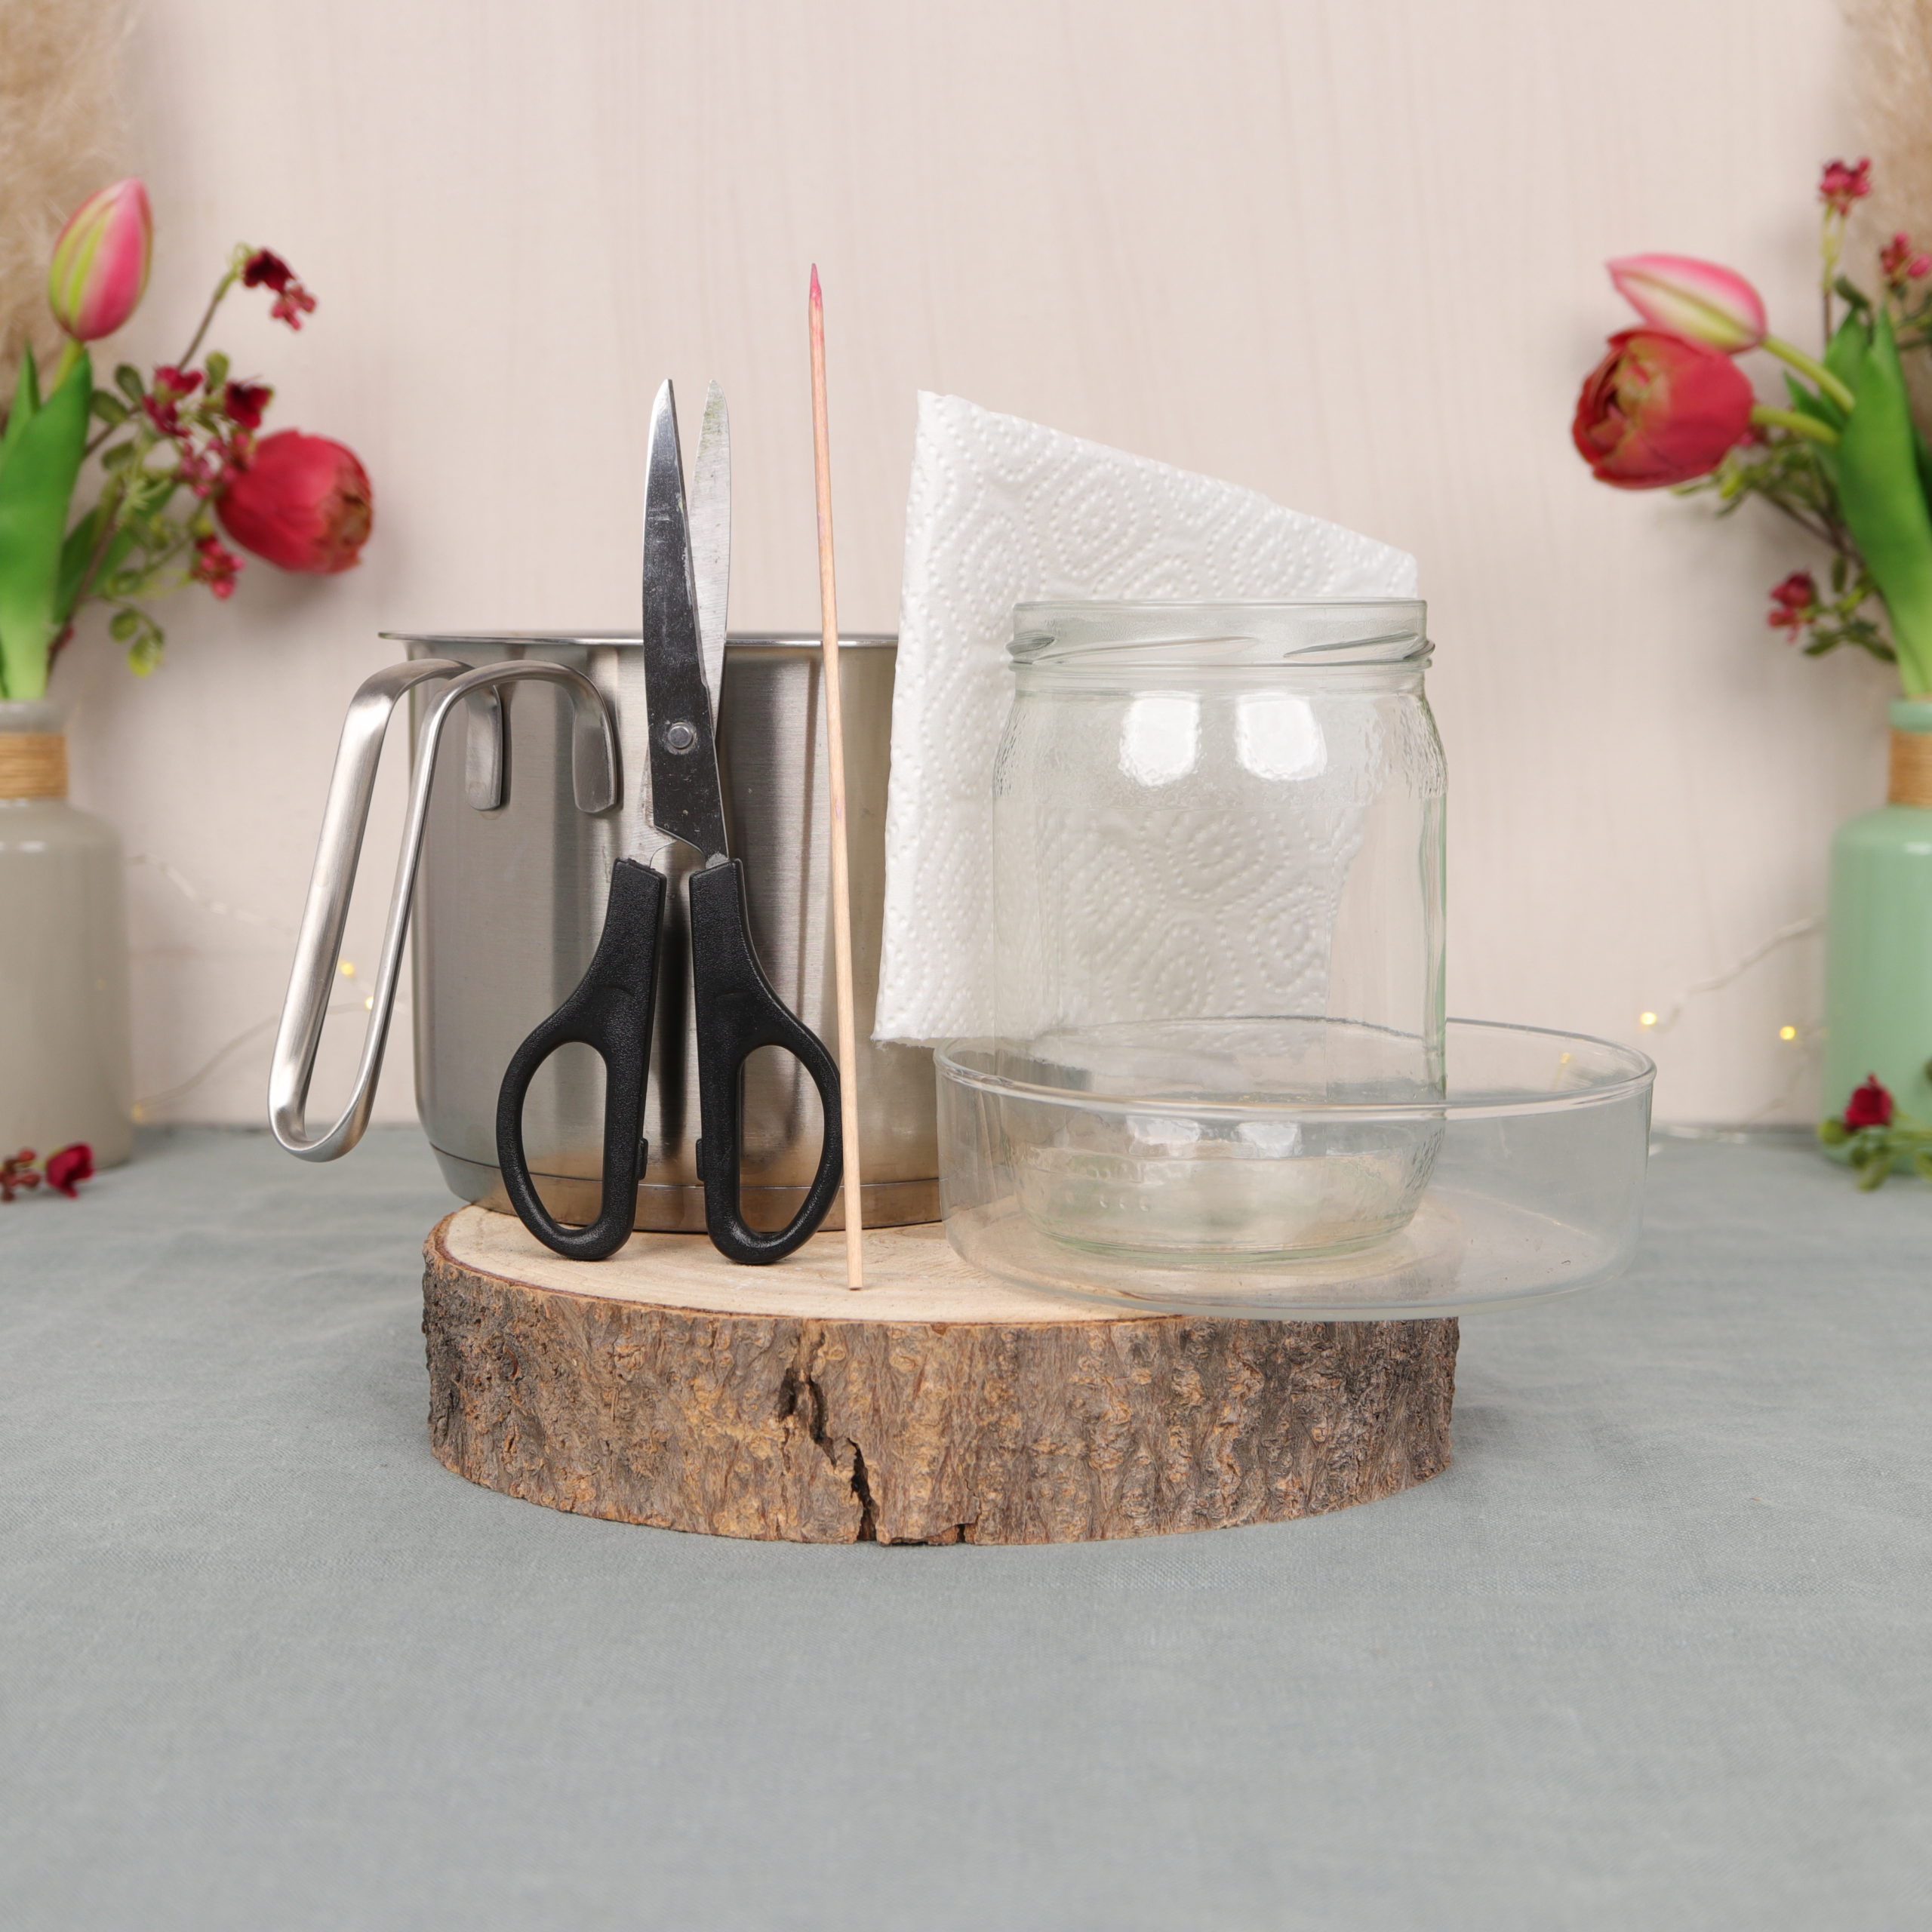
Here you can see what tools I used for the waxed hyacinth: a glass bowl to water the hyacinth, a pot for a hot water bath (preferably an old one that can get dirty), an old glass jar to melt the wax, a wooden skewer for stirring, household scissors and a kitchen towel.
Materials
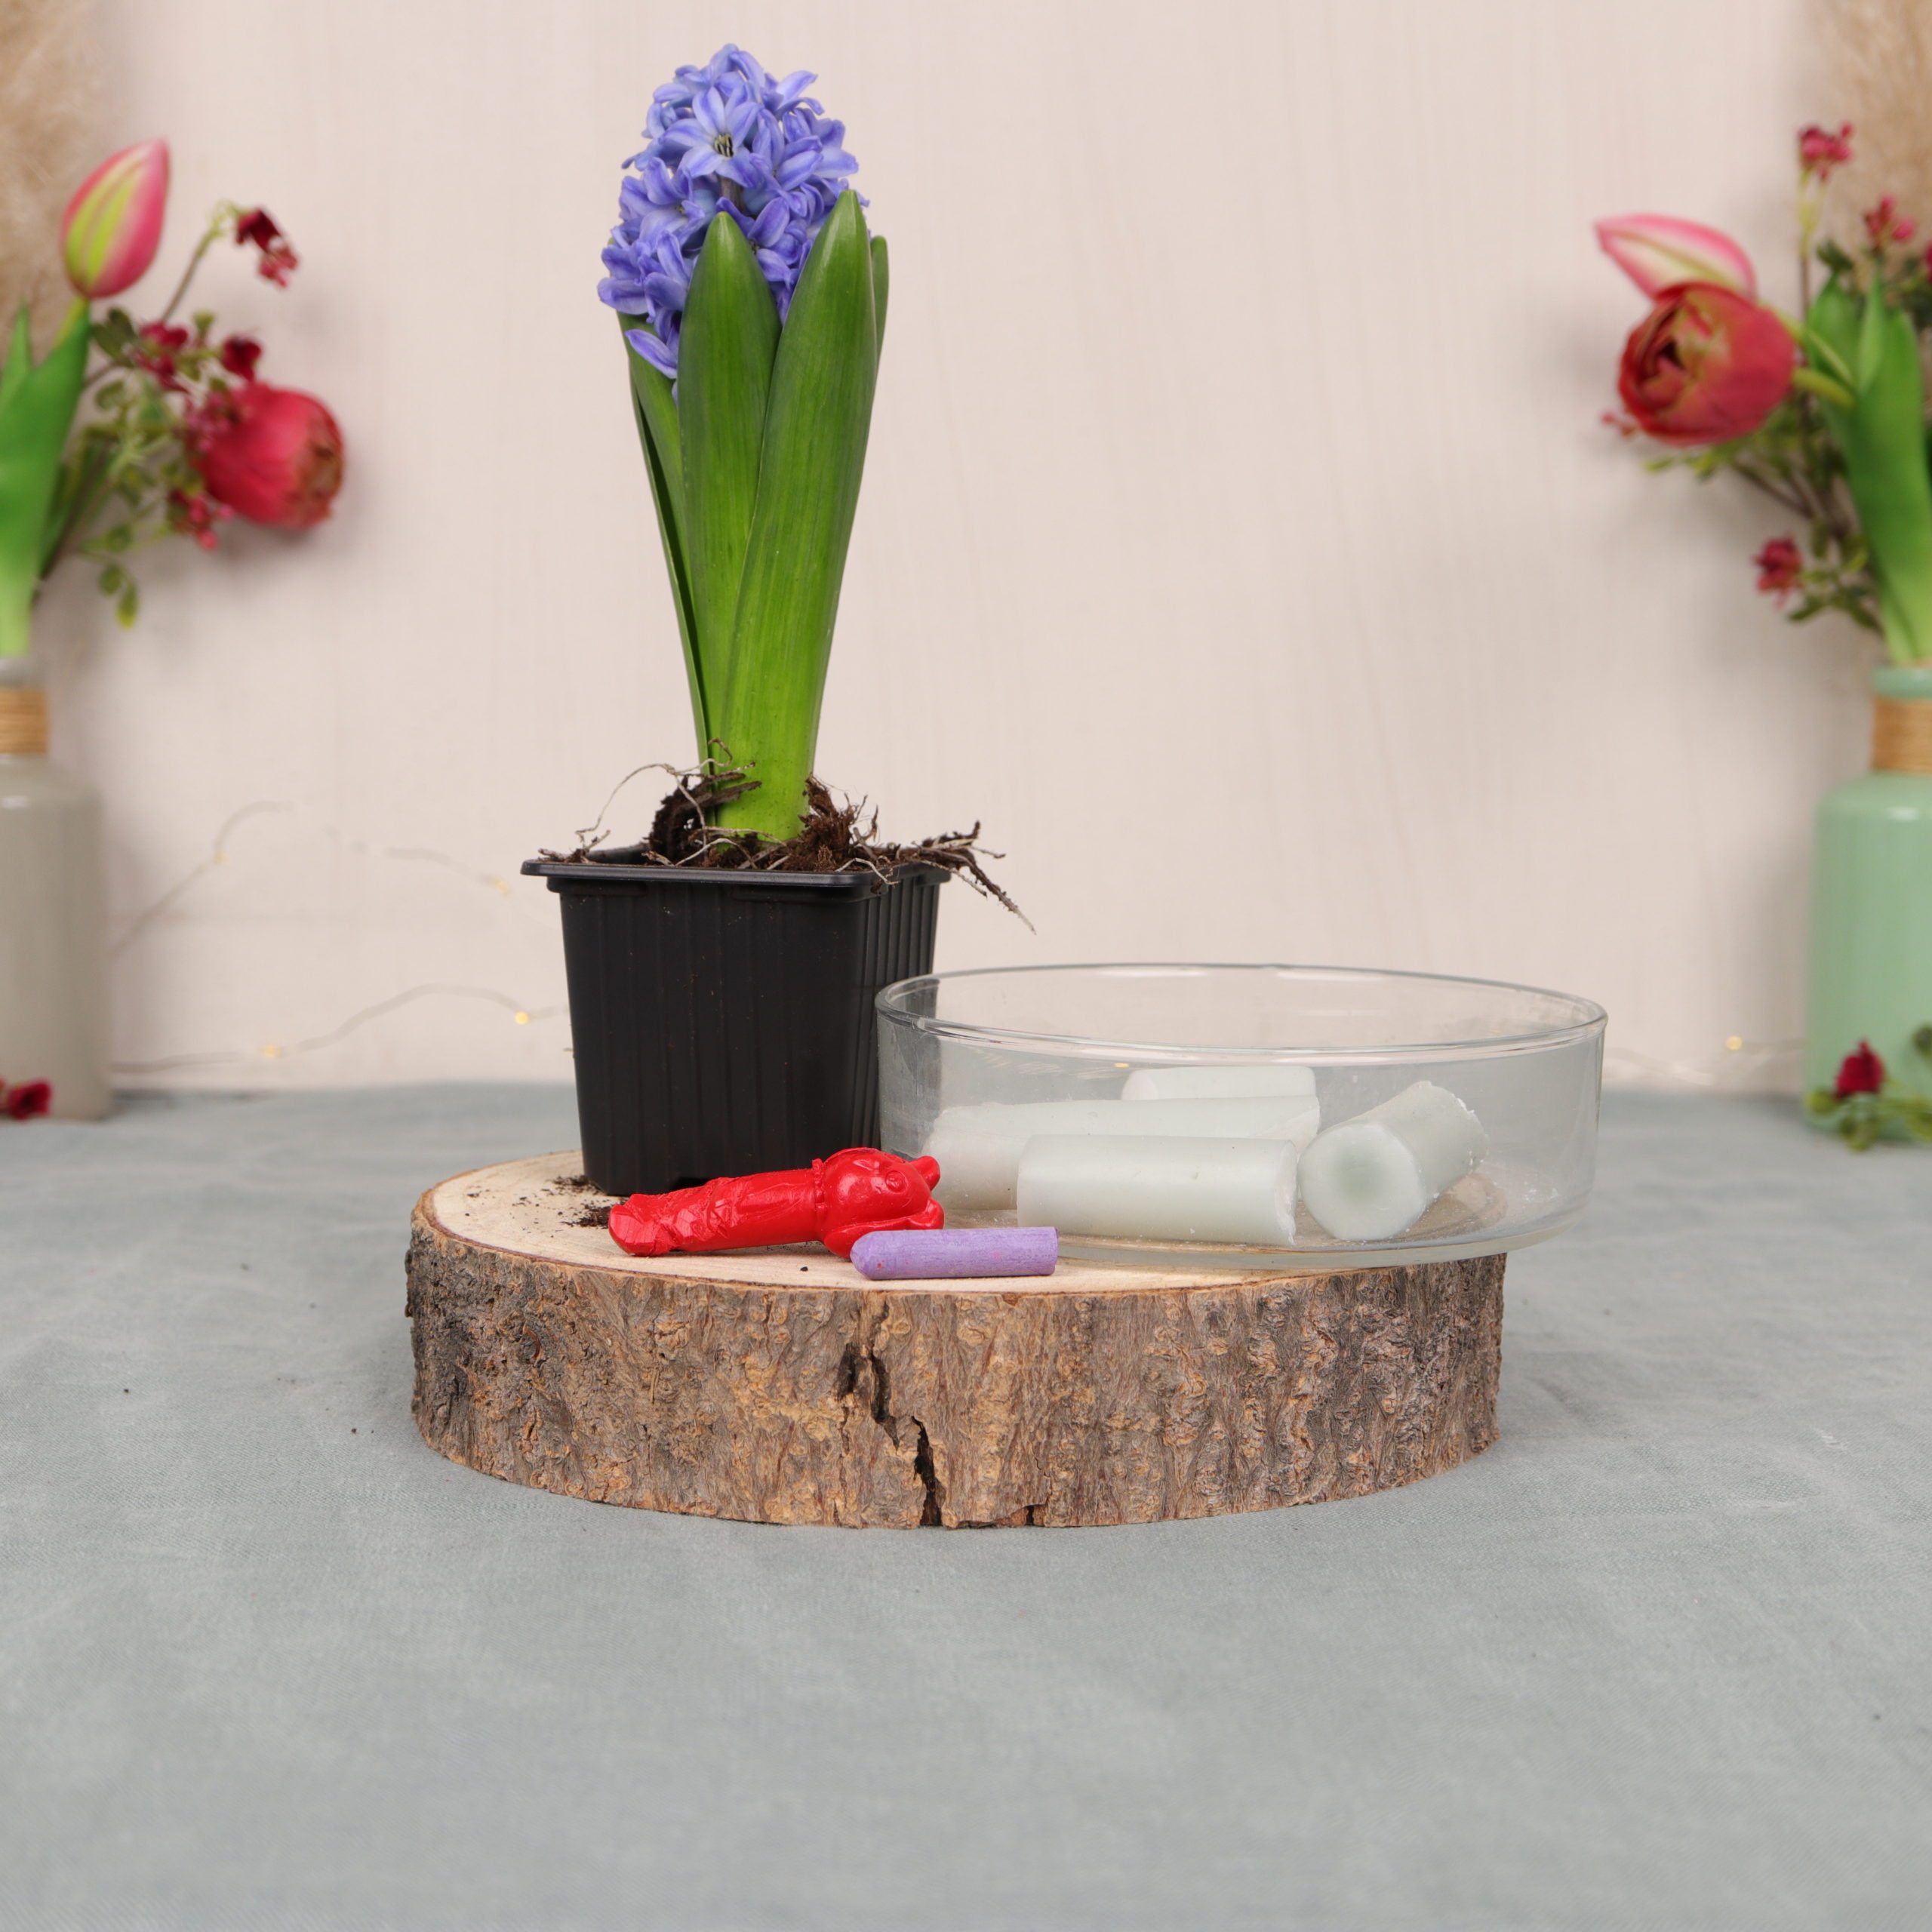
These are the materials I used for the wax hyacinth: a blue hyacinth, candle scraps, a red wax crayon, and a purple chalk.
Instructions | Waxed hyacinth bulbs
Step 1: Prepare hyacinth
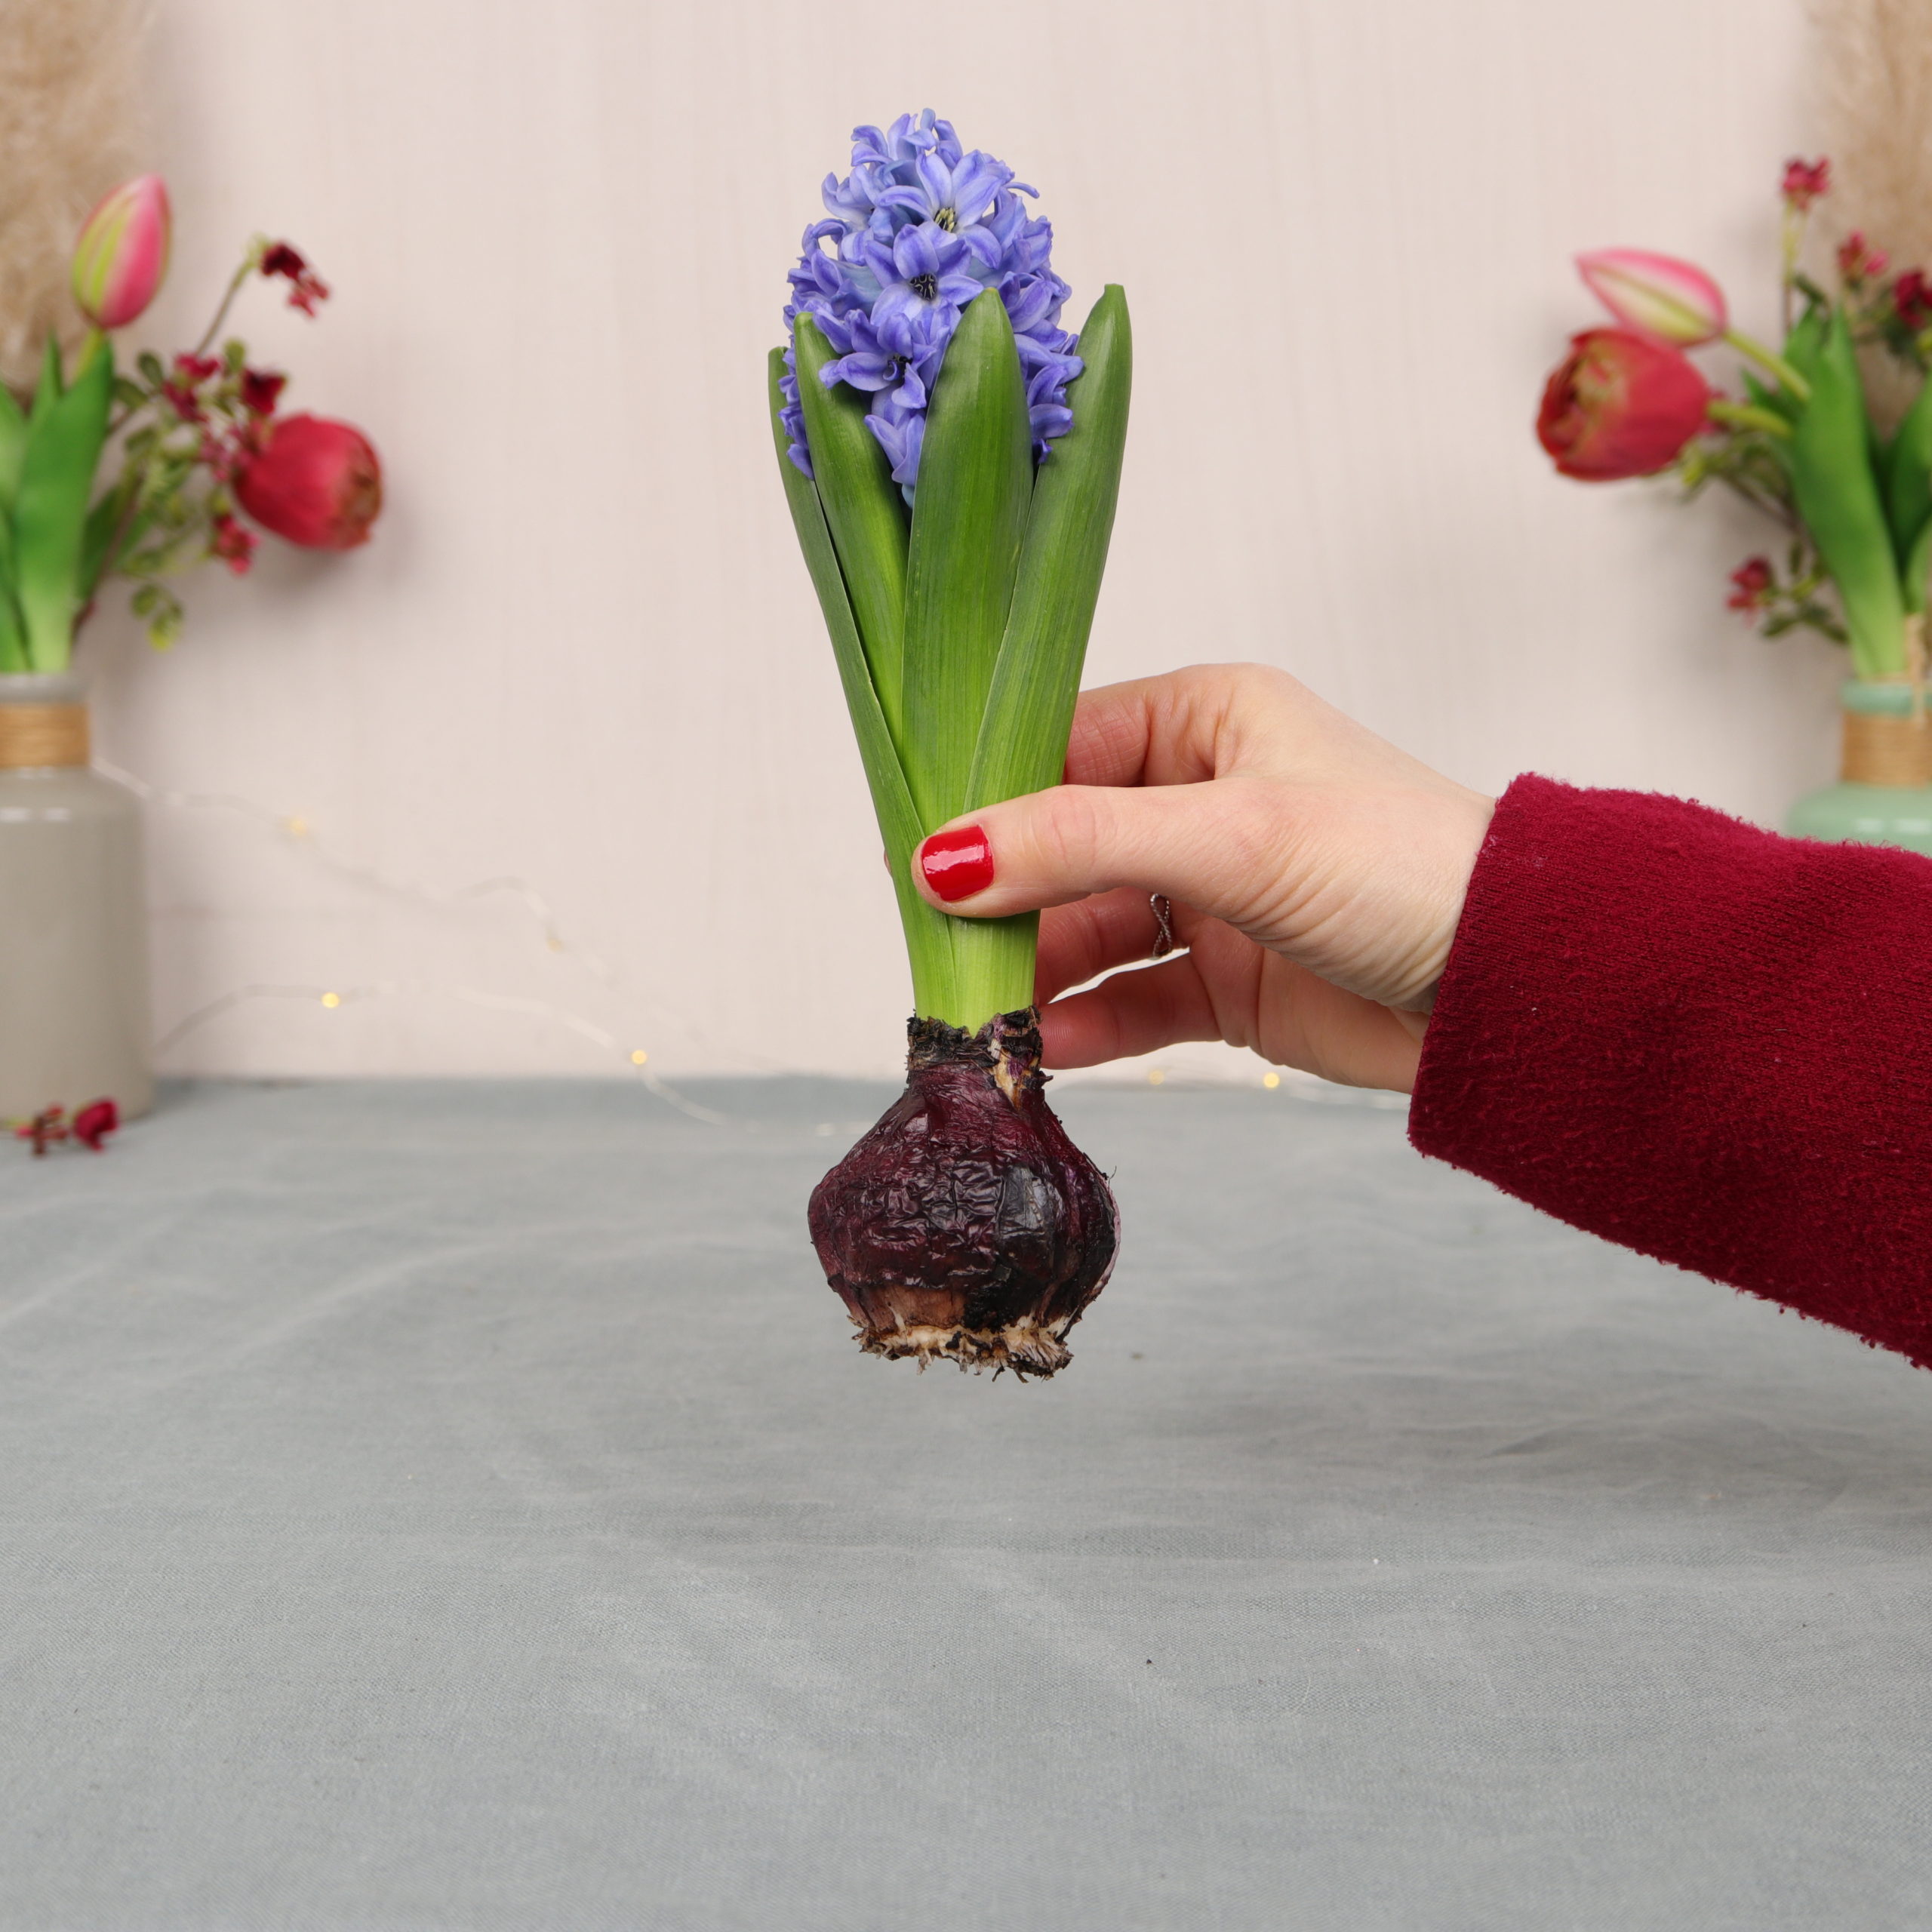
Before I can start with the wax, I prepare the hyacinth for it. This step takes some time.

I remove the soil first. Then I put the hyacinth with the roots in a bowl full of water. This ensures that the hyacinth soaks up water so that you don’t have to water it later. I put it in the water for several hours overnight.

Then I dry the hyacinth with a kitchen towel.
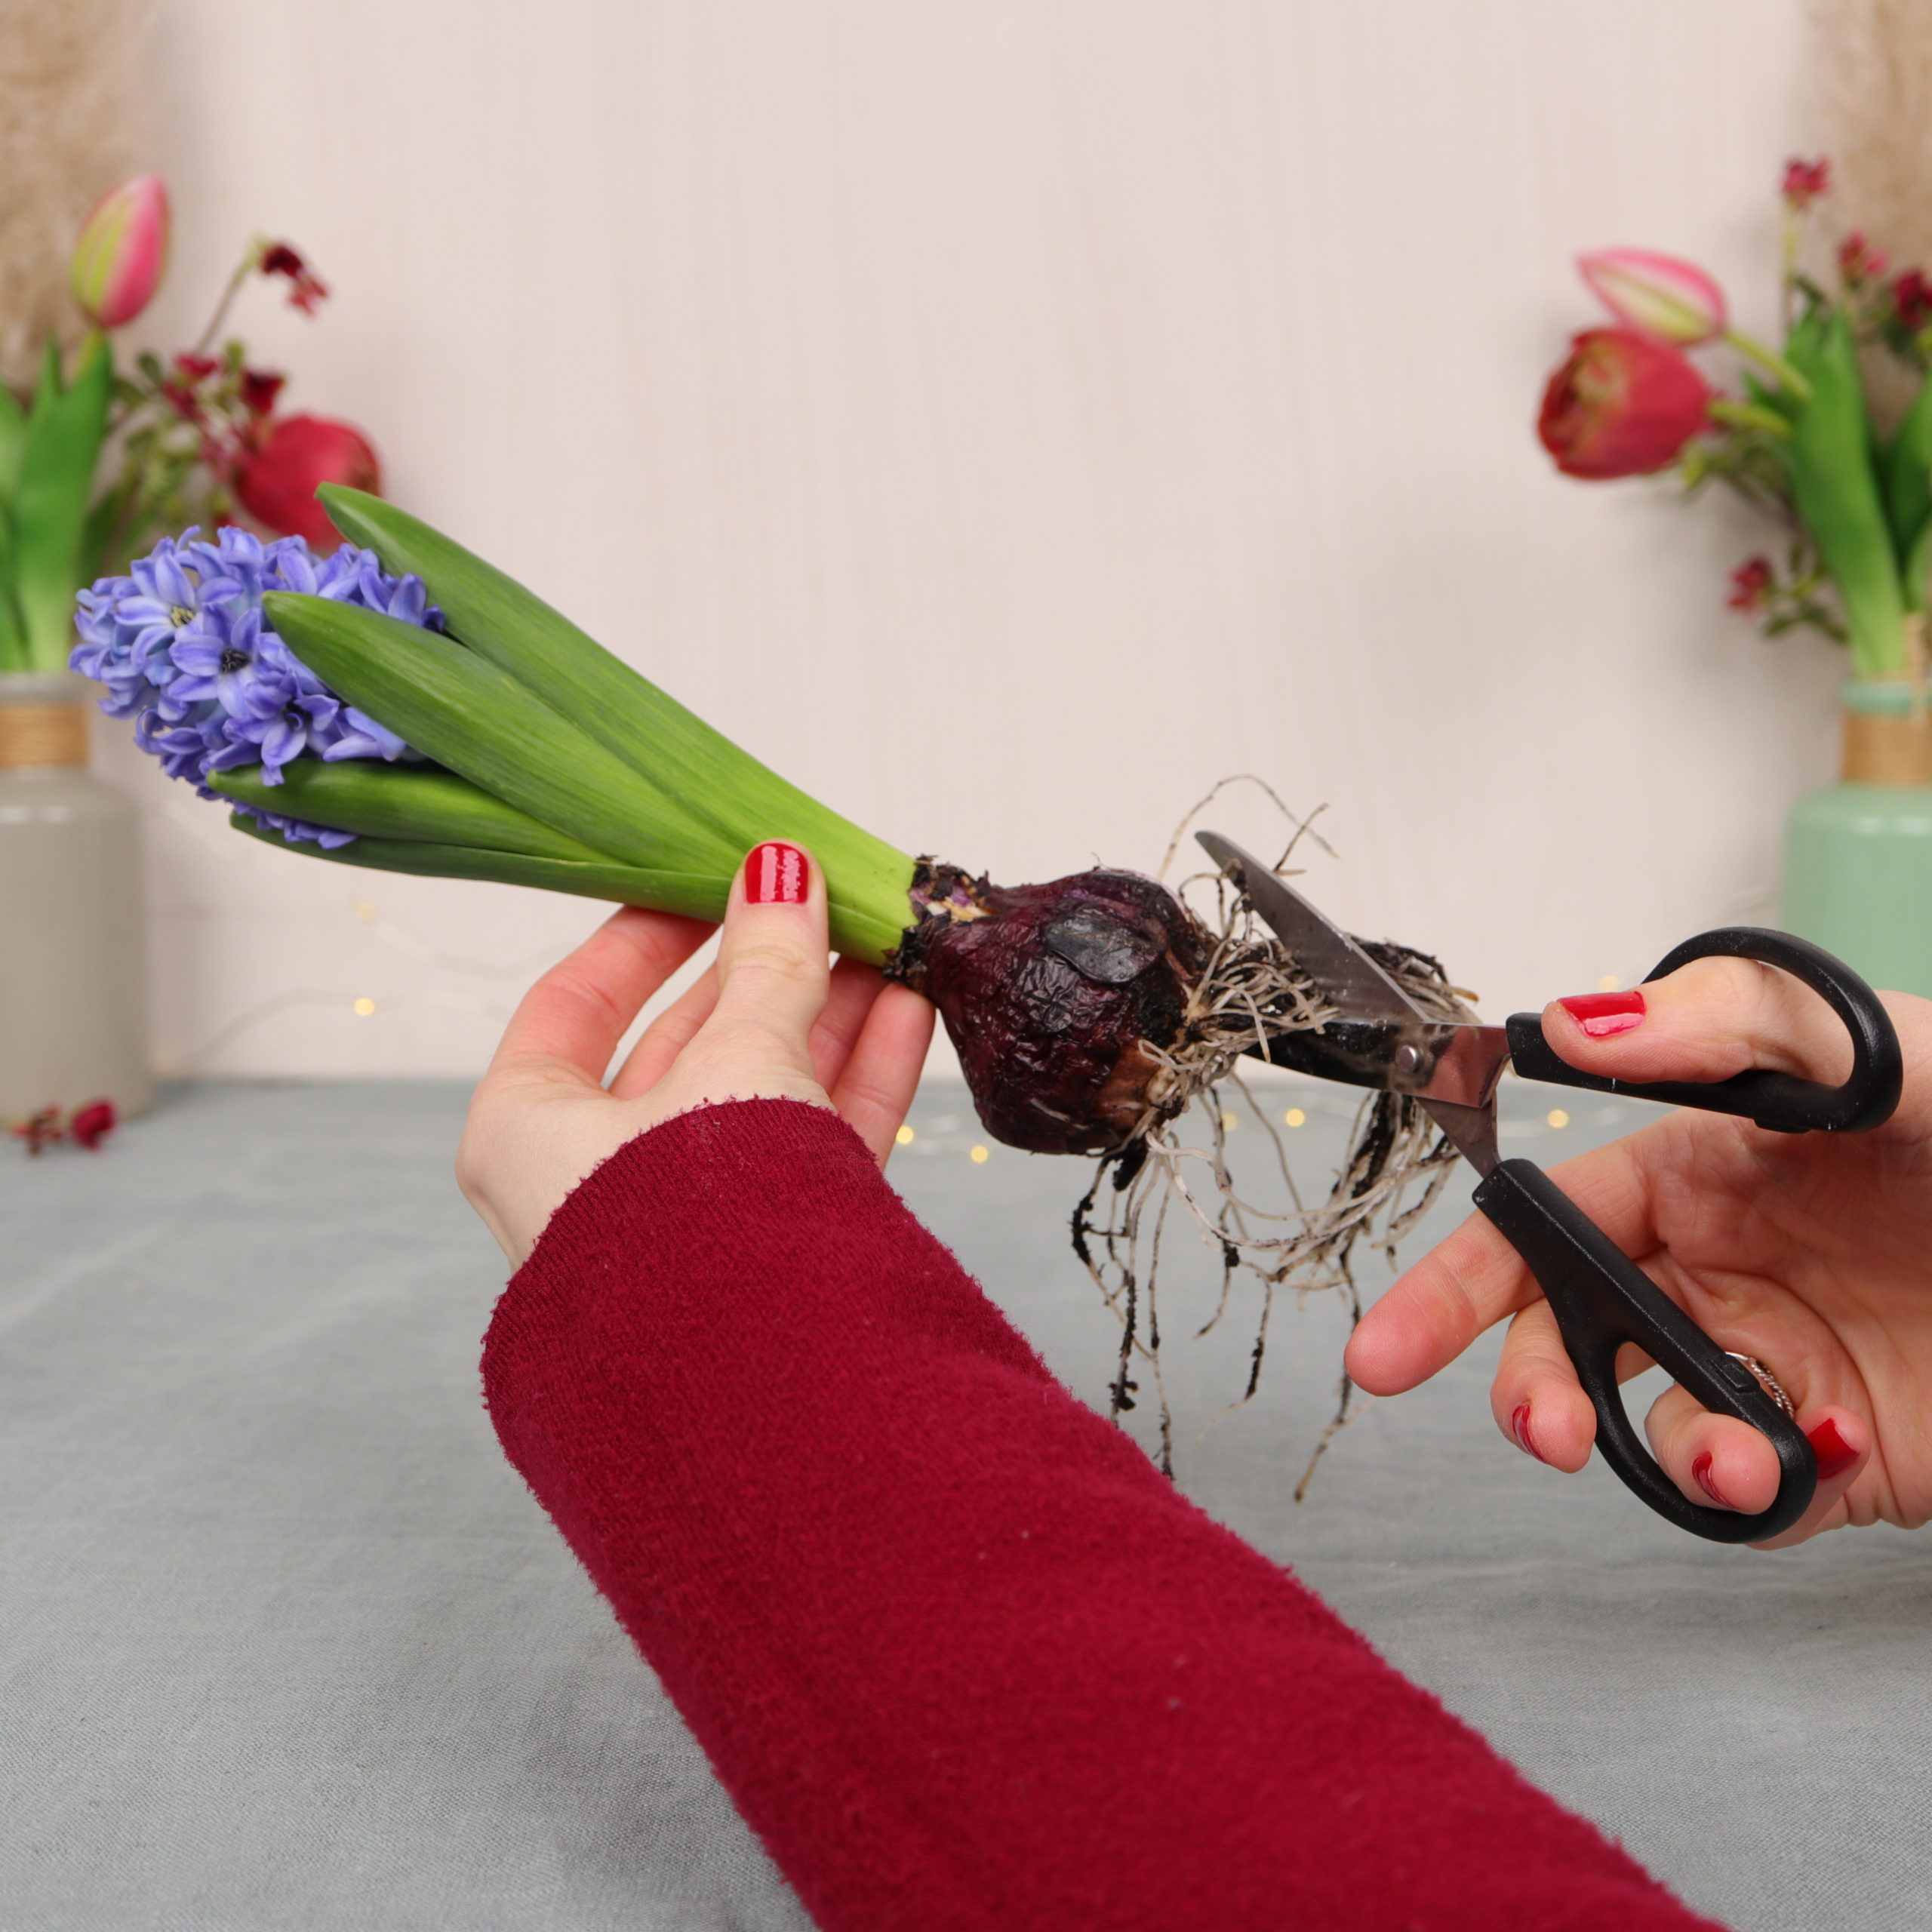
Then I remove the roots with the scissors.
Step 2: Melt wax
Now I melt the wax in a water bath. To do this, I put hot water in the pot and put the glass with the leftover candles in it.
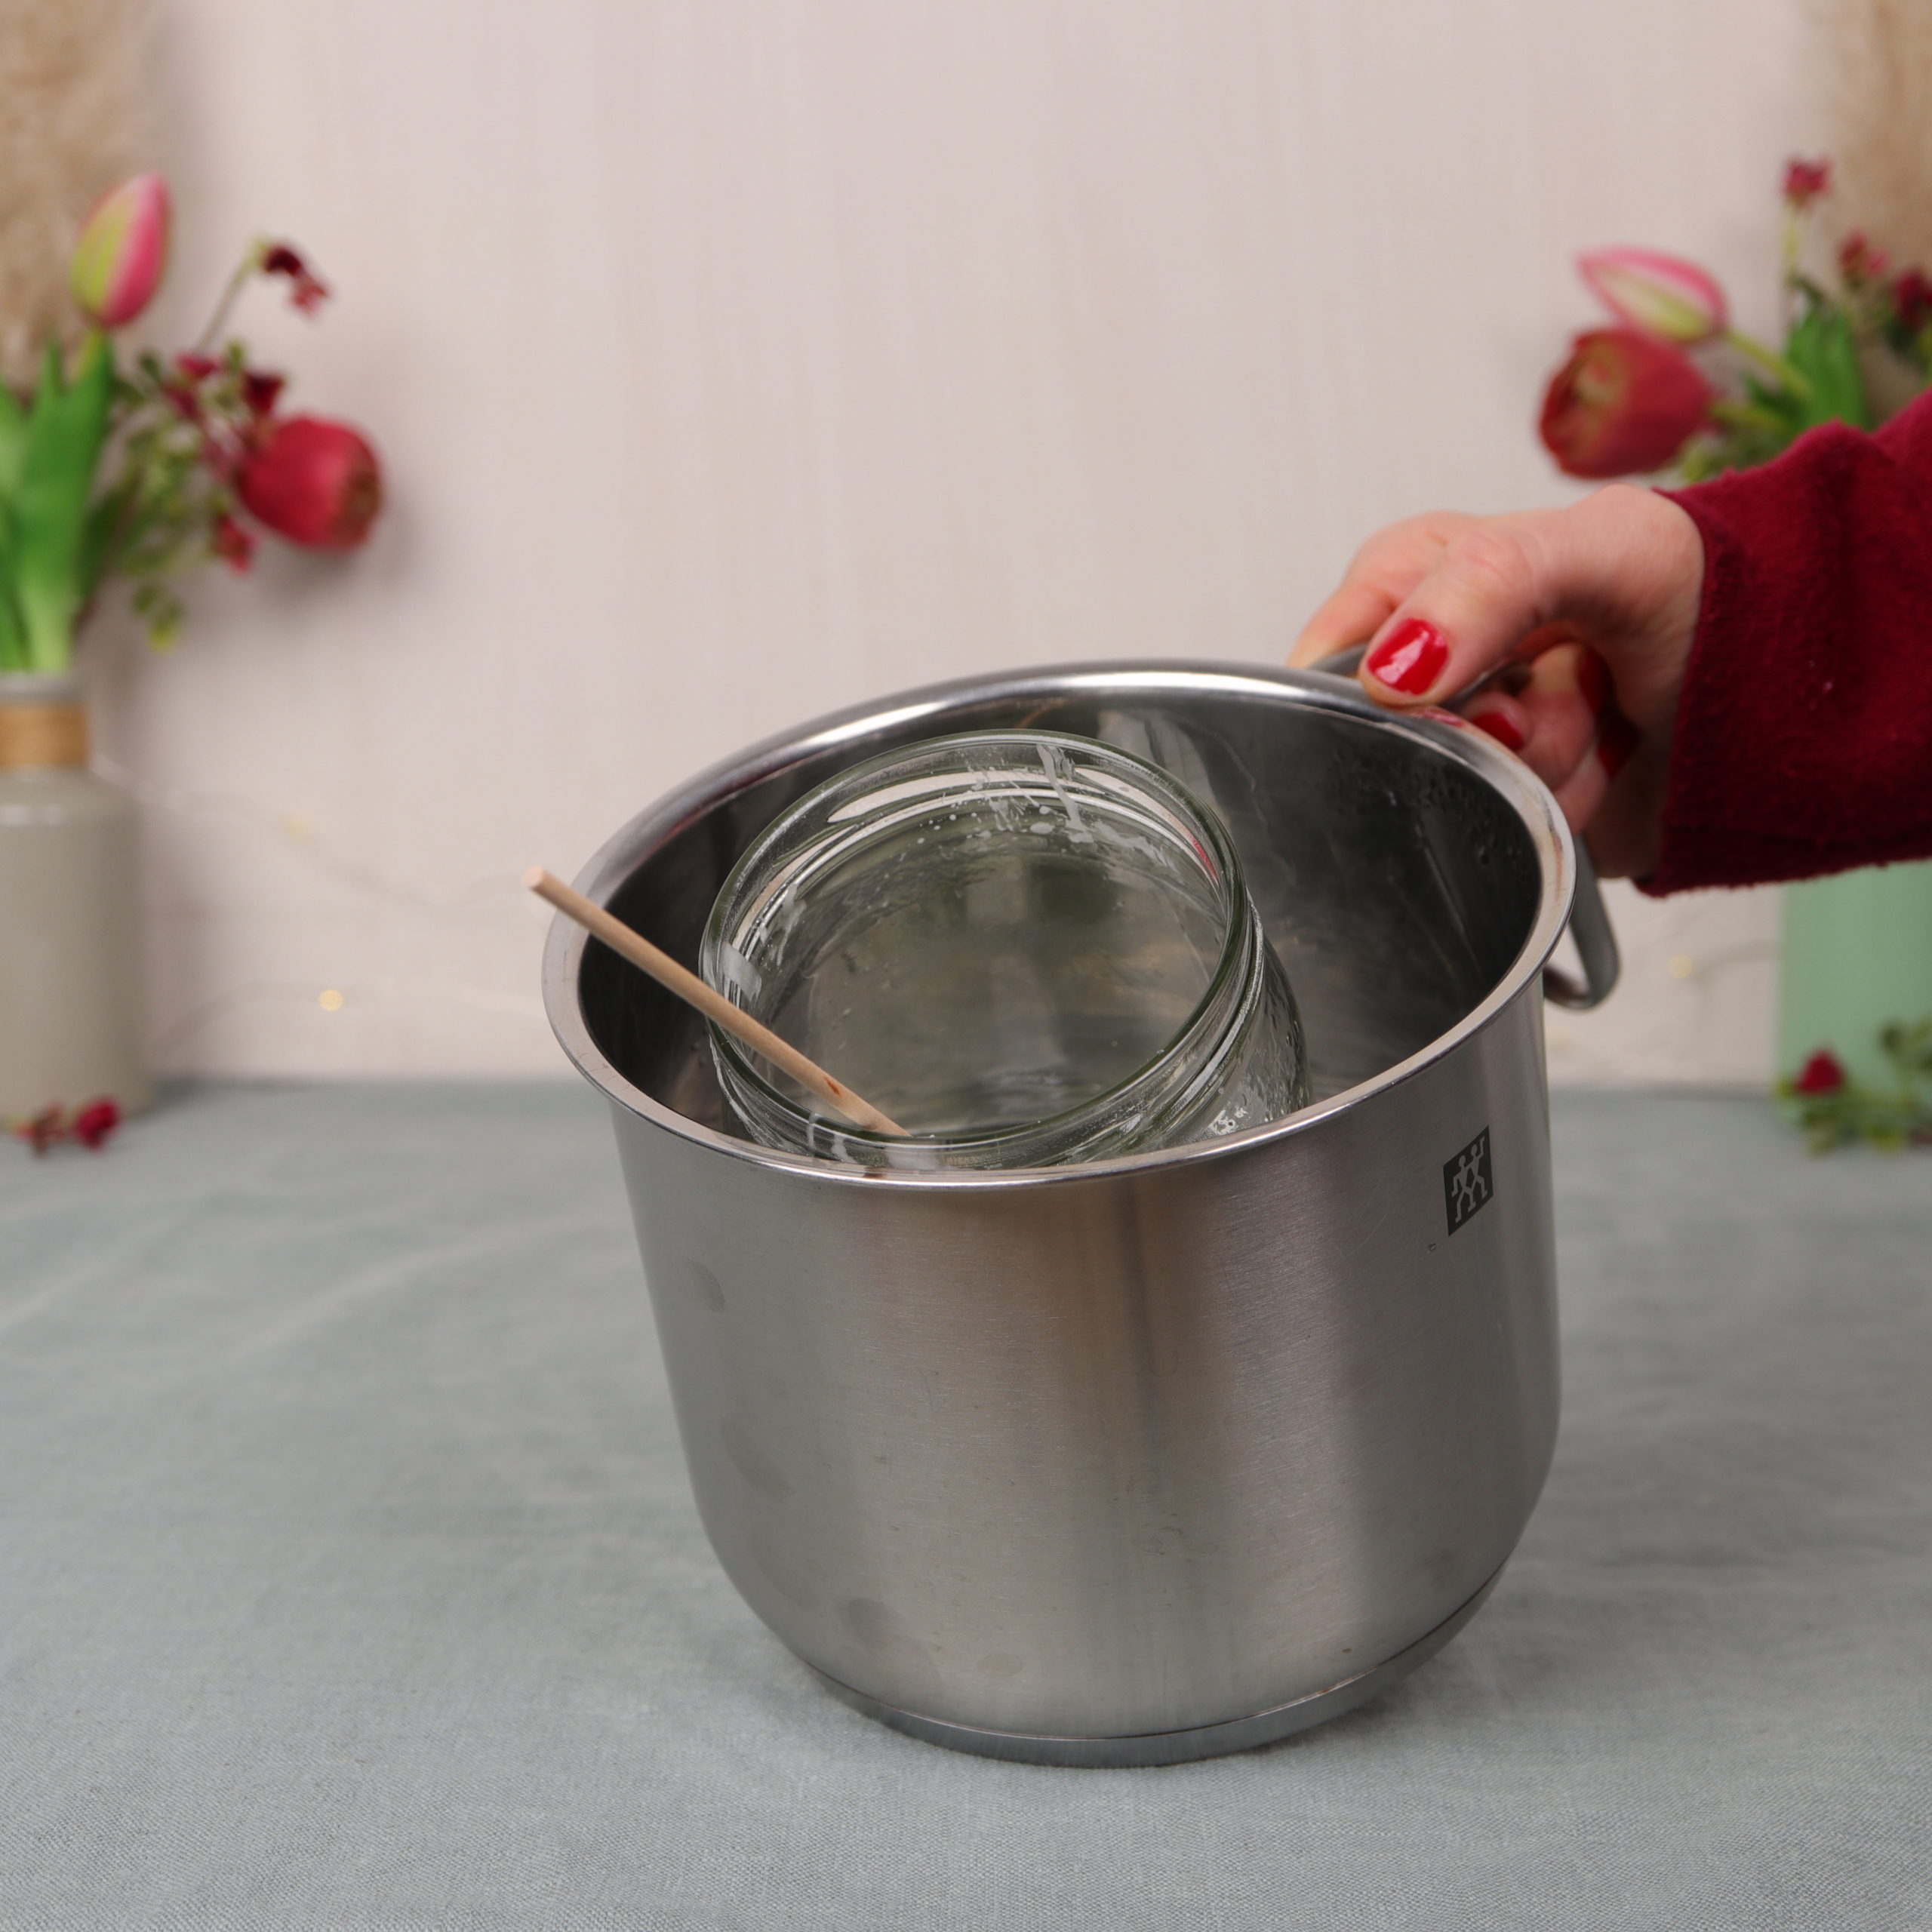
Melting may take a few minutes. I use the wooden skewer to stir.
Step 3: Variant 1 with wax crayon
For the 1st variant (the speckled wax coat) I use the wax crayon. I put a few crayon scraps into the liquid wax.

I use scissors for this.
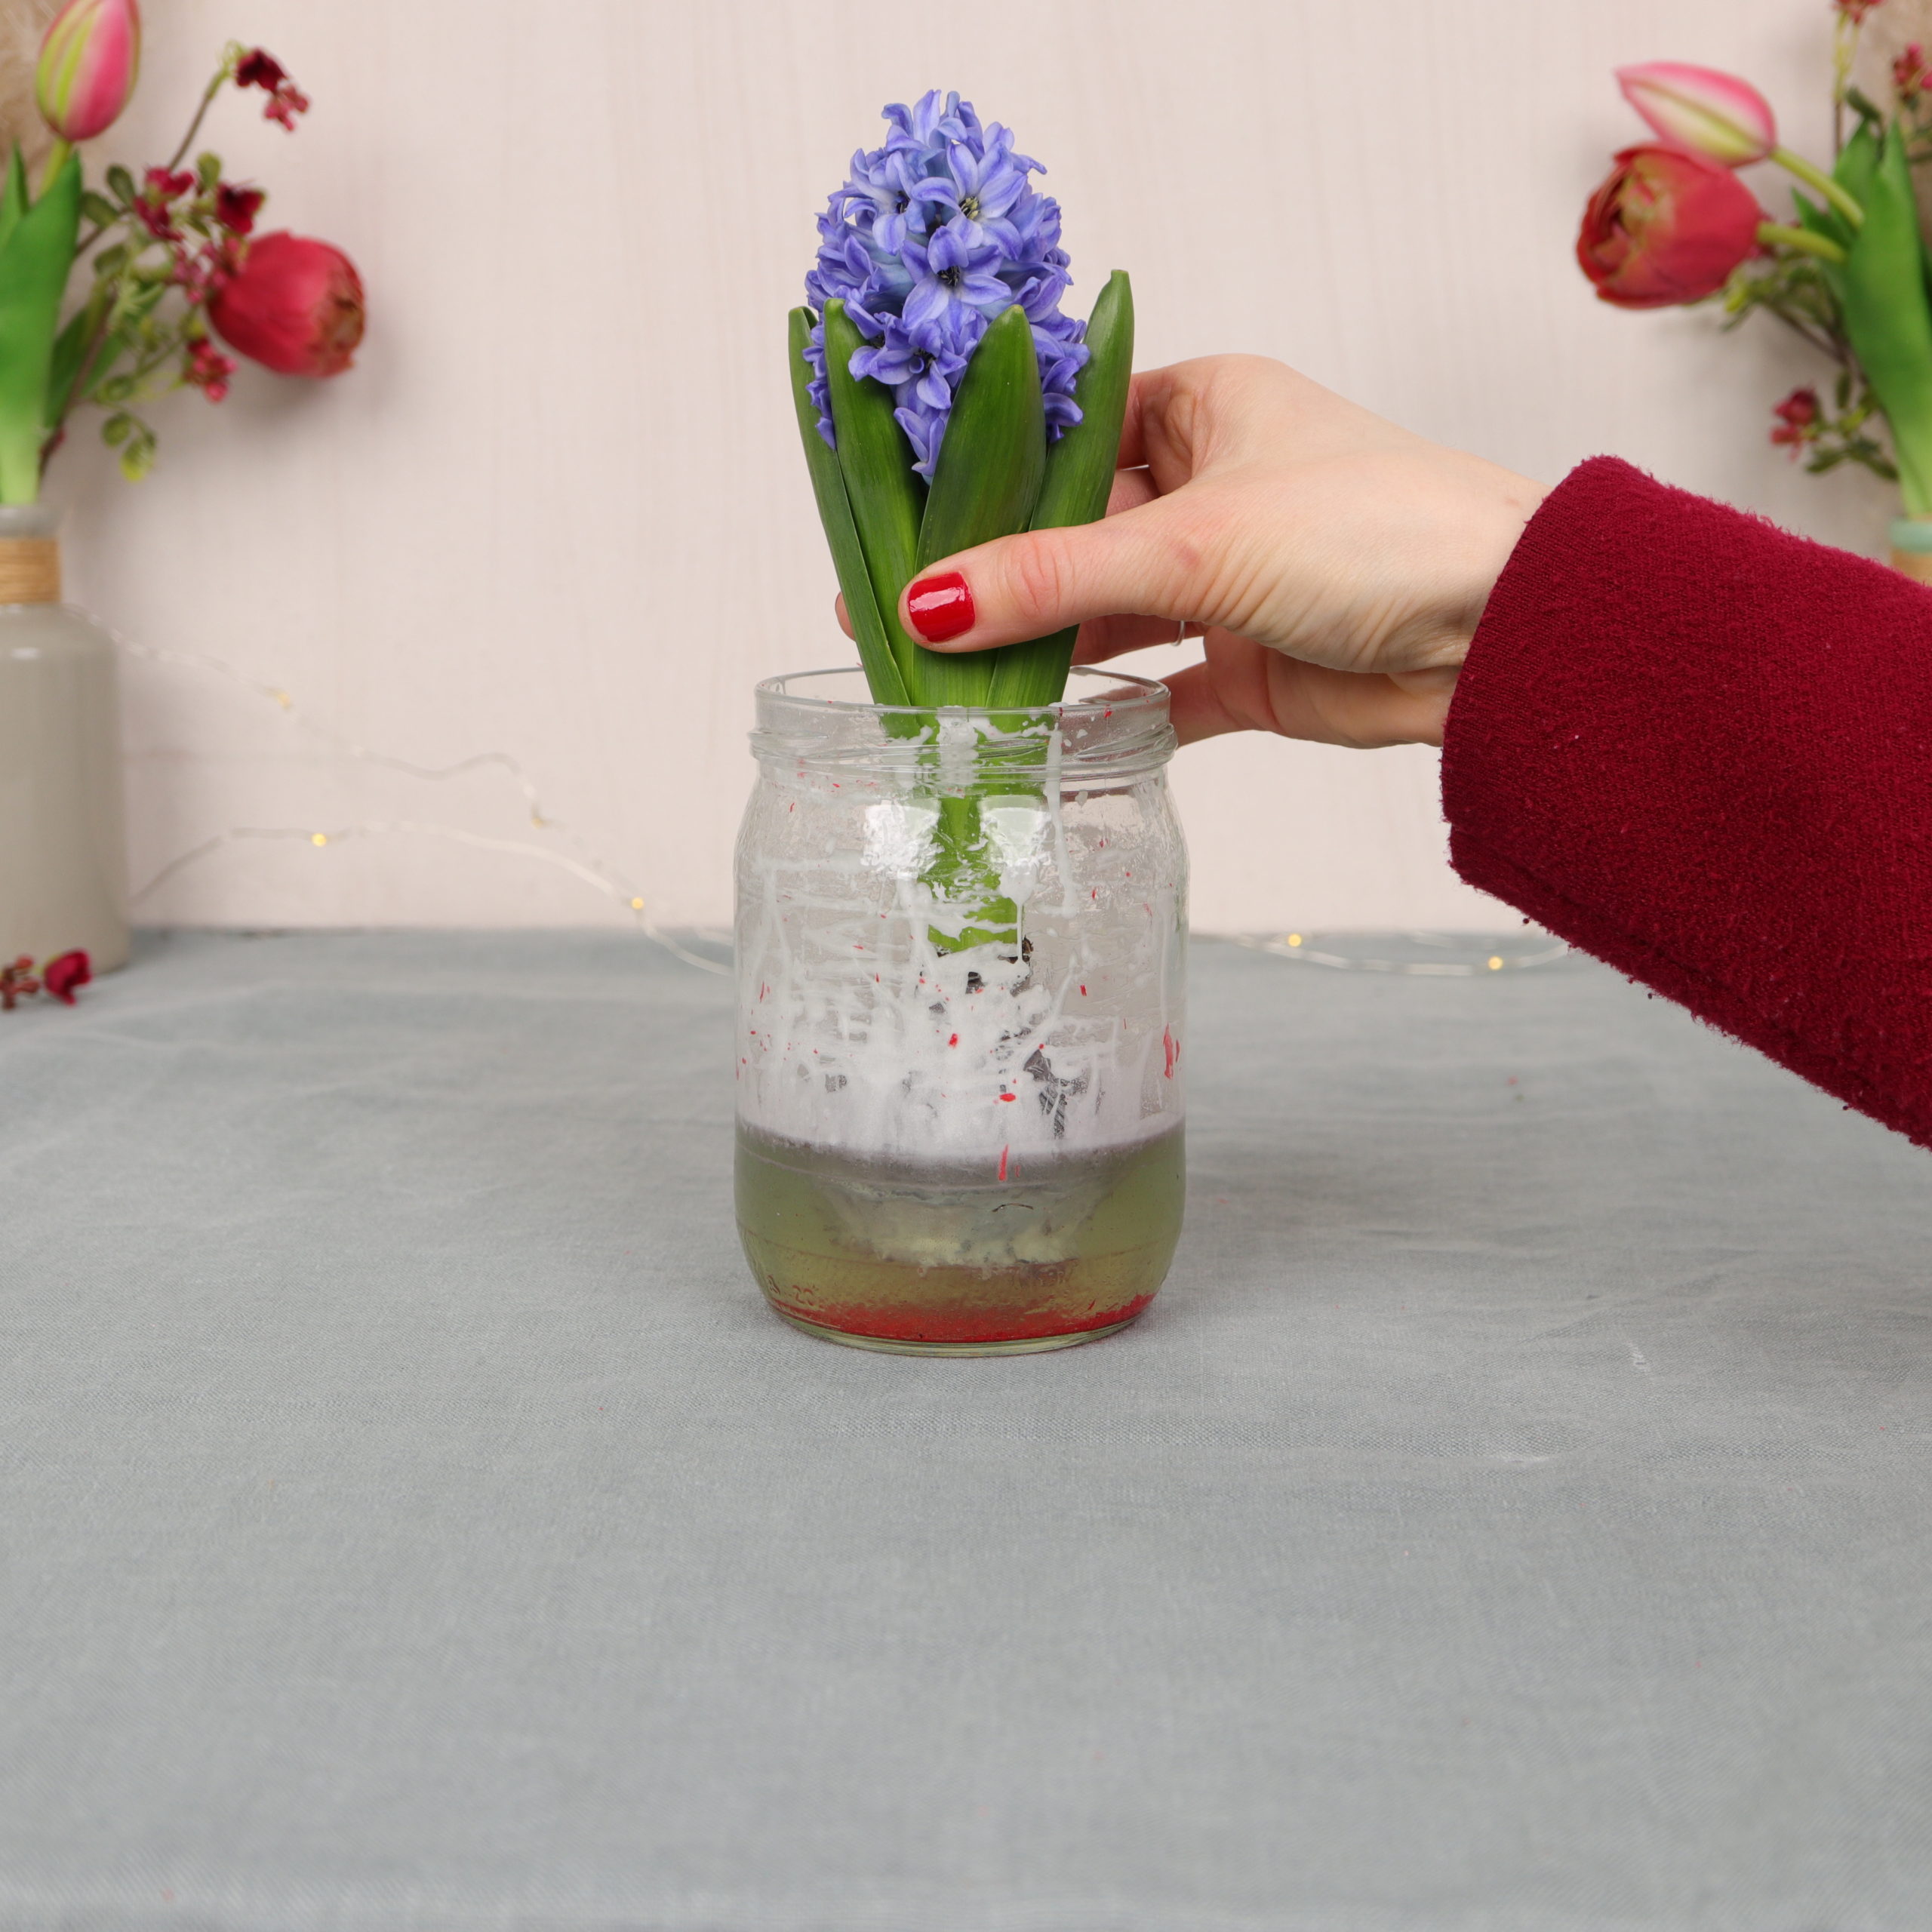
Now I let the wax cool down a bit so that it is still liquid. Then I dip the bulb of the hyacinth into the wax.
I let the wax dry for a bit and then dip them in again. I repeat this process a few times until I’m satisfied with the result.
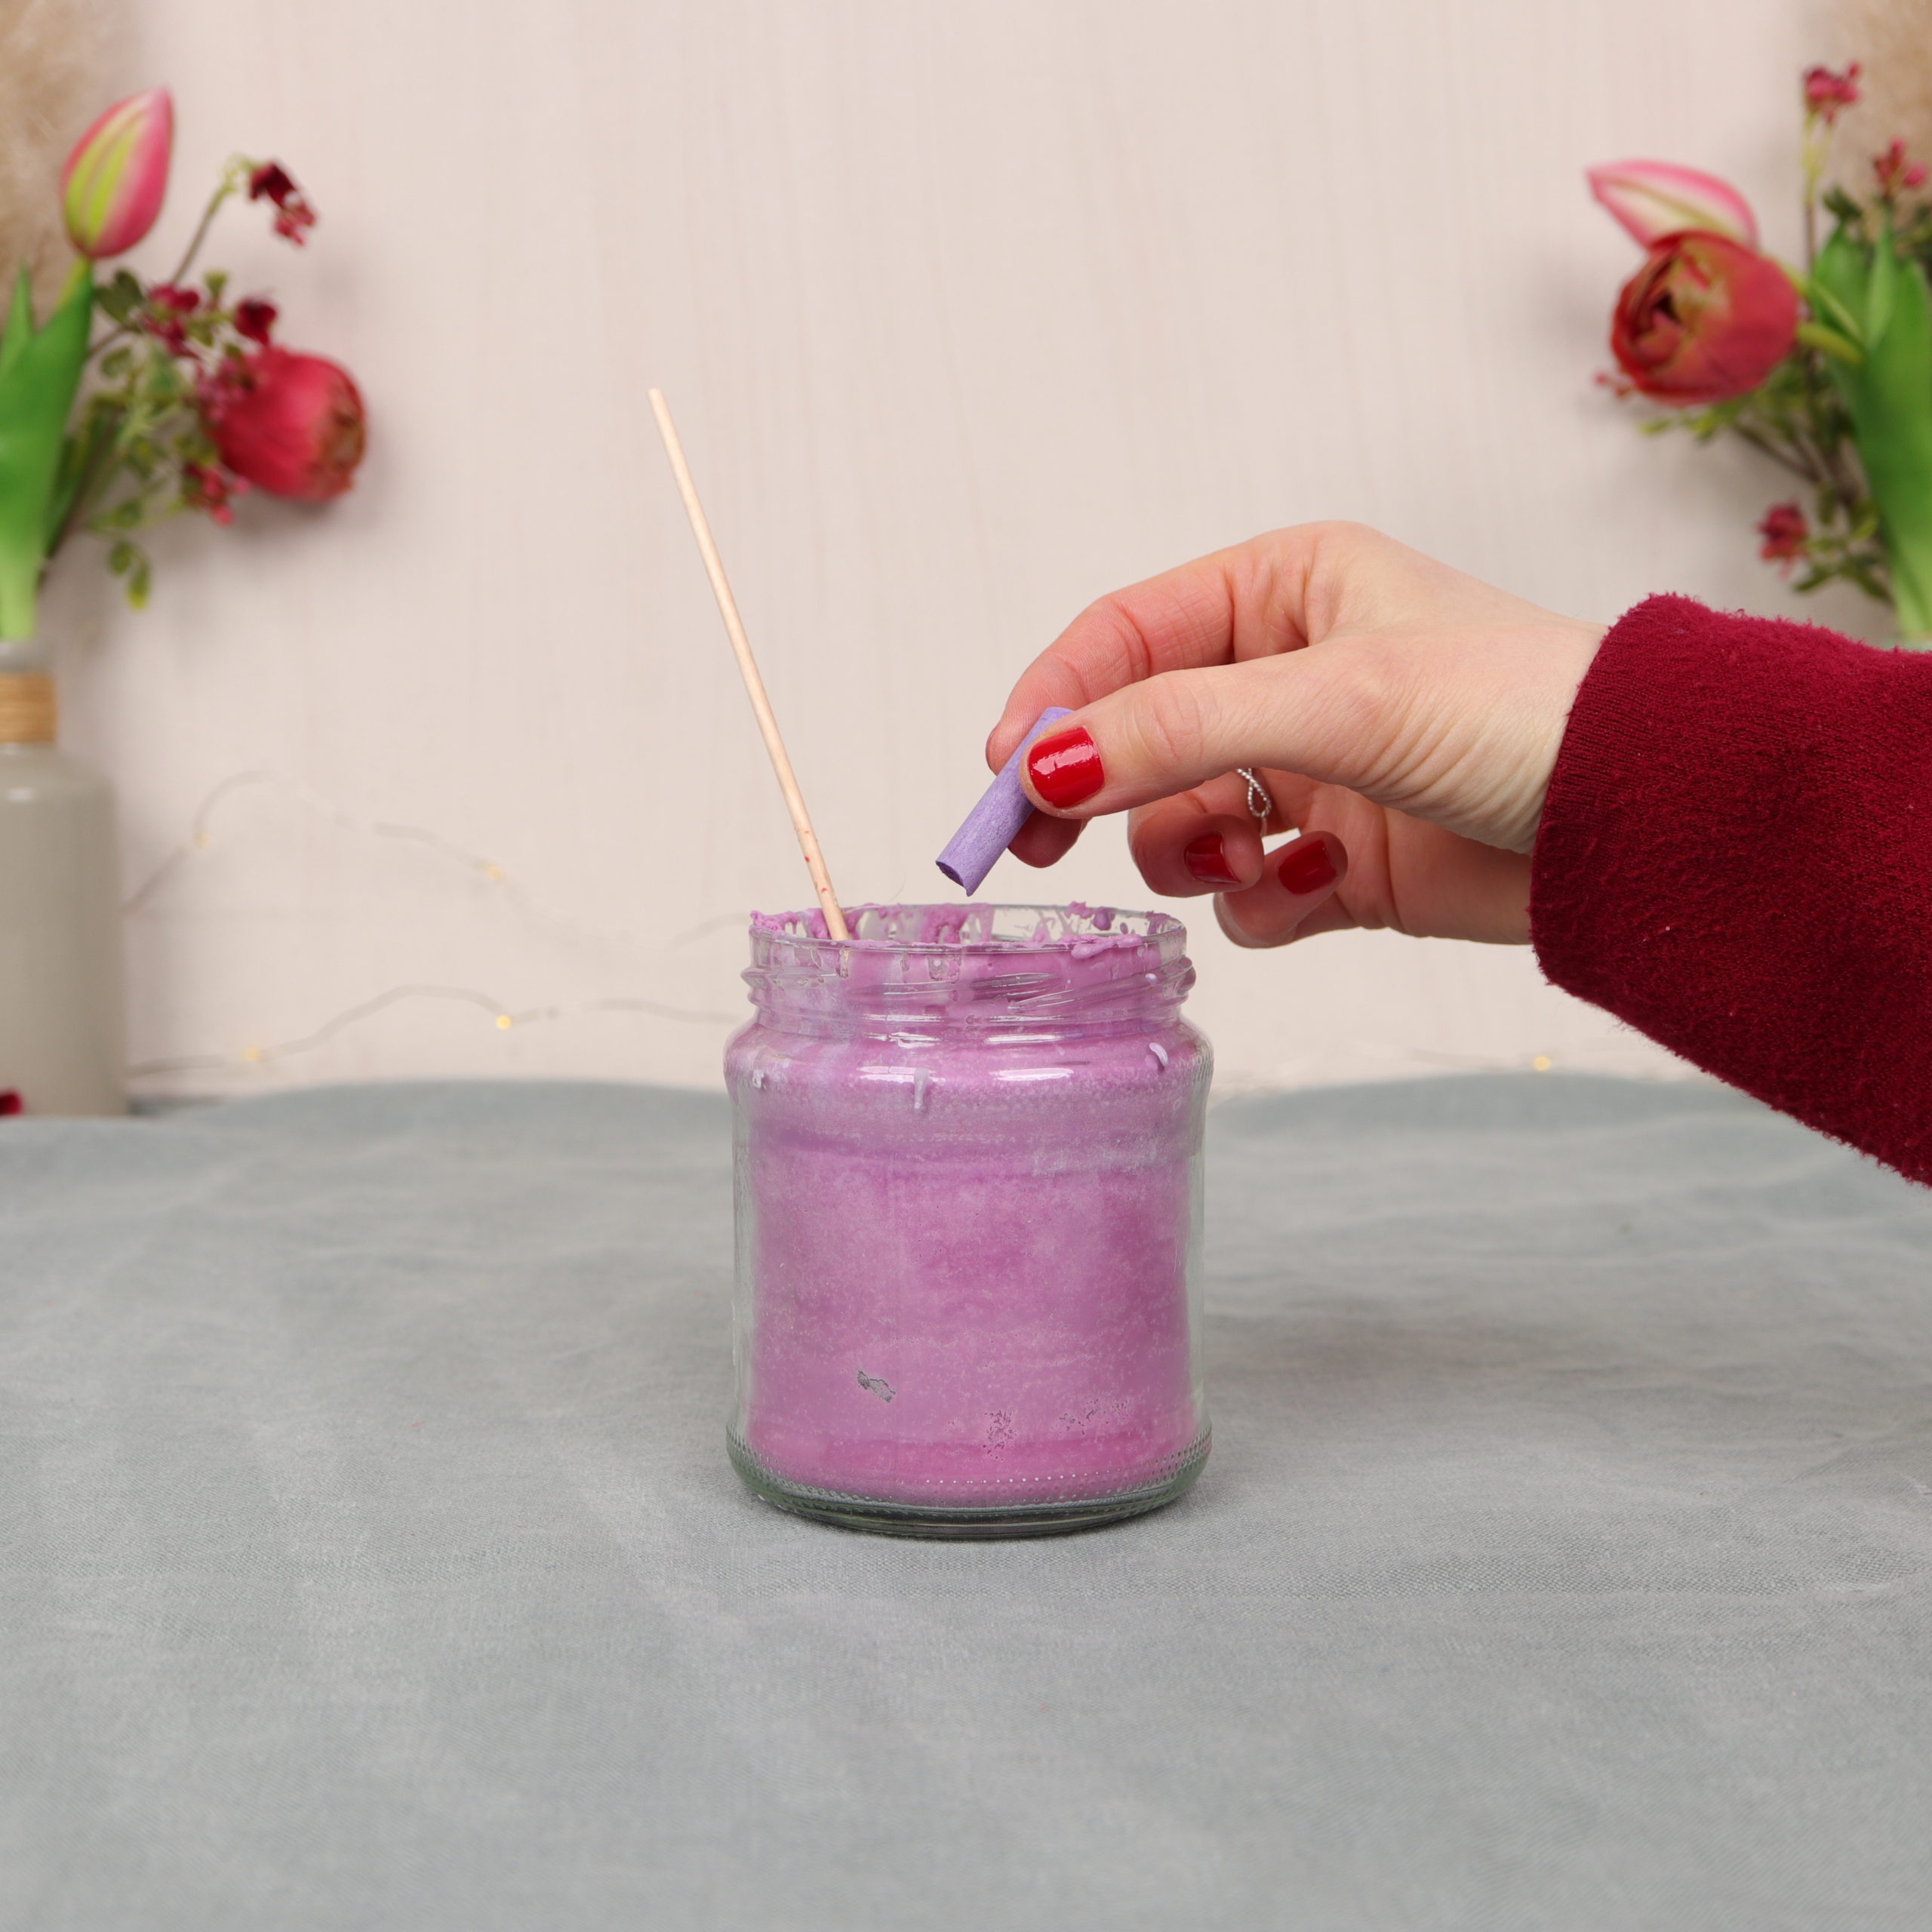
Step 4: Variant 2 with a chalk
For the second variant (the purple wax coat) I use a piece of the purple chalk.
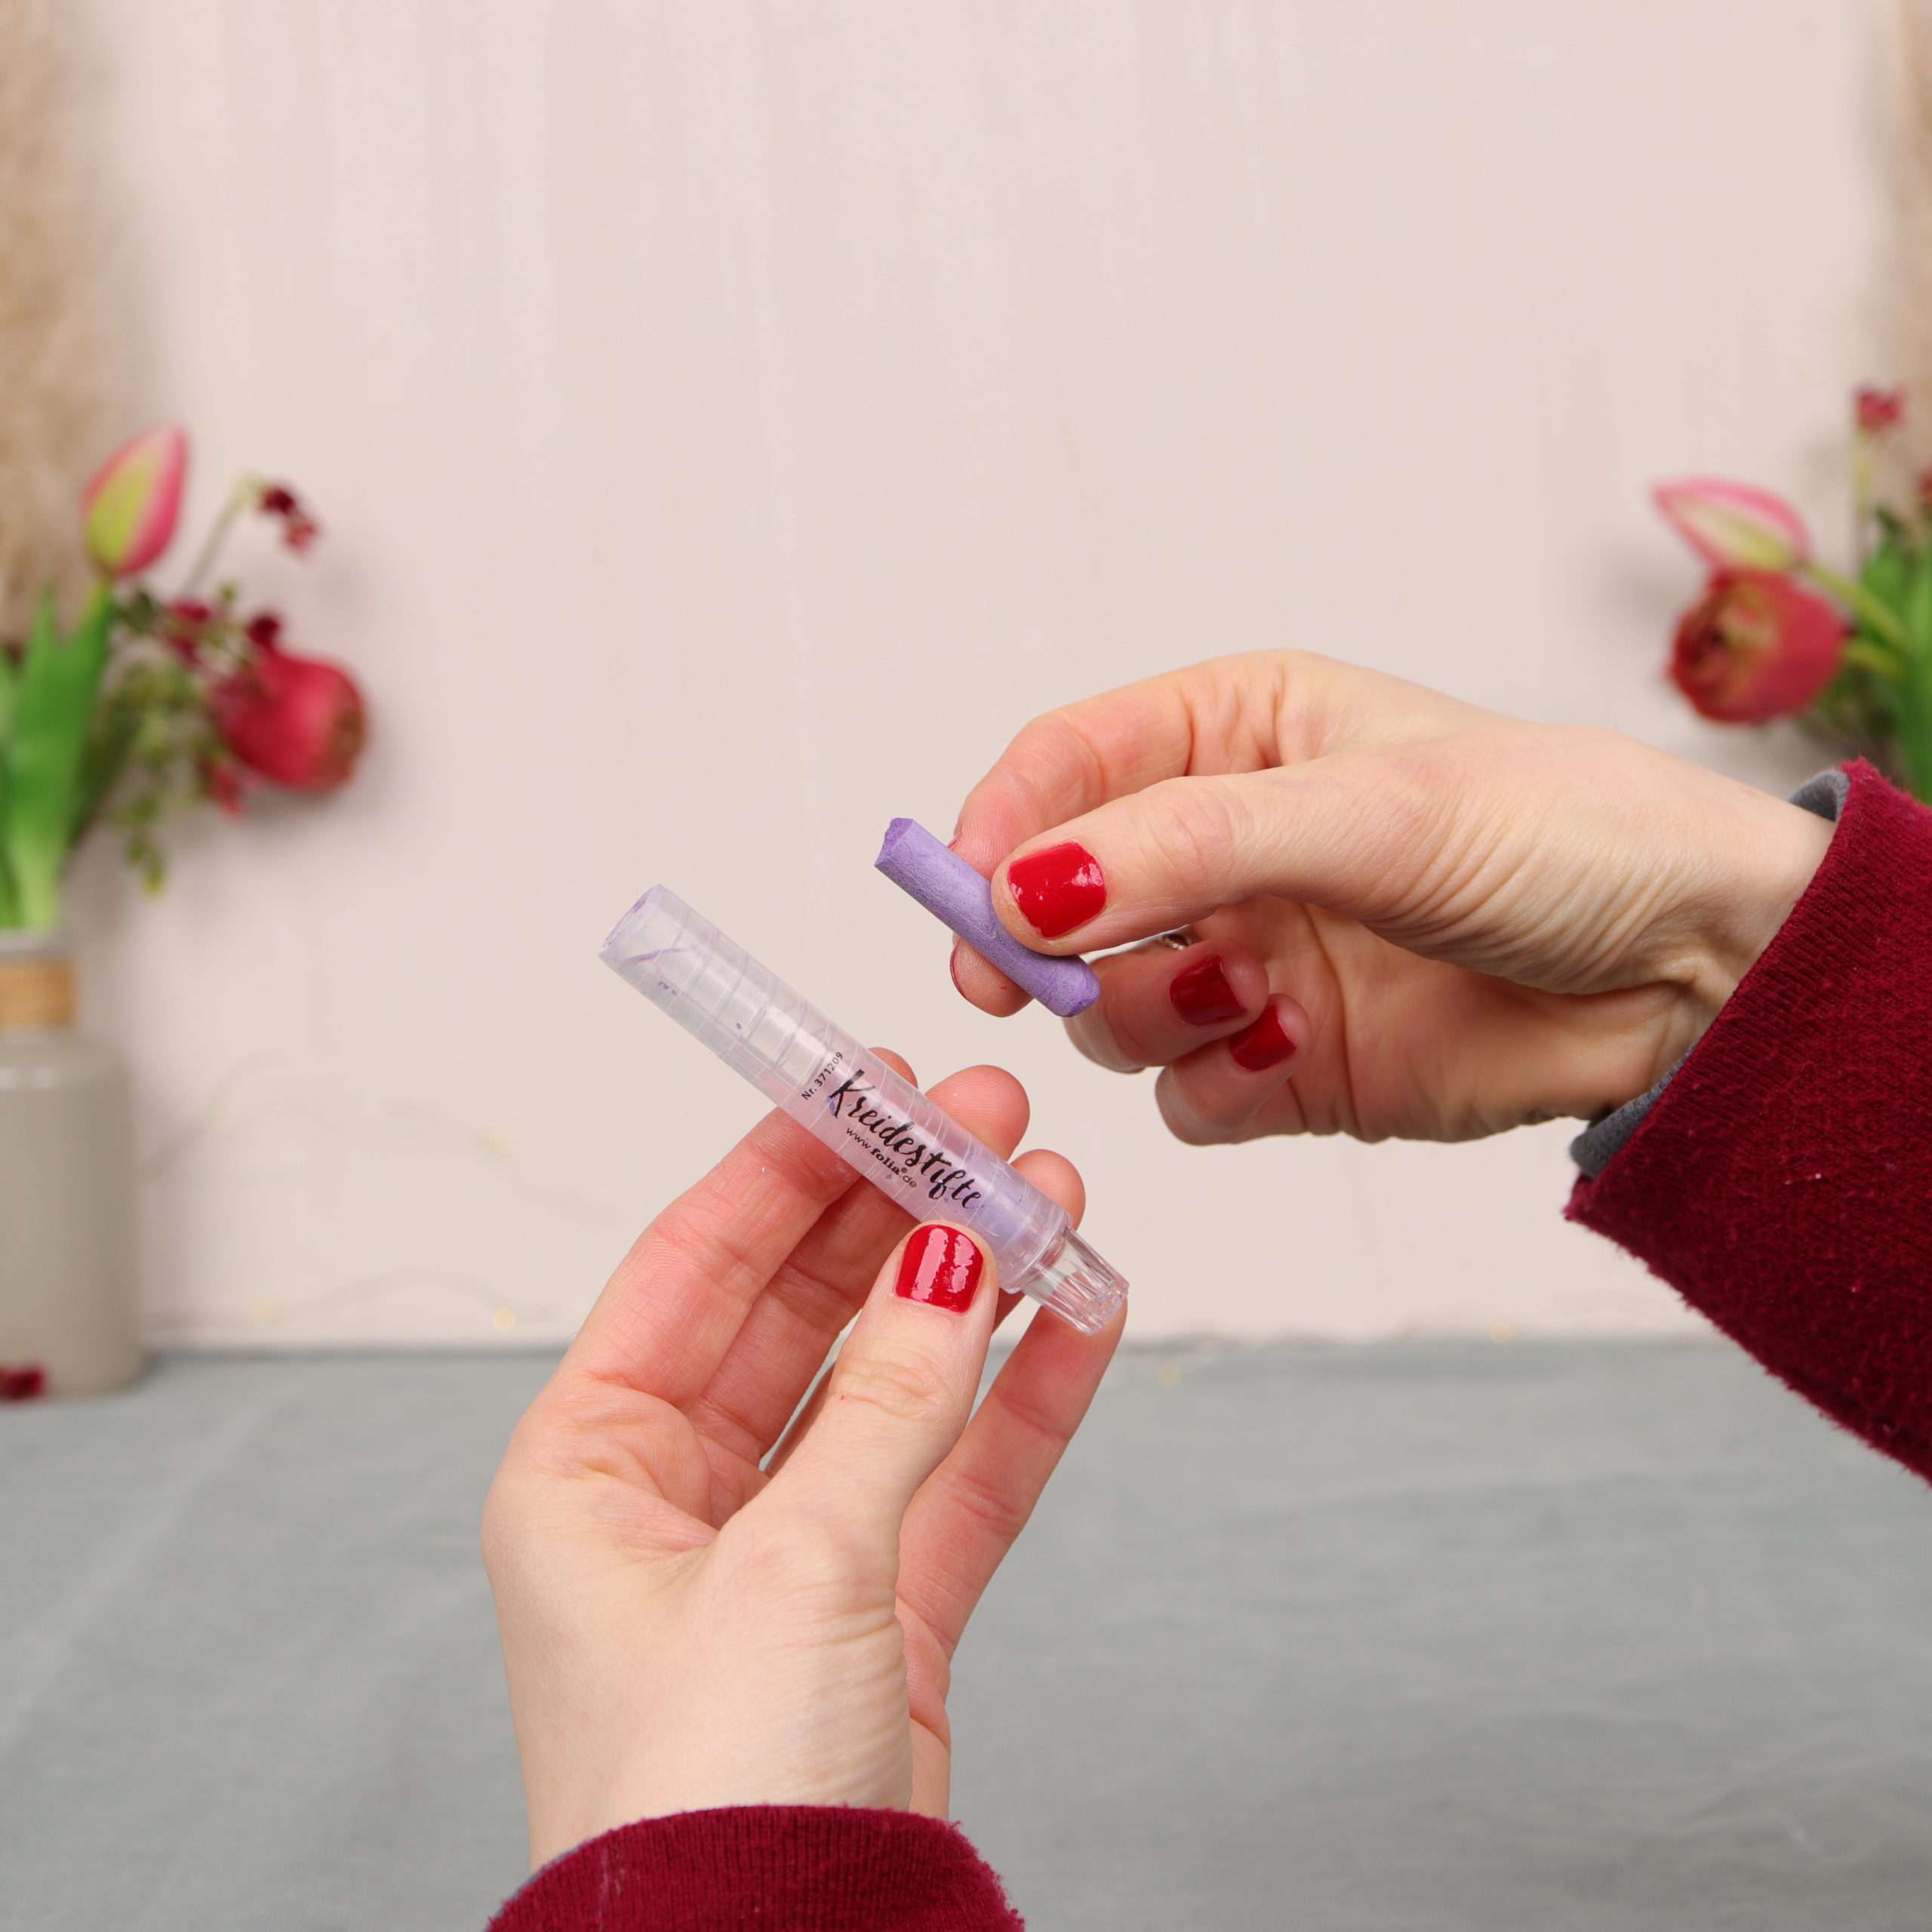
I put the chalk stick into the liquid wax and stir well until it has dissolved and colored the wax.
Now I dip the hyacinth into the wax several times again and let it dry briefly in between.

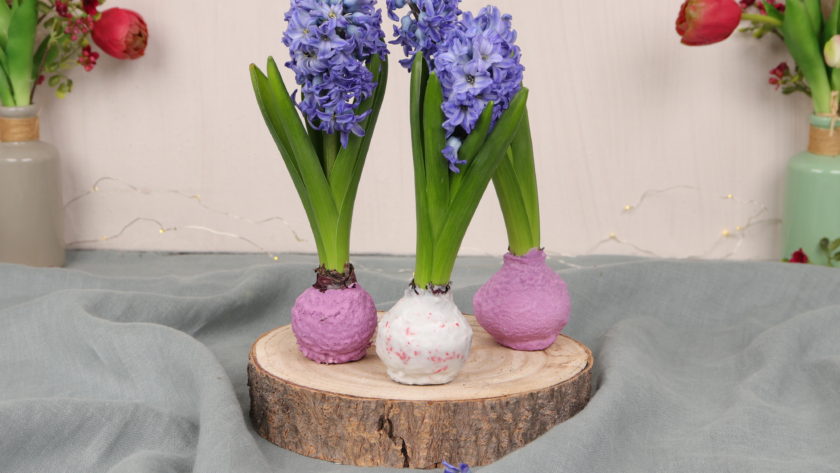
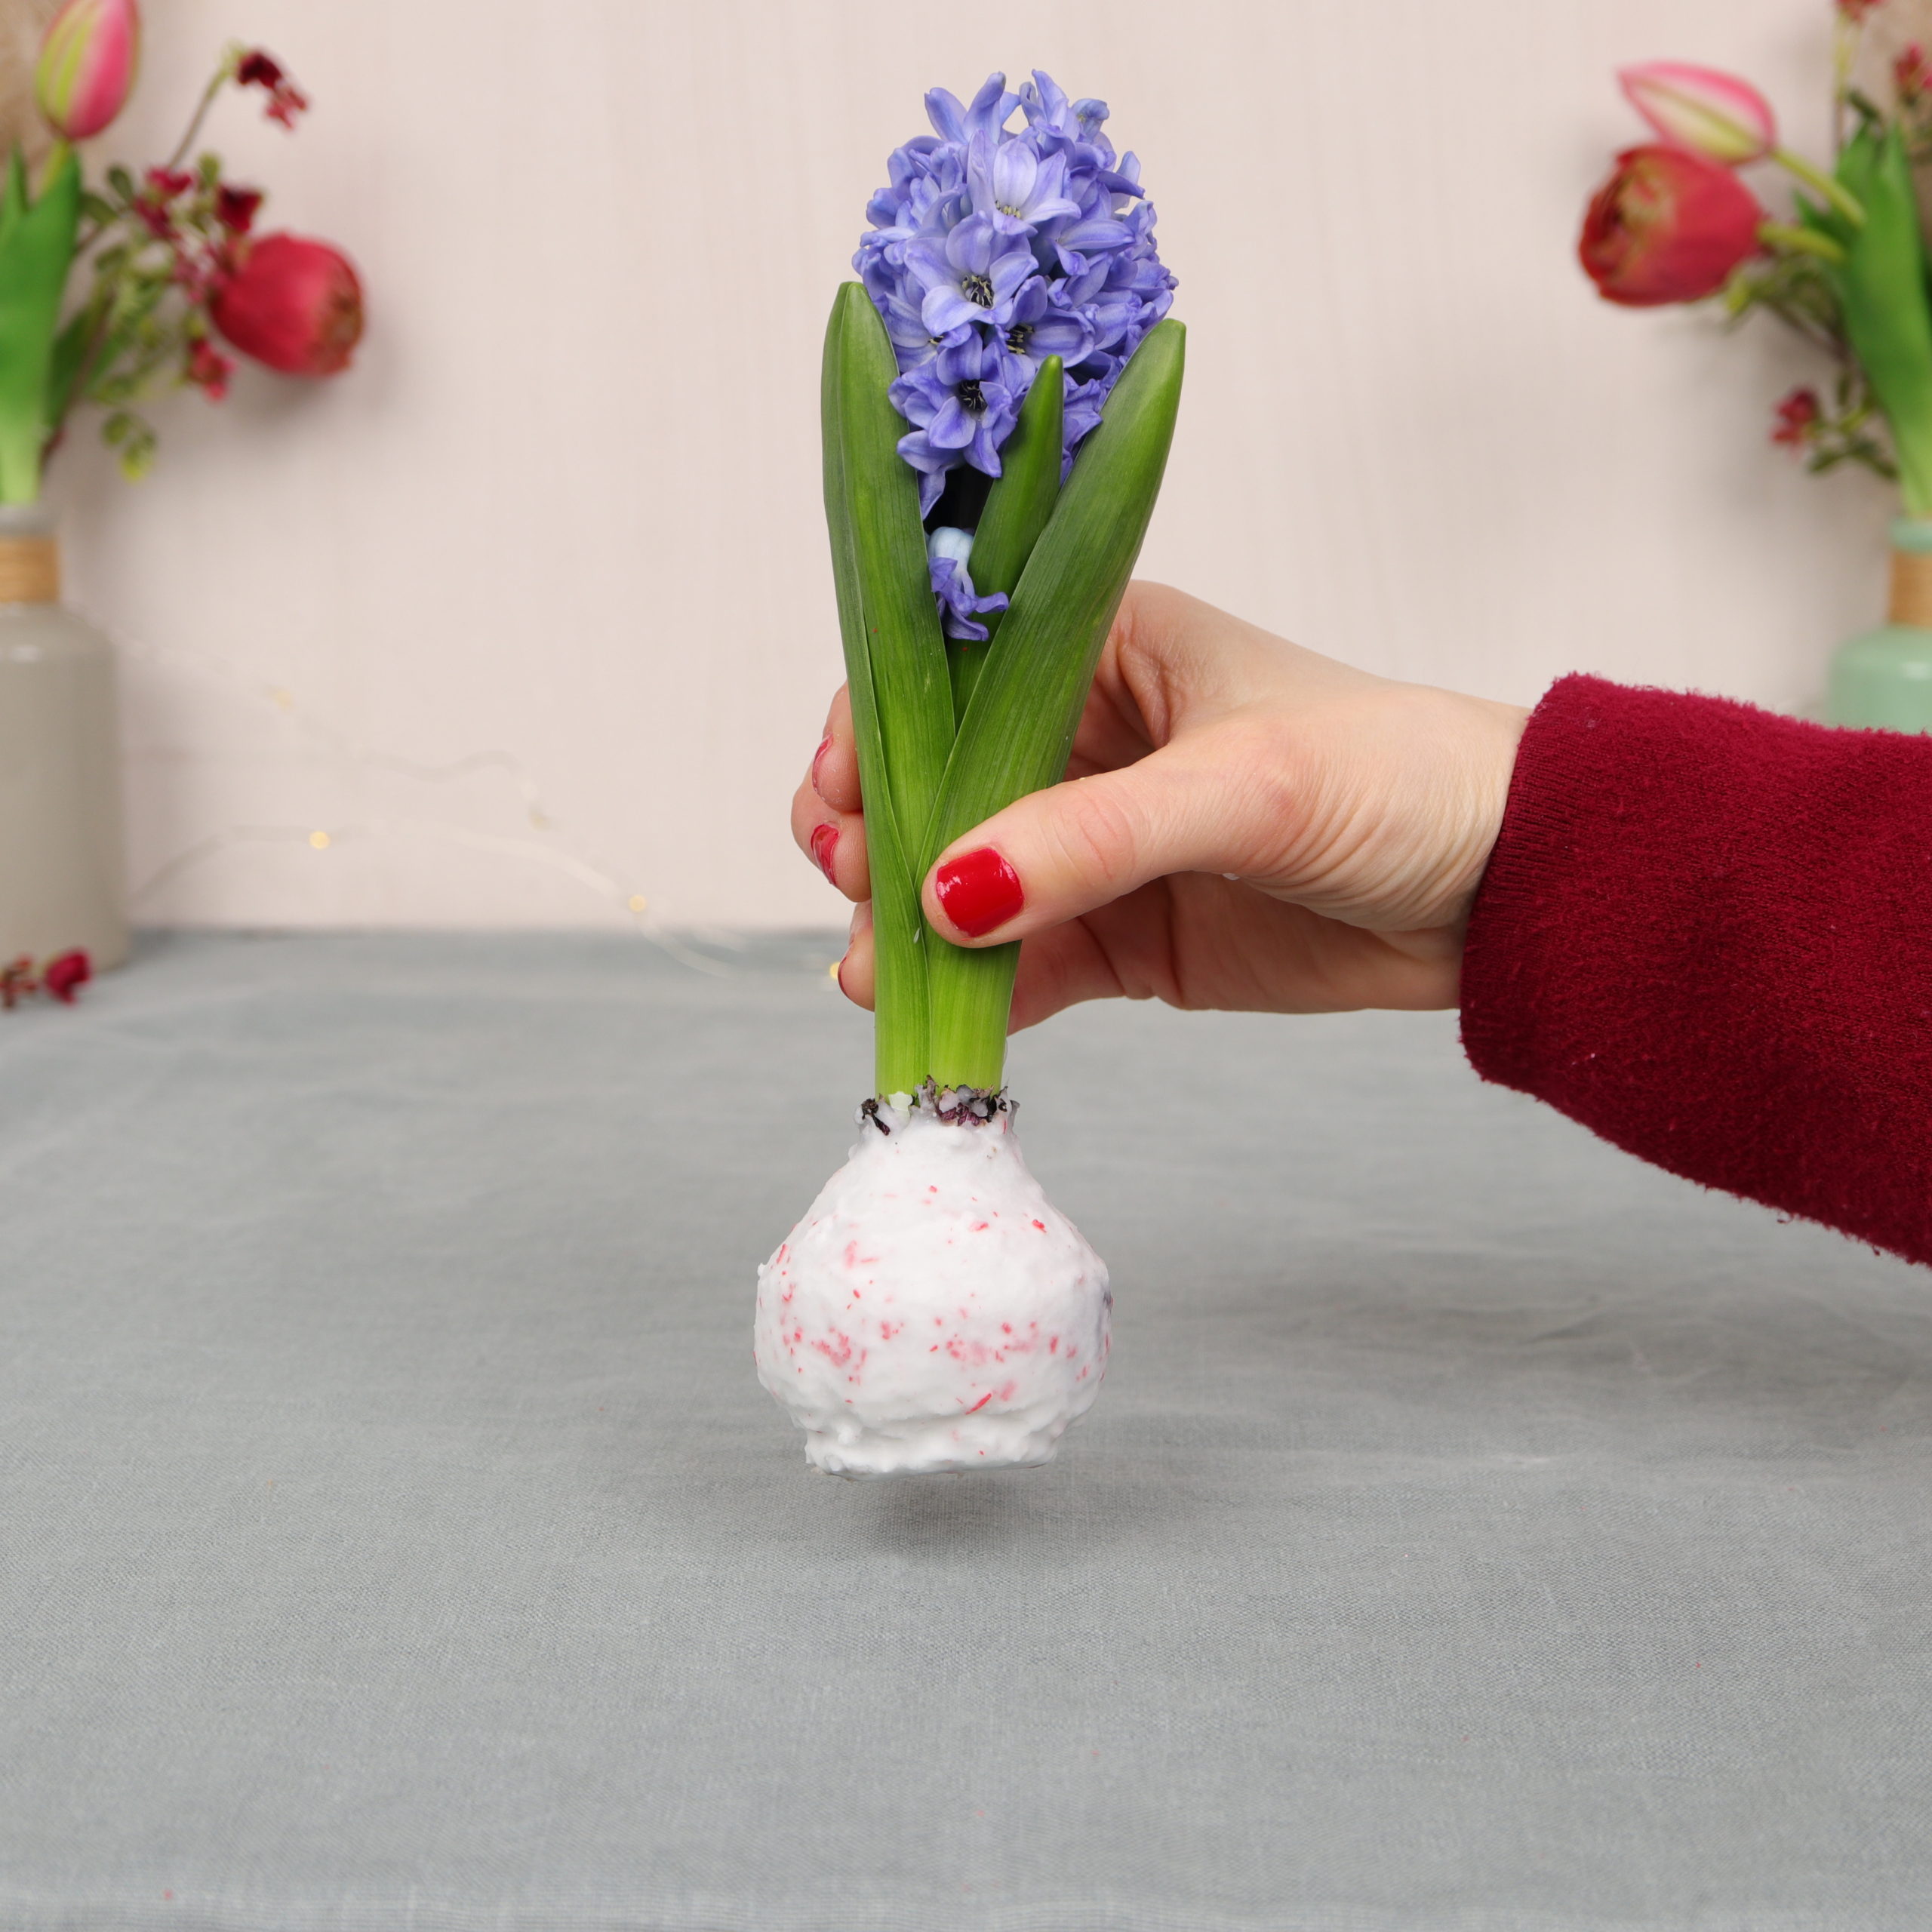
The result then looks like this:

And the hyacinths with a wax coat are ready! I hope you enjoyed this DIY as much as I did and that you enjoy looking at the flowers!

You can find another DIY with wax here: Make wax rose yourself!
Have a nice day! 🙂
Jenny <3