Today I’ll show you with a DIY upcycling idea how you can transform an old planter into a nice planter. “Trash to Terracotta” is actually a trending technique to create something new (“terracotta”) from something old that we would no longer have used (“trash”). For example, you can use this technique to reuse old vases, bottles or flower pots.
The great thing is that it doesn’t take much, just paint and some baking powder! The baking powder reacts with the color and creates the typical rough and uneven terracotta look.
With the following step-by-step instructions, I’ll show you how easy it is to make “Trash to Terracotta” yourself!
Tools
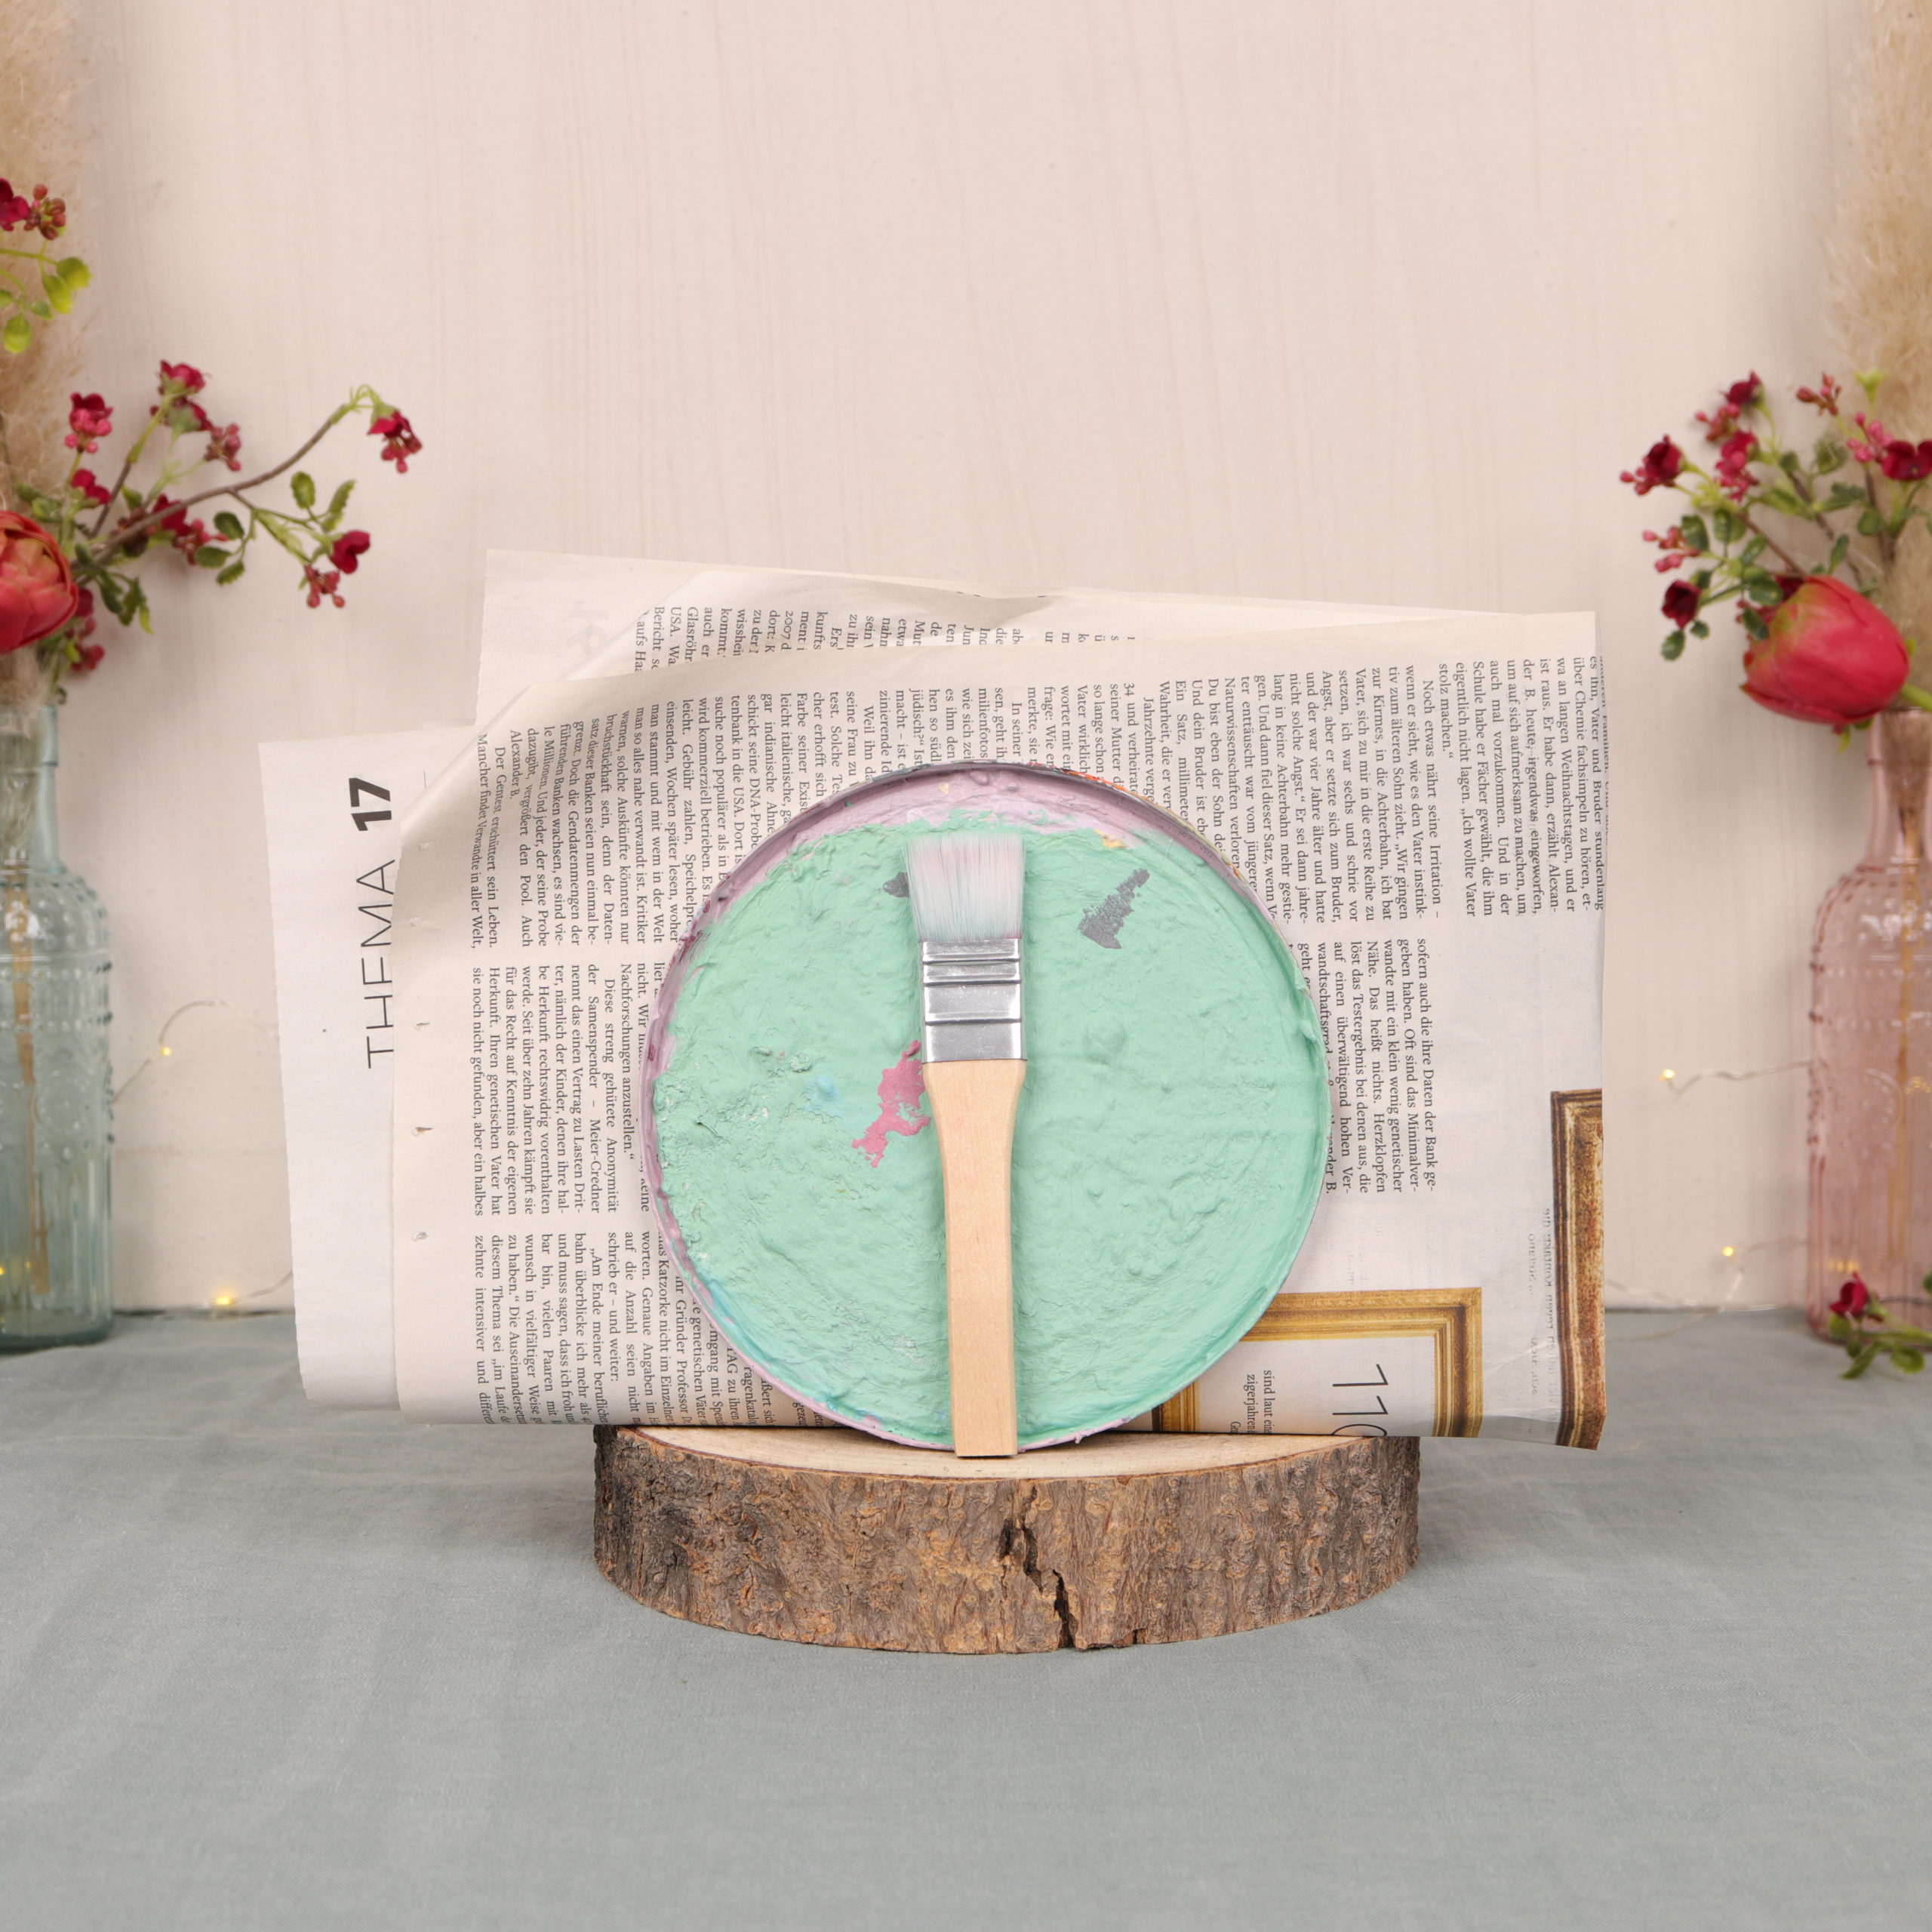
Here you can see the tools I used for the upcycling: some newspaper to put underneath, a brush and an old big lid to mix the colors.
Materials
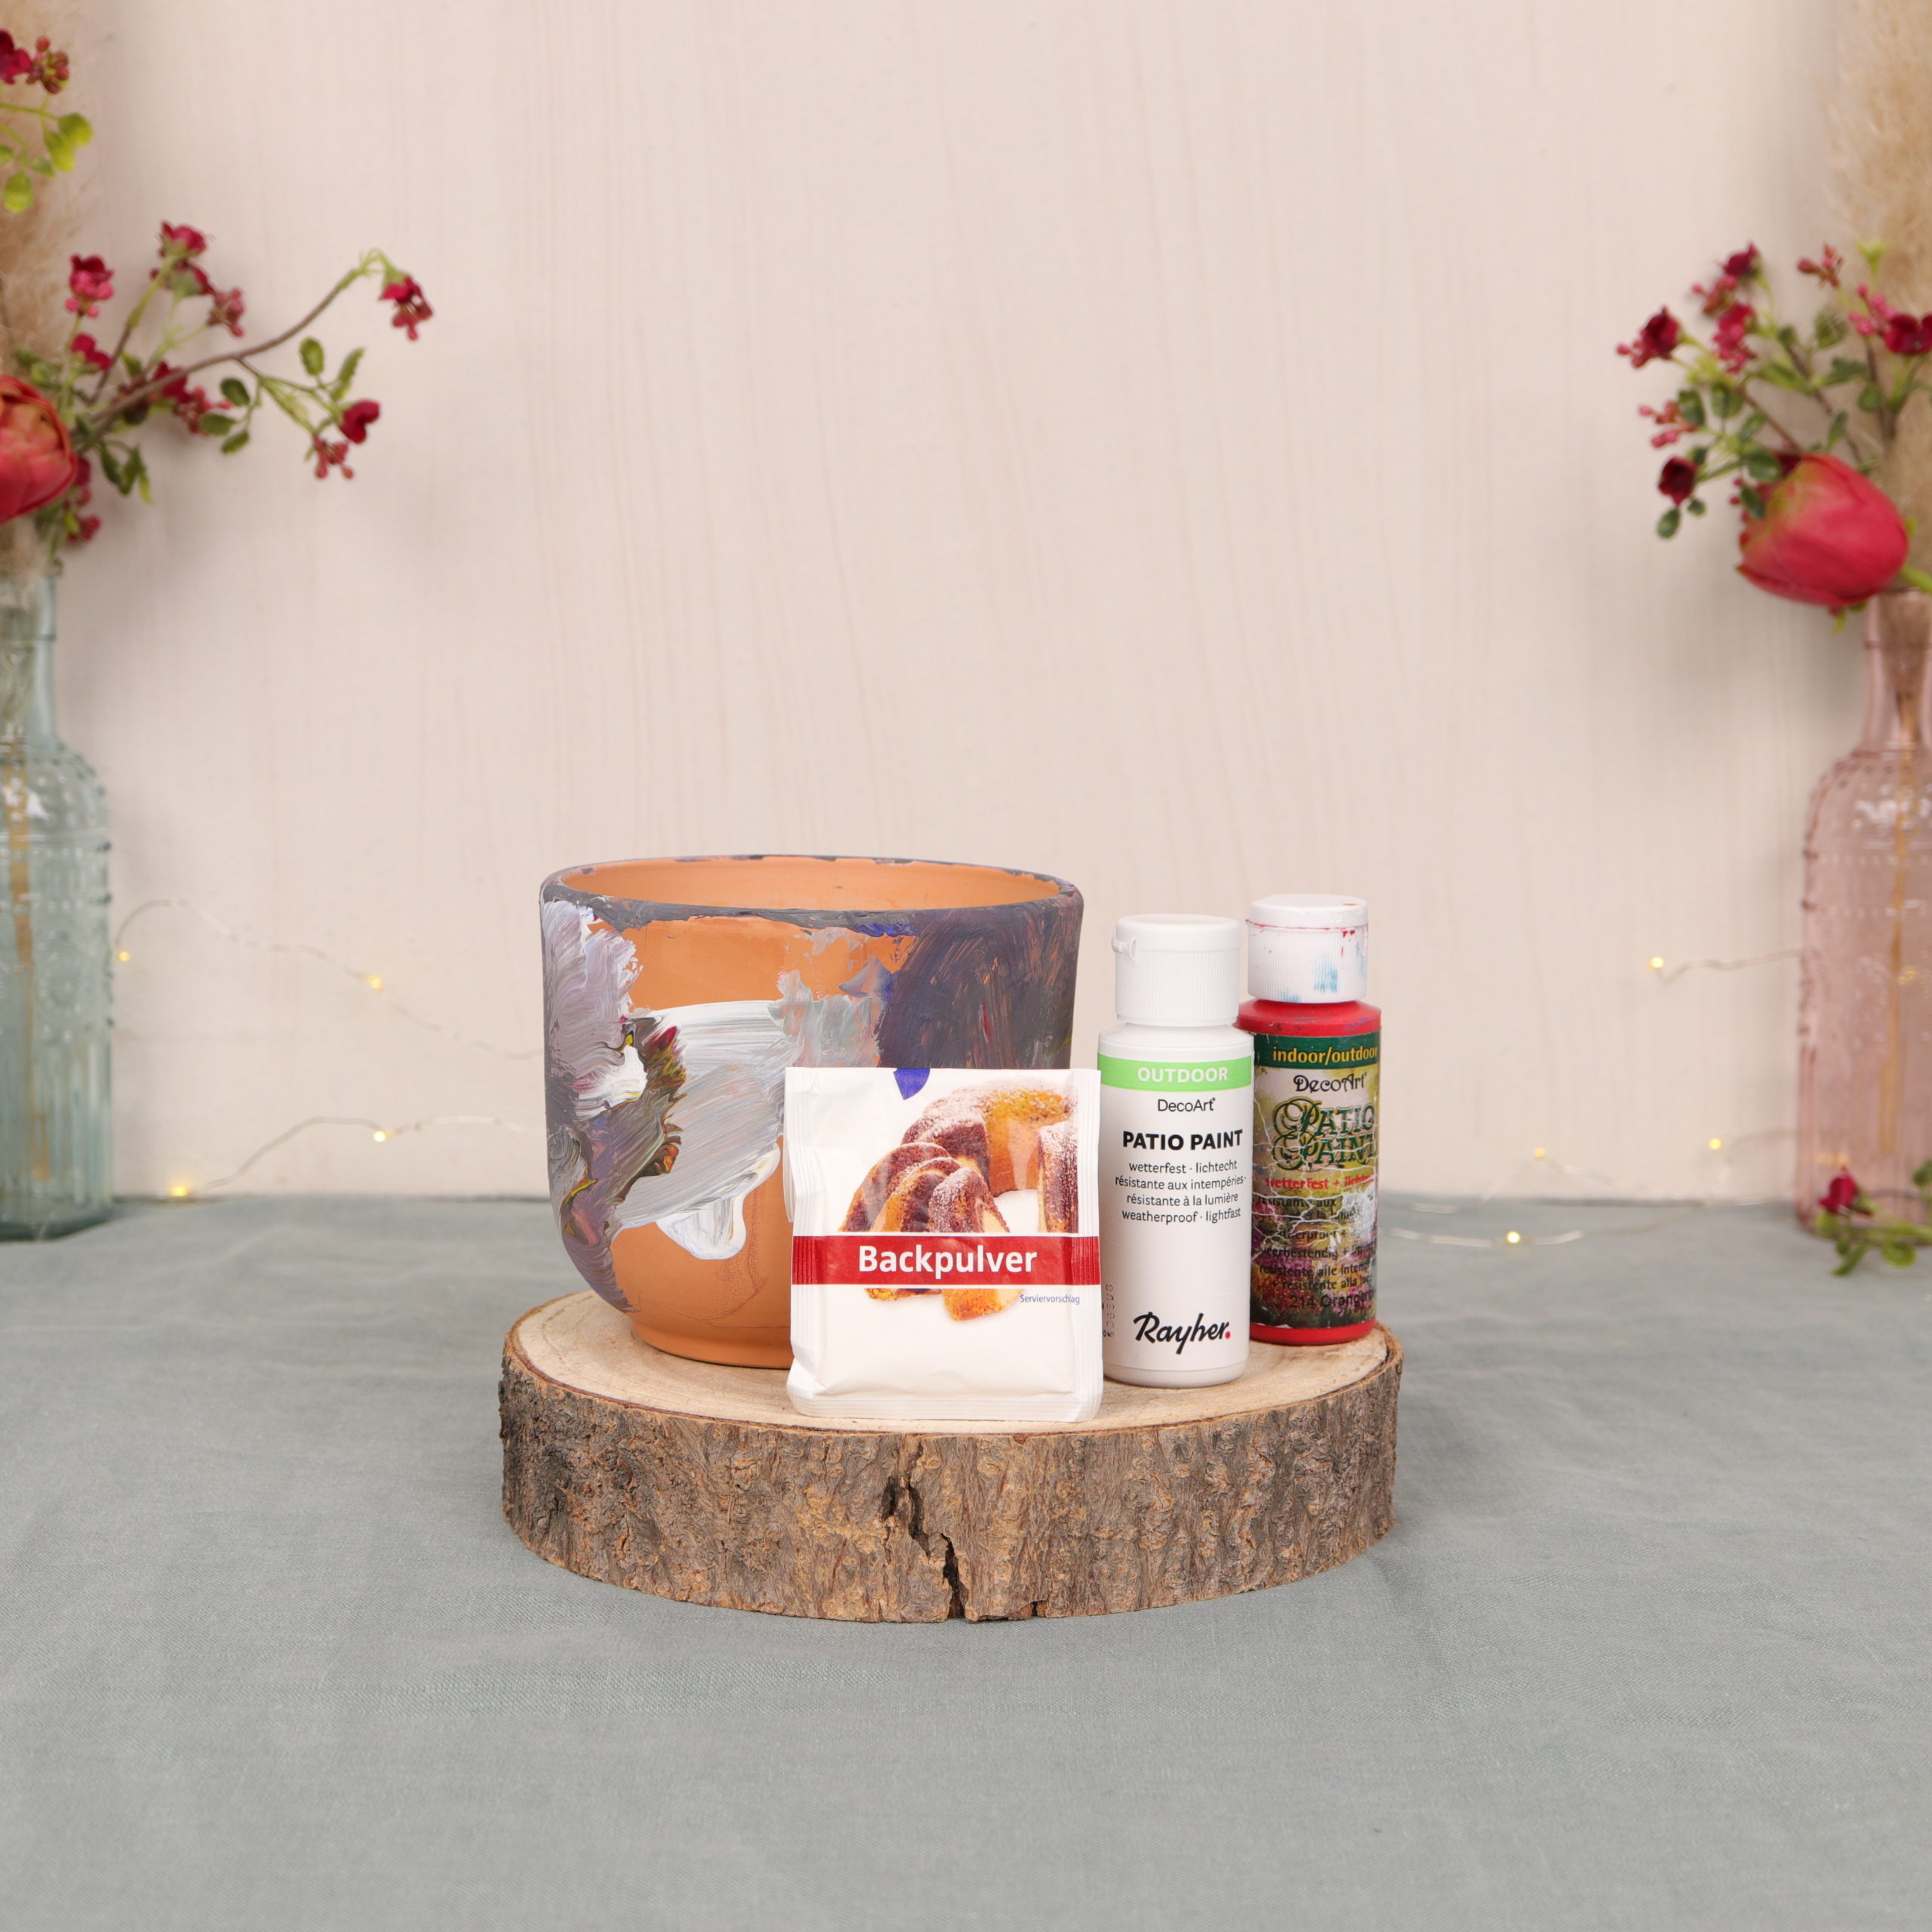
The materials I used for the flowerpot: an old planter, the colors I wanted (I use acrylic paints) and baking powder.
Instructions | Upcycling “Trash to Terracotta”
Step 1: Mix desired colors
The first step is to mix the acrylic paint.
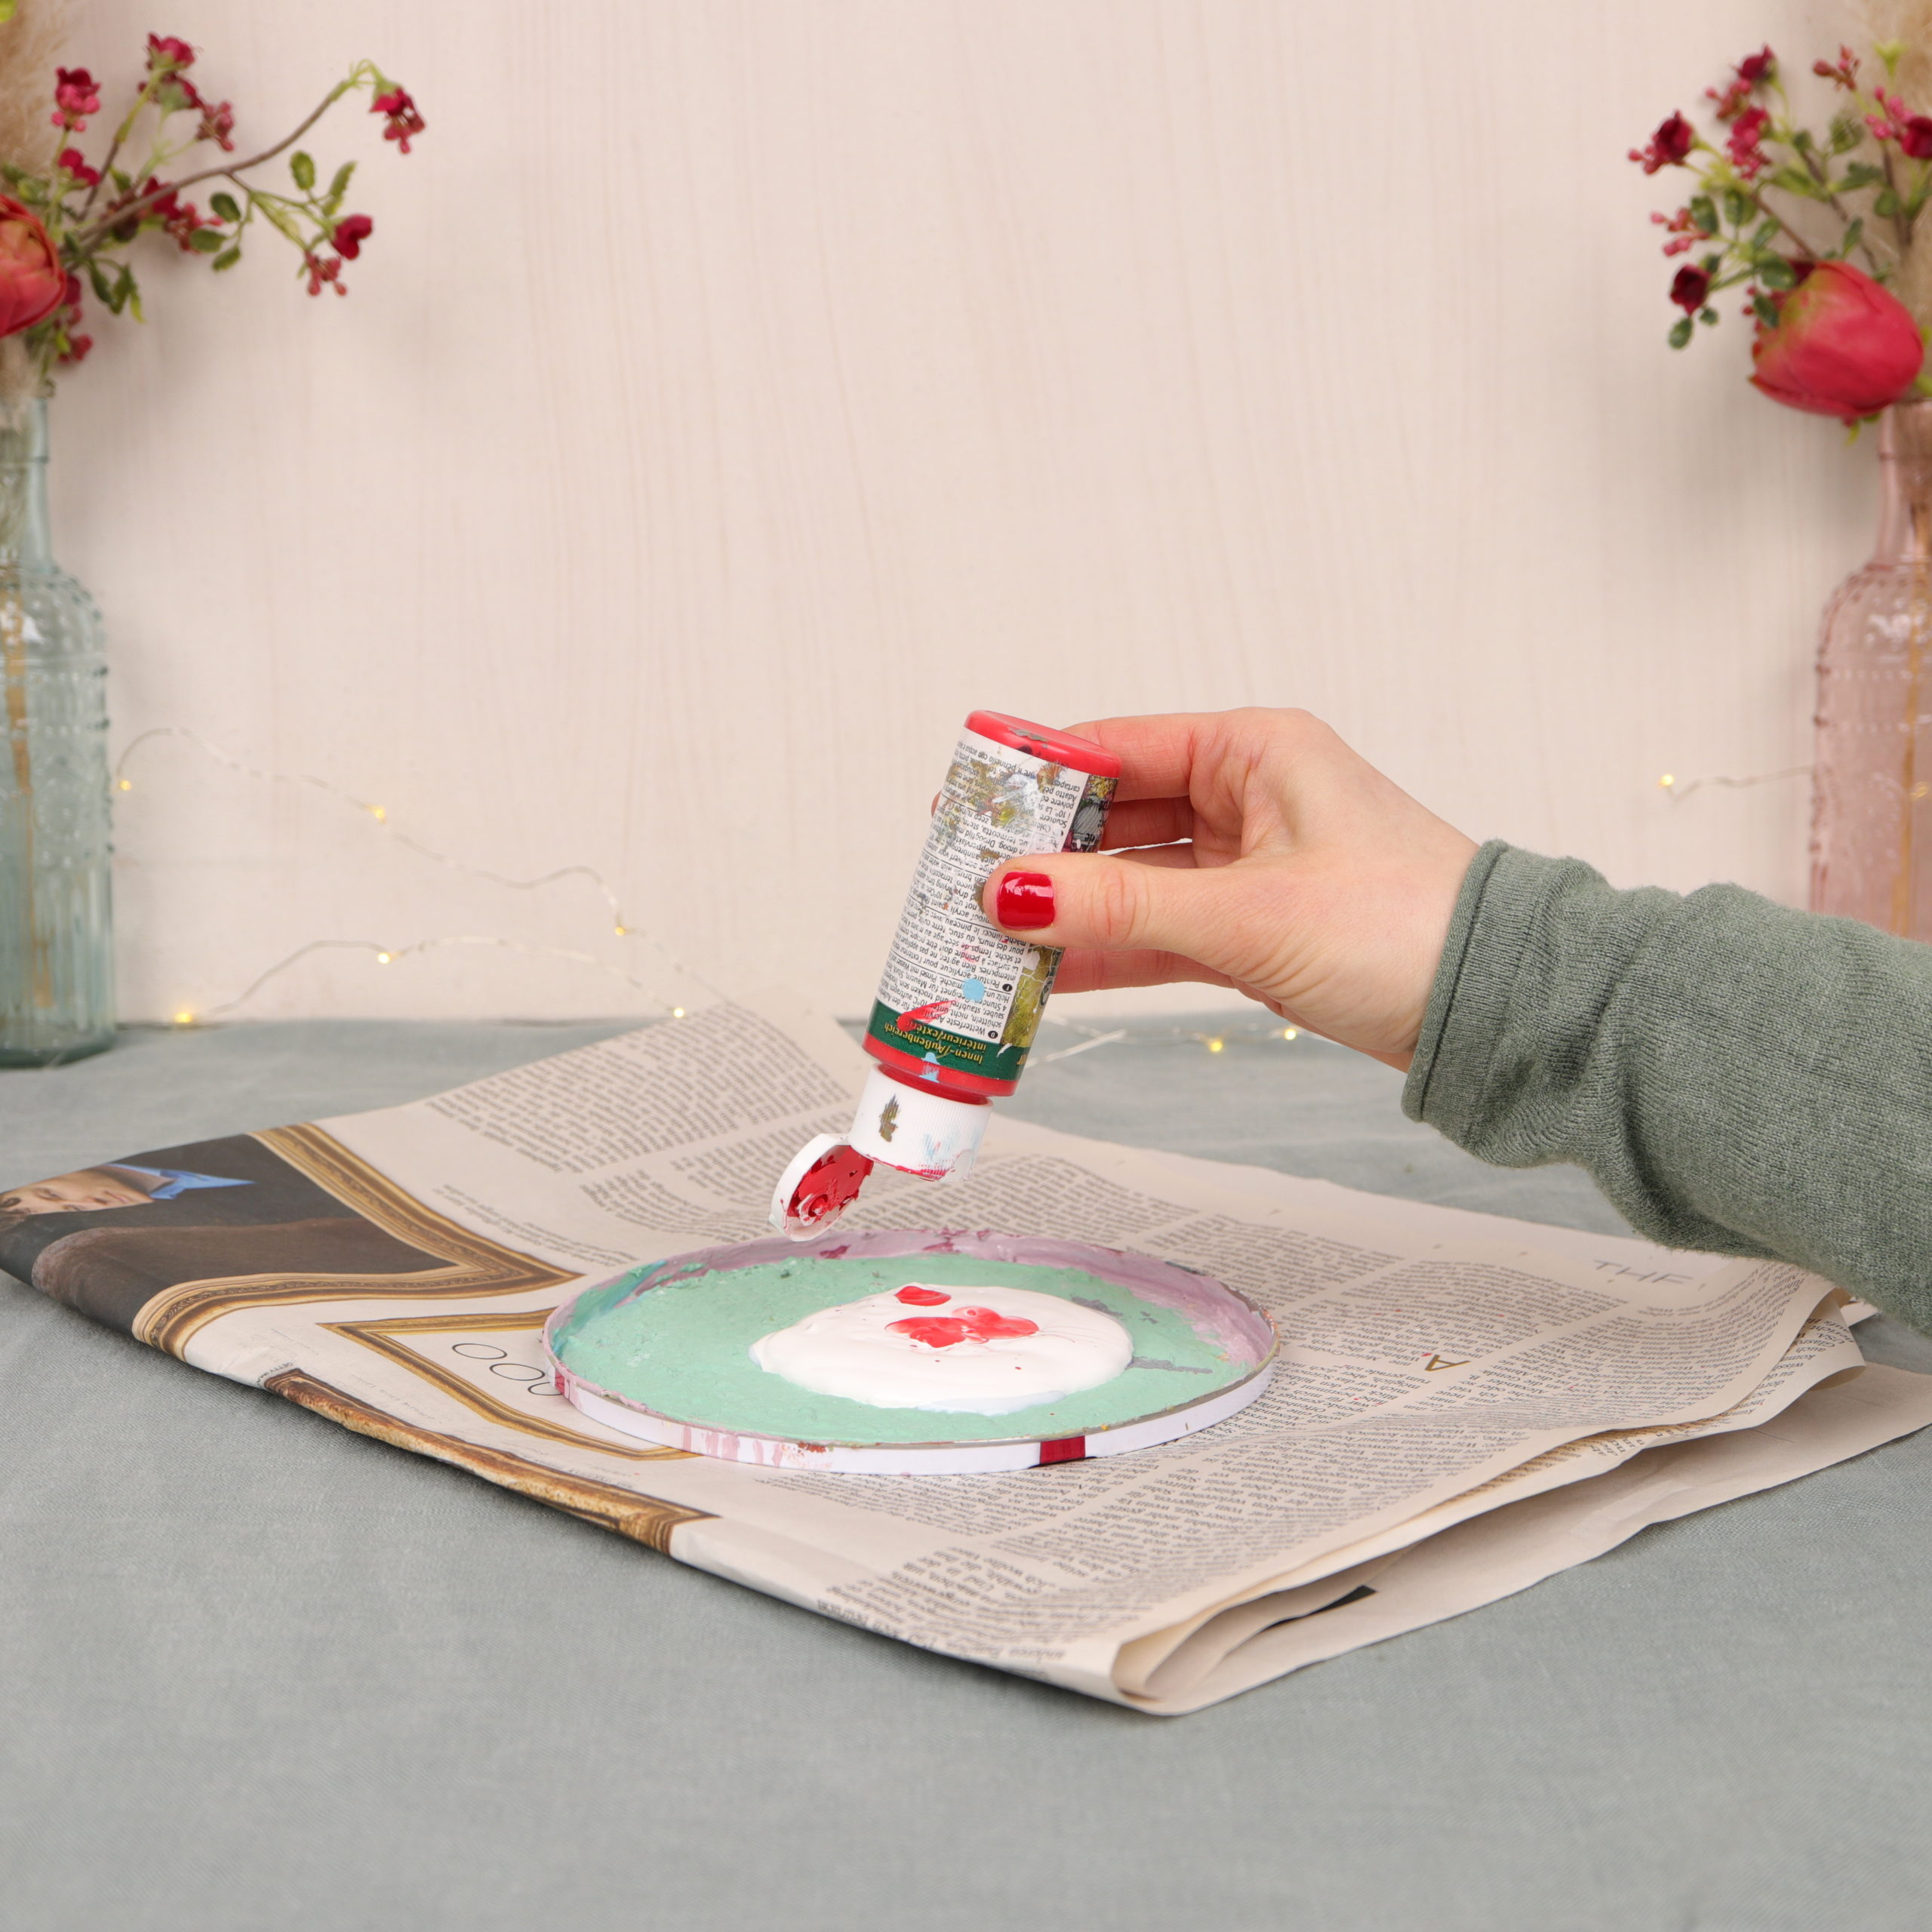
I use an old lid and put several layers of newspaper under it to protect my table.
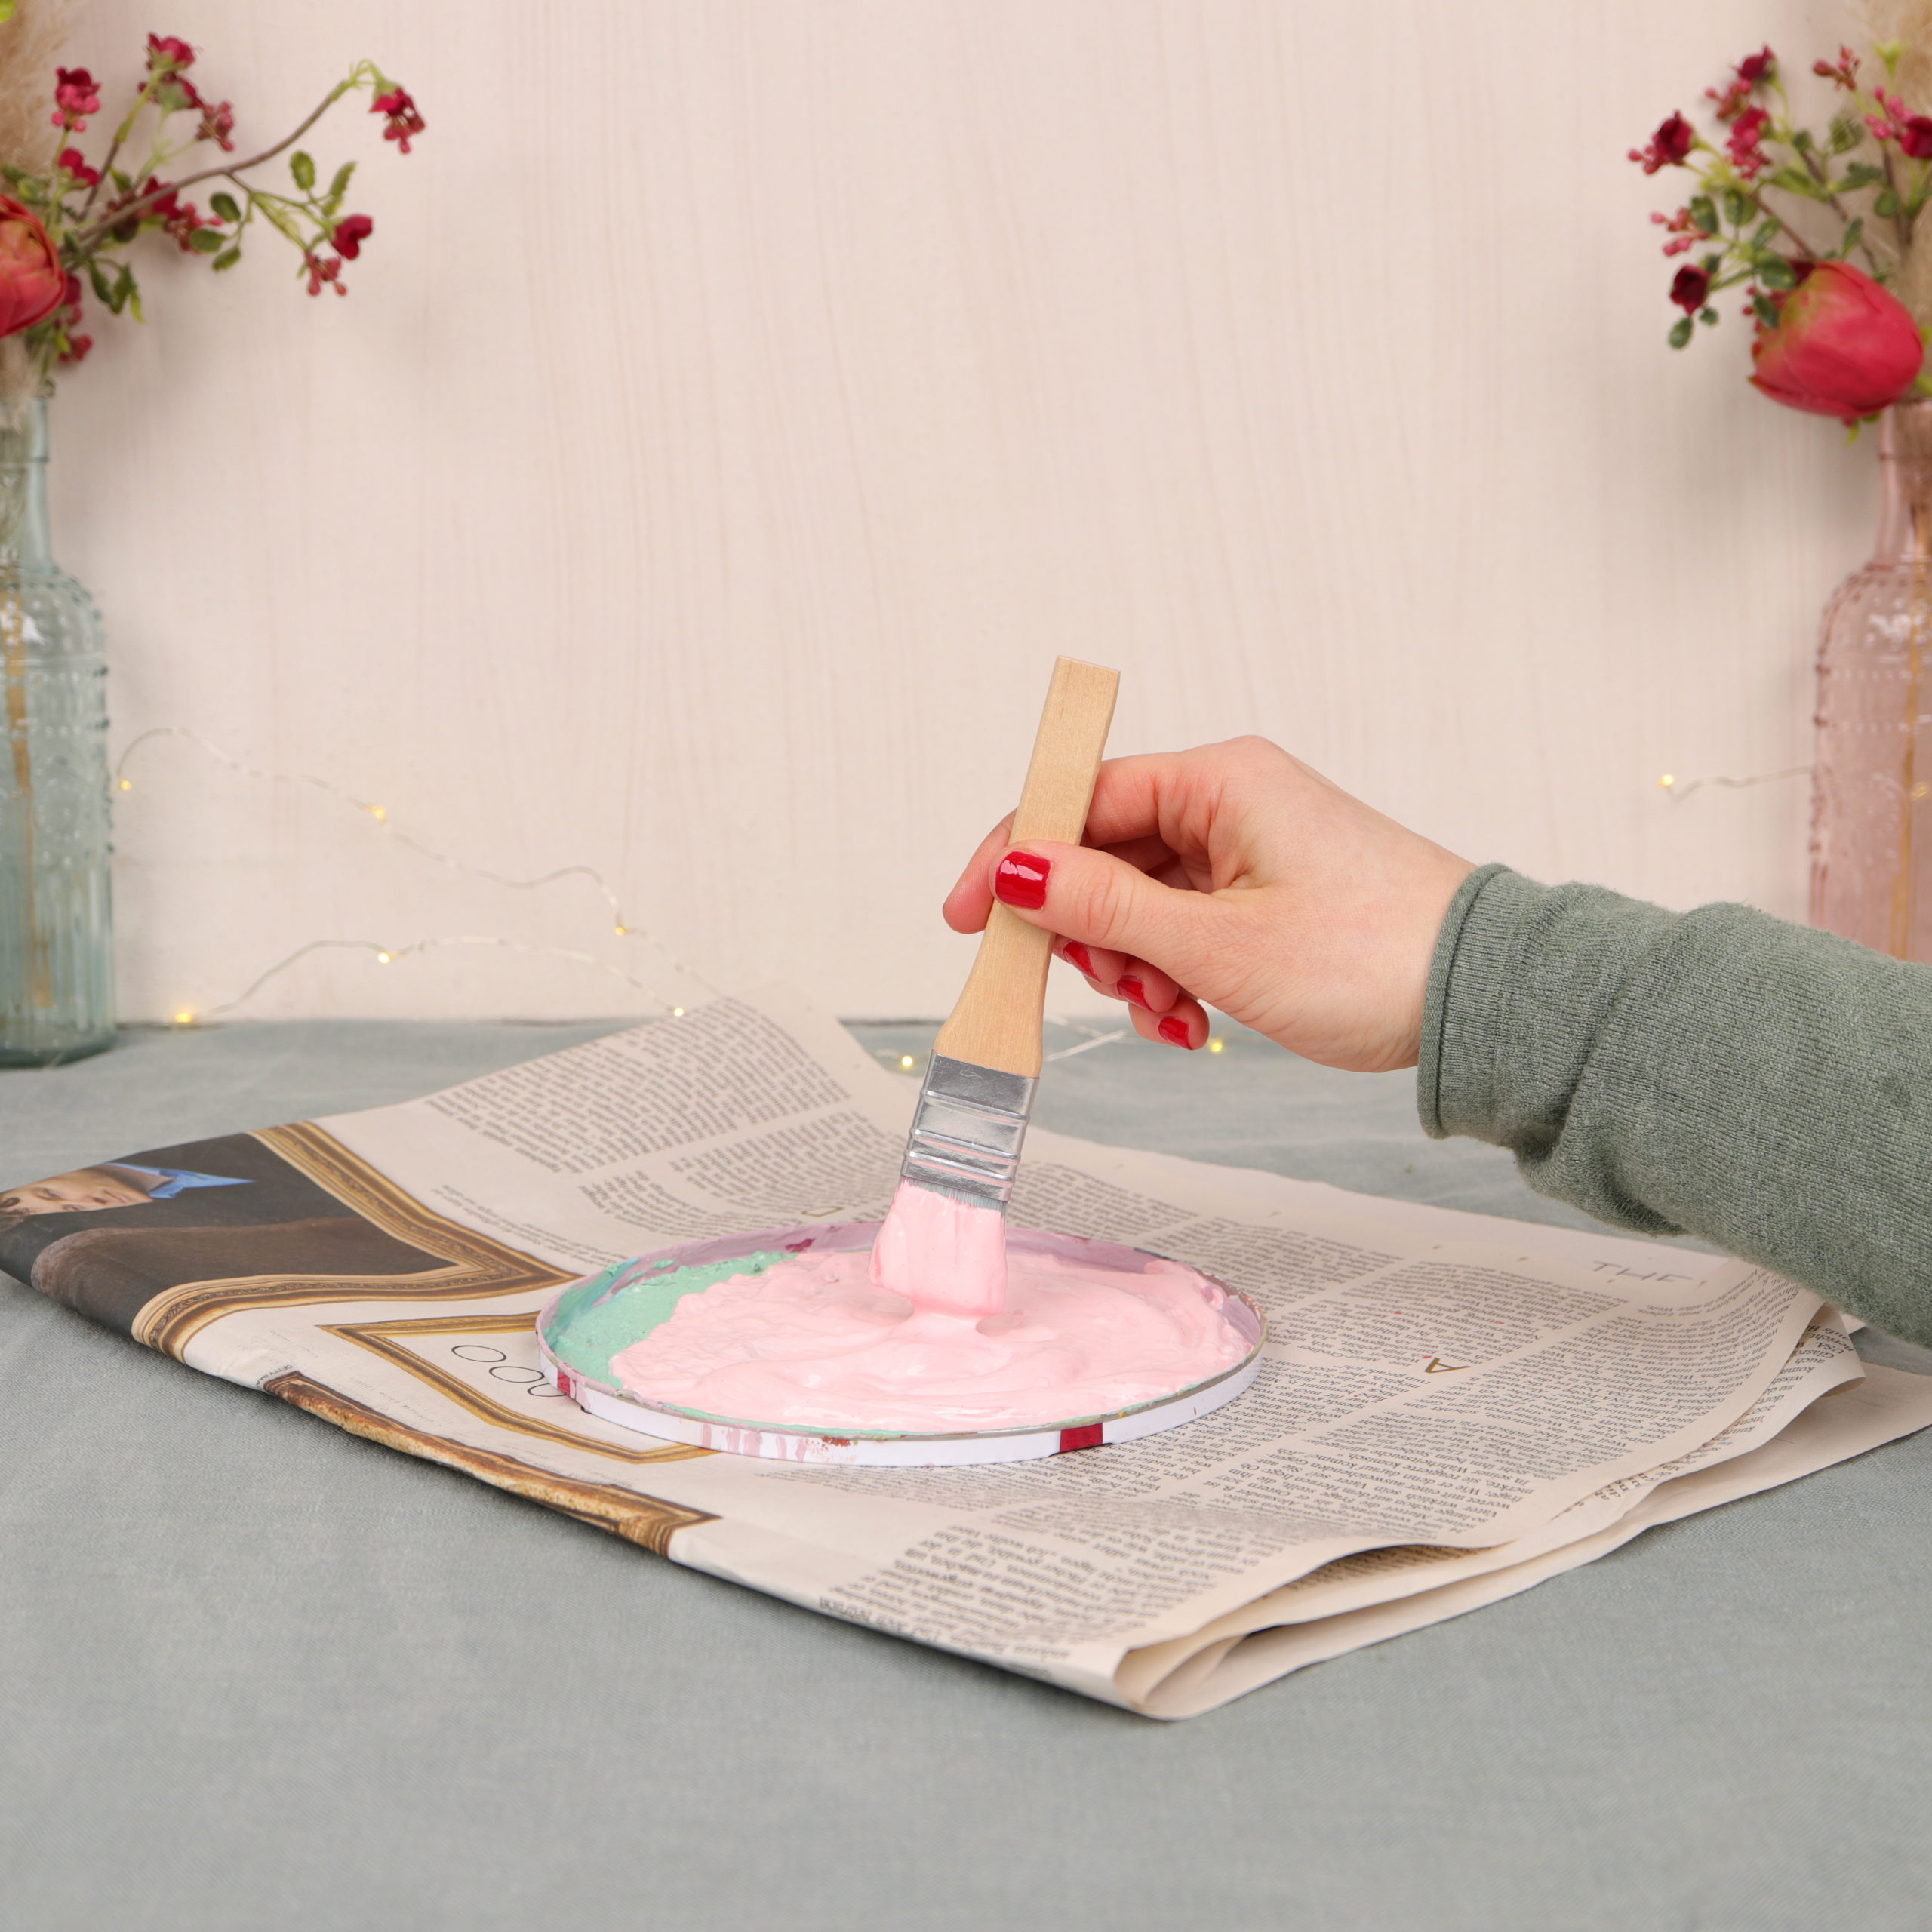
Since I chose a soft color of pink, I mix white paint with a few drops of red paint. I use the brush to mix it.
Step 2: Add baking powder to the paint
Then I add some baking powder to the paint and mix everything with the brush.

About the amount of baking powder, you can basically take as much as you want! I used a little less amount of baking powder than amount of paint.

After a short time the mixture starts to foam and is ready to use!
Step 3: Paint the planter
Now I simply paint the planter with the brush.
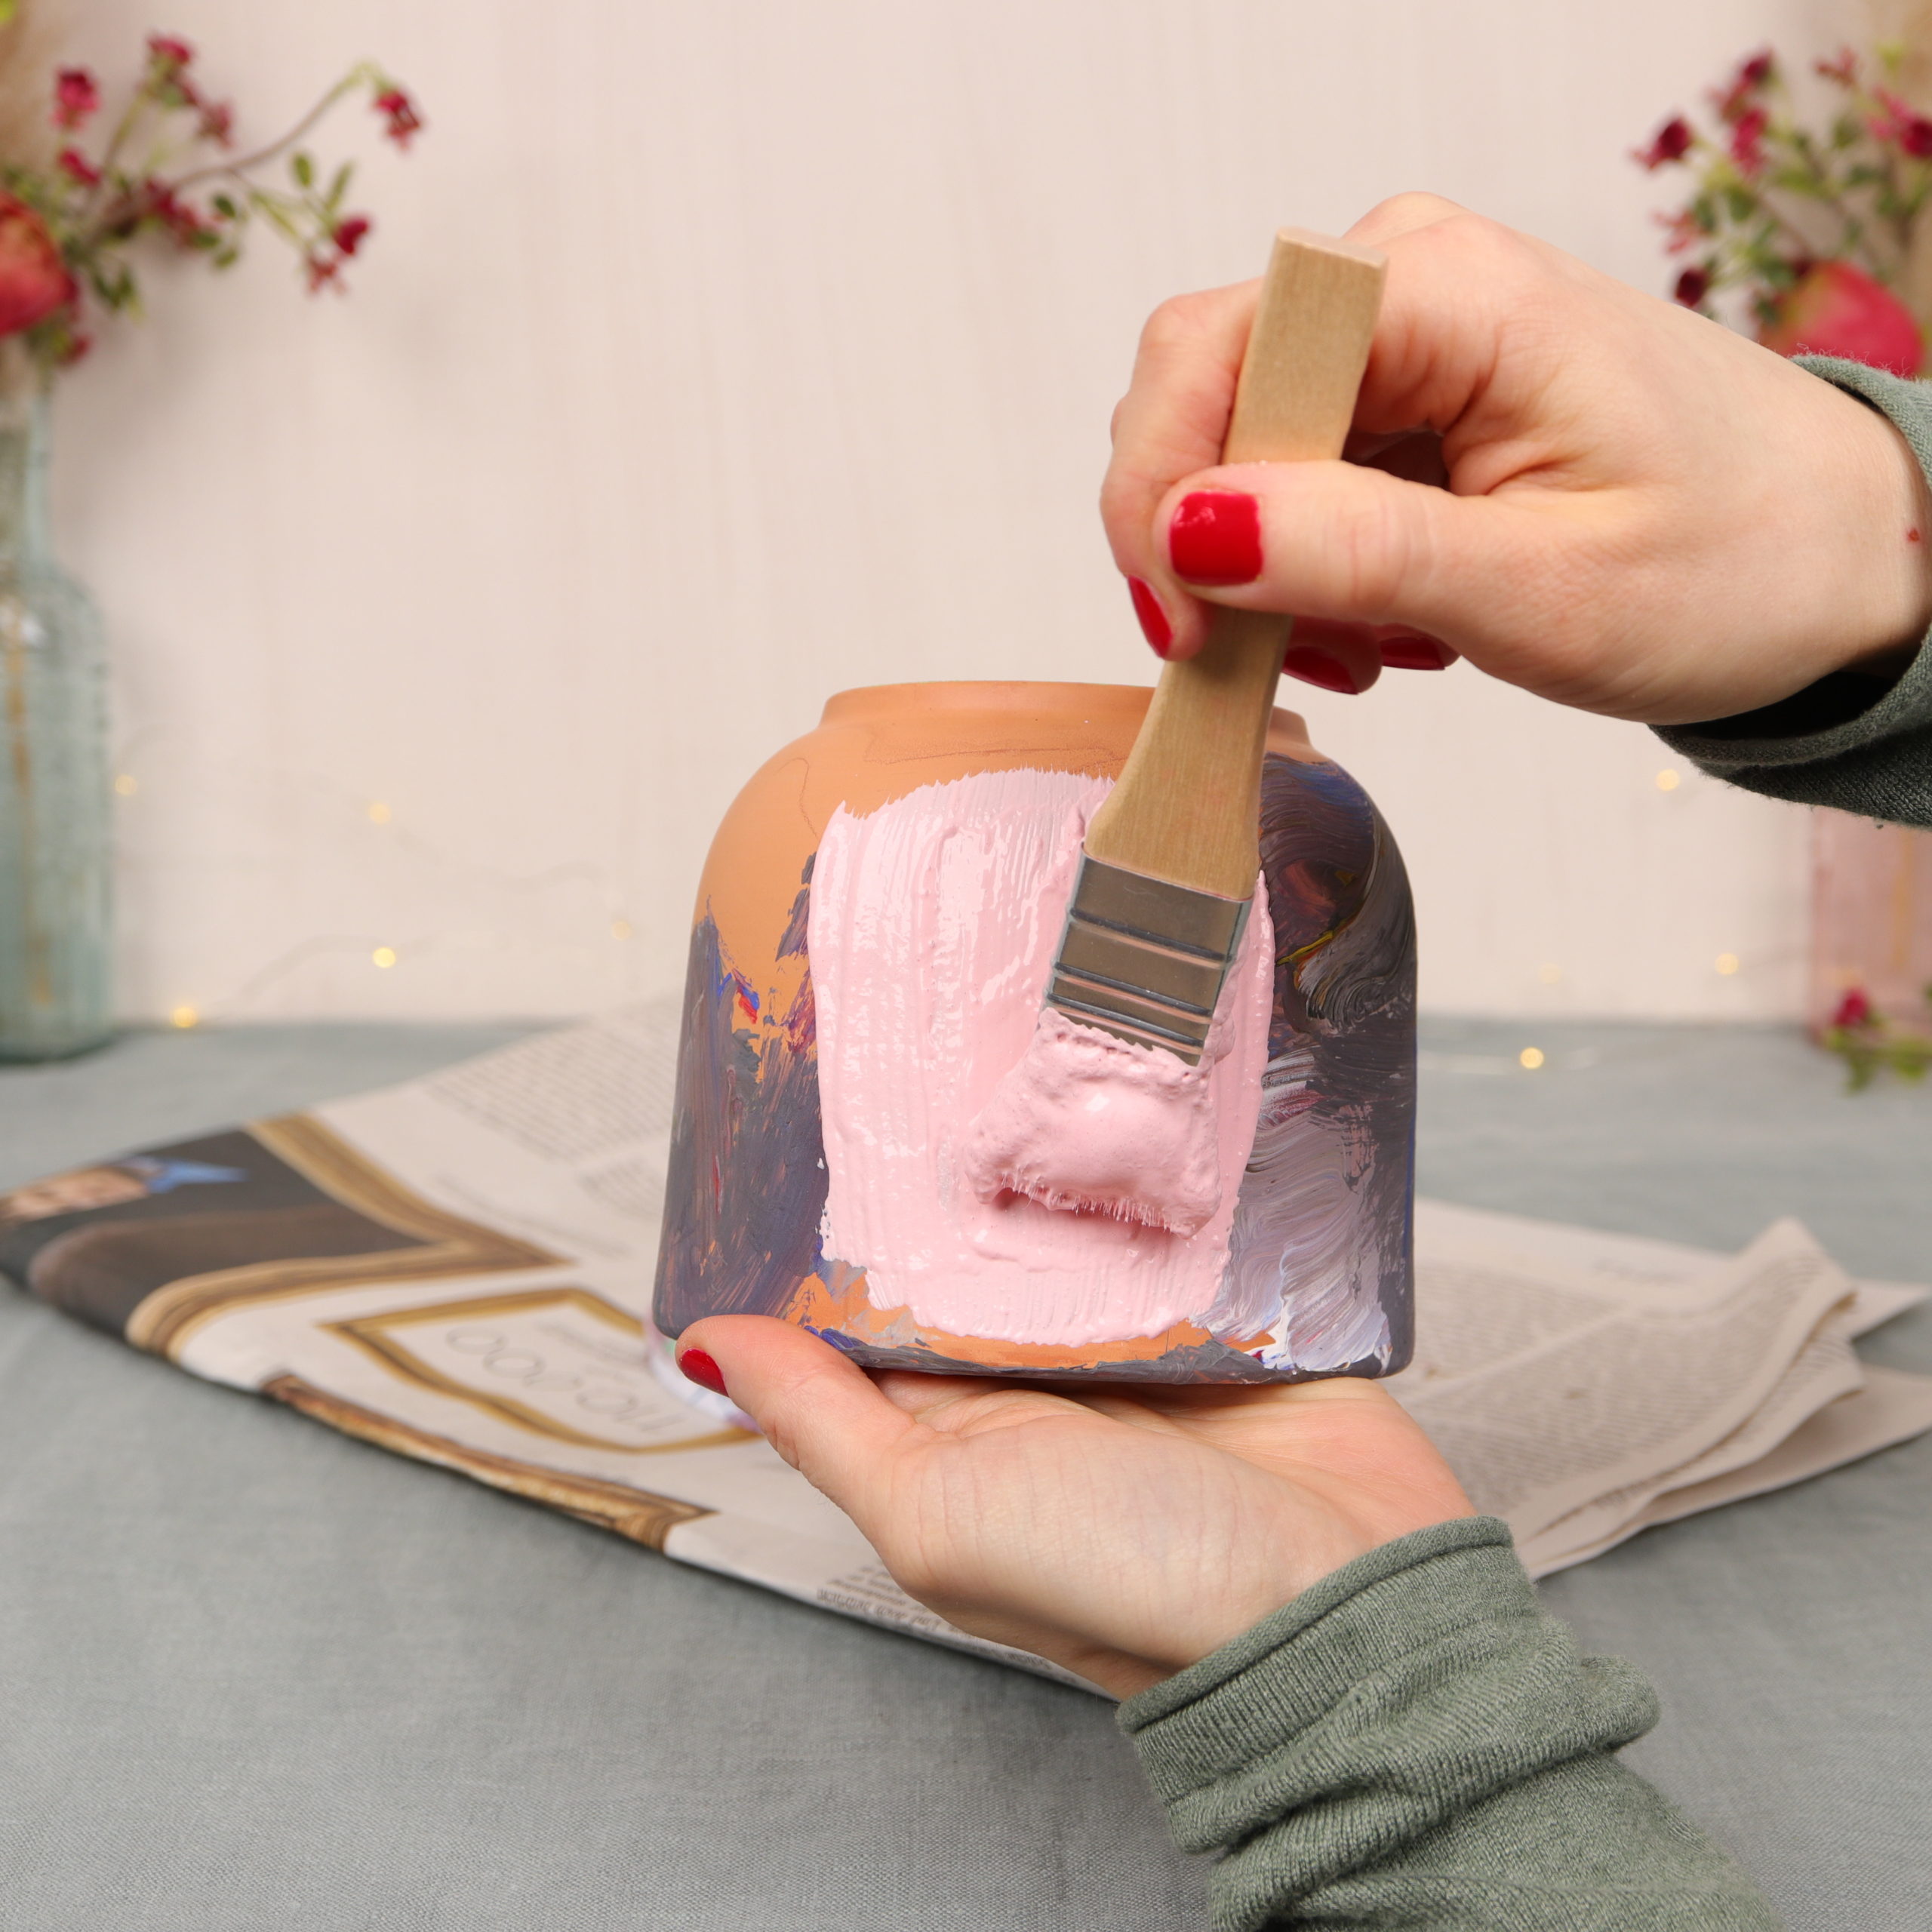
The first layer didn’t cover the planter completely. So I let the paint dry a bit and then added another layer of paint.
Step 4: Create structure
Finally, I created some structure with the brush.
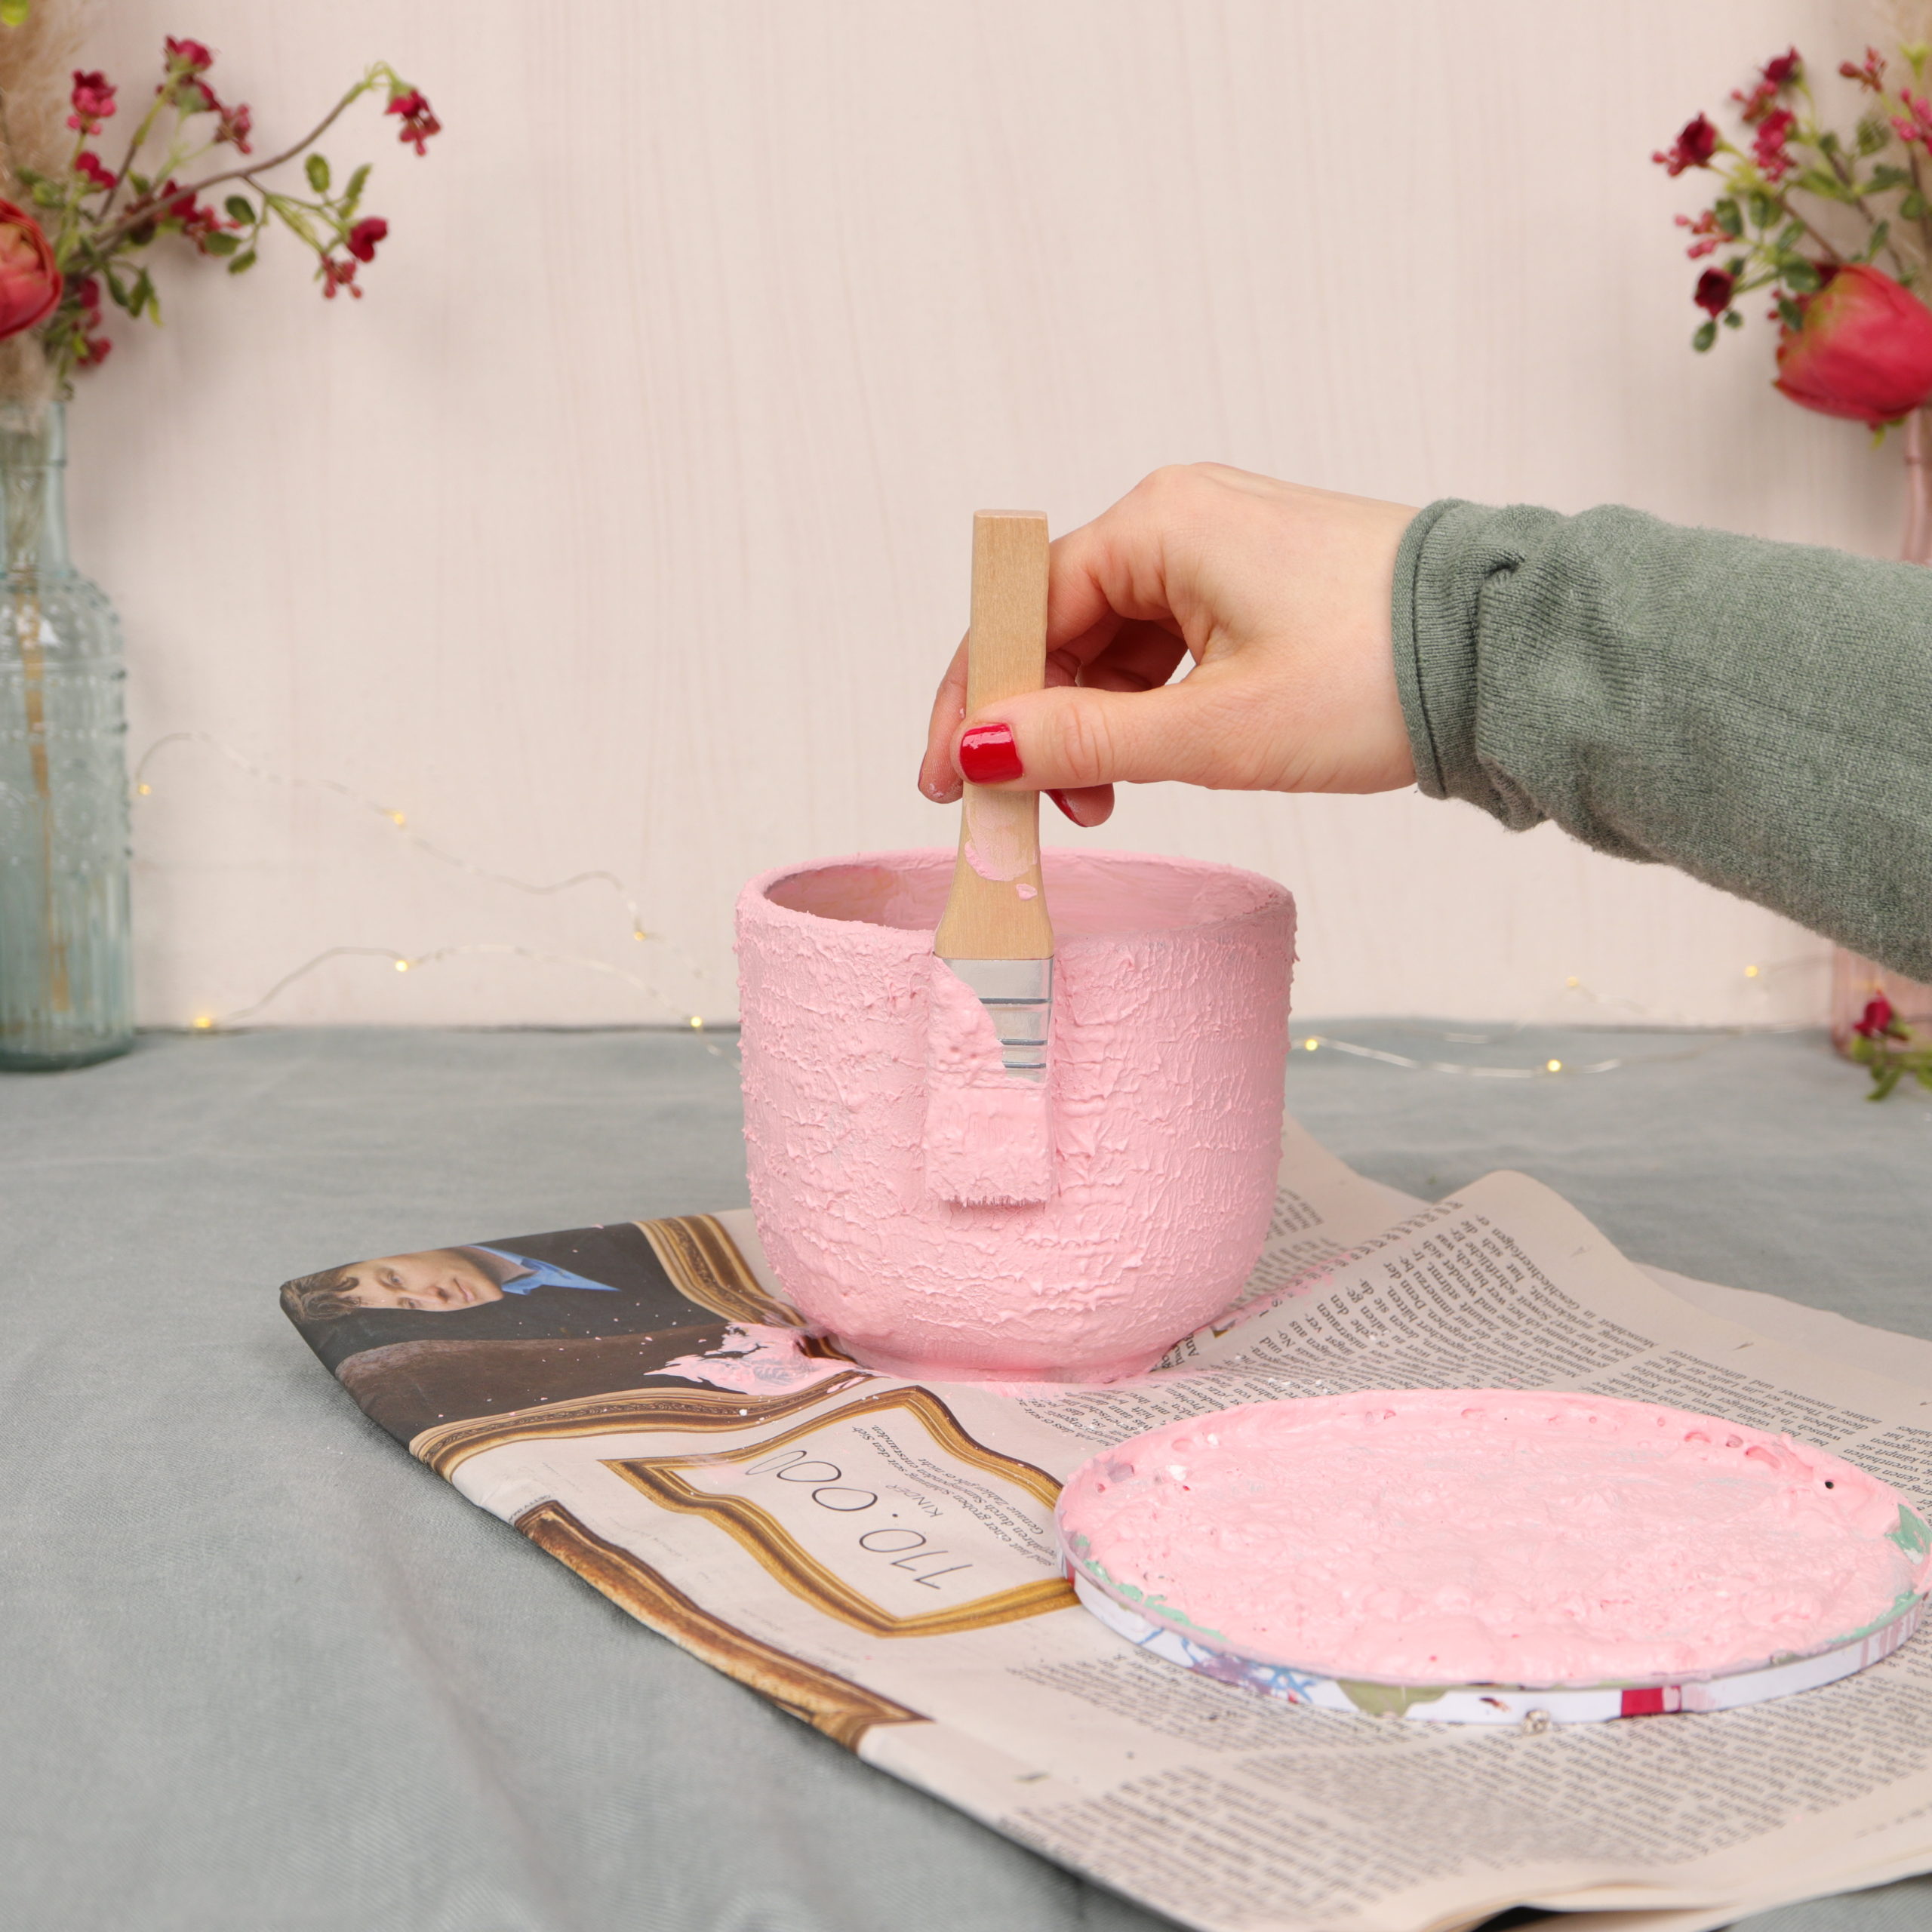
Simply lay the brush flat to the planter and press a little.

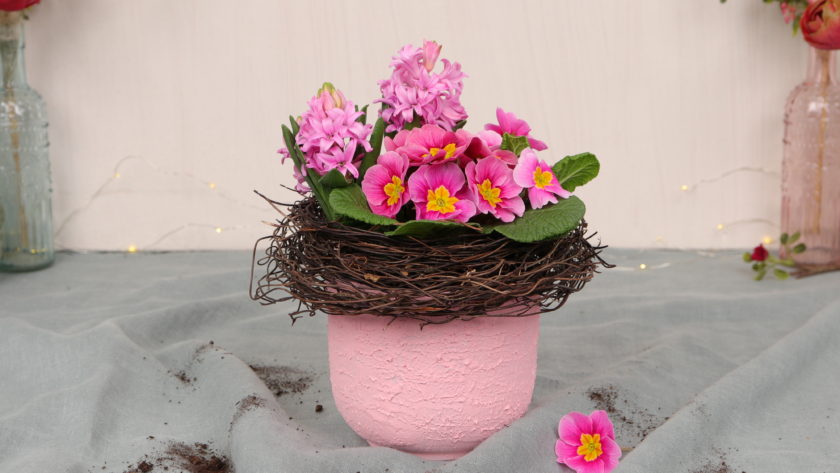
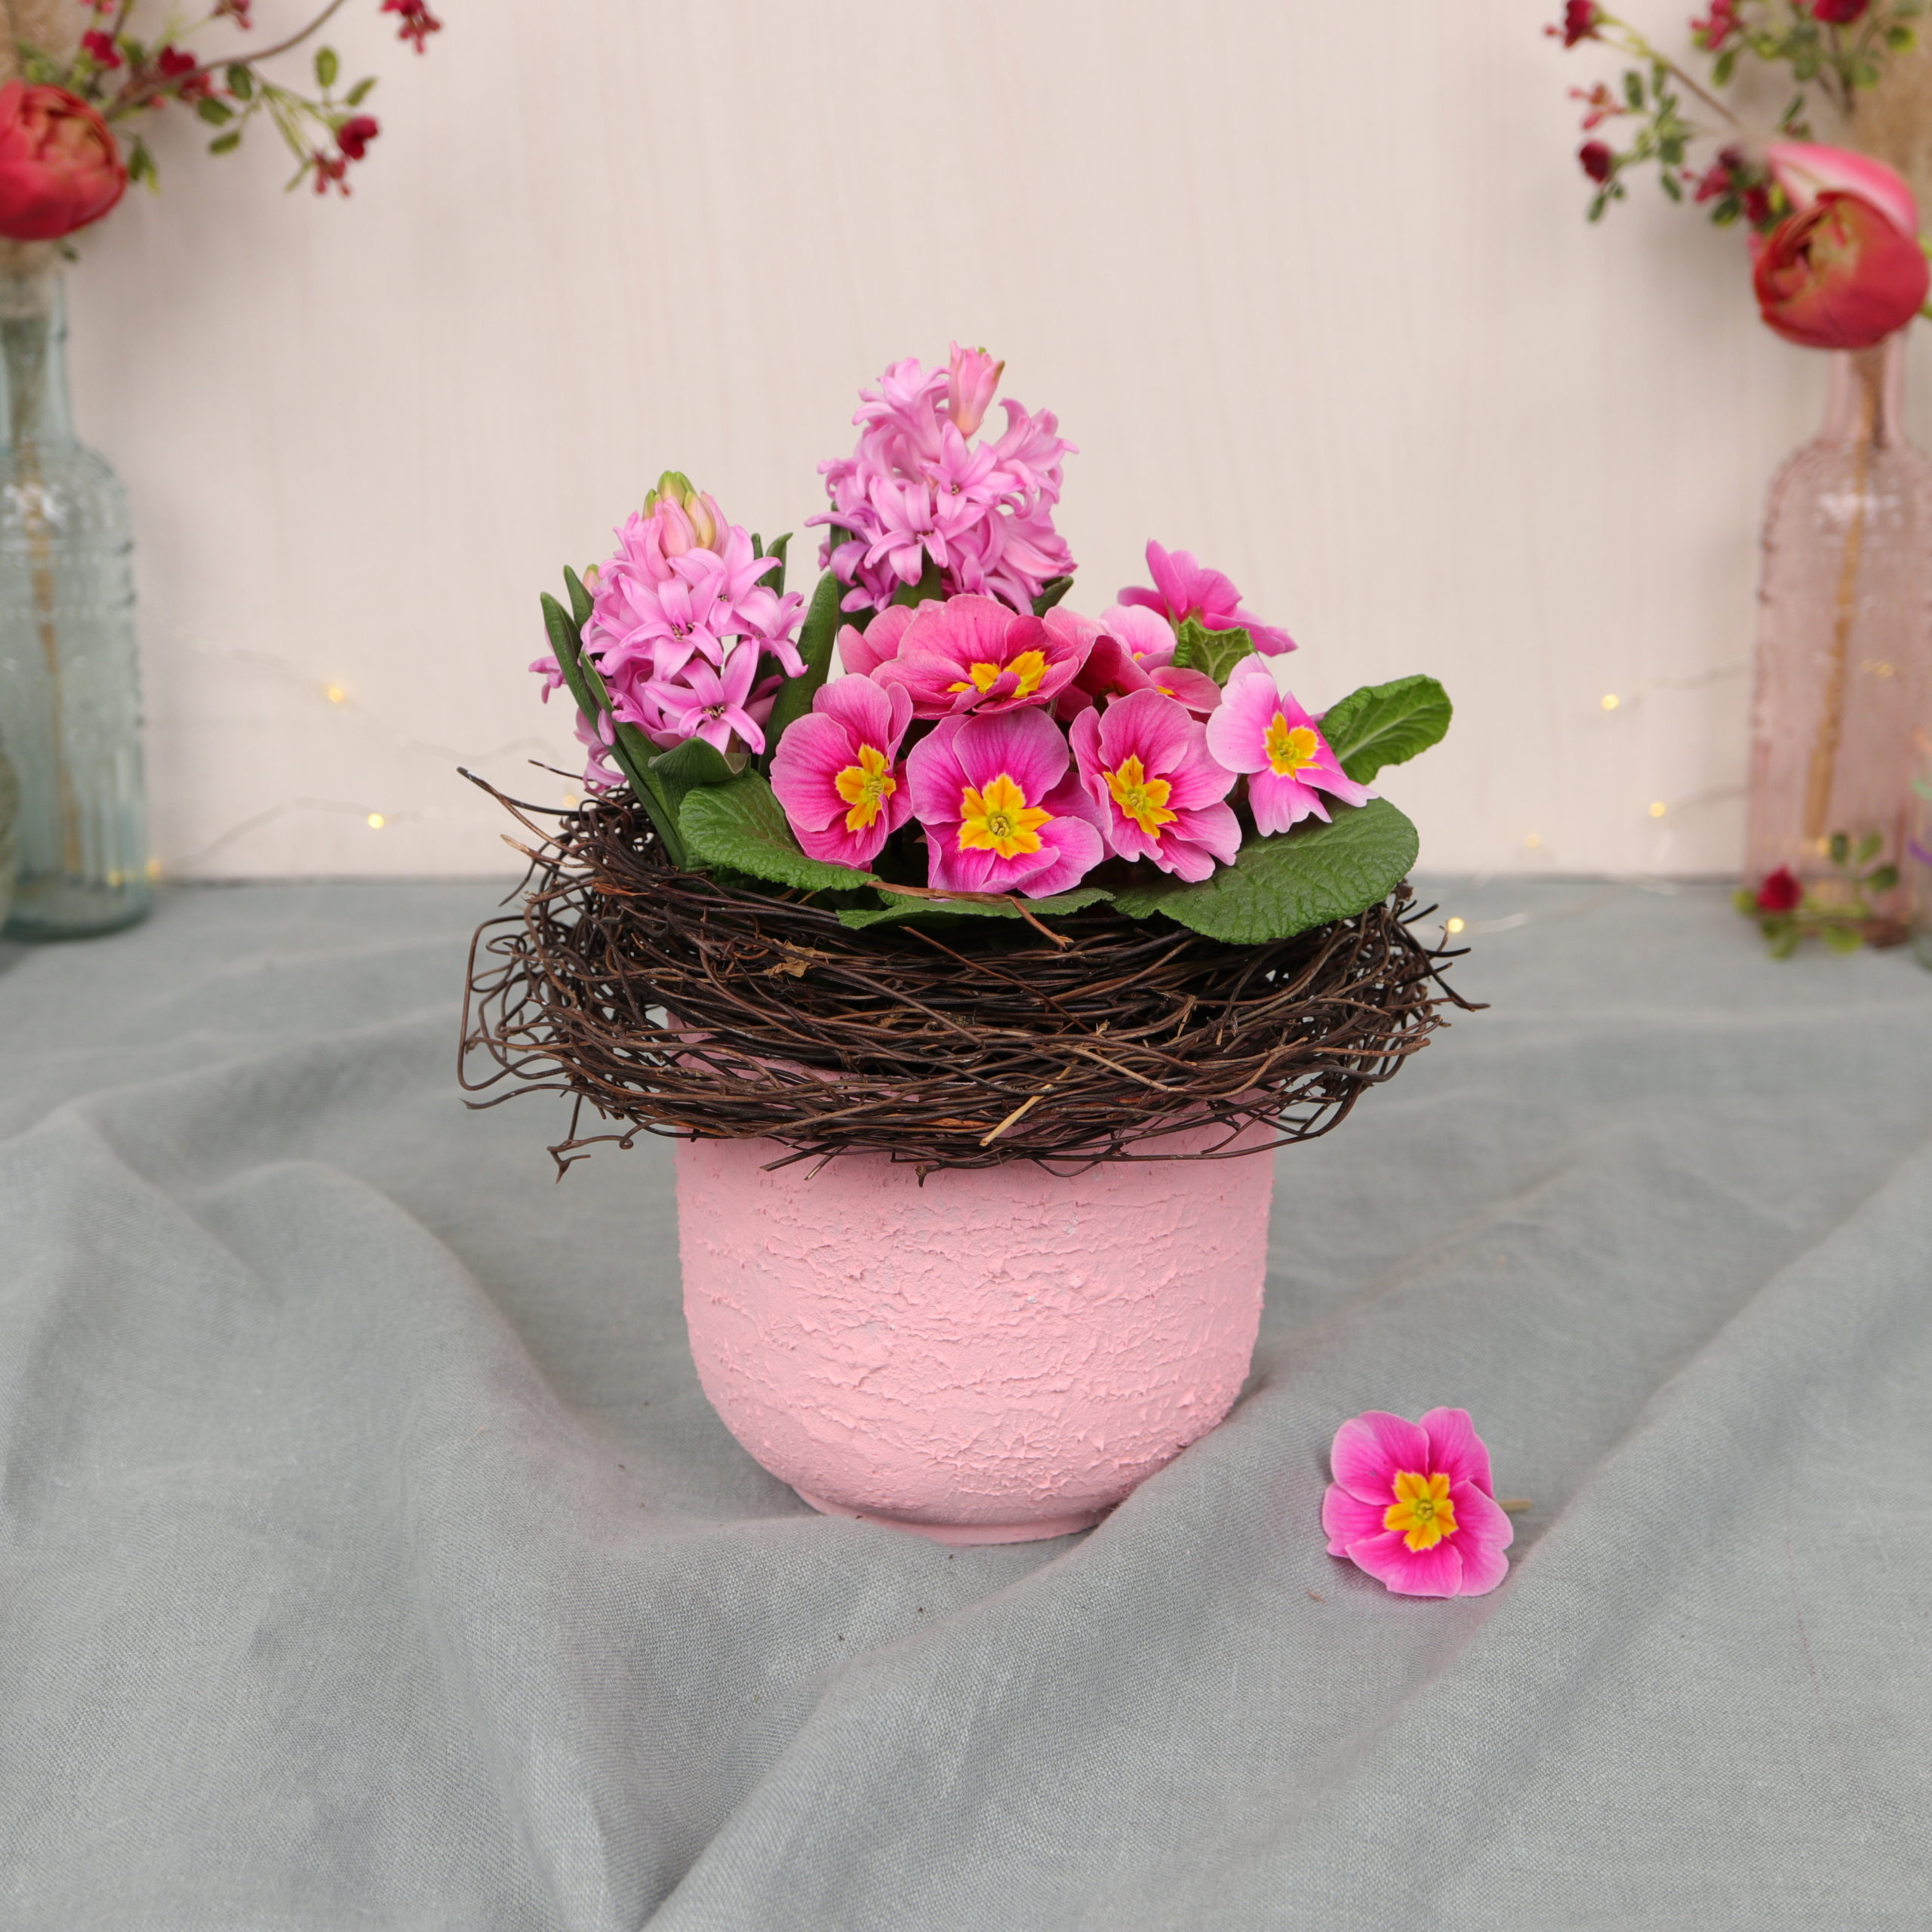
Now the planter only needs a few pretty flowers and the new “terracotta” decoration is ready!
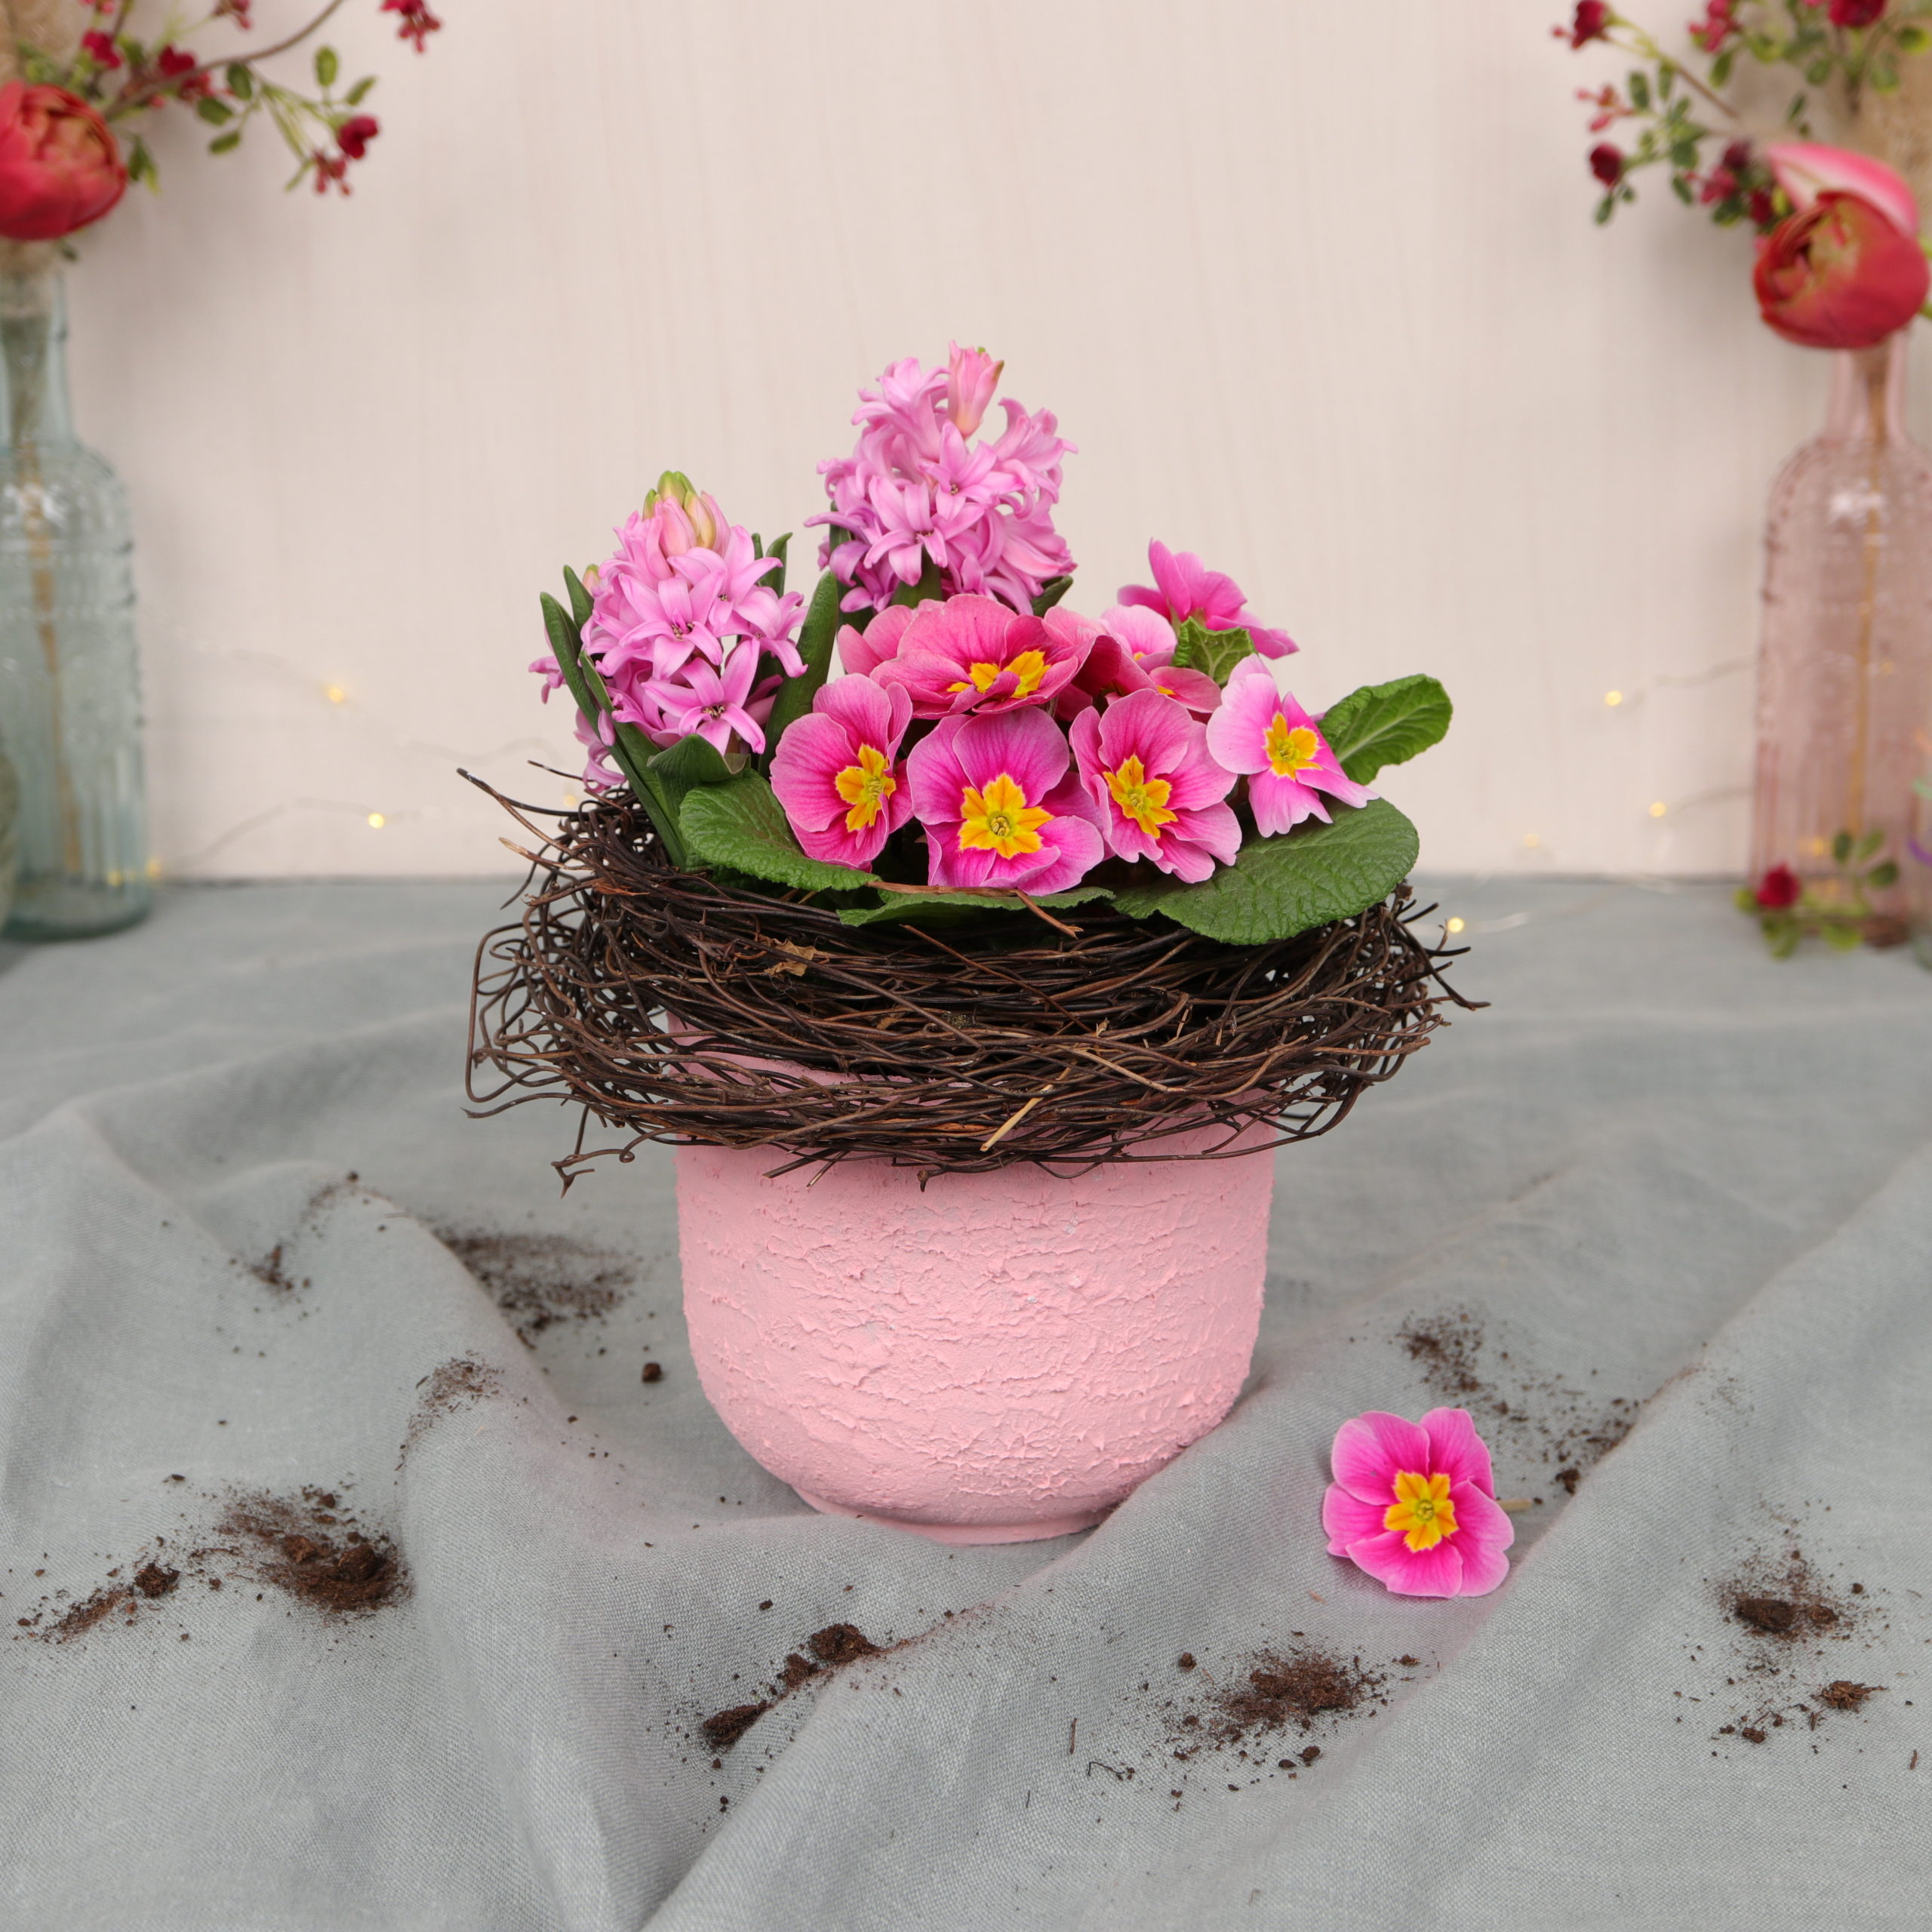
I hope you had as much fun with this DIY as I did and that you enjoy looking at the floral decorations!
If you are looking for more upcycling ideas, please have a look here: