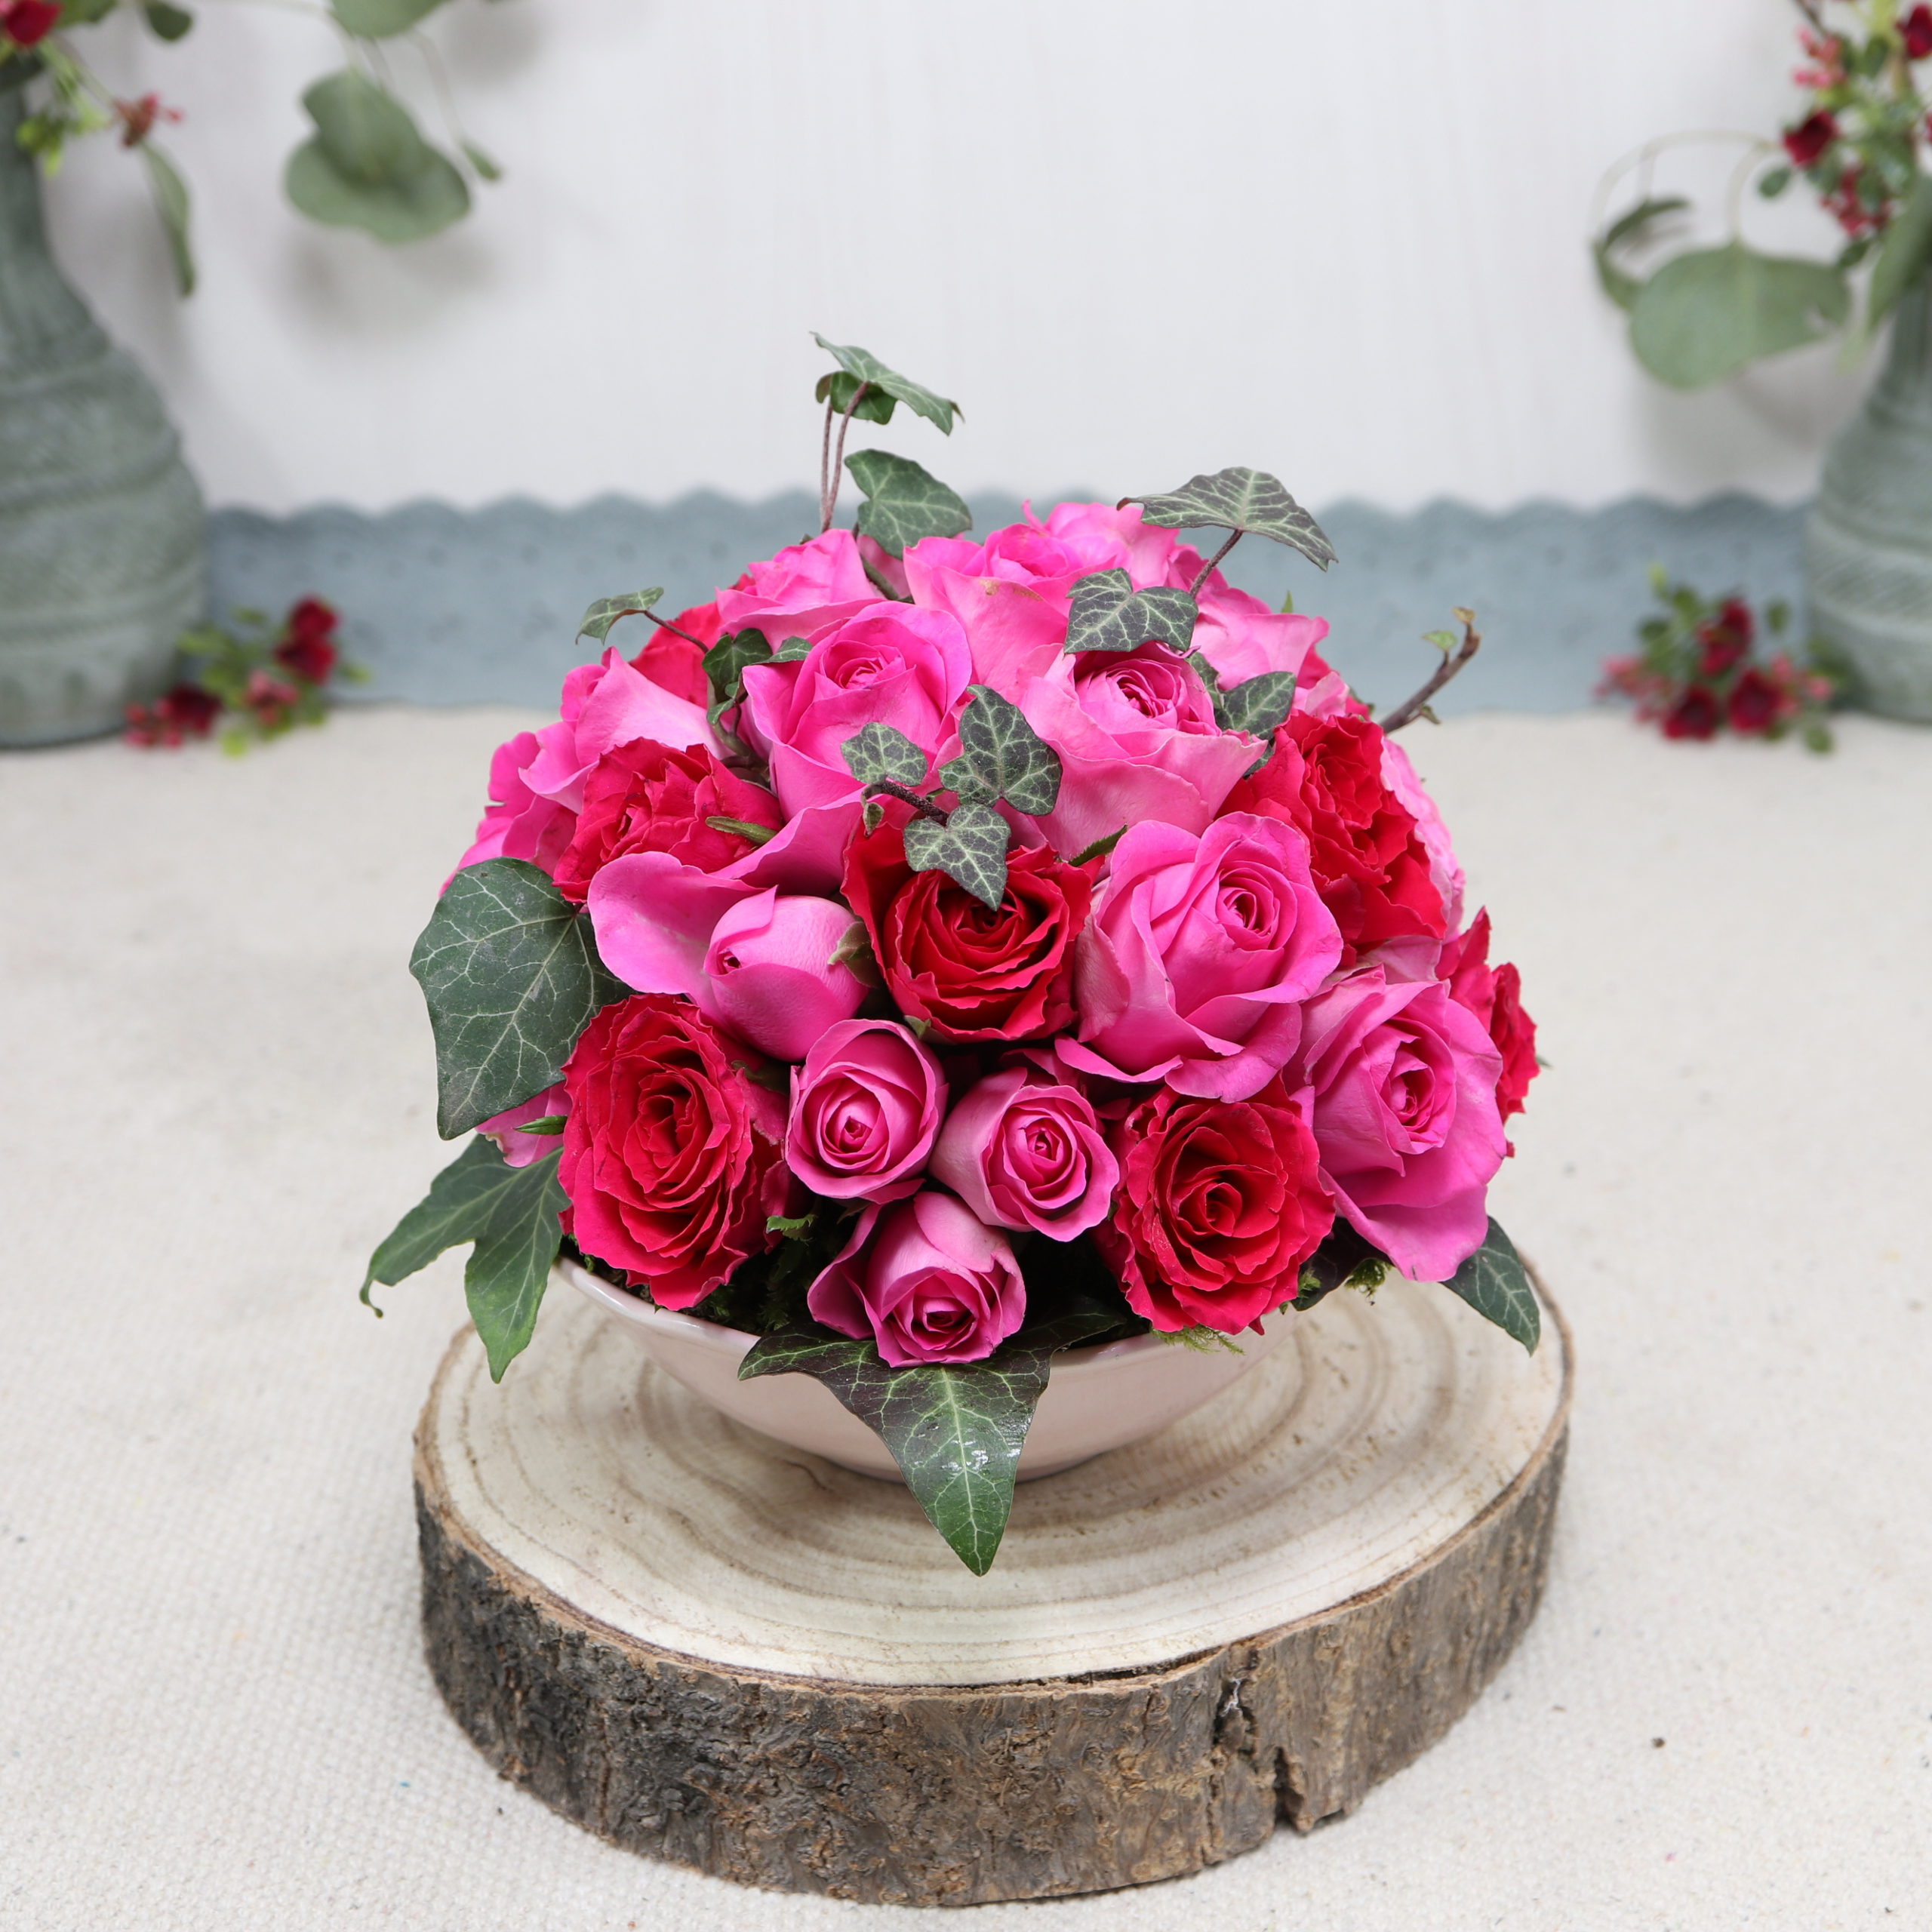
Today I show you a step-by-step tutorial about how to create a floral foam-free rose arrangement in the form of a ball with pink roses, ivy, moss and a vine wreath. As a plugging compound I use (pottery) clay instead of floral foam. Clay is more environmentally friendly and sustainable than floral foam (see my floral foam FAQ on sustainability, disposal, microplastics).
If you’re looking for answers to general questions about clay and its use in flower arrangements, feel free to check out this FAQ: Clay as an alternative to floral foam.
But now to the instructions for the rose arrangement!
Tools
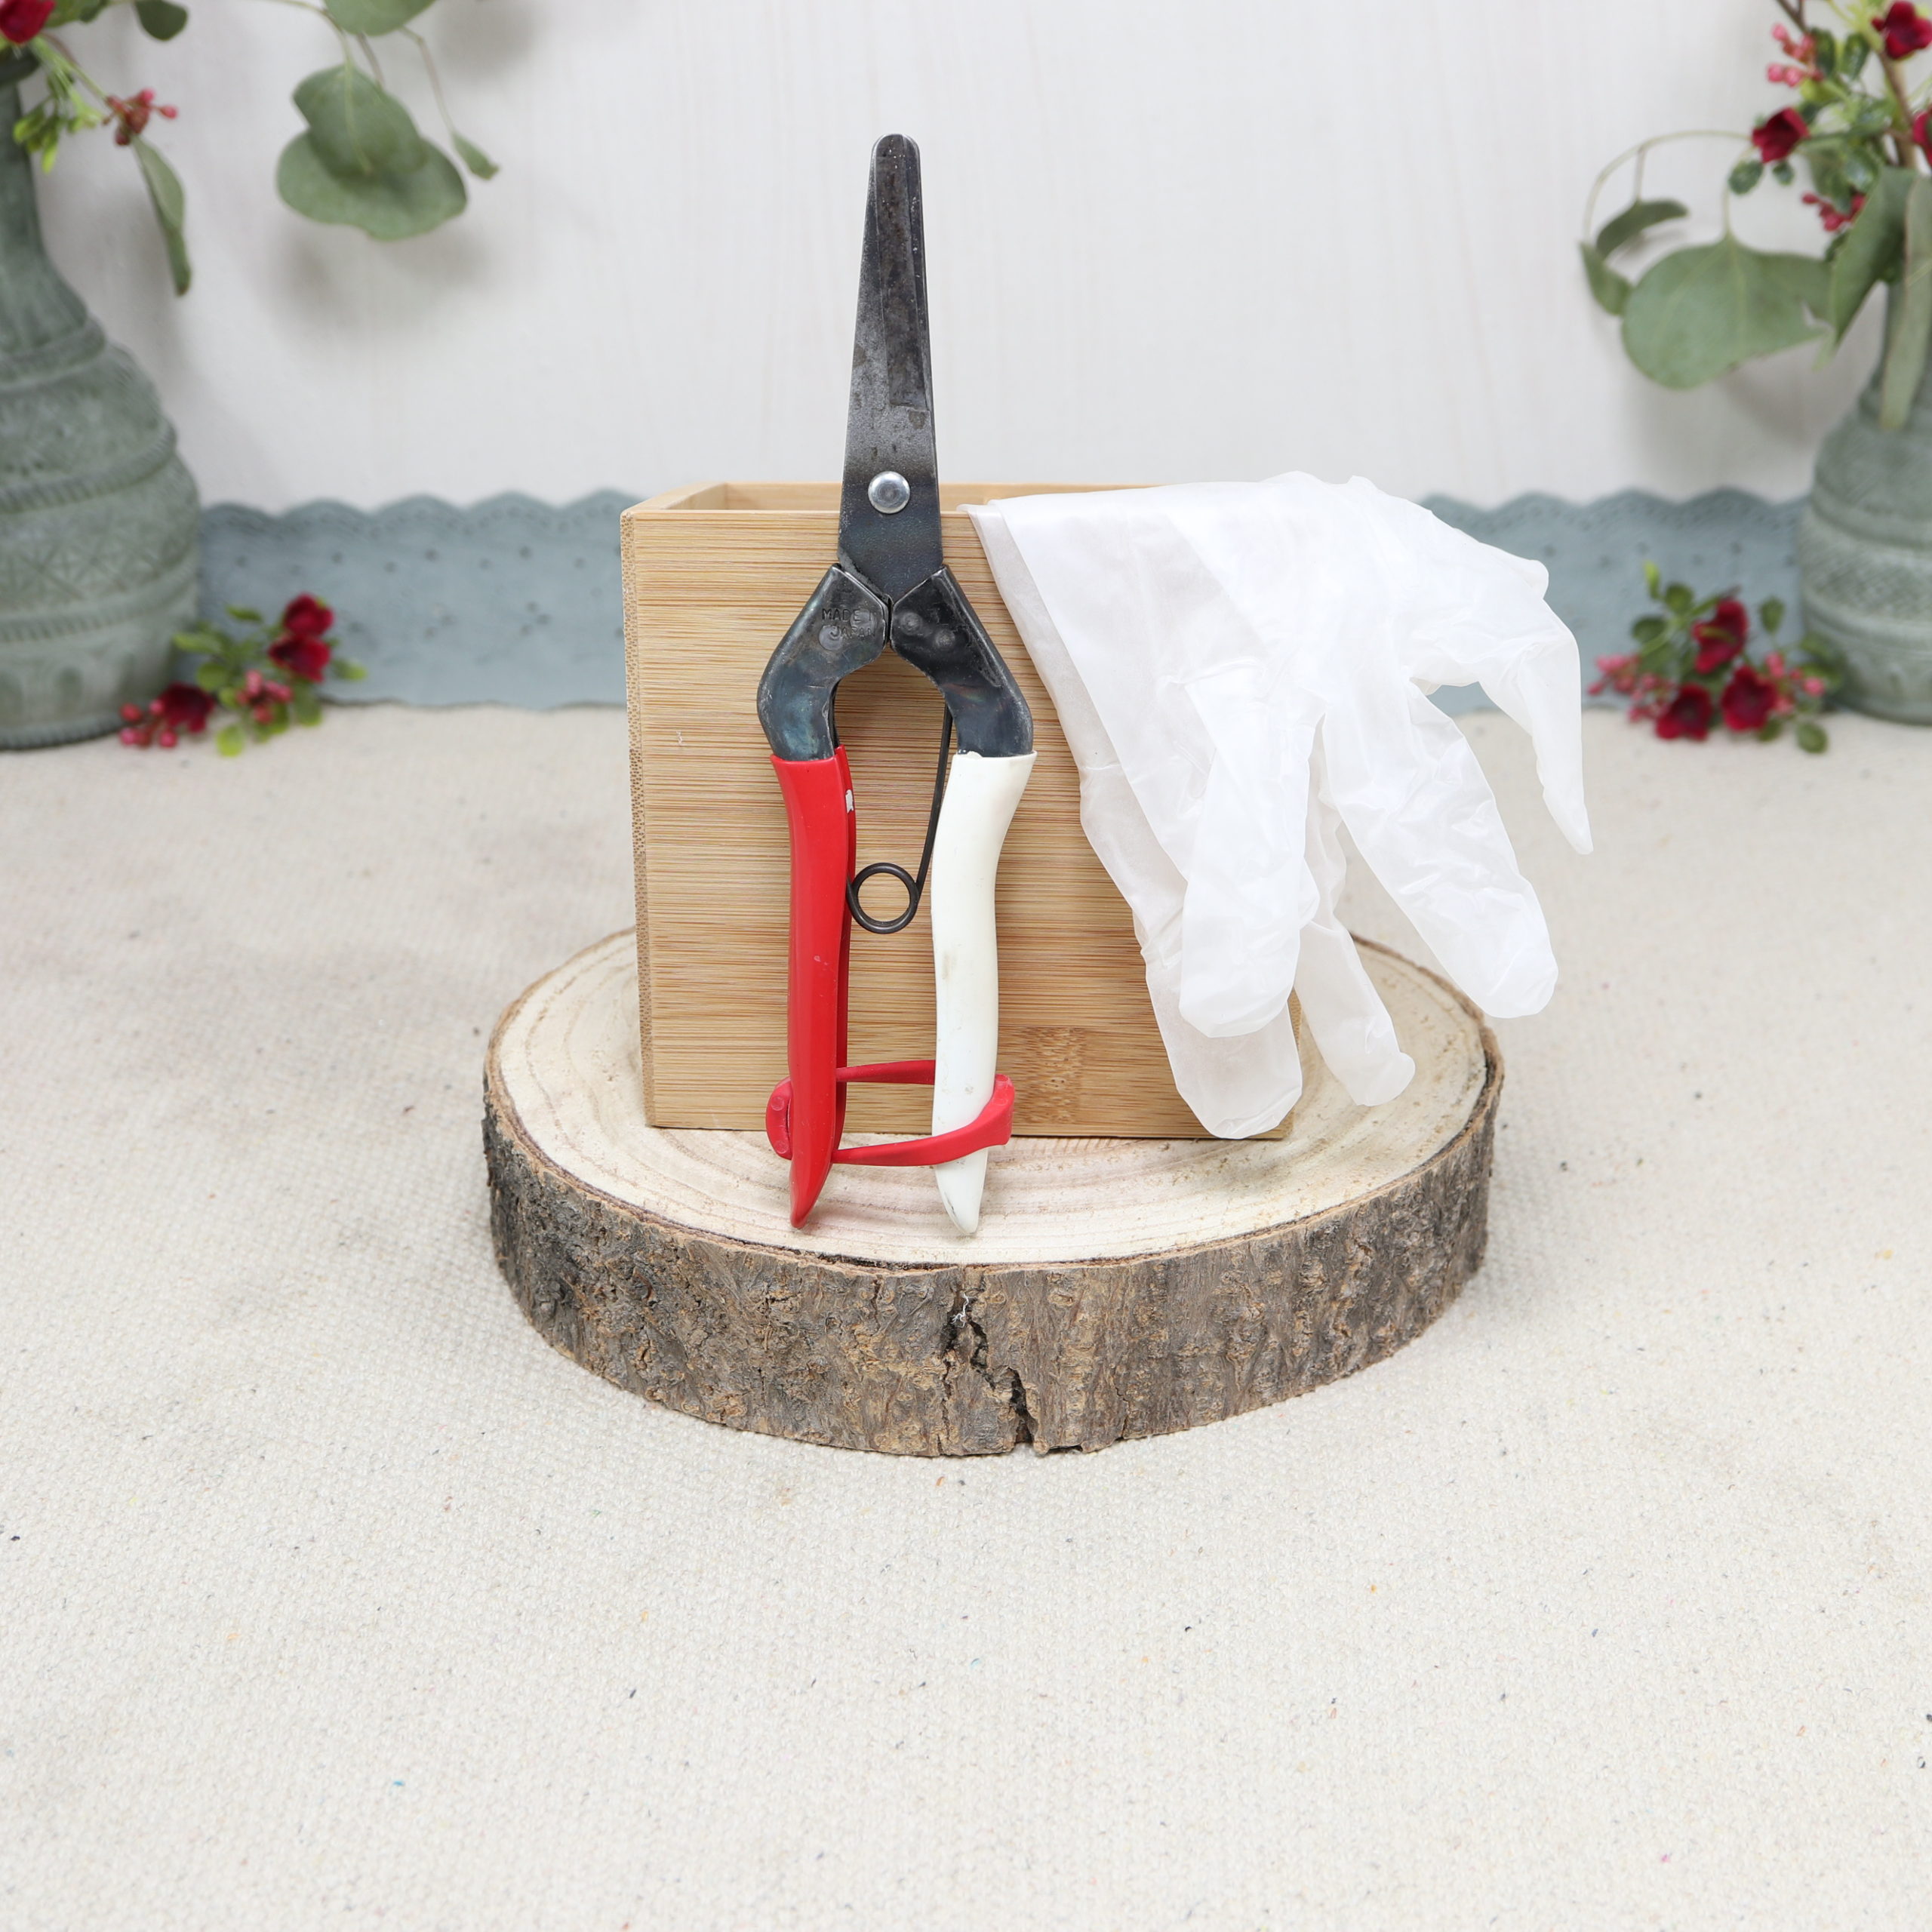
Here you can see what tools I used for the rose arrangement. You need a pair of flower scissors and if necessary gloves when working with clay.
Materials
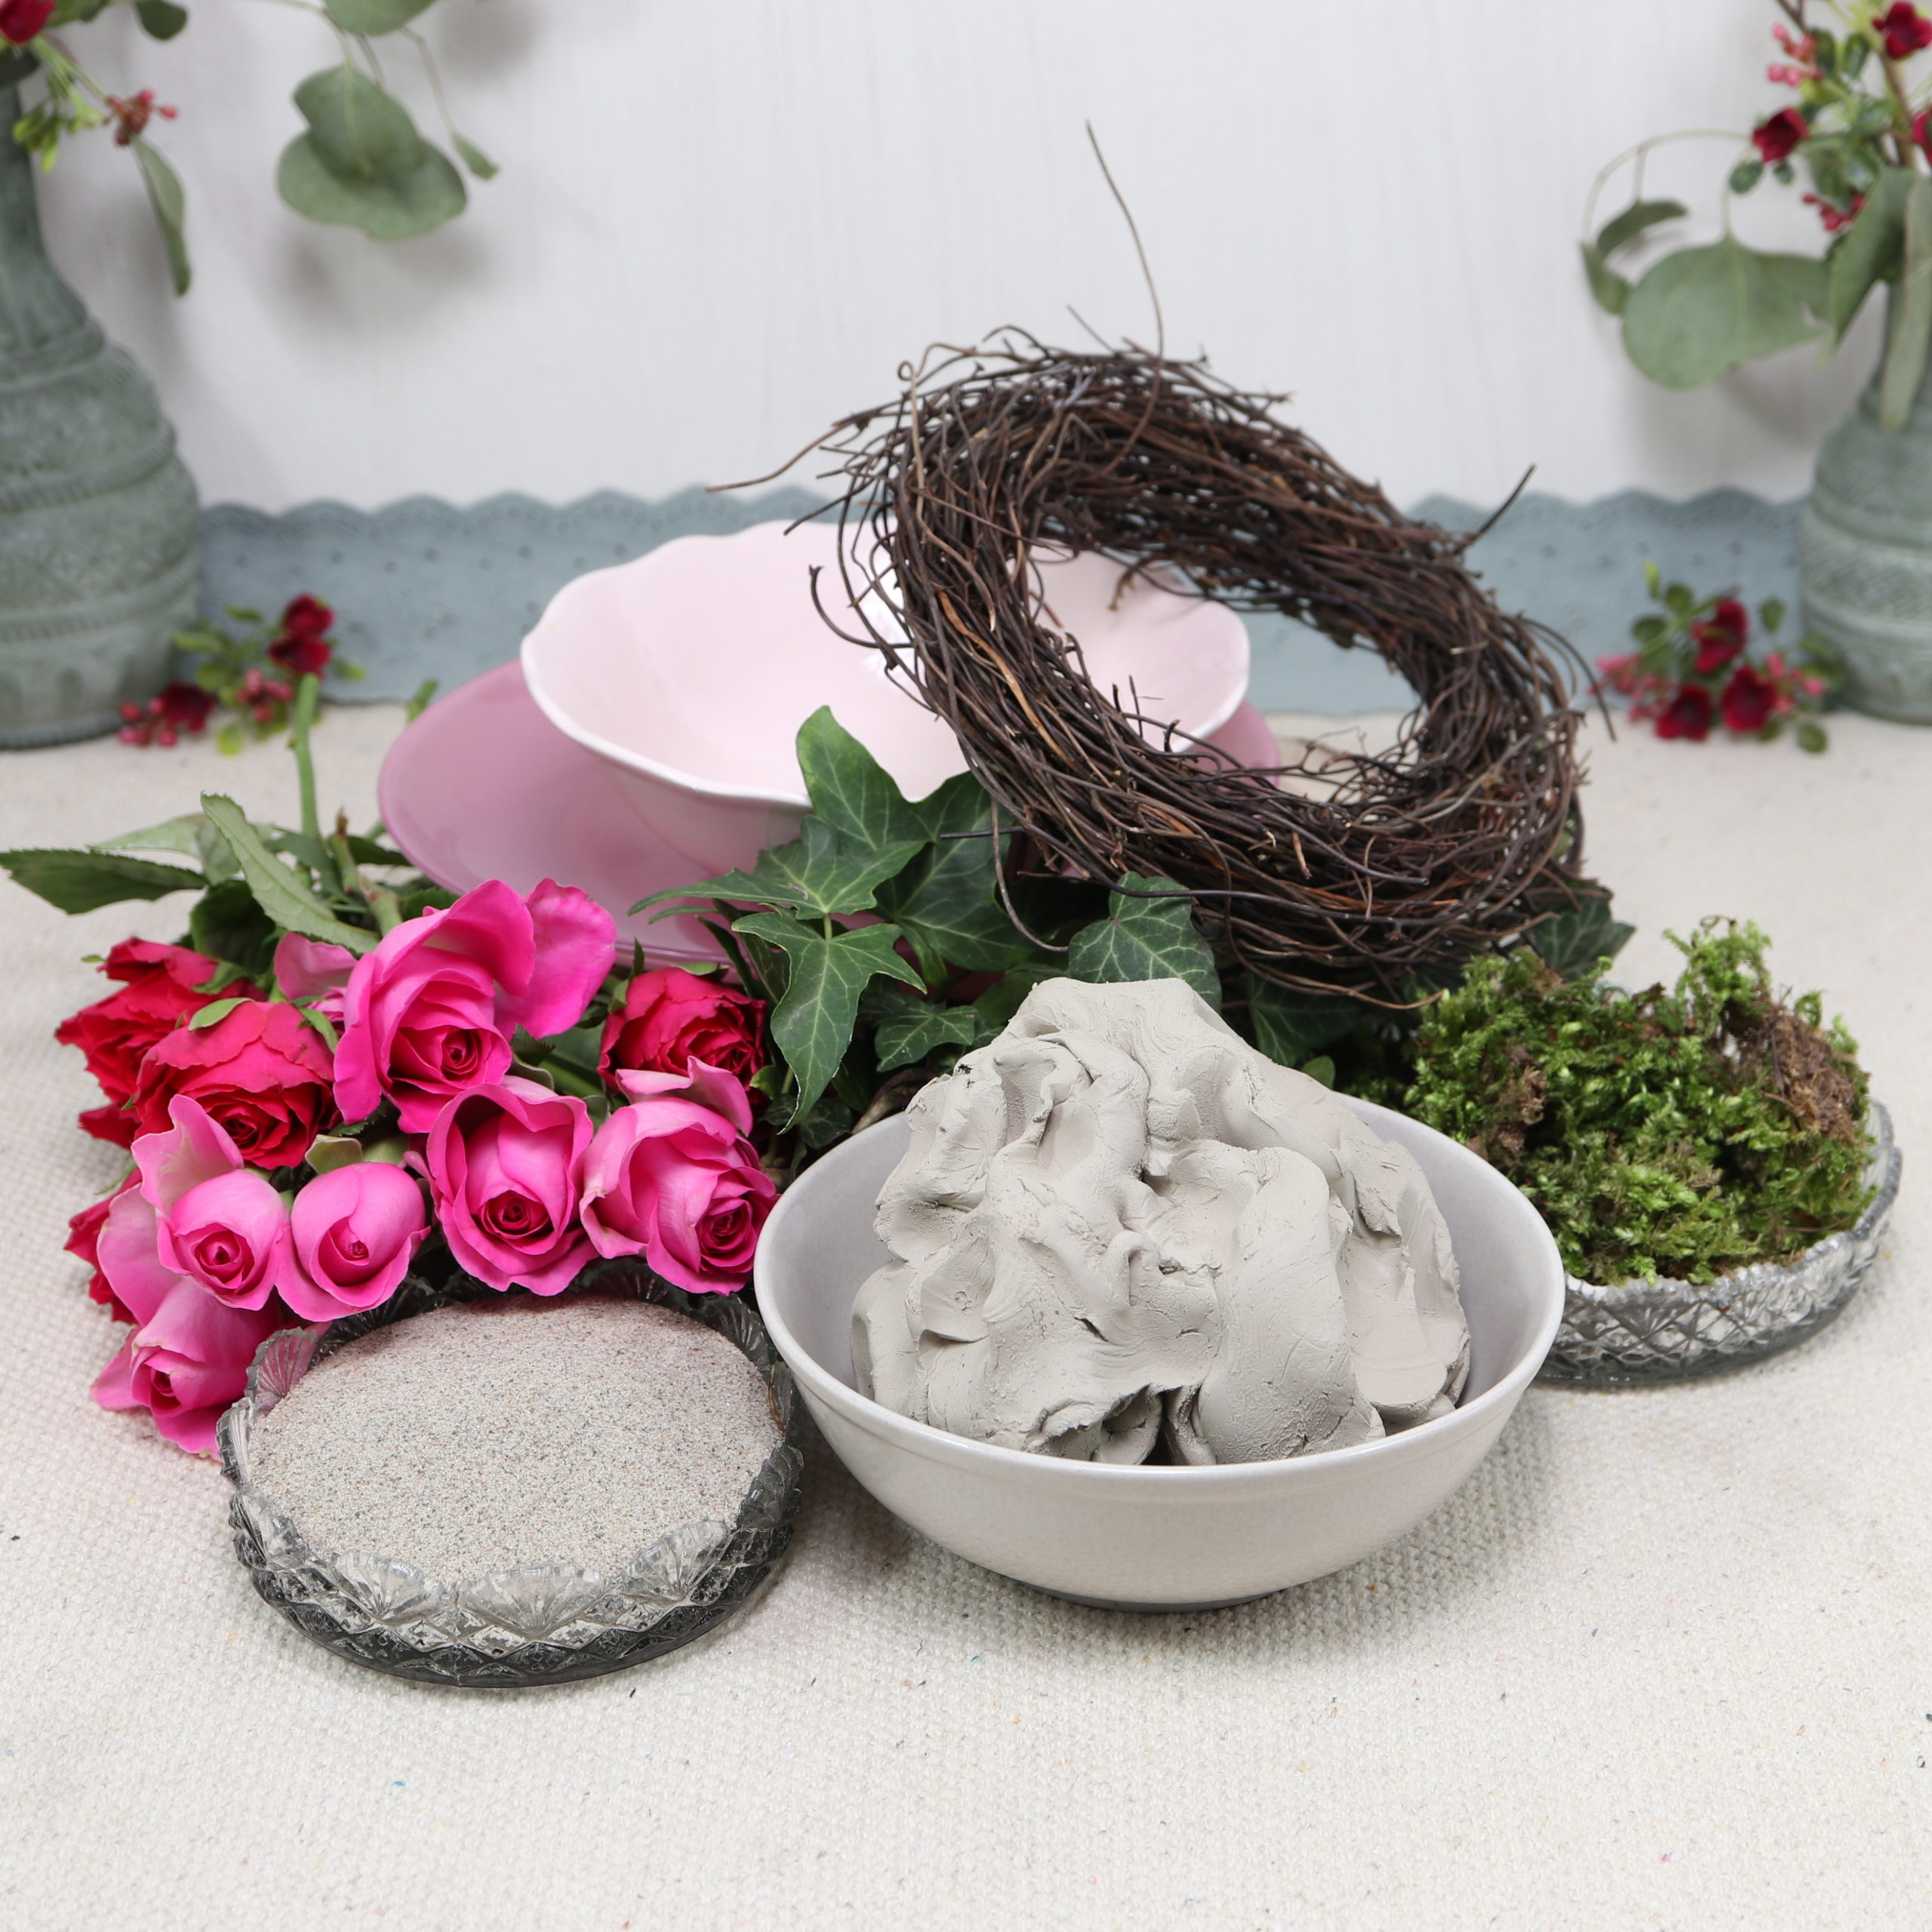
These are the materials I used for the rose ball: Roses in different shades of pink, ivy, potter’s clay as a plugging compound, sand, moss, a vine wreath, a pink bowl and a pink decorative plate.
Guide
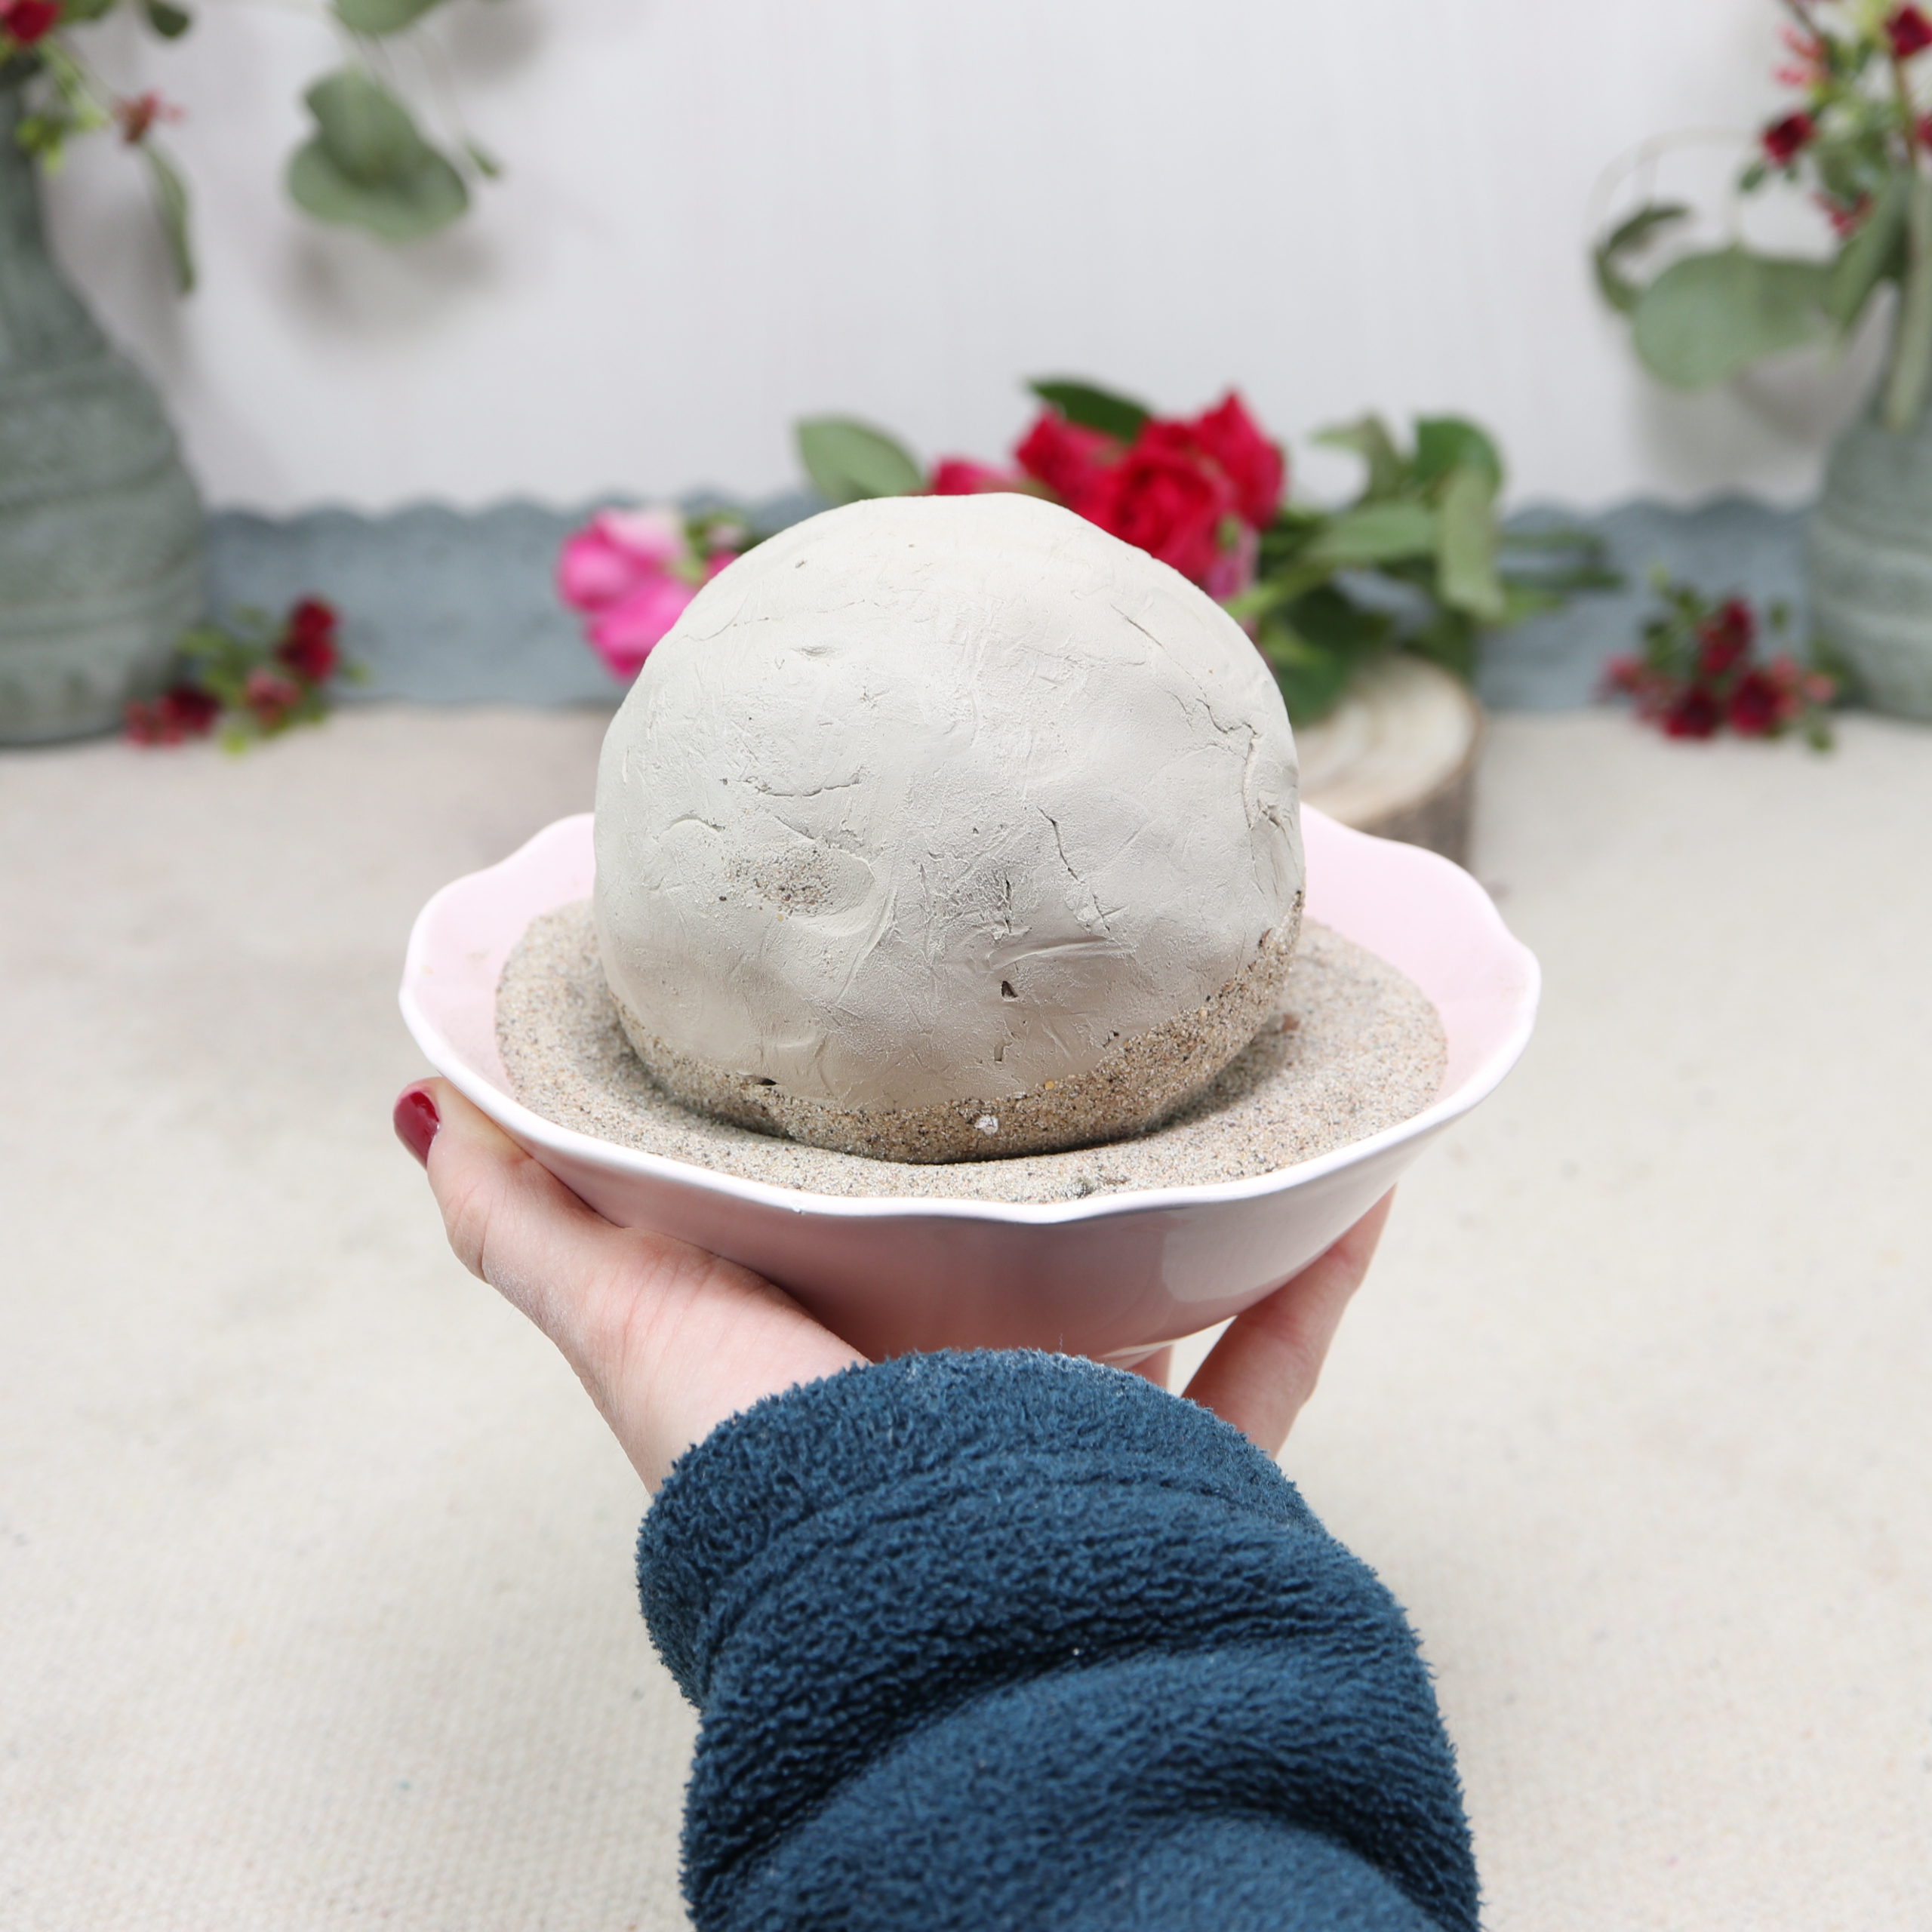
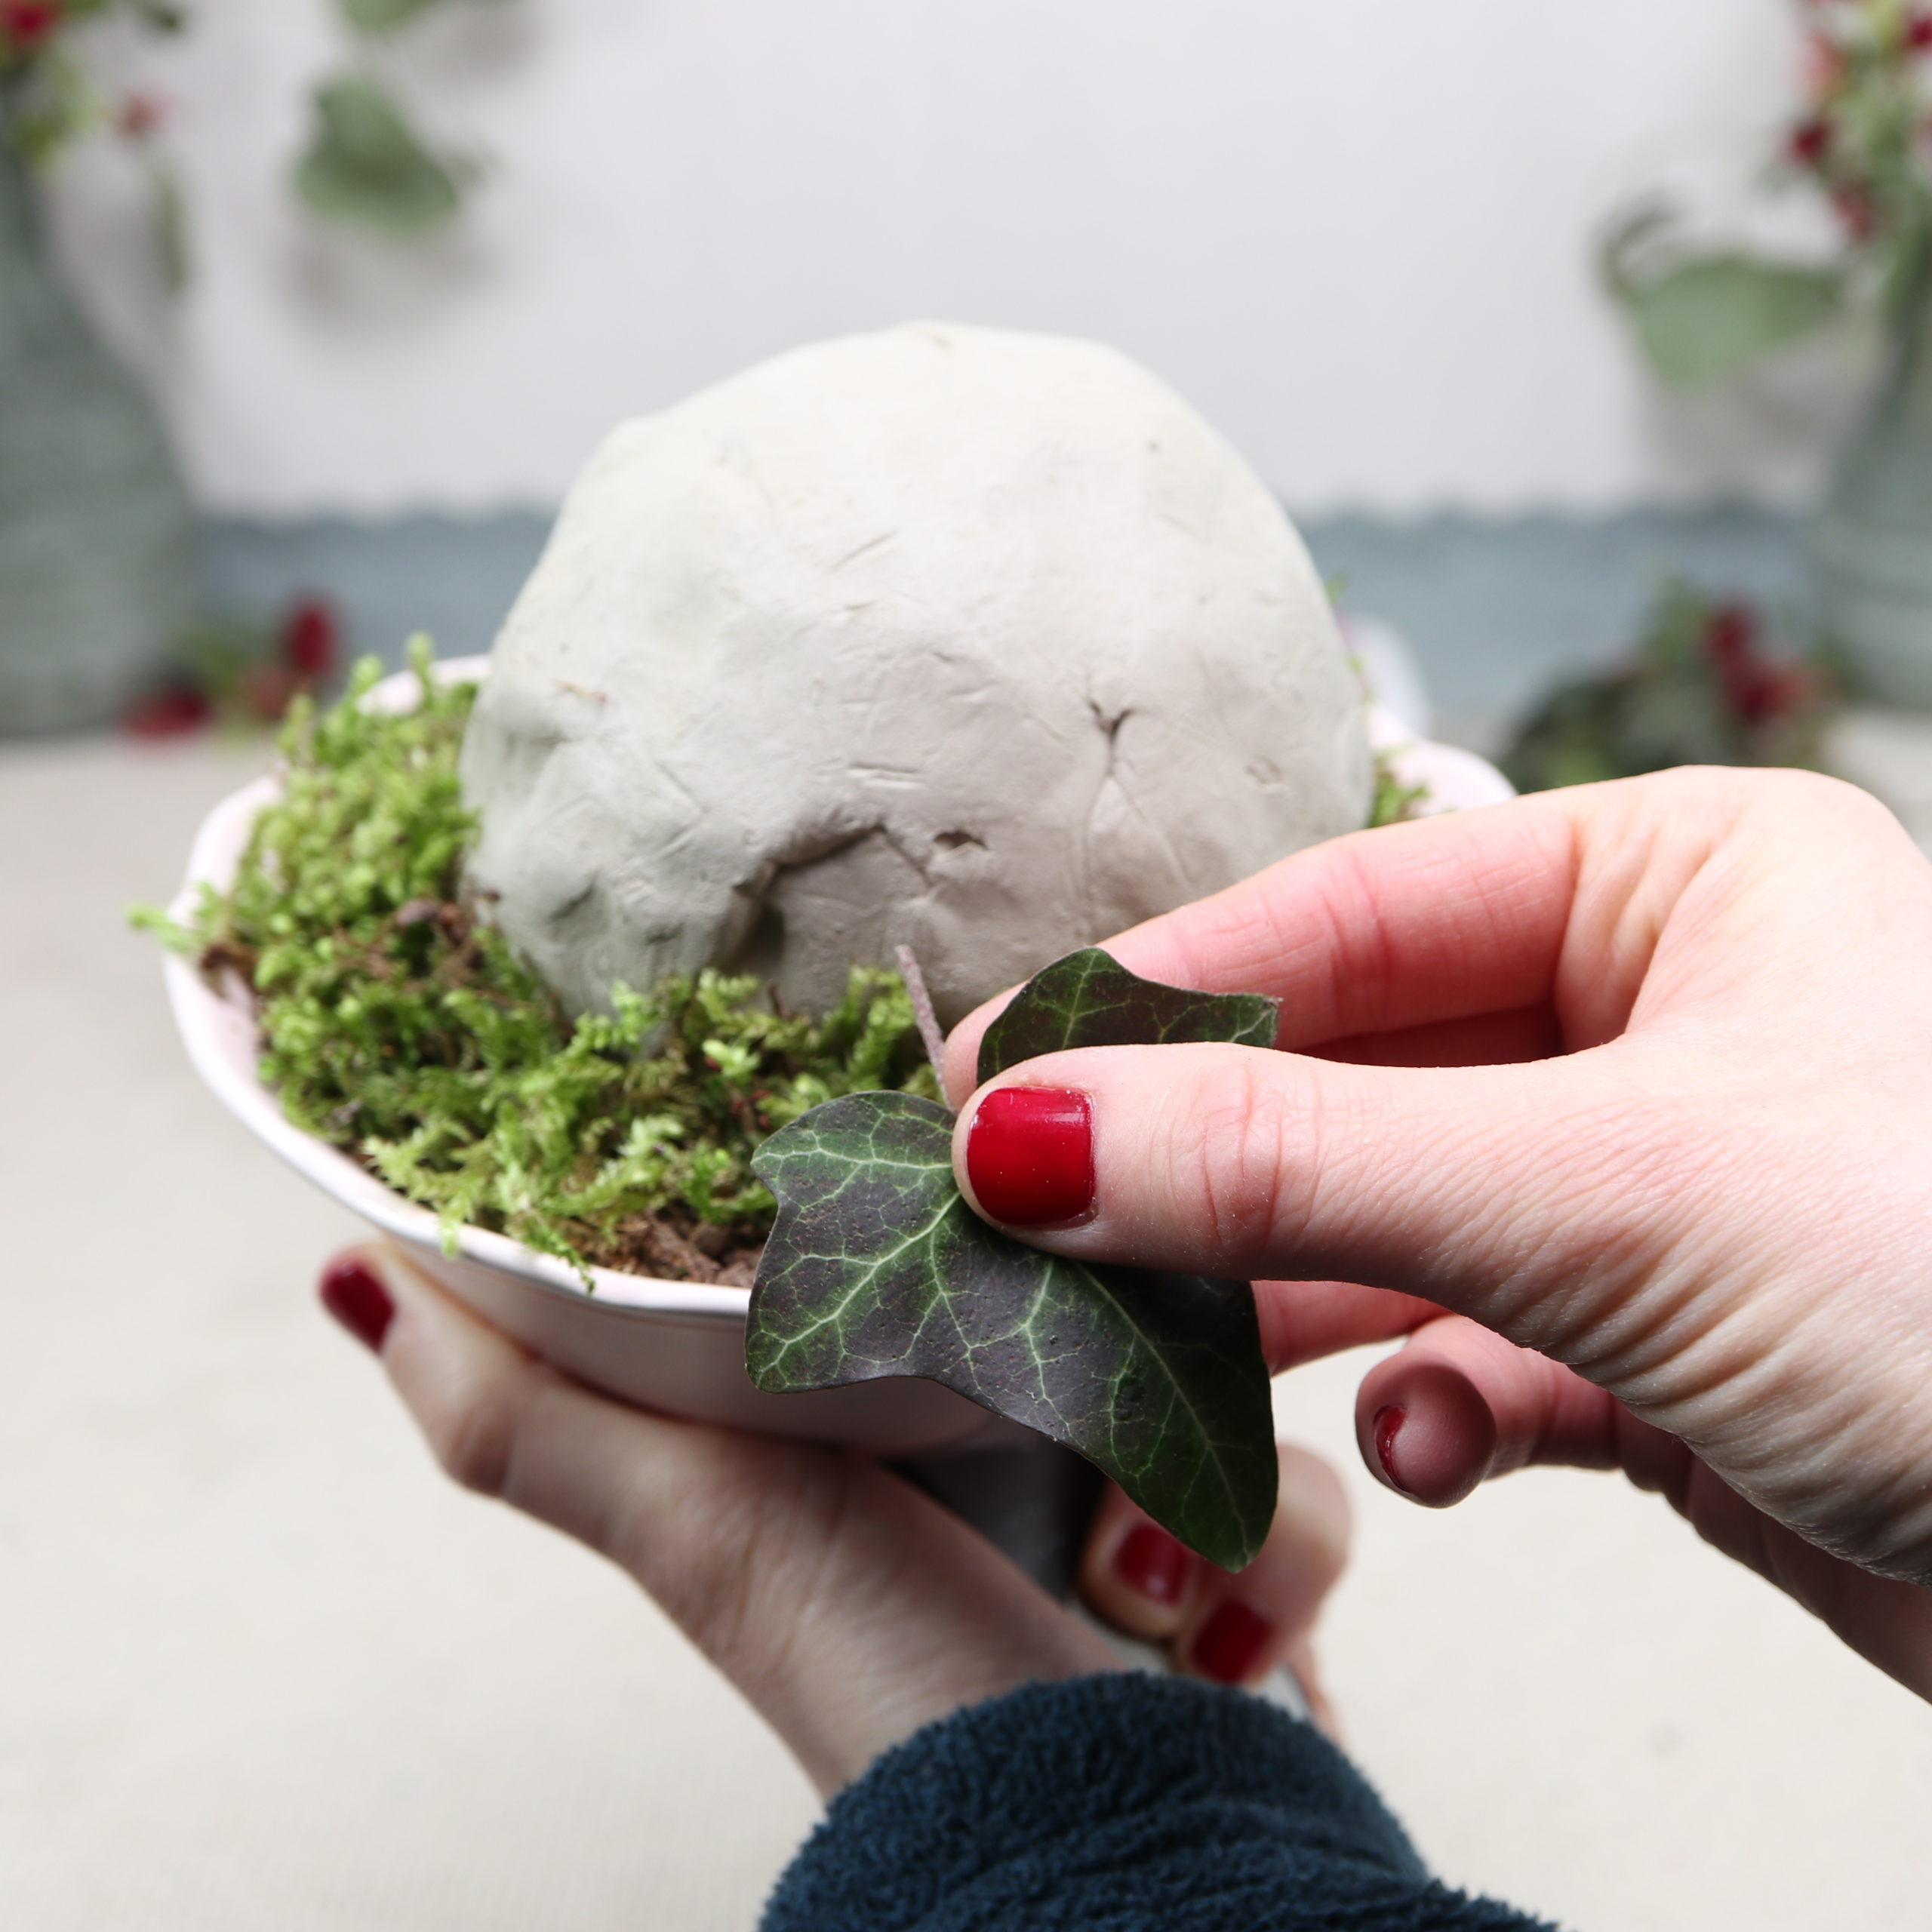
Step 1: Fill sand in bowl

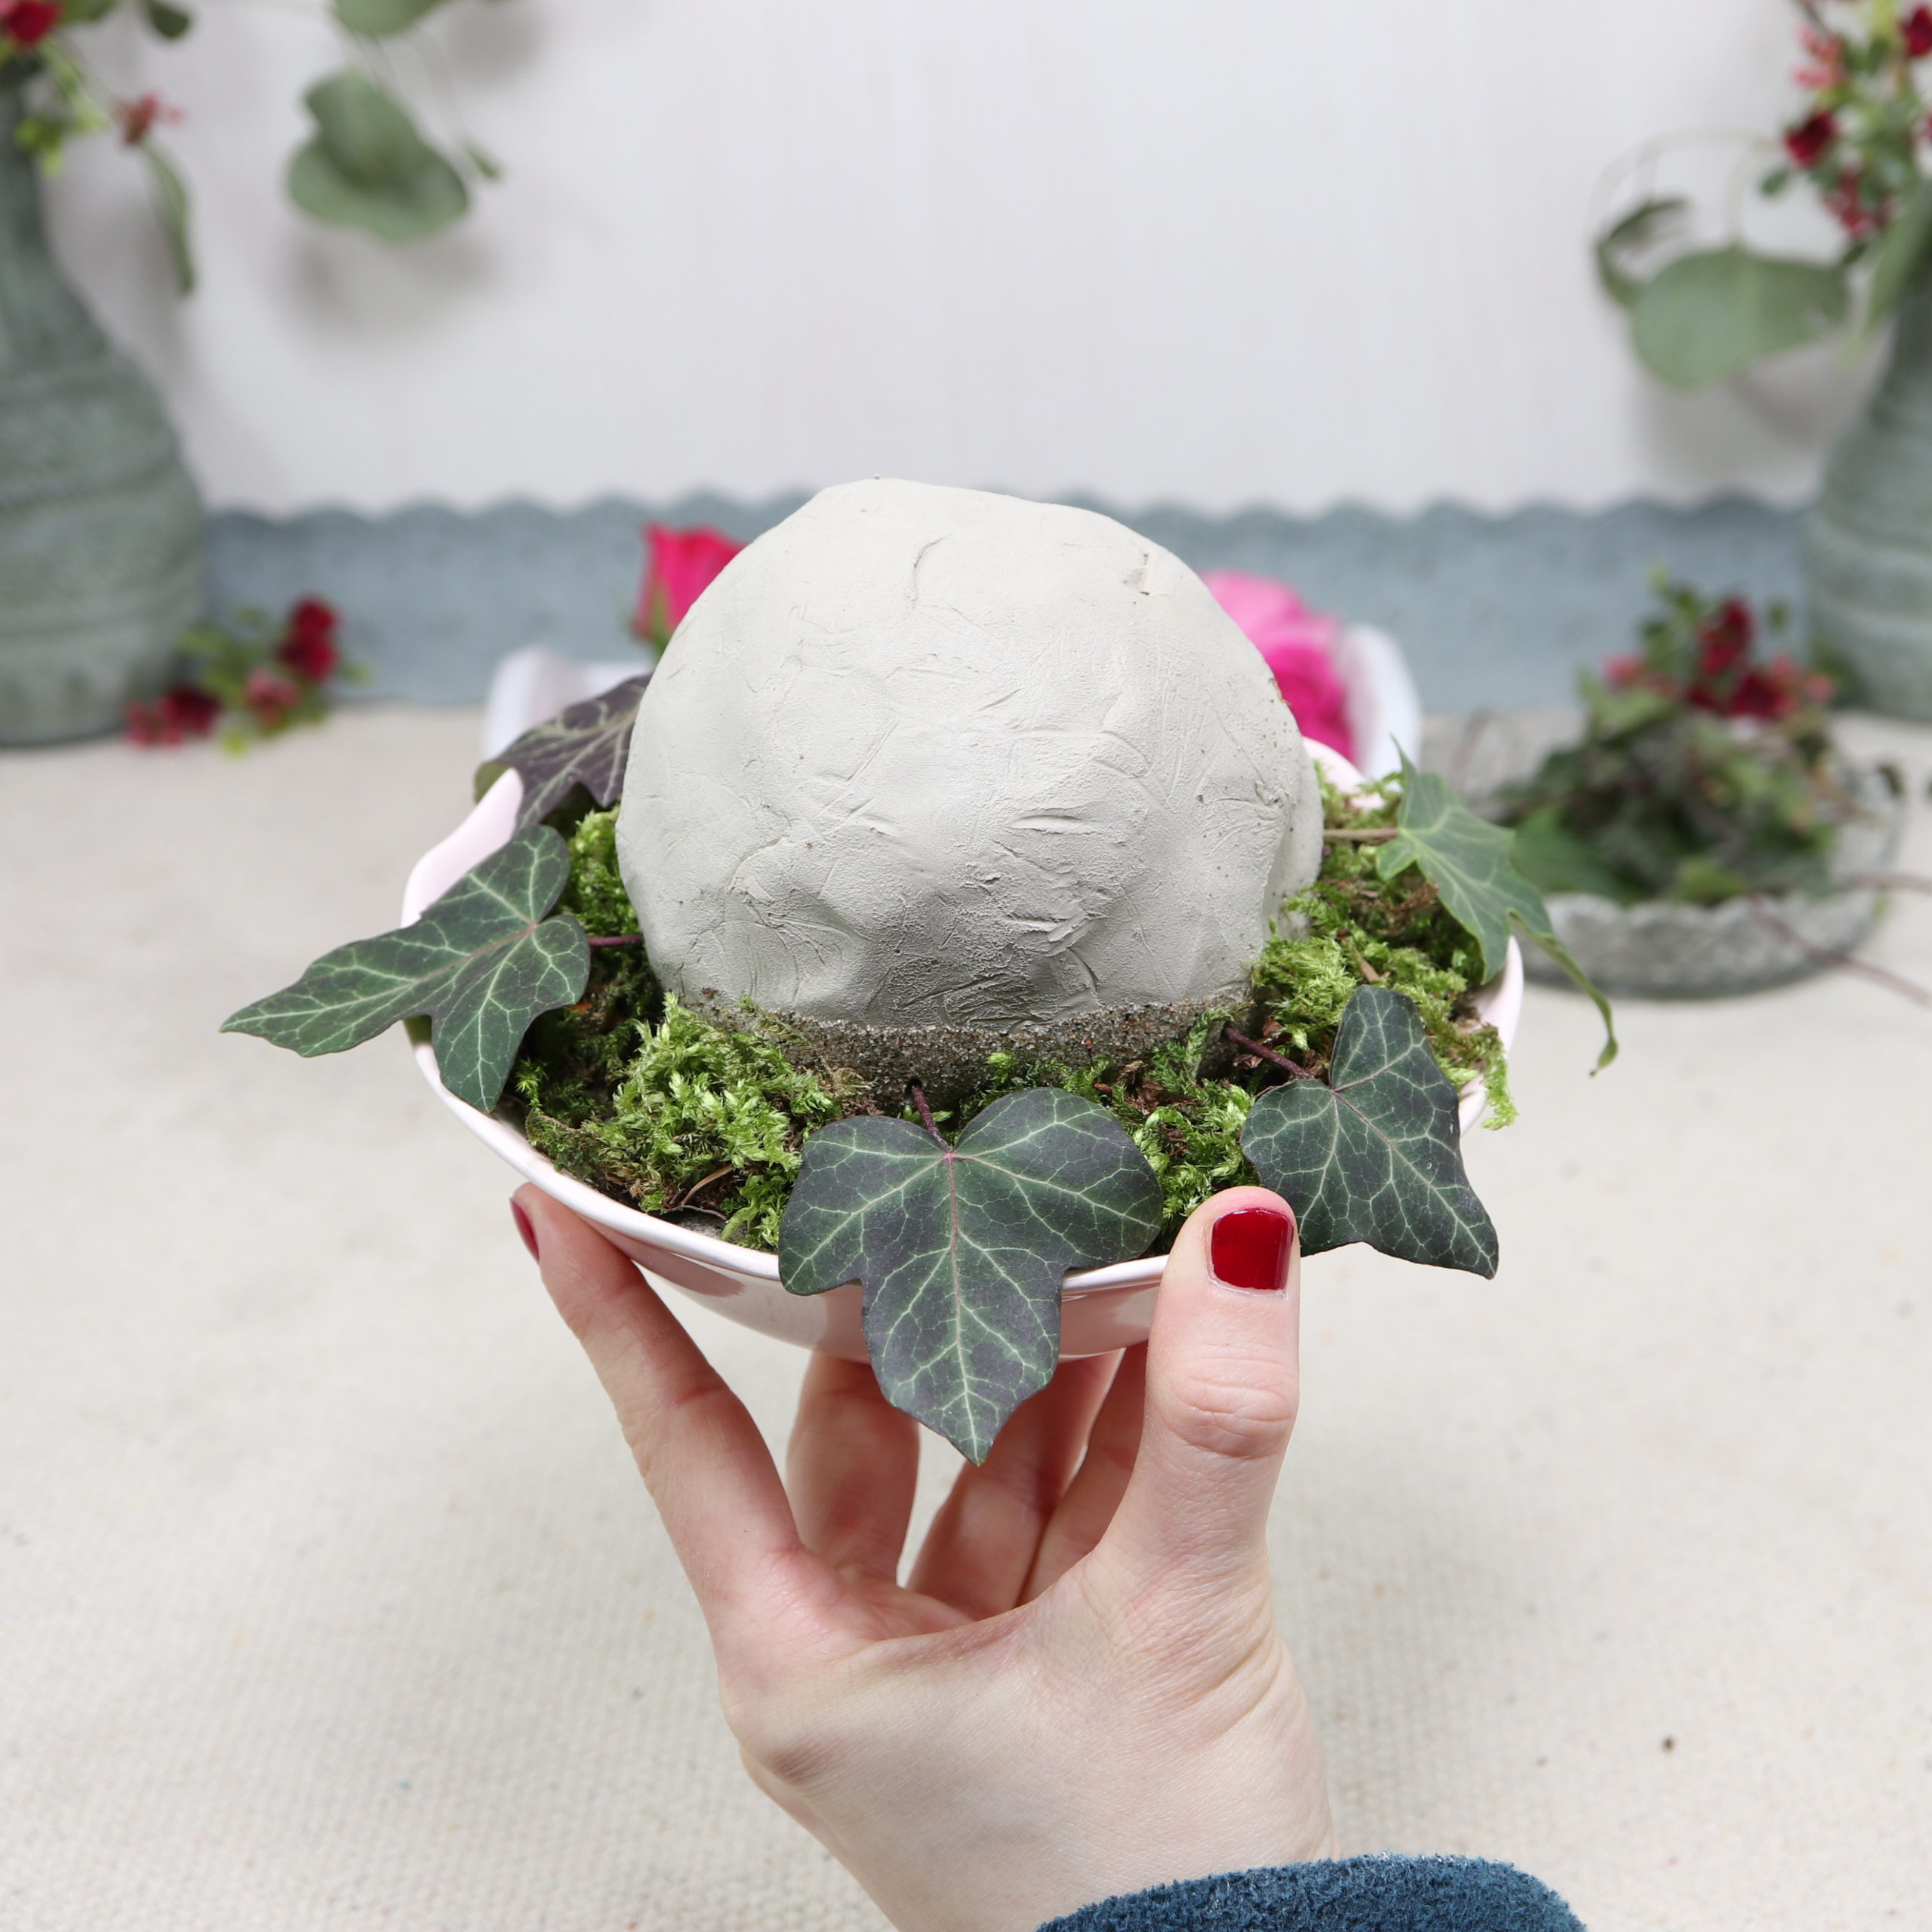
The first step is to prepare the bowl for the flower arrangement. To do this, I fill the bowl almost completely with sand.
Step 2: Shape clay into ball
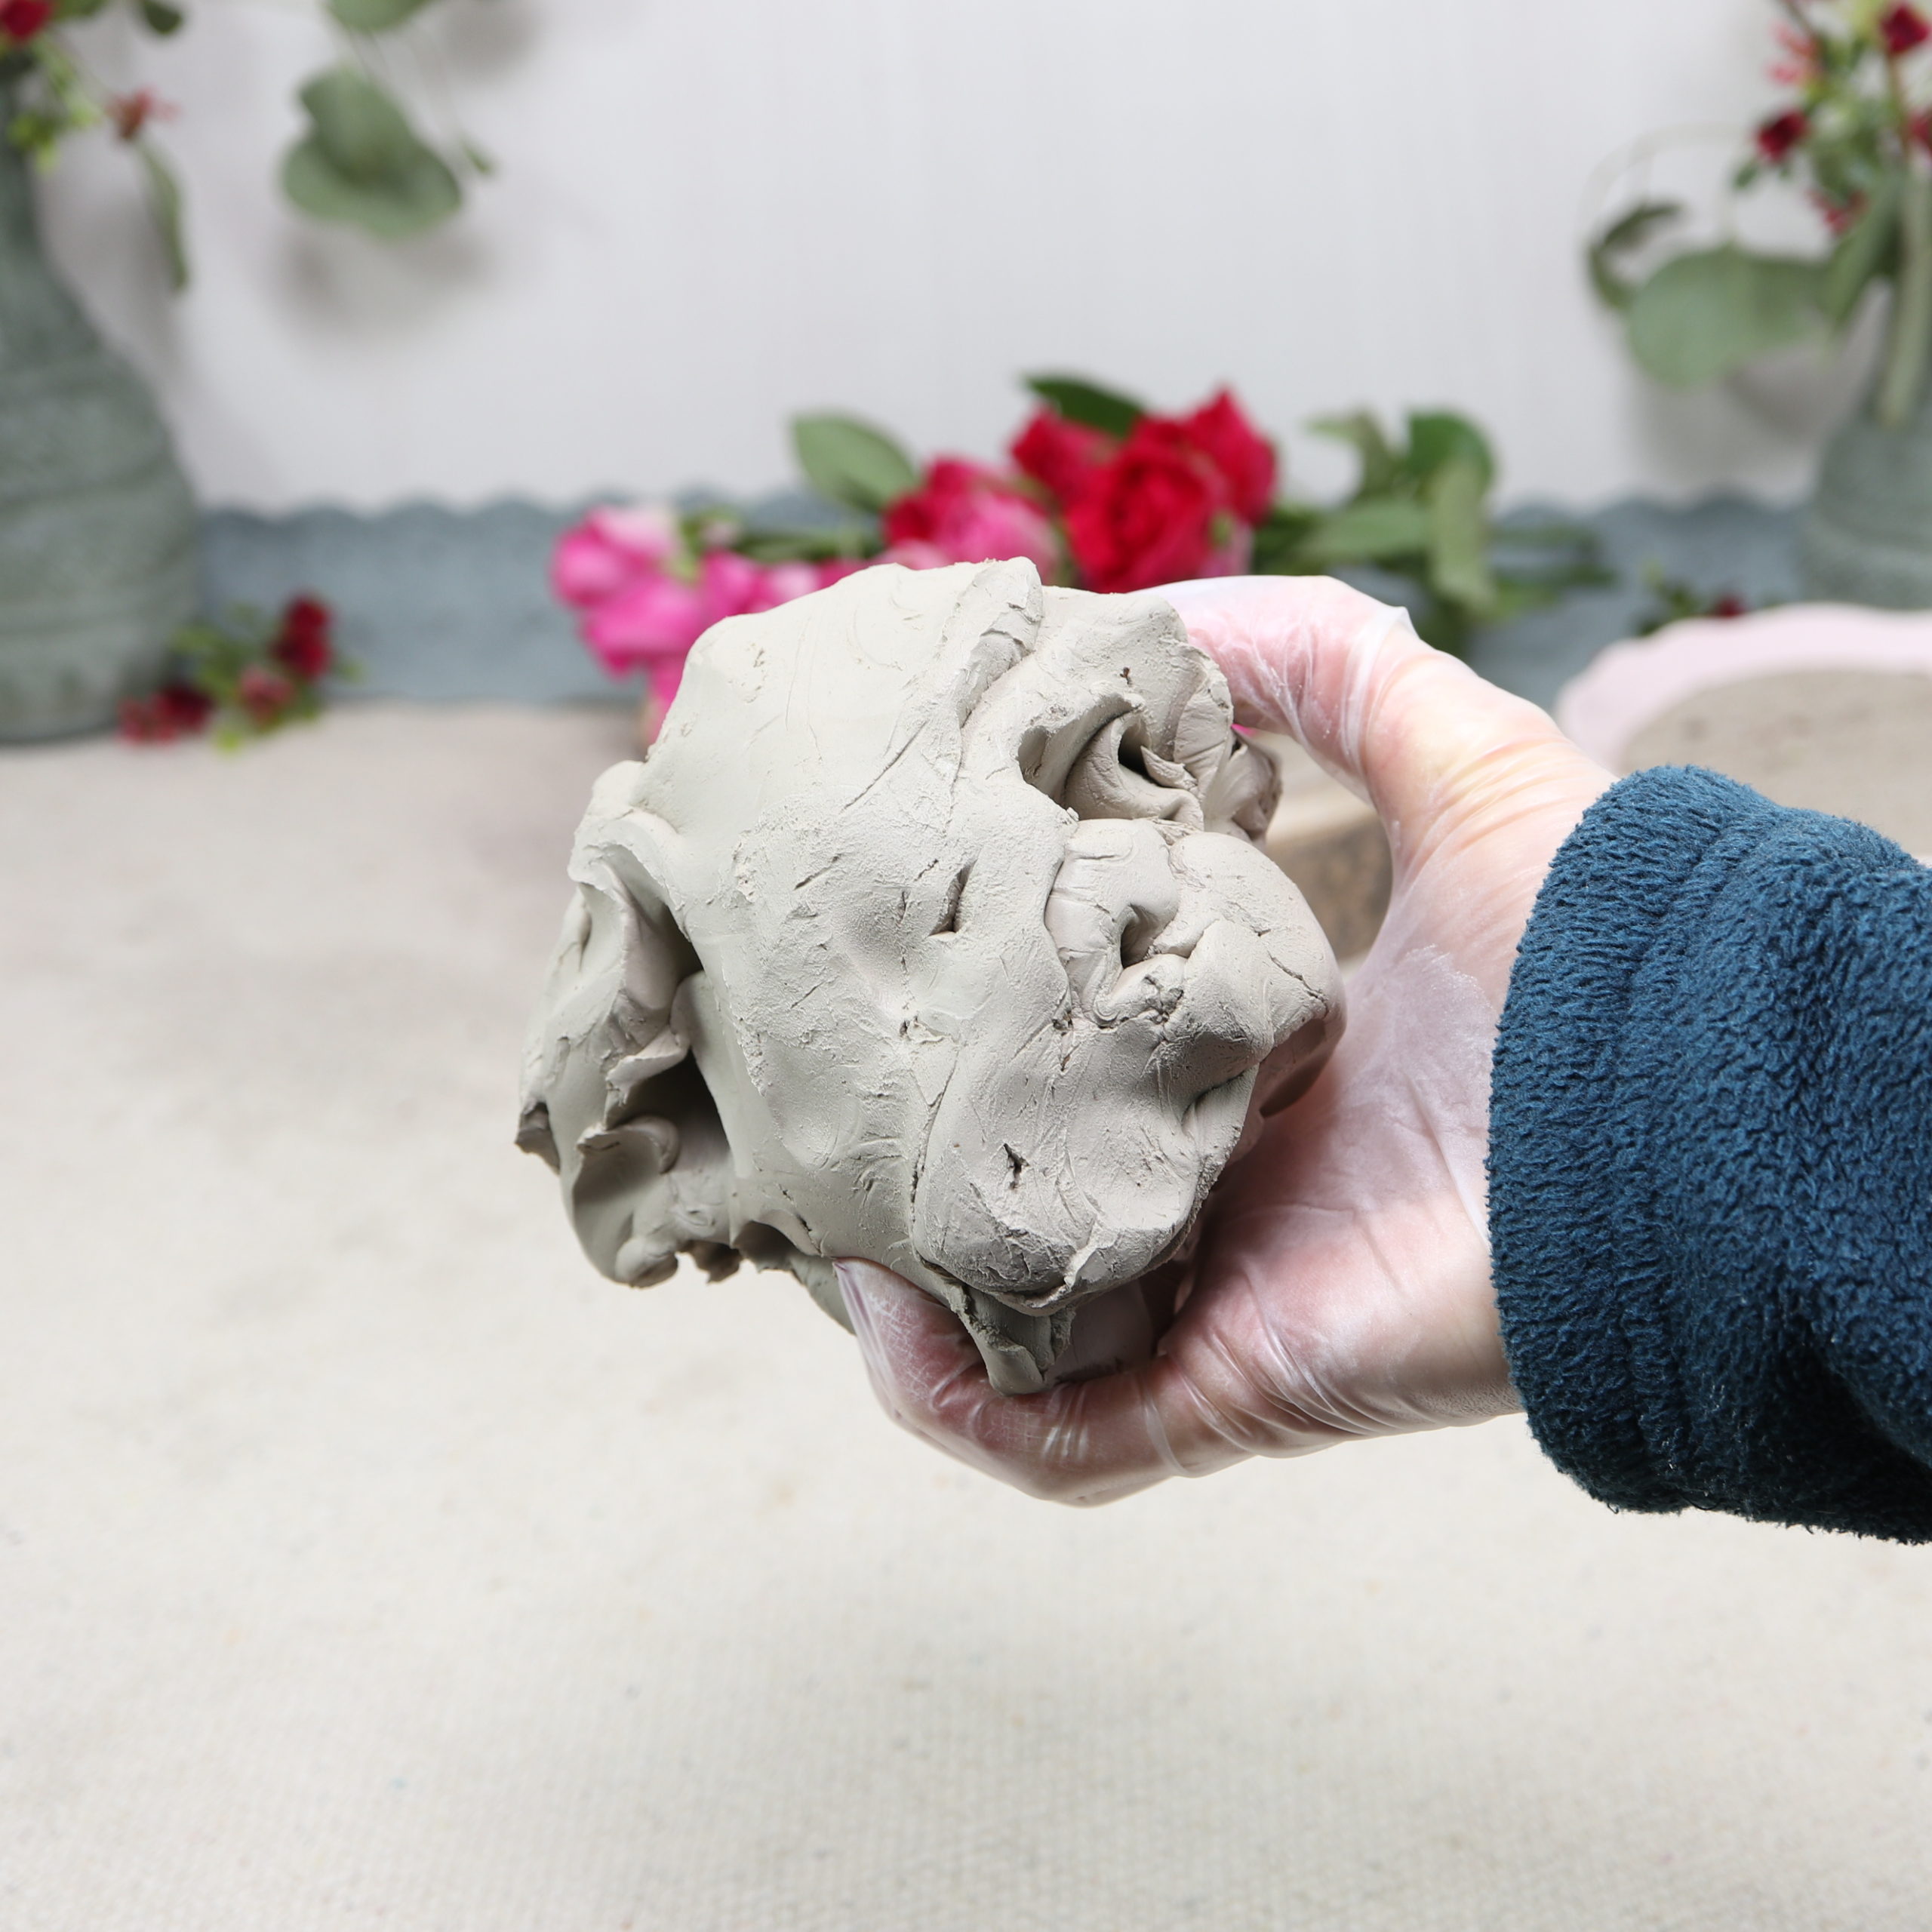
The next step is to form a ball from the clay. I use gloves for this, since clay tends to be a bit sticky. Nonetheless, clay can easily be washed off again. I form the ball so that in the bowl is still some space to the outside.

Then I place the clay ball in the center of the bowl (on the sand).
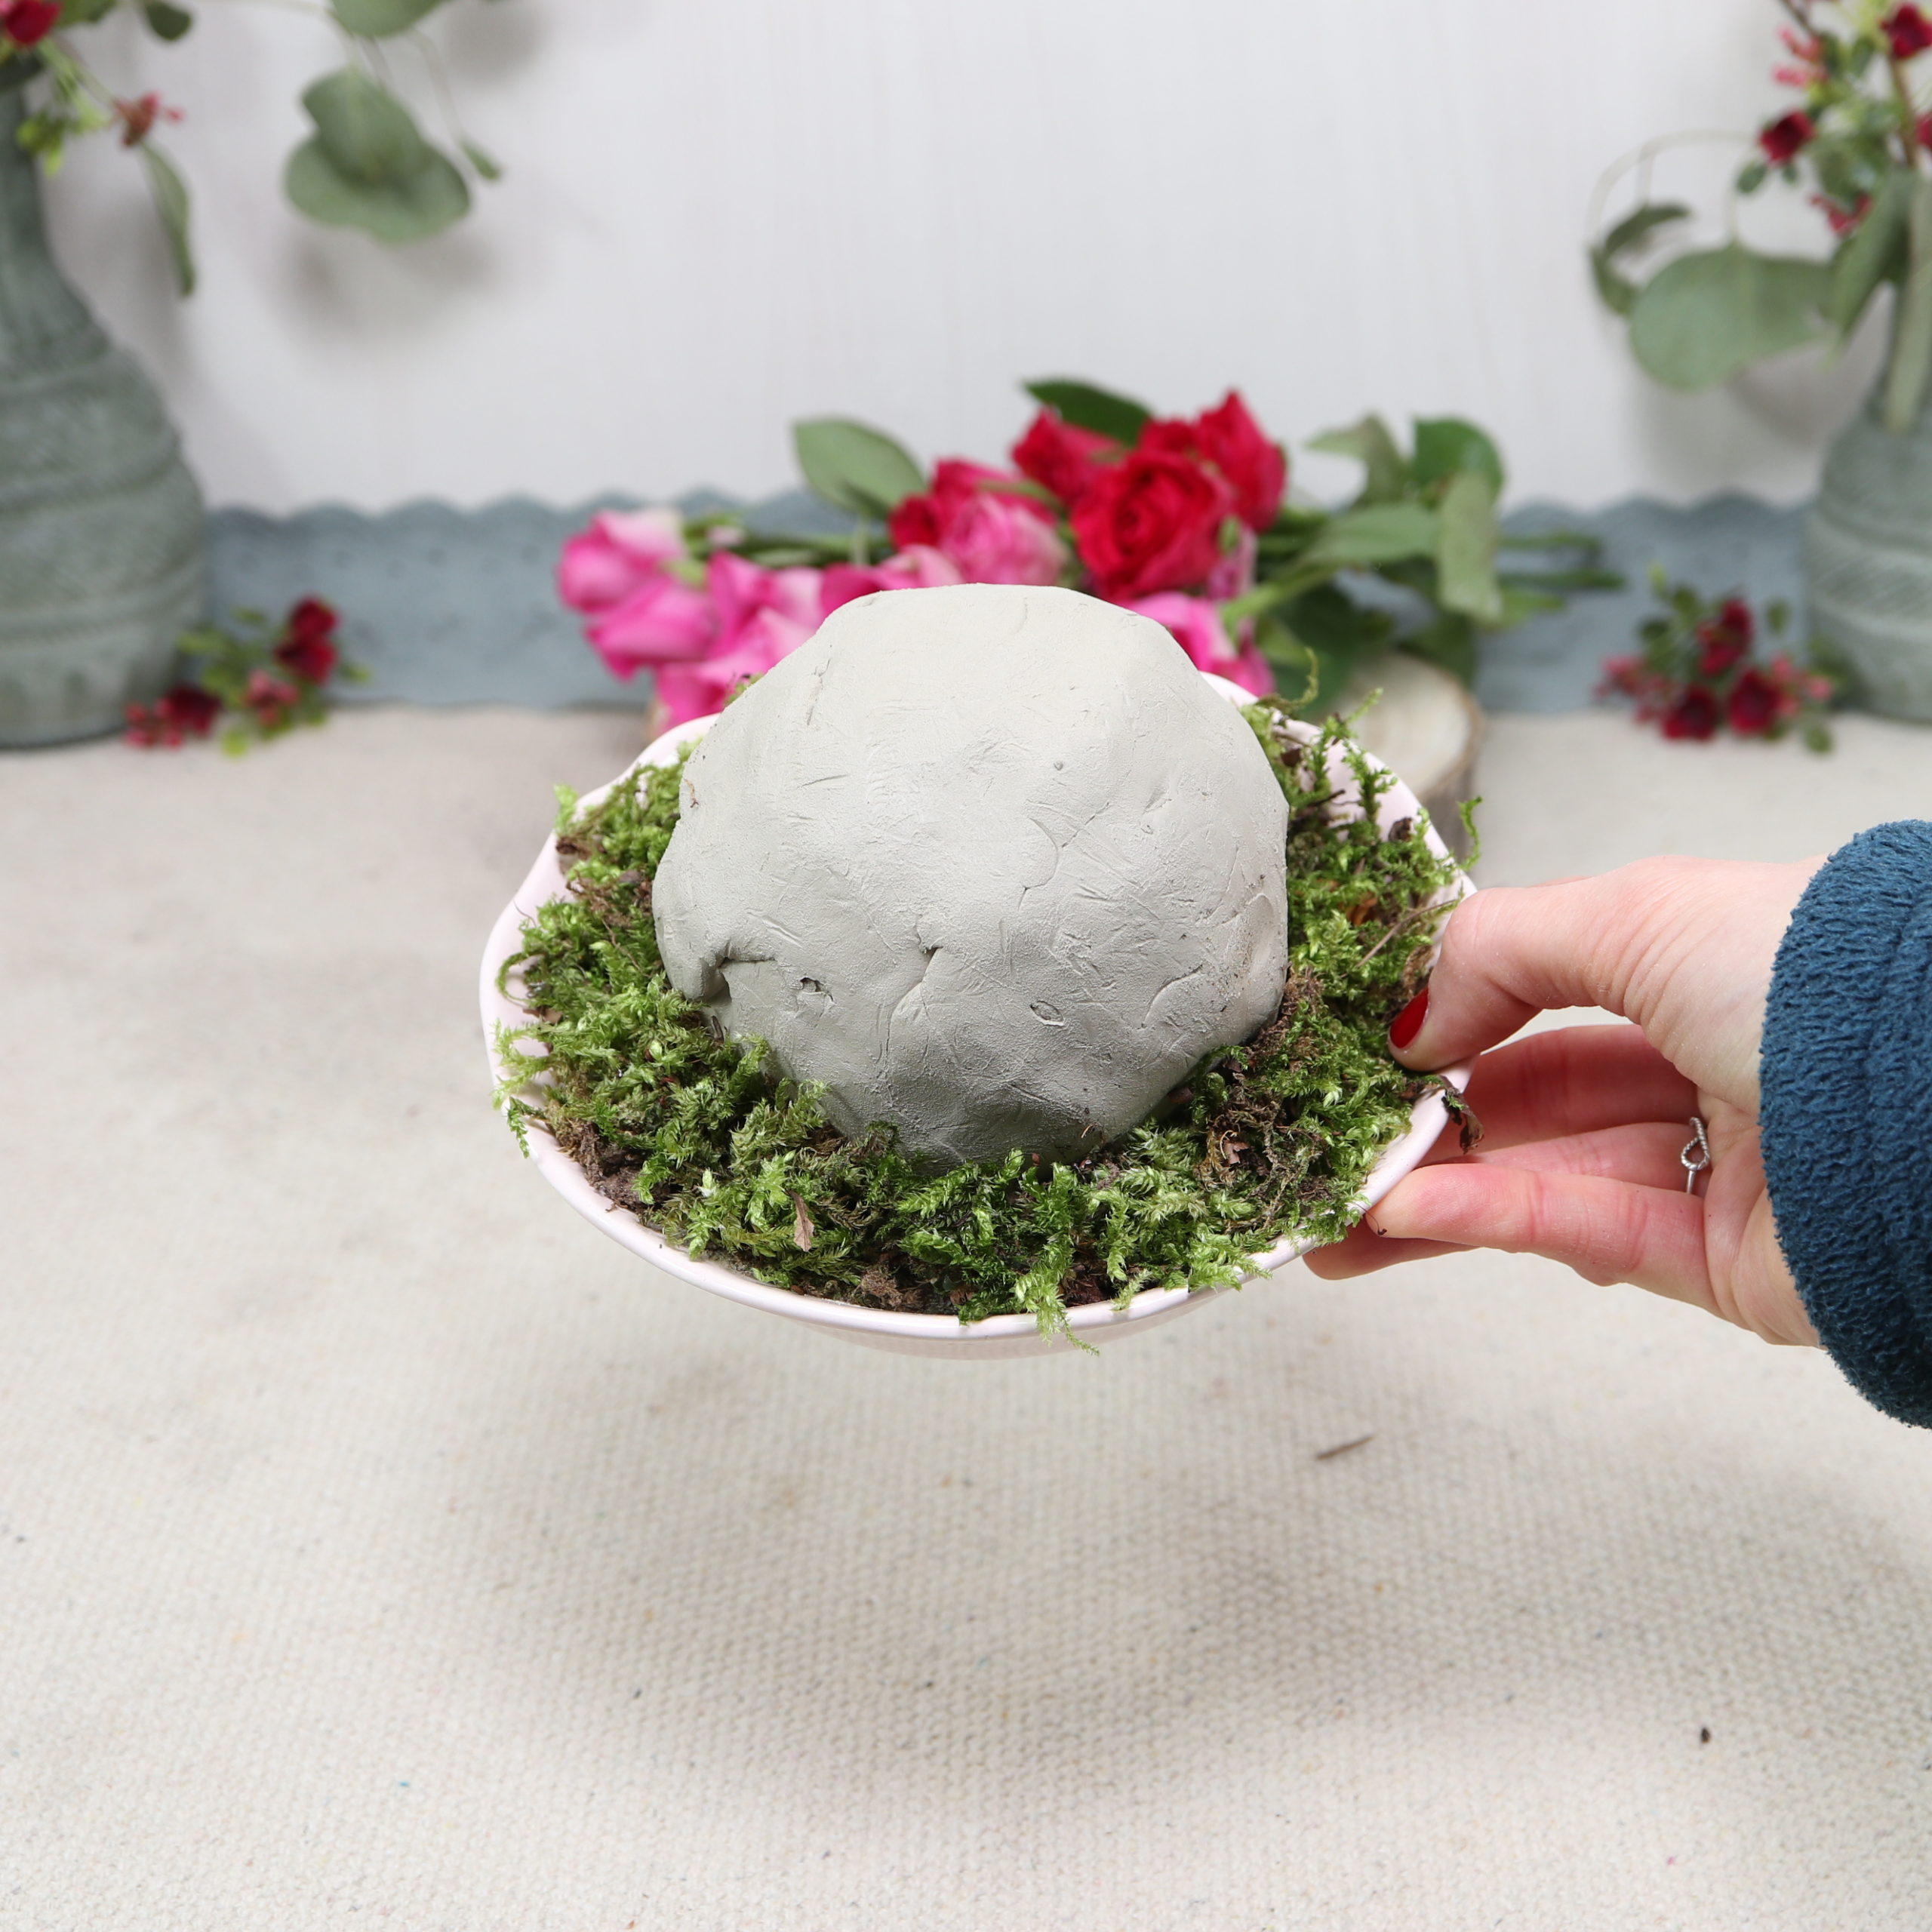
Step 3: Cover sand with moss
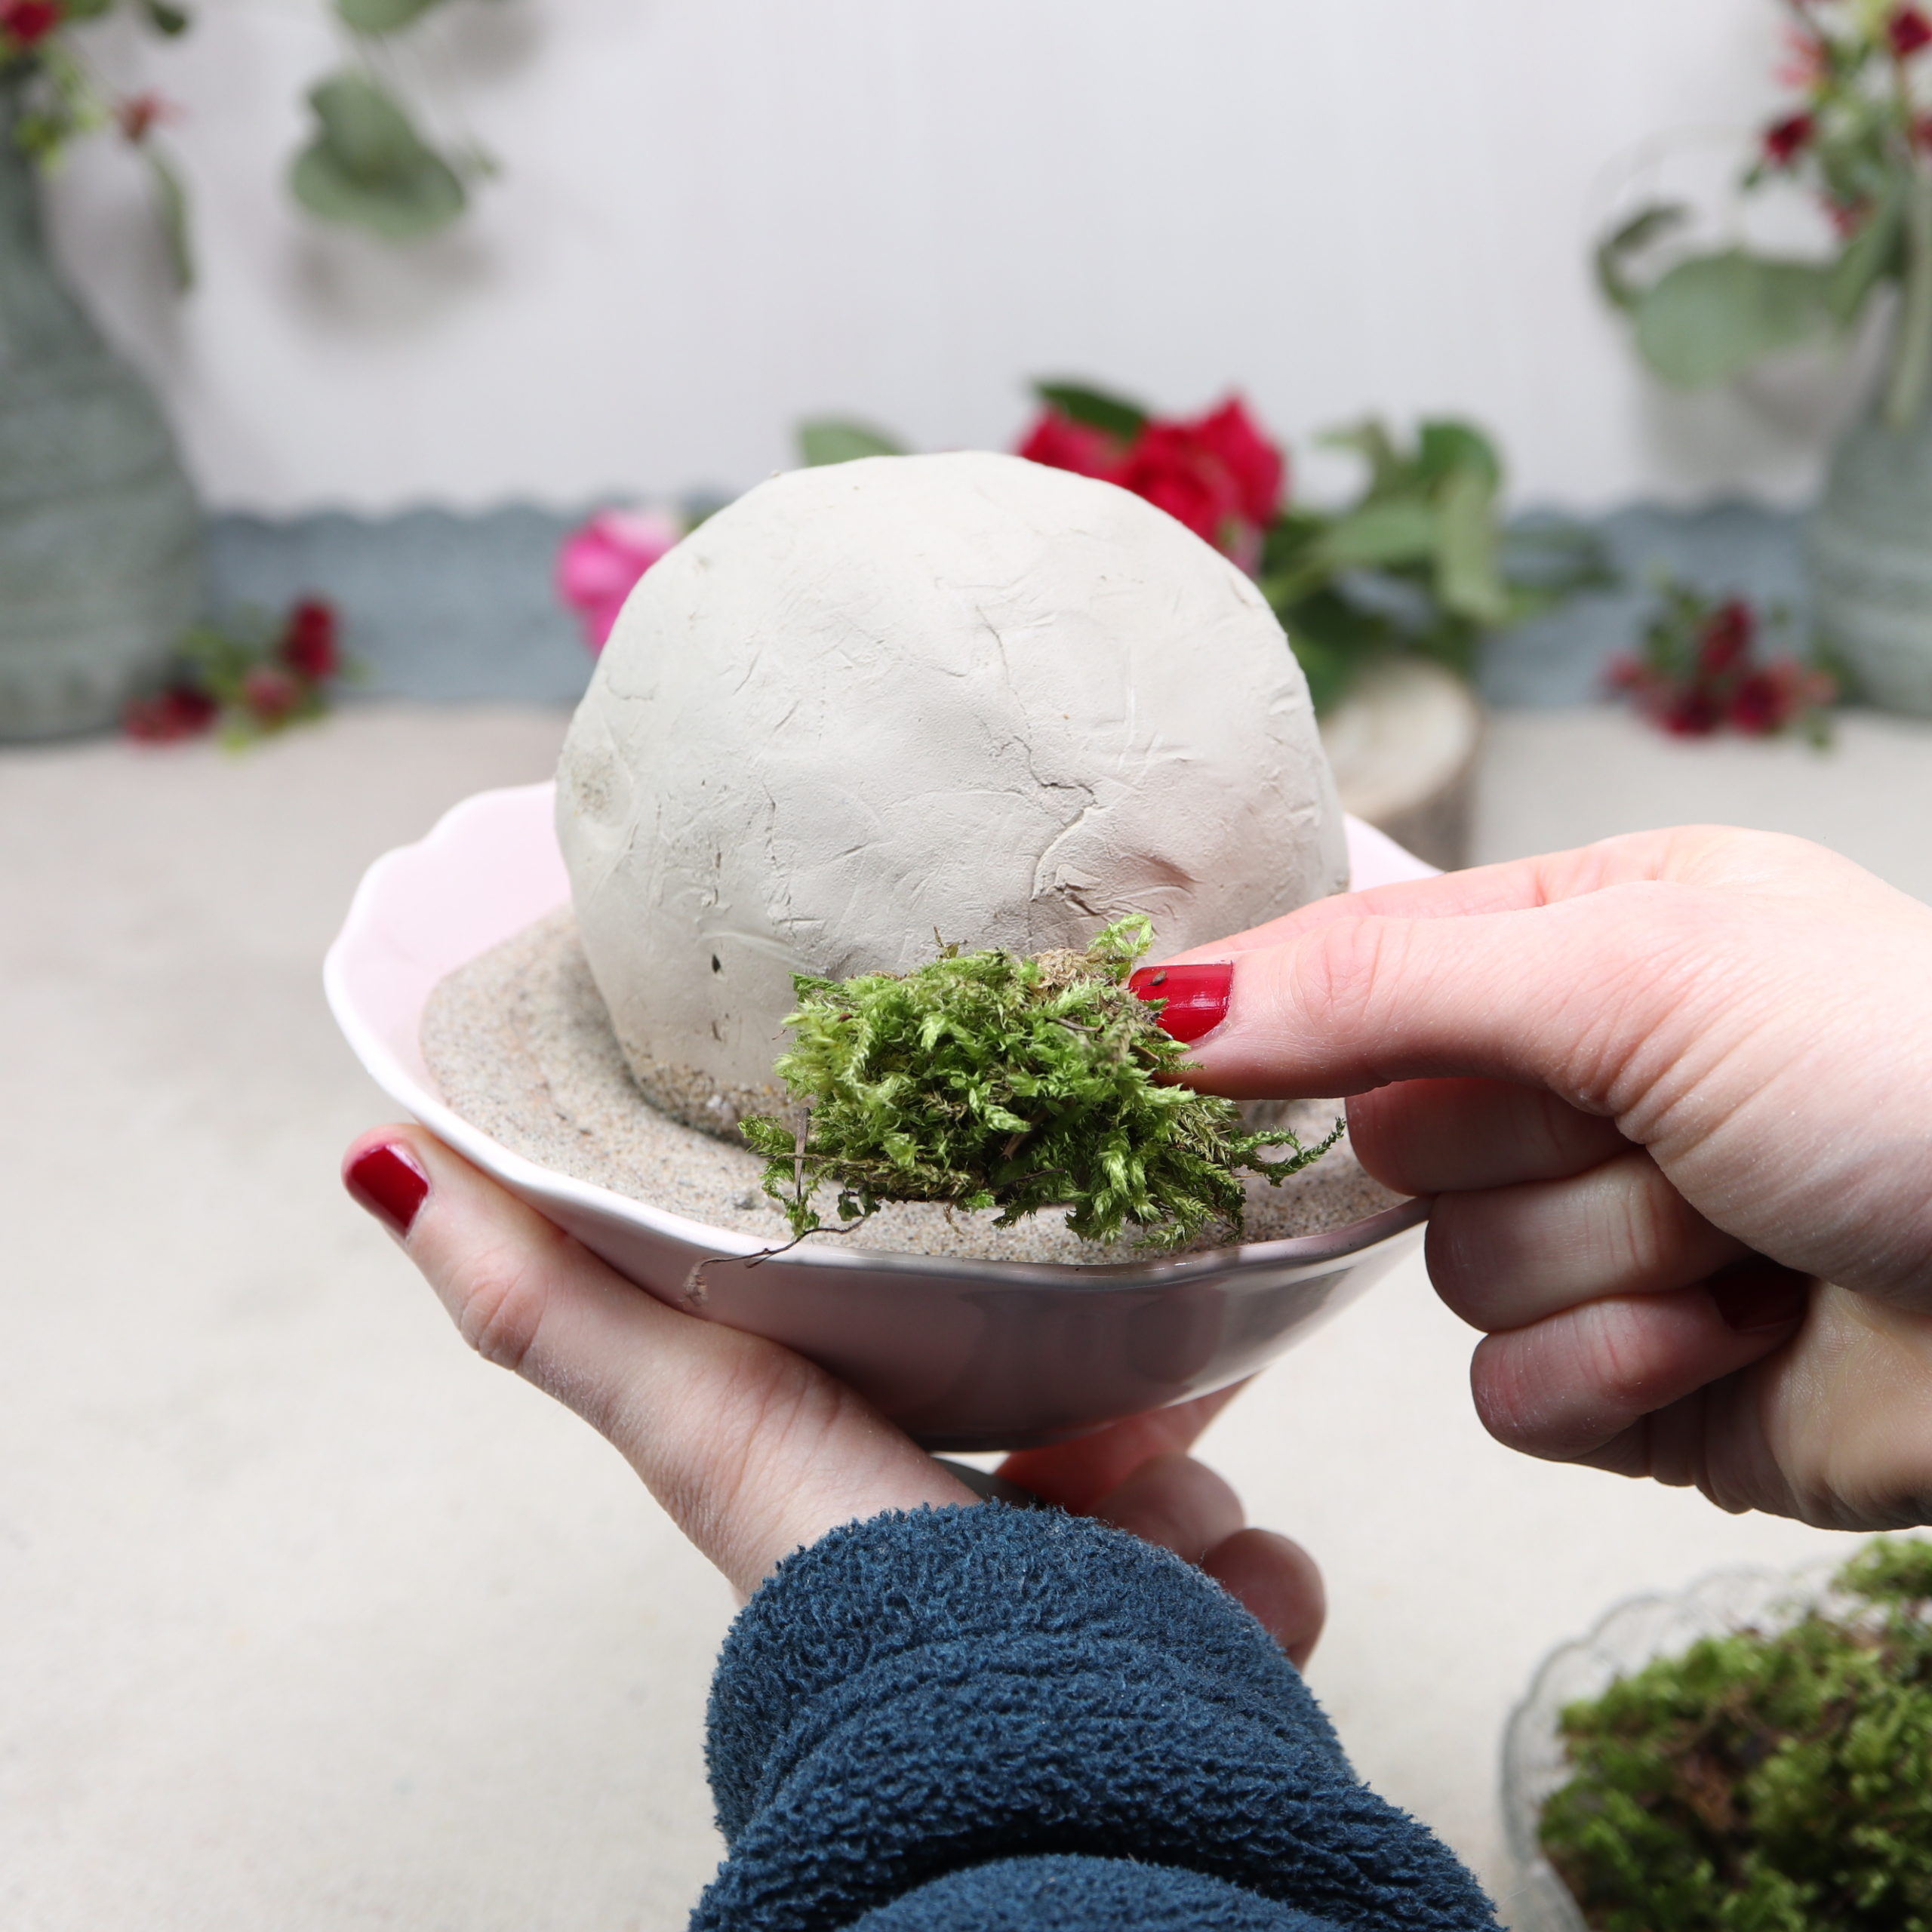
Now the sand is covered with pieces of moss.
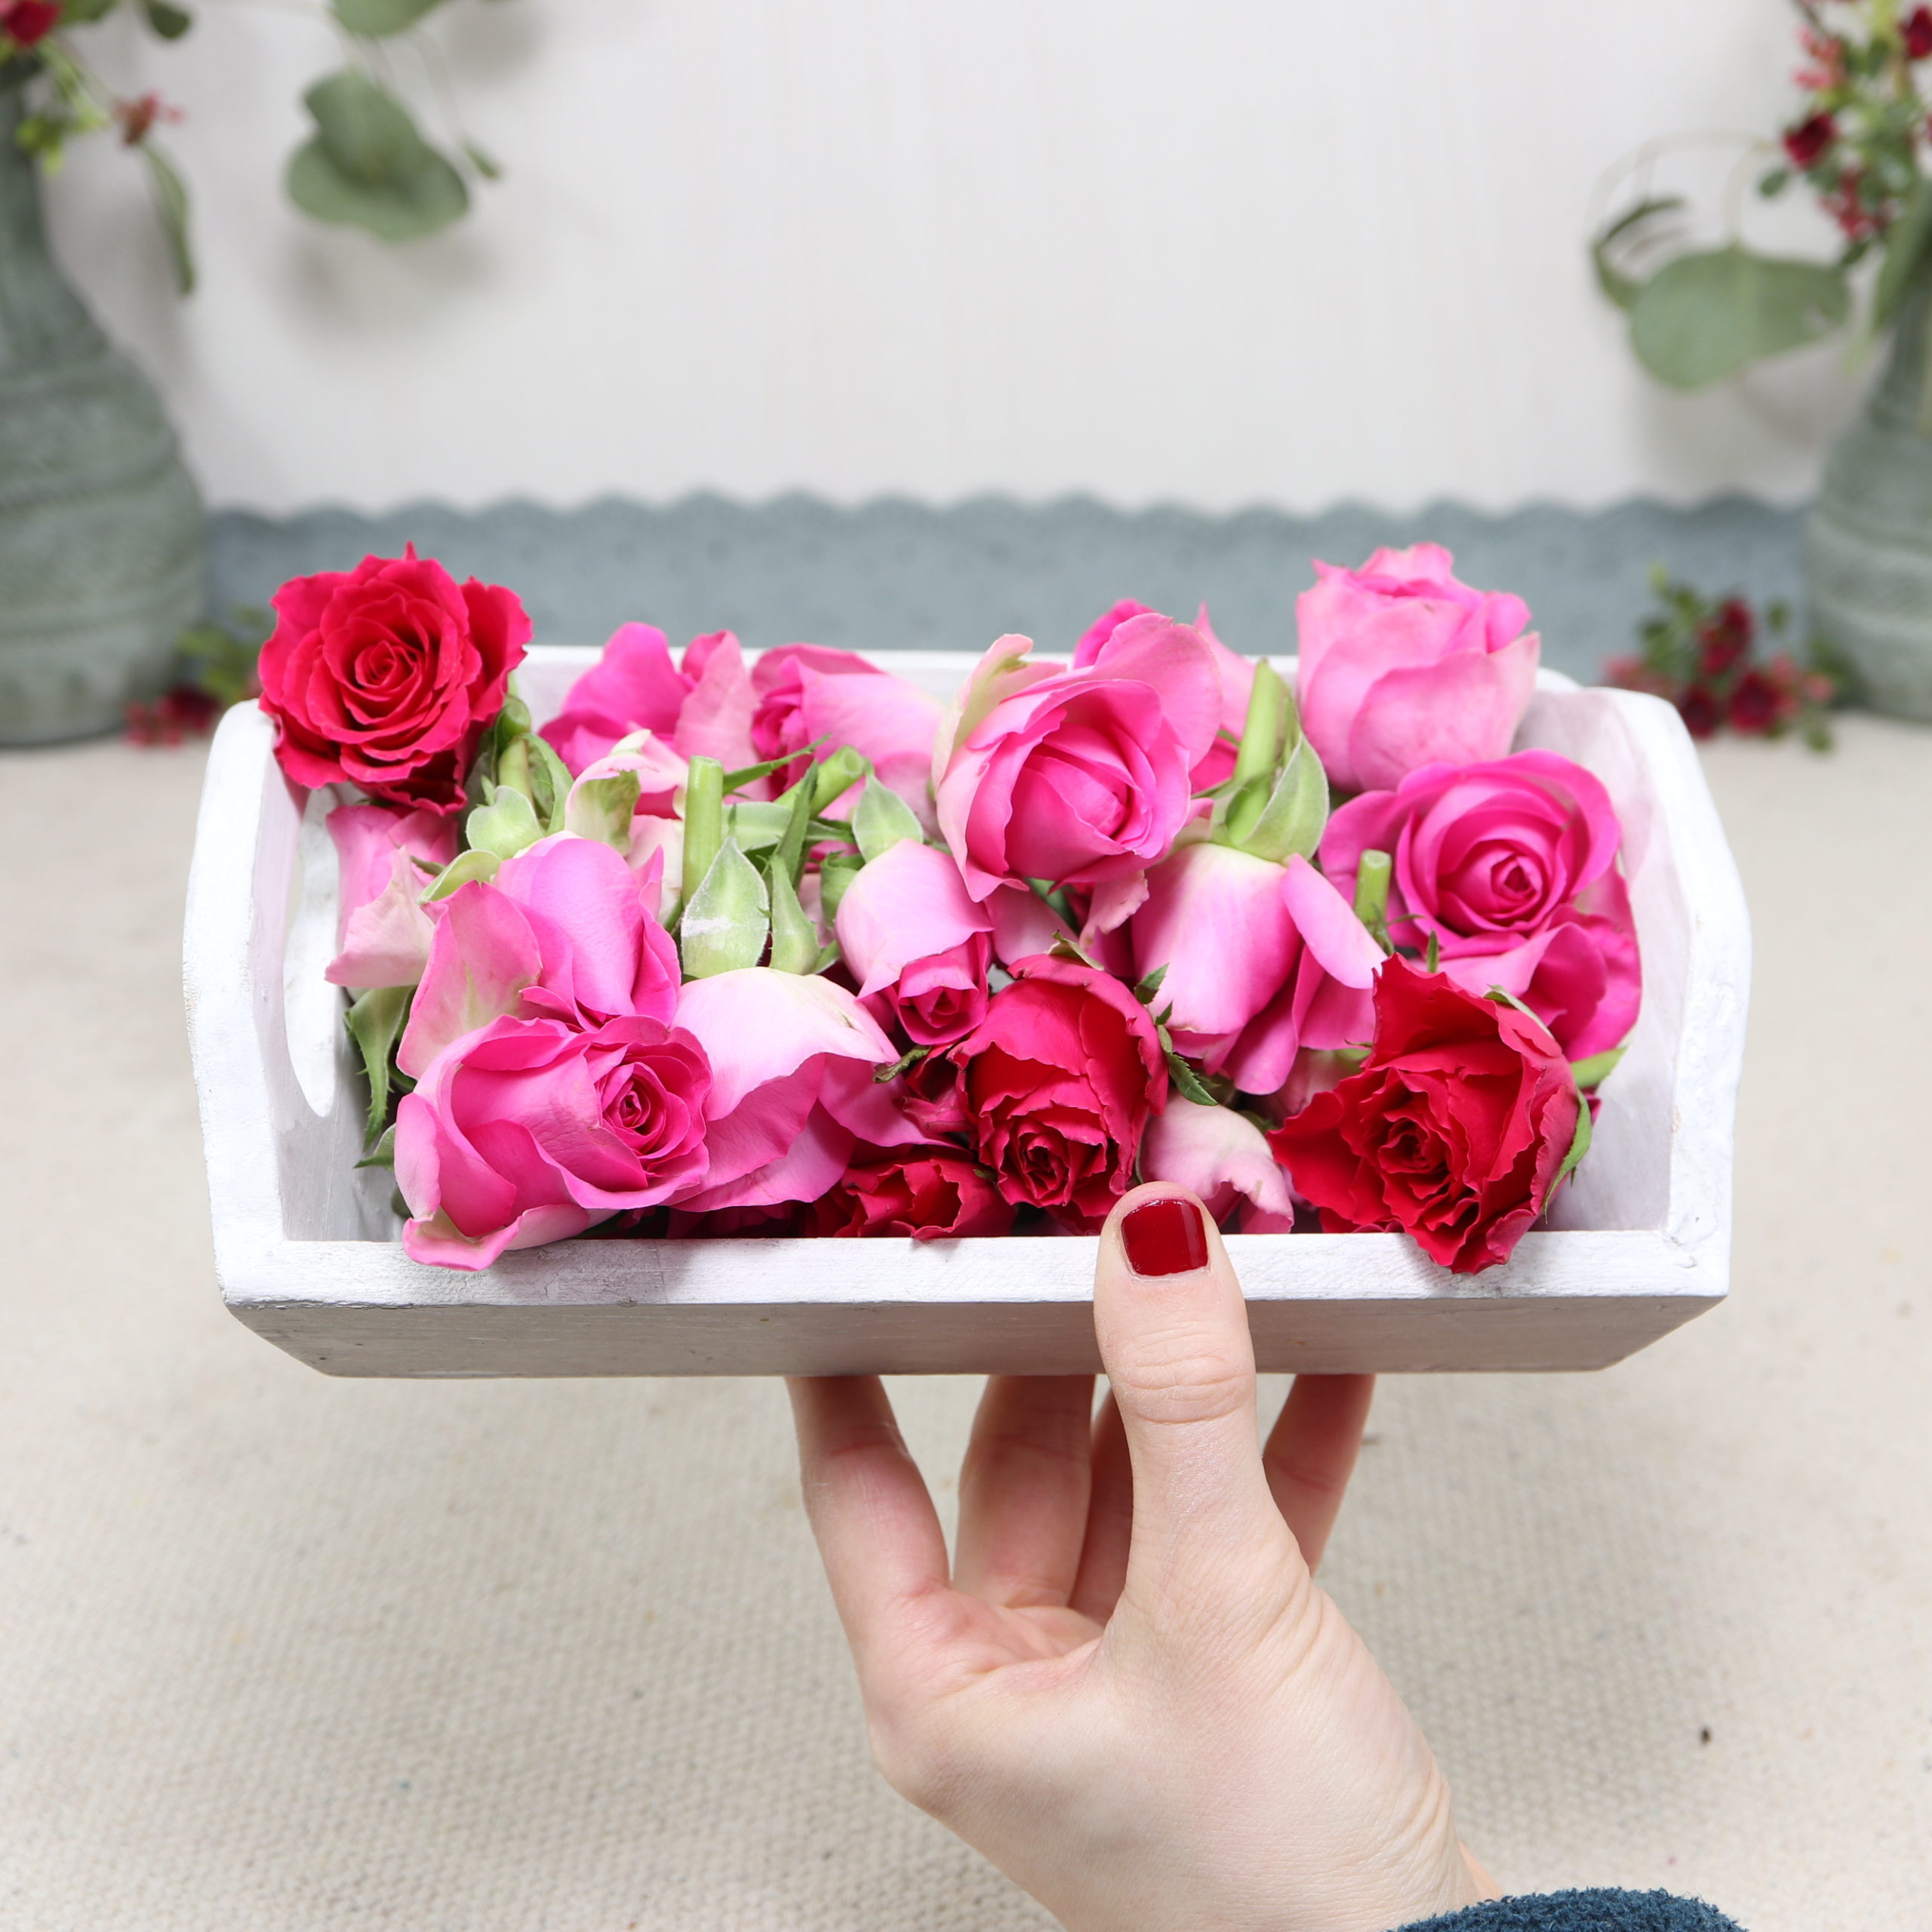
Step 4: Cut roses
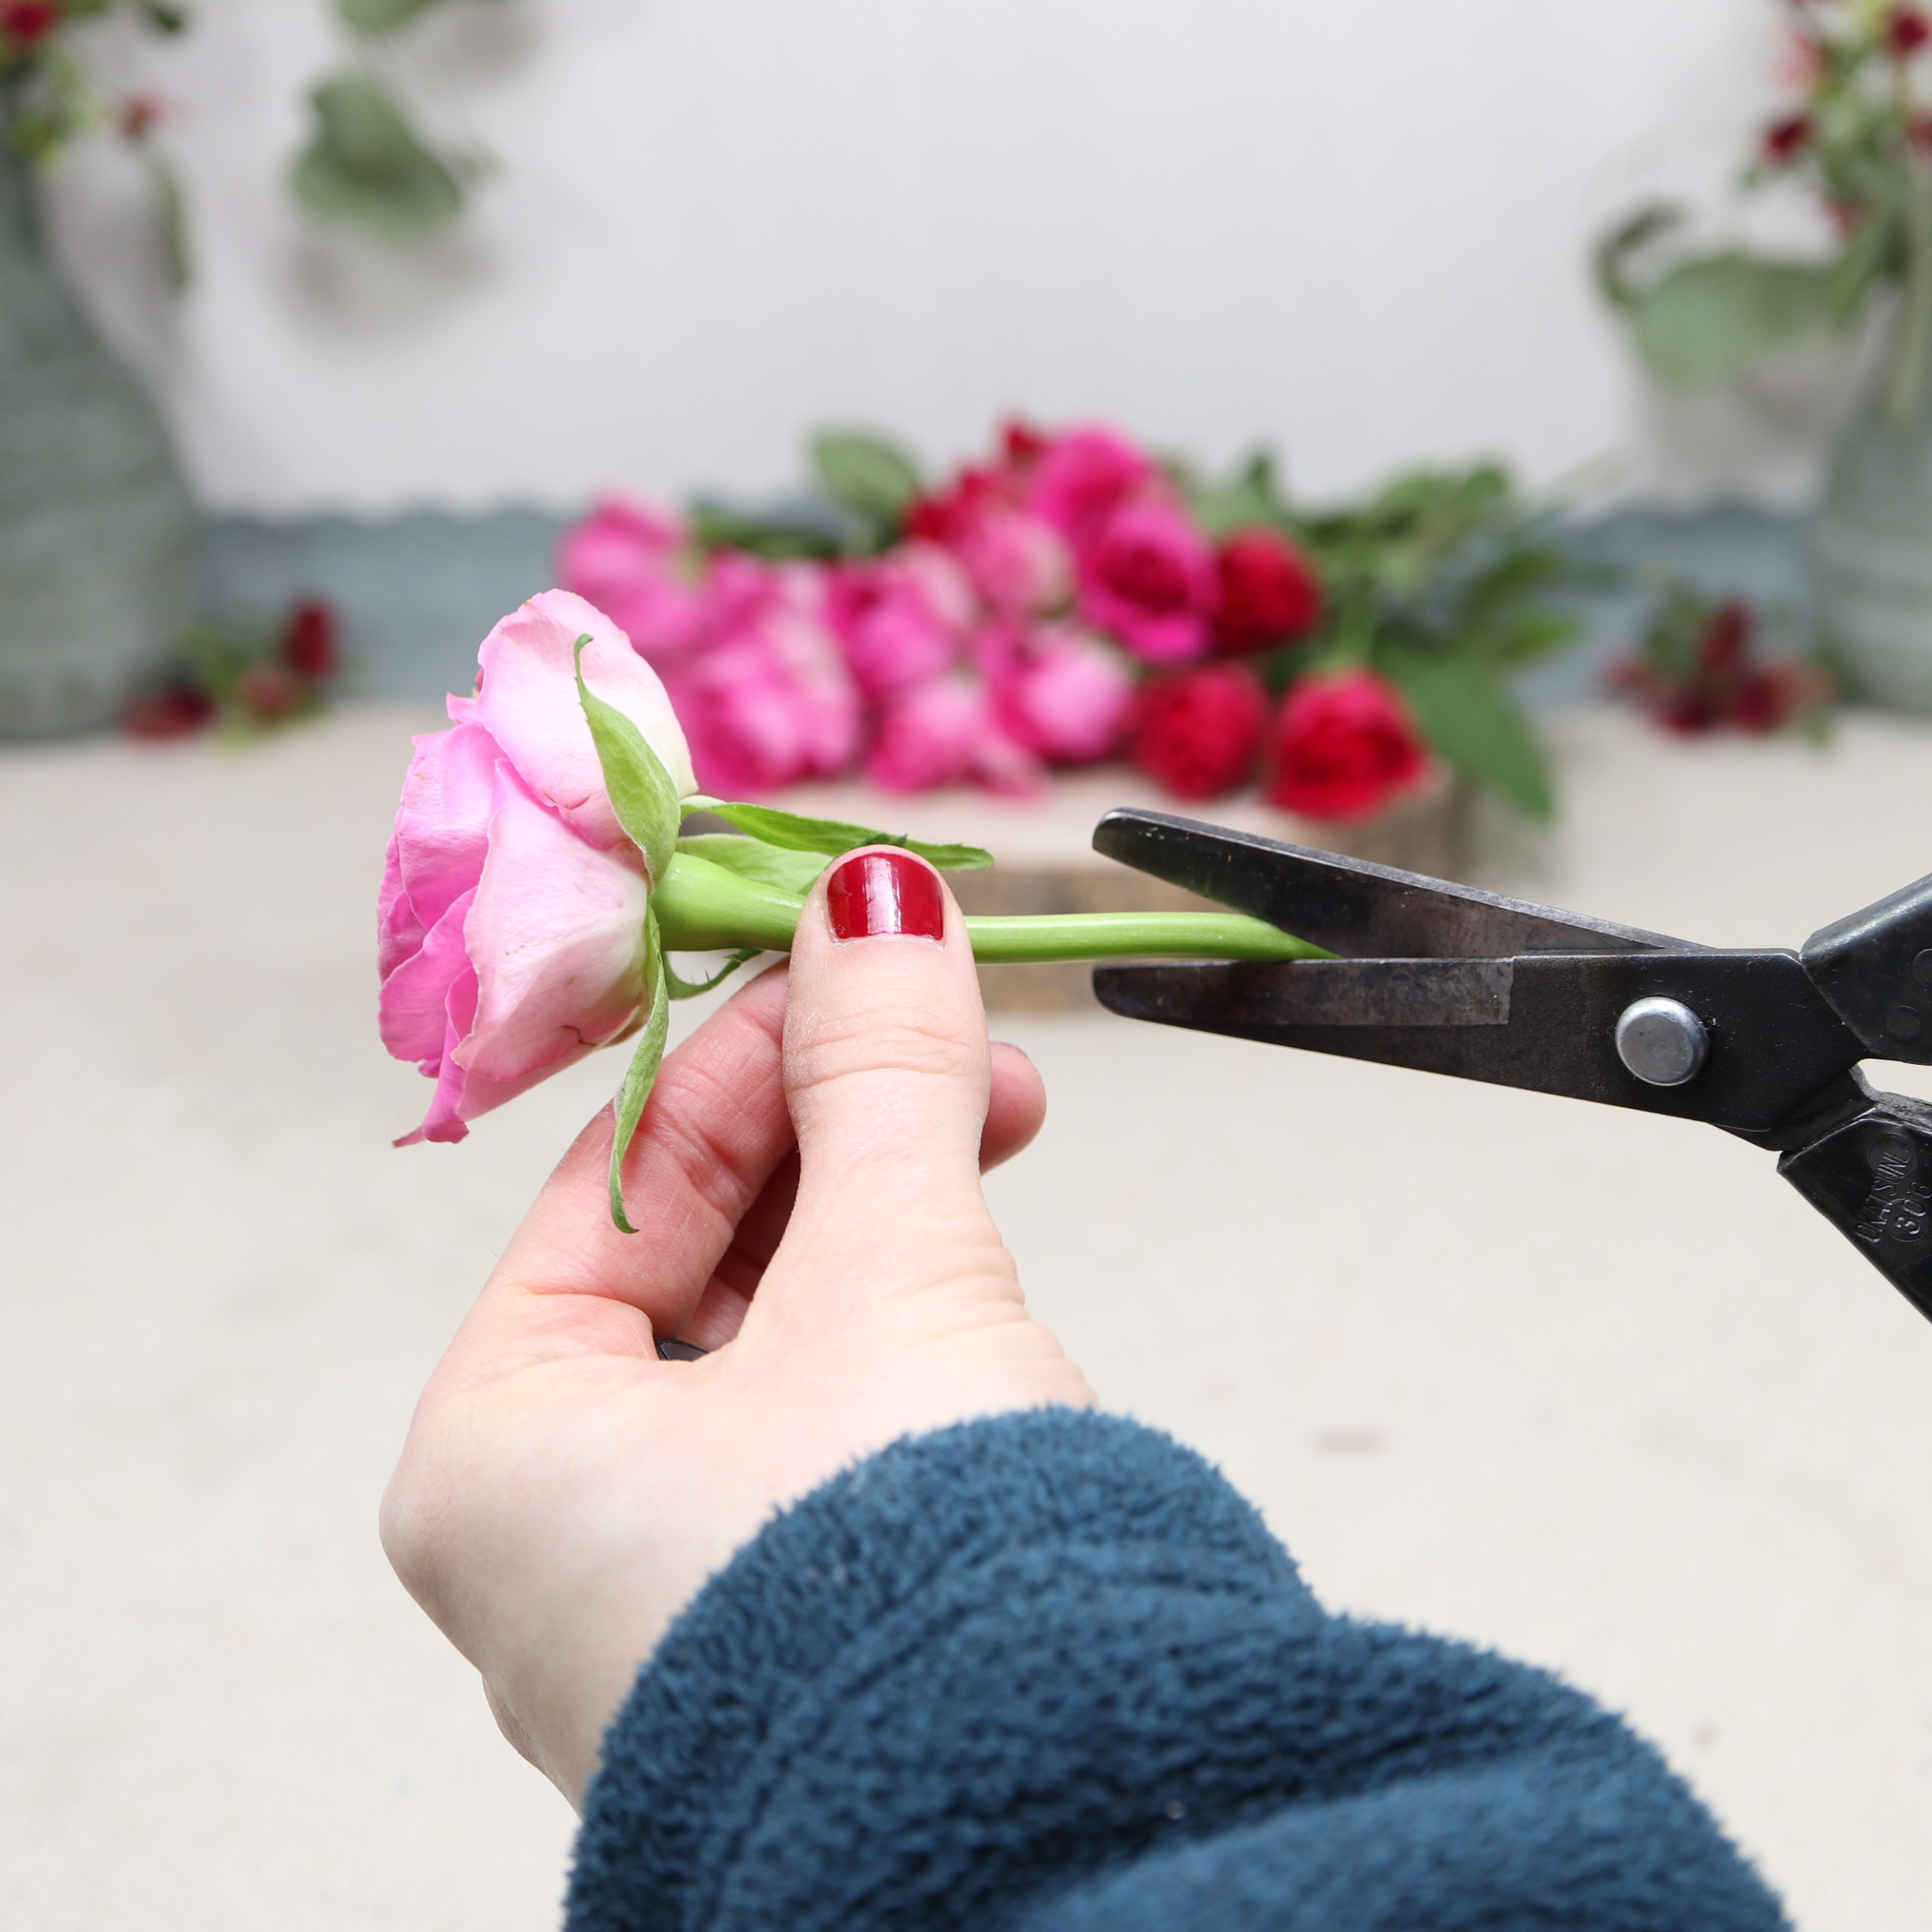
Now the roses are cut to size. I use the flower shears for this and shorten the stems to a few centimeters.
Step 5: Cut ivy
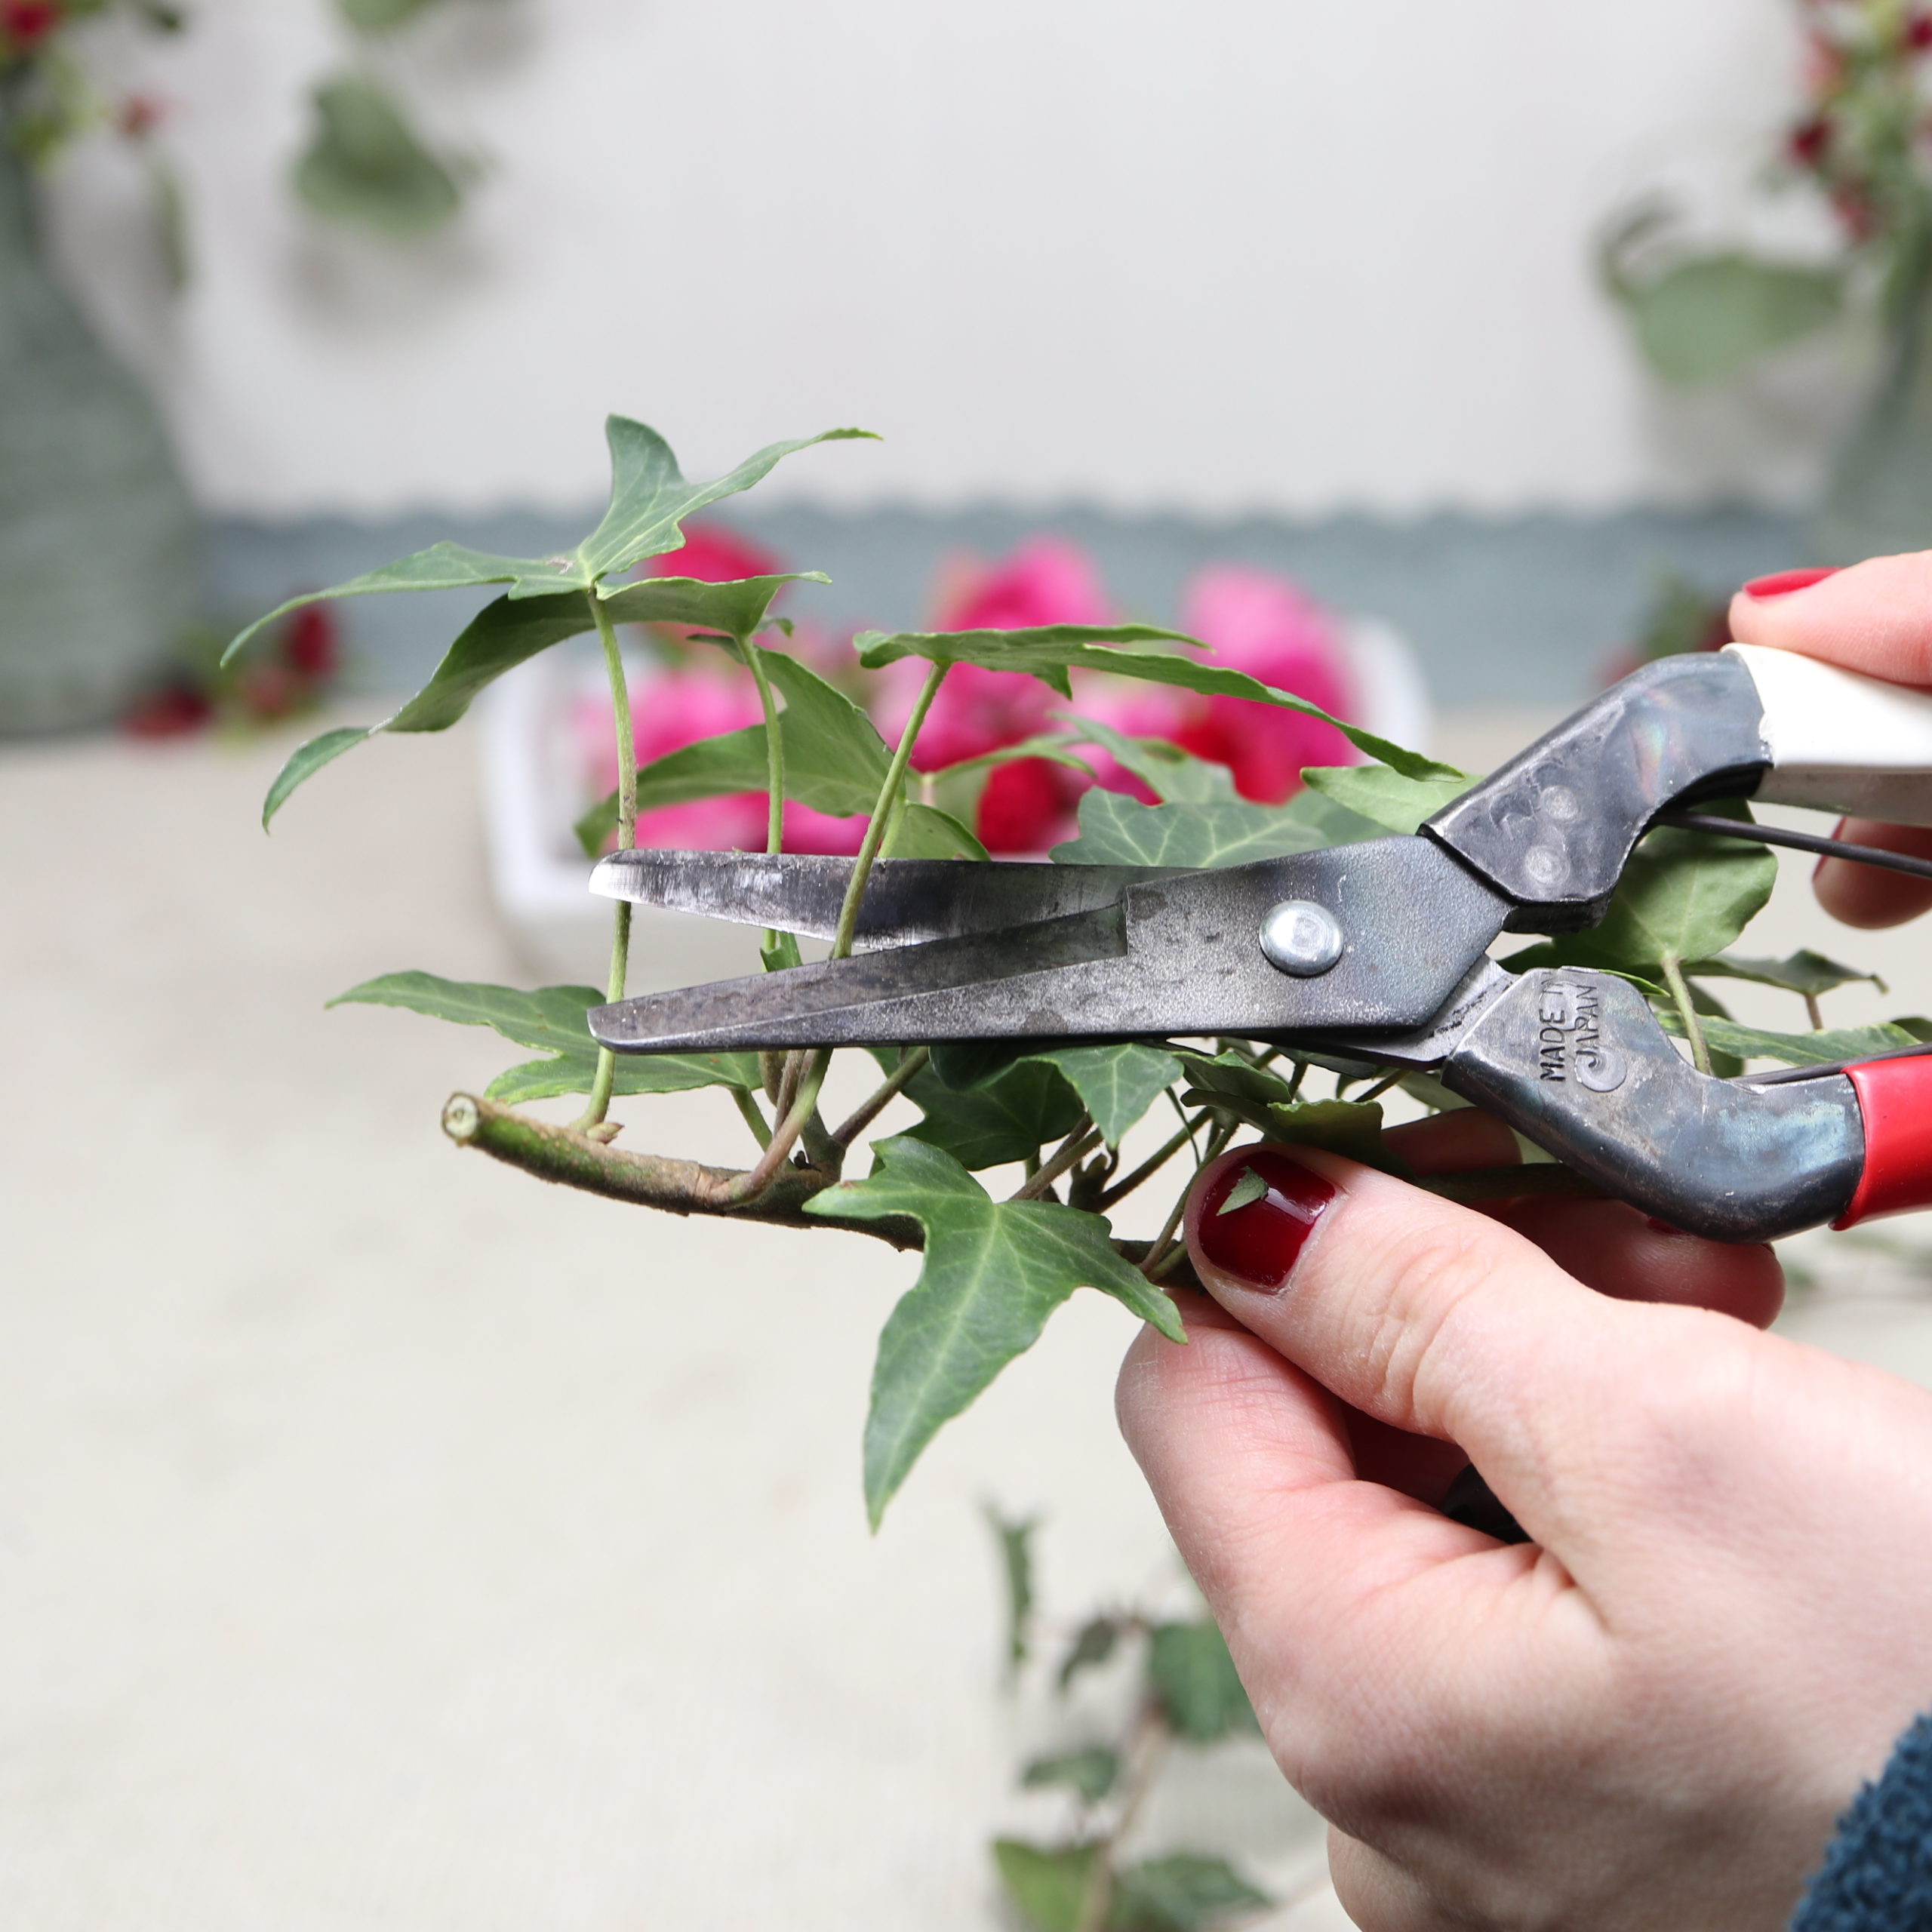
Next, I cut off some ivy leaves to the right length. I decided to keep the stems of the ivy leaves a bit longer than the stems of the roses.

Step 6: Insert ivy leaves in clay
Now it’s time to insert the ivy leaves! I stick the ivy leaves with a little distance at the very bottom of the clay ball.
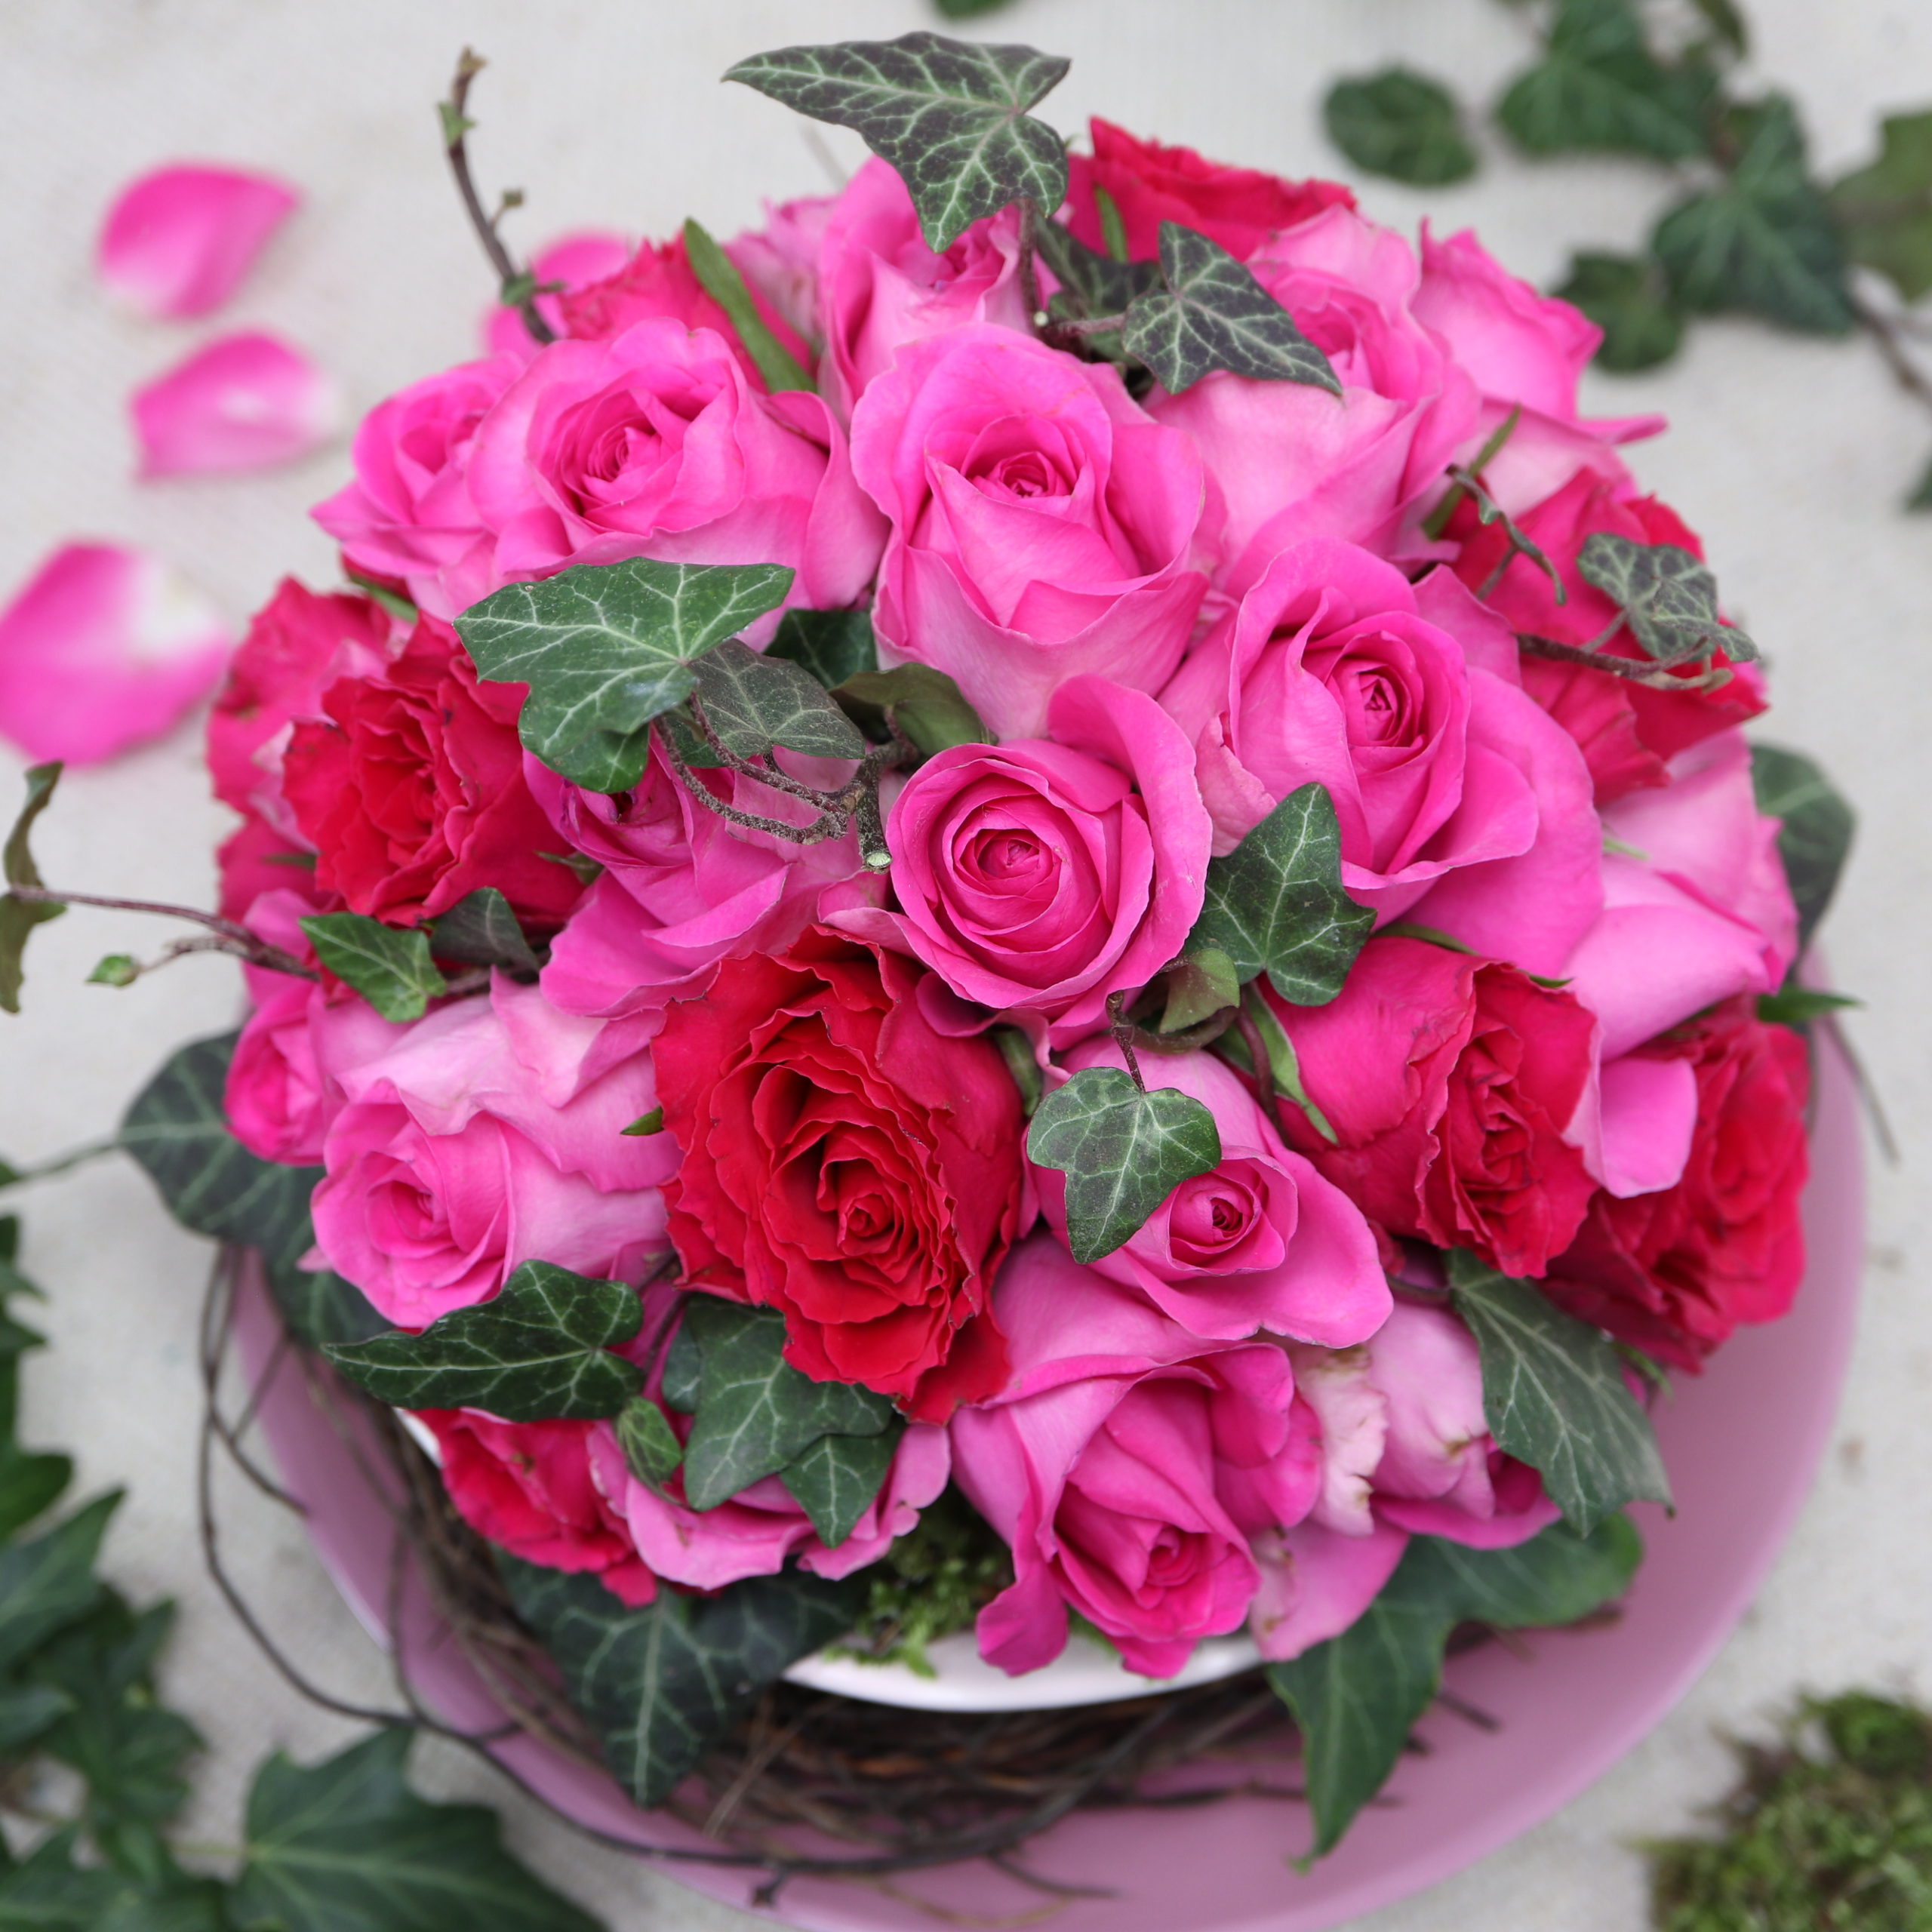
Step 7: Insert roses in clay
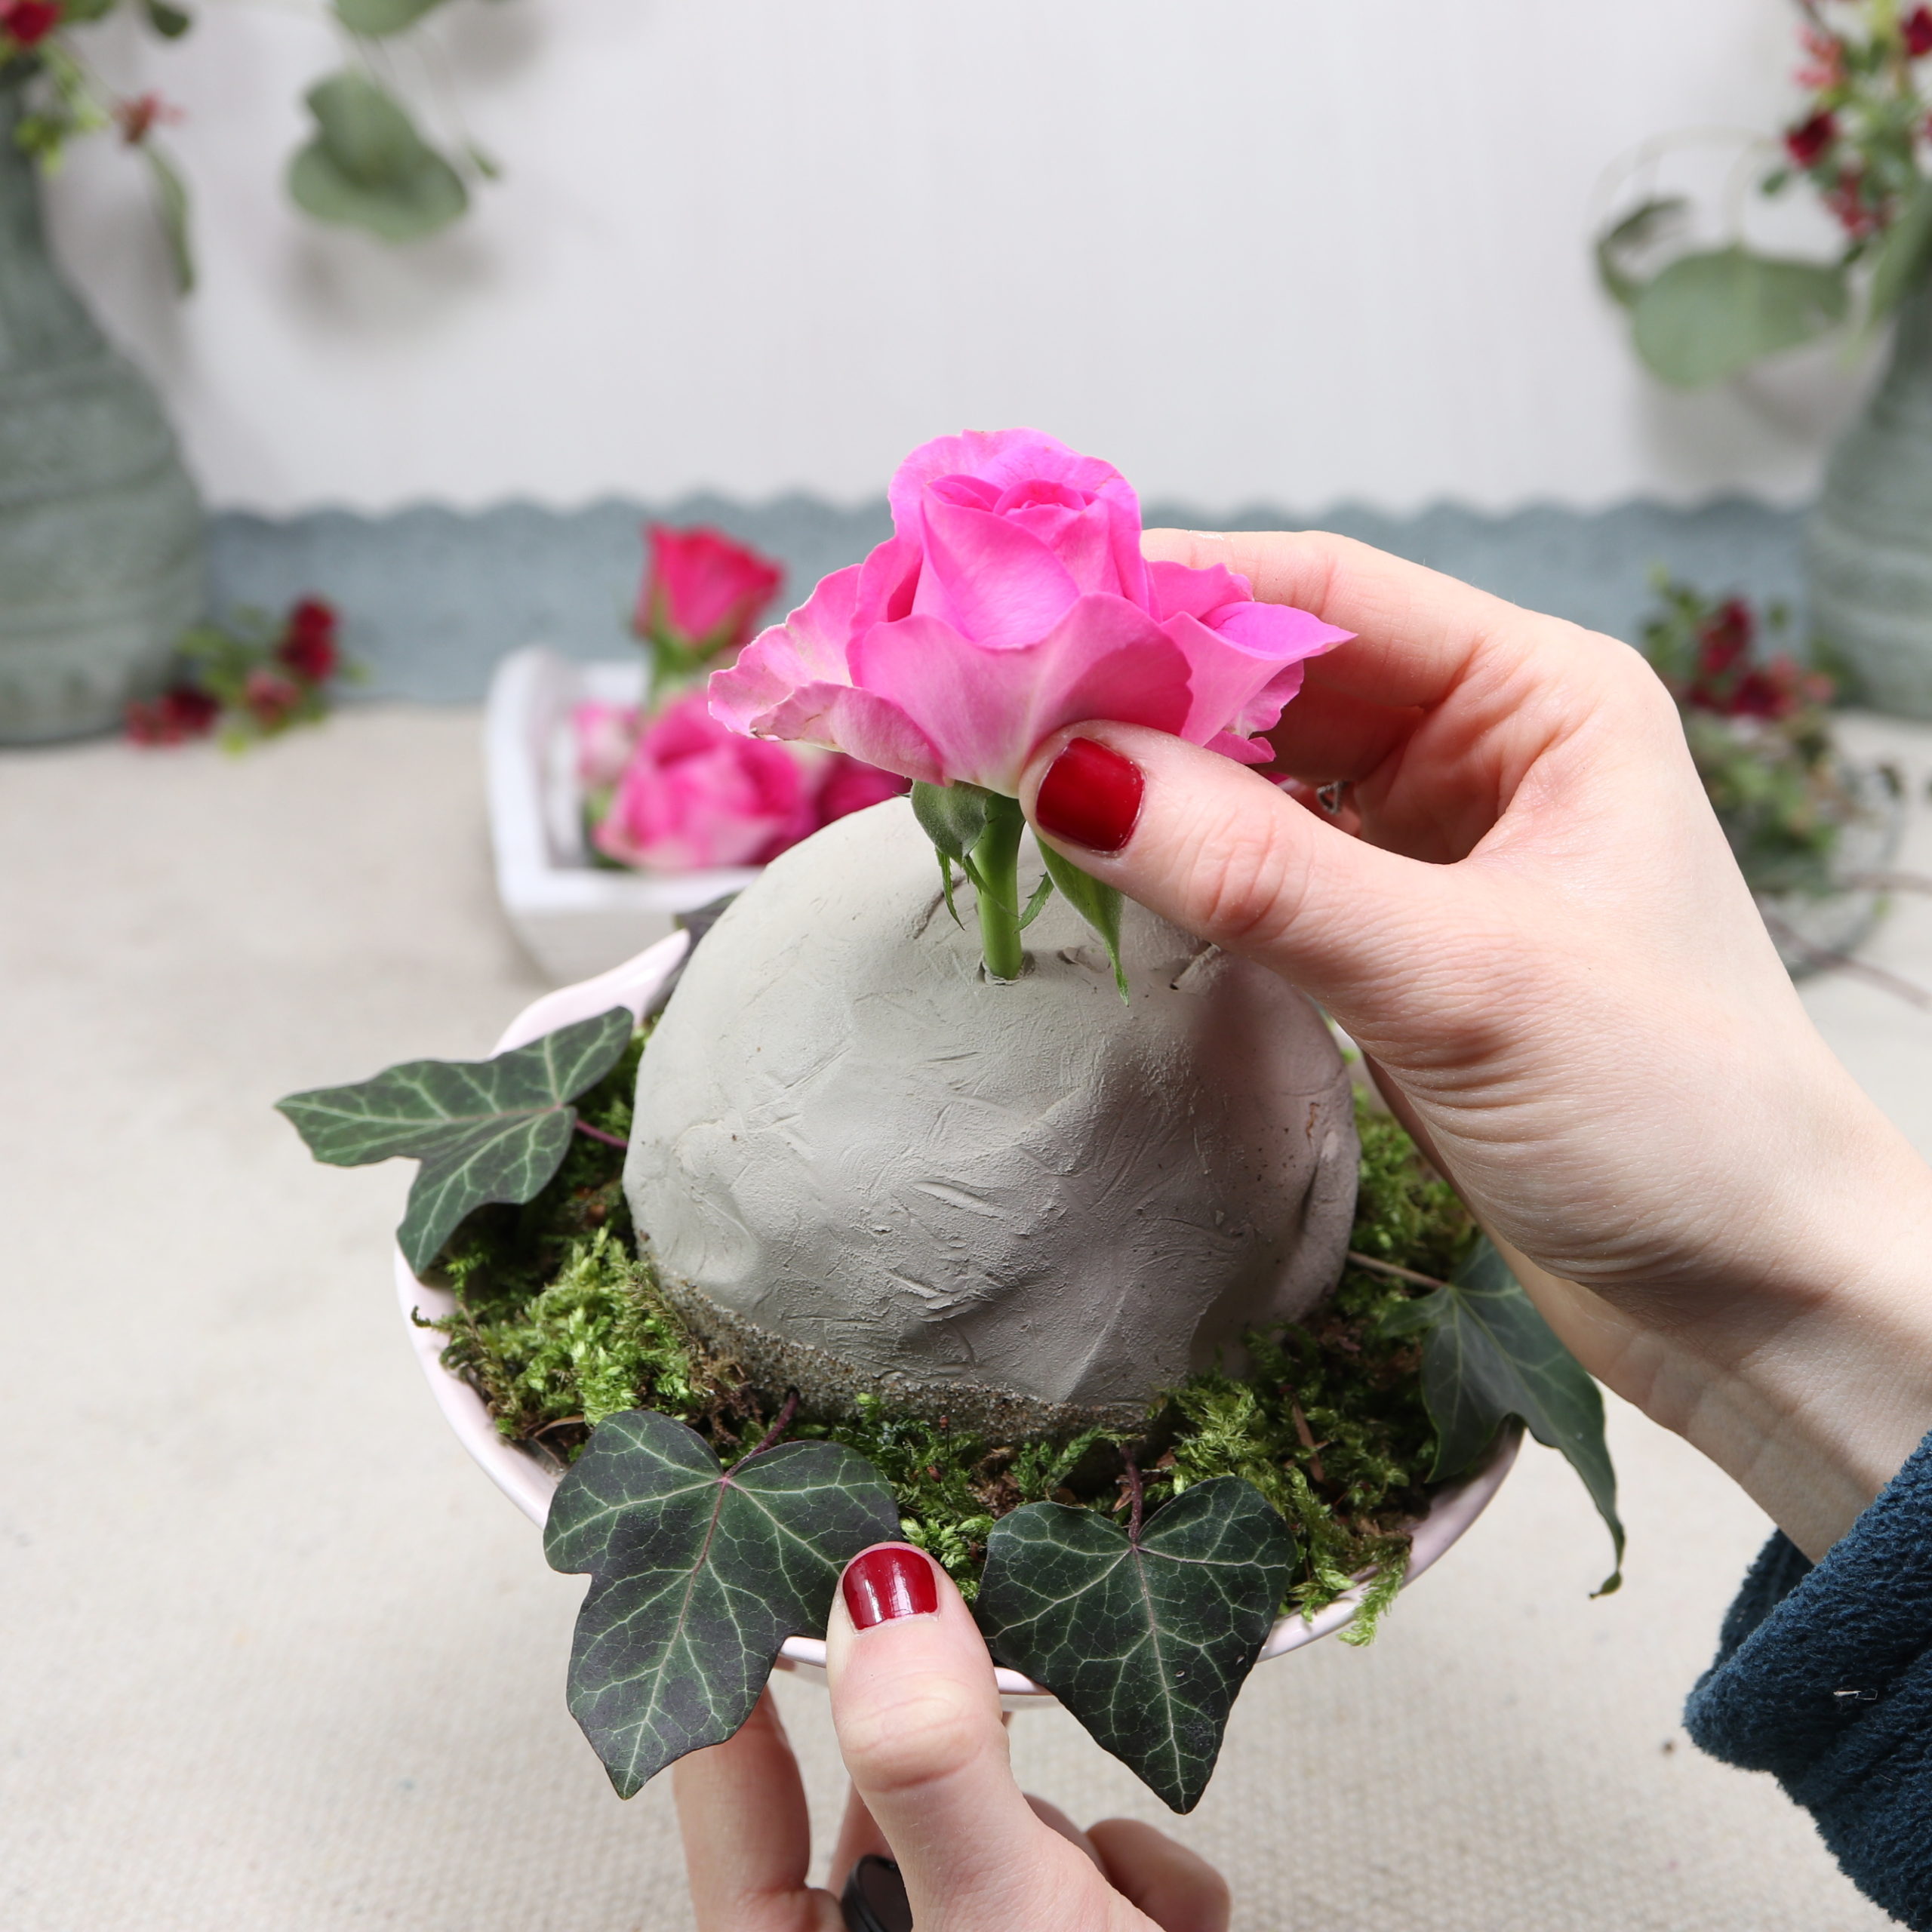
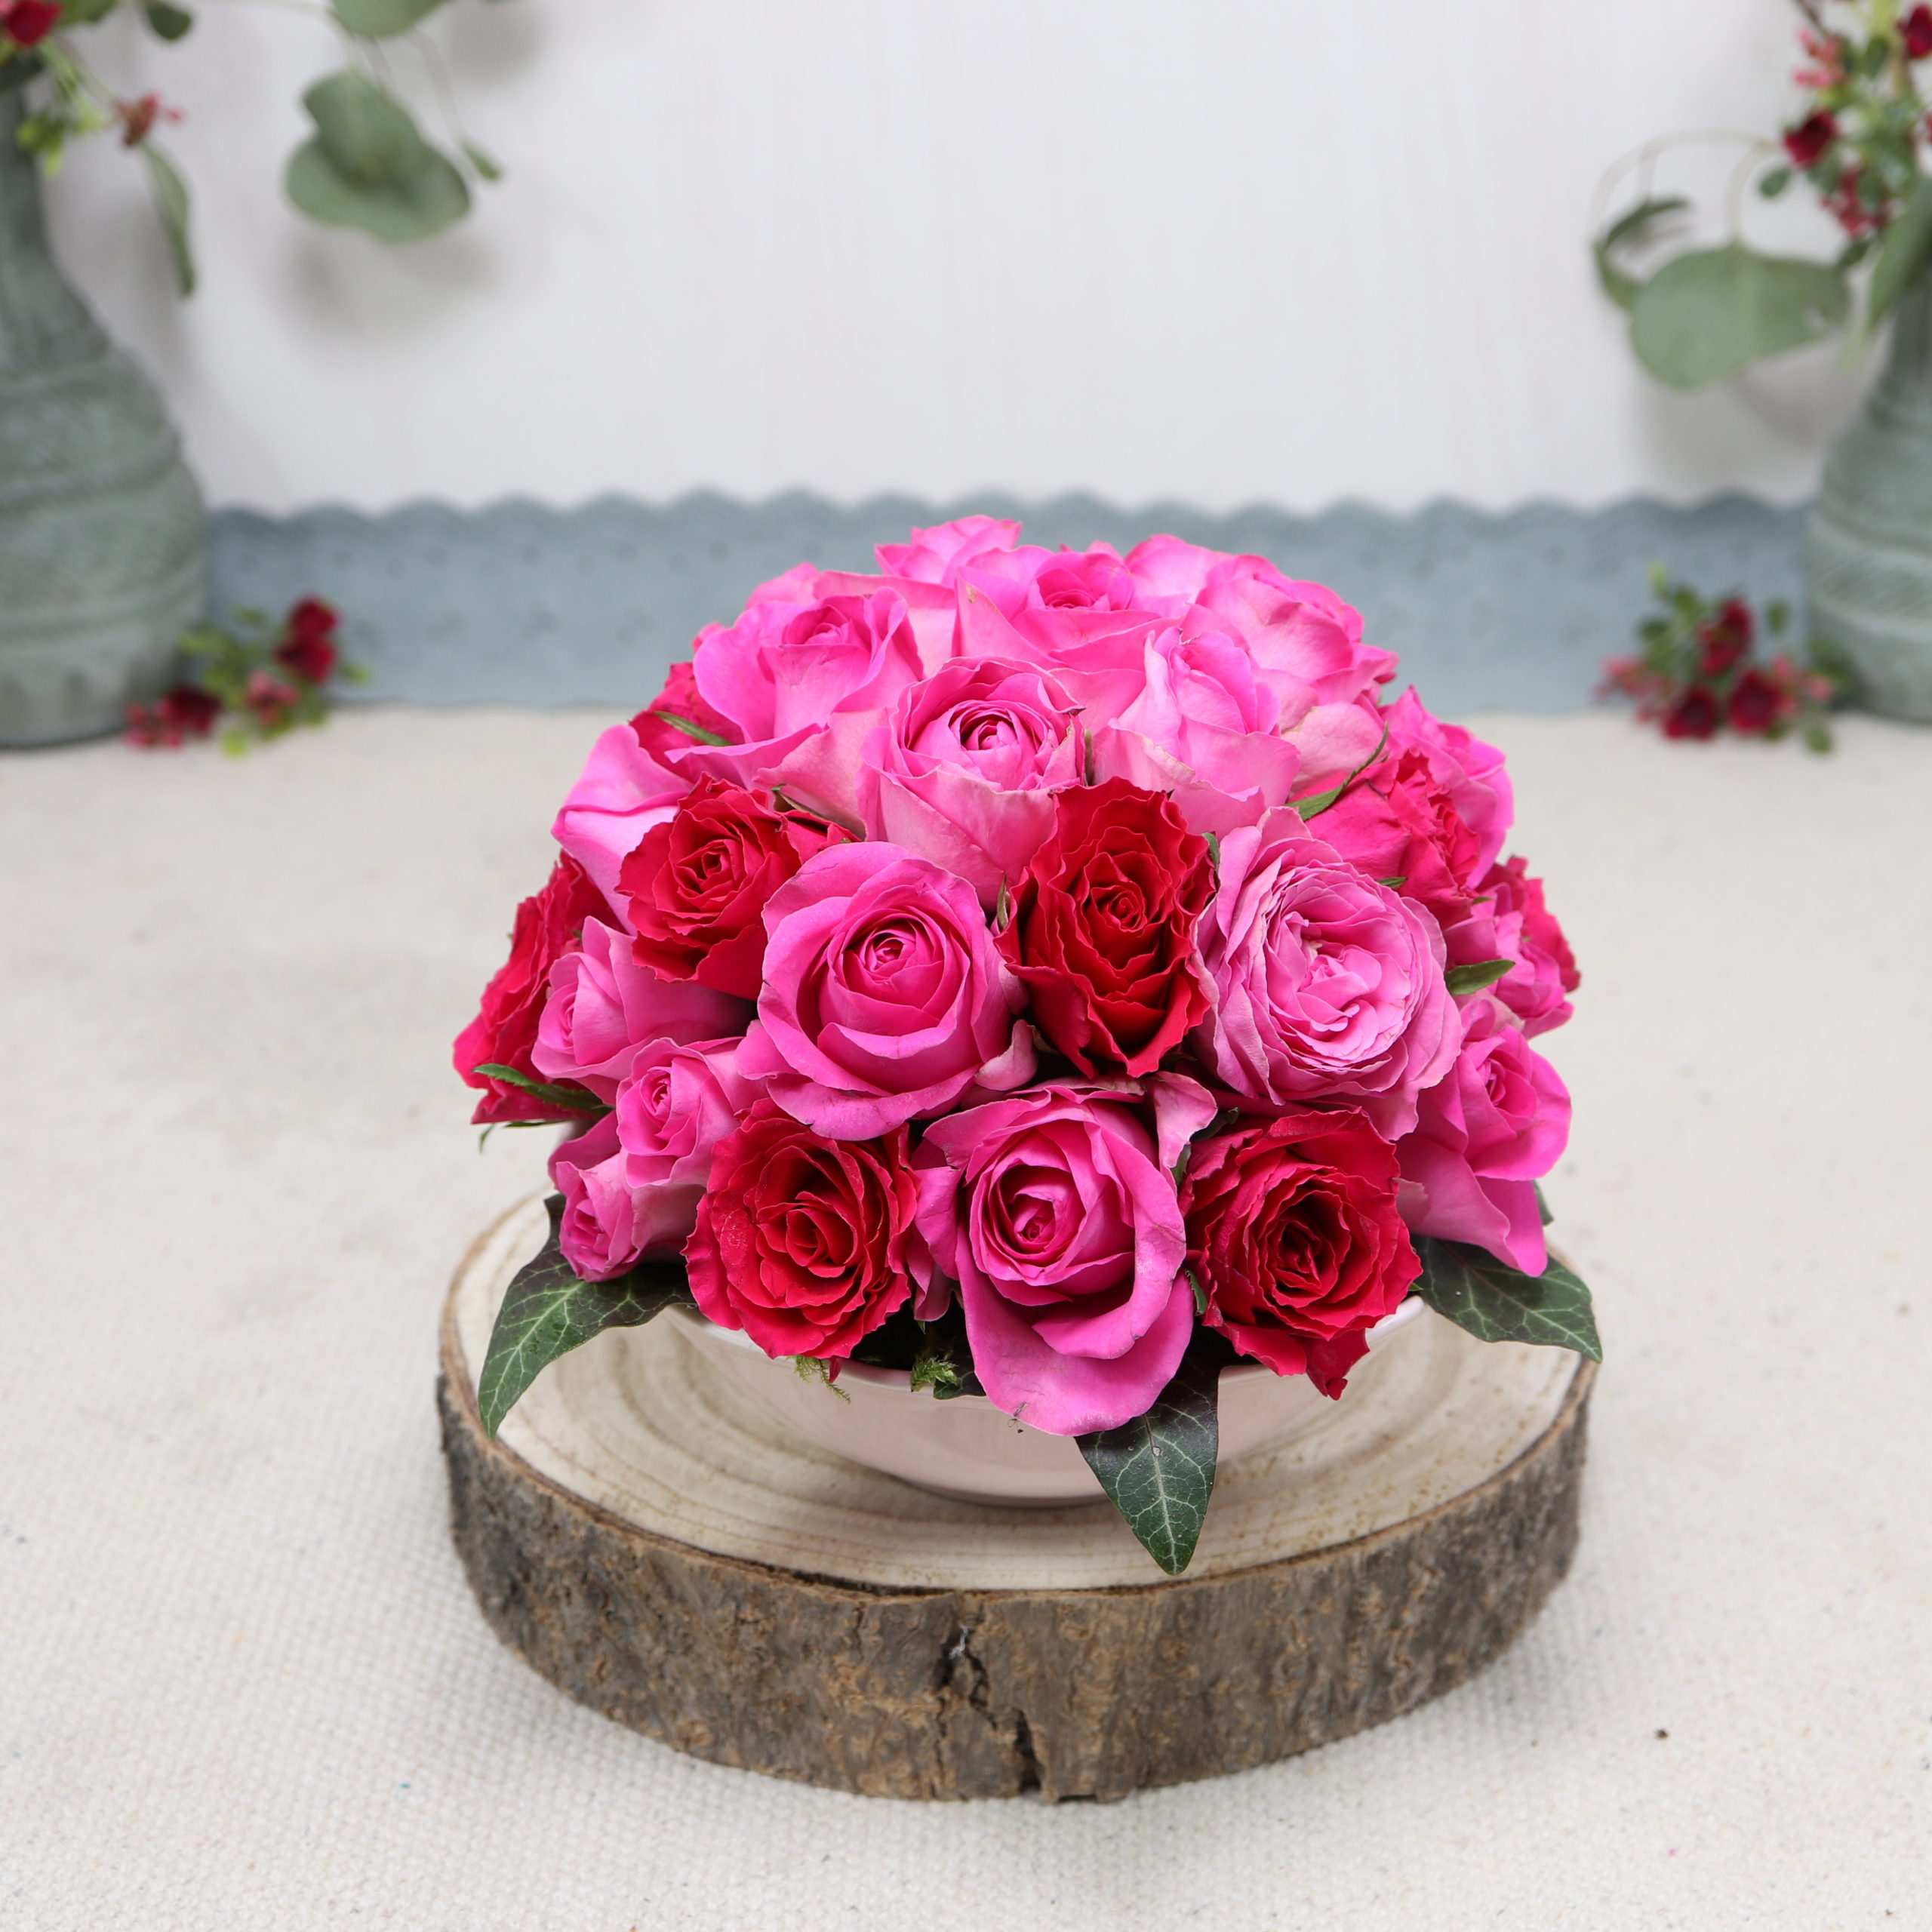
Now the roses are put into the clay. I start at the top and then put the roses all around very tightly with the complete stem into the clay ball.
Step 8: Insert ivy stems into clay
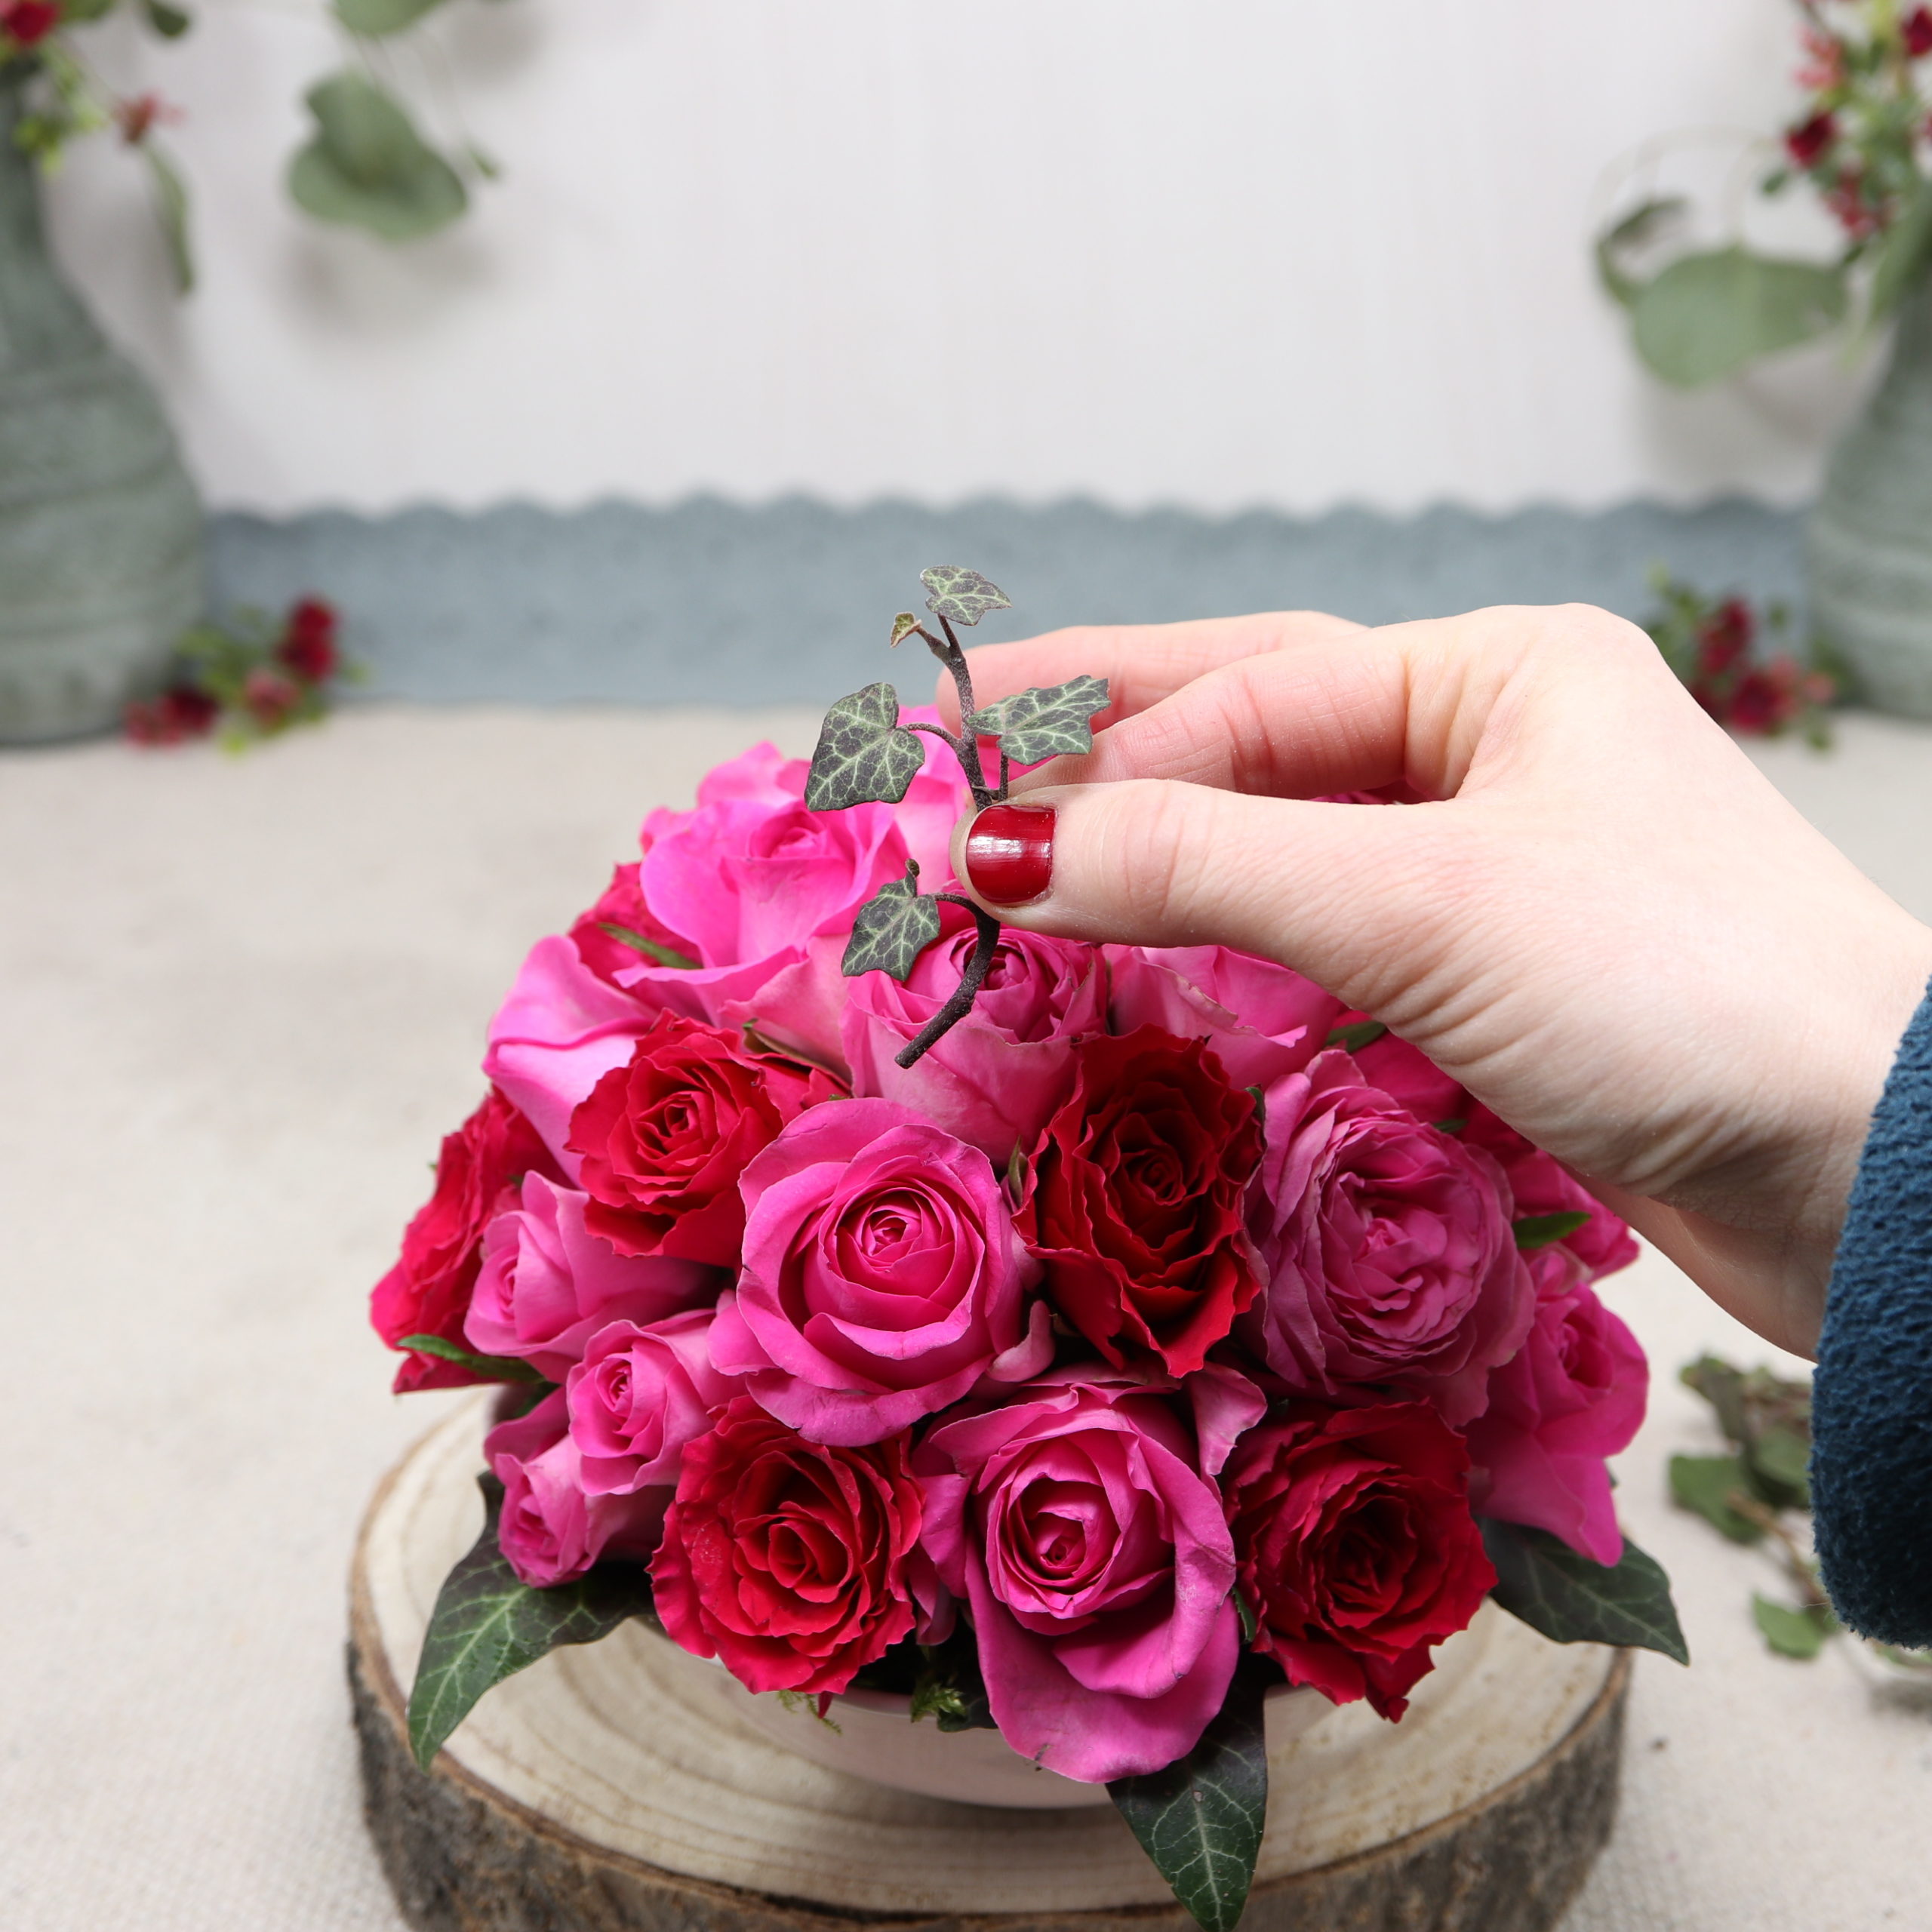
Finally, I insert some additional ivy leaves between the roses.
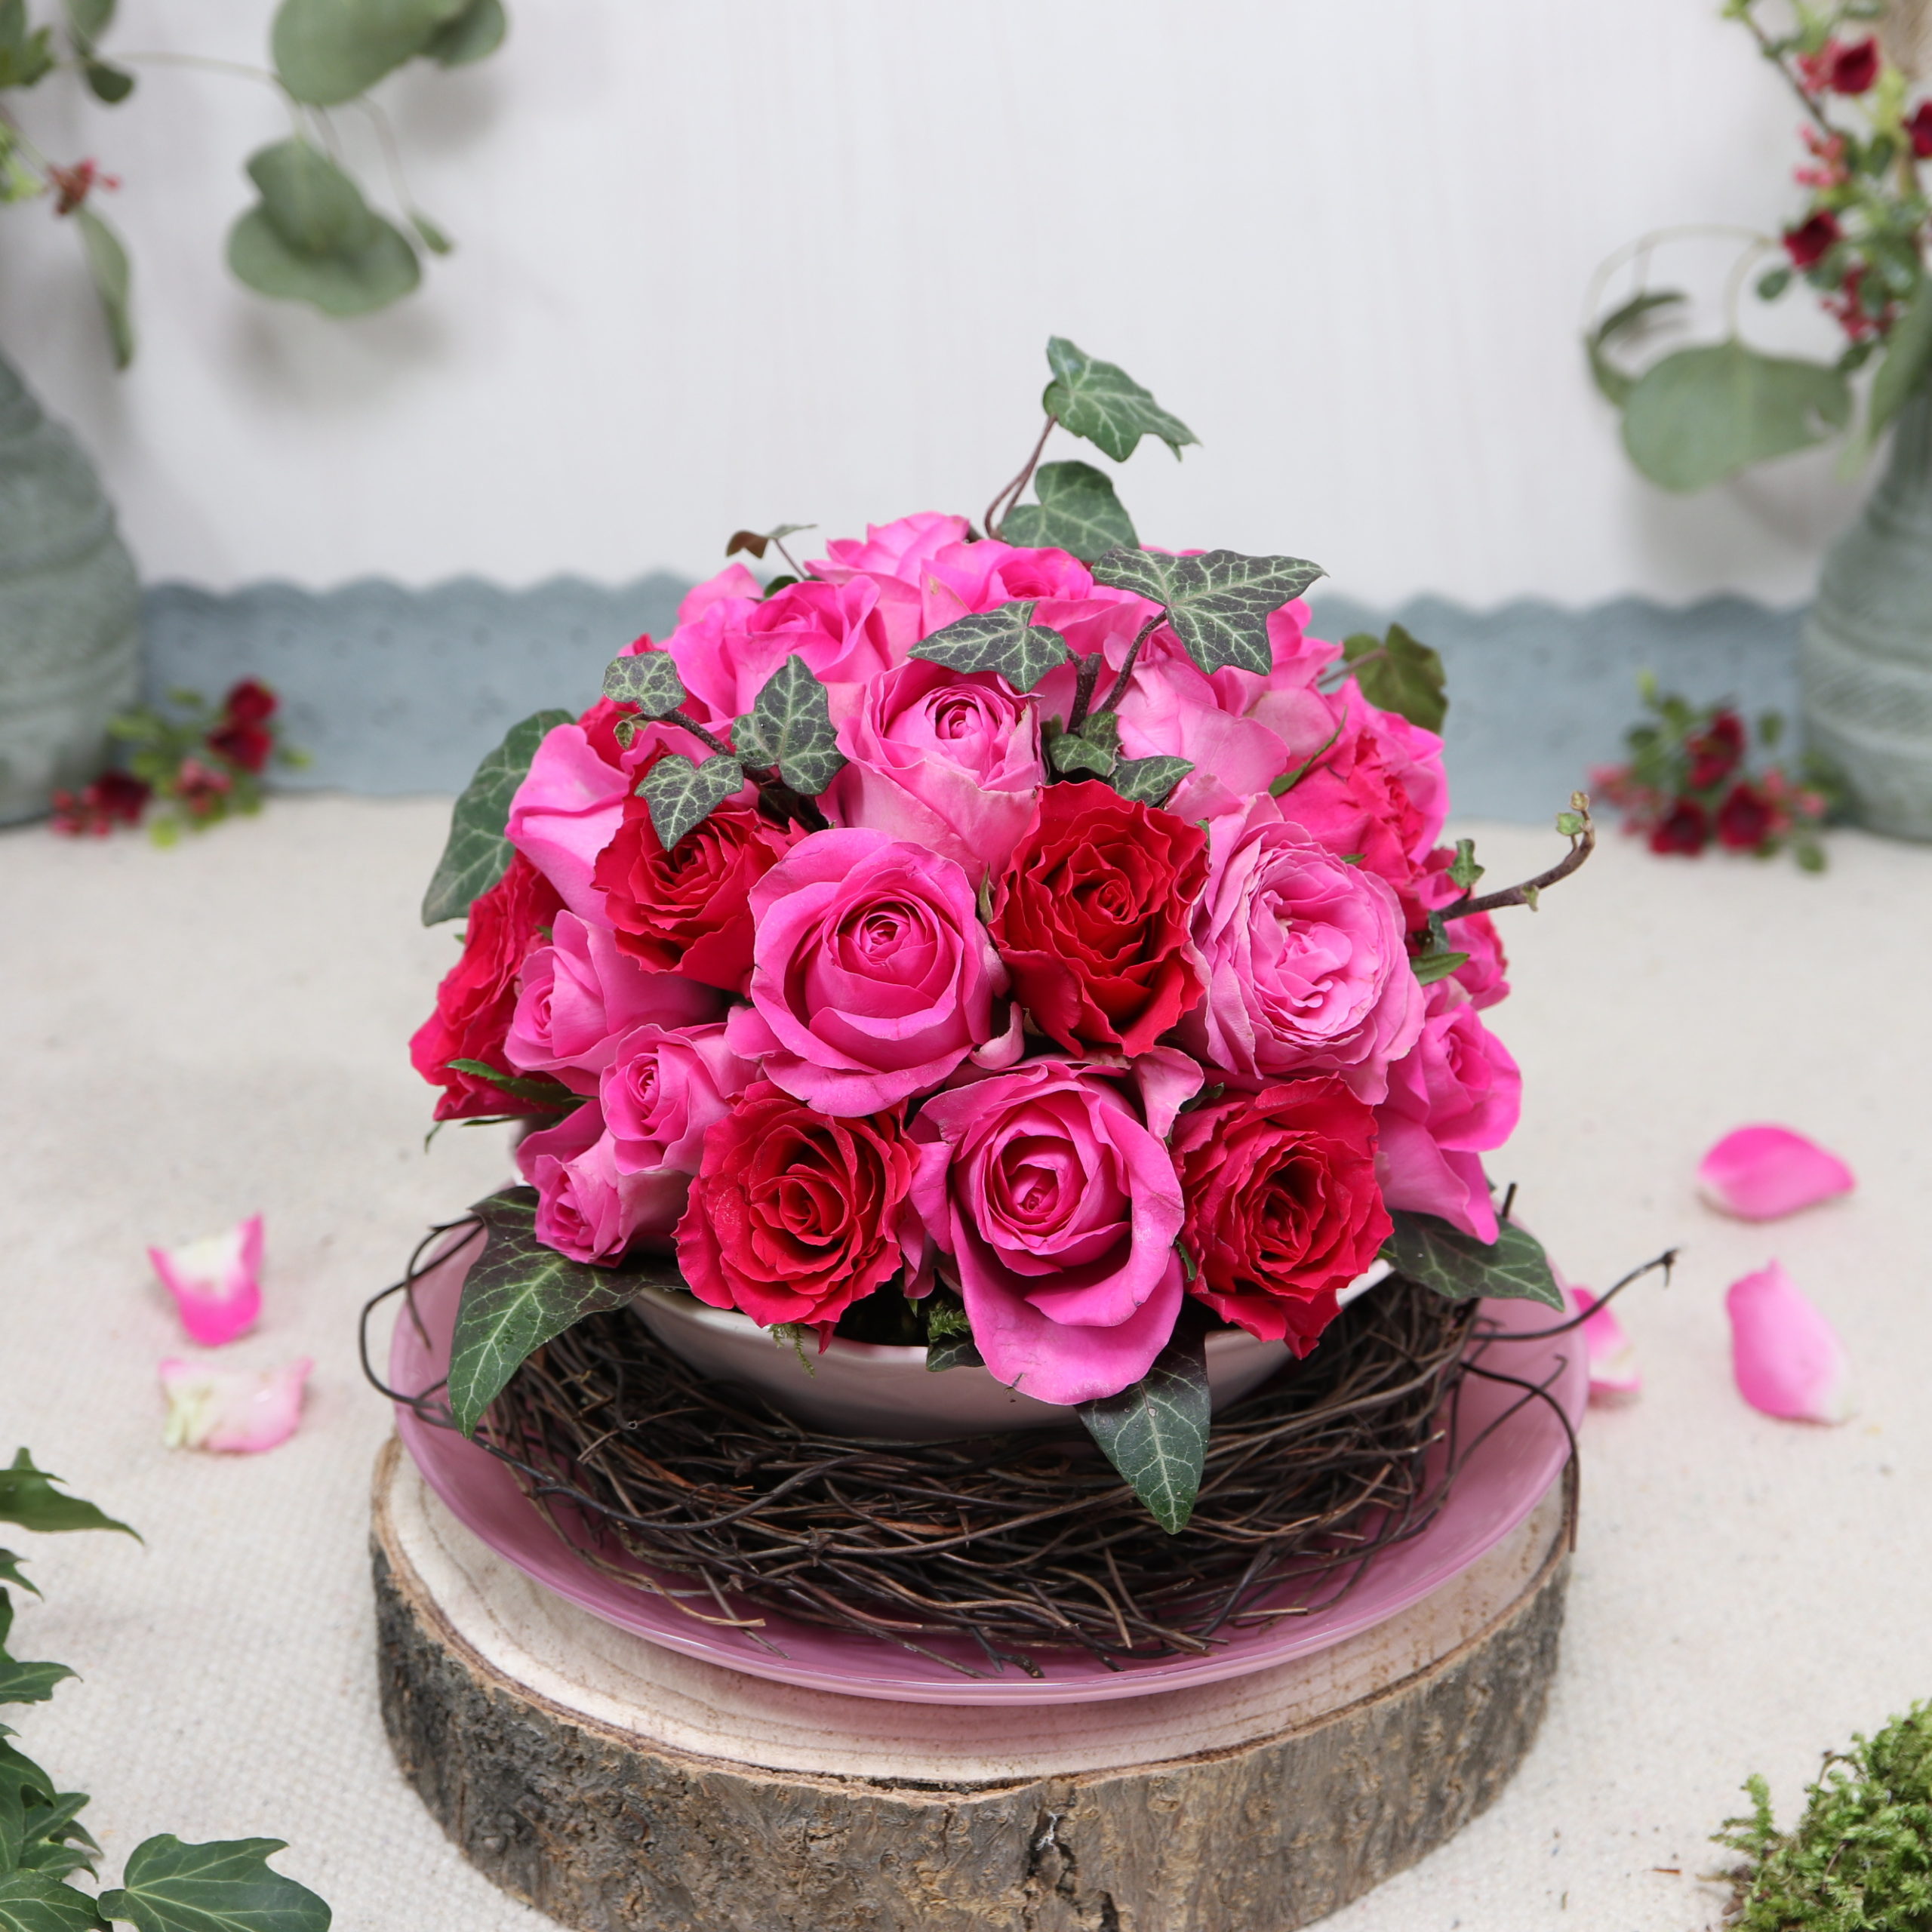
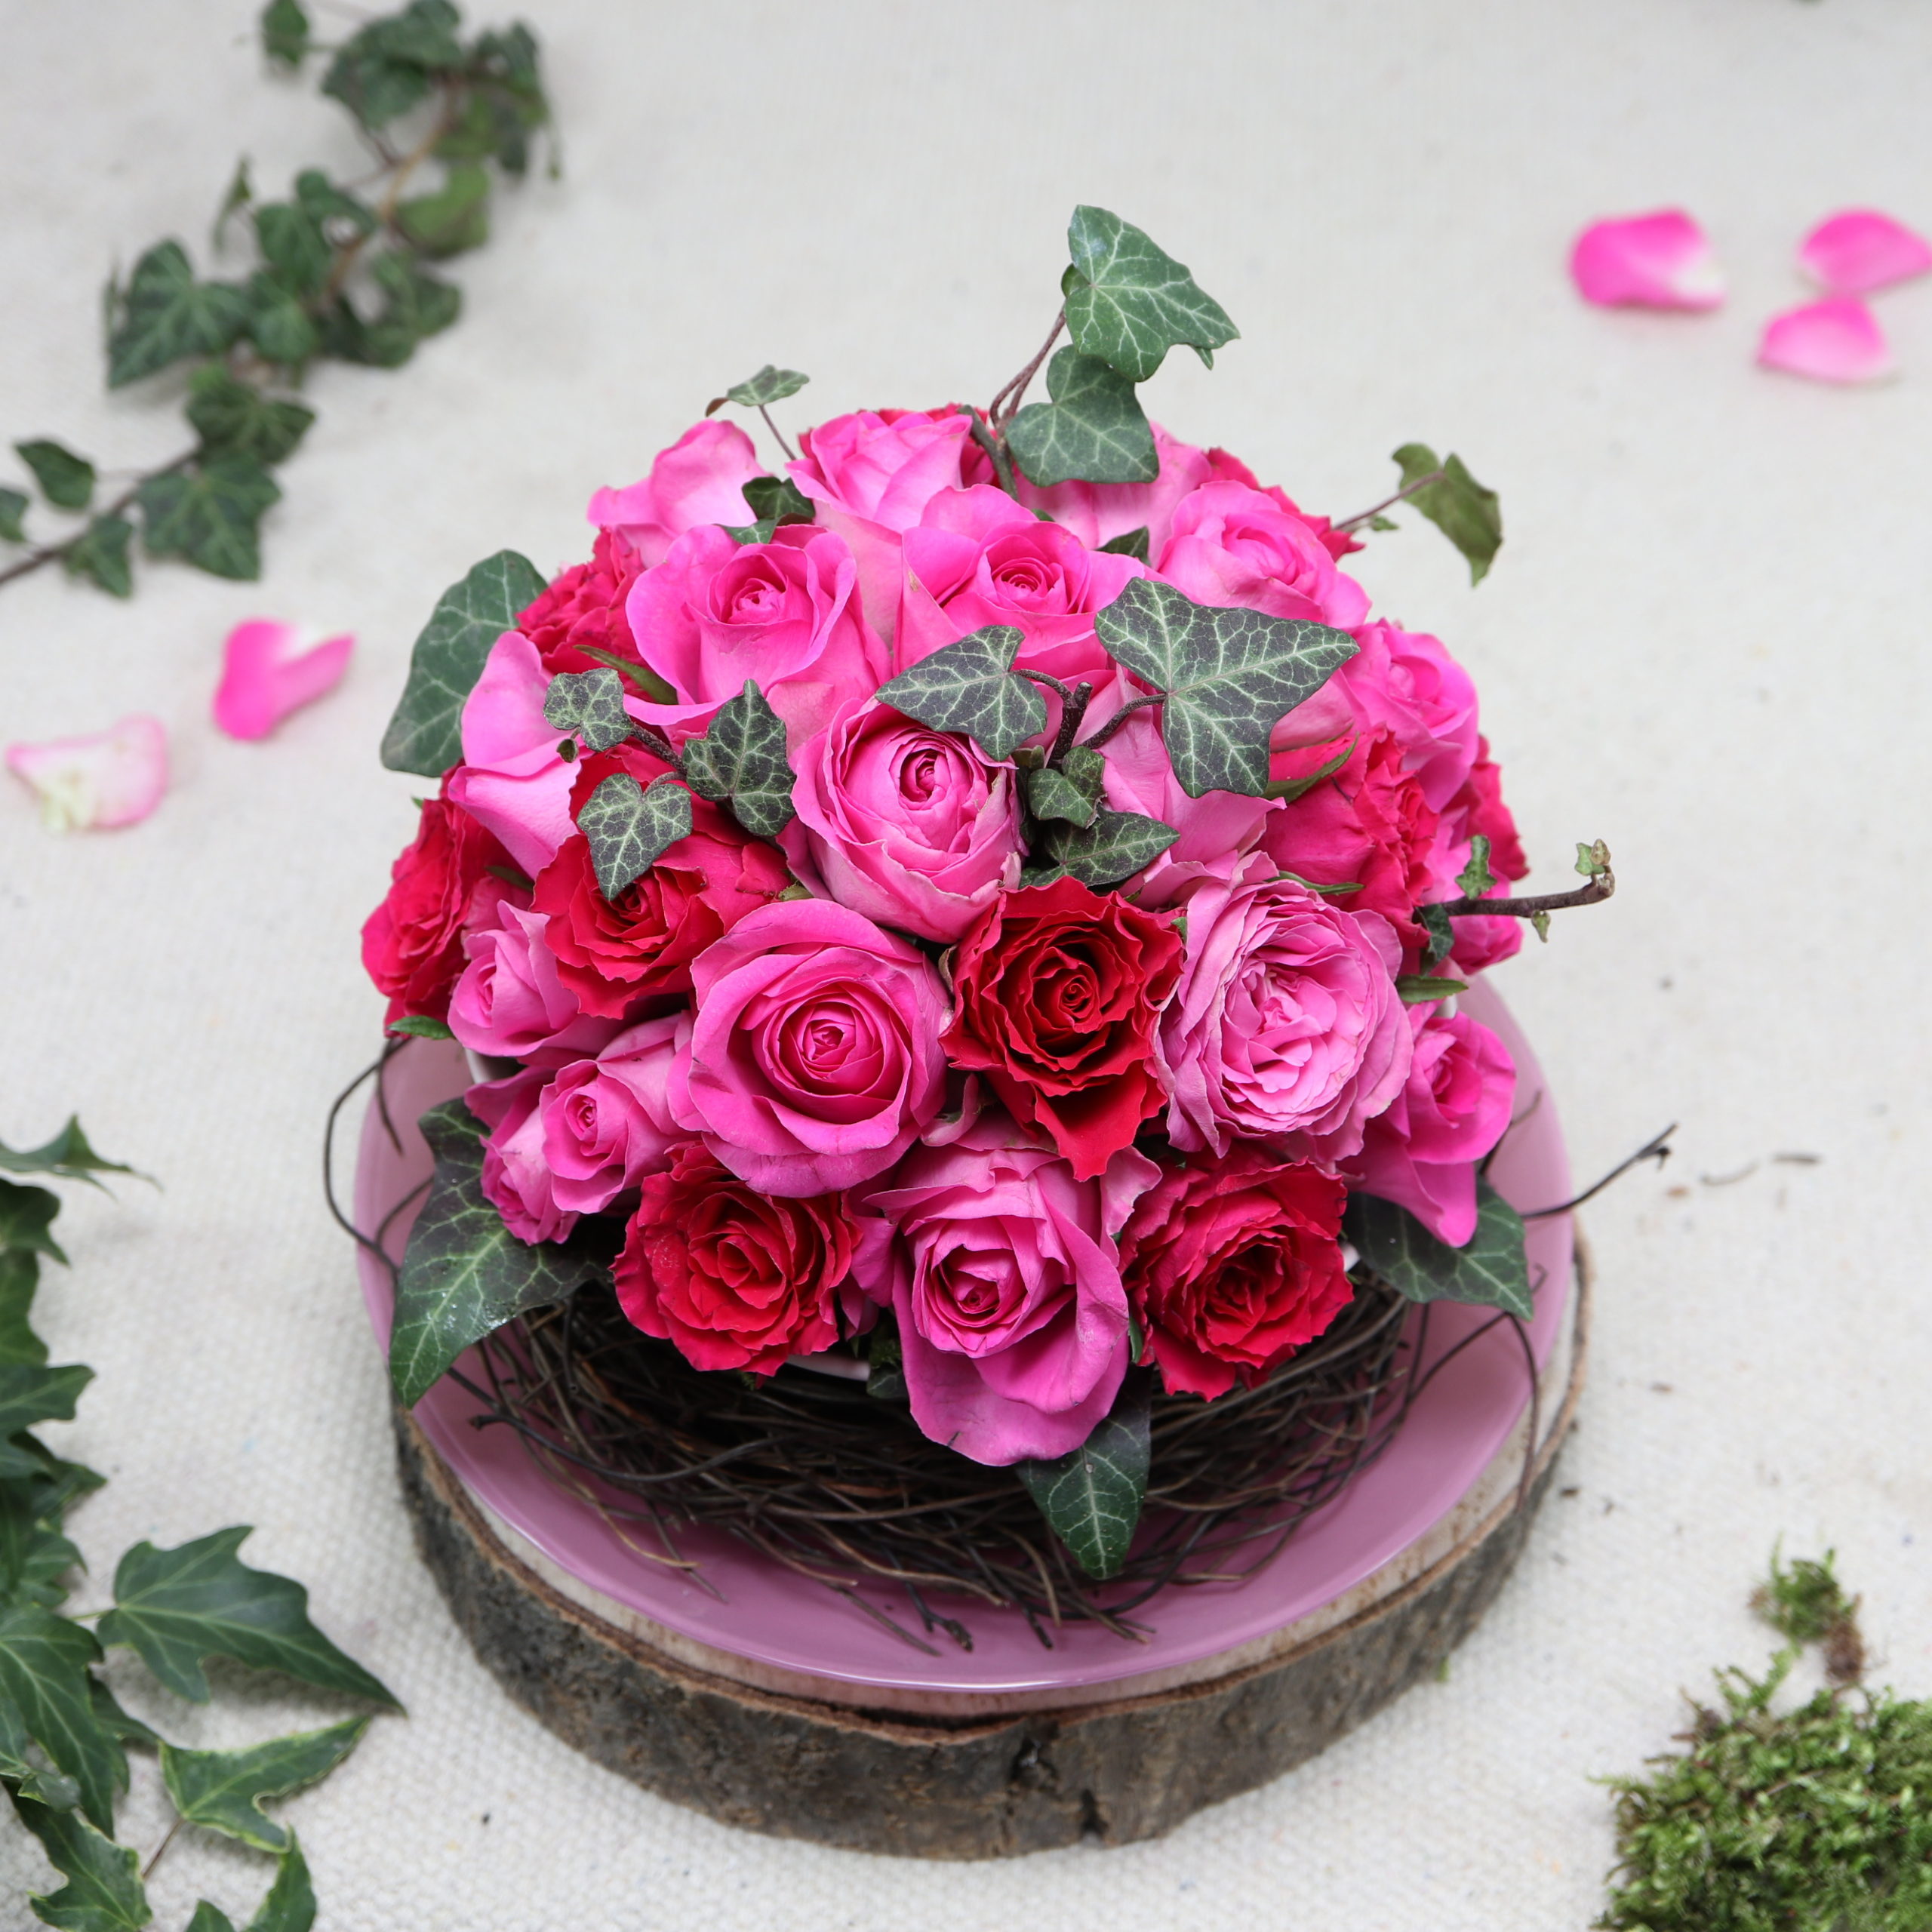
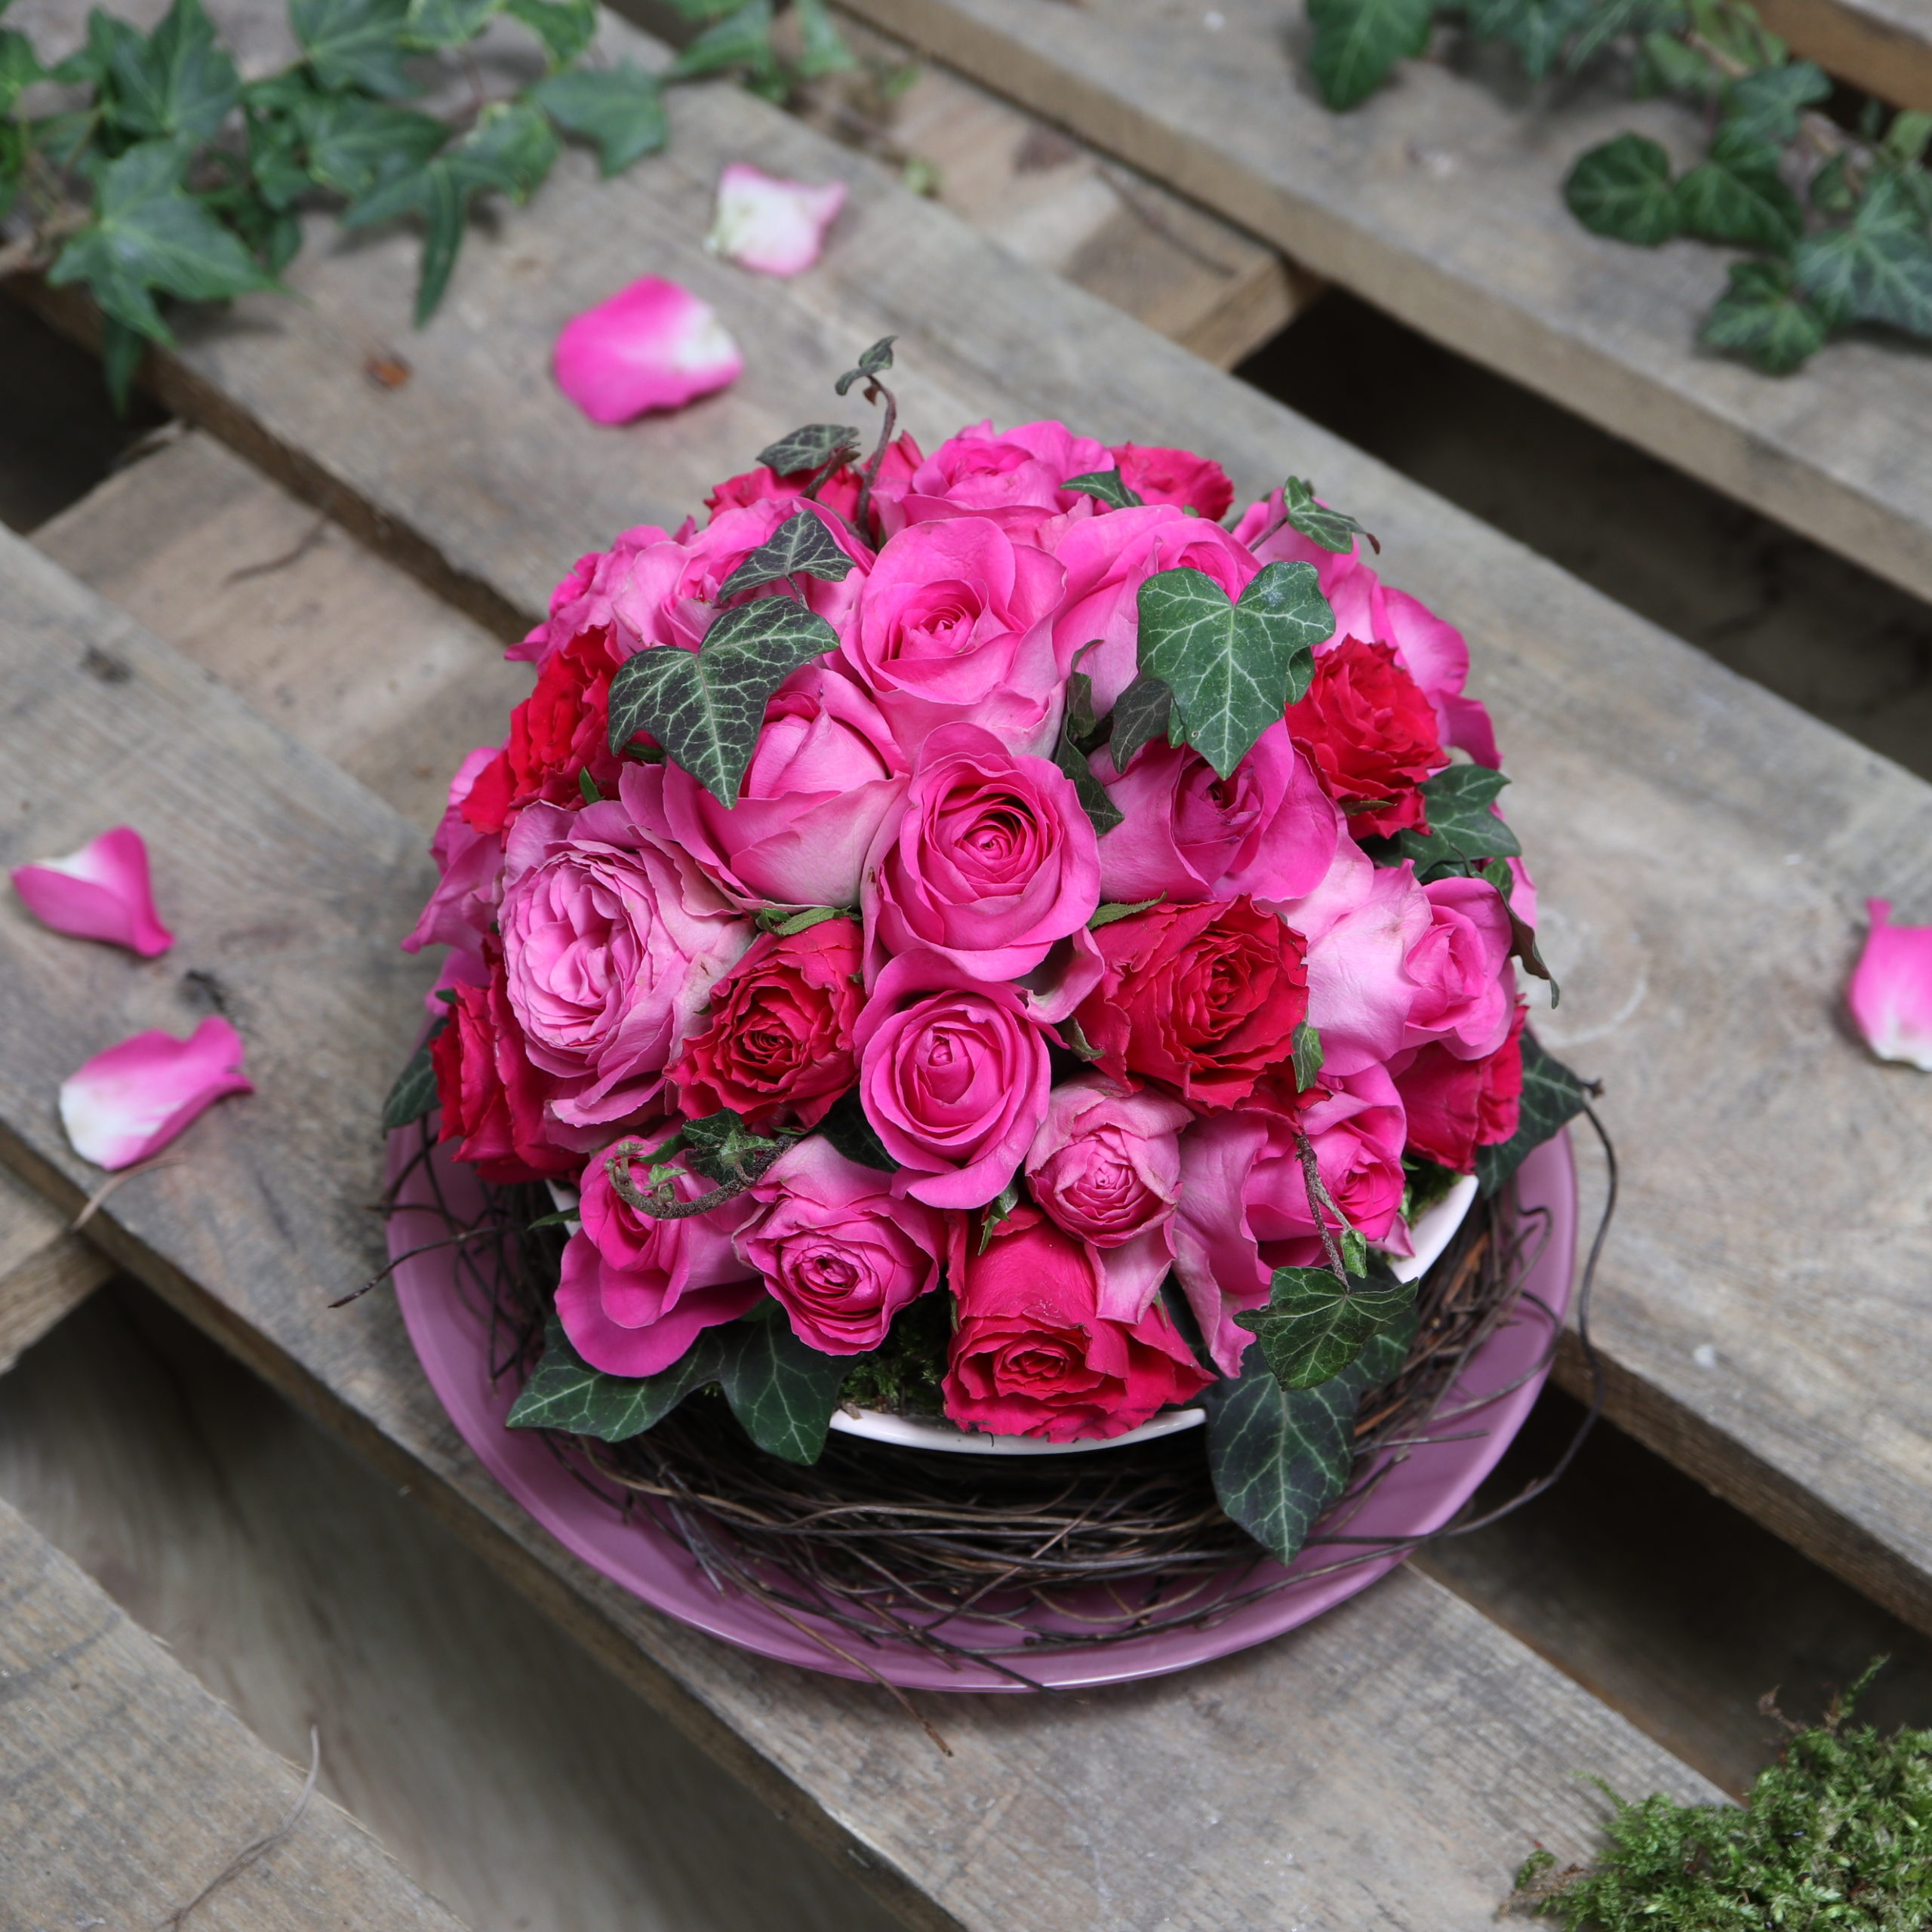
Step 9: Decorate rose arrangement on plate
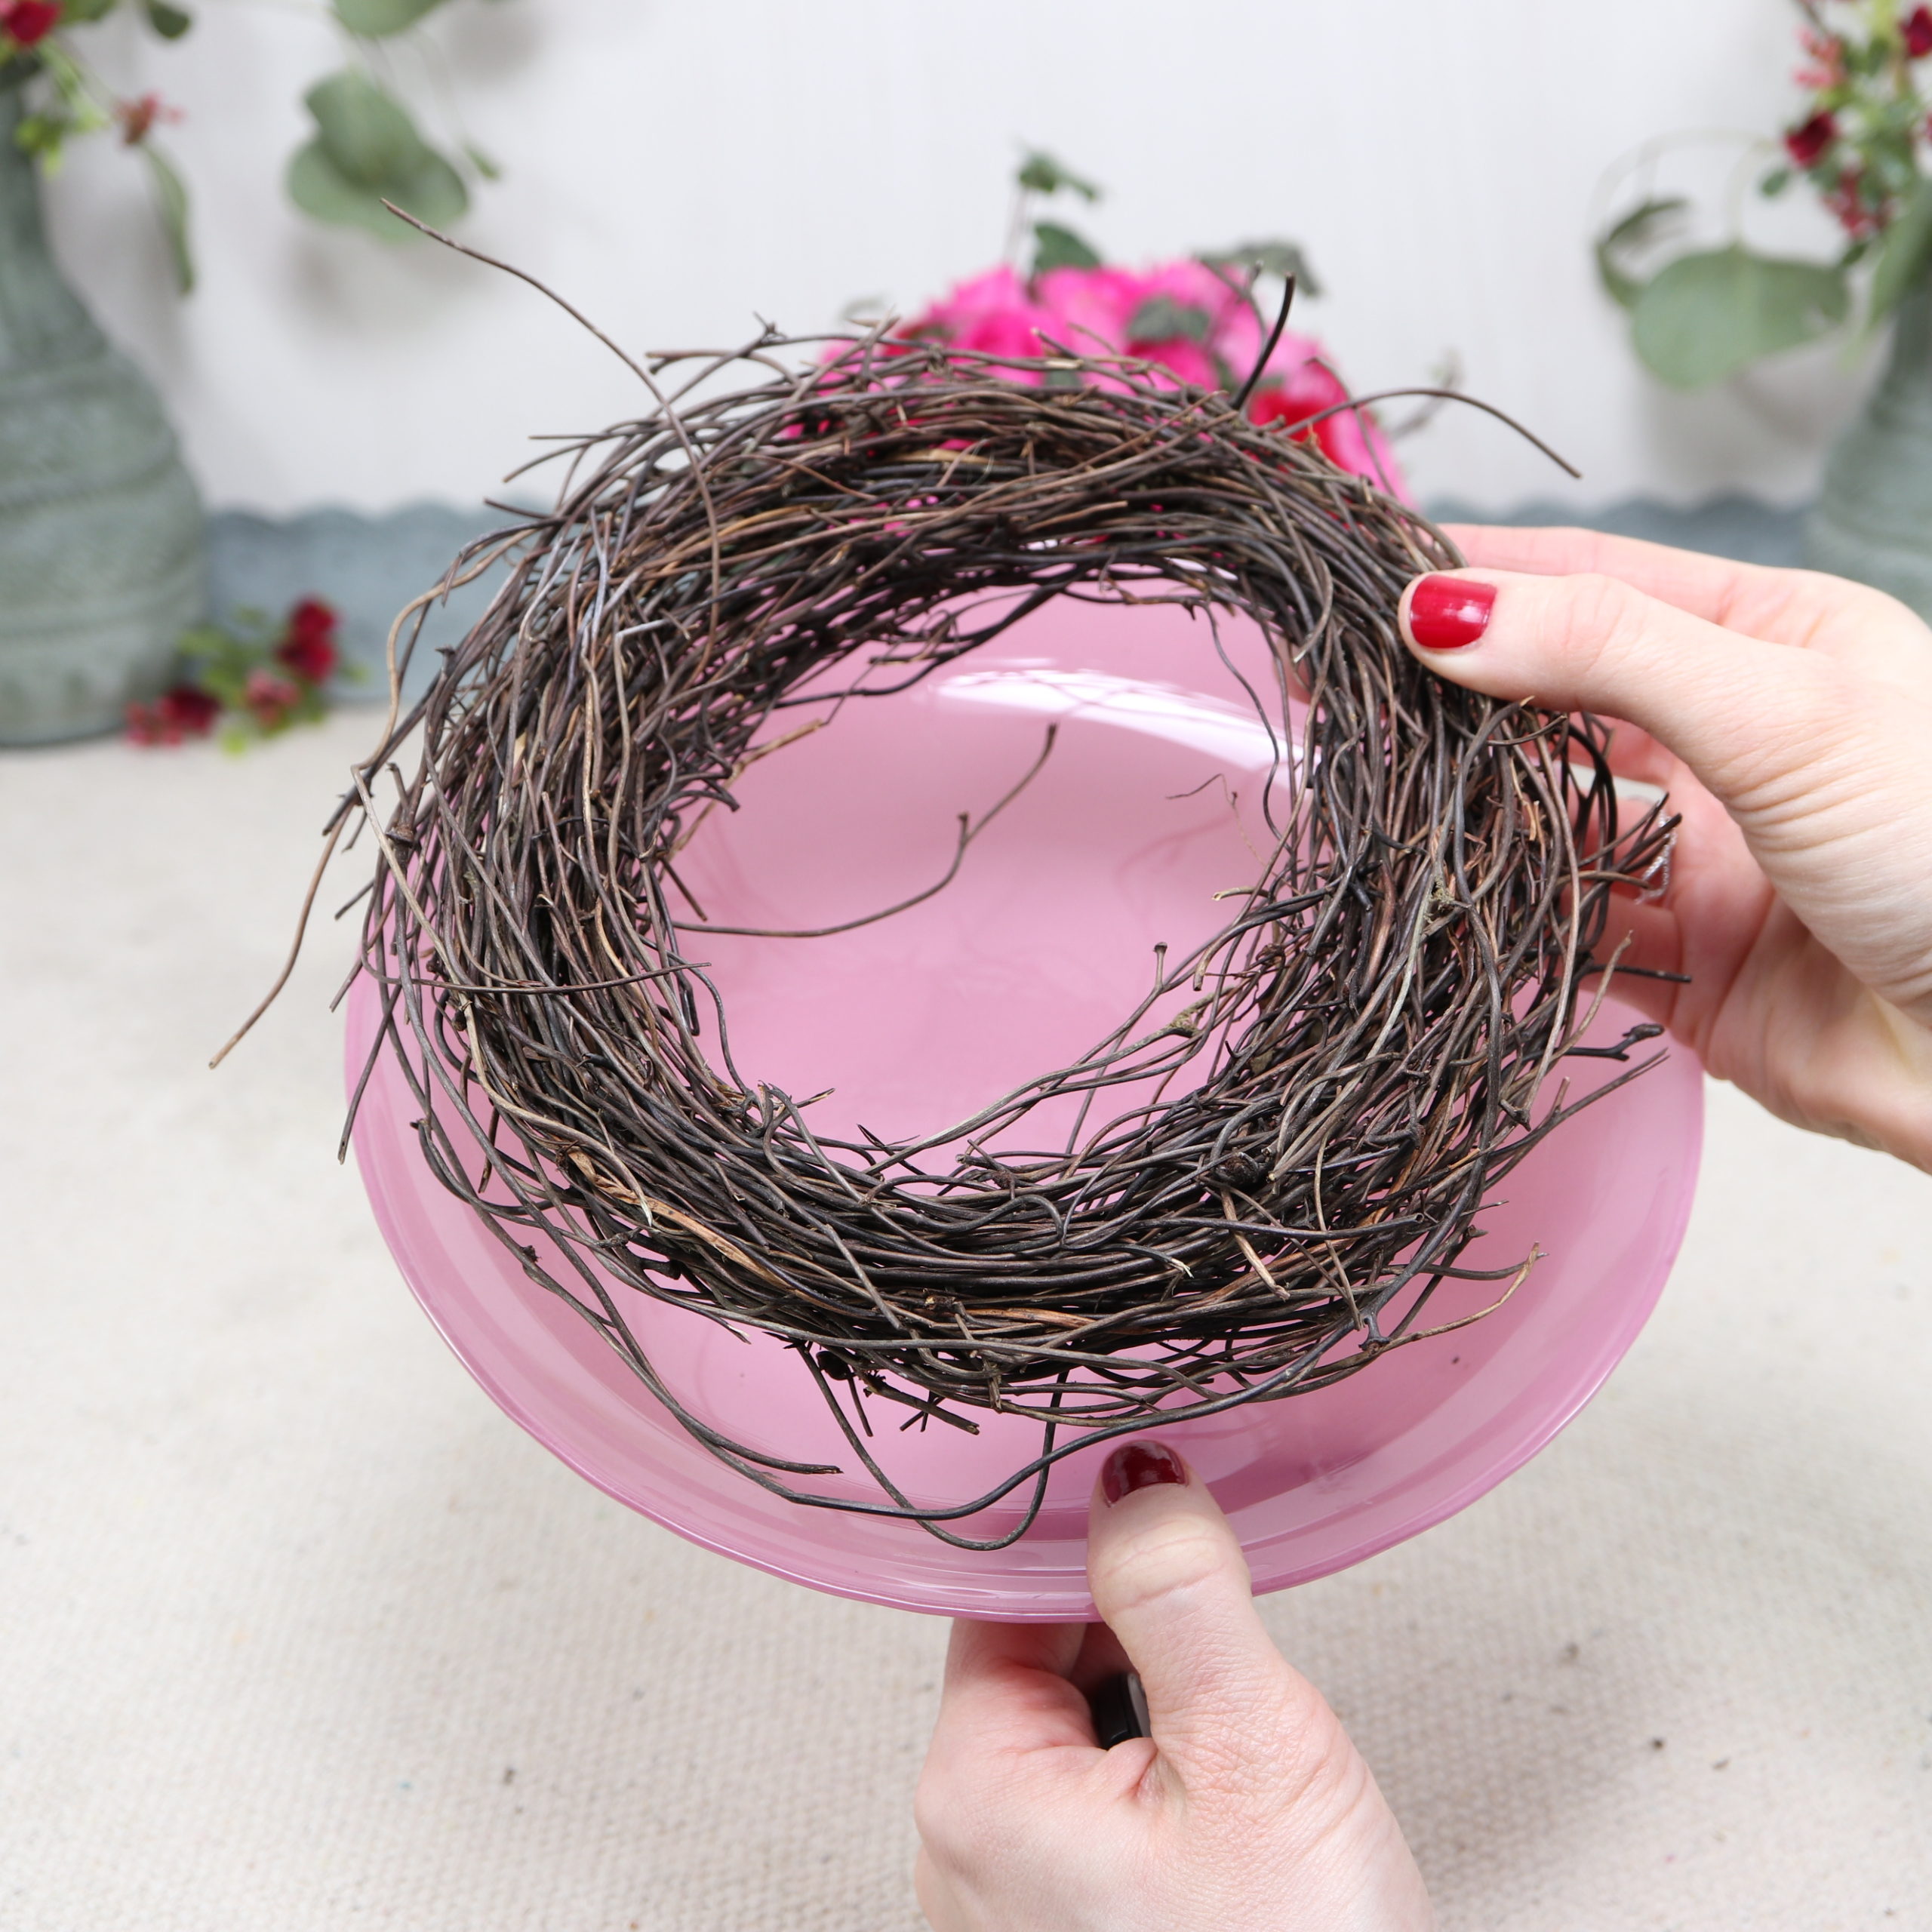
Now the vine wreath is placed on the pink decorative plate. Then you just have to put the bowl inside.

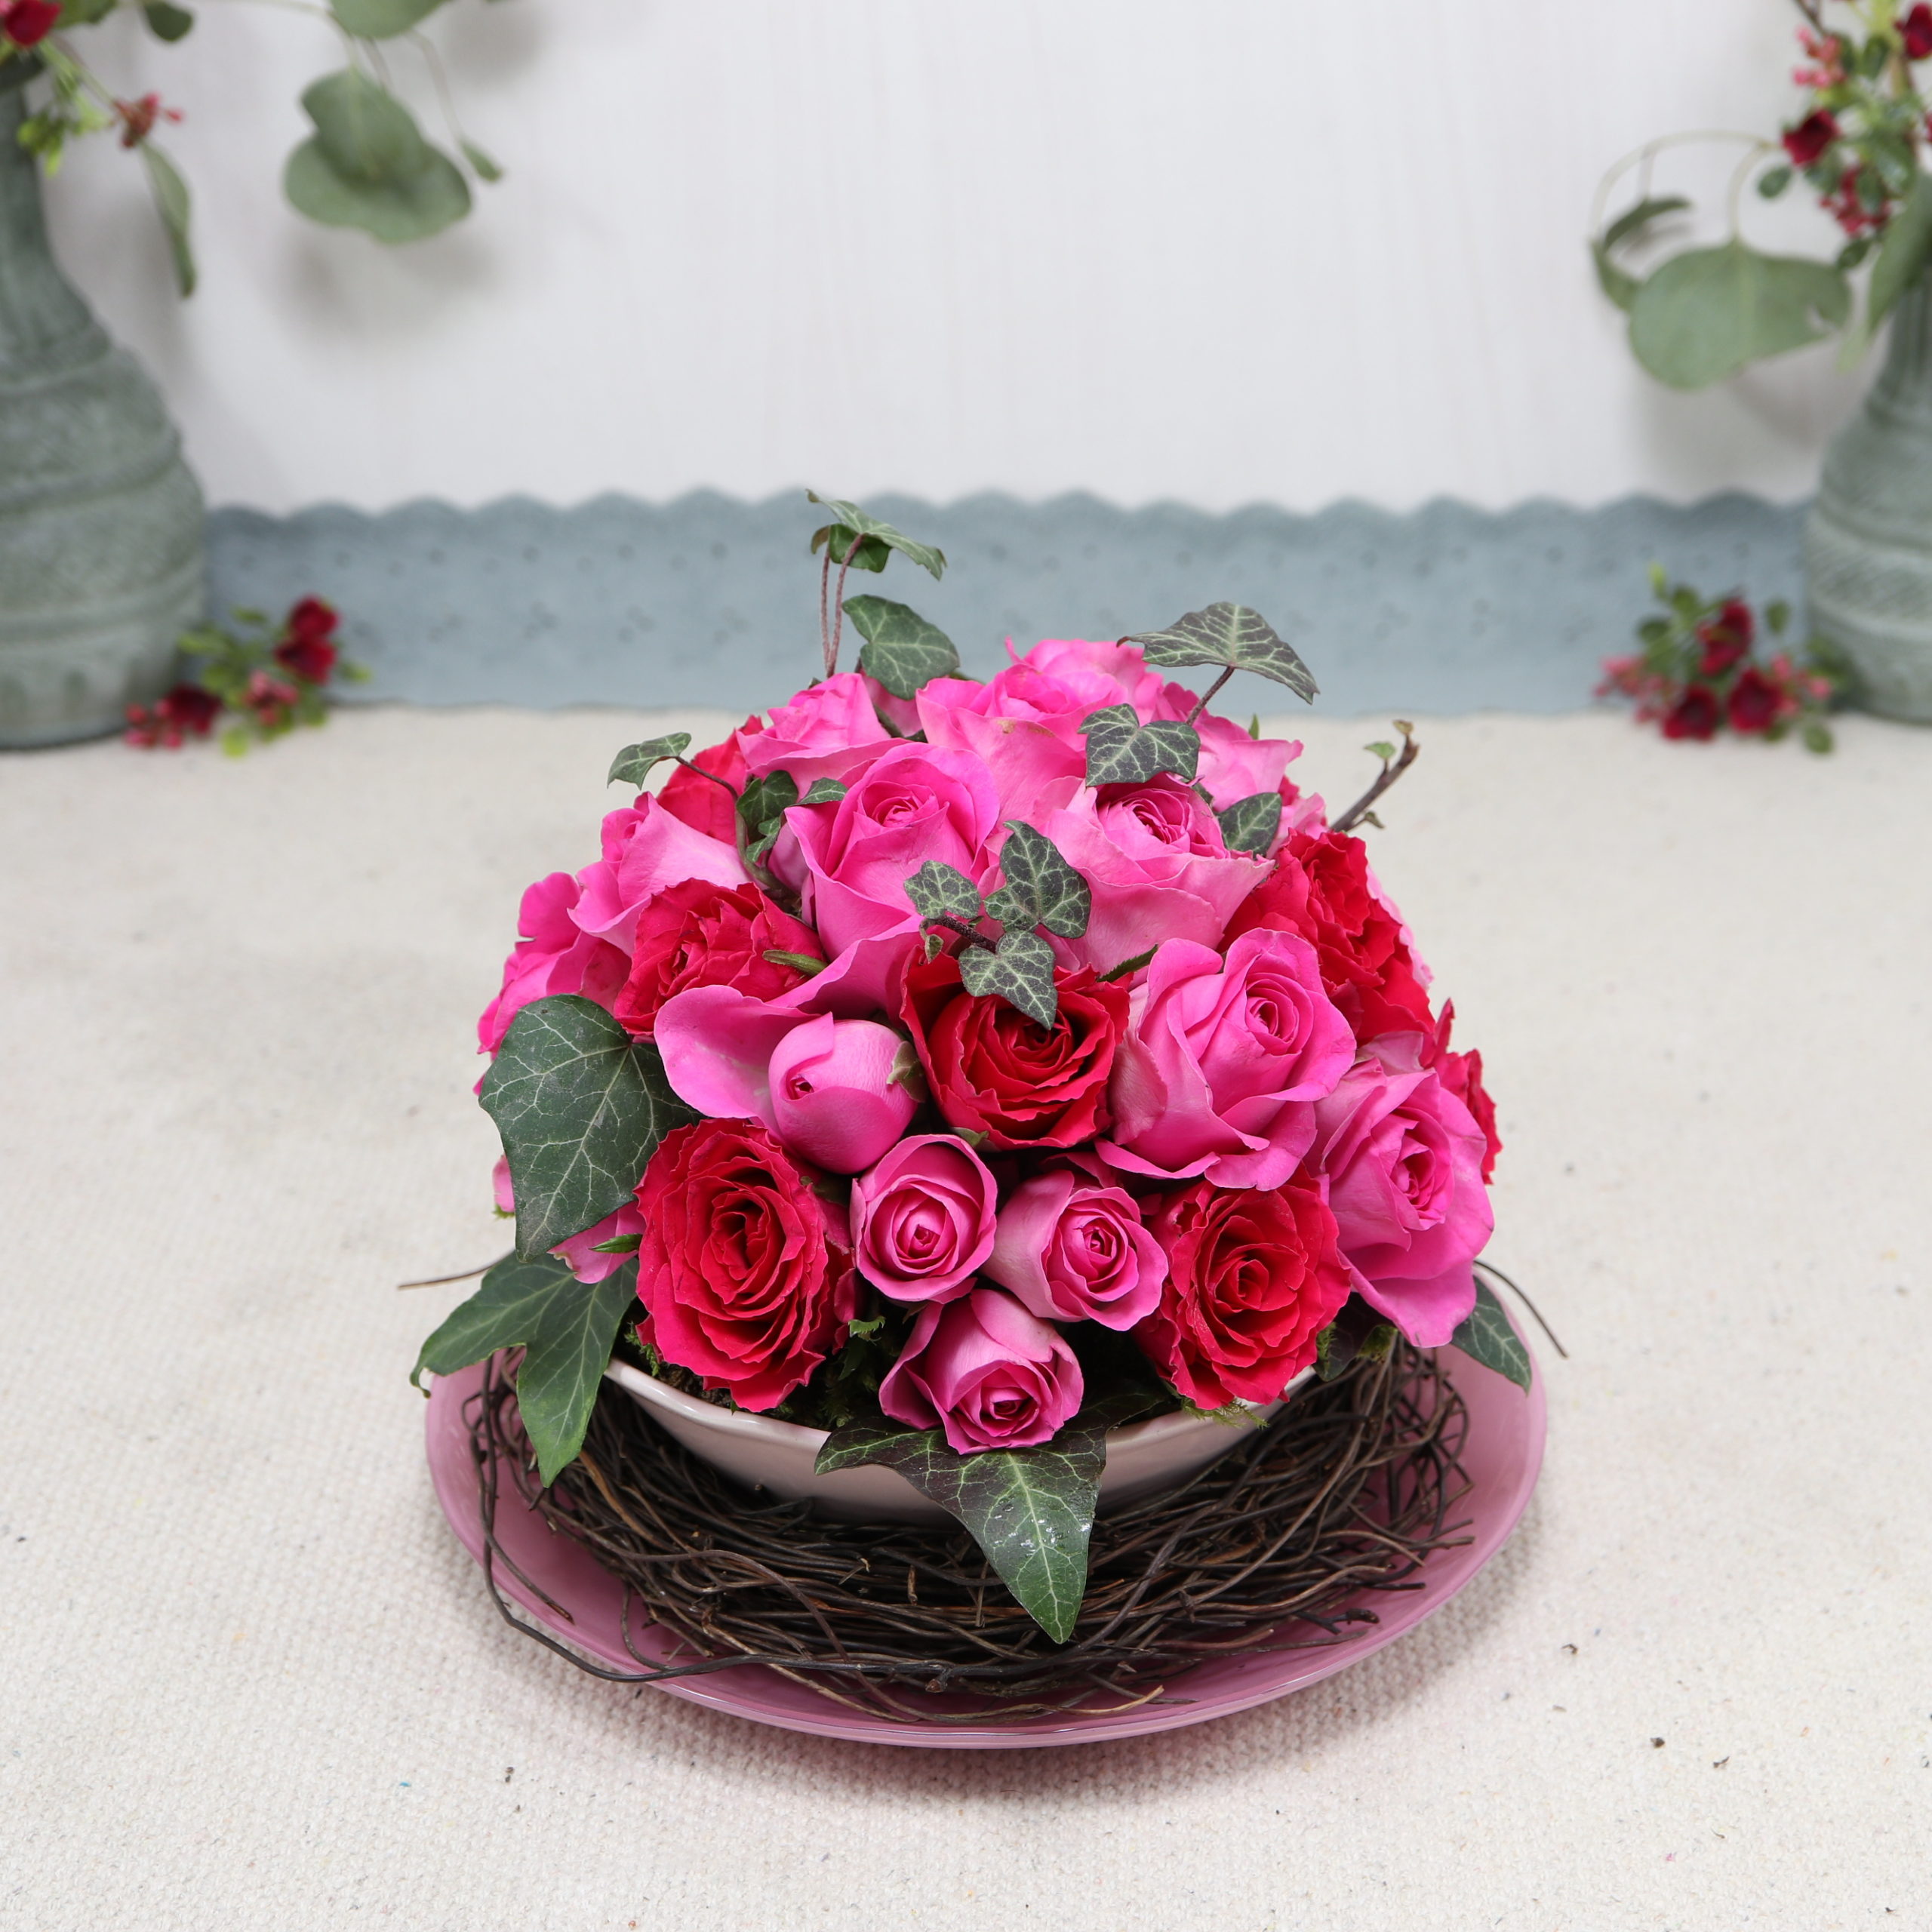

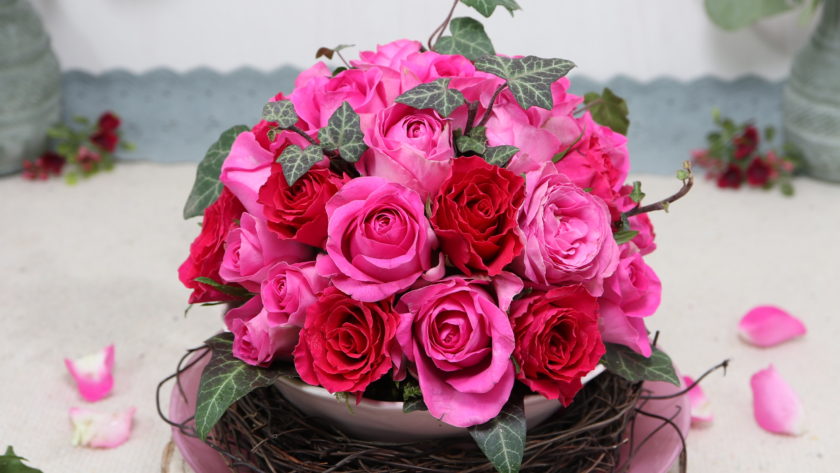
And the rose arrangement with clay is ready! Since roses dry out nicely and clay becomes hard over time, you can simply let the arrangement dry out. It should still look nice, even after some days (or weeks) have past.
I hope you enjoyed this DIY as much as I did and like the sight of the rose arrangement!