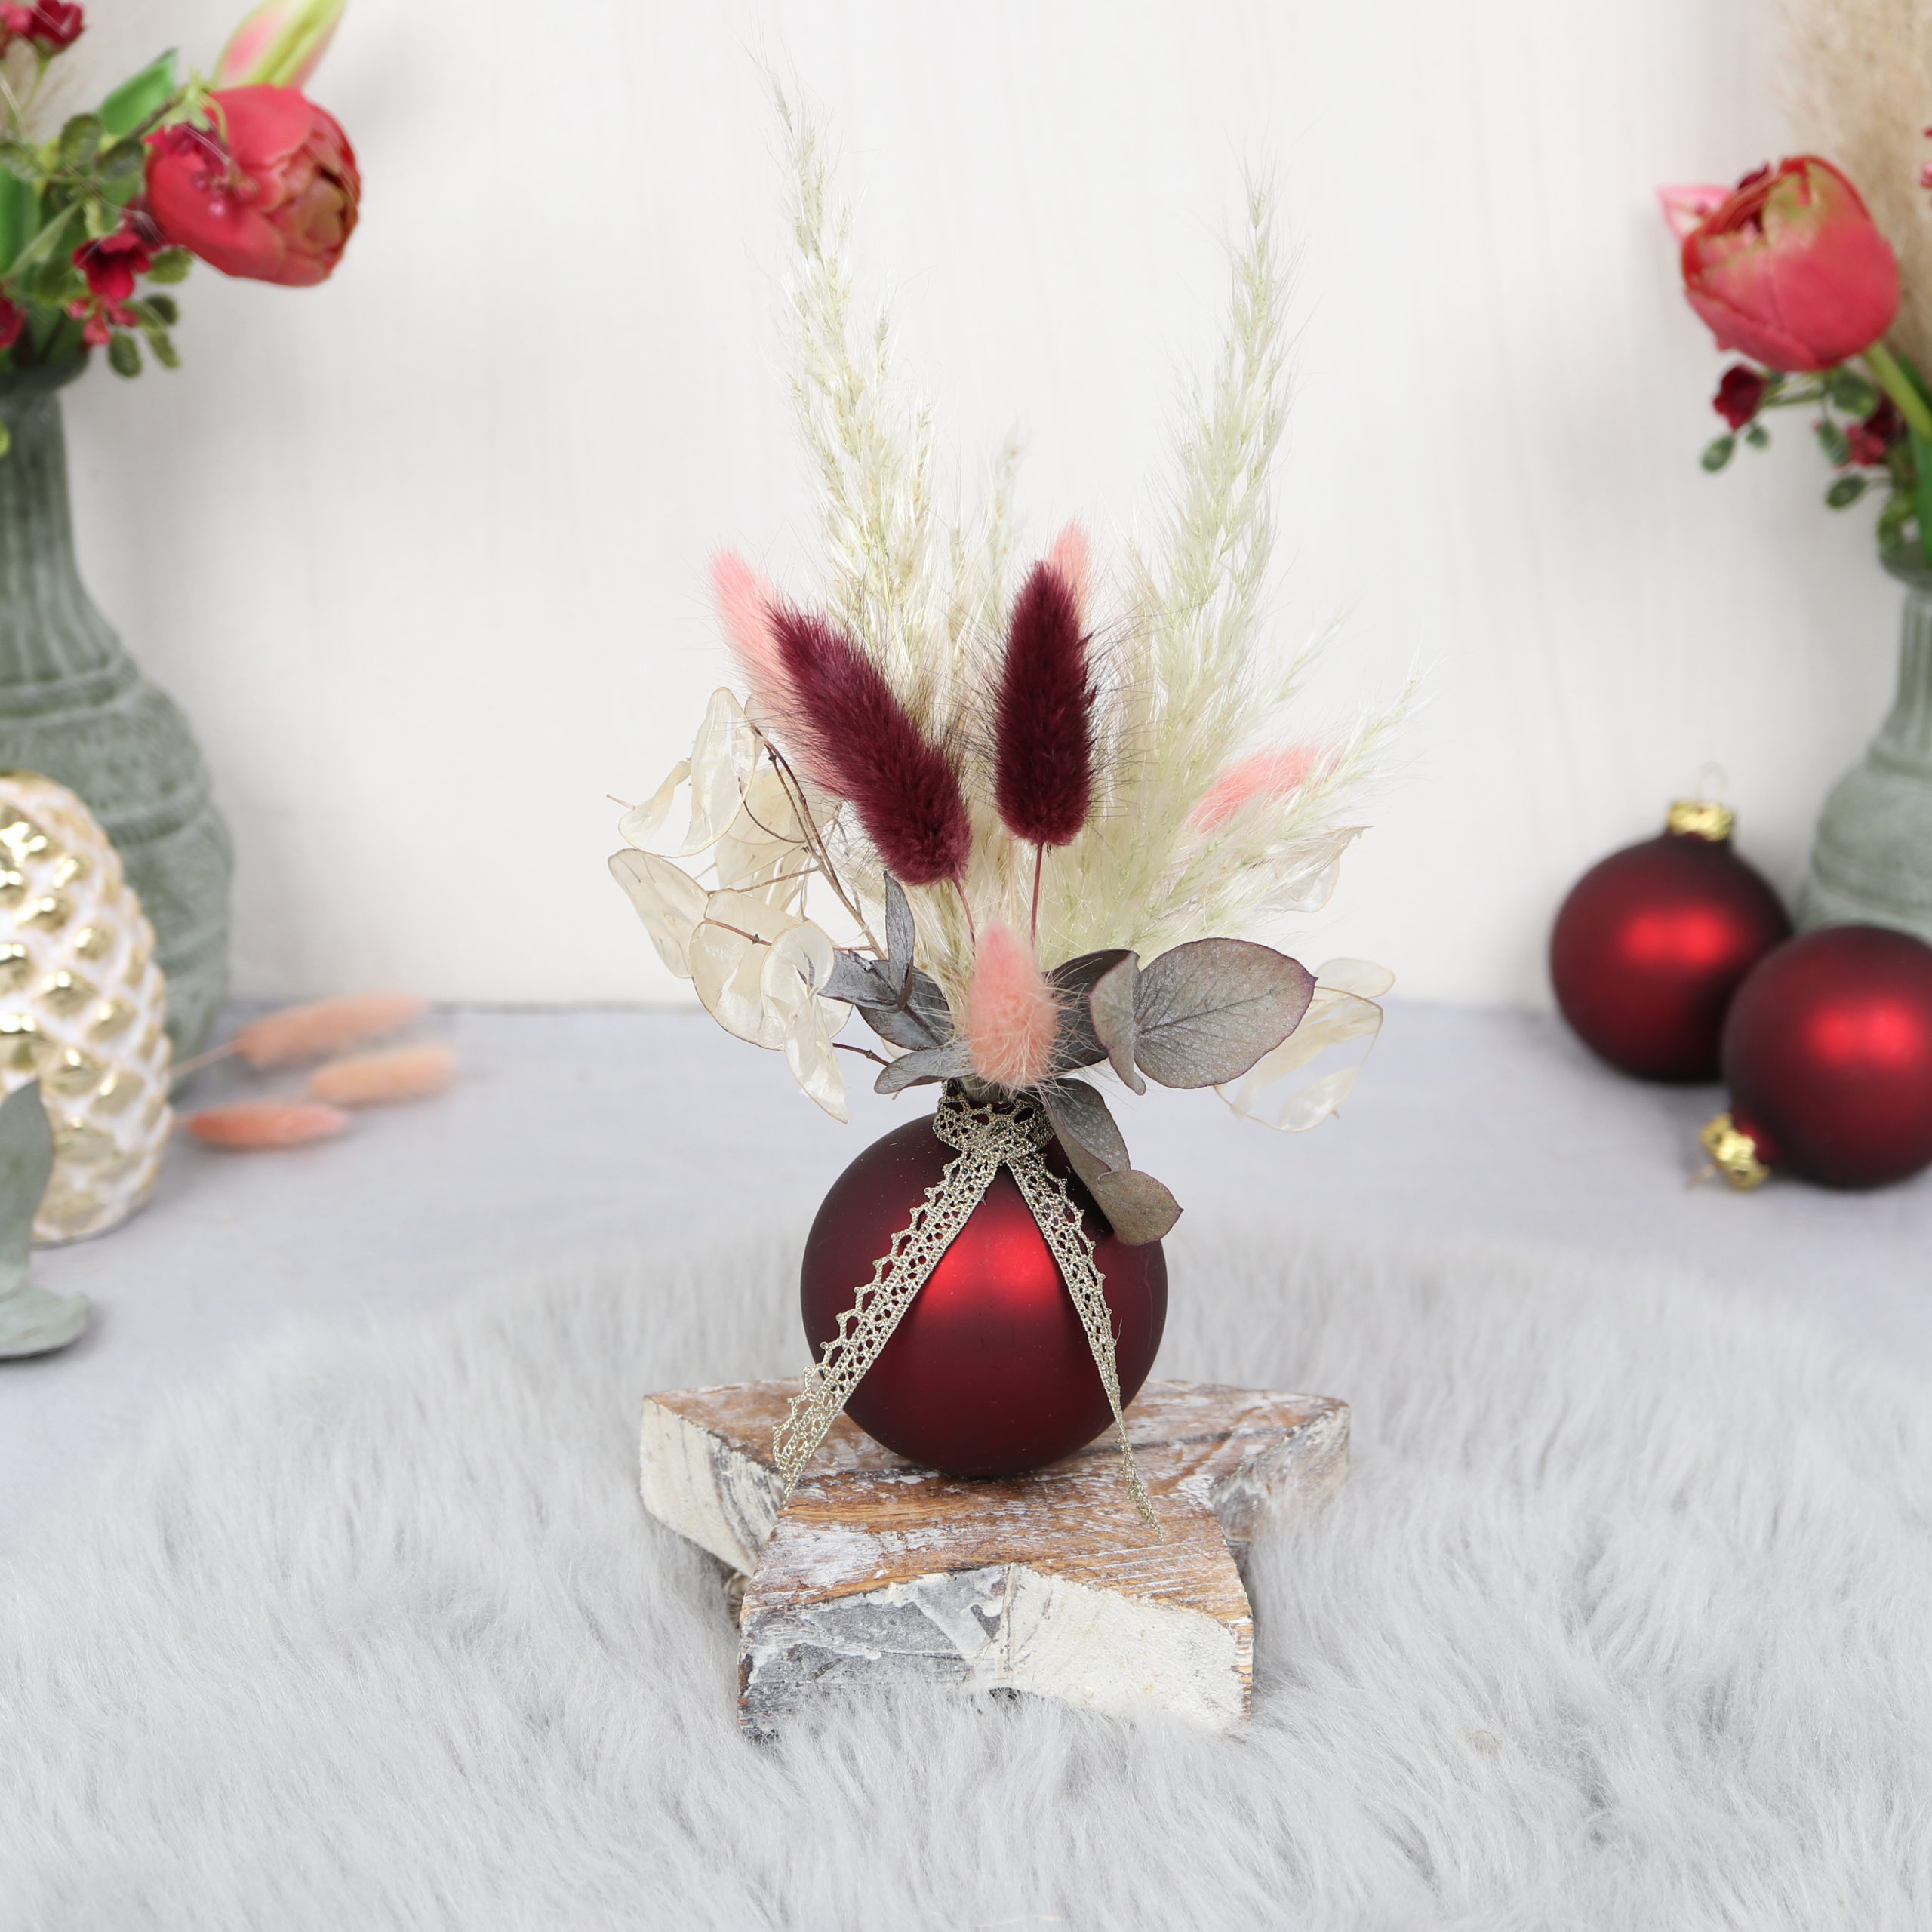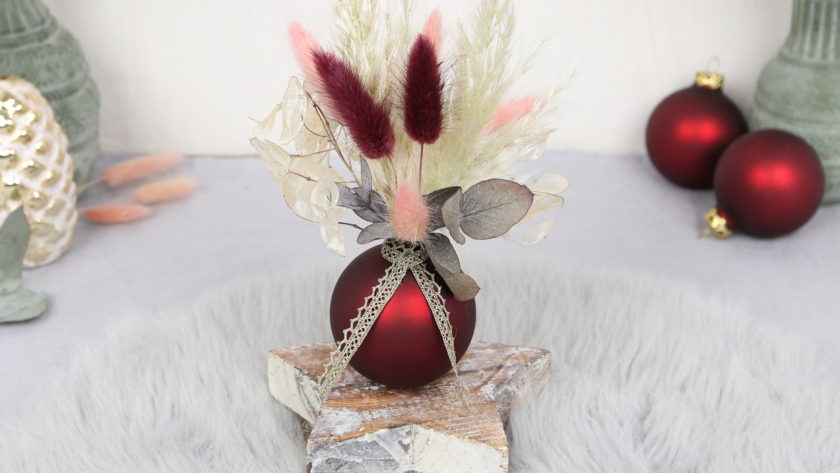
Maybe you are looking forward to the winter and Christmas season as much as I do? I’m already in full crafting mood and decorate the apartment with homemade decoration elements. Today I show you my first Christmas DIY this year: a Christmas ball as vase with dried flowers.
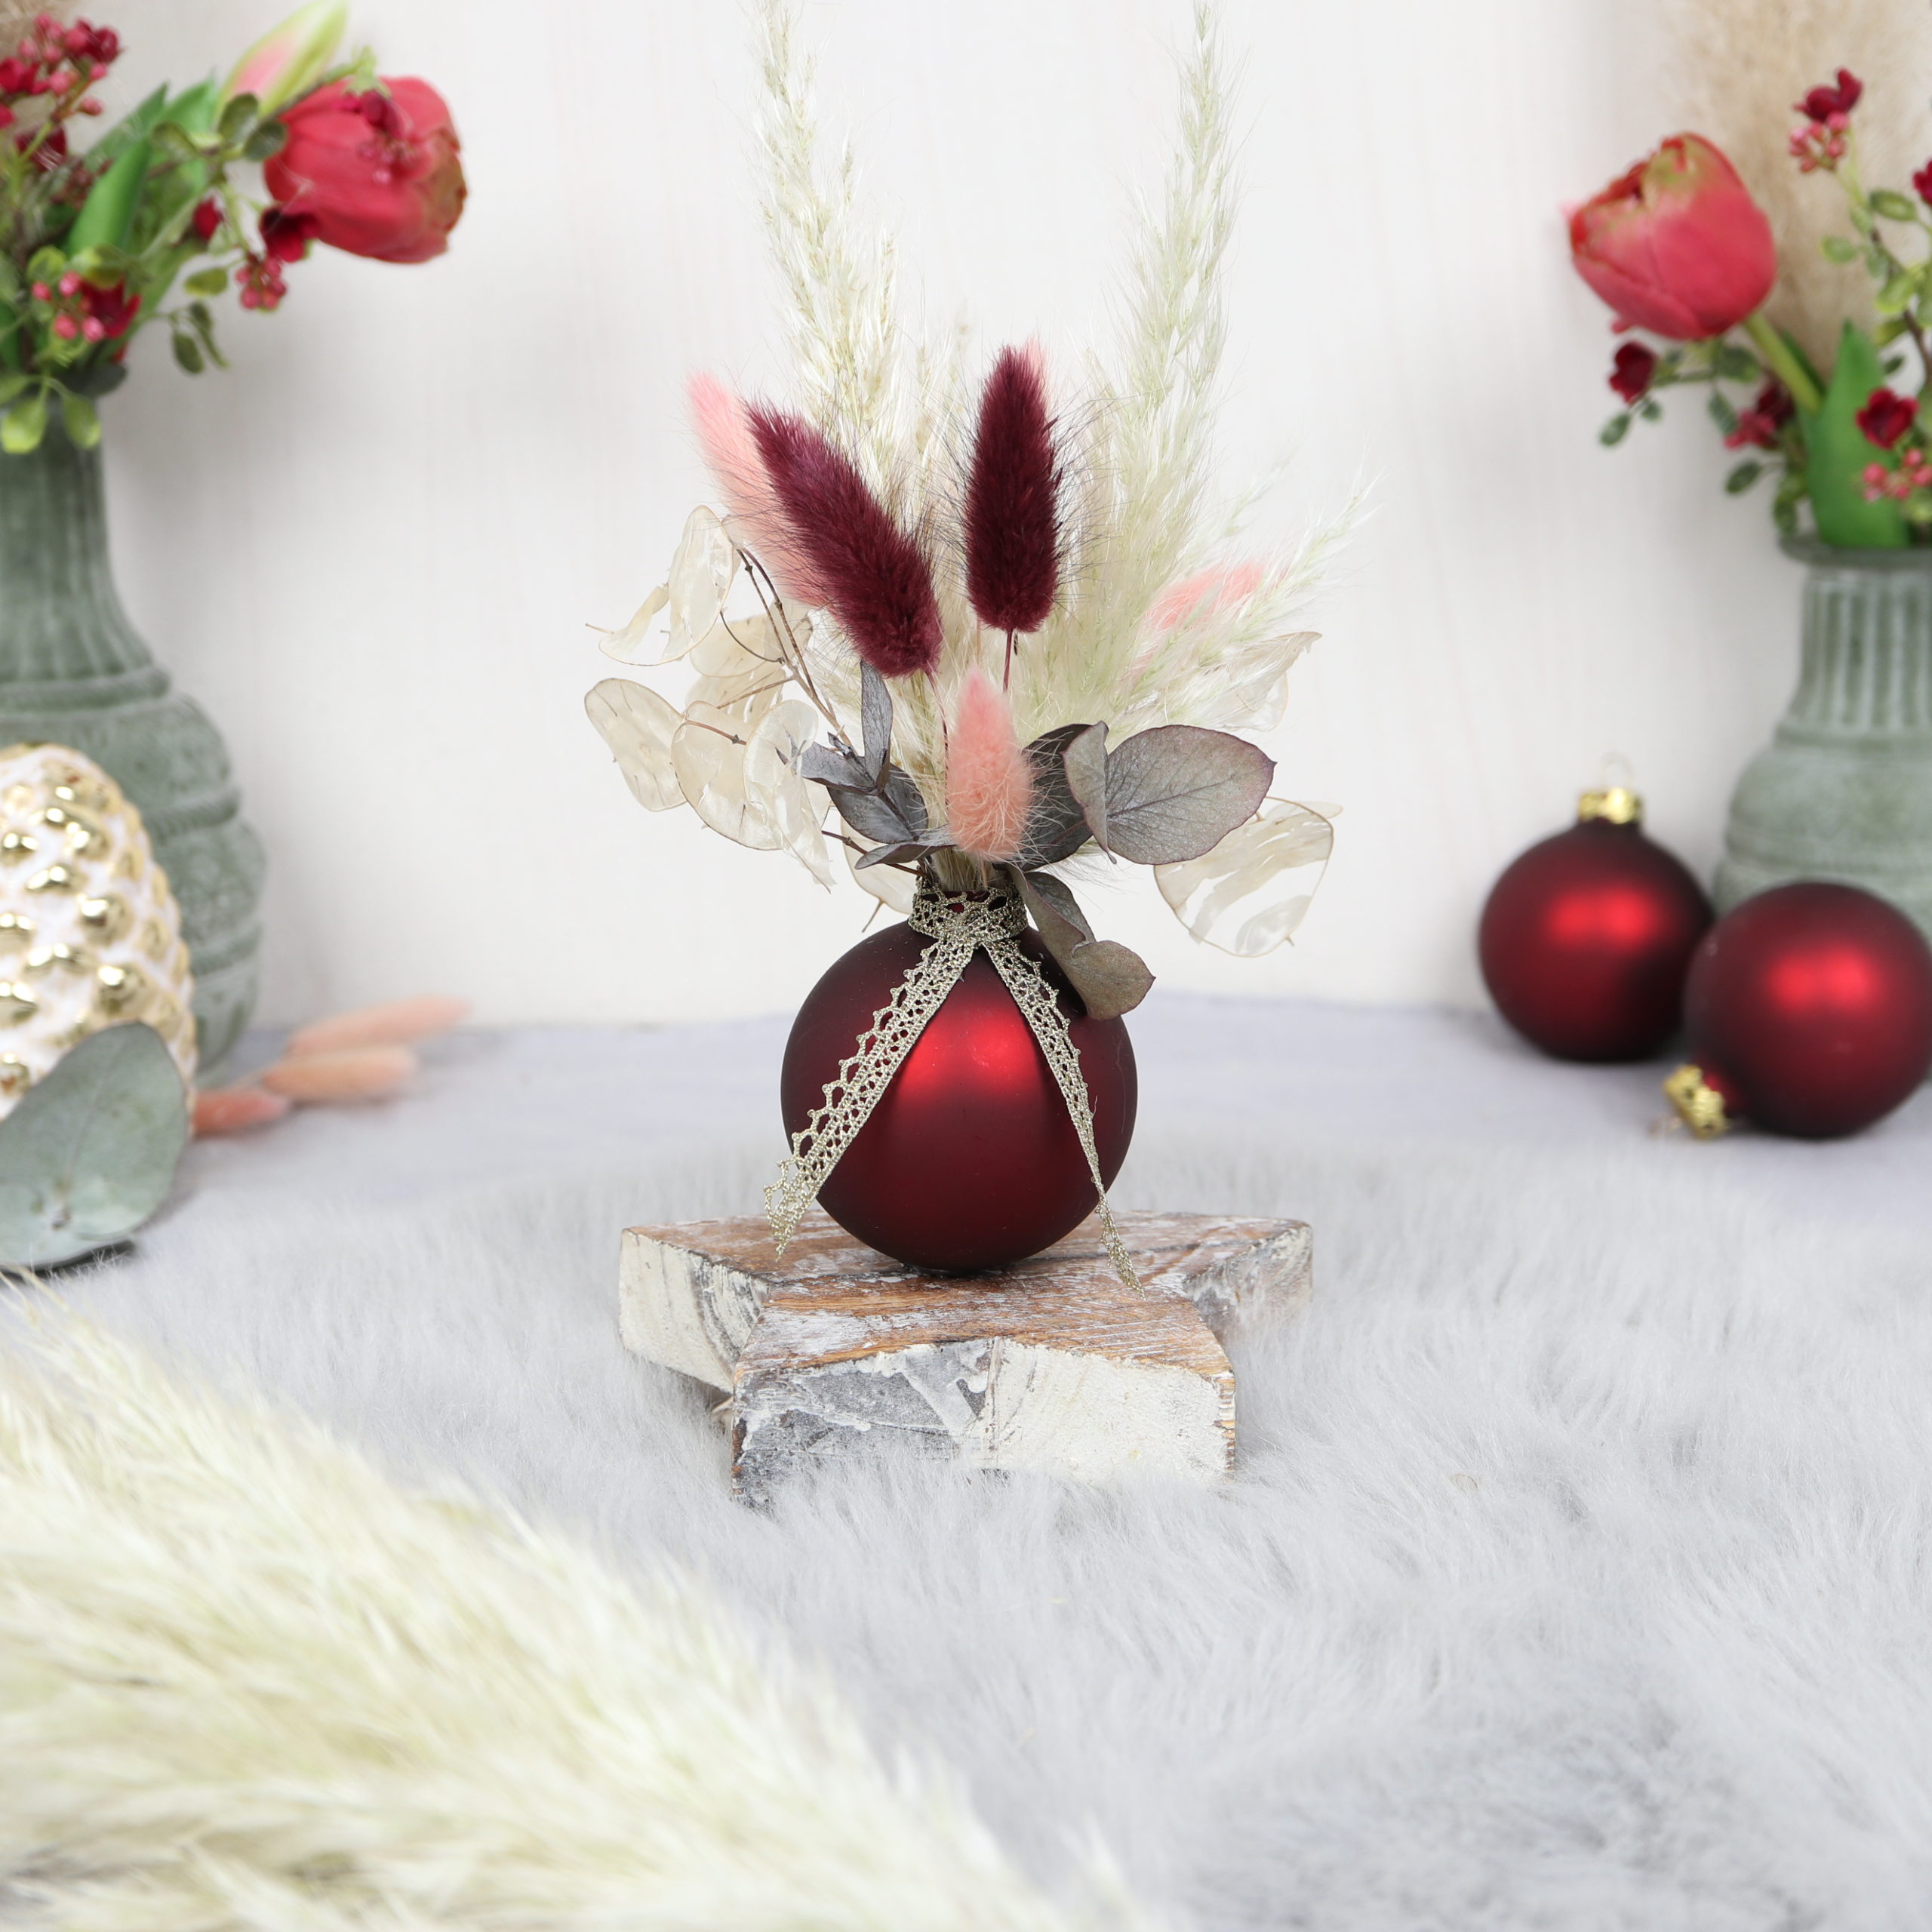
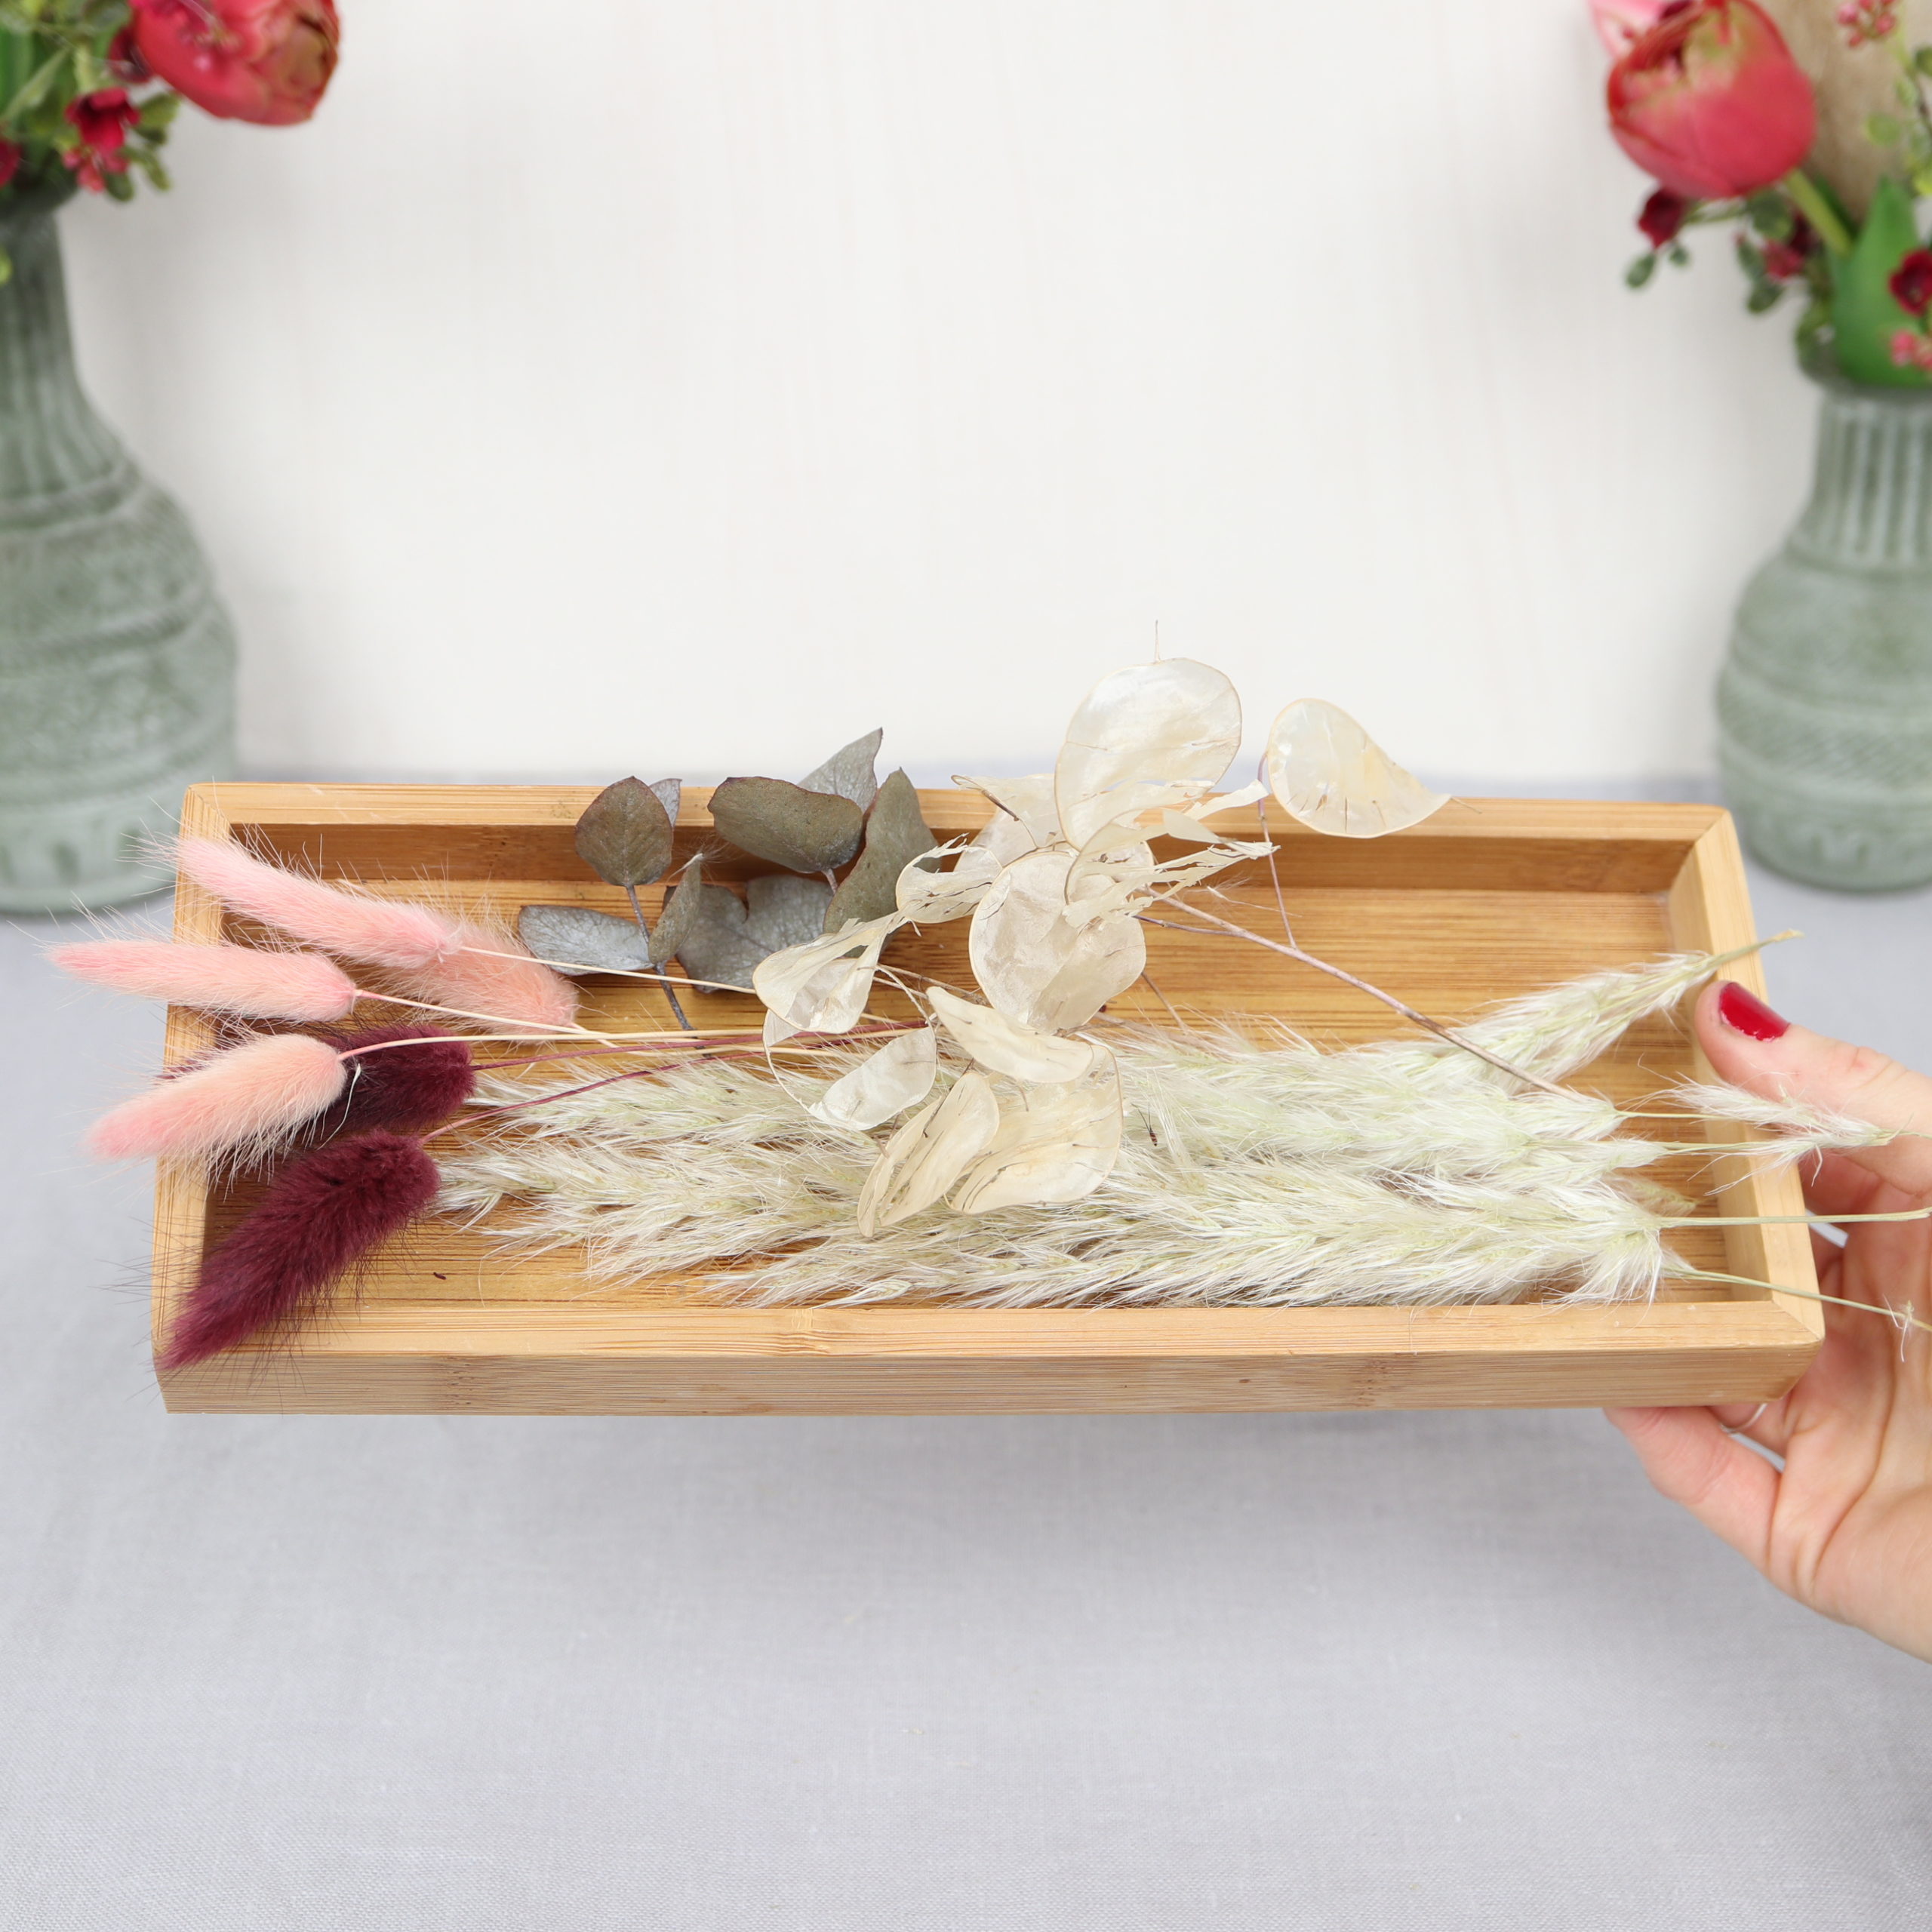
Dried flowers are just so simply to use and should not be missed in the Christmas season. For today’s DIY, a Christmas ball serves as vase for dried flowers, such as pampas grass, bunnytail, lunaria and eucalyptus. The small Christmas decoration is attached to a wooden star and makes a beautiful table decoration.
With the following step by step instructions you can easily make the Christmas vase yourself!
Tools

Here you can see what tools I used for the Christmas tree ball with dried flowers. You need a hot glue gun with hot glue sticks and scissors.
Materials
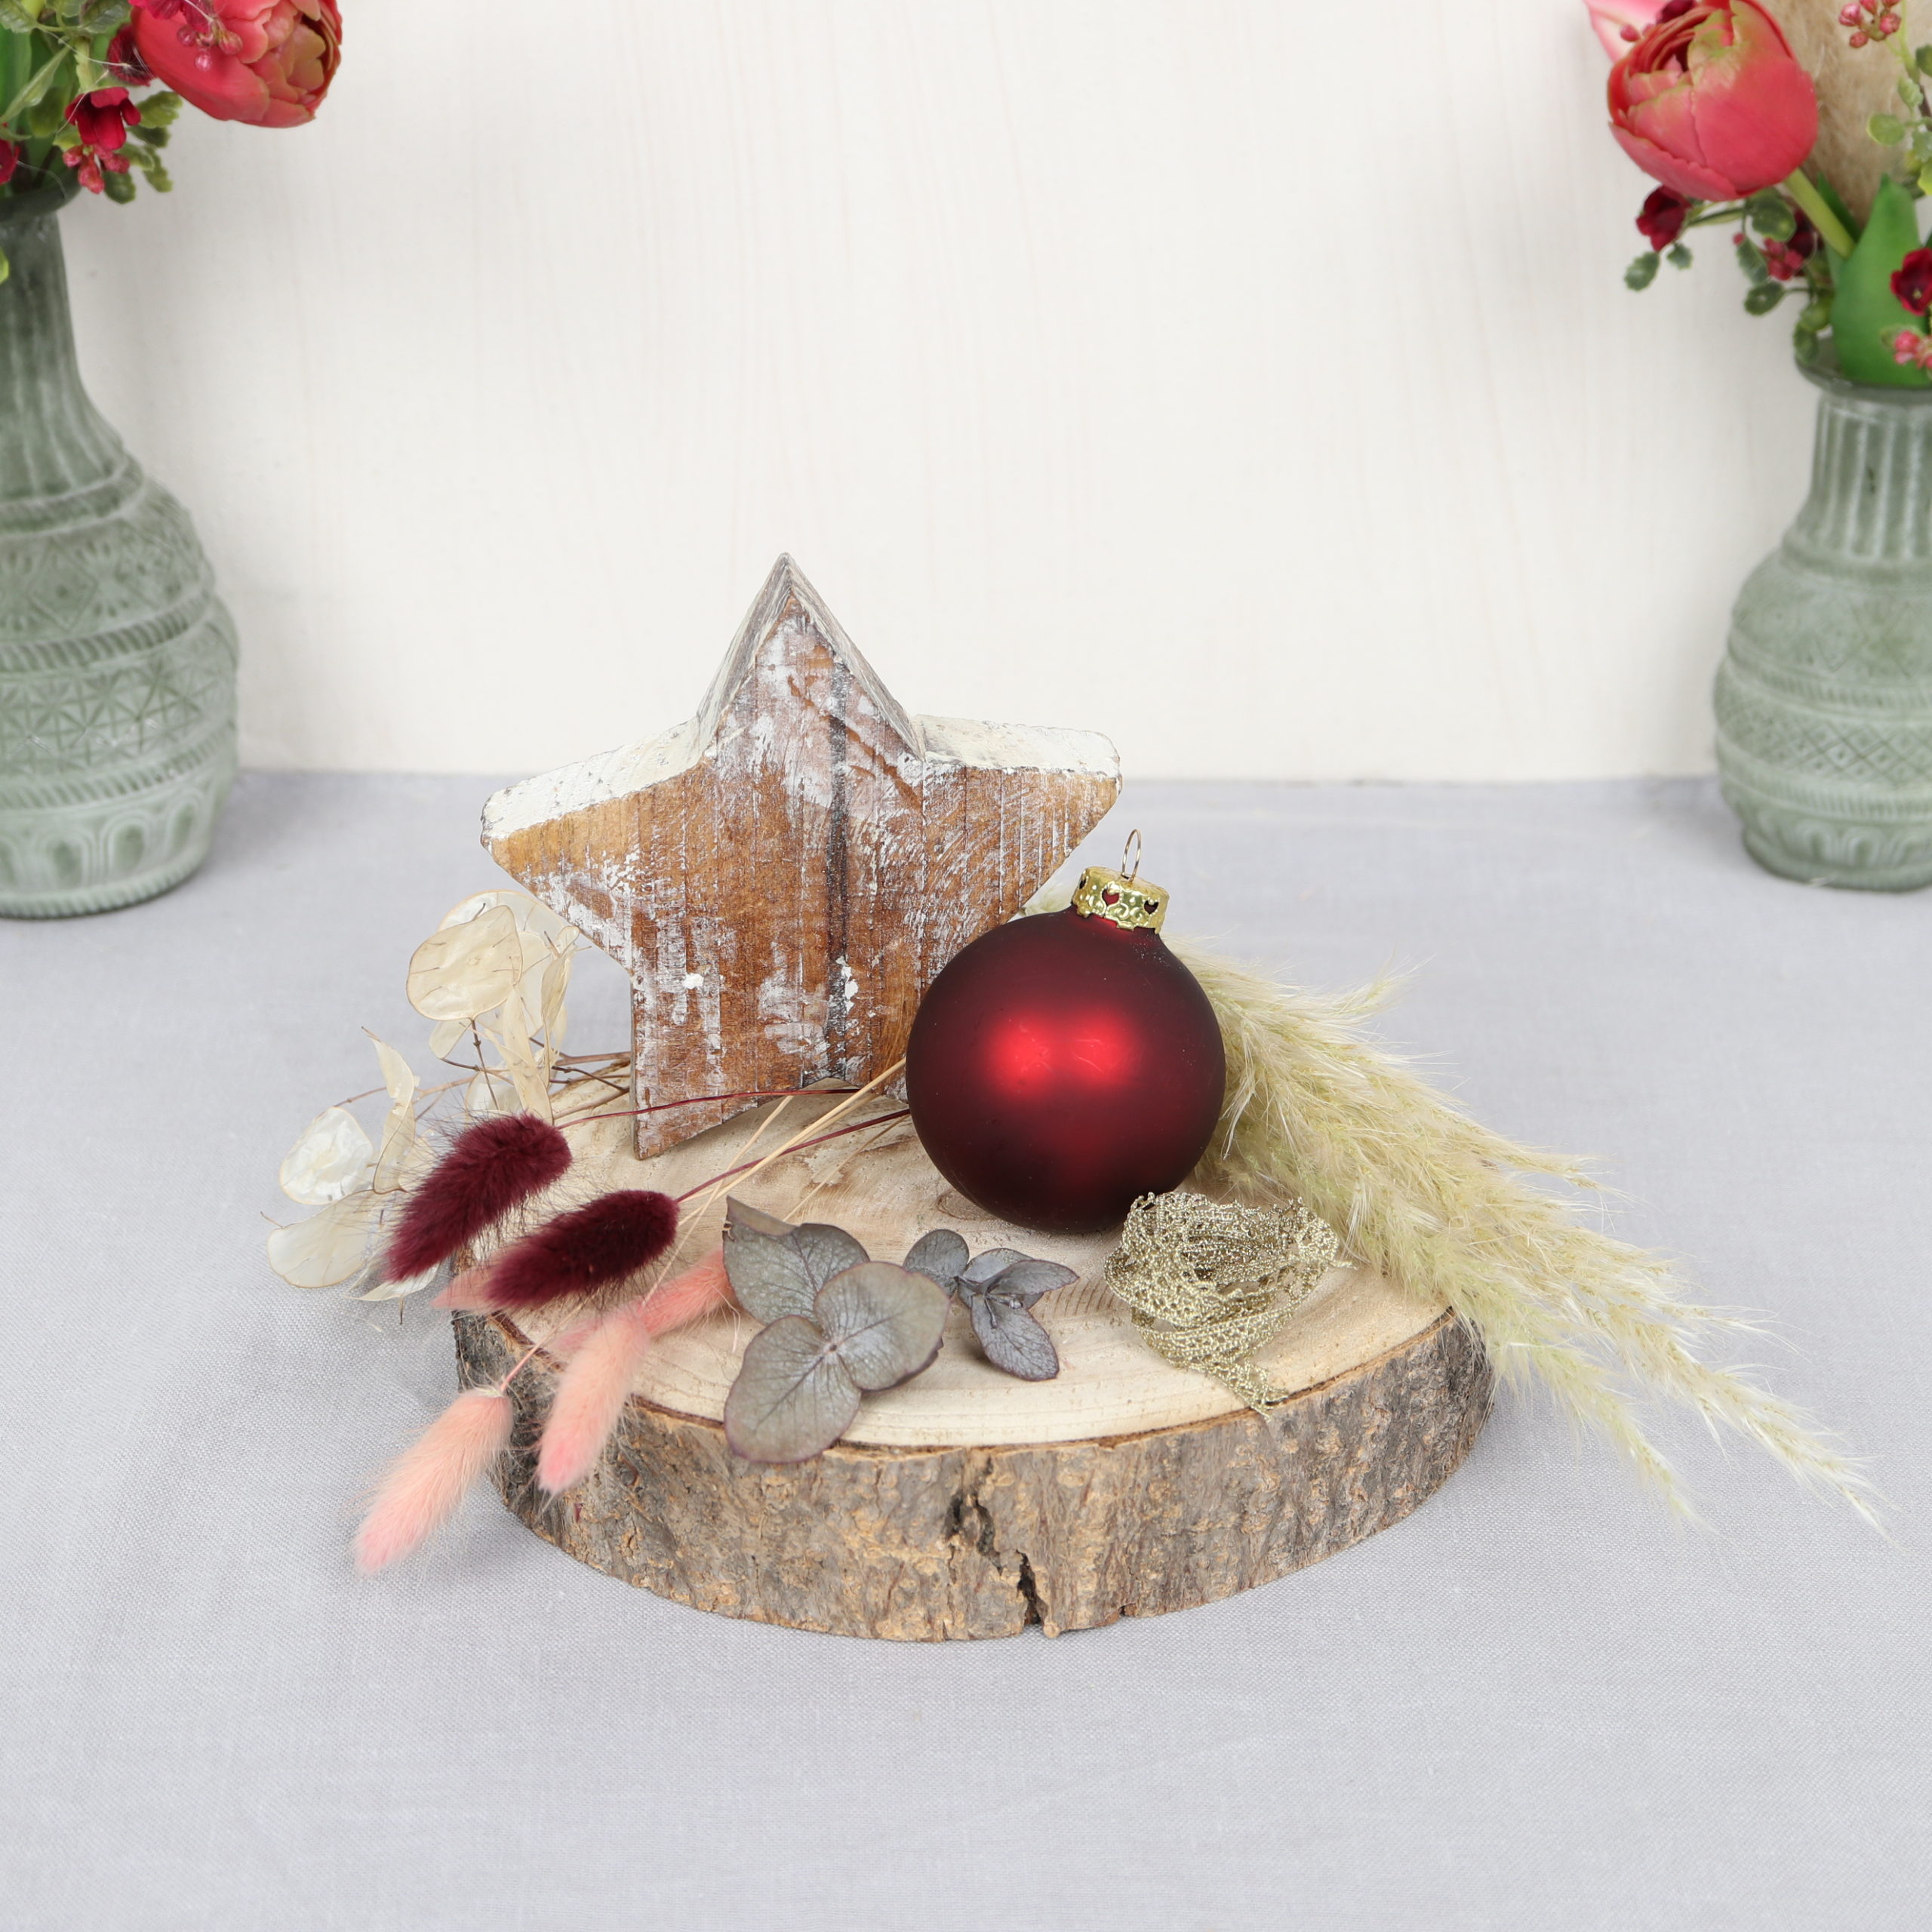
I used these materials for the Christmas decoration: a red Christmas ball, a wooden star, a golden lace ribbon and the following dried flowers: pampas grass, bunnytail (hare’s tail grass, Lagurus ovatus), eucalyptus leaves and lunaria.
| Material | Search on |
|---|---|
| Christmas ball | |
| Wooden star | |
| Golden lace ribbon | |
| Pampas grass | |
| Bunnytail | |
| Eucalyptus leaves | |
| Lunaria |
Guide | Christmas ball vase
Step 1: Prepare ball
In the first step I remove the golden holder from the Christmas ball.
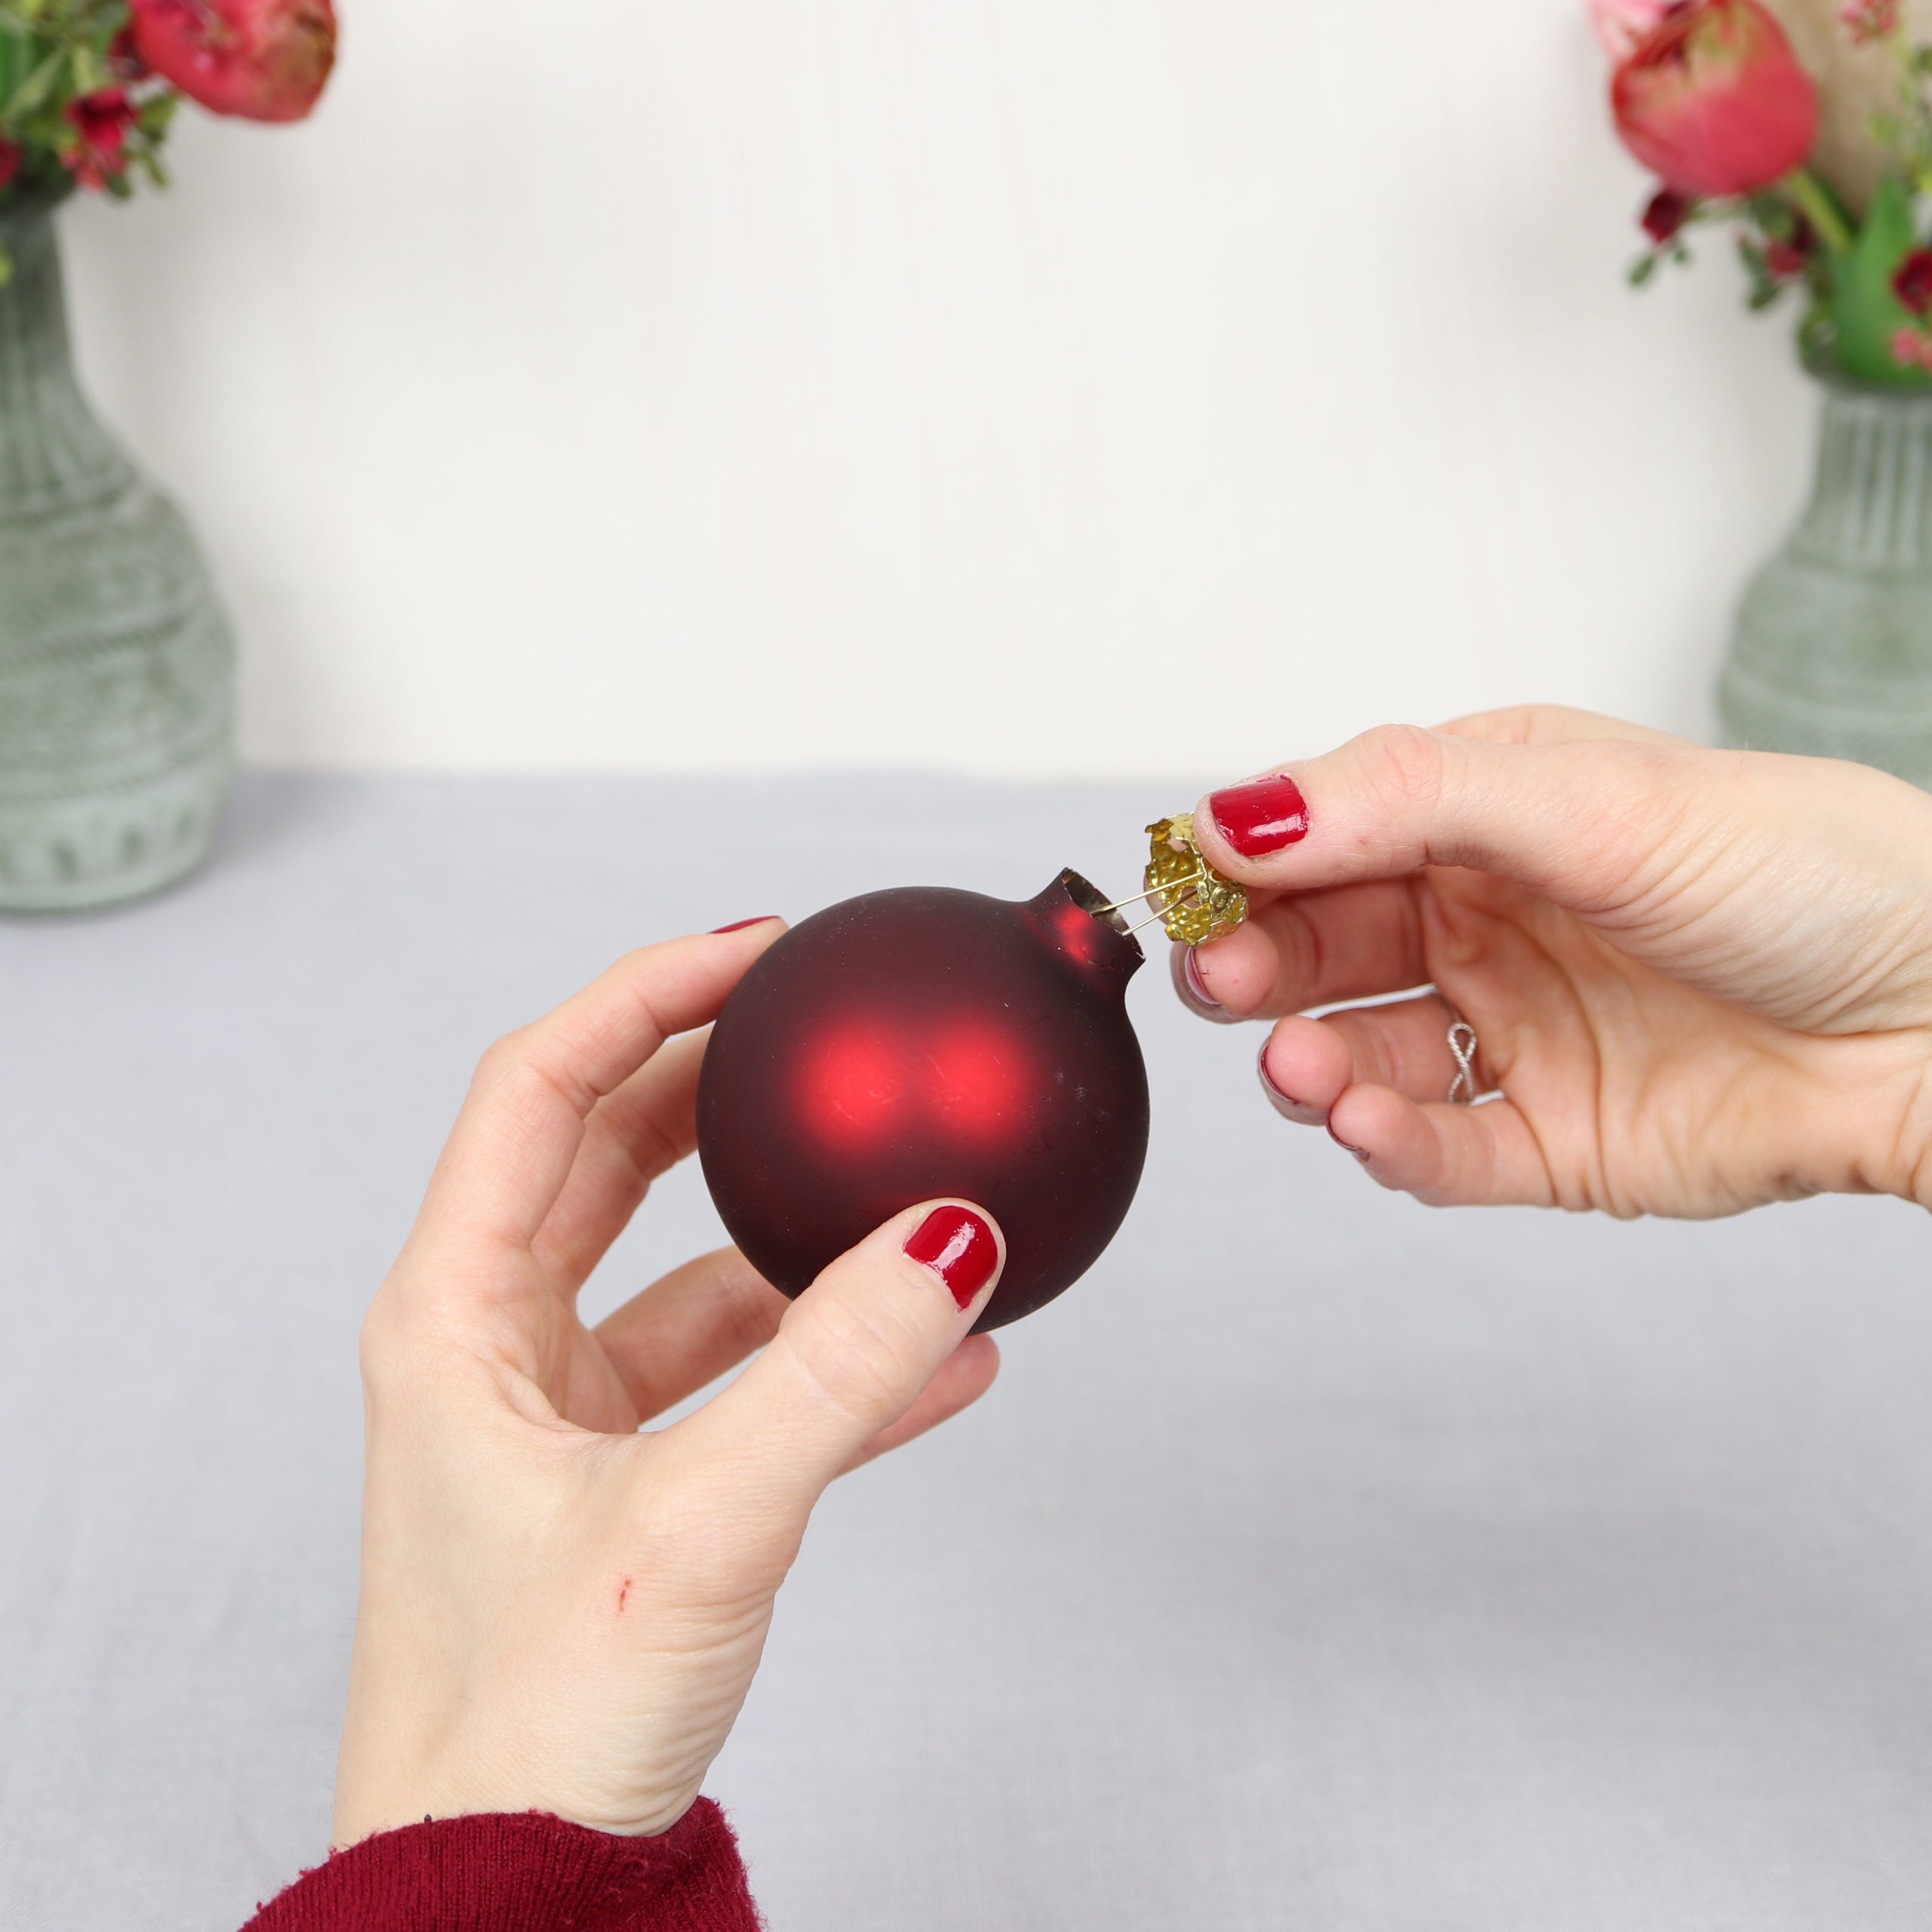
The golden holder can be easily pulled off.
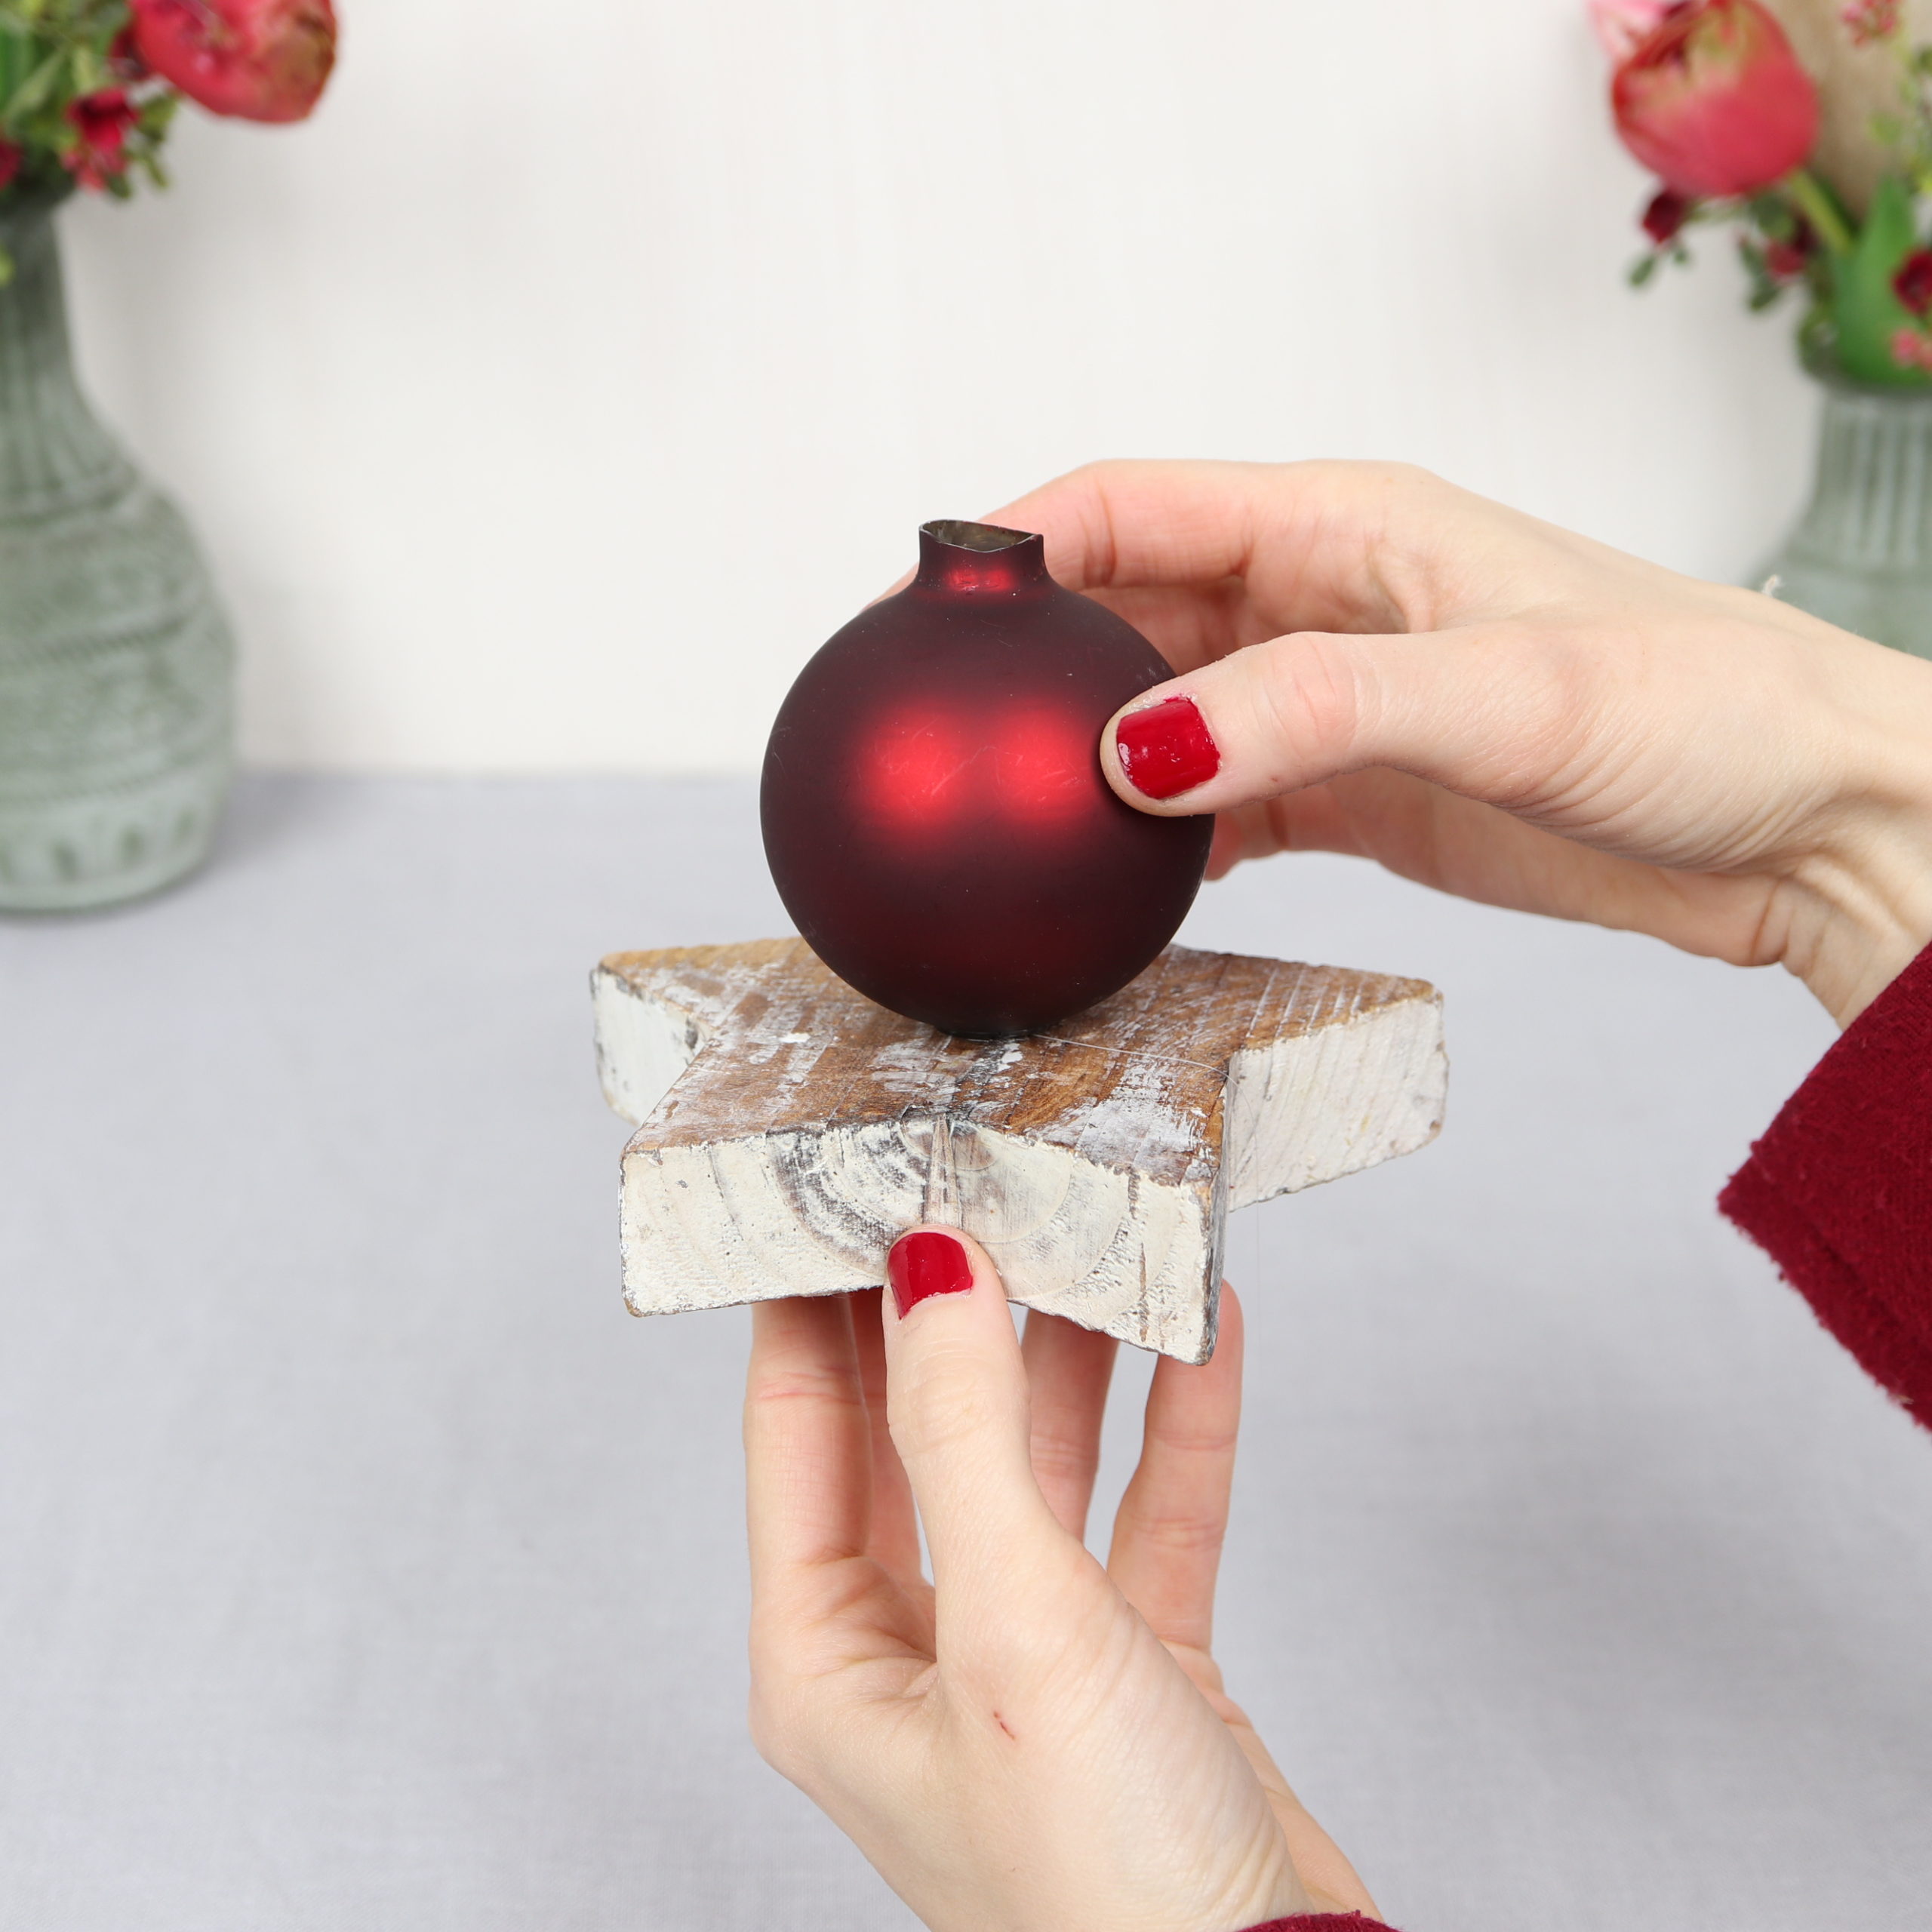
Step 2: Glue Christmas ball on star
I glue the Christmas ball with hot glue onto the wooden star.

It will look like this:
Step 3: Attach ribbon
Now I attach the gold lace ribbon to the opening of the Christmas ball.
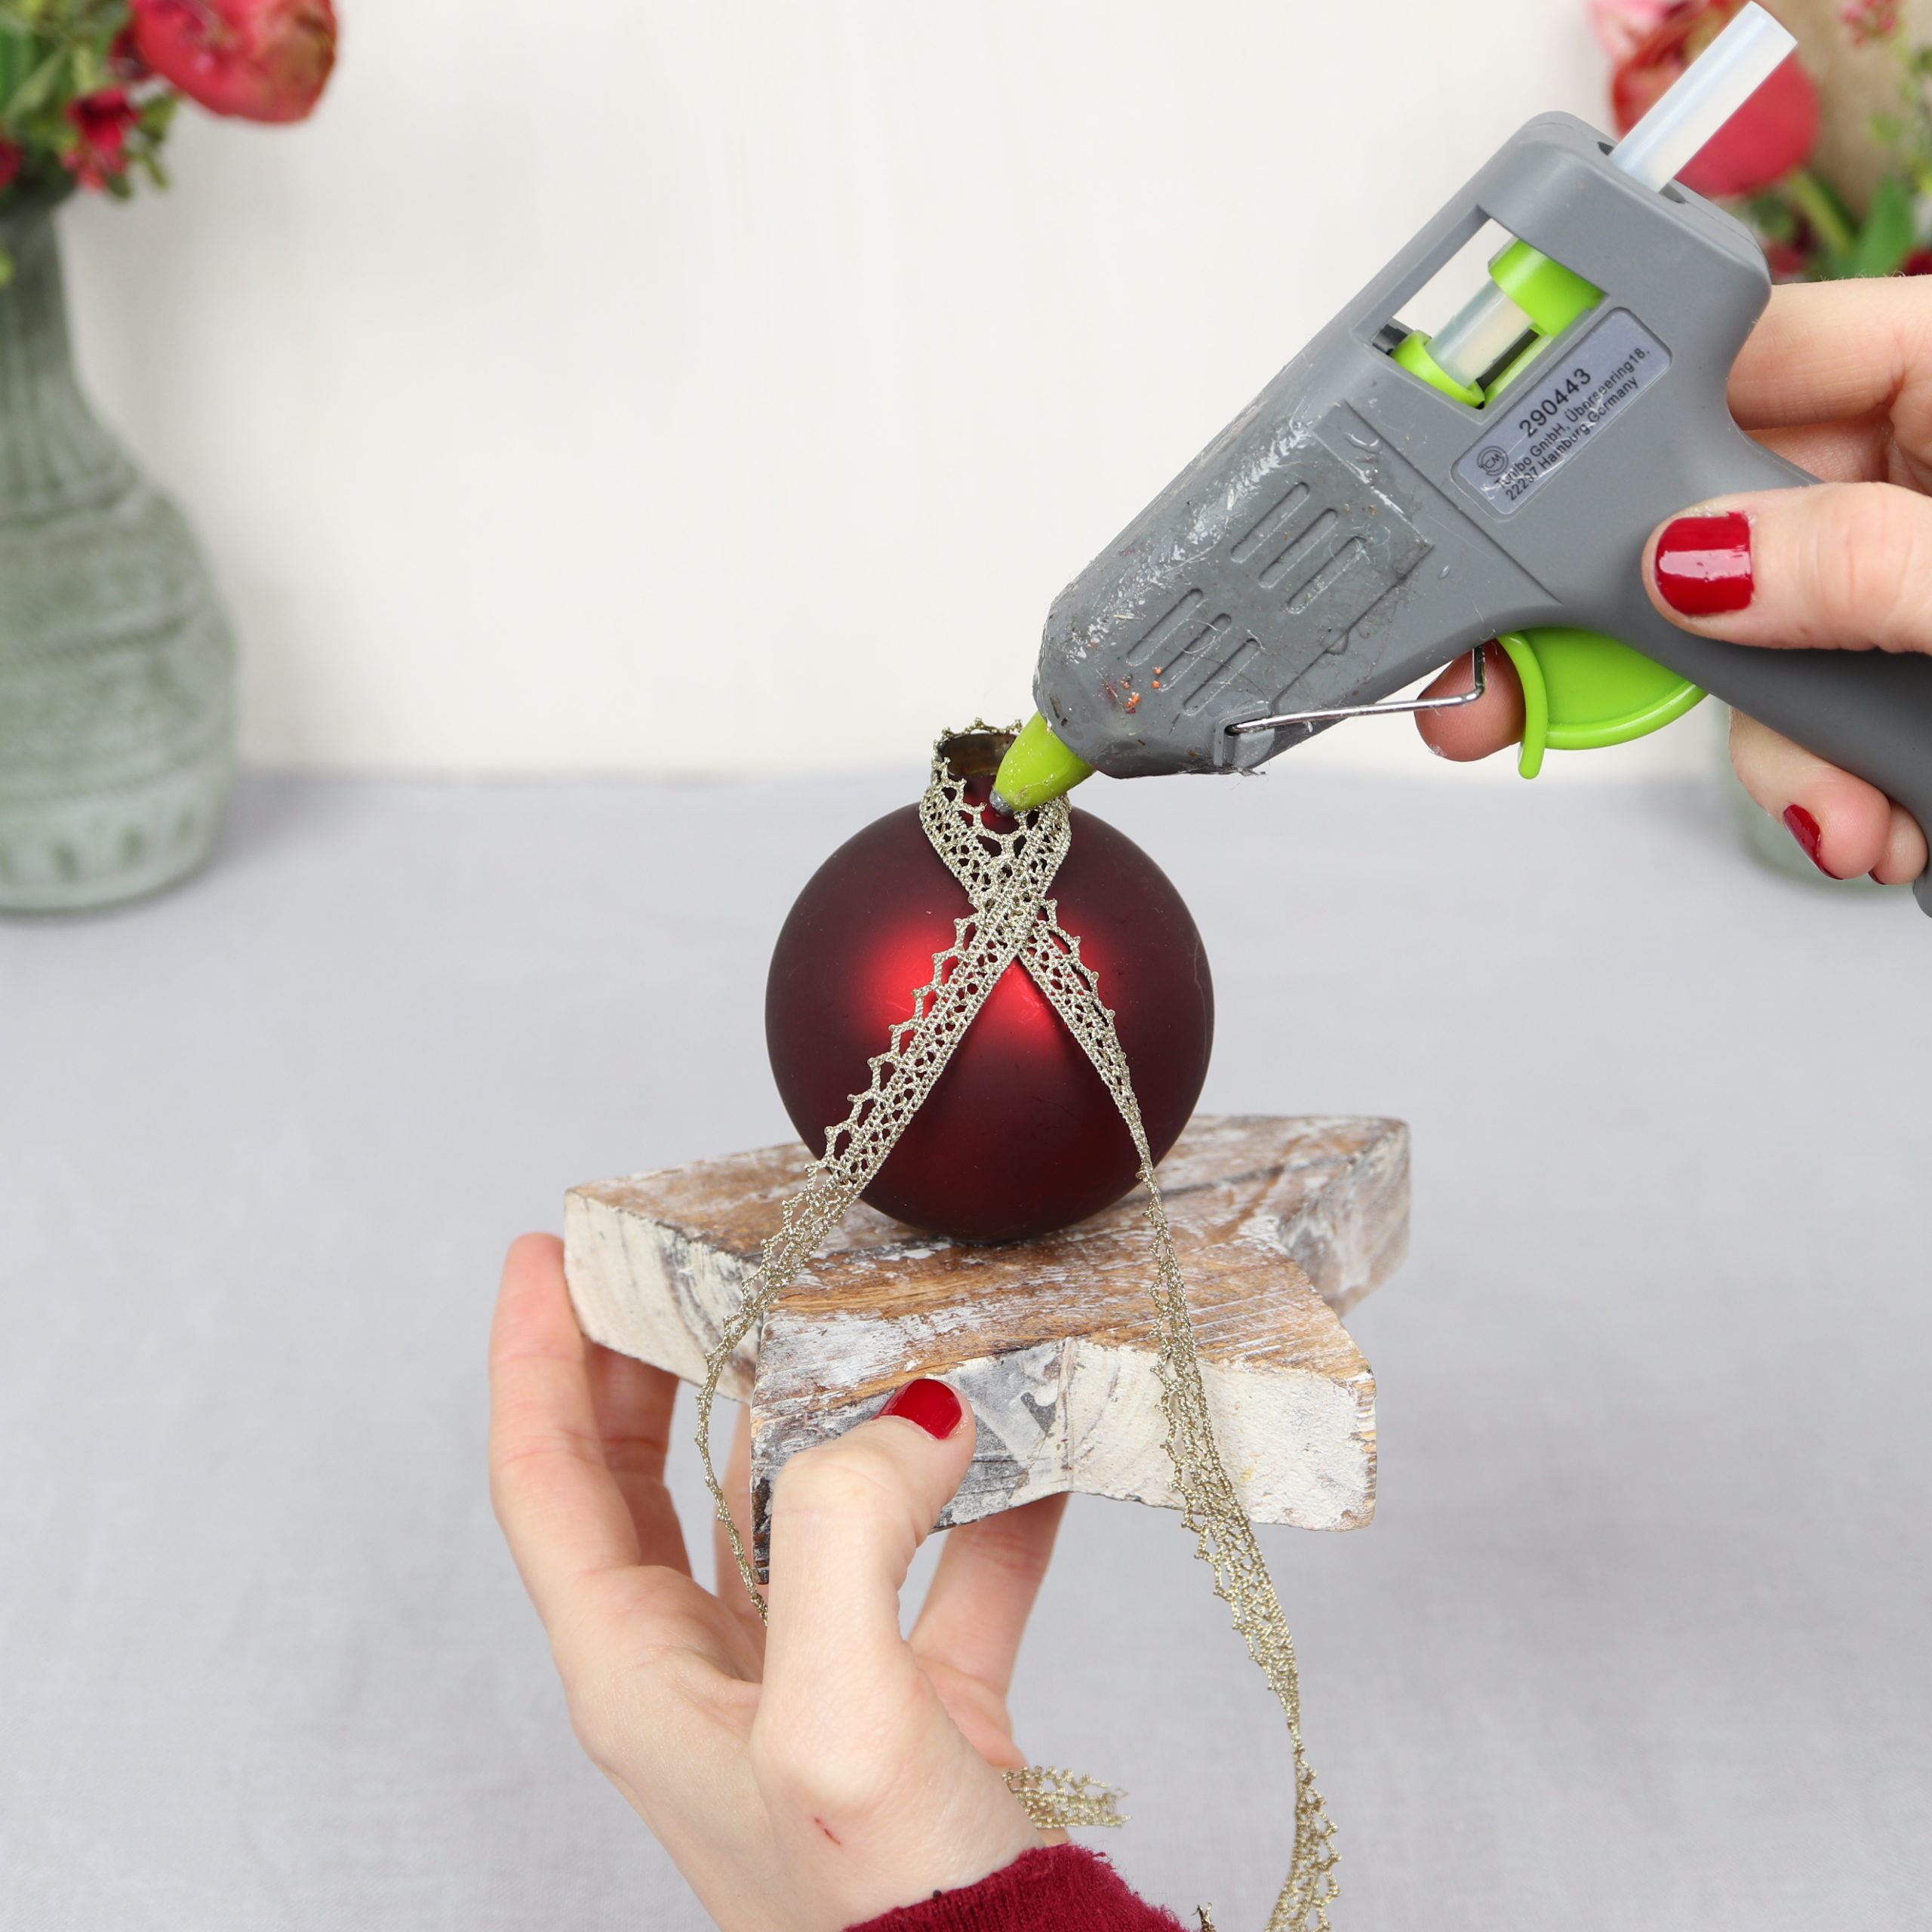
To make sure the ribbon holds well, I hot glue it to the Christmas ball.

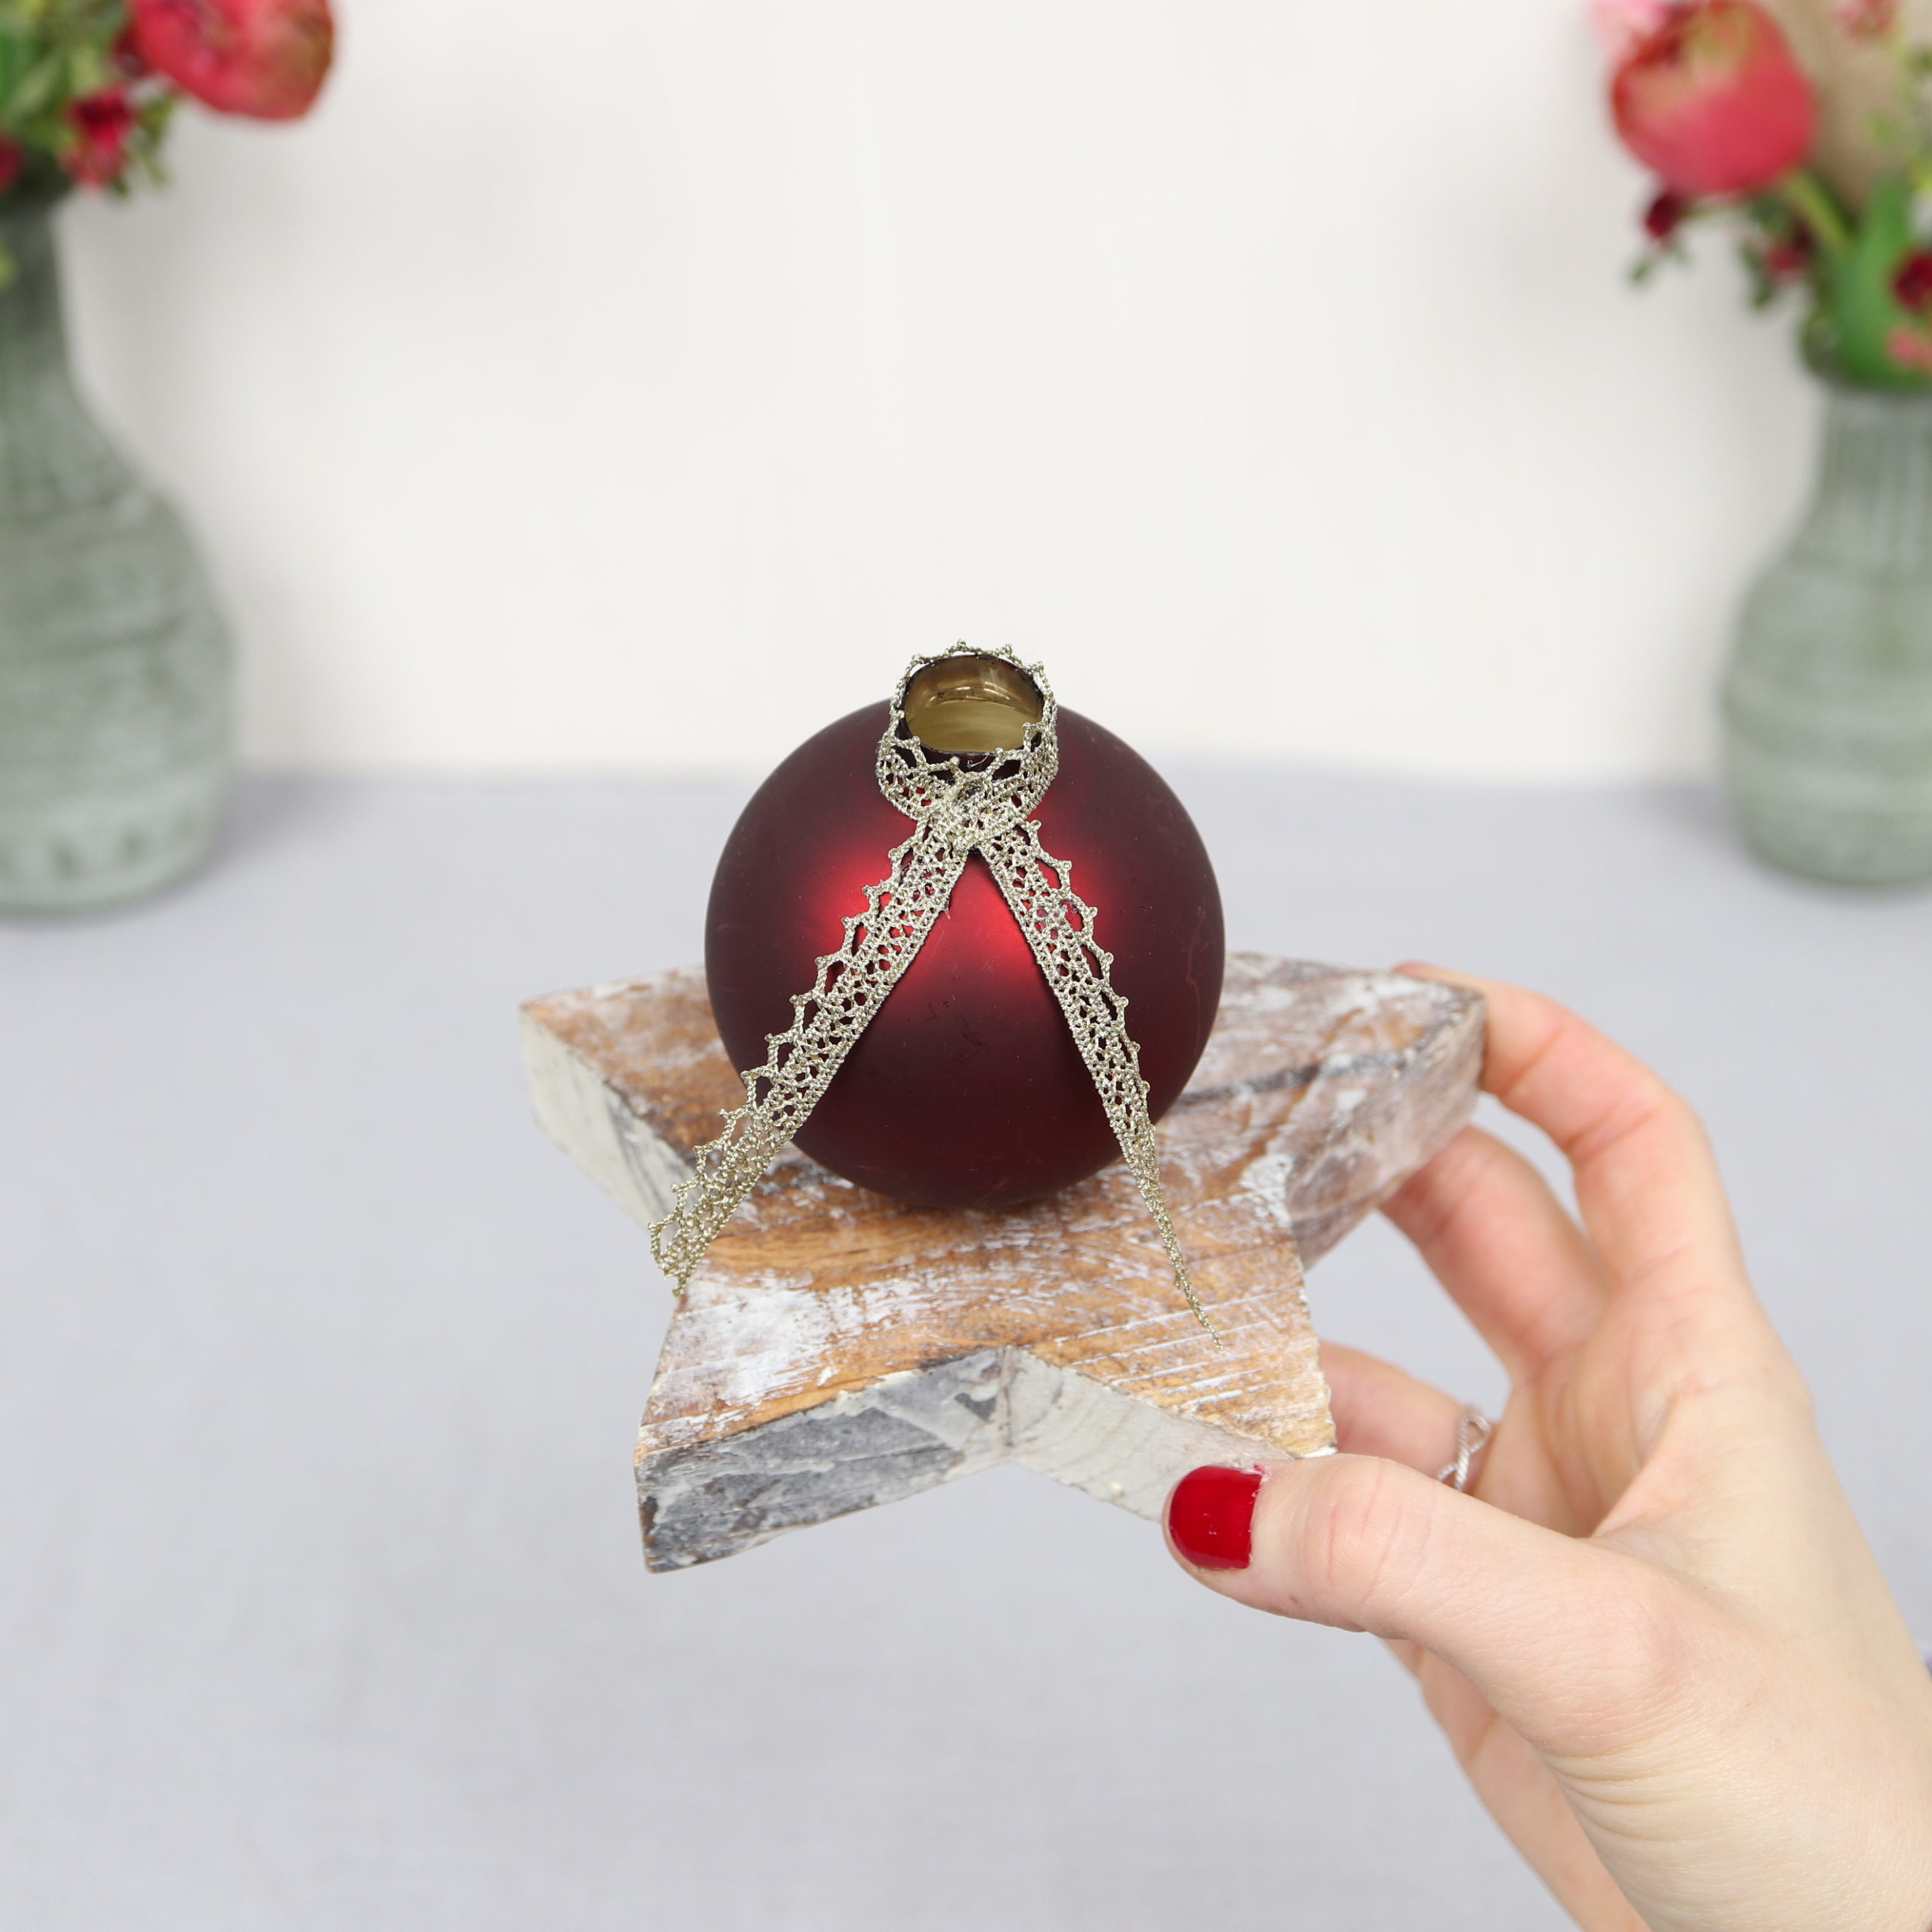
Then I cut the ends of the lace ribbon.
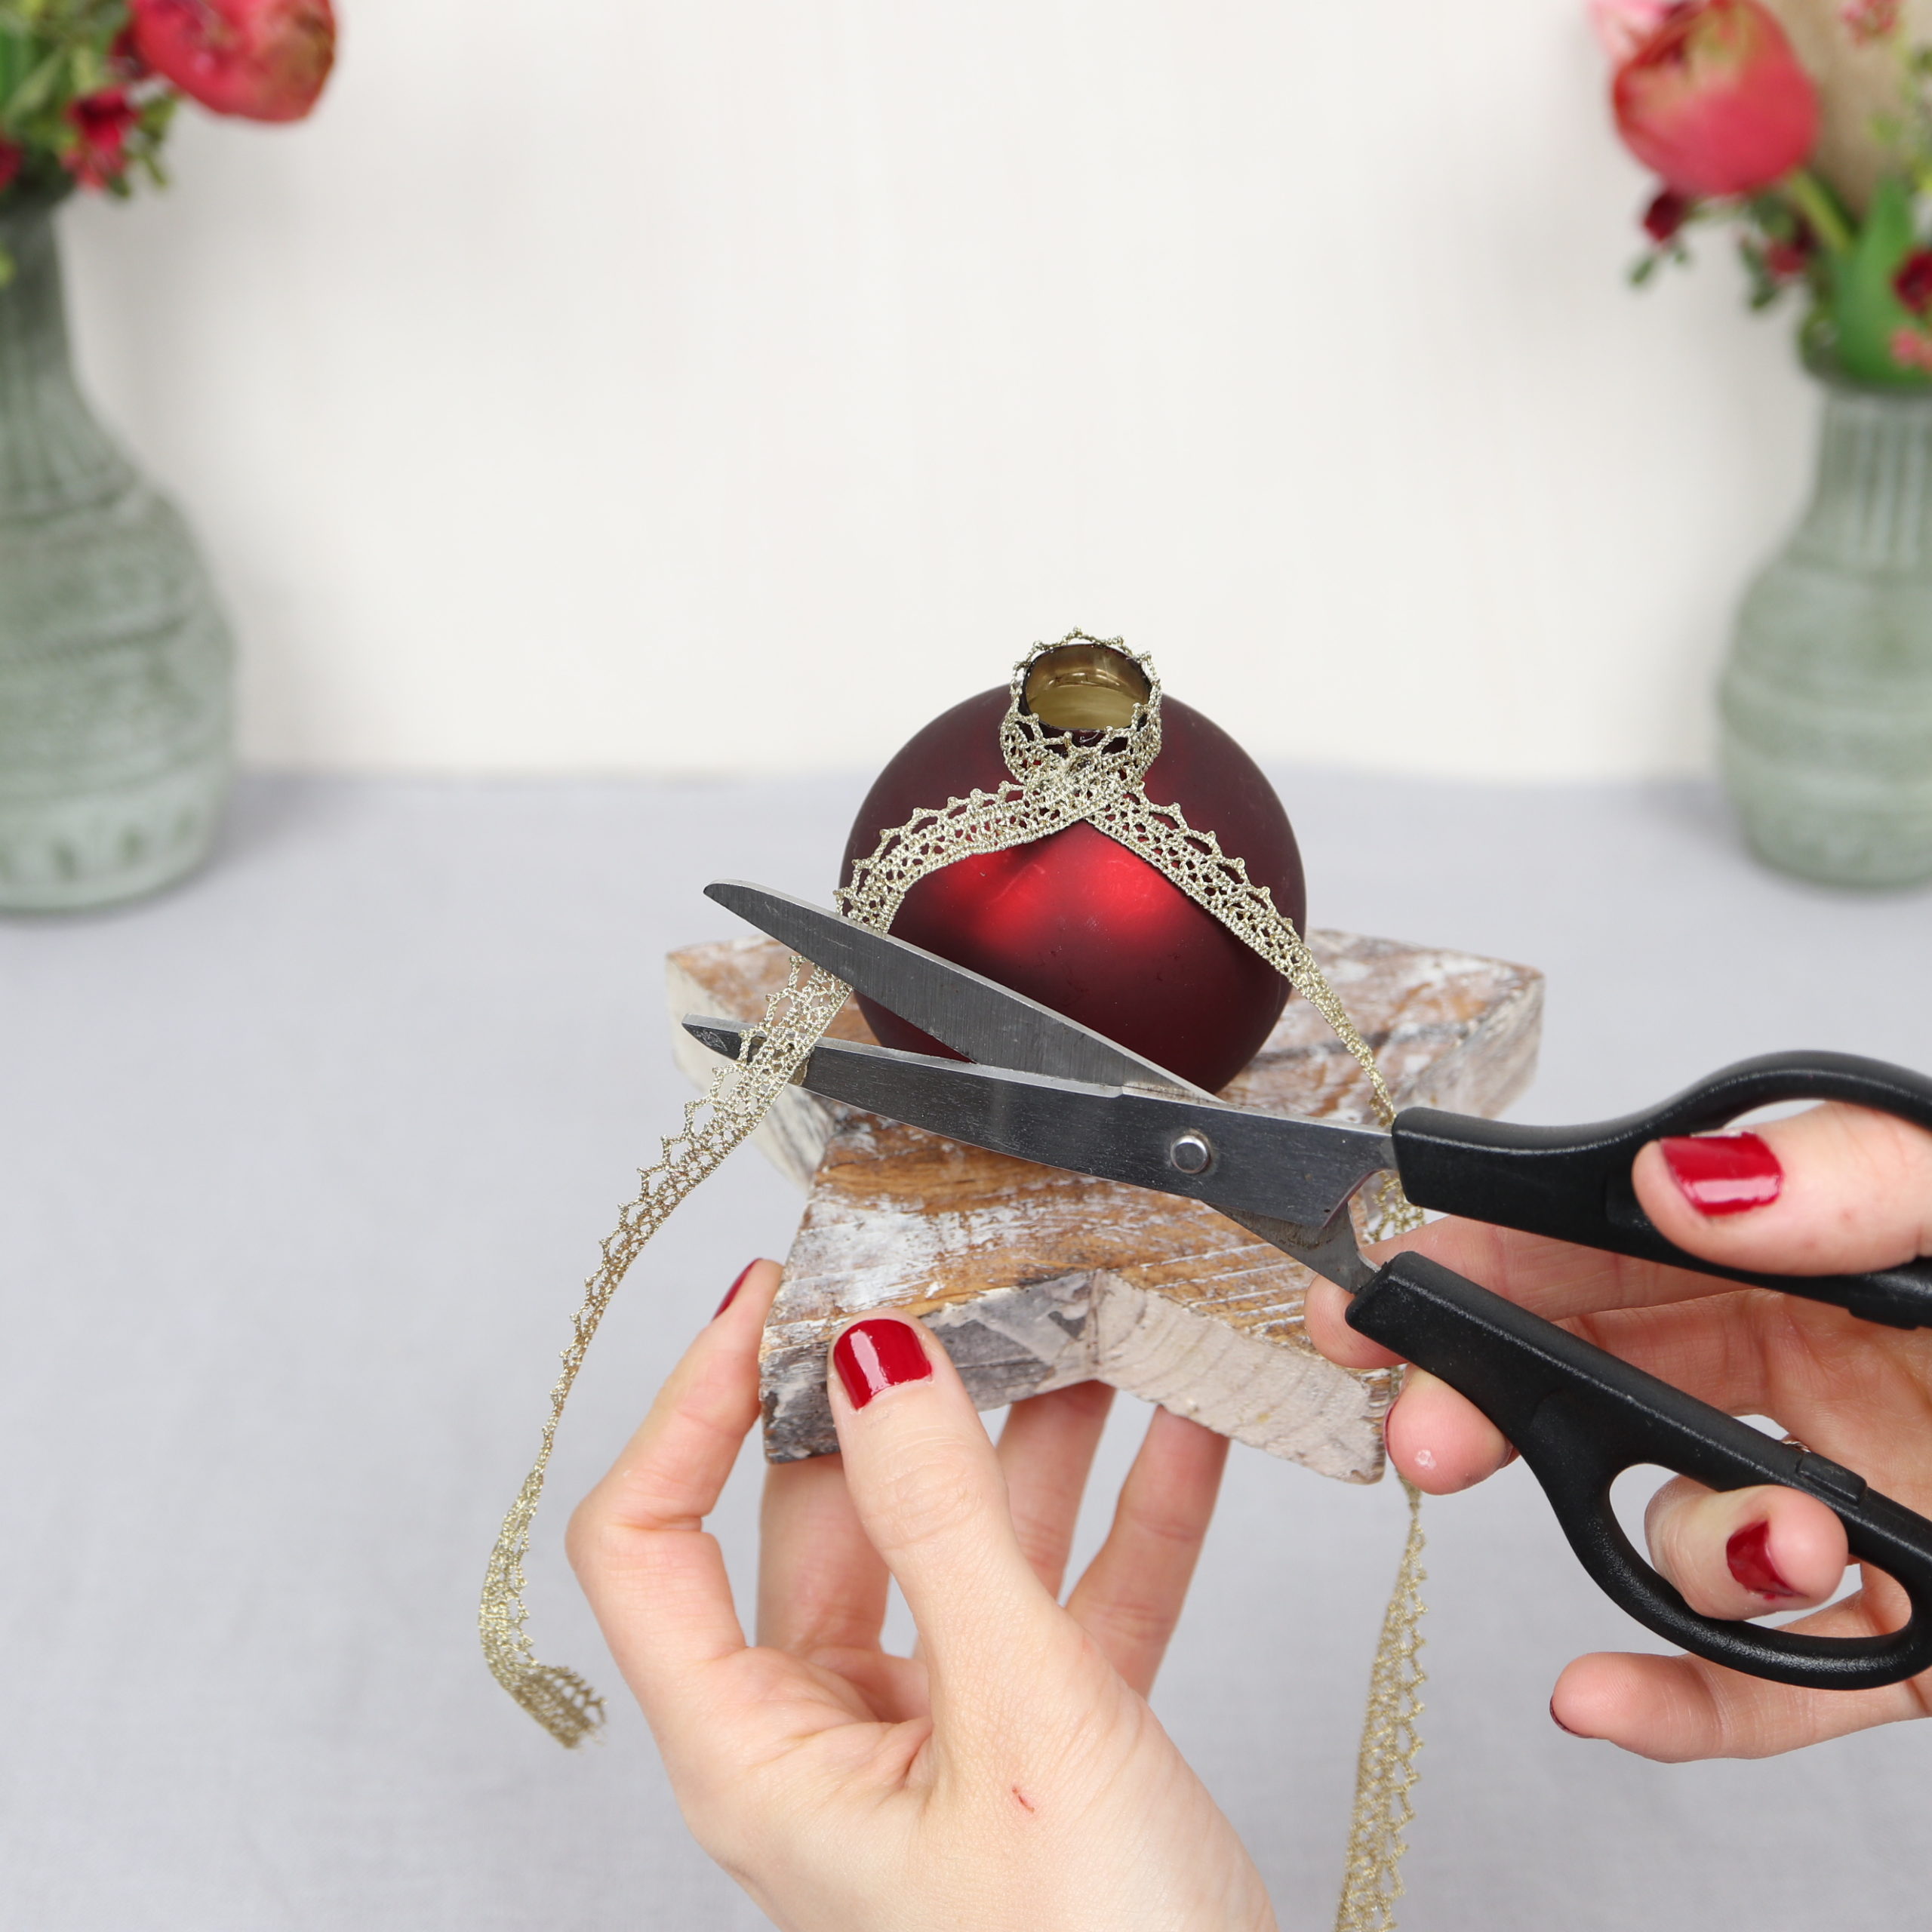
It will look like this:
Step 4: Cut dried flowers
Now I cut the dried flowers with the scissors.
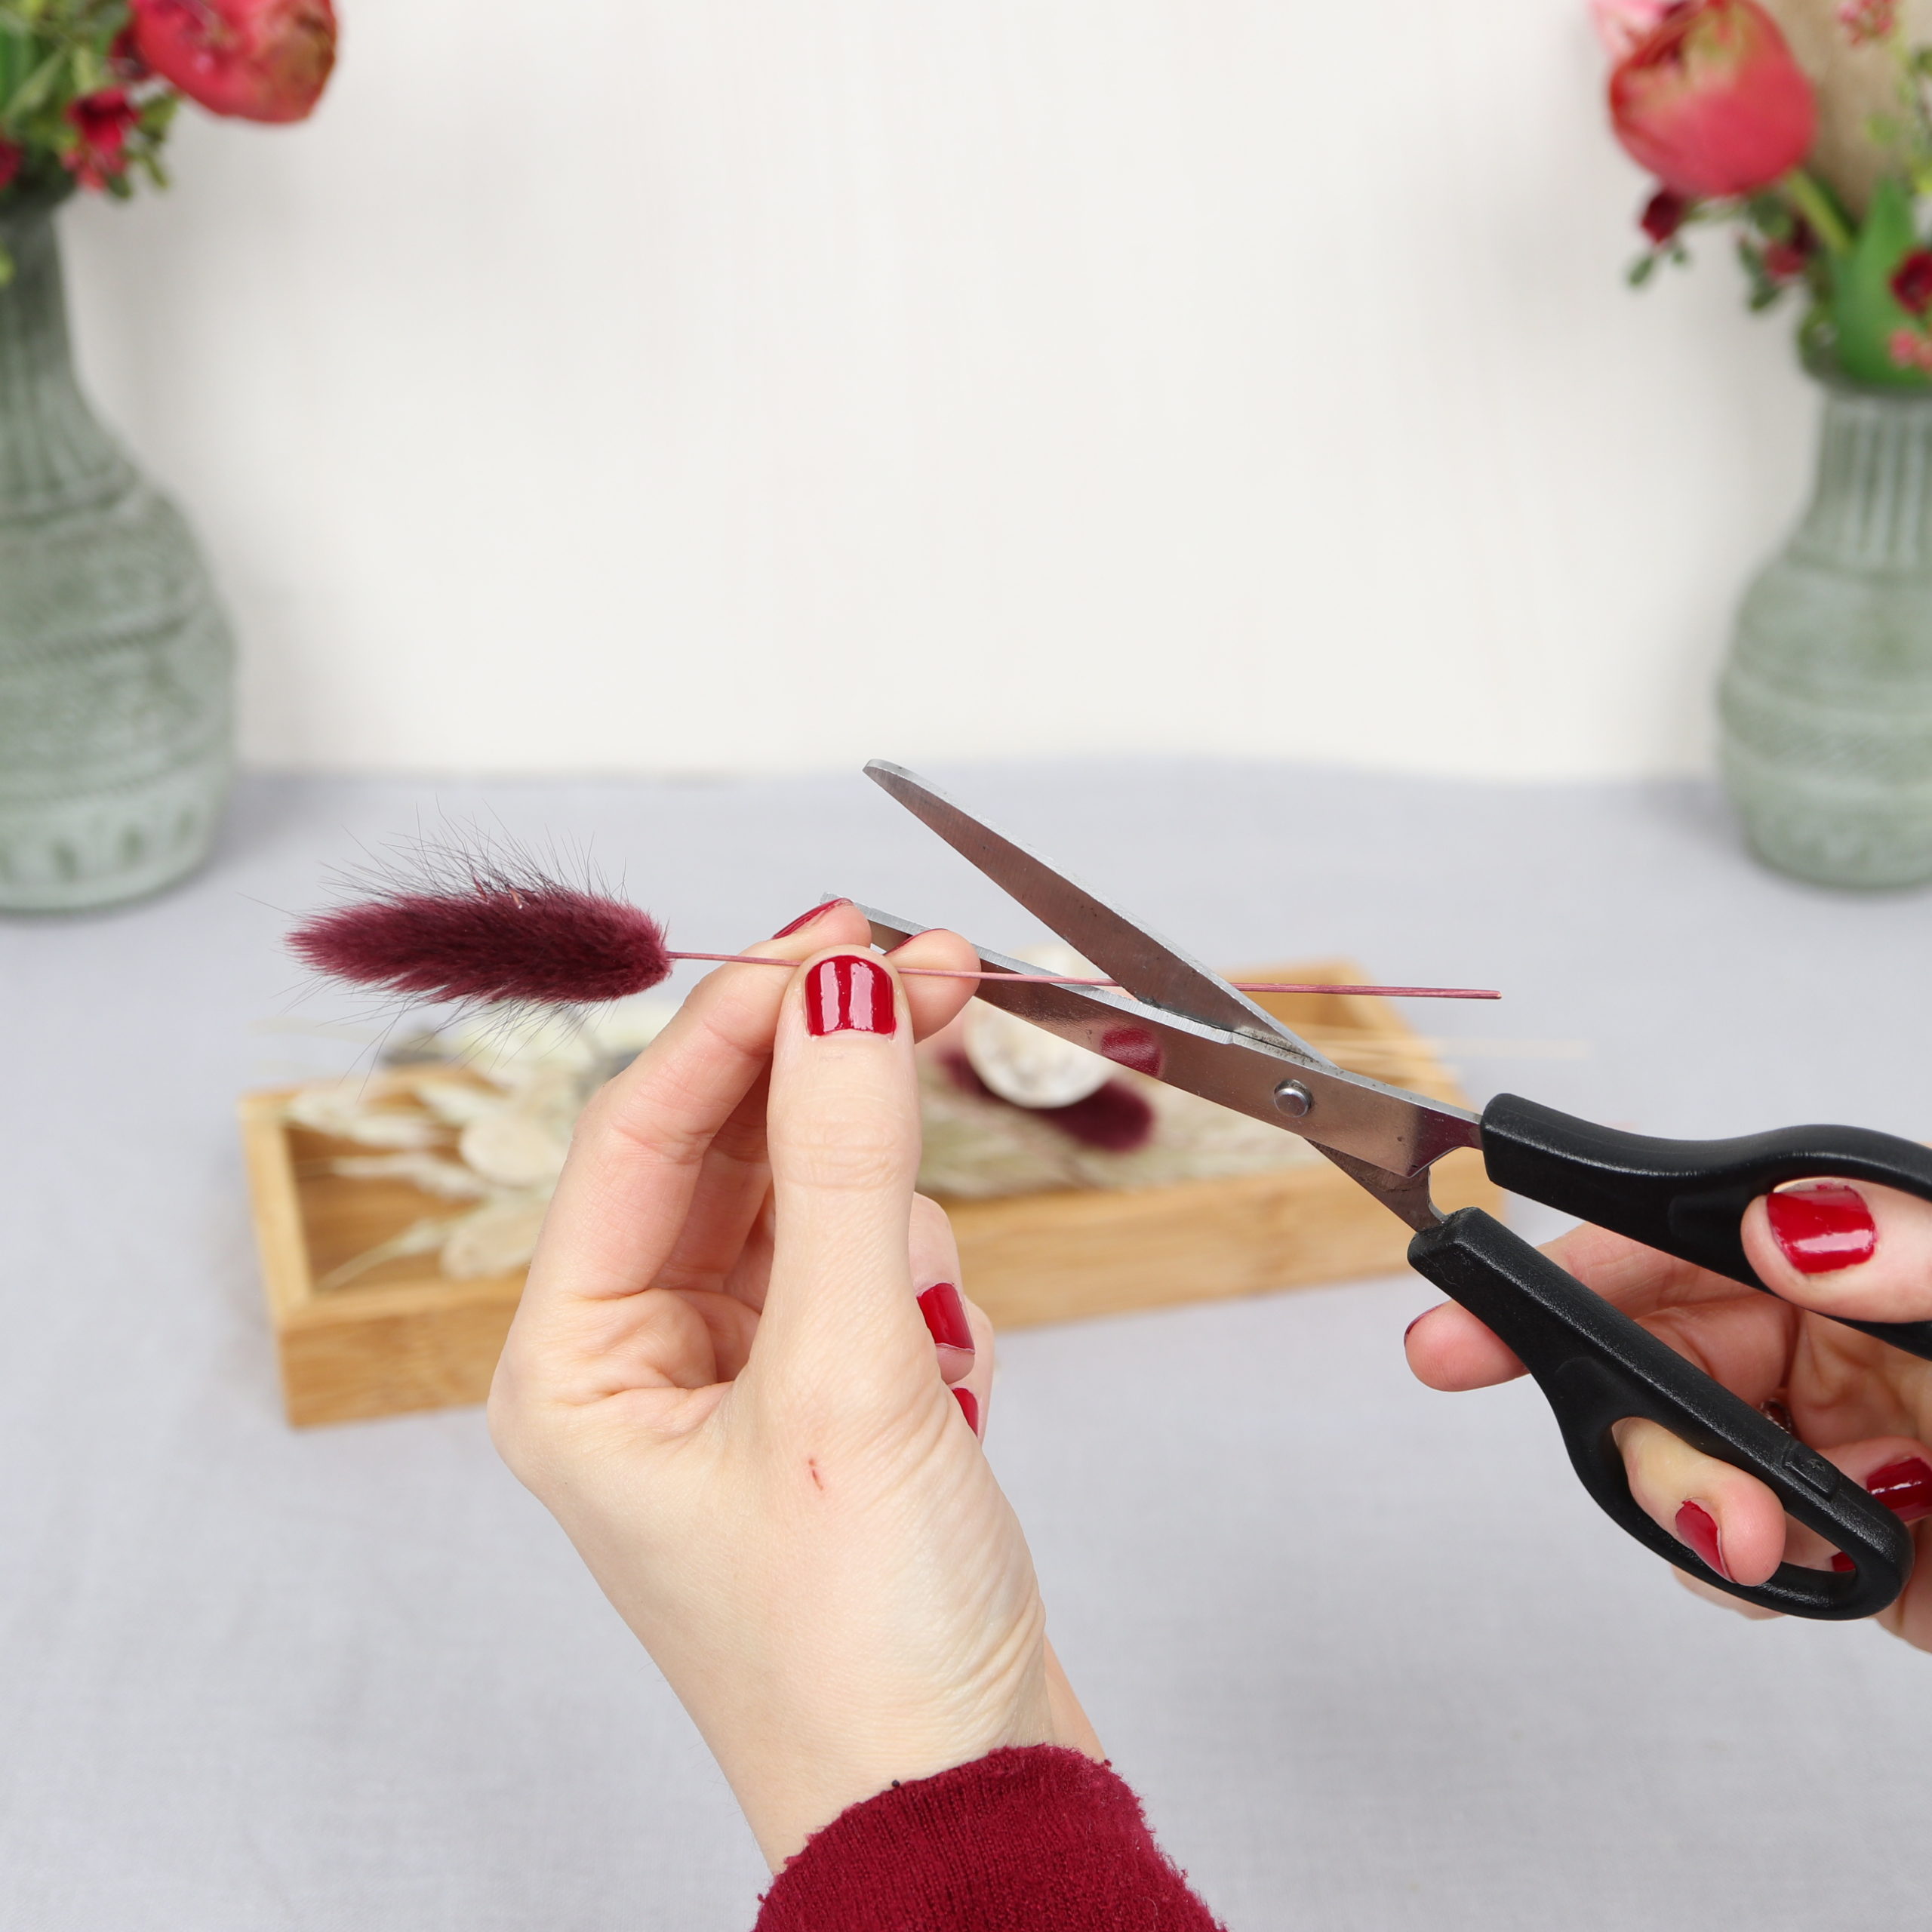
To make the dried flower arrangement look more interesting, I cut the stems to different lengths.
Step 5: Insert dried flowers
The final step is to simply insert the dried flowers into the Christmas ball.
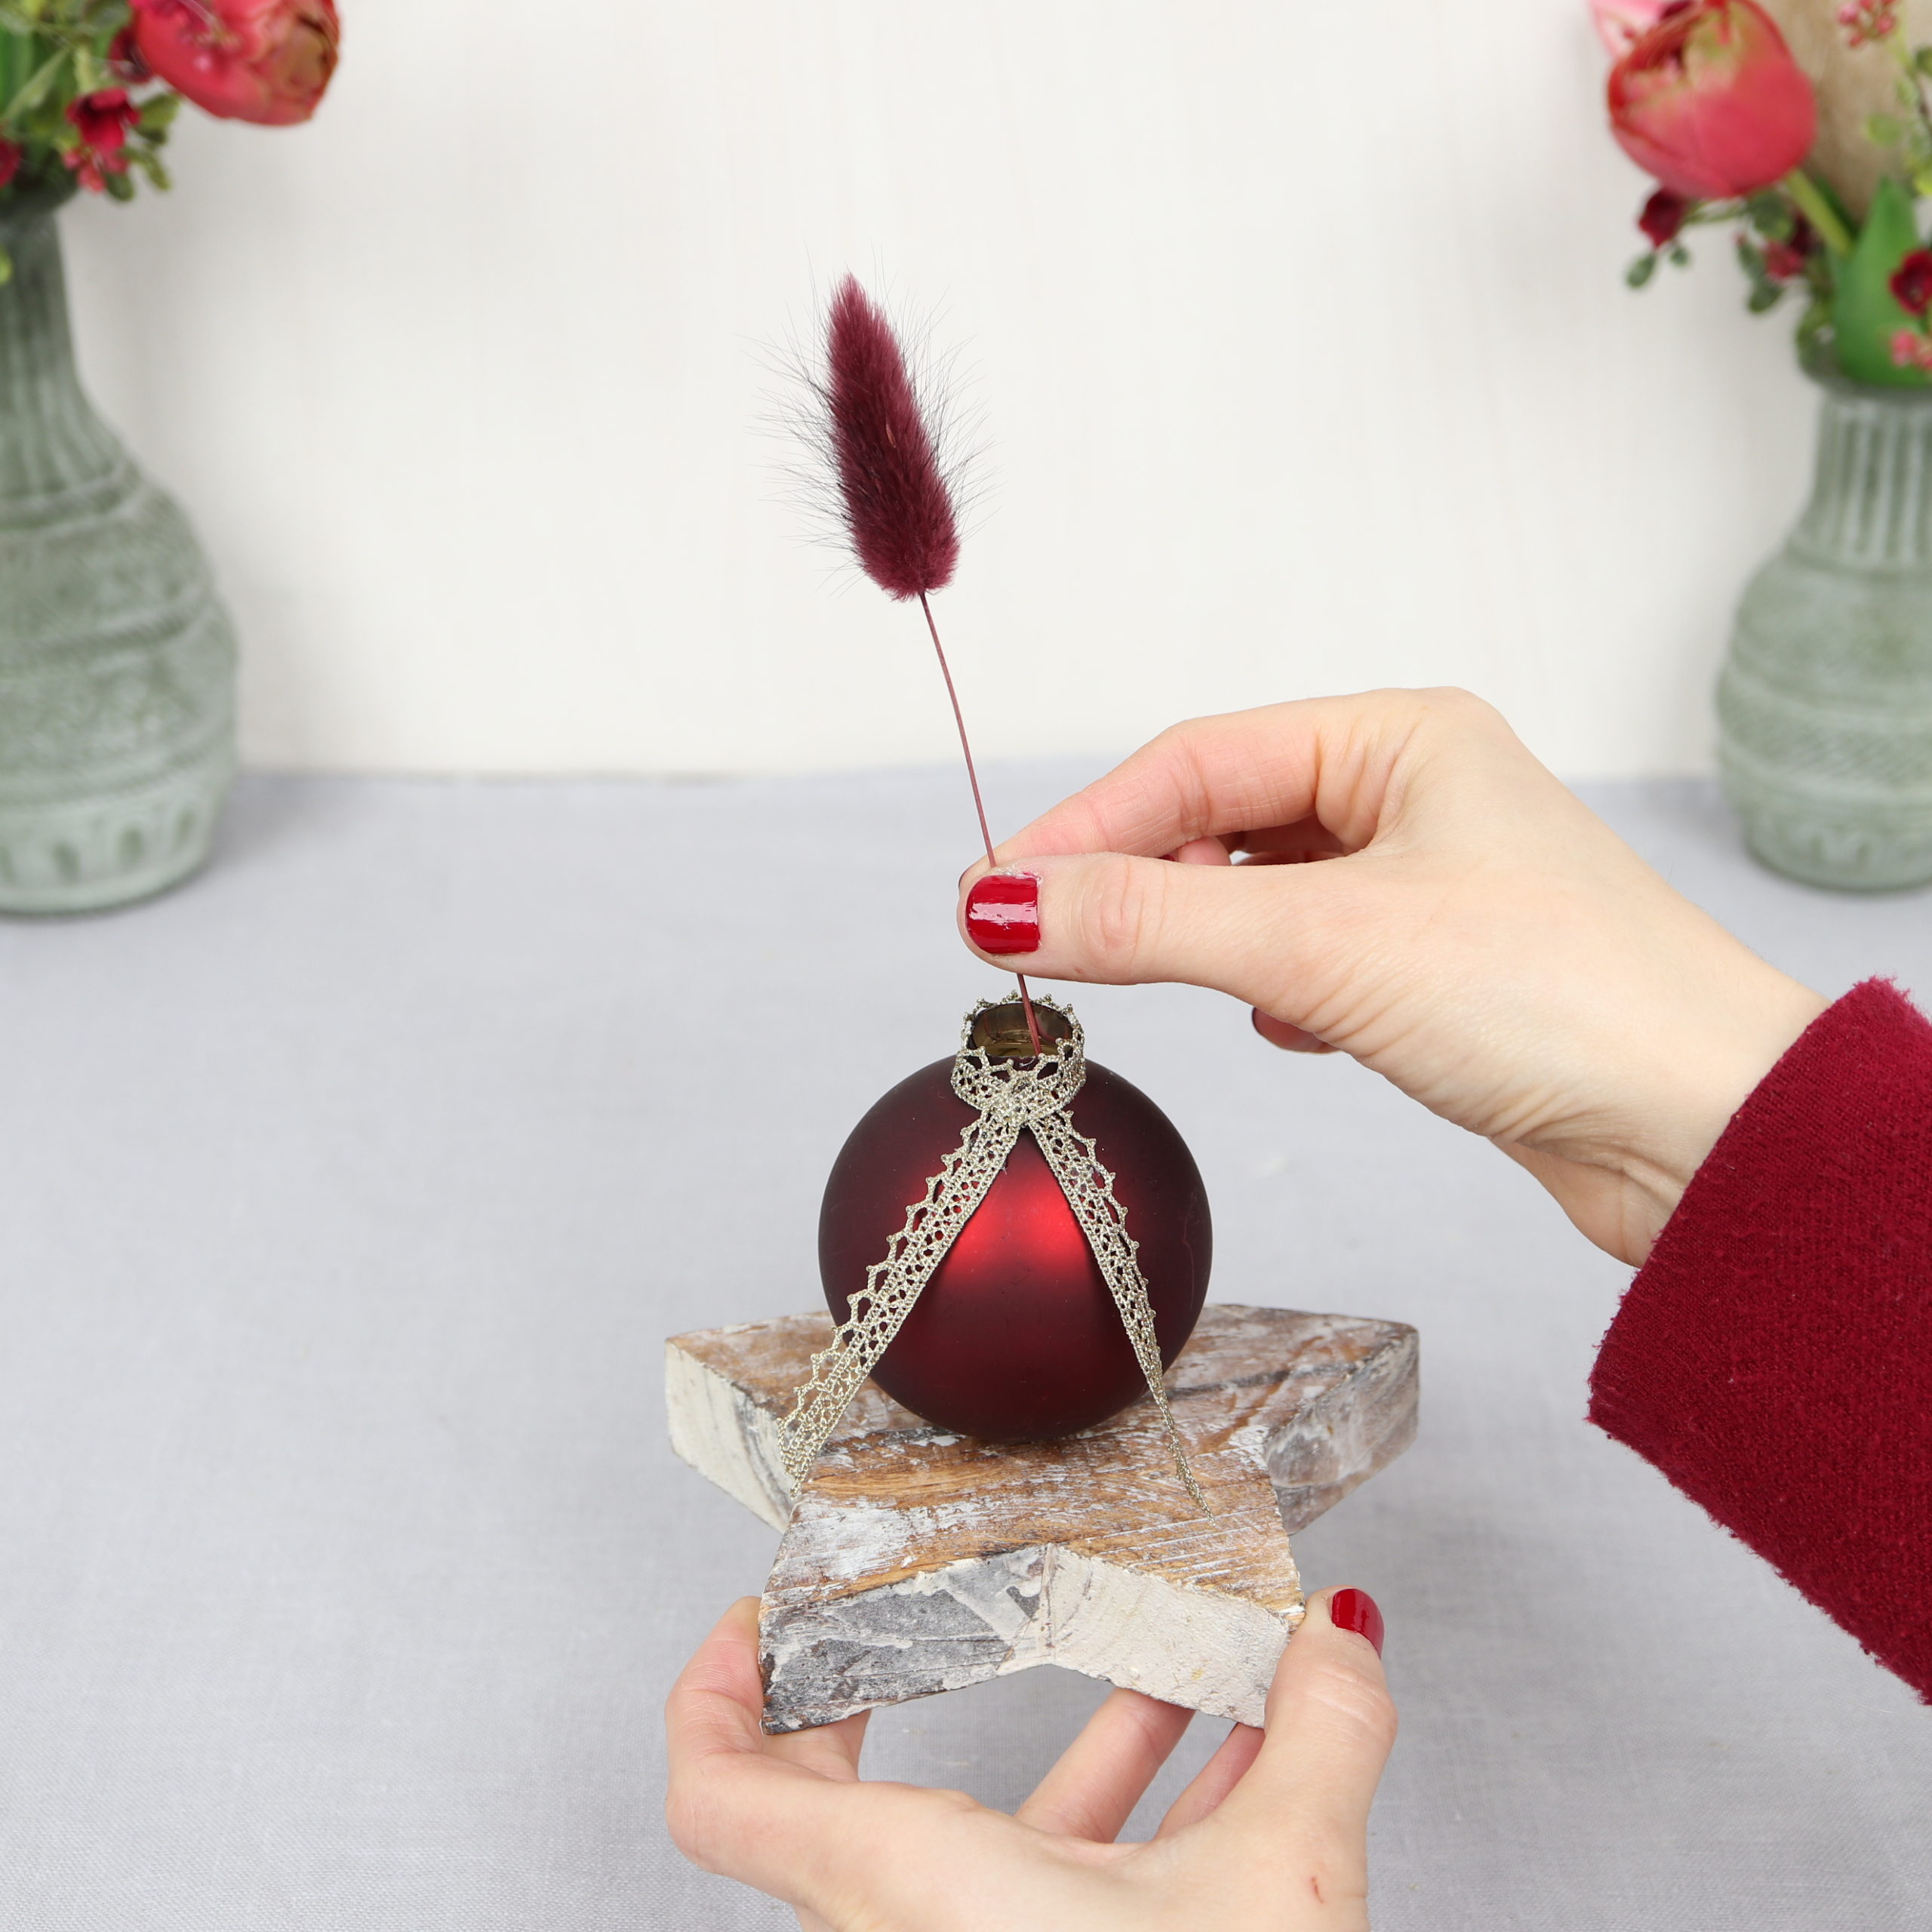

And ready is the Christmas decoration! I hope this DIY has made you as much fun as me and you like the sight of the special Christmas vase!