Today I will show you how you can make a rose arrangement with a flower arranger lid and ribbons yourself. The flower arranger lid is an alternative plug-in aid from sustainable floristry. Arranging flowers in the vase is super easy with this little helper! After the lid is placed on the vase, the flower stems can easily be pushed through the holes. It helps also to attache some ribbons around the vase. The rose arrangement is great for celebrations, such as birthdays, christenings or weddings, and makes a nice table decoration!

With the following step-by-step instructions you can easily make the rose arrangement yourself!
Tools
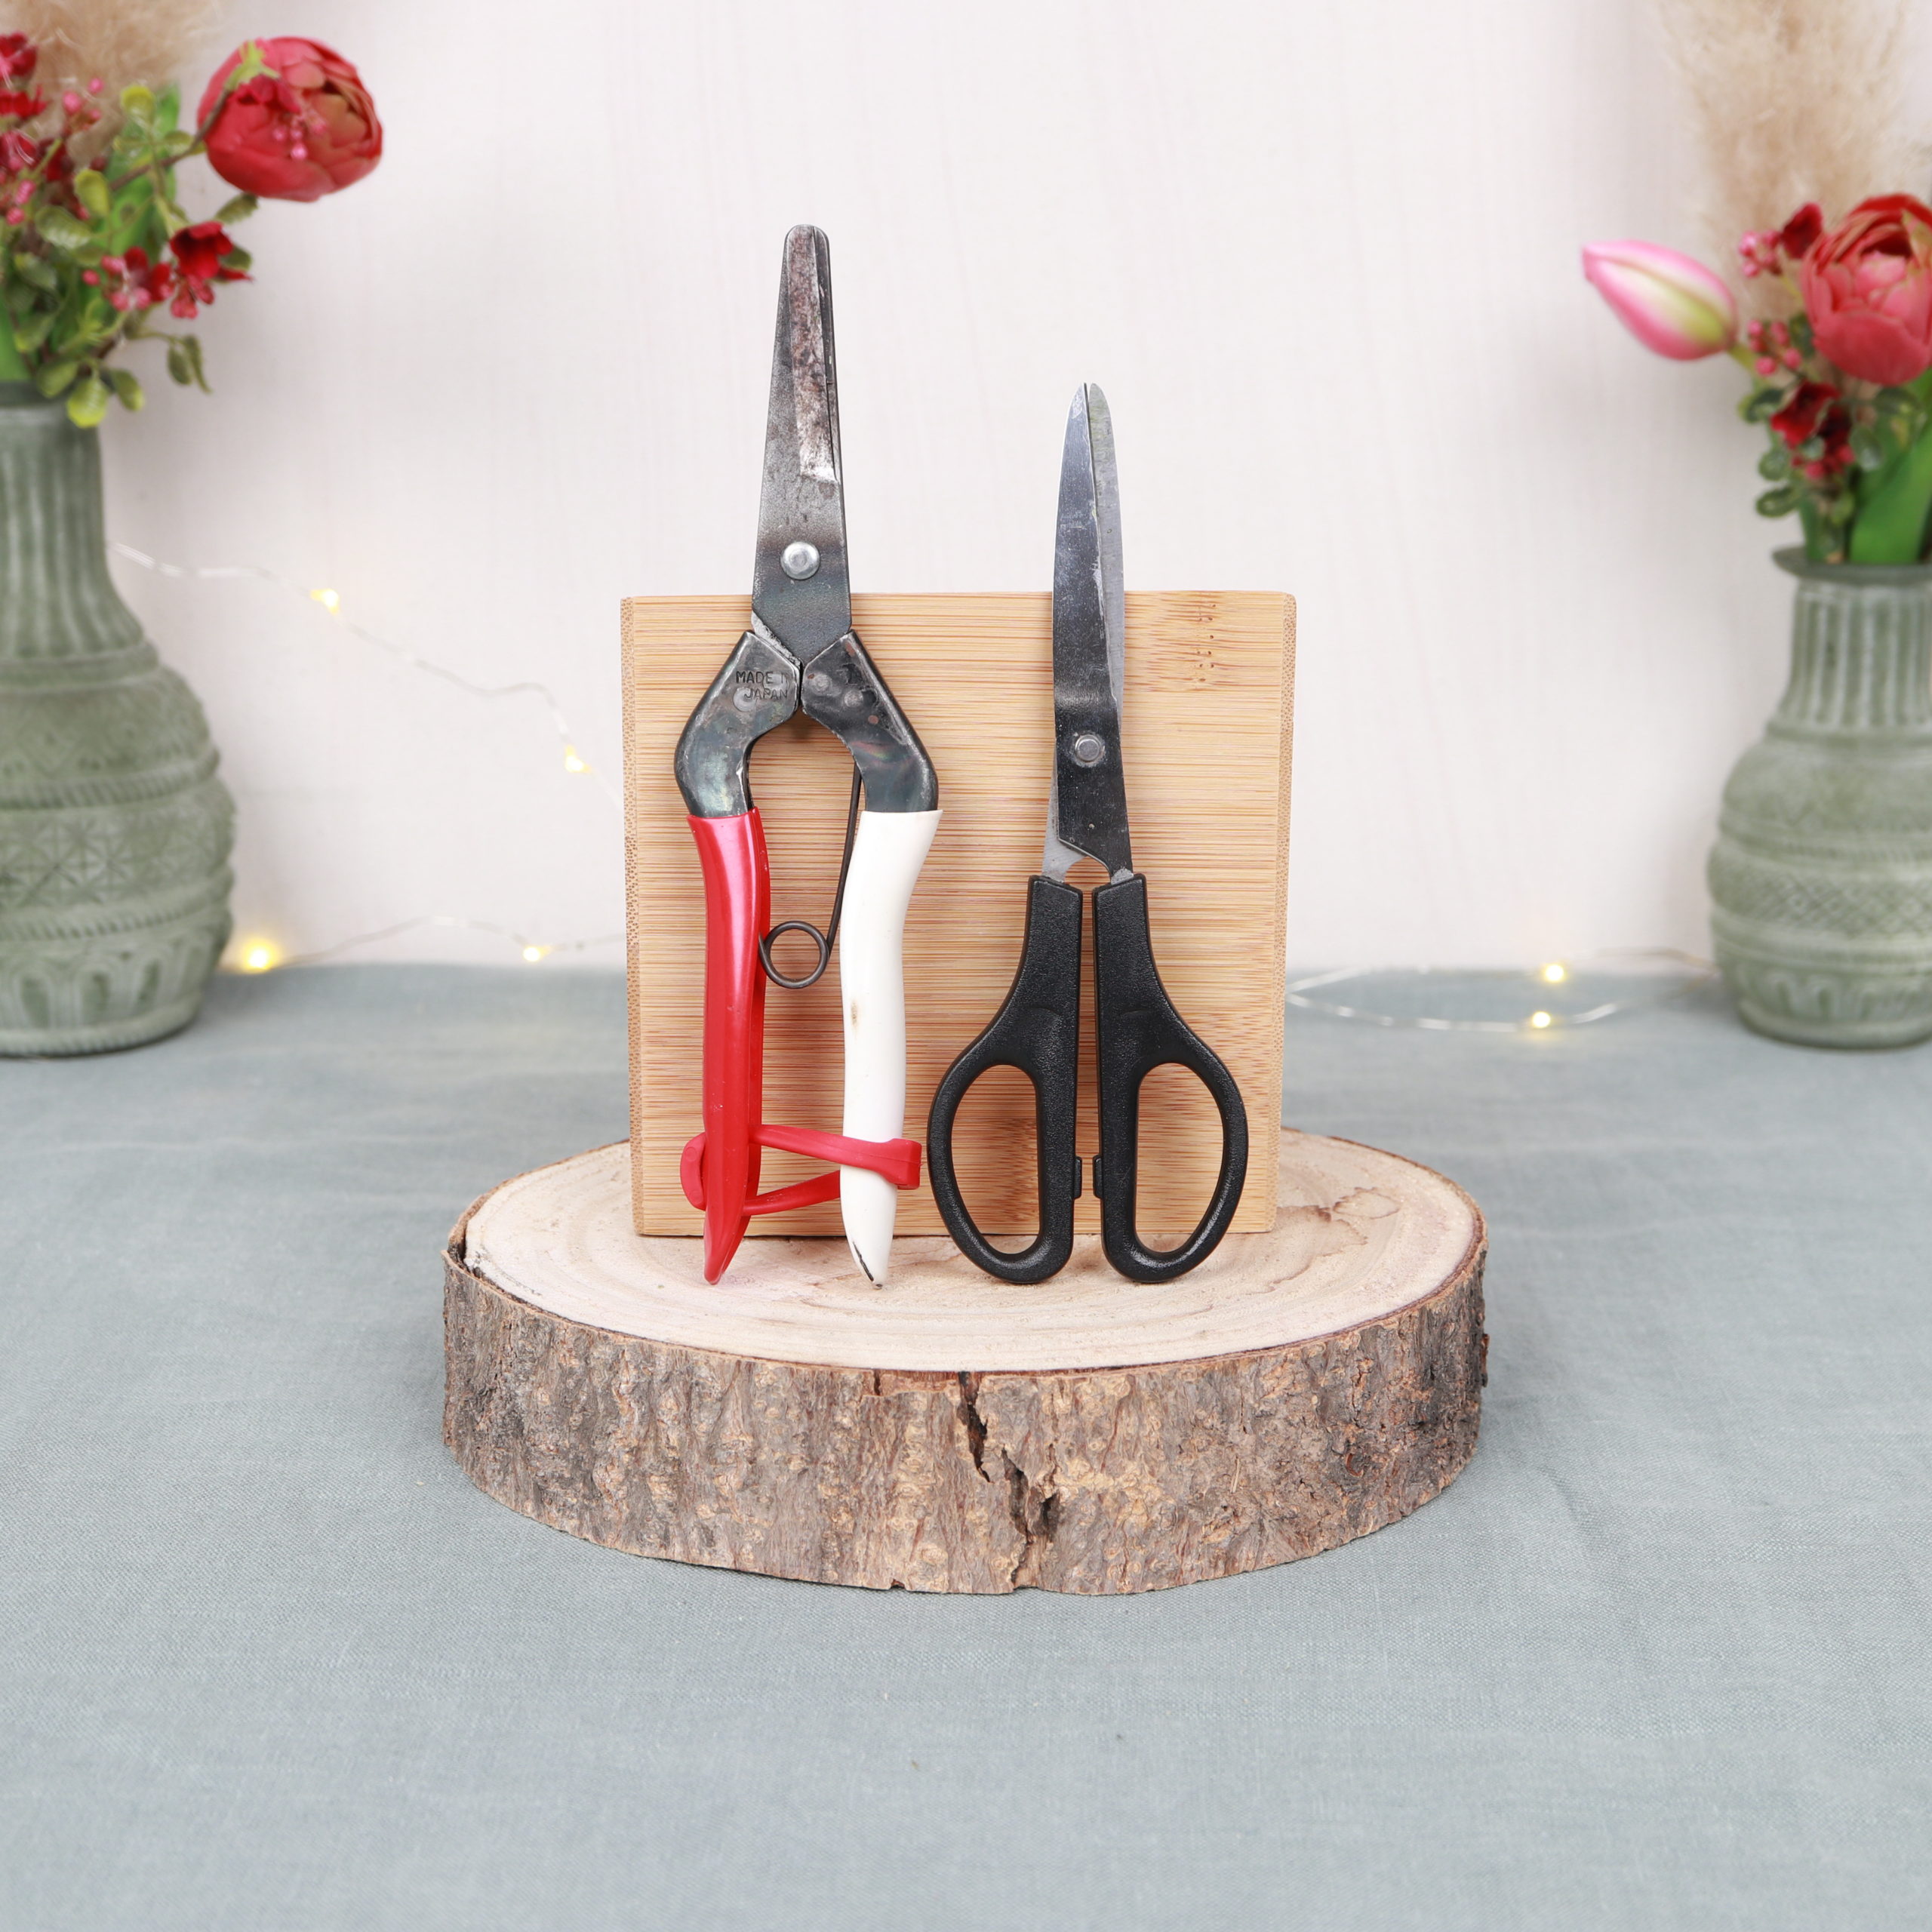
Here you can see the tools I used for the rose arrangement: flower scissors and household scissors.
Materials

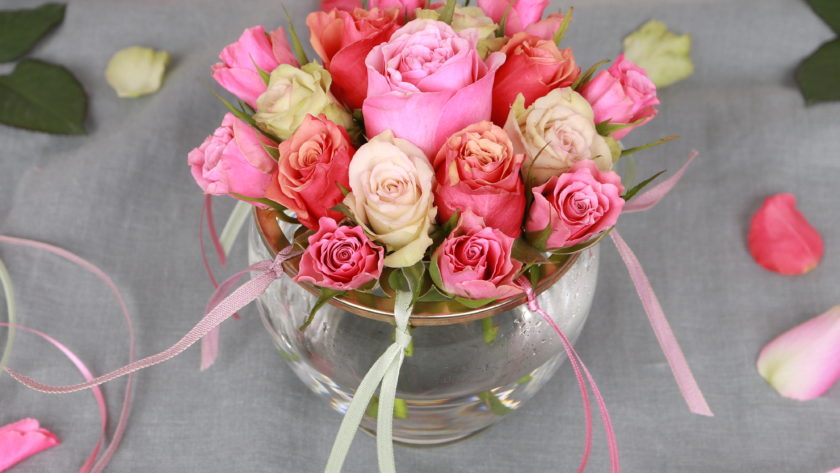
I used these materials for the flower arrangement with a perforated lid: a vase (filled with water) with a flower arranger lid, roses and colorful ribbons.
Instructions | Rose arrangement with flower arranger lid and ribbons
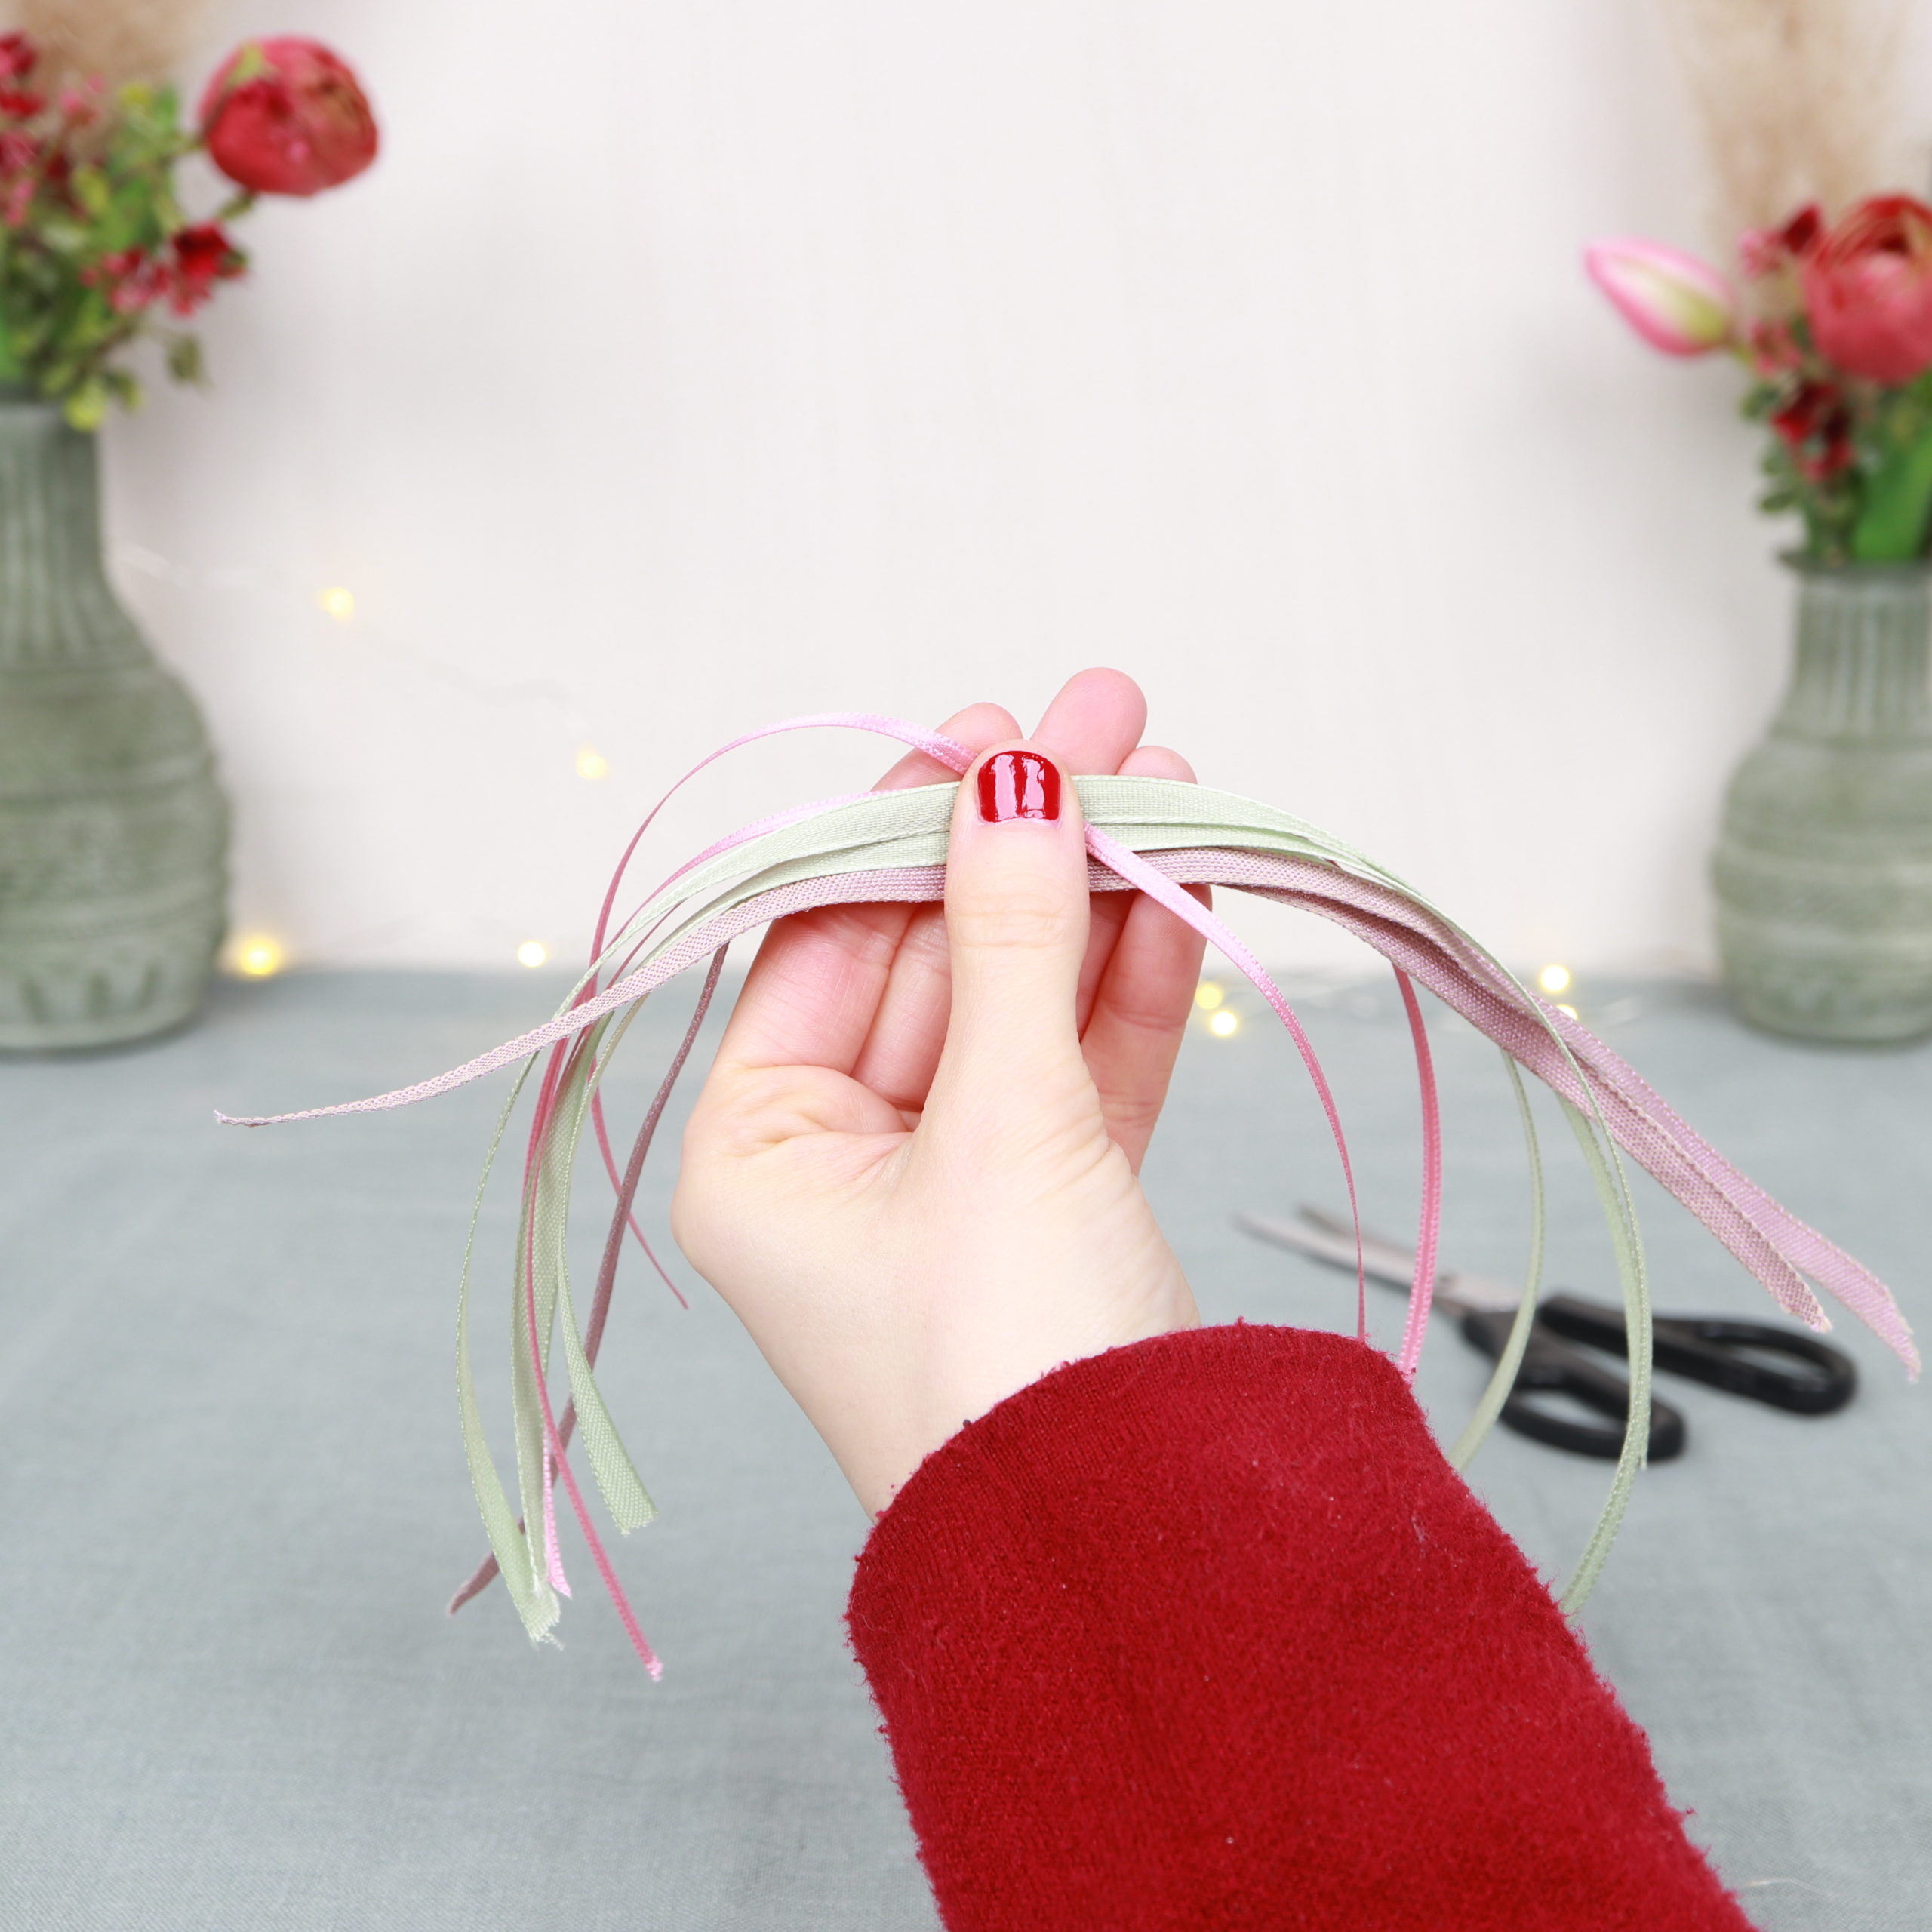
Step 1: Cut ribbons
In the first step I cut the ribbons.

The ribbons are later used to tie them to the holes of the flower arranger lid.
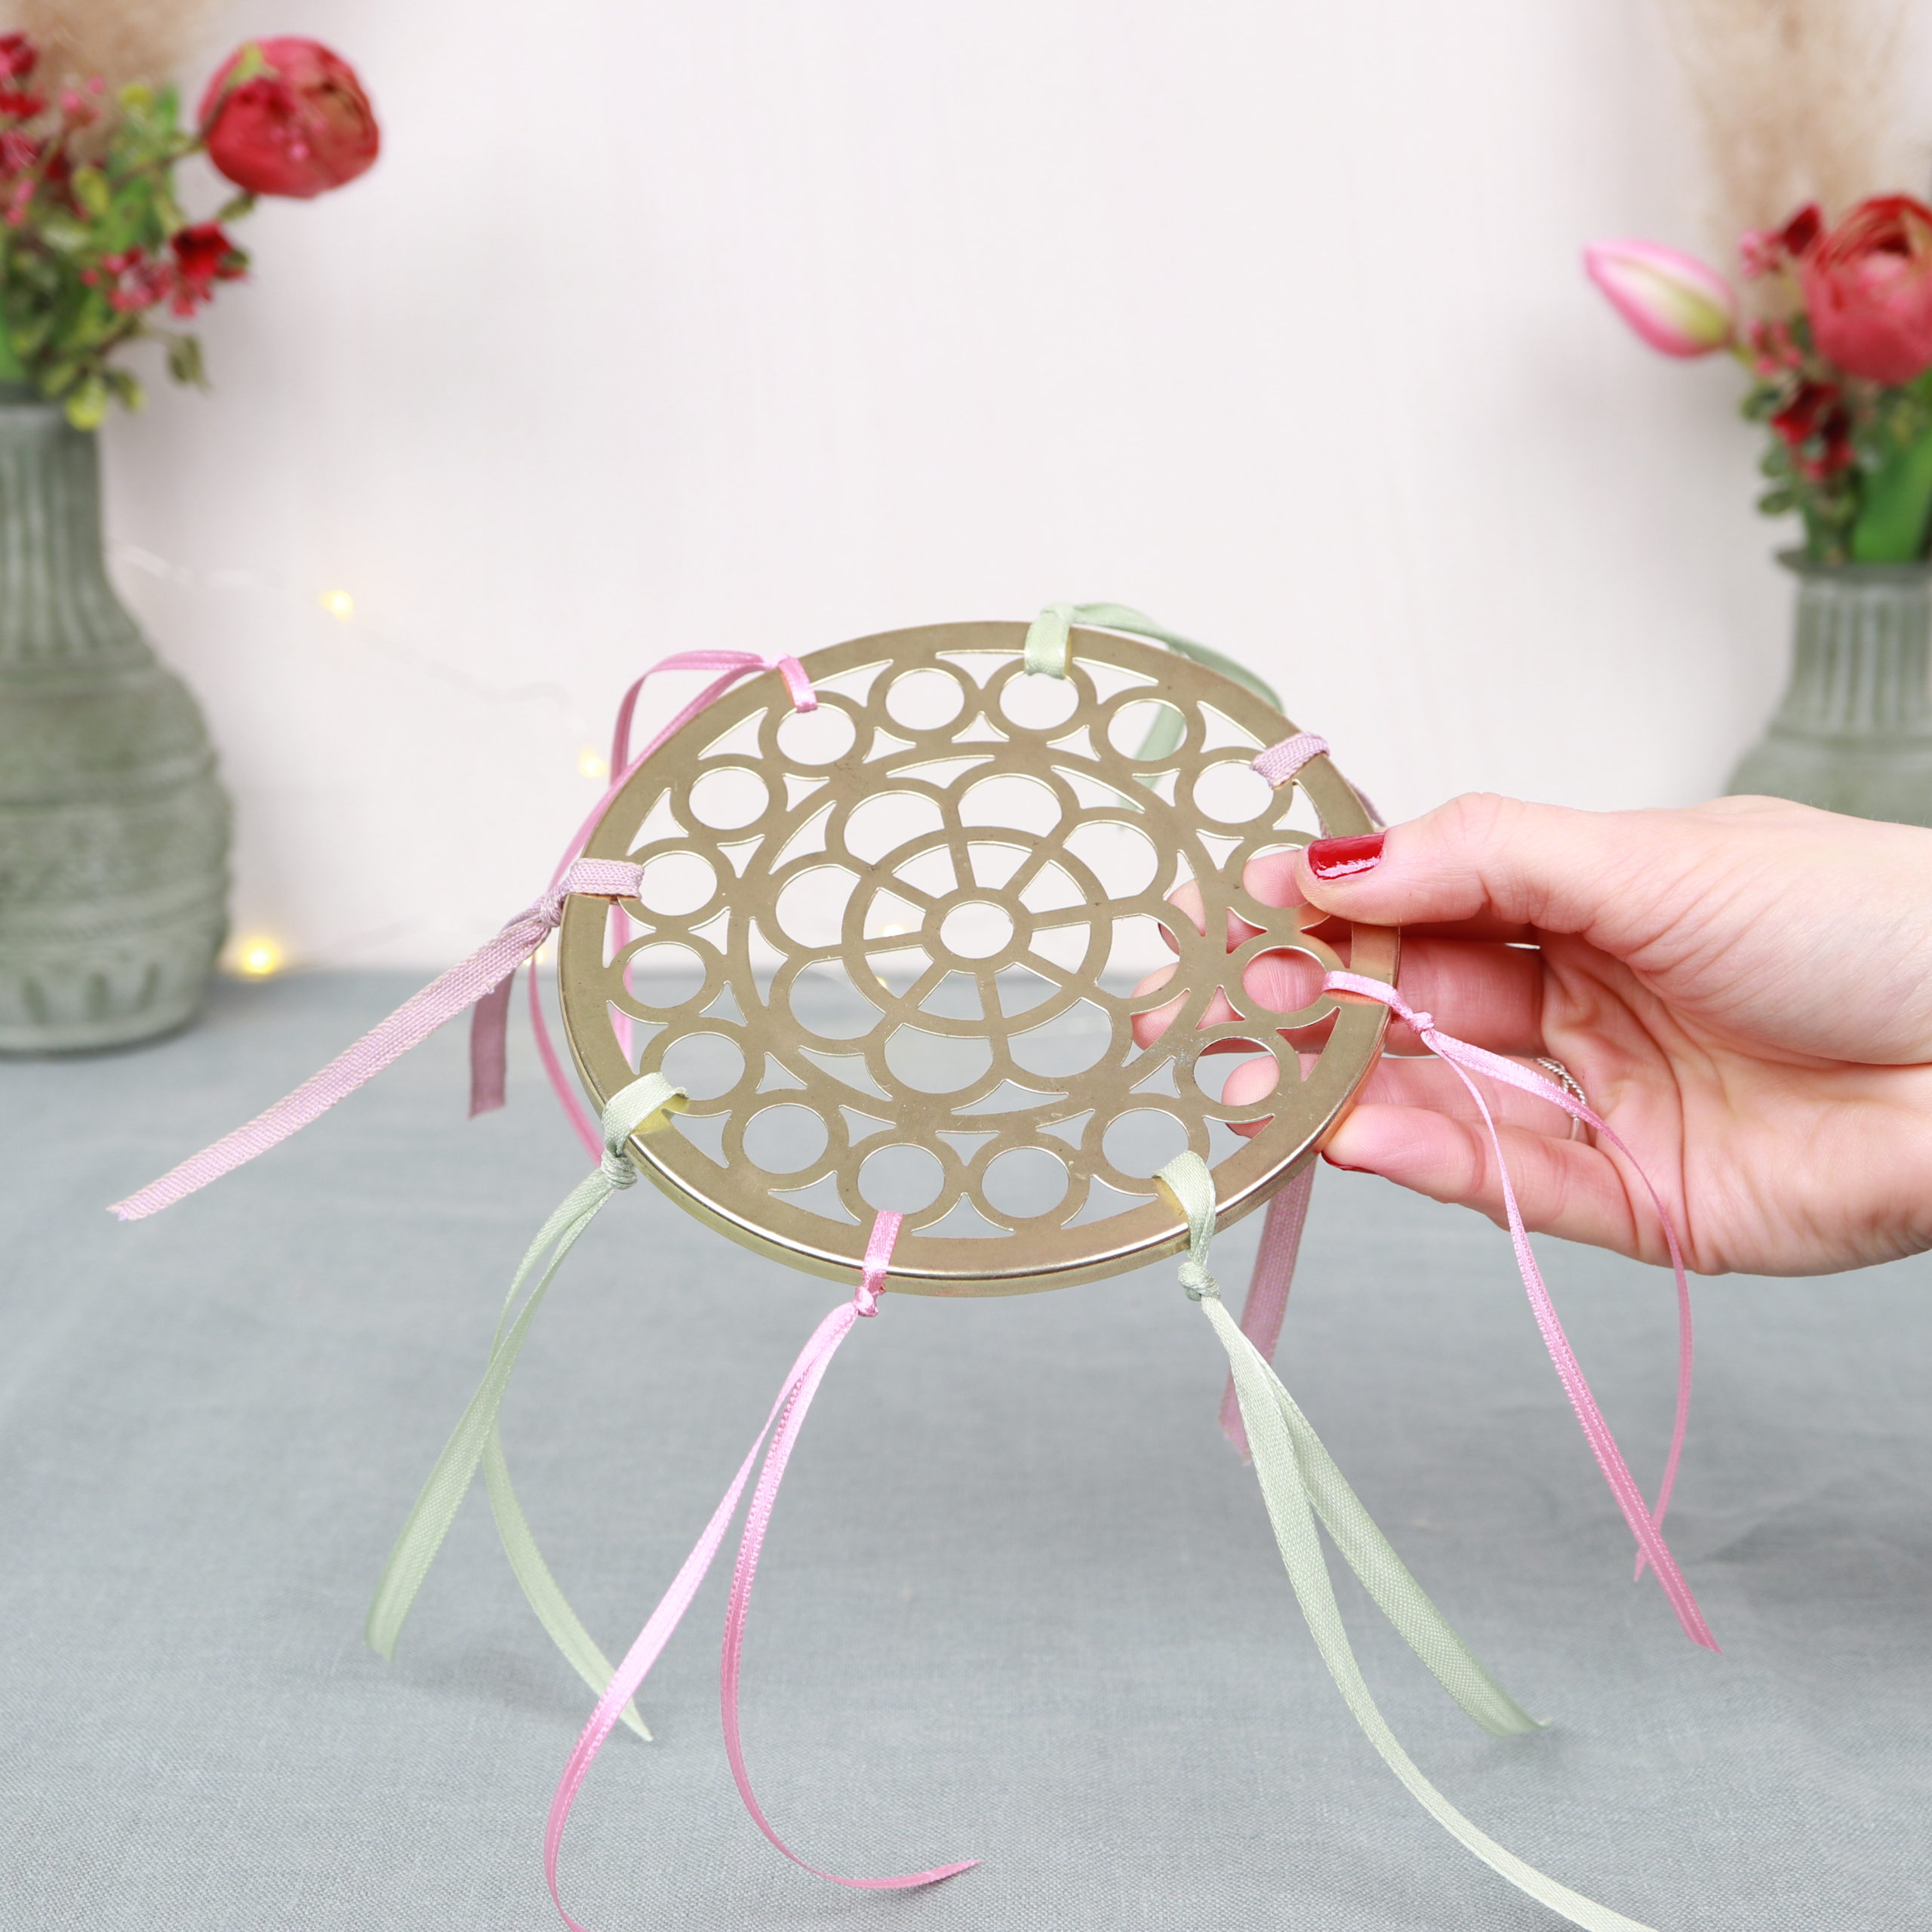
Step 2: Tie the ribbons to the flower arranger lid
Then I tie the ribbons to the very outside of the flower arranger lid.
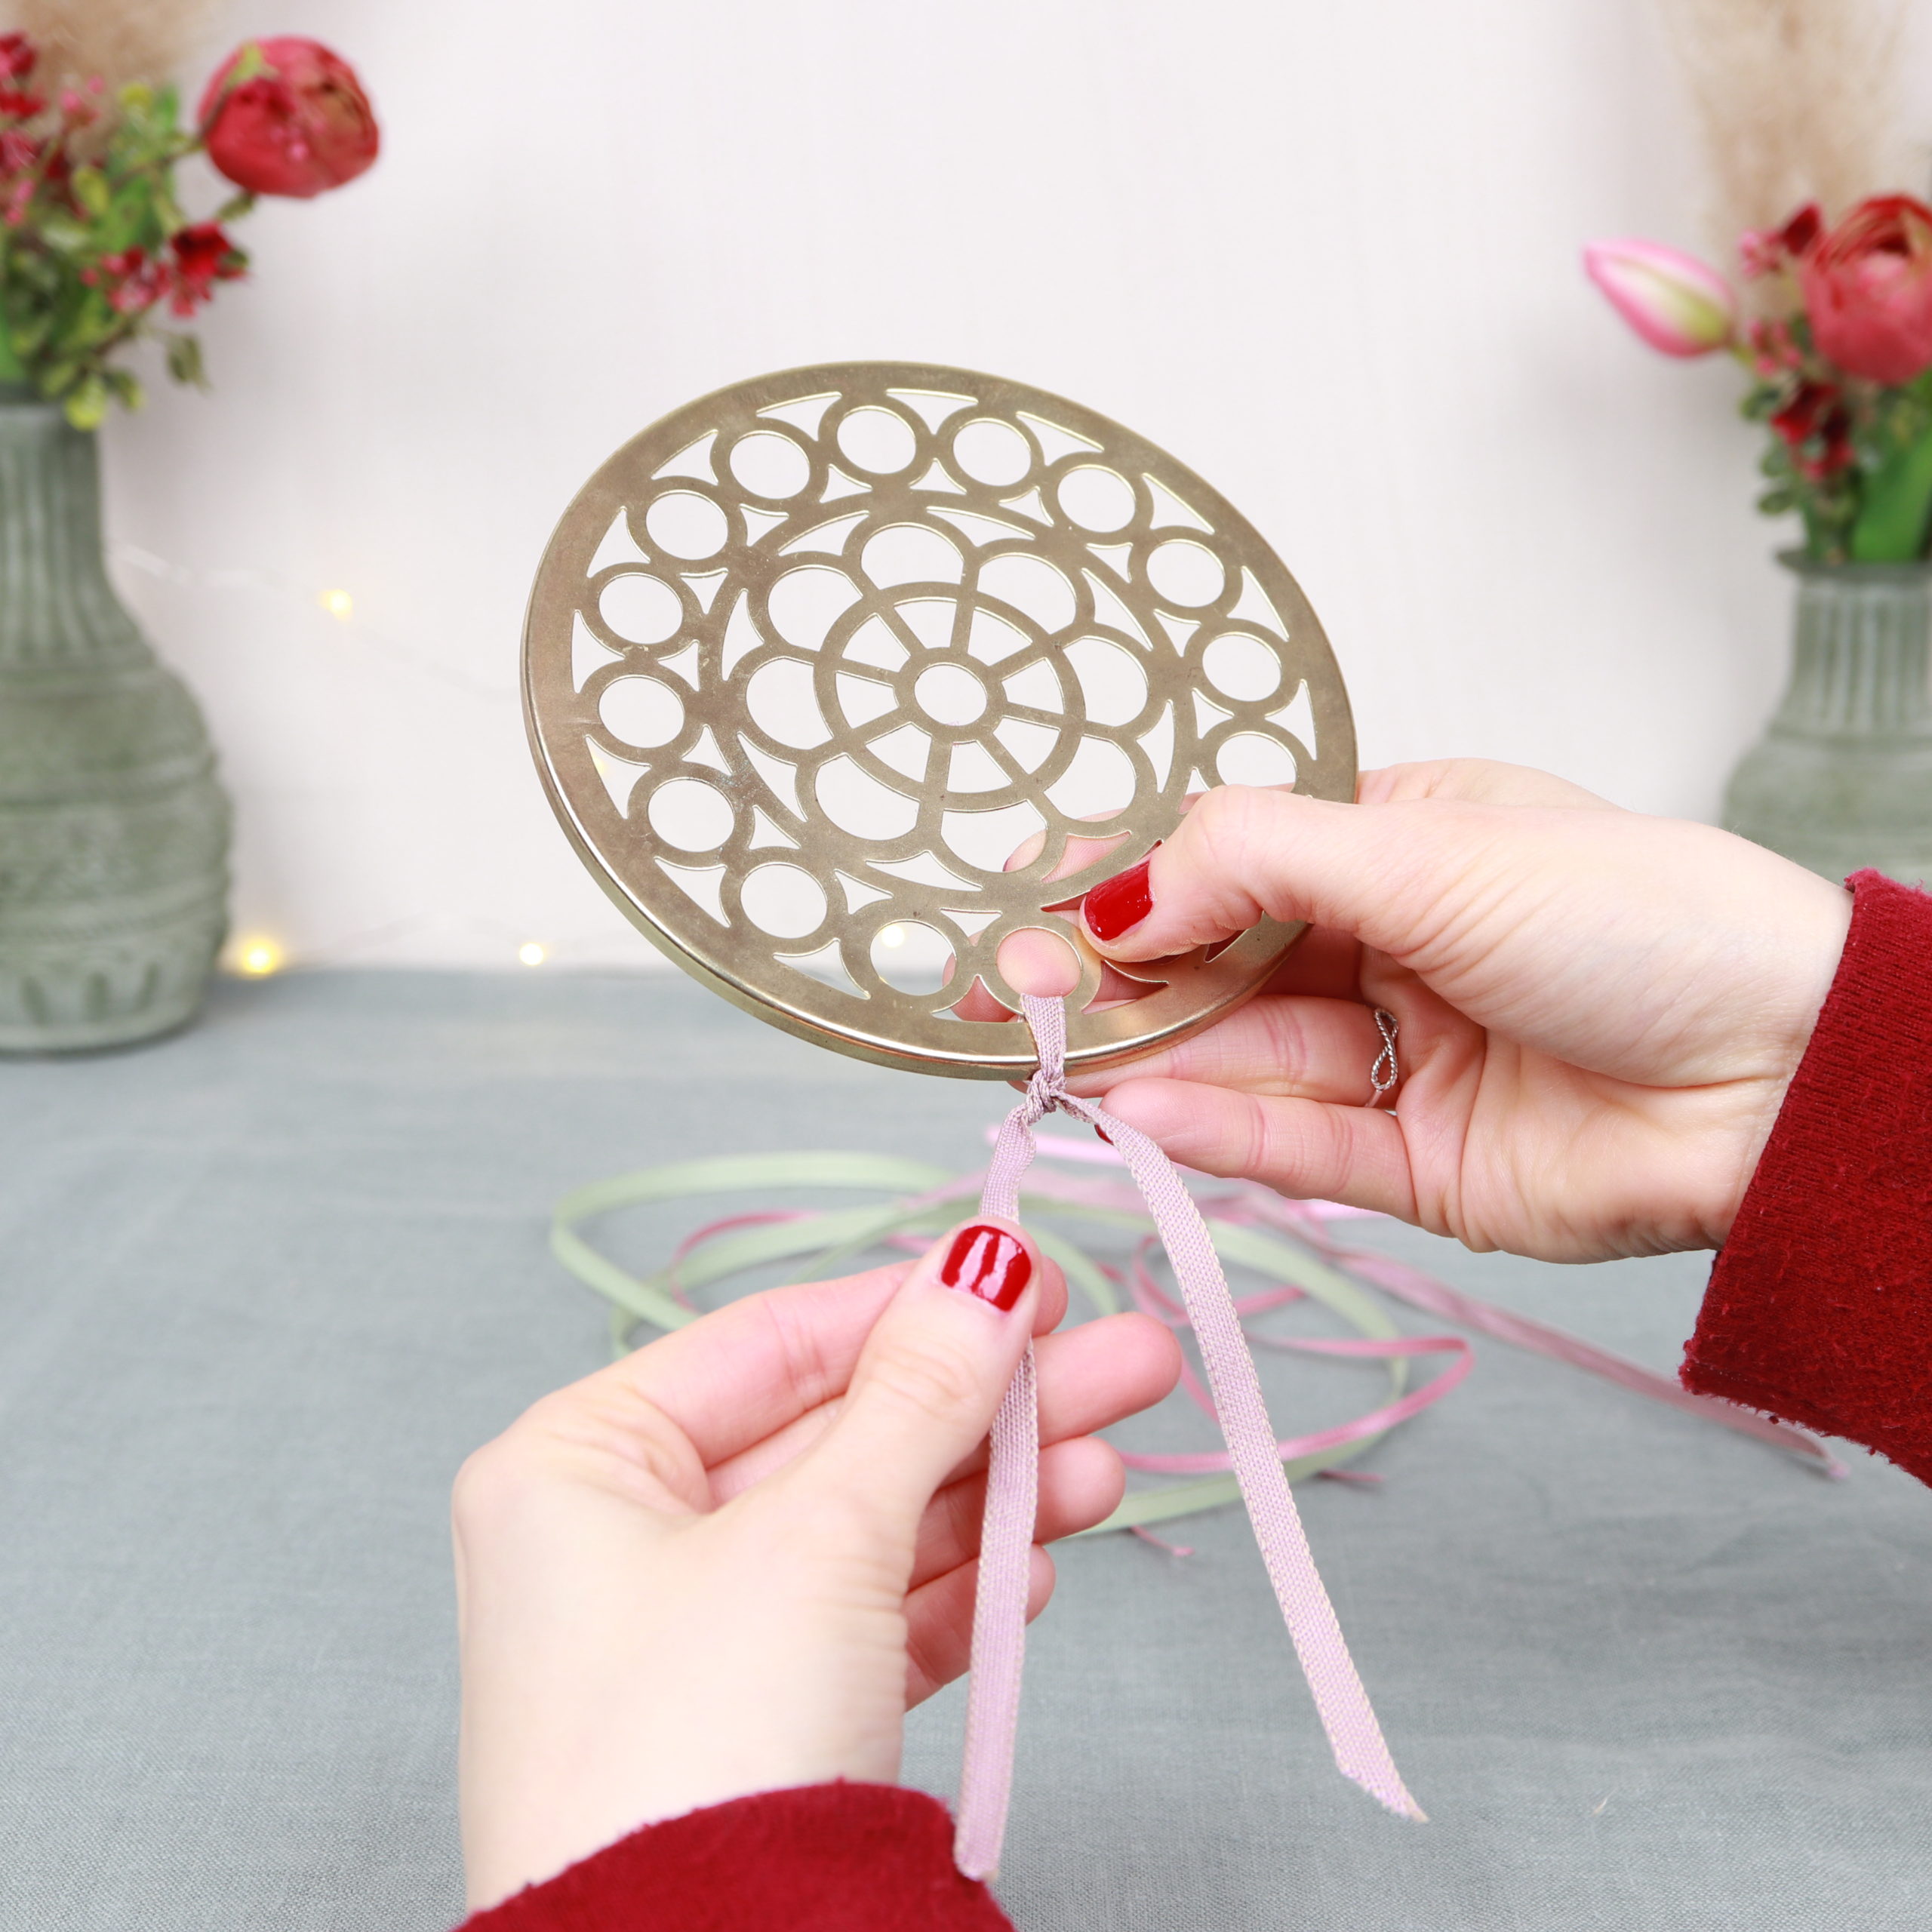
I leave out one hole when placing the ribbons. The hold is needed for the roses later.
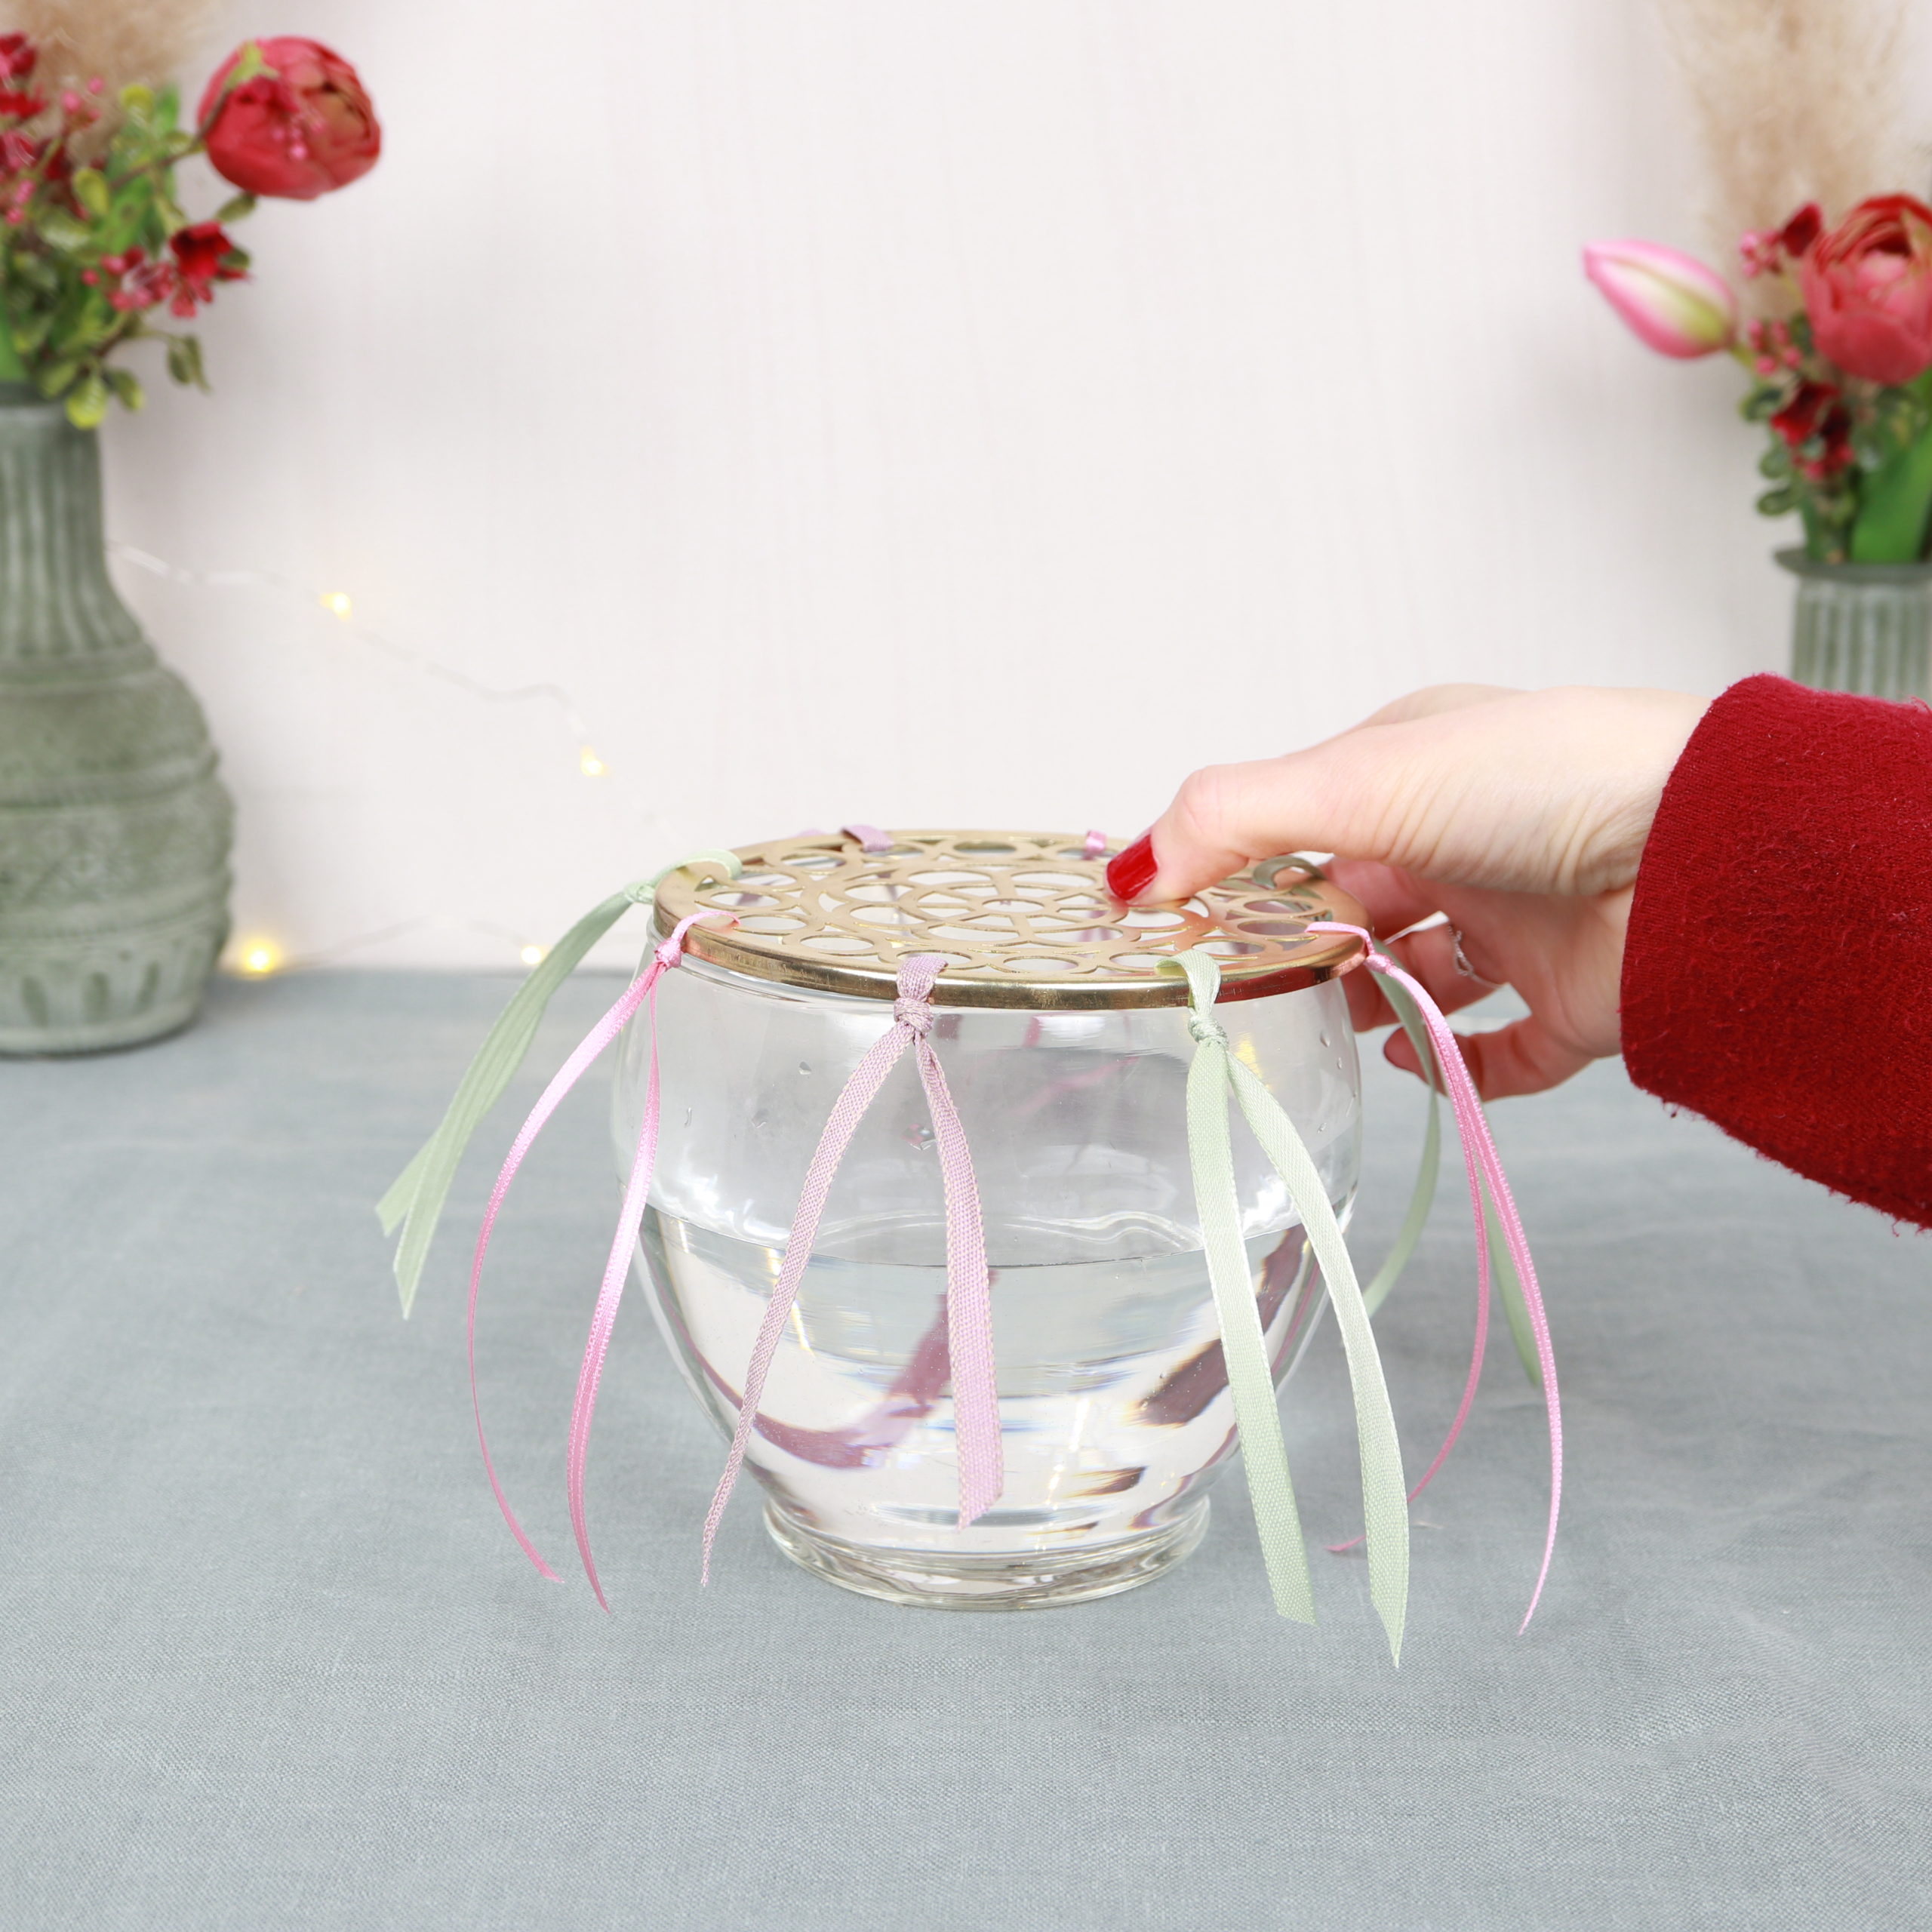
Now, I put the arranger lid onto the vase.
Step 3: Cut roses
Now I take care of the beautiful roses.
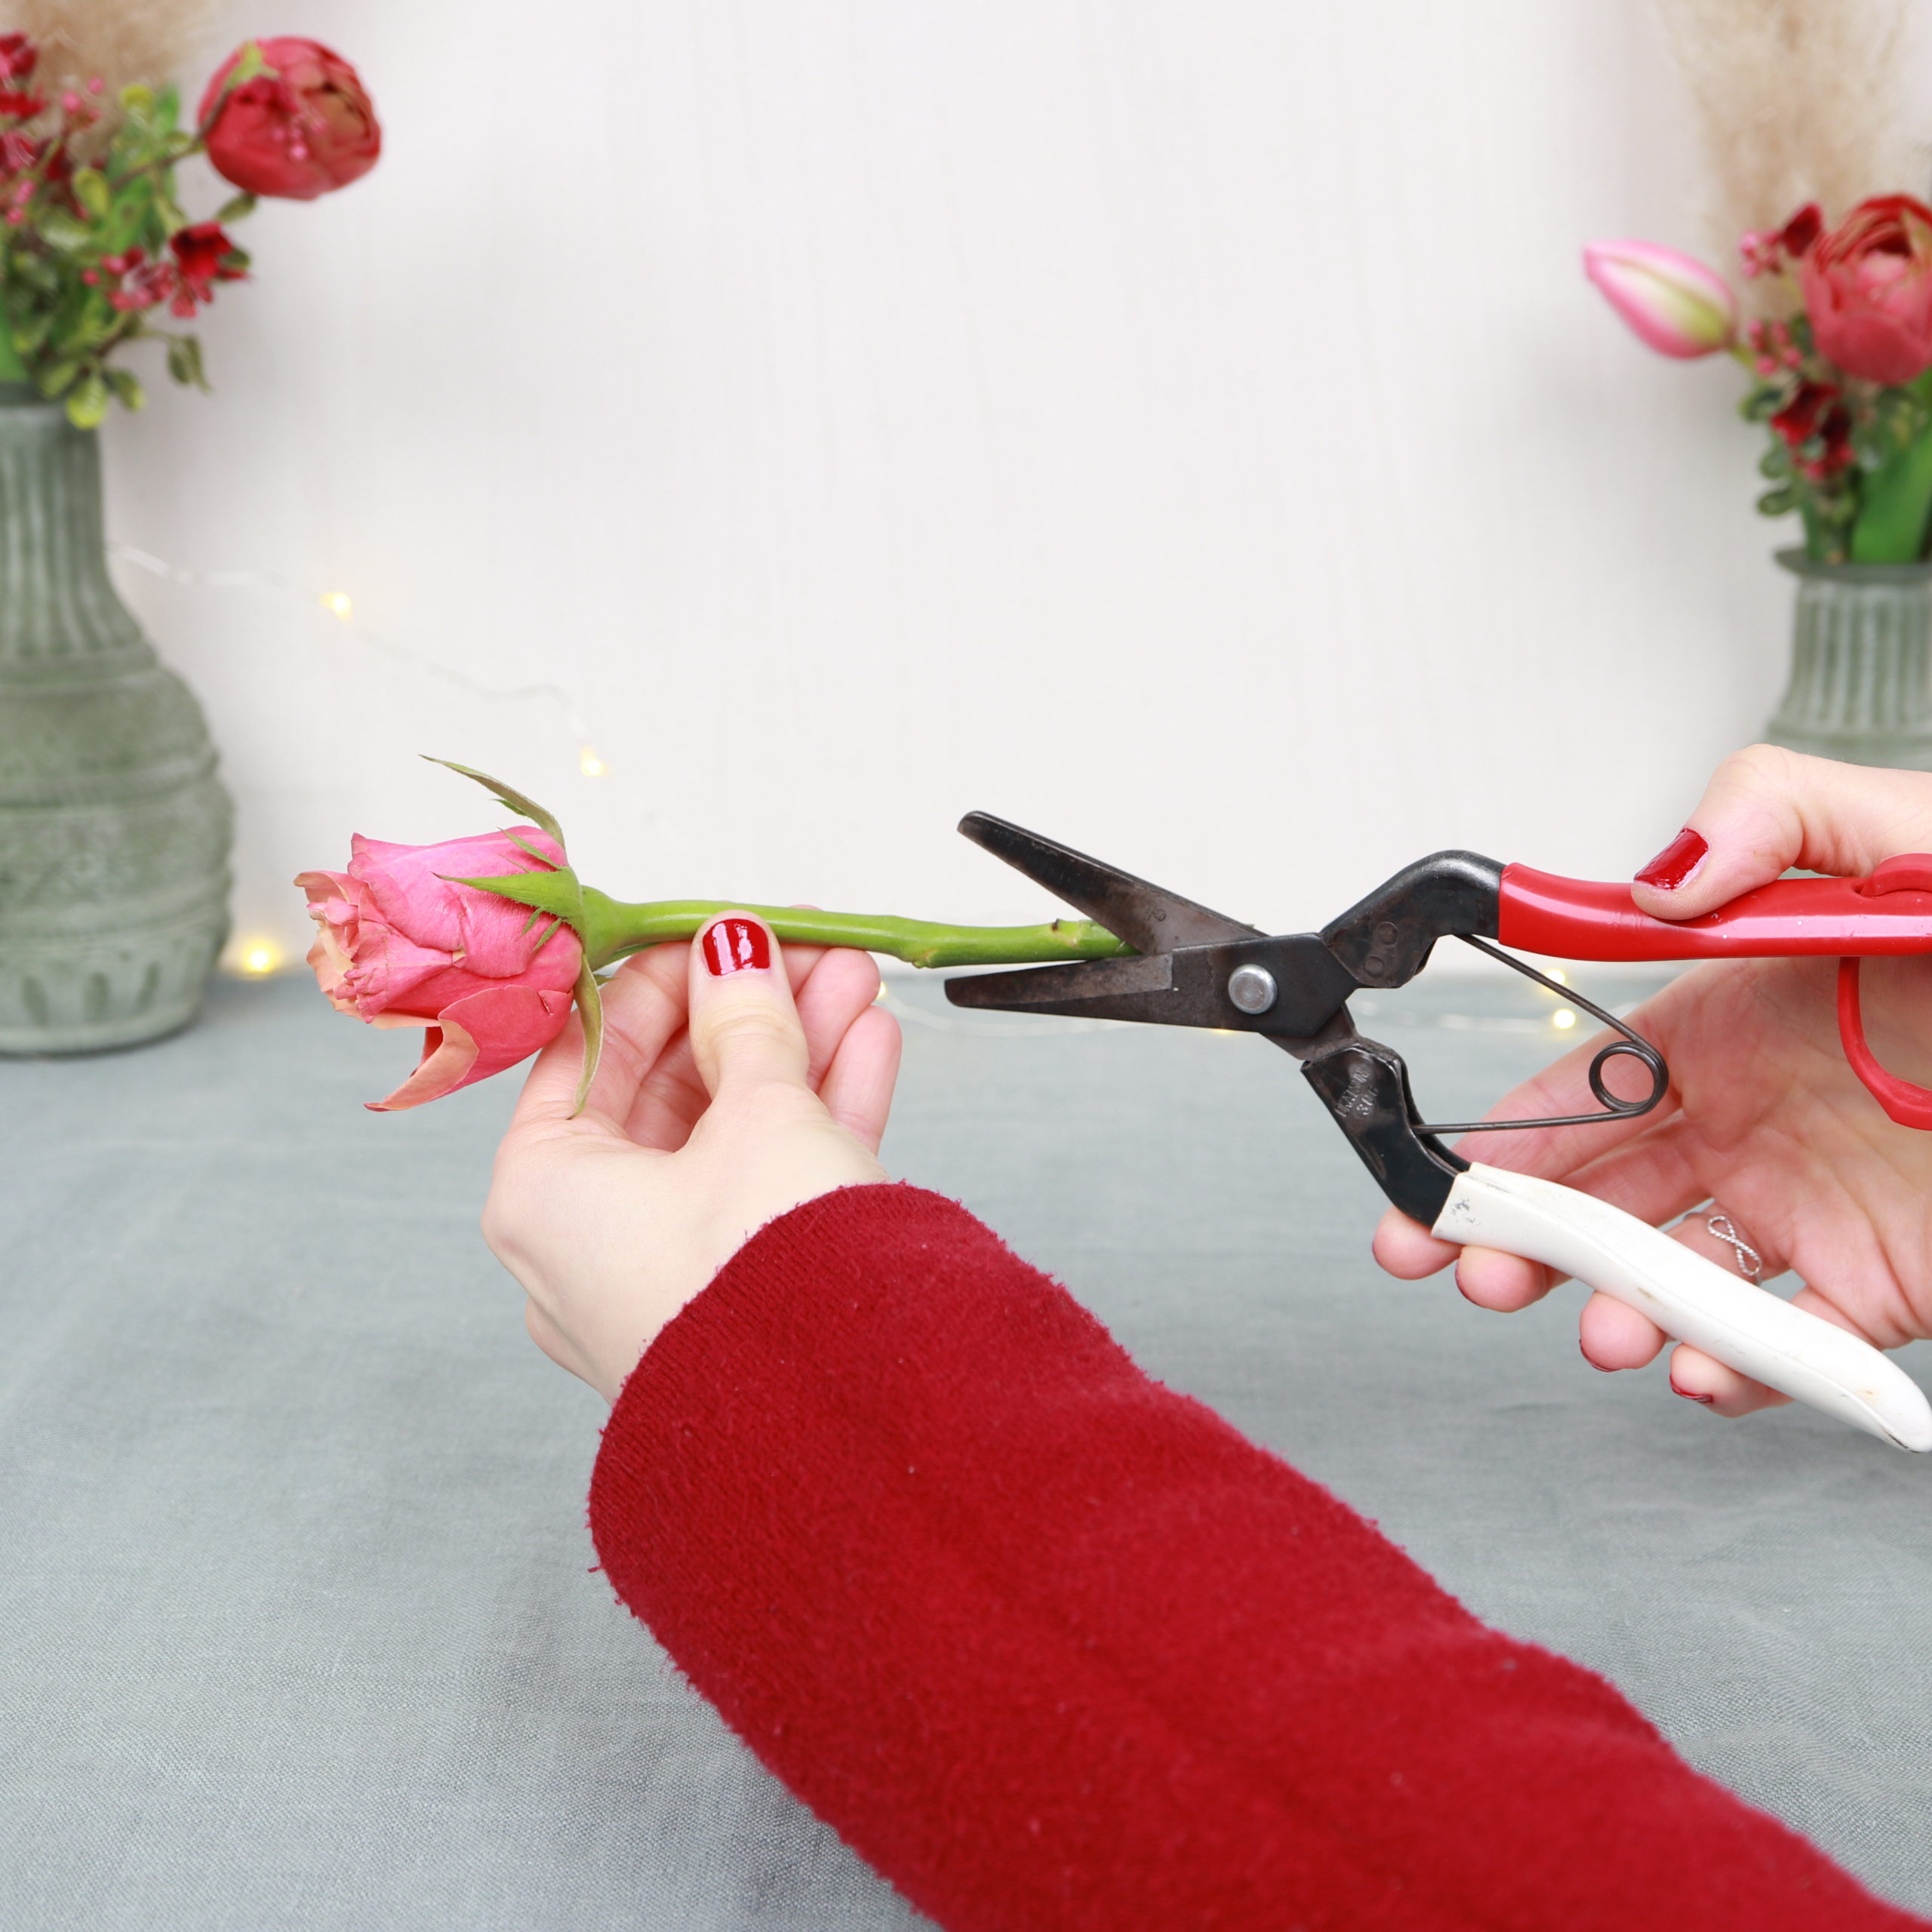
I cut off all the leaves and trim the stems. I use my flower scissors for this.
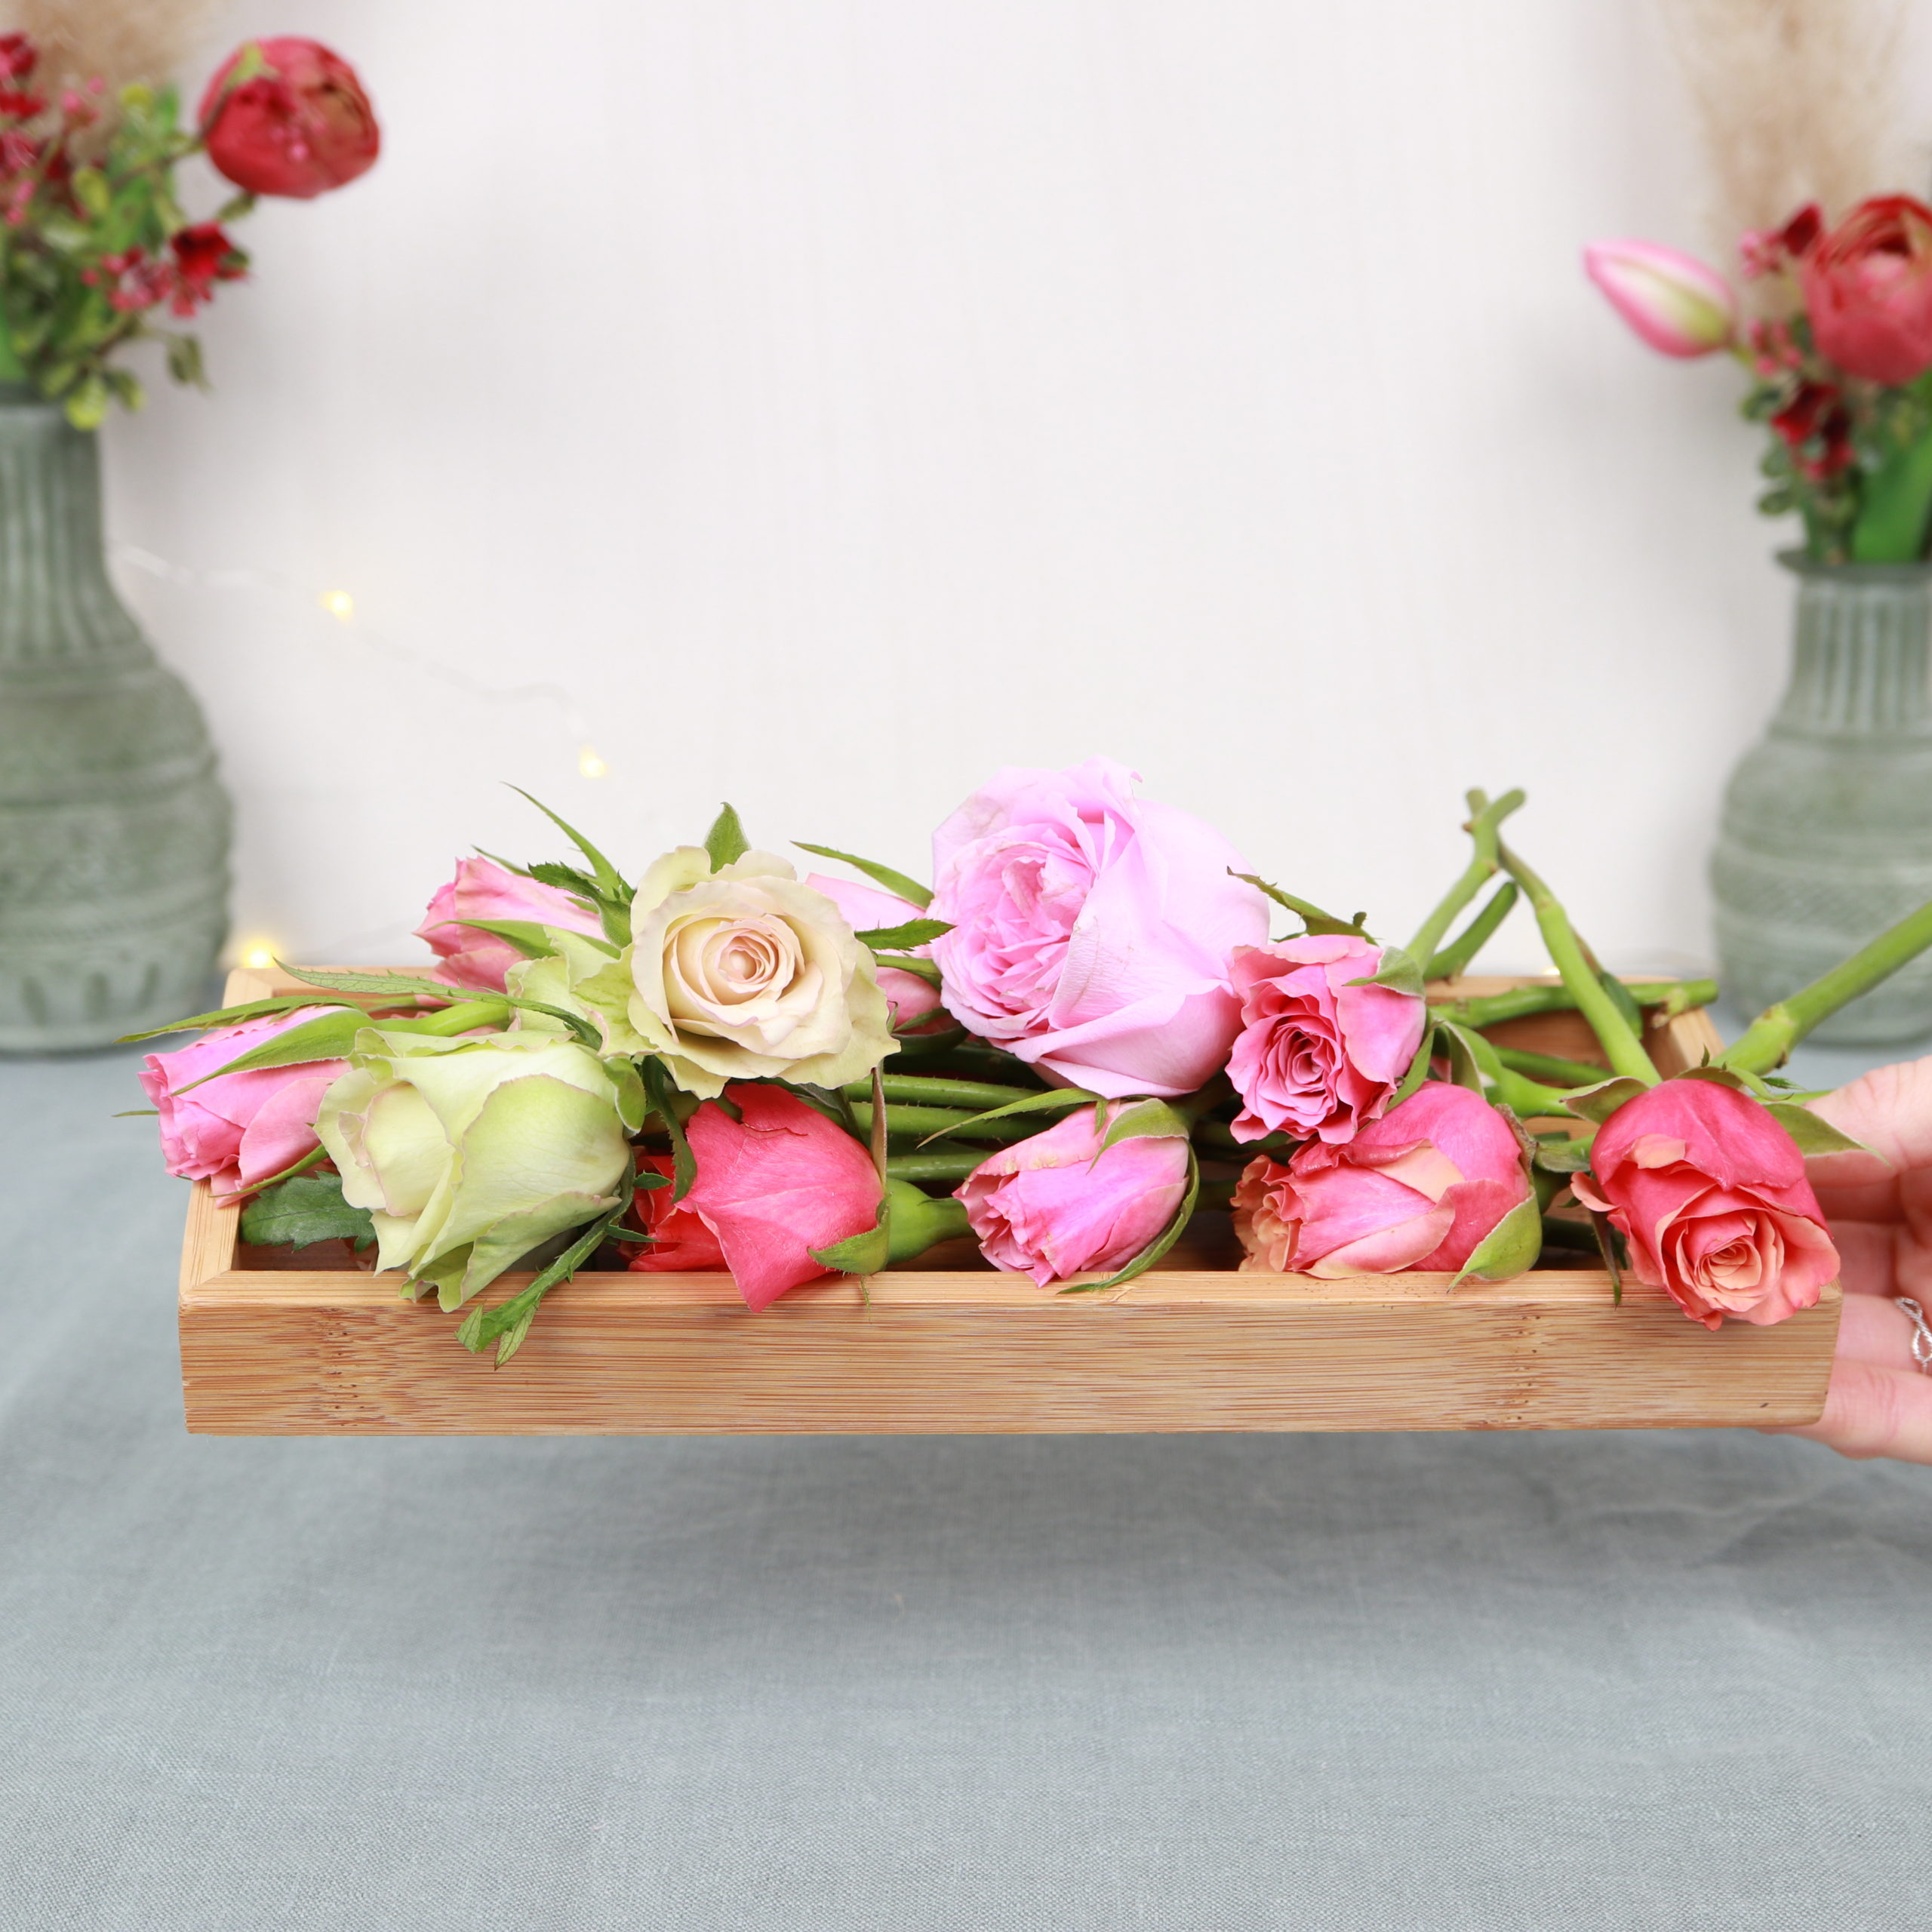
I cut the stems short so that the rose heads are placed directly onto the lid and are only held by the lid. You can of course leave them longer if you want.
Step 4: Insert roses
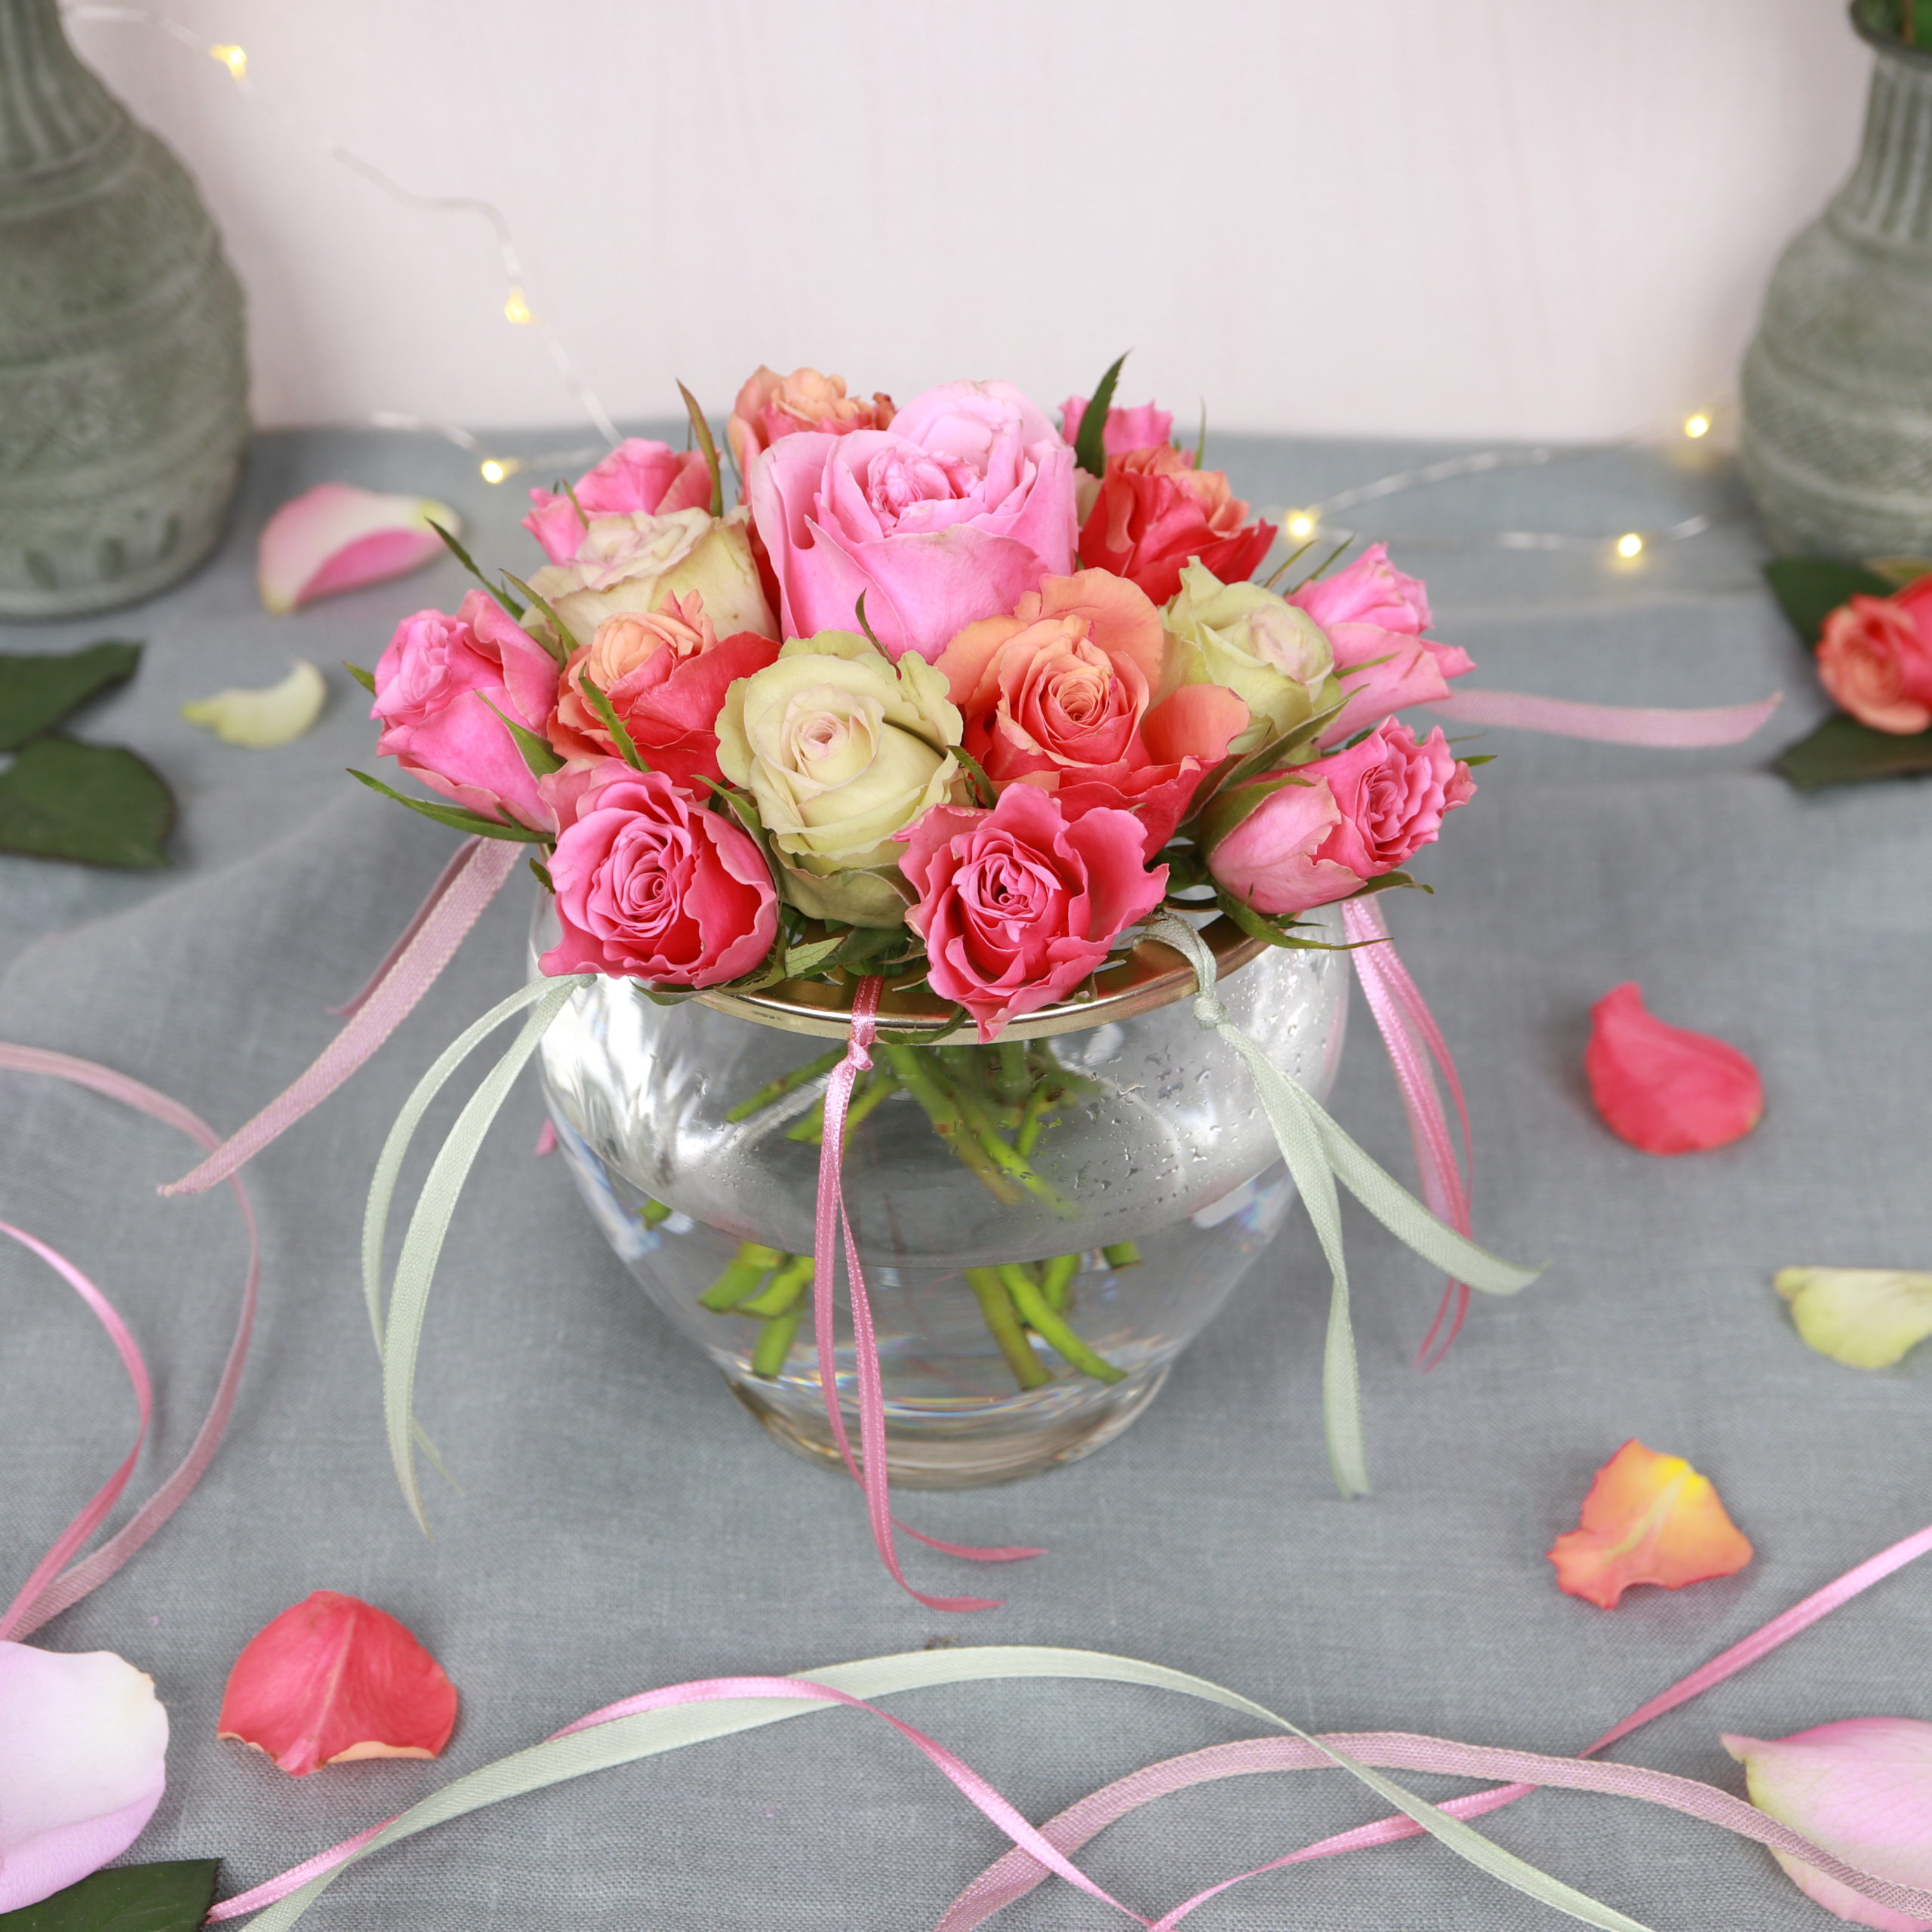
Now, I insert the roses into the flower arranger lid.

I start on the very outside of the lid and insert roses between the ribbons.

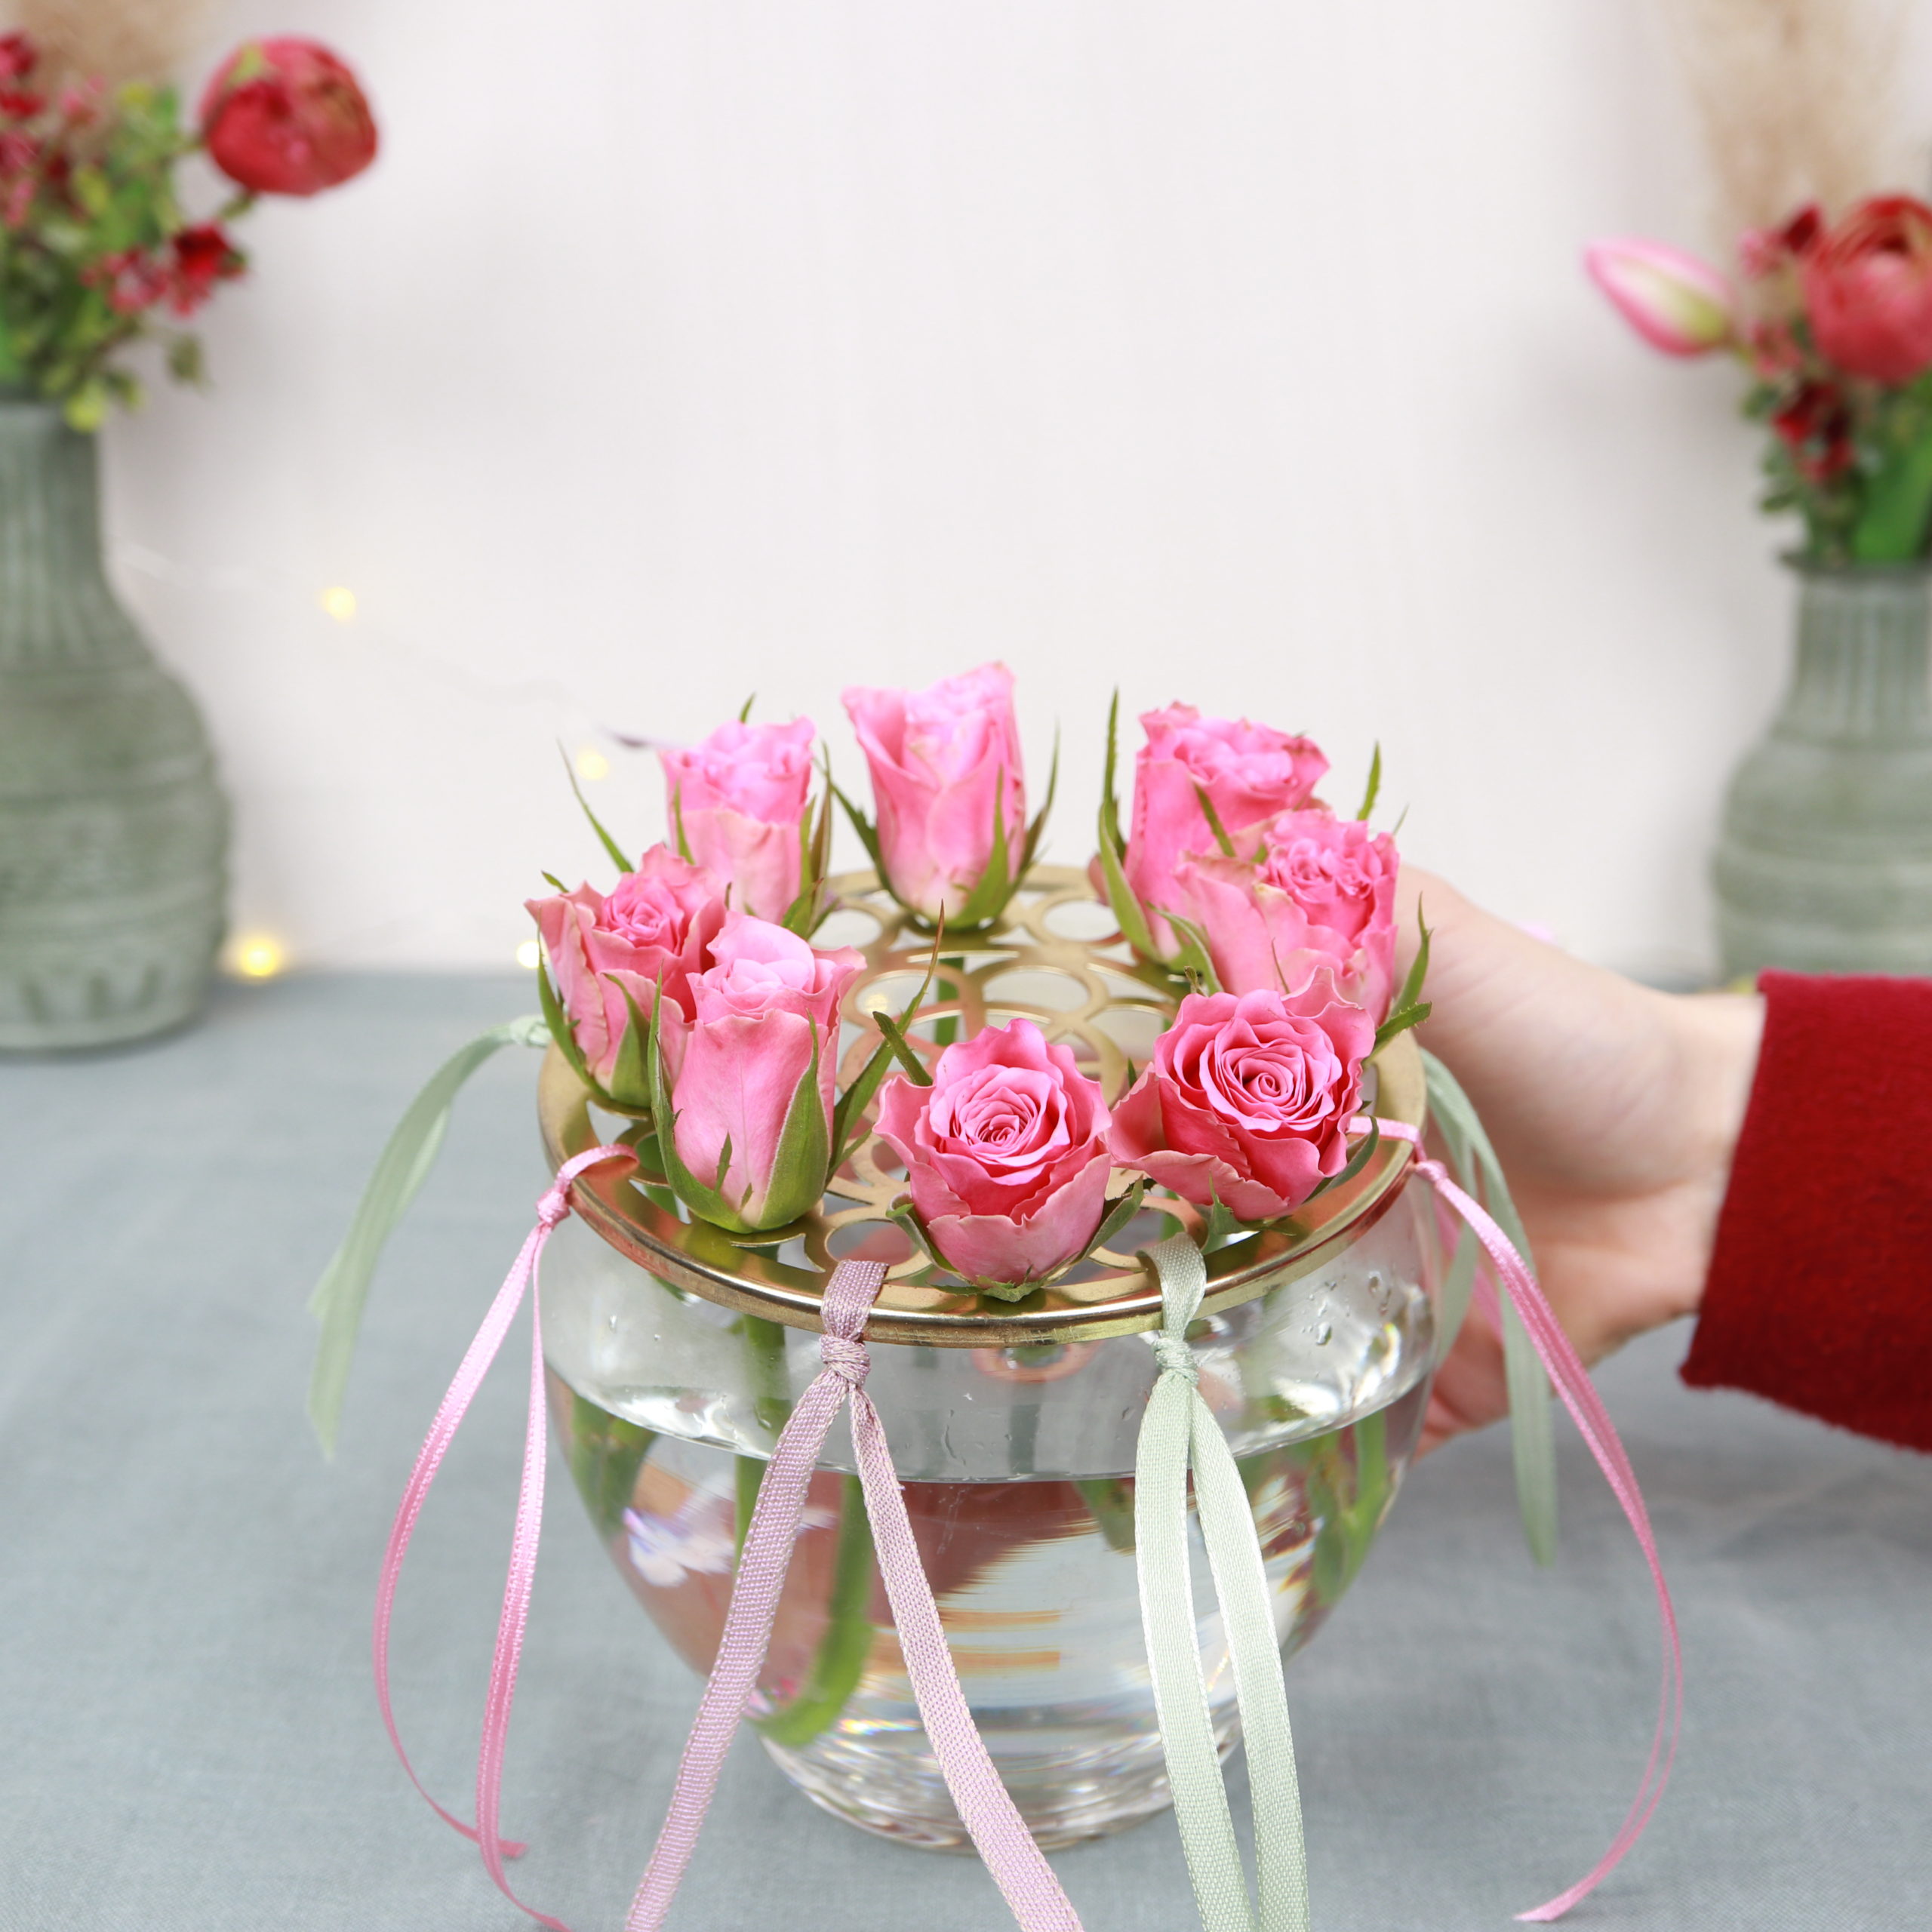
Now, I continue with more roses that I place more in the middle of the lid.
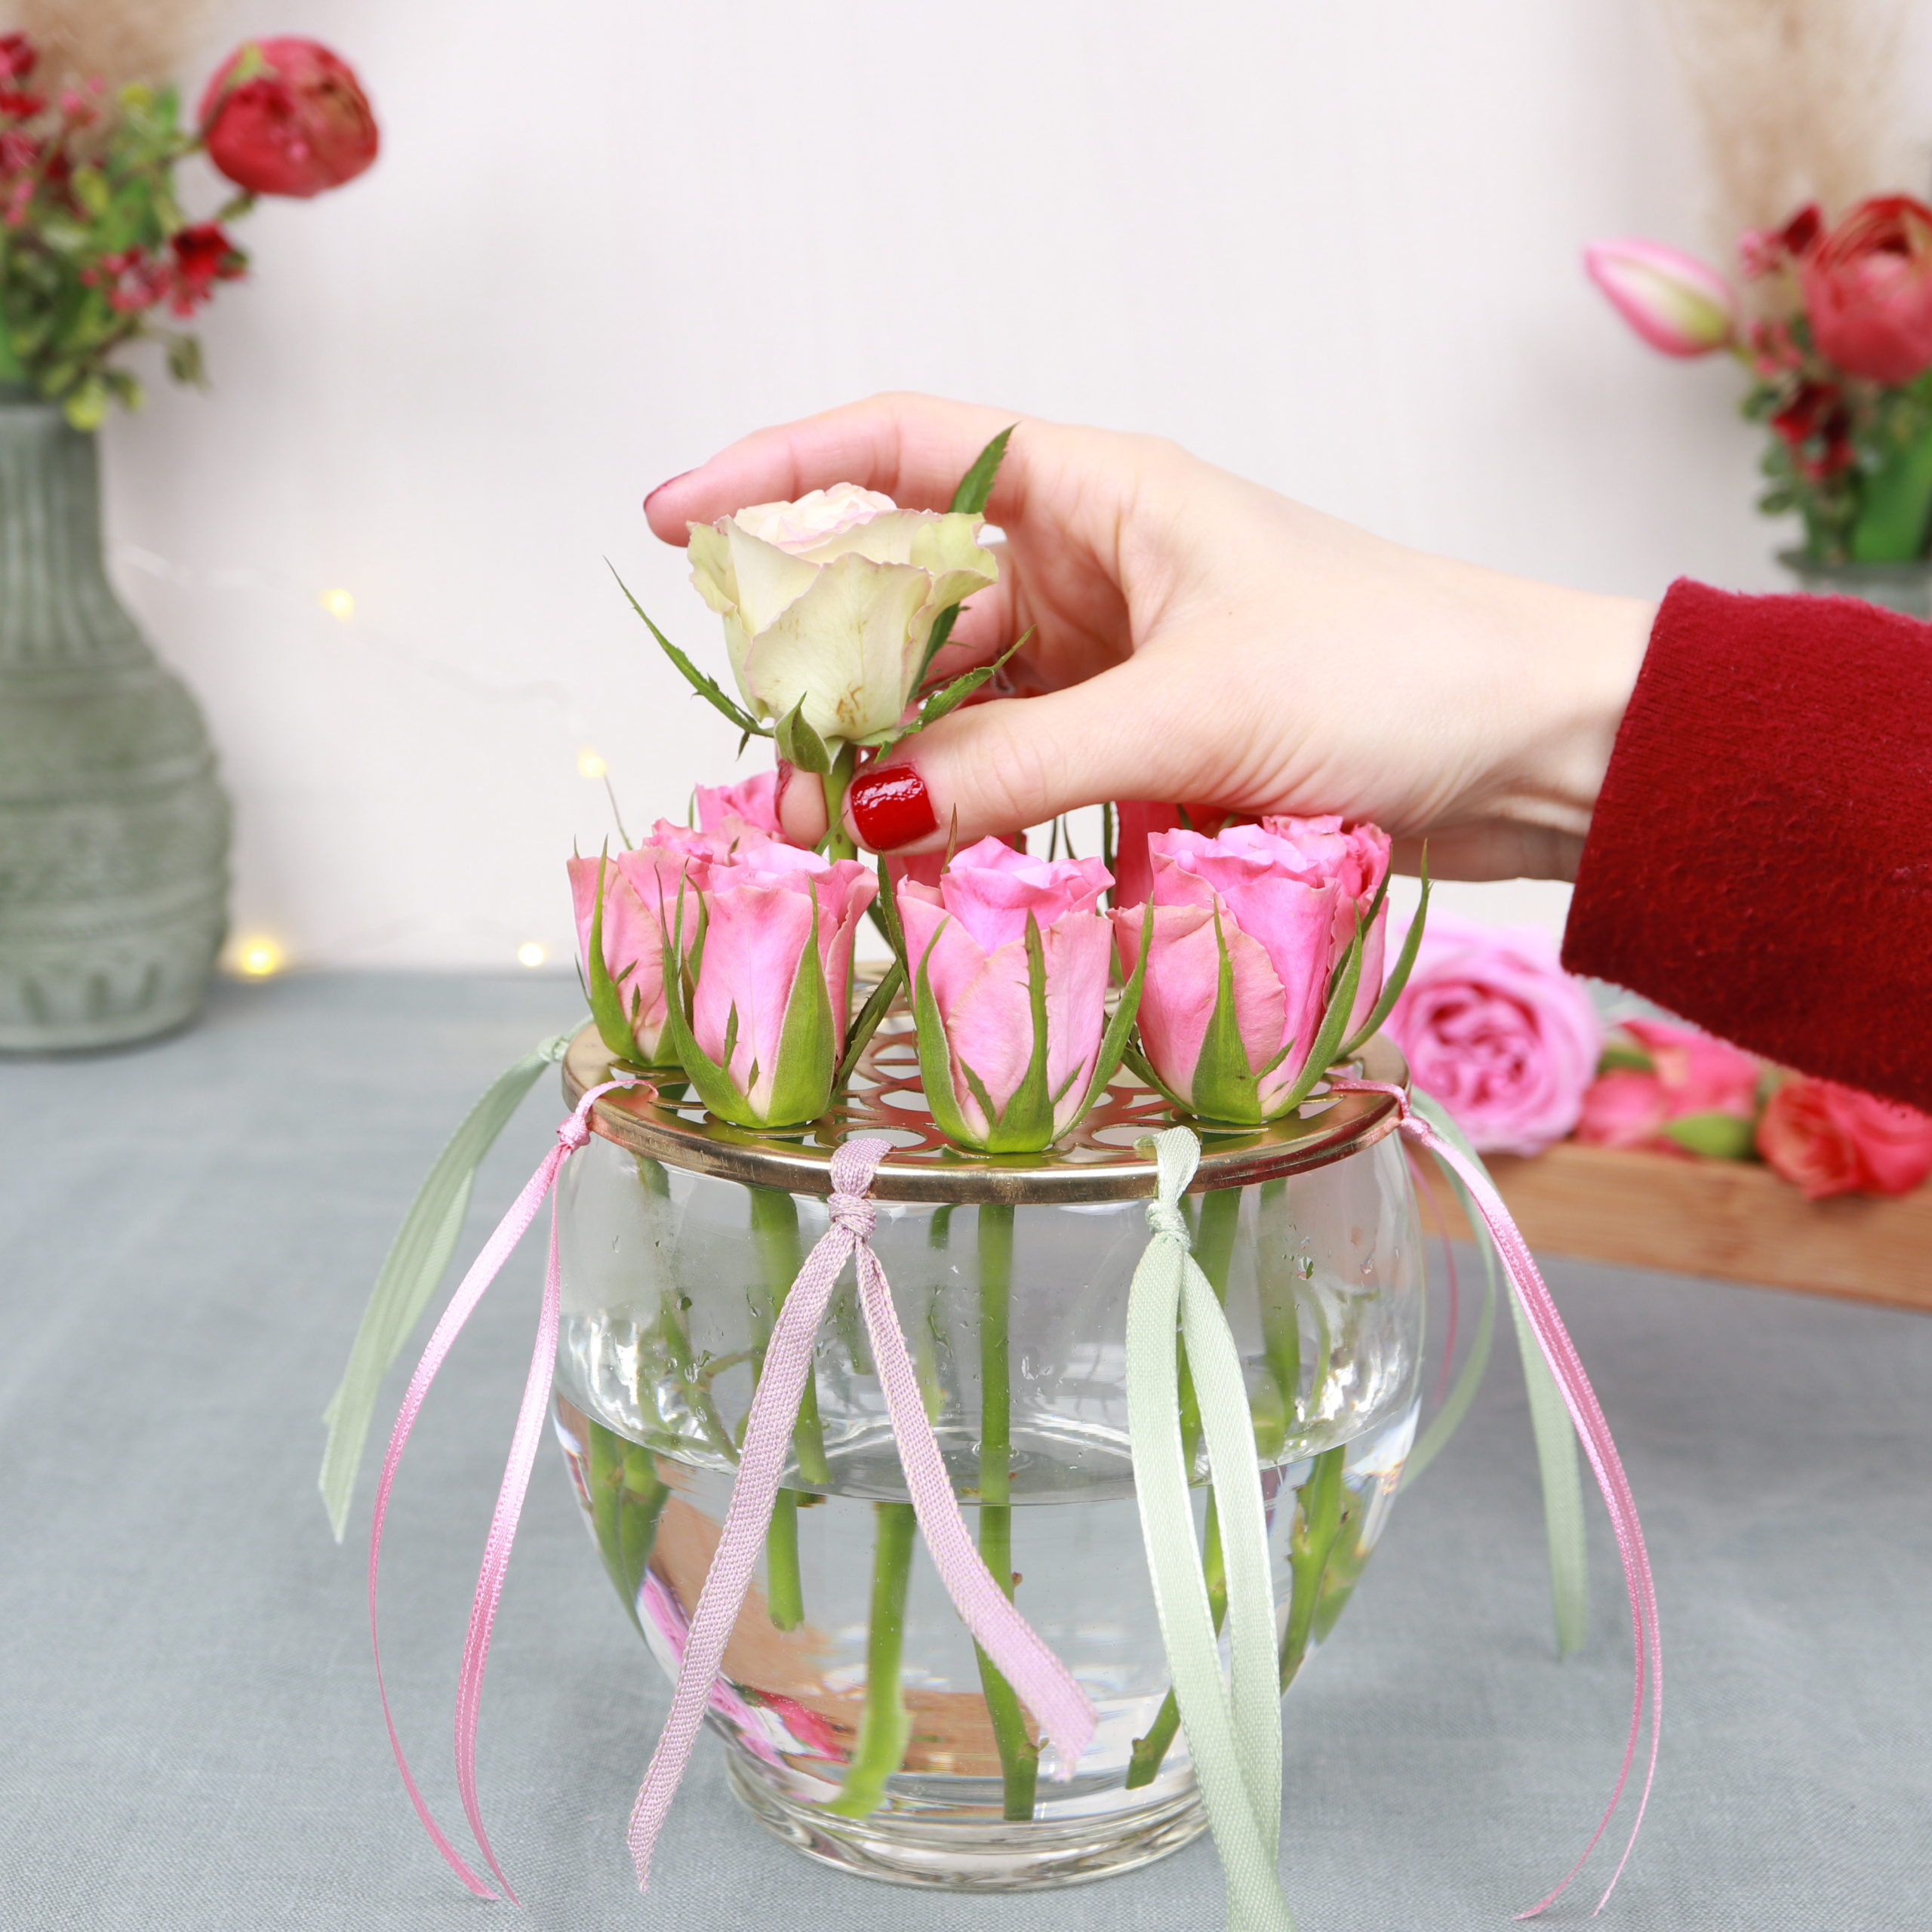
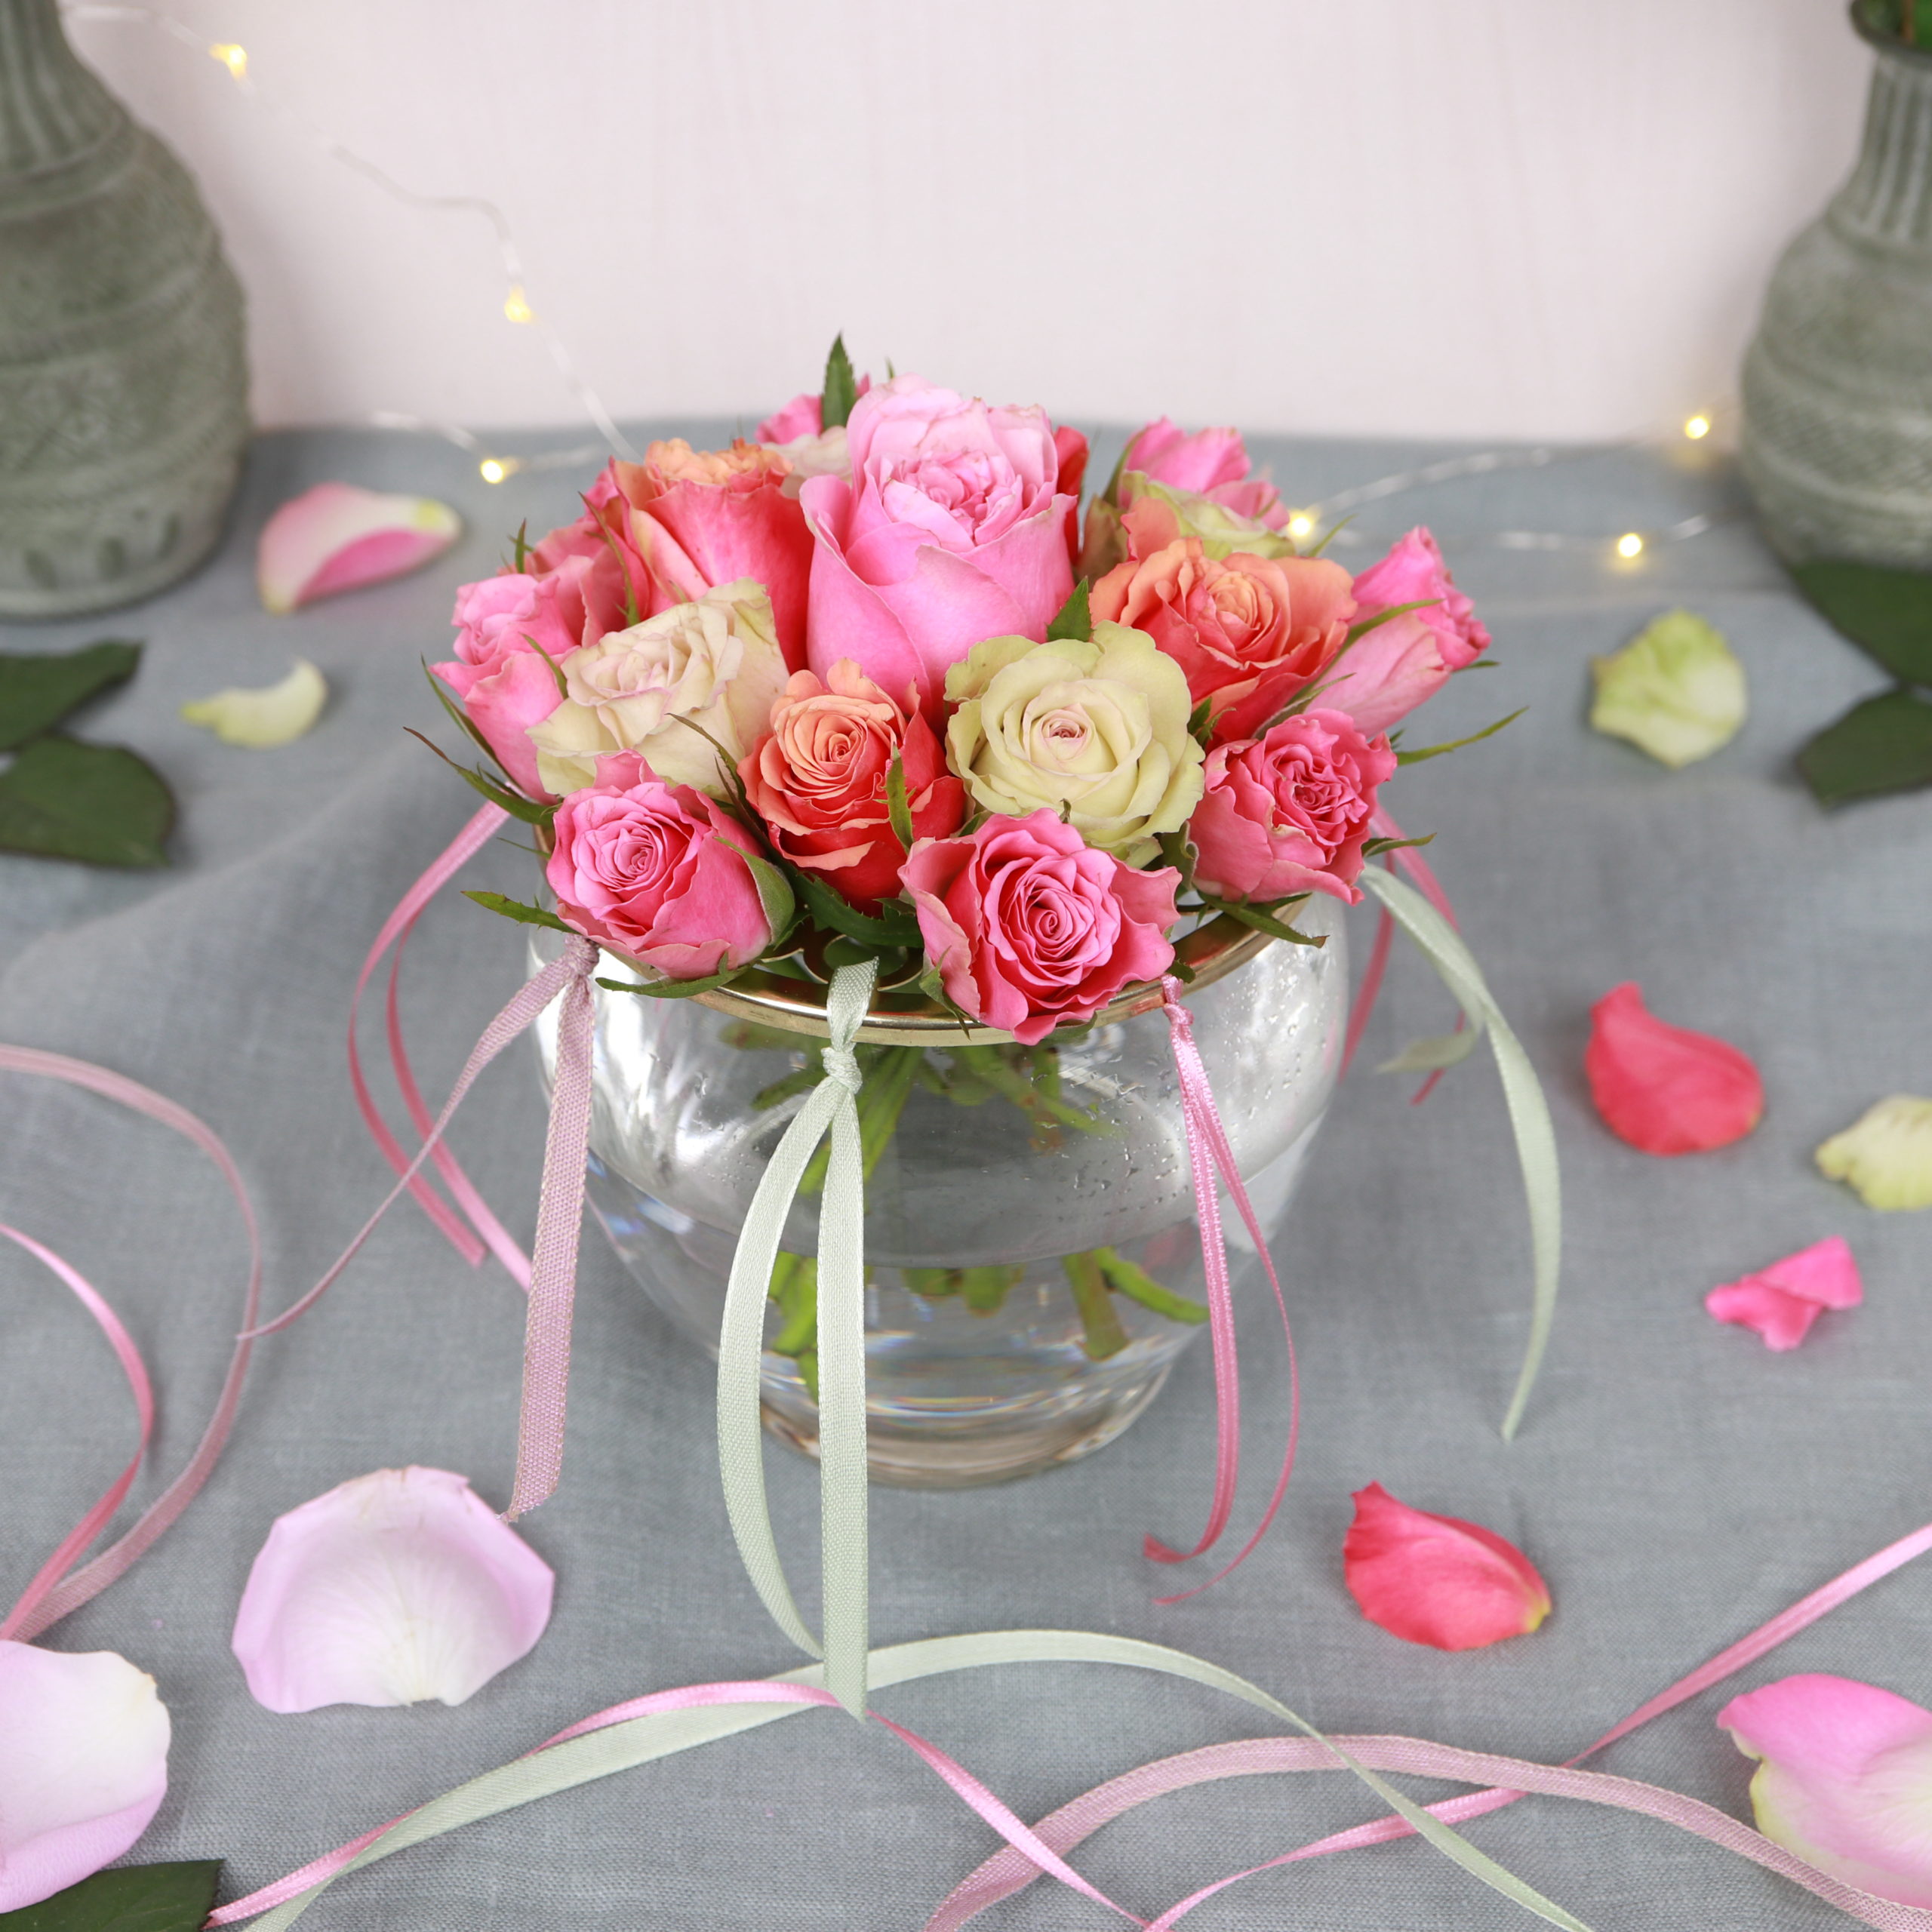
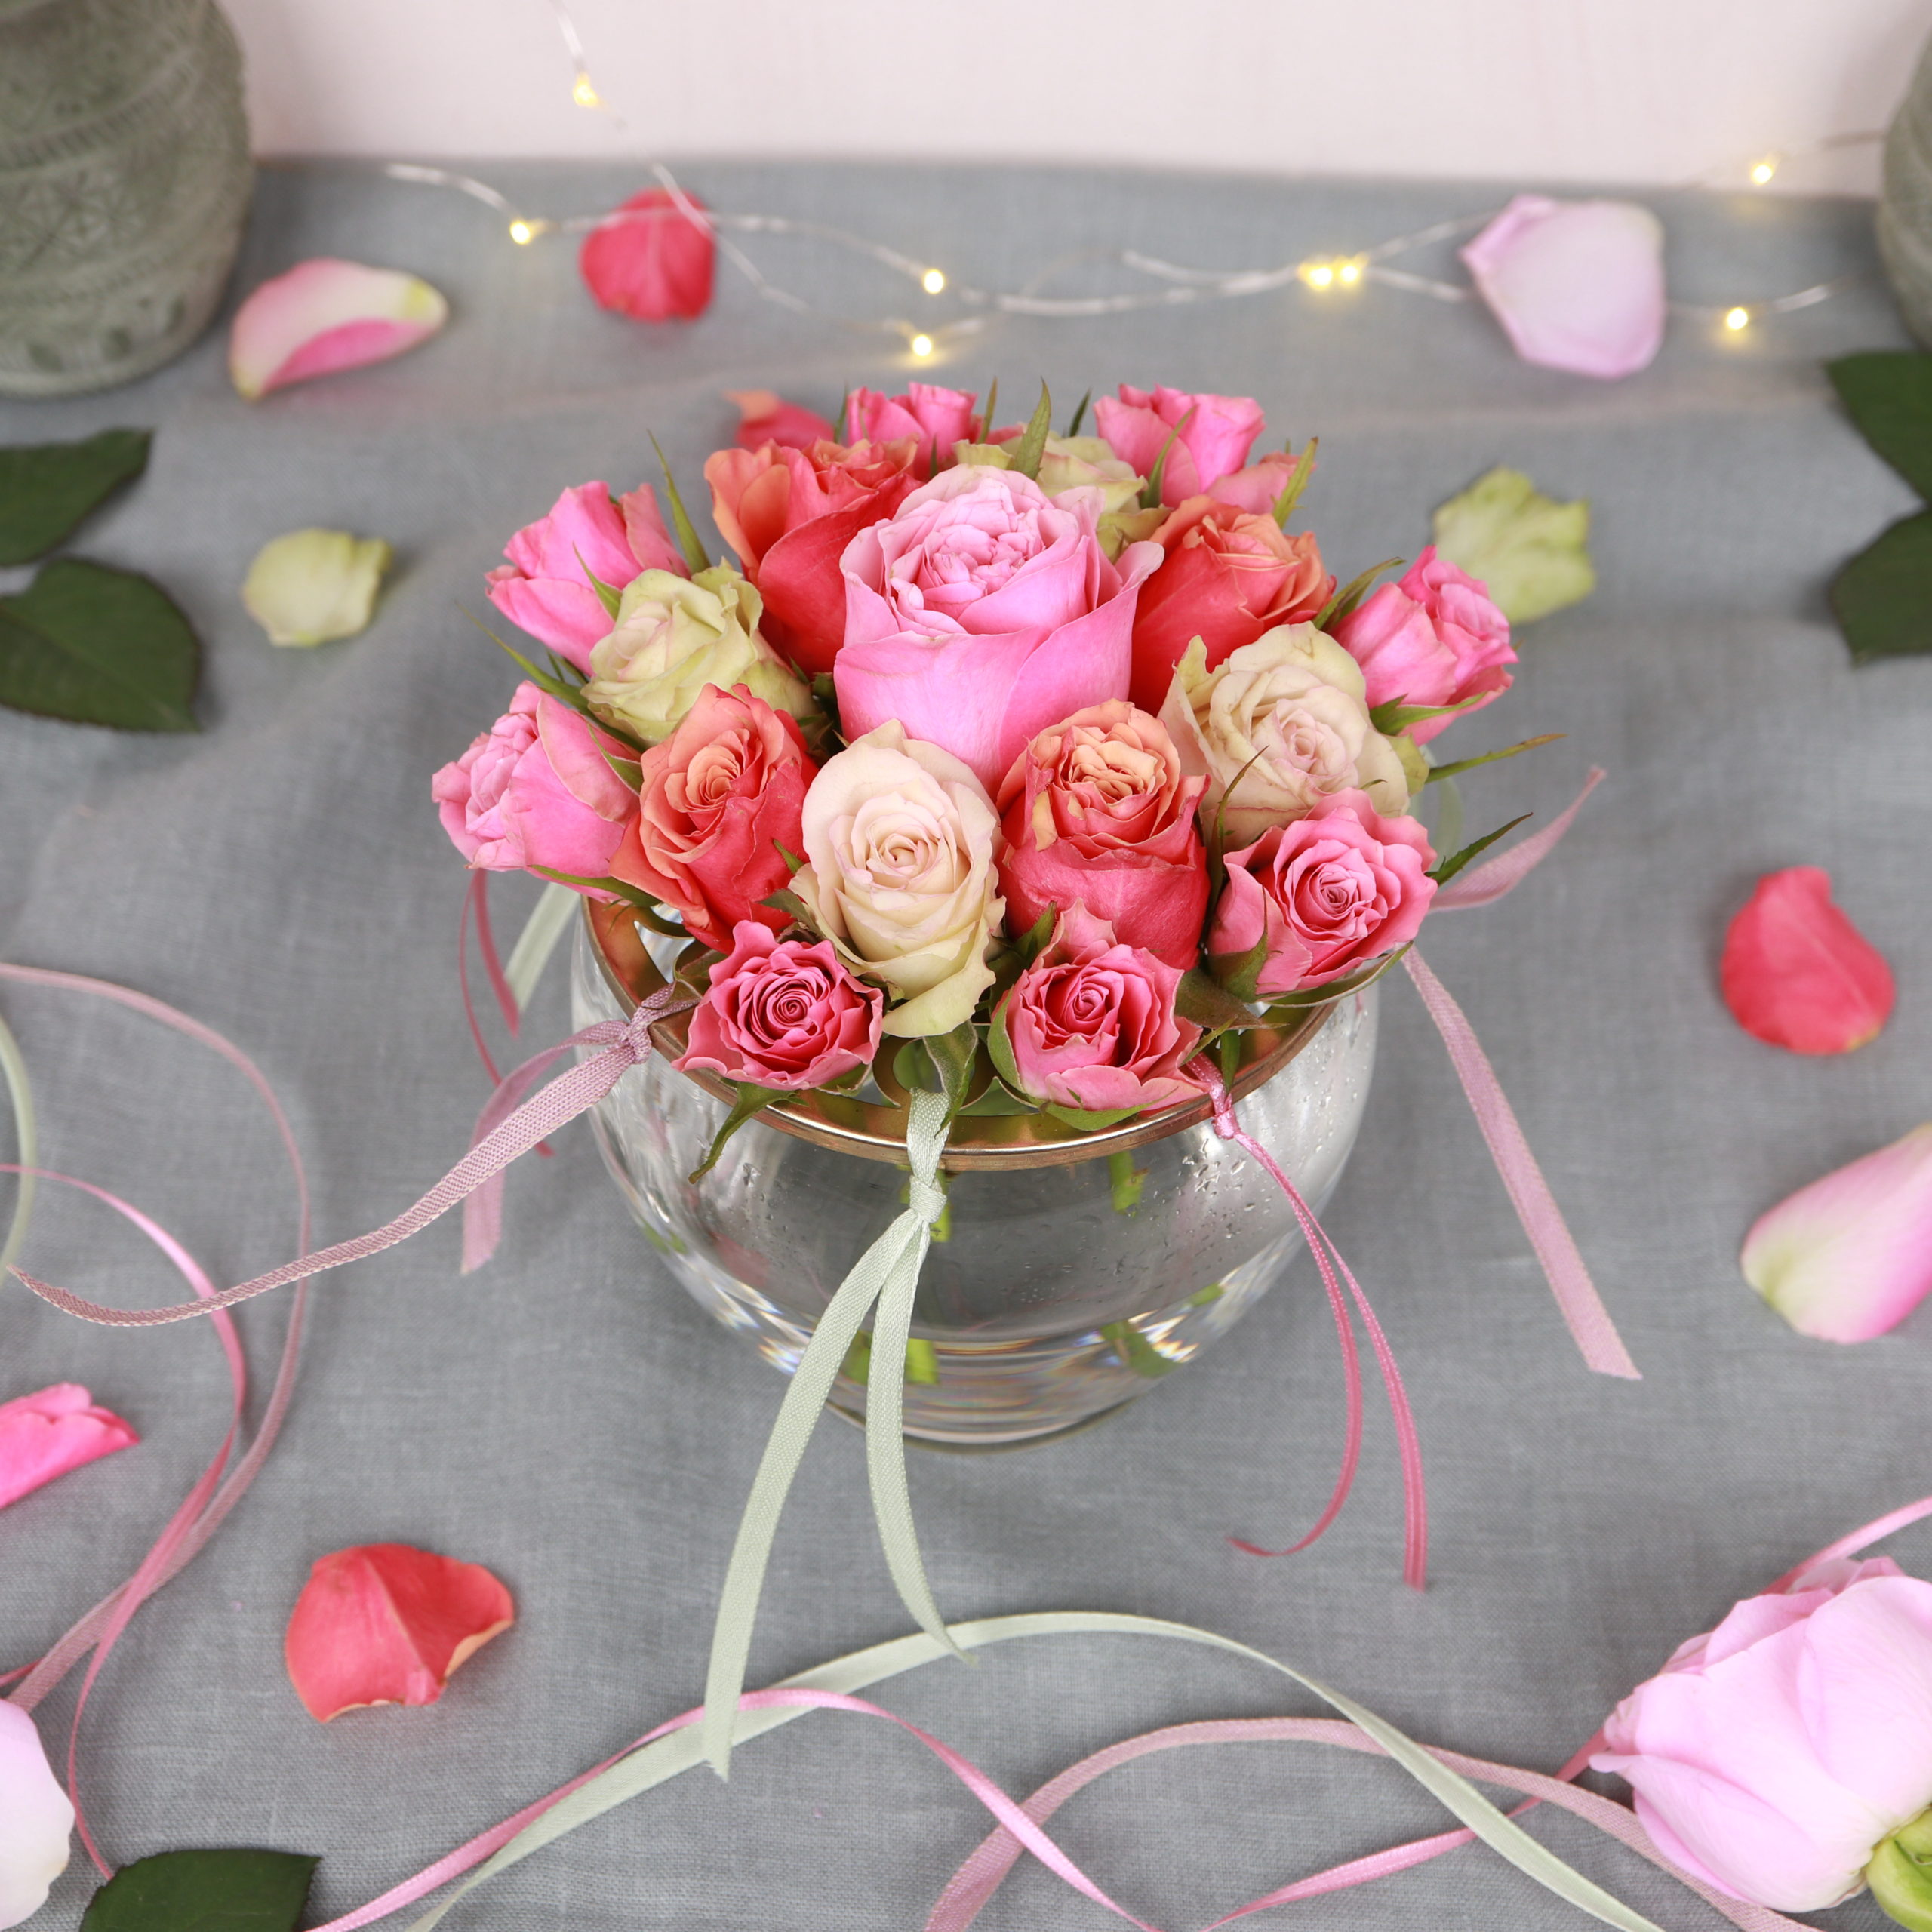
Finally, a large rose is inserted at the center.

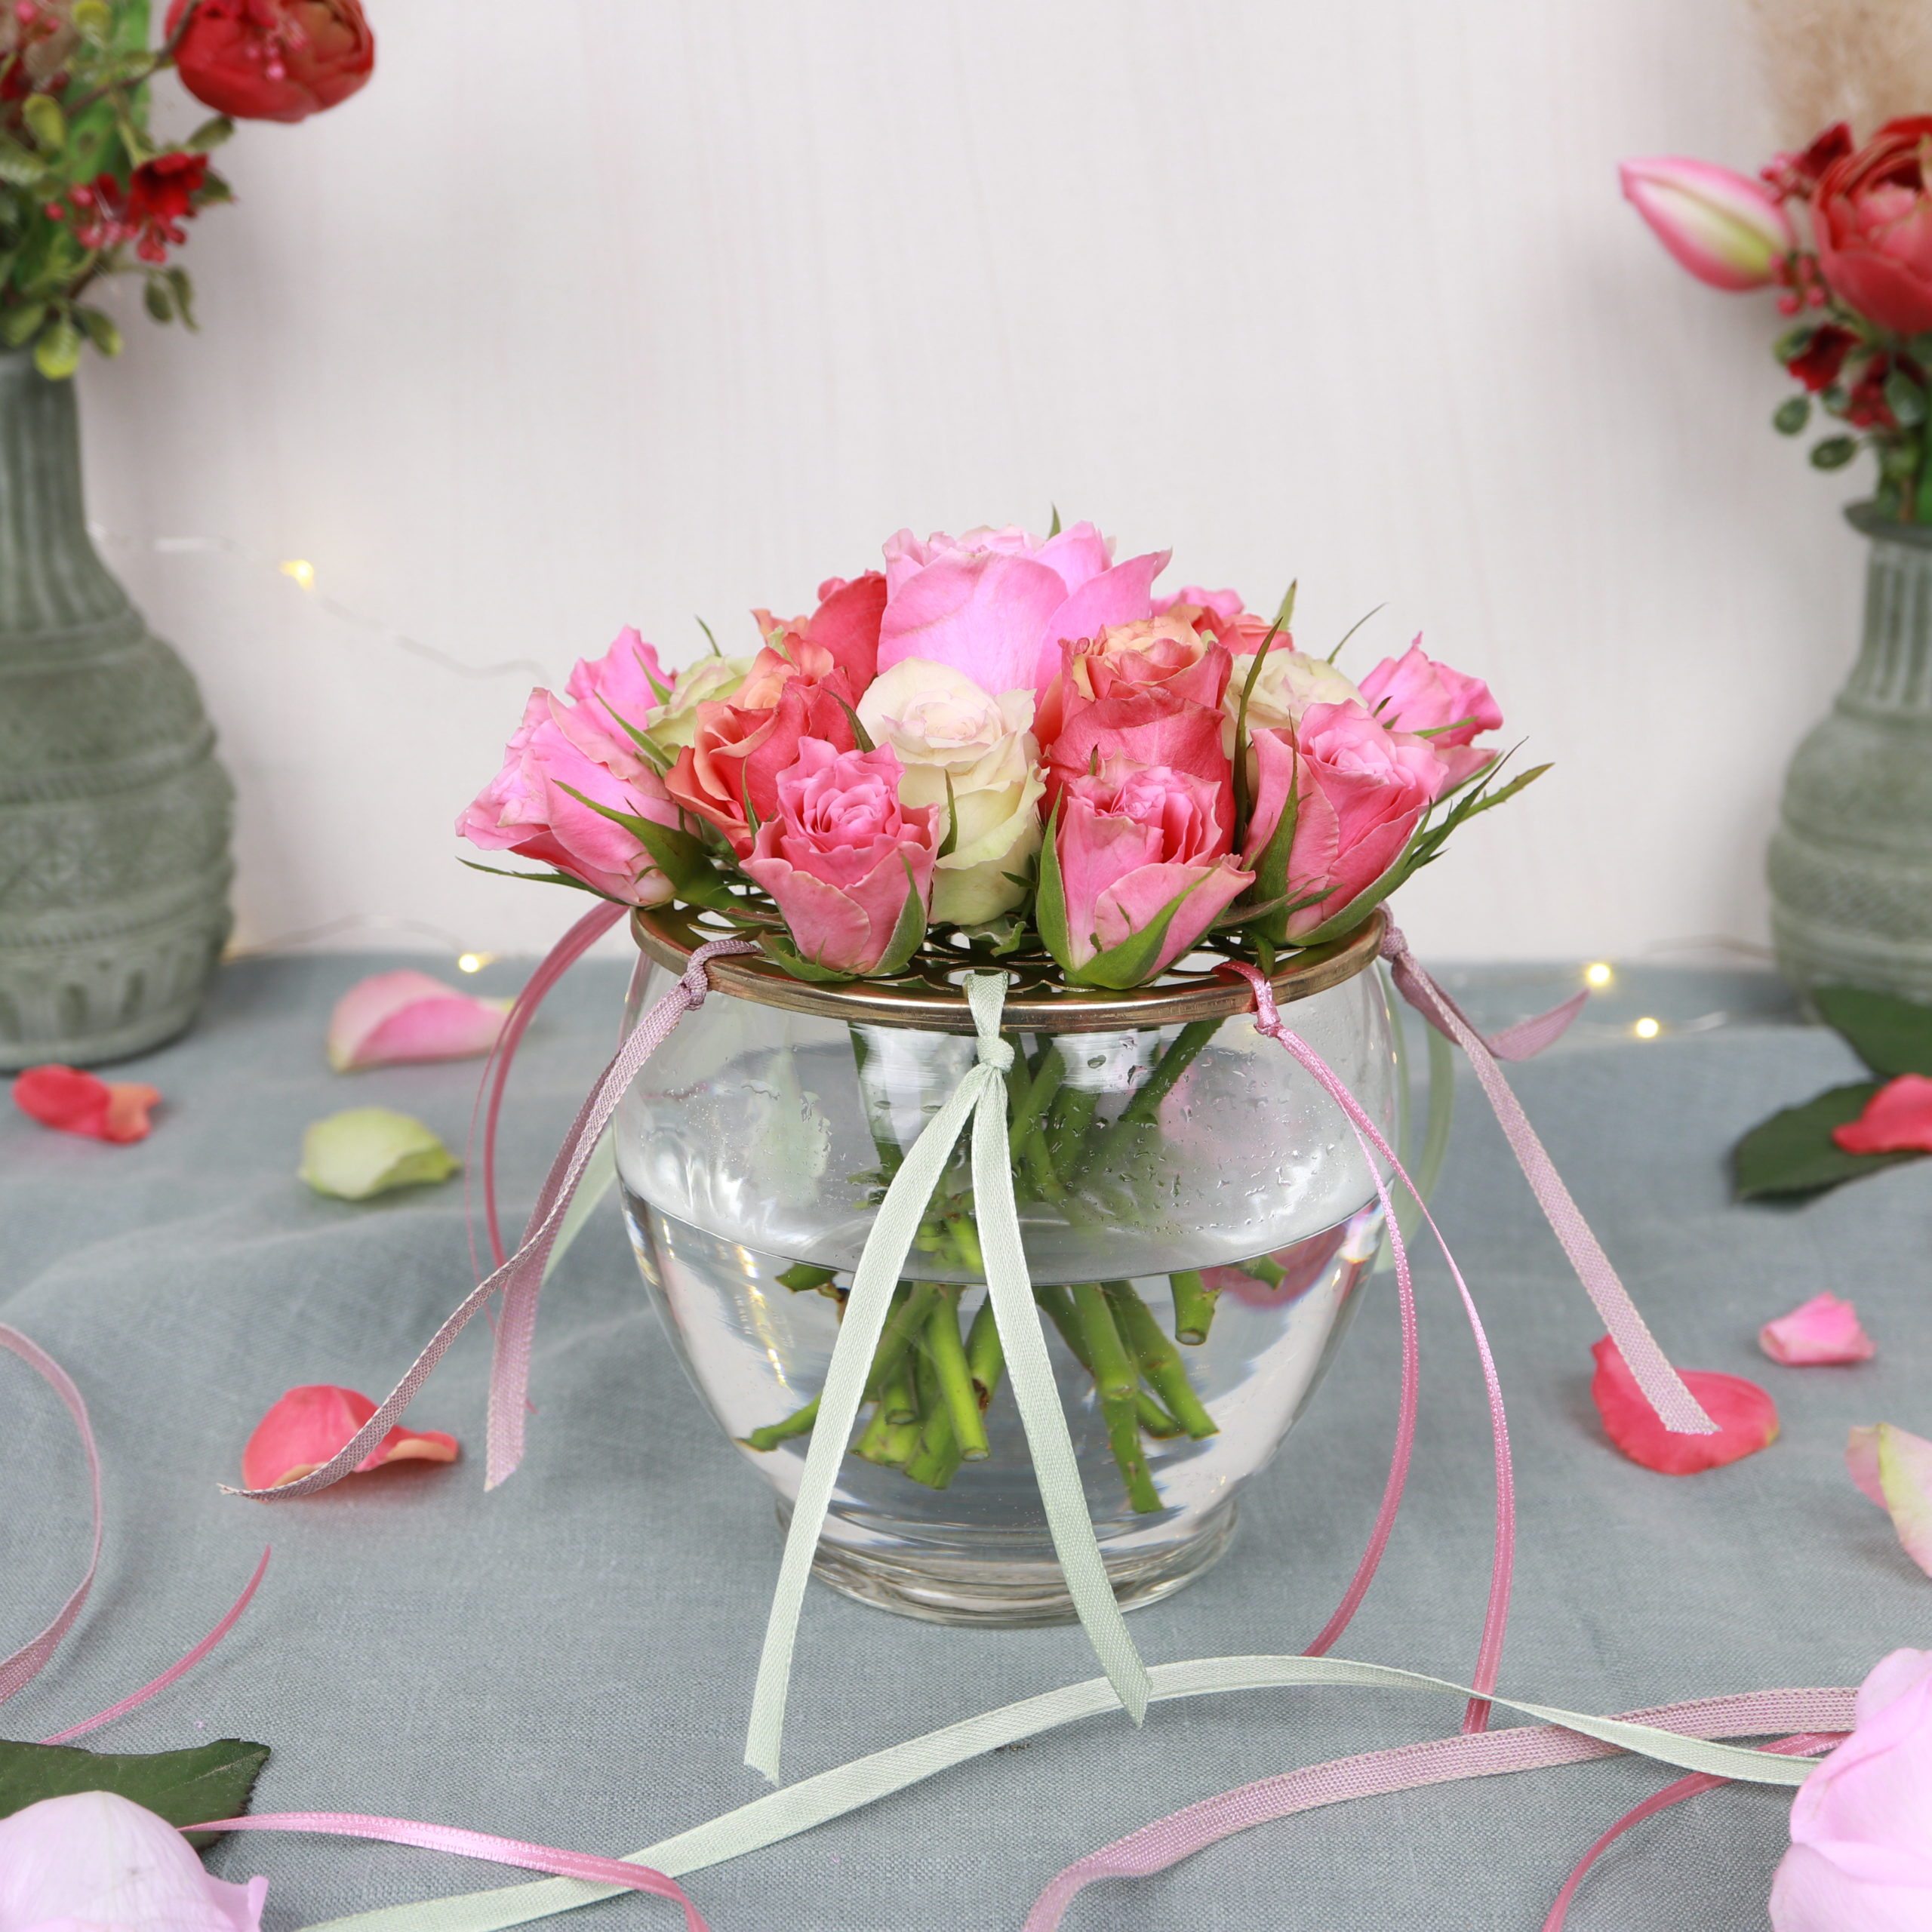
And the rose arrangement with ribbons is ready! I hope you had as much fun with this DIY as I did and that you enjoy looking at the floral decorations!
If you are looking for more DIY ideas with roses, please have a look here: