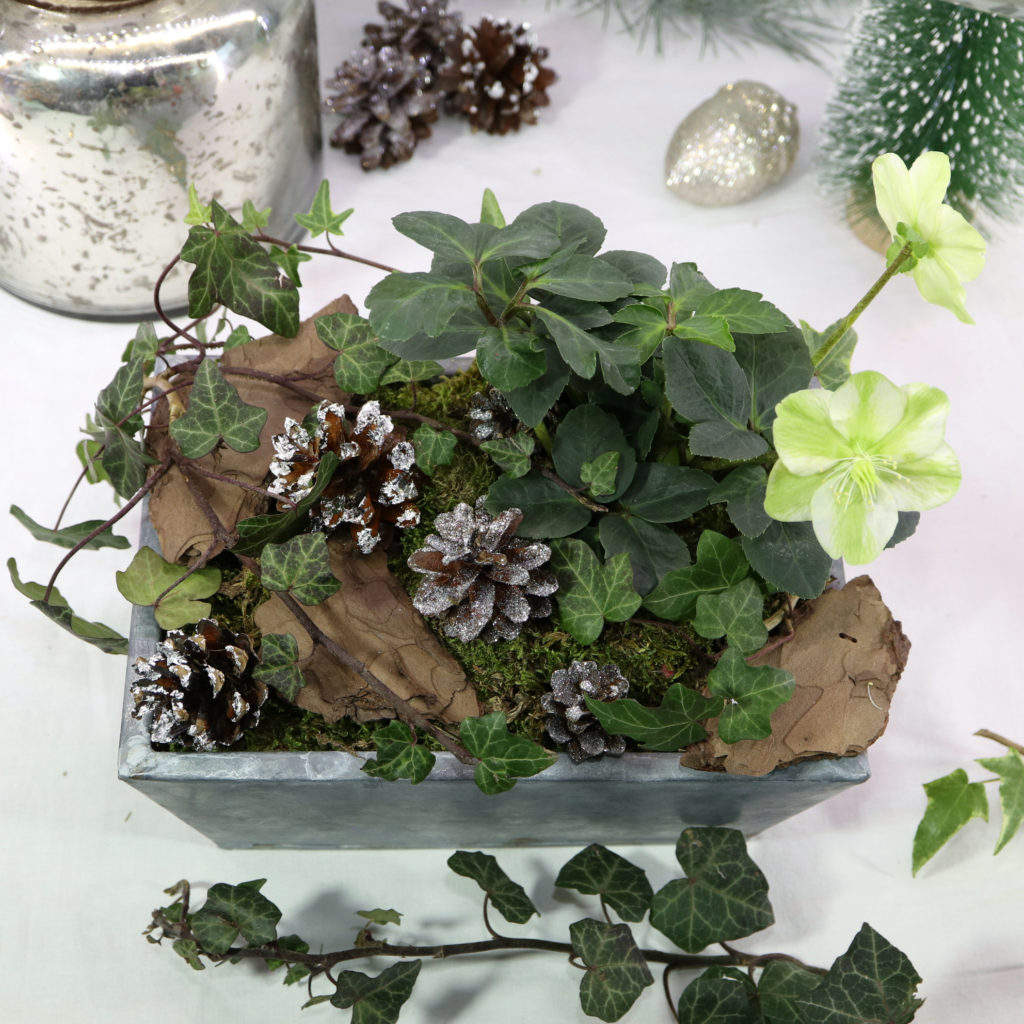
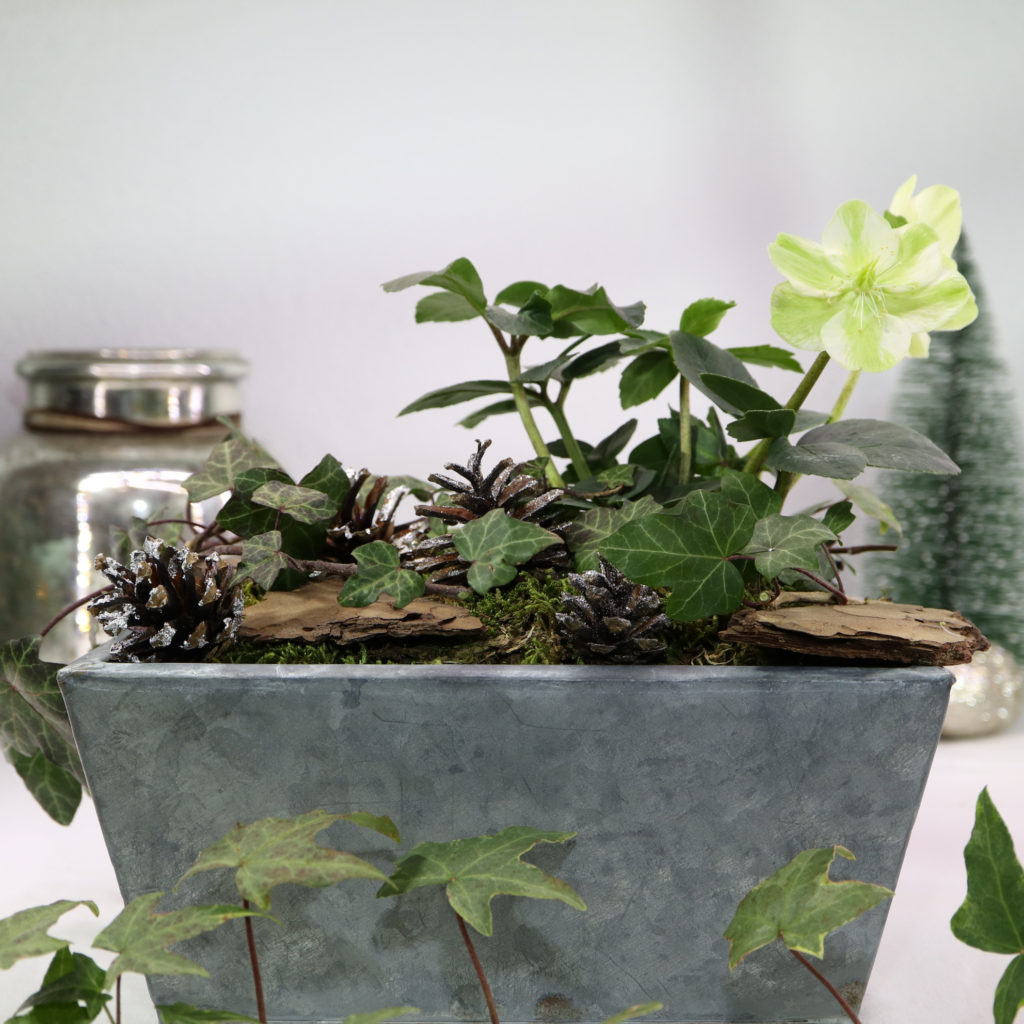
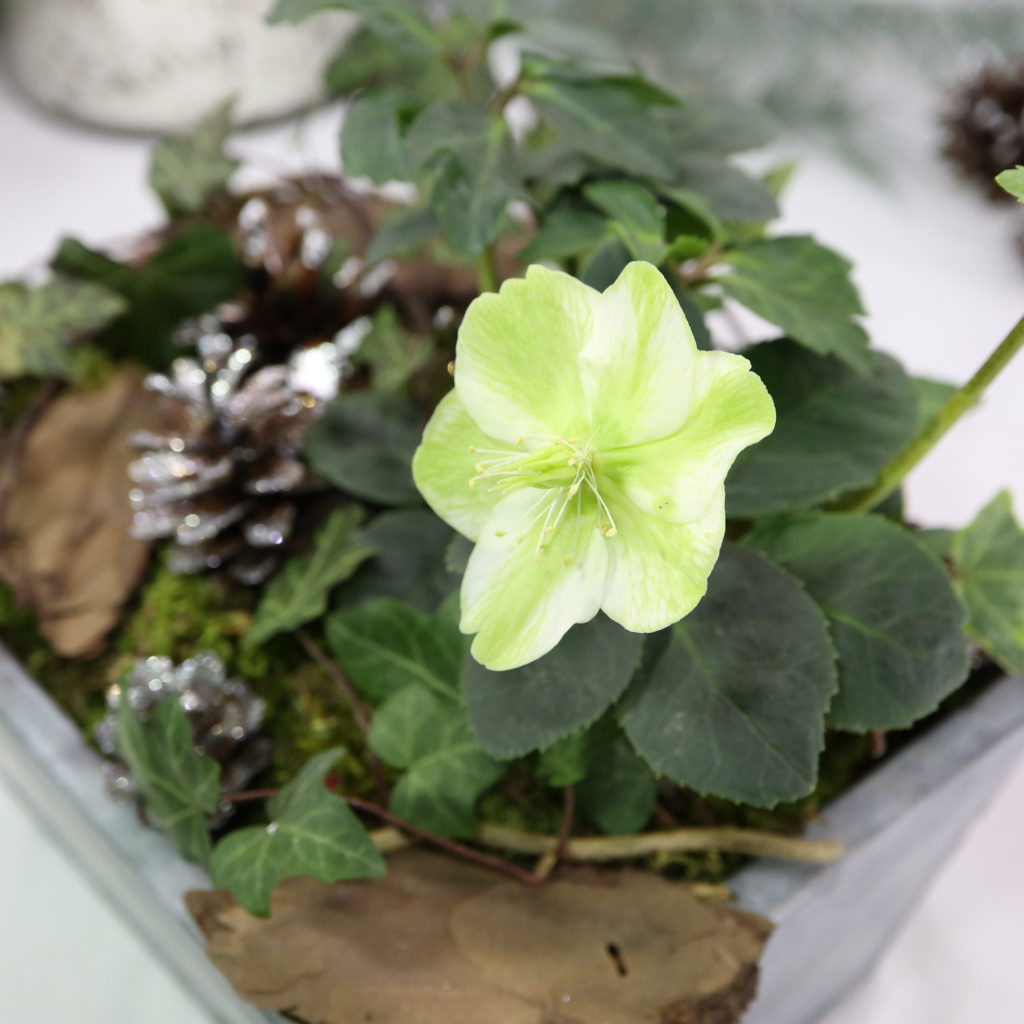
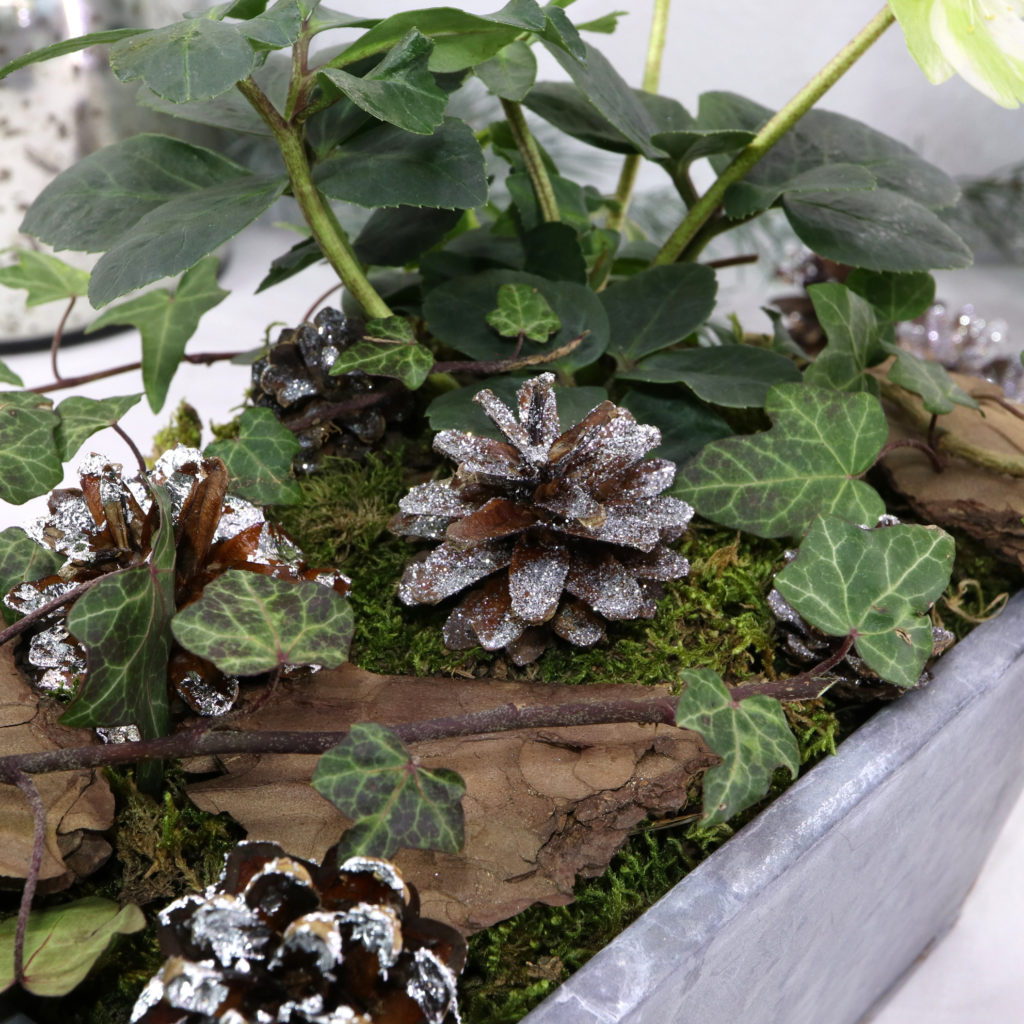
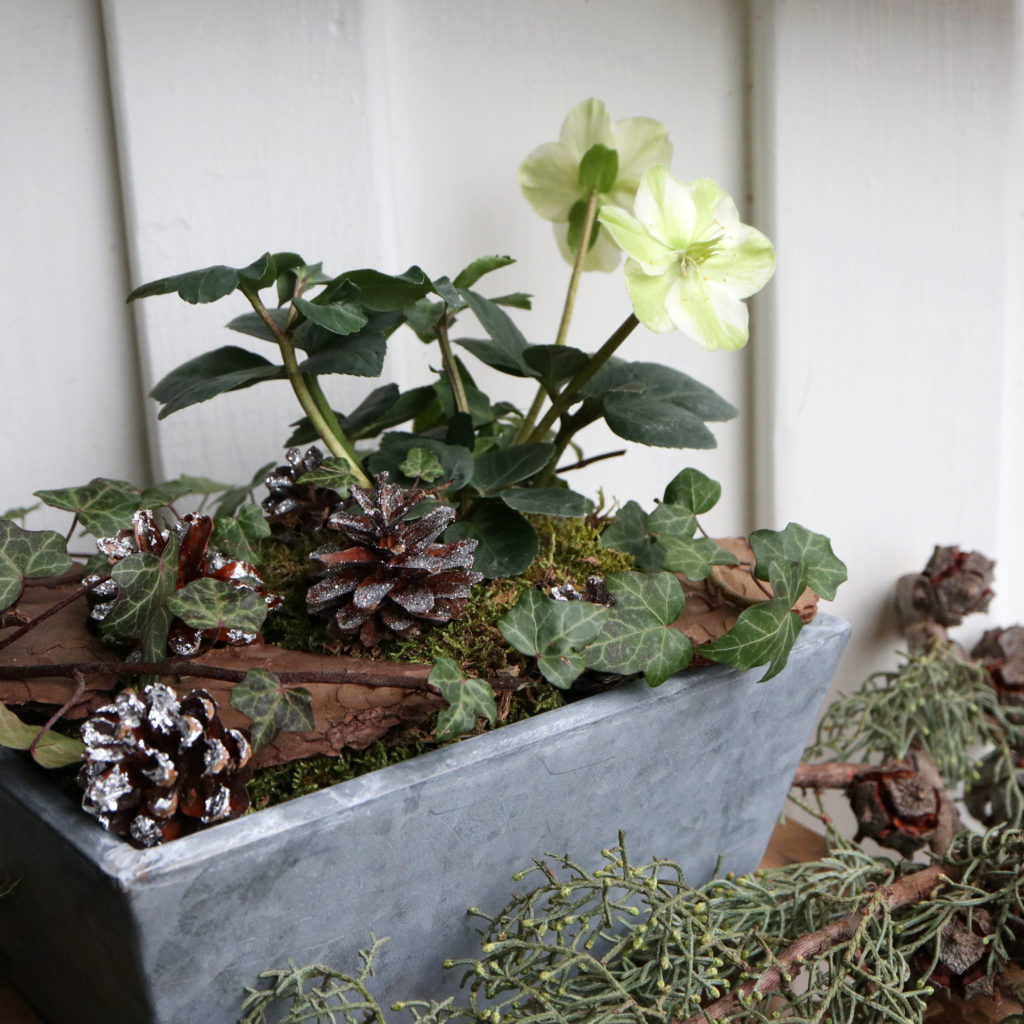
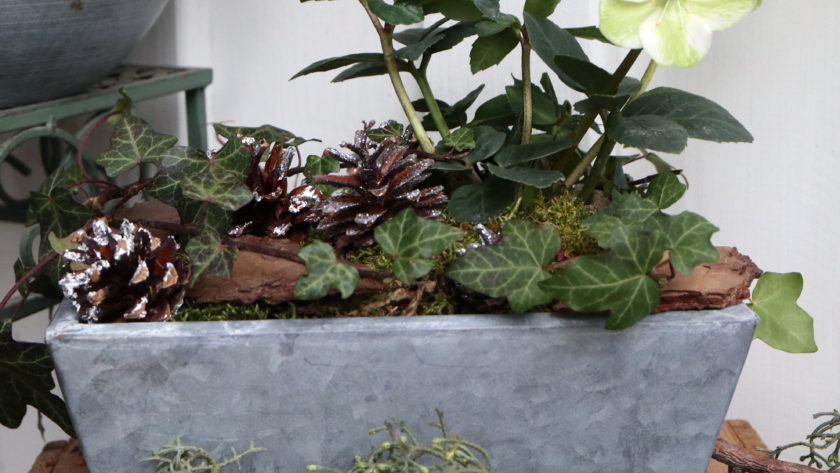
In this DIY guide, I show you how to make a Christmas rose arrangement with moss, bark, and silver pine cones.
Tools
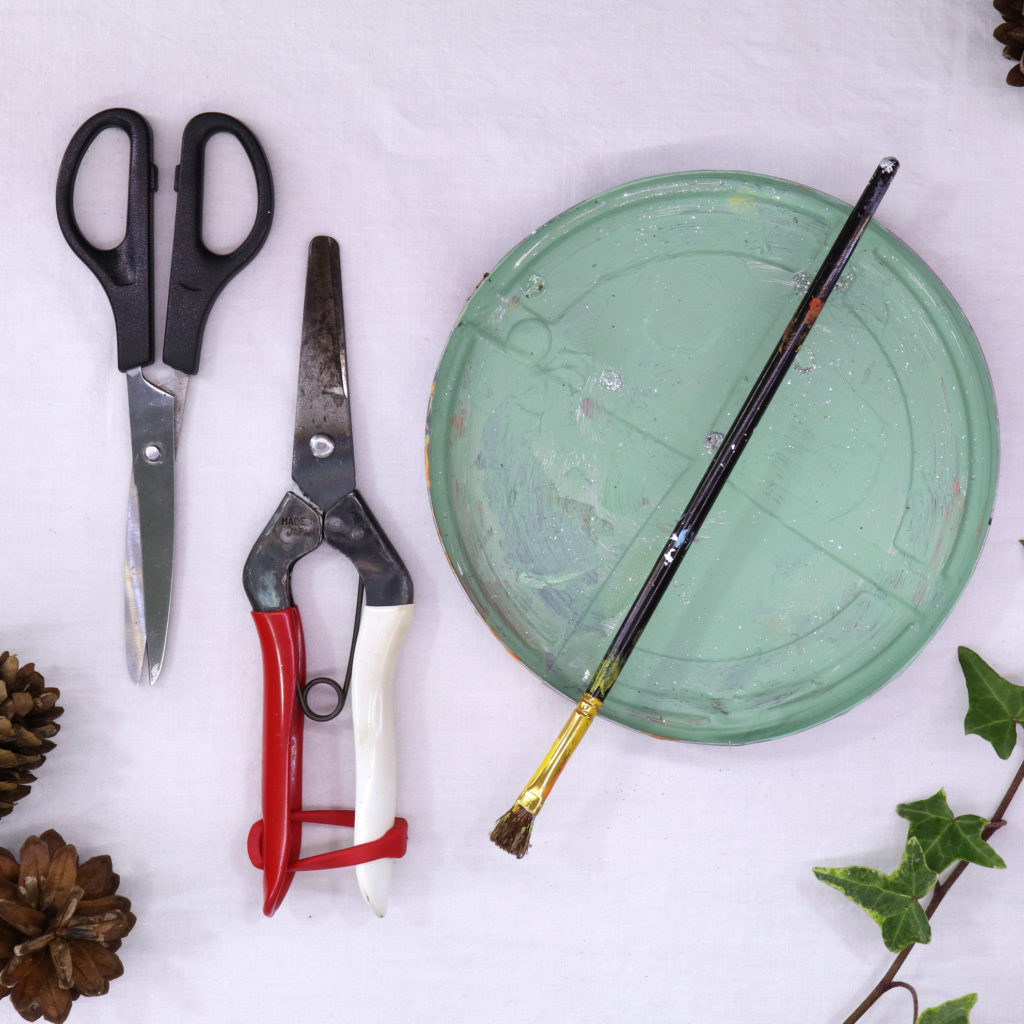
Here, you see which tools I used to make the Christmas rose arrangement:
| Tool | Search on… |
|---|---|
| Harvester shears | |
| I use the Japanese harvester shears Okatsune 304 | |
| Paintbrush | |
| Household scissors | |
| Container/Box/etc. |
Materials
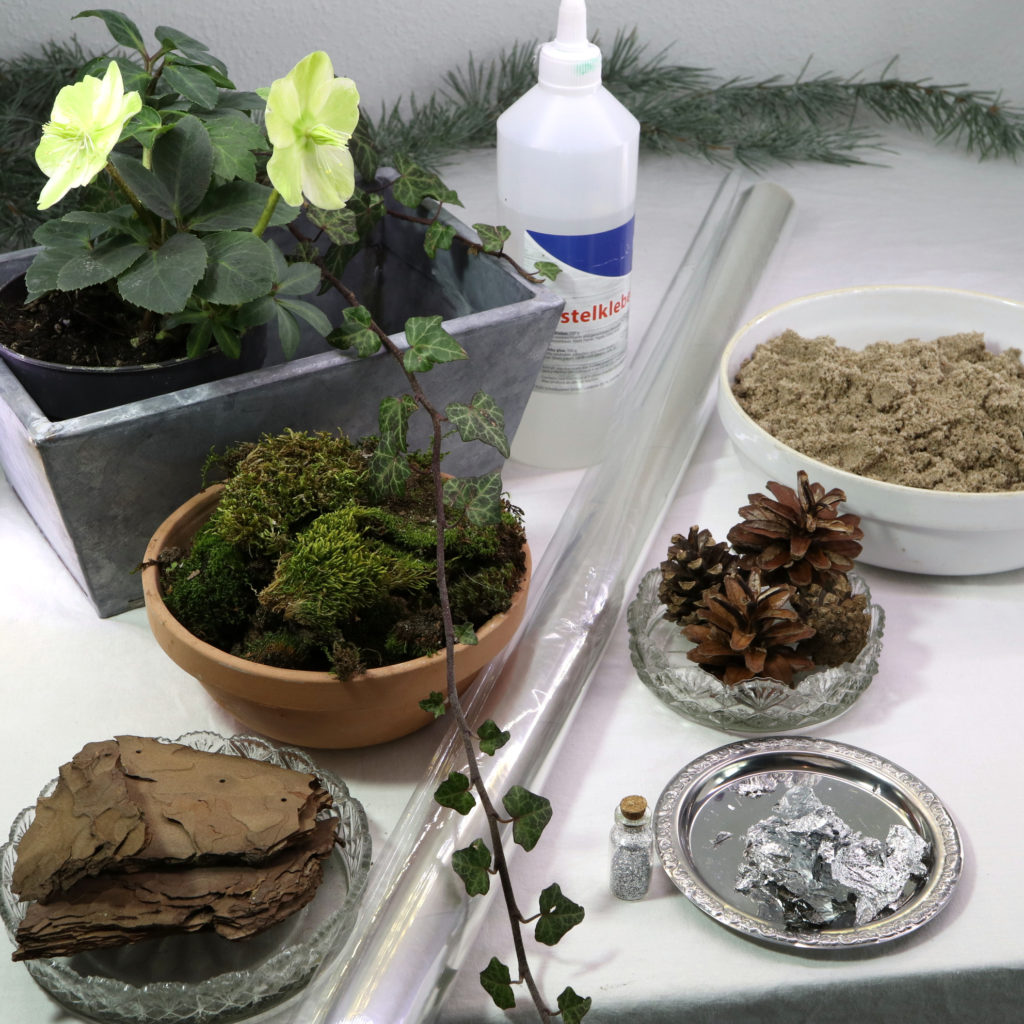
These are the materials that I used:
| Material | Suche auf |
|---|---|
| Christmas Rose | |
| Planter (galvanized finish) | |
| Transparent wrap | |
| Sand | |
| Bark | |
| Craft glue | |
| Ivy | |
| Moss | |
| Pine cones | |
| Glitter (silver) | |
| Flakes (metallic) |
Guide
Step 1: Prepare planter
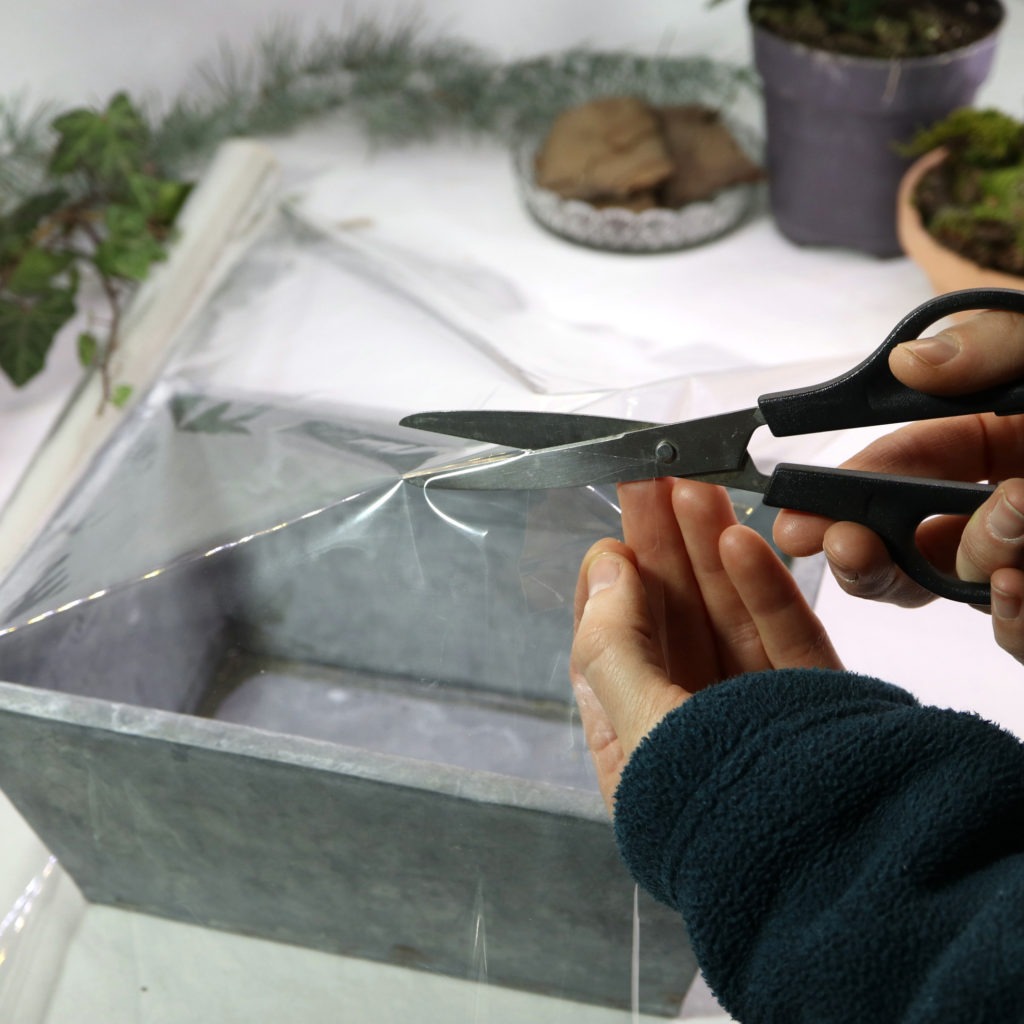
As first step, I put some transparent wrap onto the inner part of the planter.
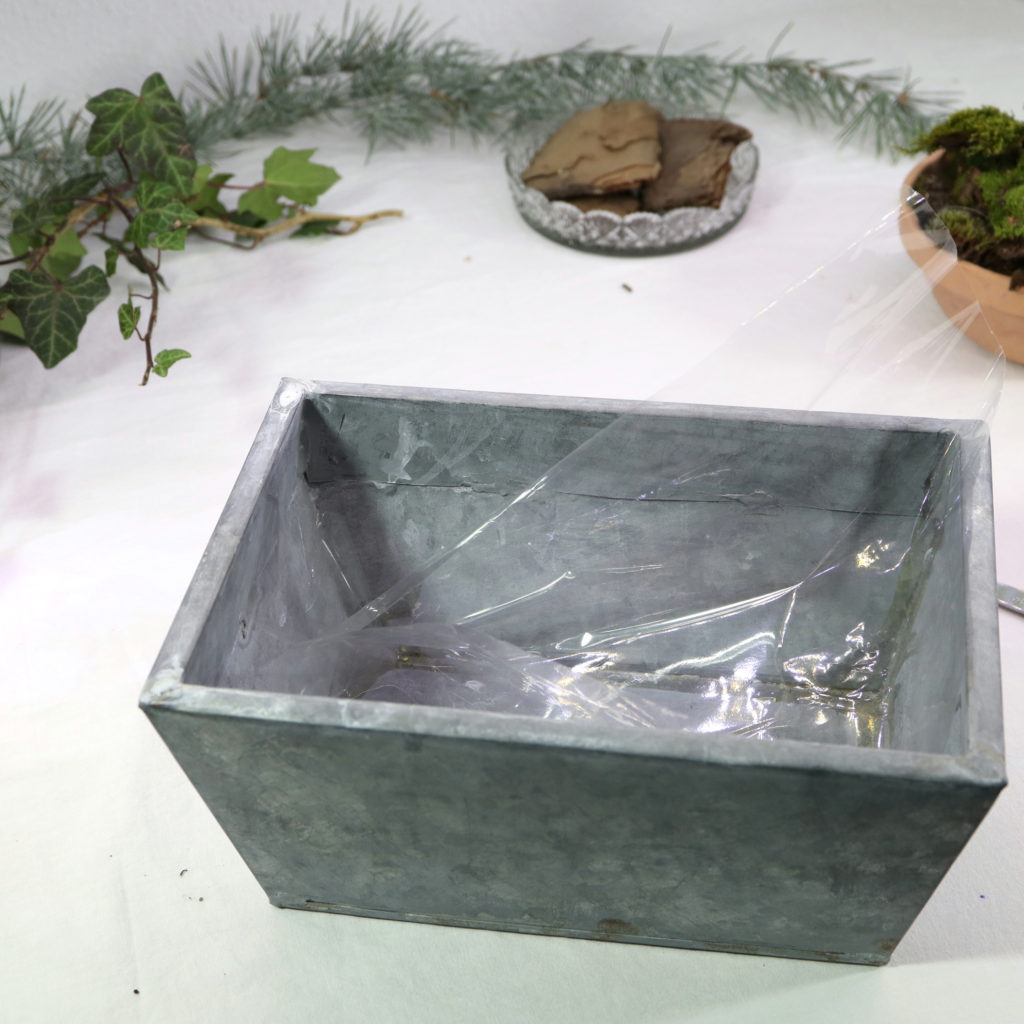
Step 2: Christmas rose
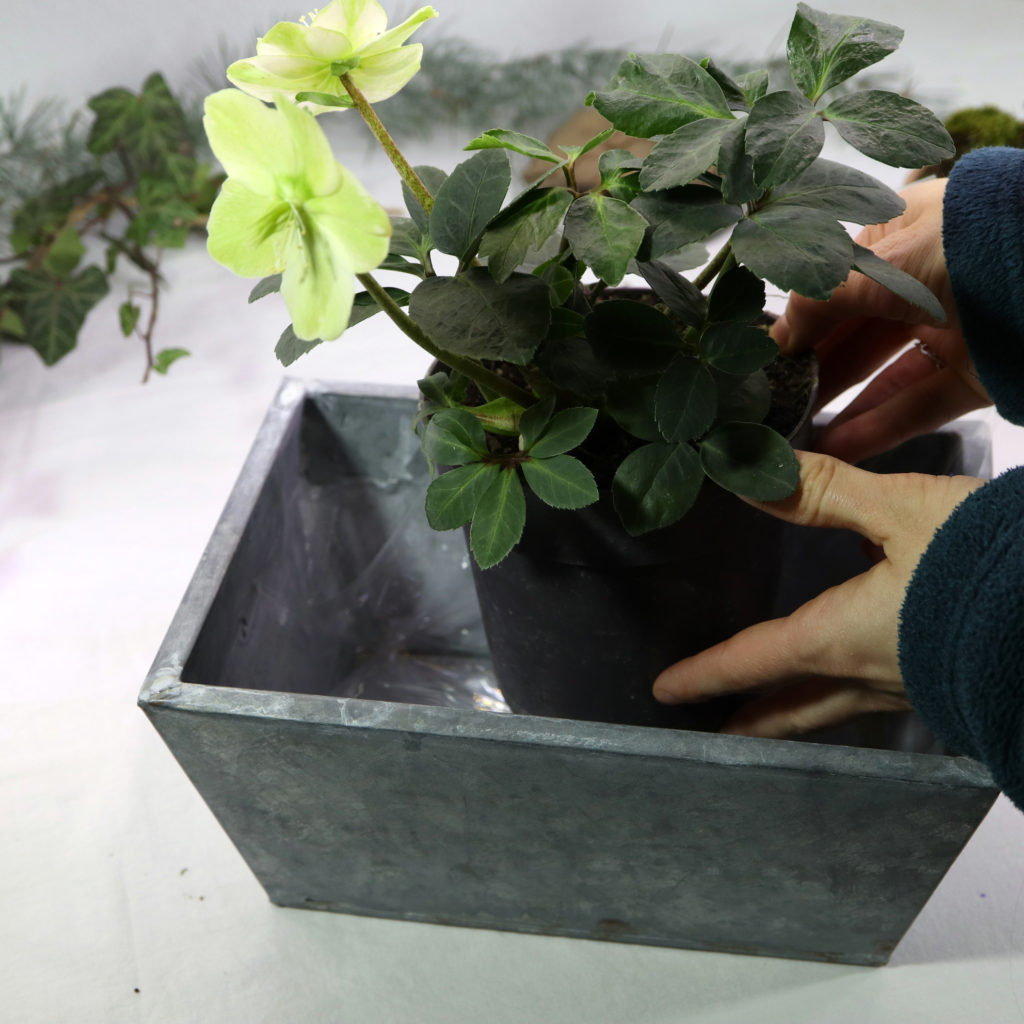
Next, the Christmas rose is placed into the planter.
Step 3: Add some sand
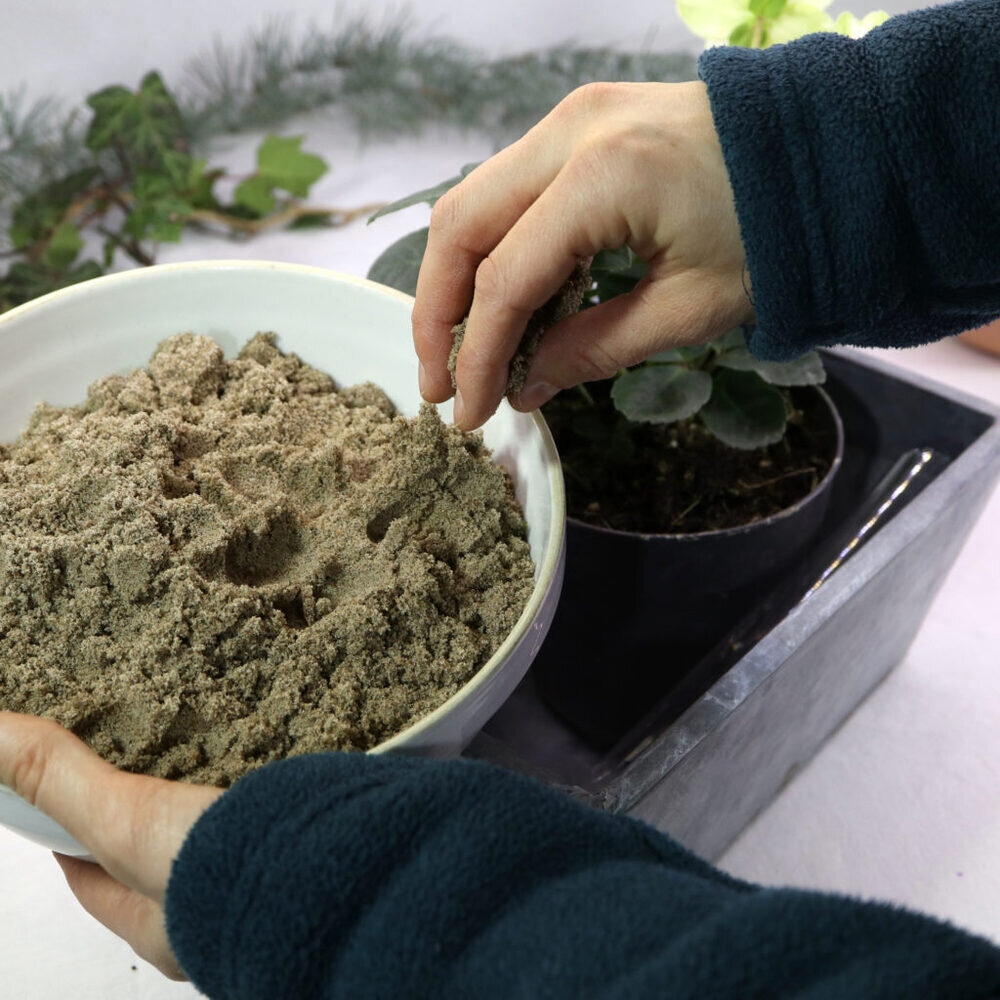
Next, the remaining space is filled up with sand.
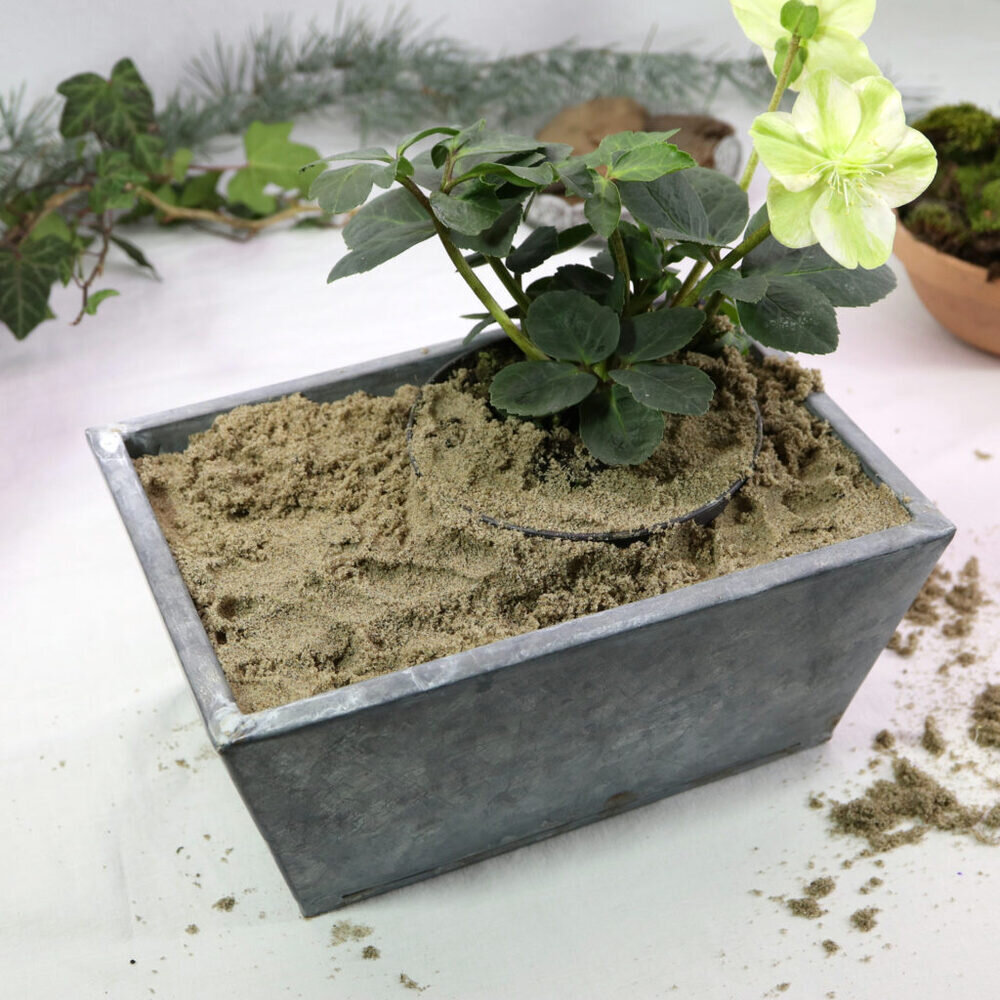
Step 4: Add some decoration elements
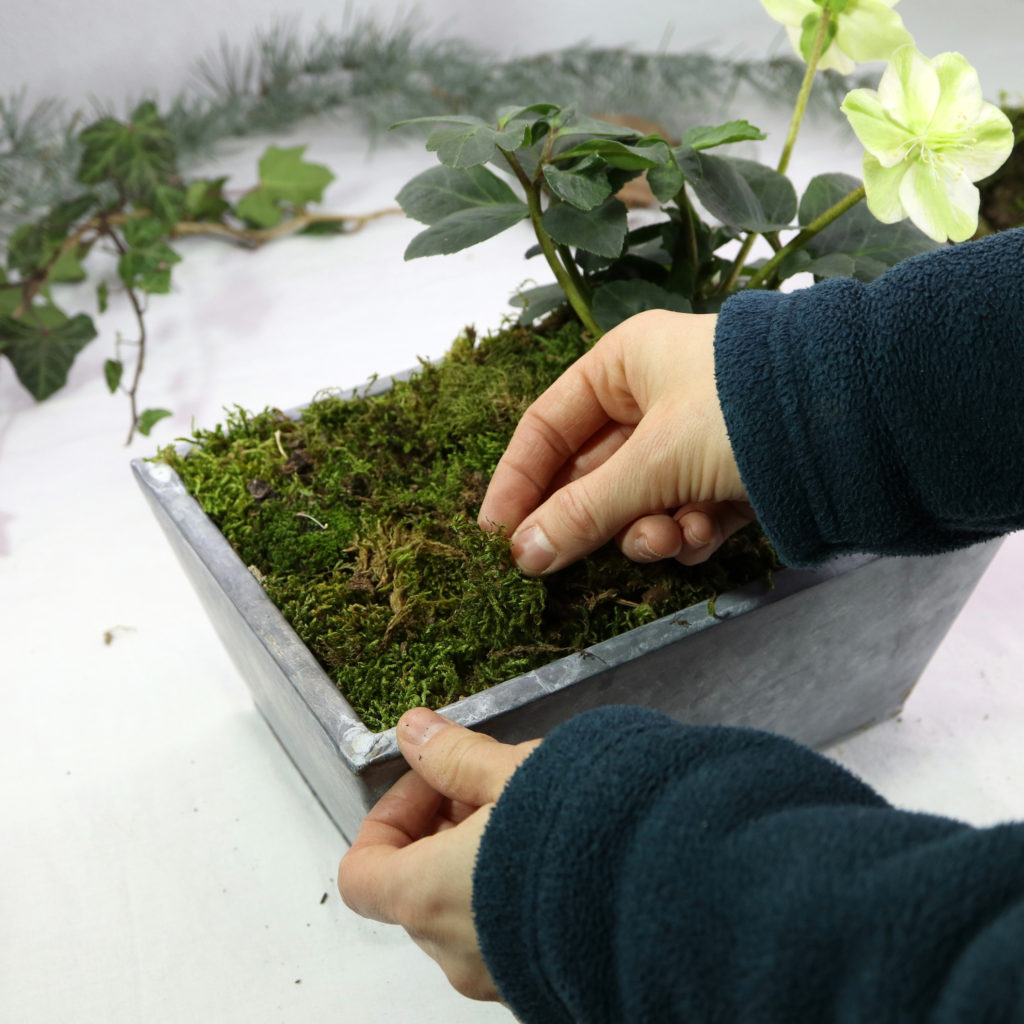
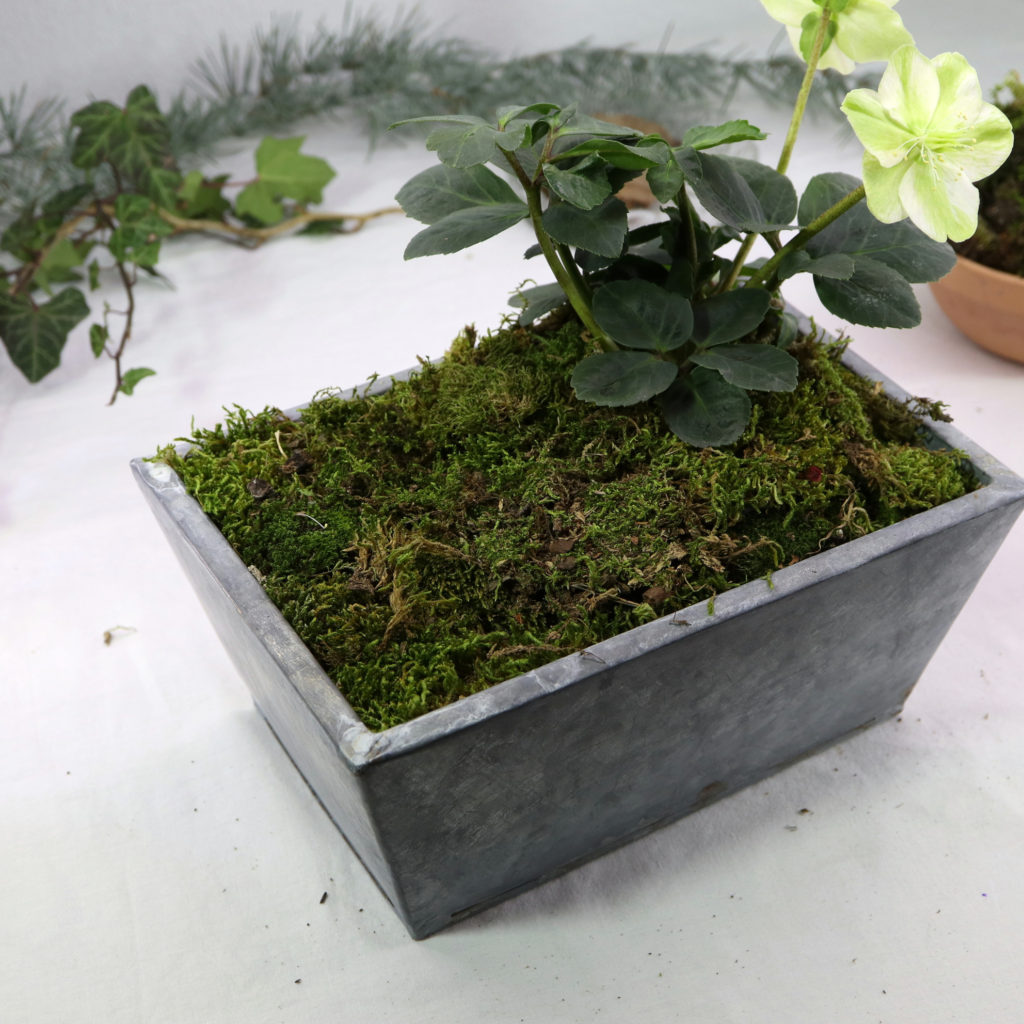
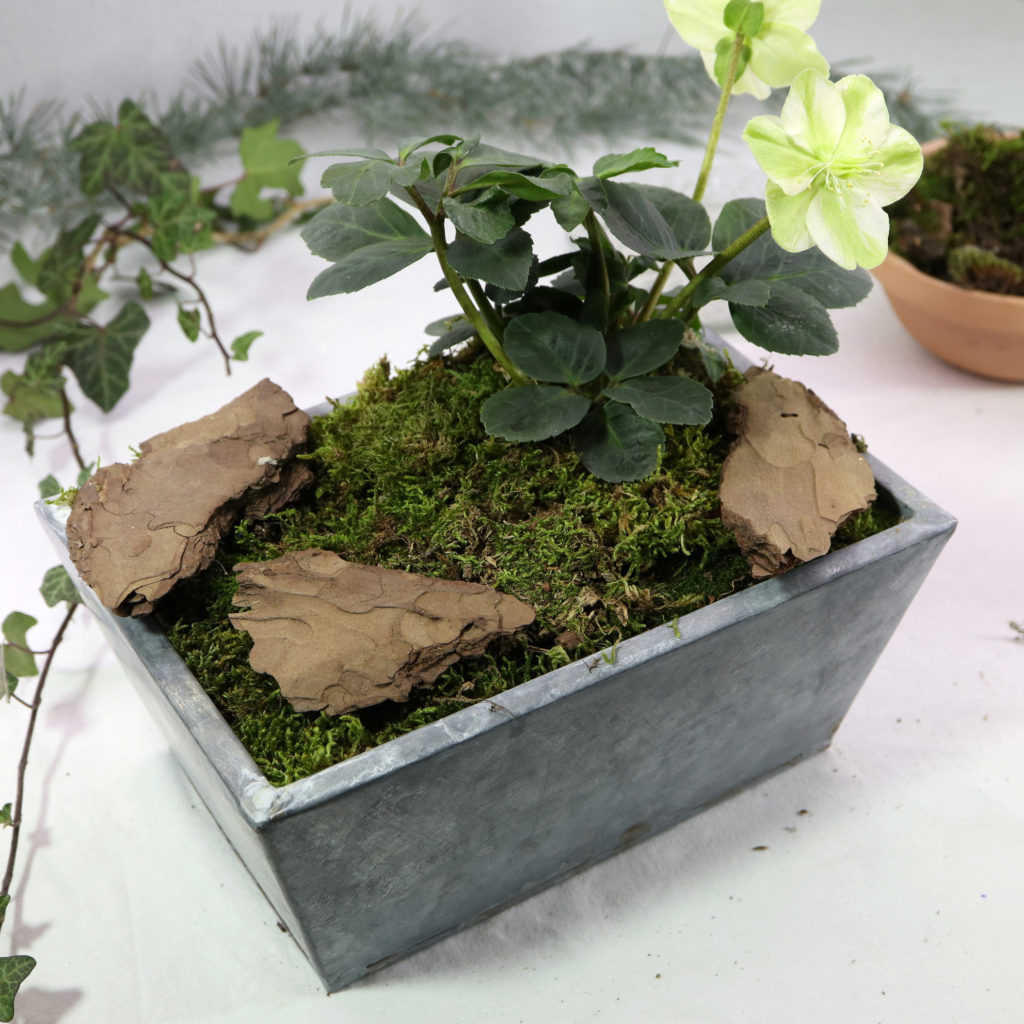
Next, the sand is covered with moss.
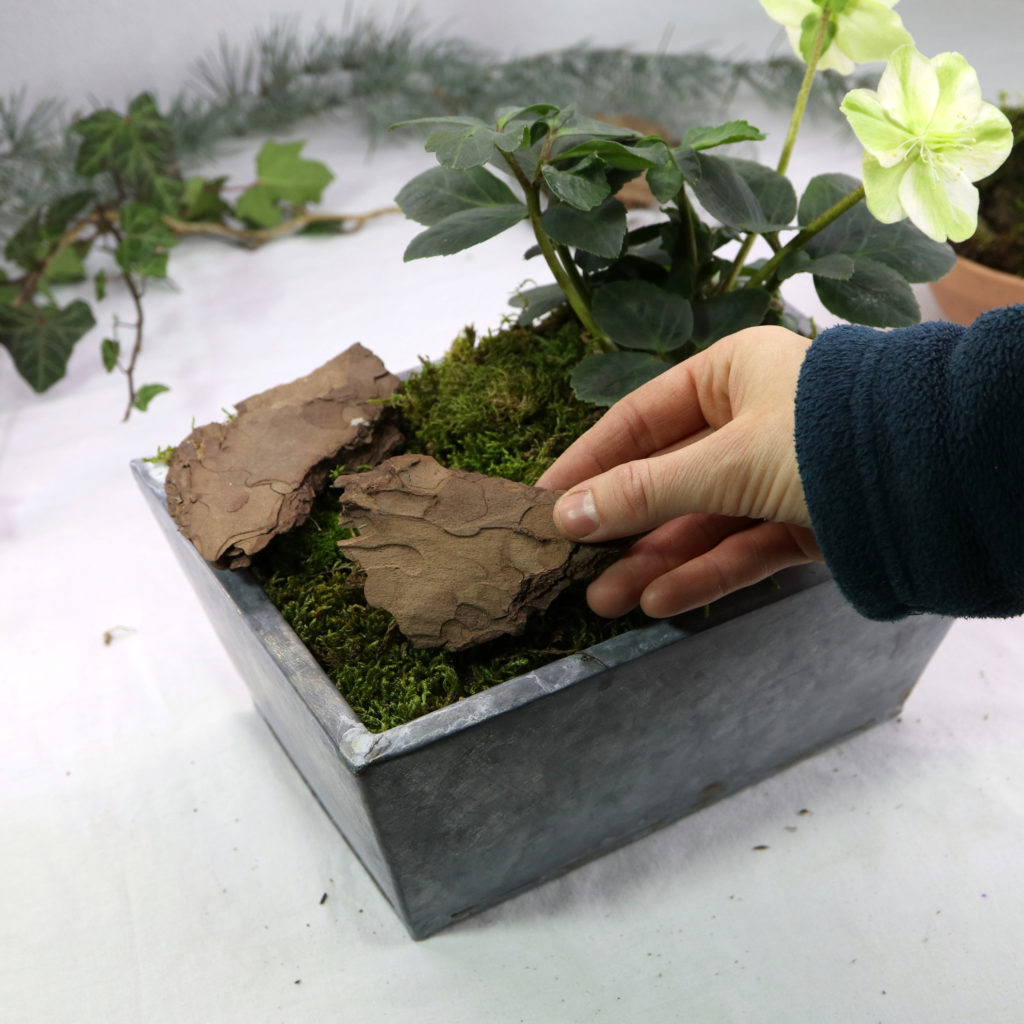
Then, some bark is put on top of the moss.
Step 5: Make silver pine cones
Next, two kind of pine cones are made: Some cones with silver glitter and some other cones with metallic flakes. We start with the cones with silver glitter.
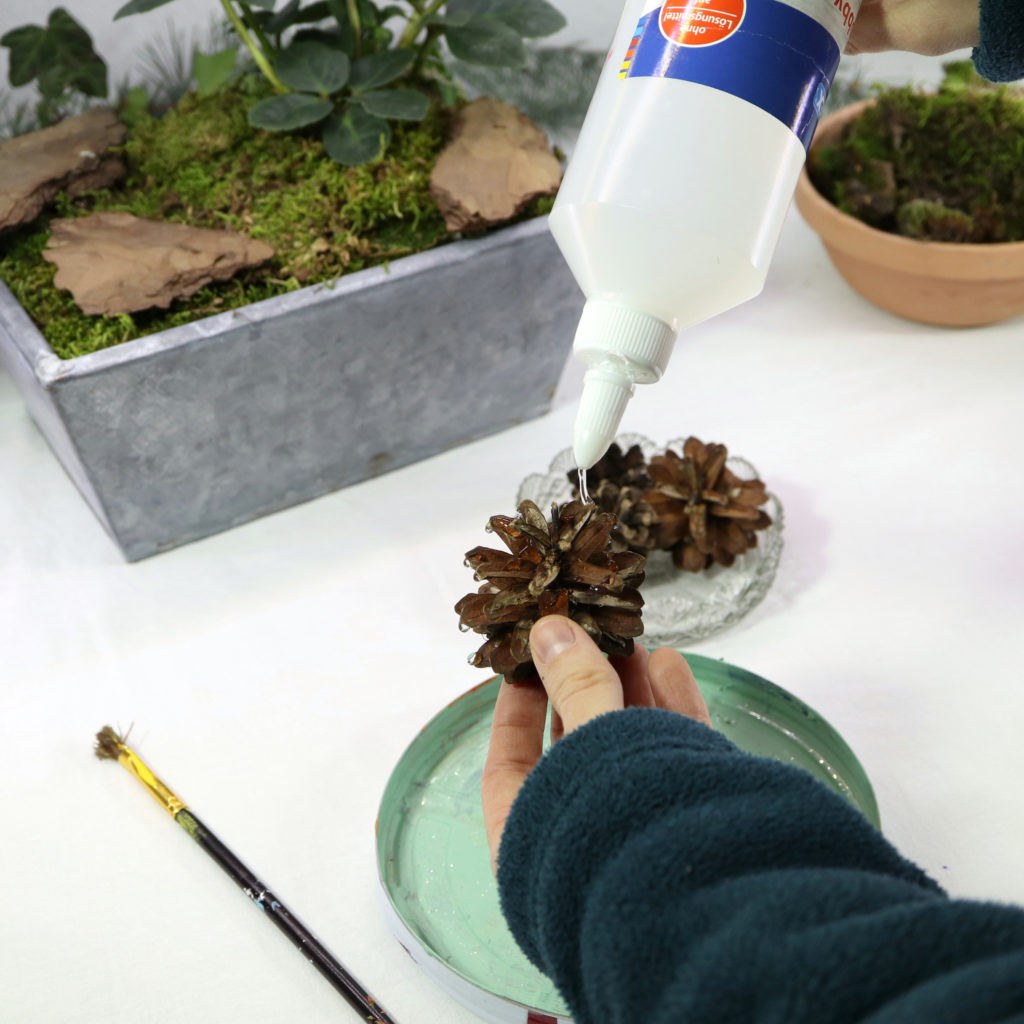
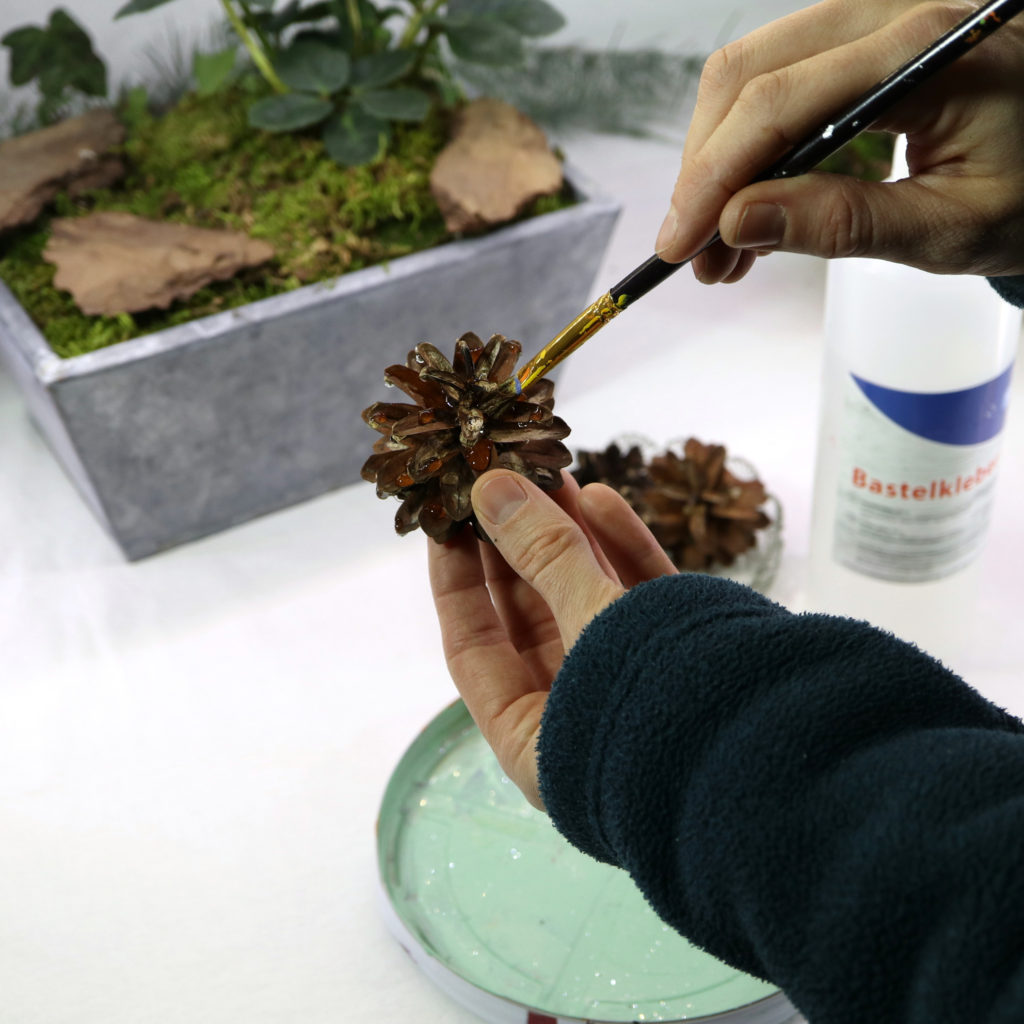
First, the pine cone is brushed with glue. I use an old paintbrush for this task.
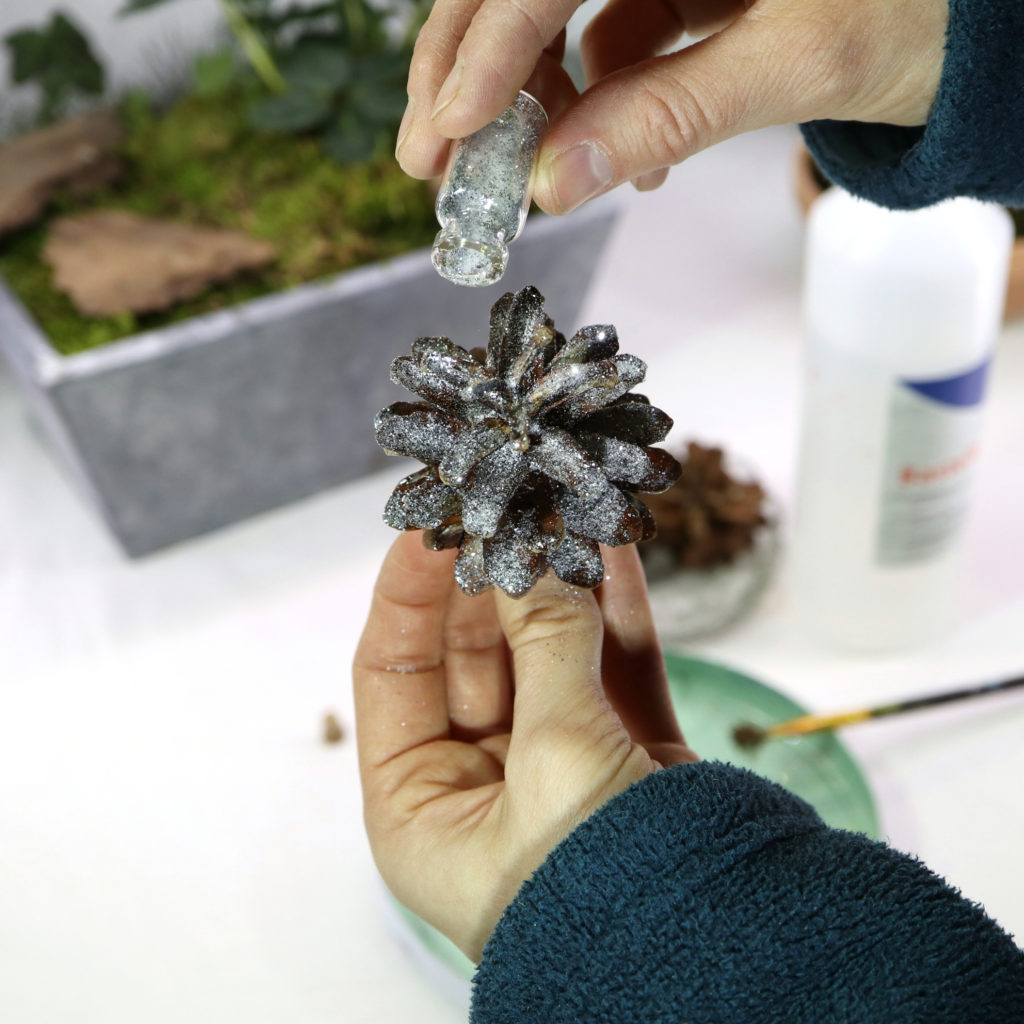
Then, glitter is poured on the pine cone. Place a box or a container below the pine cone. This will help you to catch some remaining glitter and use it for the next pine cone.
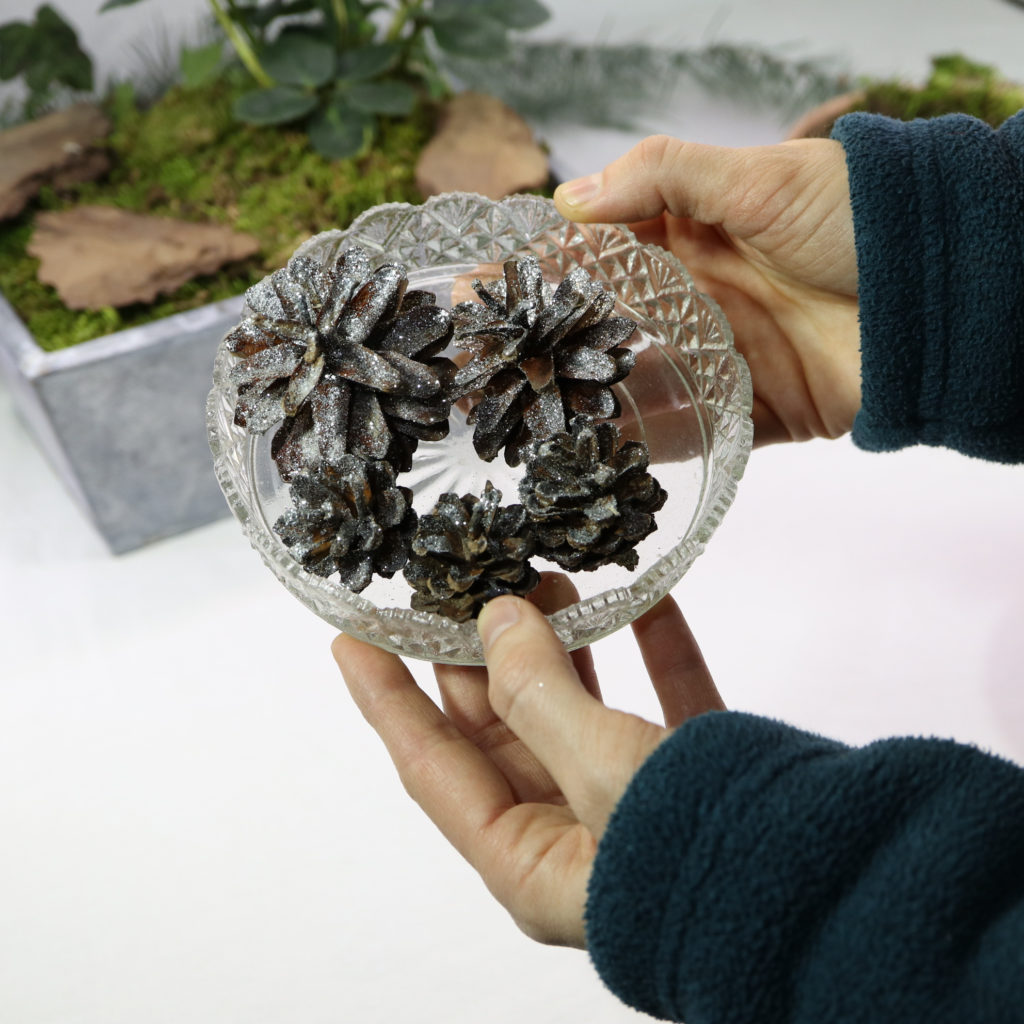
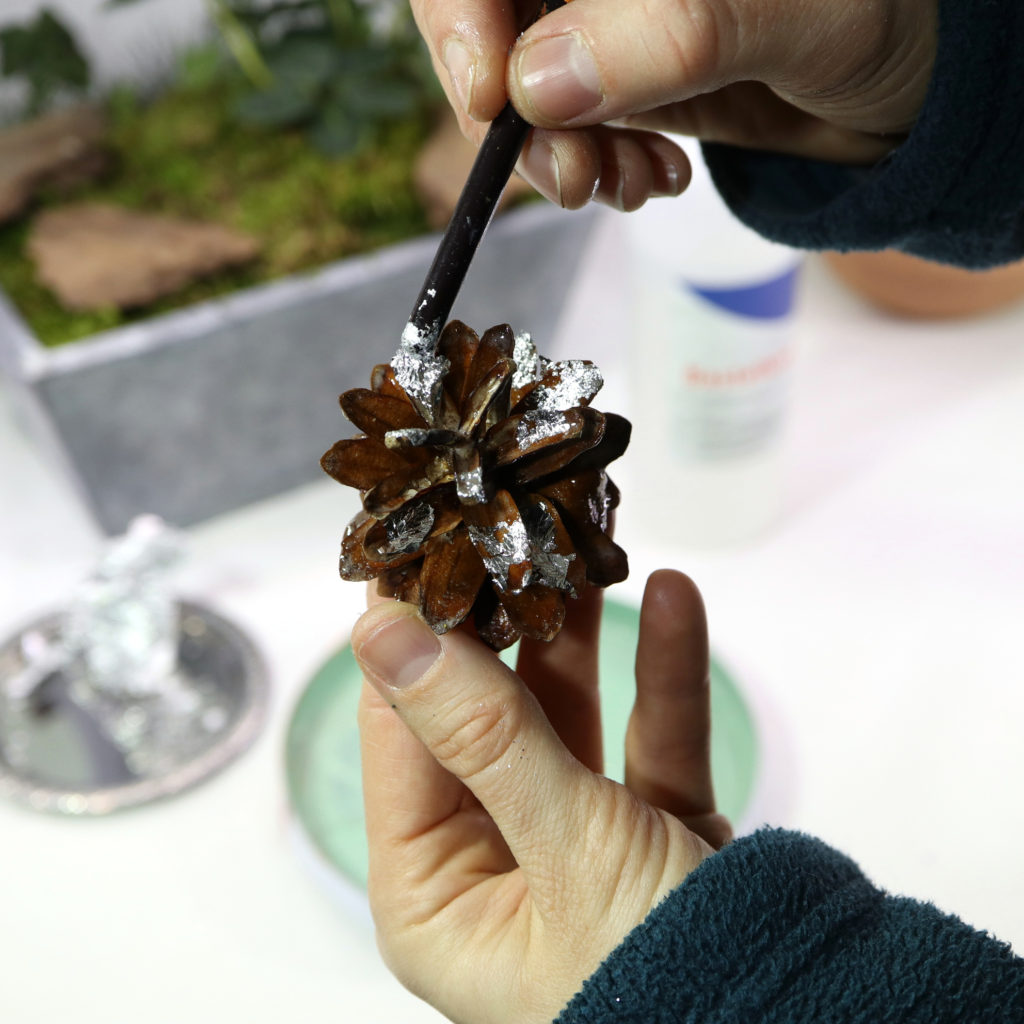
Next, the pine cones with metallic flakes are made. Basically, you do the same steps as for the glitter cones. After brushing the cone with glue, add some metallic flakes to the cone instead of pouring glitter. To put the metallic flakes to the cone, I make use of the other end of the paintbrush.
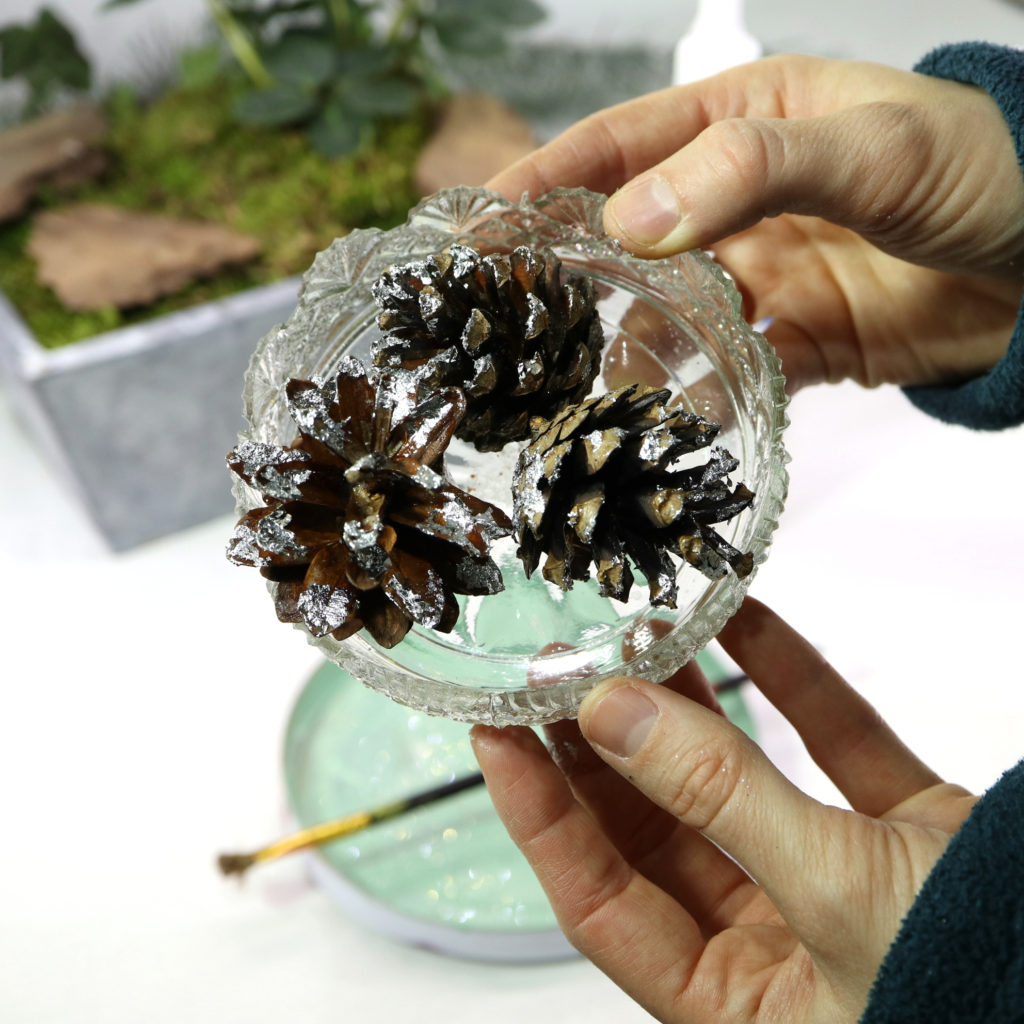
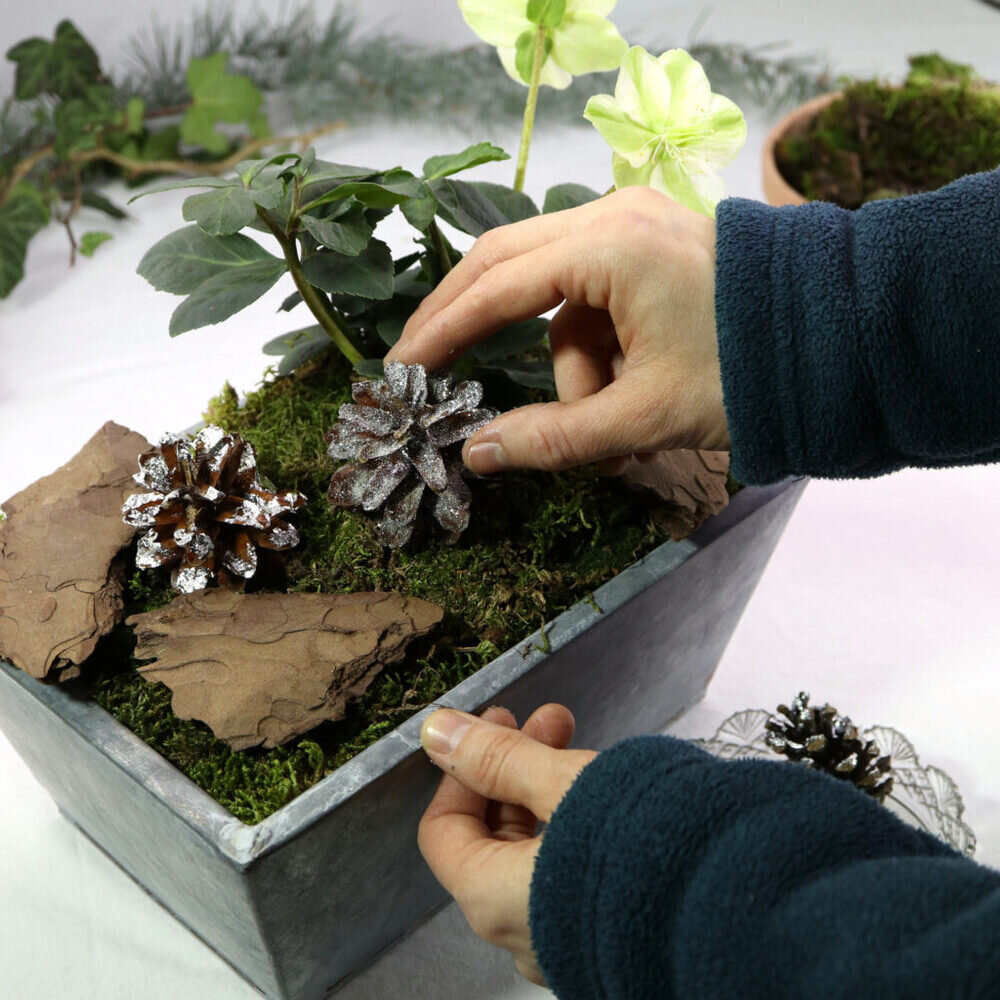
Give the glitter and flakes some moments to dry off. Then, place the pine cones onto the moss and bark.
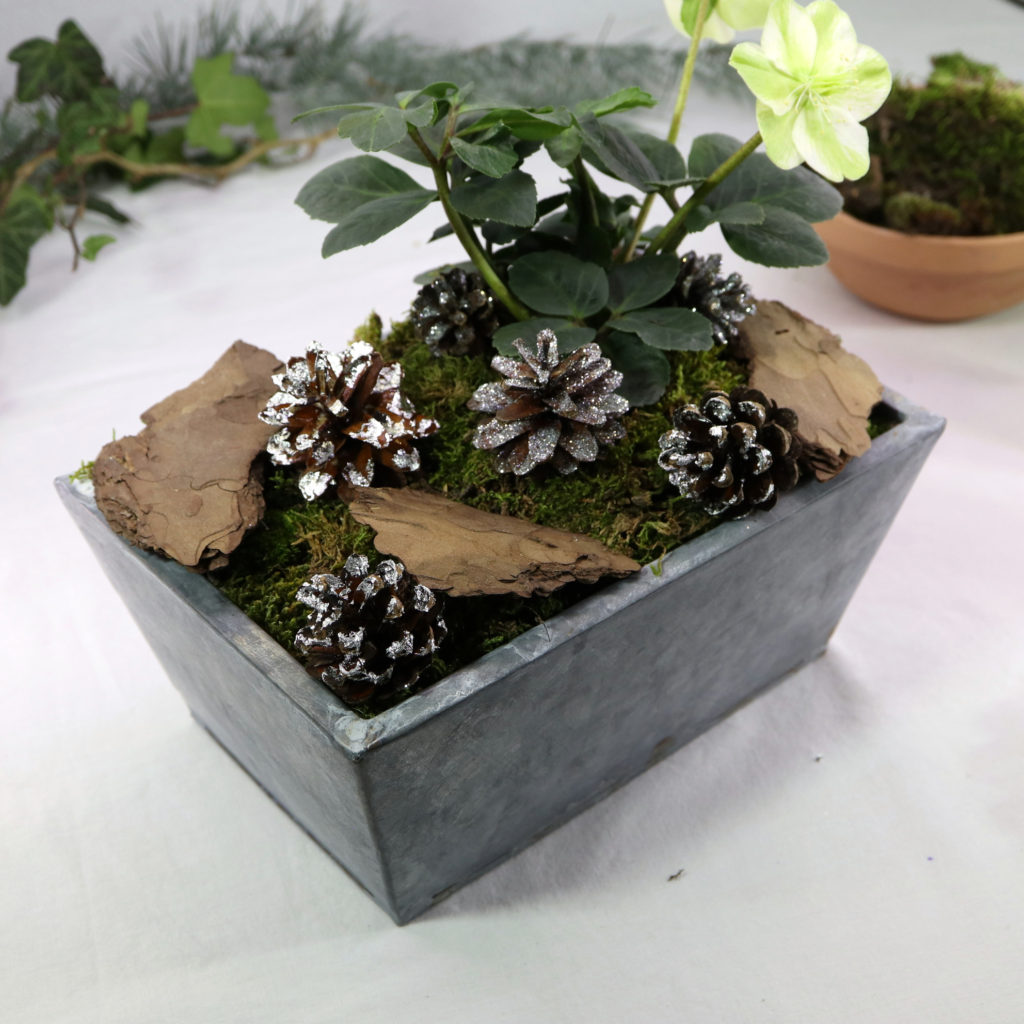
Step 6: Add Ivy
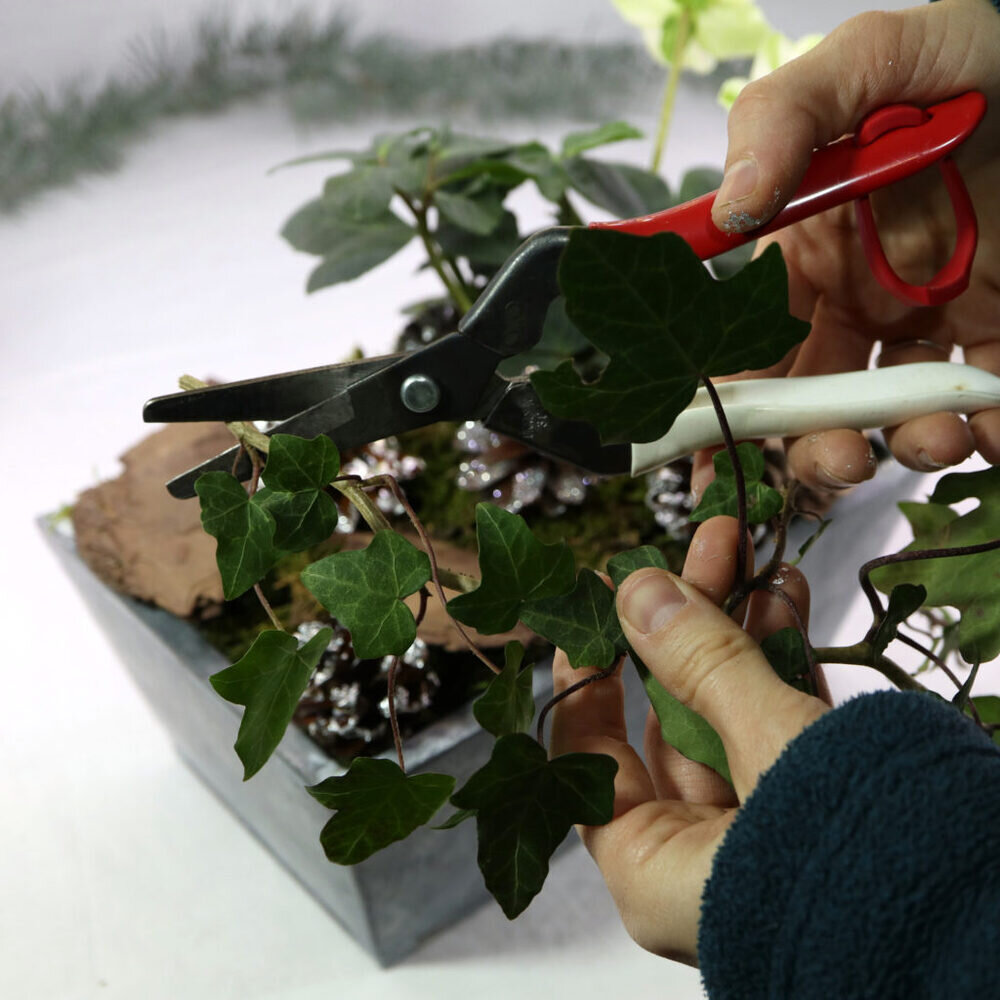
The last step is to add some ivy to the arrangement.
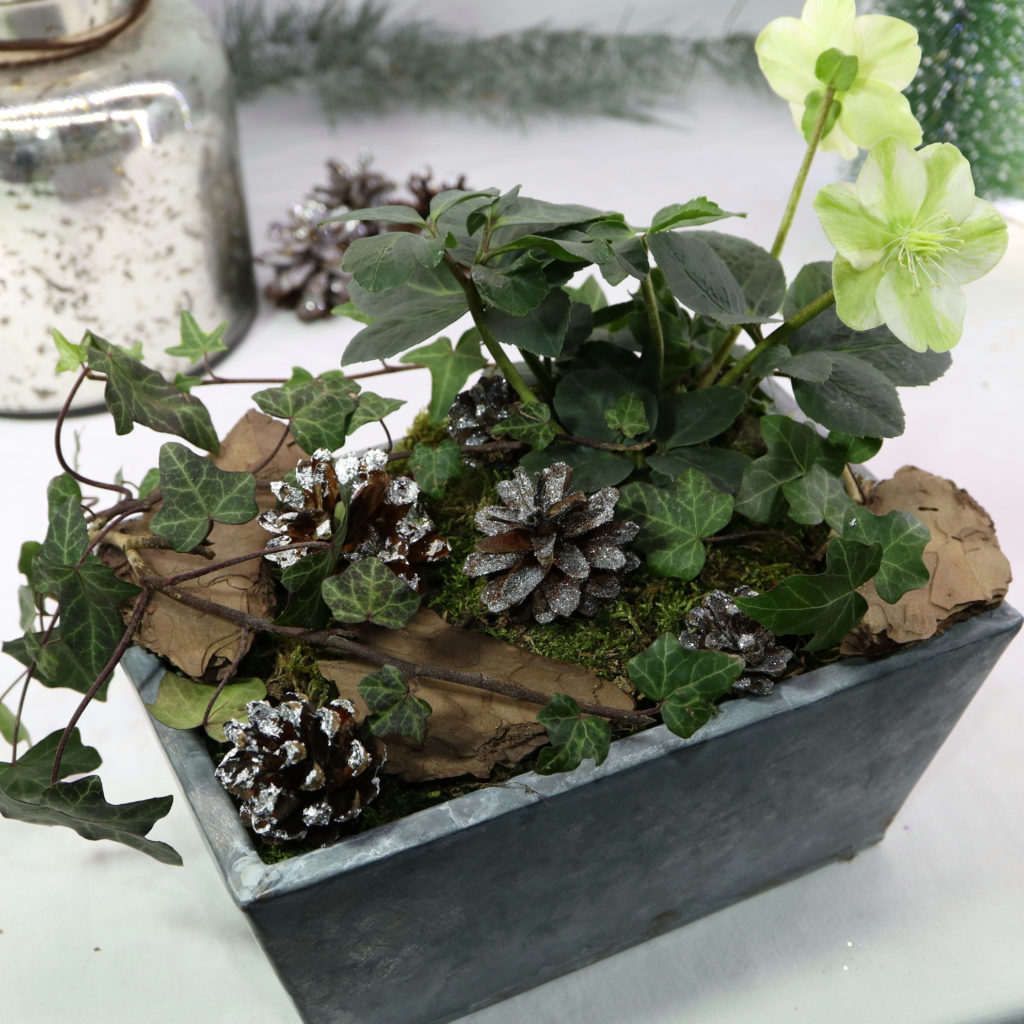
And you’re done! I hope you enjoyed making the Christmas rose arrangement.
