Do you like to give flowers as present, too? Normally, I give them away with some flower pot. Recently, an alternative came to my mind: Just use a Coffee-to-Go cup instead of a flower pot!
Today, I show you how you can make “Roses-to-Go” as Christmas present.
Tools
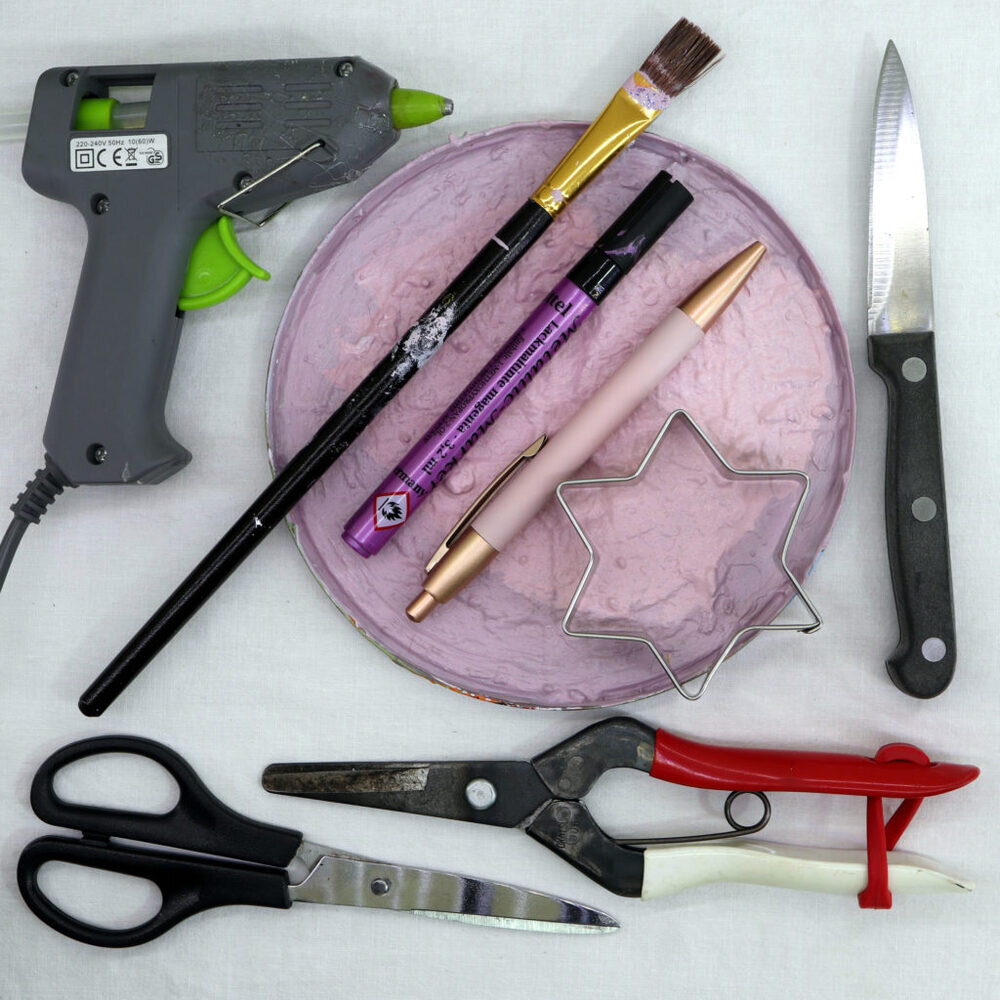
Here, you see which tools I used: harvest shears, paintbrush, mixing palette, cookie cutter, pen, knife, scissors, hot glue gun and a marker.
| Tool | Search on… |
|---|---|
| Harvest shears | |
| I use the Japanese harvest shears Okatsune 304 | |
| Paintbrush | |
| Mixing palette | |
| Cookie cutter (star-shaped) | |
| Pen | |
| Knife | |
| Scissors | |
| Hot glue gun | |
| Hot glue sticks | |
| Marker (purple) |
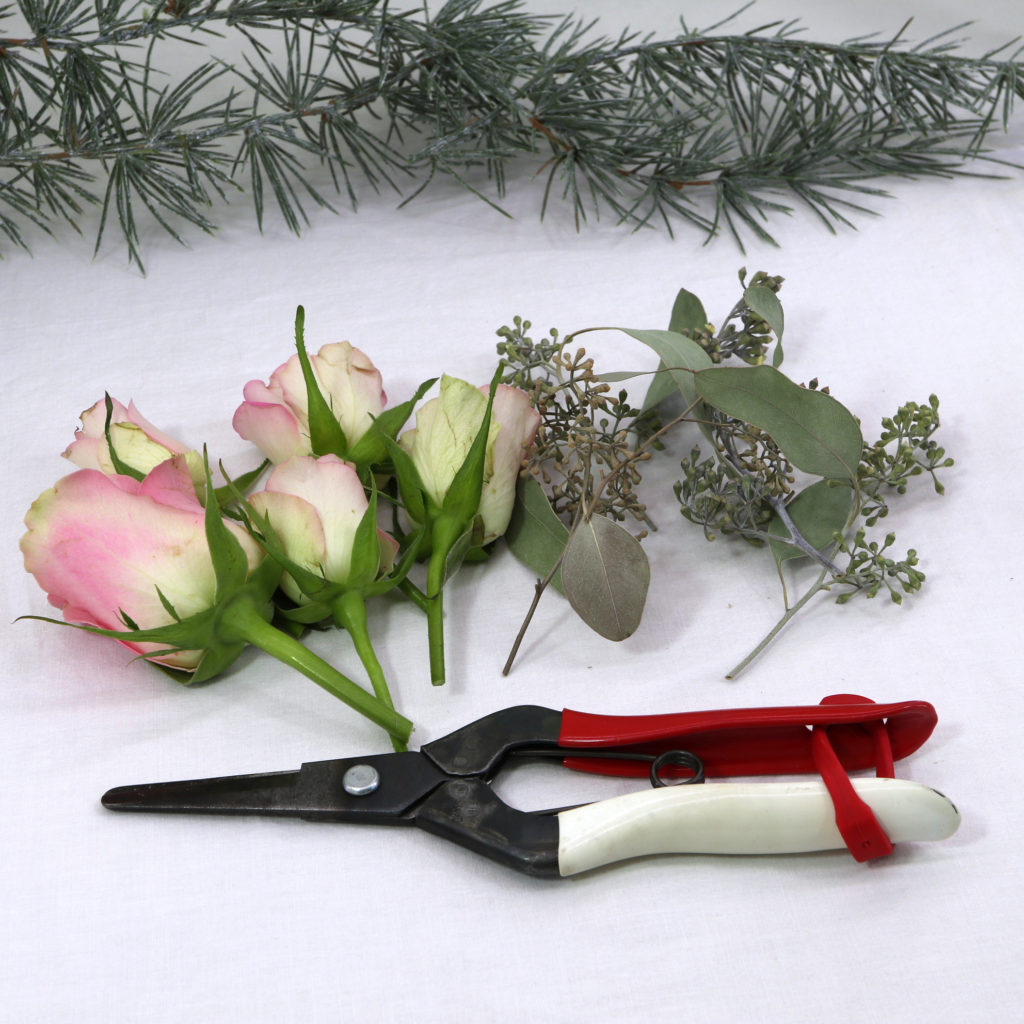
Materials
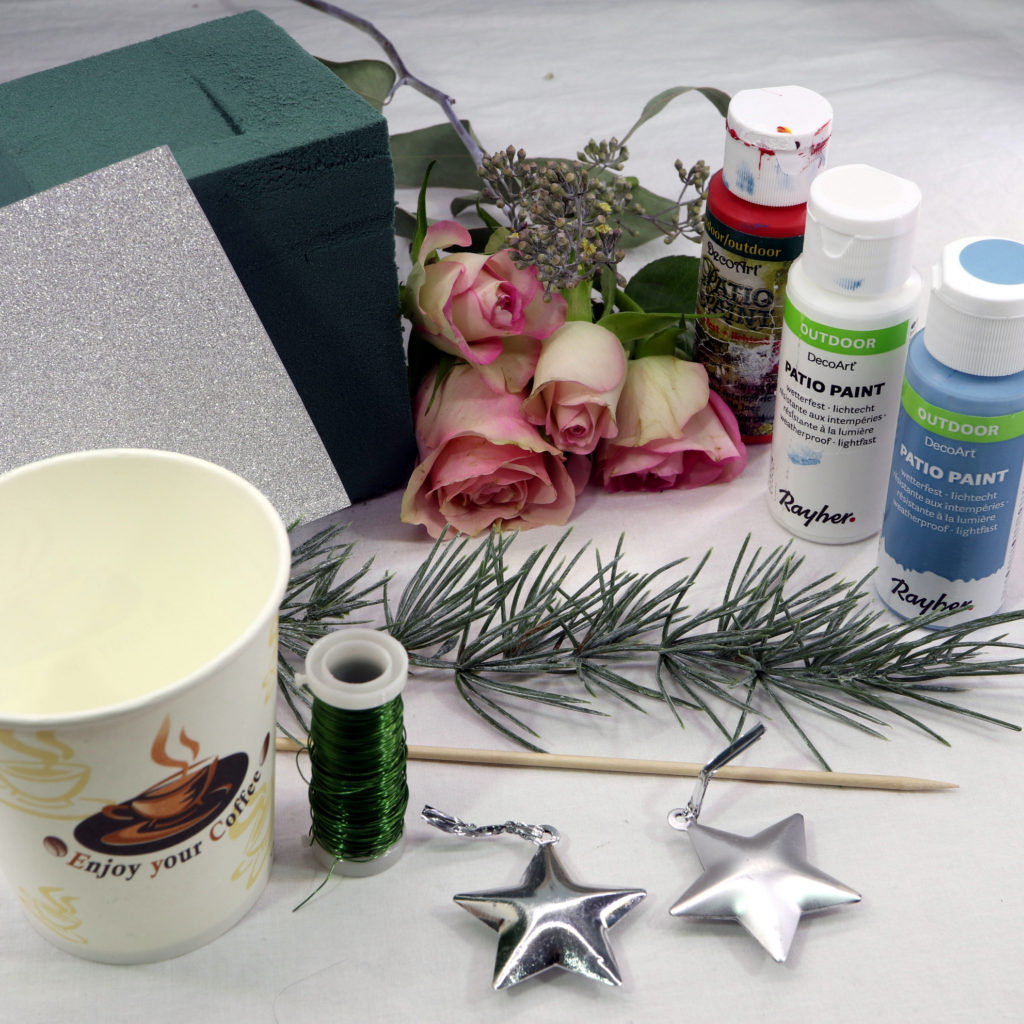
These are the materials that I used: Coffe-to-Go cup, roses in light pink, eucalyptus twigs, floral foam, acrylic paint, evergreen twigs, floral wire, star pendant, natural skewer, self-adhesive glitter paper.
Guide
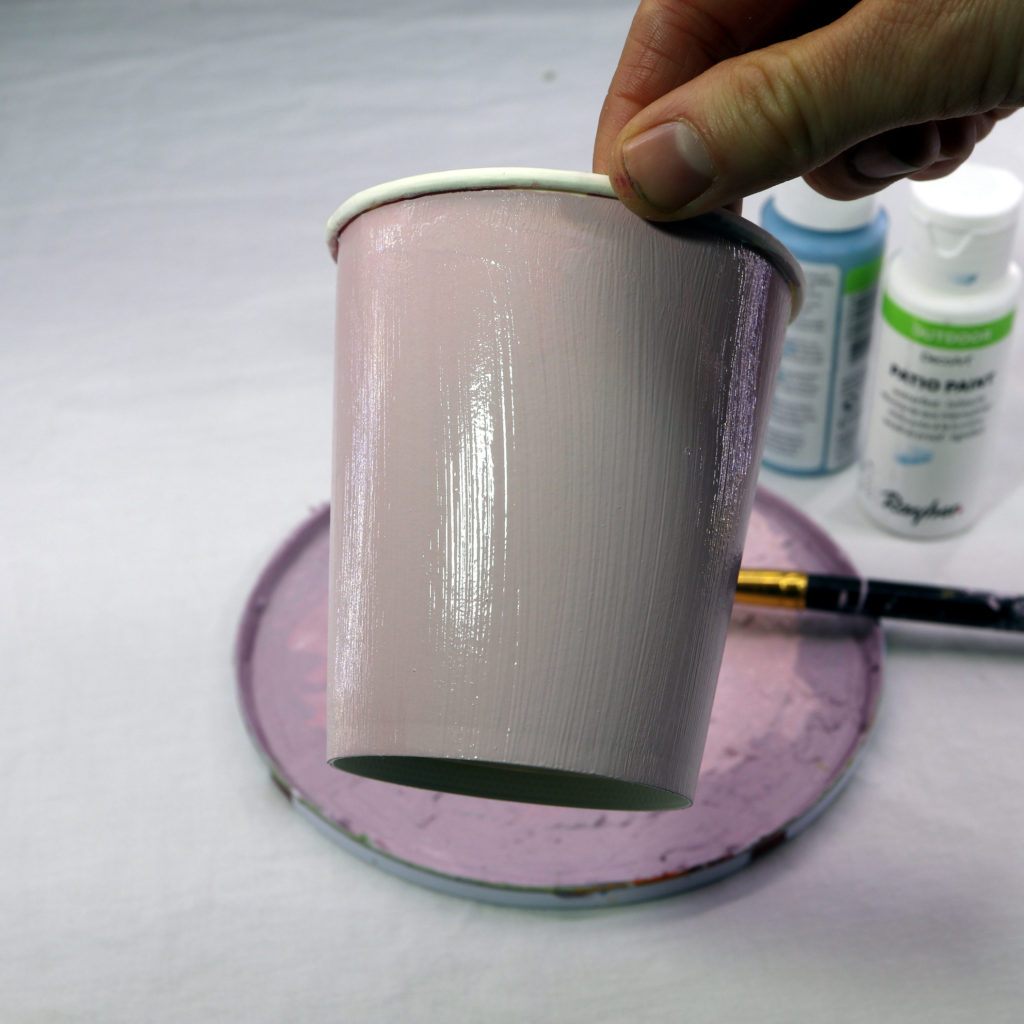
Step 1: Paint the Coffe-to-Go cup
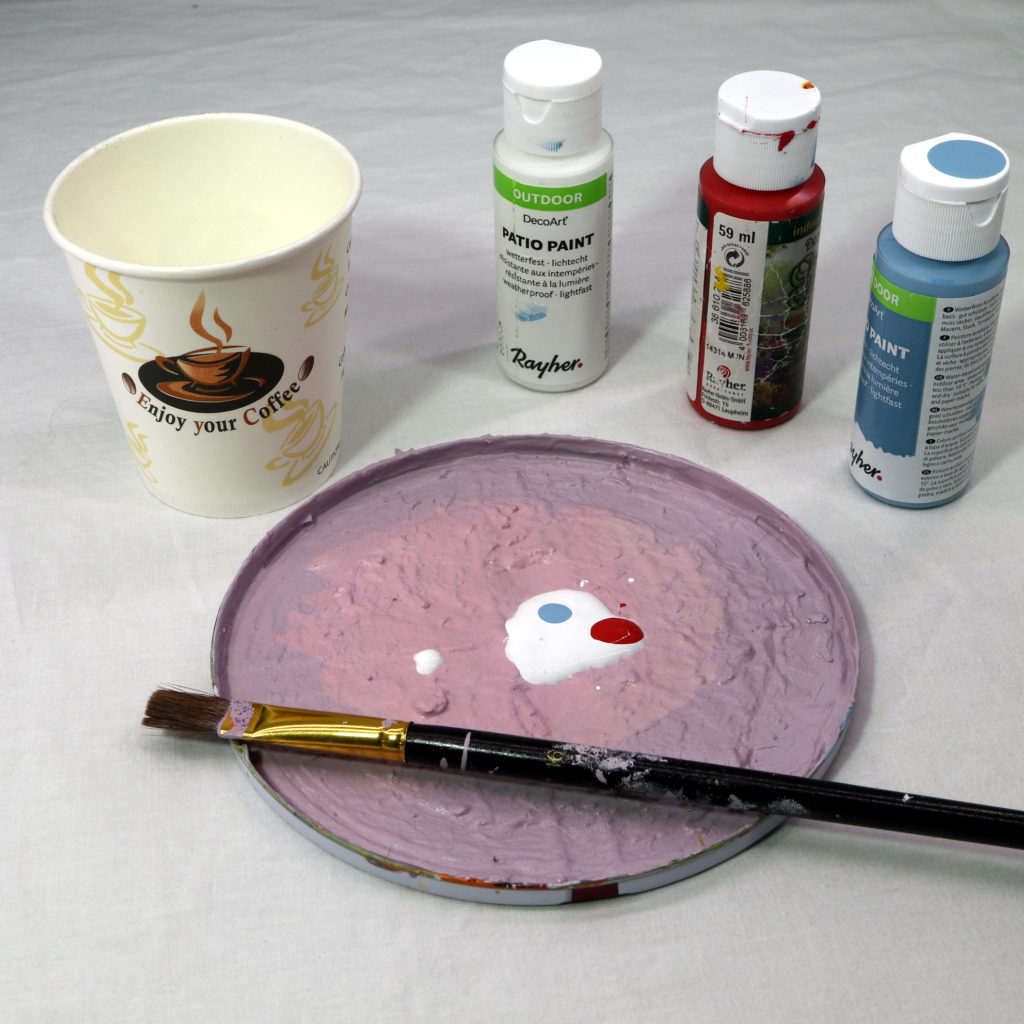
The first step is to paint the Coffe-to-Go Cup.
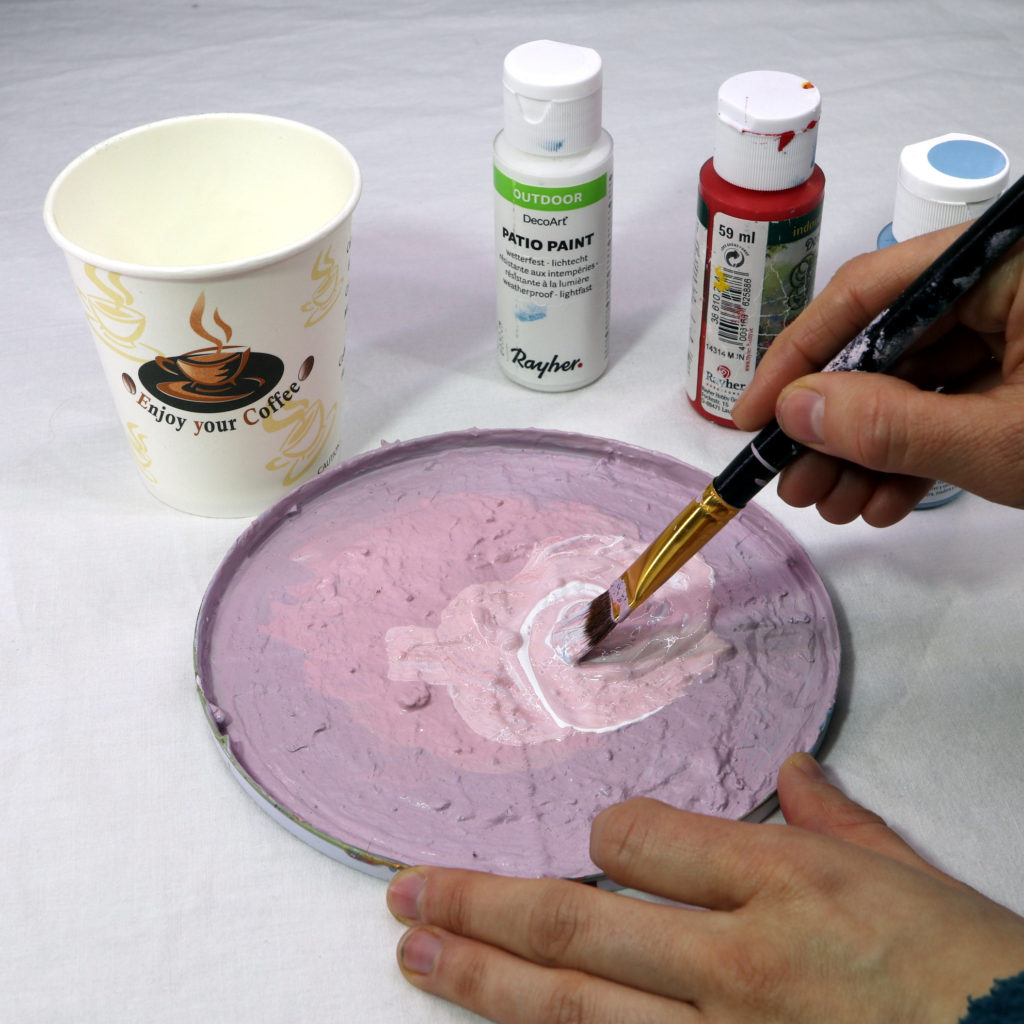
In order to get a nice light pink color, I mix white, red and blue acrylic paint on my mixing palette.
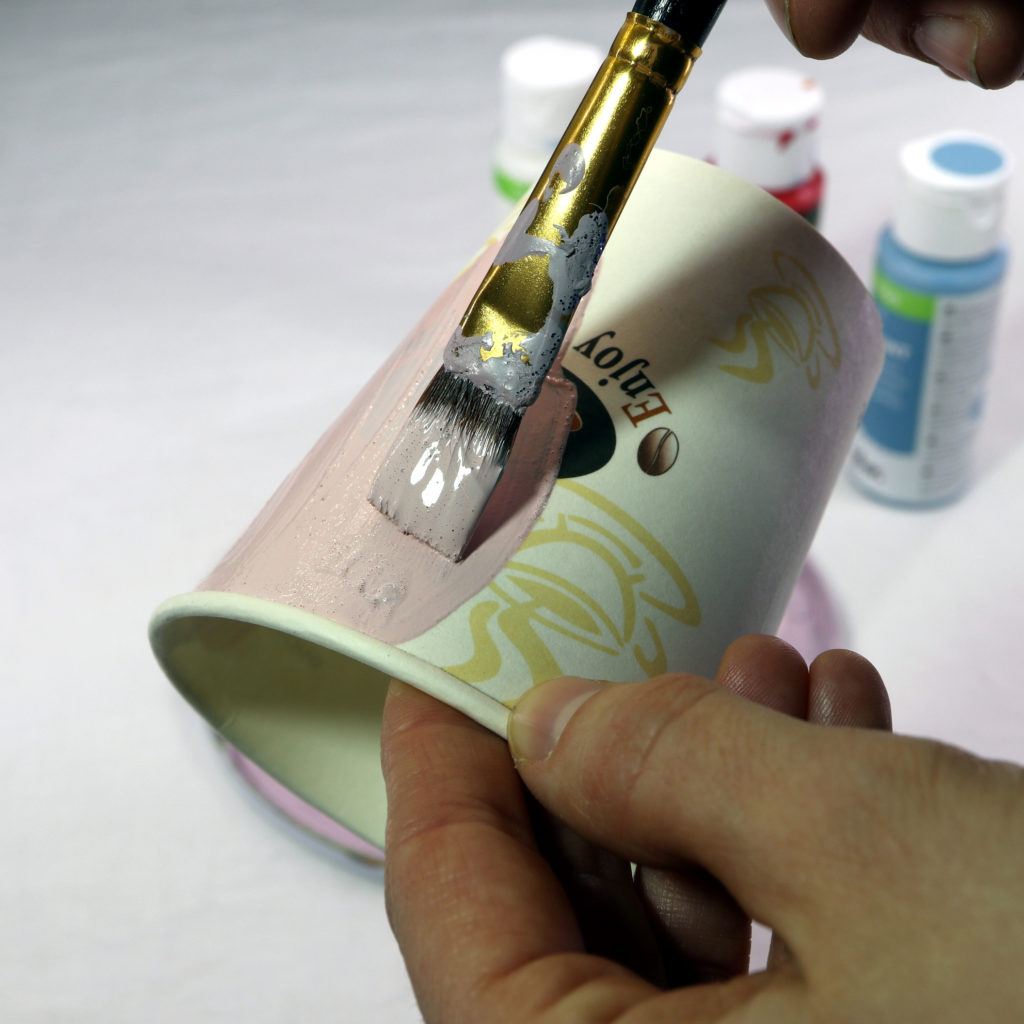
I painted the cup twice with the paintbrush.
Step 2: Prepare the floral foam
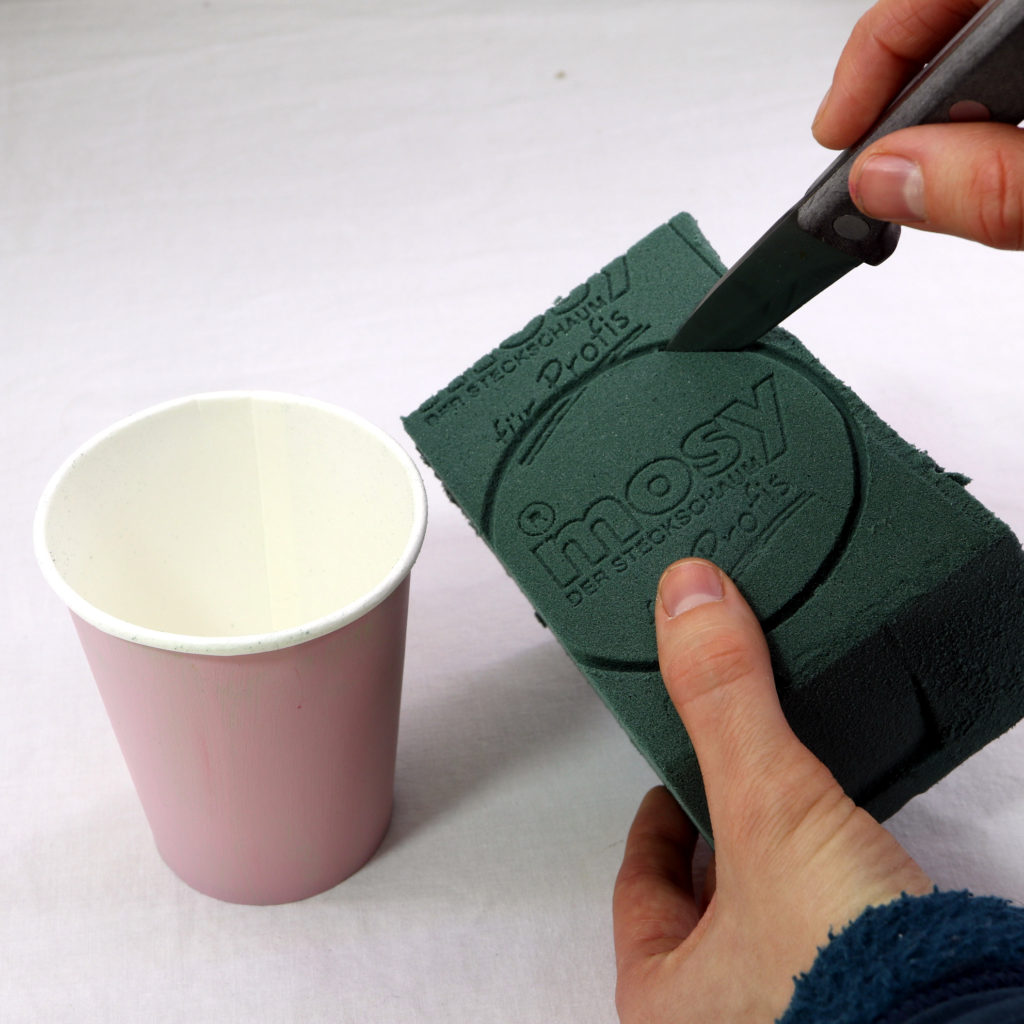
Next, we have to cut out a piece of floral foam that fits into the cup. To get the right shape and dimensions, I press the cup gently into the floral foam.
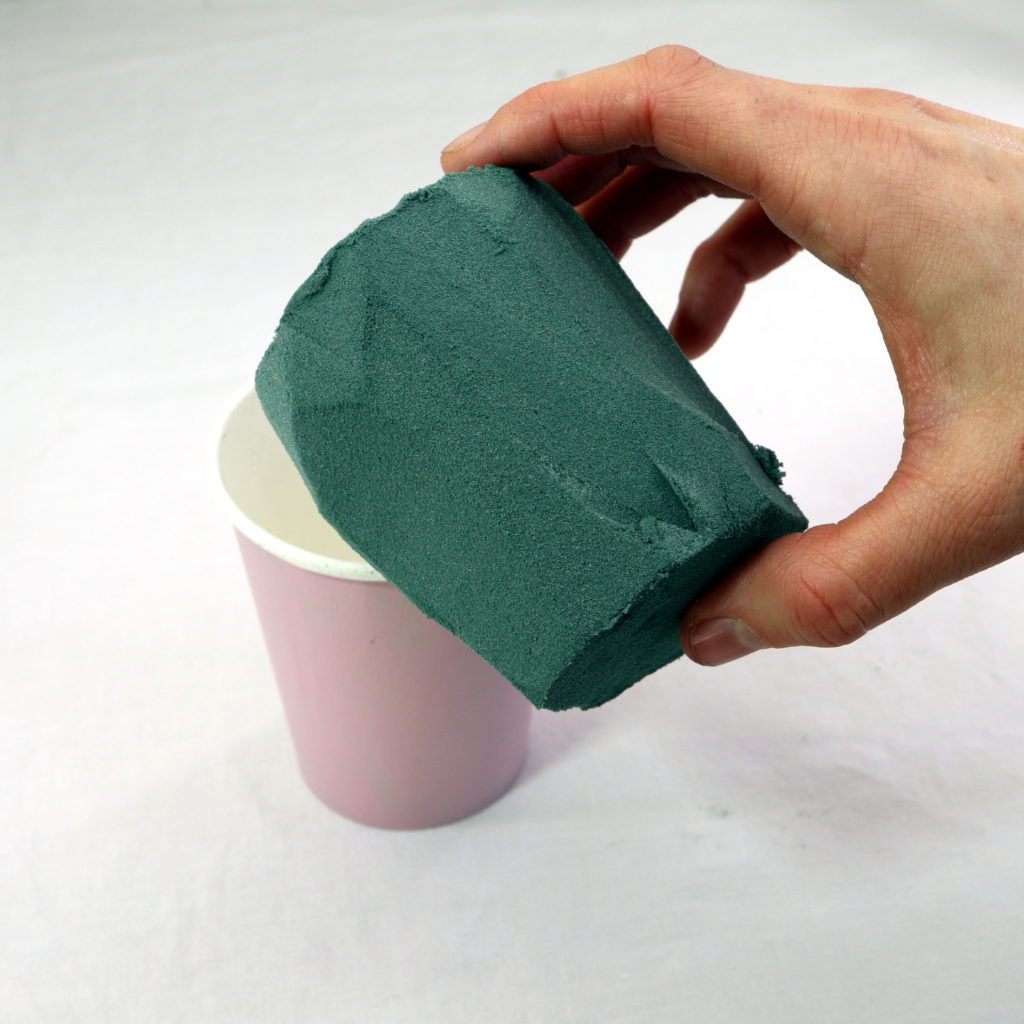
Step 3: Watering the floral foam
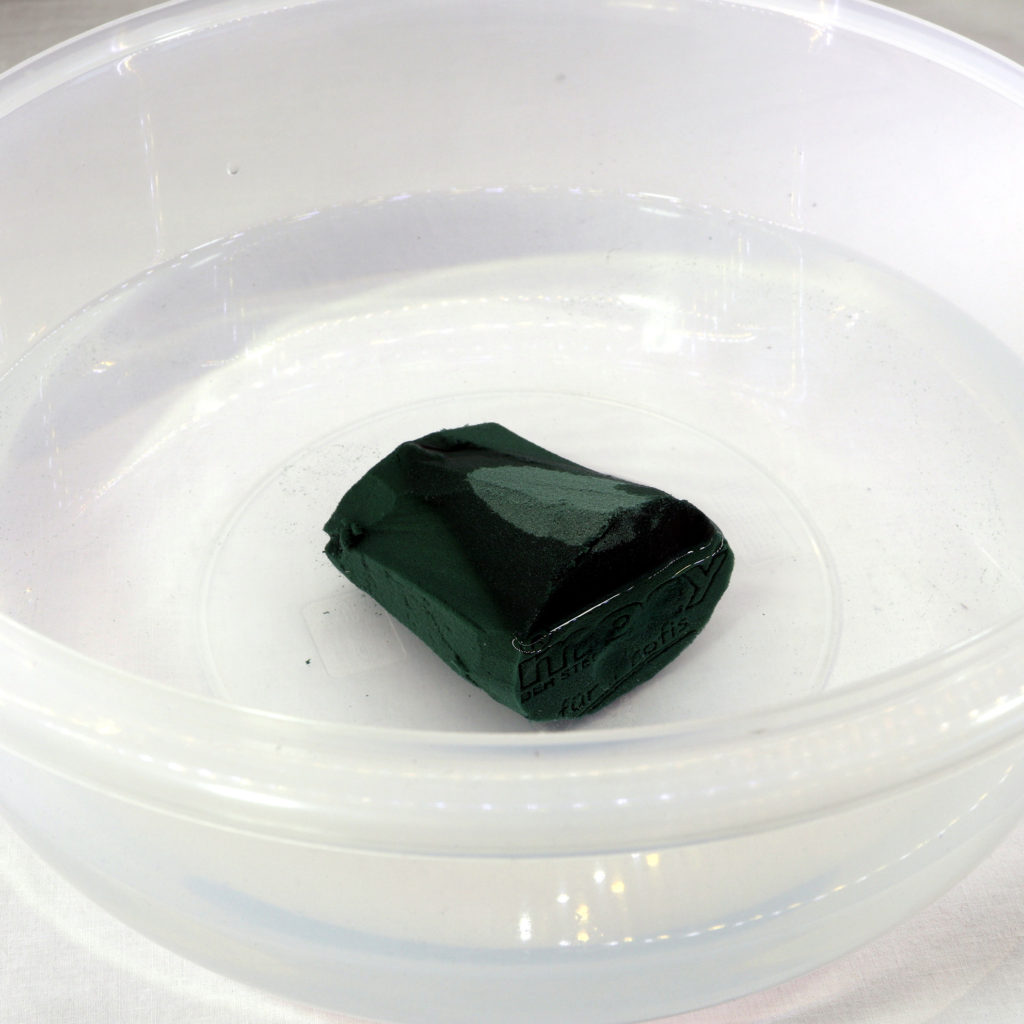
Nextm the floral foam must be watered. Just put it into a bowl full of water and wait a few minutes. The floral foam must be fully soaked with water.
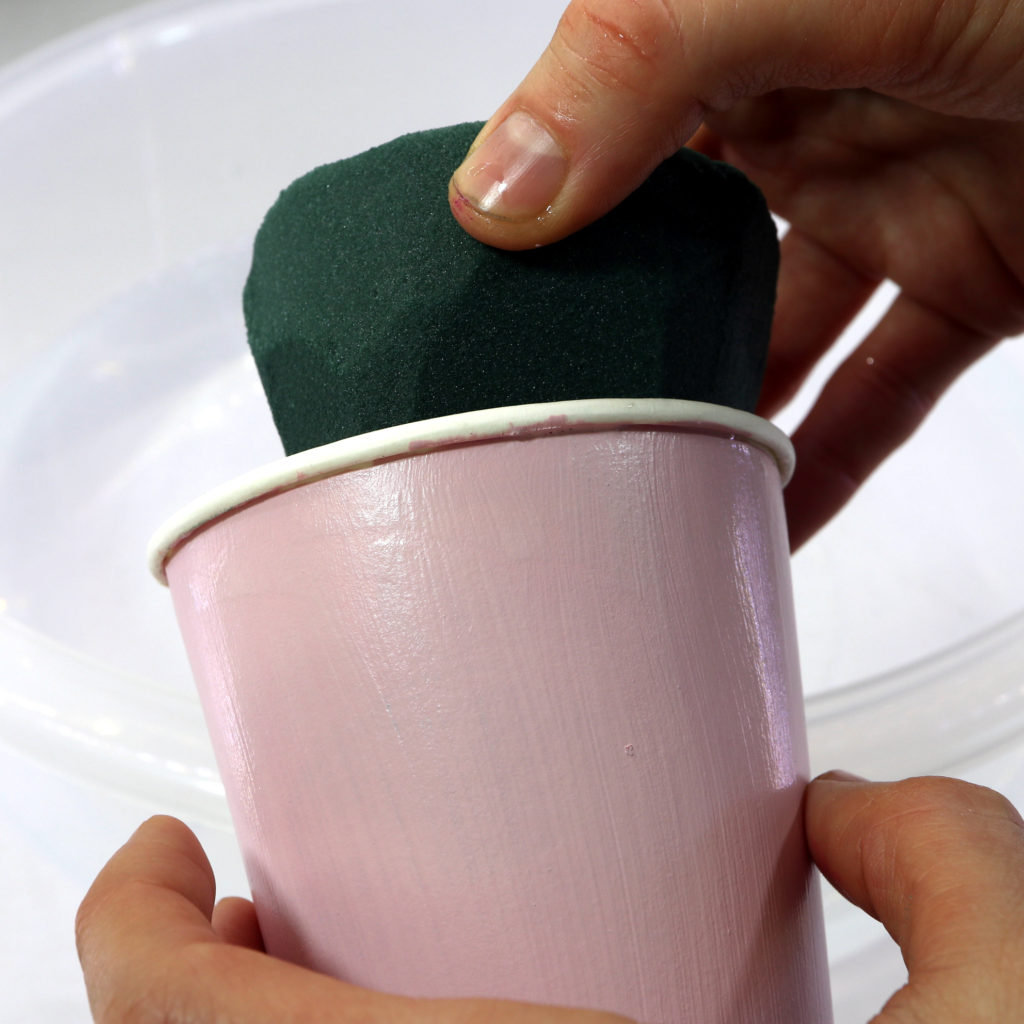
When the floral foam is full of water, put it into the cup.
Step 4: Add Evergreen to the cup
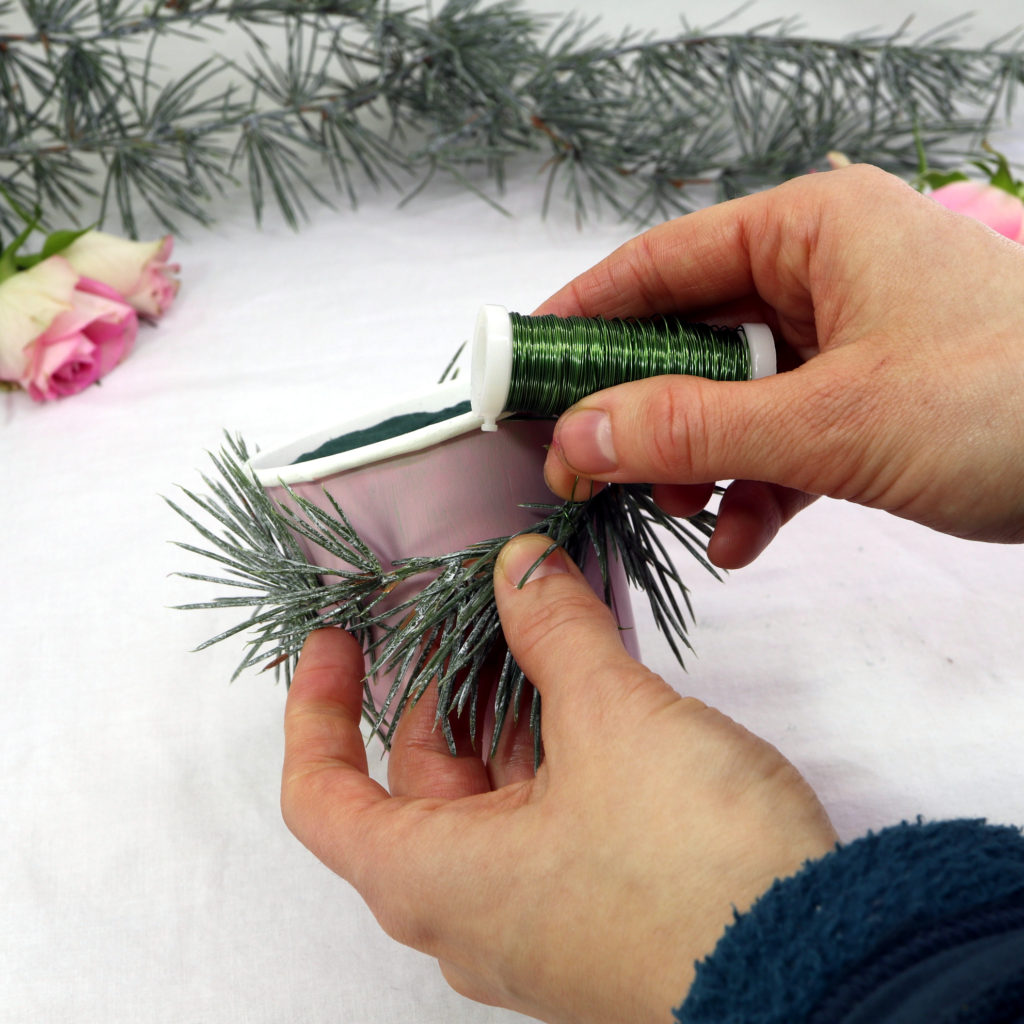
Next, I wrap the evergreen twigs around the cup. With the help of some floral wire, I’m able to fix it tightly.
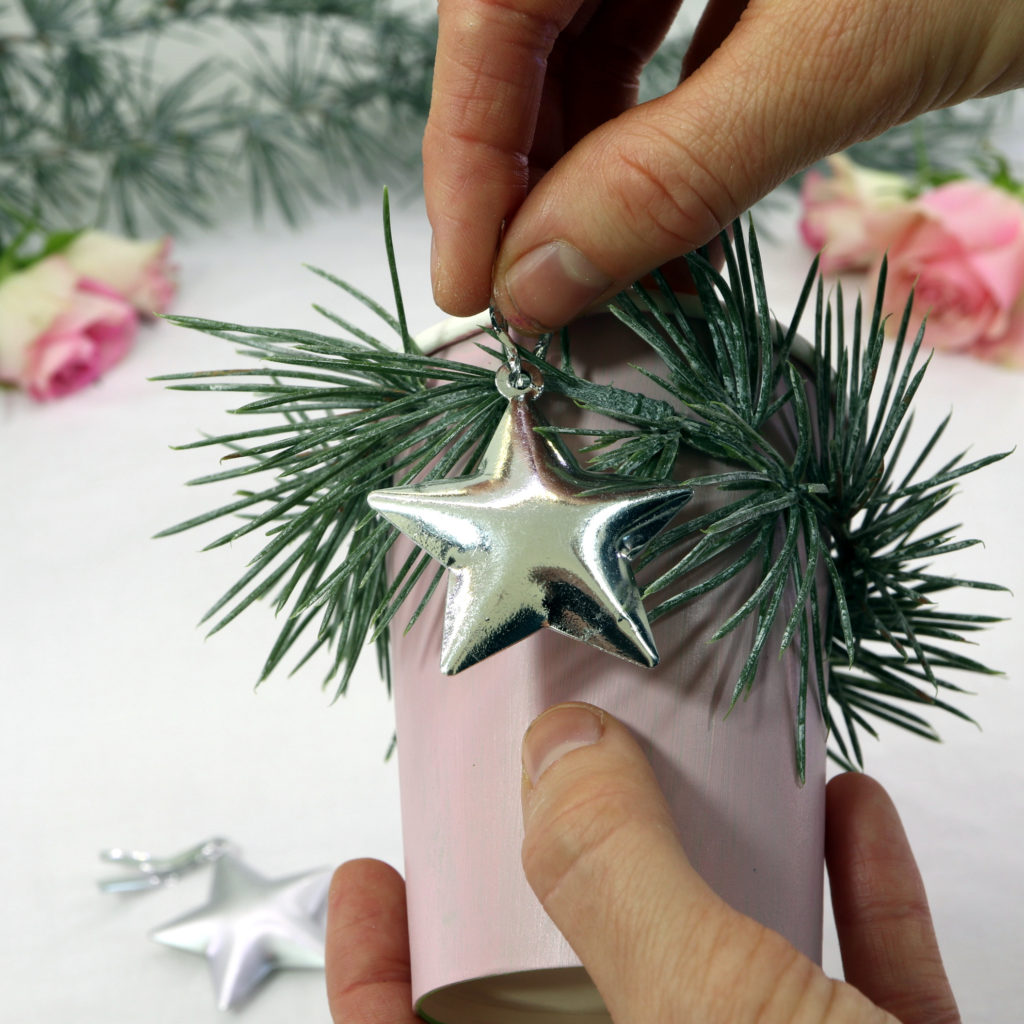
Next, you can add the star pendants to the evergreen twigs.
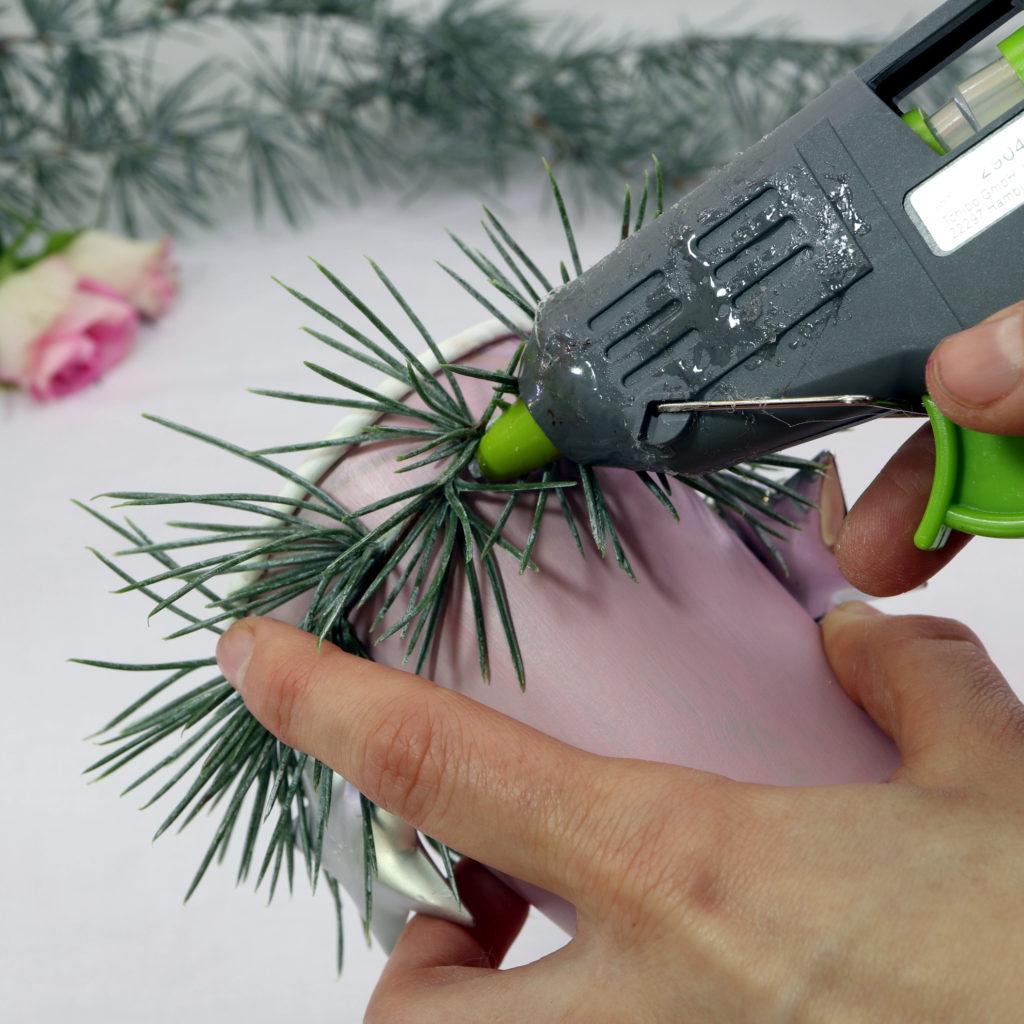
I make use of the hot glue gun, in order to fixate everything.

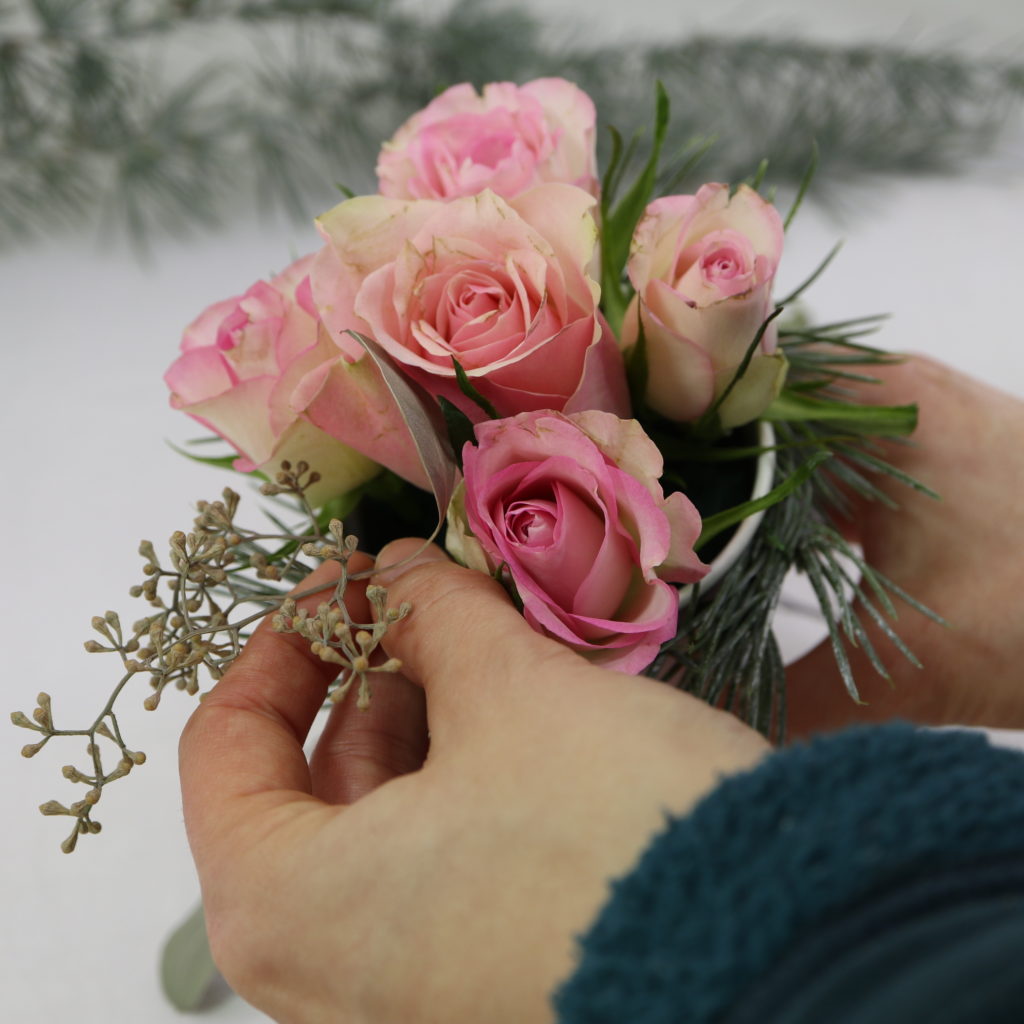
Step 5: Cut the flowers
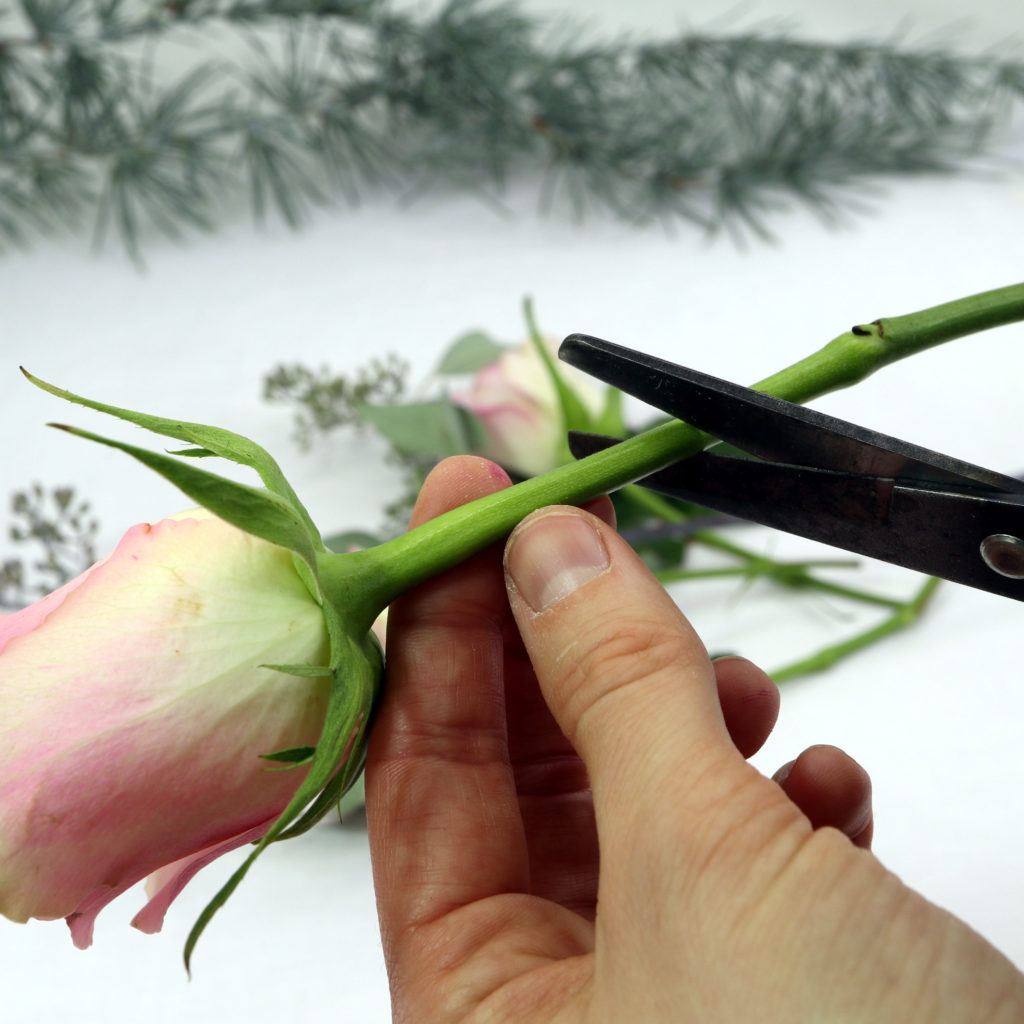
Now, the roses and eucalyptus twigs must be cut to the right length. I chose a length of about 4cm.
Step 6: Insert the flowers into the floral foam
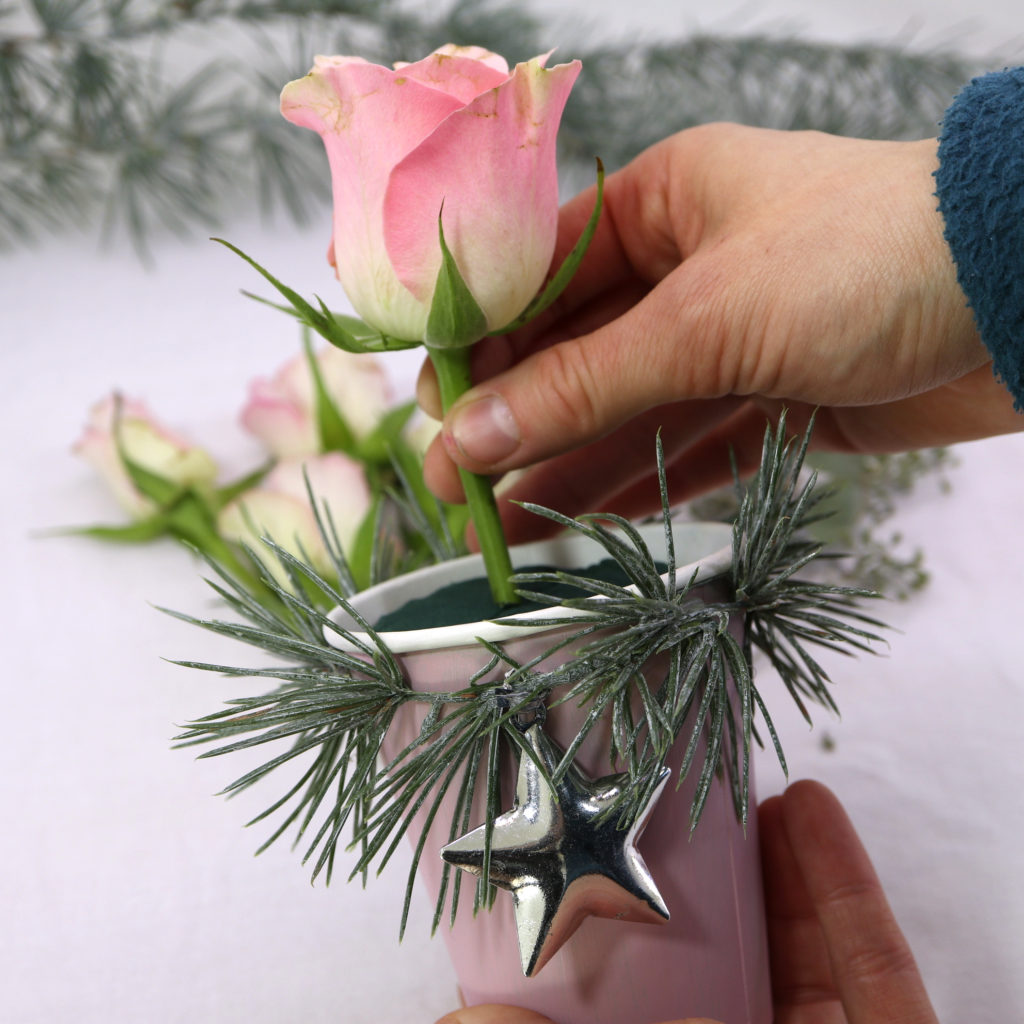
The next step is to insert the roses and eucalyptus twigs into the floral foam. You can arrange them as you like most.
Step 7: Make a star-shaped label
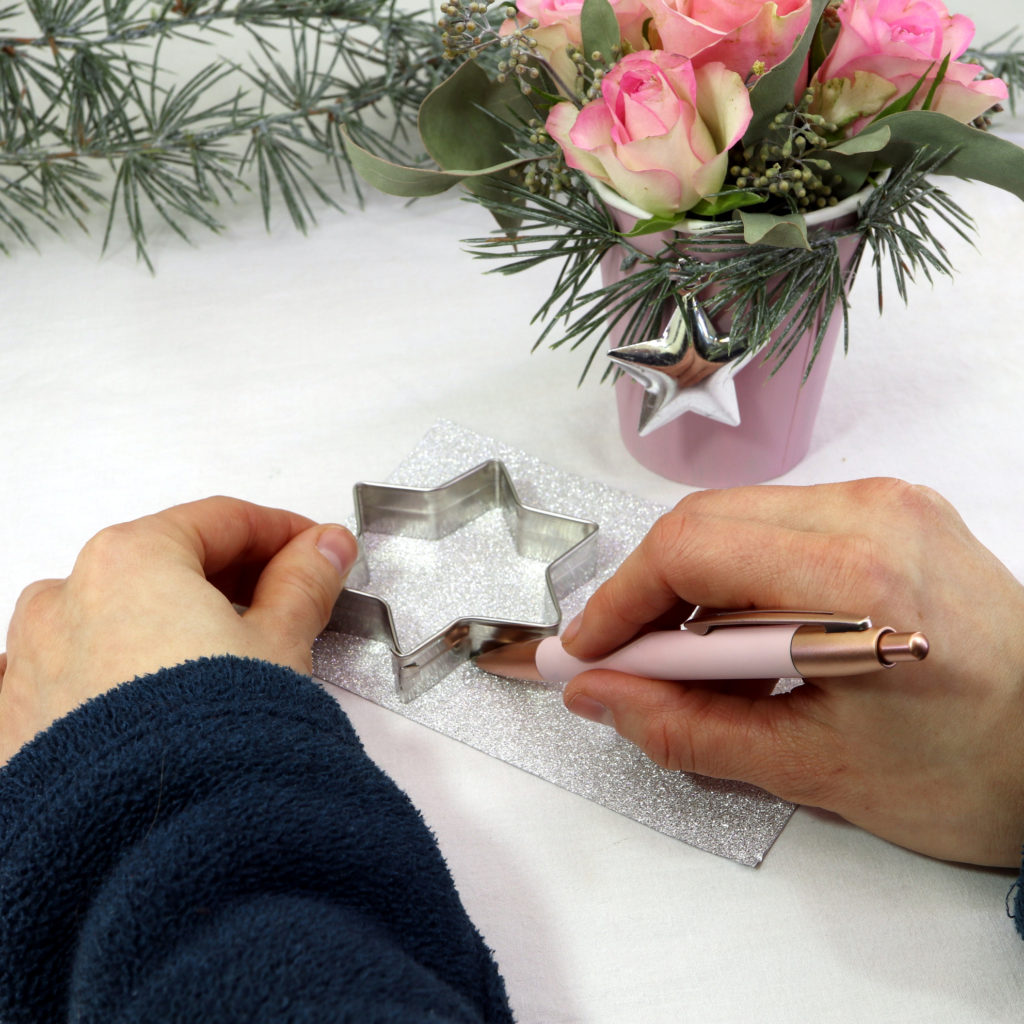
The last step is to make a star-shaped label with some message. I make the stars out of the glitter paper. Therefore, two pieces of stars are required to have them glittering on both sides. I use two pieces of glitter paper and place them on top of each other. Then I use the star-shaped cookie cutter and a pen to draw the star shape. Next, I use the scissors to cut out two stars at the same time.
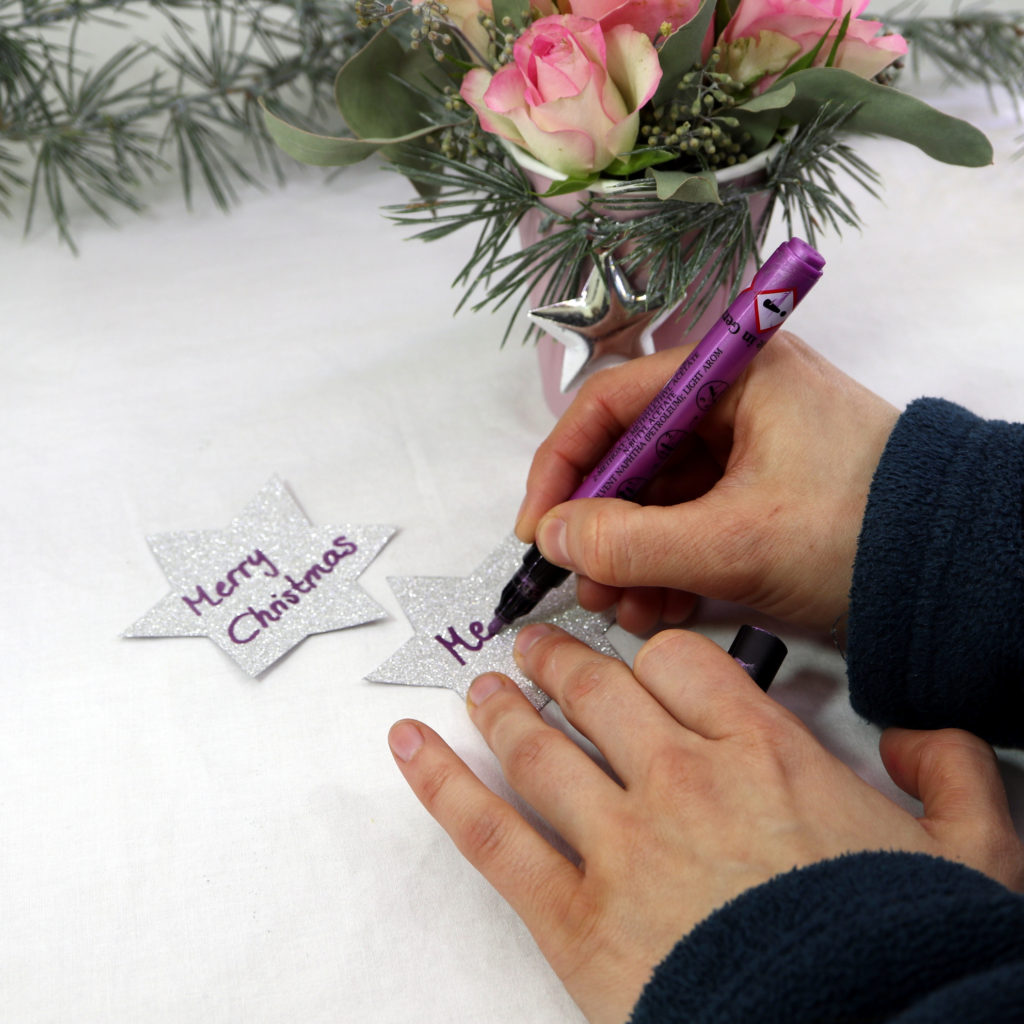
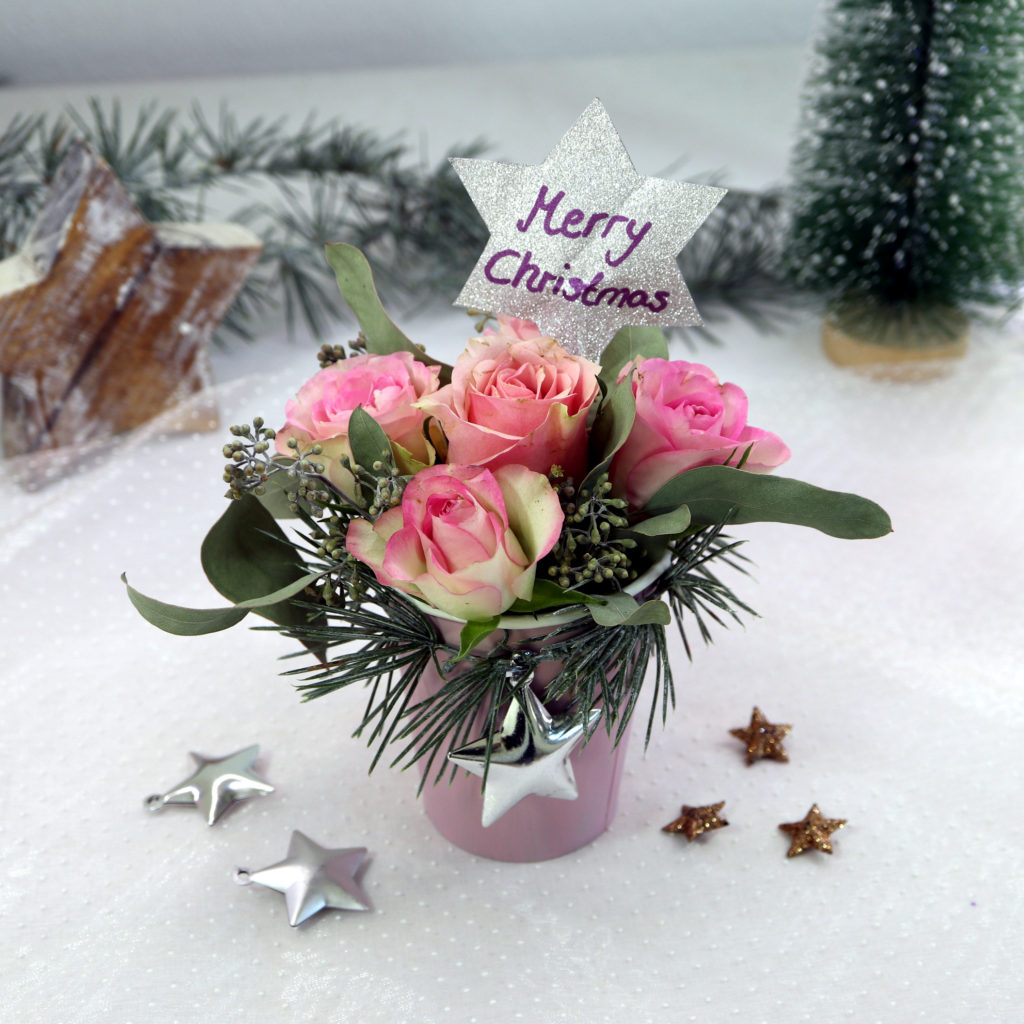
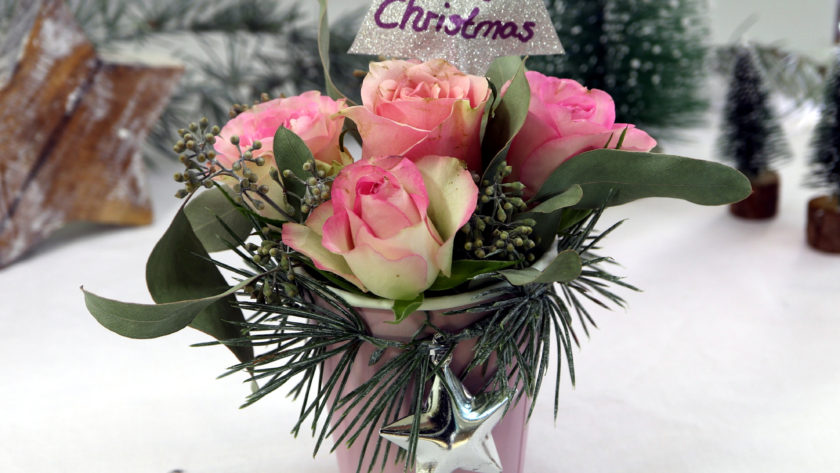
Now, you can write down a short message on the glitter stars. I chose “Merry Christmas”.
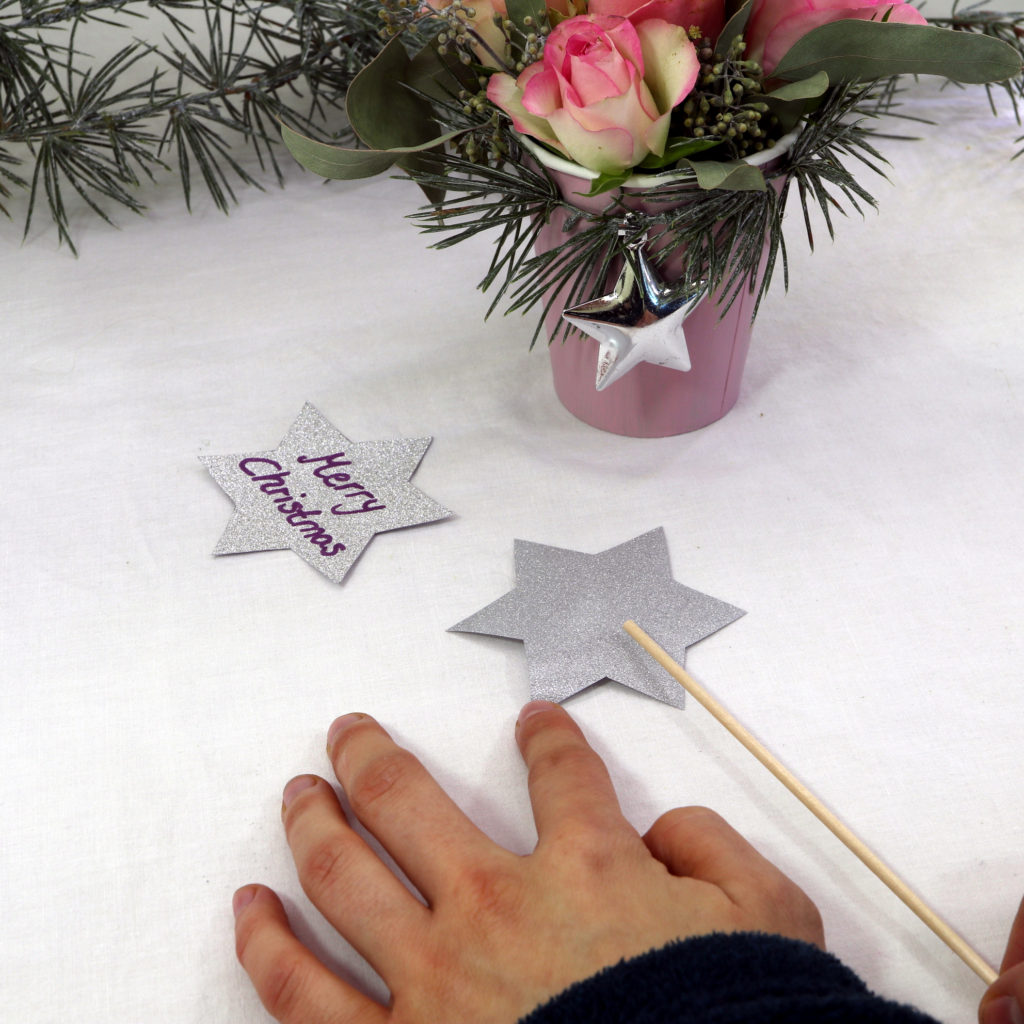
Then, the glitter stars are glued on top of the natural skewers. Since I made use of self-adhesive glitter paper, no additional glue is required.
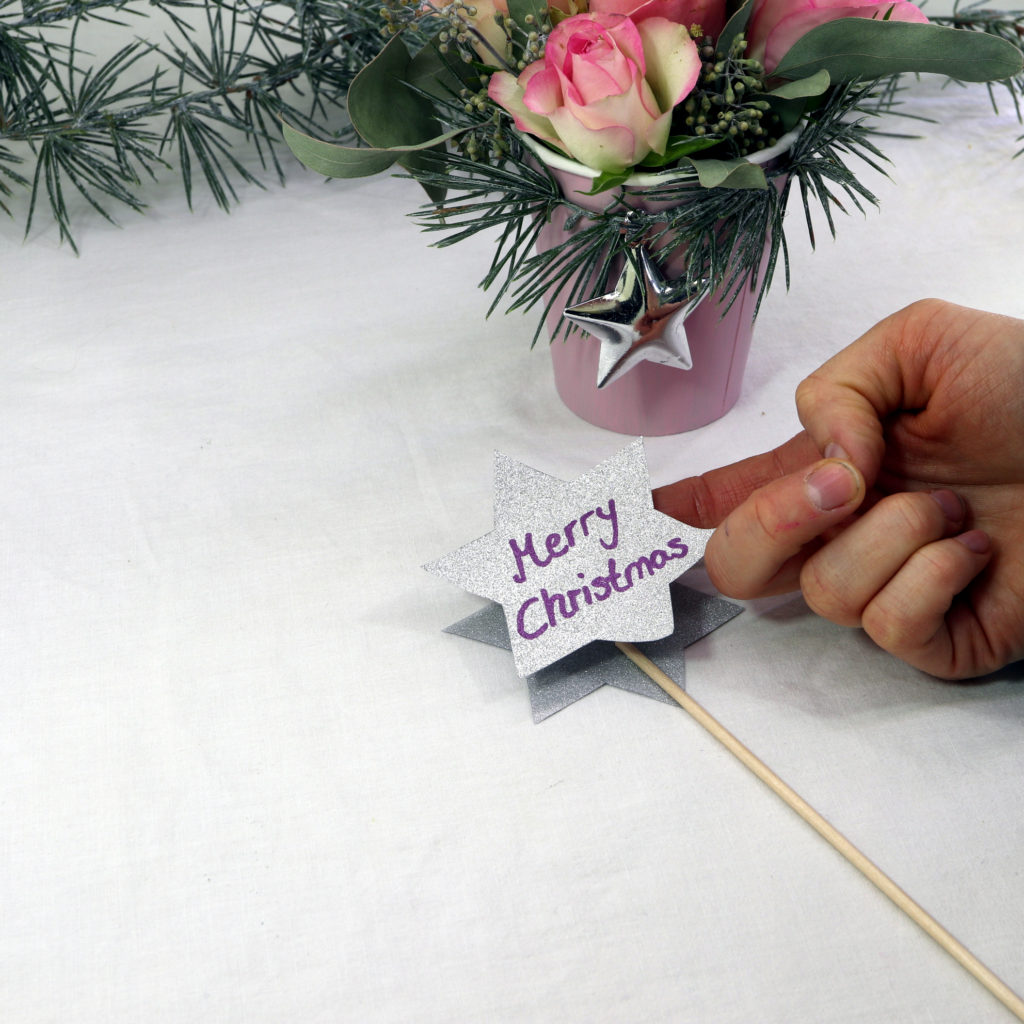
Now you can stick the skewer with the star into the floral foam as well.
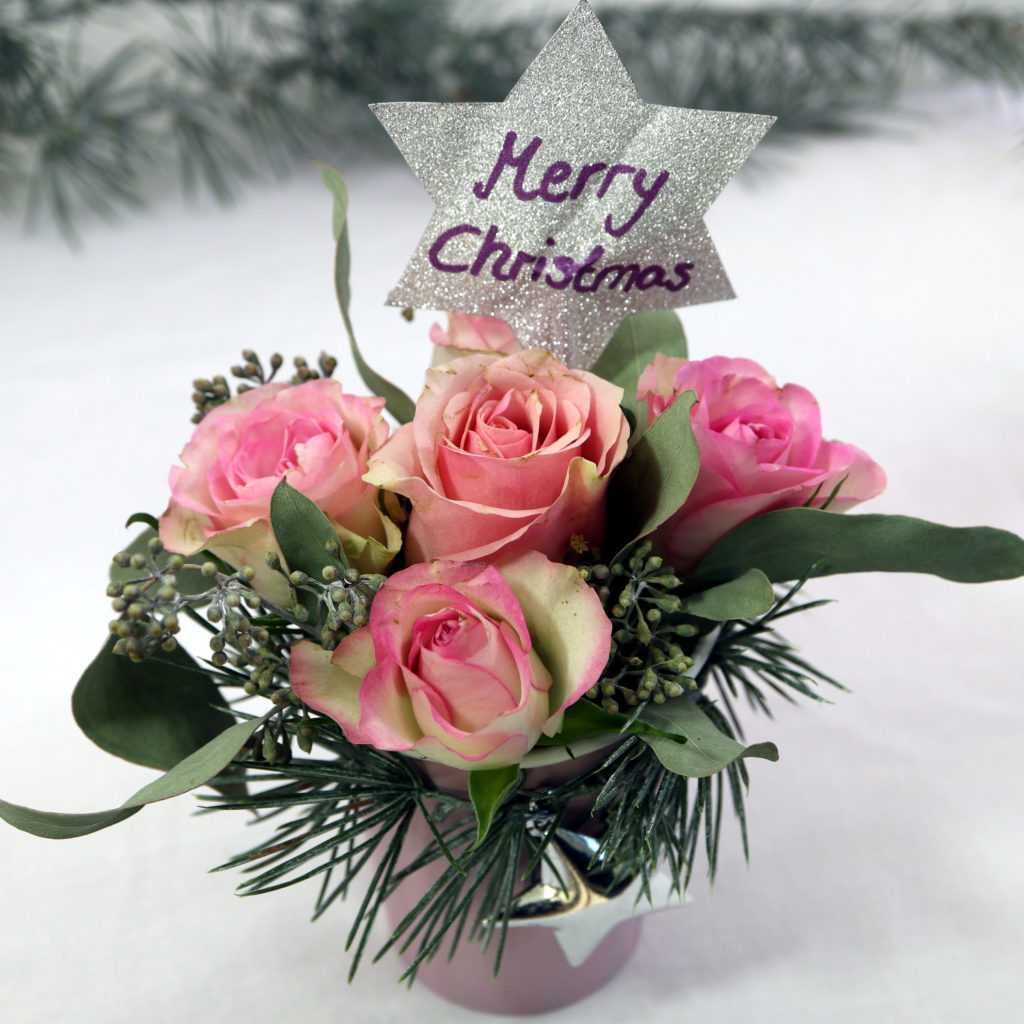
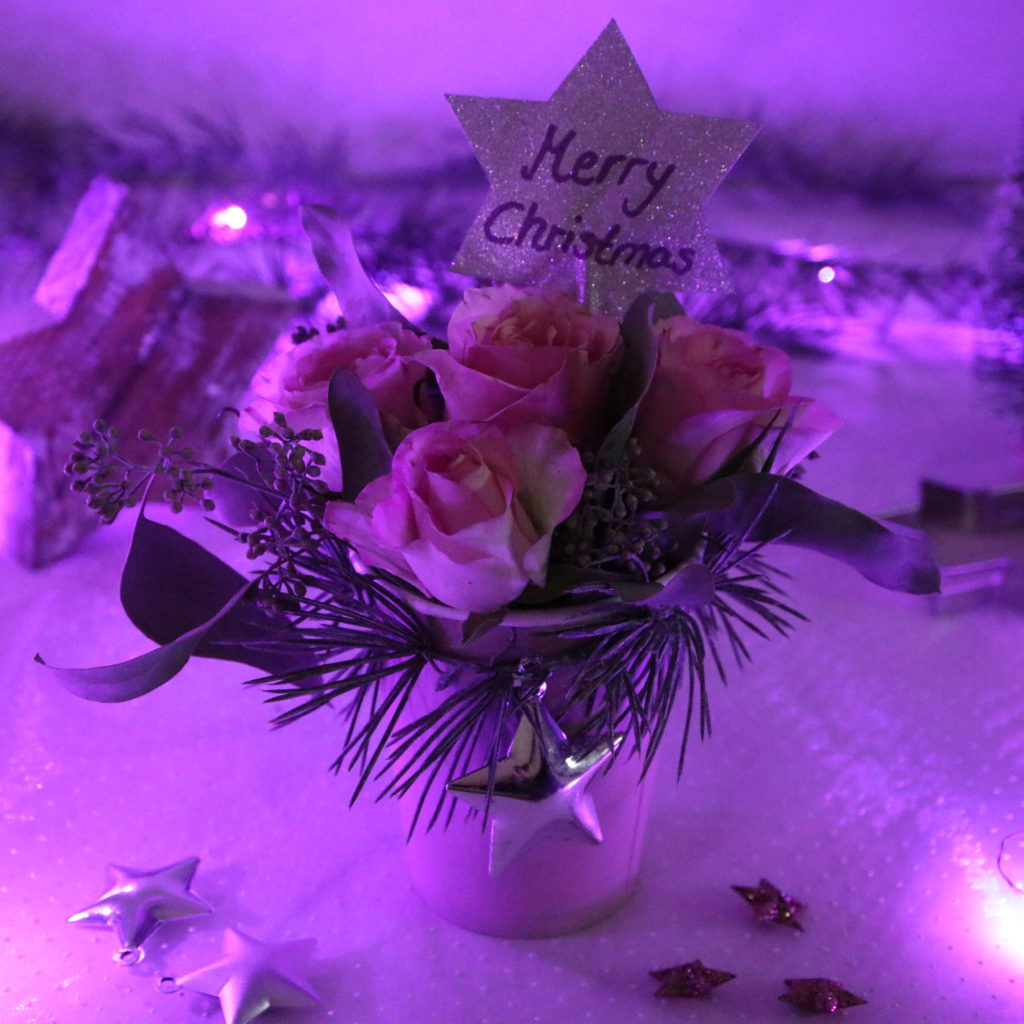
And you’re done! Now, you made some Roses-to-Go! I hope you enjoyed making this alternative to flower pots when giving away some flowers as present!