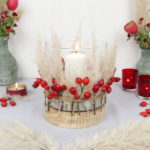
Today I show you how you can make a decorative board with a nailer yourself! In more detail, I make a table decoration with the help of a pneumatic nailer to shoot nails into a wood board. Different decorative elements can be pinned on the nails. For example, candles, fresh flowers, dried flowers and artificial flowers.
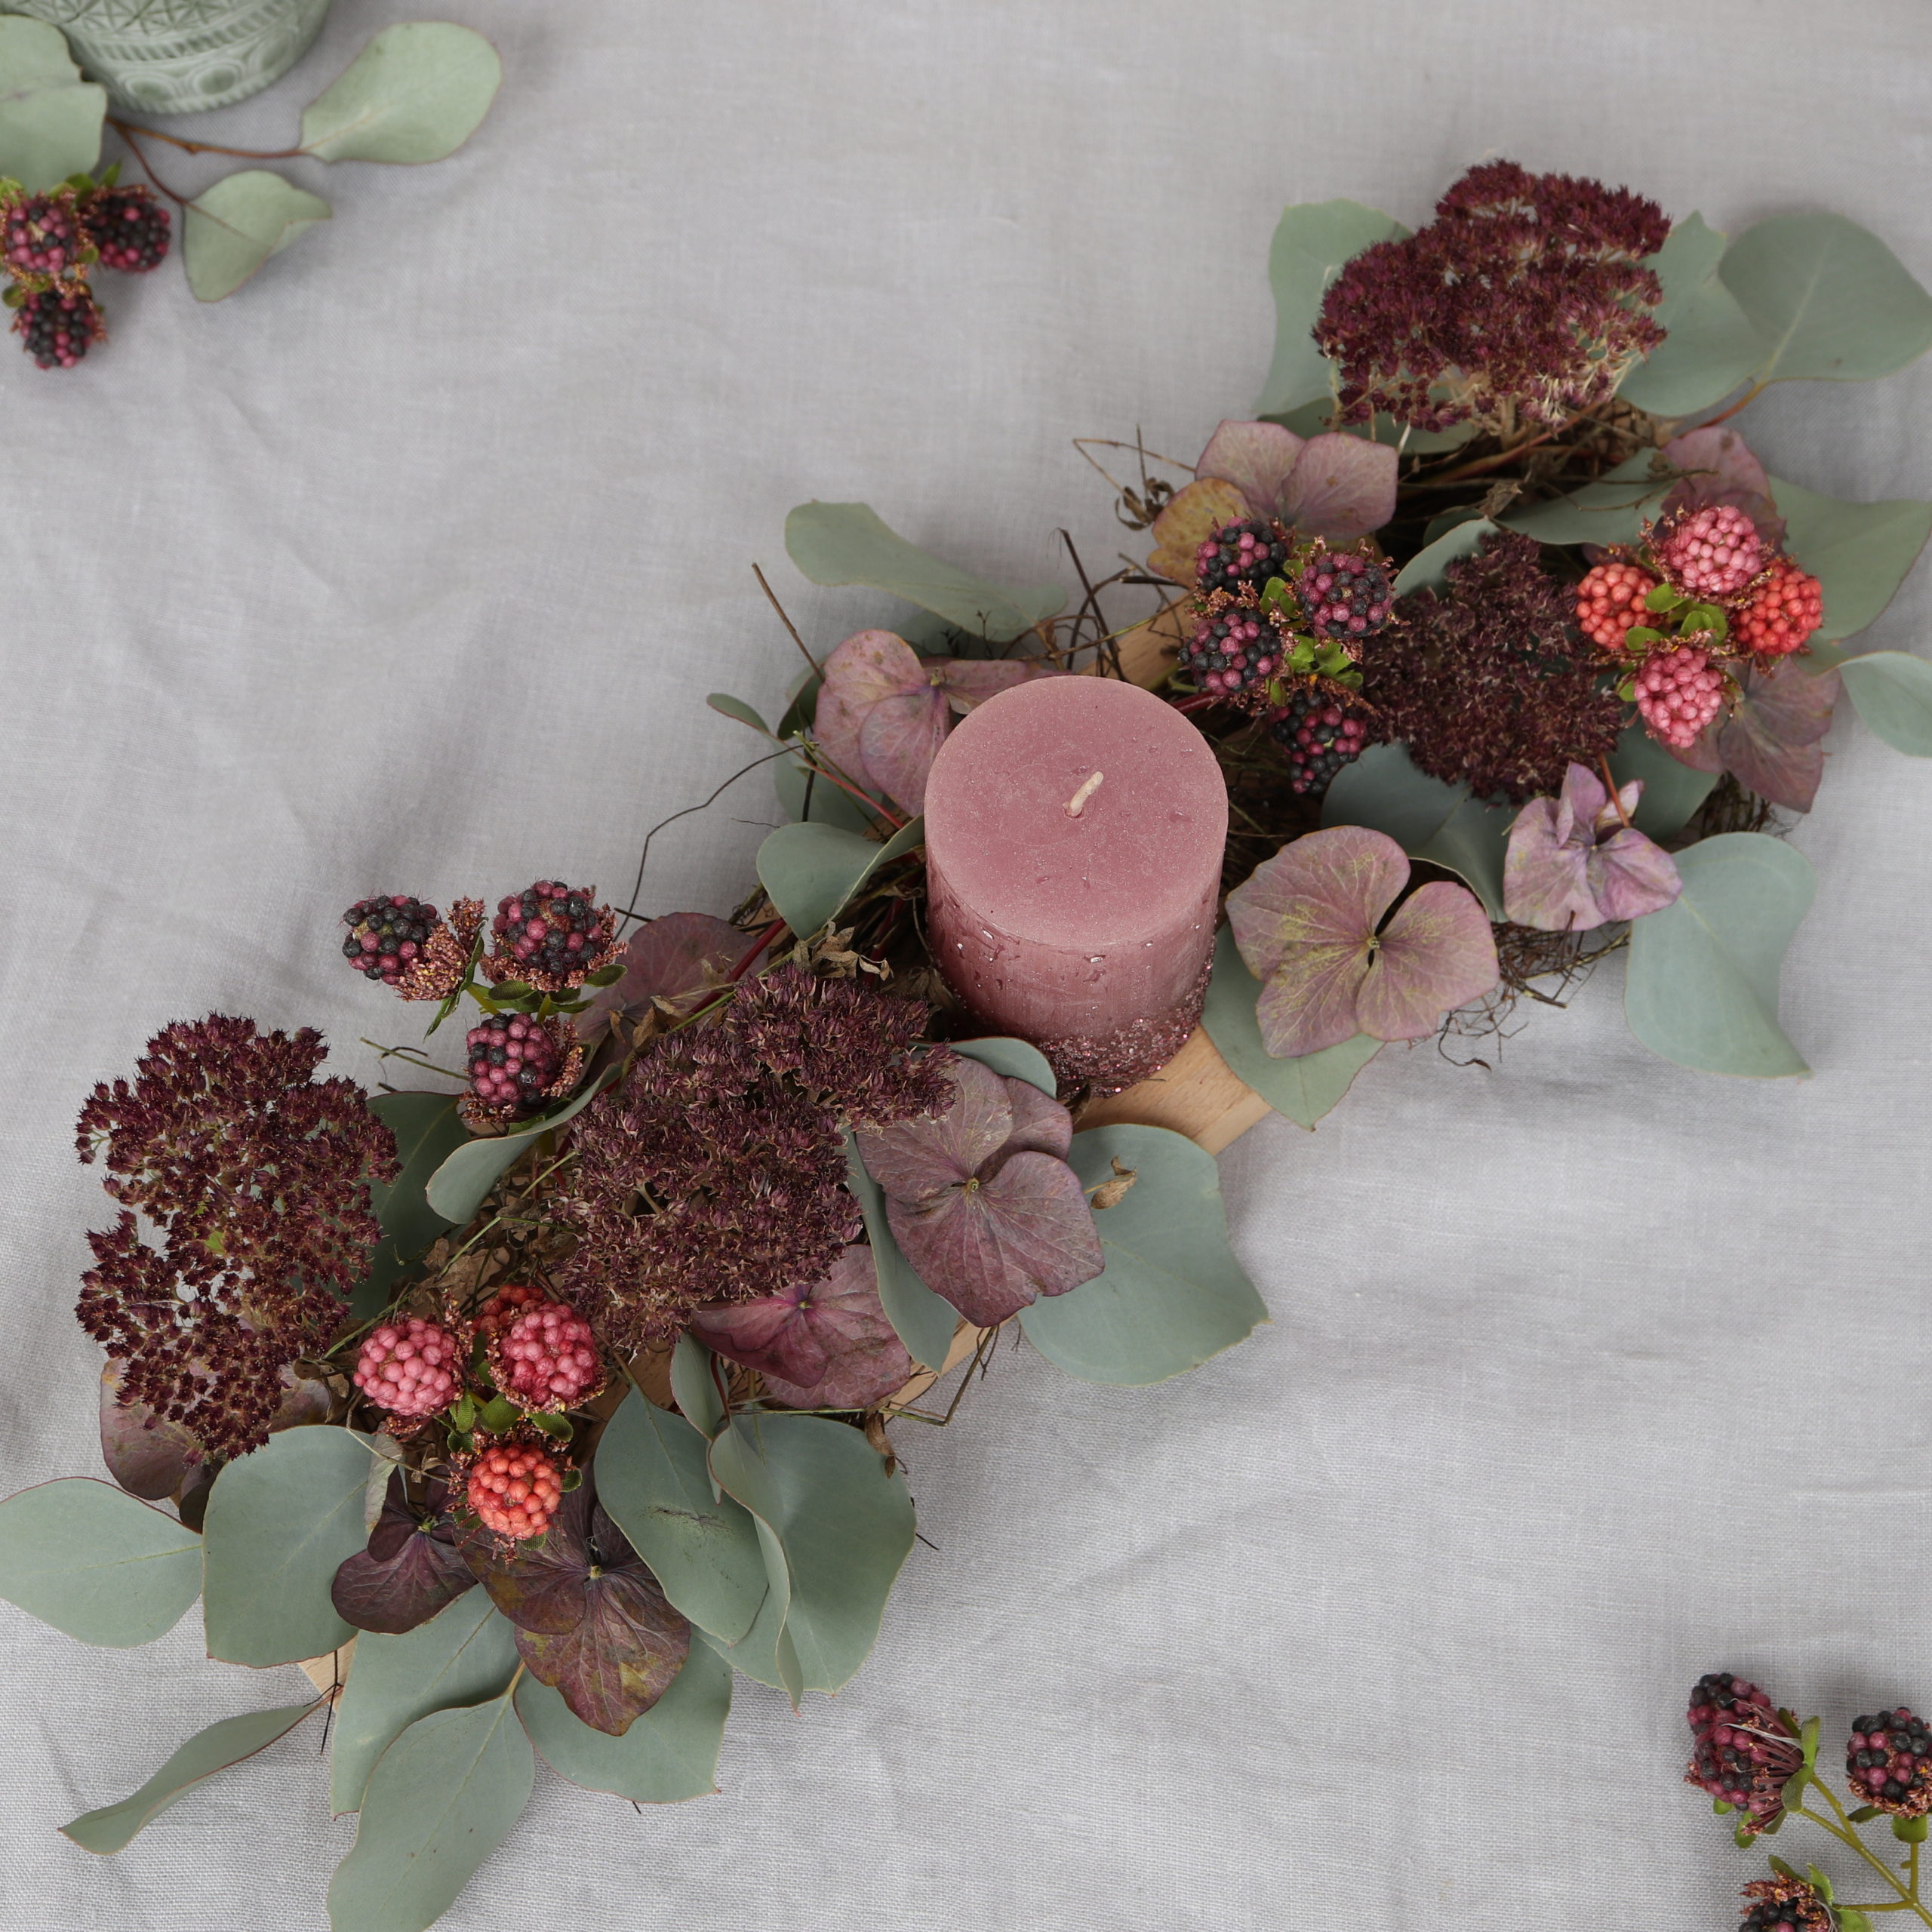
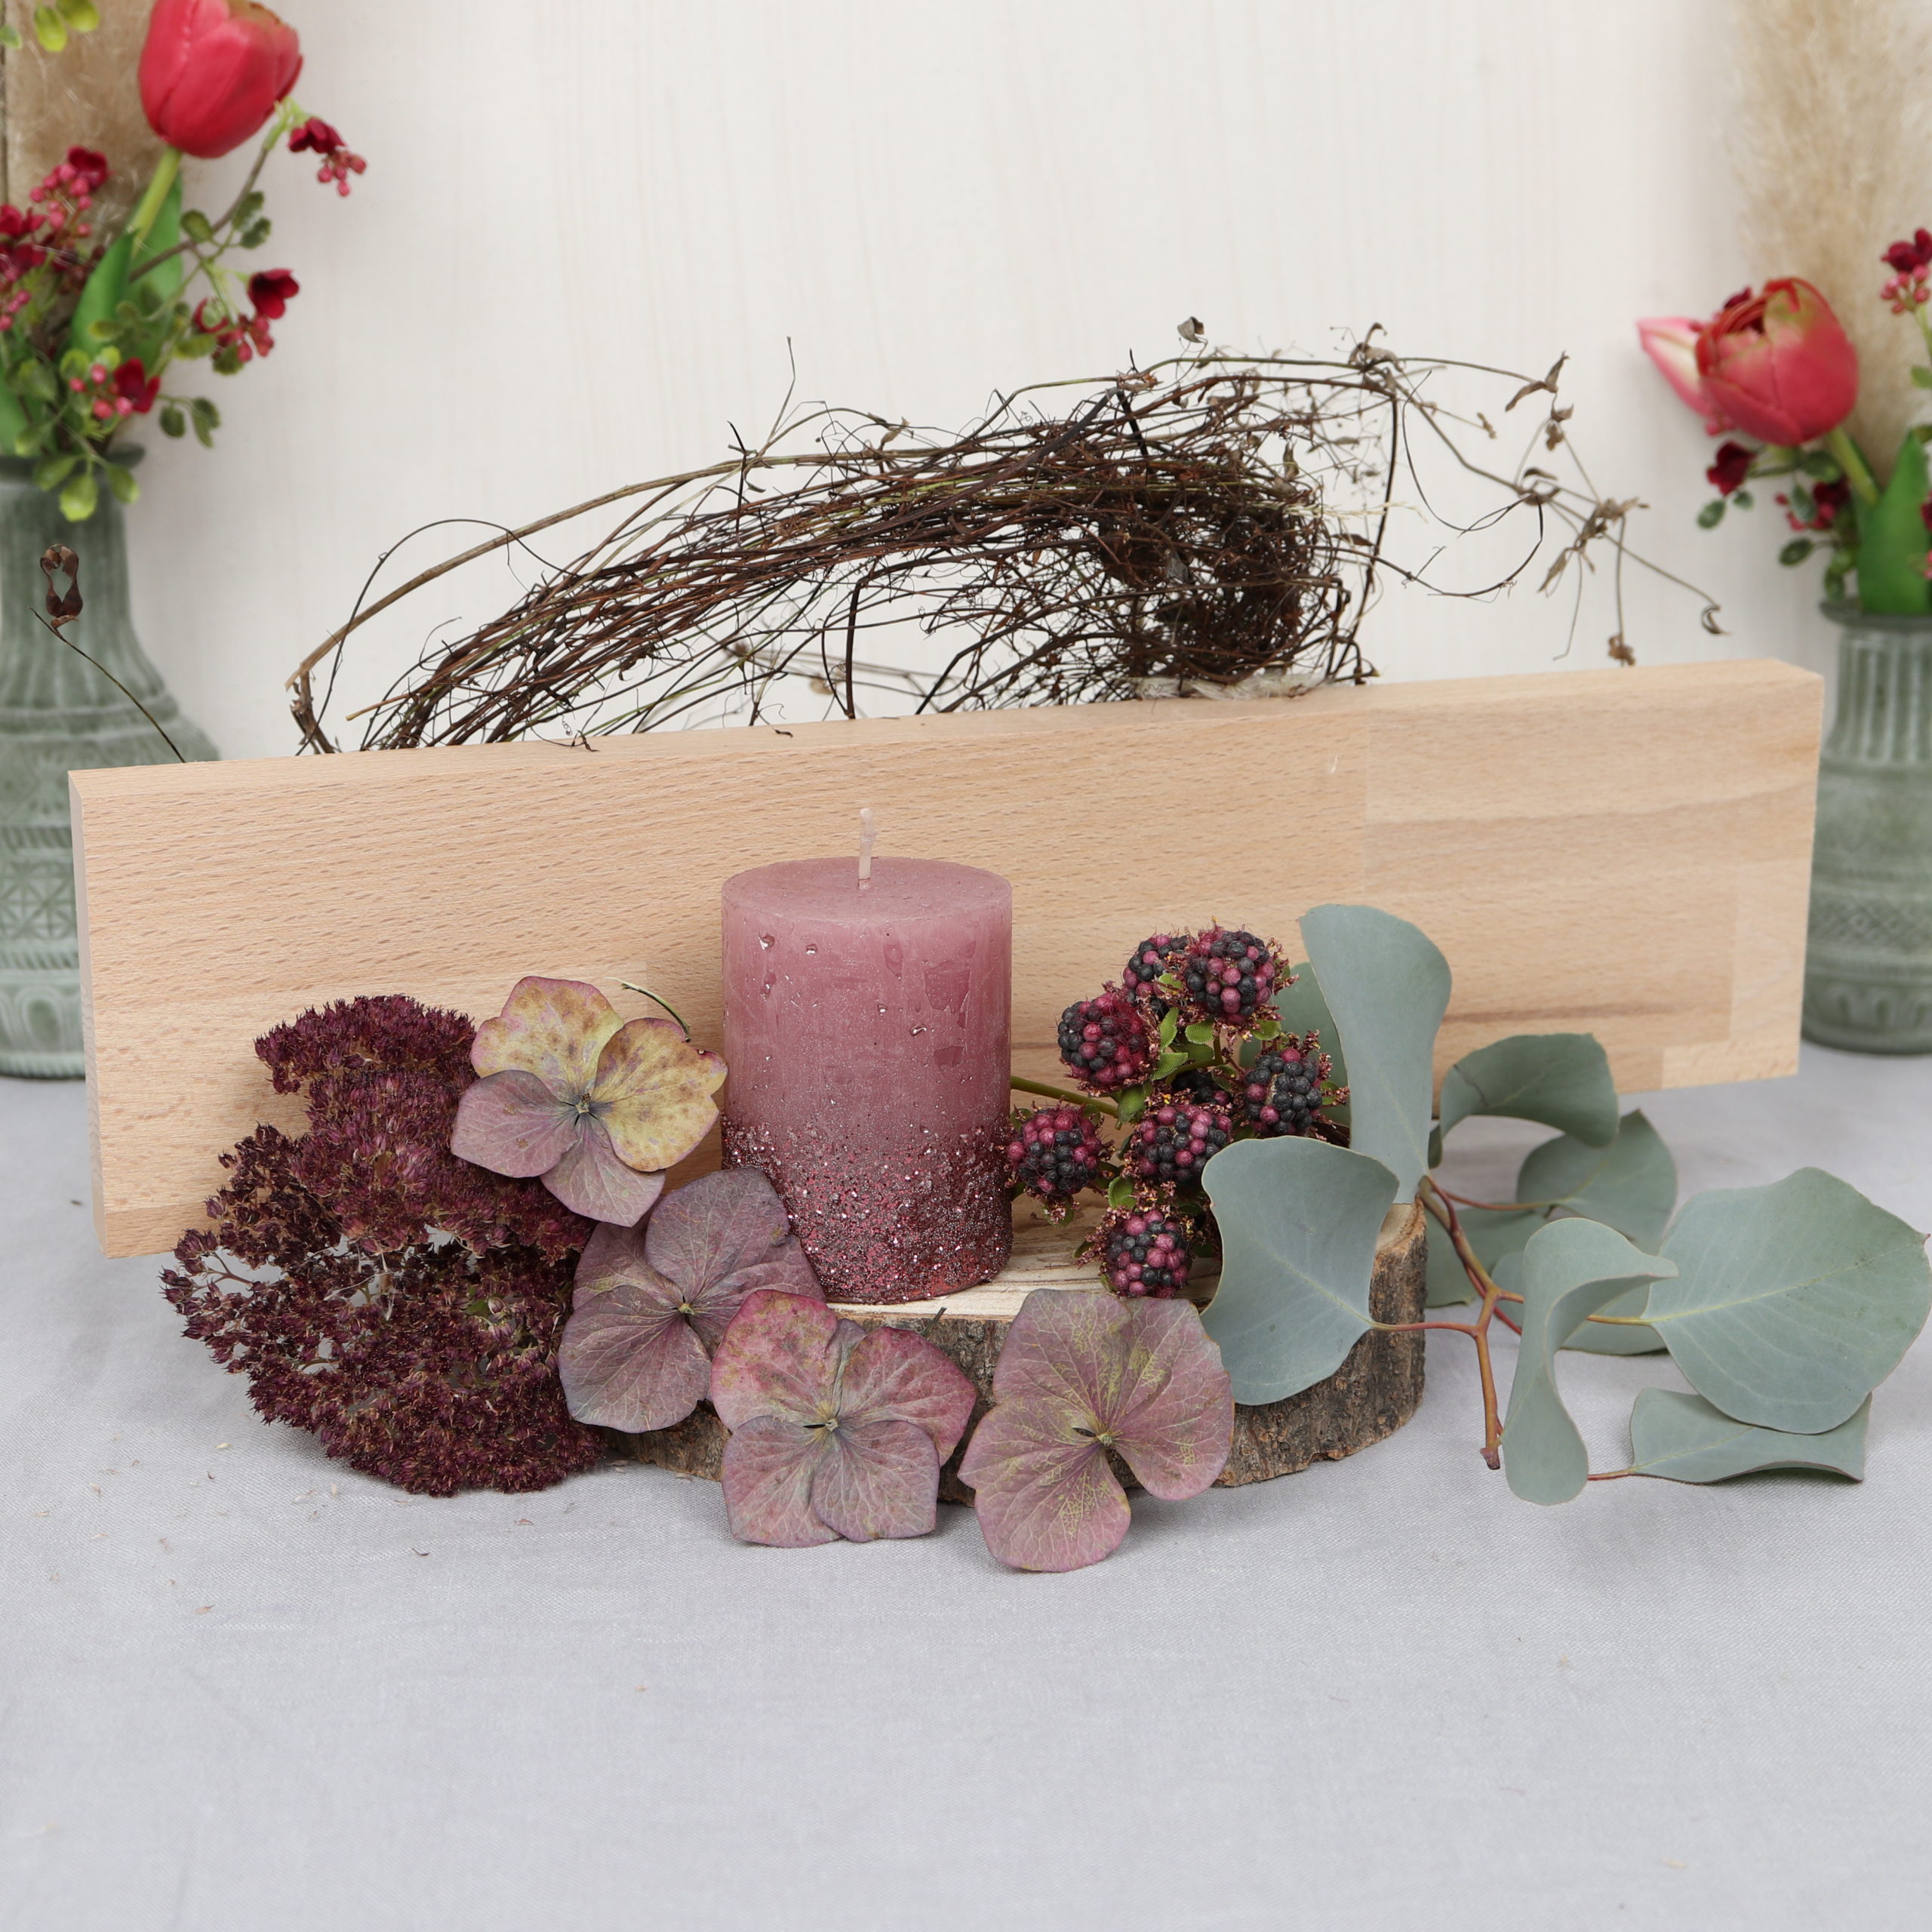
You can always redecorate the board and creatively adapt it to the different seasons! I decorate it today among other things with a candle, fresh eucalyptus, dried stonecrop and artificial blackberries.
With the following step by step instructions you can easily make the decorative board yourself!
Tools
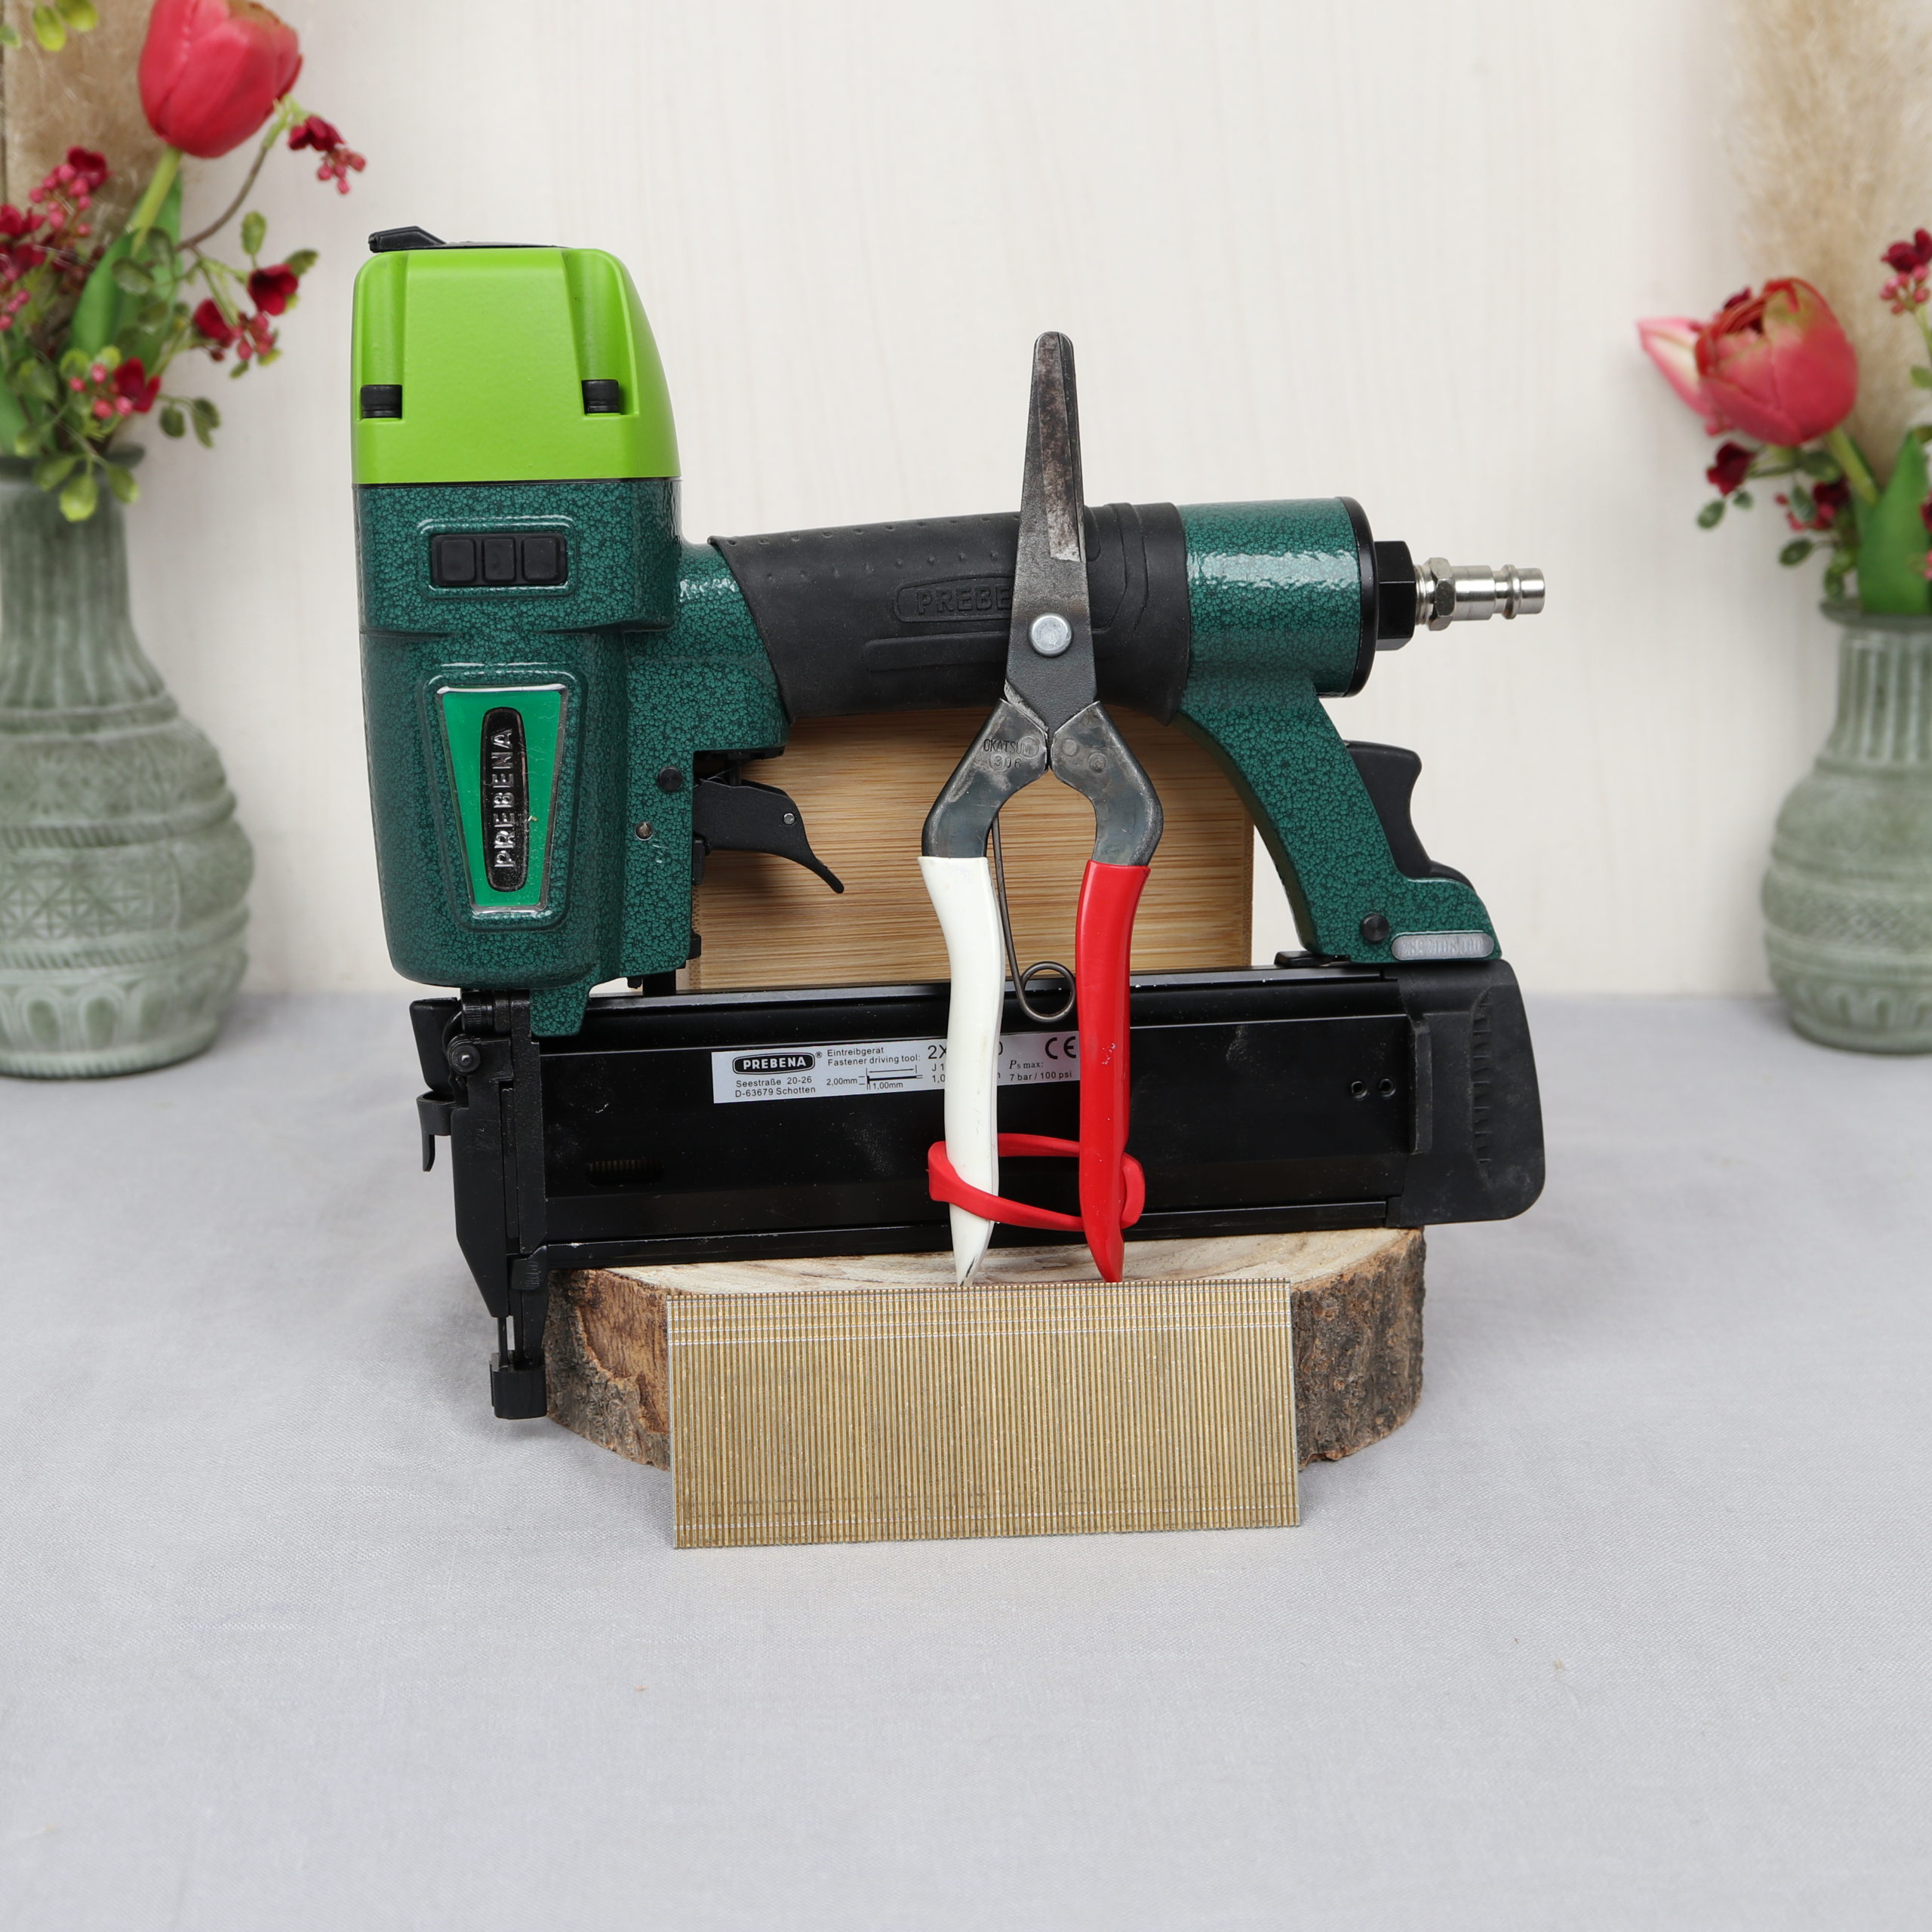
Here you can see what tools I used for the decorative board. You need a nailer, long nails and flower scissors. I use the Prebena pneumatic nailer which requires an air compressor (not on the picture).
| Tool | Search on |
|---|---|
| Nail gun | |
| Nails (long) for nail gun | |
| Air compressor (if pneumatic nailer is used) | |
| Flower scissors | |
| I use the Japanese flower scissors Okatsune 304 |
Materials
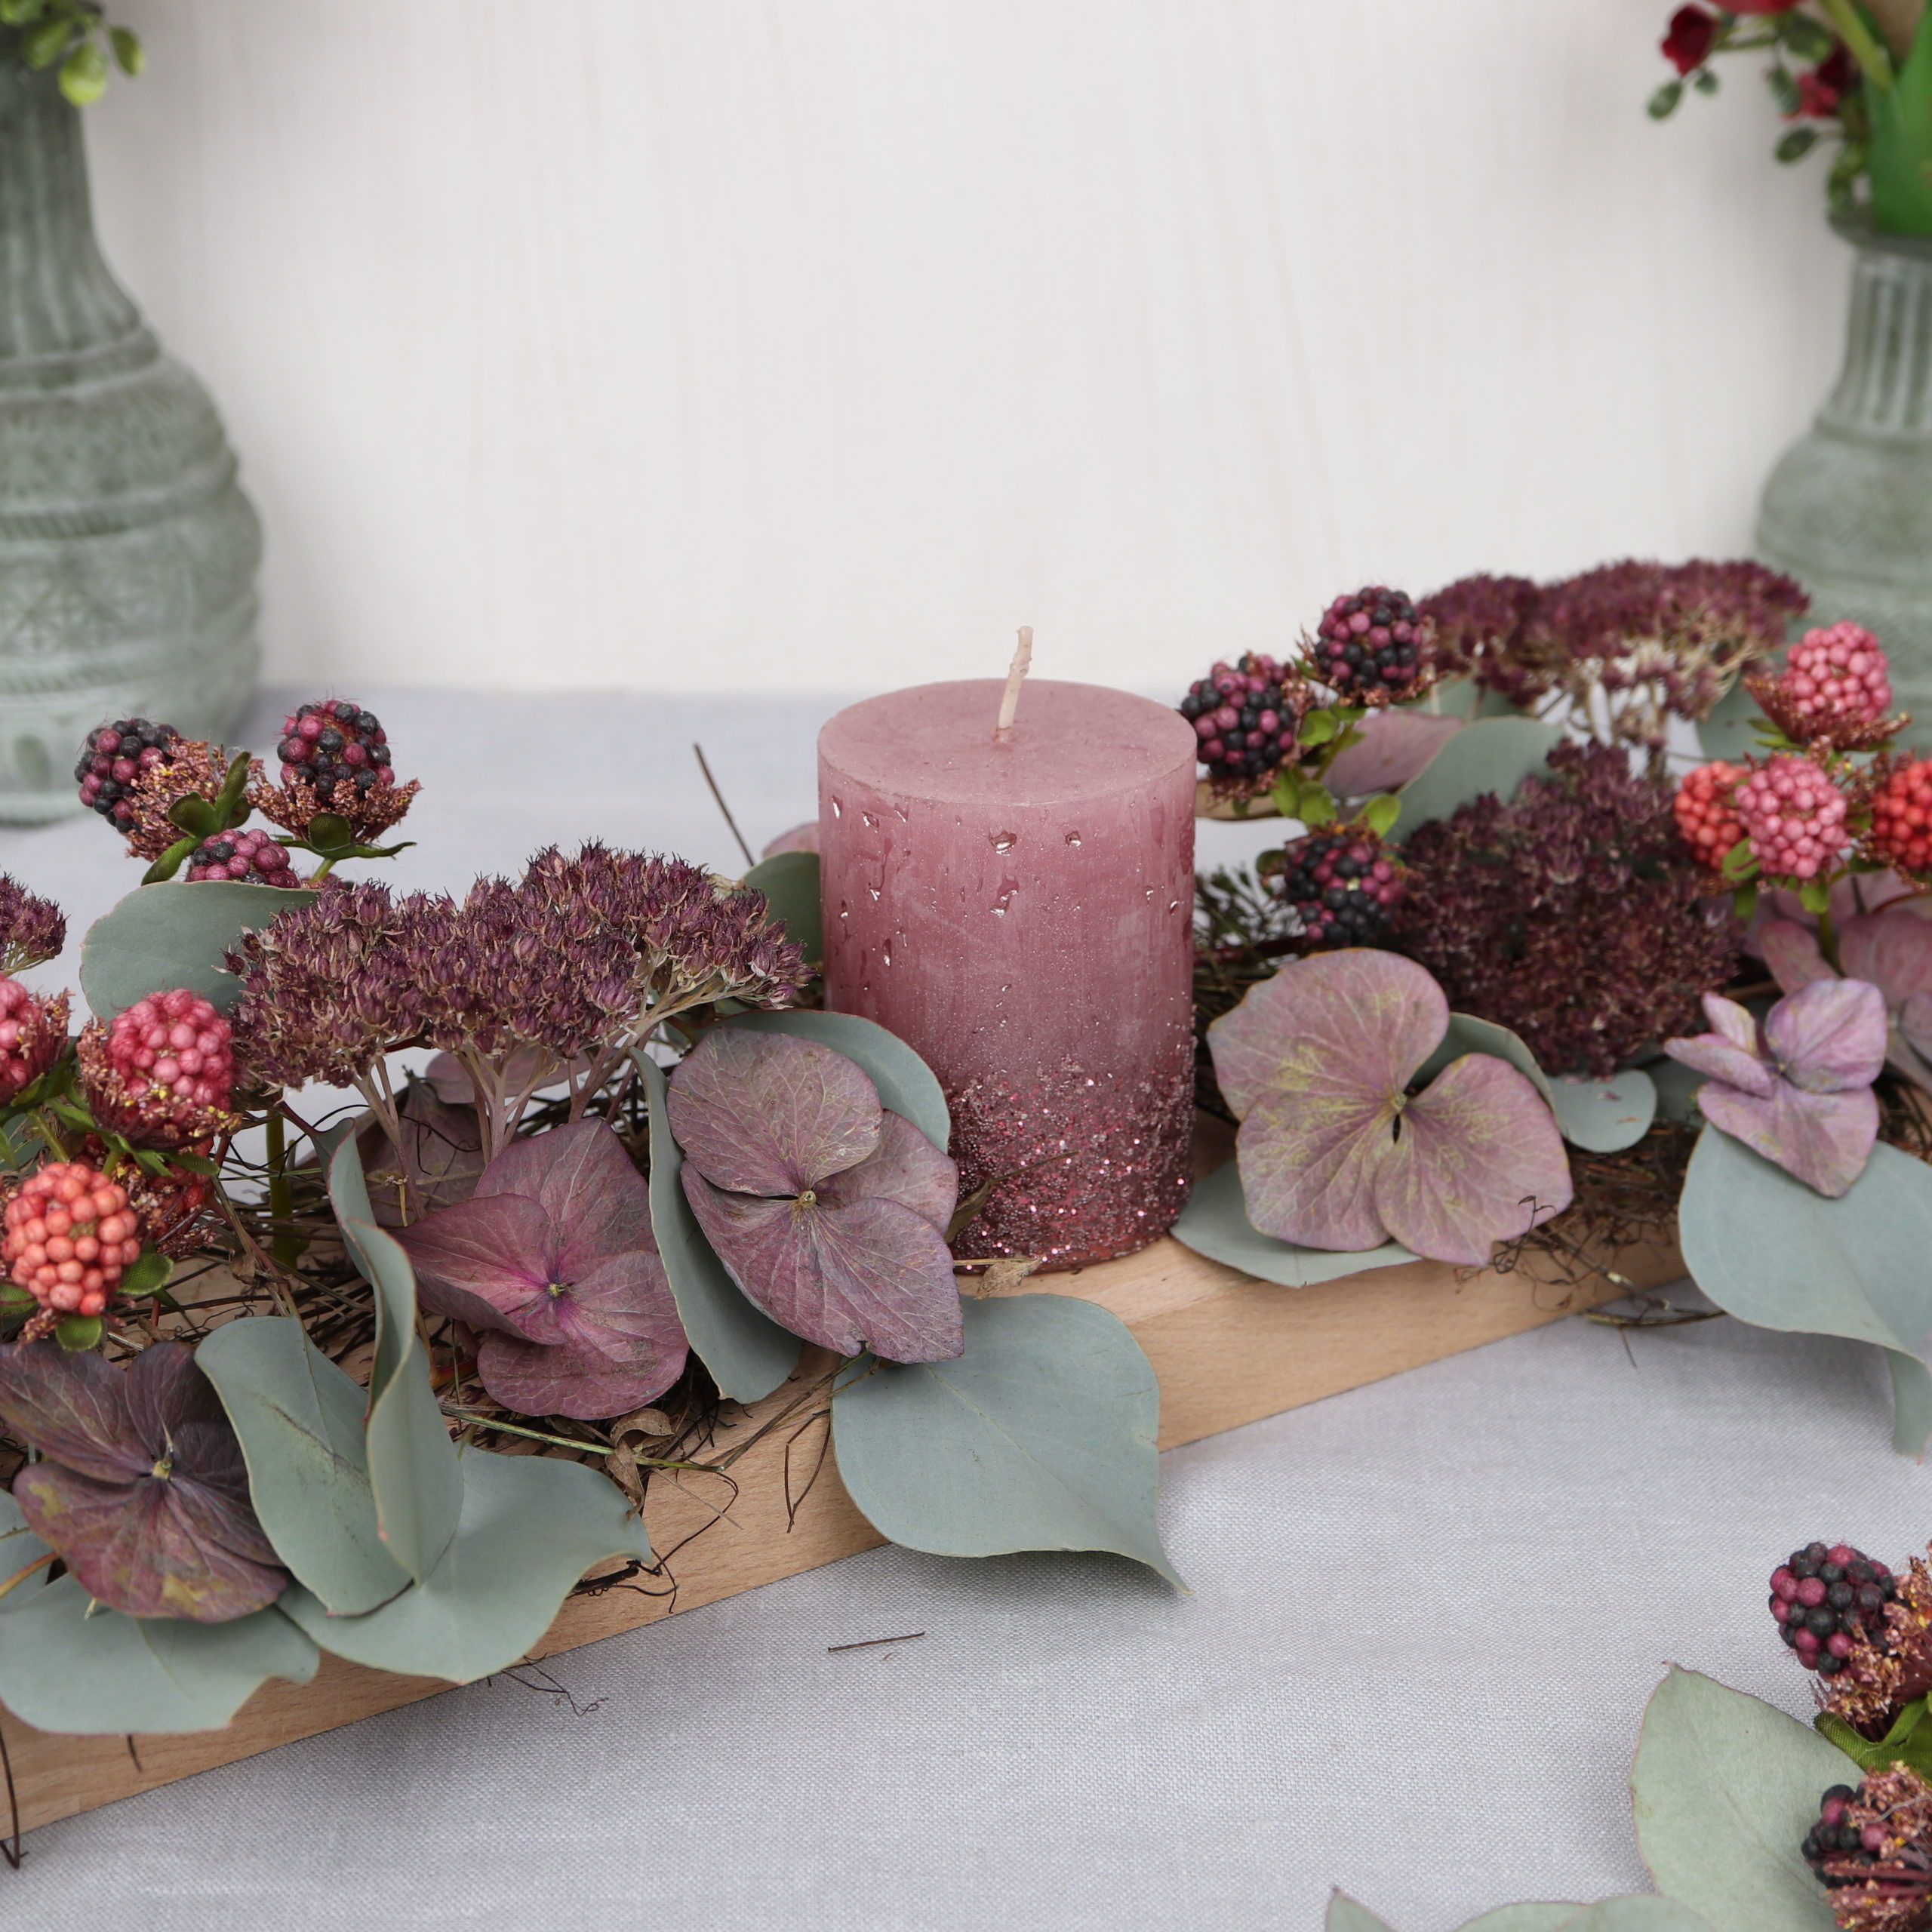
These are the materials I used for the flower board: a wooden board, a pillar candle, fresh eucalyptus, artificial blackberries, dried stonecrop, dried hydrangea flowers, and some herb-, burdock-, thyme shrubbery.
| Material | Search on |
|---|---|
| Wooden board | |
| Pink pillar candle | |
| Eucalyptus | |
| Artificial blackberries | |
| Stonecrop | |
| Hydrangea flowers | |
| Herb-, burdock-, thyme shrubbery |
DIY Guide for Decorative Board
Step 1: Shoot nails into the board
The first step is to use the pneumatic nailer. With it, I simply shoot the nails into the board.
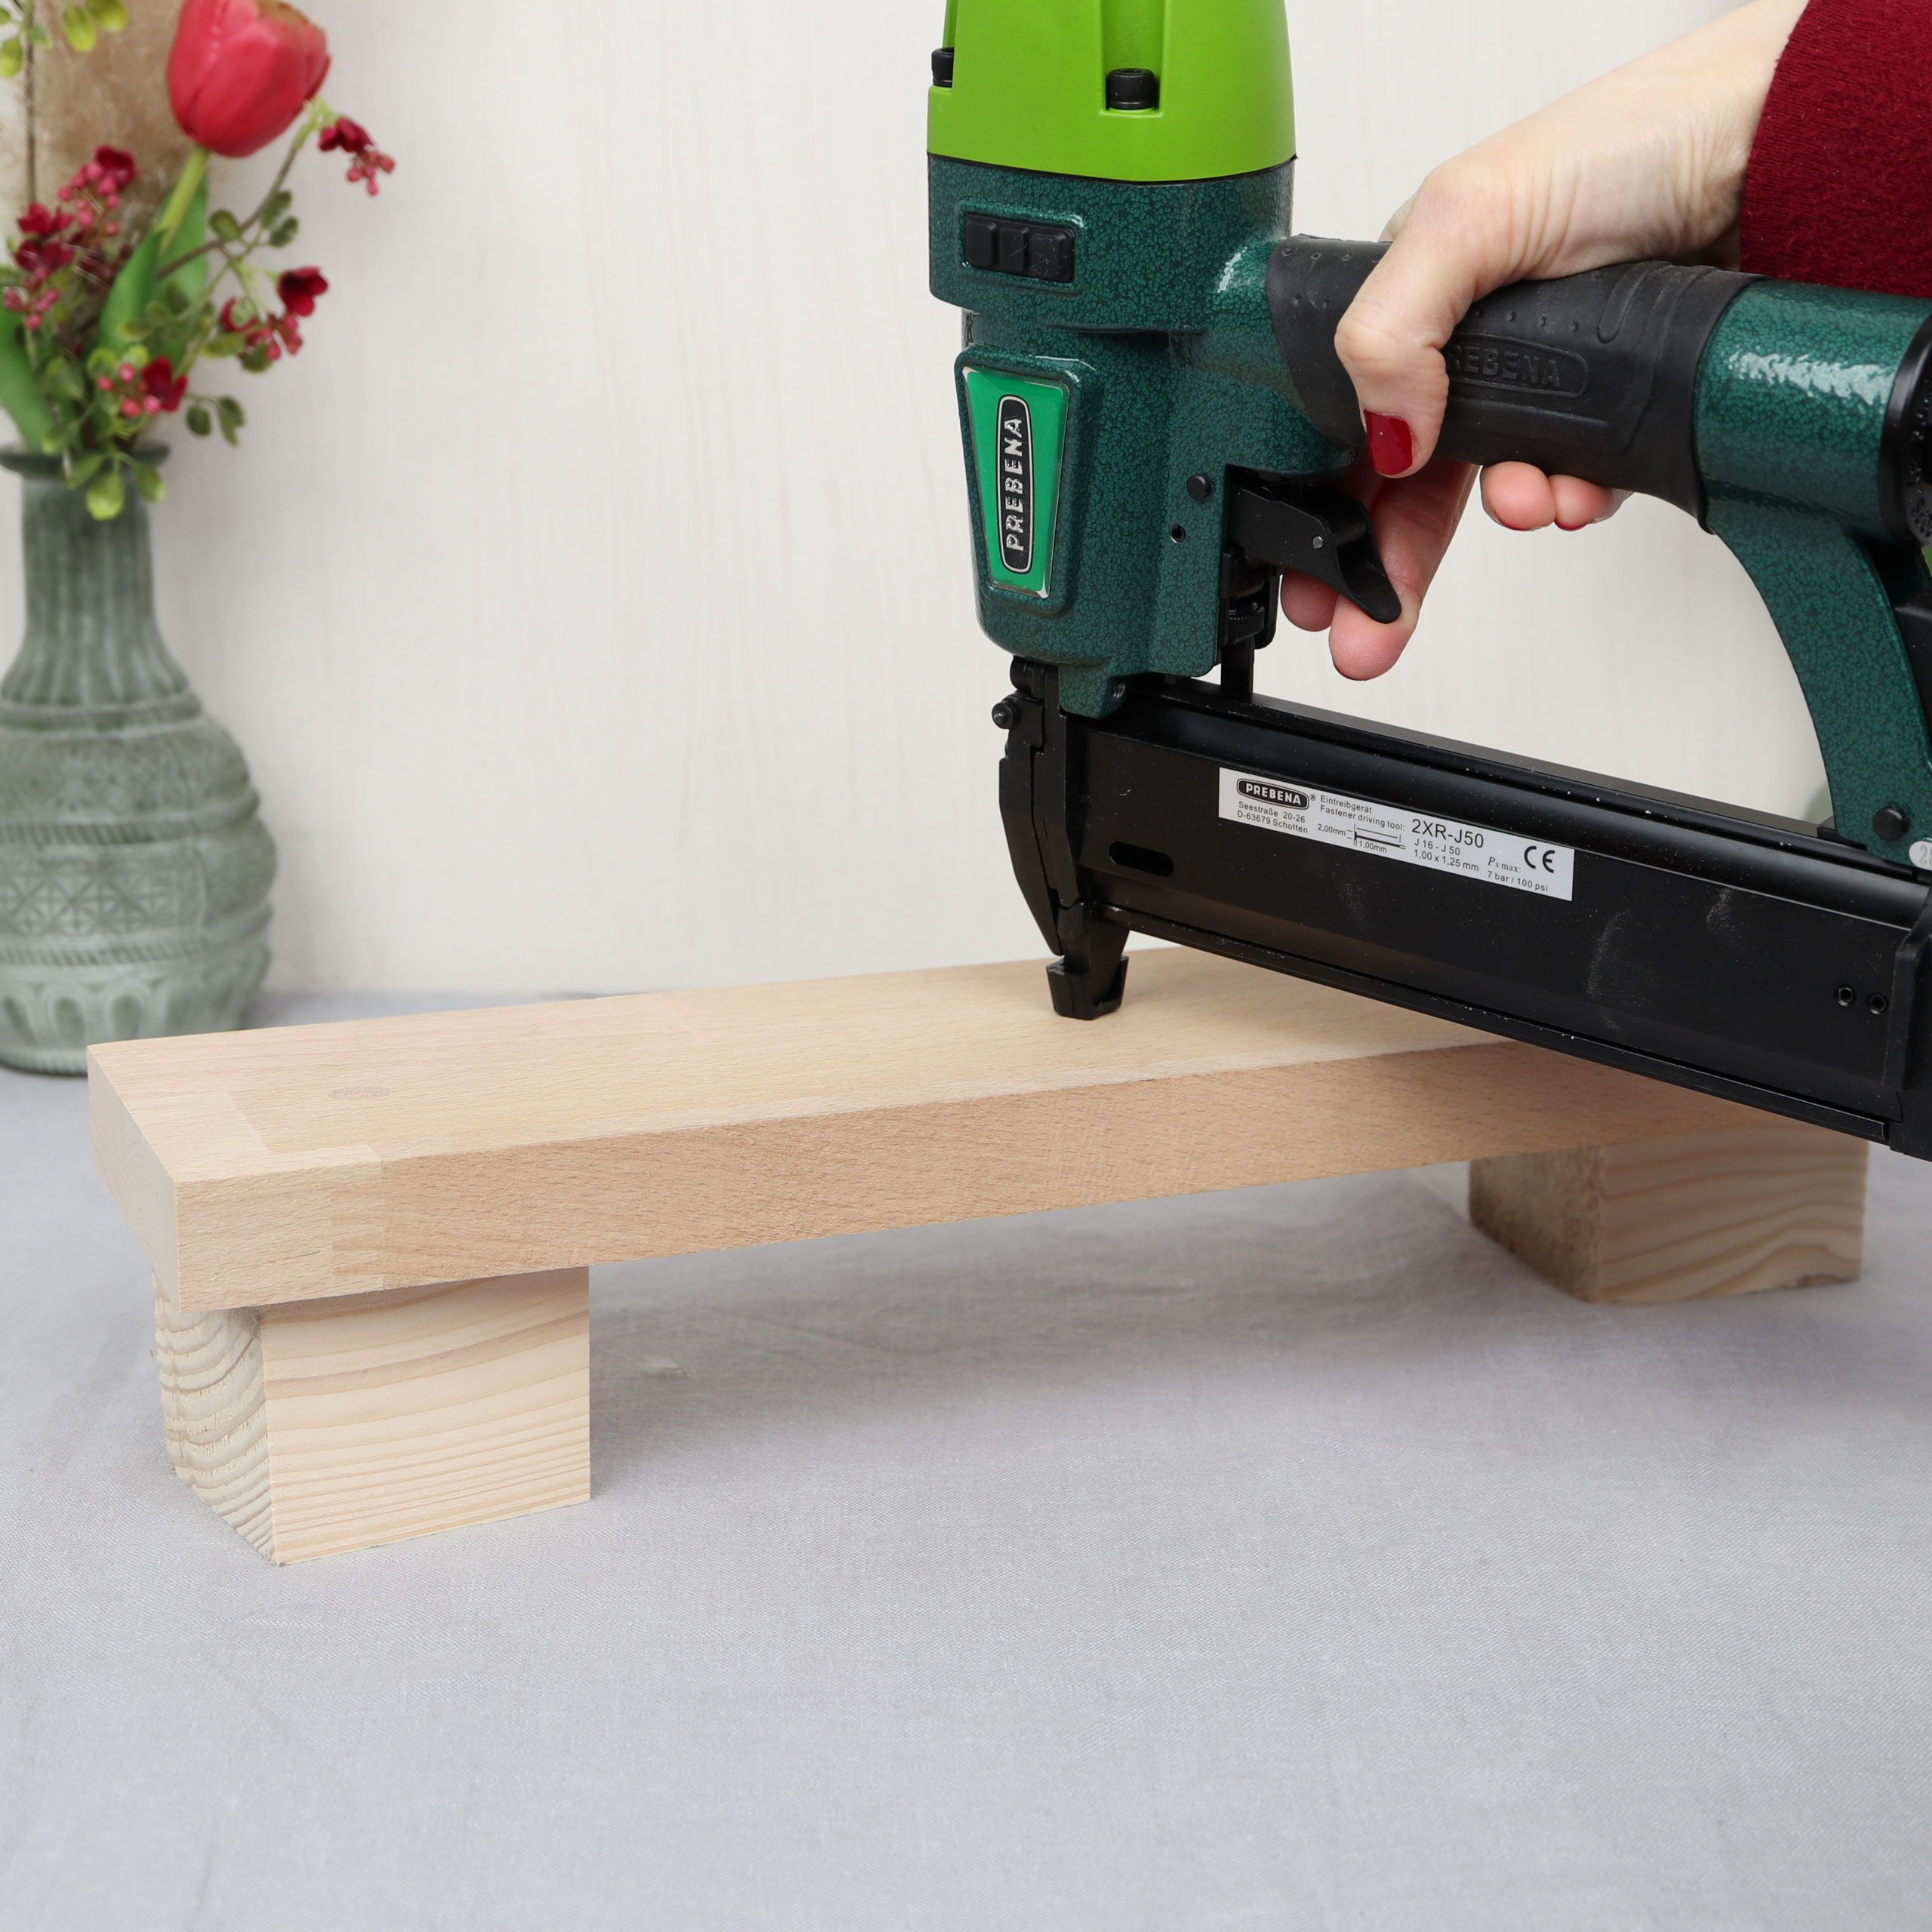
To do this, I first think about where to place the nails. I wanted to have one nail in the middle of the board to put a candle on it. The rest of the nails are placed around it to put flowers on it and to wrap the herbs around.

Now I put the board on two wooden blocks and and shoot the nails through the wood.
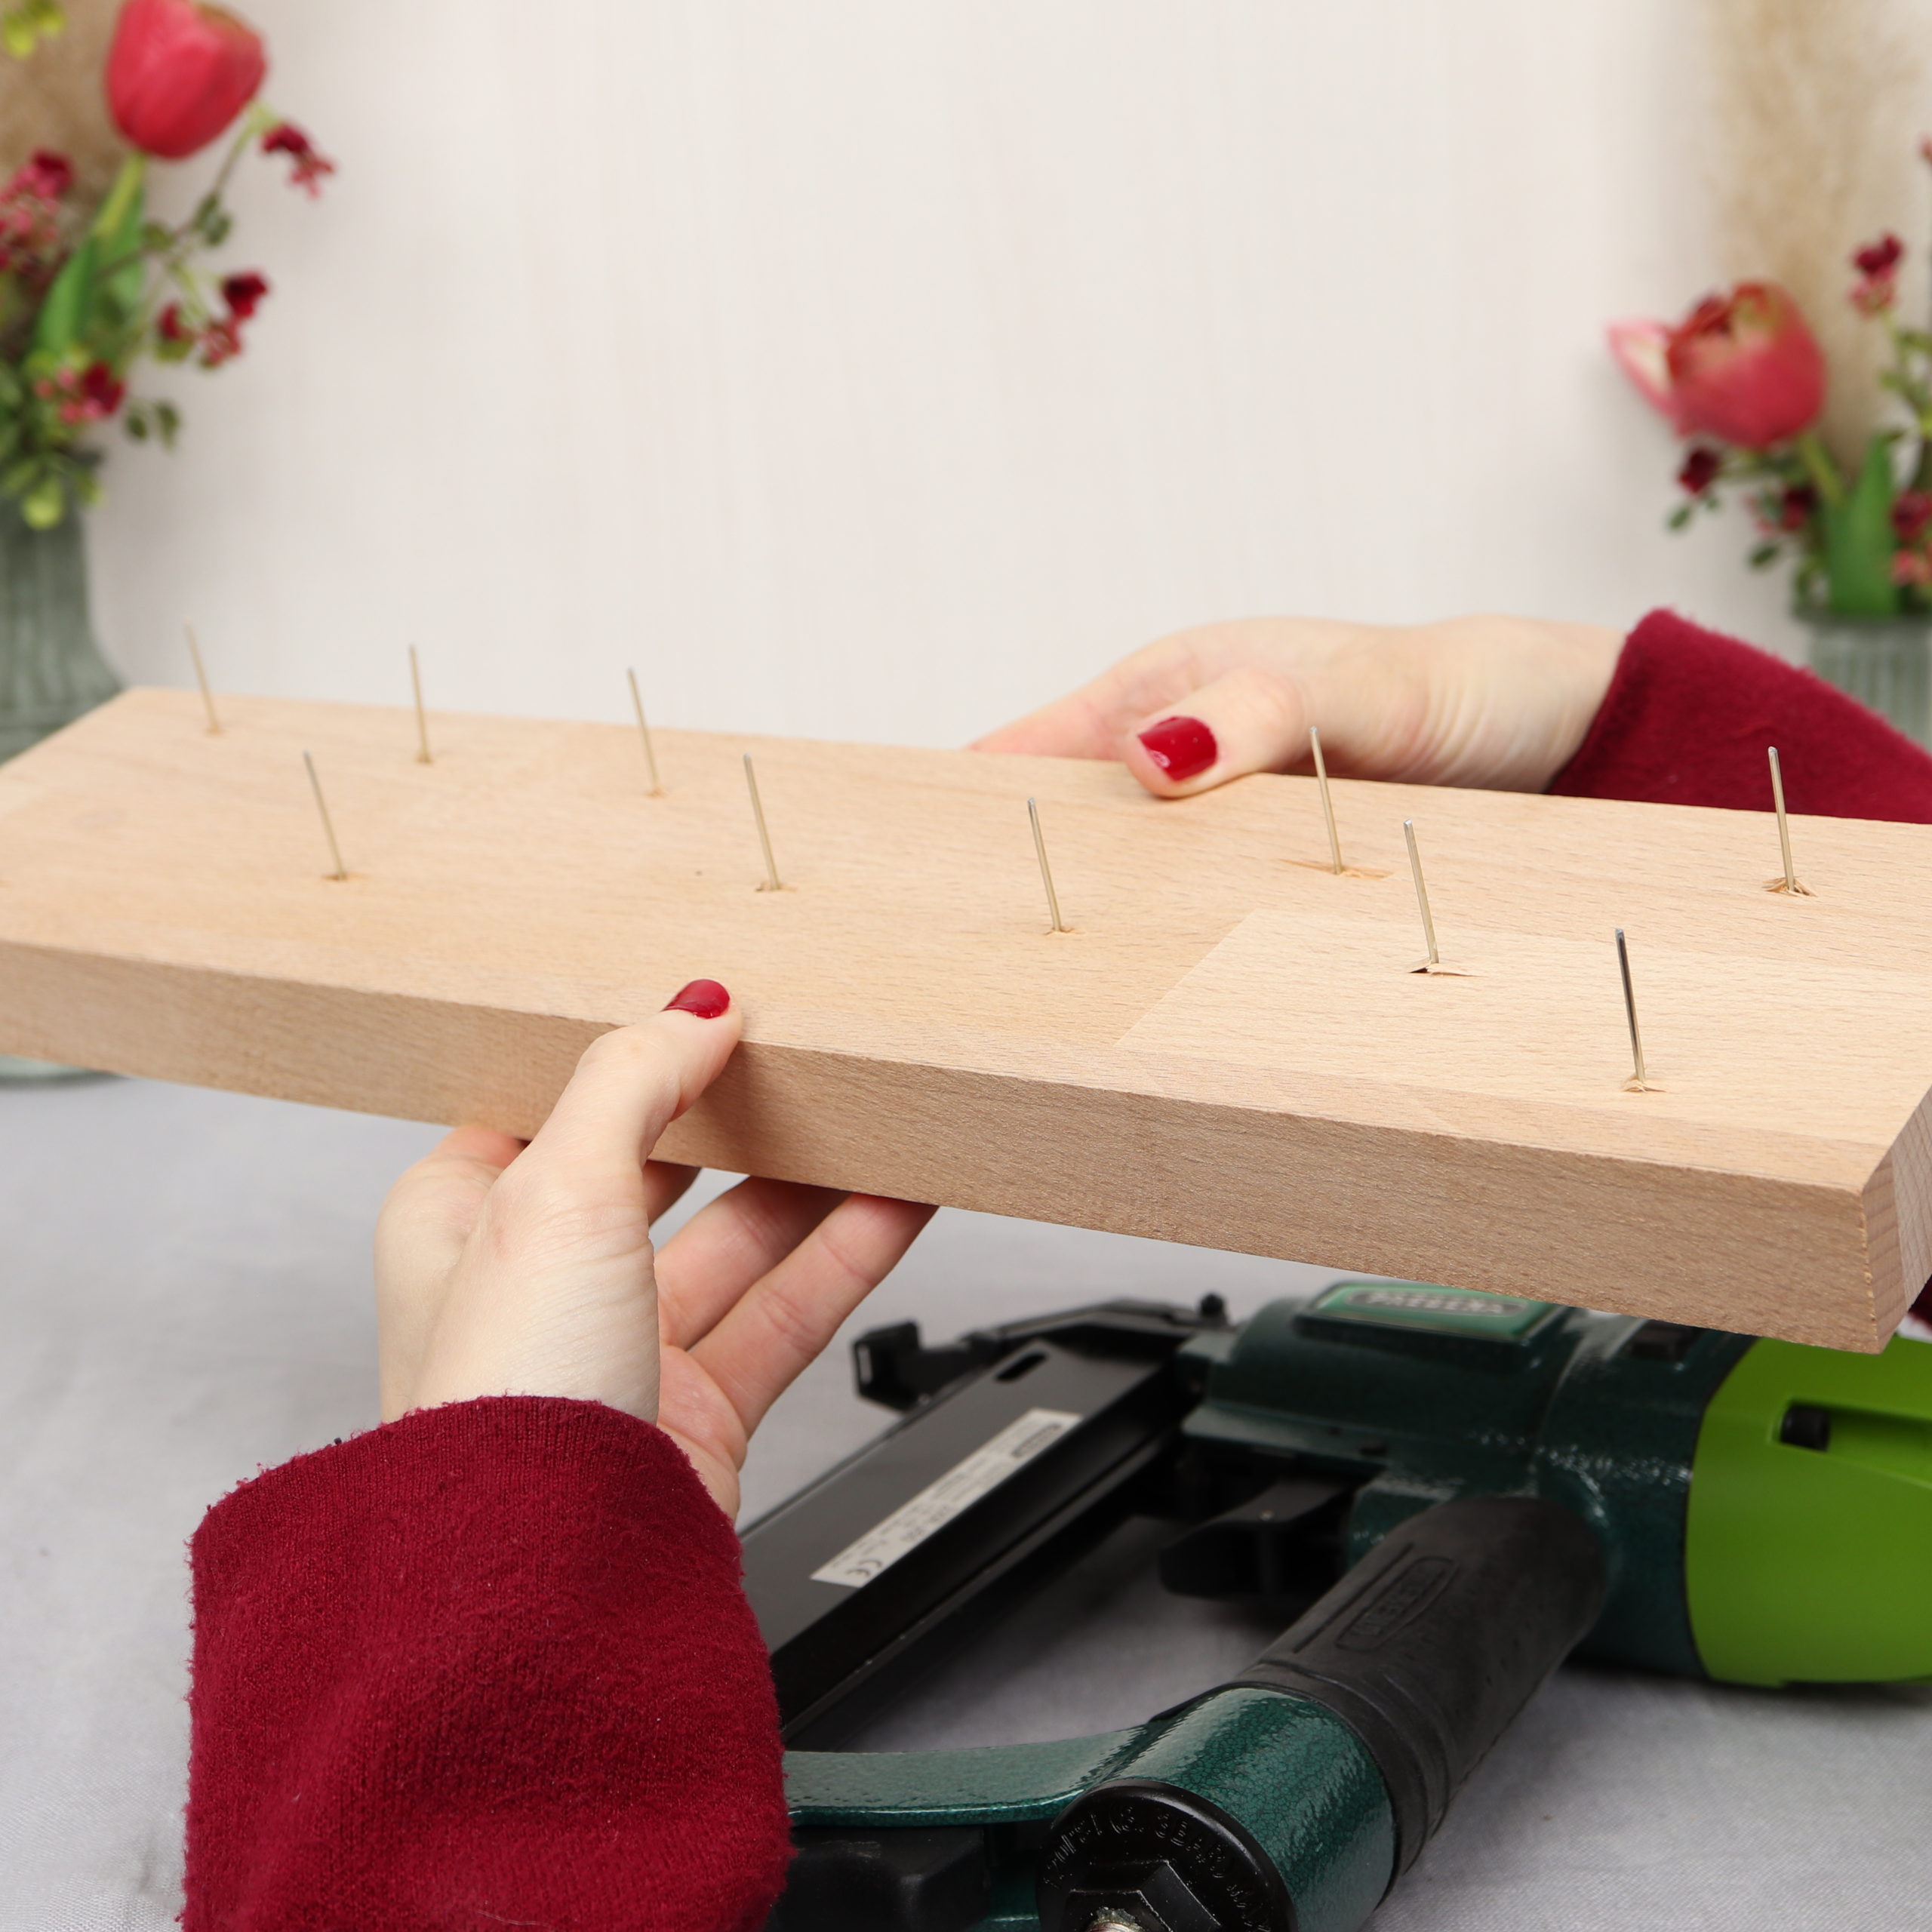
Tip: If the nails sit a little crooked in the wood, you can simply straighten them with pliers or with a hammer.
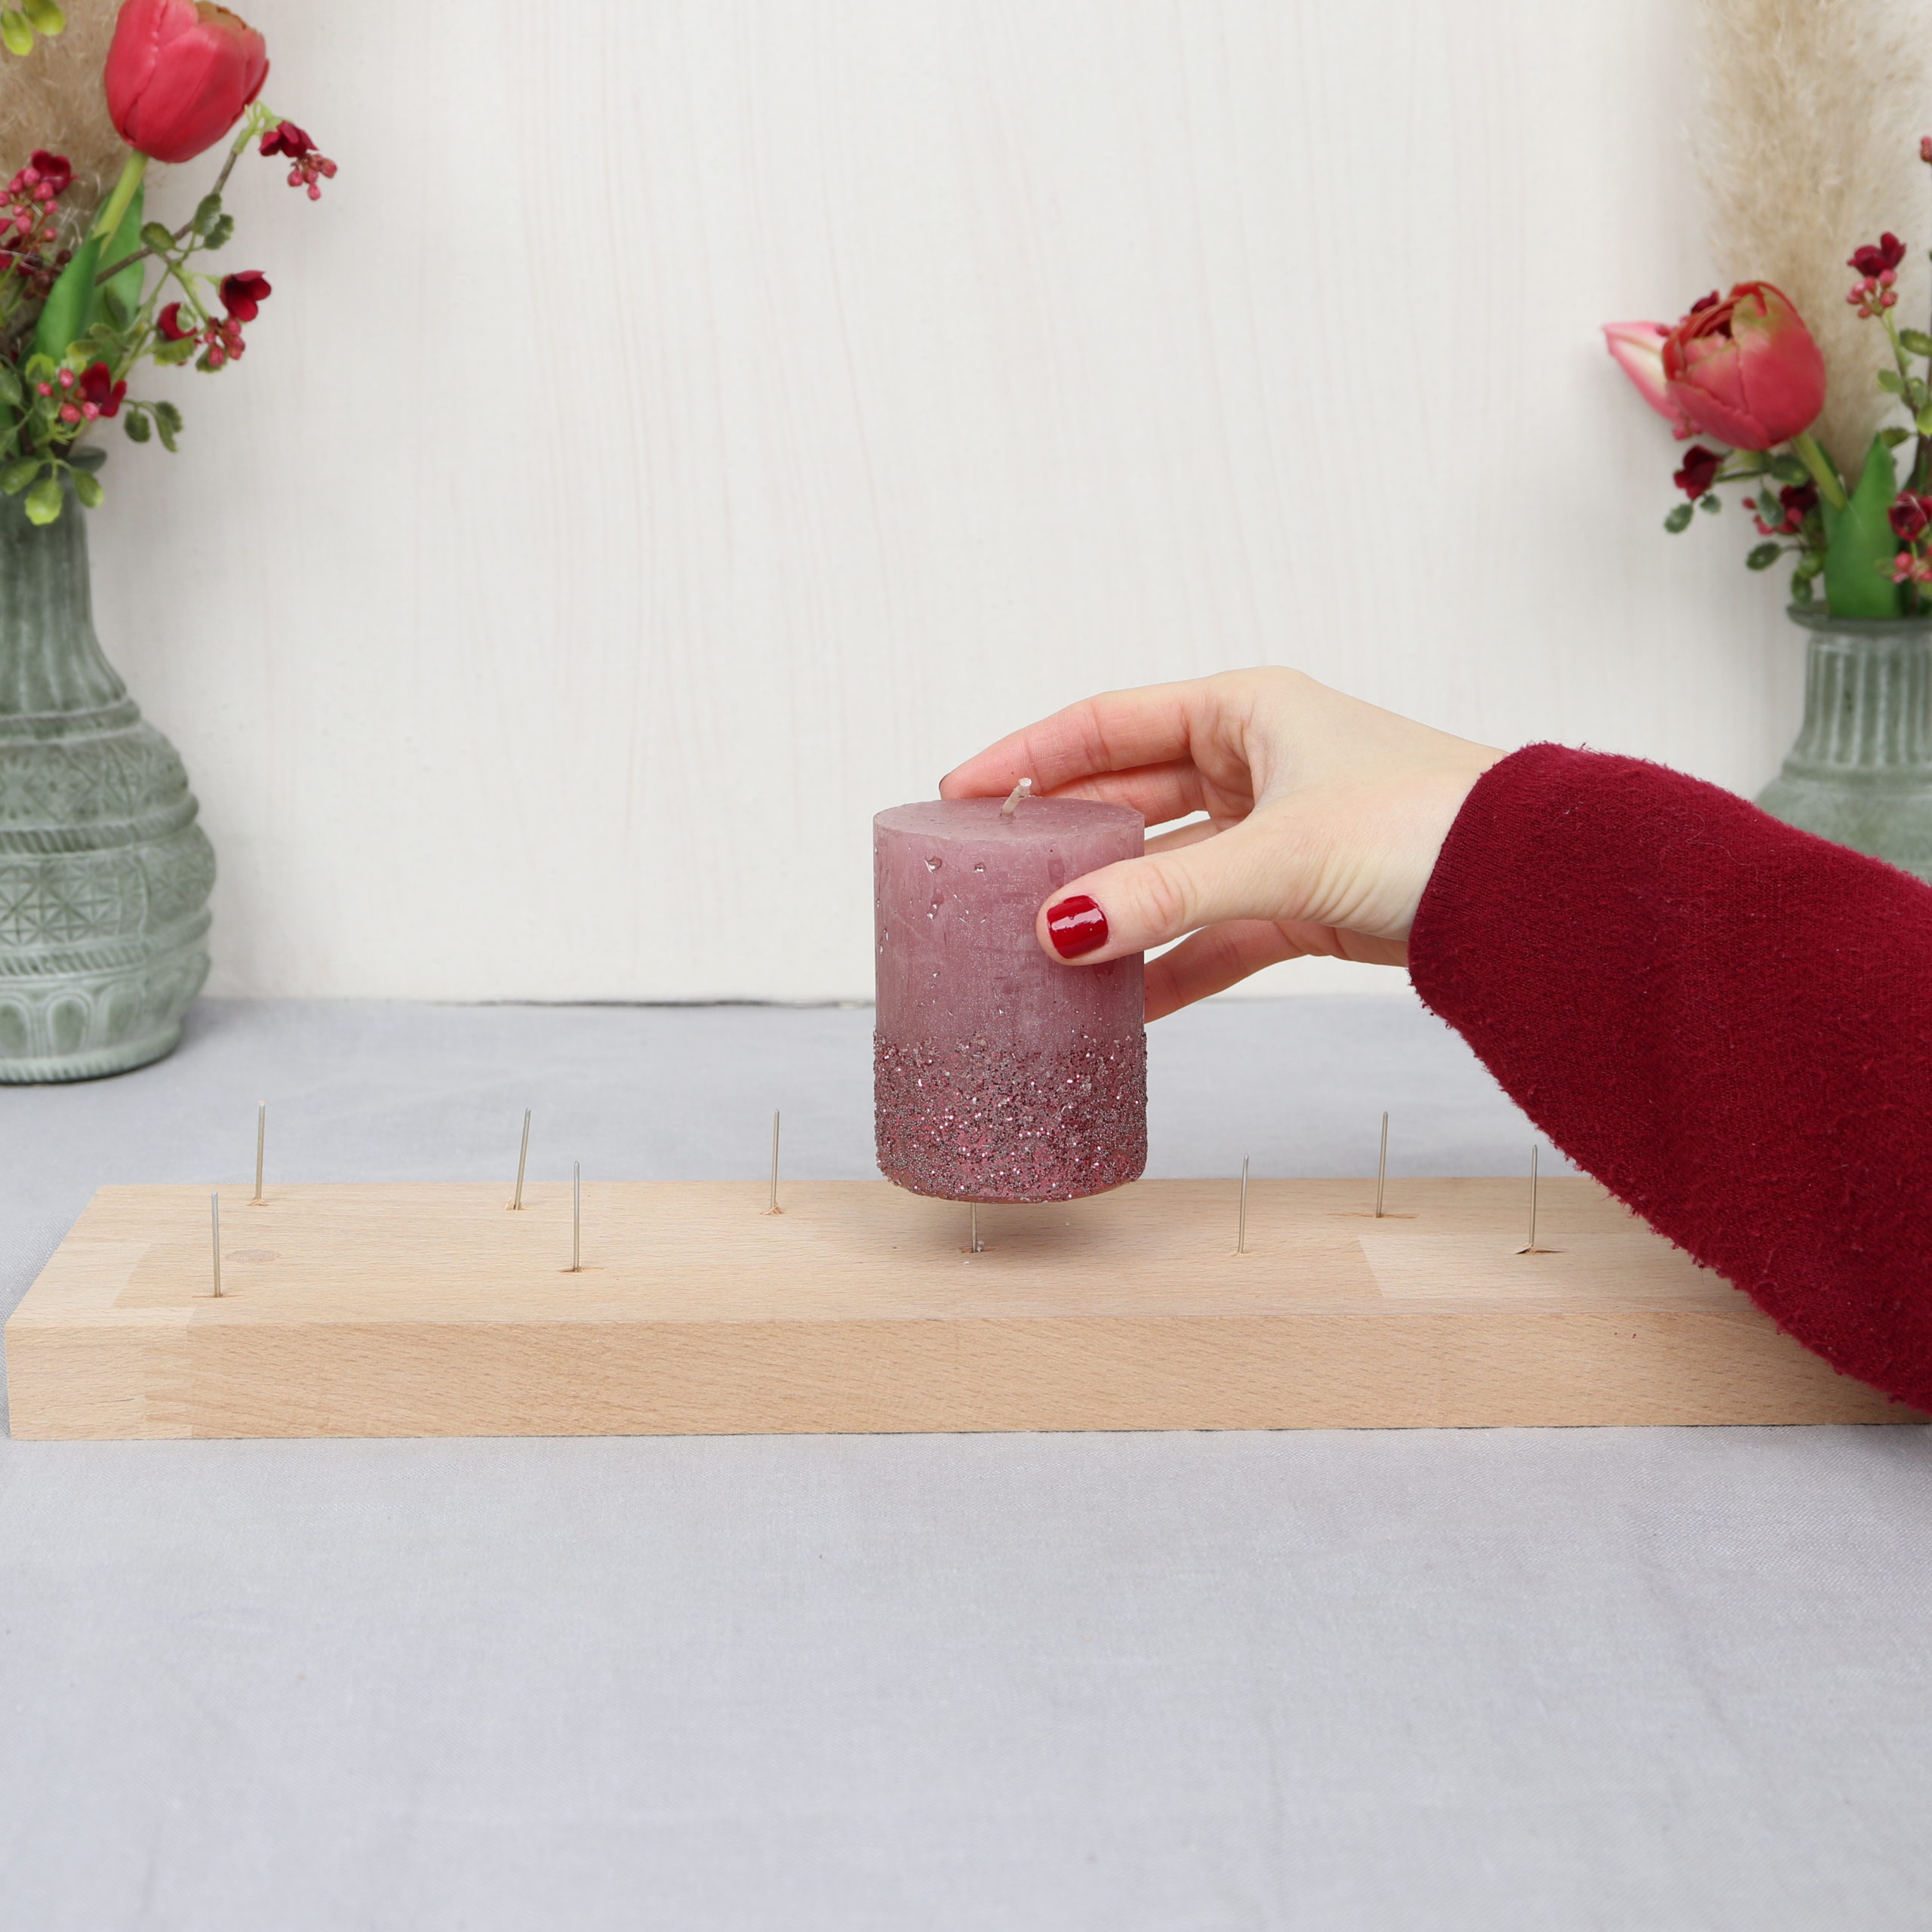
Step 2: Put on candle
Now I just put the candle on the nail in the middle of the board.
Step 3: Wrap herb around the nails
Now I wrap the wild herb loosely around the nails.

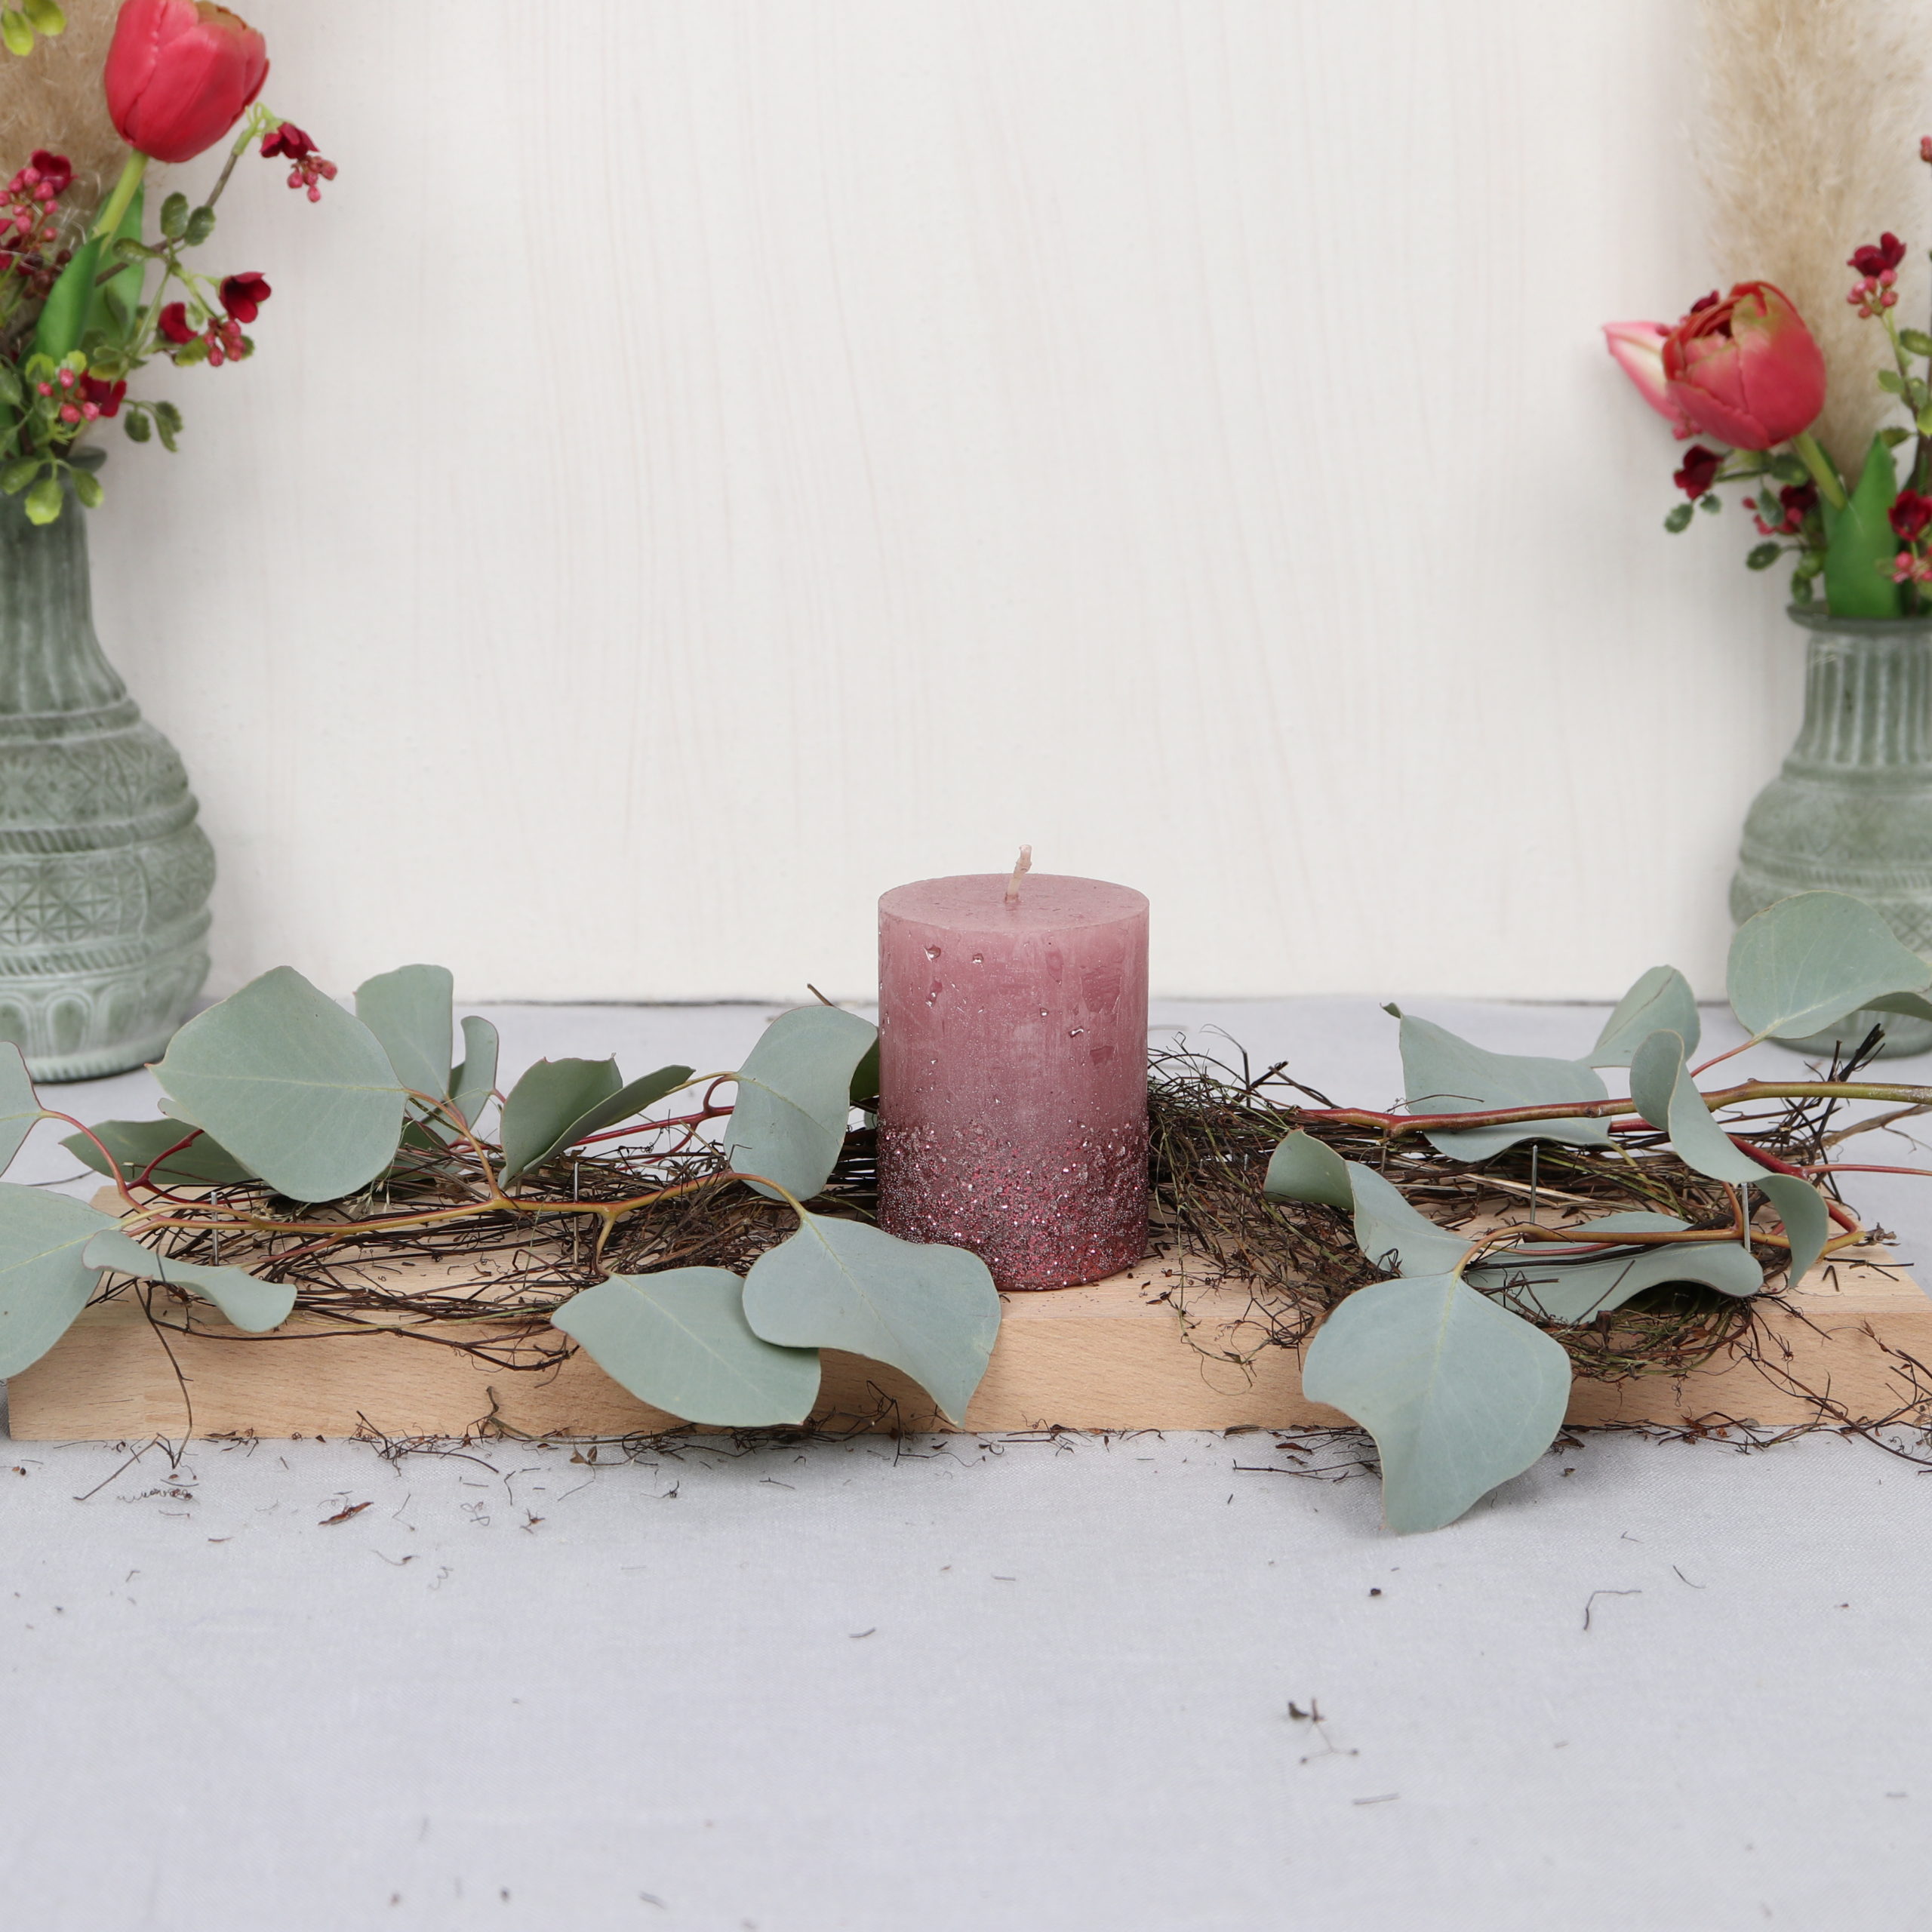
Step 4: Wrap eucalyptus around the nails
Then I wrap the eucalyptus around the nails.

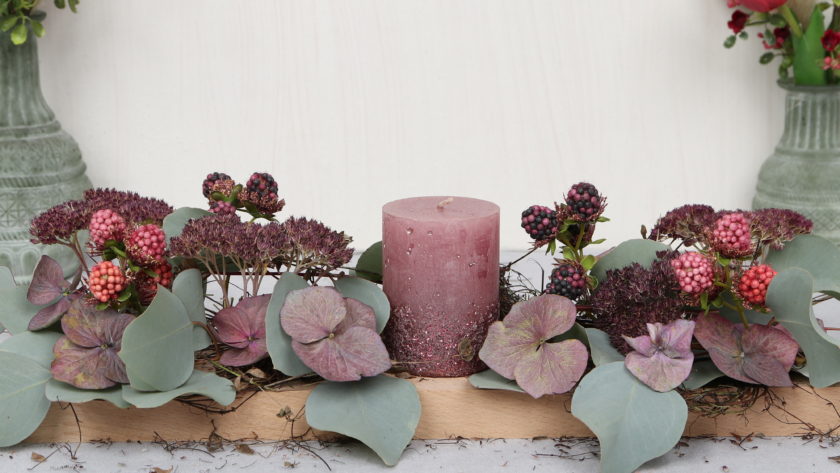
It will look like this:
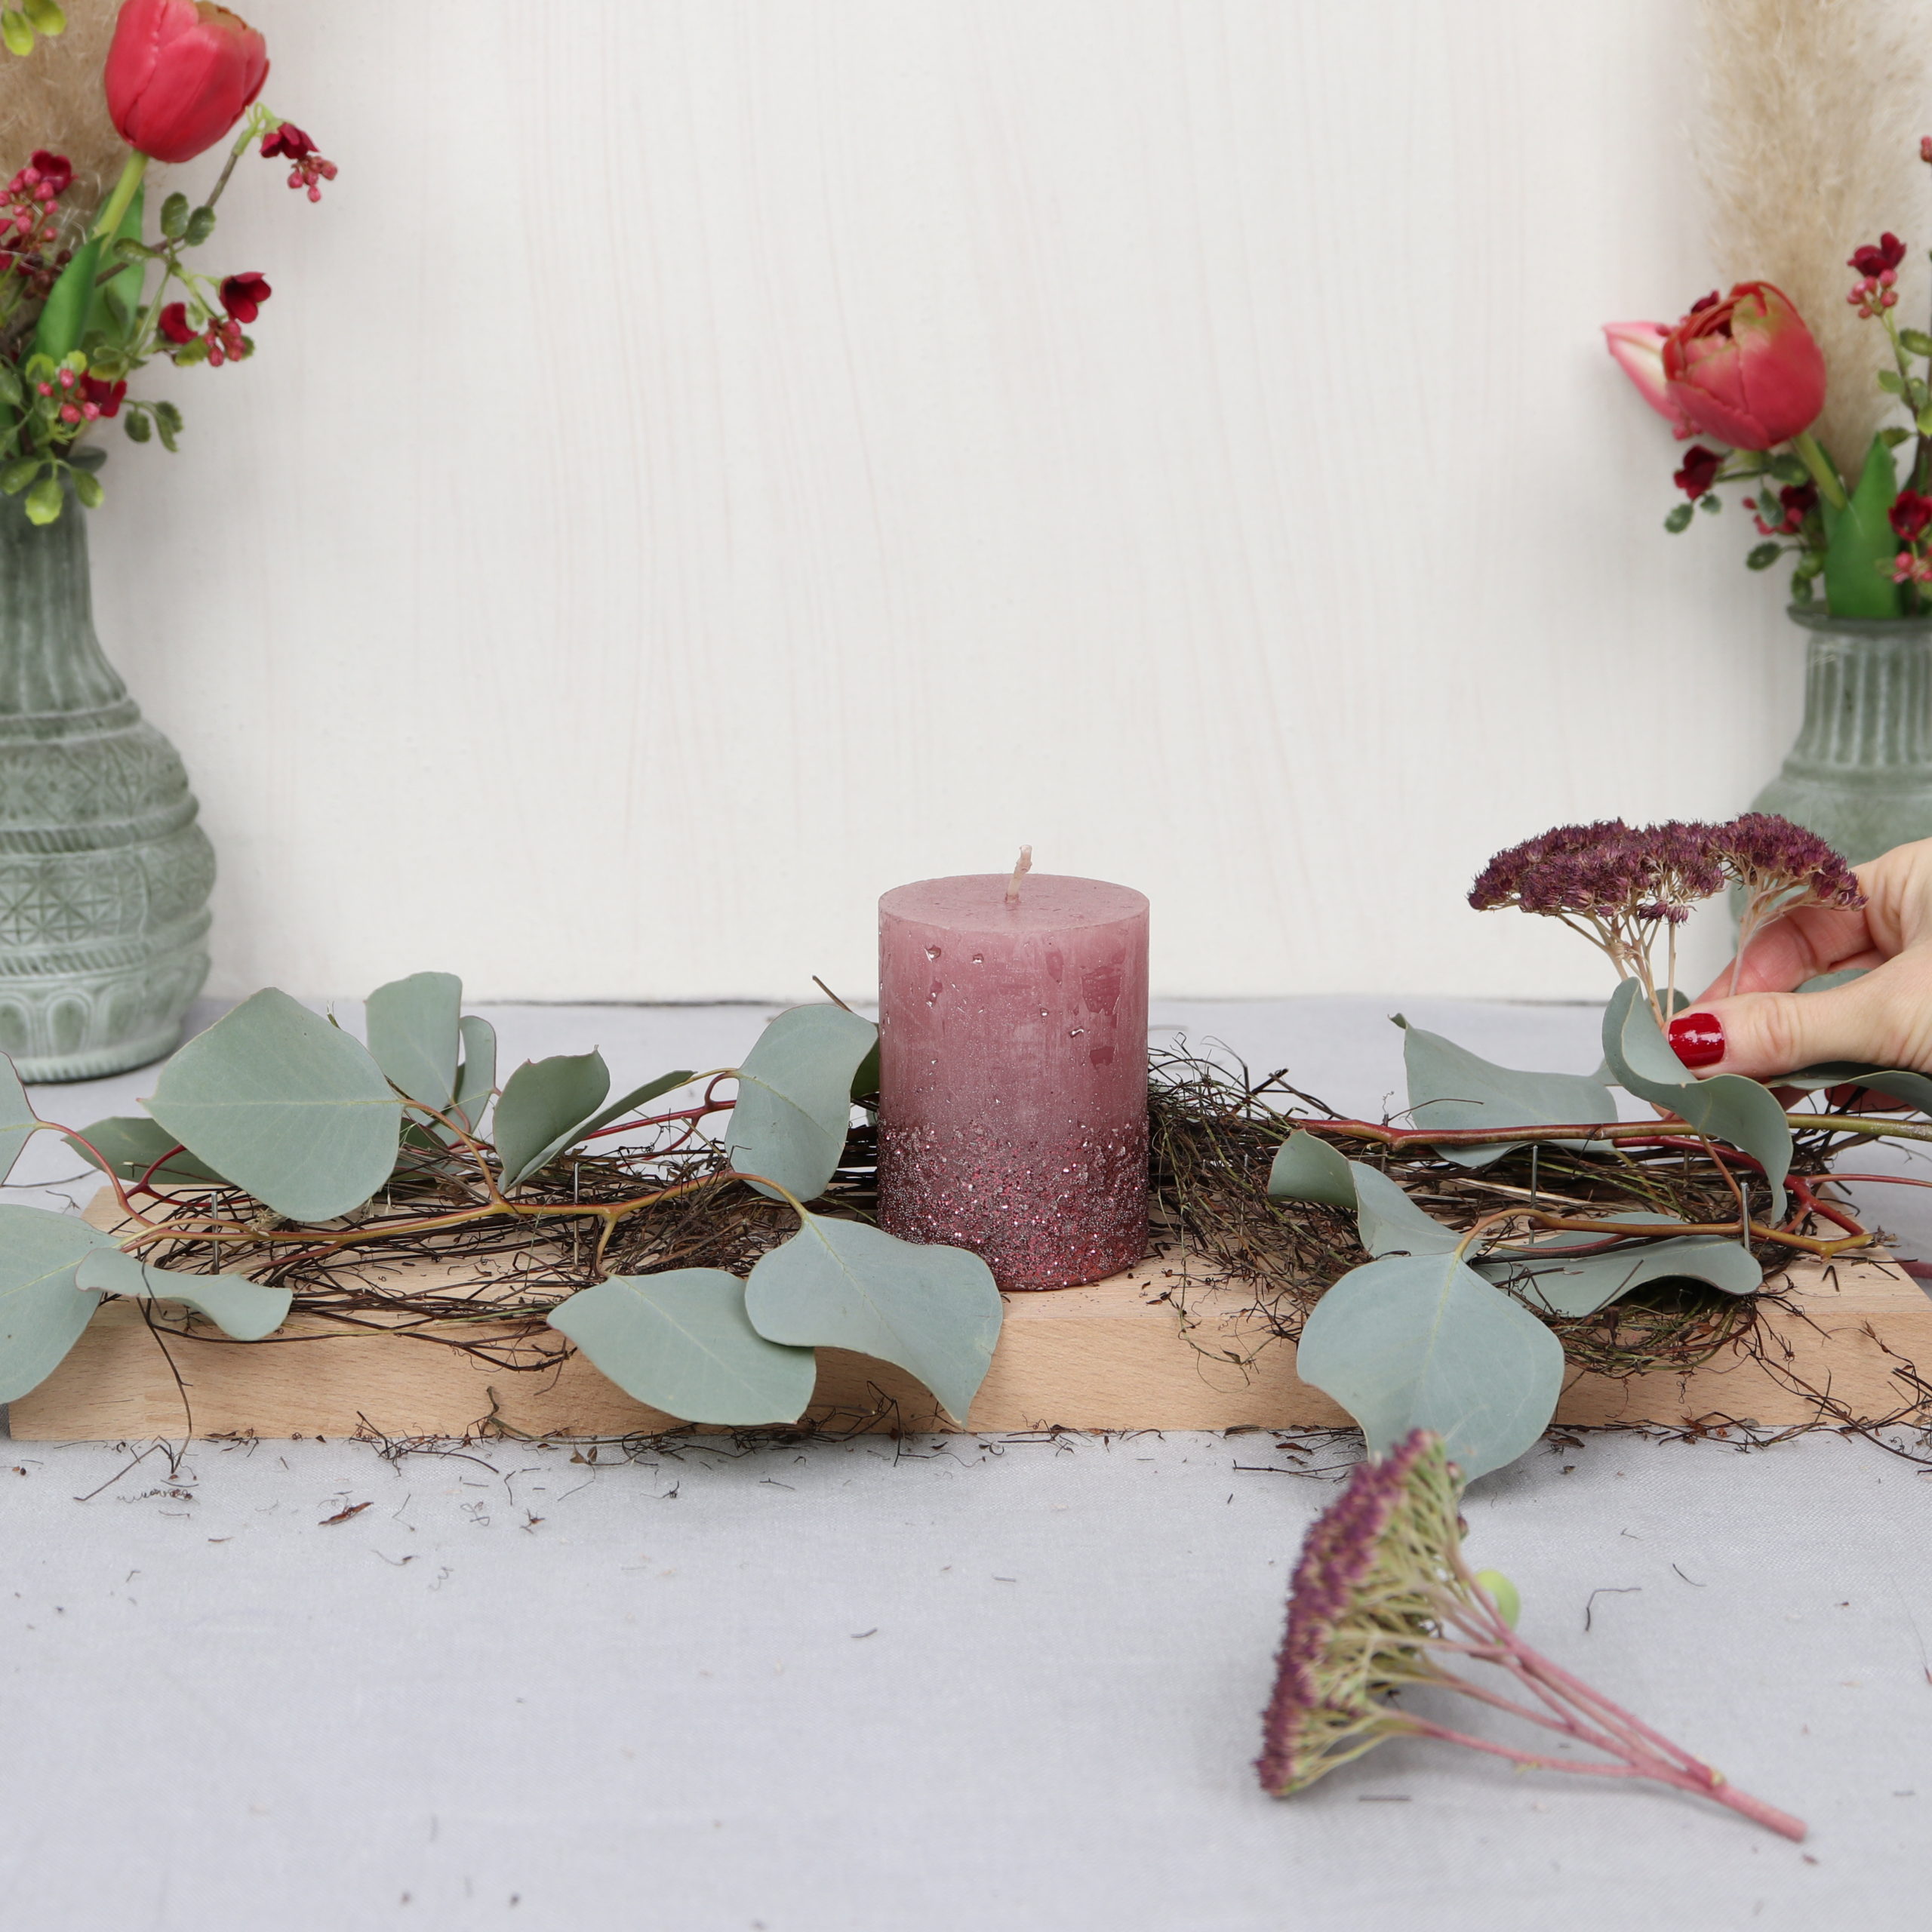
Step 5: Pin the stonecrop
In the next step I put the stonecrop on the nails. With the flowers you have to make sure that the stems are thicker than the nails so that you can pin them on well.
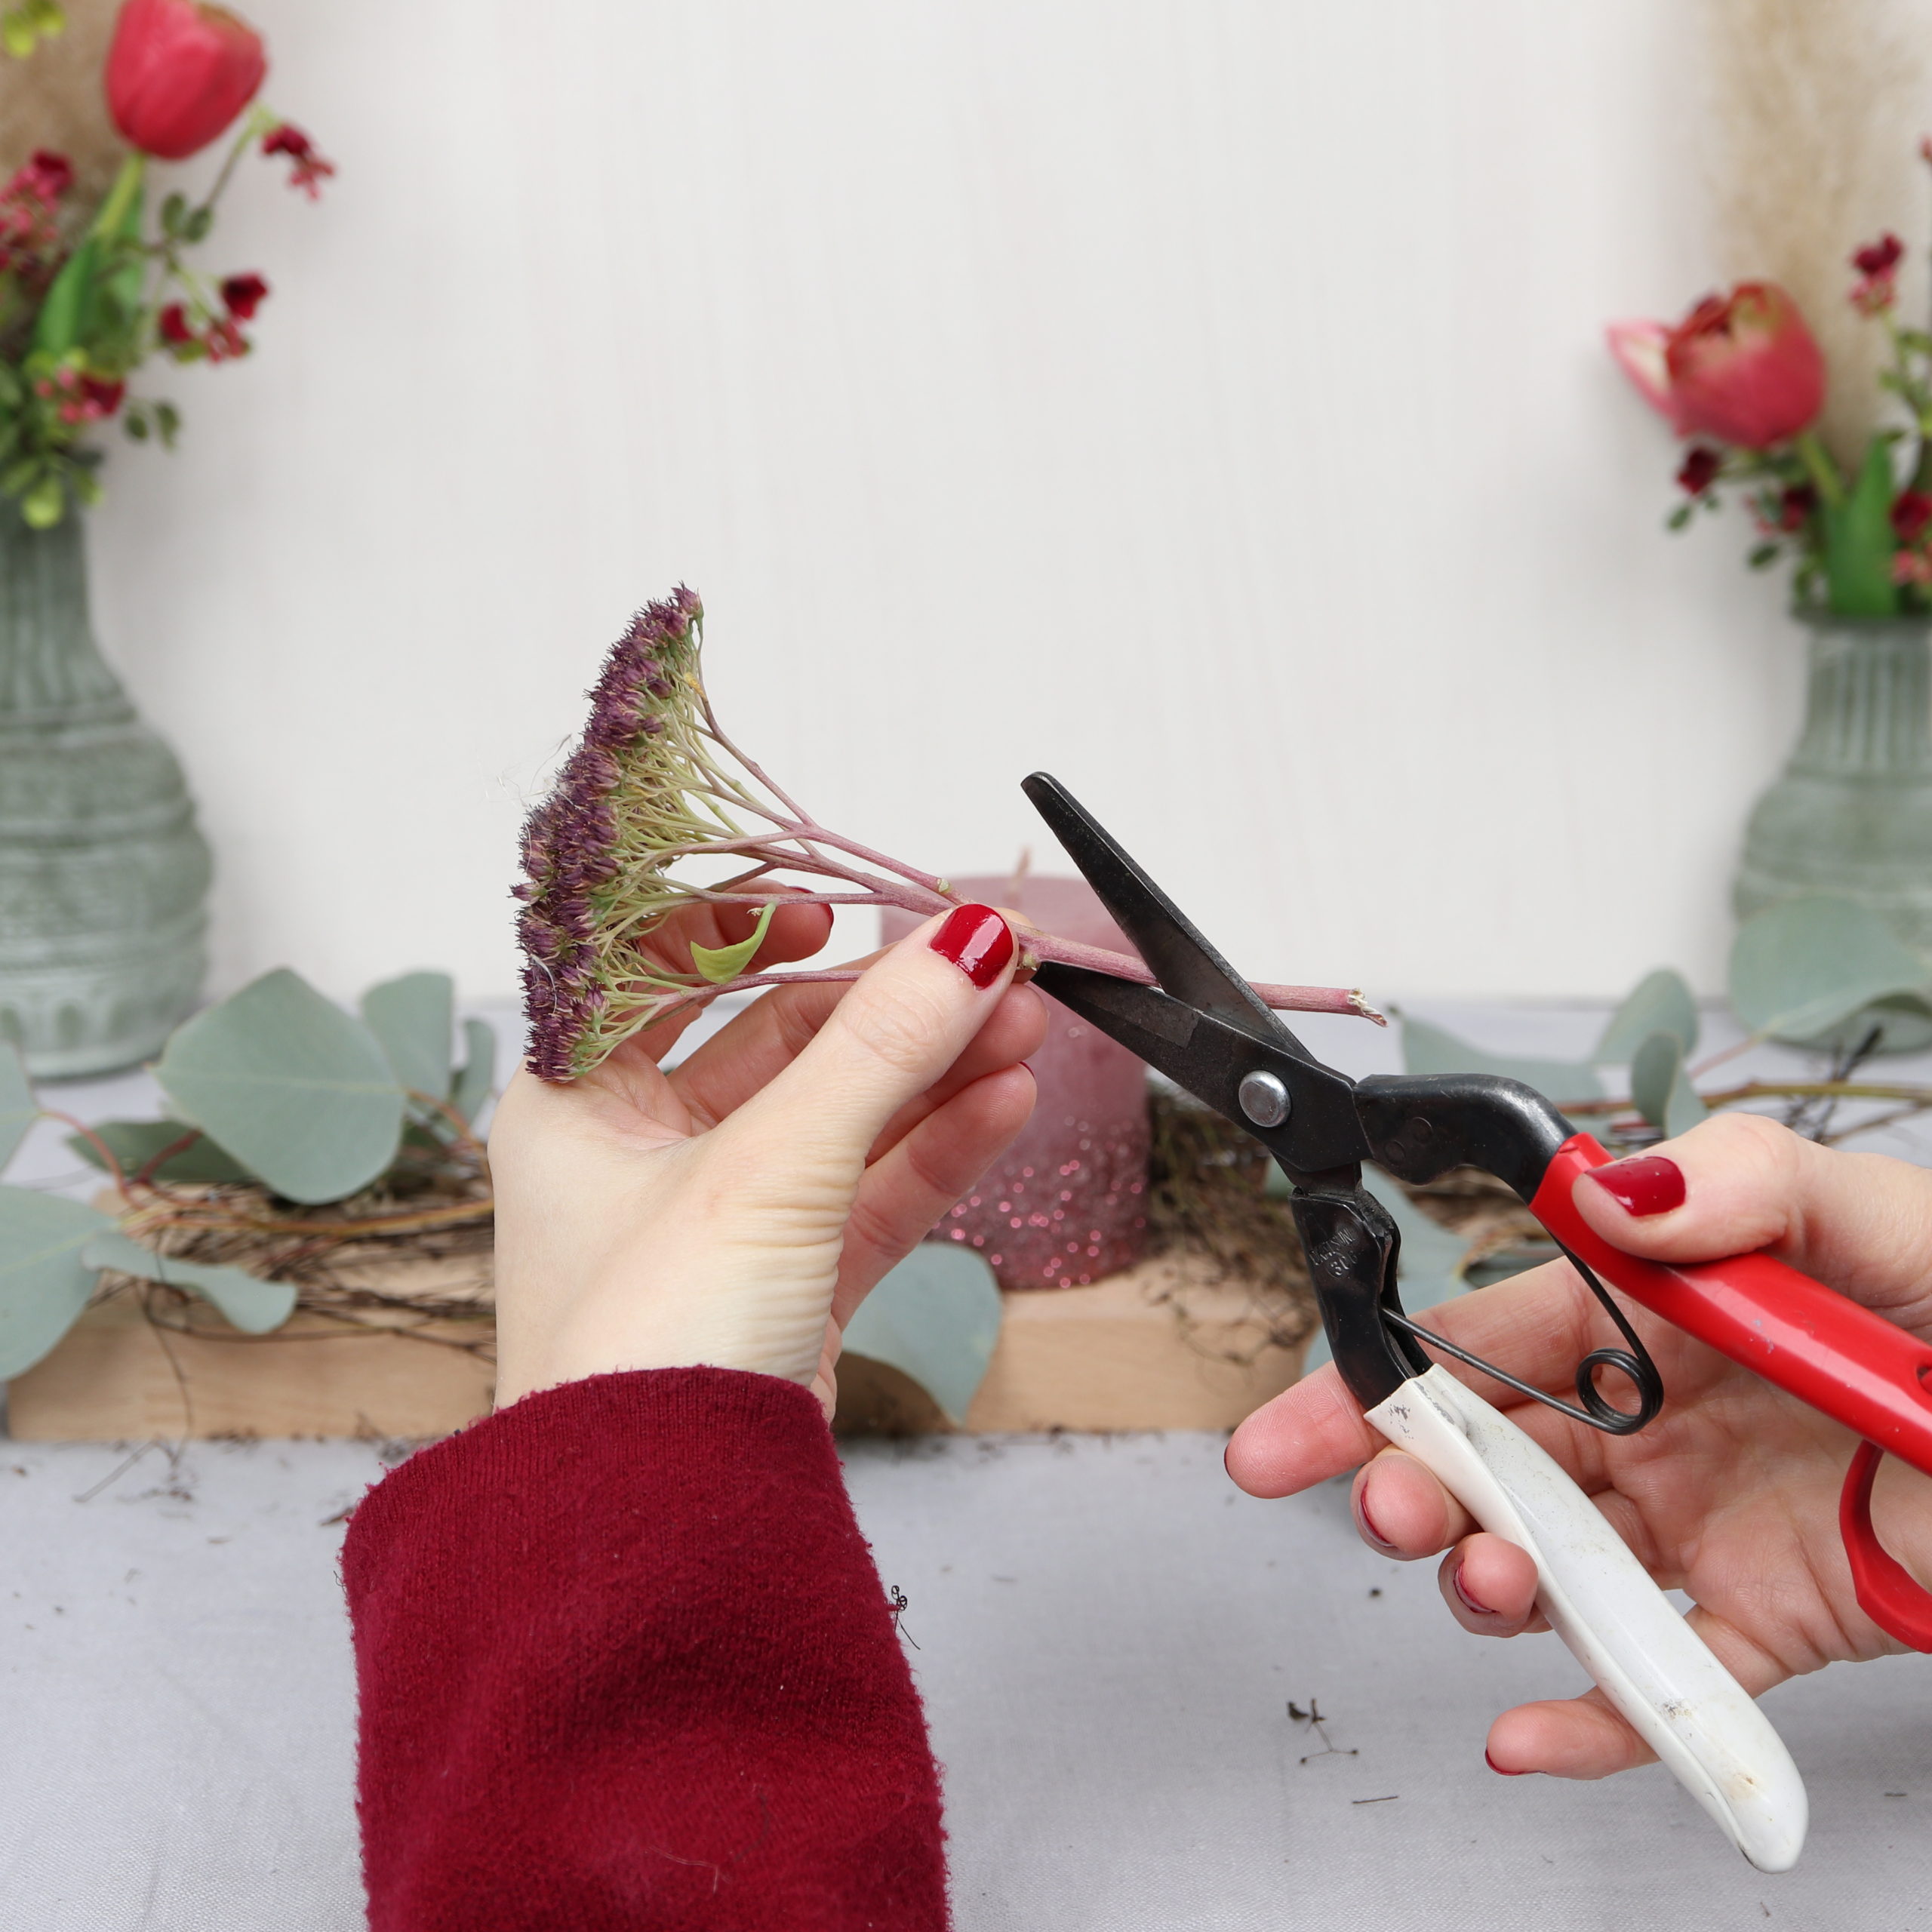
I cut the stem to the desired length with the flower scissors and simply stick it on the nail.
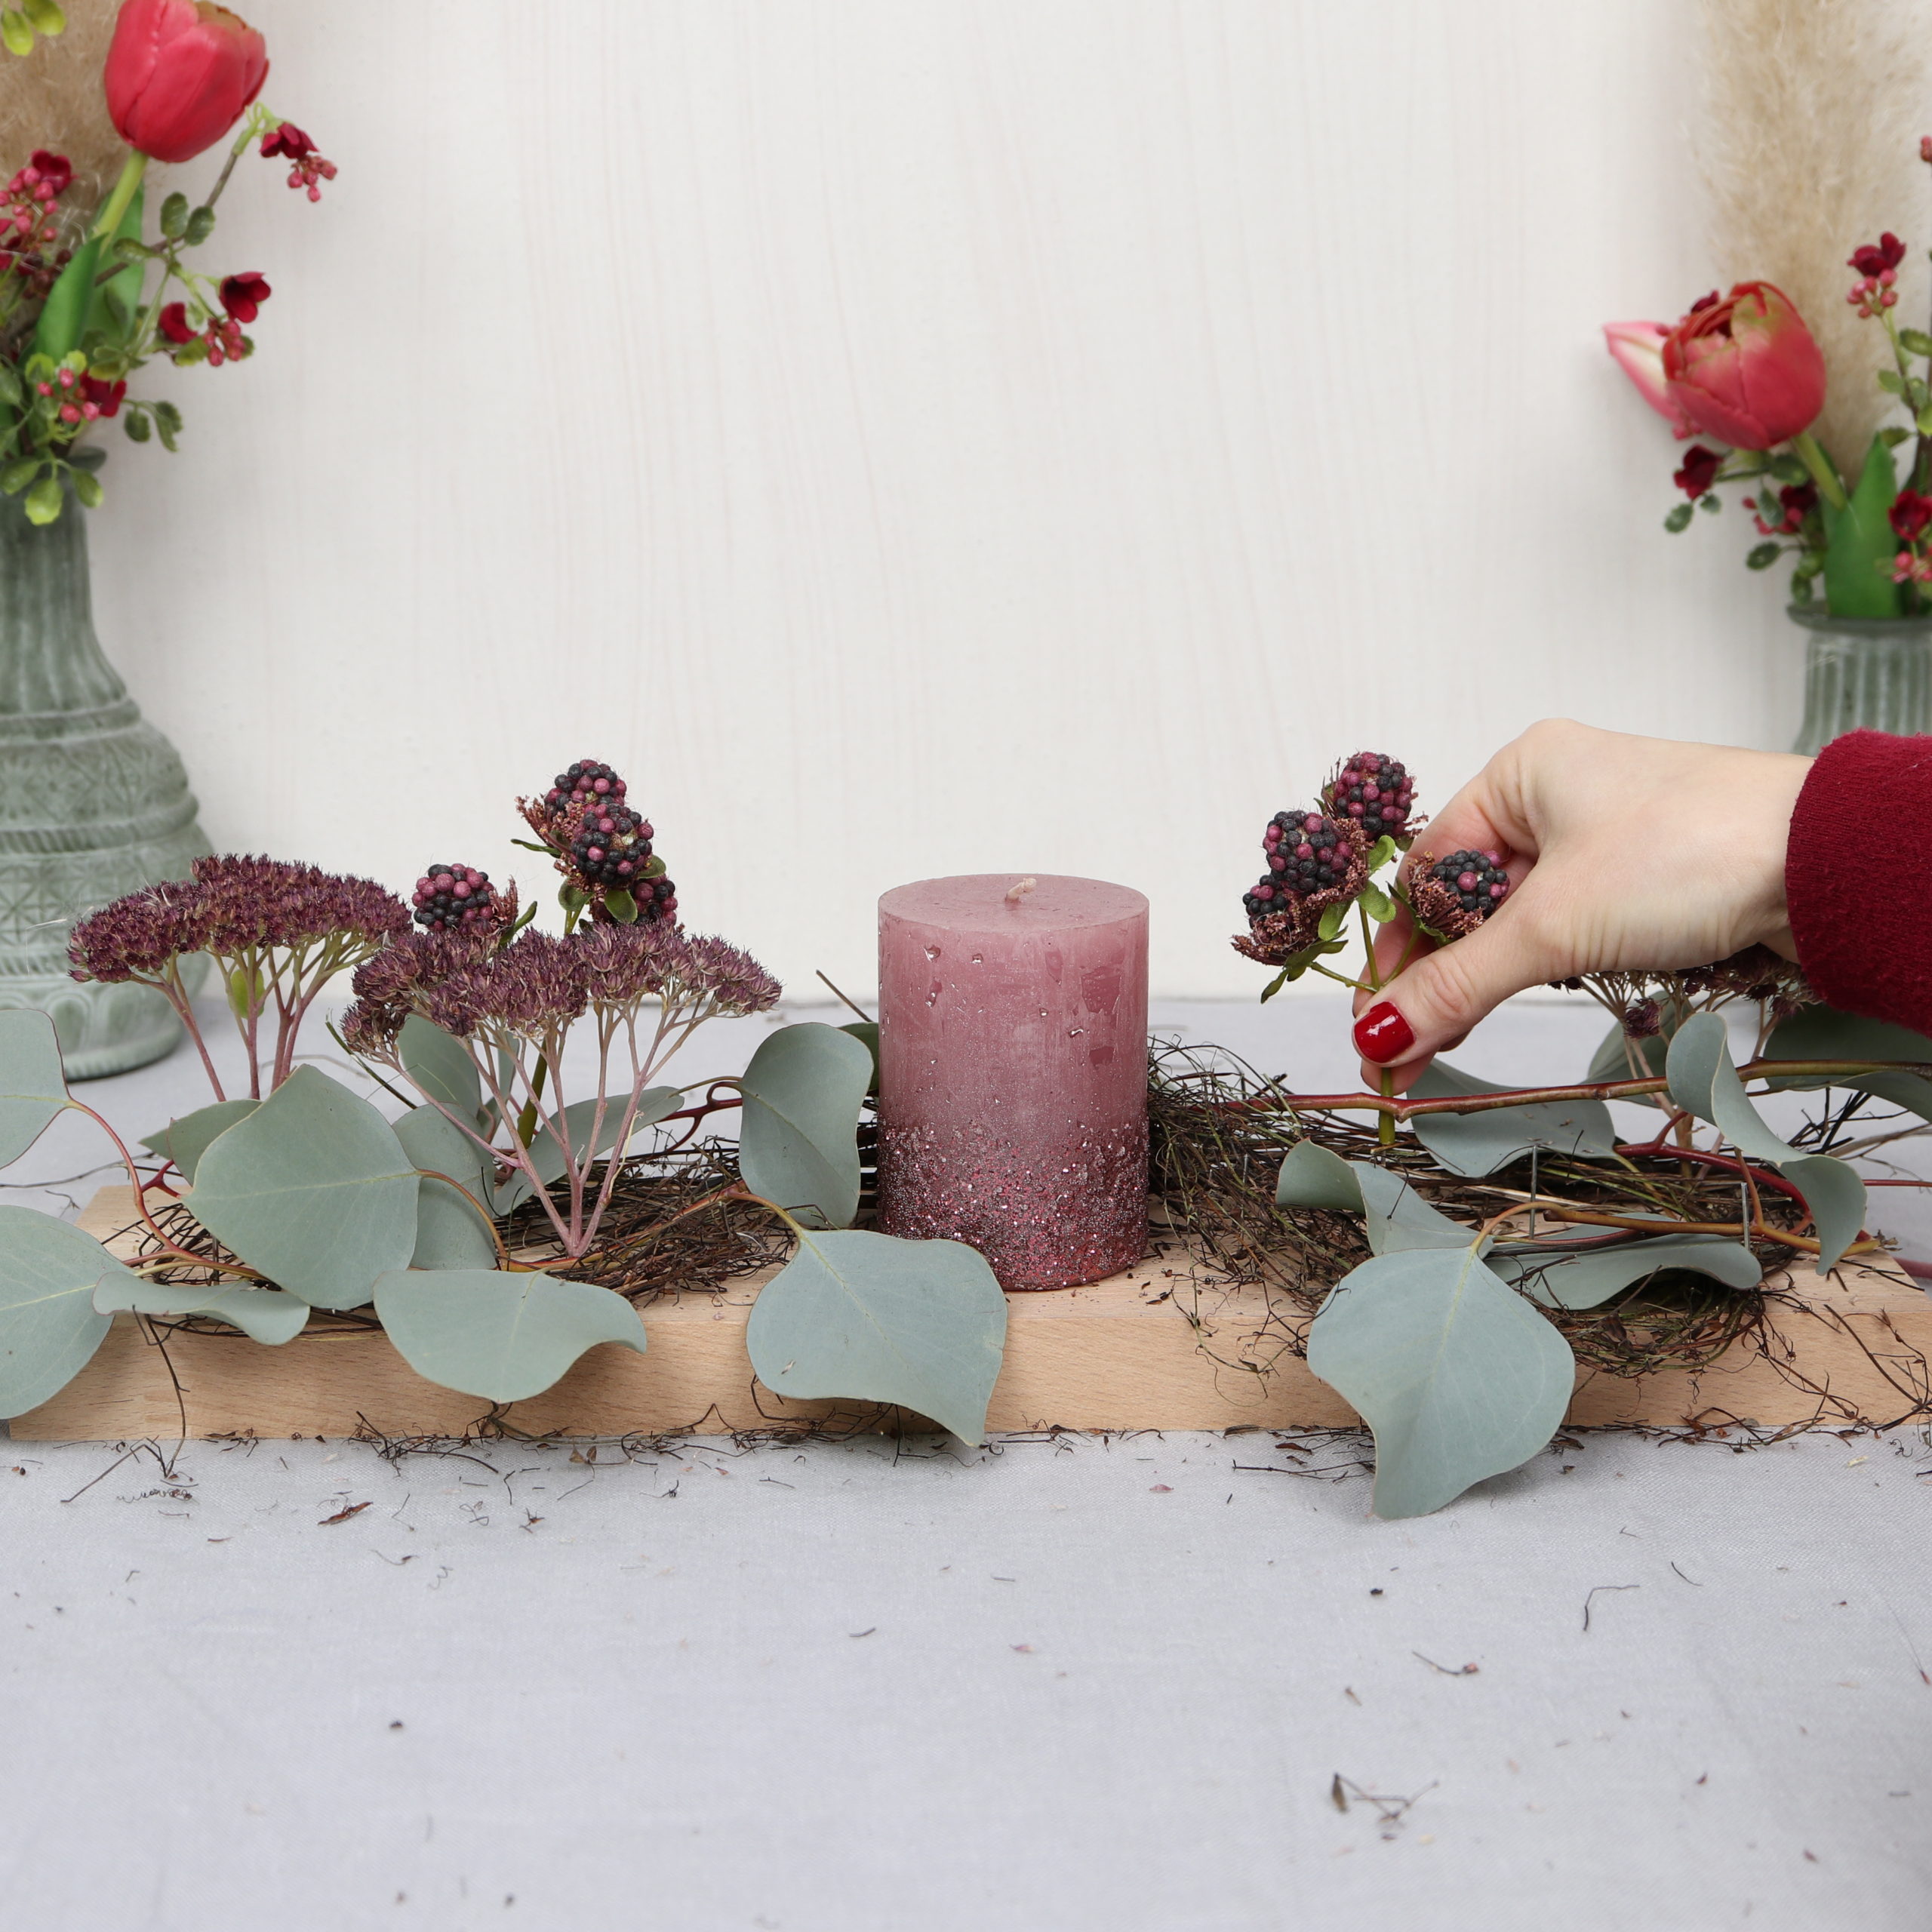
Step 6: Pin blackberries
Now I put the artificial blackberries on the remaining nails.
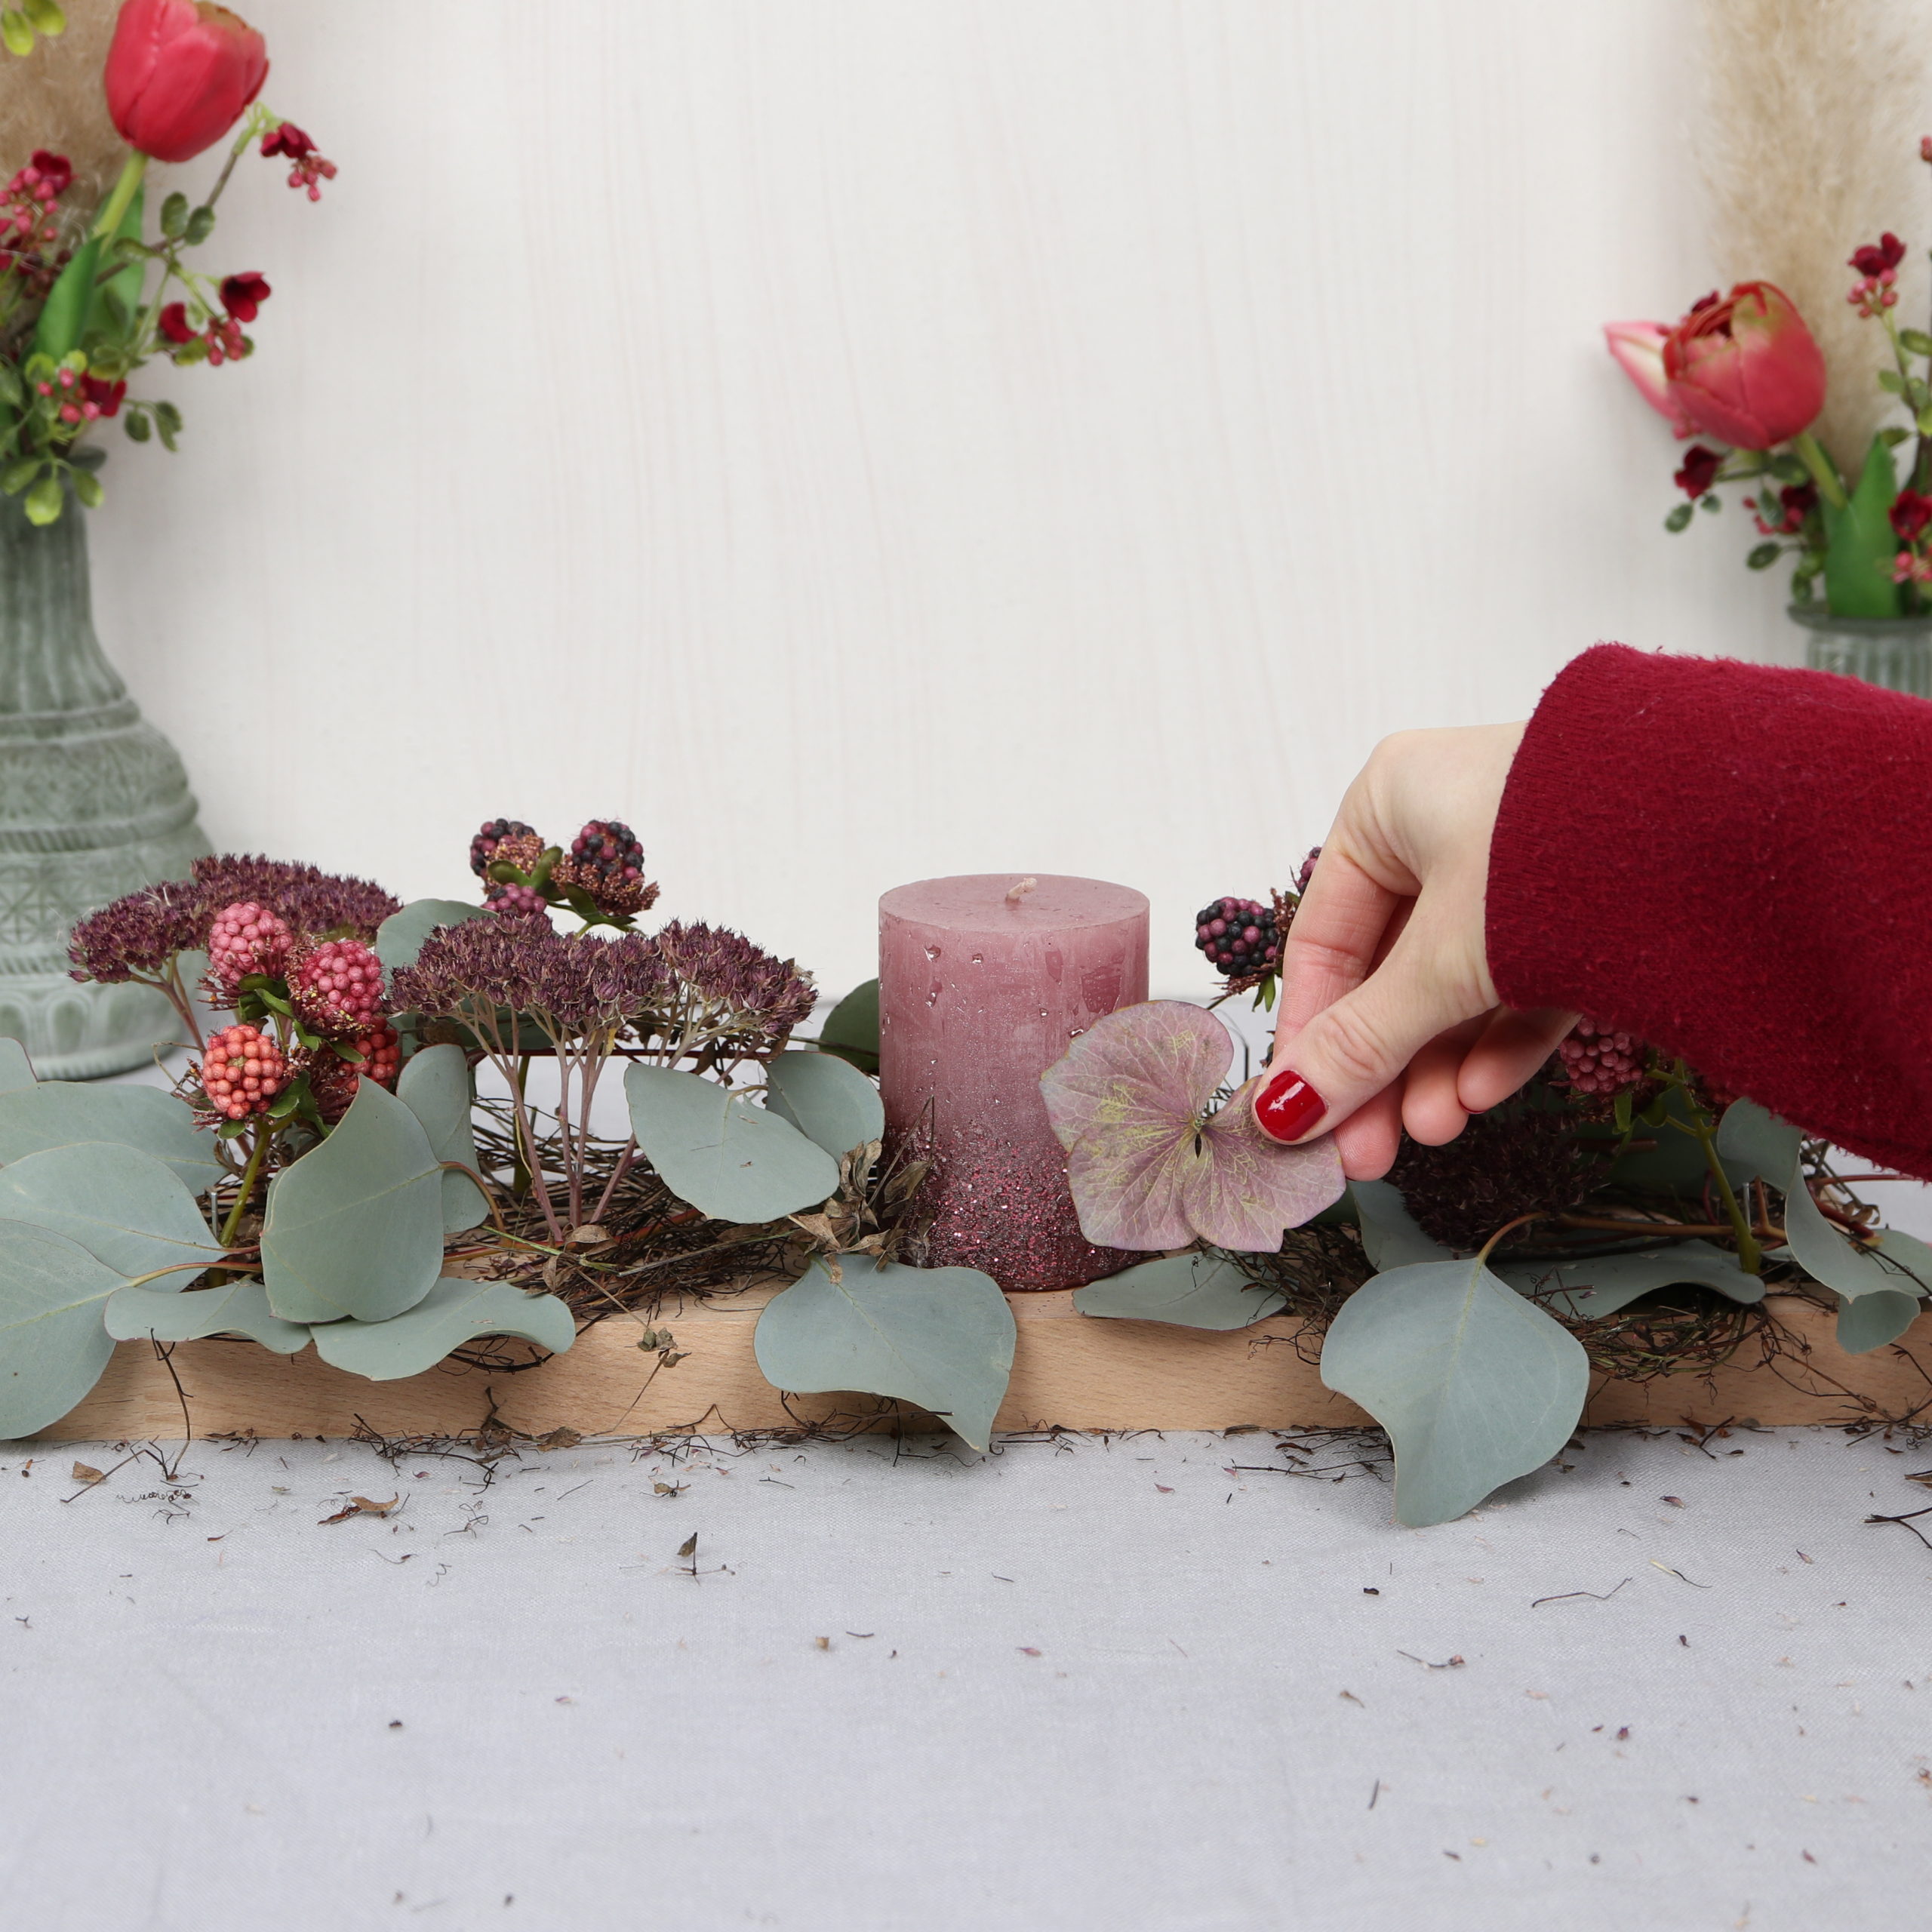
Step 7: Spread hydrangea flowers
Finally, I spread the dried hydrangea flowers on the board.
Never leave burning candles unattended and make sure that the decoration elements around the candle can not catch fire.
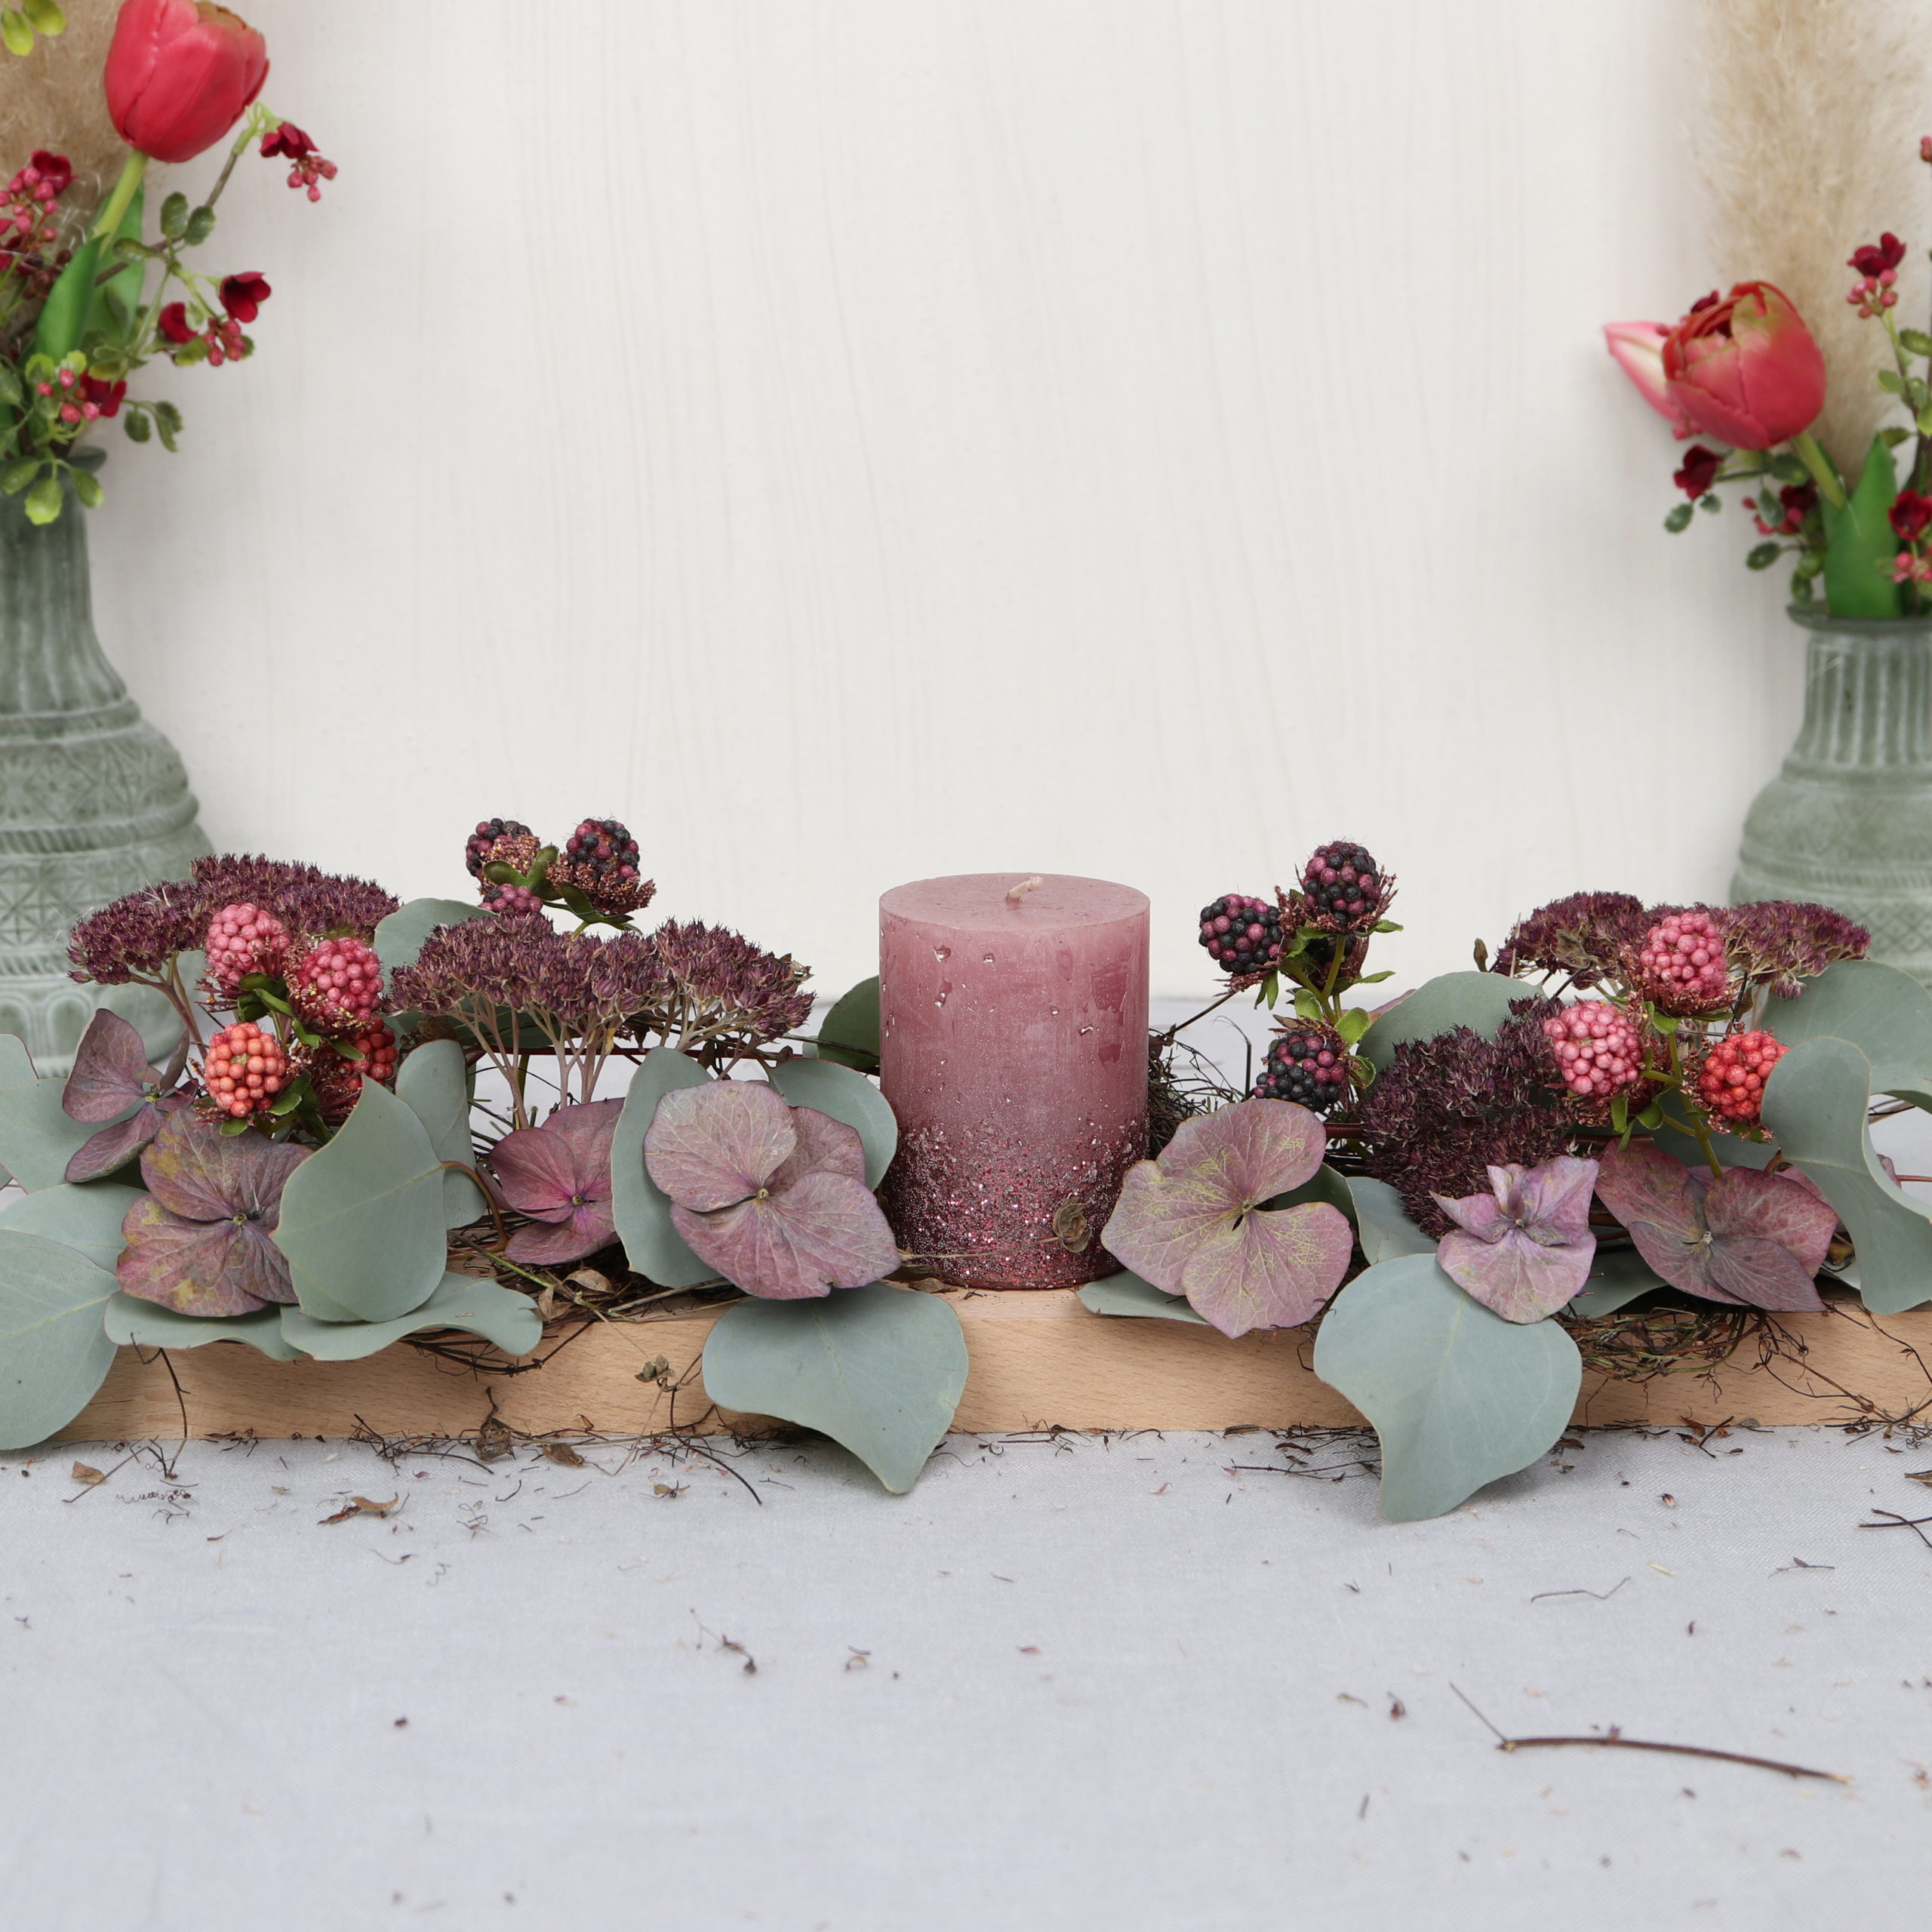
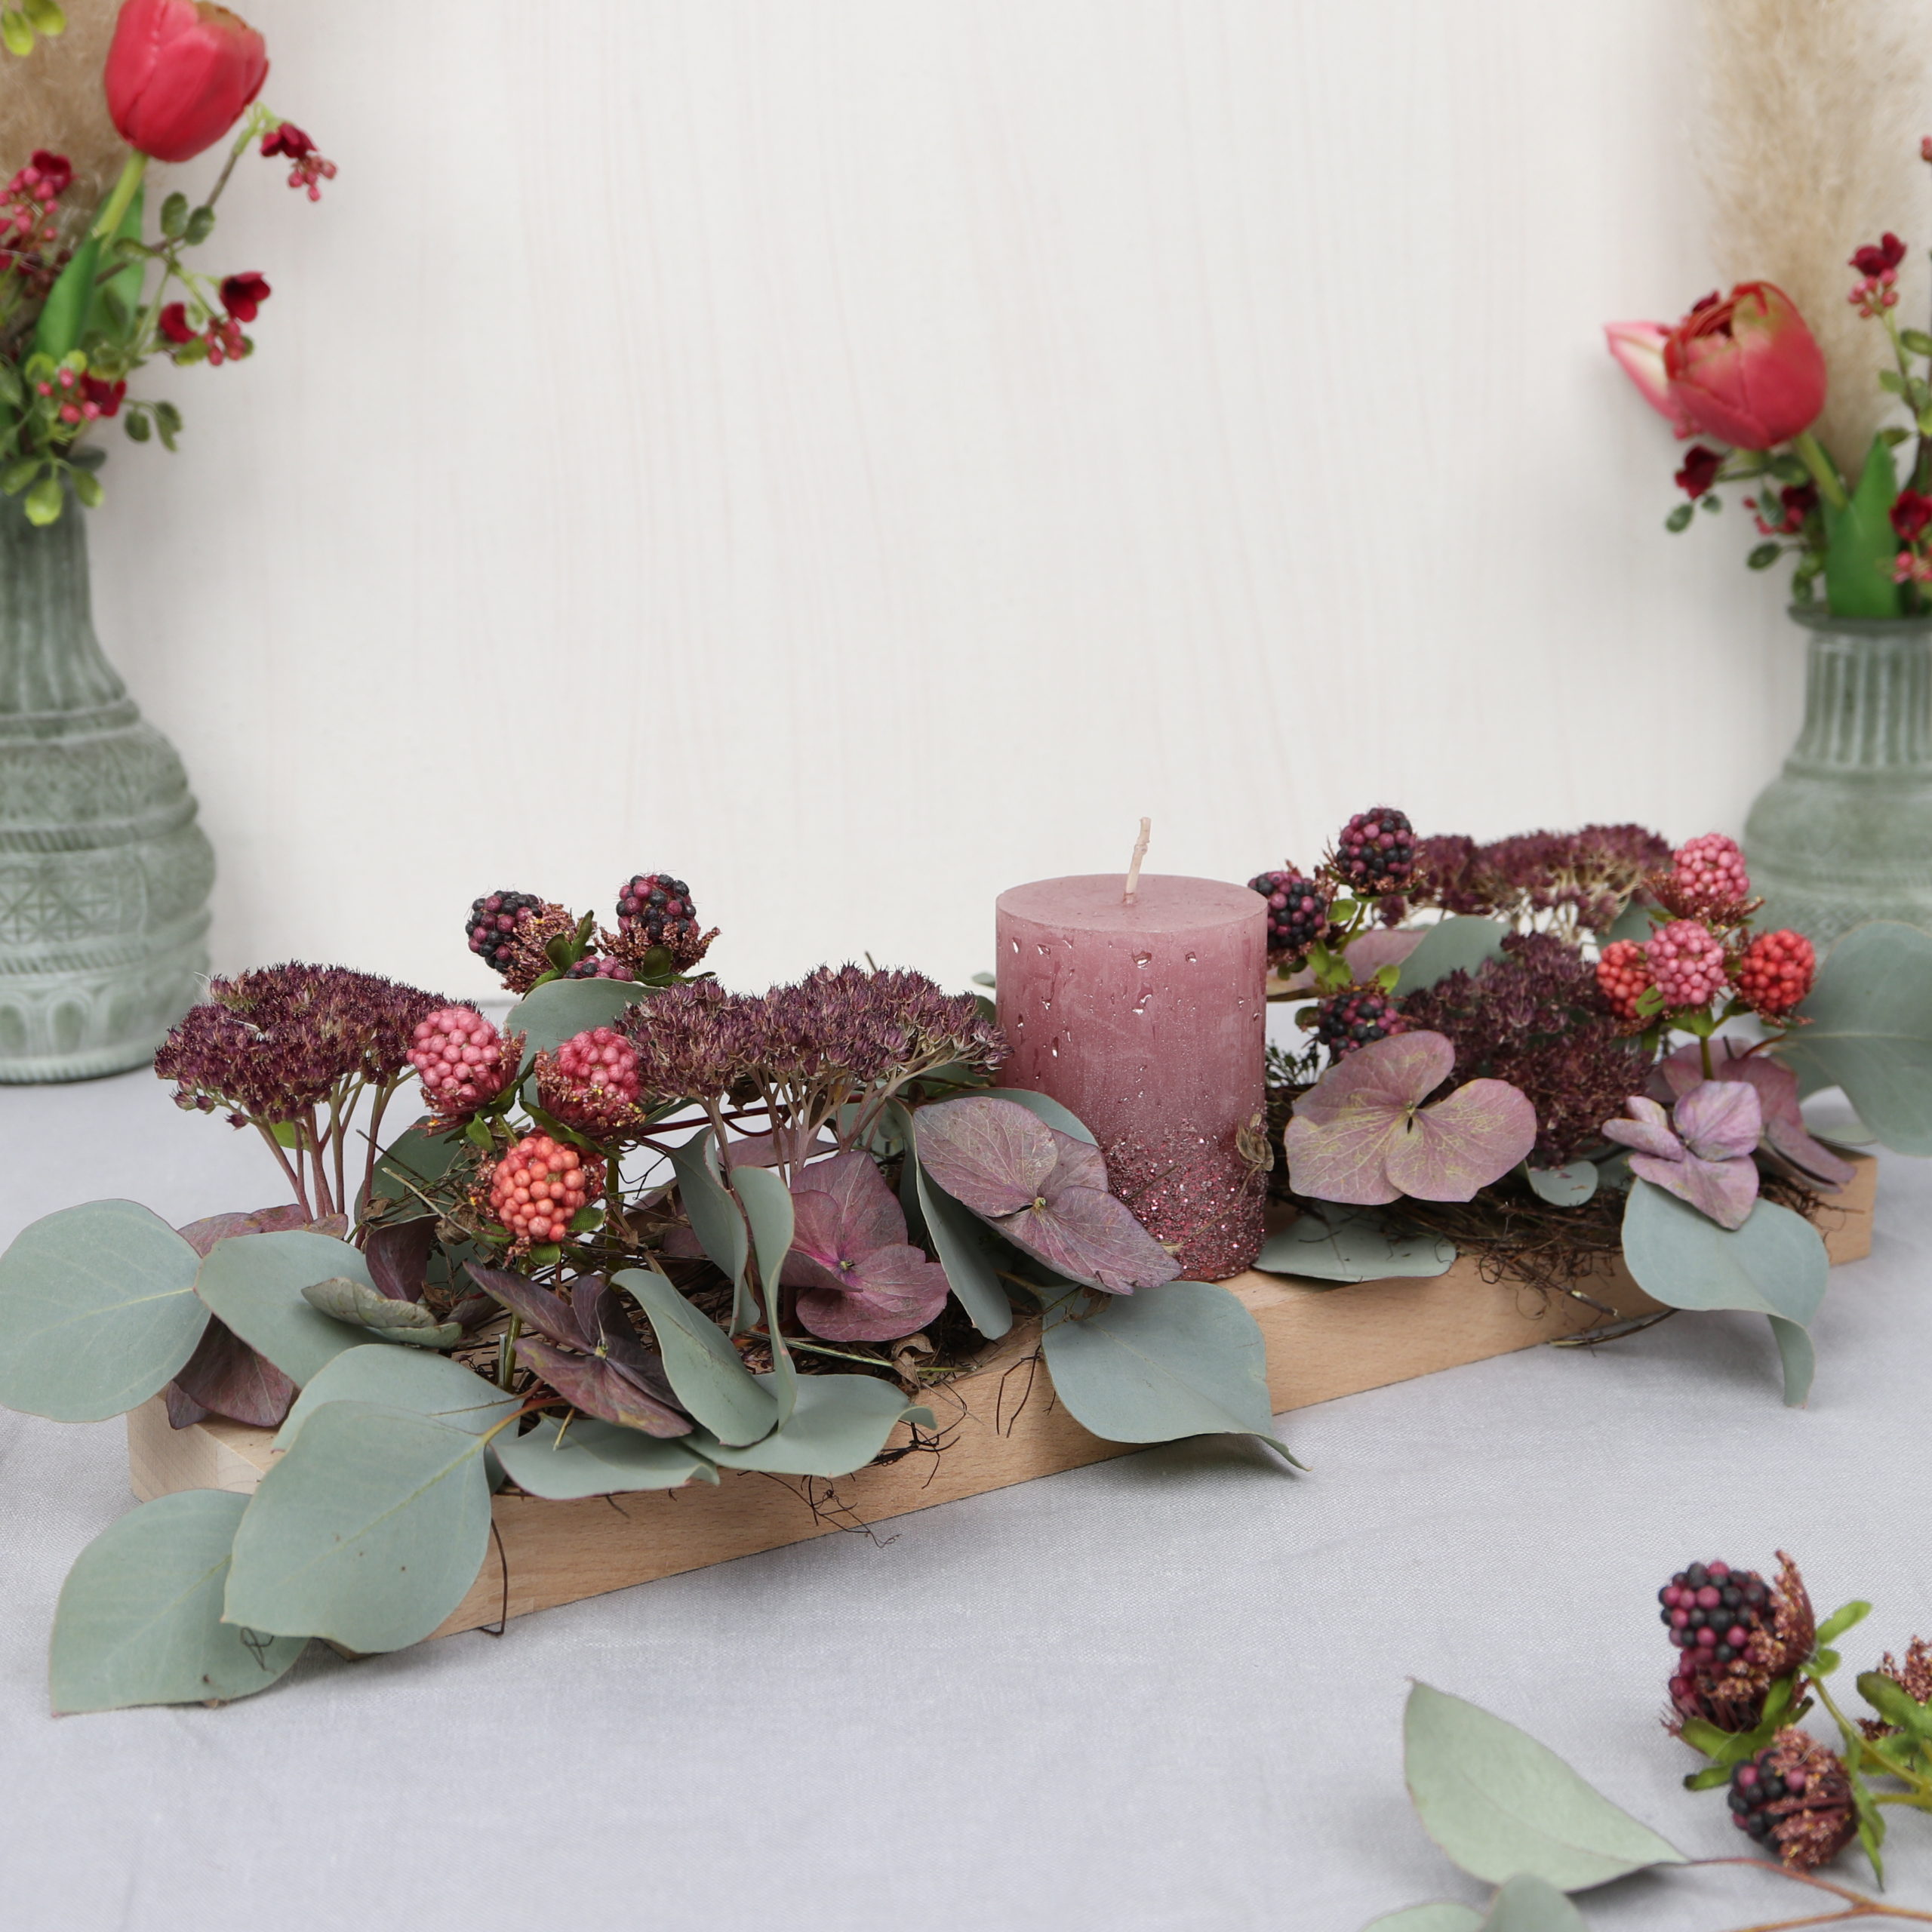
And the decoration board is ready! I hope you enjoyed this DIY as much as I did and you like the sight of the flowery candle decoration! Btw: With this nail gun technique, you will be able to make many different other kinds of flower arrangements.