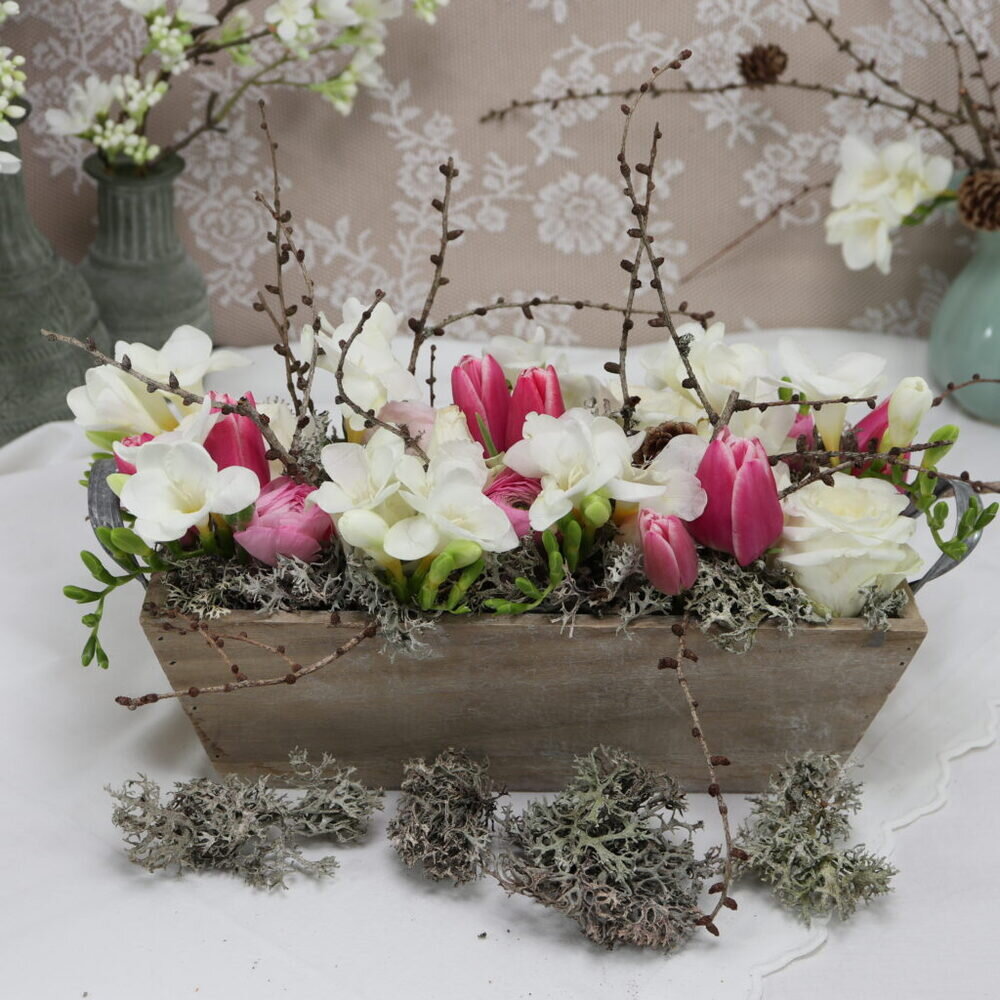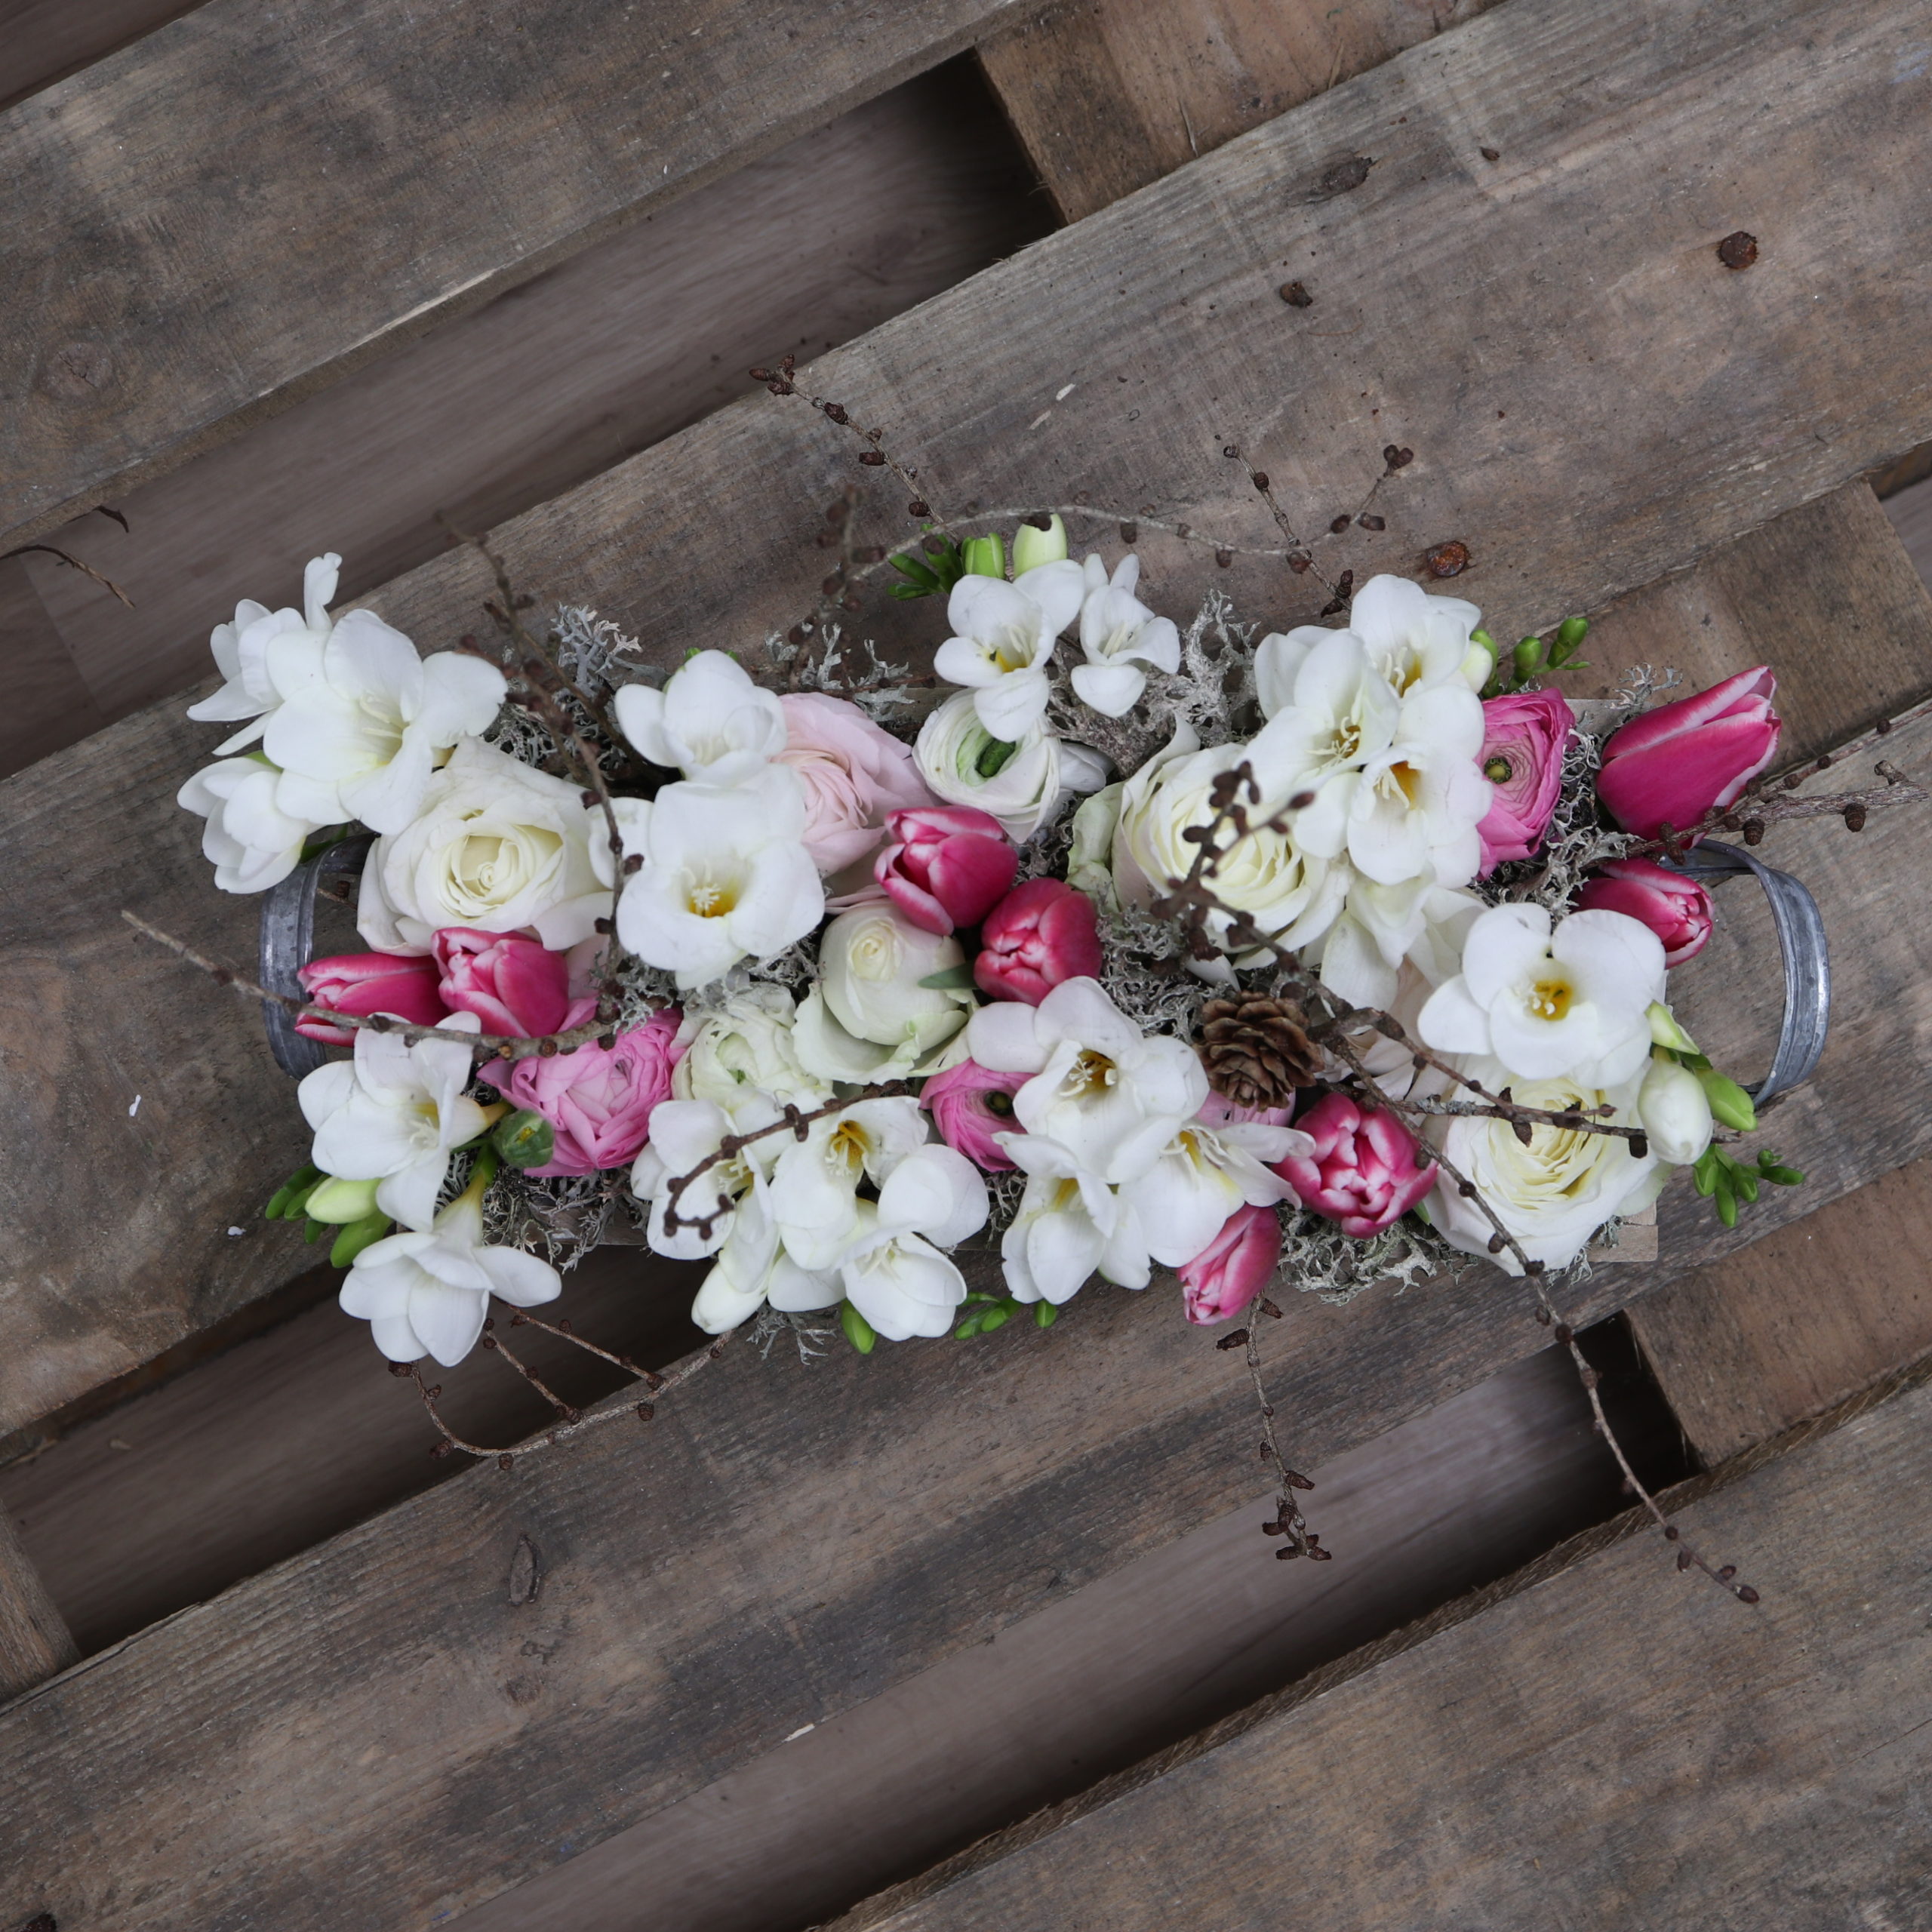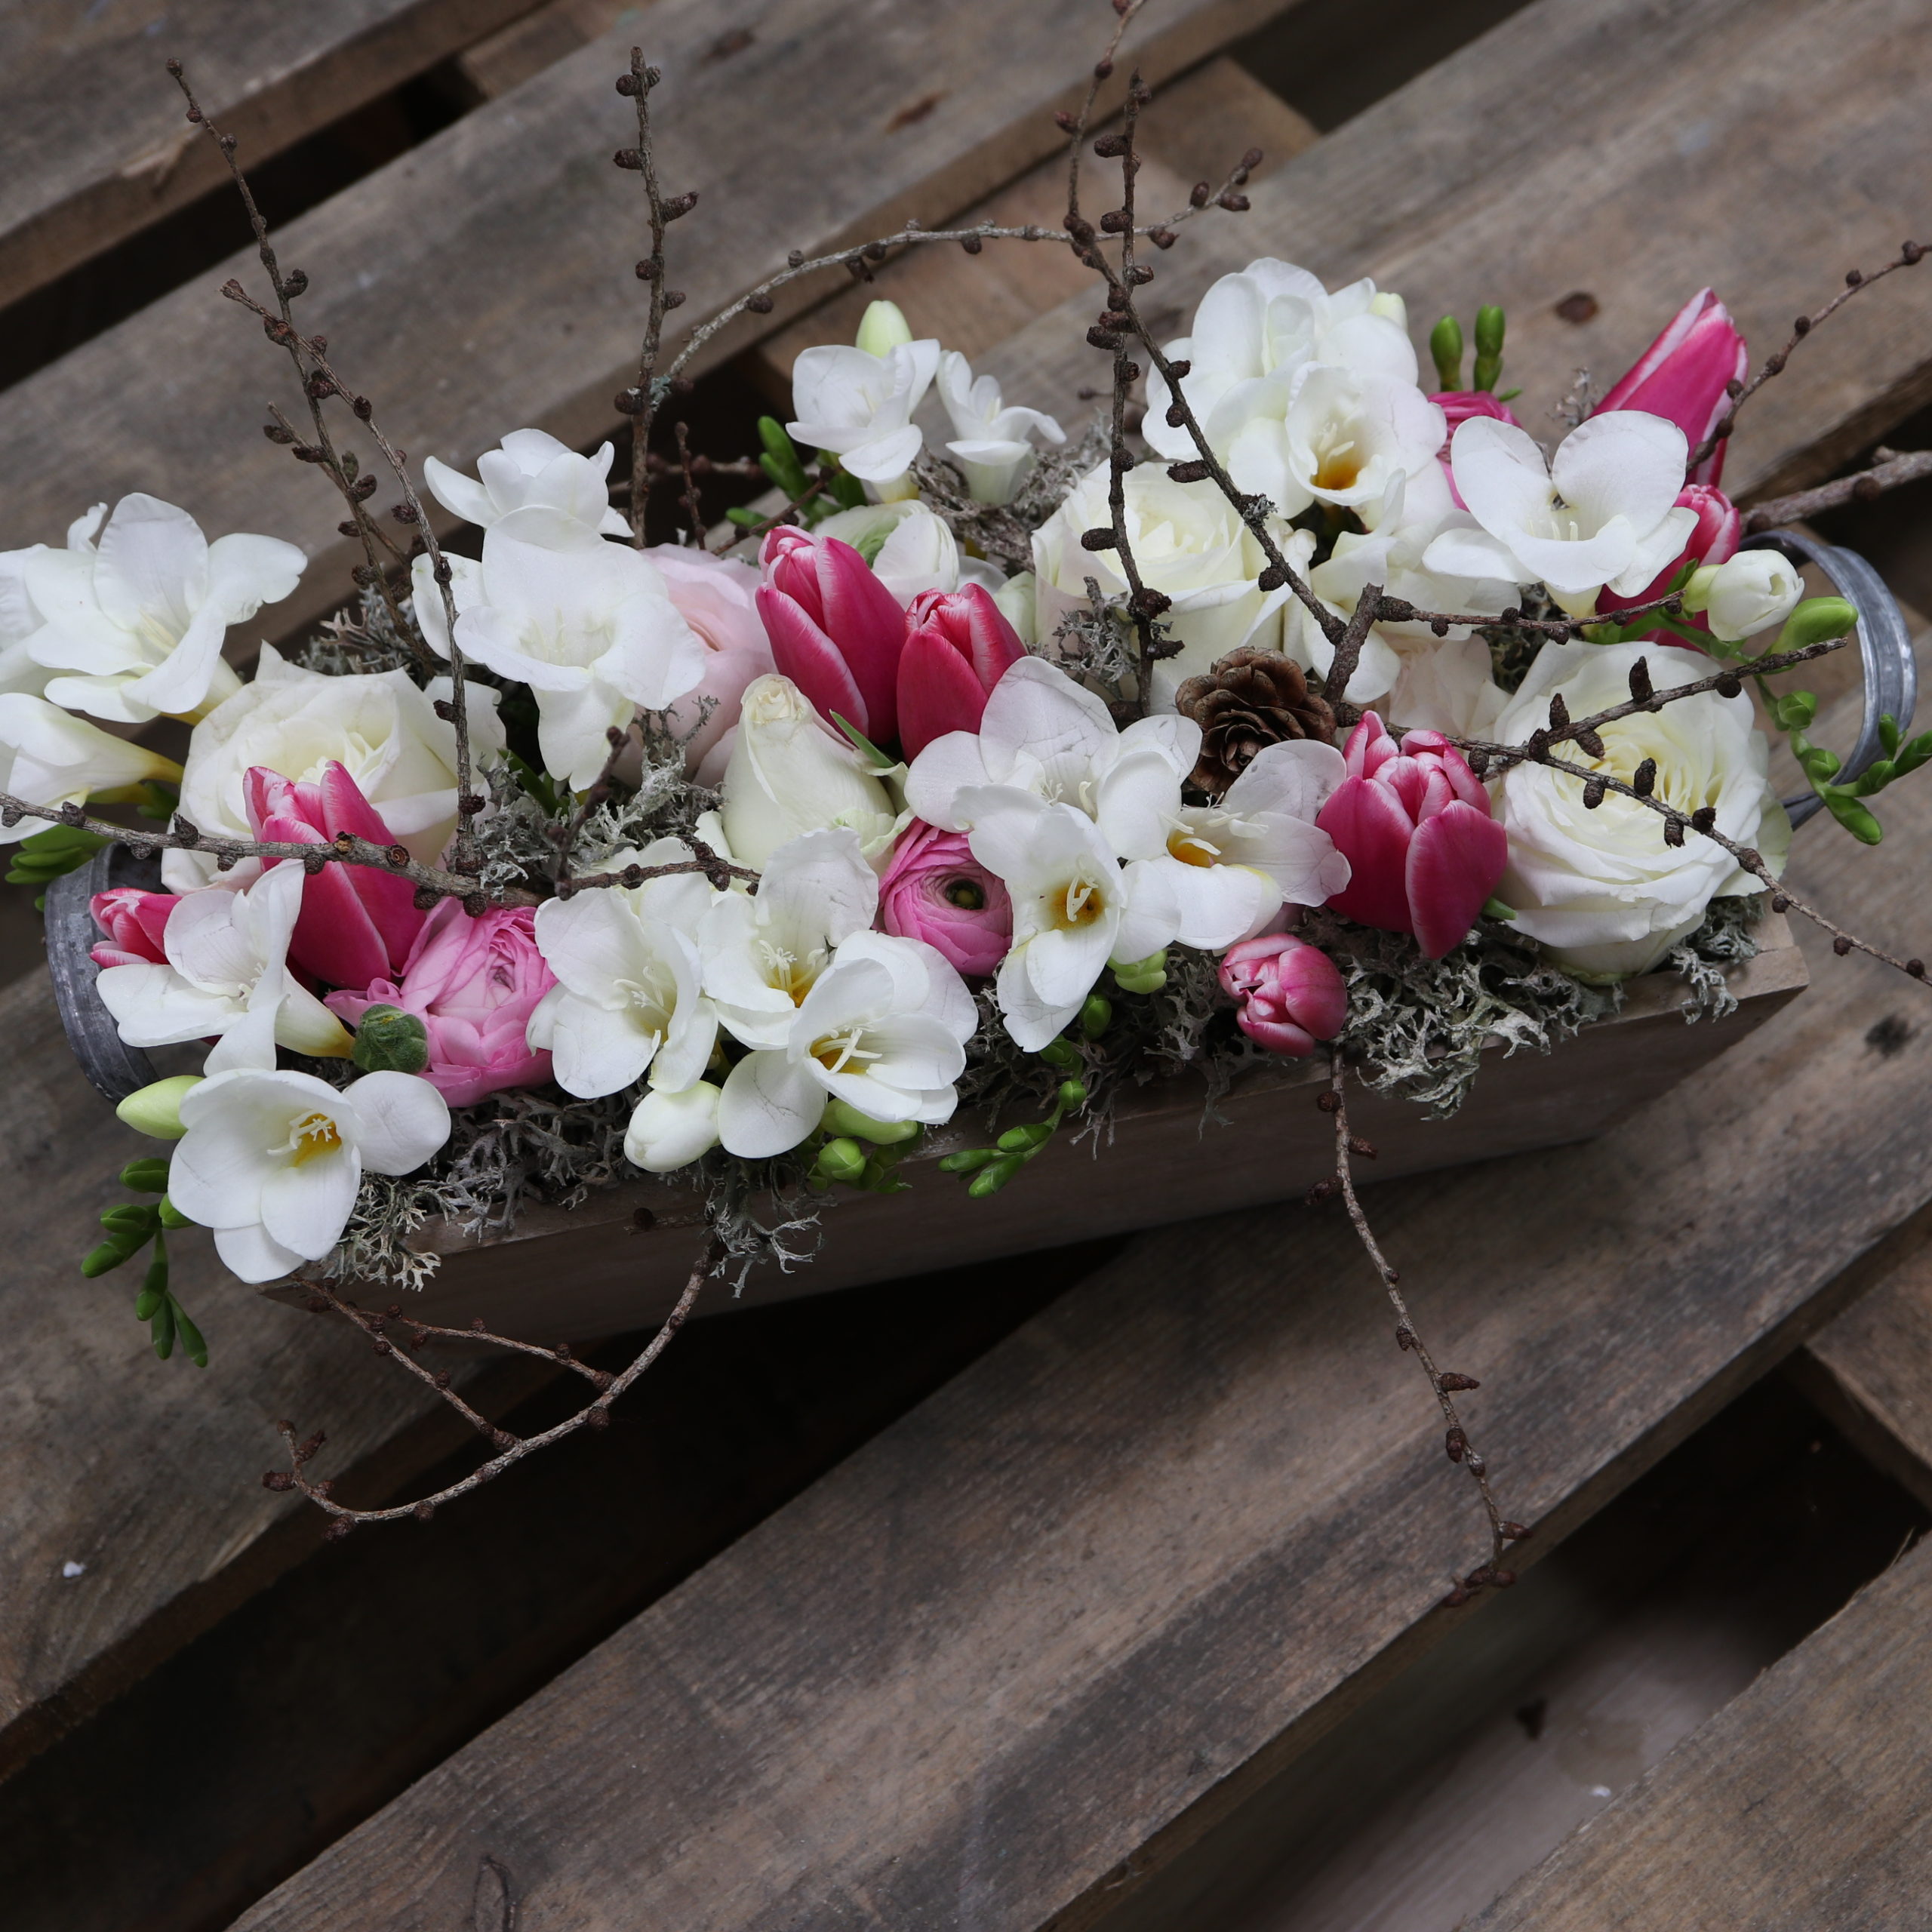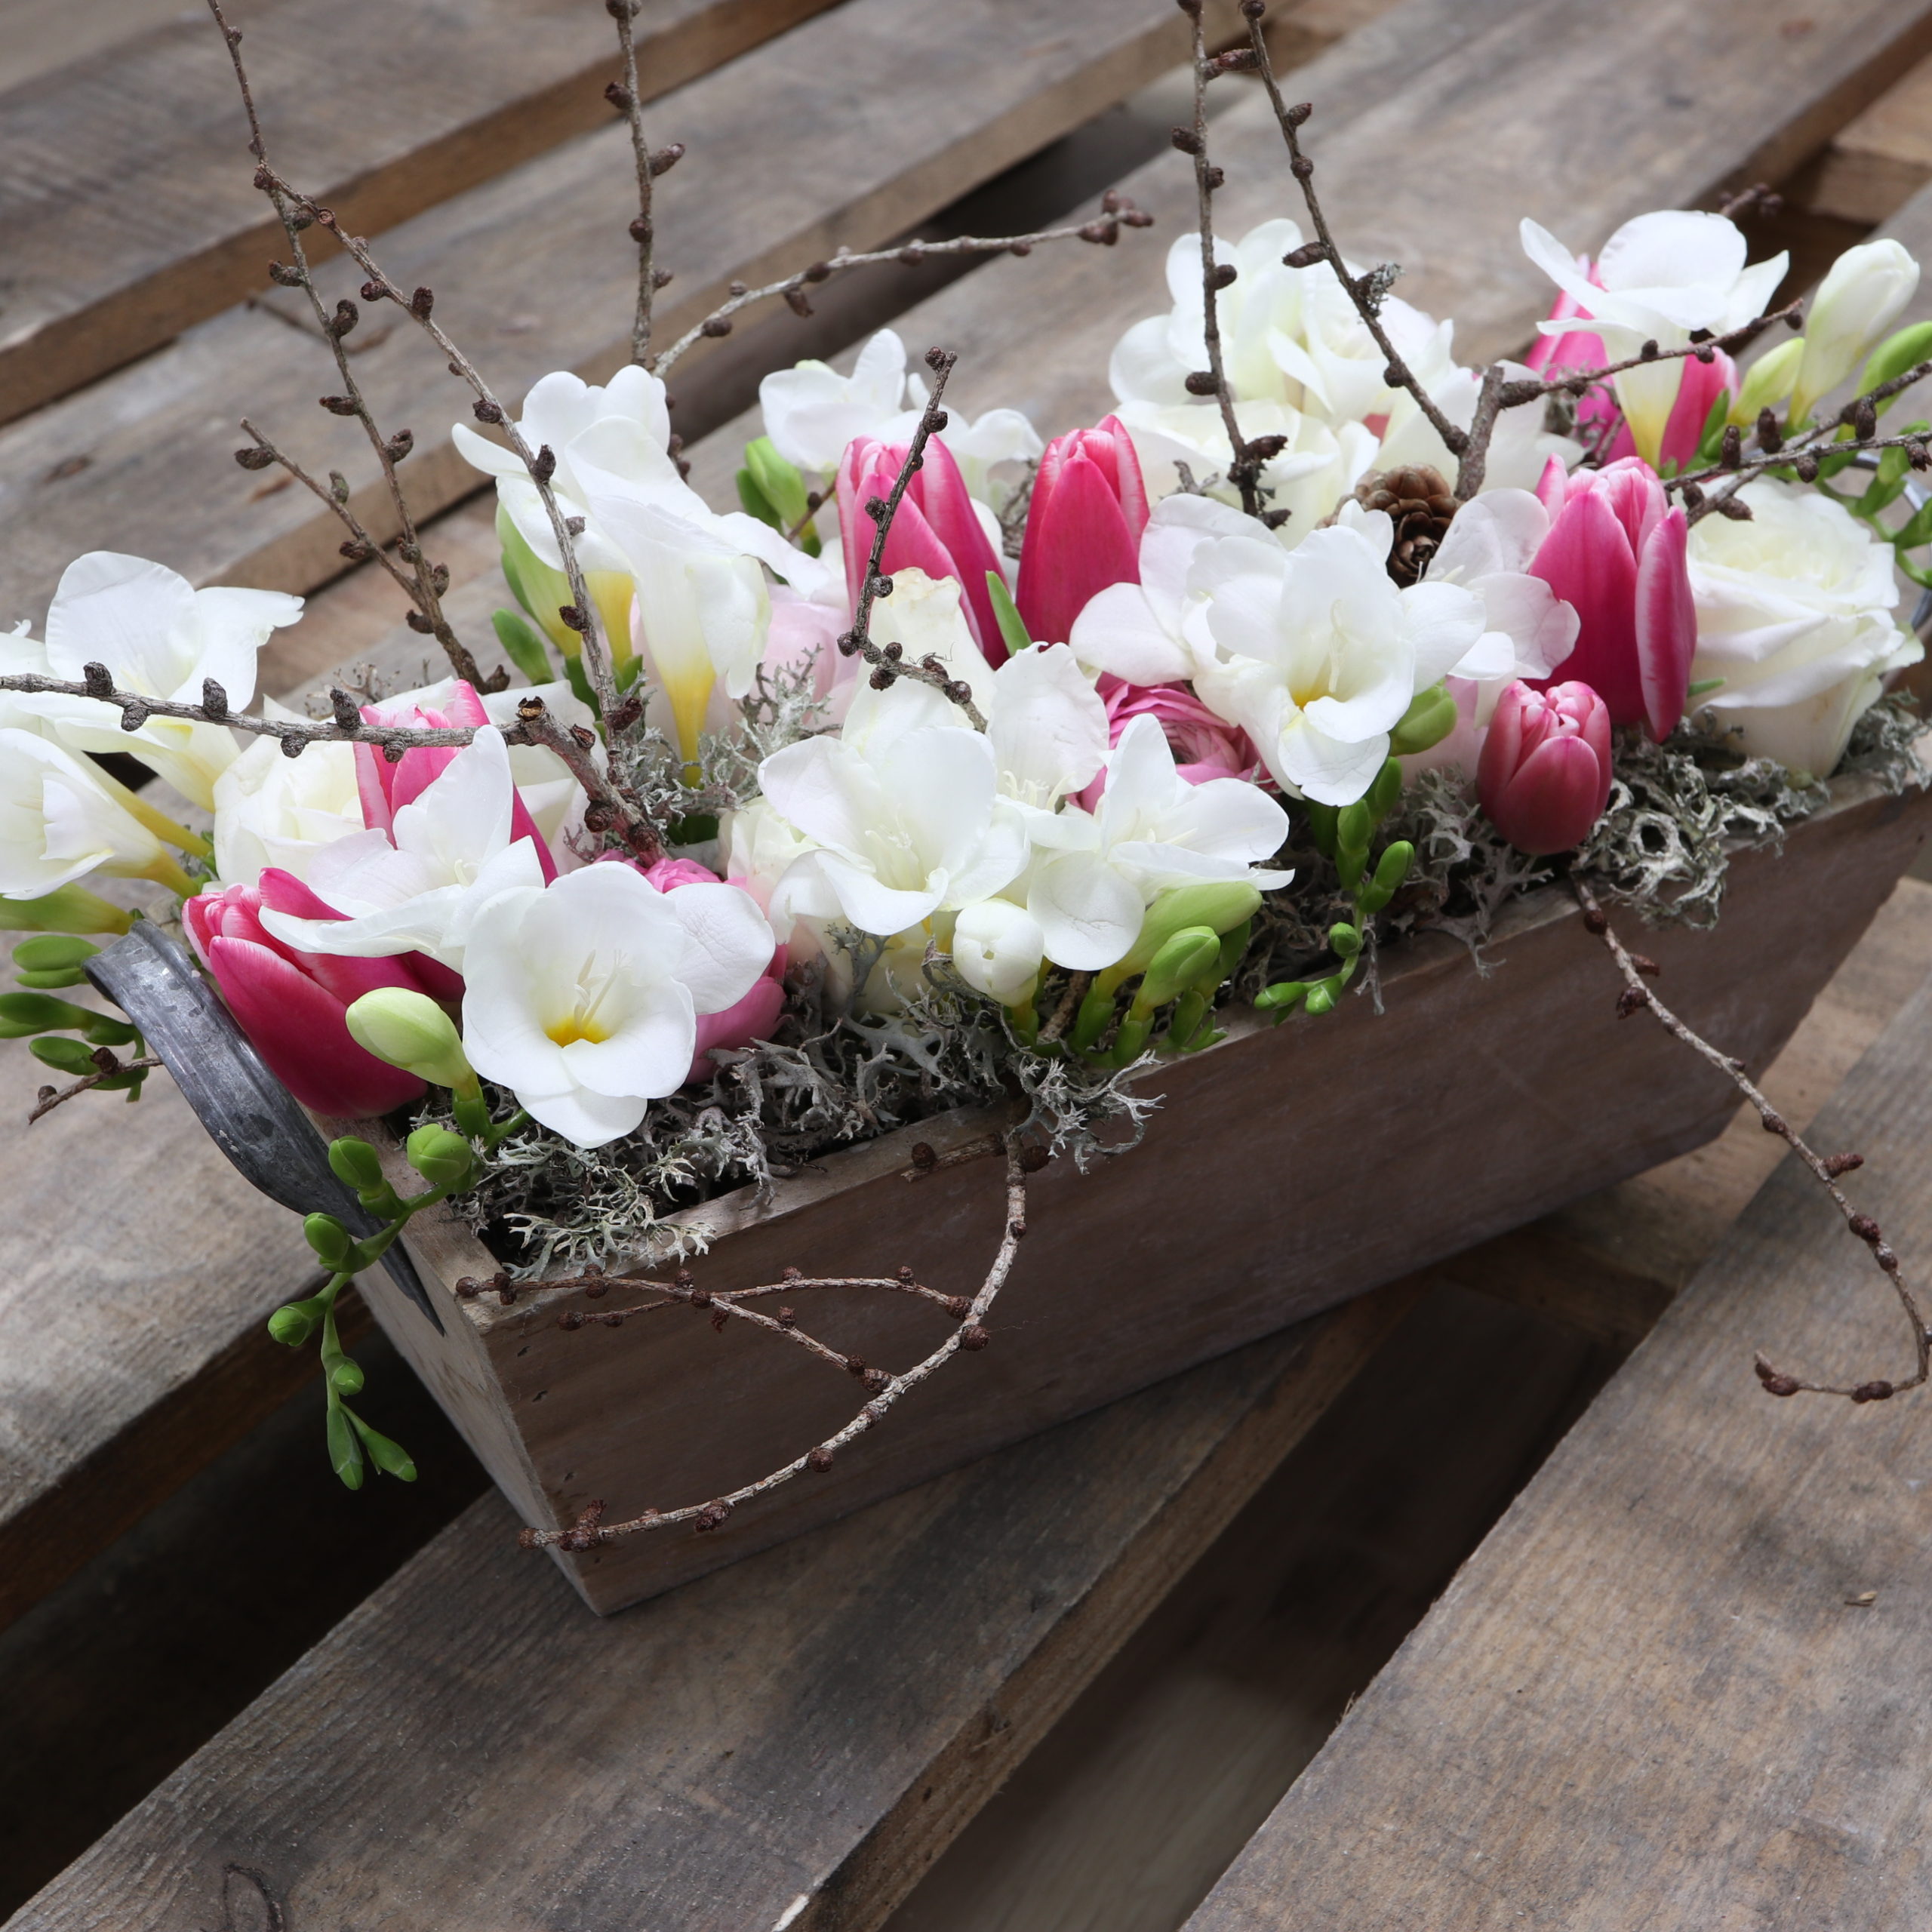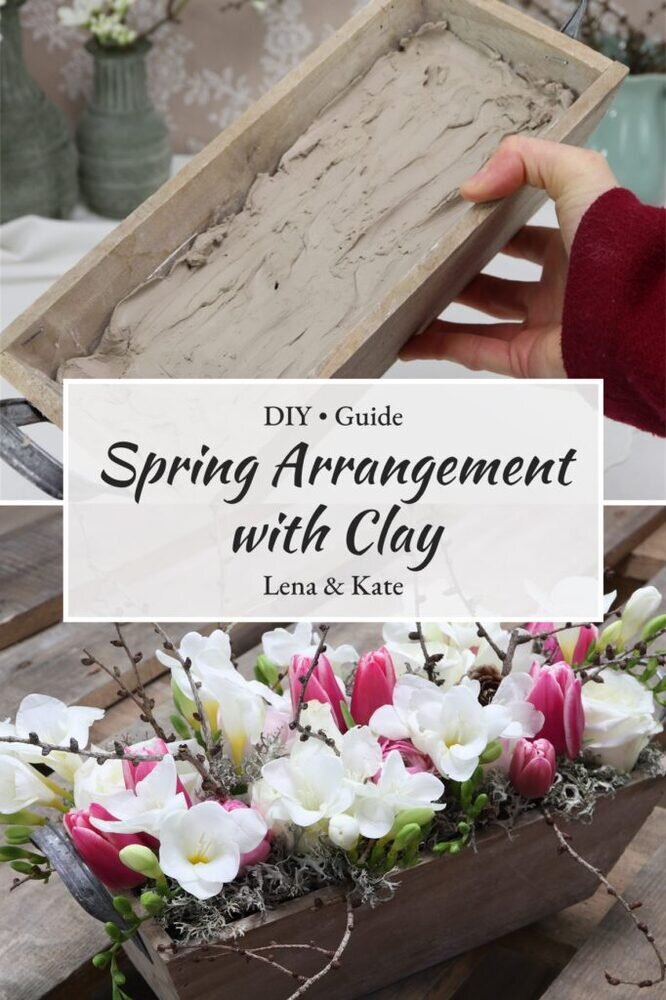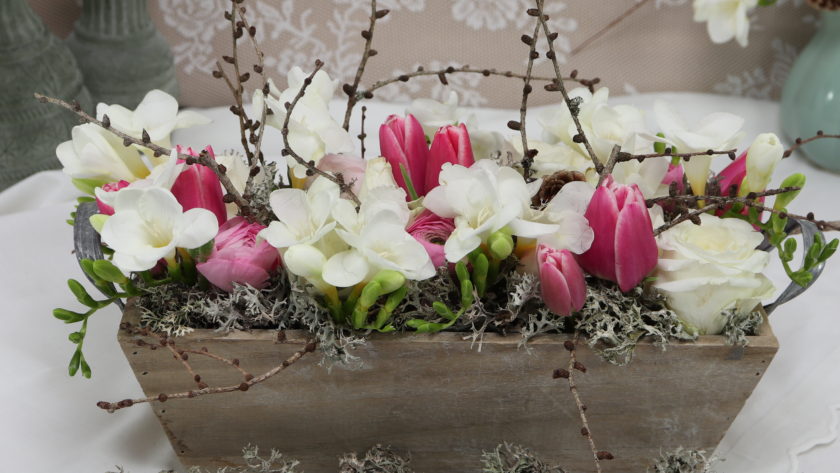
Today I show you how to create a spring-like arrangement with tulips, roses, ranunculus, freesia, larch branches and lichen in a wooden box. I use clay as the sticking base for this. This is a natural, more environmentally friendly and sustainable alternative to traditional floral foam. I have answered general and frequently asked questions about floral foam in a floral foam FAQ on sustainability, disposal, microplastics, etc.
Tools
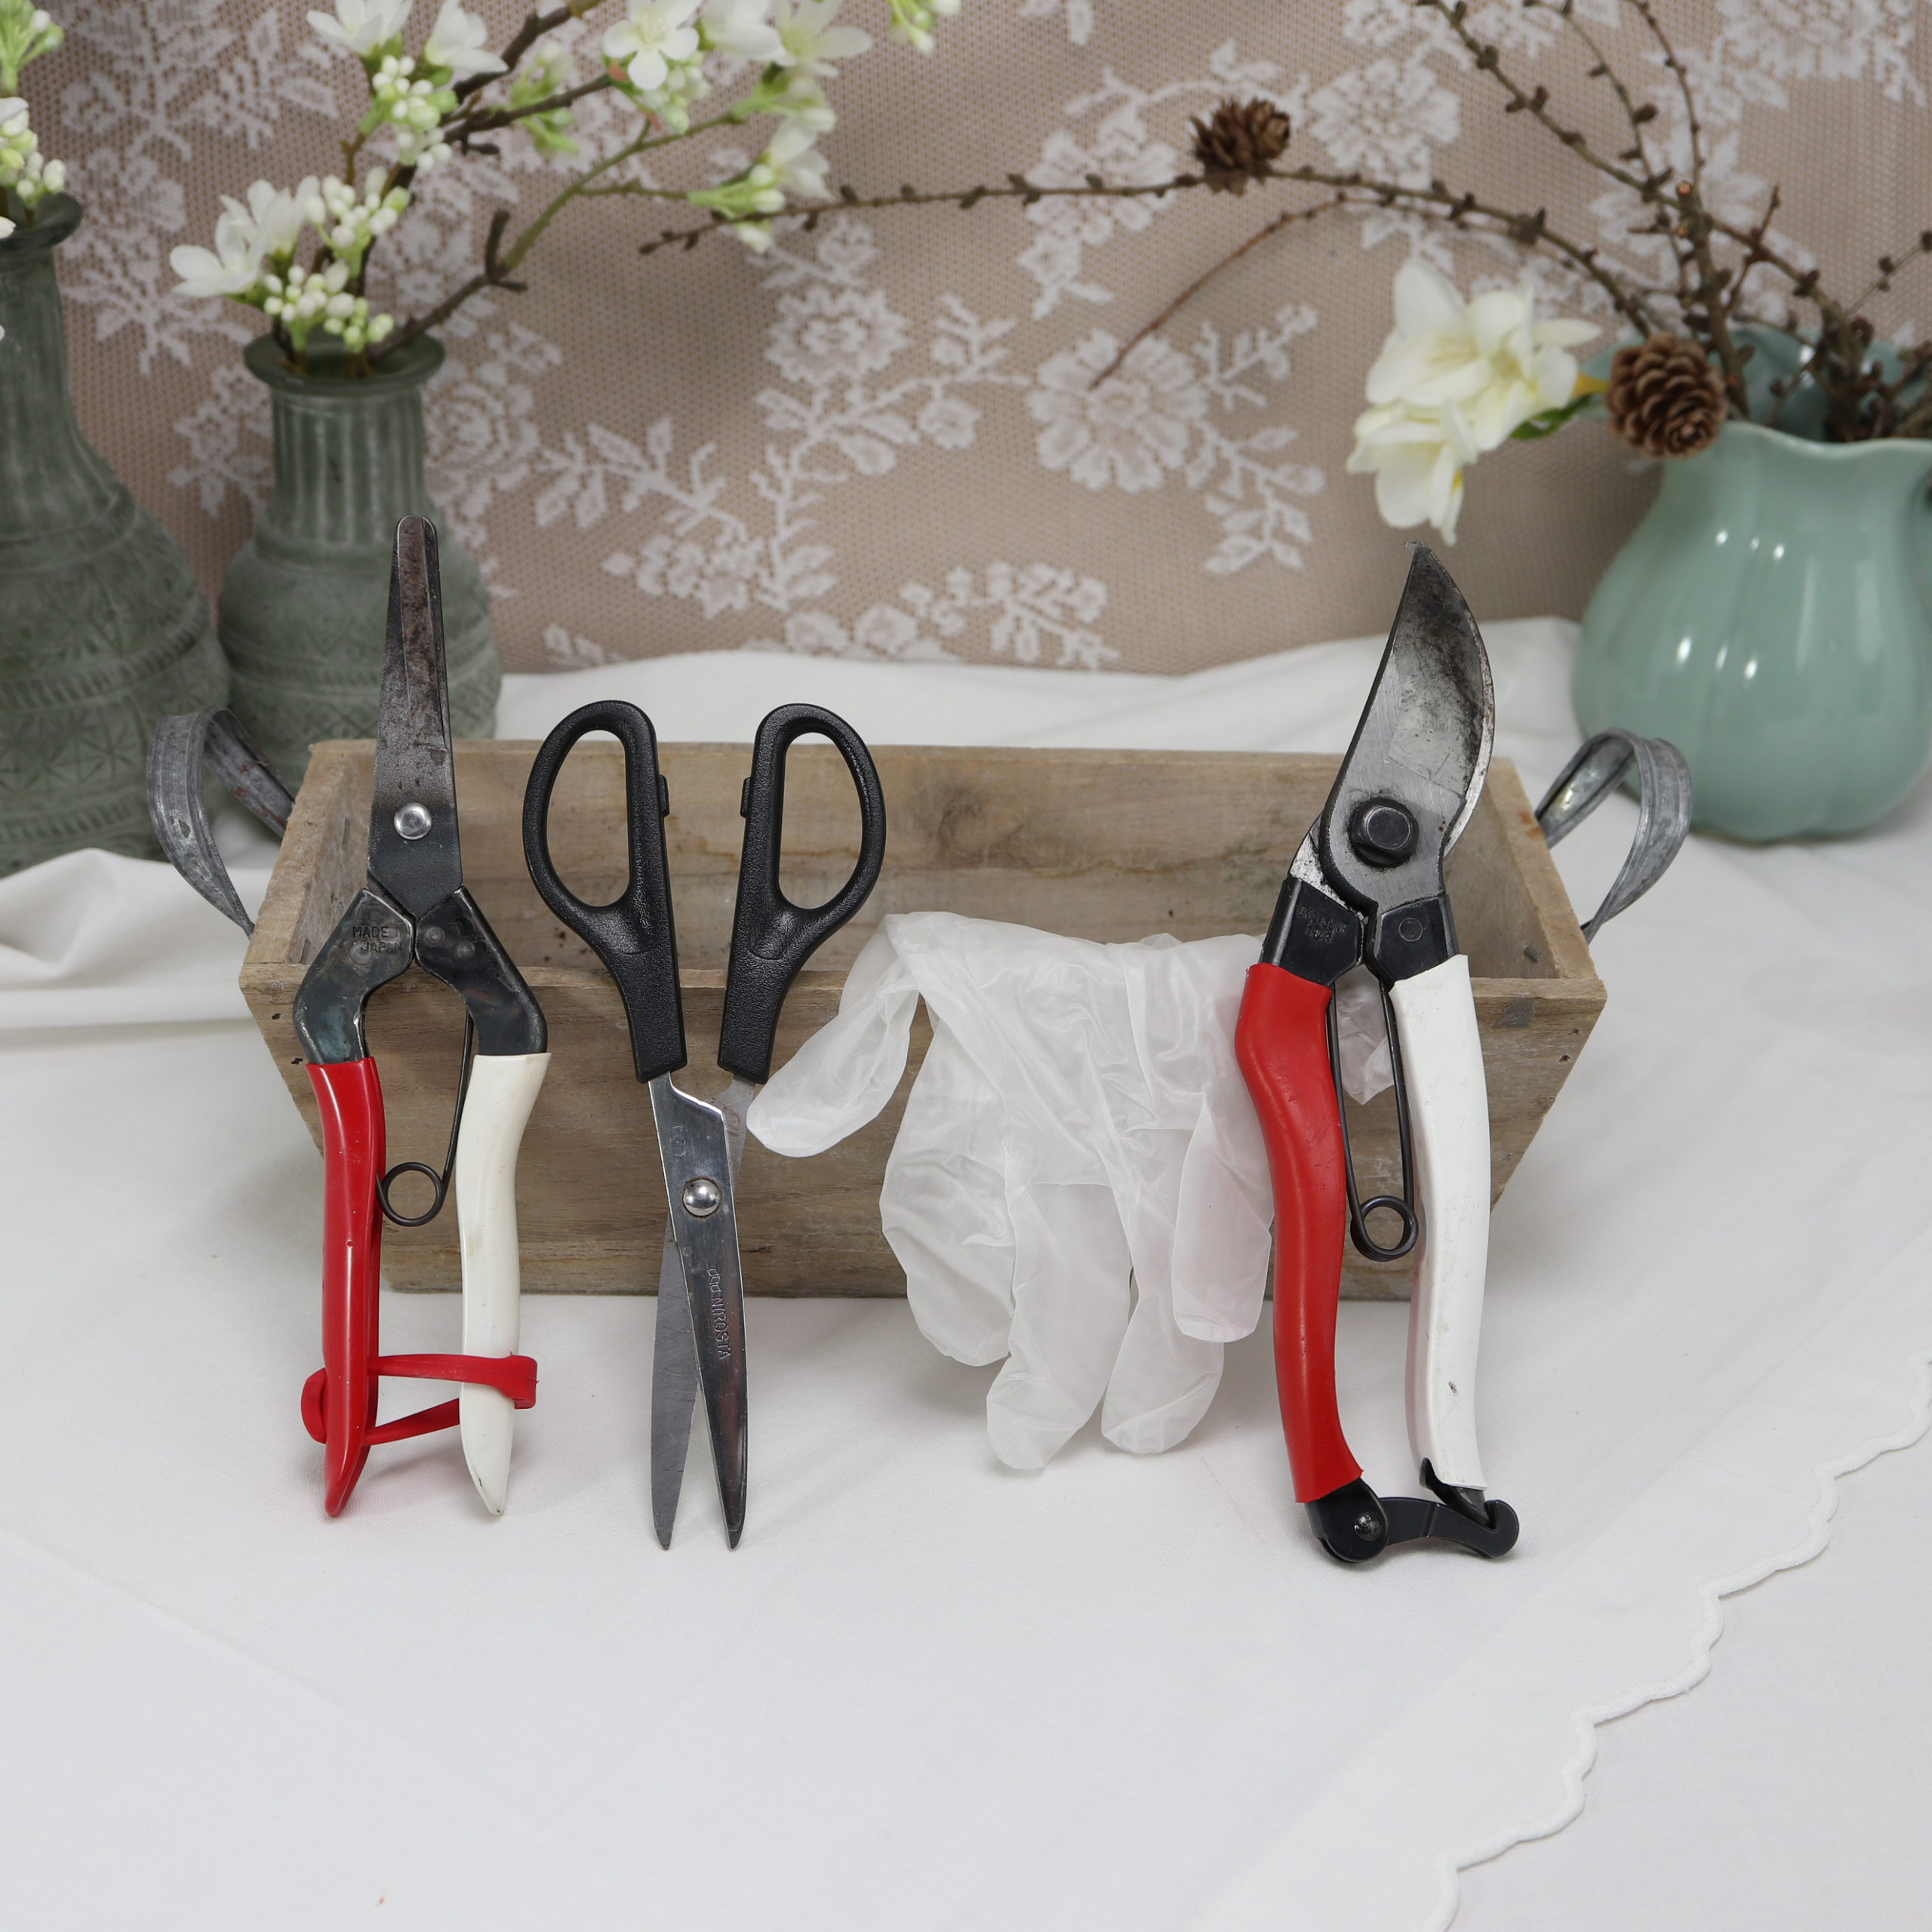
Here you can see what tools I used for the spring arrangement. You need a pair of household scissors, gardening shears, gardening pruners and disposable gloves.
| Werkzeug | Suche auf… |
|---|---|
| Scissors | |
| Gardening pruners | |
| I use the Japanese gardening pruners Okatsune 103 | |
| Gardening shears | |
| I use the Japanese gardening shears Okatsune 304 | |
| Disposable gloves |
Materials

These are the materials I used for the flower arrangement: A wooden box, clay as floral foam alternative, foil to line the wooden box, Icelandic moss lichen, larch branches and the following spring flowers: pink tulips, pink ranunculus, white freesia and also white roses.
| Material | Search on… |
|---|---|
| Wooden box | |
| Clay | |
| Transparent foil | |
| Icelandic moss lichen | |
| Larch branches | |
| Tulips (pink) | |
| Ranunculus (pink) | |
| Freesias (white) | |
| Roses (white) |
Guide
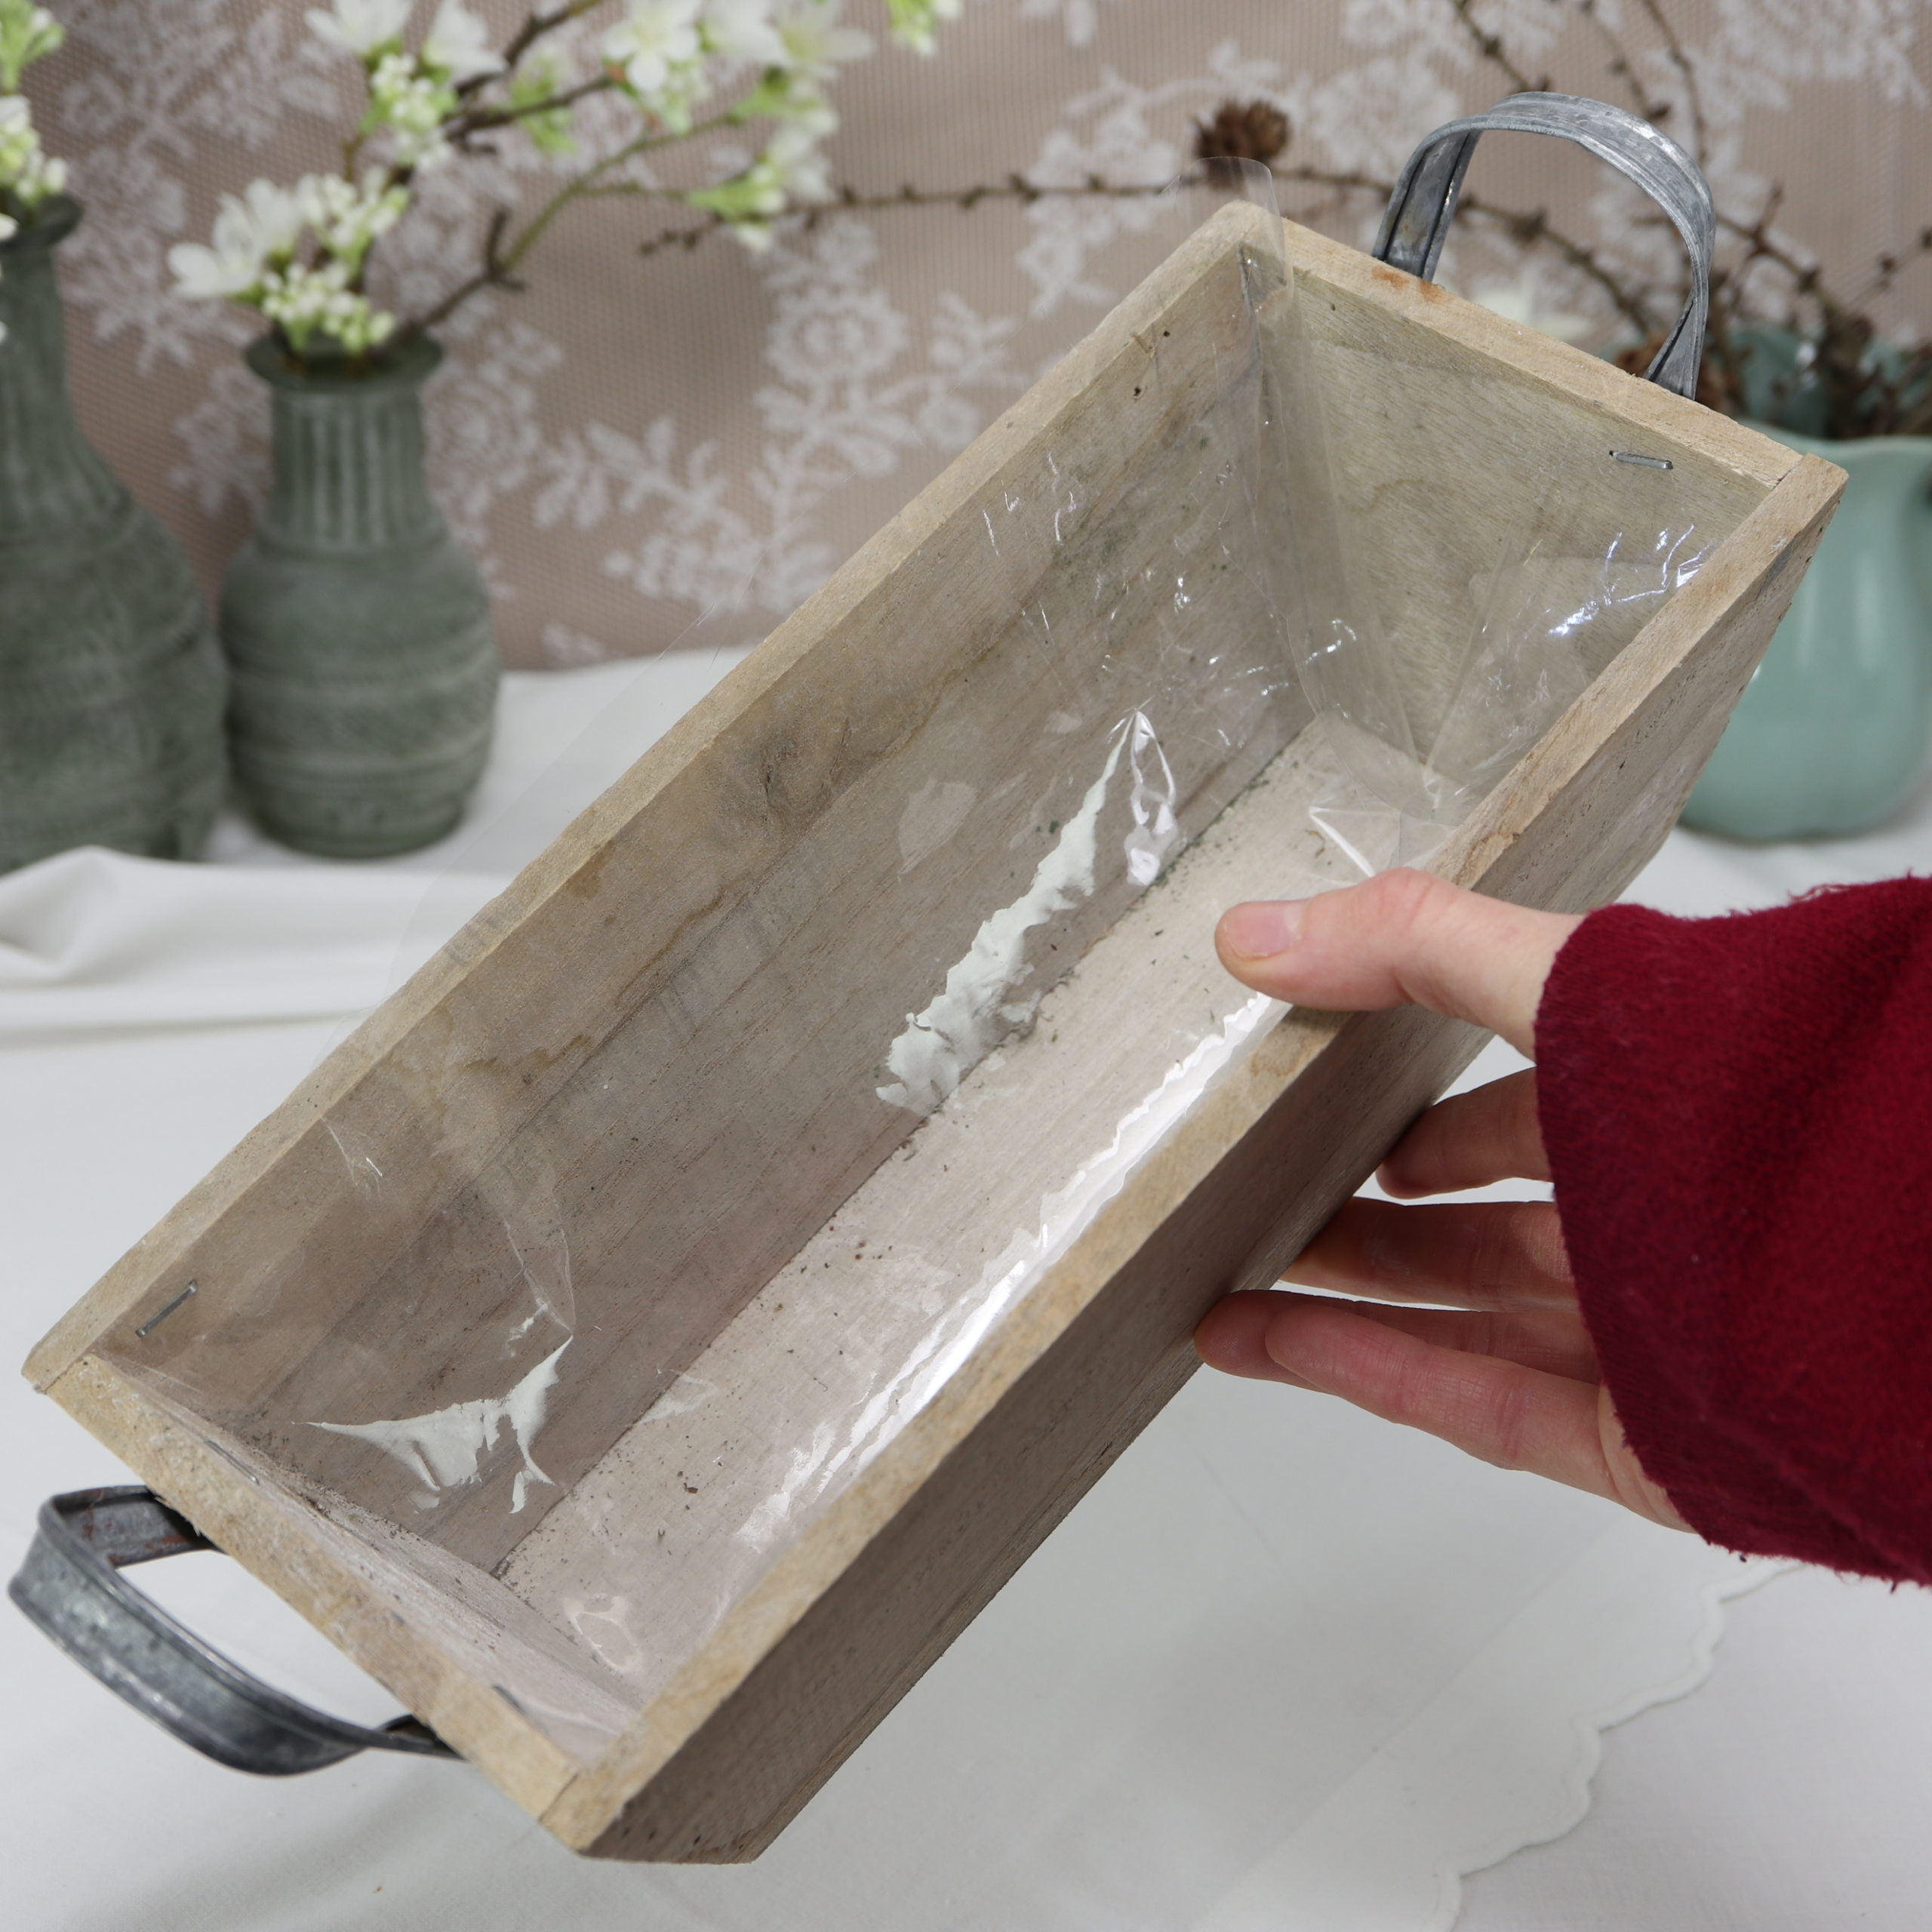
Step 1: Lining wooden box with foil
The first step is to line the wooden box with the transparent foil. I do this to protect the wooden box. Moreover, I can get the clay out better after the lifespan of the flower arrangement.
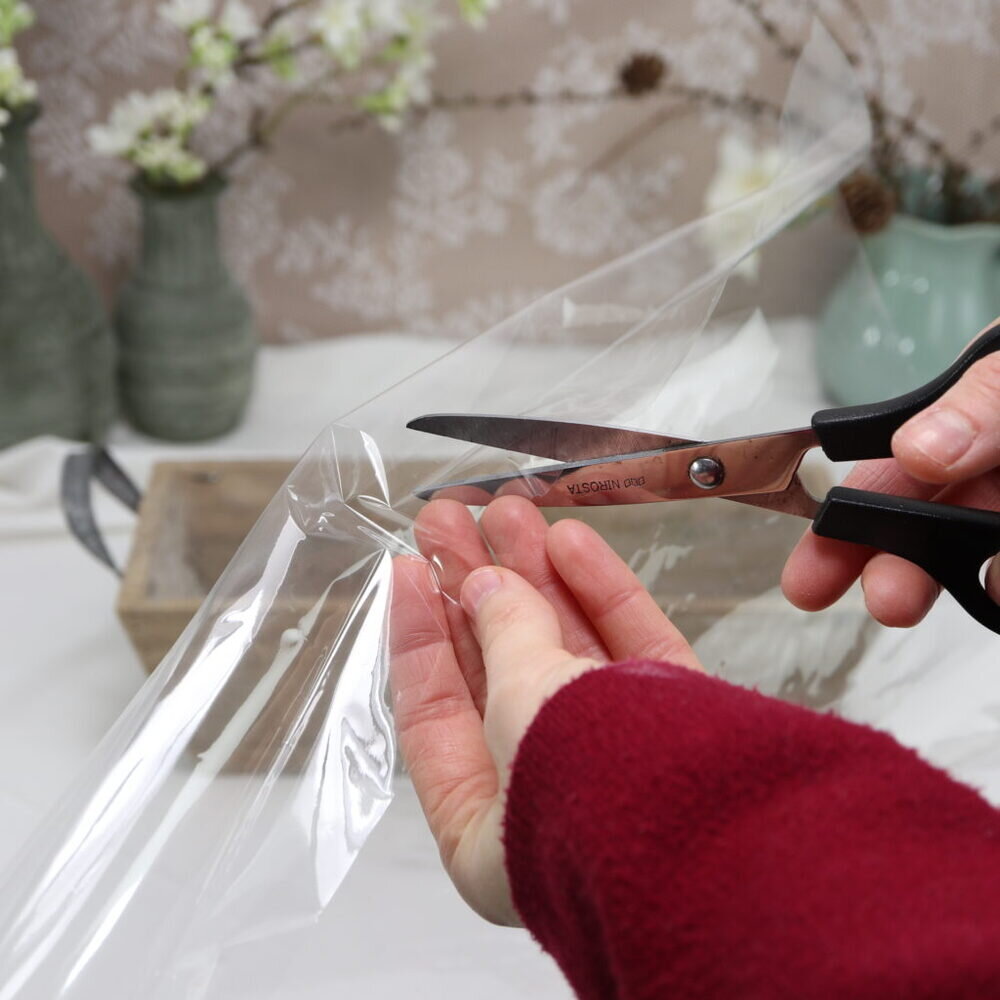
Cut the foil to fit your wooden box with household scissors and then place it inside.
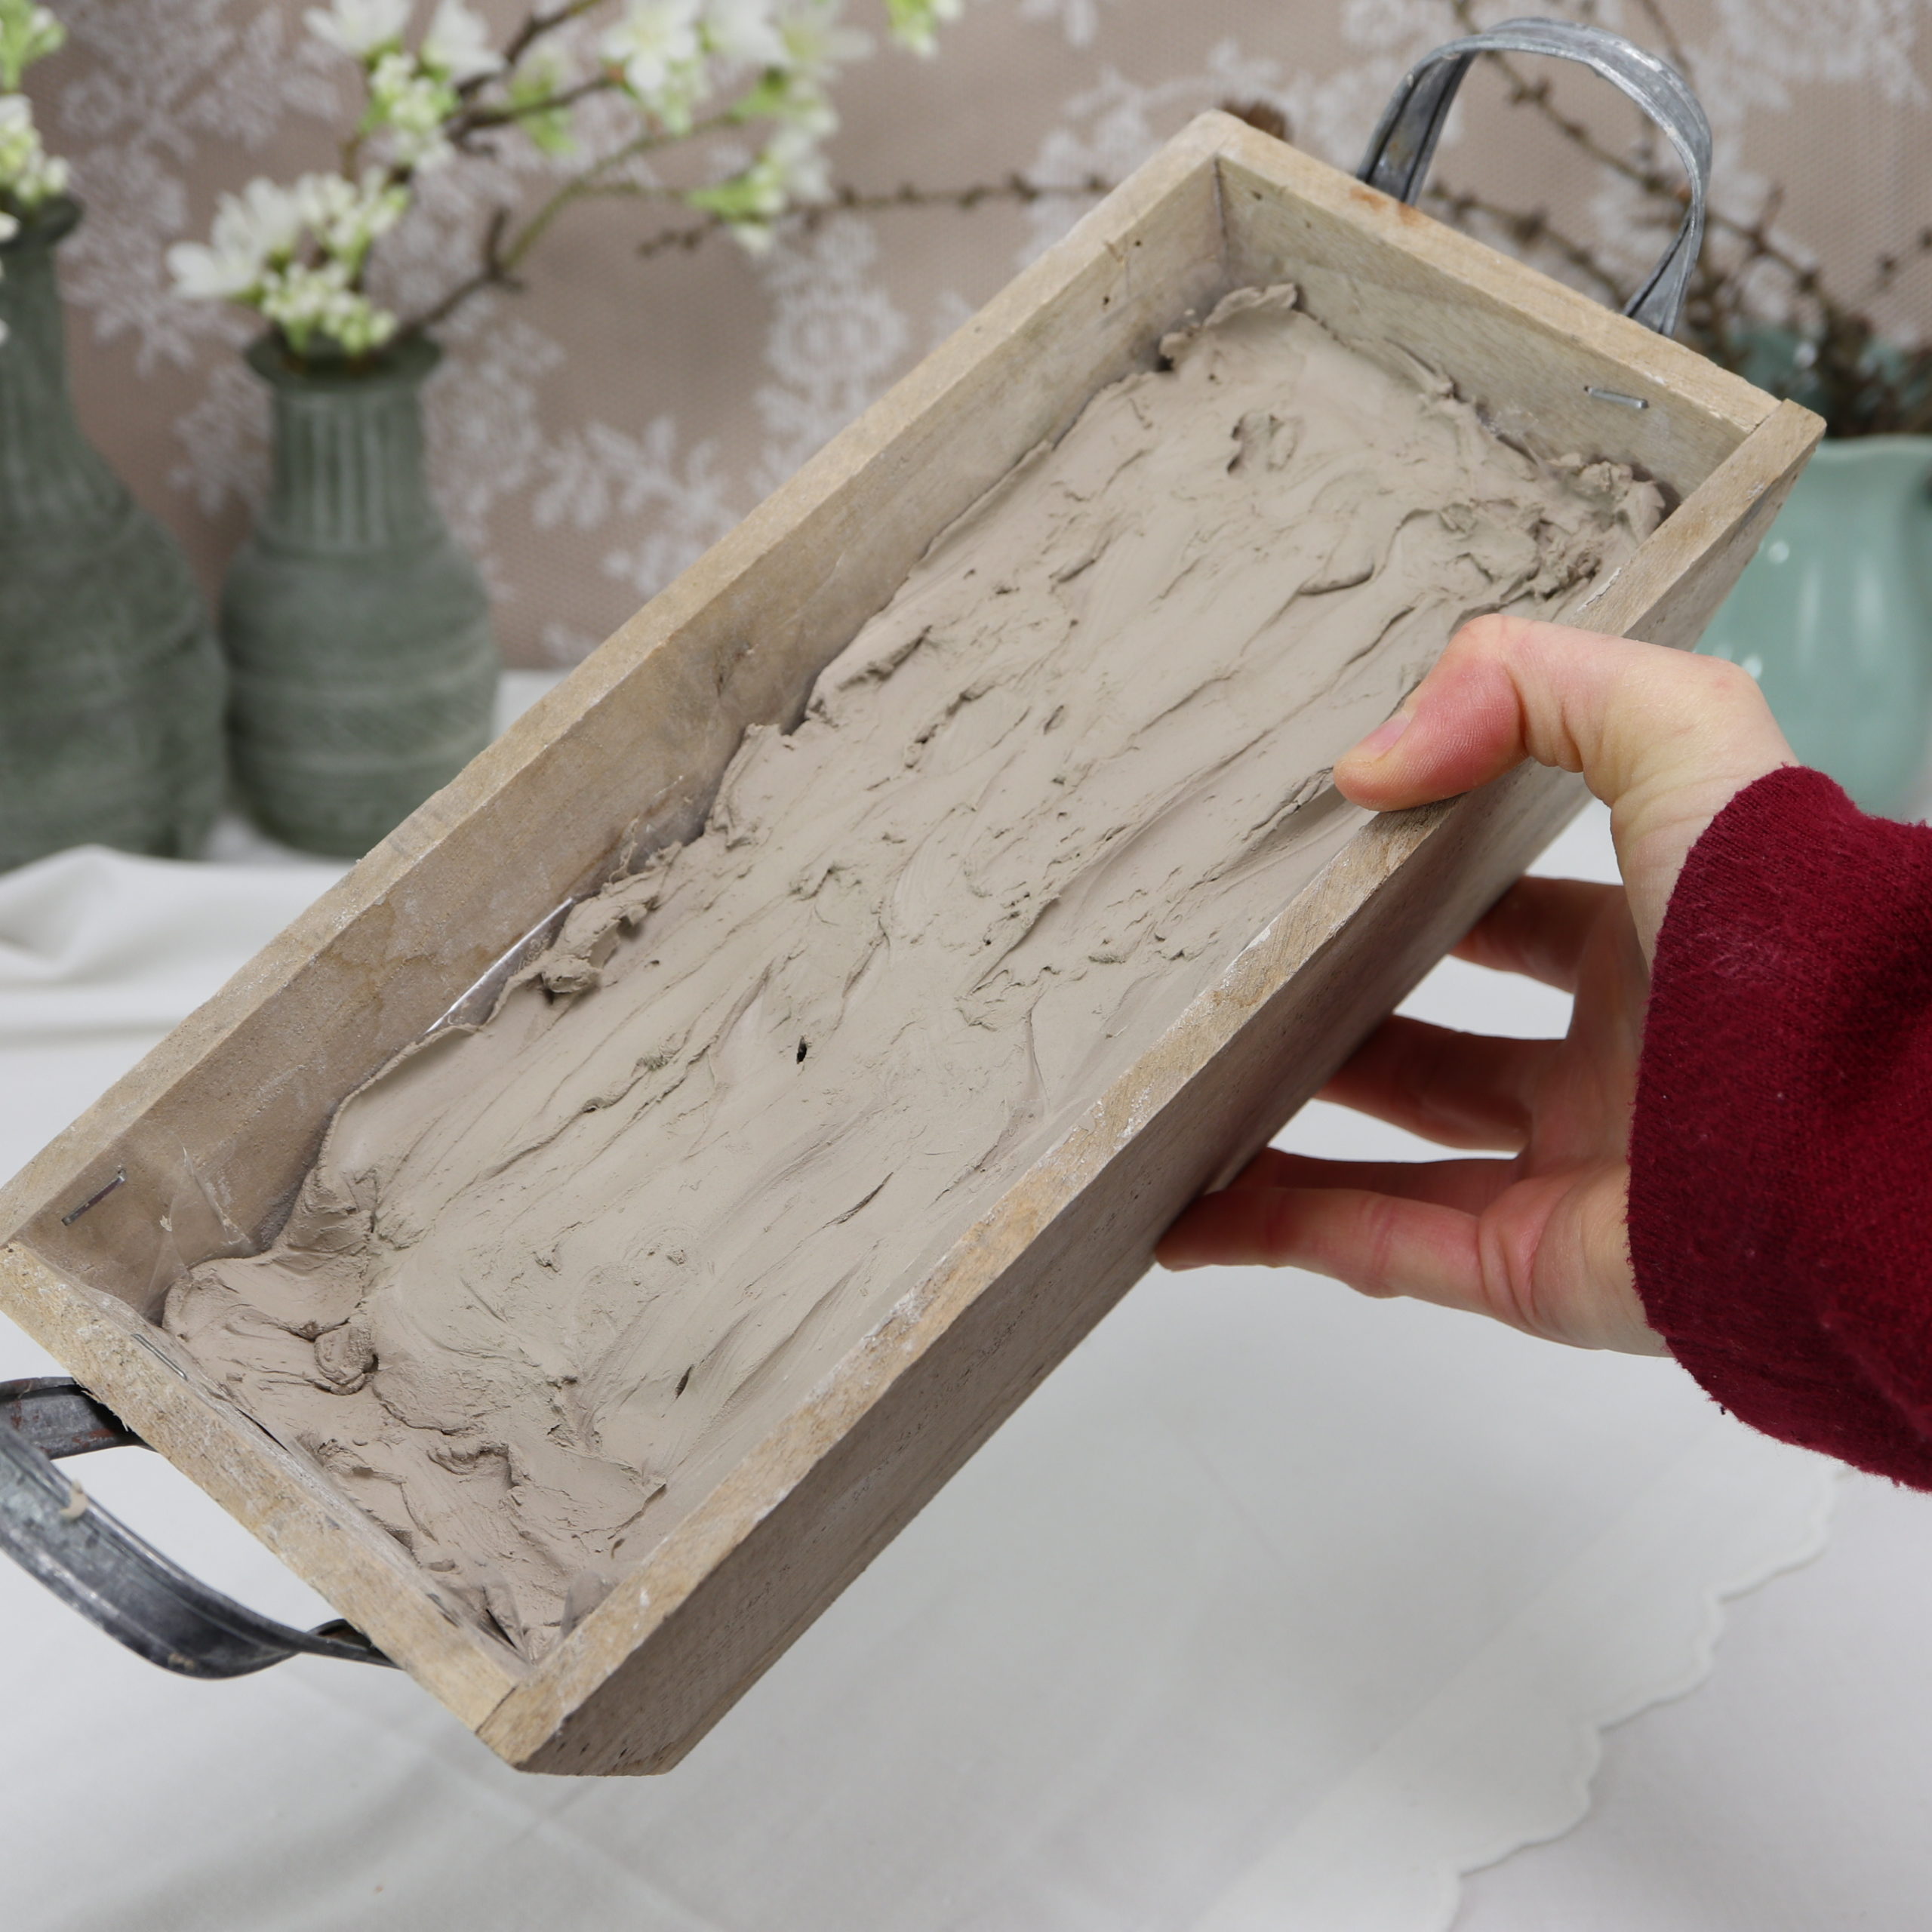
Step 2: Fill wooden box with clay
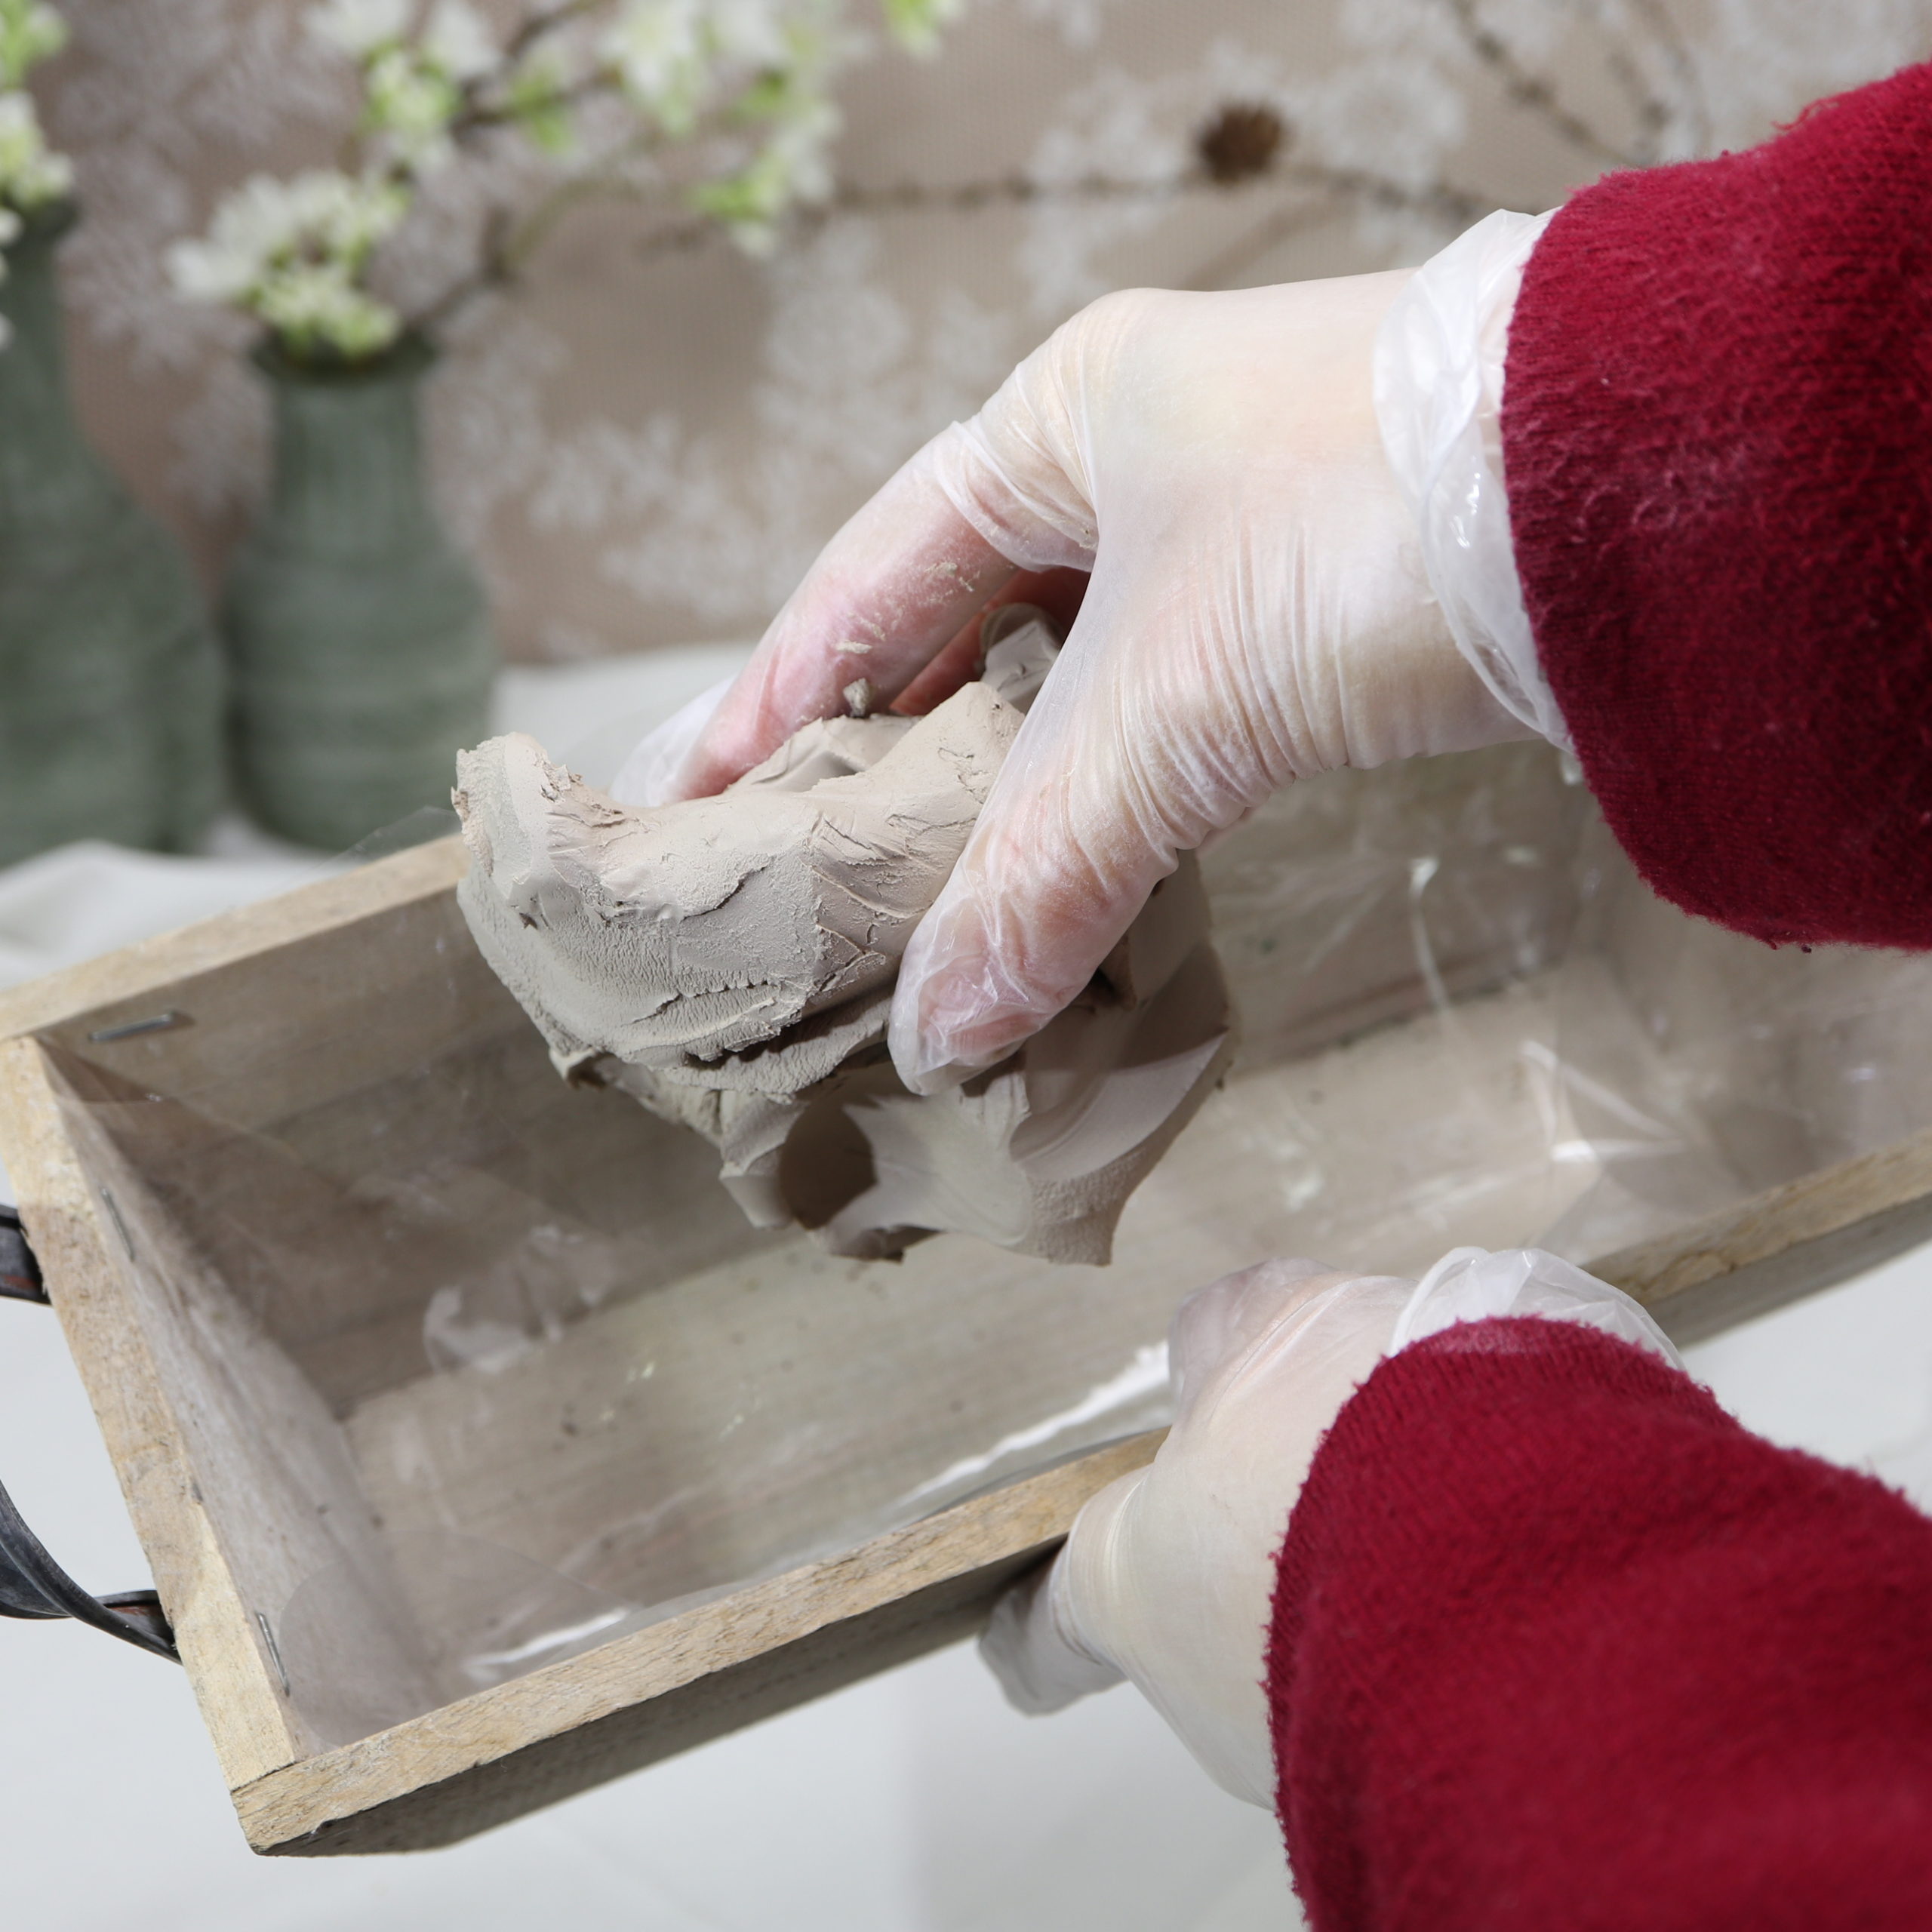
The second step is to put the clay in the lined wooden box. I use potter’s clay, as this clay is very soft and the flowers are easy to put in.
Put on gloves if necessary and press the clay to the bottom.
Step 3: Cut flowers
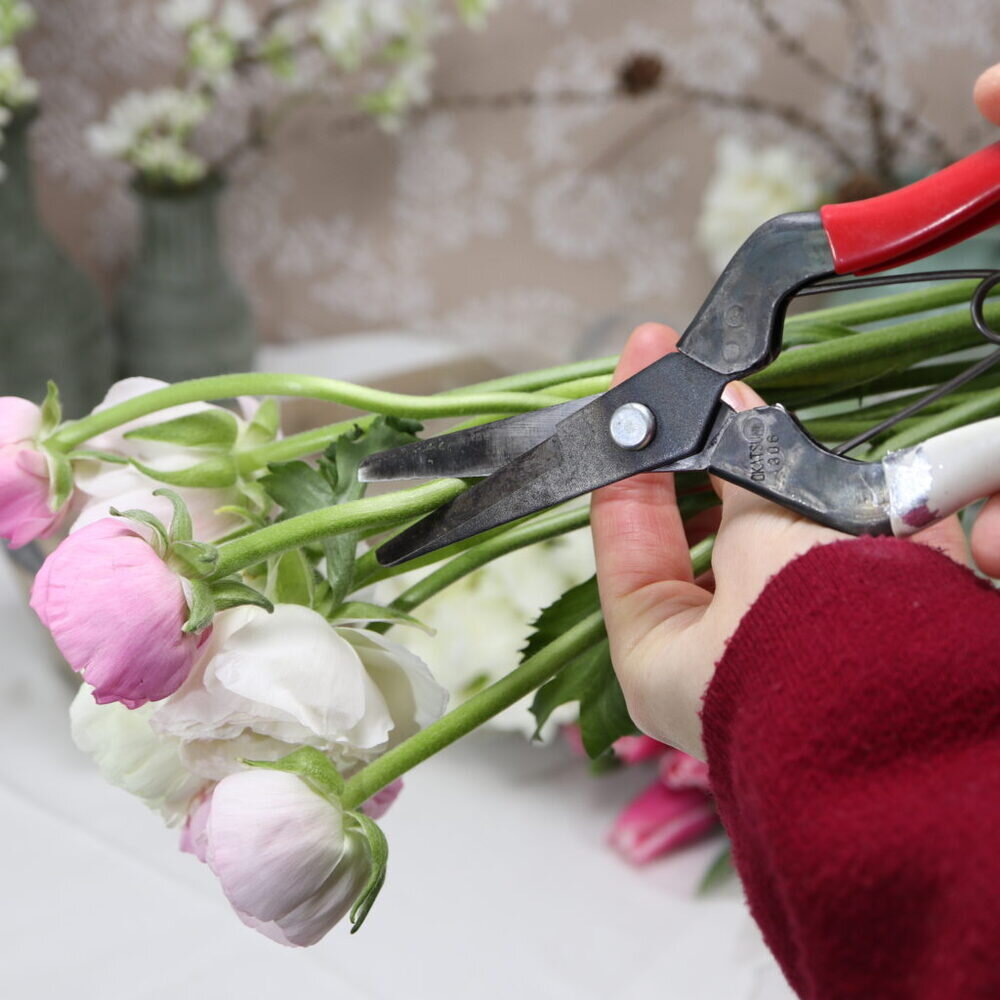
Now I prepare the fresh flowers for the arrangement. To do this, I remove all the leaves and cut the flower stems with the gardening shears to about five centimeters

Step 4: Cut larch branches
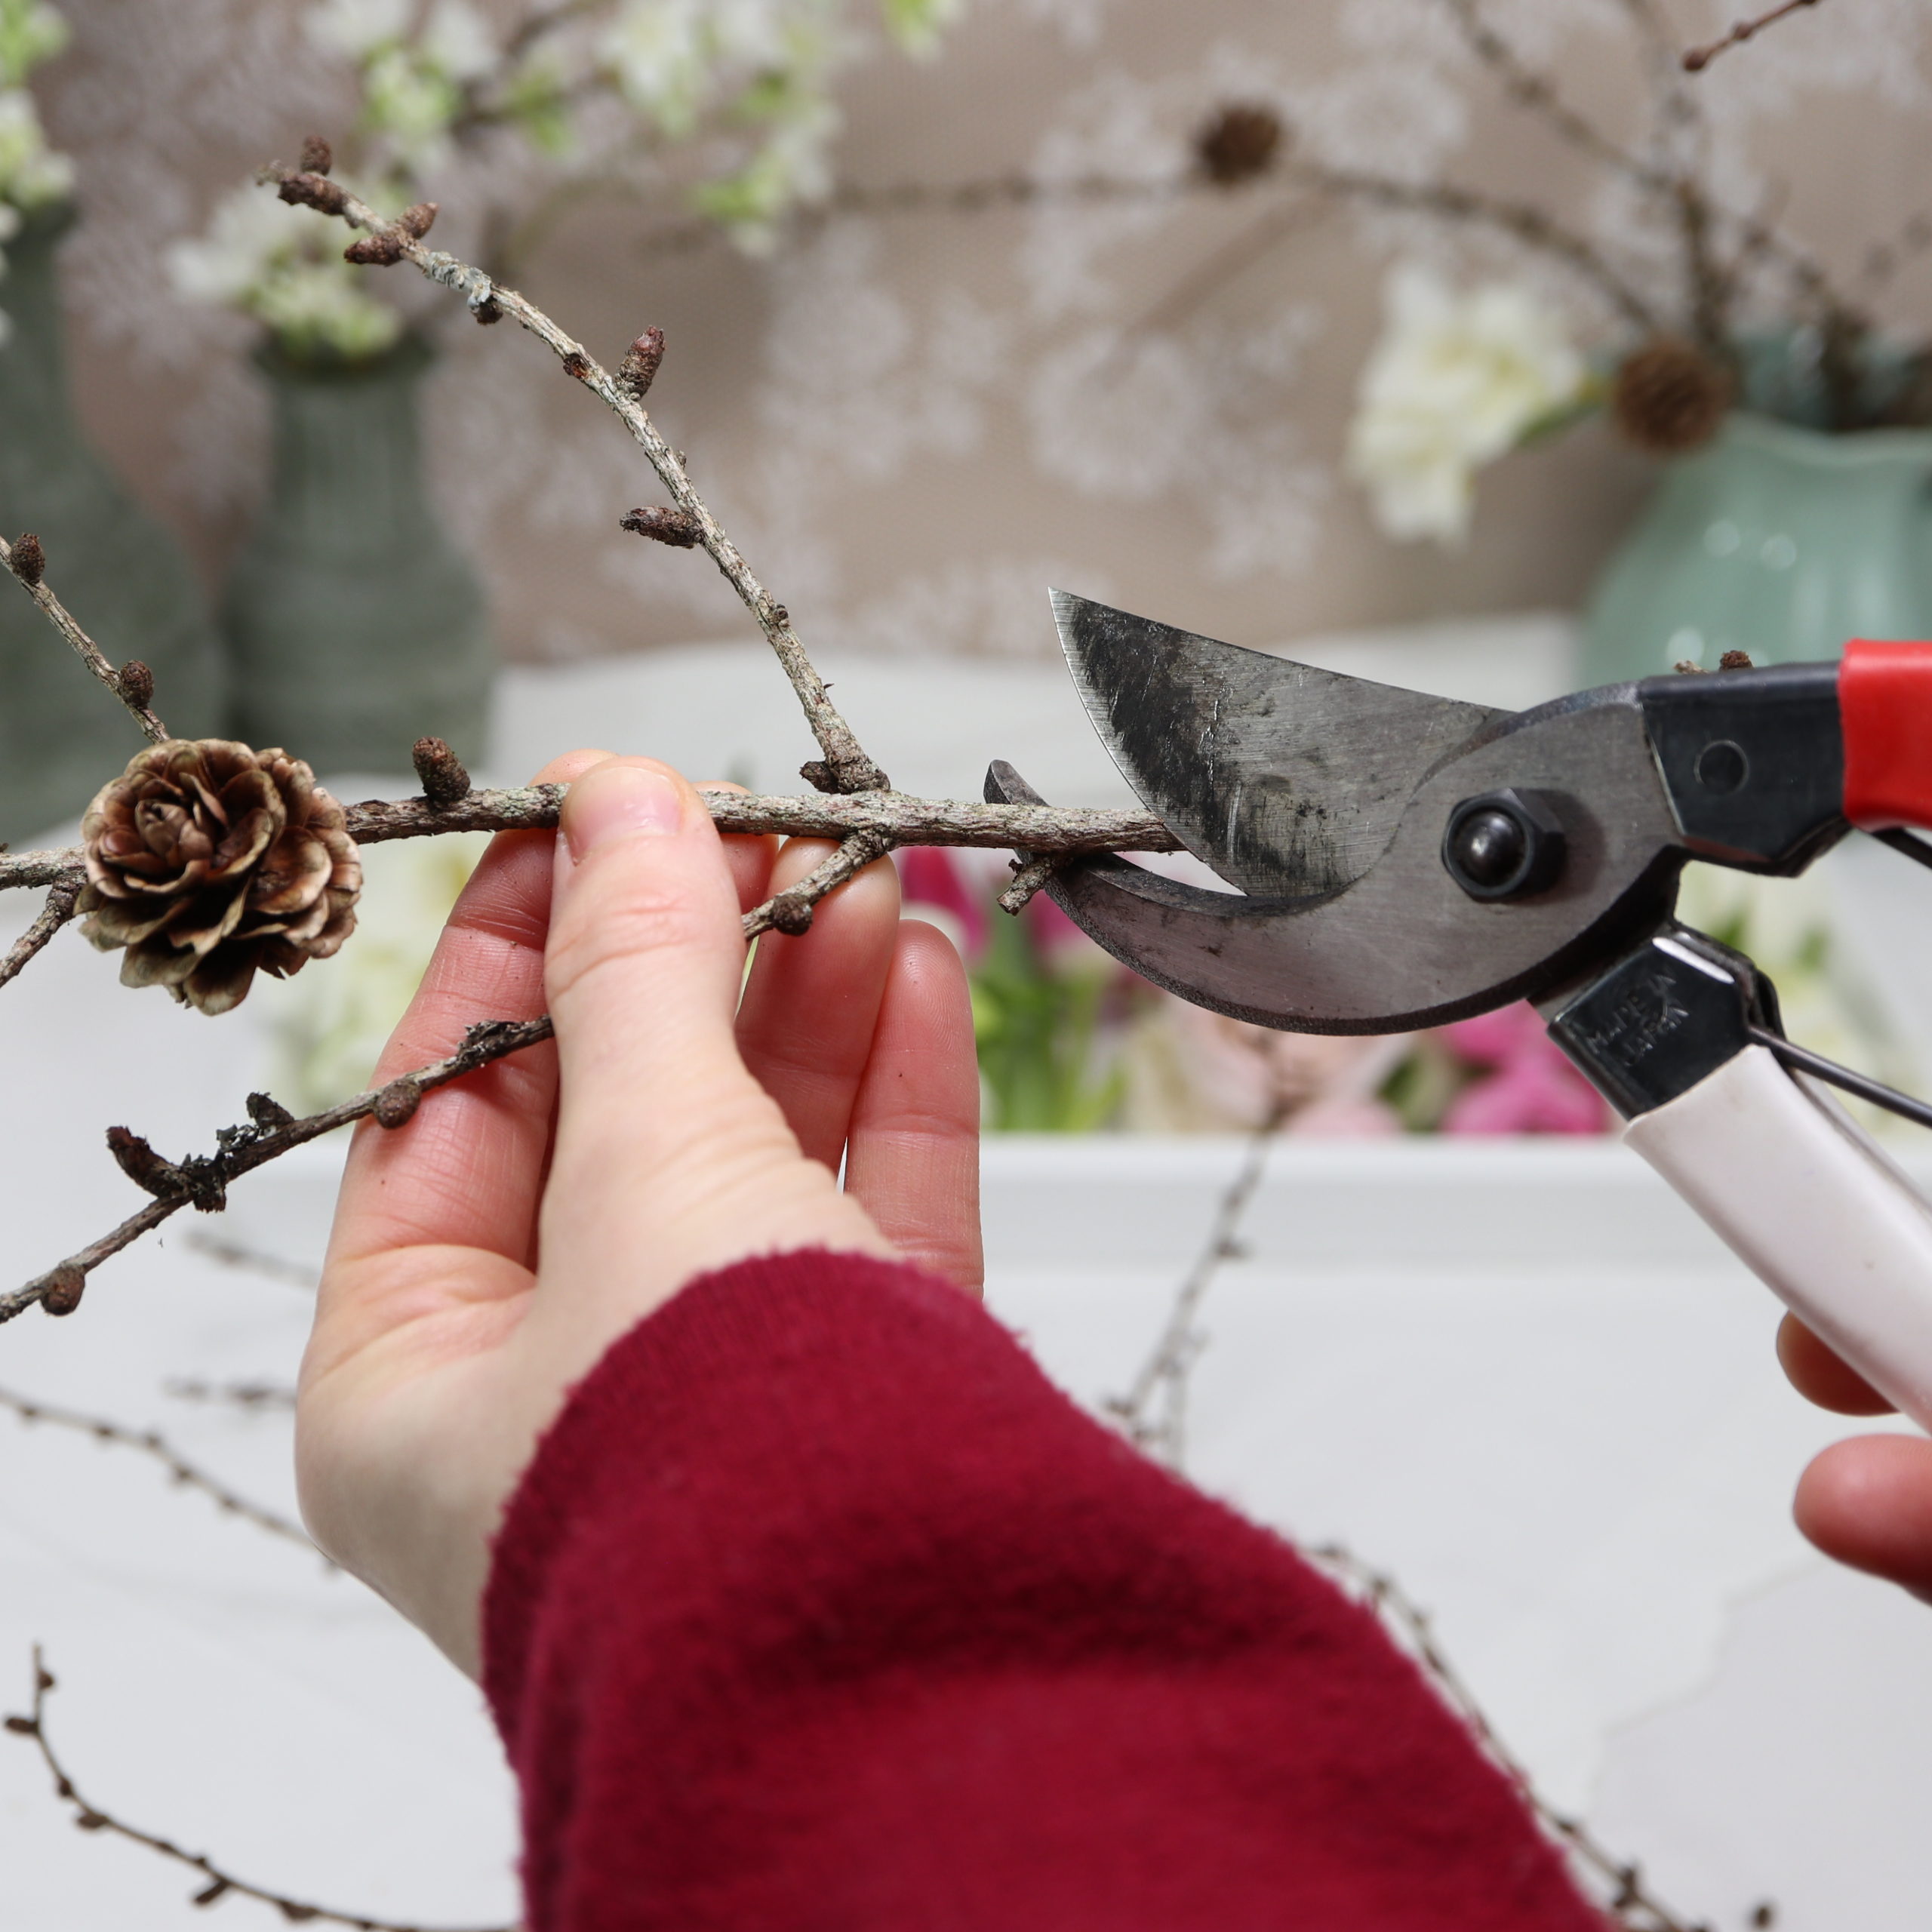
I use the shears to cut the larch branches. I want to put the branches later wild into the clay and leave them a little longer than the flower stems.
Step 5: Fill clay
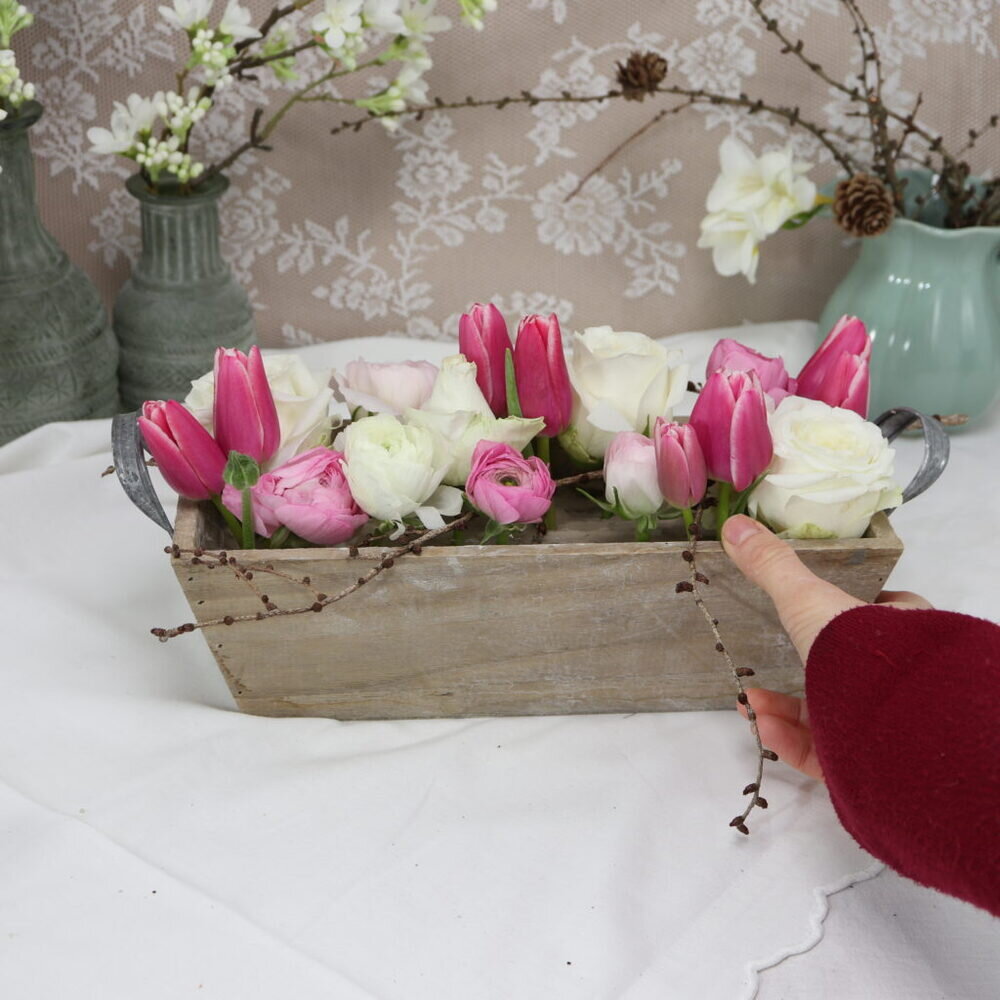
Now you can put the floral elements into the clay.
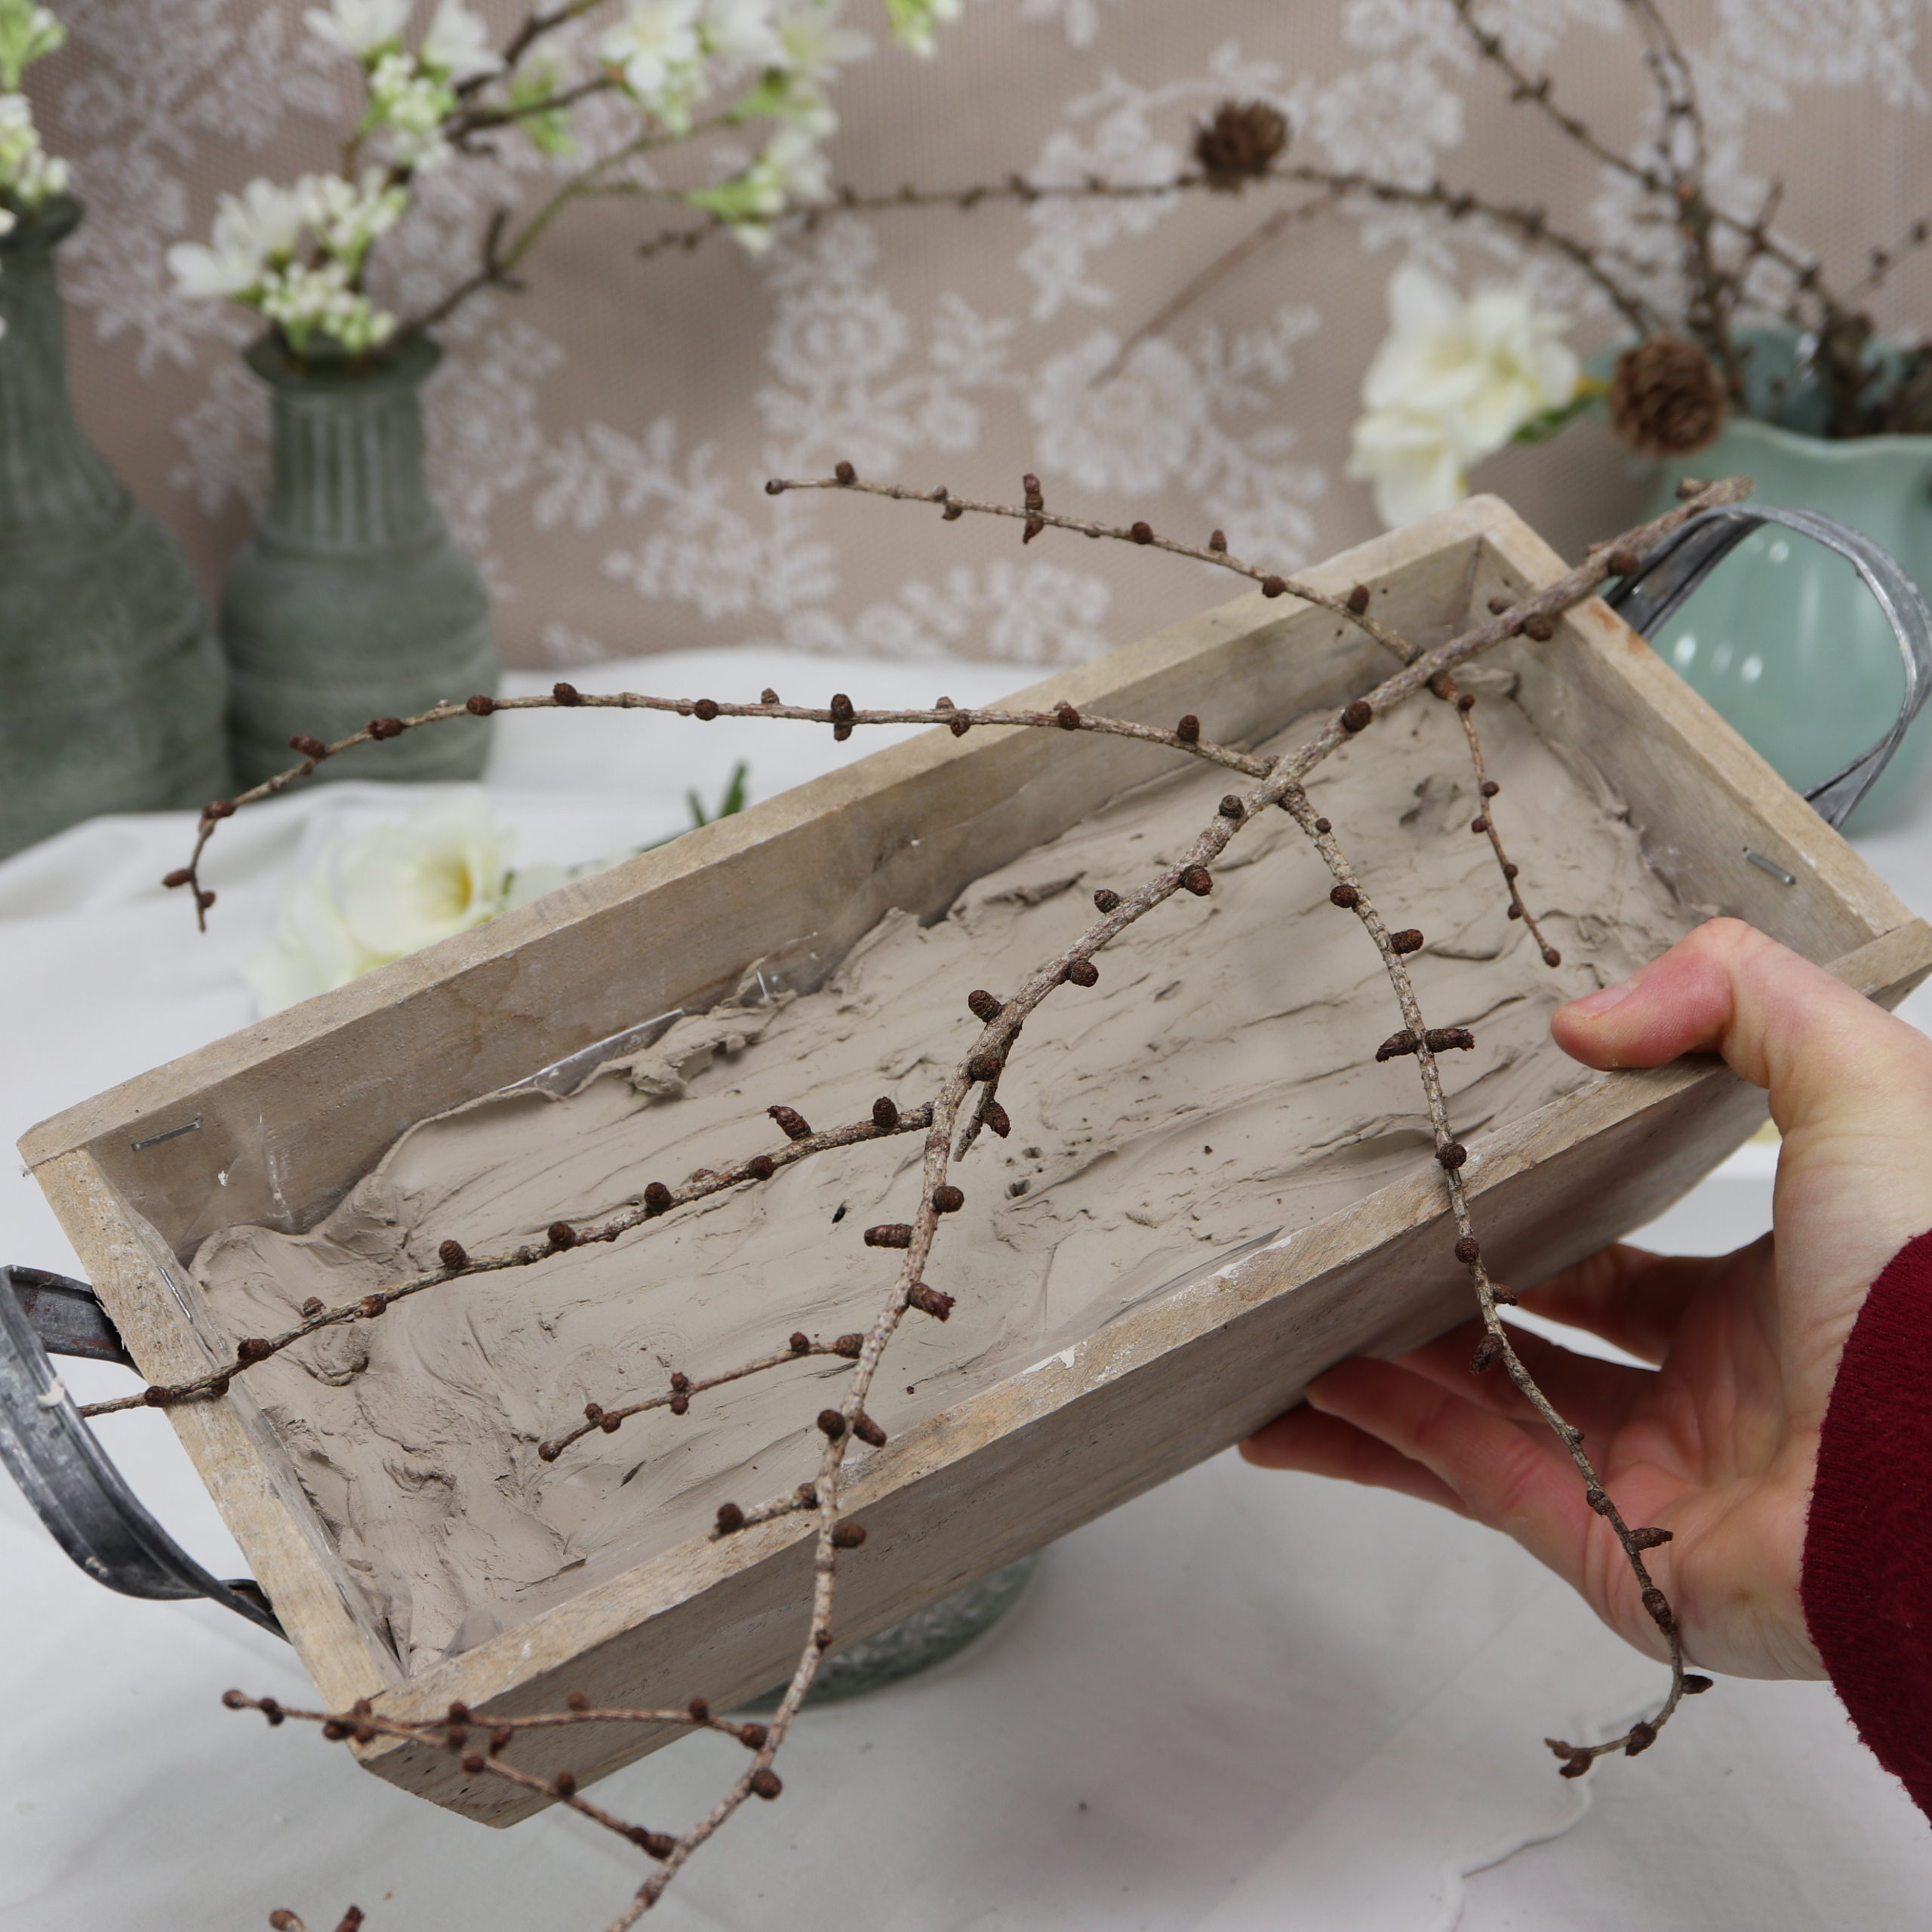
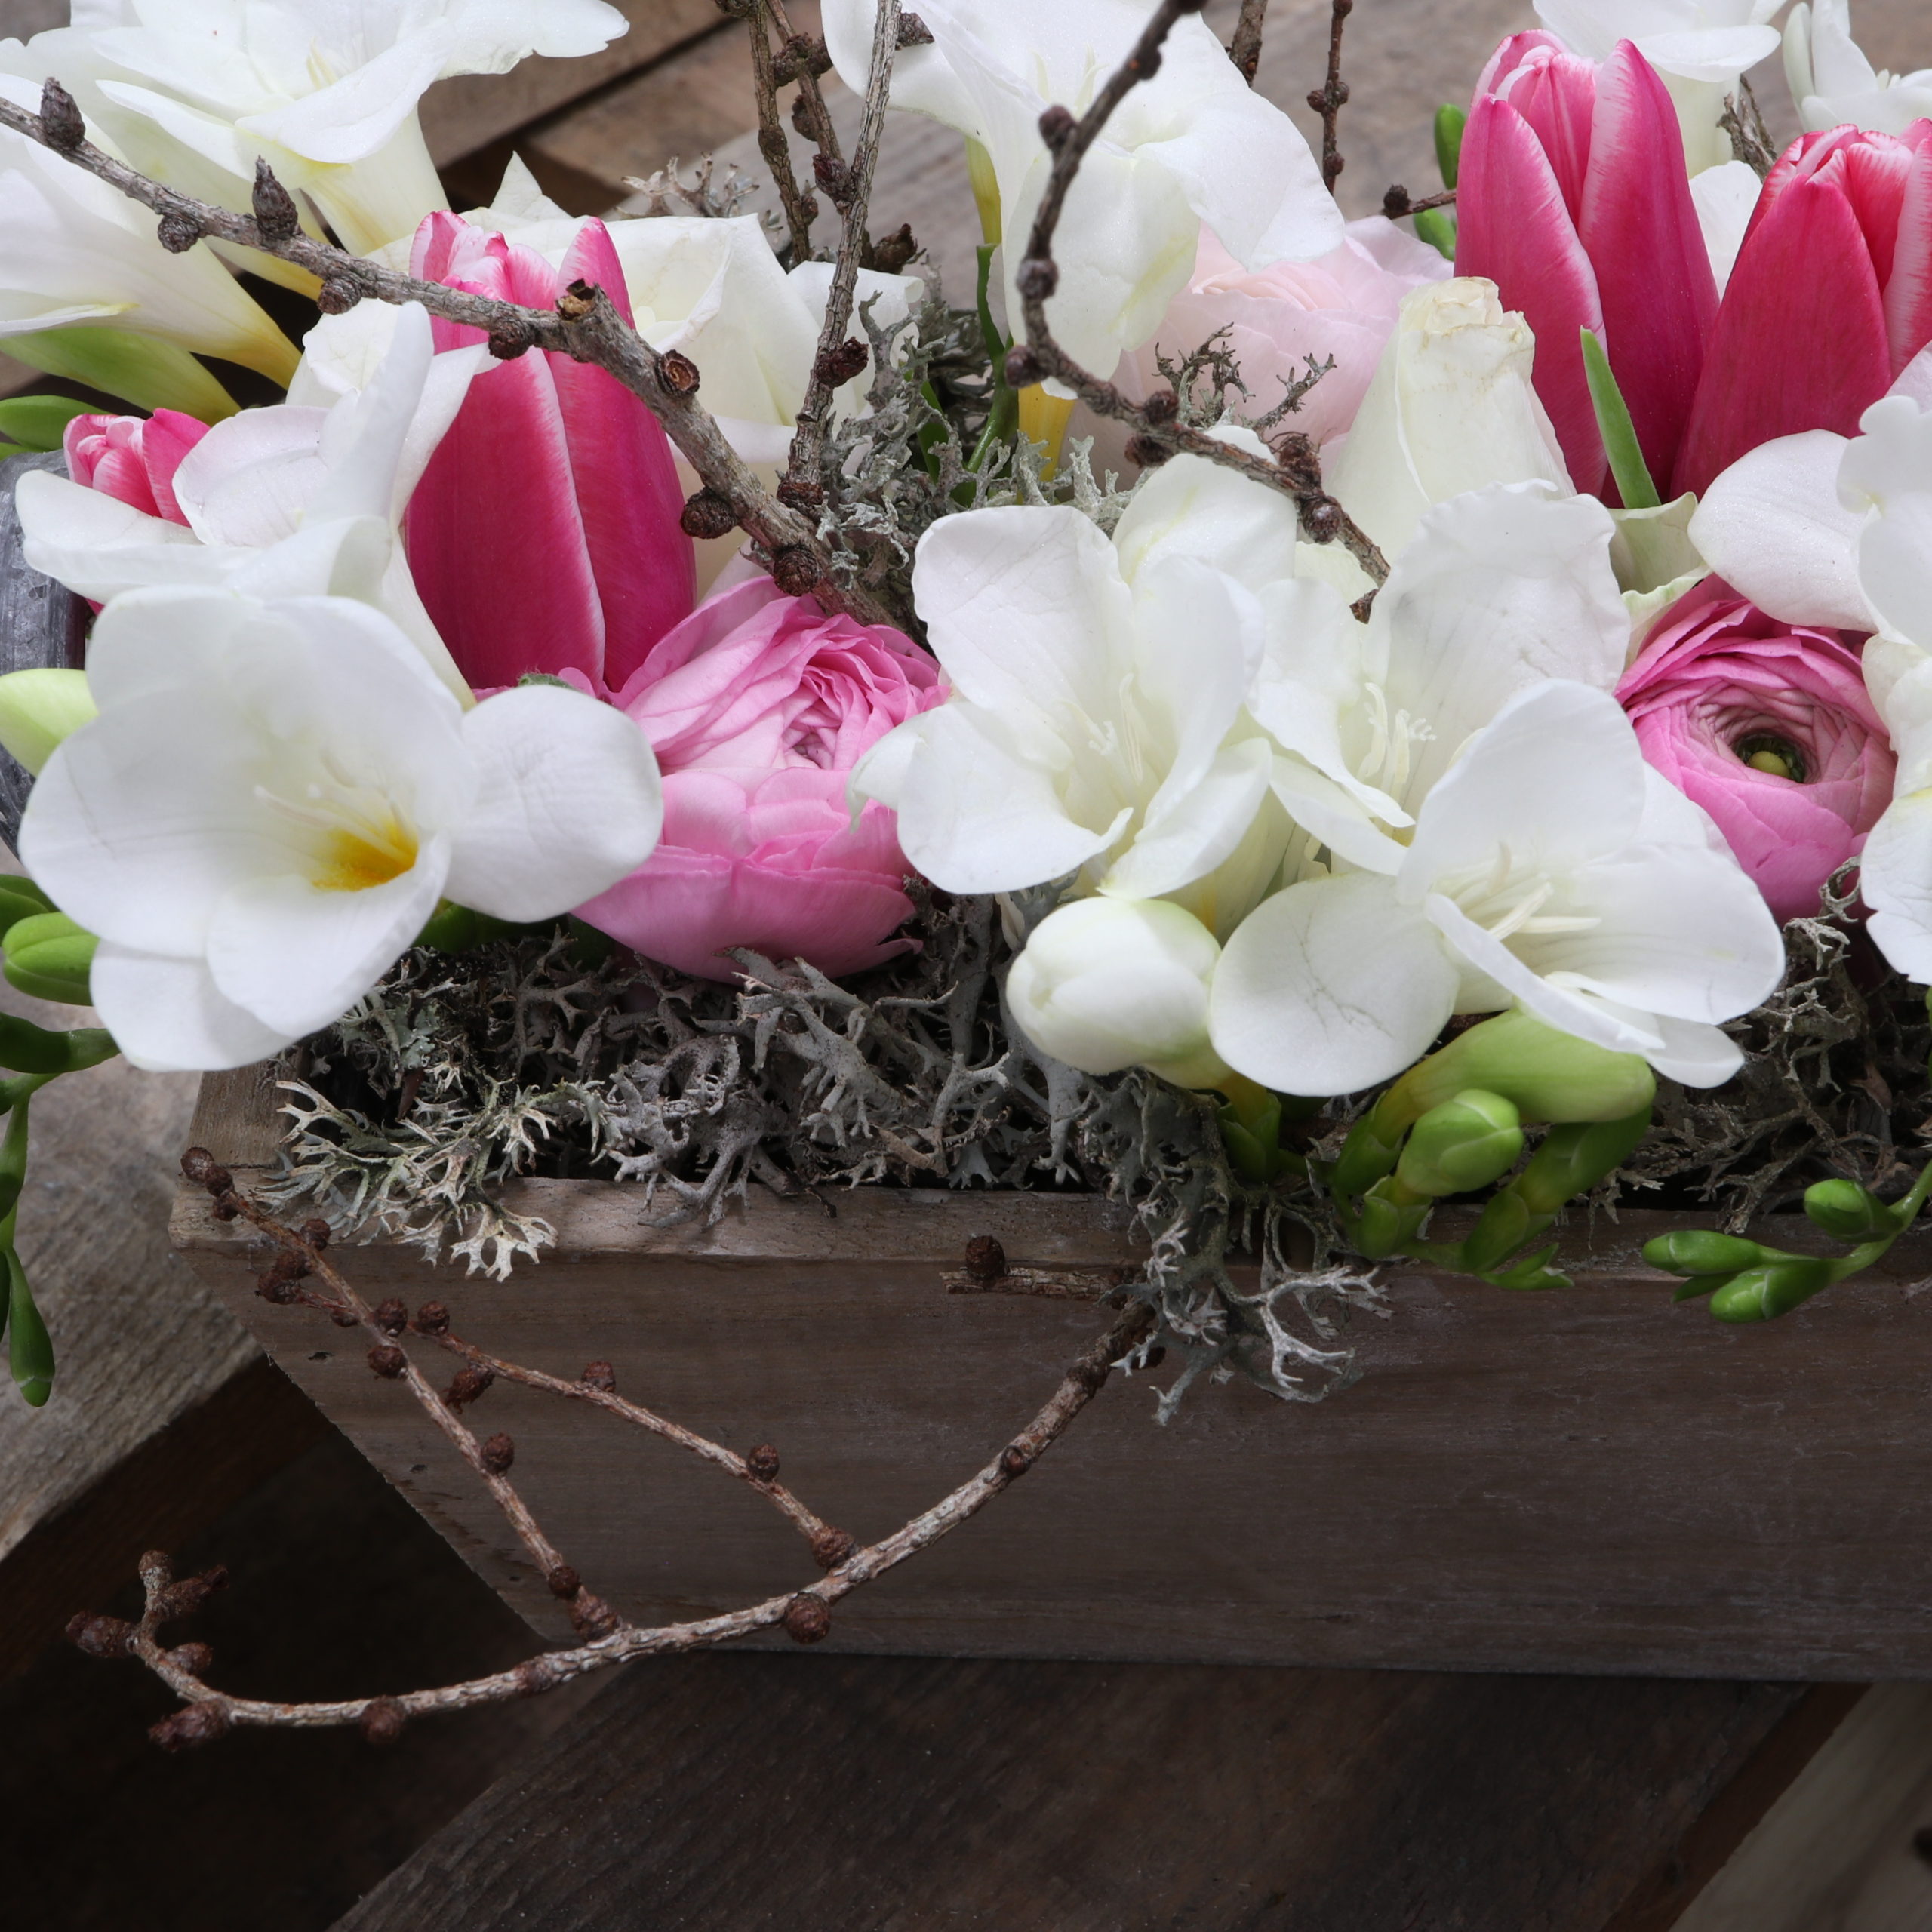
First, I lay a larch branch across the wooden box.
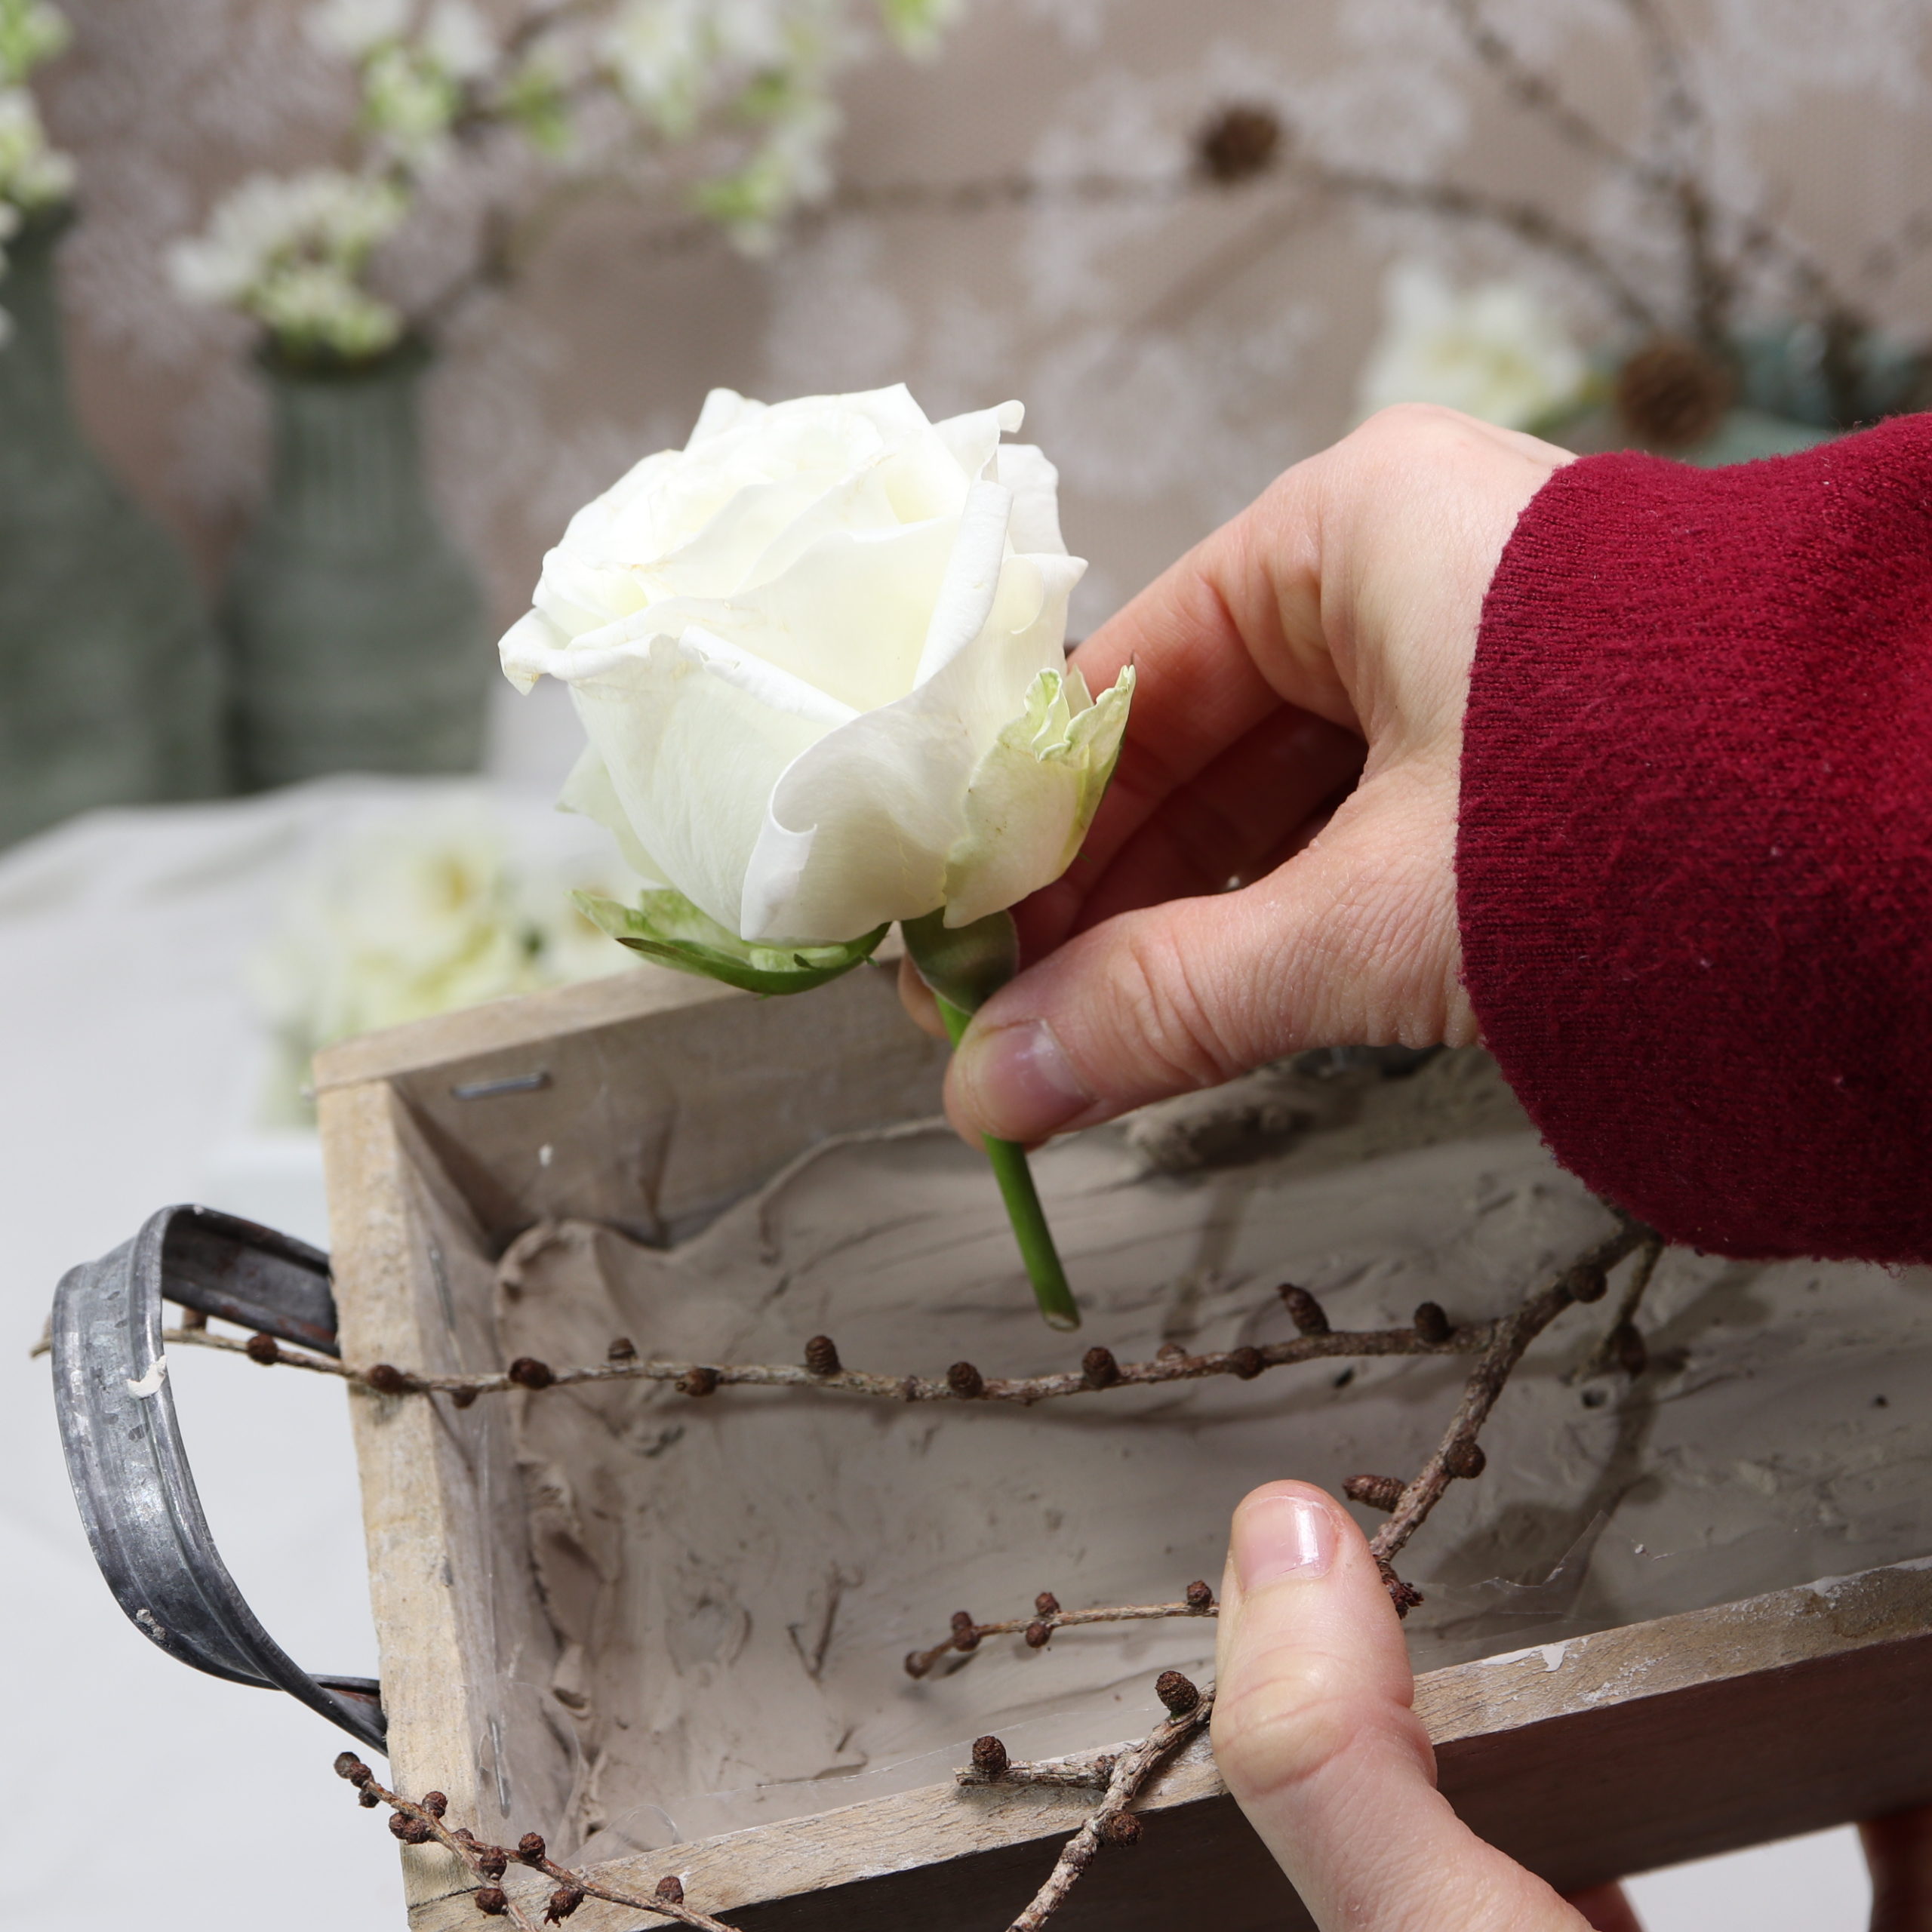
Then the white roses are inserted.

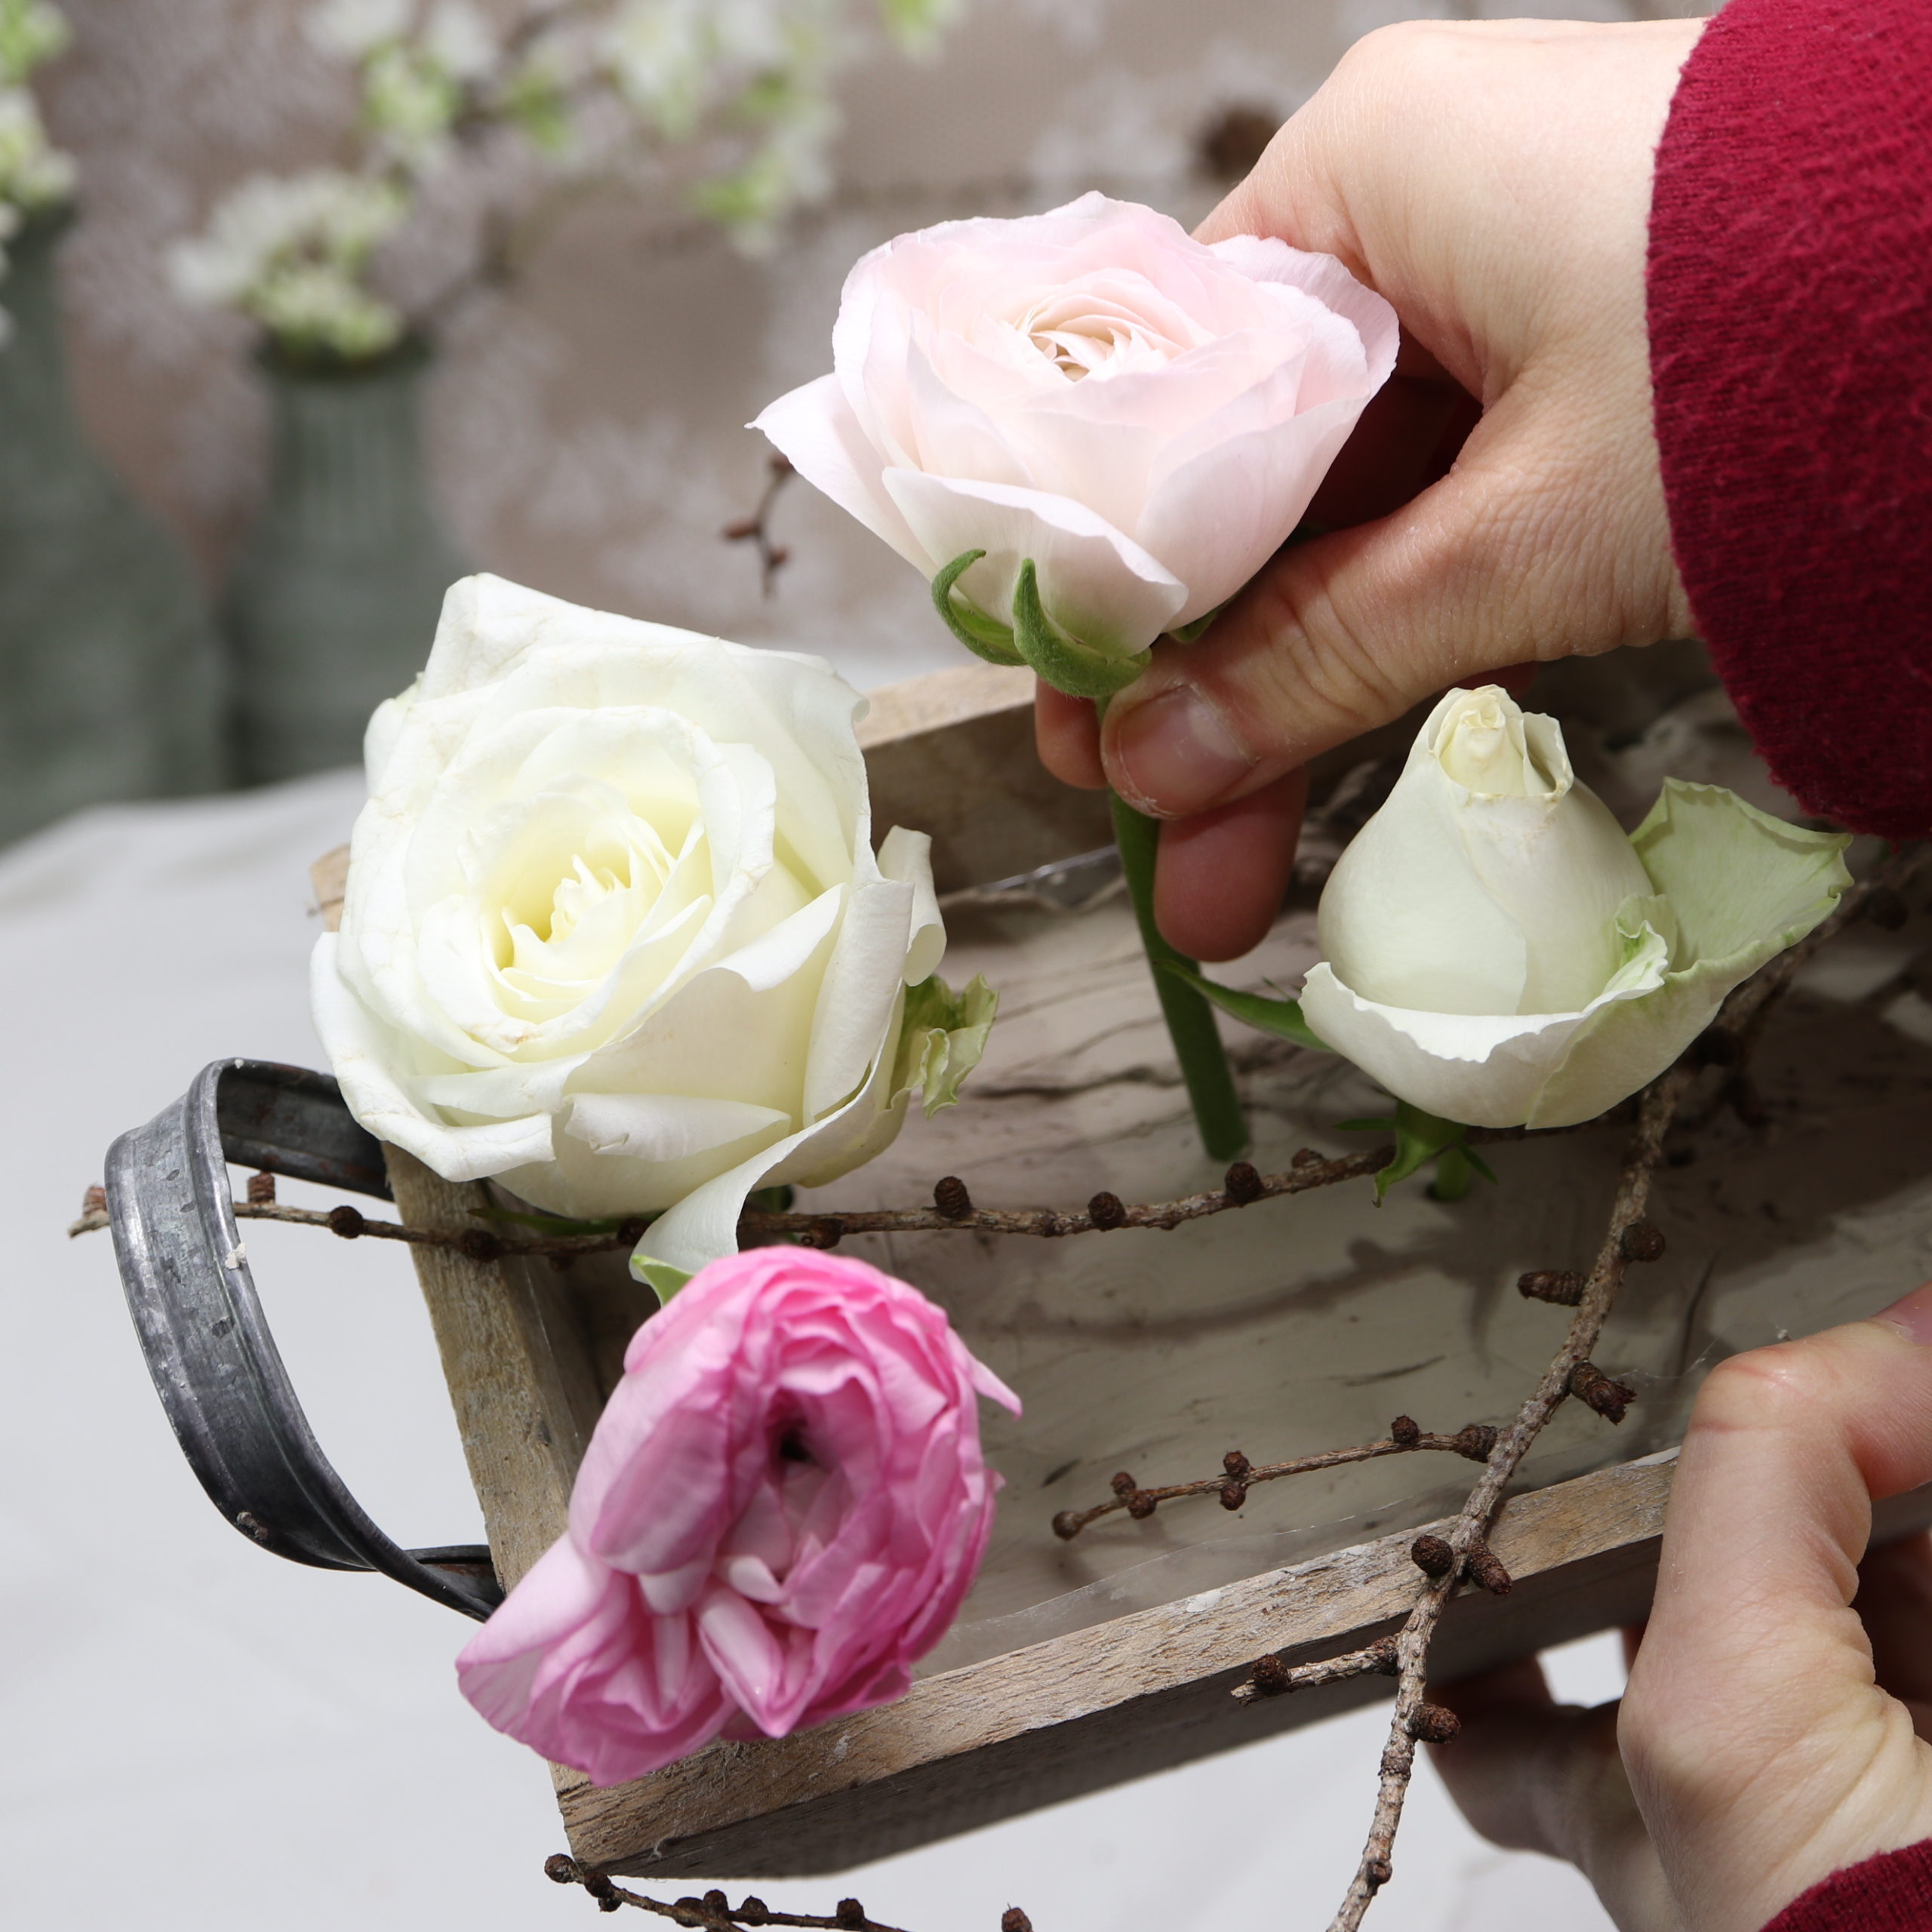
Next are the pink ranunculus.

Now I put the pink tulips in the clay.
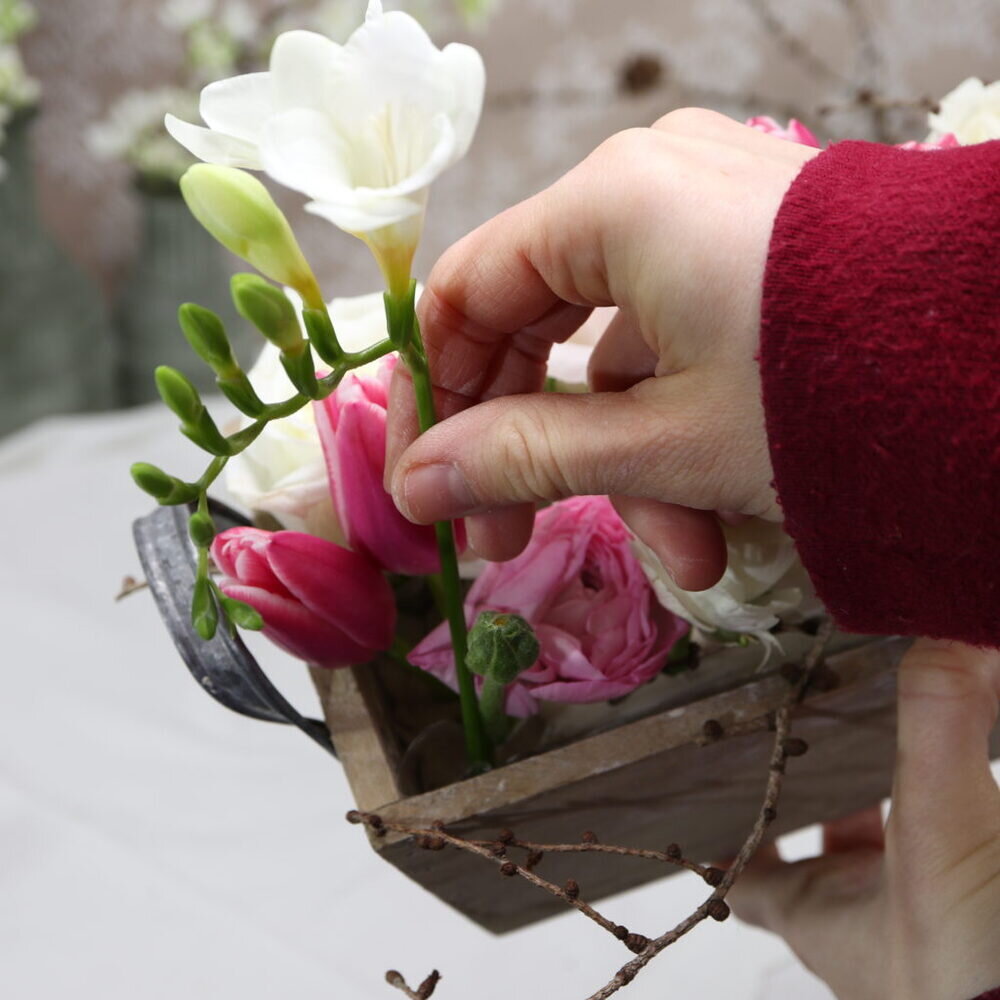
Then follow the white freesias.

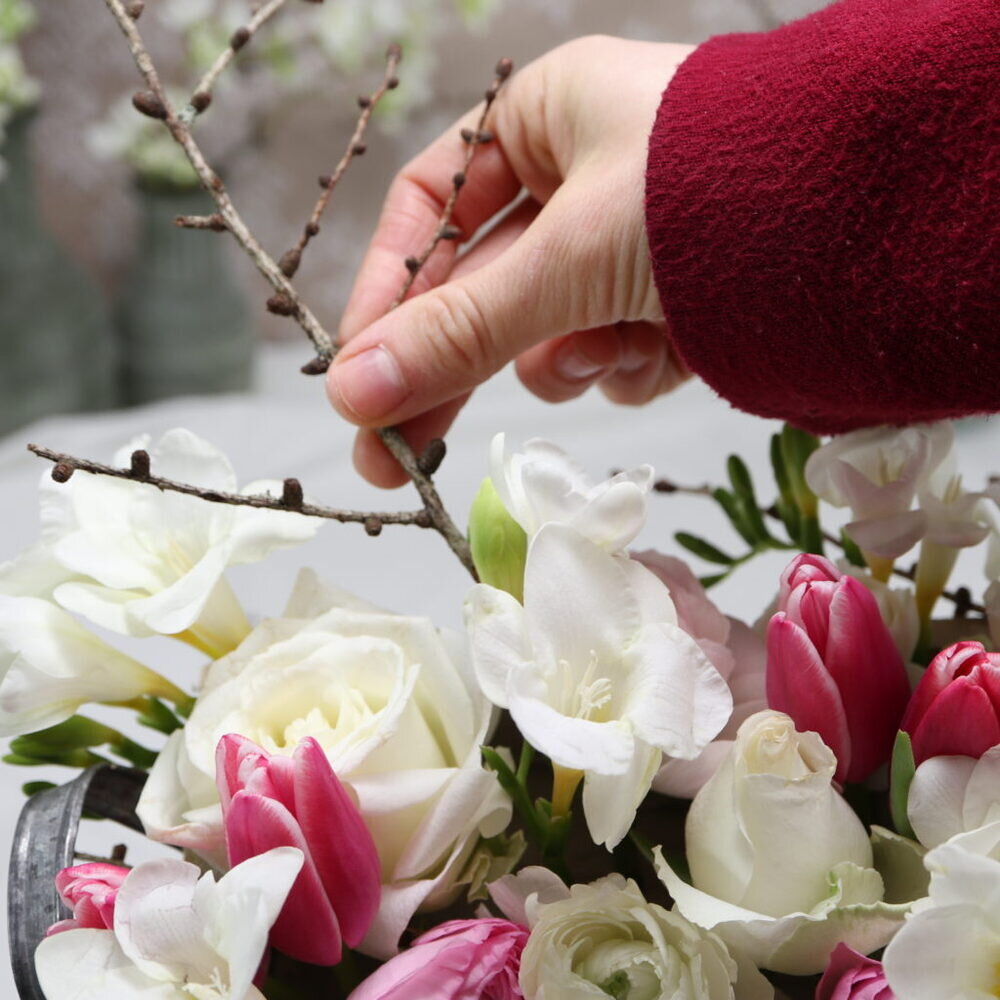
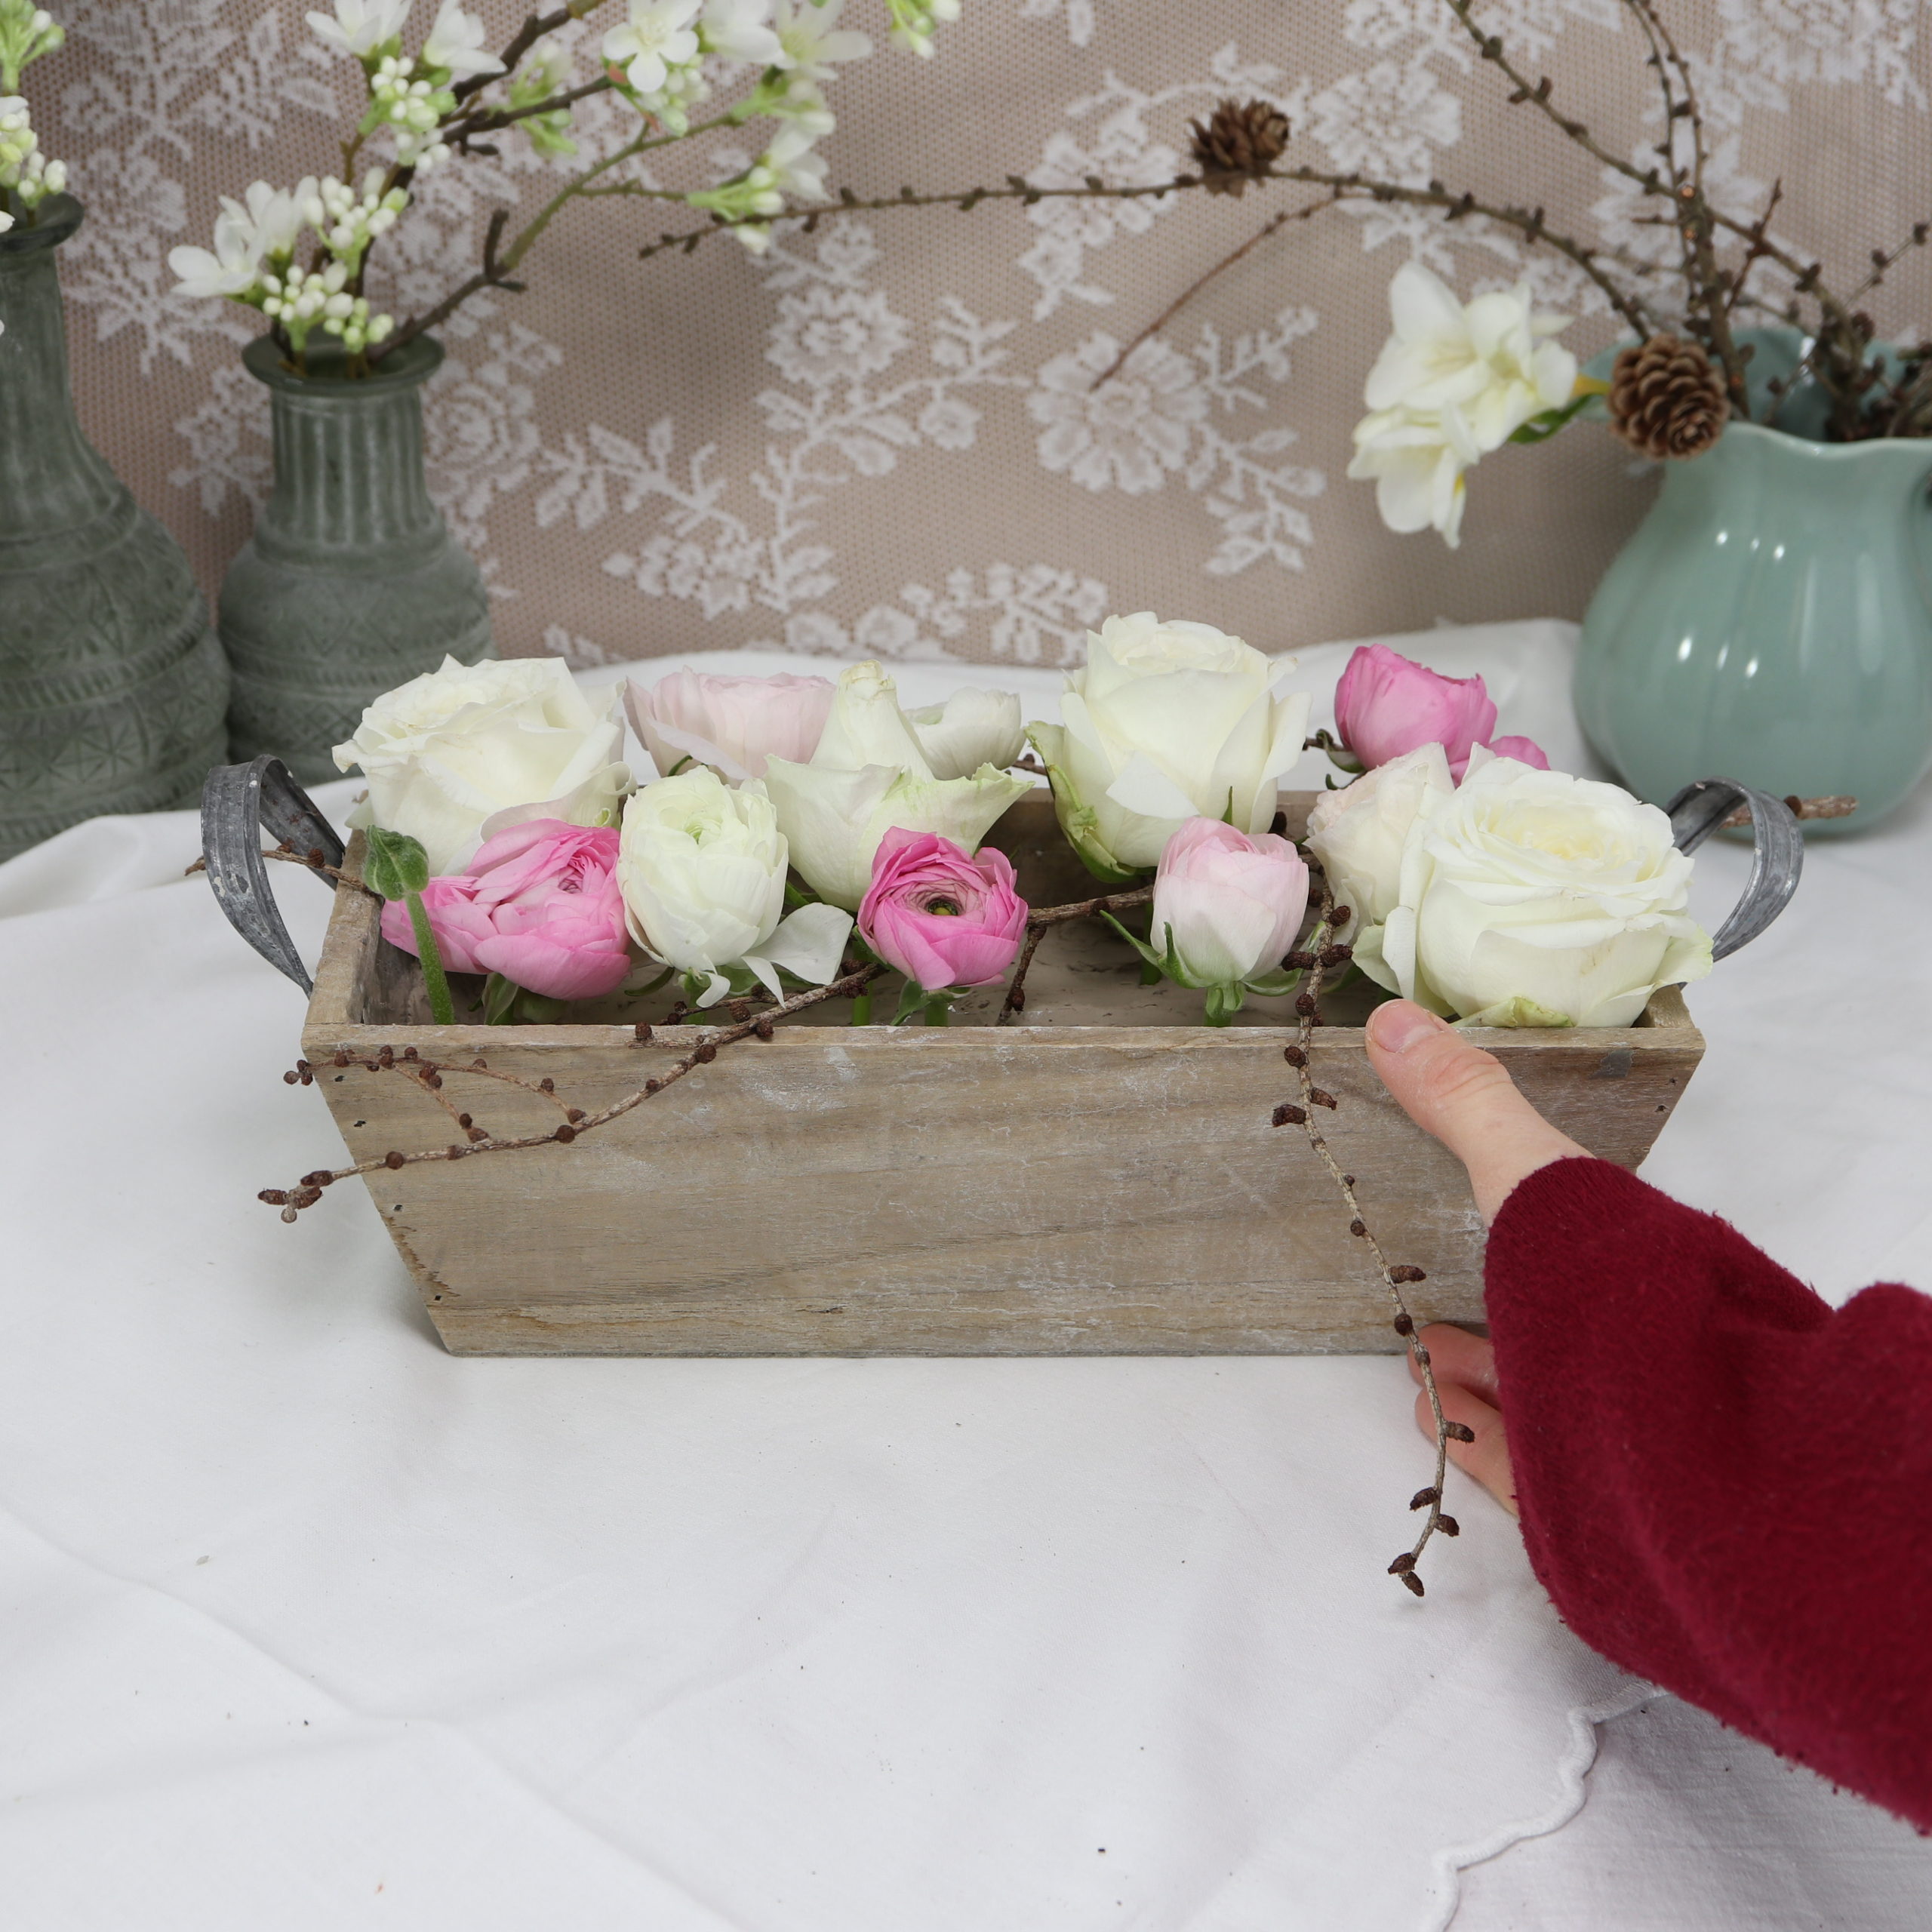
In the next step, I put the larch branches between the early bloomers.
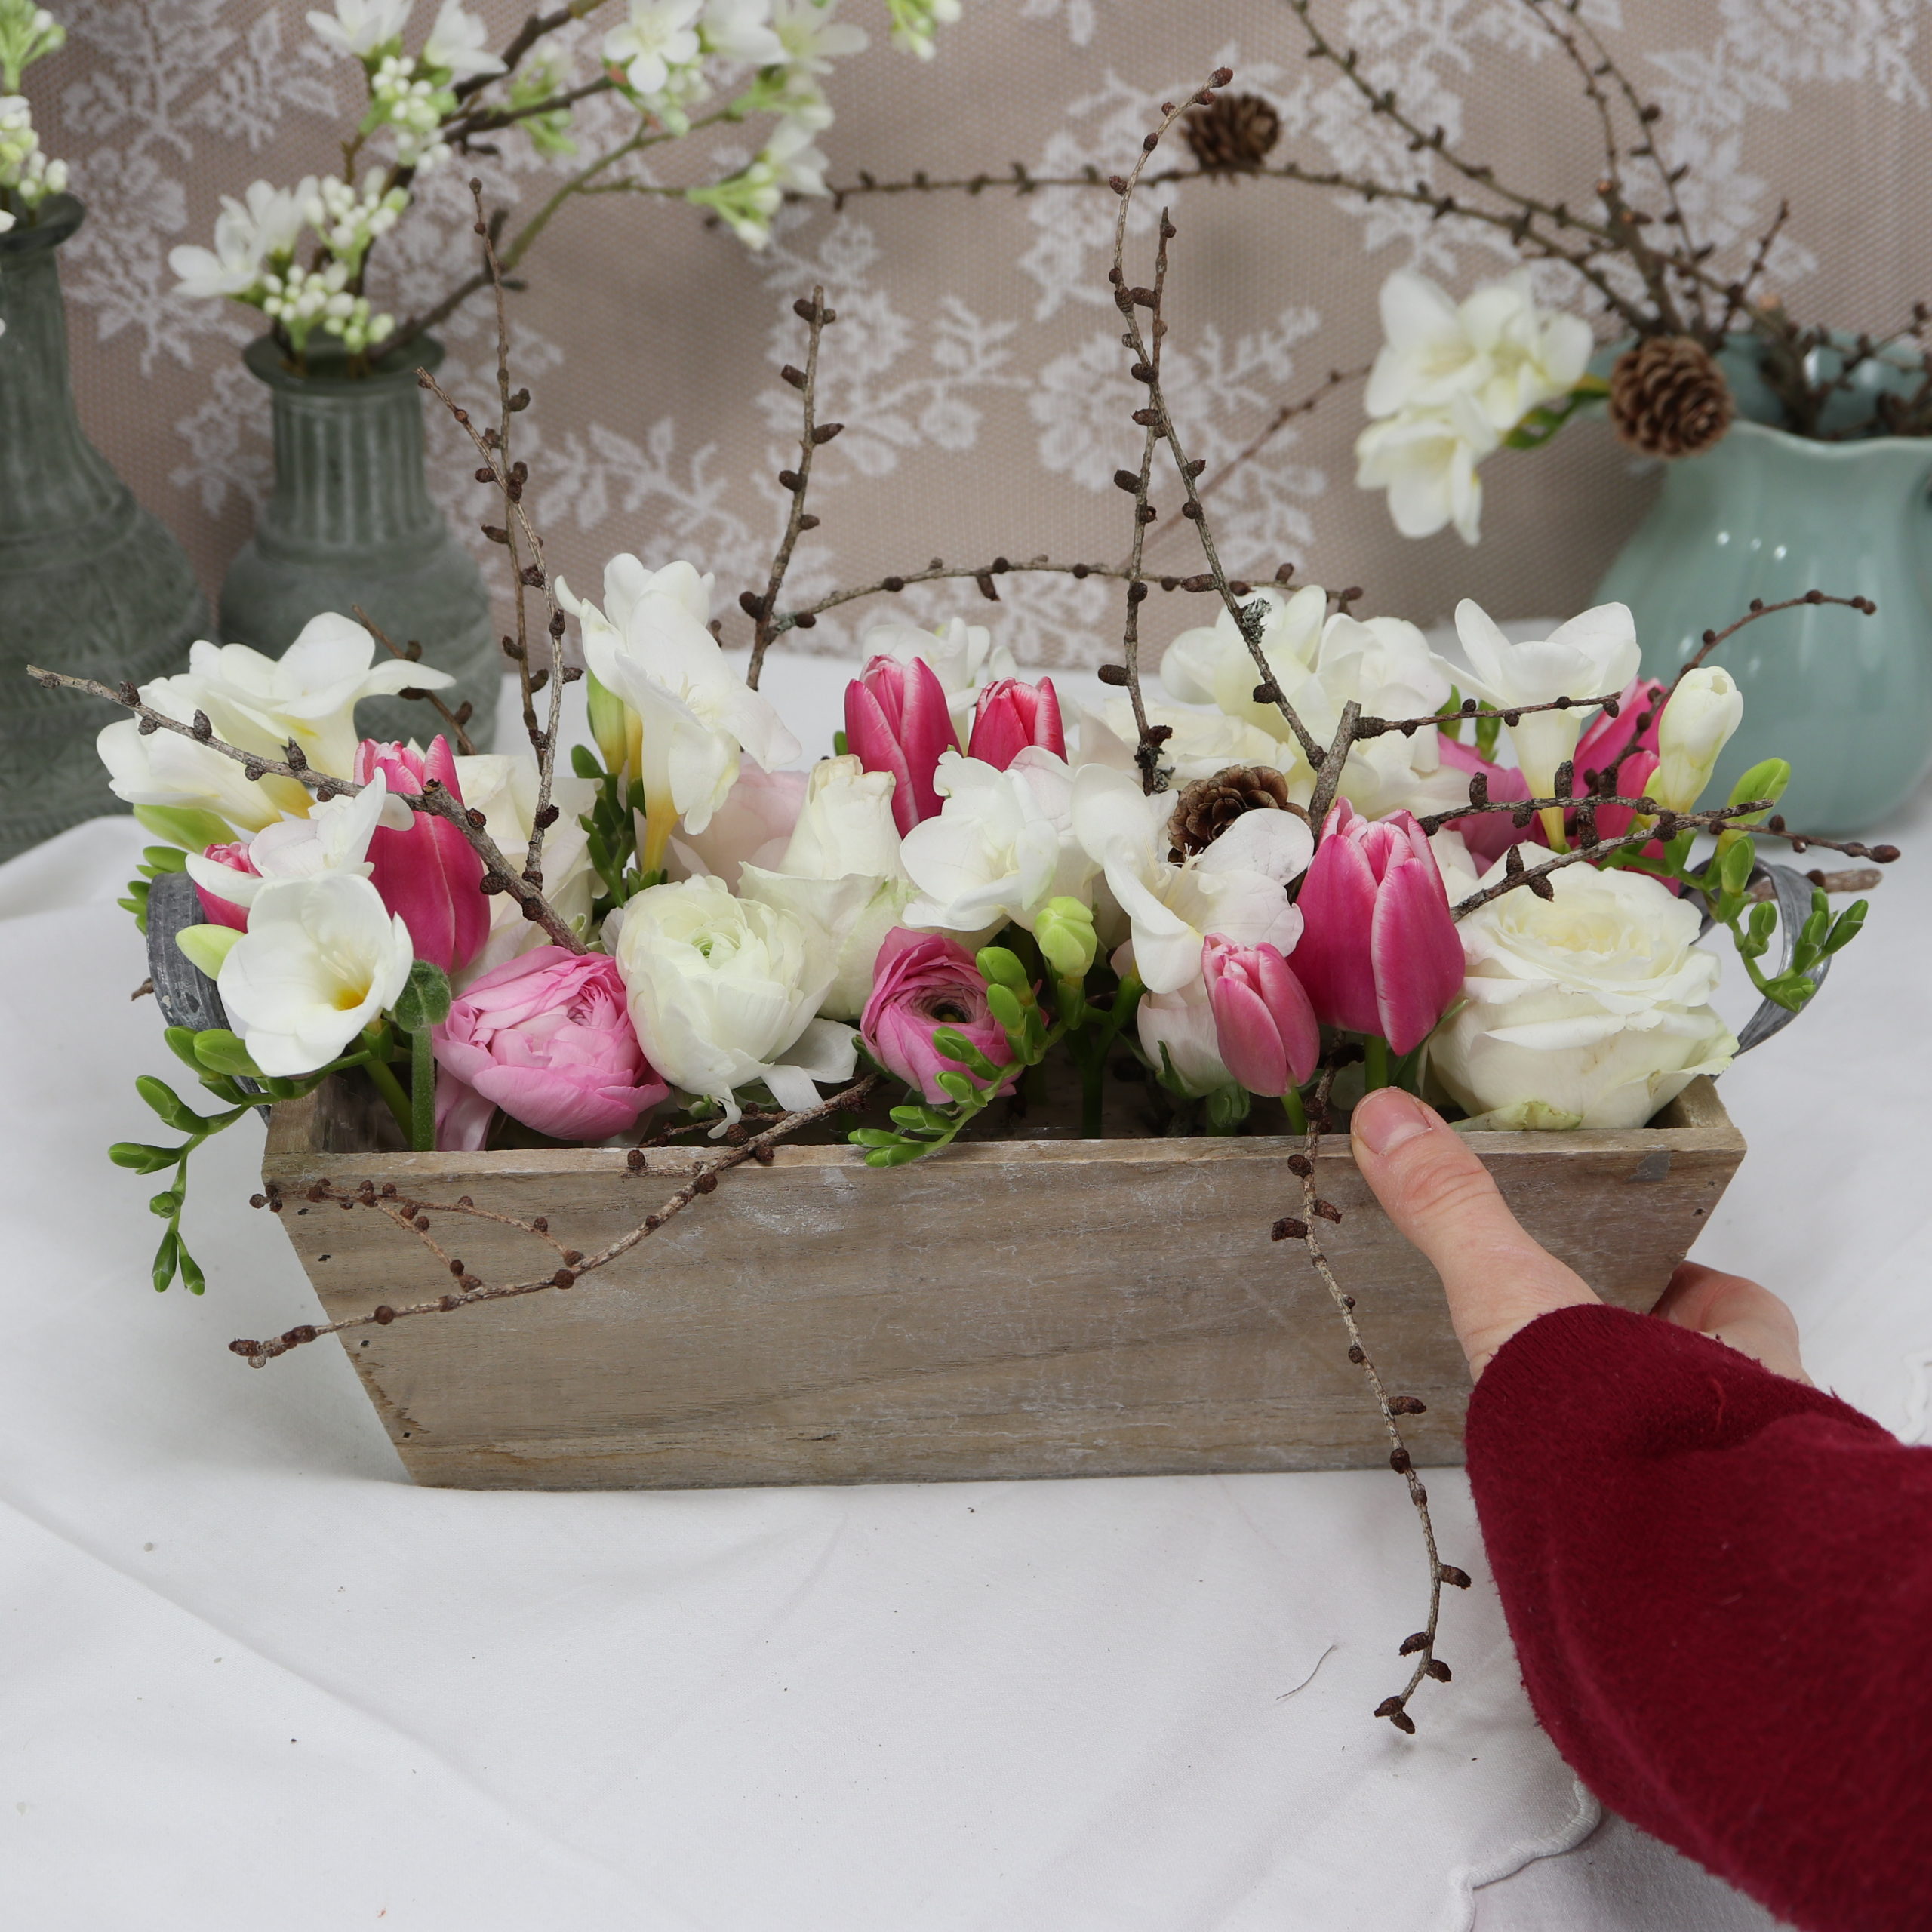
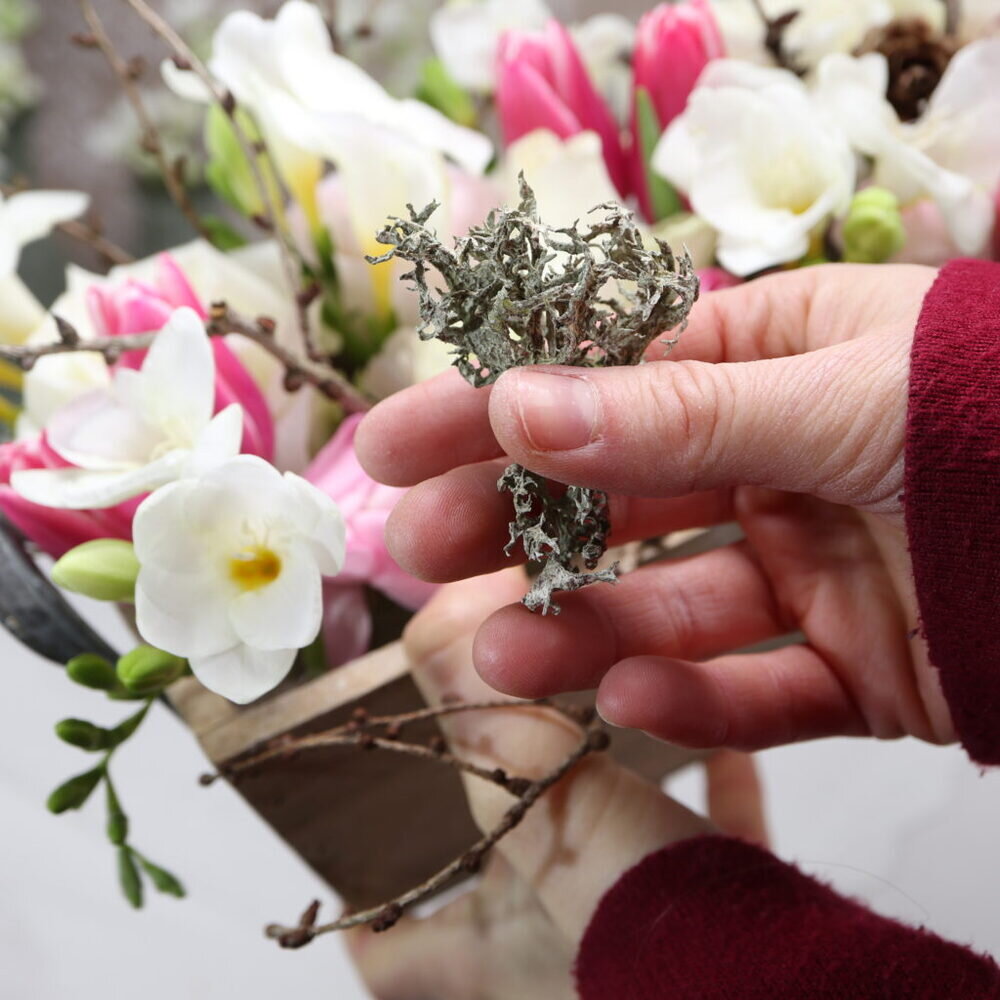
In the last step, I cover all the gaps that are still visible with the lichen. This protects the clay from air and ensures that it does not harden as quickly. I also add a little water to the clay every day so that the surface stays soft and the flowers are taken care of. Thus, the arrangement remains fresh for a few days.
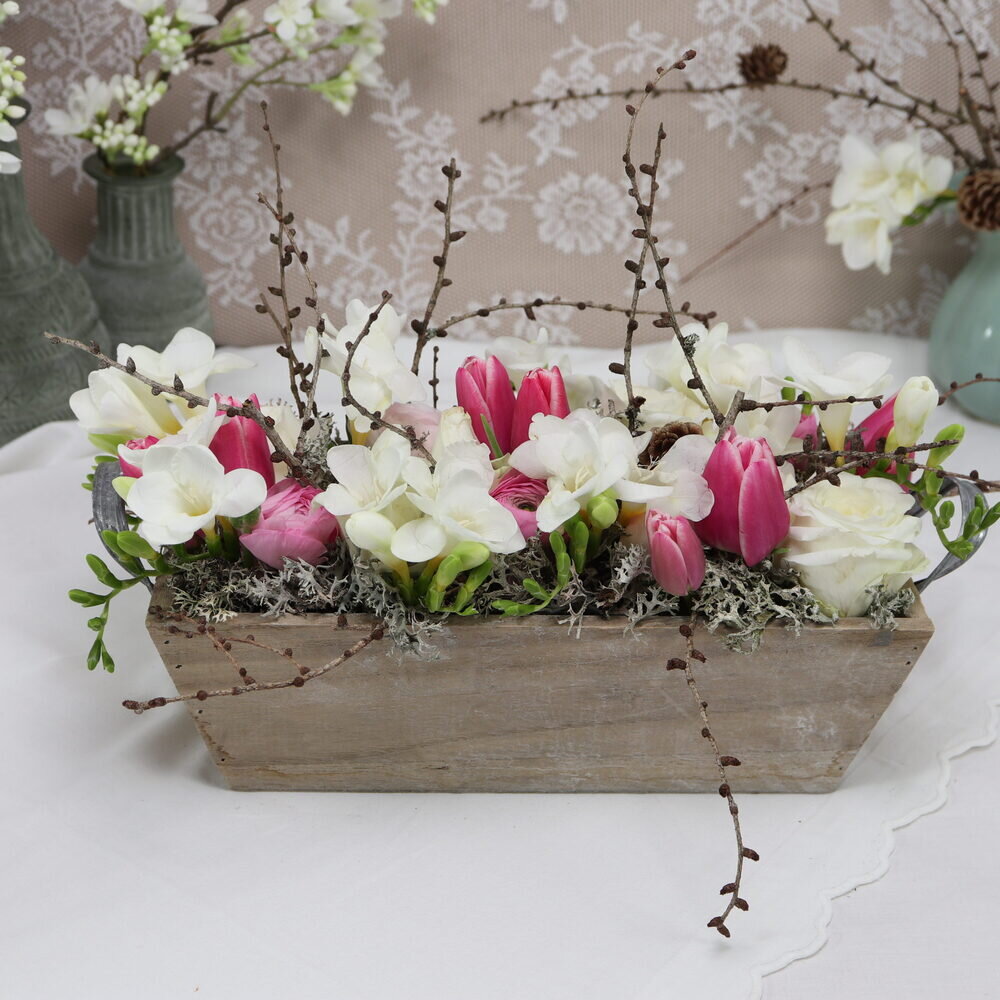
I hope you enjoy the sight of the spring arrangement with clay!