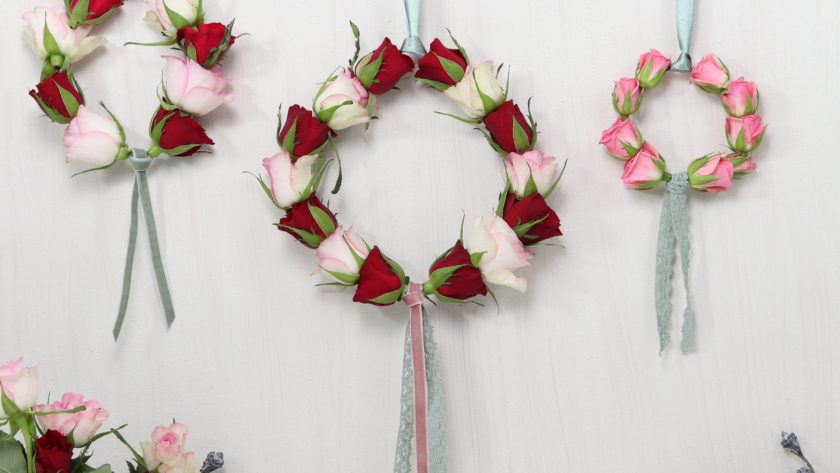
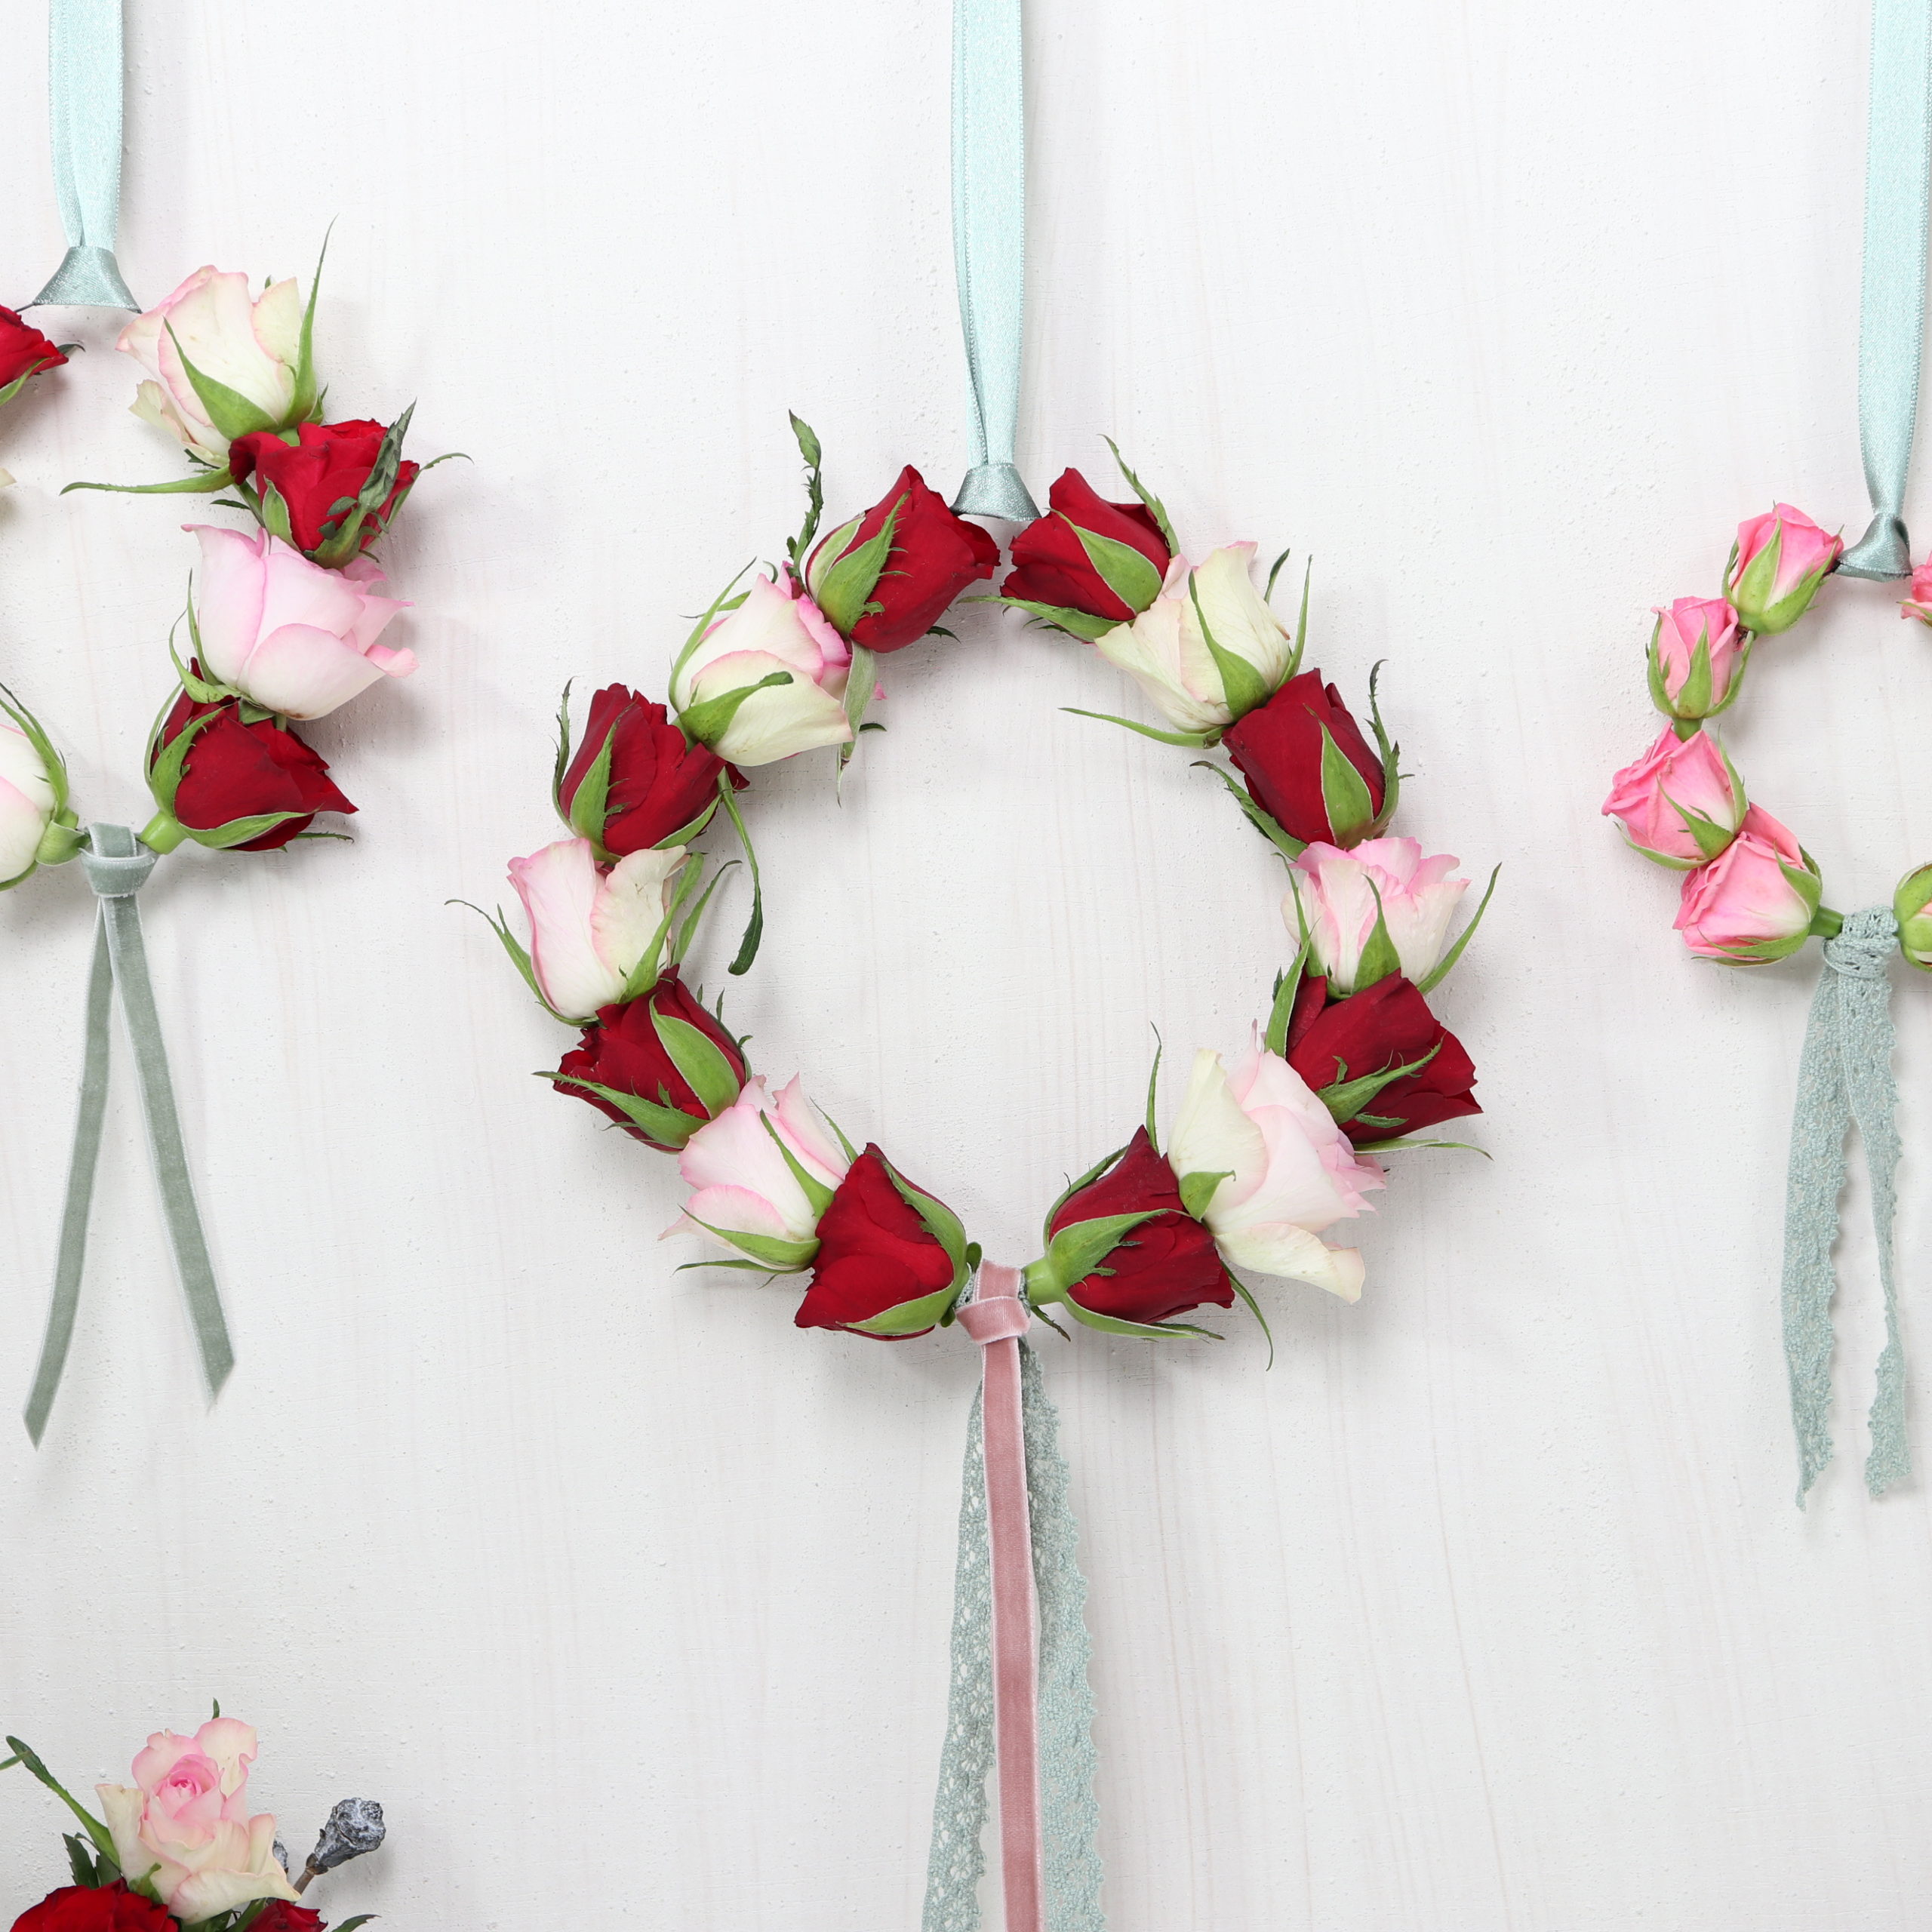
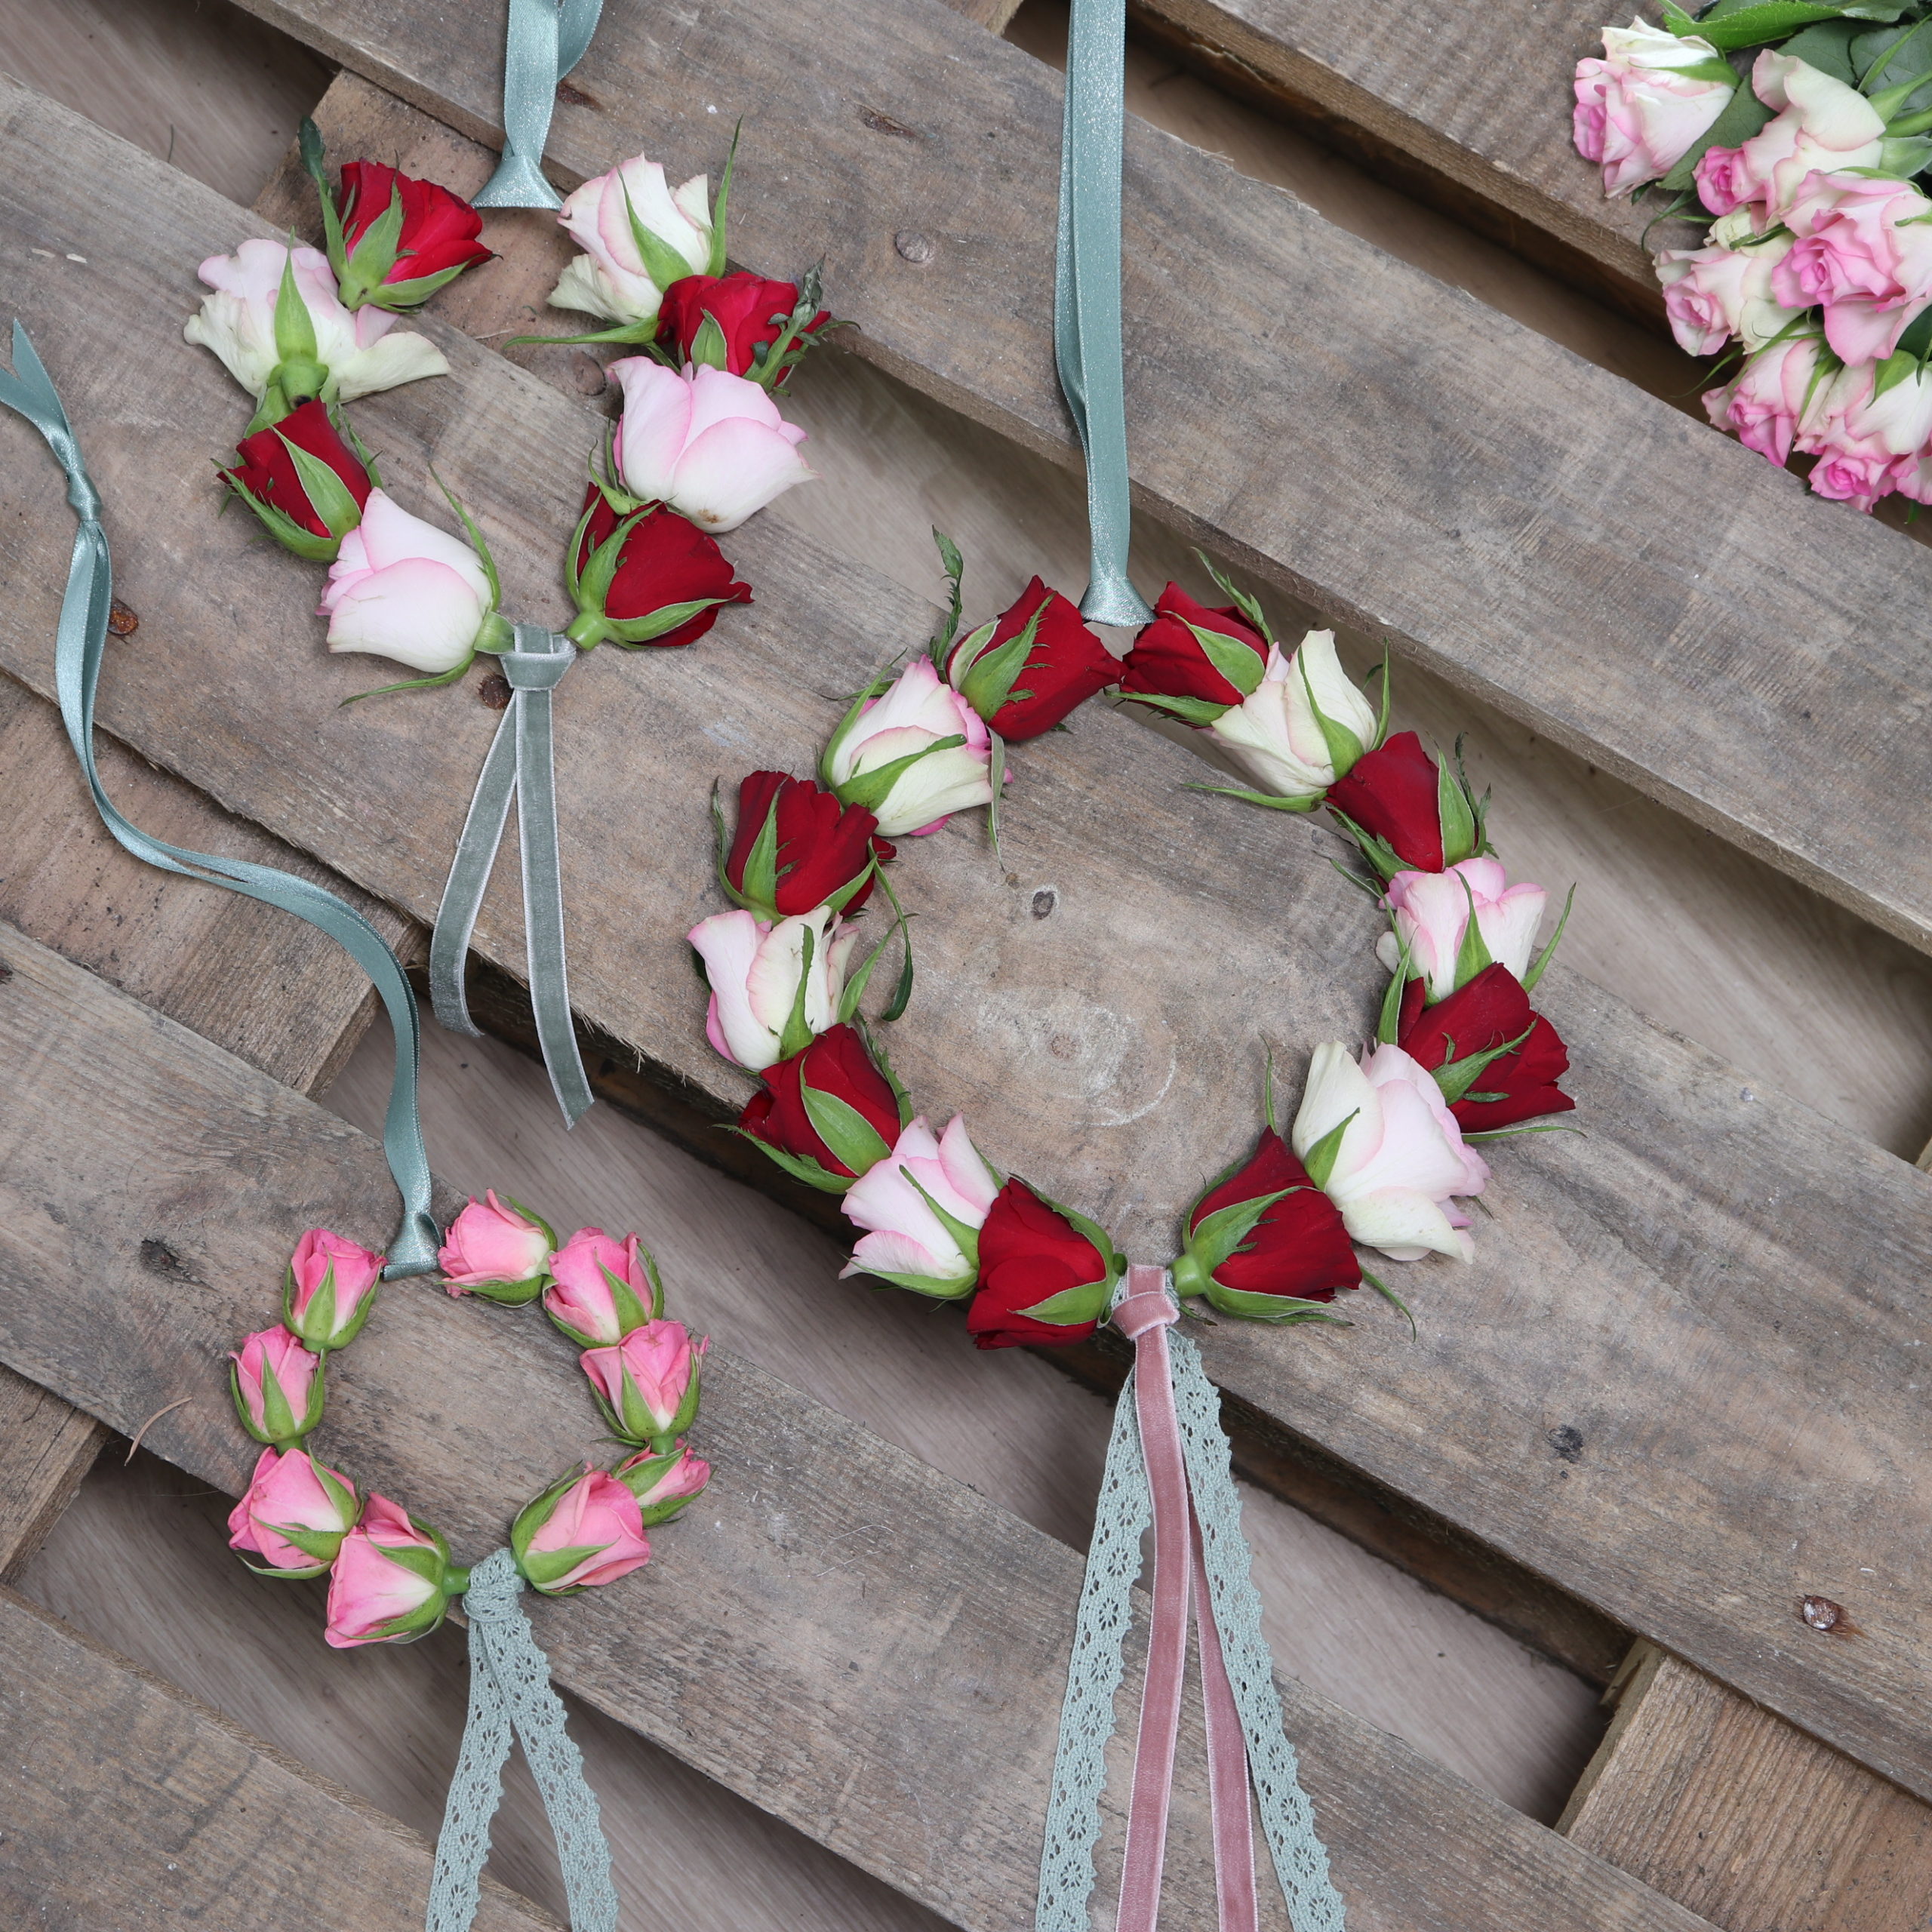
In this DIY, I show how you can easily create a flower wreath from red and white roses. The flower wreath makes a perfect hanging decoration for doors or walls. The DIY is very simple. I use a wire for the ring, on which I simply put the rose heads.
You can make the DIY with fresh roses and since roses dry in beautifully, you will certainly have long pleasure in the flower ring — even when it dries out a bit.
Tools
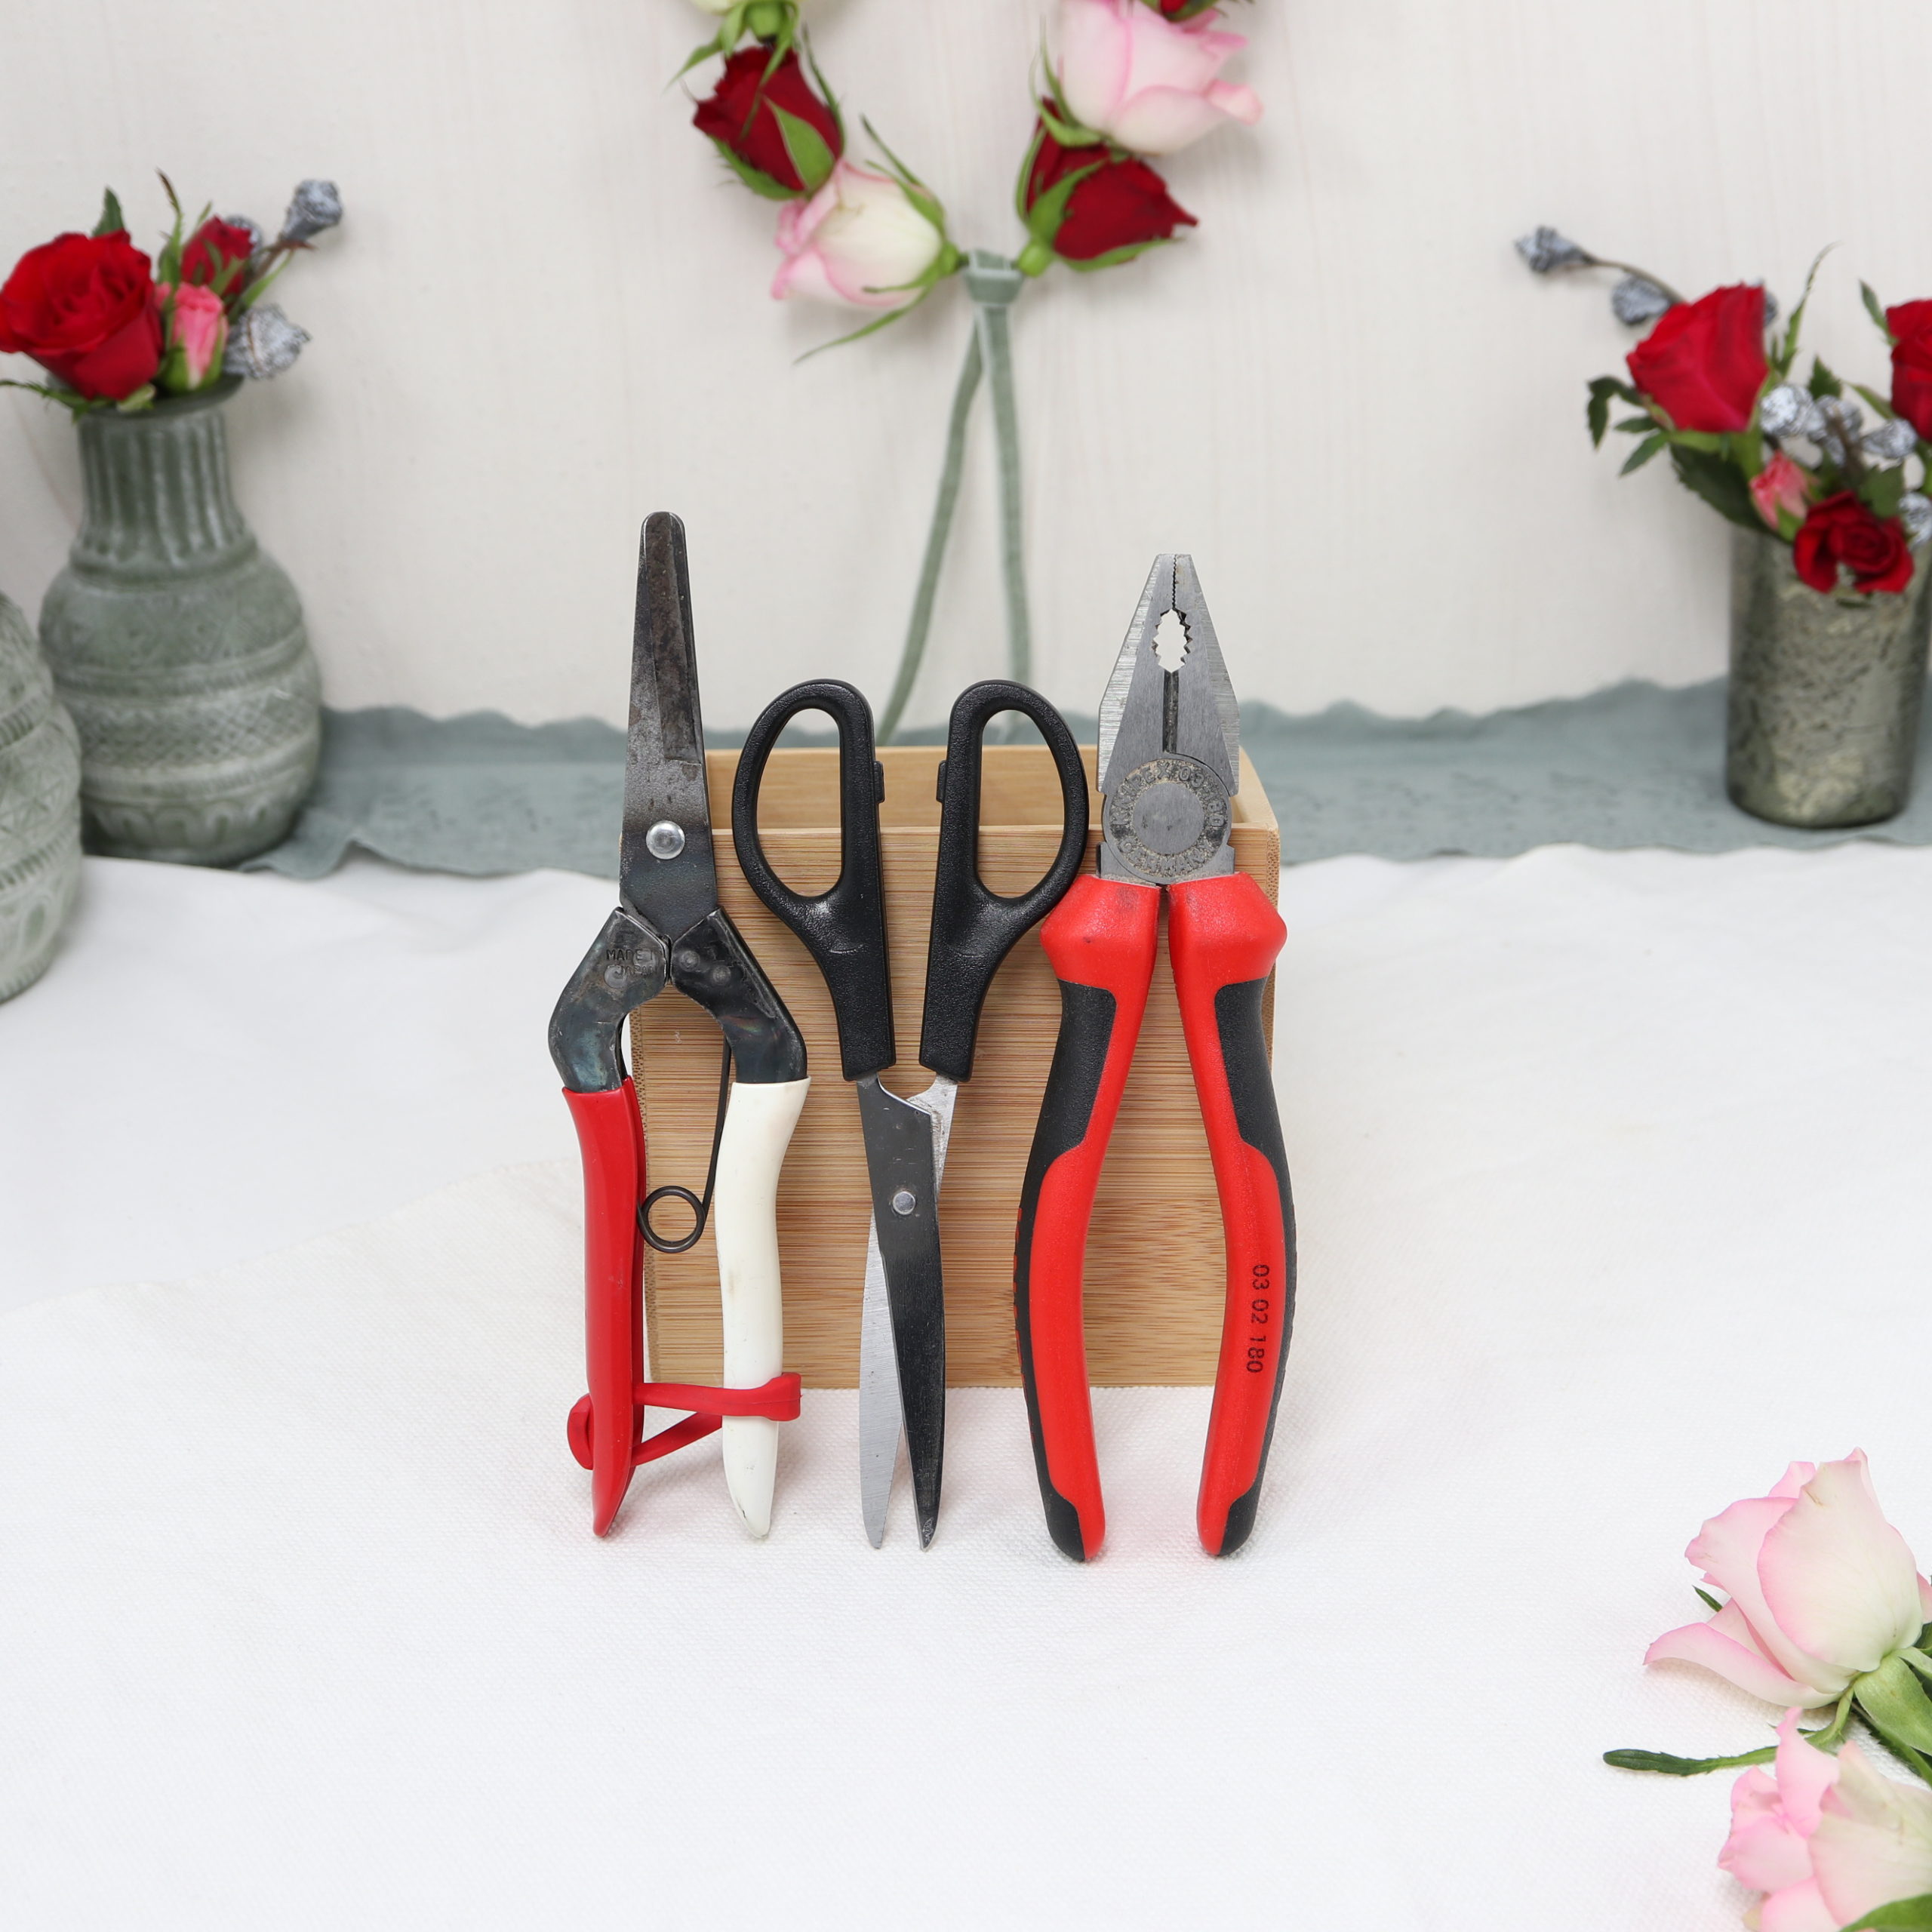
Here you can see what tools I used for the rose wreath: You need a pair of flower scissors for the roses, a pair of household scissors for the ribbons and a side cutter to clip off the wire for the ring.
| Werkzeug | Suche auf… |
|---|---|
| Flower scissors | |
| I use the Japanese flower scissors Okatsune 304 | |
| Household scissors | |
| Side cutter |
Materials
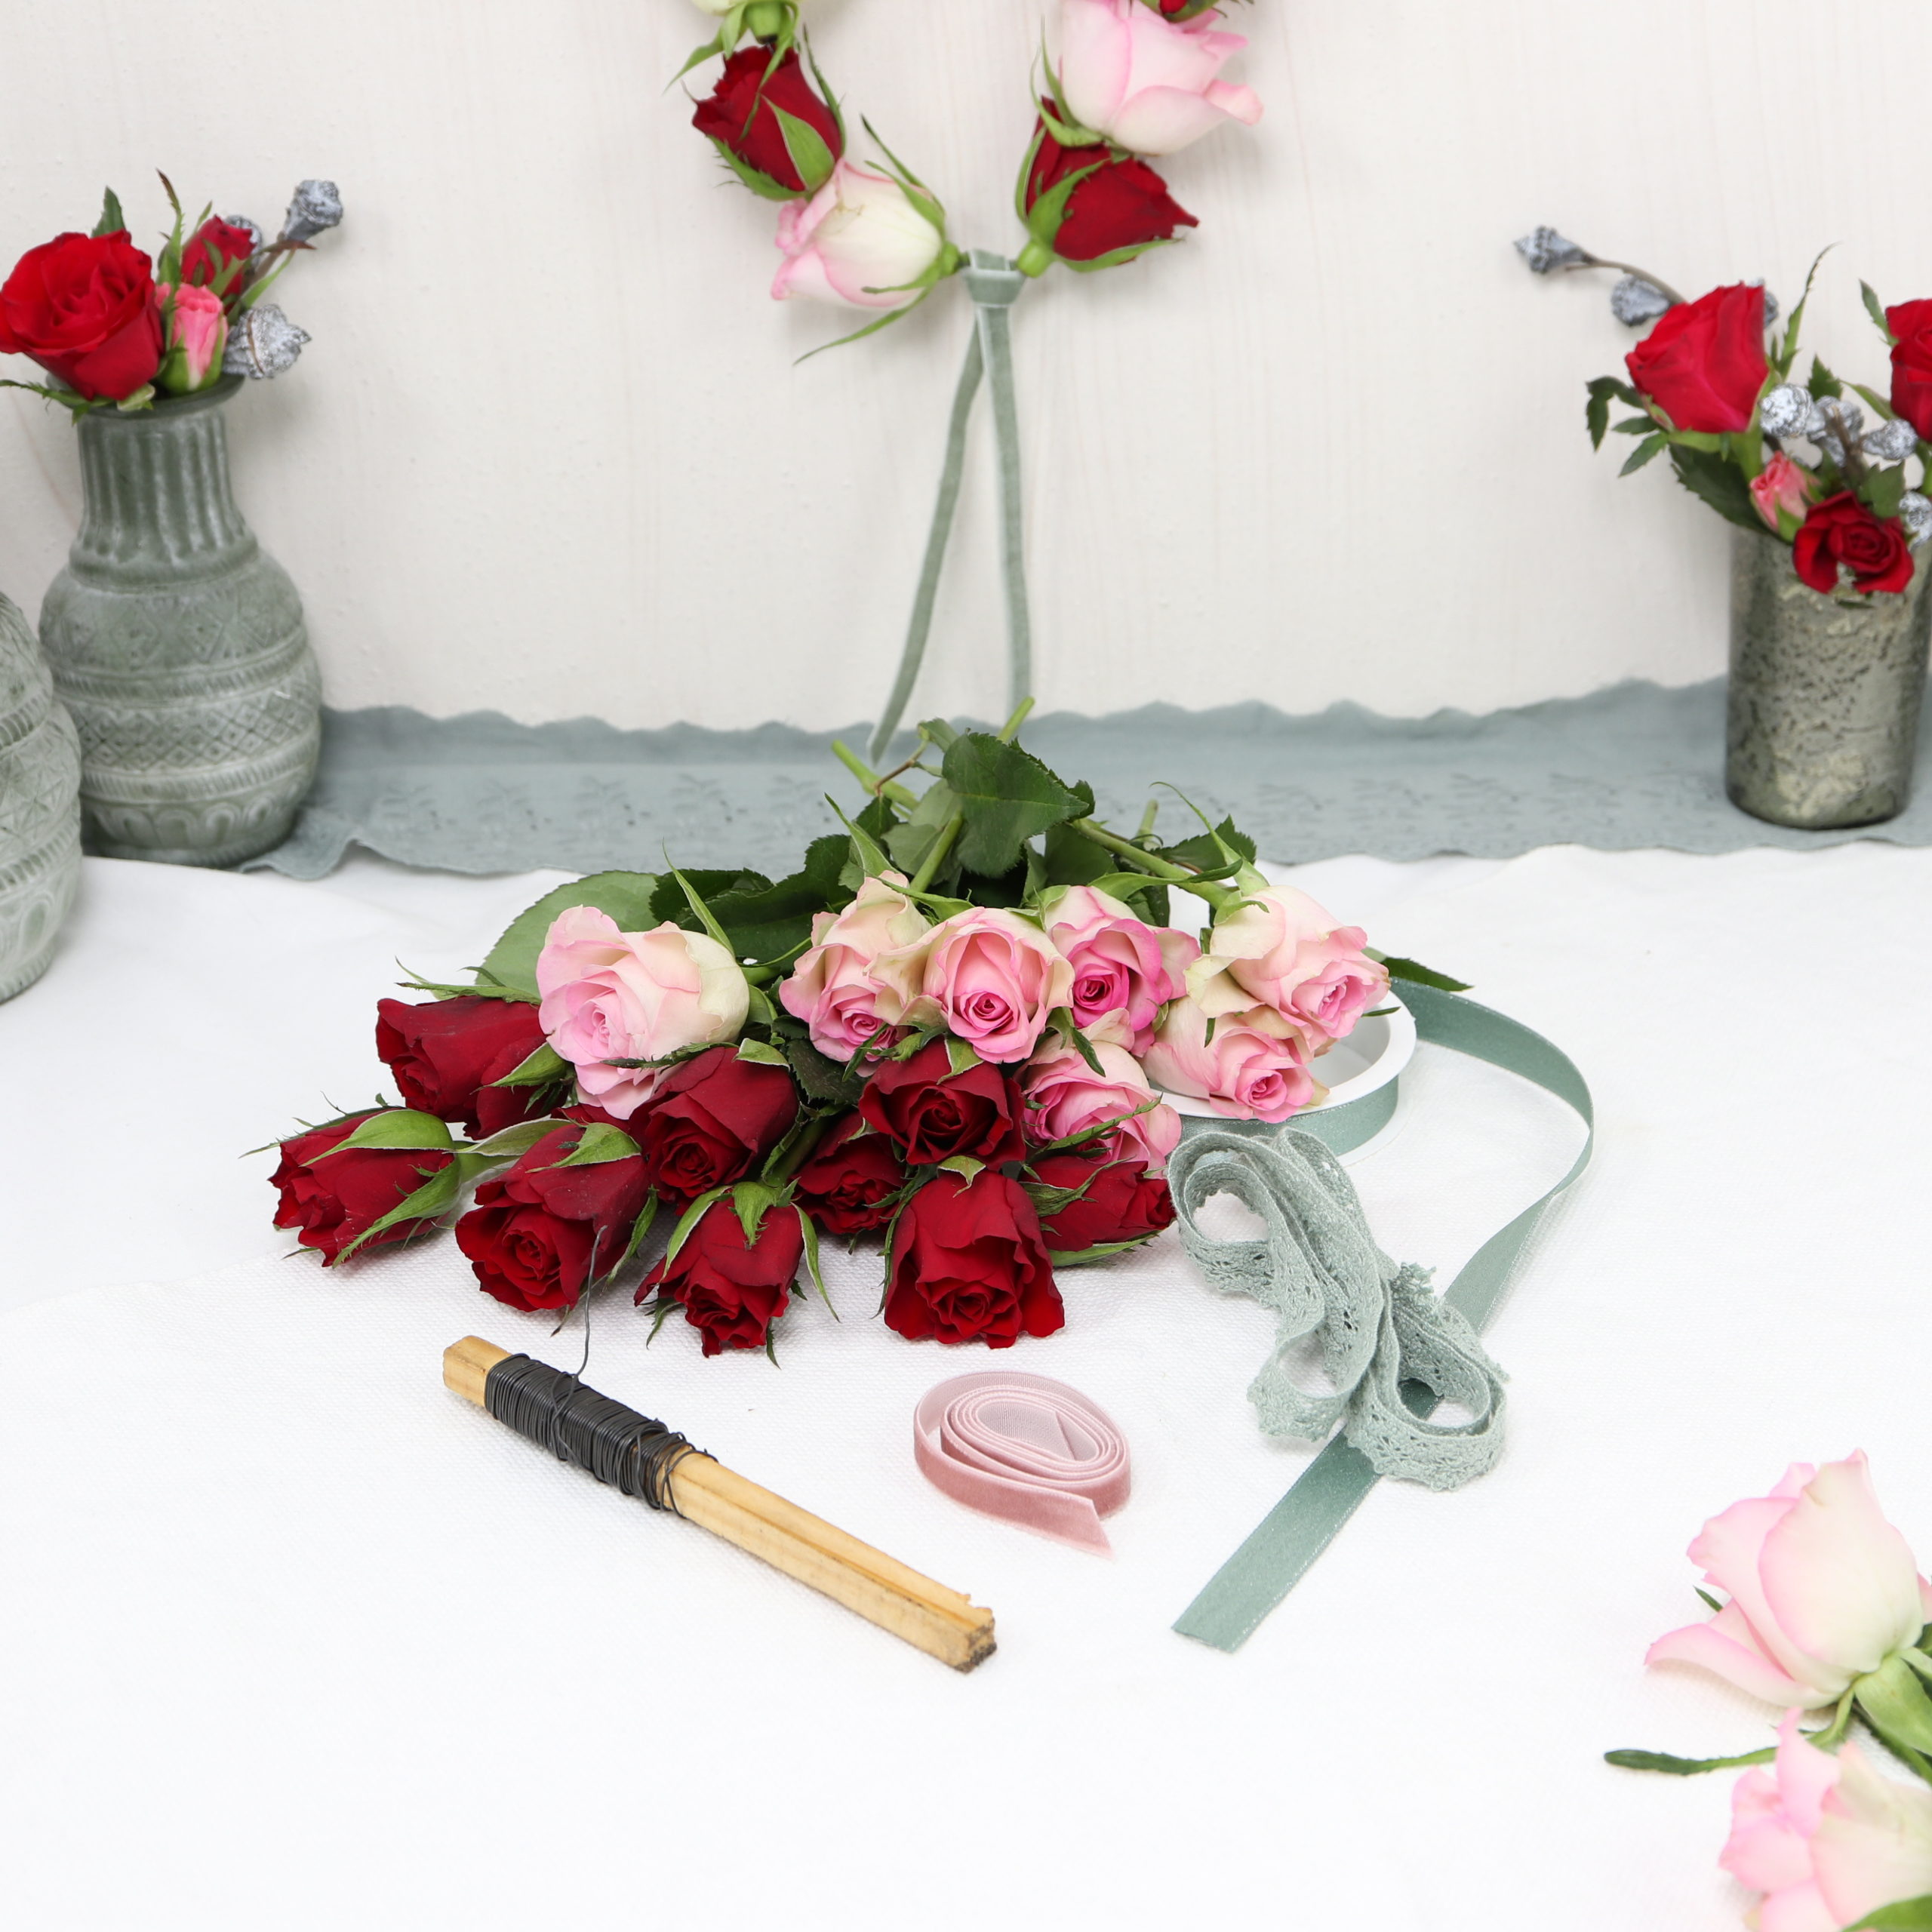
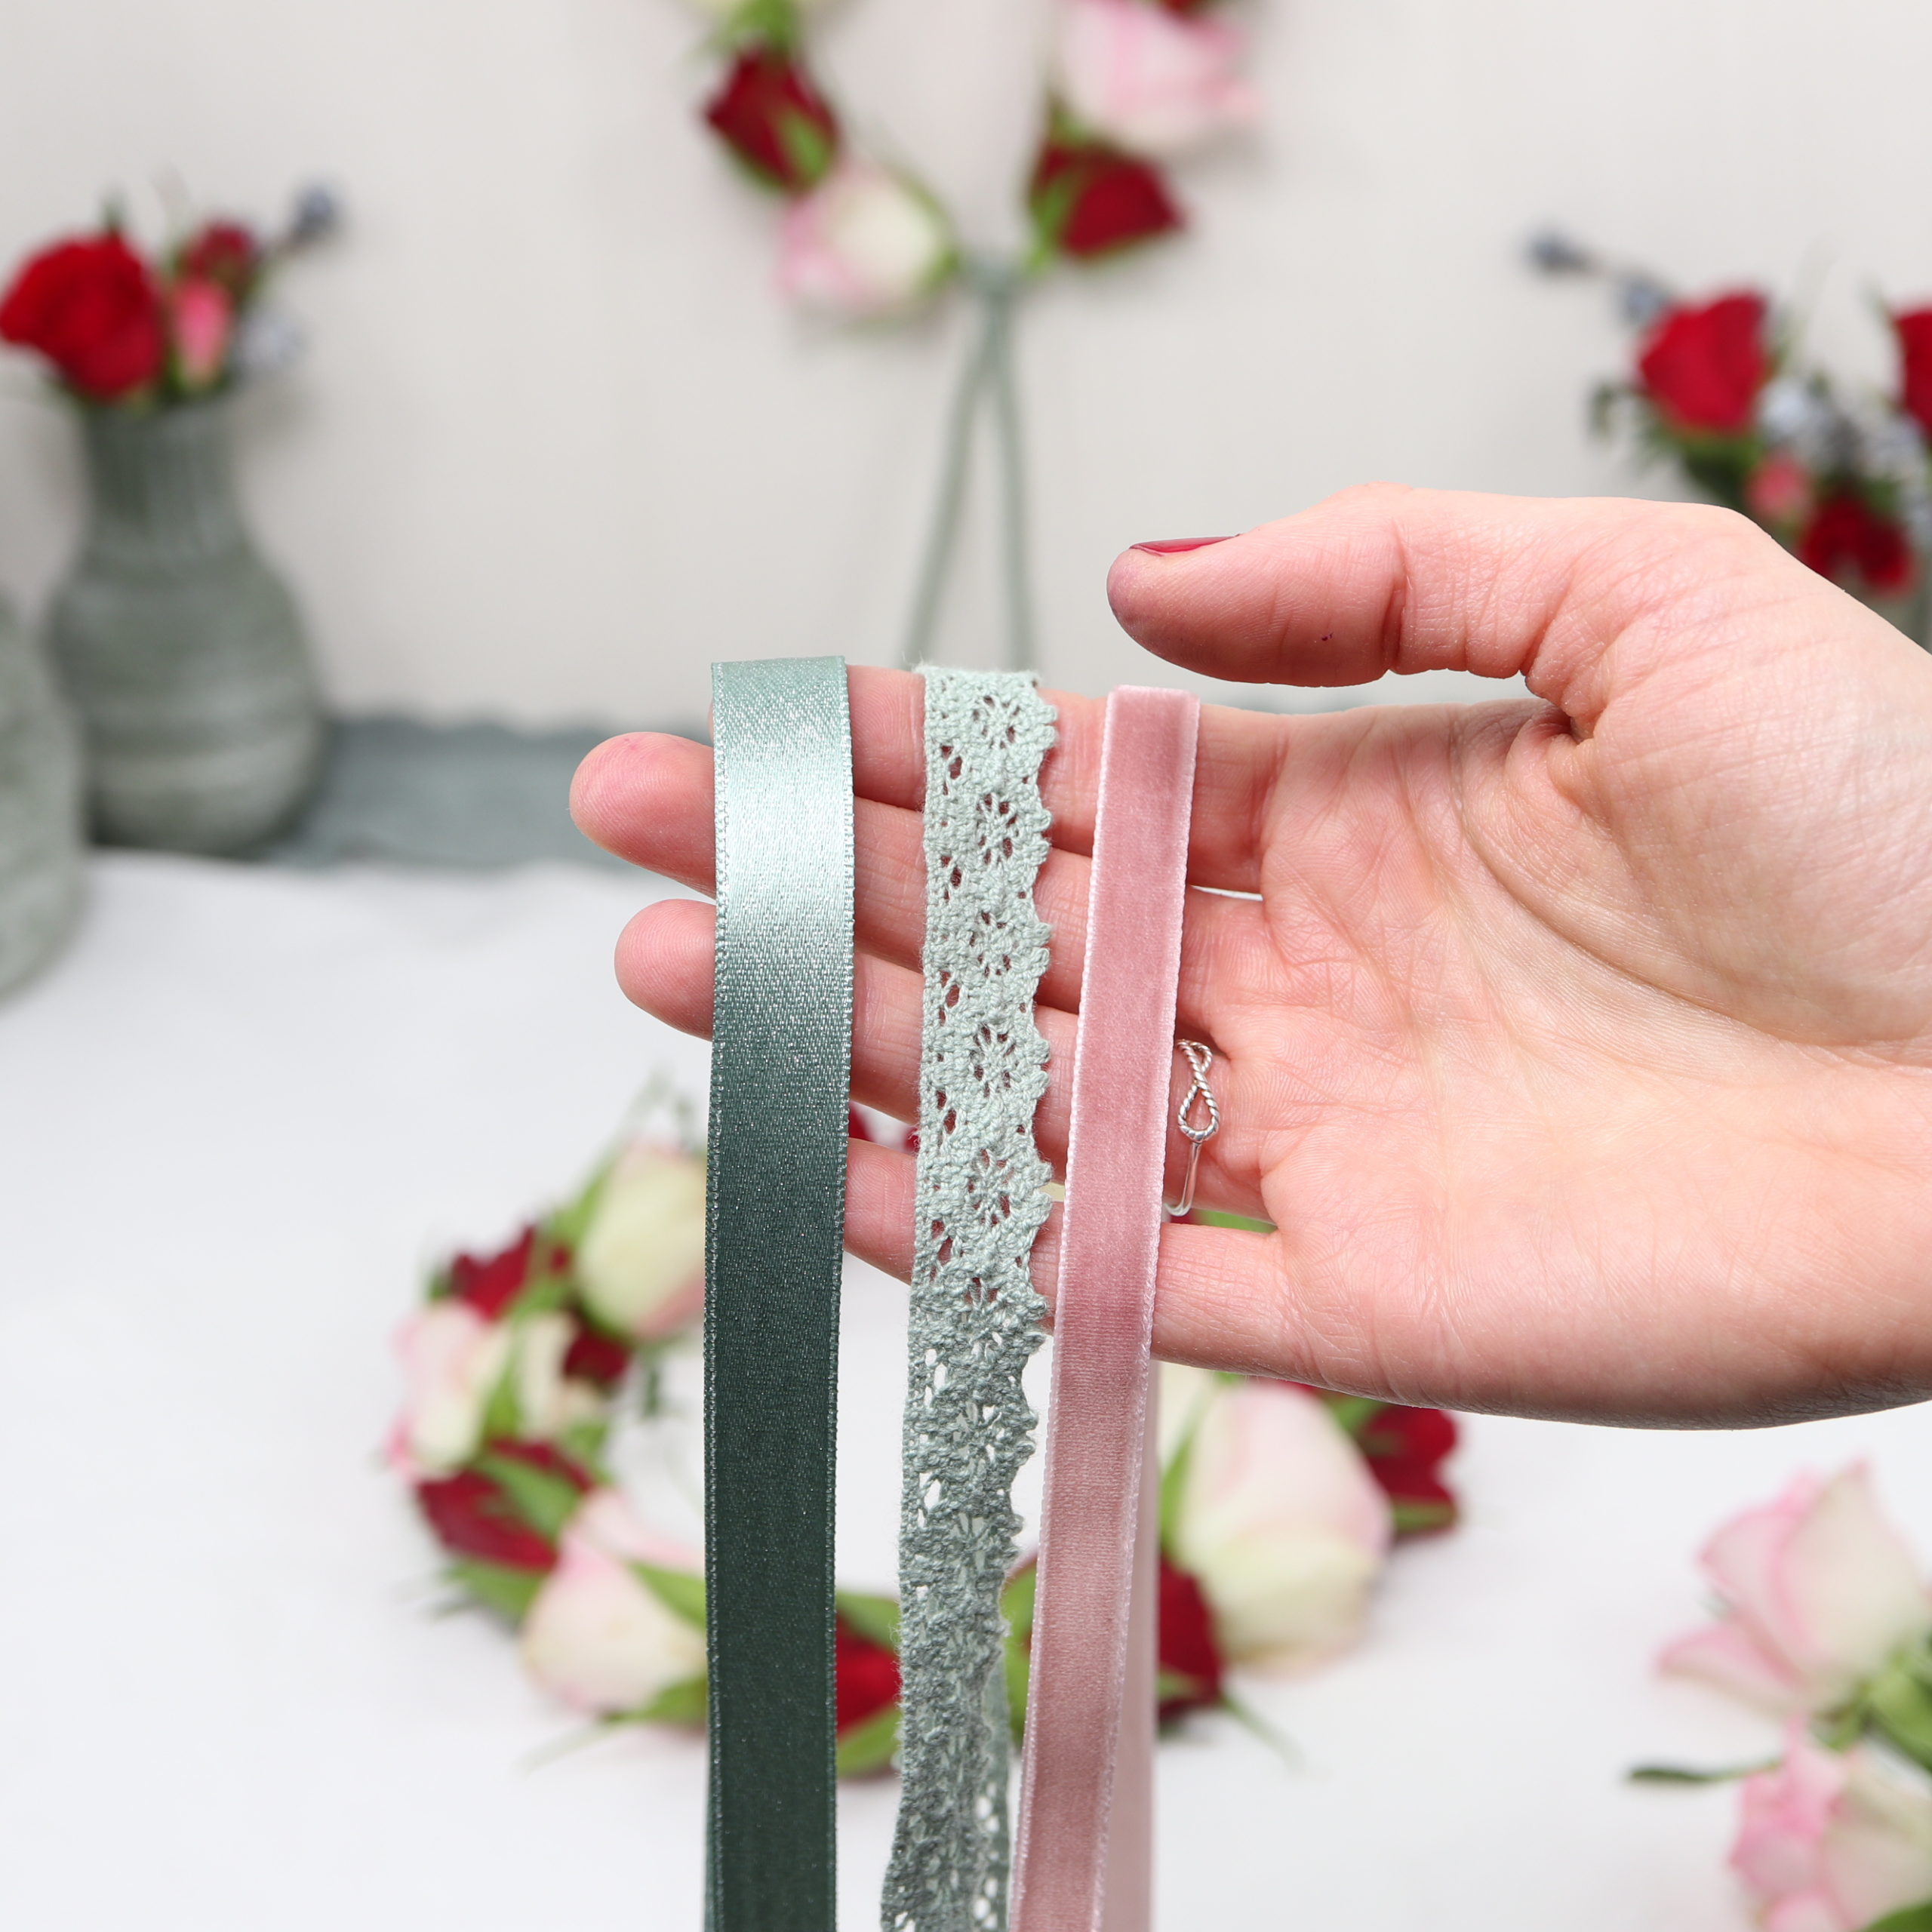
I used these materials for the hanging decoration: White roses, red roses, strong floral wire, a sage-colored satin ribbon for hanging the wreath, a sage-colored crochet lace ribbon and an antique pink velvet ribbon.
| Material | Suche on |
|---|---|
| White roses | |
| Red roses | |
| Floral wire (strong) | |
| Sage-colored satin ribbon | |
| Sage-colored crochet lace | |
| Pink velvet ribbon |
Guide
Step 1: Cut roses
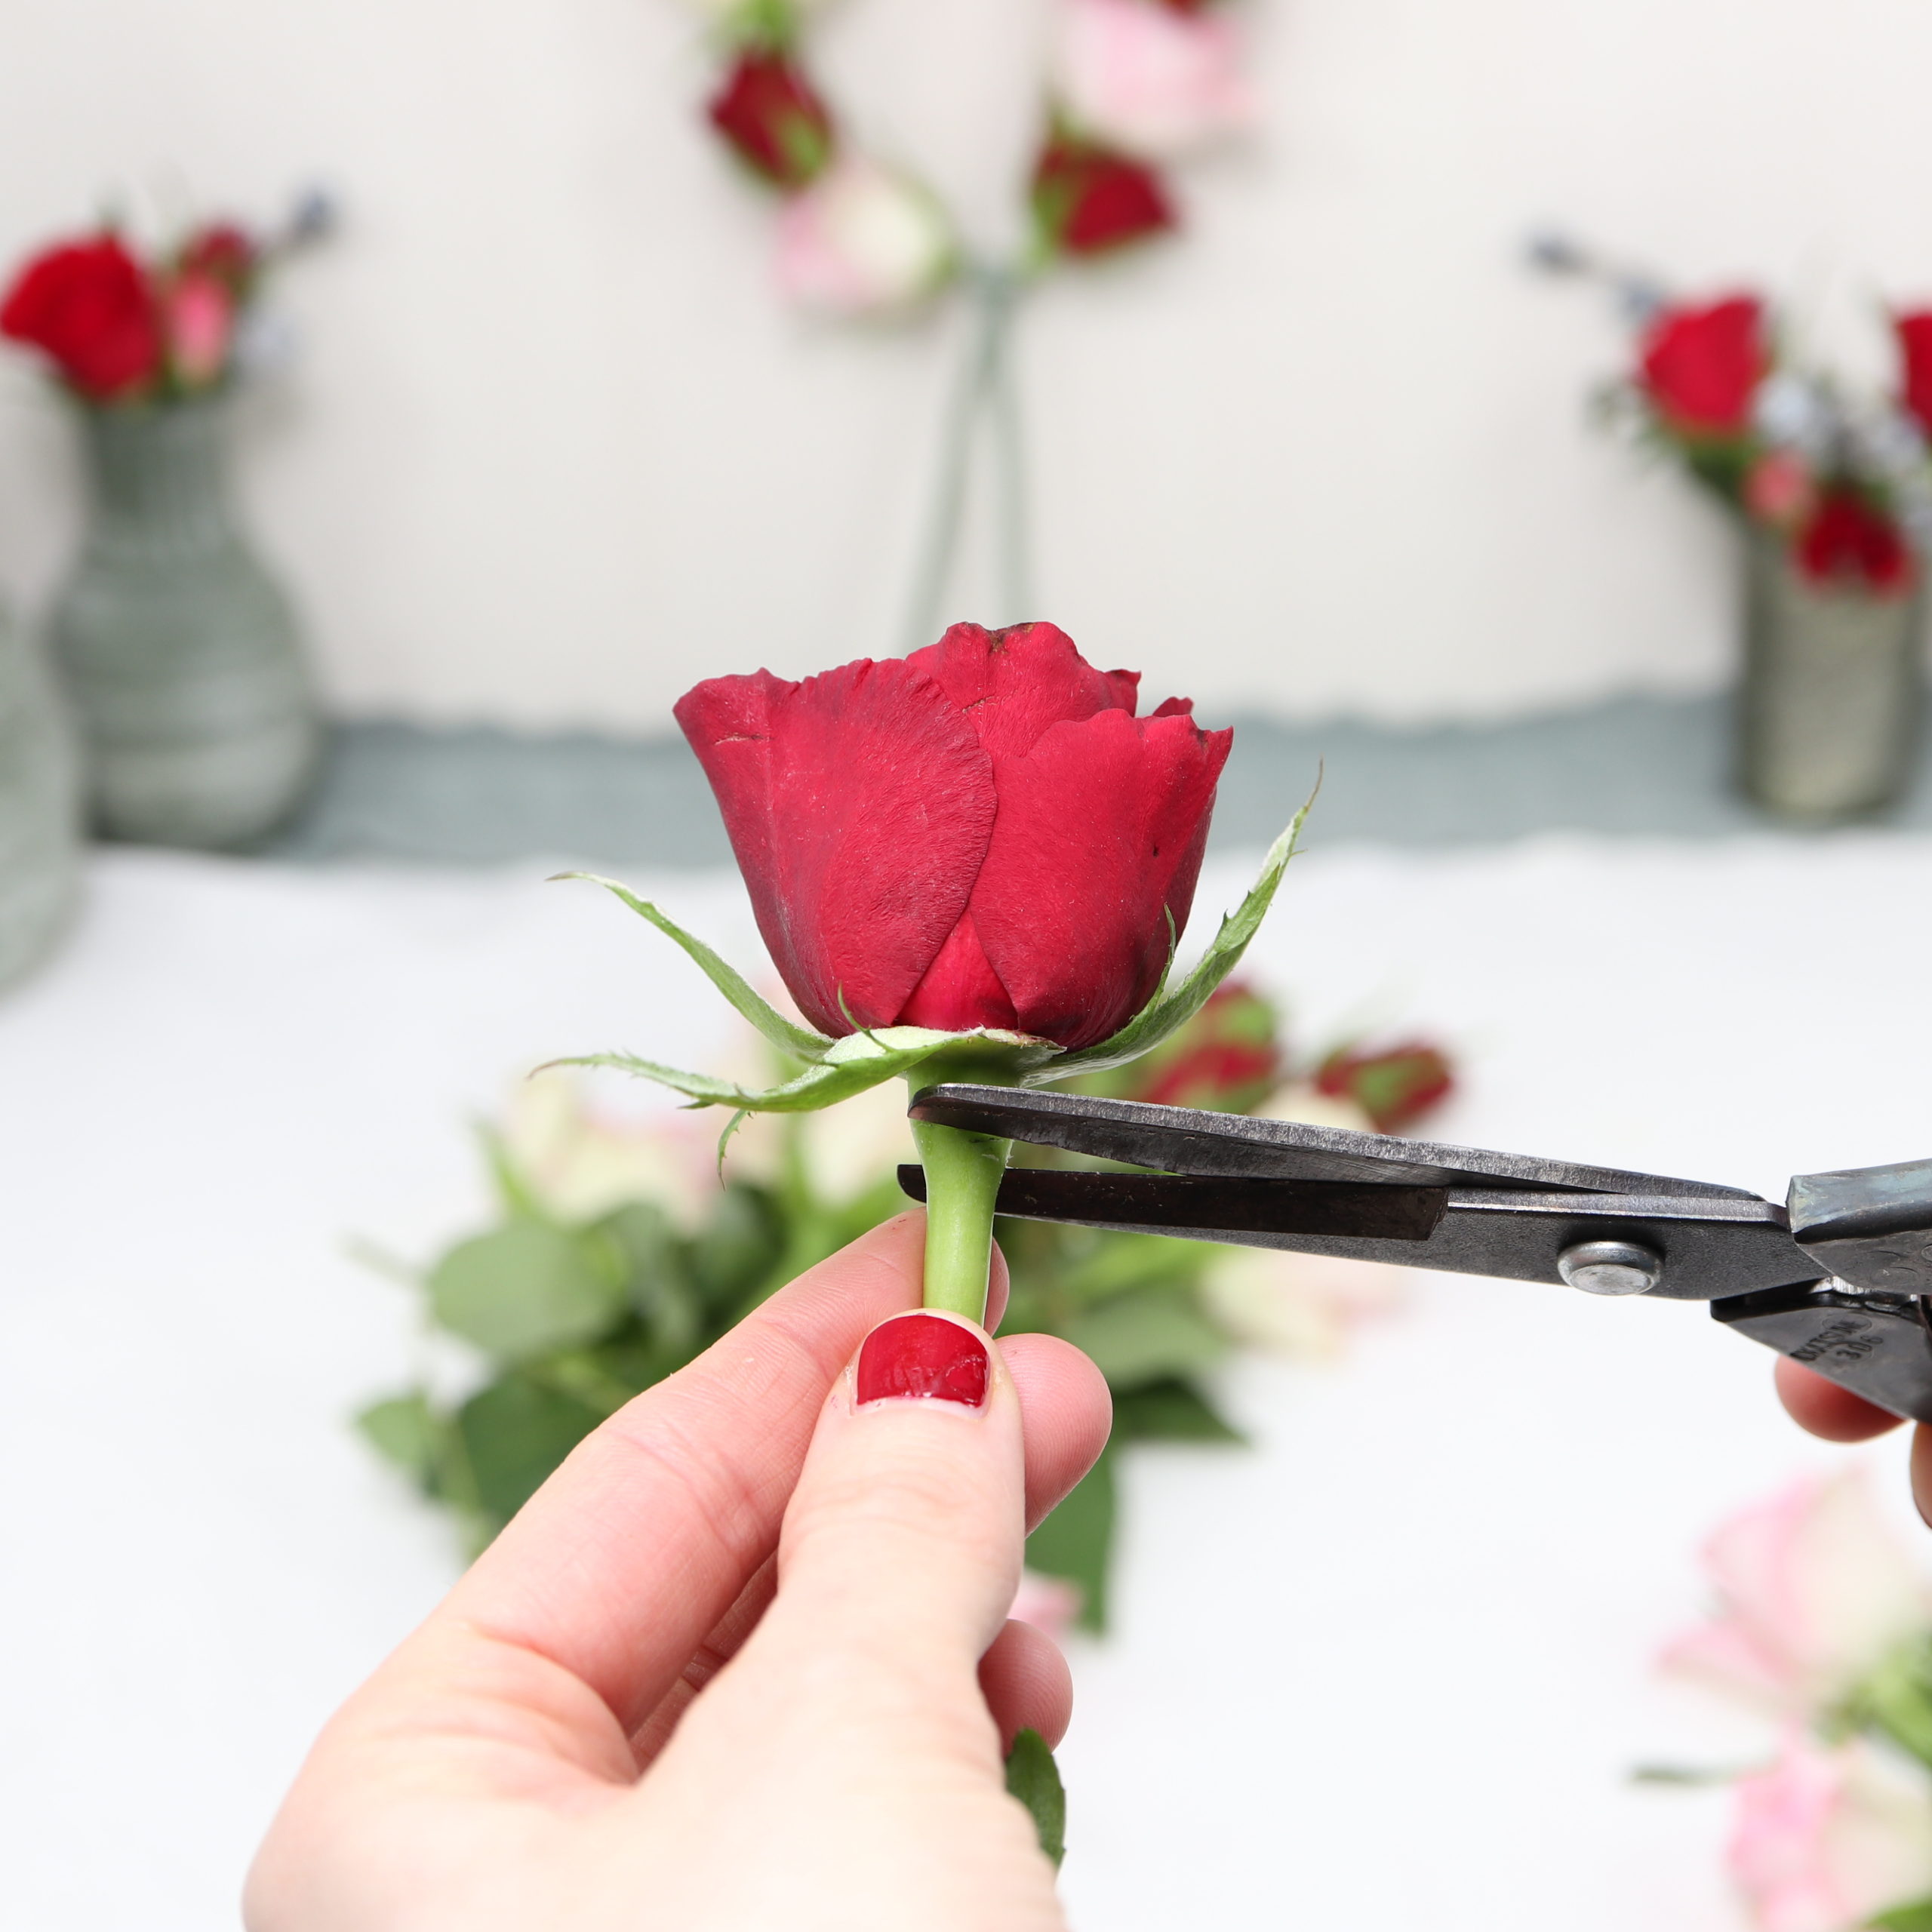
Only the rose heads are used for the flower wreath. In the first step I cut the rose stems slightly below the rose blossoms with the flower scissors.

Step 2: Cut floral wire
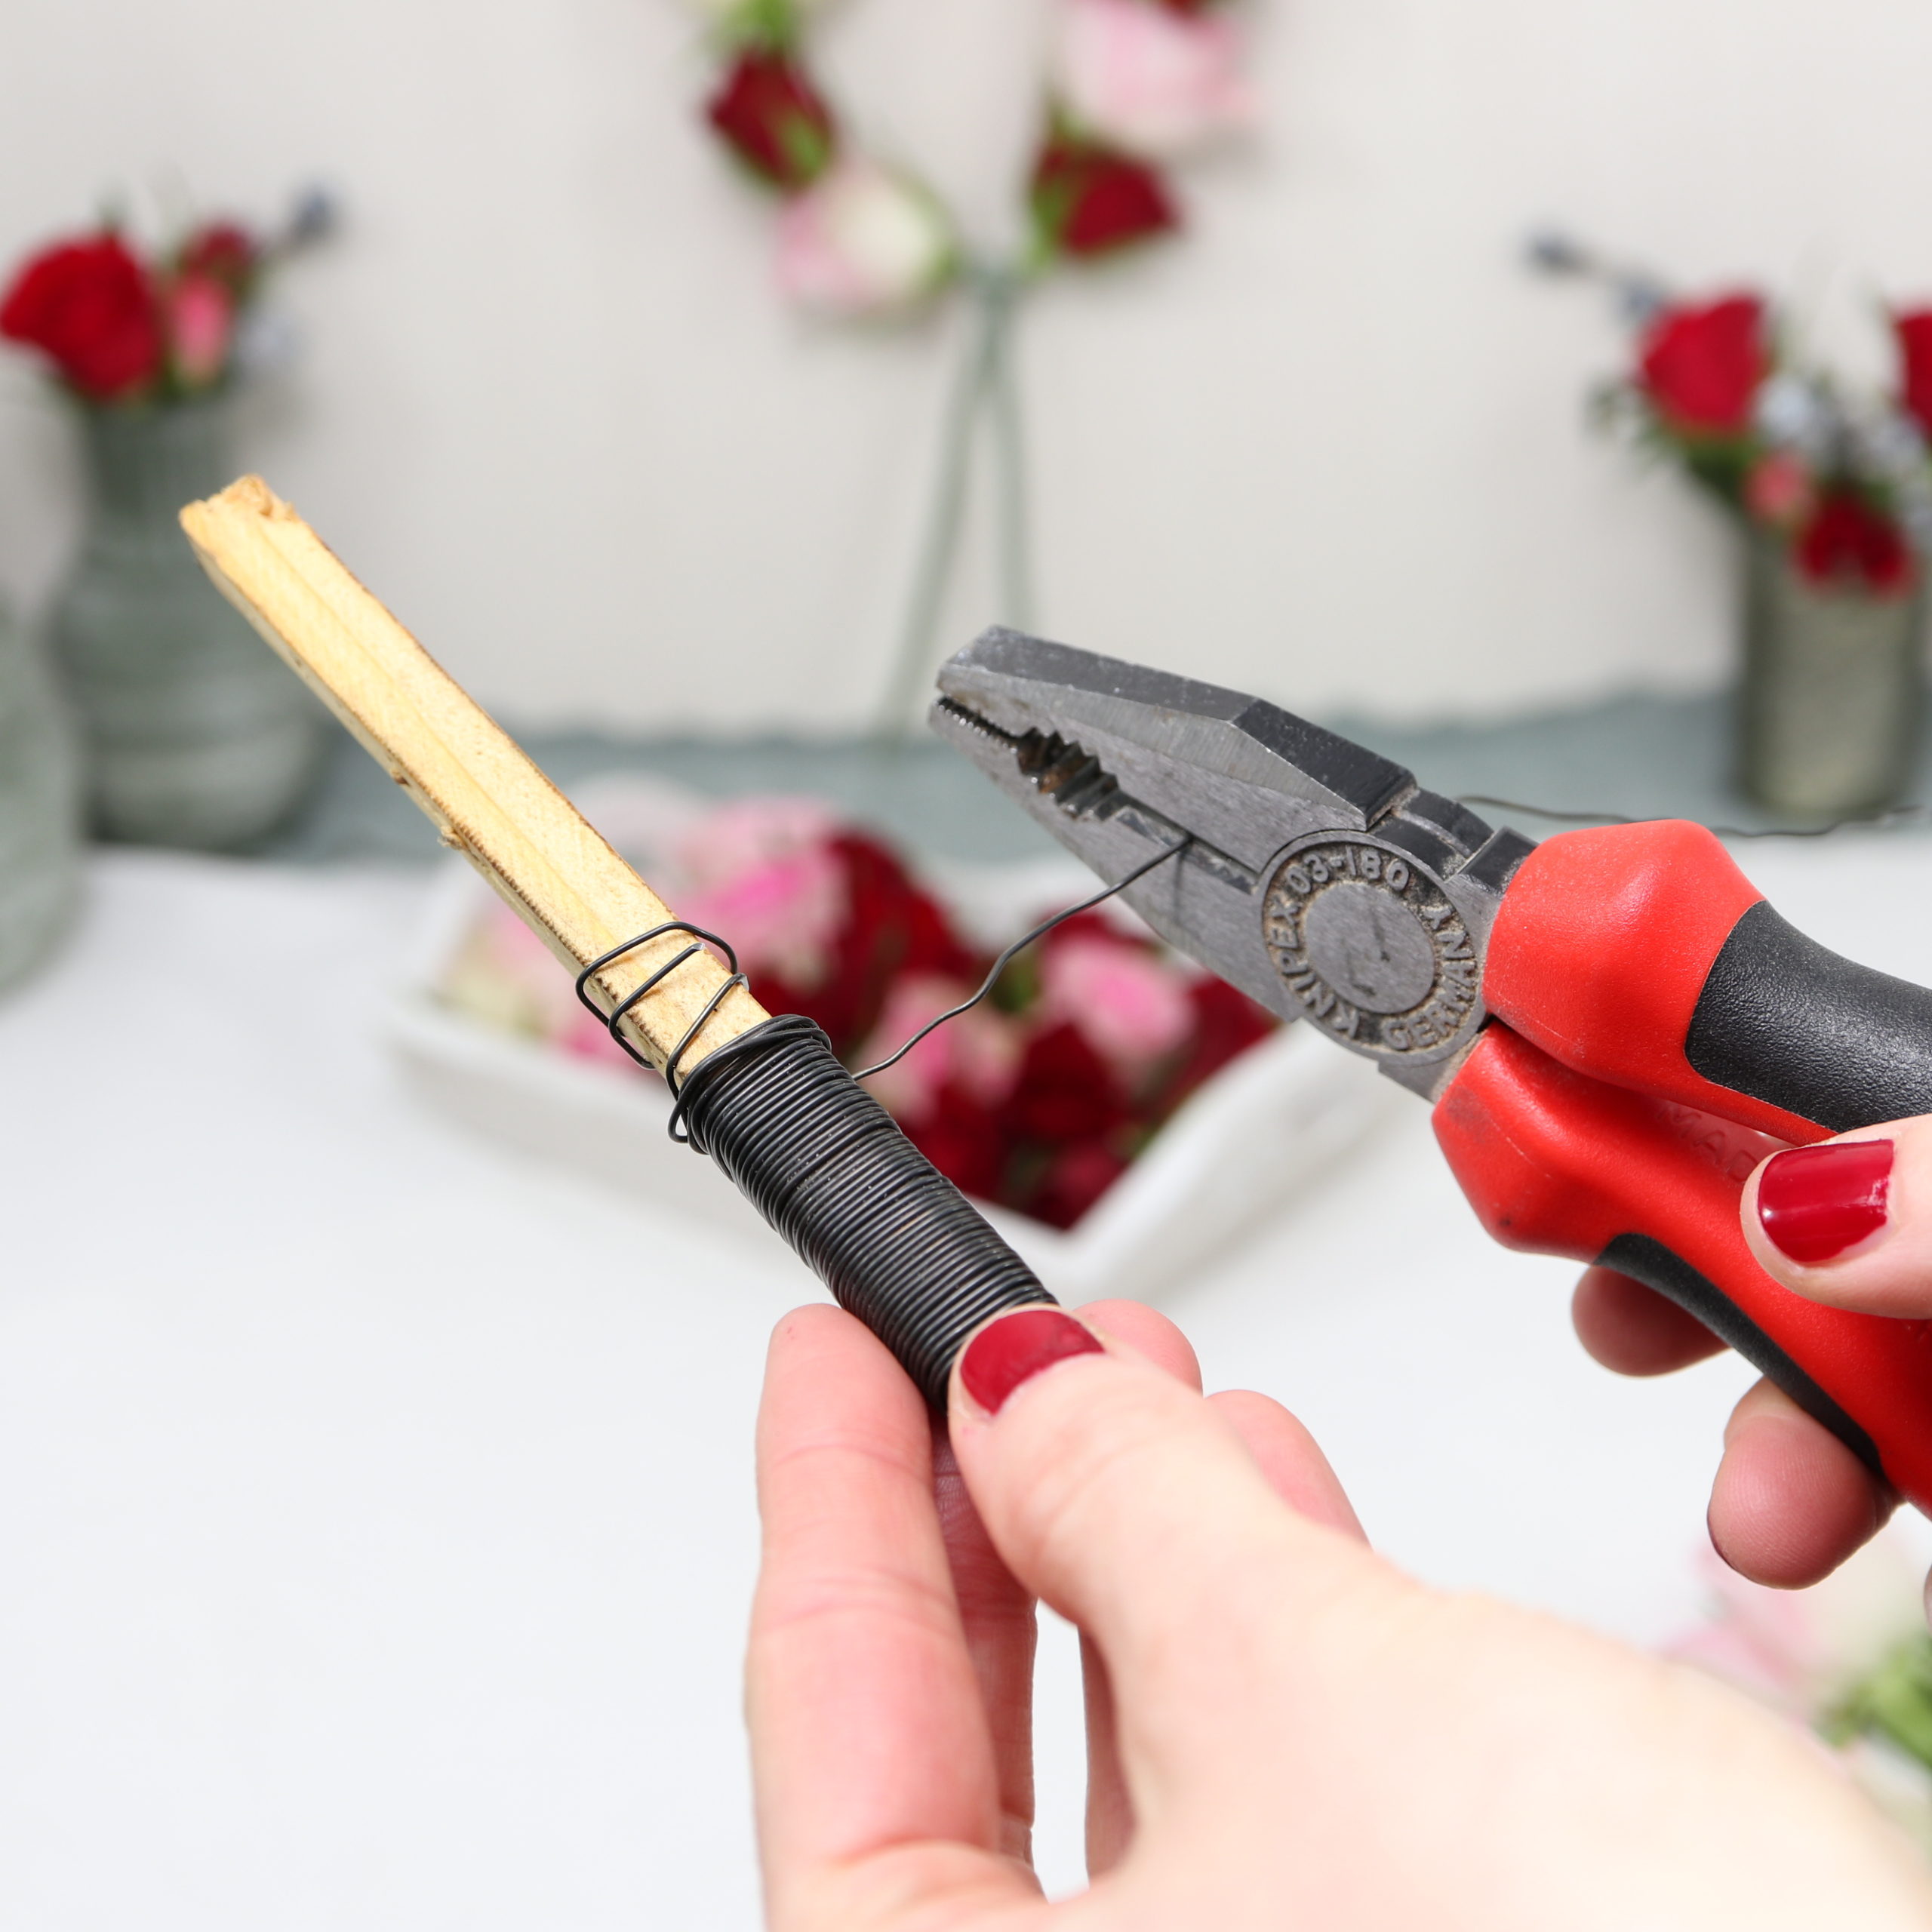
Now I cut a piece of wire with the side cutter. The length depends on the desired ring size.
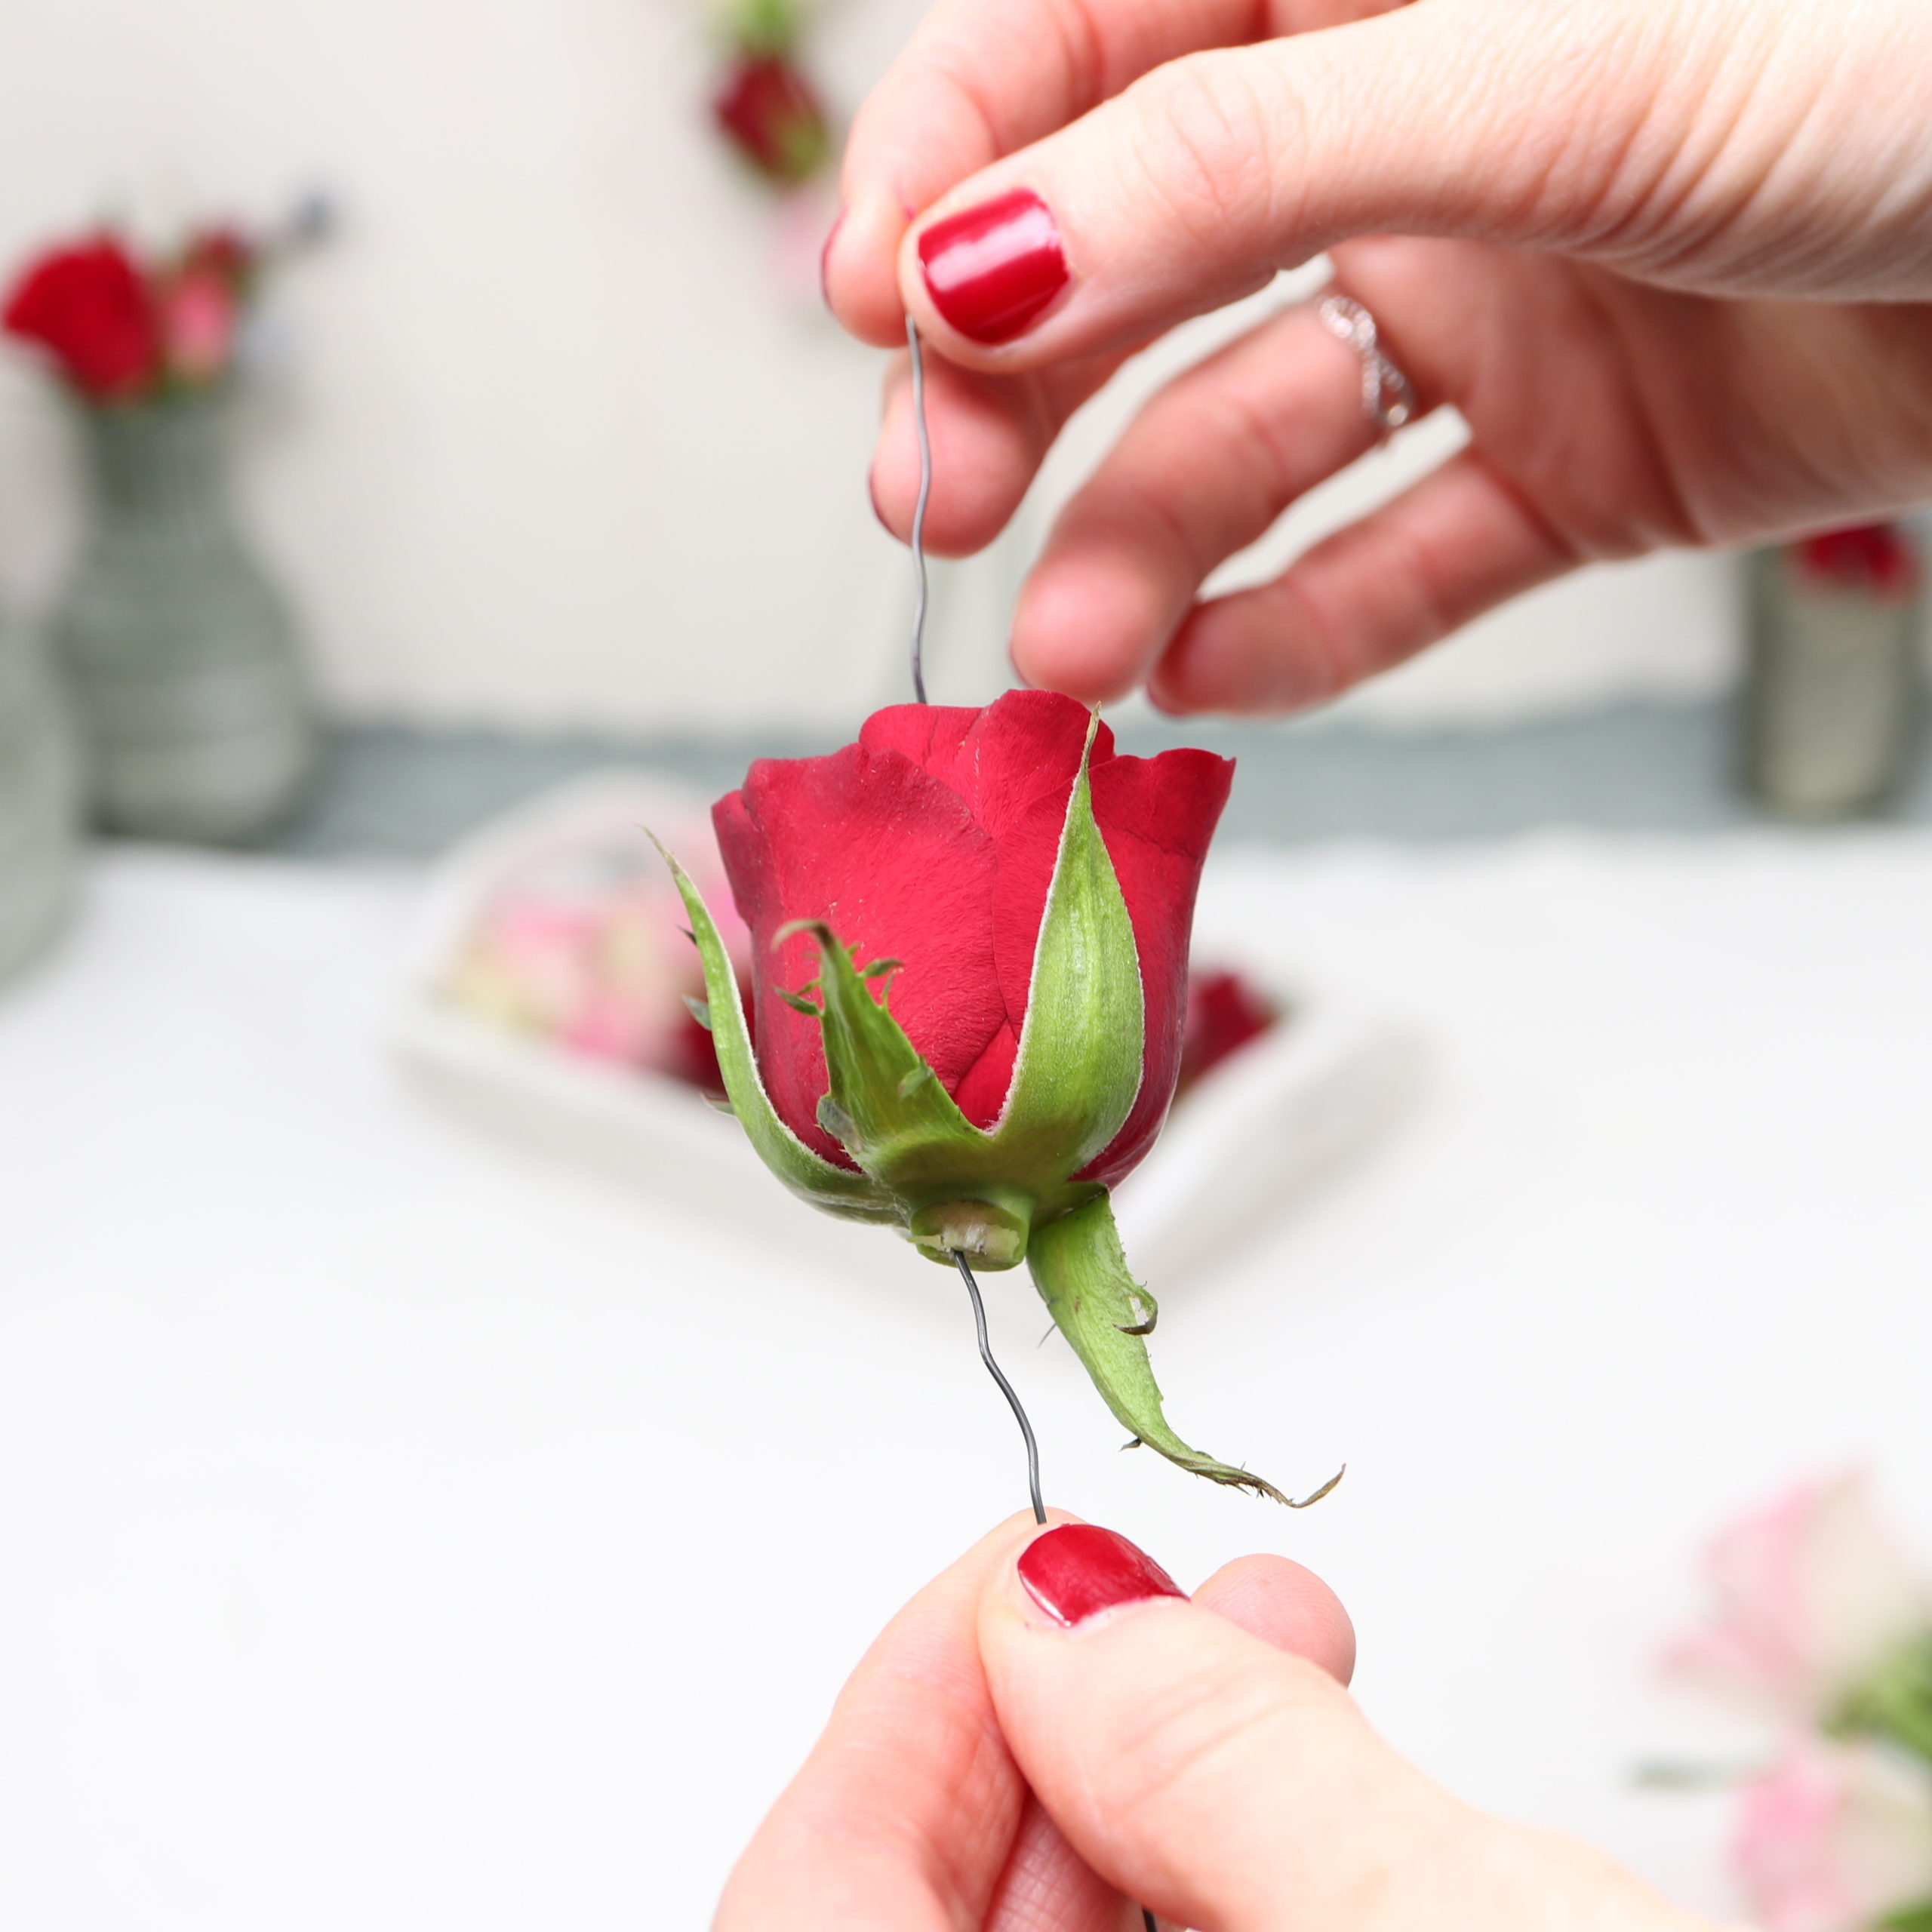
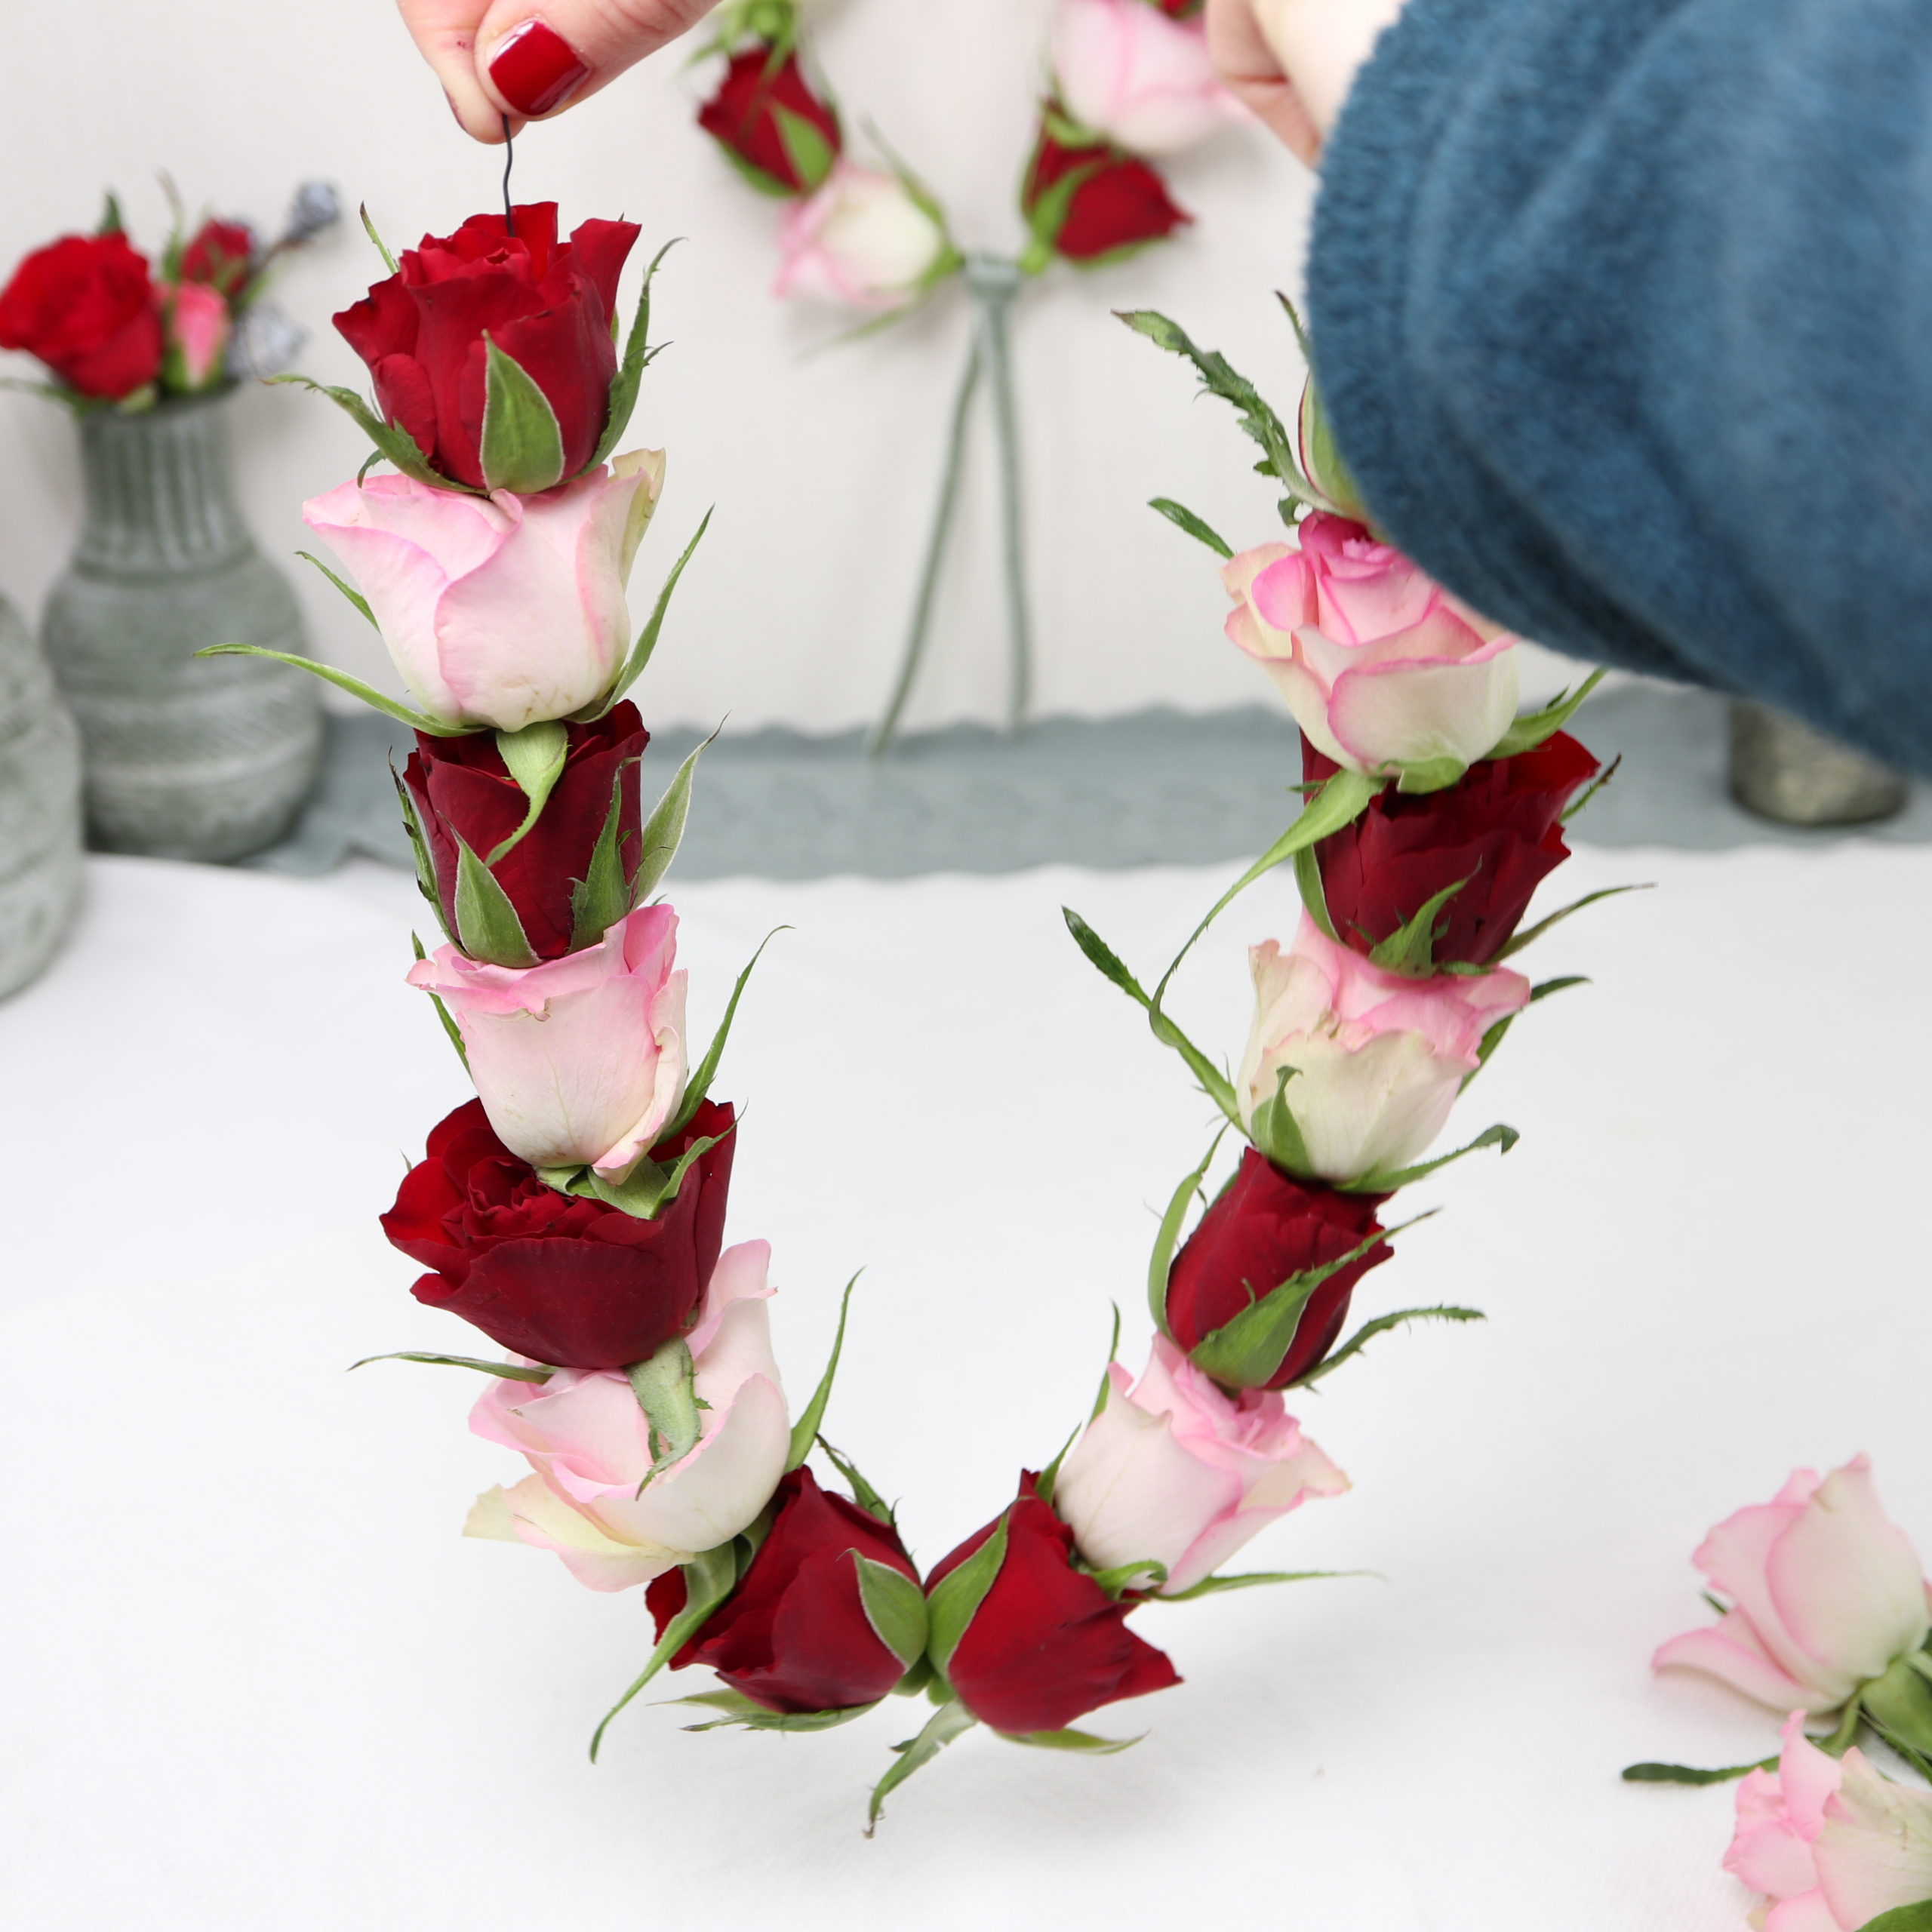
Step 3: Put in the rose blossoms
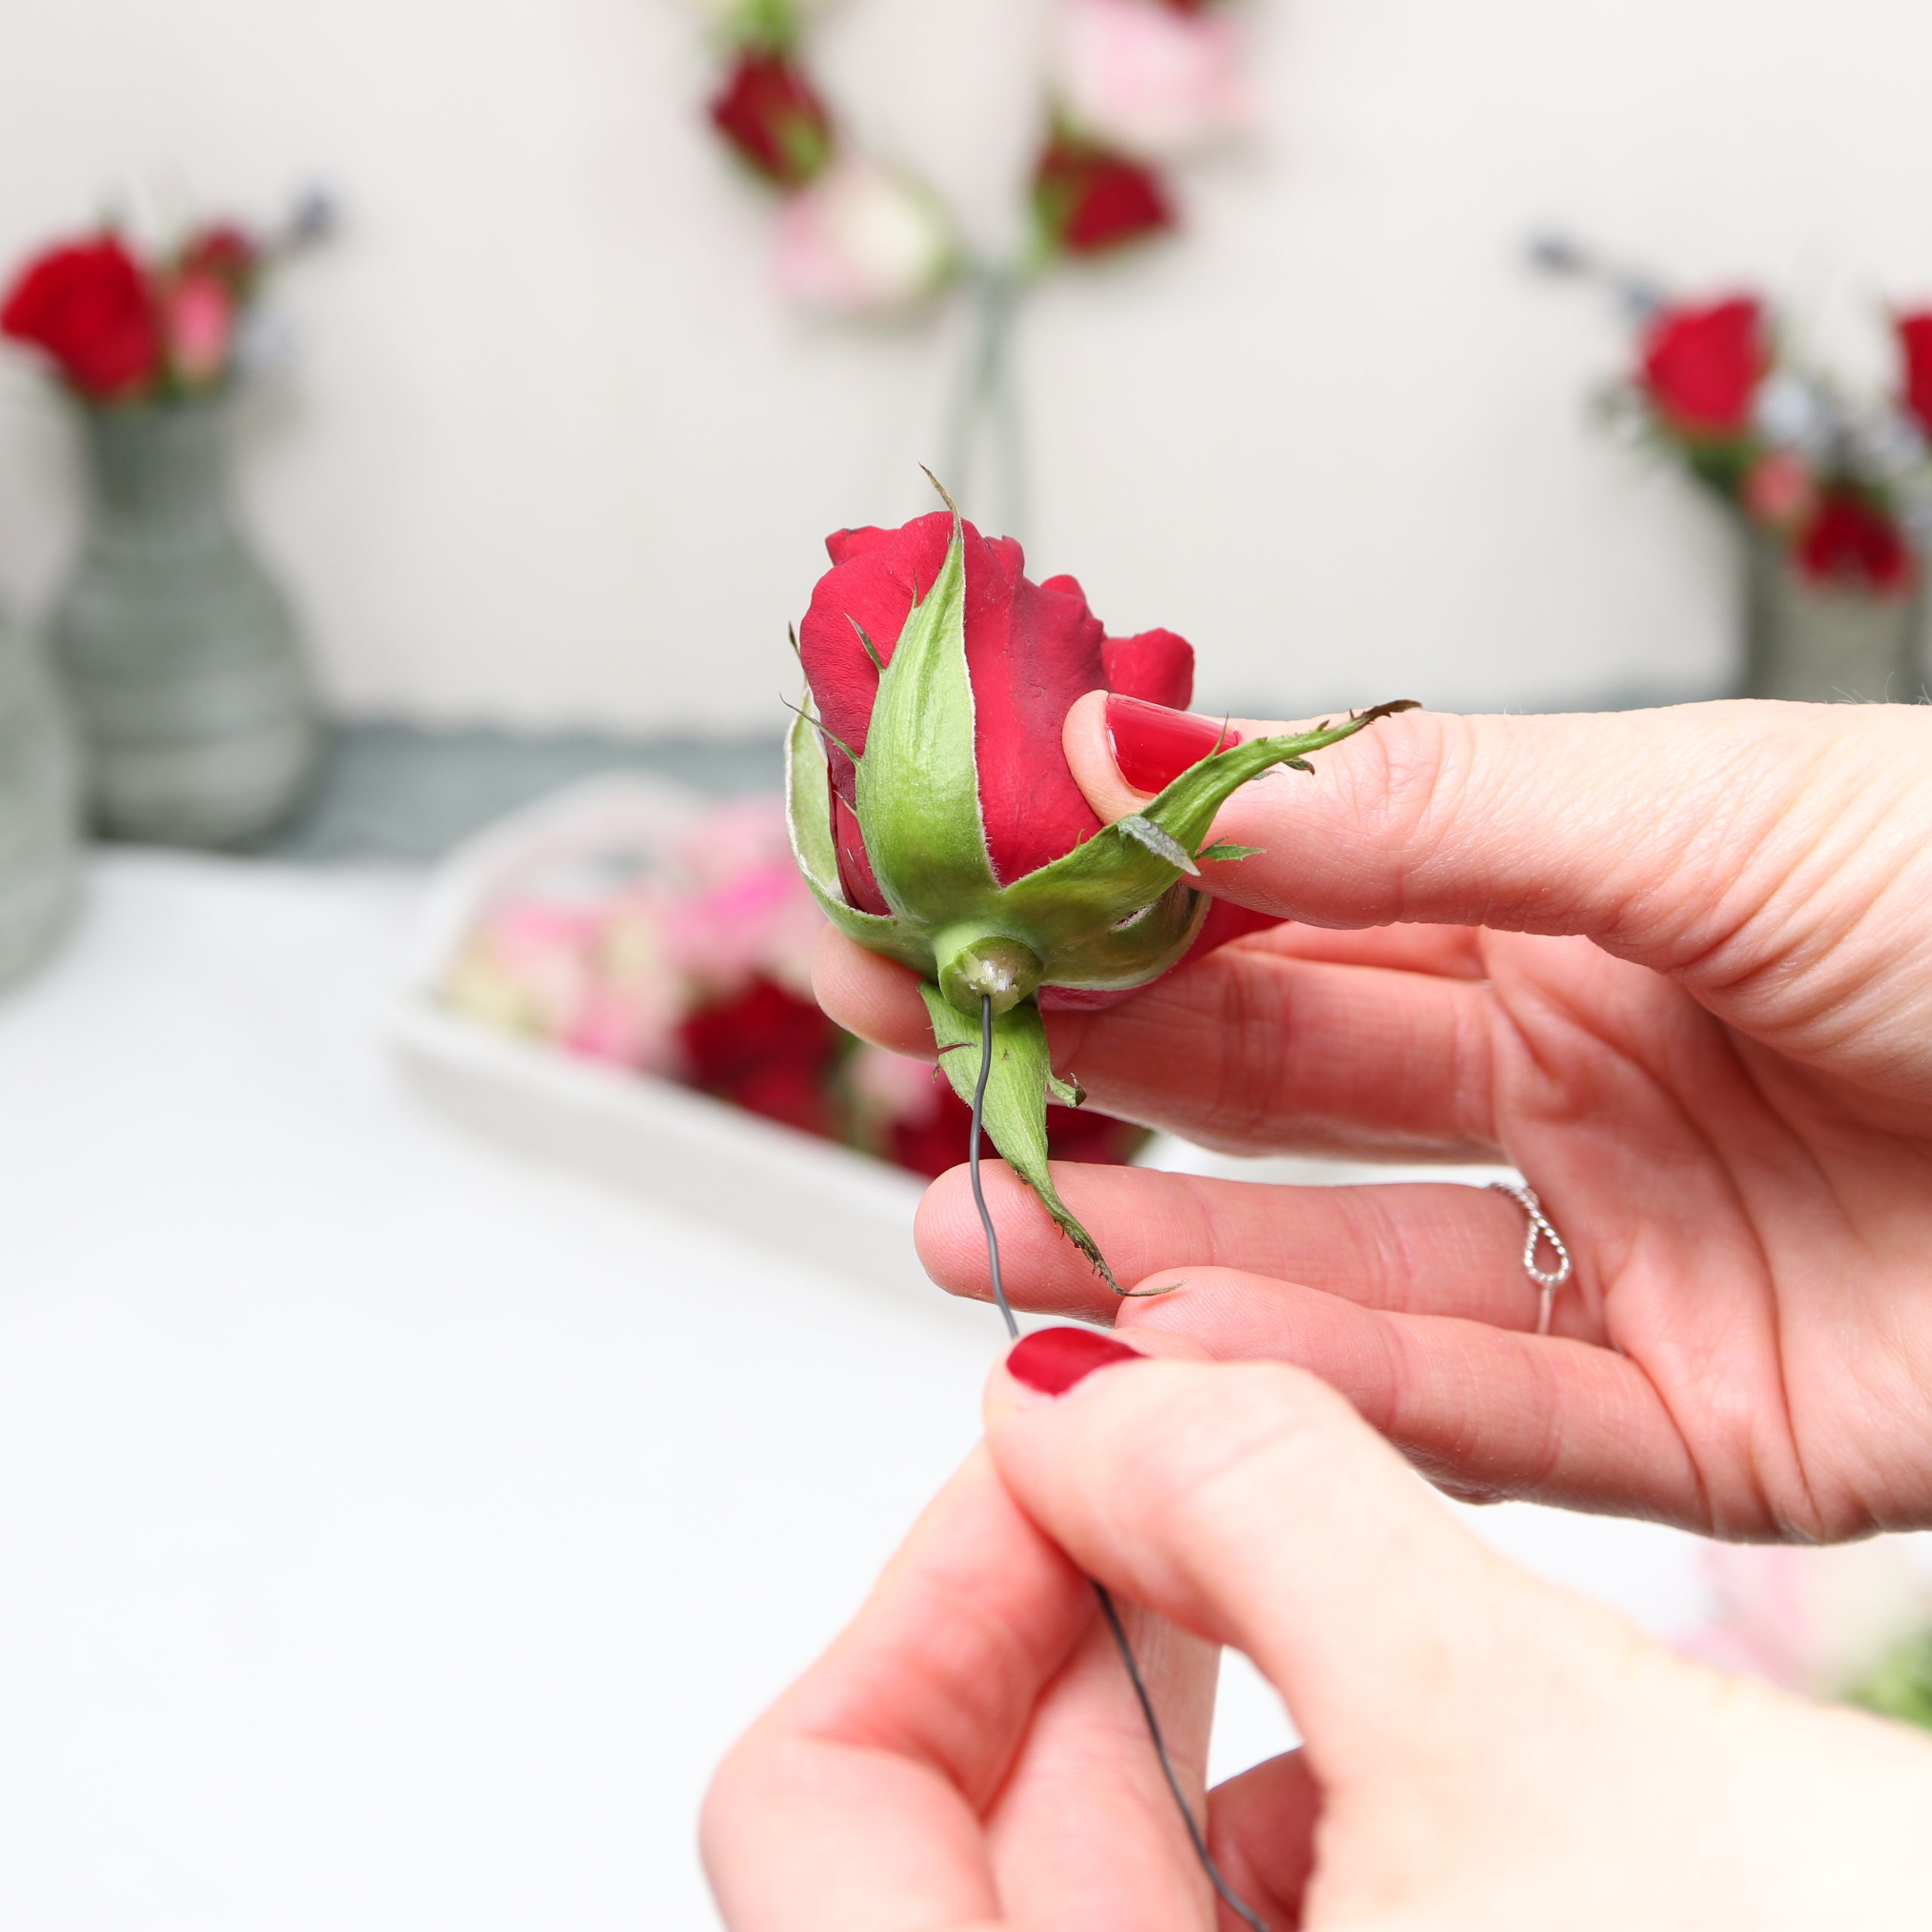
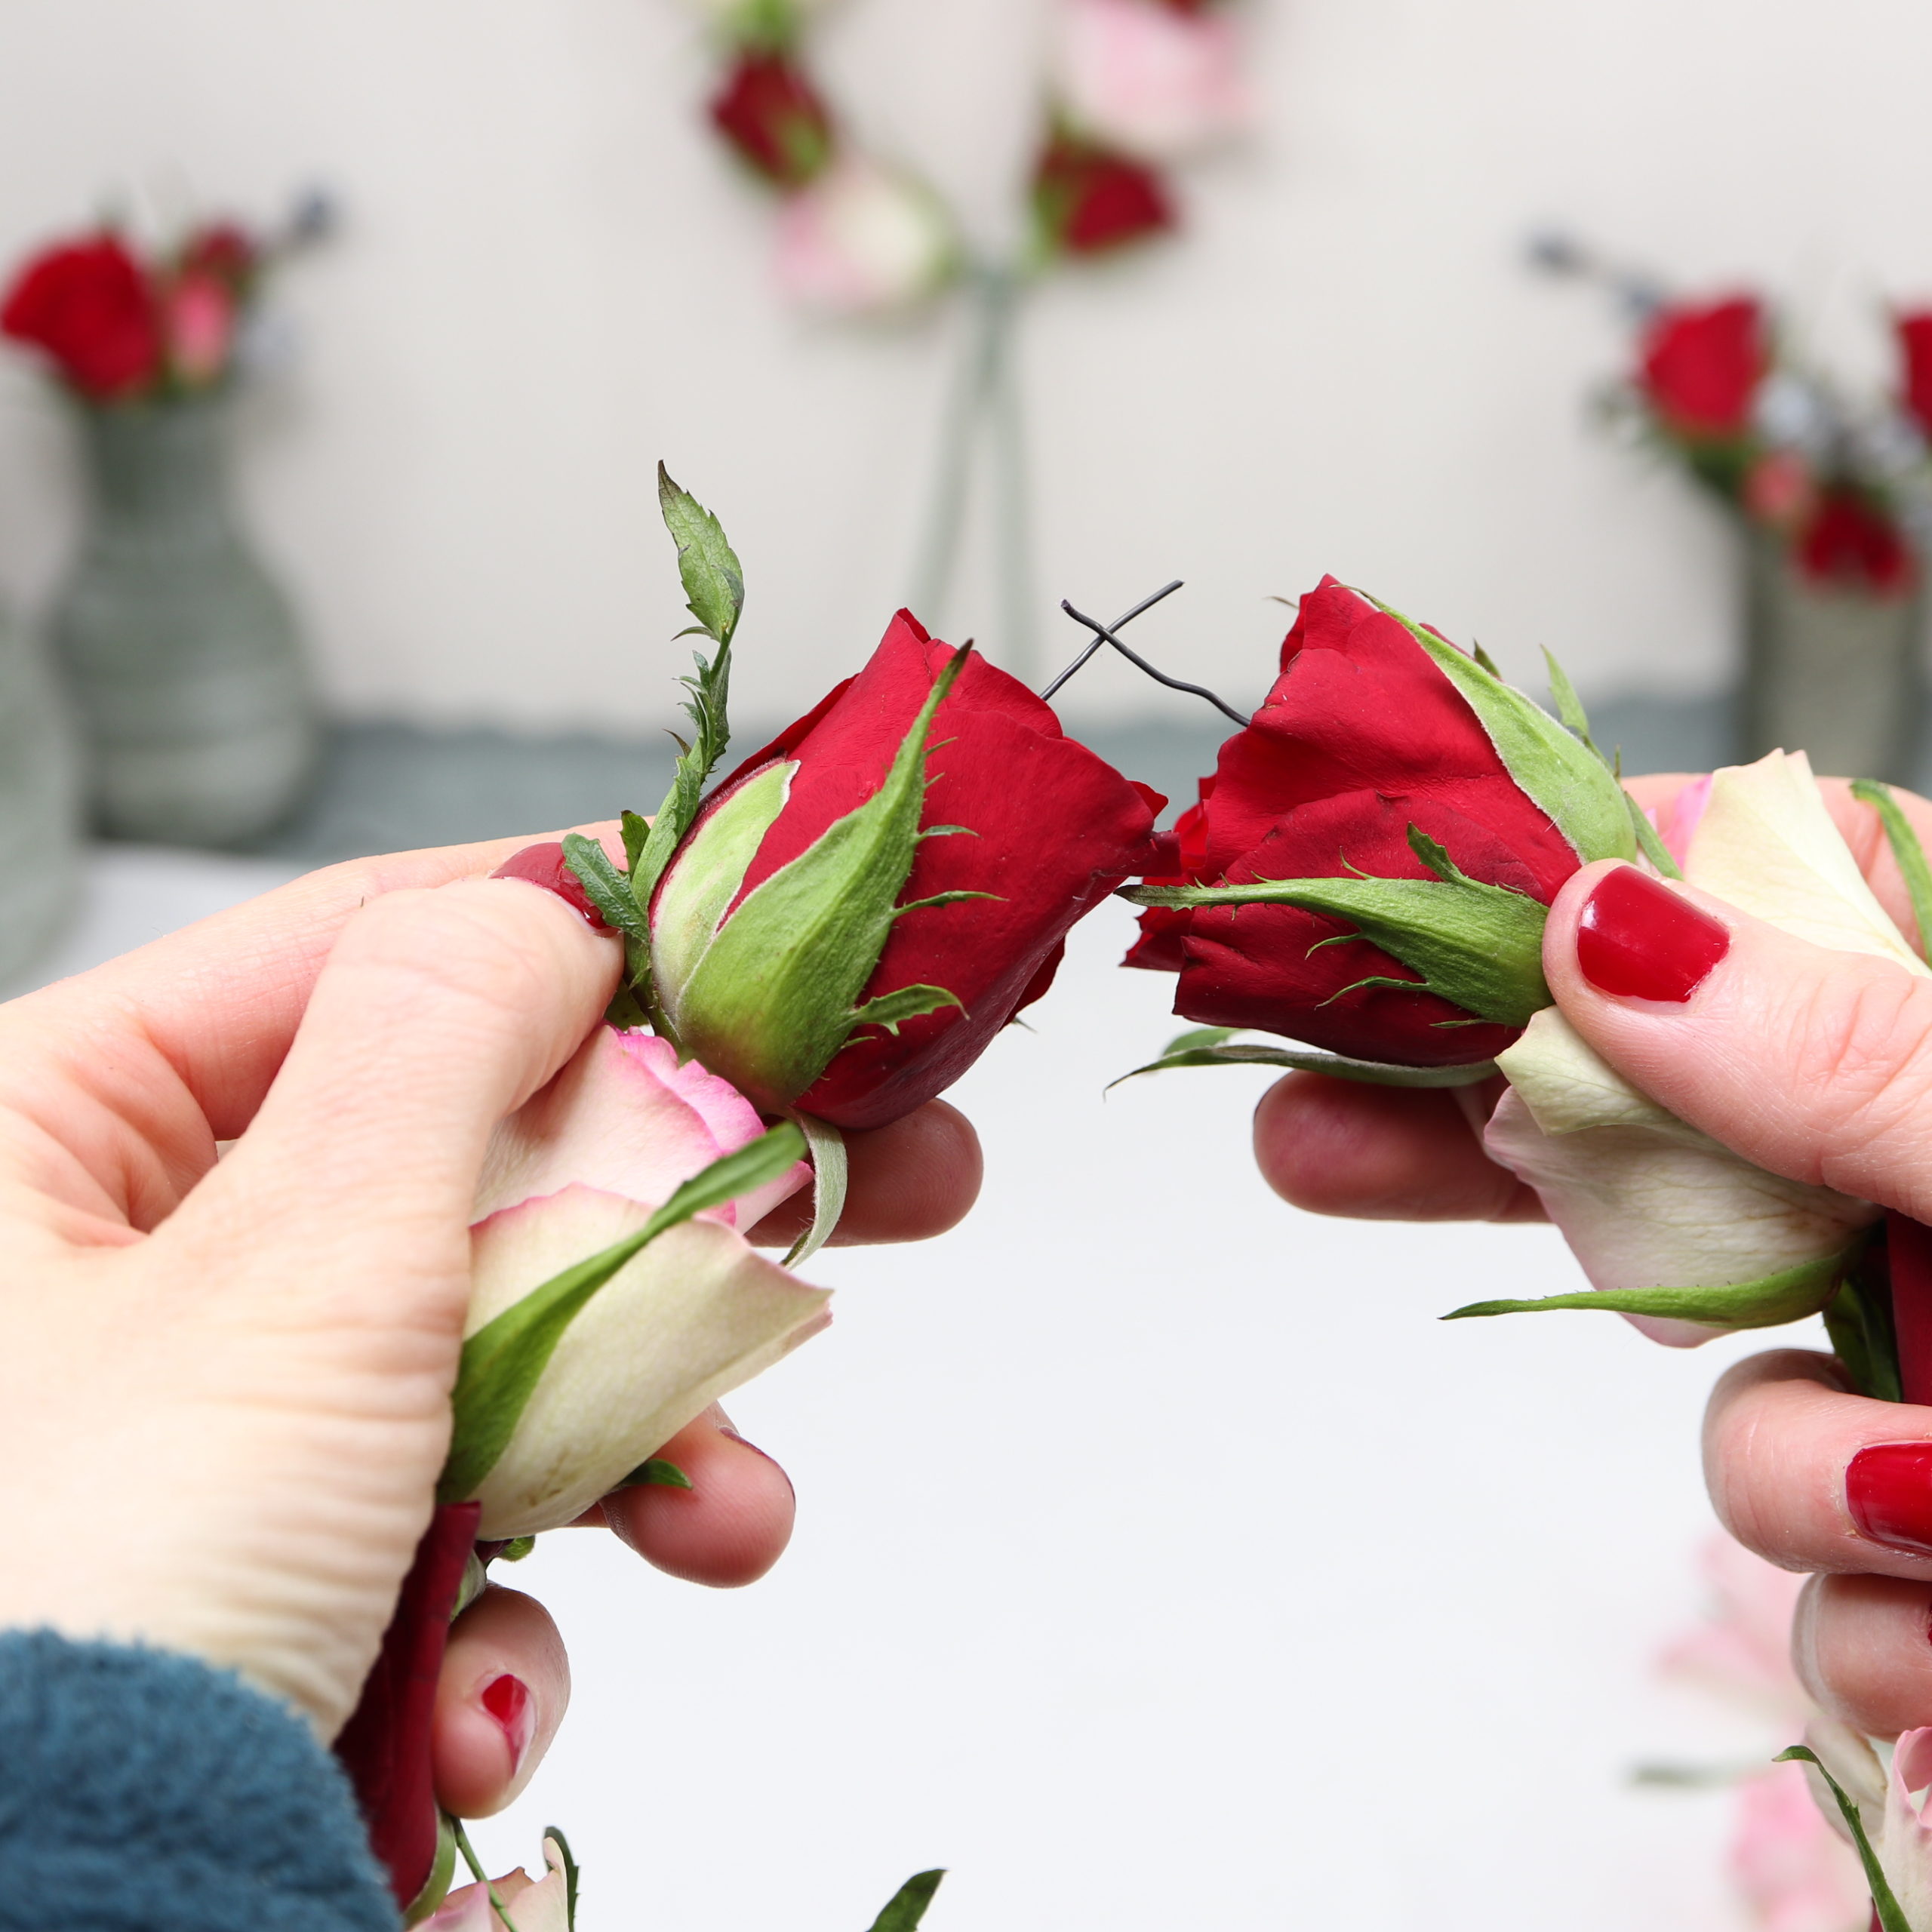
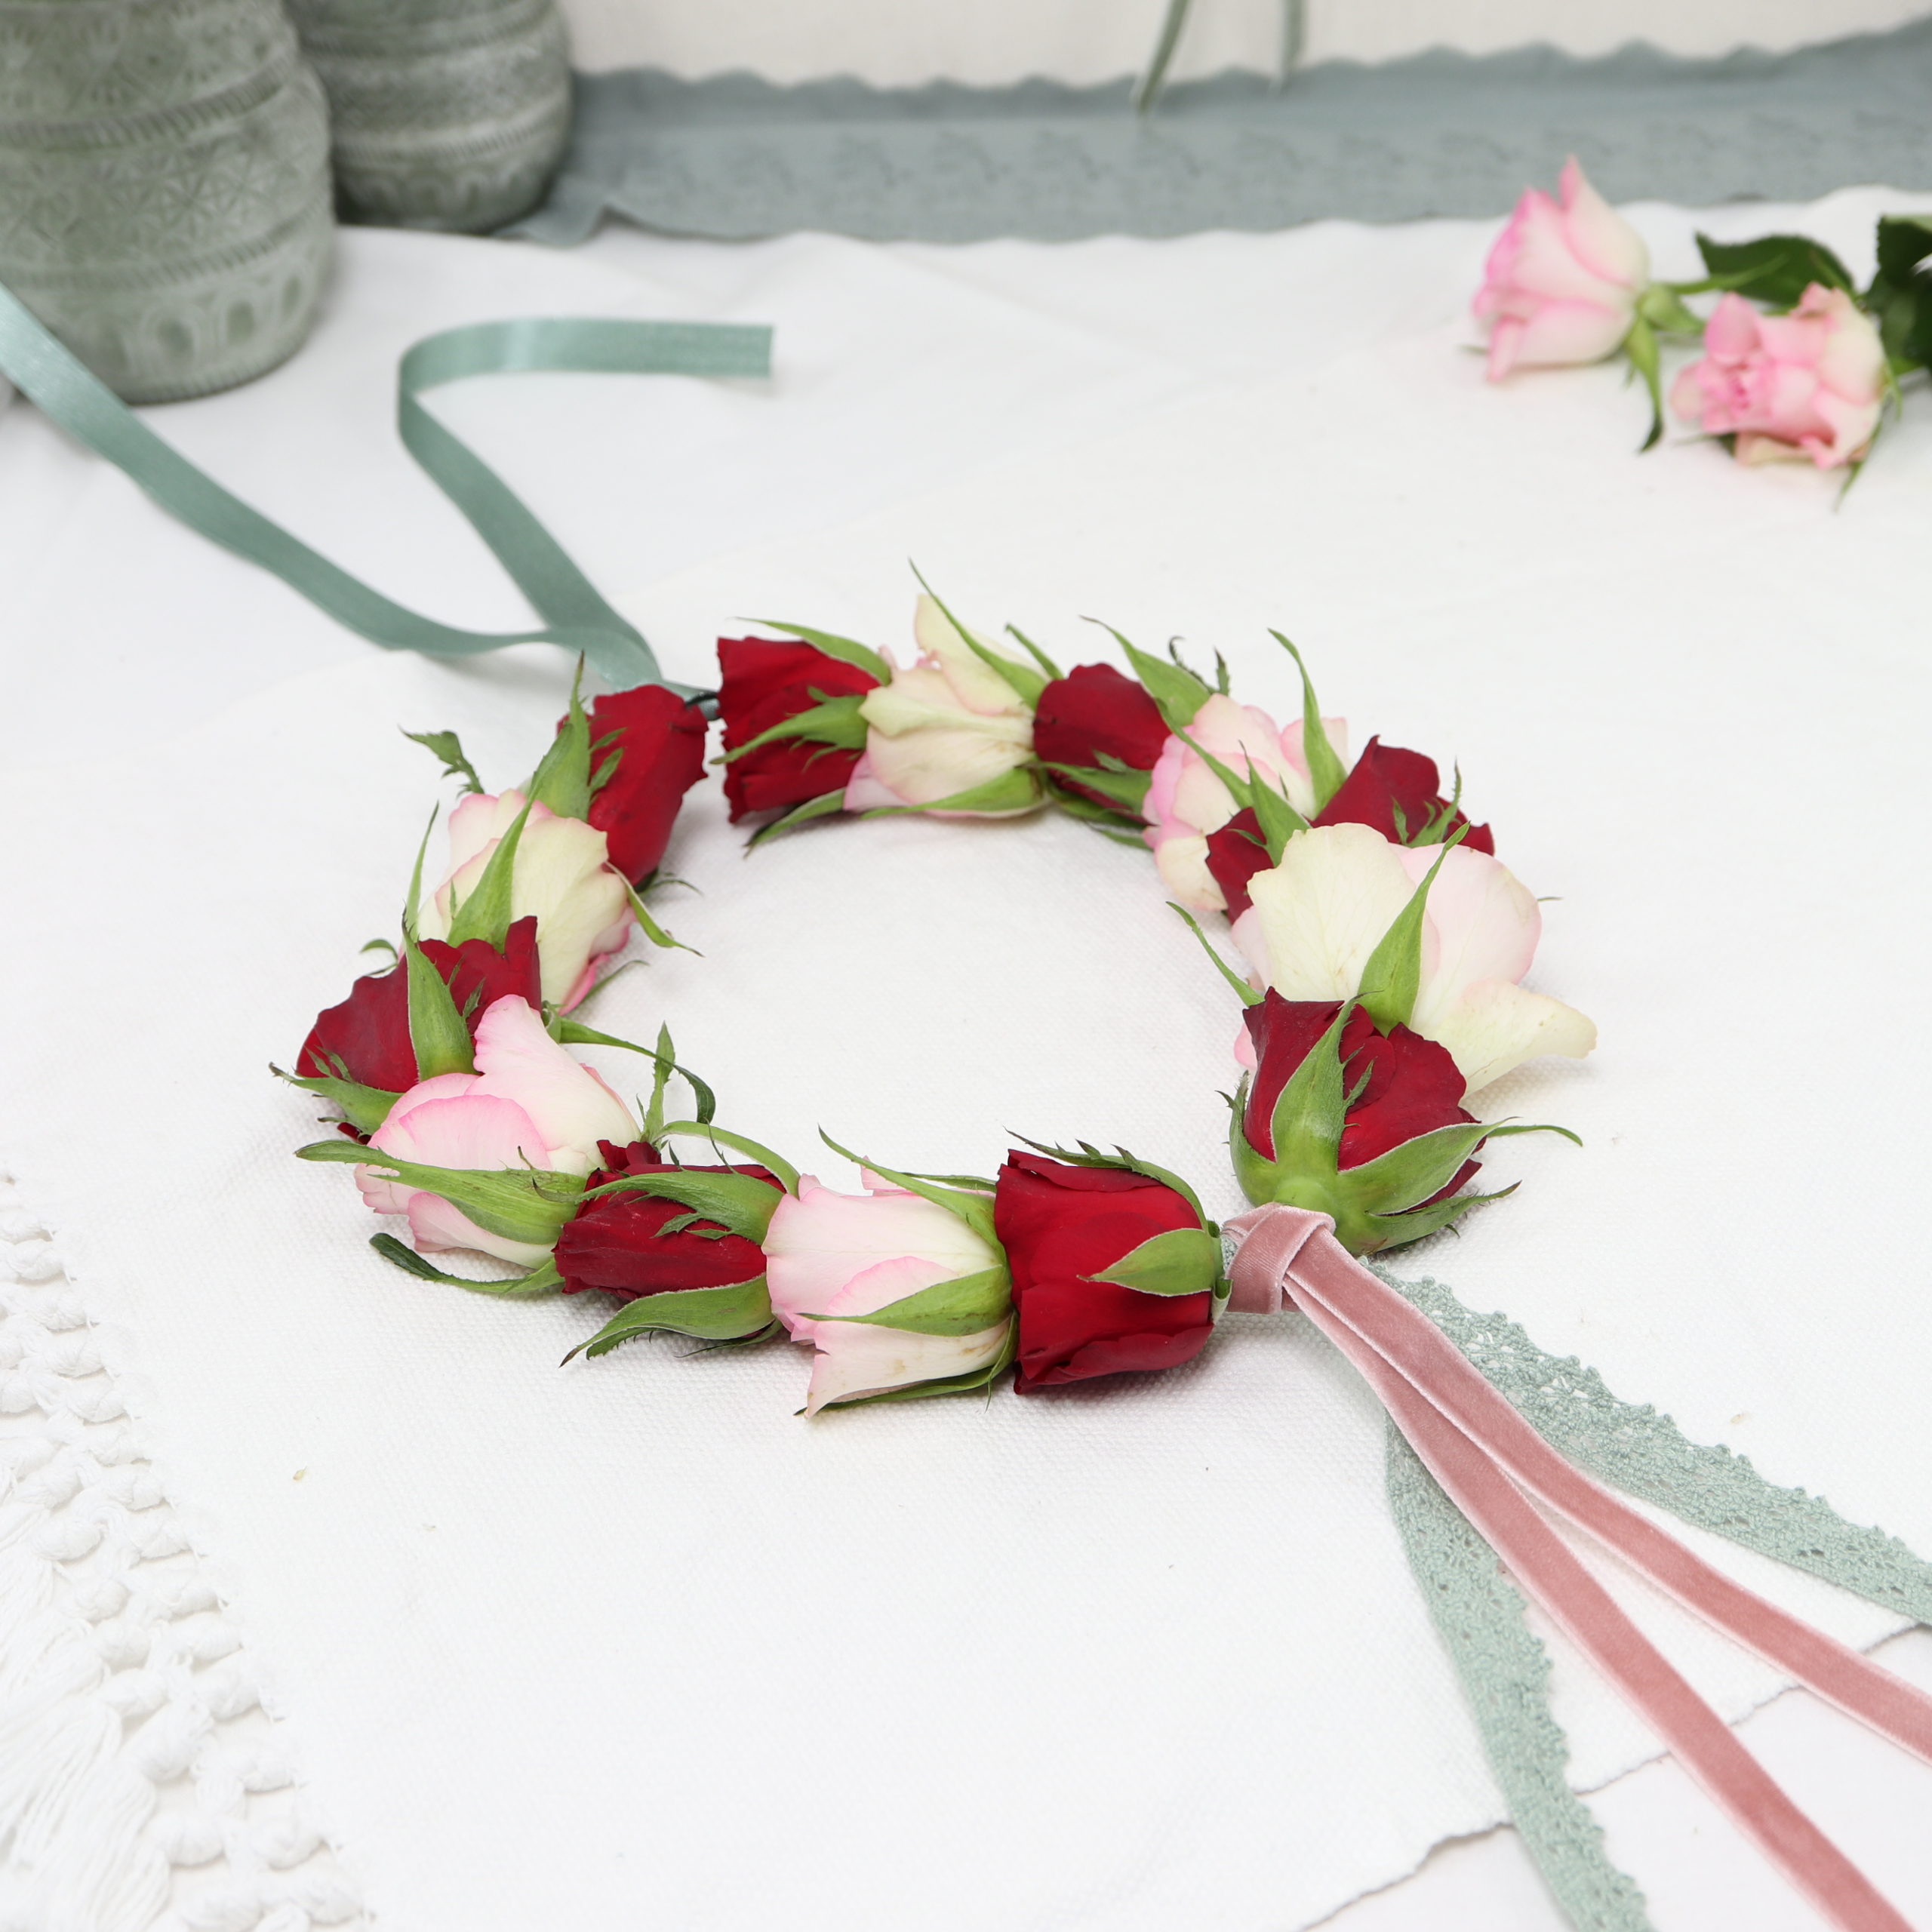
The next step is to thread the rose blossoms onto the wire. I design my ring so that the roses meet in the wire’s center with the the stem end. Therefore, I pin the roses onto the wire from two sides. I start with one side and put the floral wire through the stem first and then pull it through the center of the rose.
I switch between red and white roses.
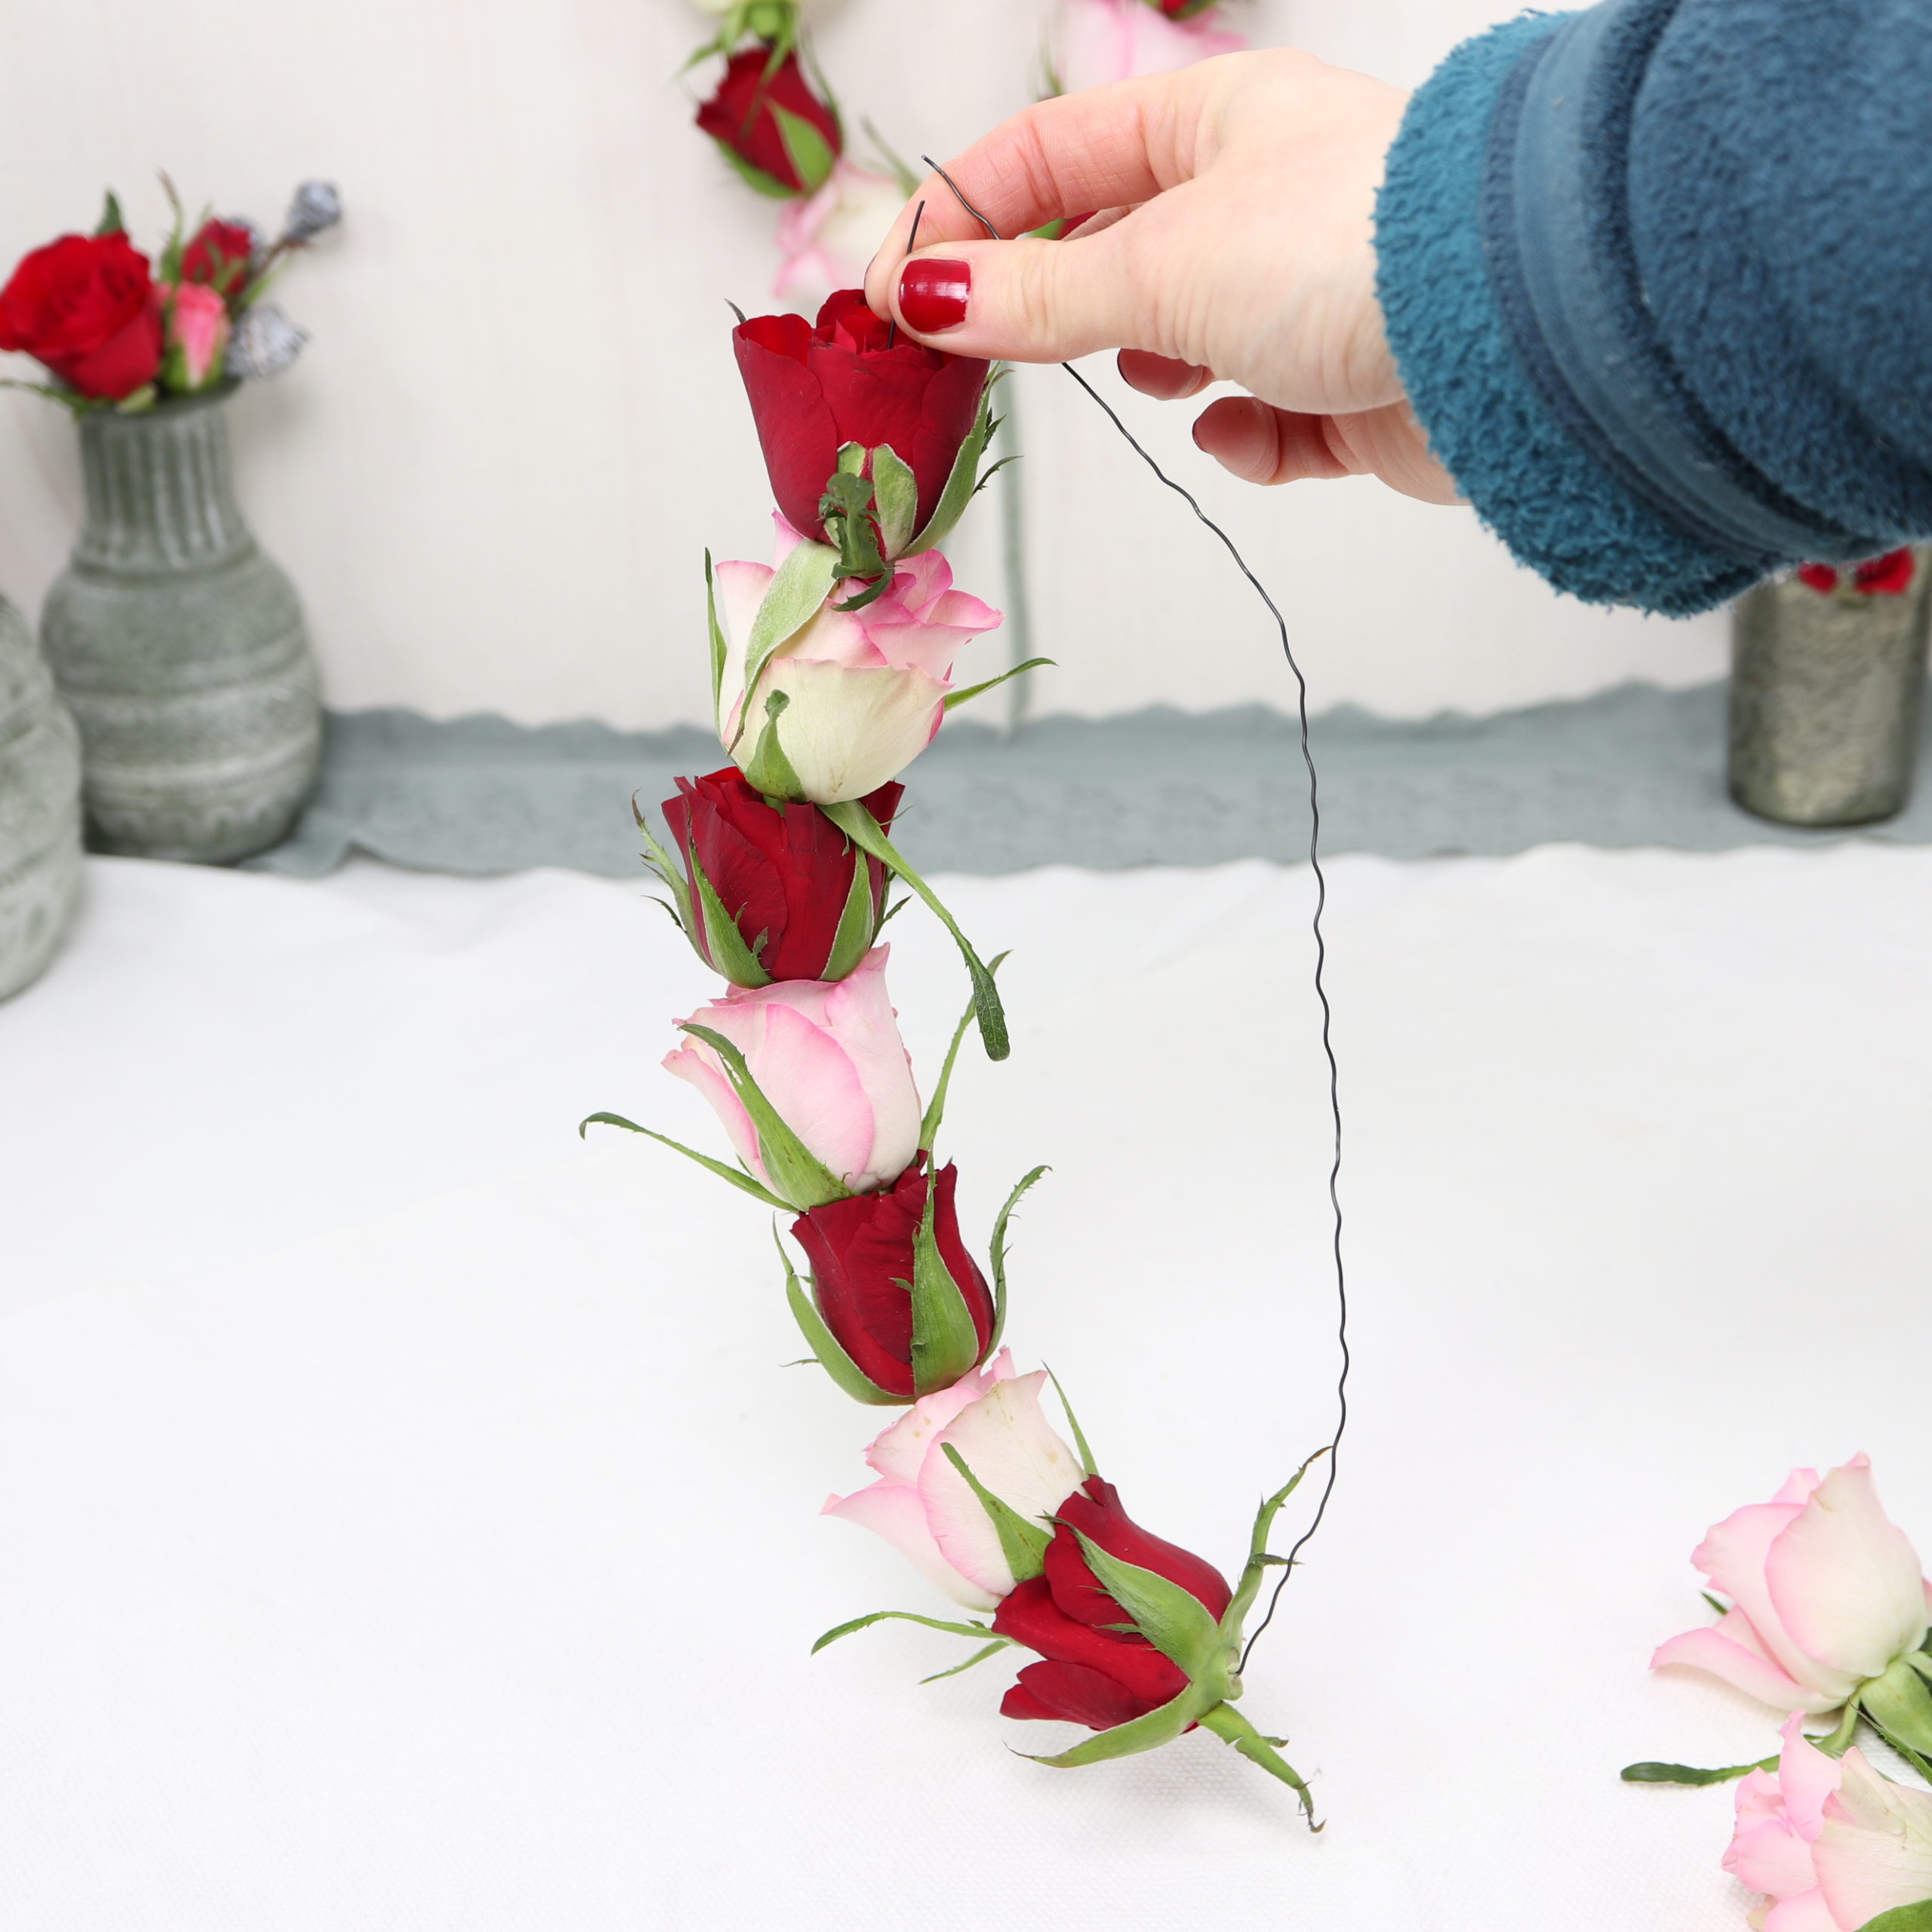
When the first half of the wire is full of roses, I do the same with the other half.

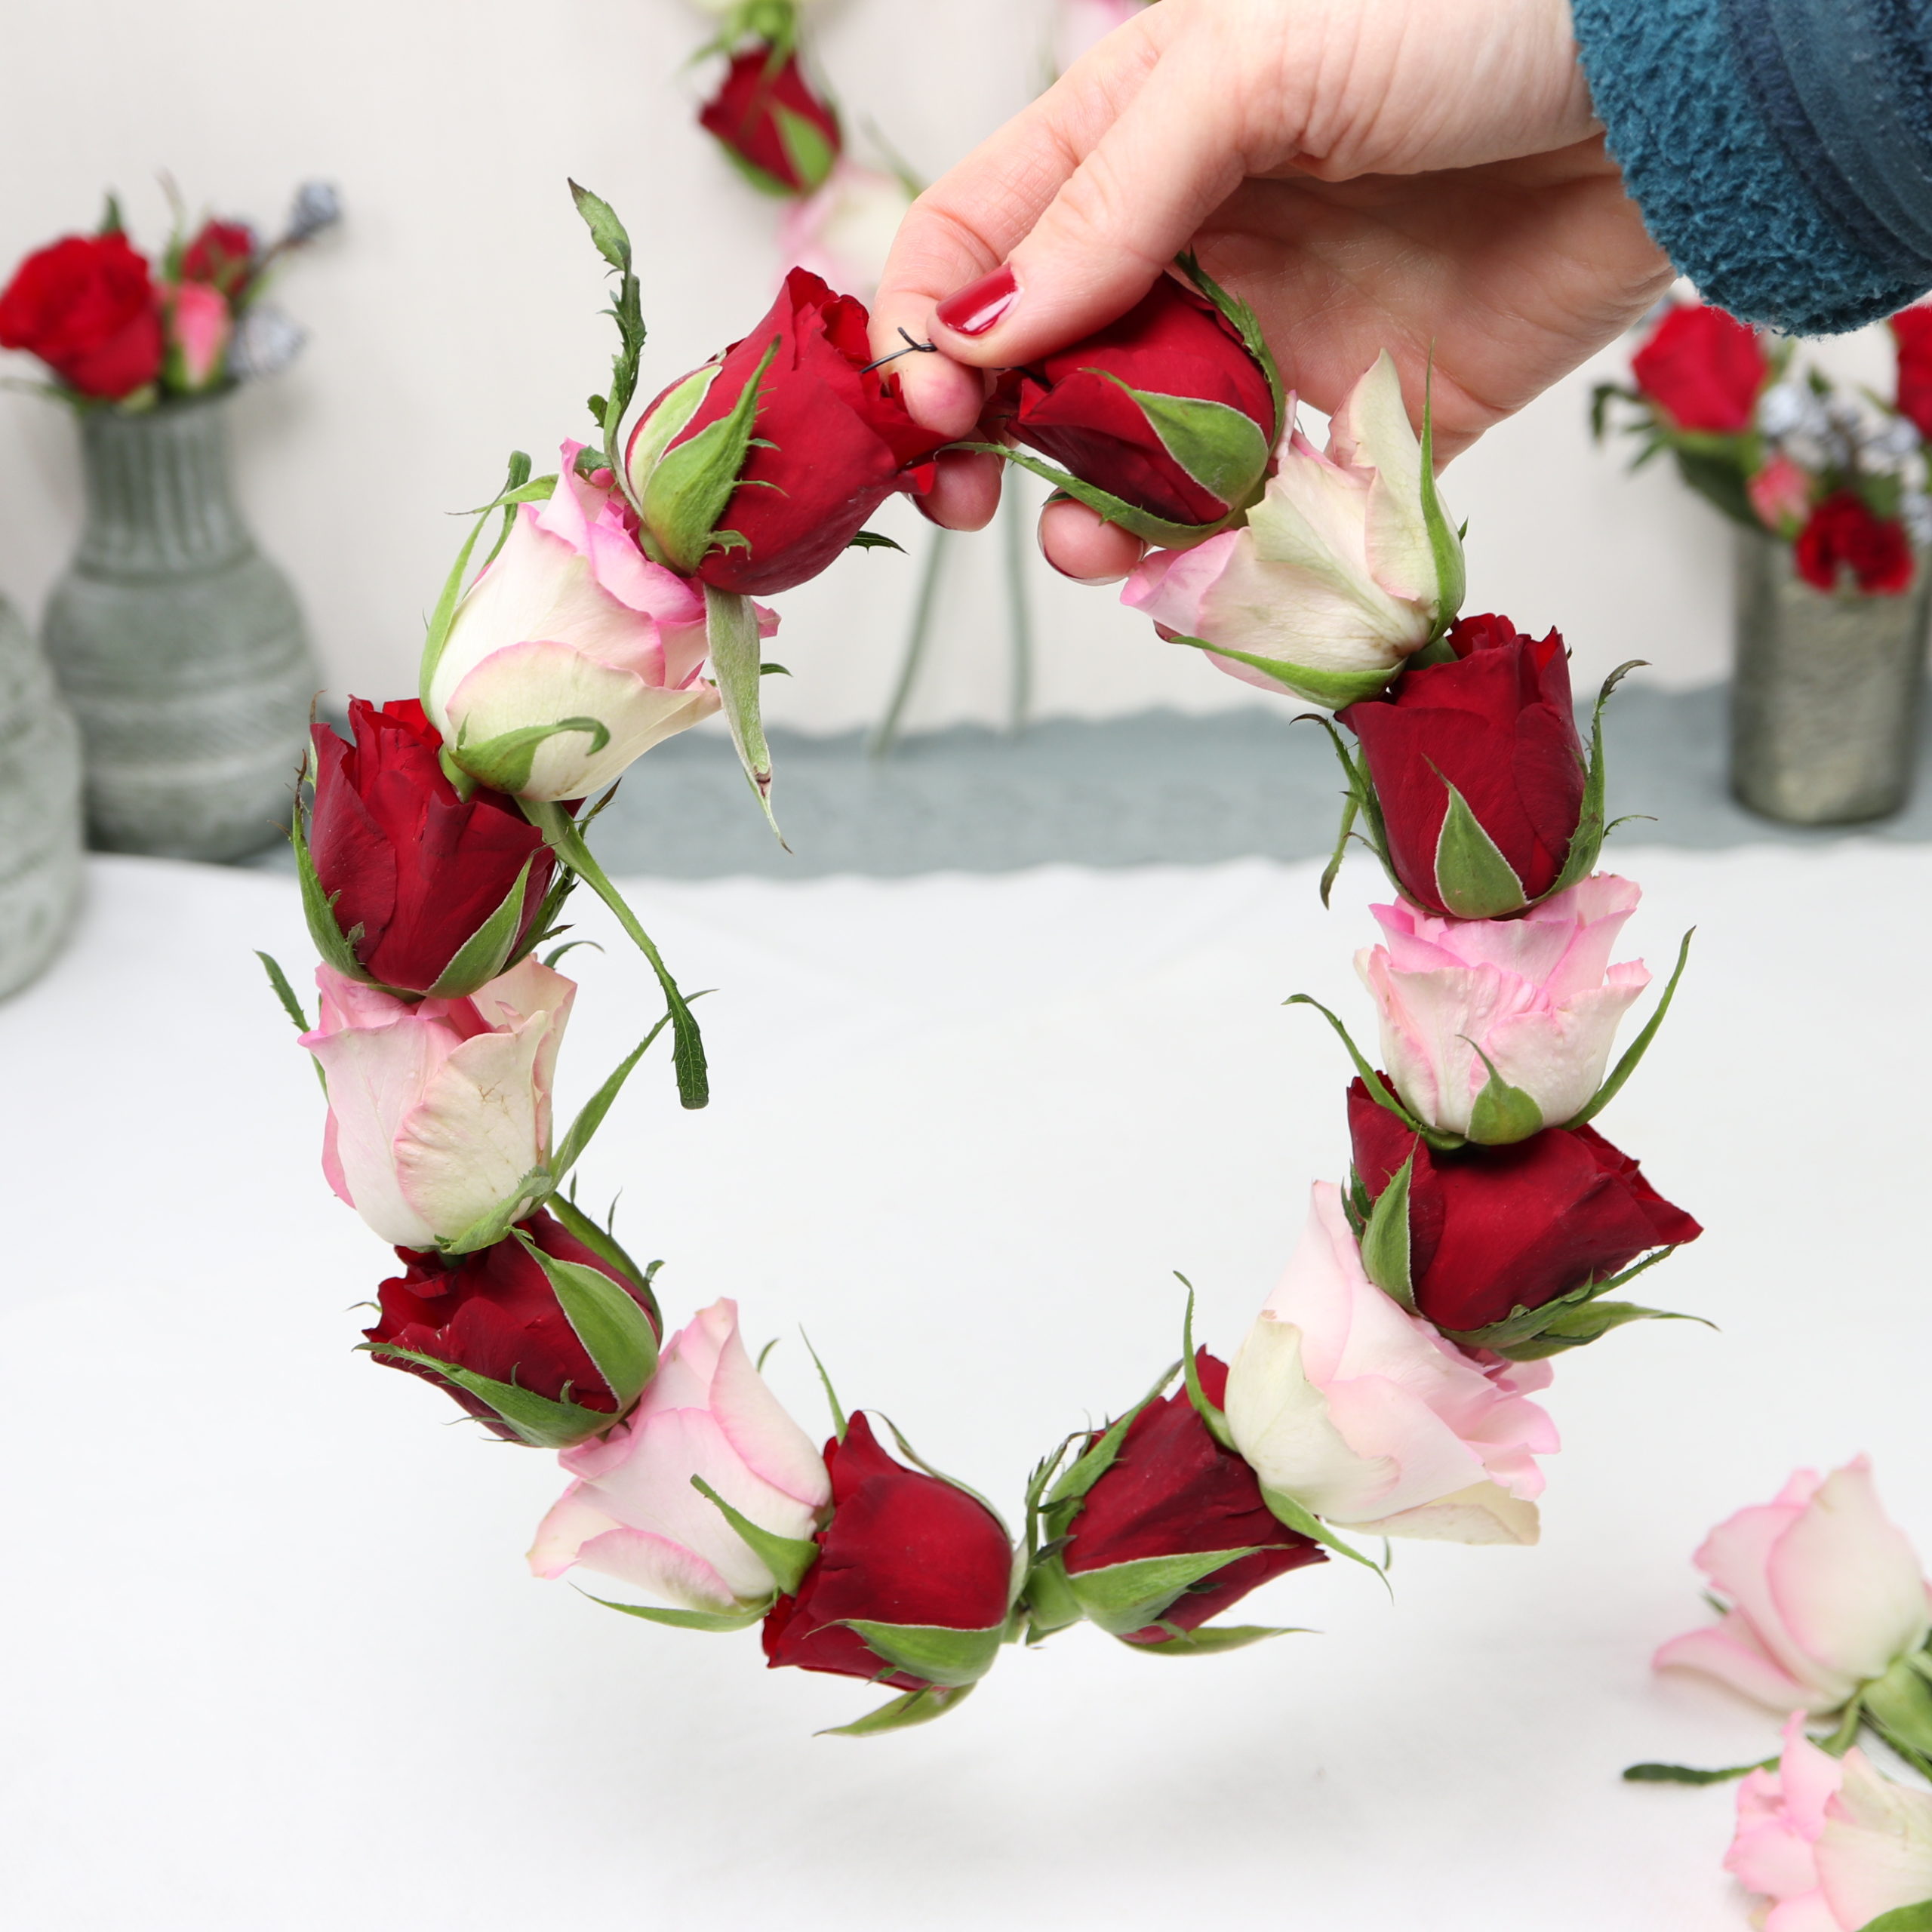
Step 4: Make a ring
Now the wire can be “closed”. To do this, I put the wire ends on top of each other and twist them.

This doesn’t have to look perfect, as it will be covered with the satin ribbon in the next step.
Step 5: Cut the ribbons
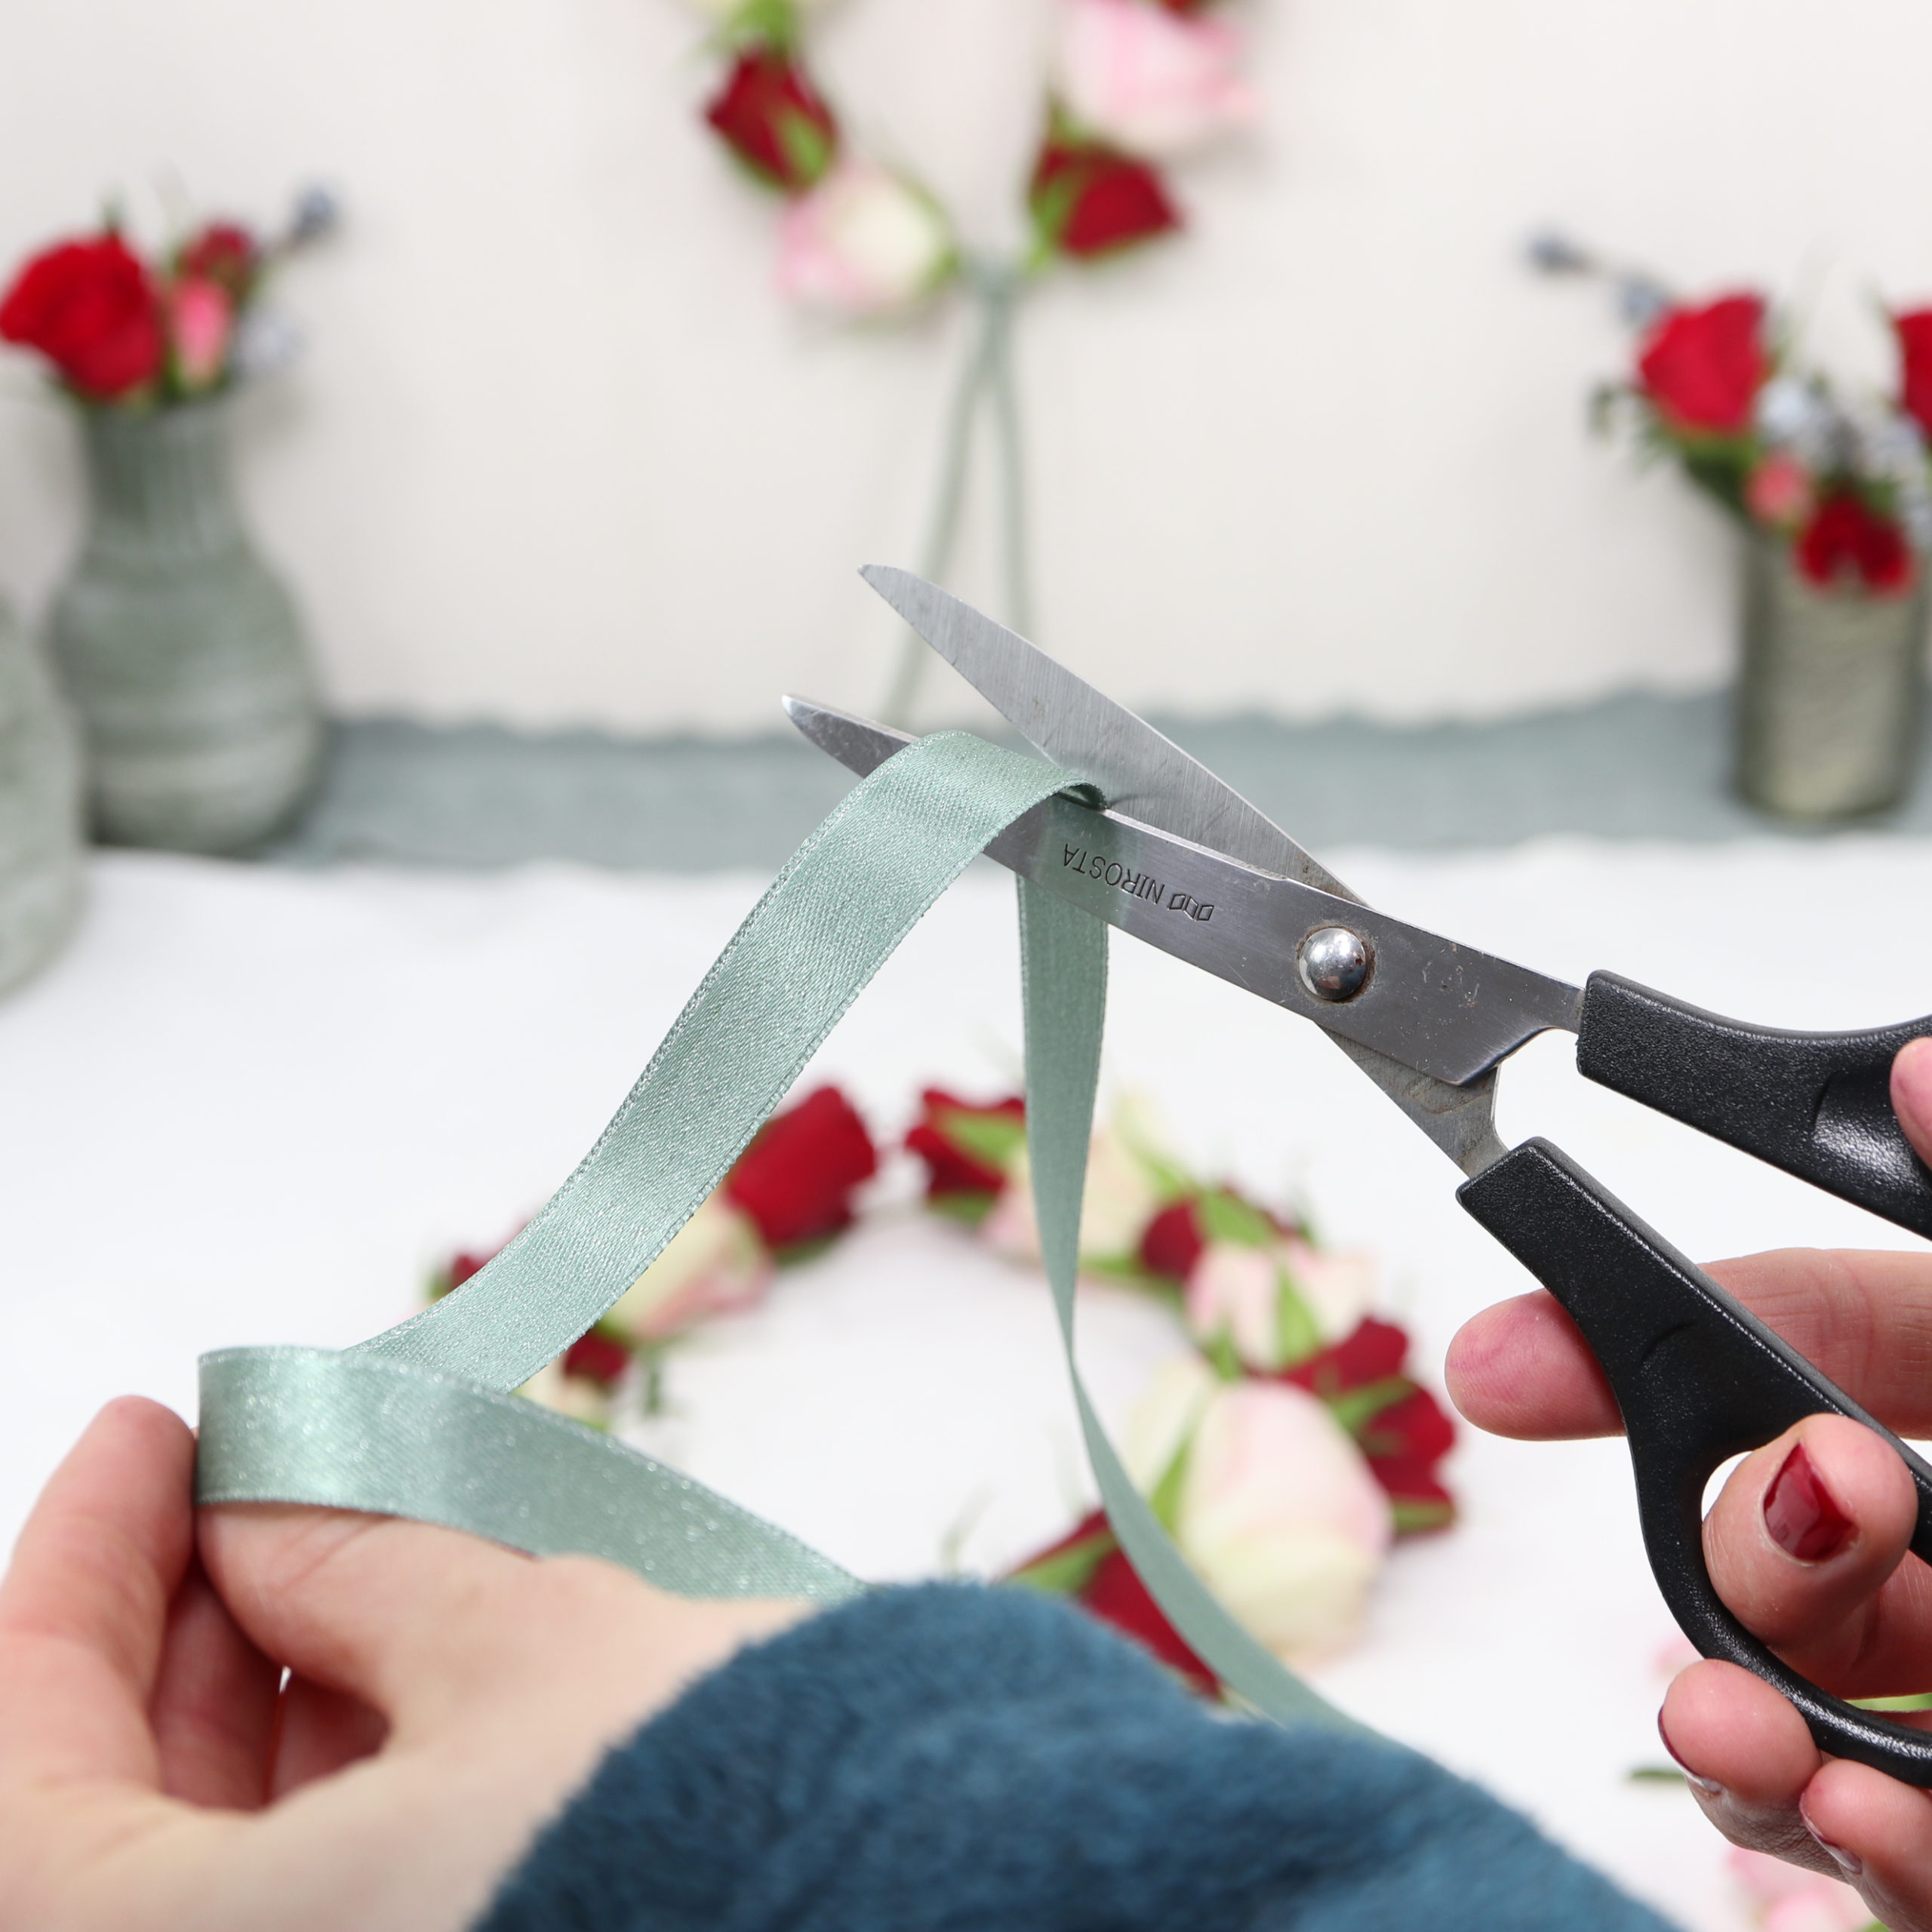
In the next step, I cut with scissors the three ribbons. The satin ribbon is used for hanging the wreath, the crochet lace ribbon and the satin ribbon for decorating.
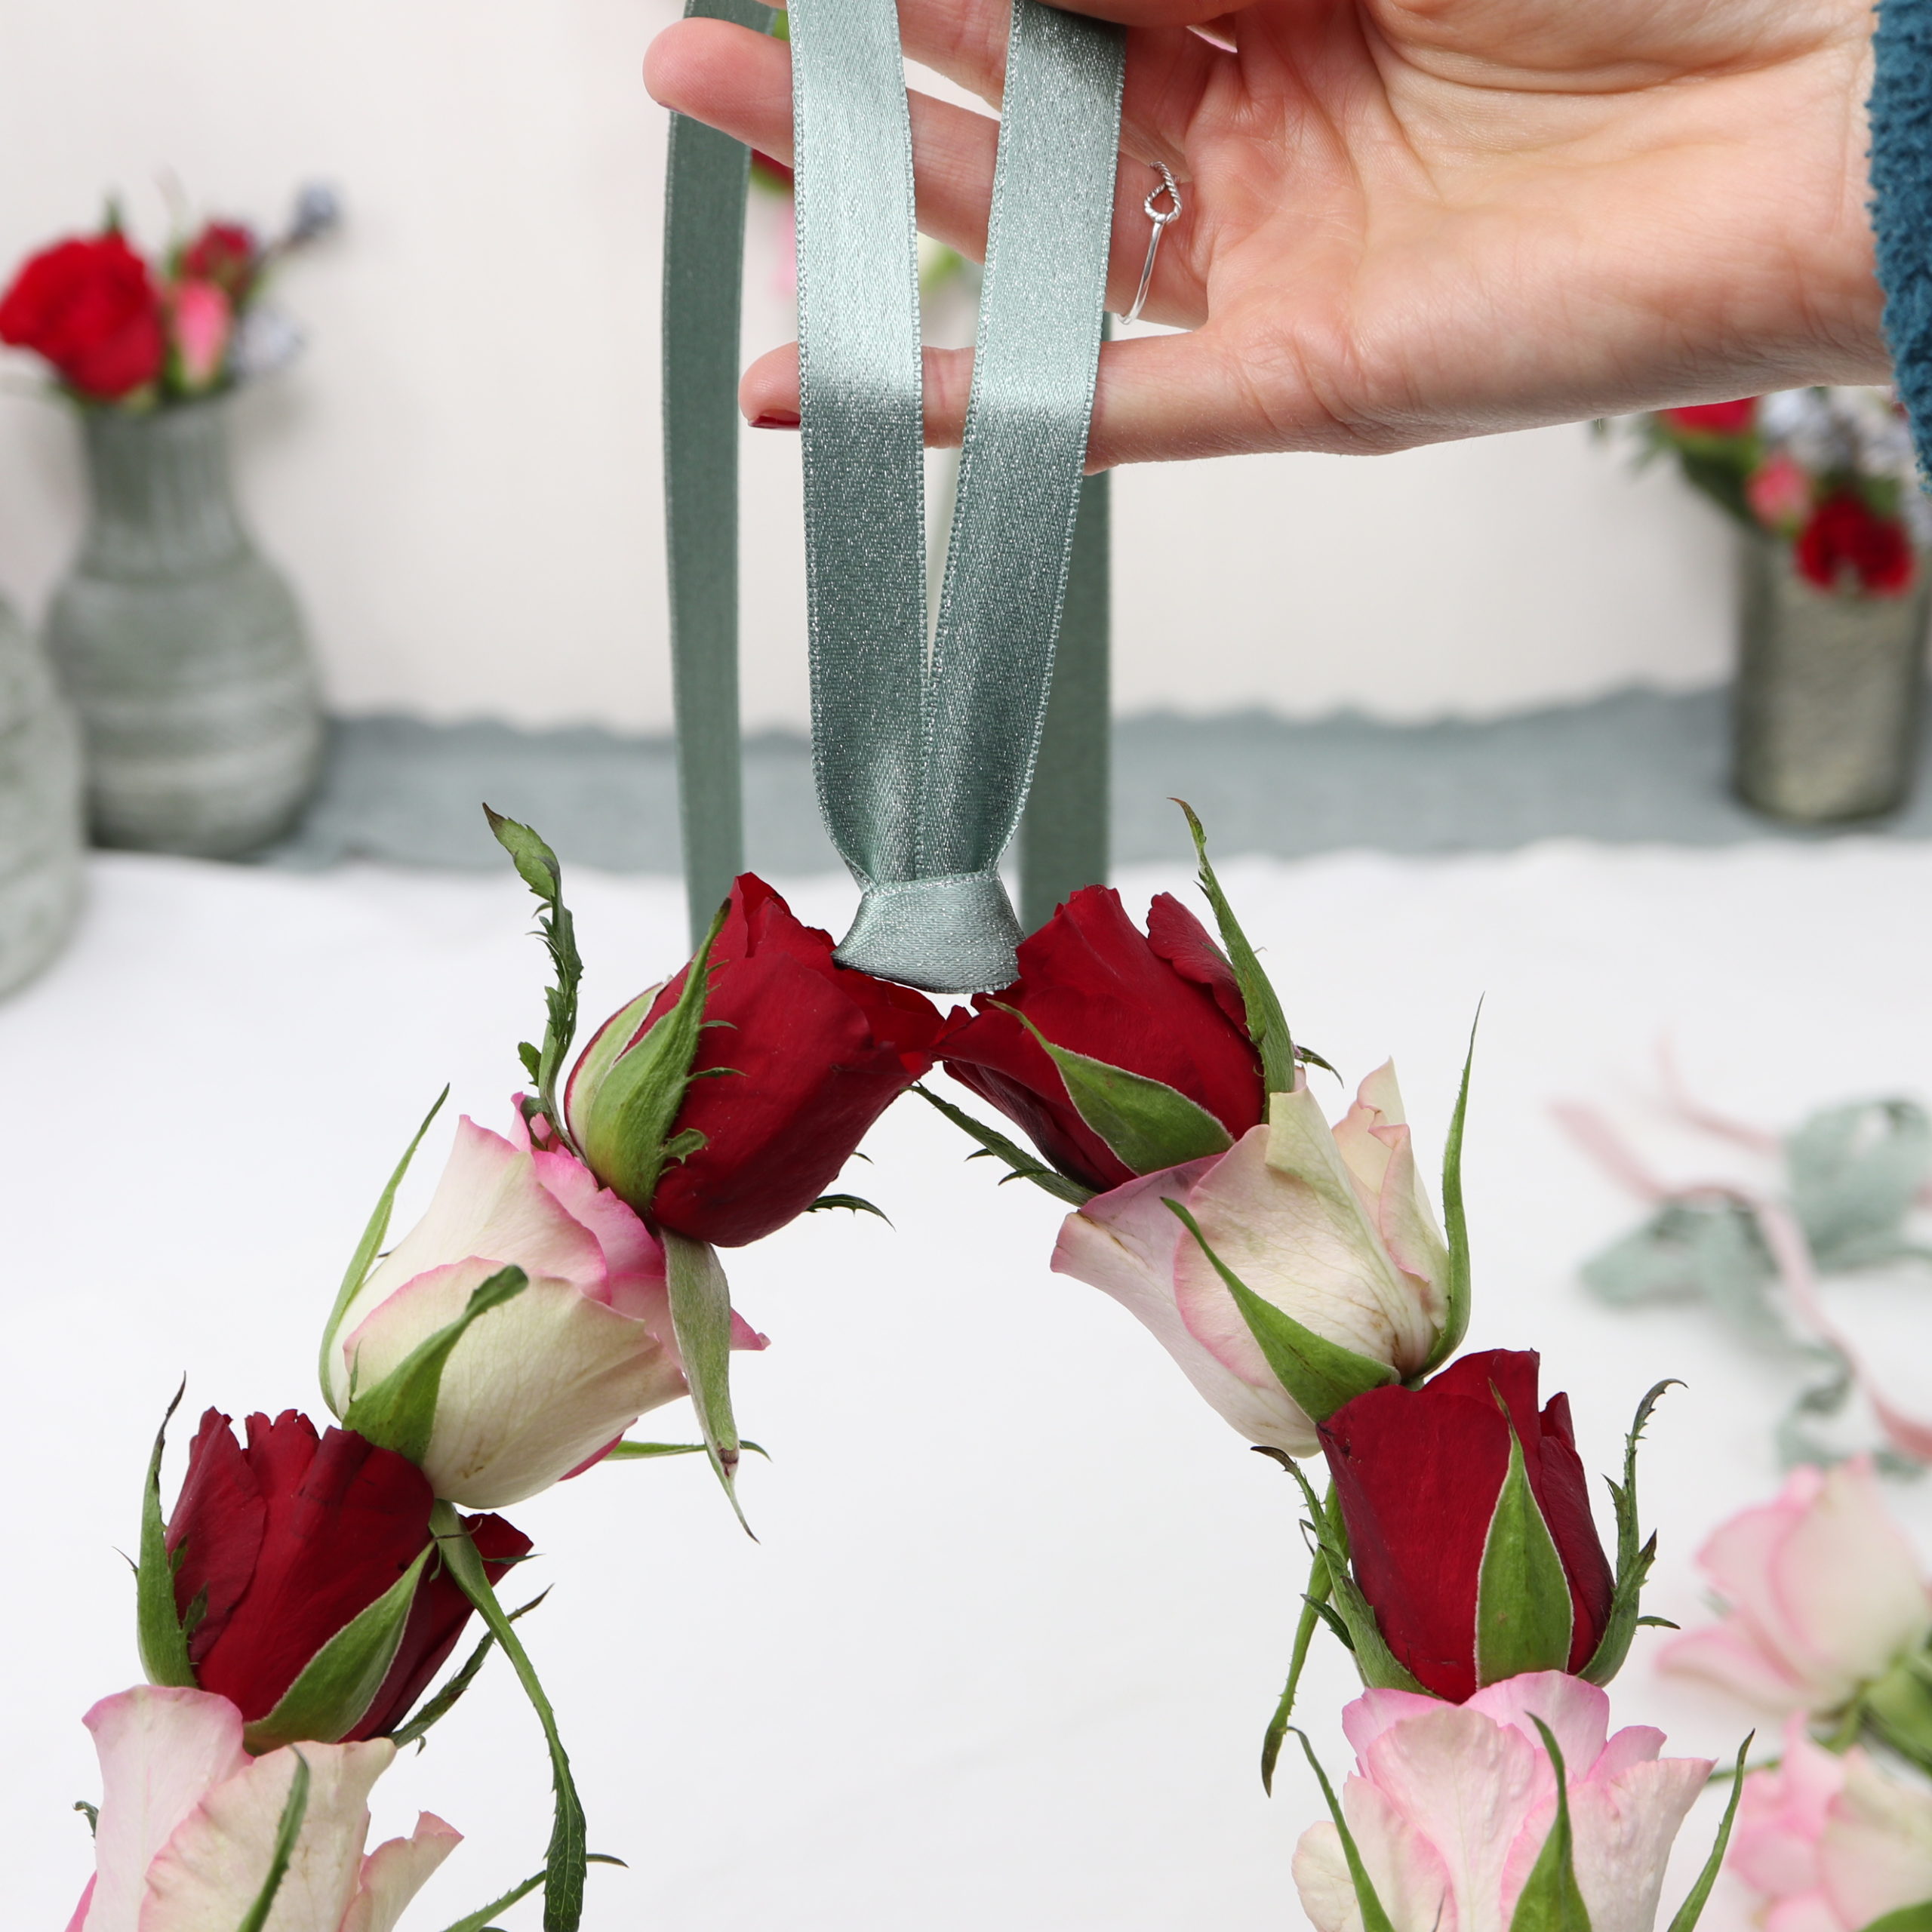
Step 6: Attach satin ribbon
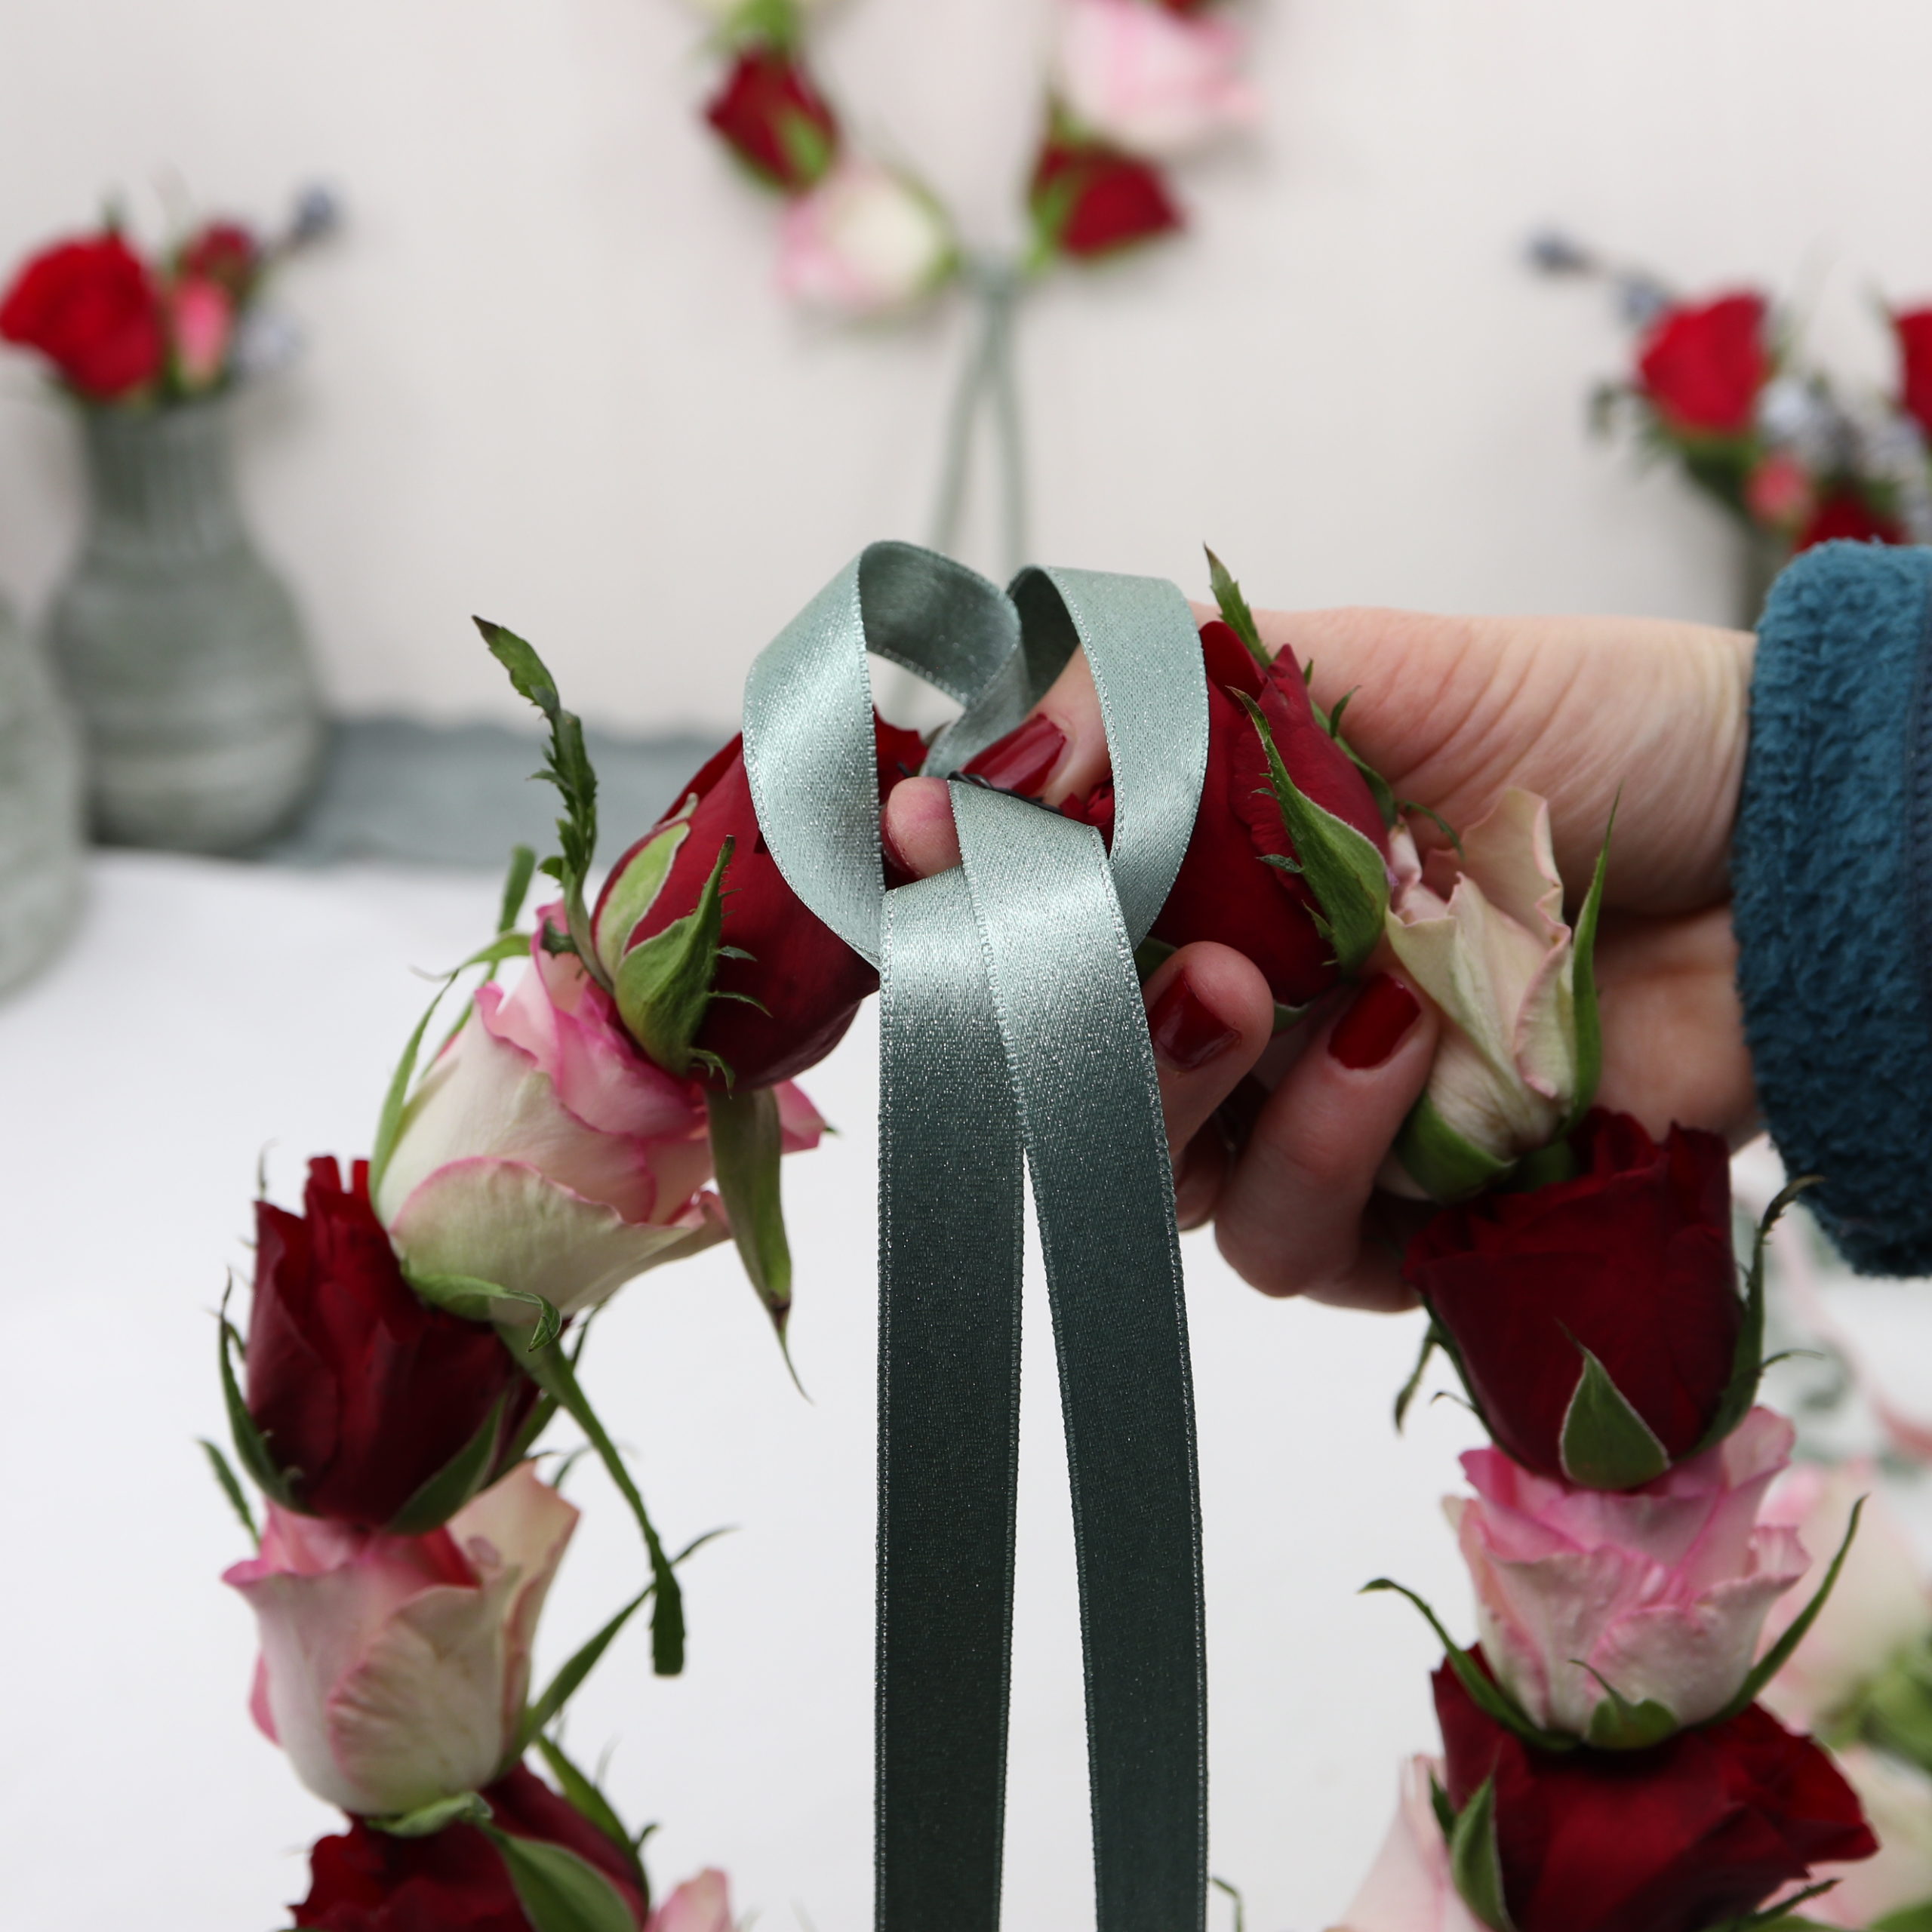
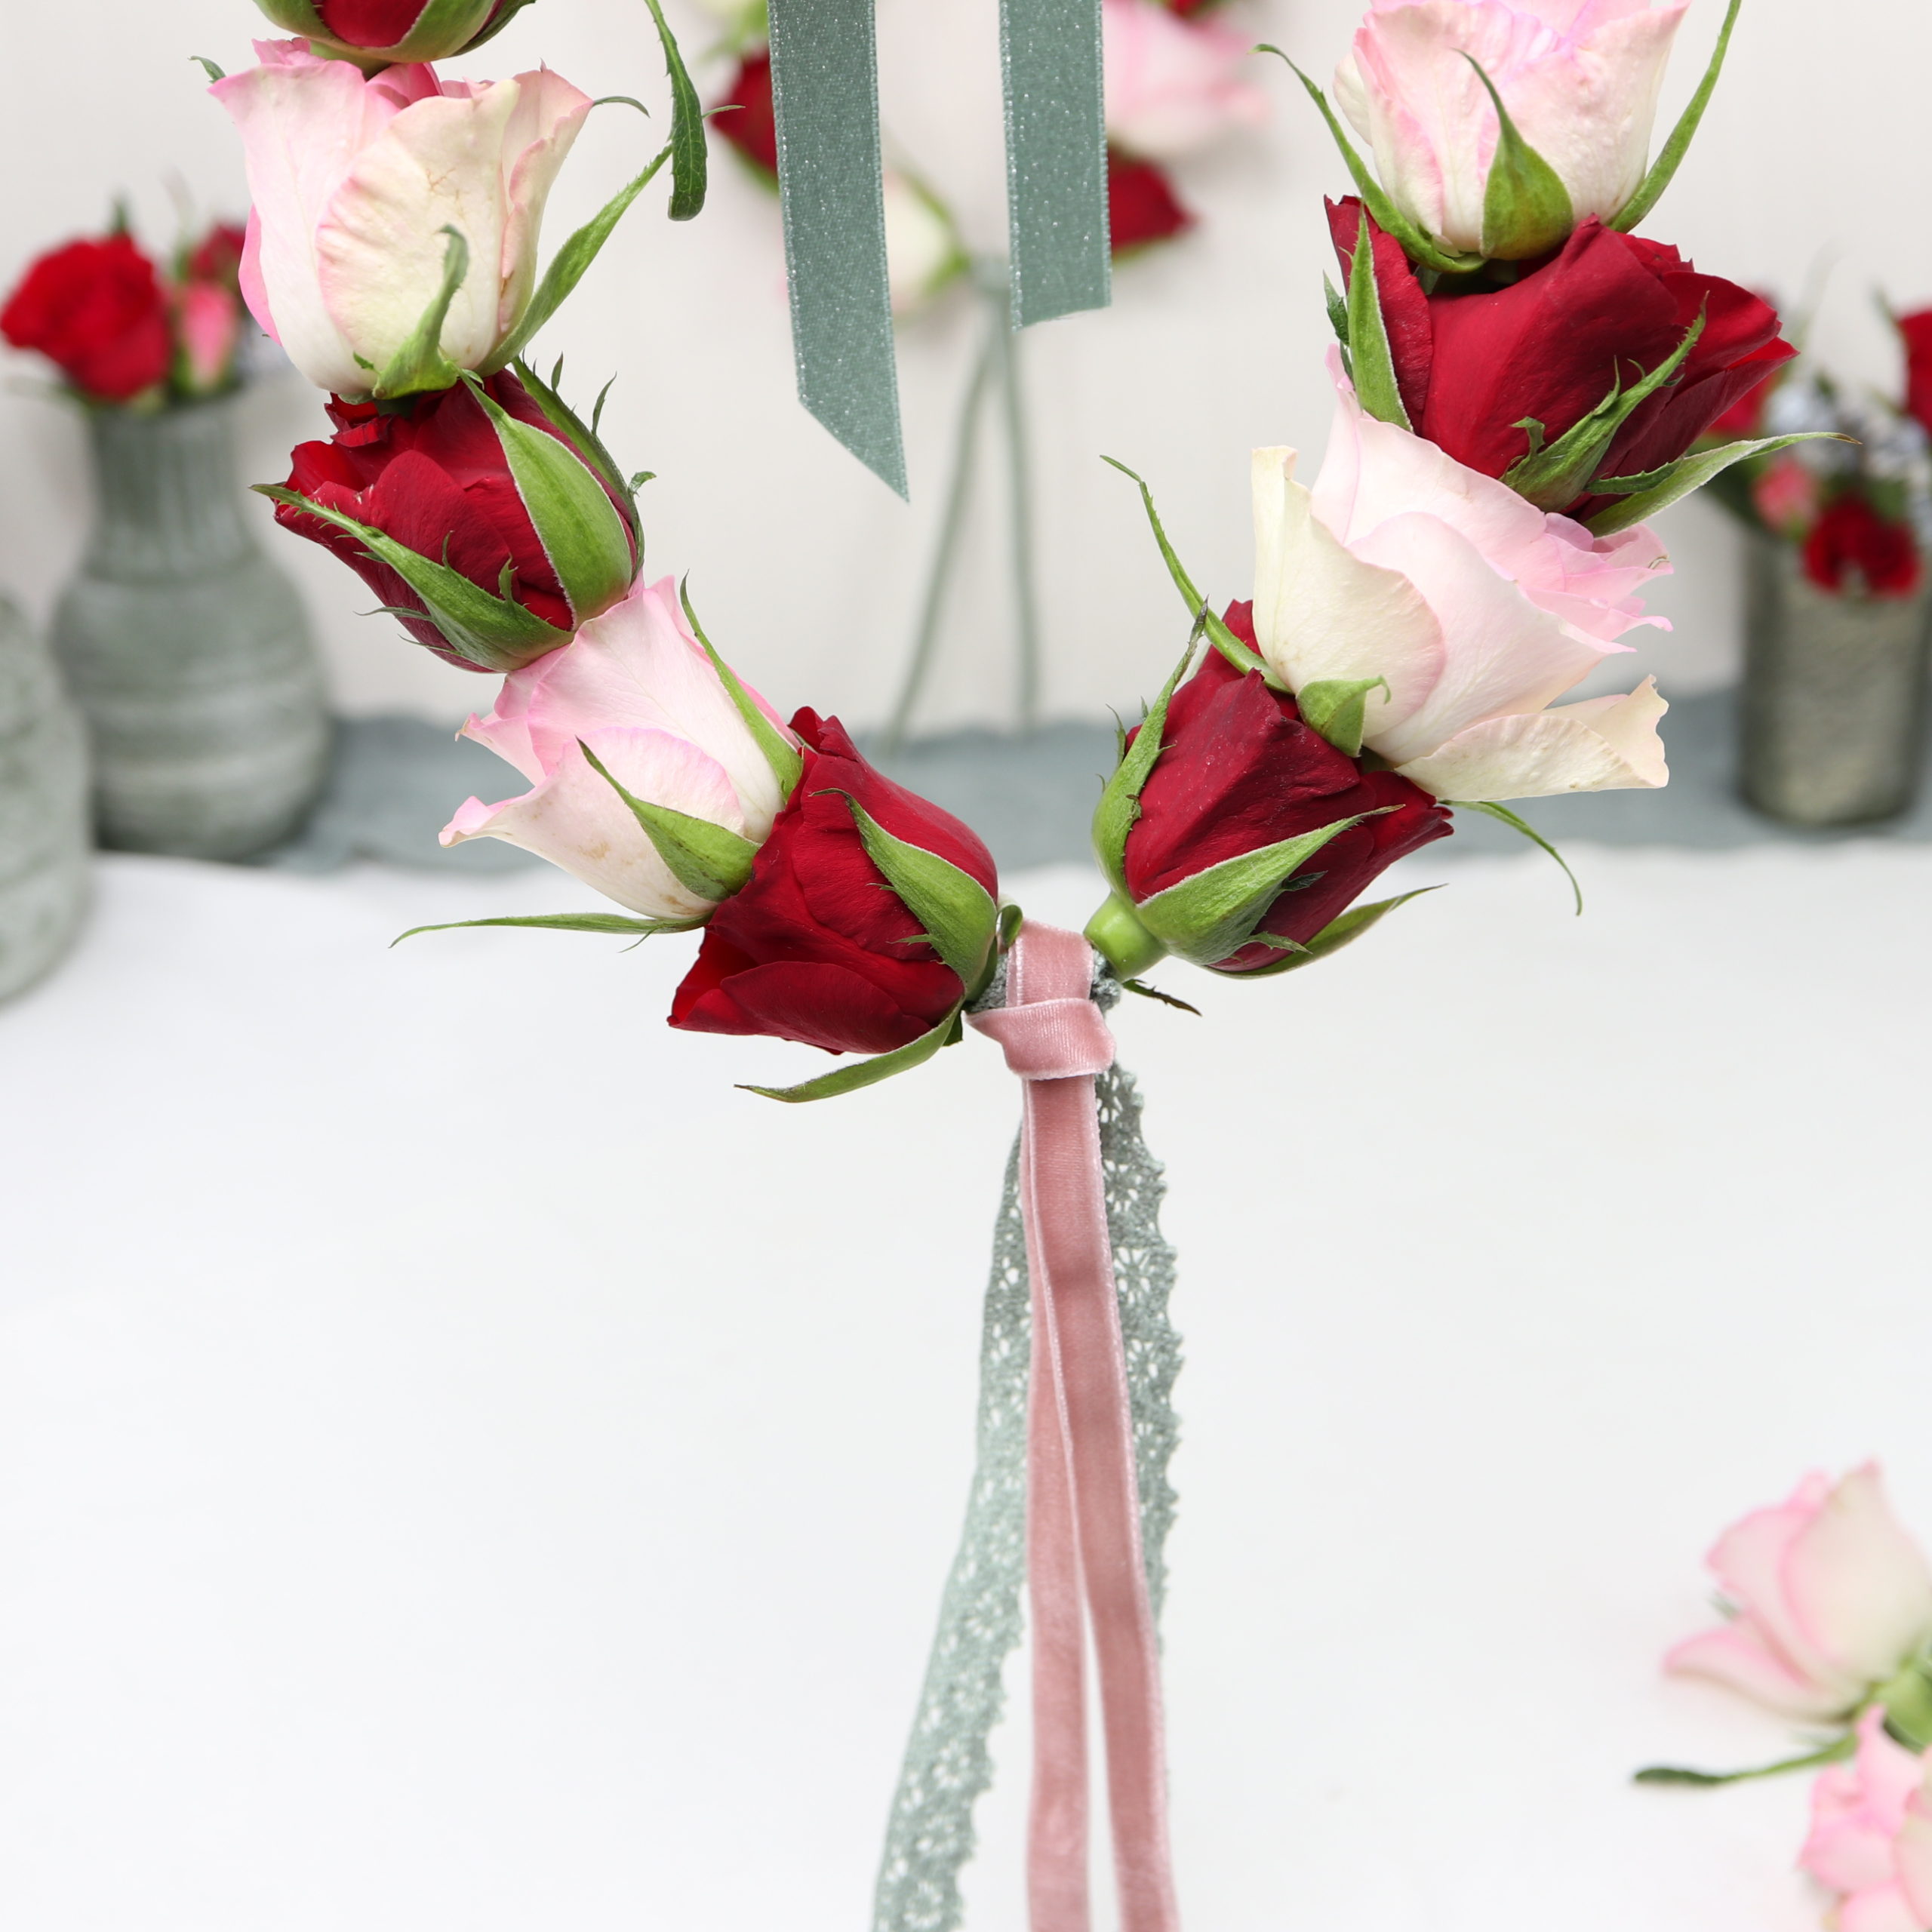
I hang the flower wreath with the green satin ribbon. In particular, I fold the cut ribbon piece in half. I make a loop over the twisted wire in the top center of the flower wreath and hen pull the ribbon ends through.
Step 7: Add more ribbons
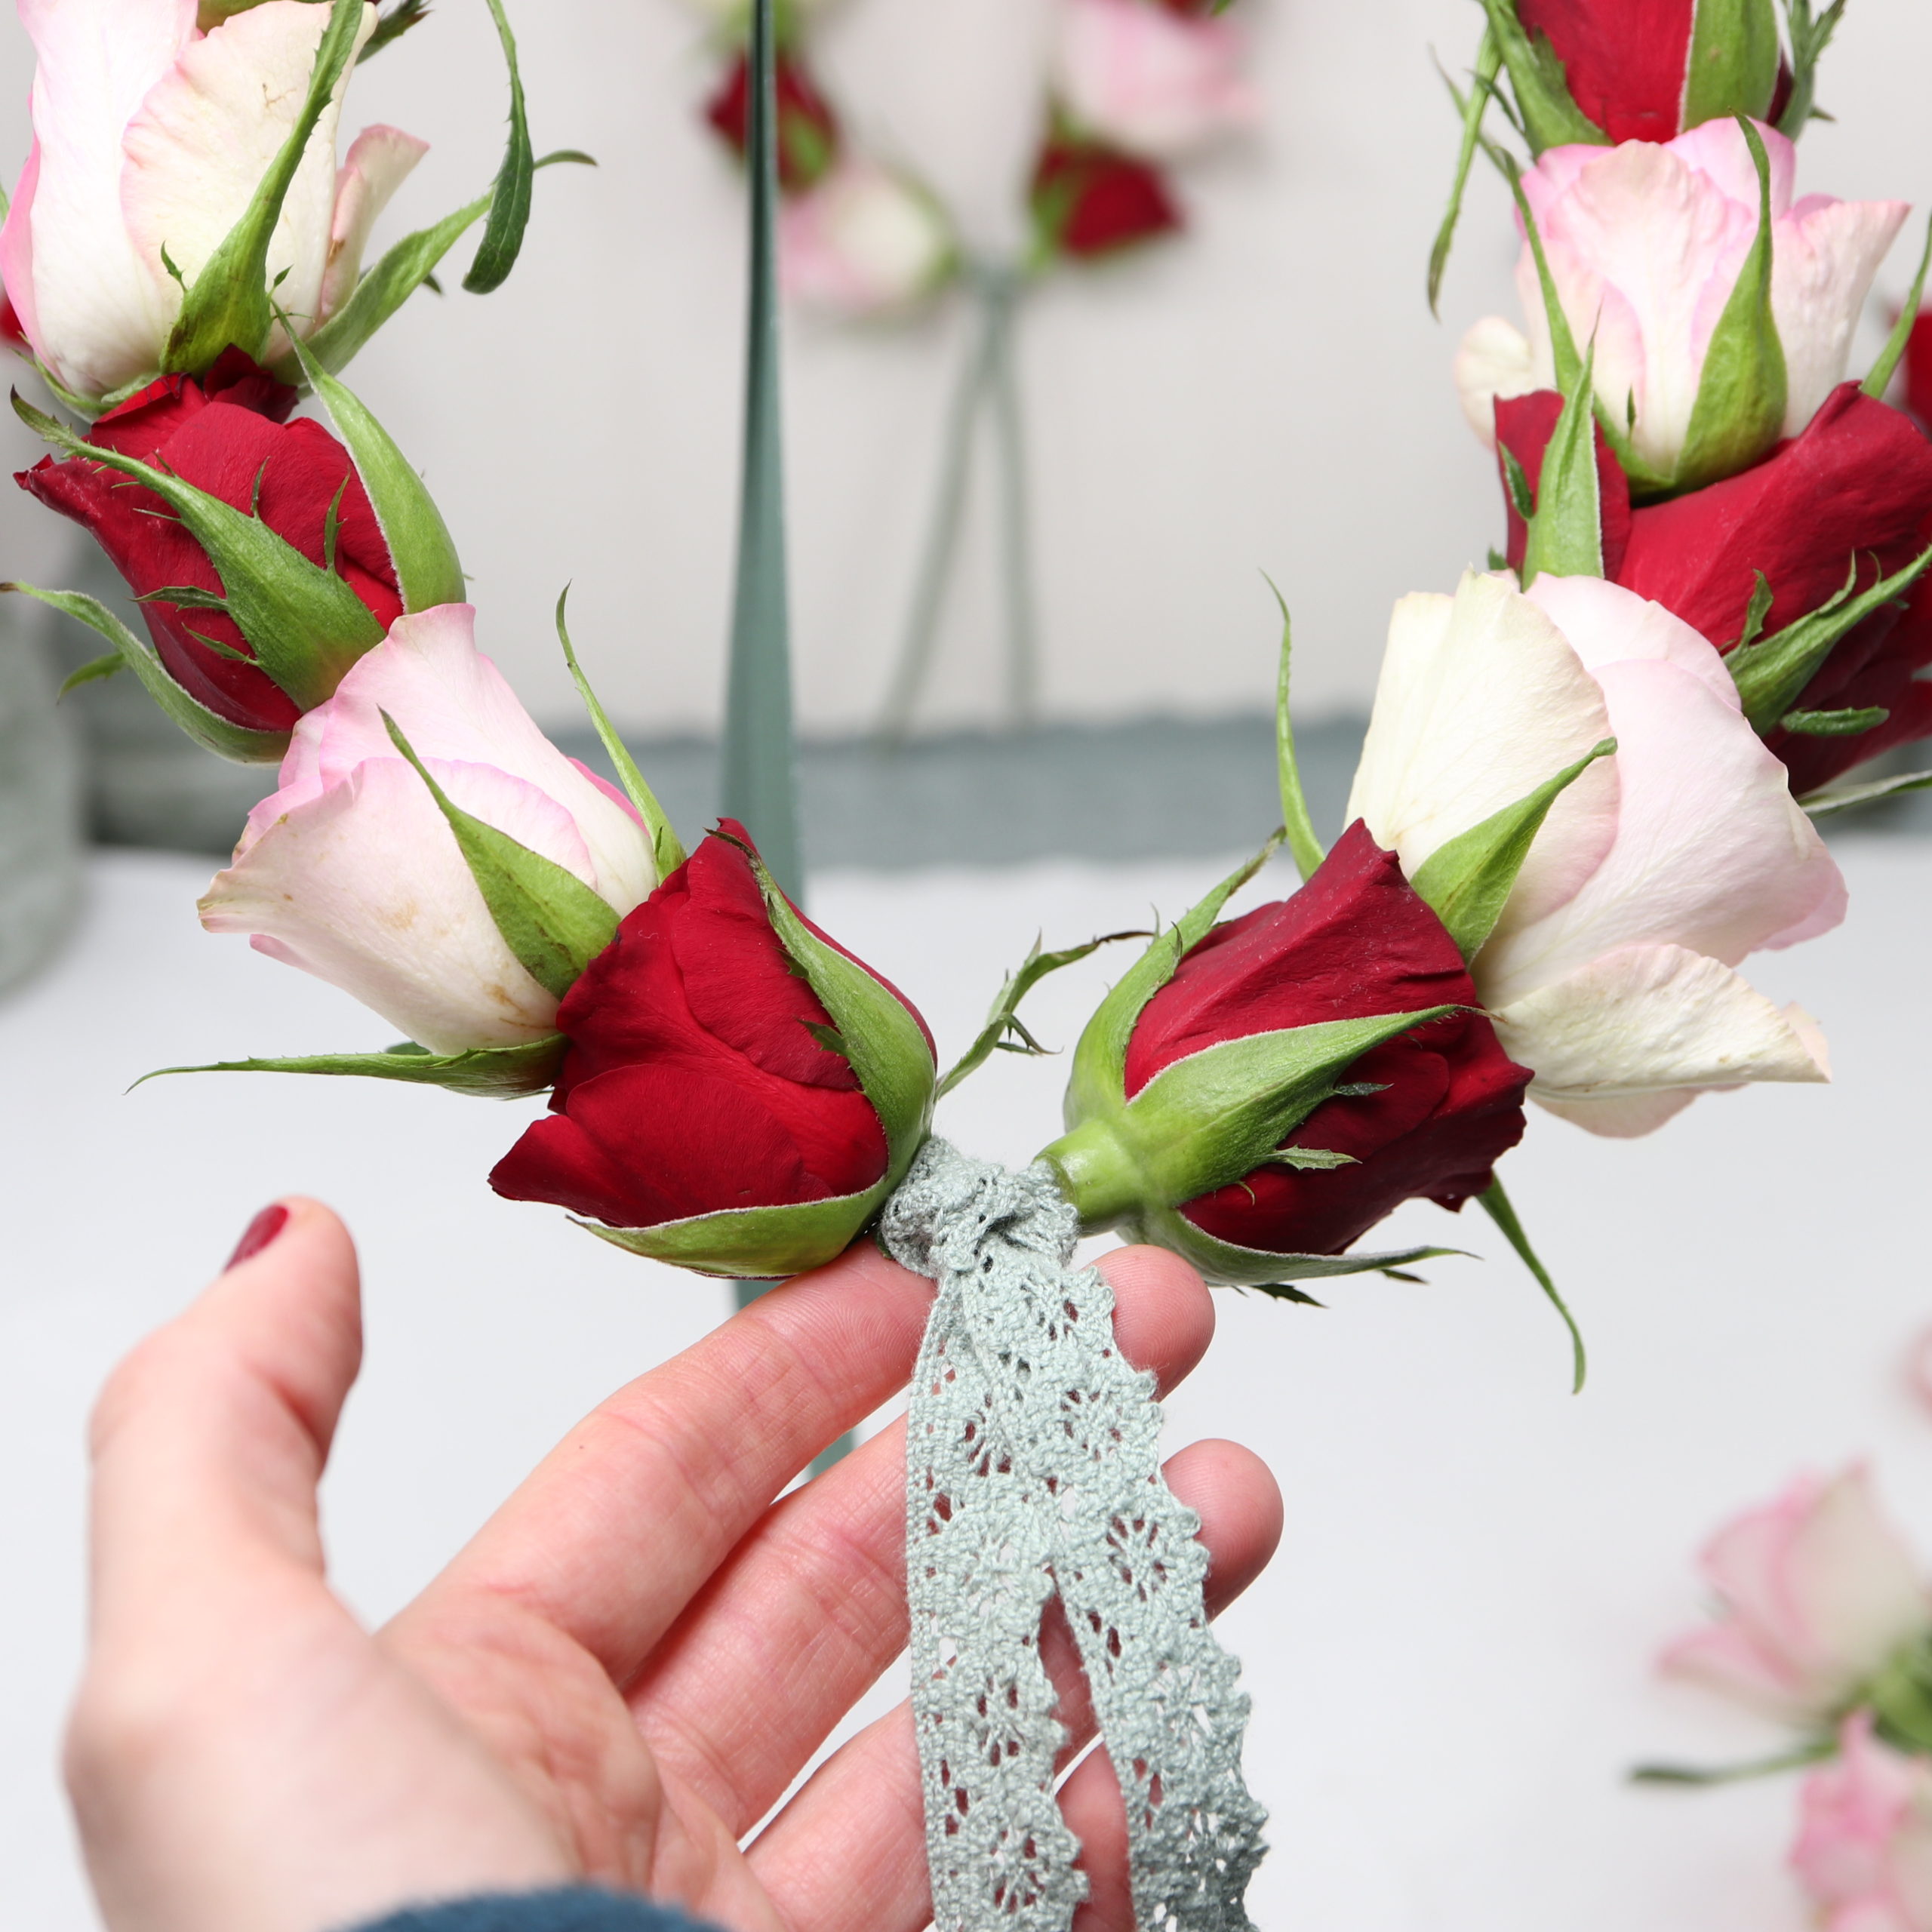
At the bottom center of the flower wreath, I attach the sage-colored crochet ribbon and the antique pink velvet ribbon in the same way.
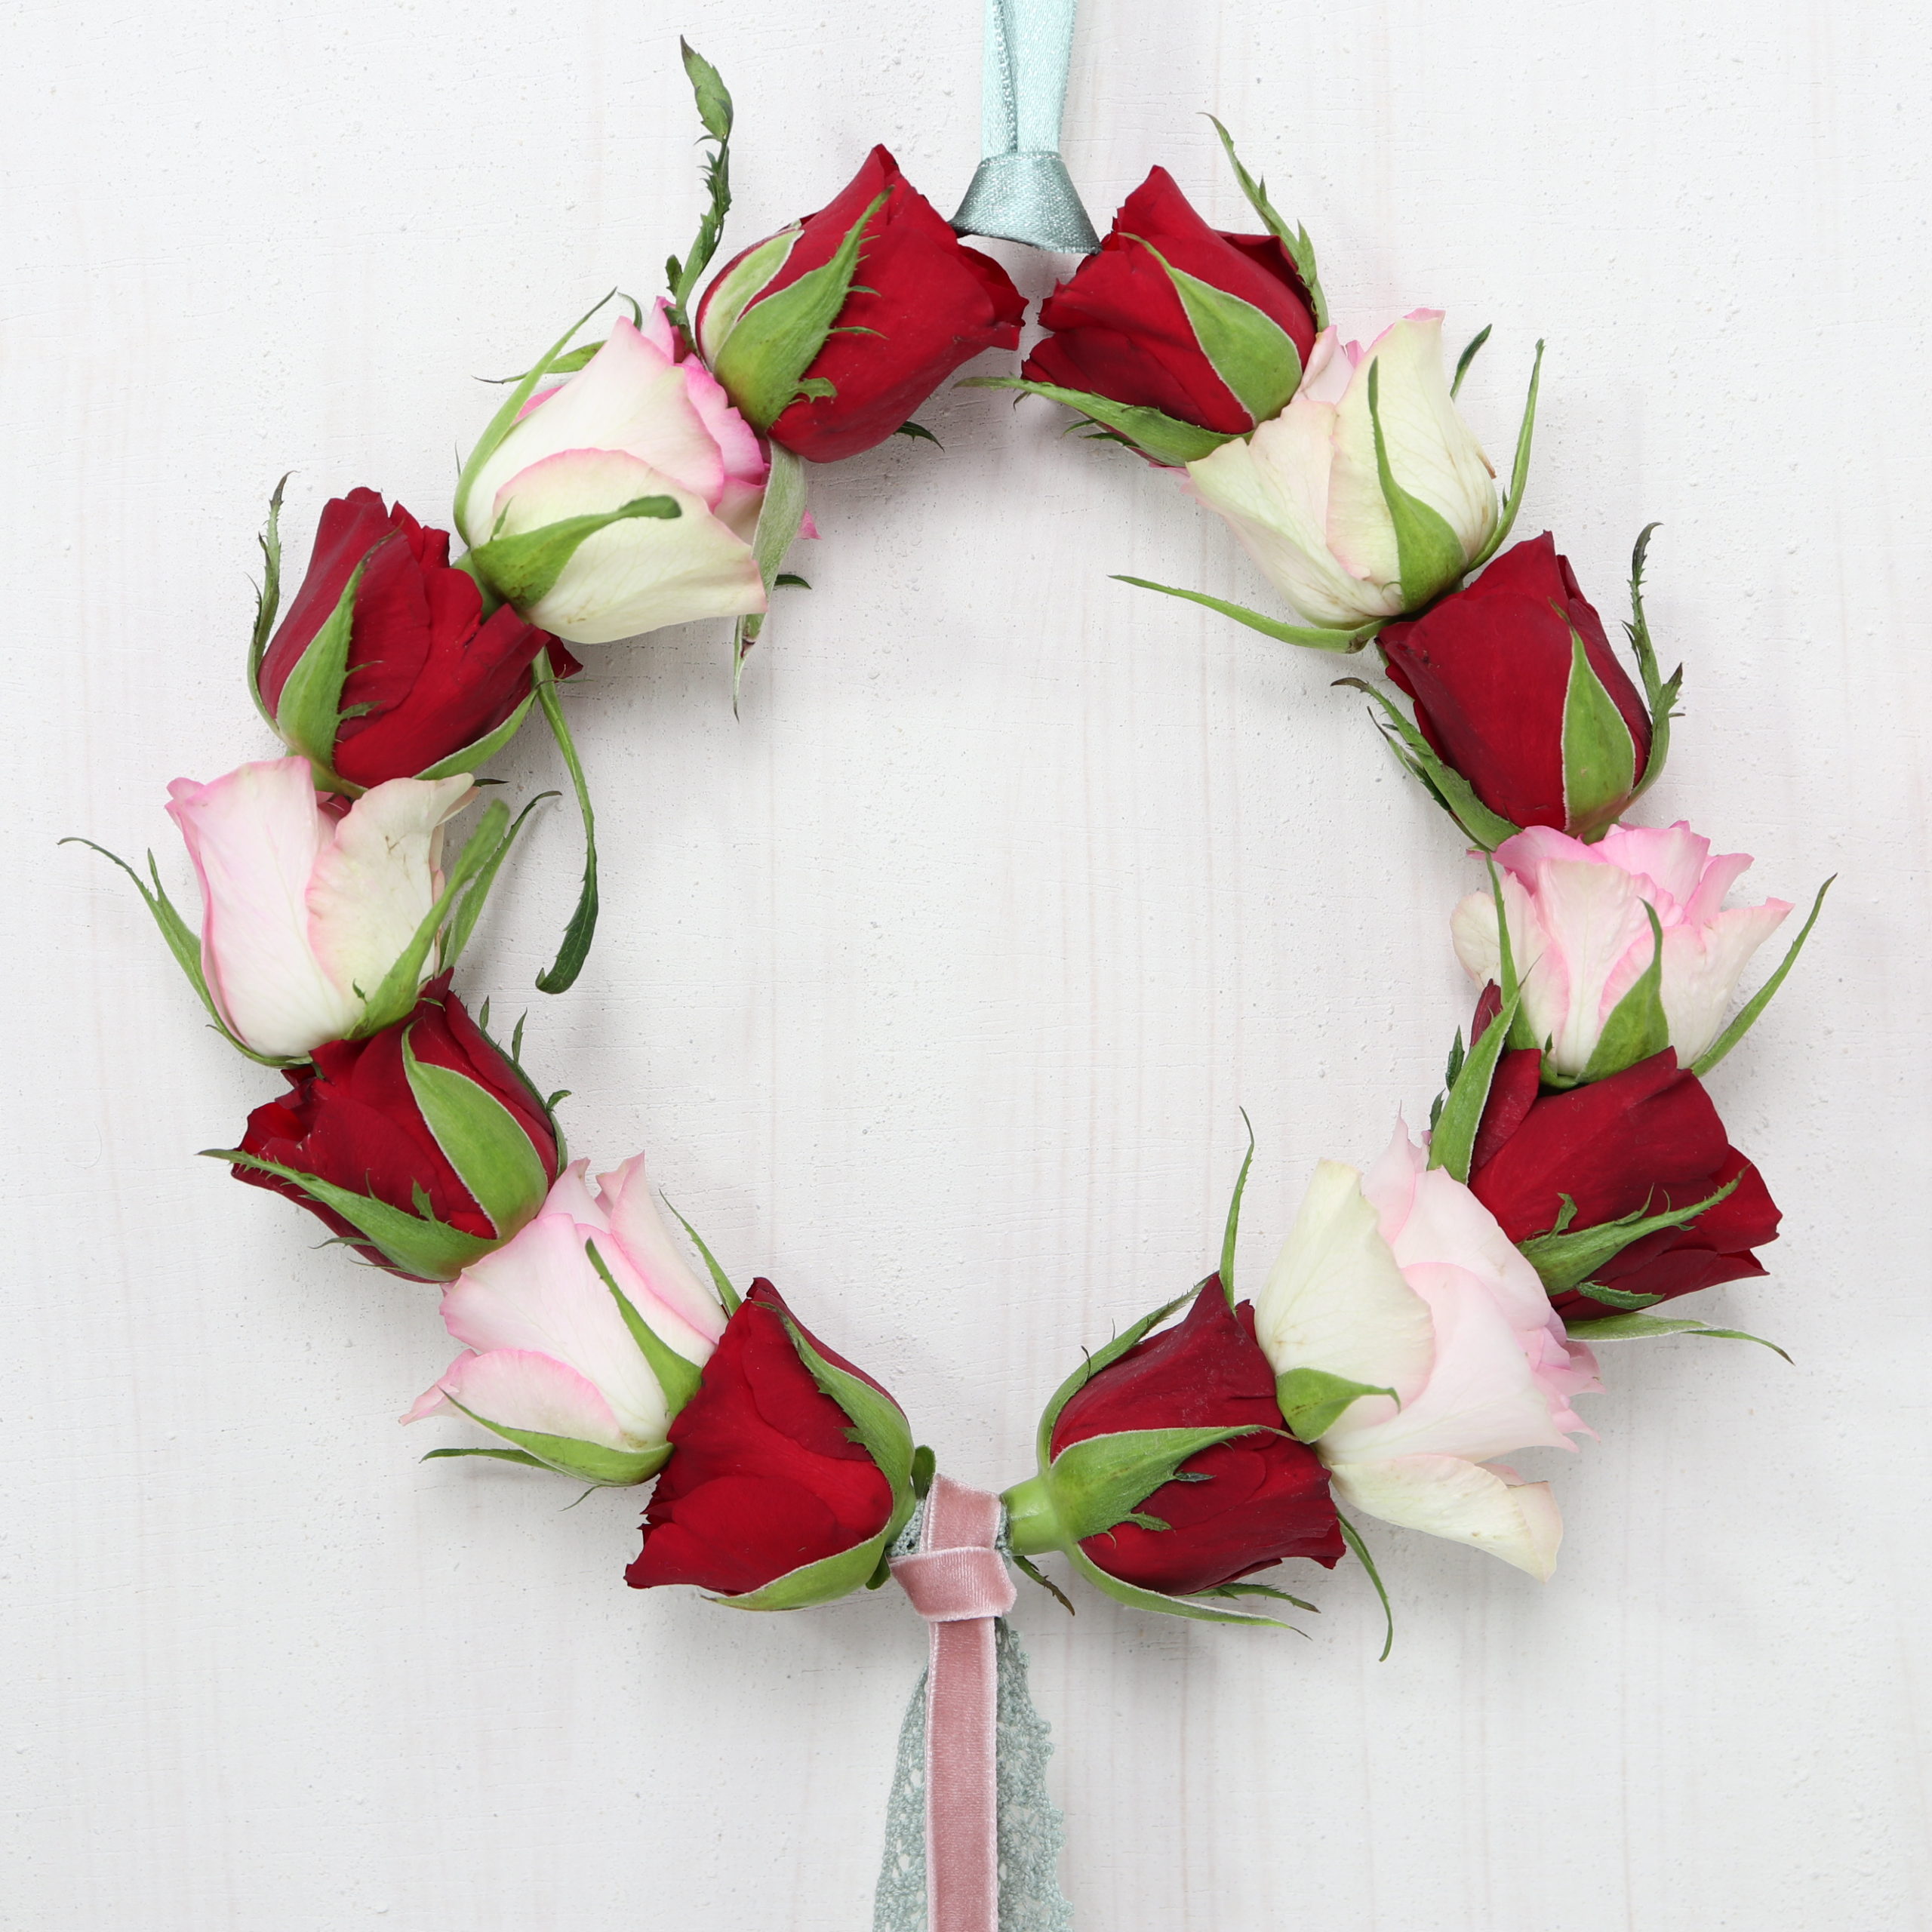
And the flower wreath with red and white roses is ready! I hope you enjoyed this DIY as much as I did!

Are you looking for more DIYs with roses? Have a look at my other DIYs: