Today I show you how you can easily staple a flower wreath from dried flowers. Probably the easiest flower wreath to make yourself without the need for tying!
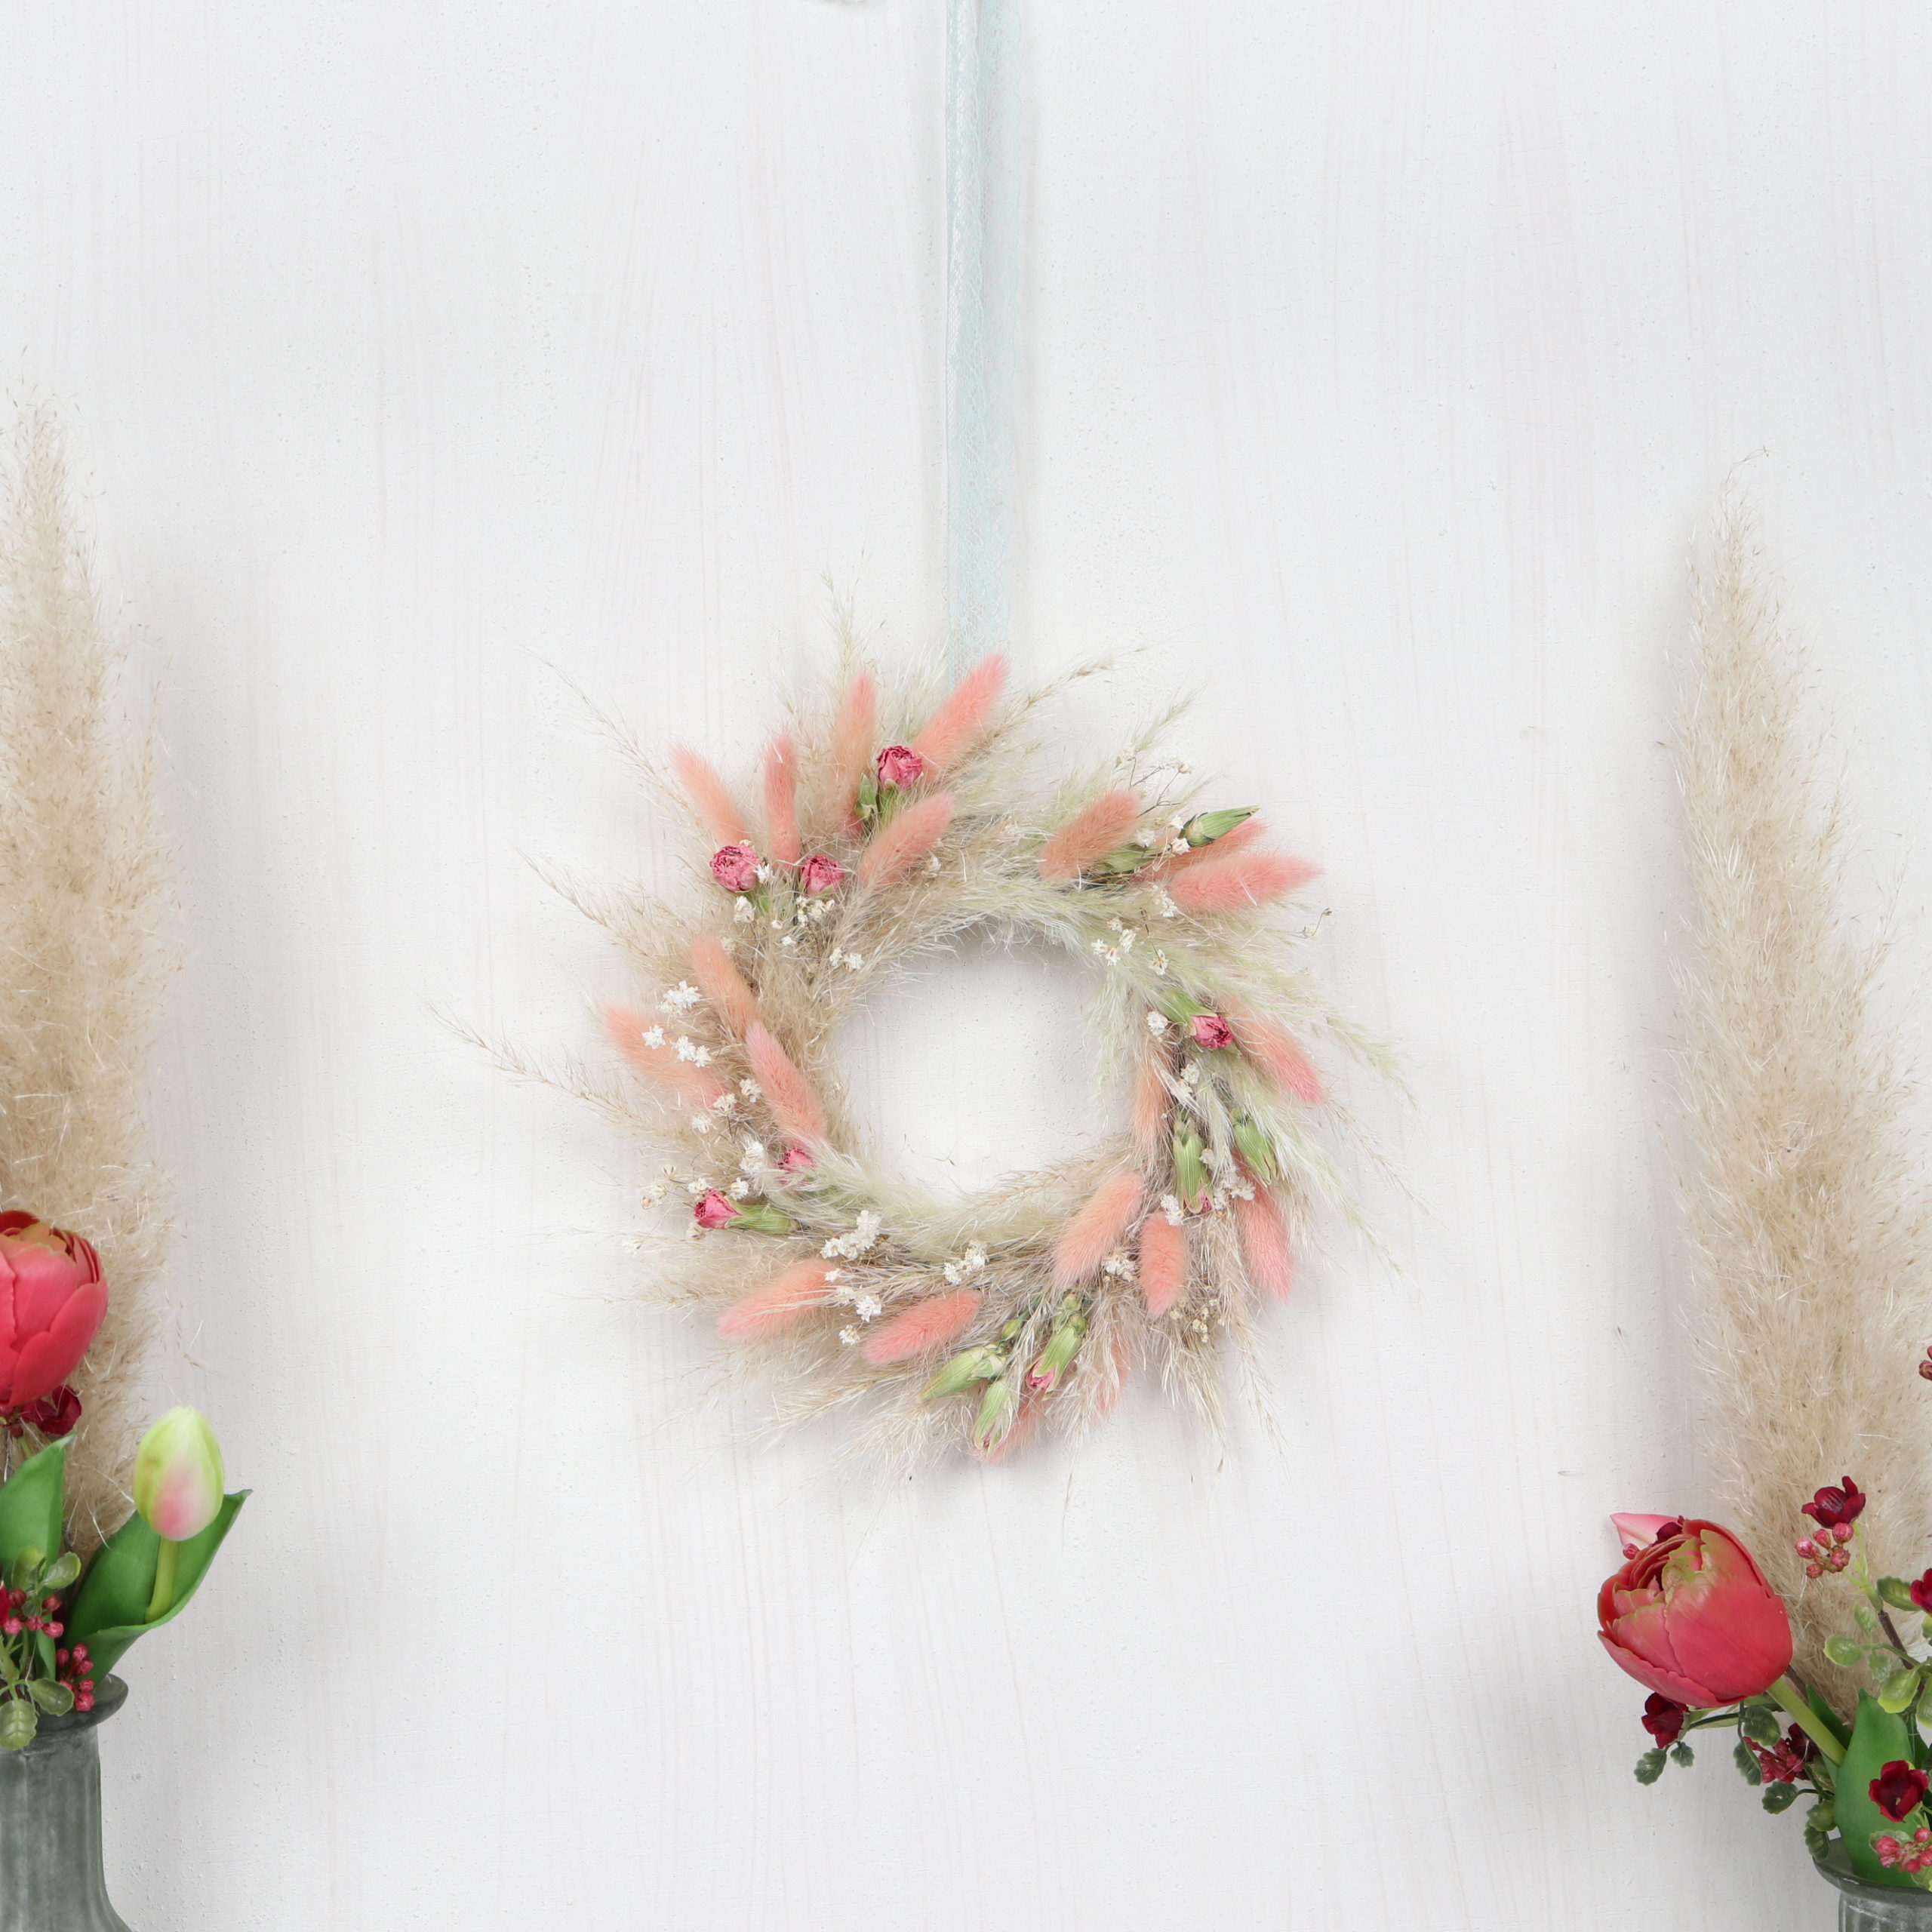
As a basis serves a piece of cardboard, which I cut into a ring. Then, different dried flowers such as pampas grass, carnations, bunnytail and baby’s breath are simply stapled on the cardboard ring. The resulting flower wreath is a pretty wall decoration and beautifies doors, walls and windows!
With the following step-by-step instructions you can easily make the flower wreath from dried flowers yourself!
Tools
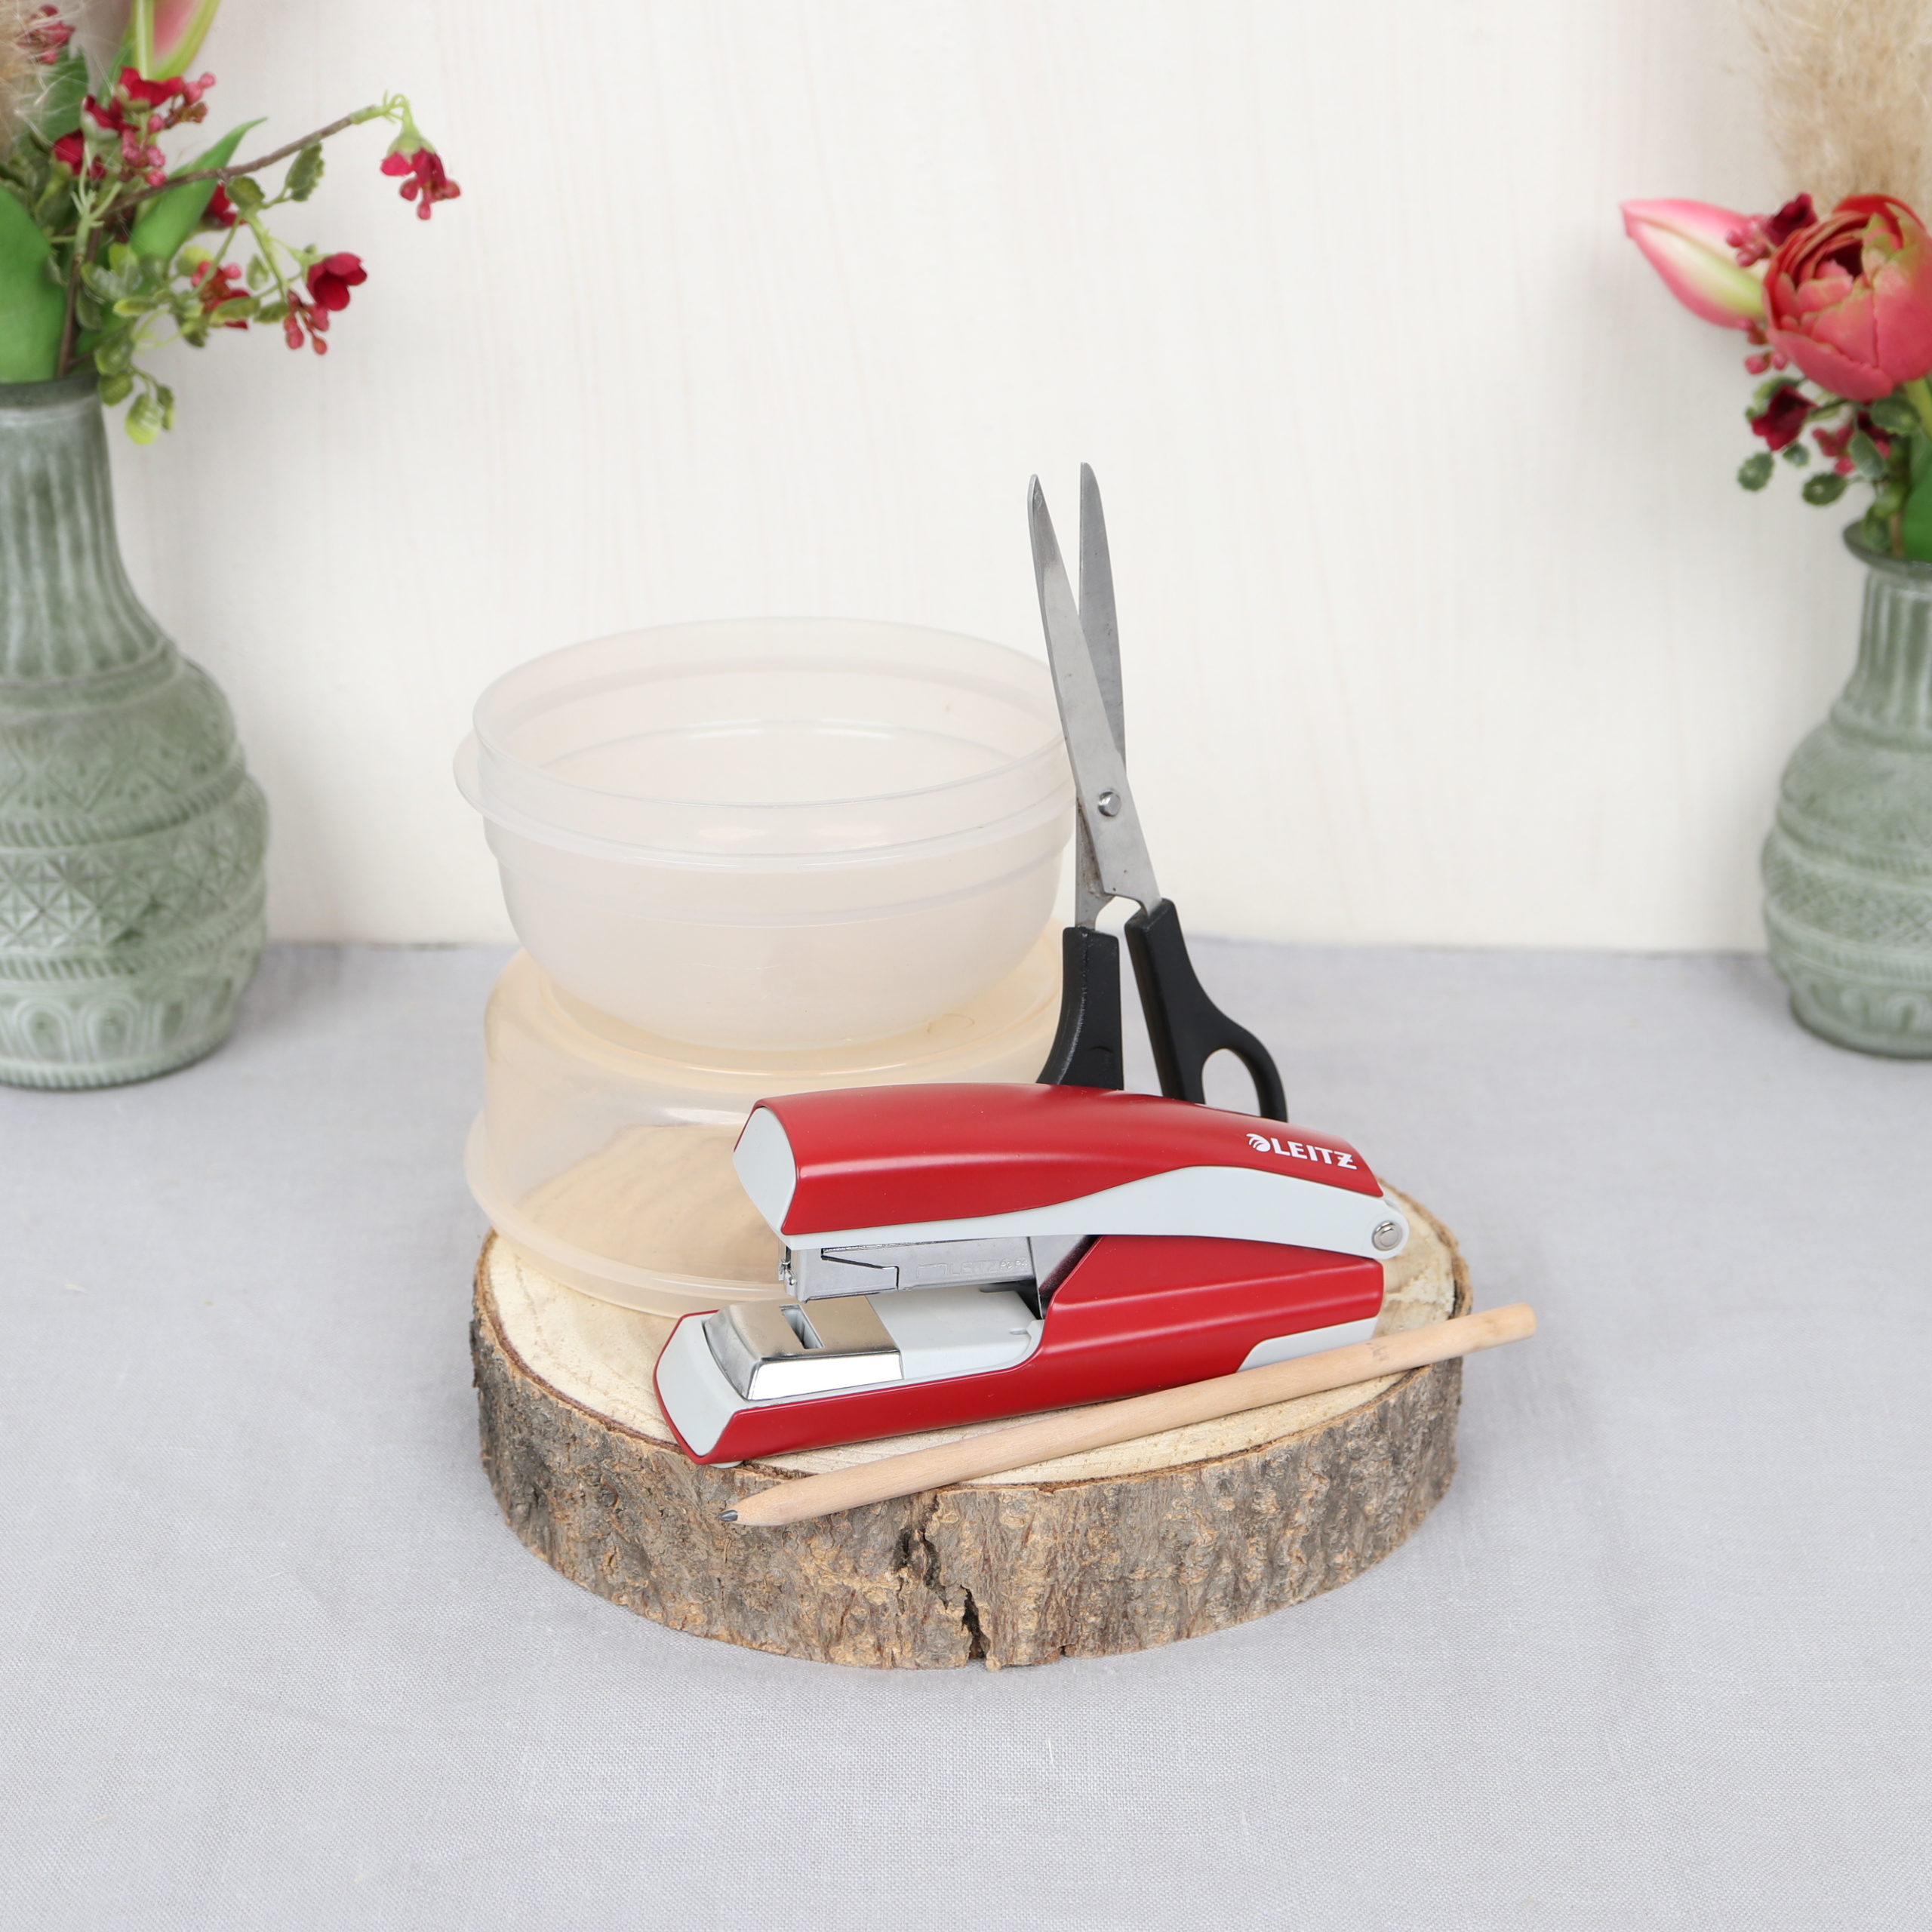
Here you can see what tools I used for the flower decoration. You need scissors and a stapler (staple gun) with staples. In addition, I use two different sized bowls and a pen for the ring shape of the wreath.
Materials
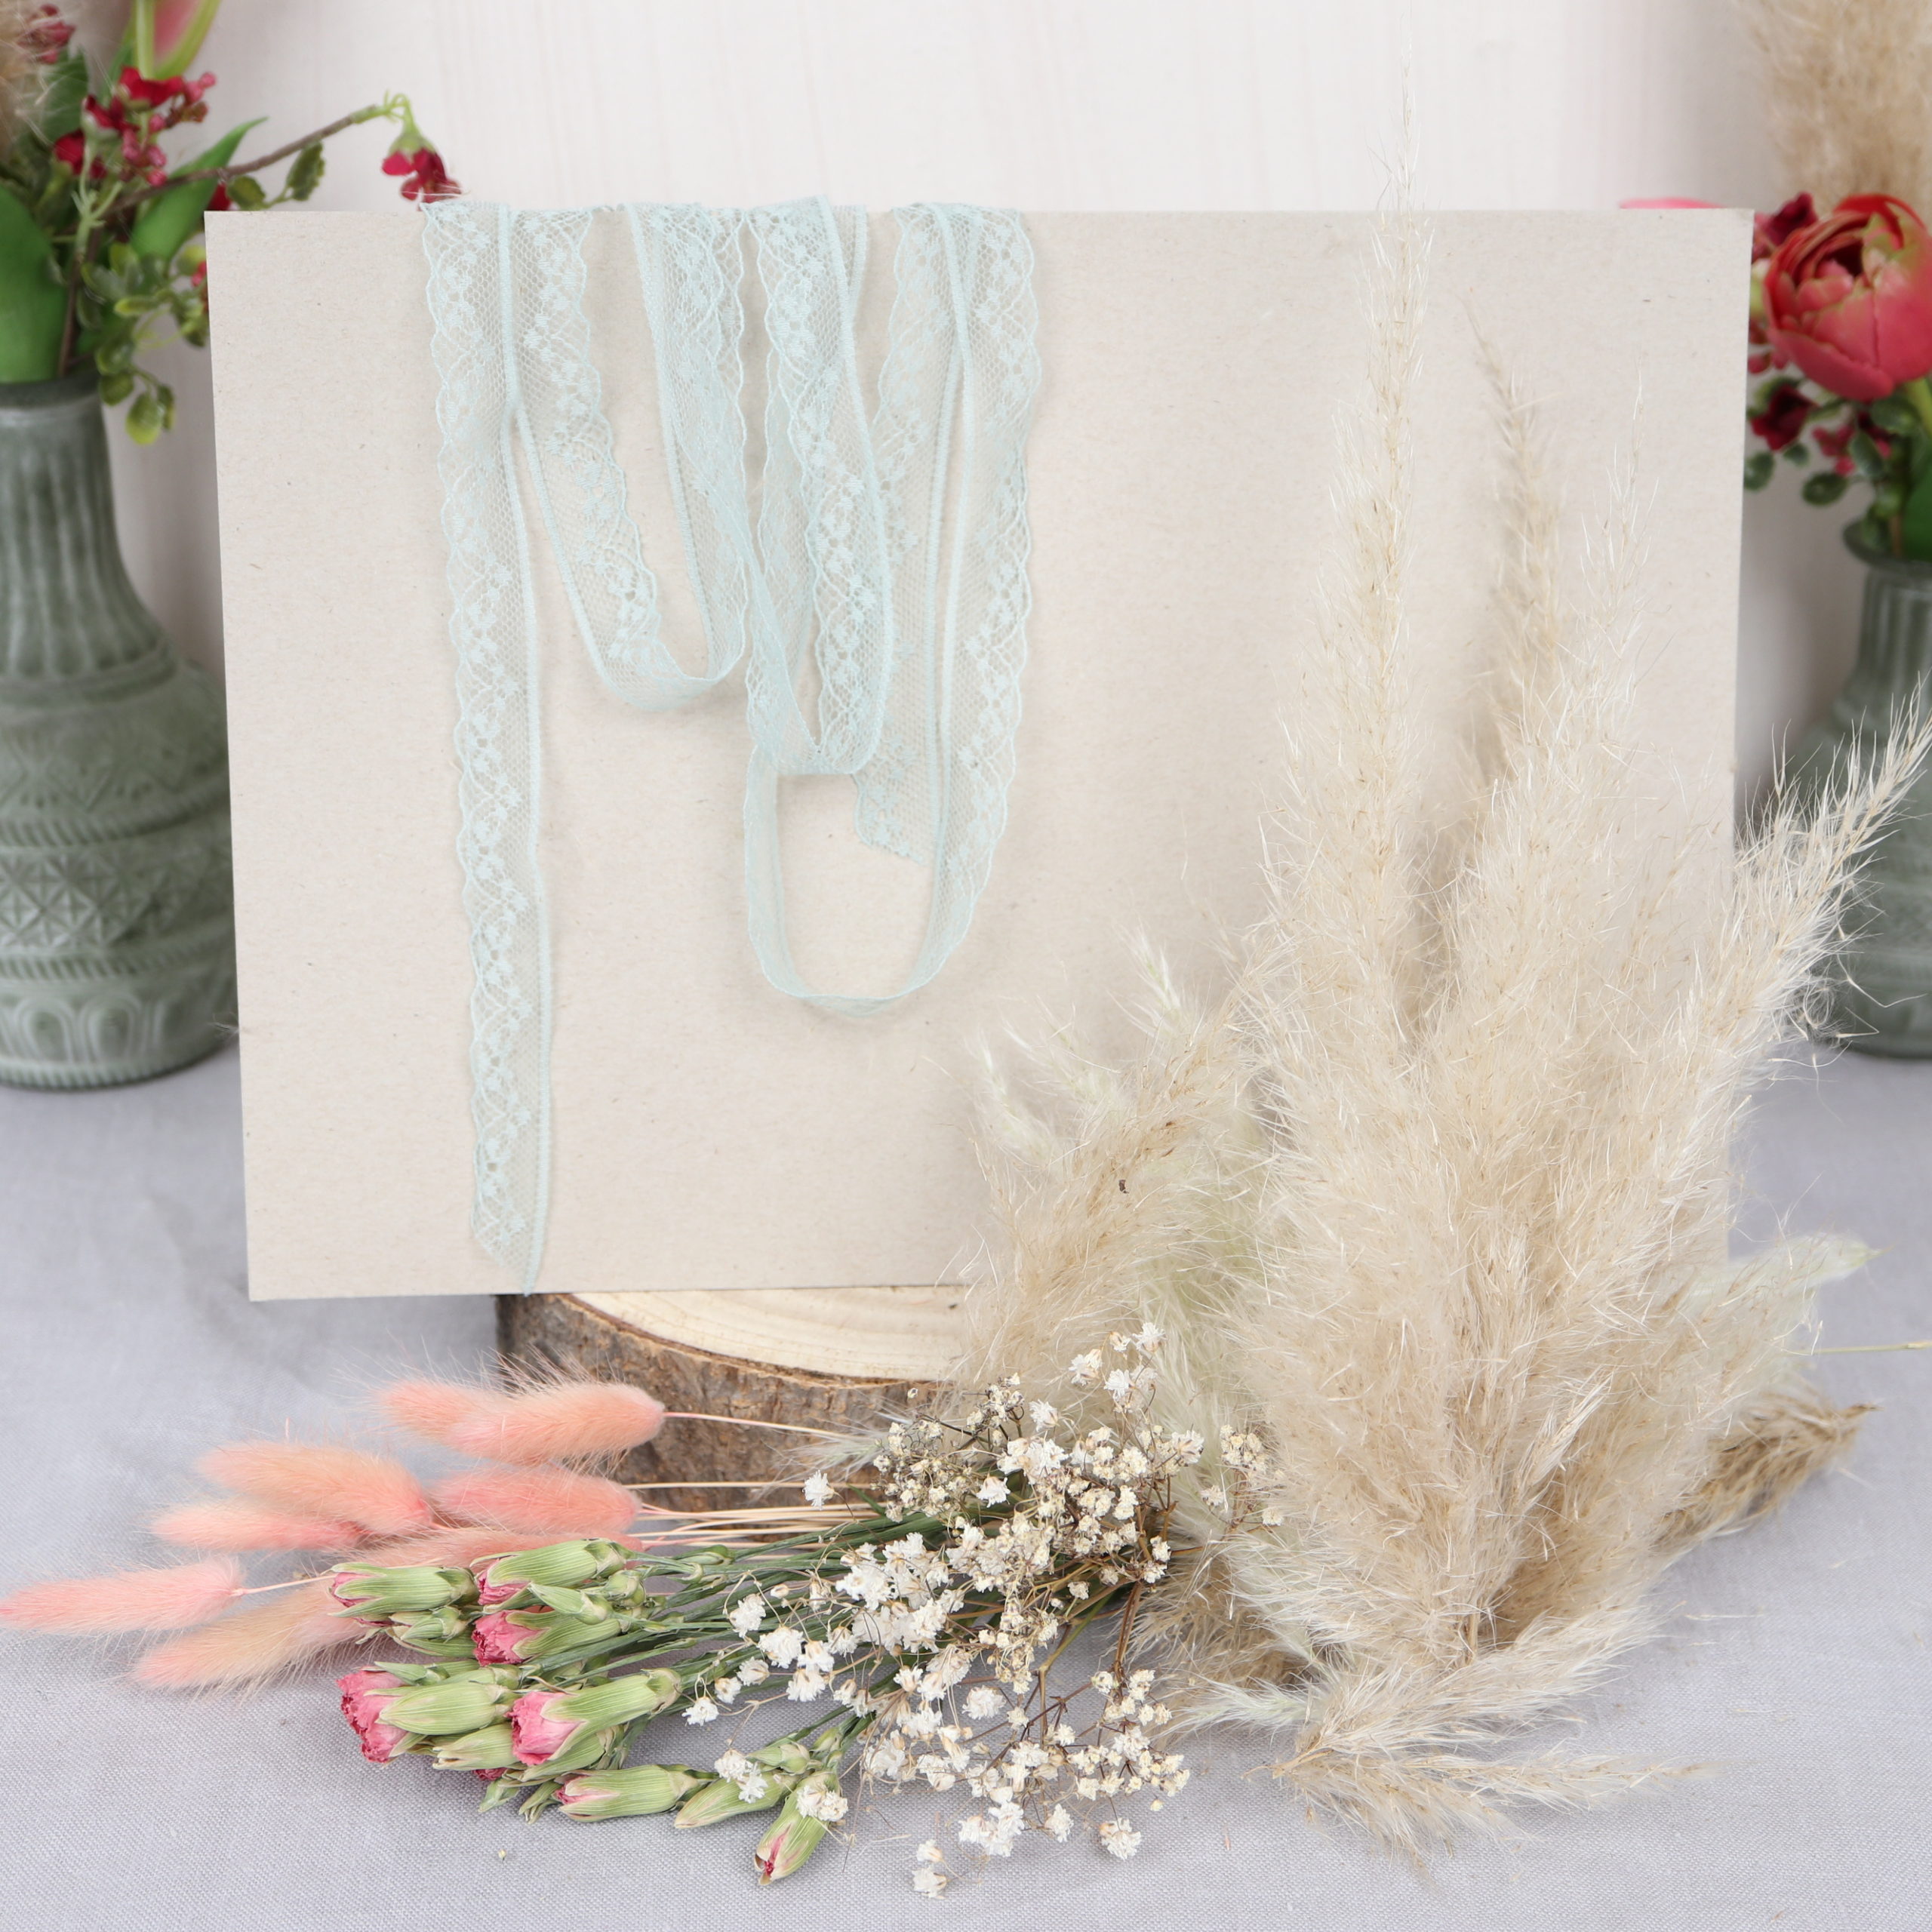
These are the materials I used for the dried flower wreath: a piece of cardboard, a decorative lace ribbon for hanging the wreath and the following dried flowers: pampas grass, carnations, bunnytail (hare’s tail grass, Lagurus ovatus) and baby’s breath. For tips on dried flowers, check out this article.
Guide | Stapling a Flower Wreath
Step 1: Cut ring from cardboard
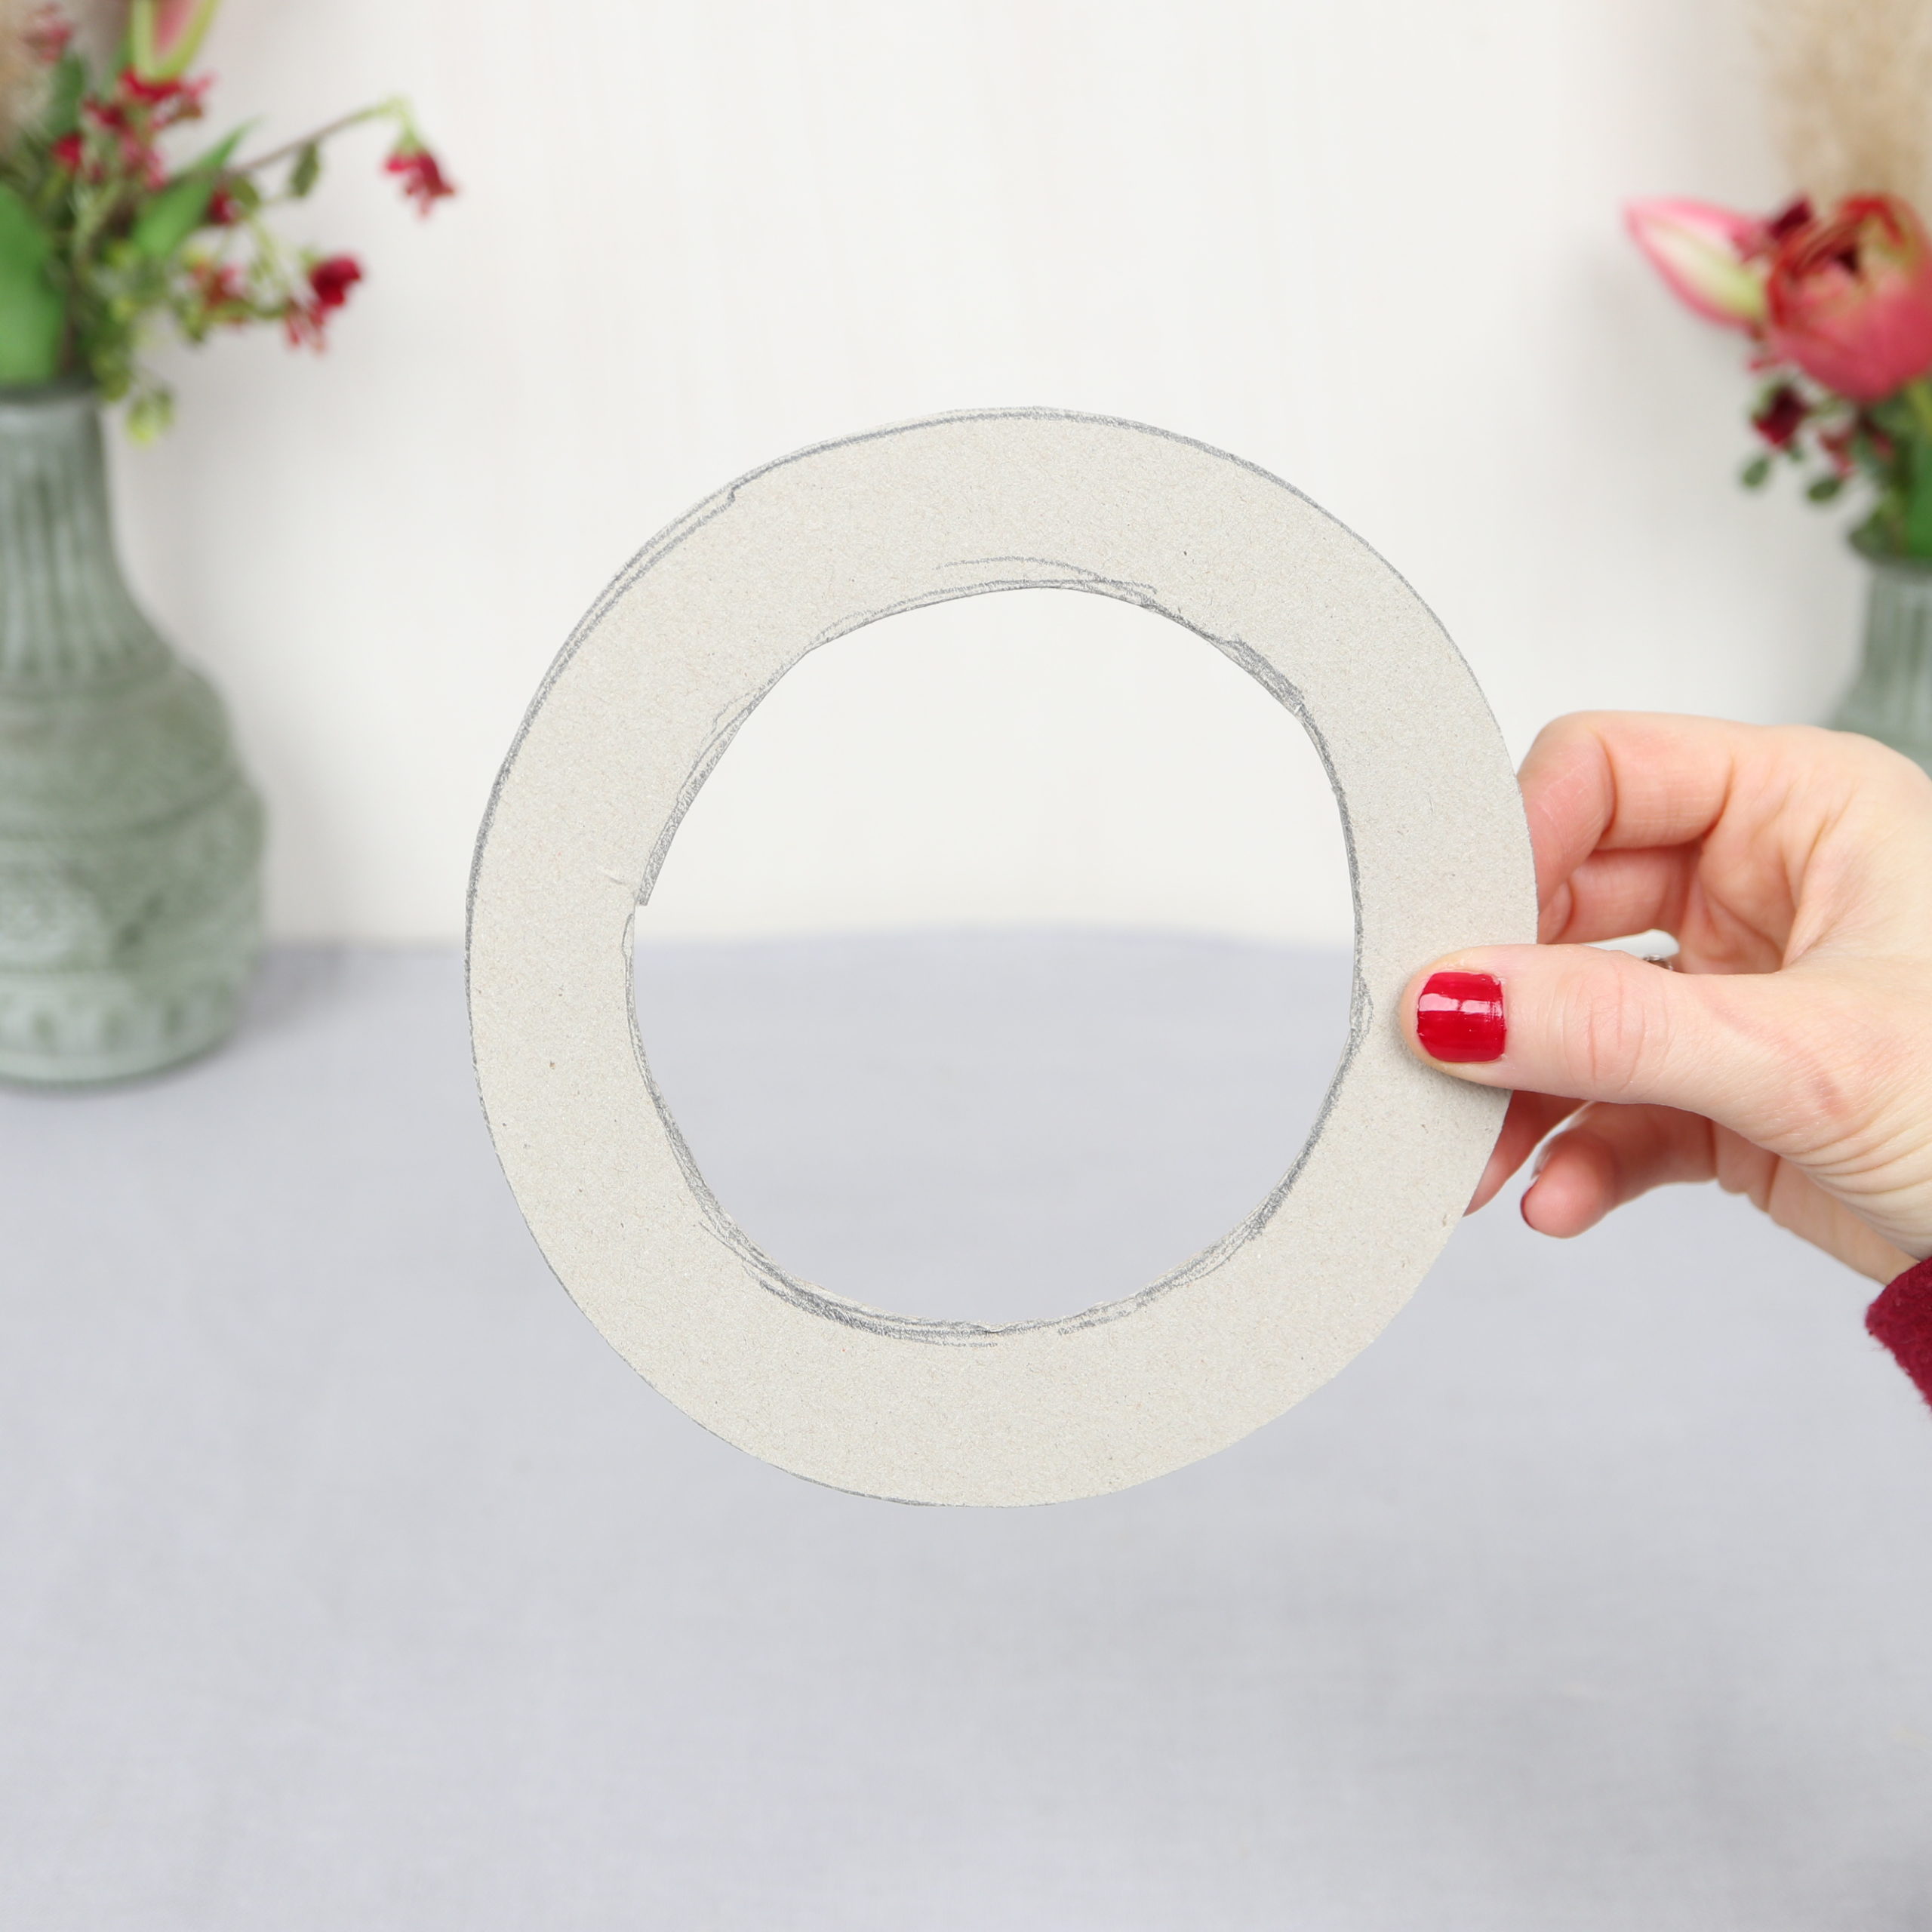
In the first step, I cut the ring shape from the cardboard.
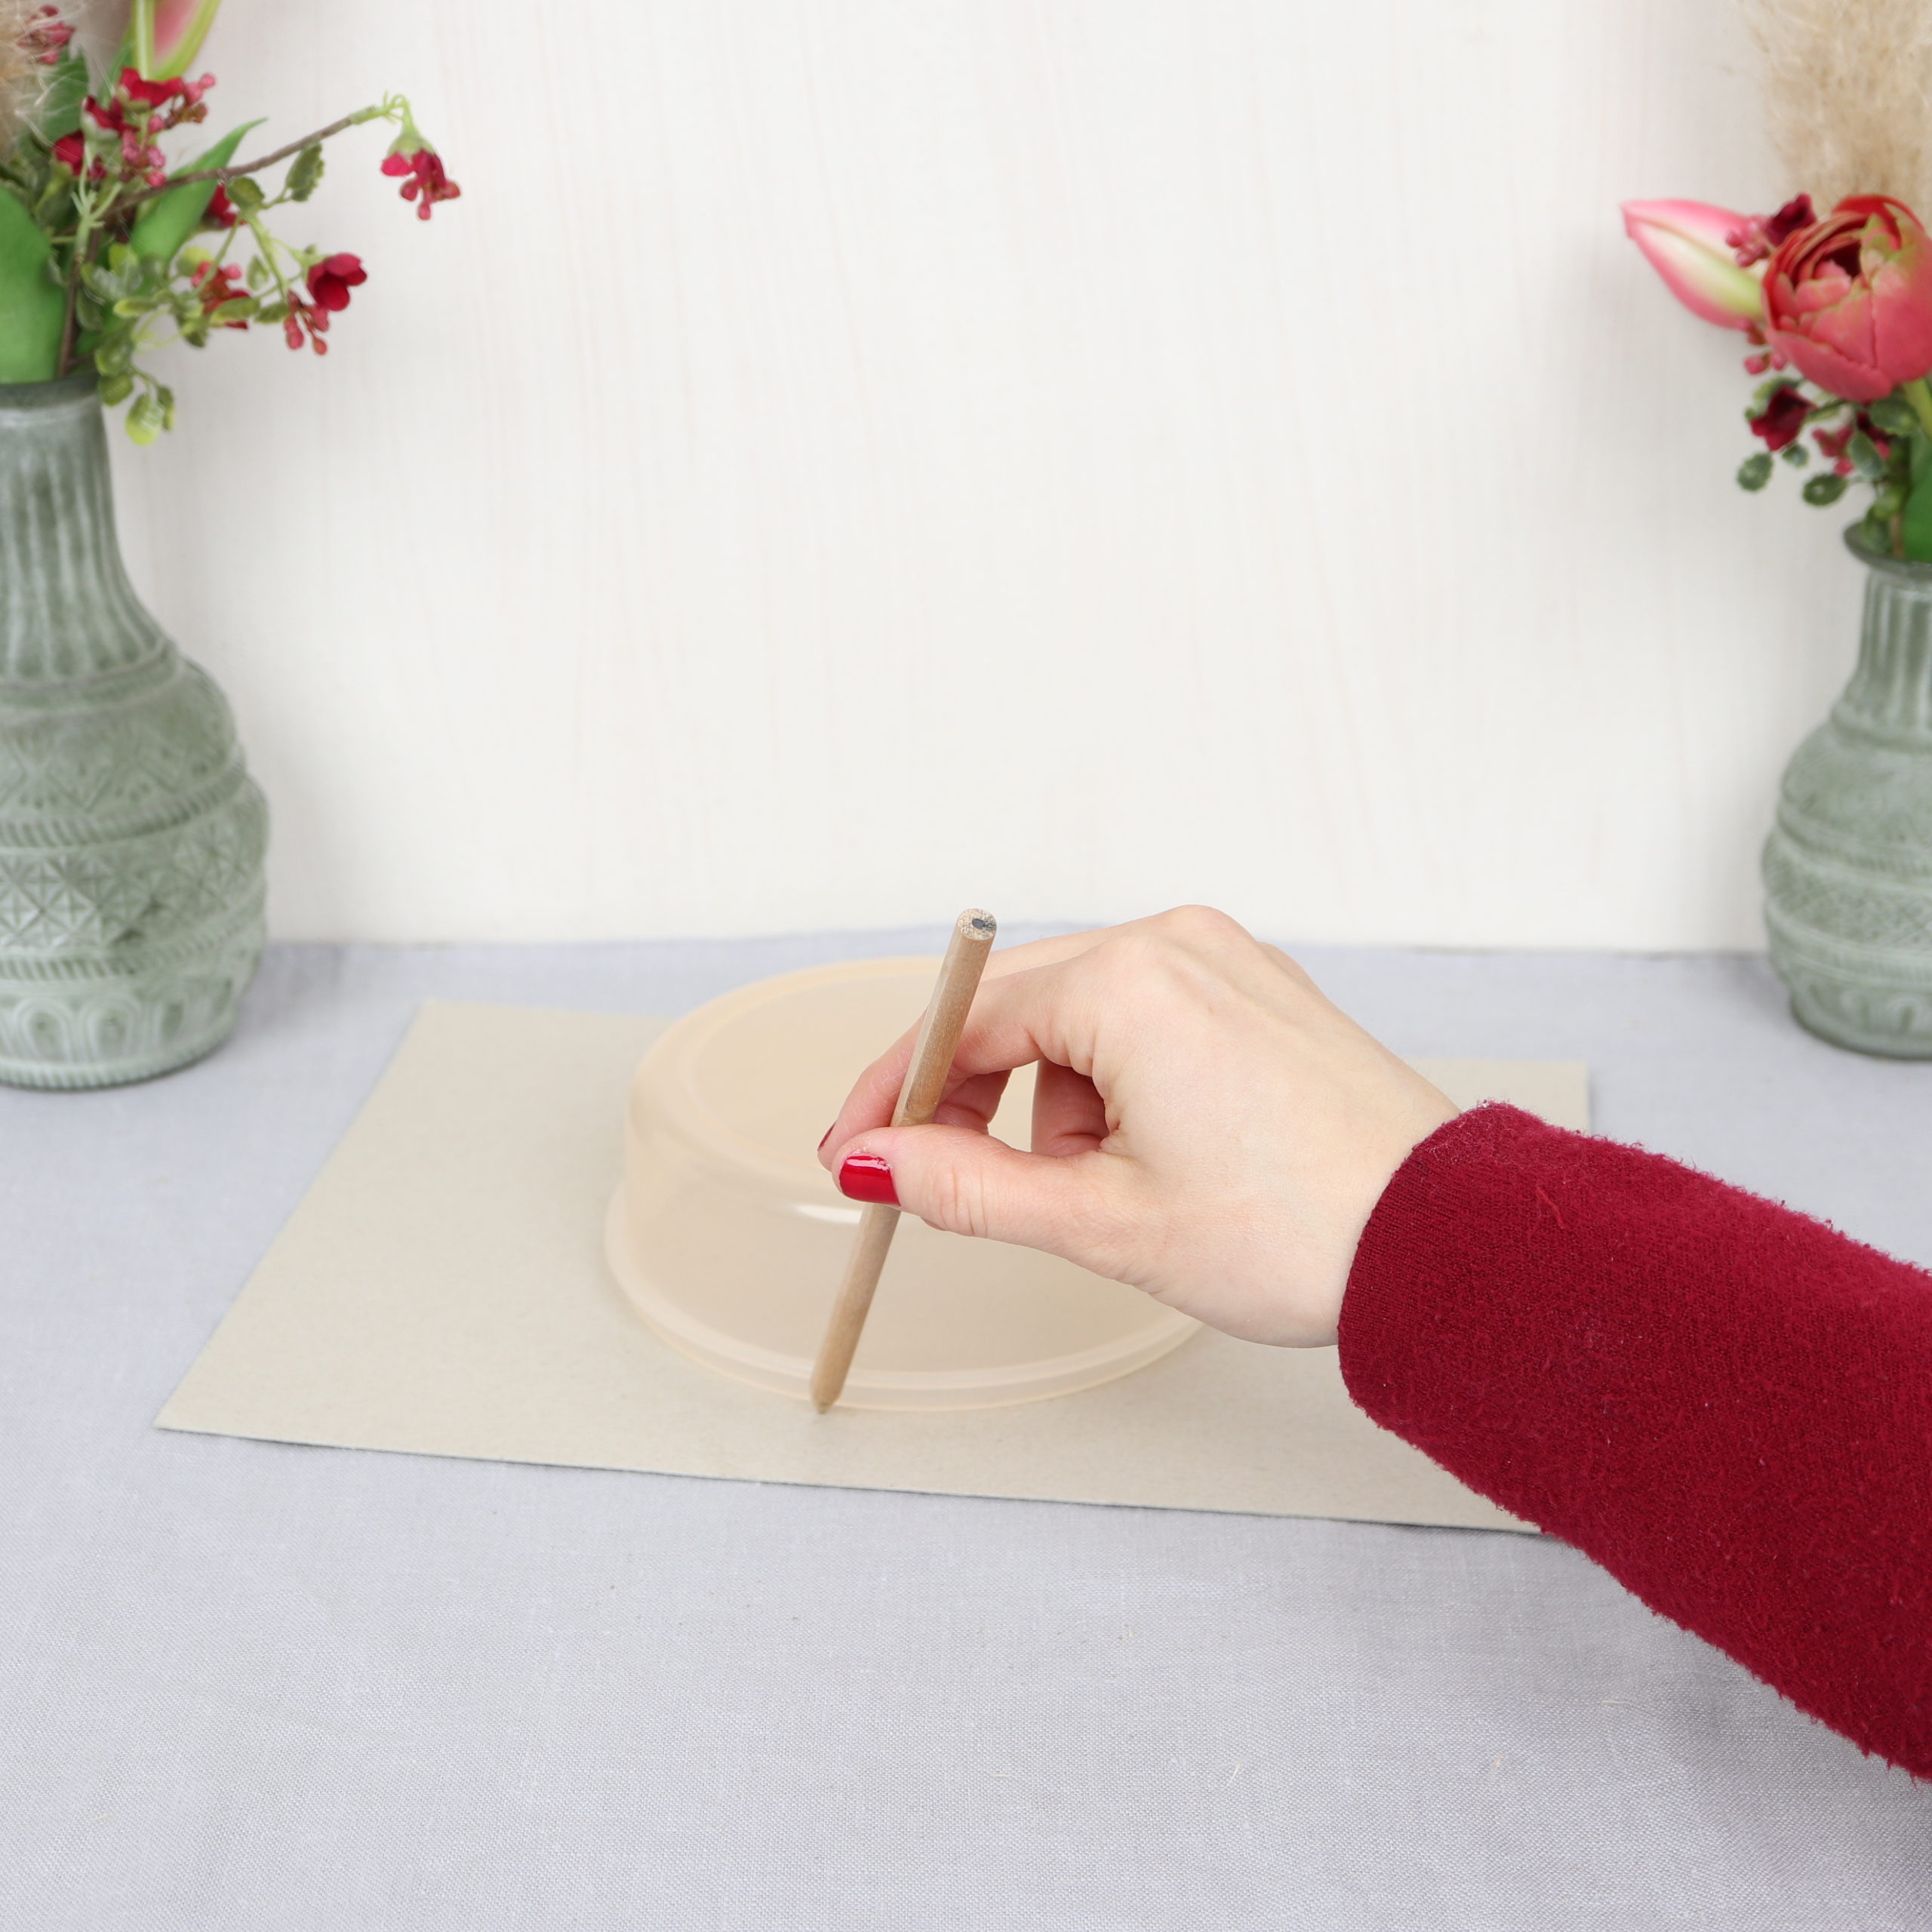
To do this, I first place the large bowl on the cardboard and go around the bowl with a pen.
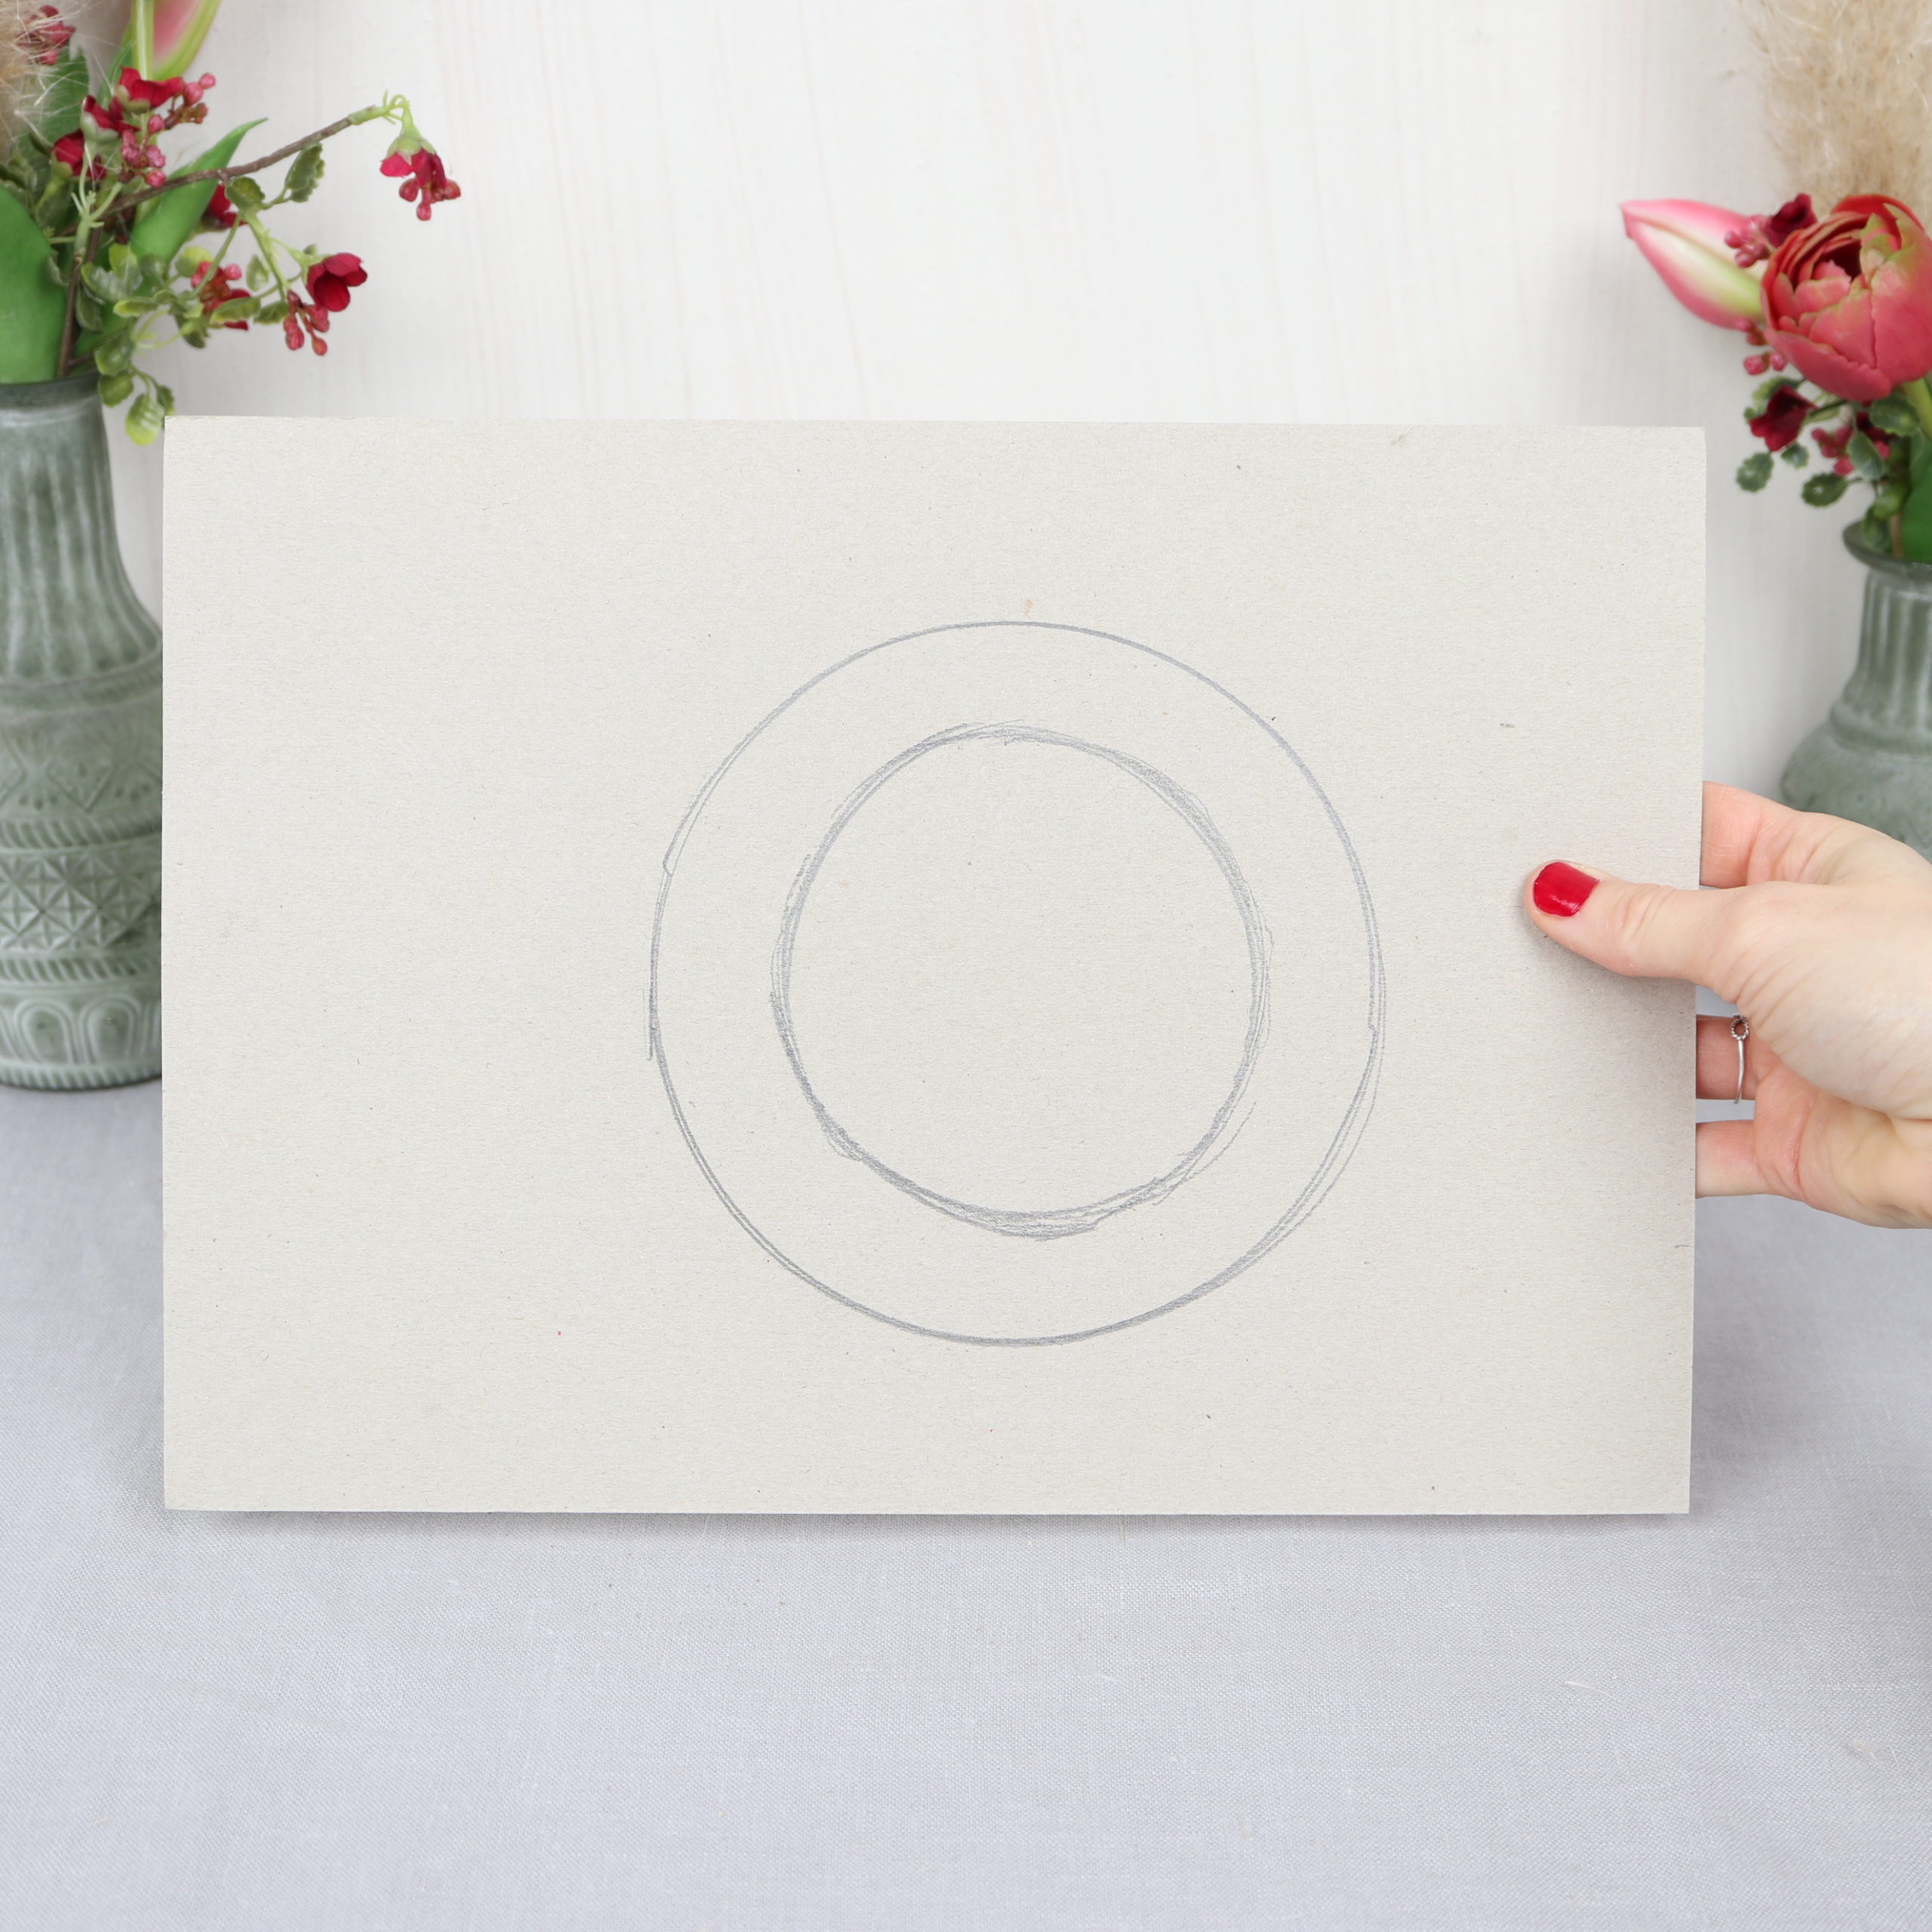
Then I put the smaller bowl in the circle and also go around it with a pen so that a ring is drawn on the cardboard. I make sure that the ring is a little wider than a staple, so that I can easily staple the flowers on it later.
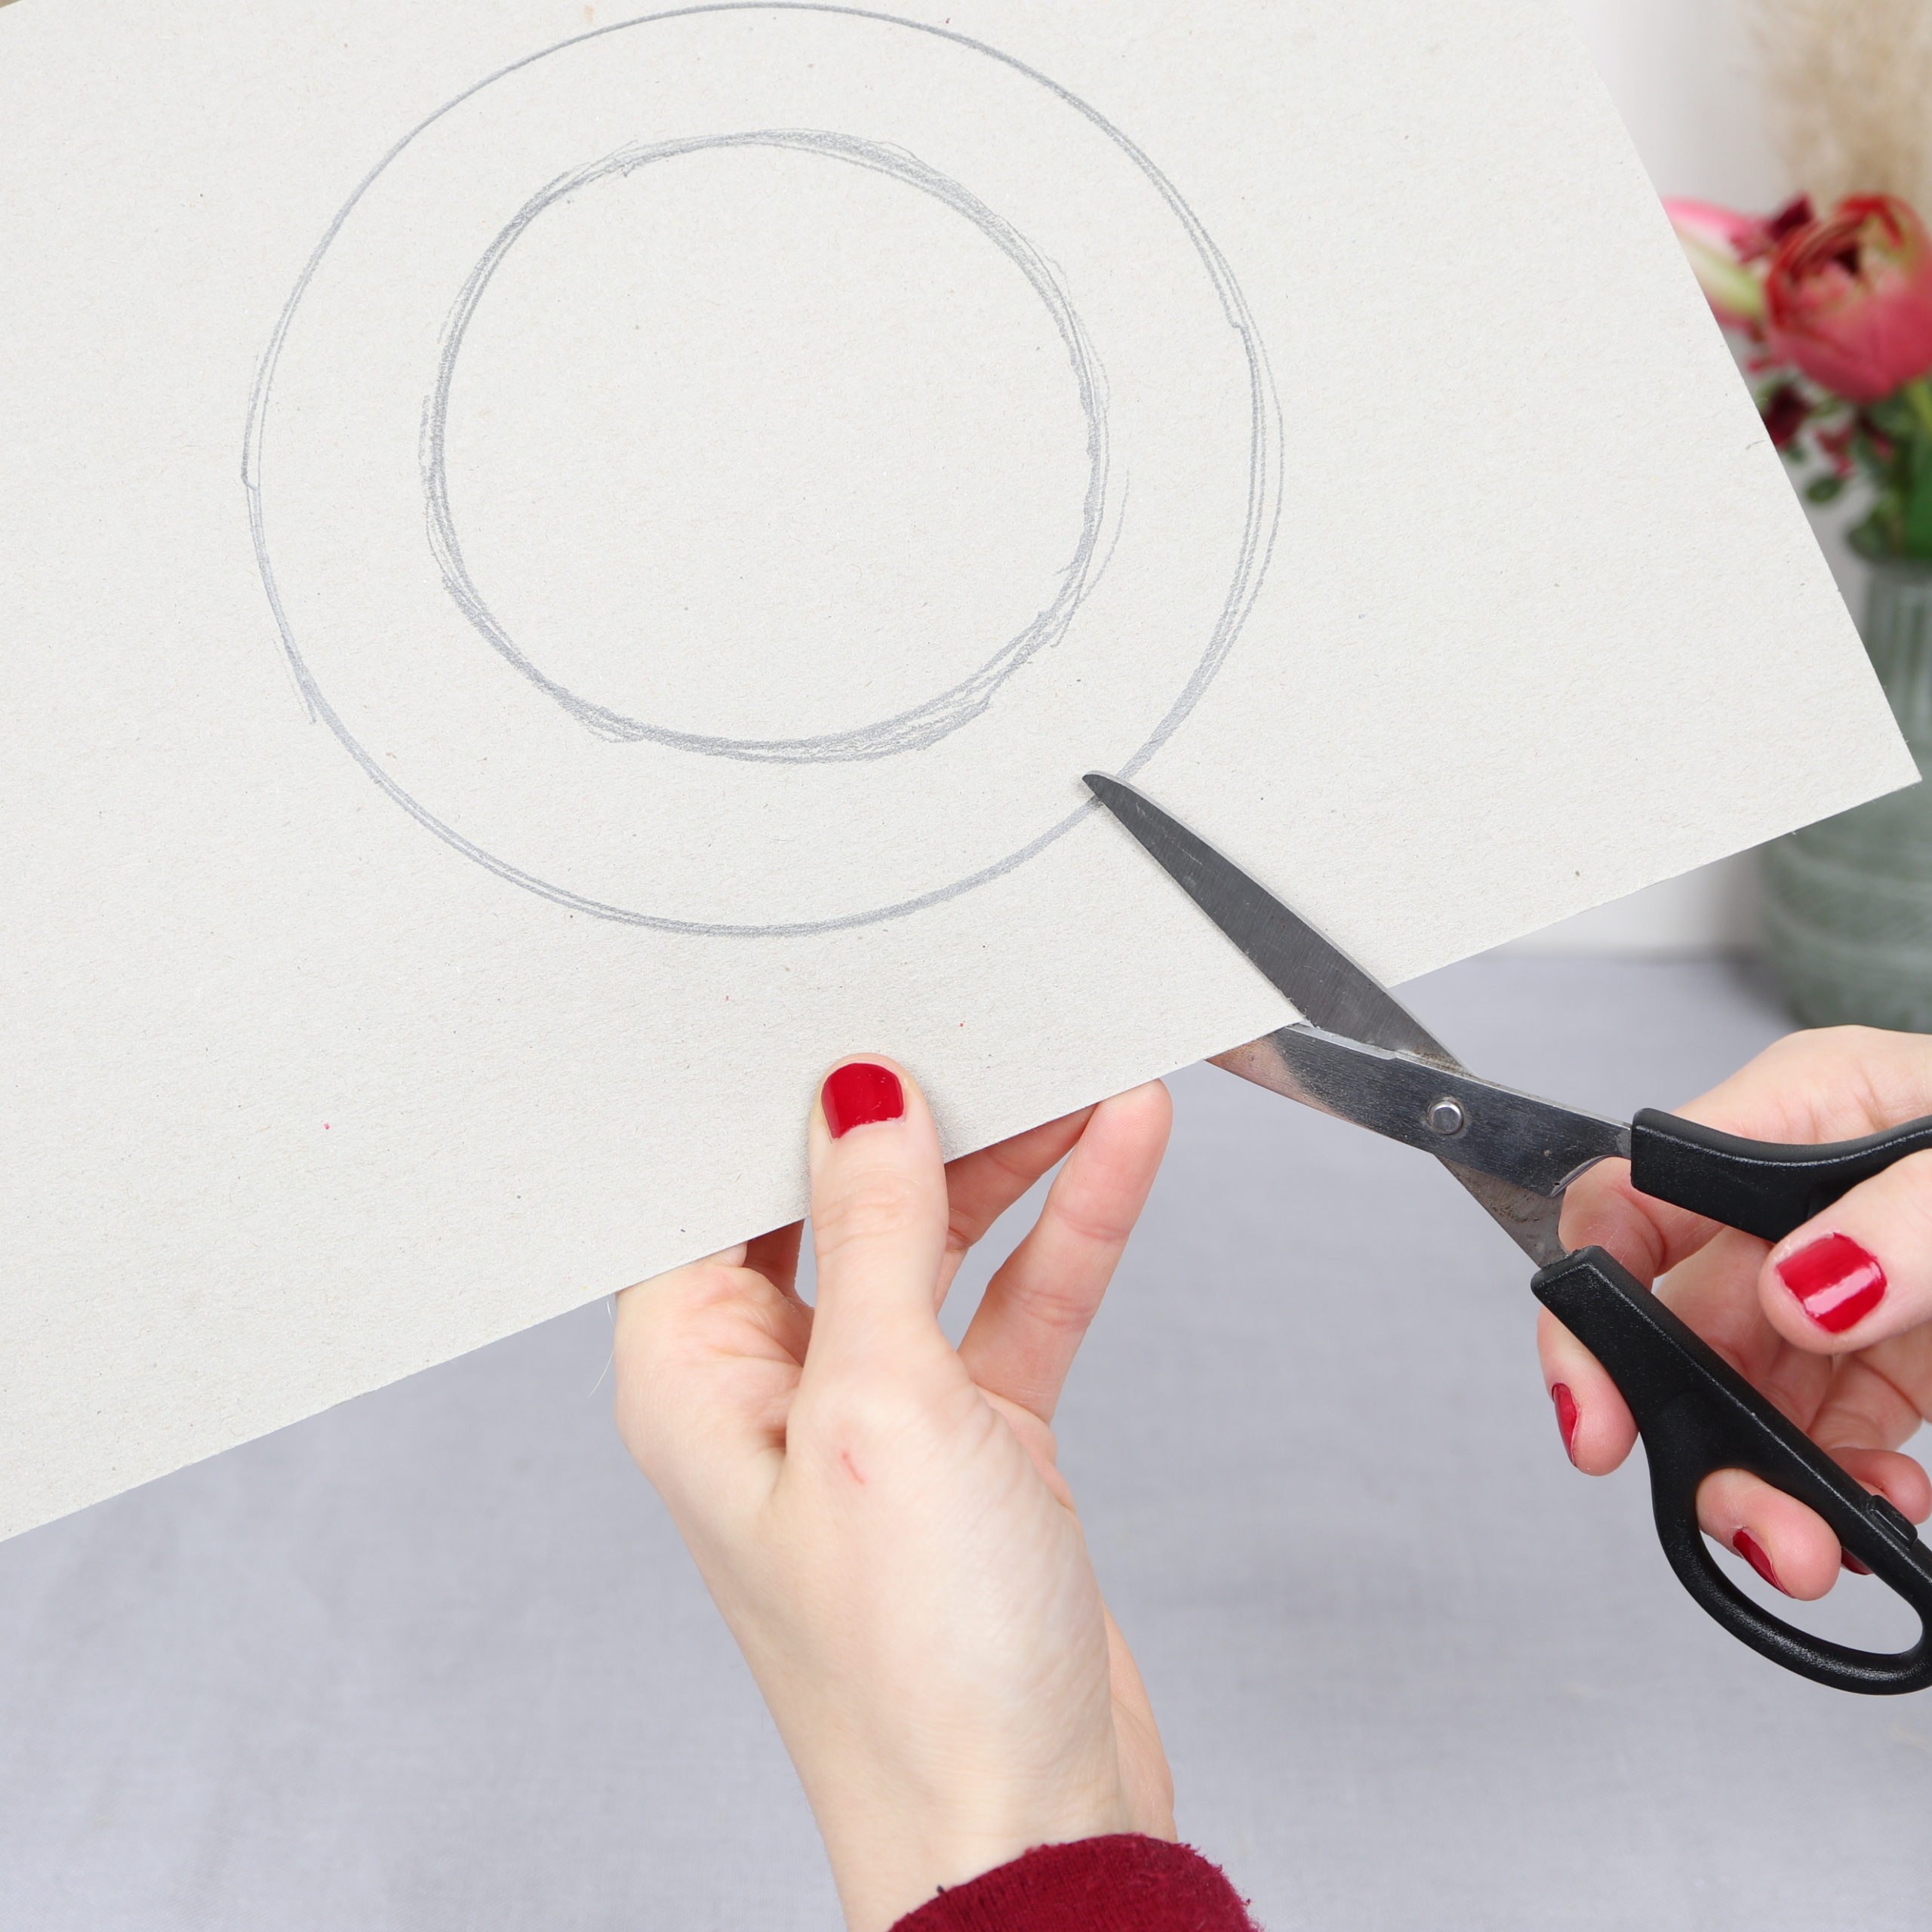
Then I cut out the ring with the scissors.
Step 2: Attach suspension
Now I attach the decorative lace ribbon.
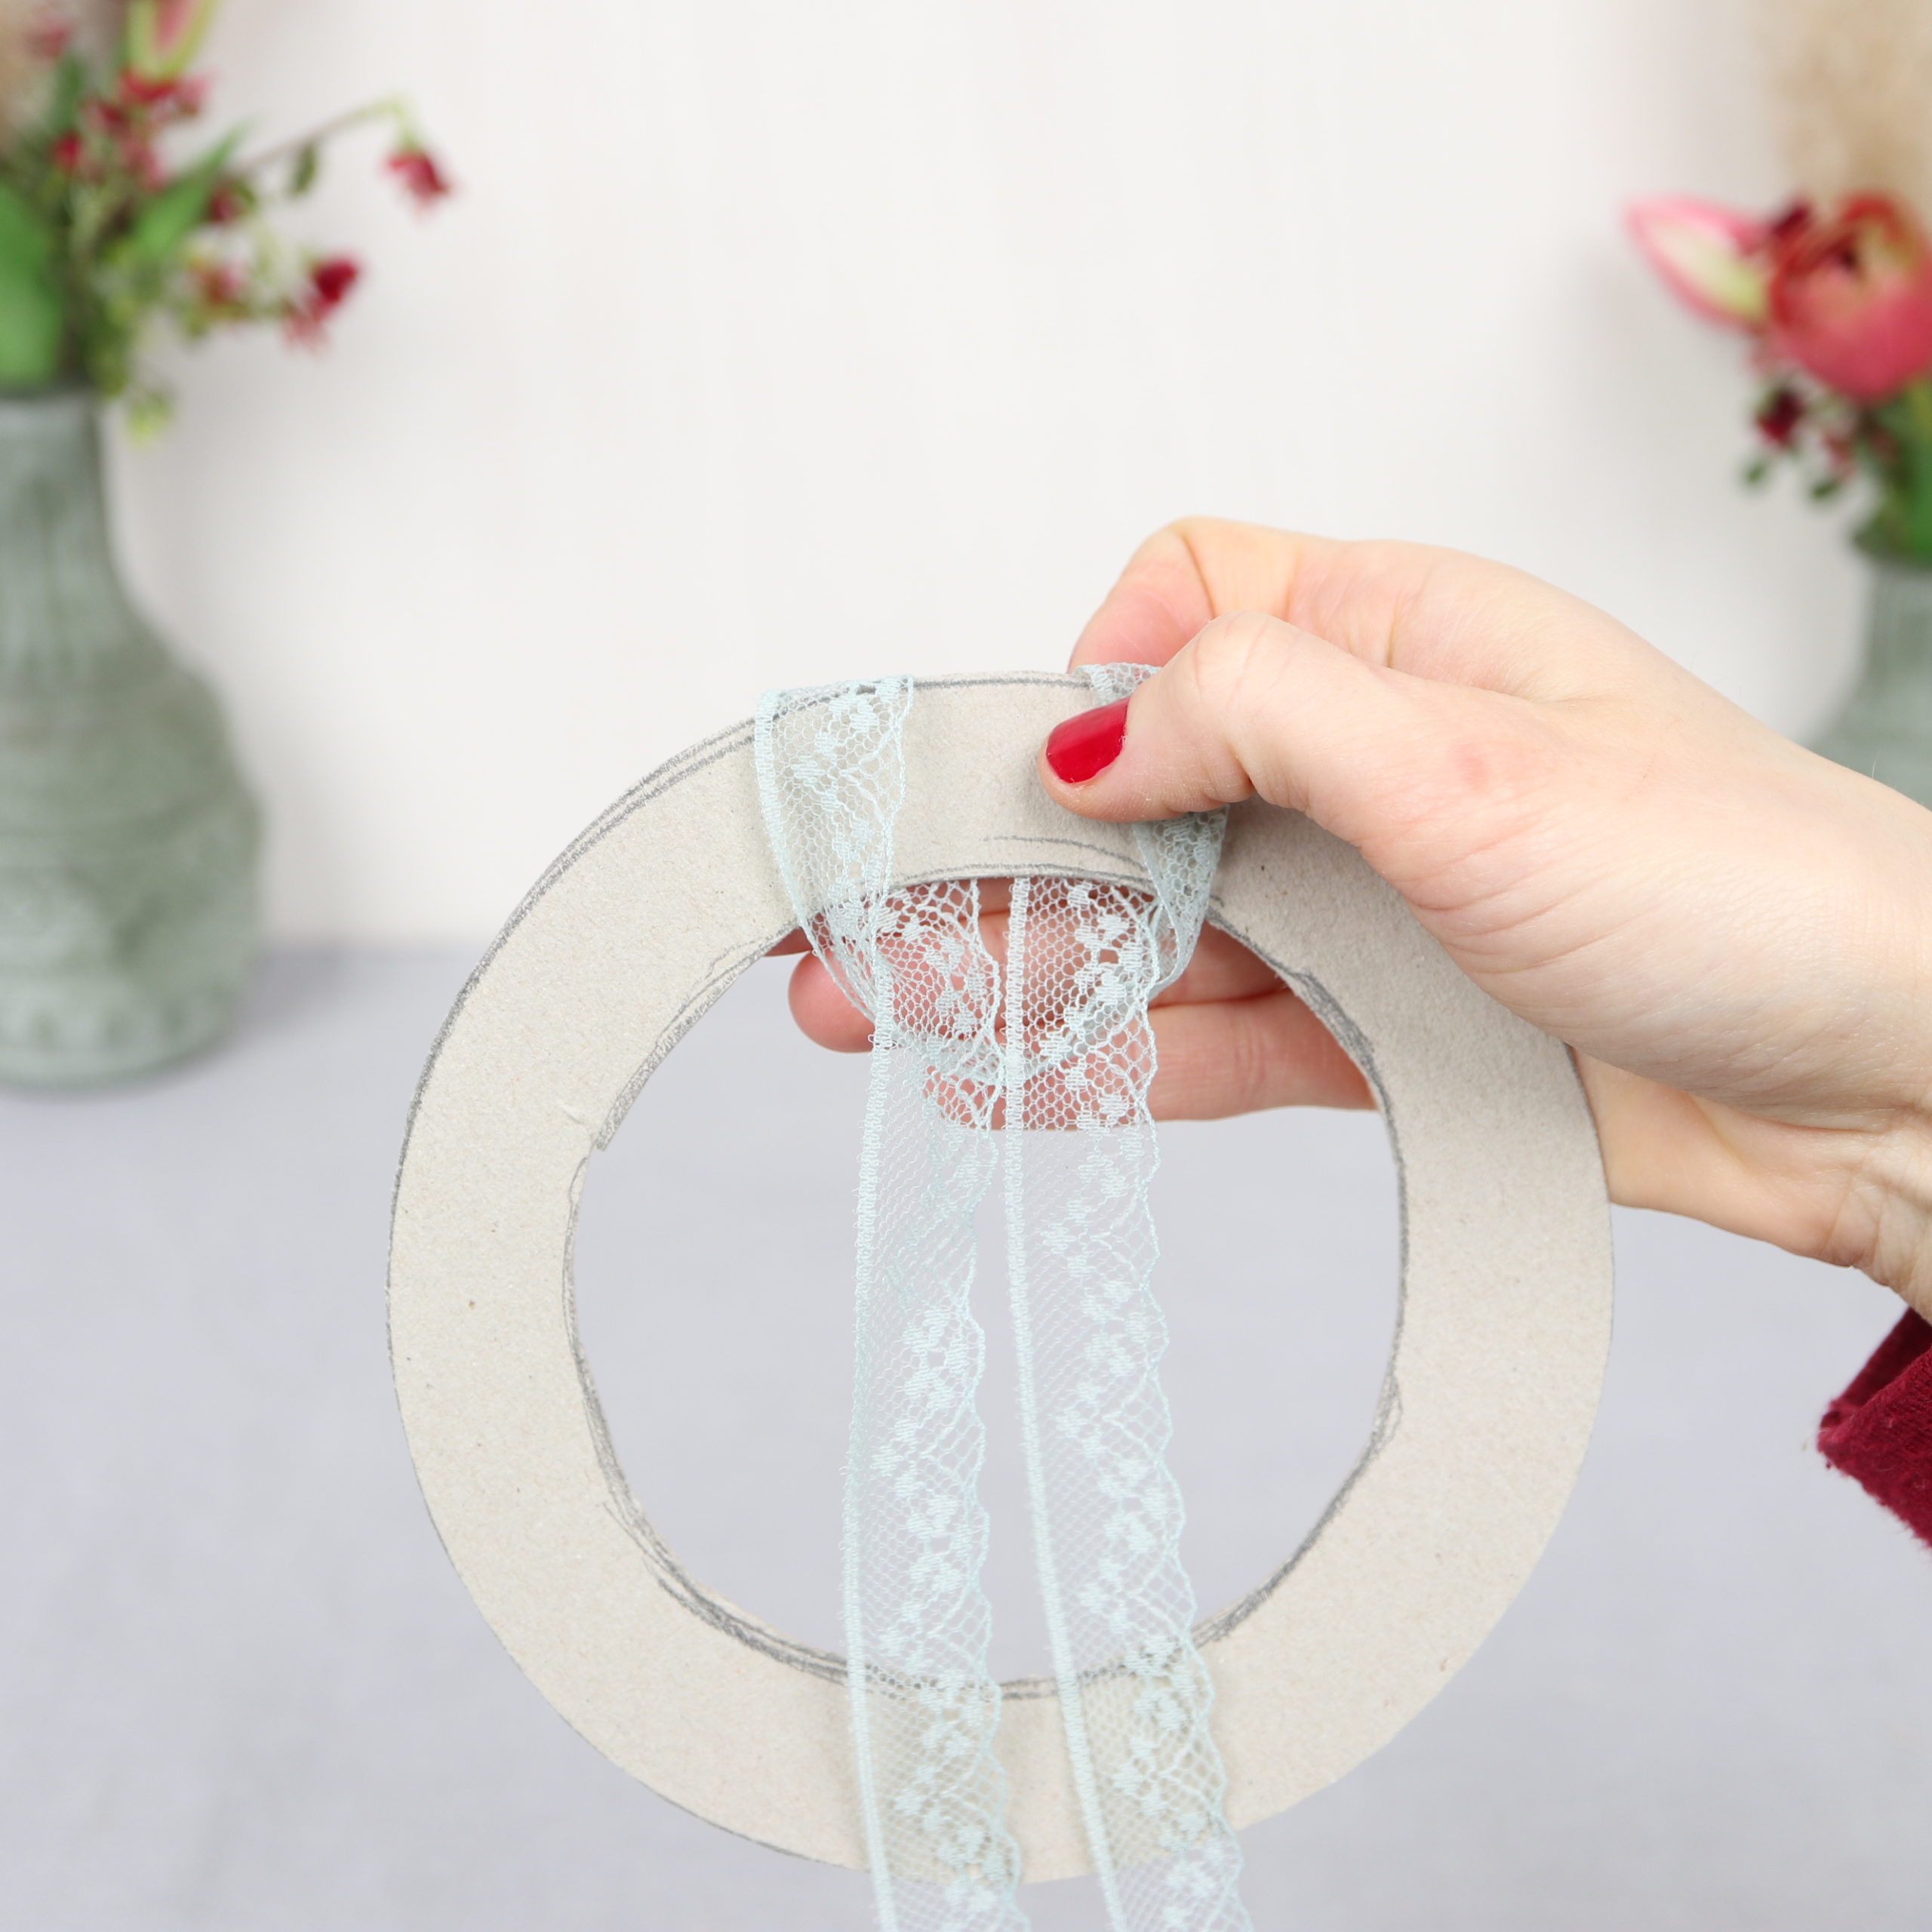
For this I cut a piece of ribbon and fold it in half.

I place the loop over the ring, loop the ends through and then tighten it.
Step 3: Cut dried flowers
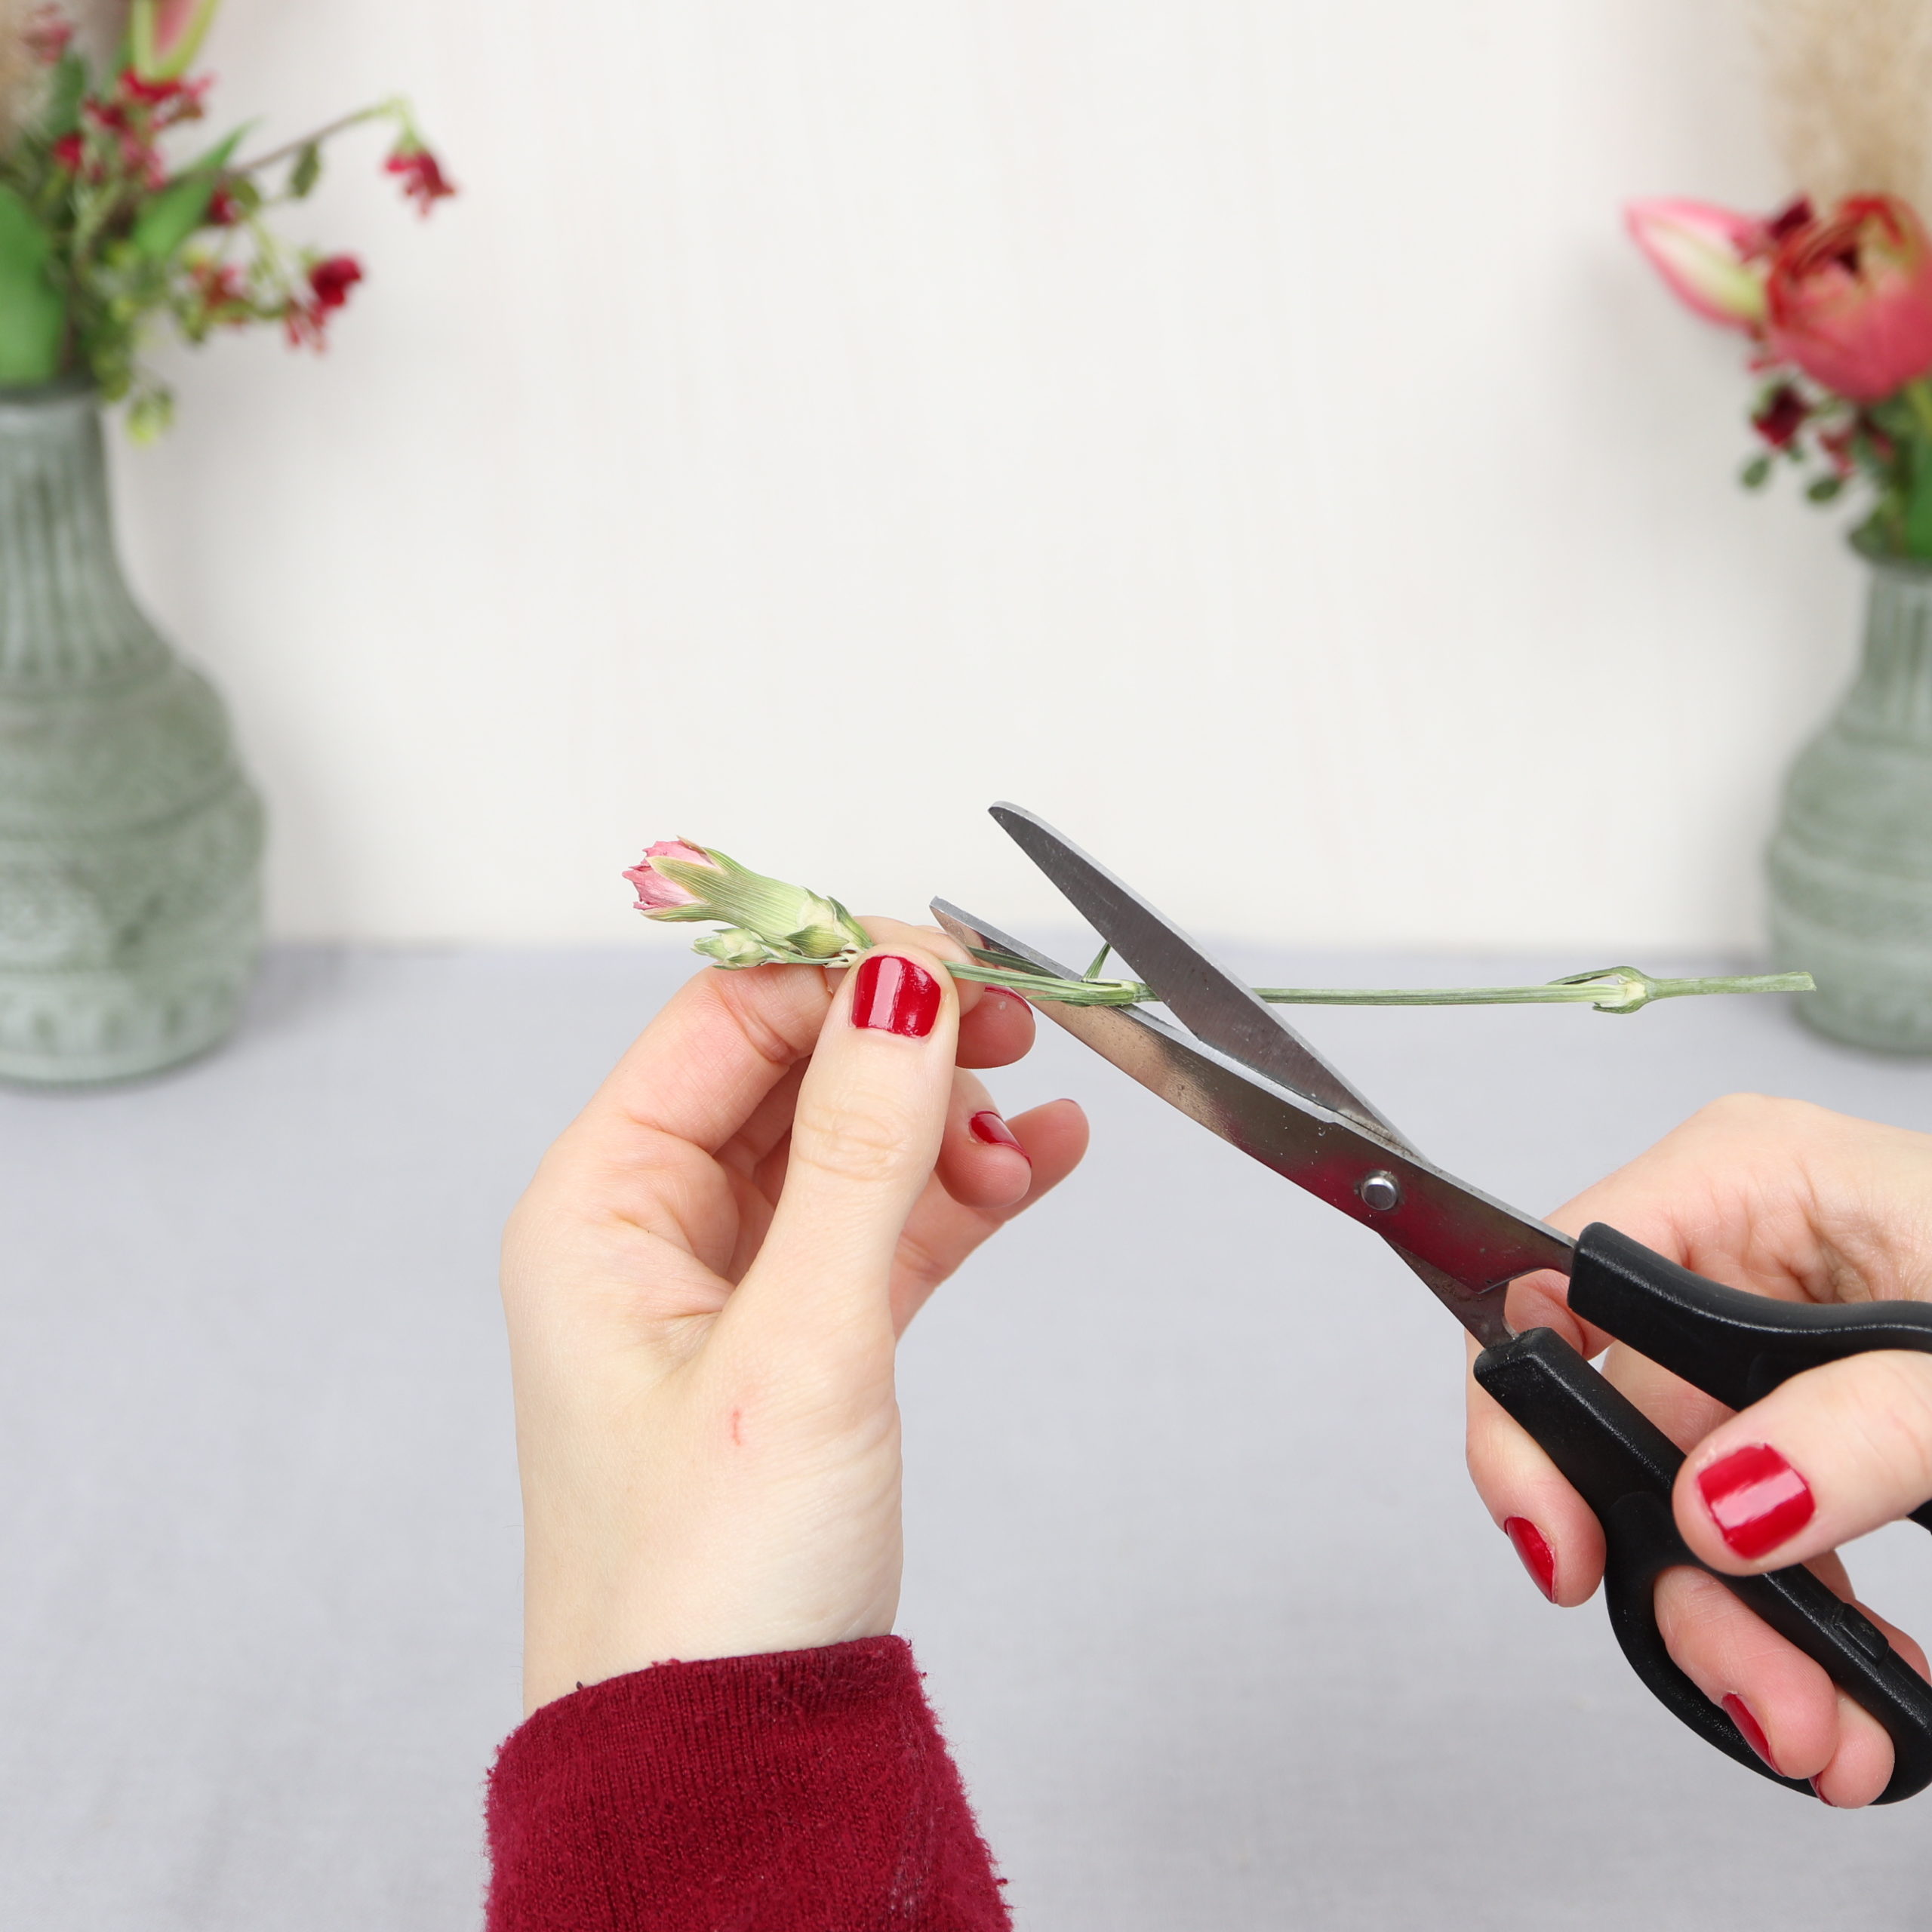
In the third step, I cut the stems of the dried flowers to the same (short) length.

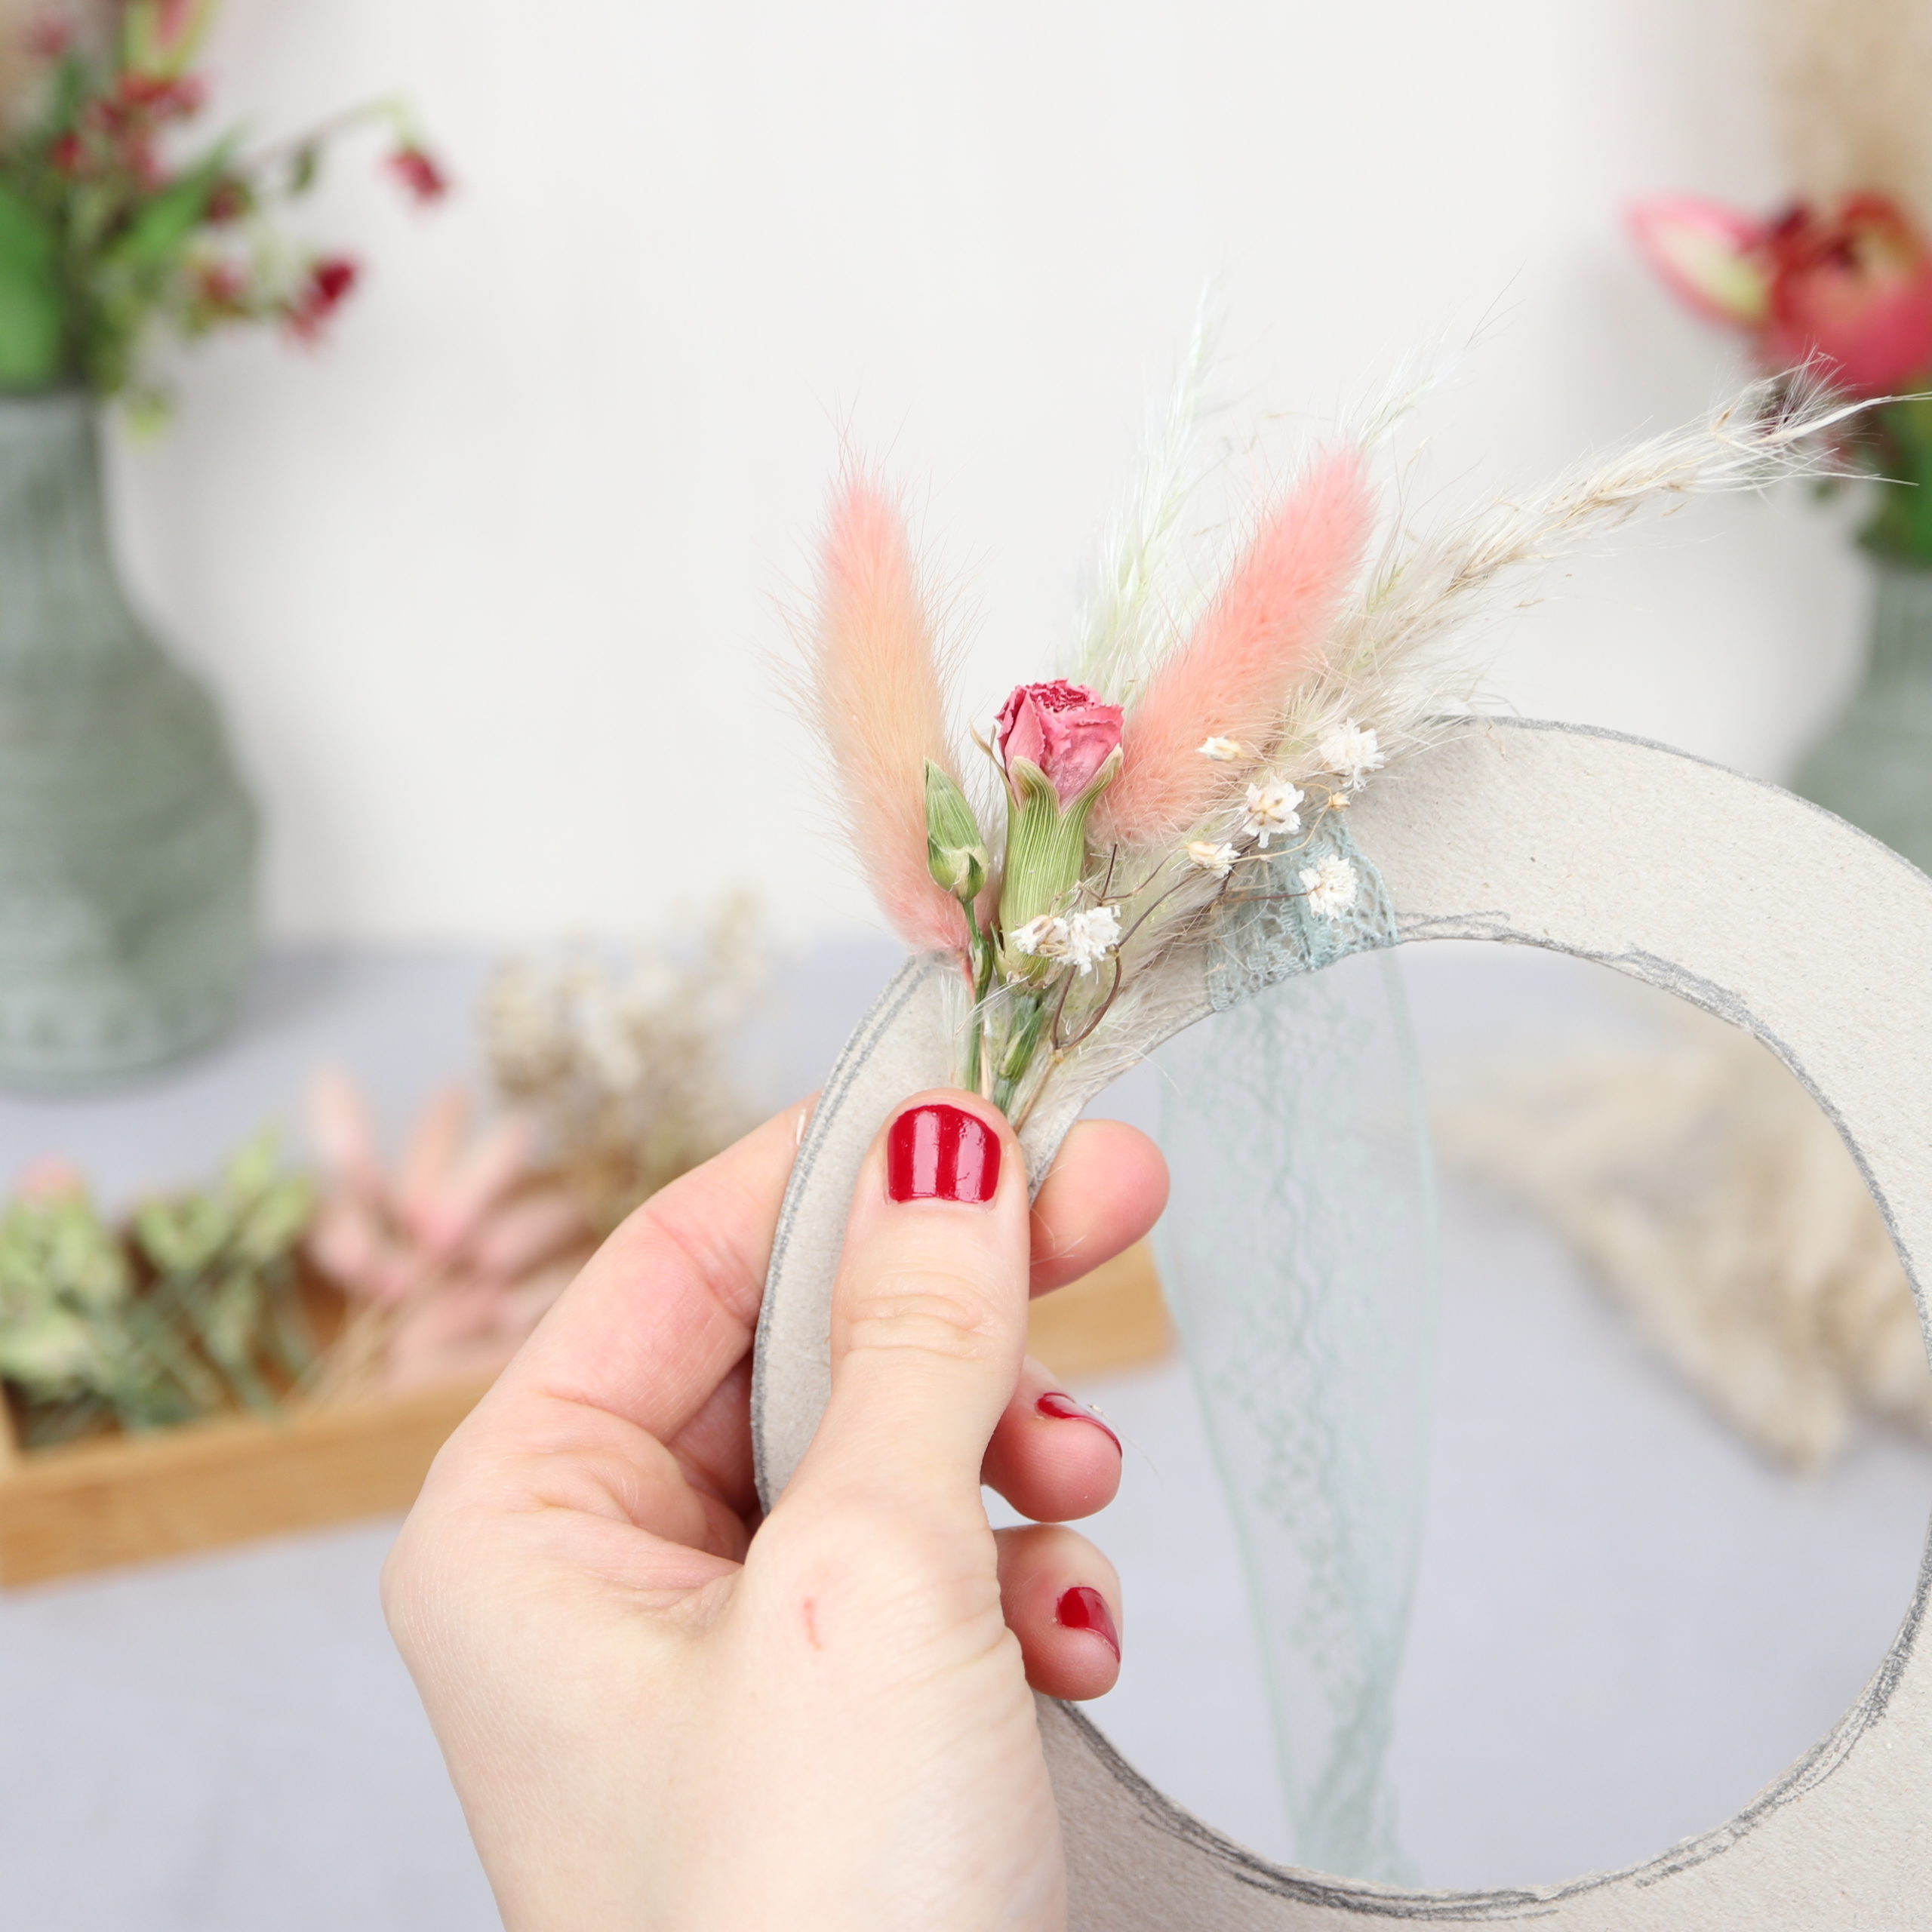
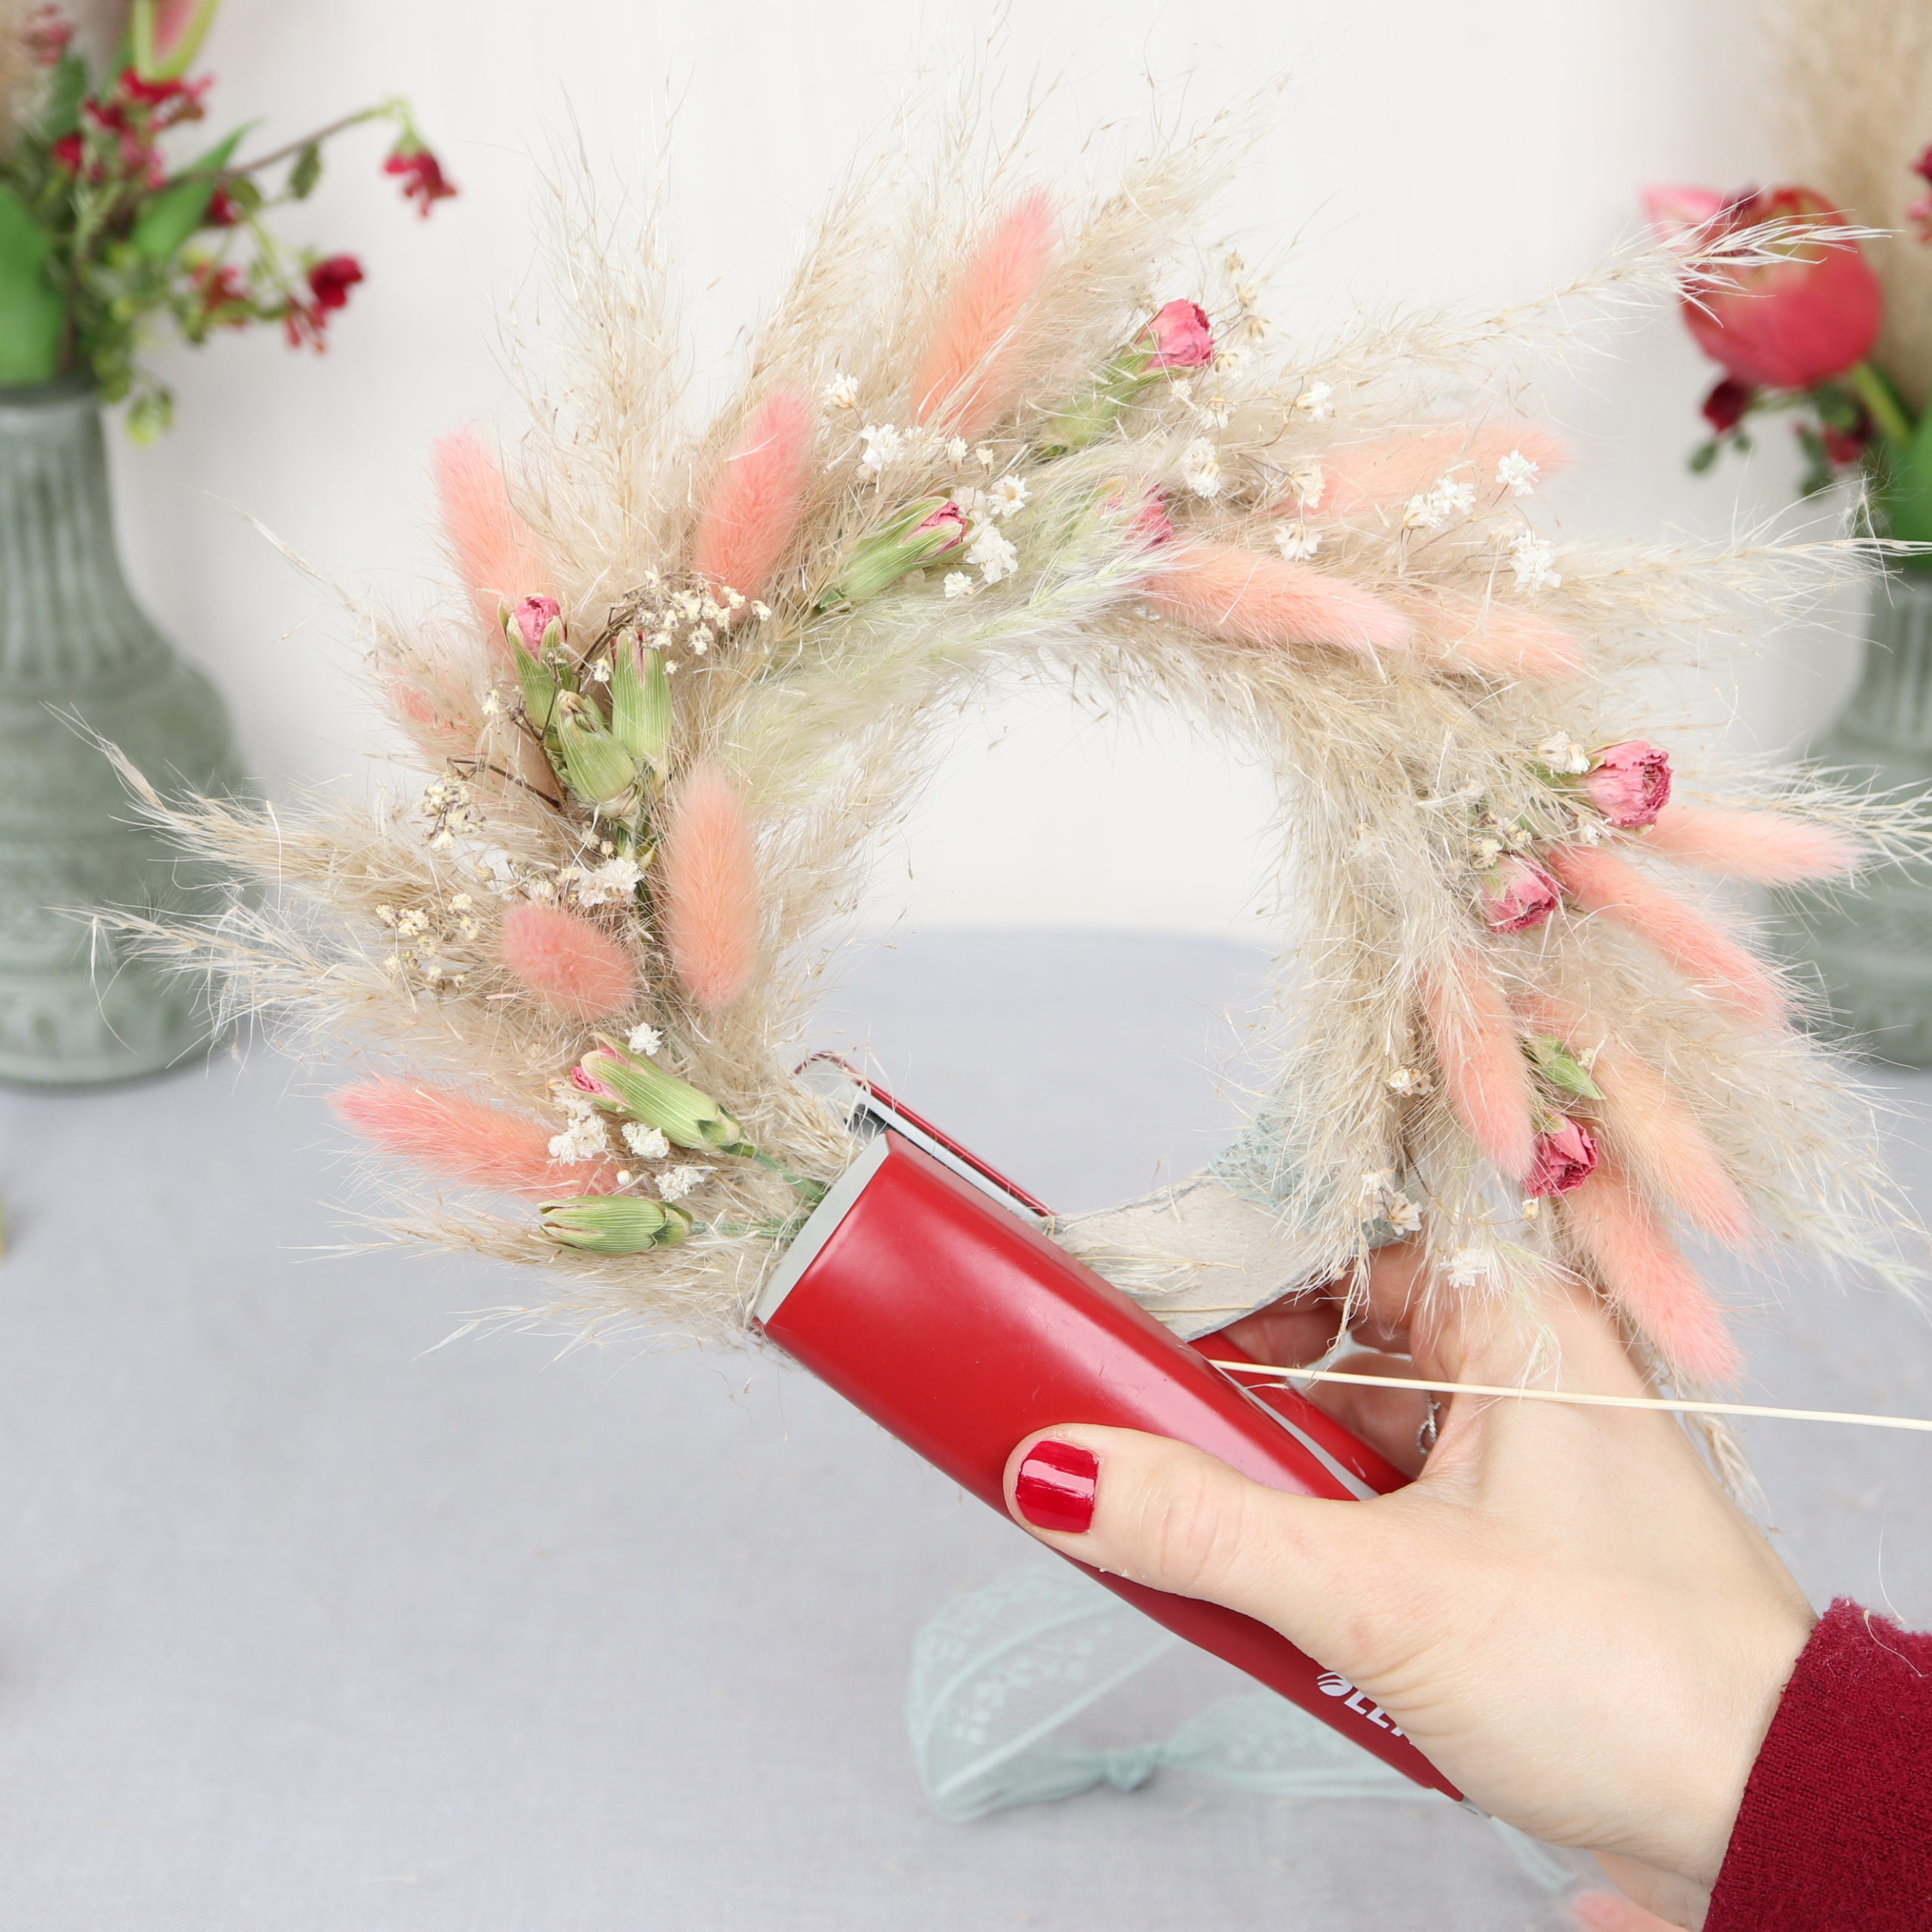
Step 4: Staple dried flowers on cardboard
Now it’s time to staple! I gather several dried flowers, put them on the ring and just staple them down.

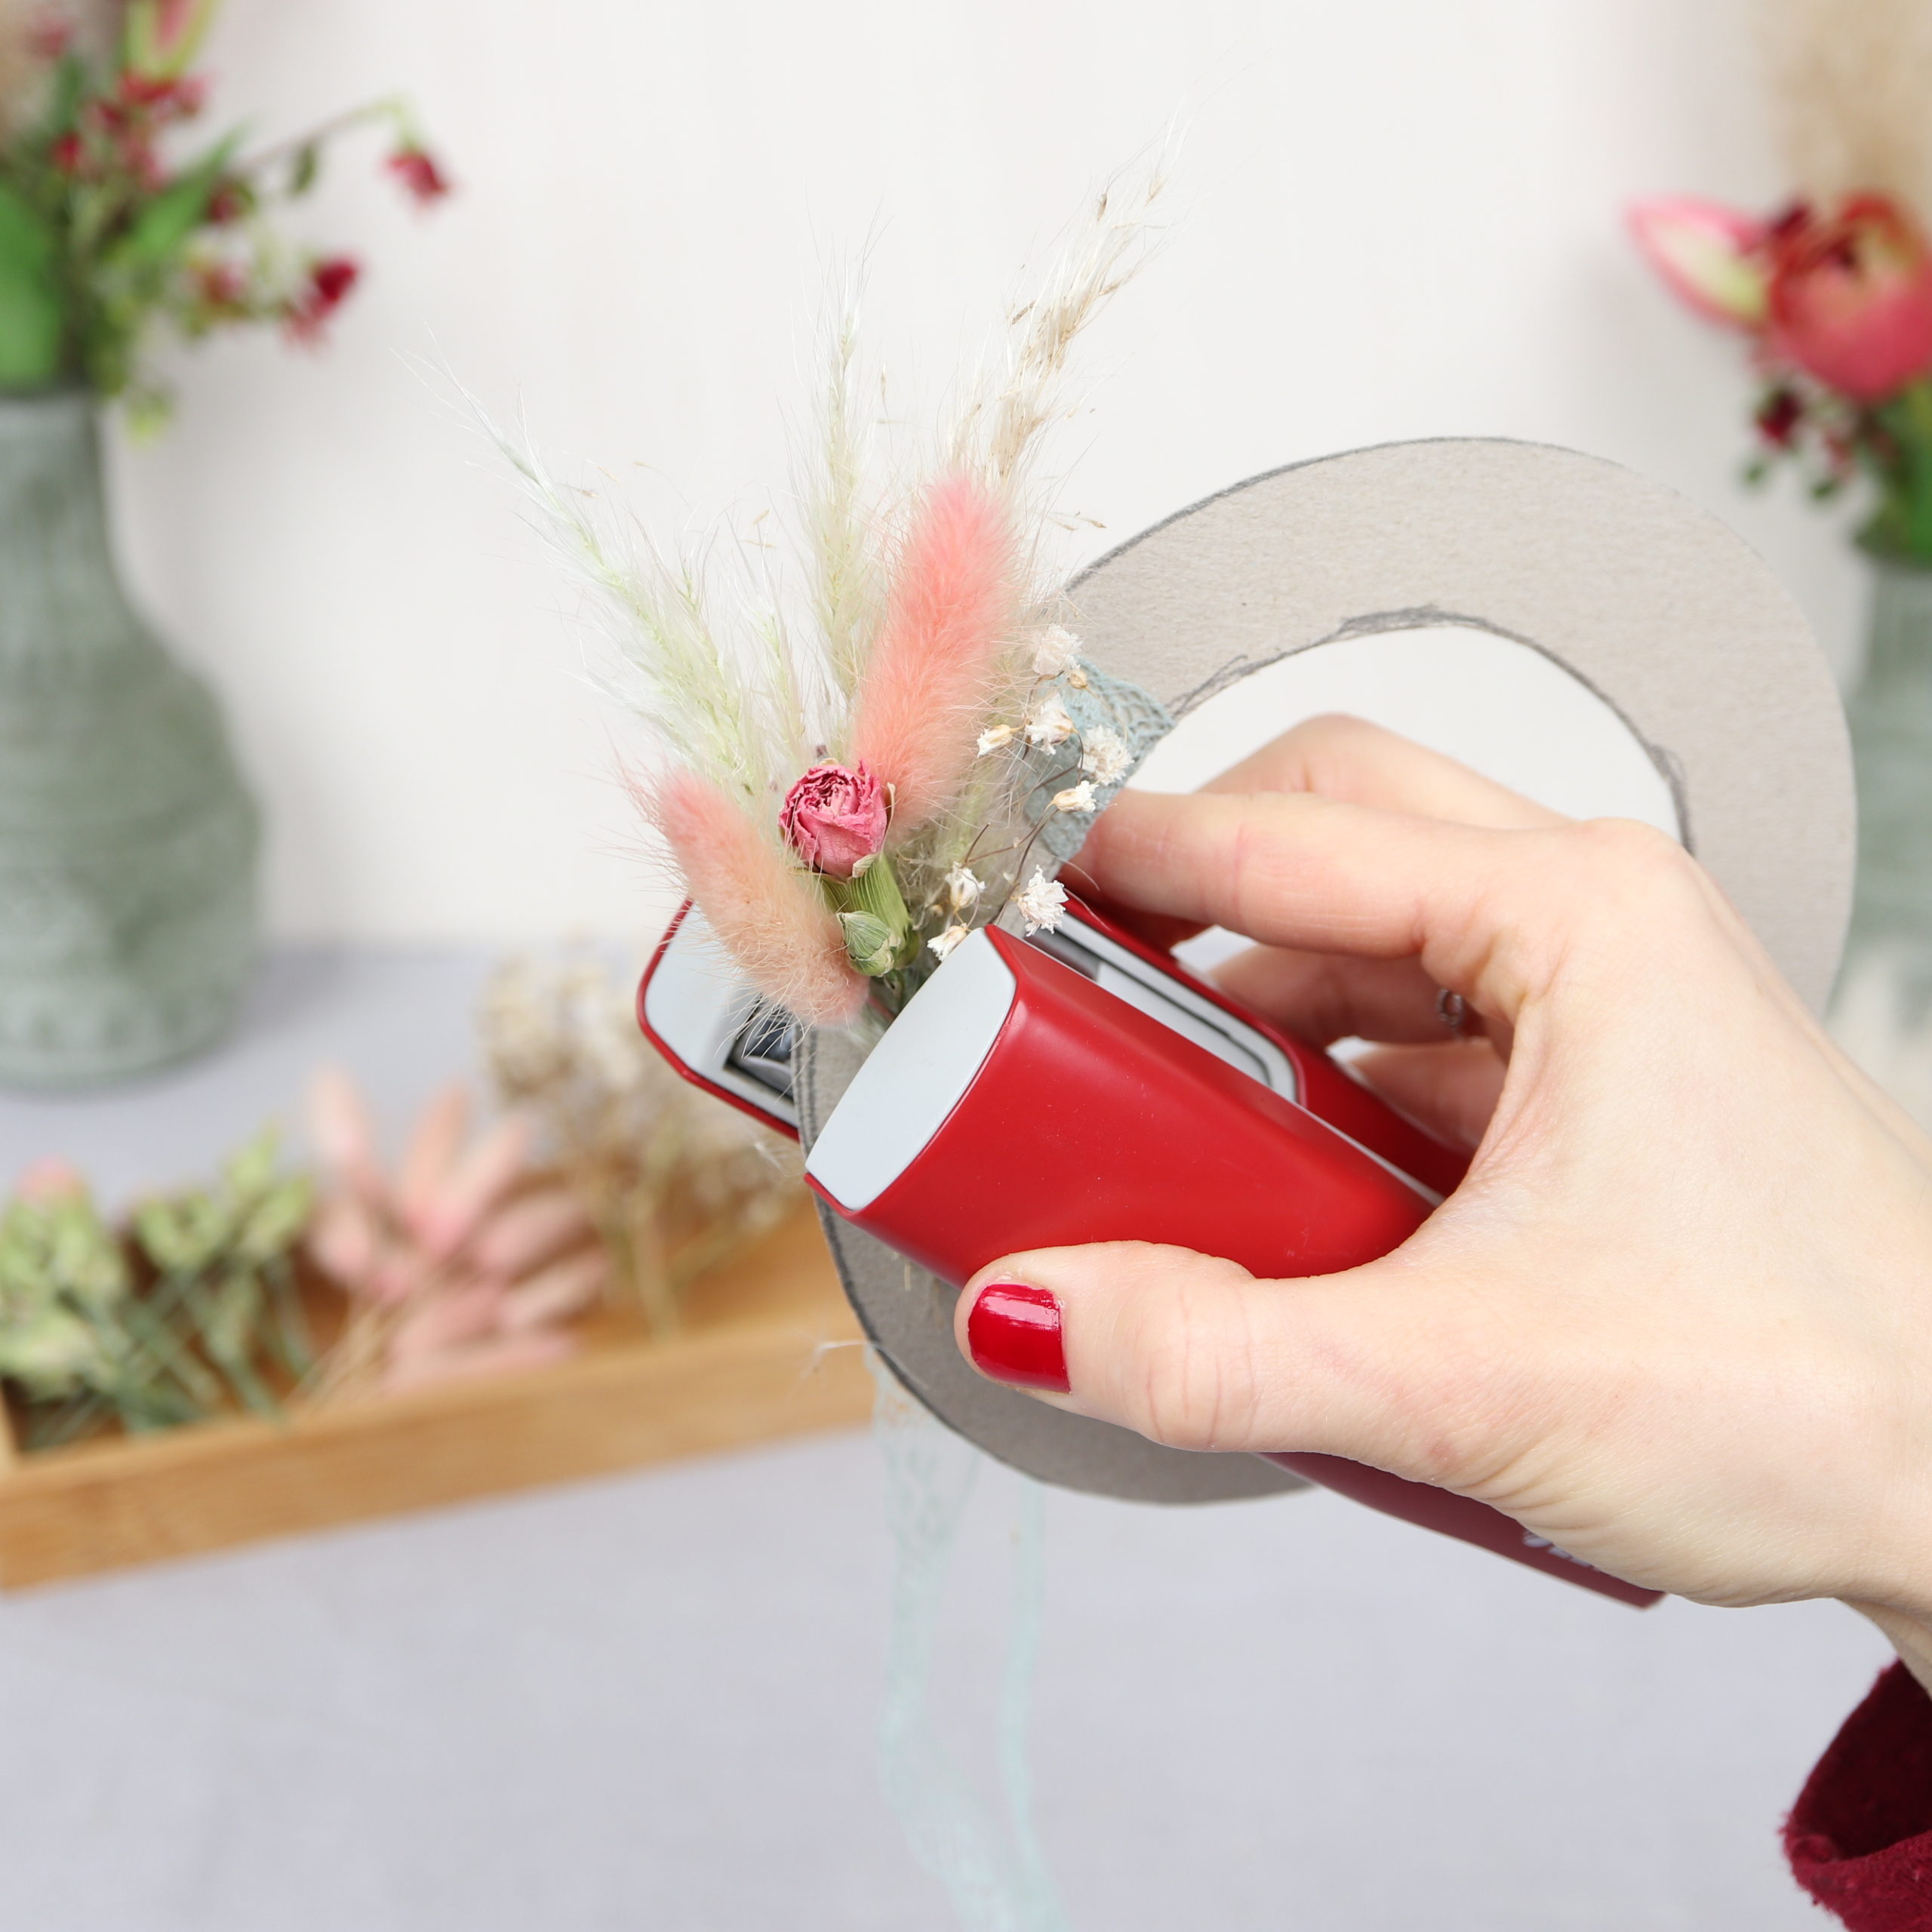
Then I put another bundle on top of the previous one and staple it down again.

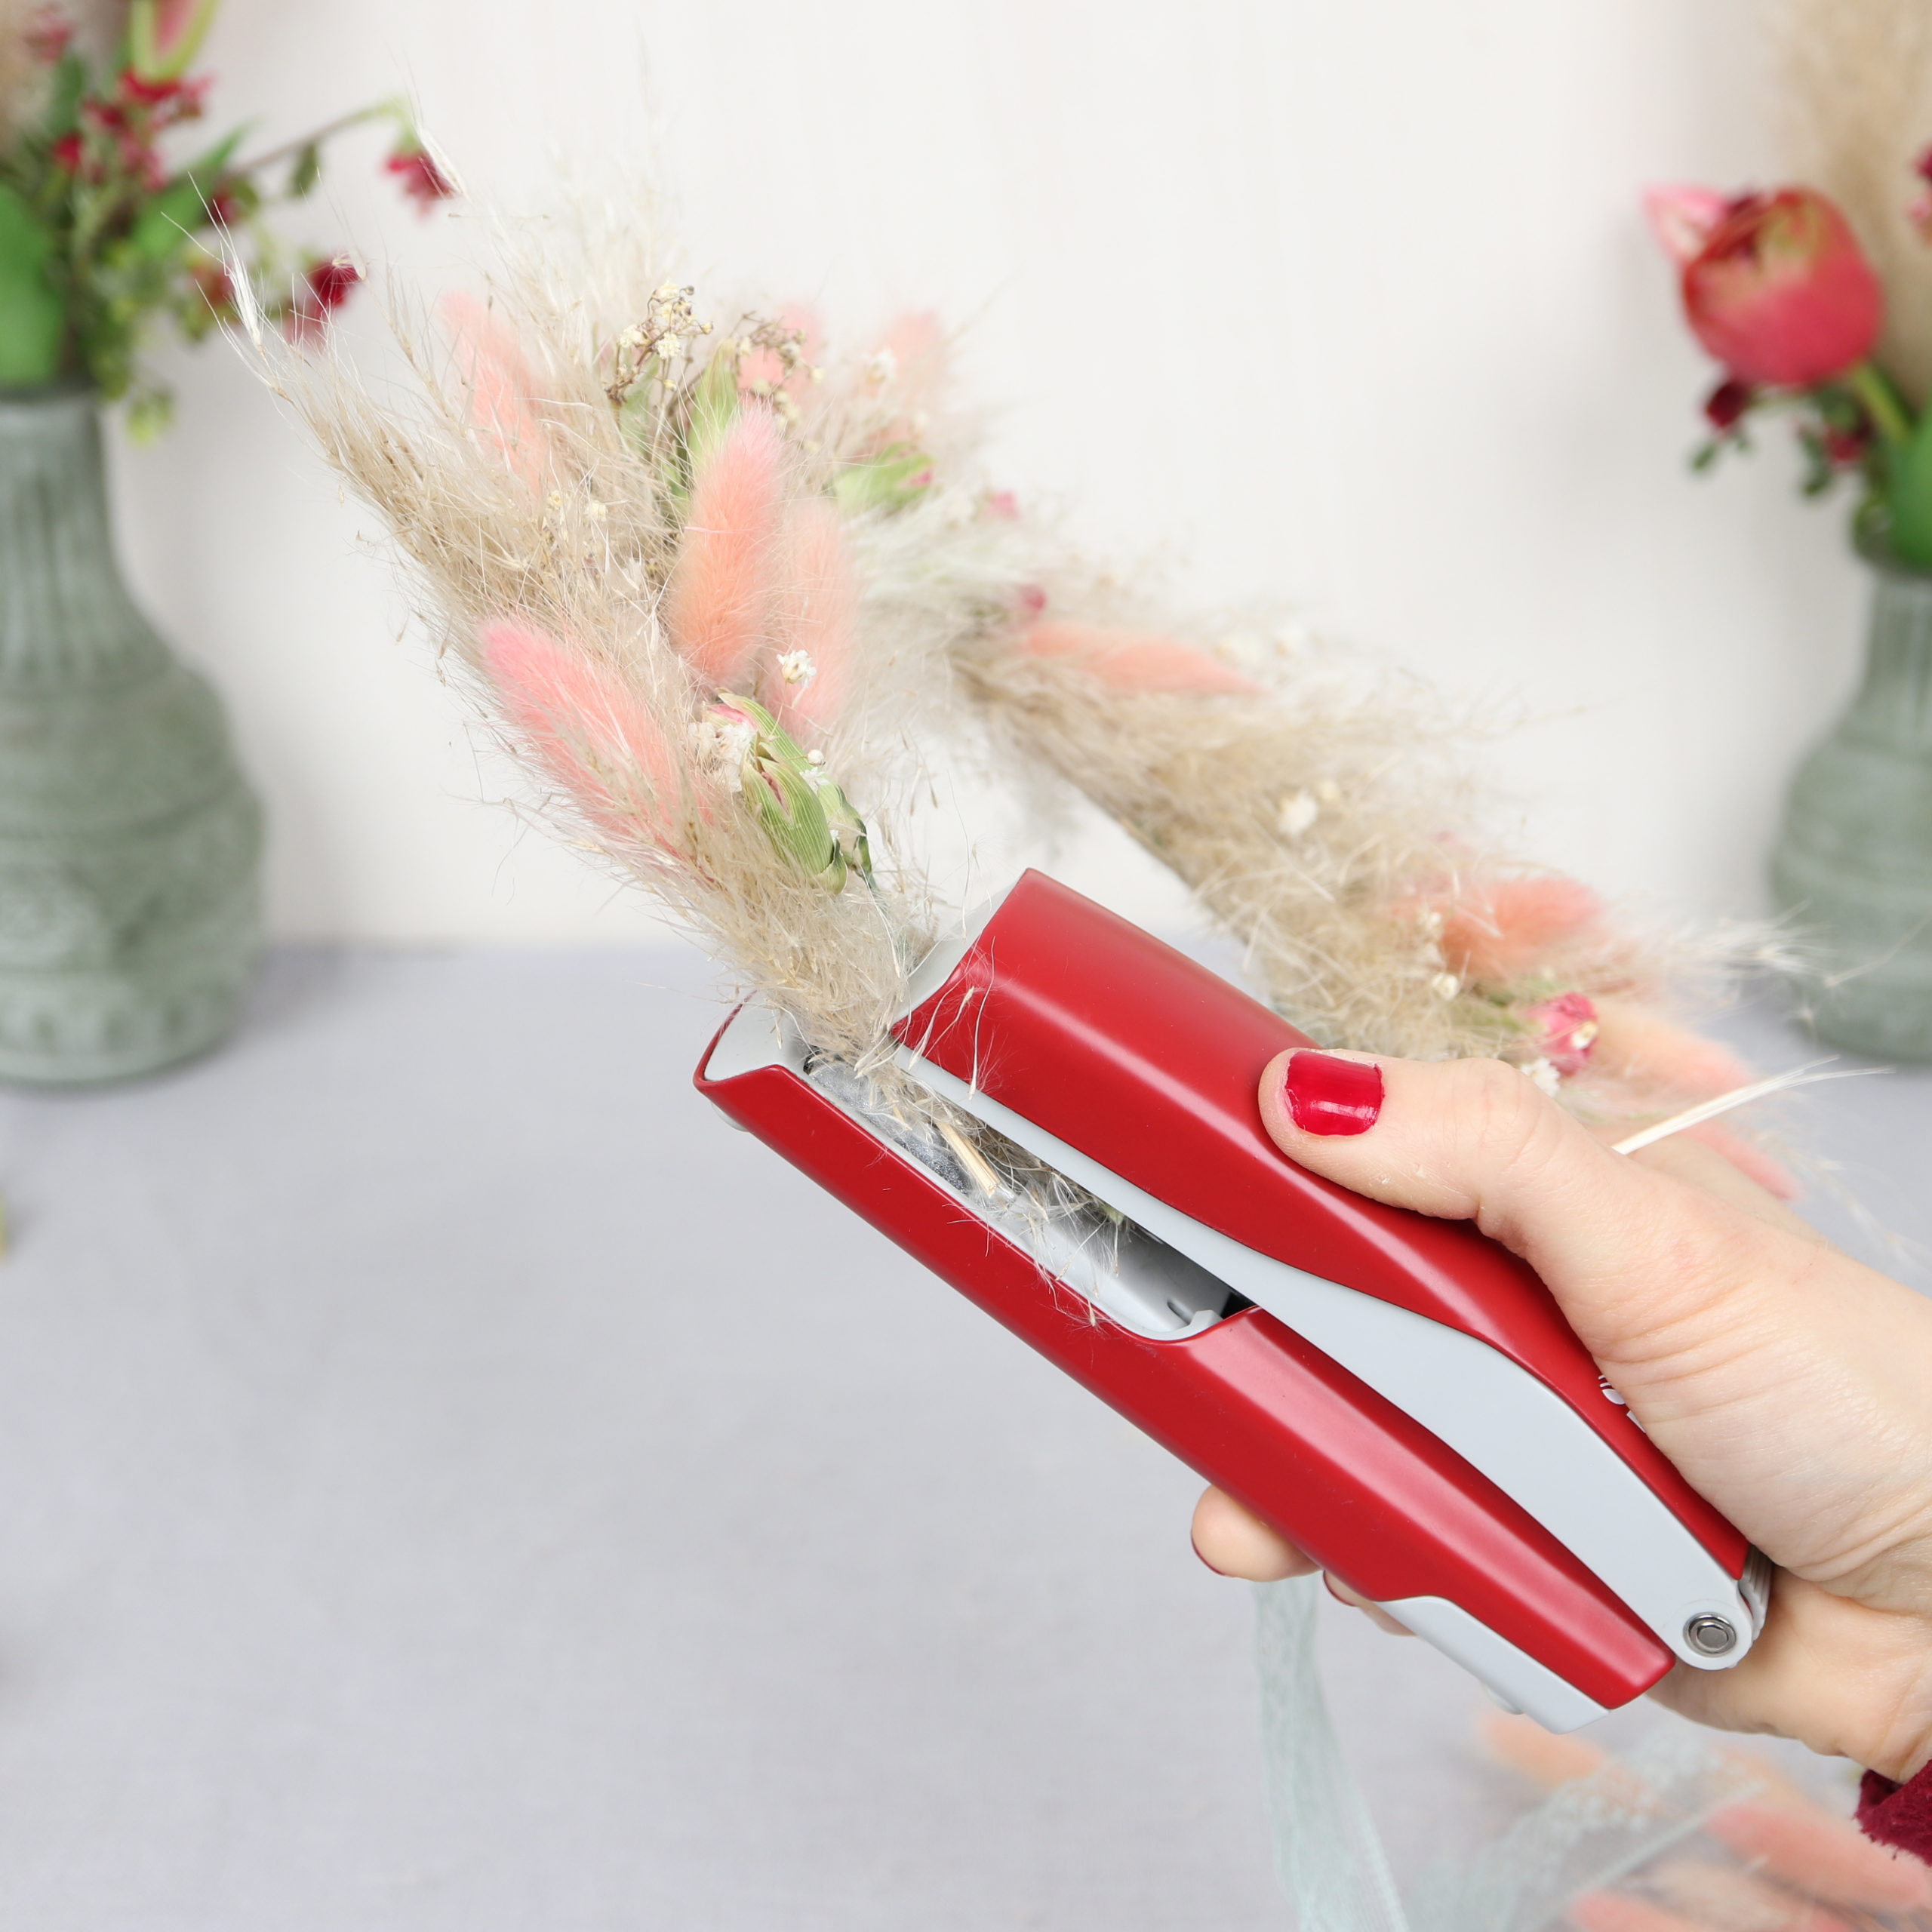
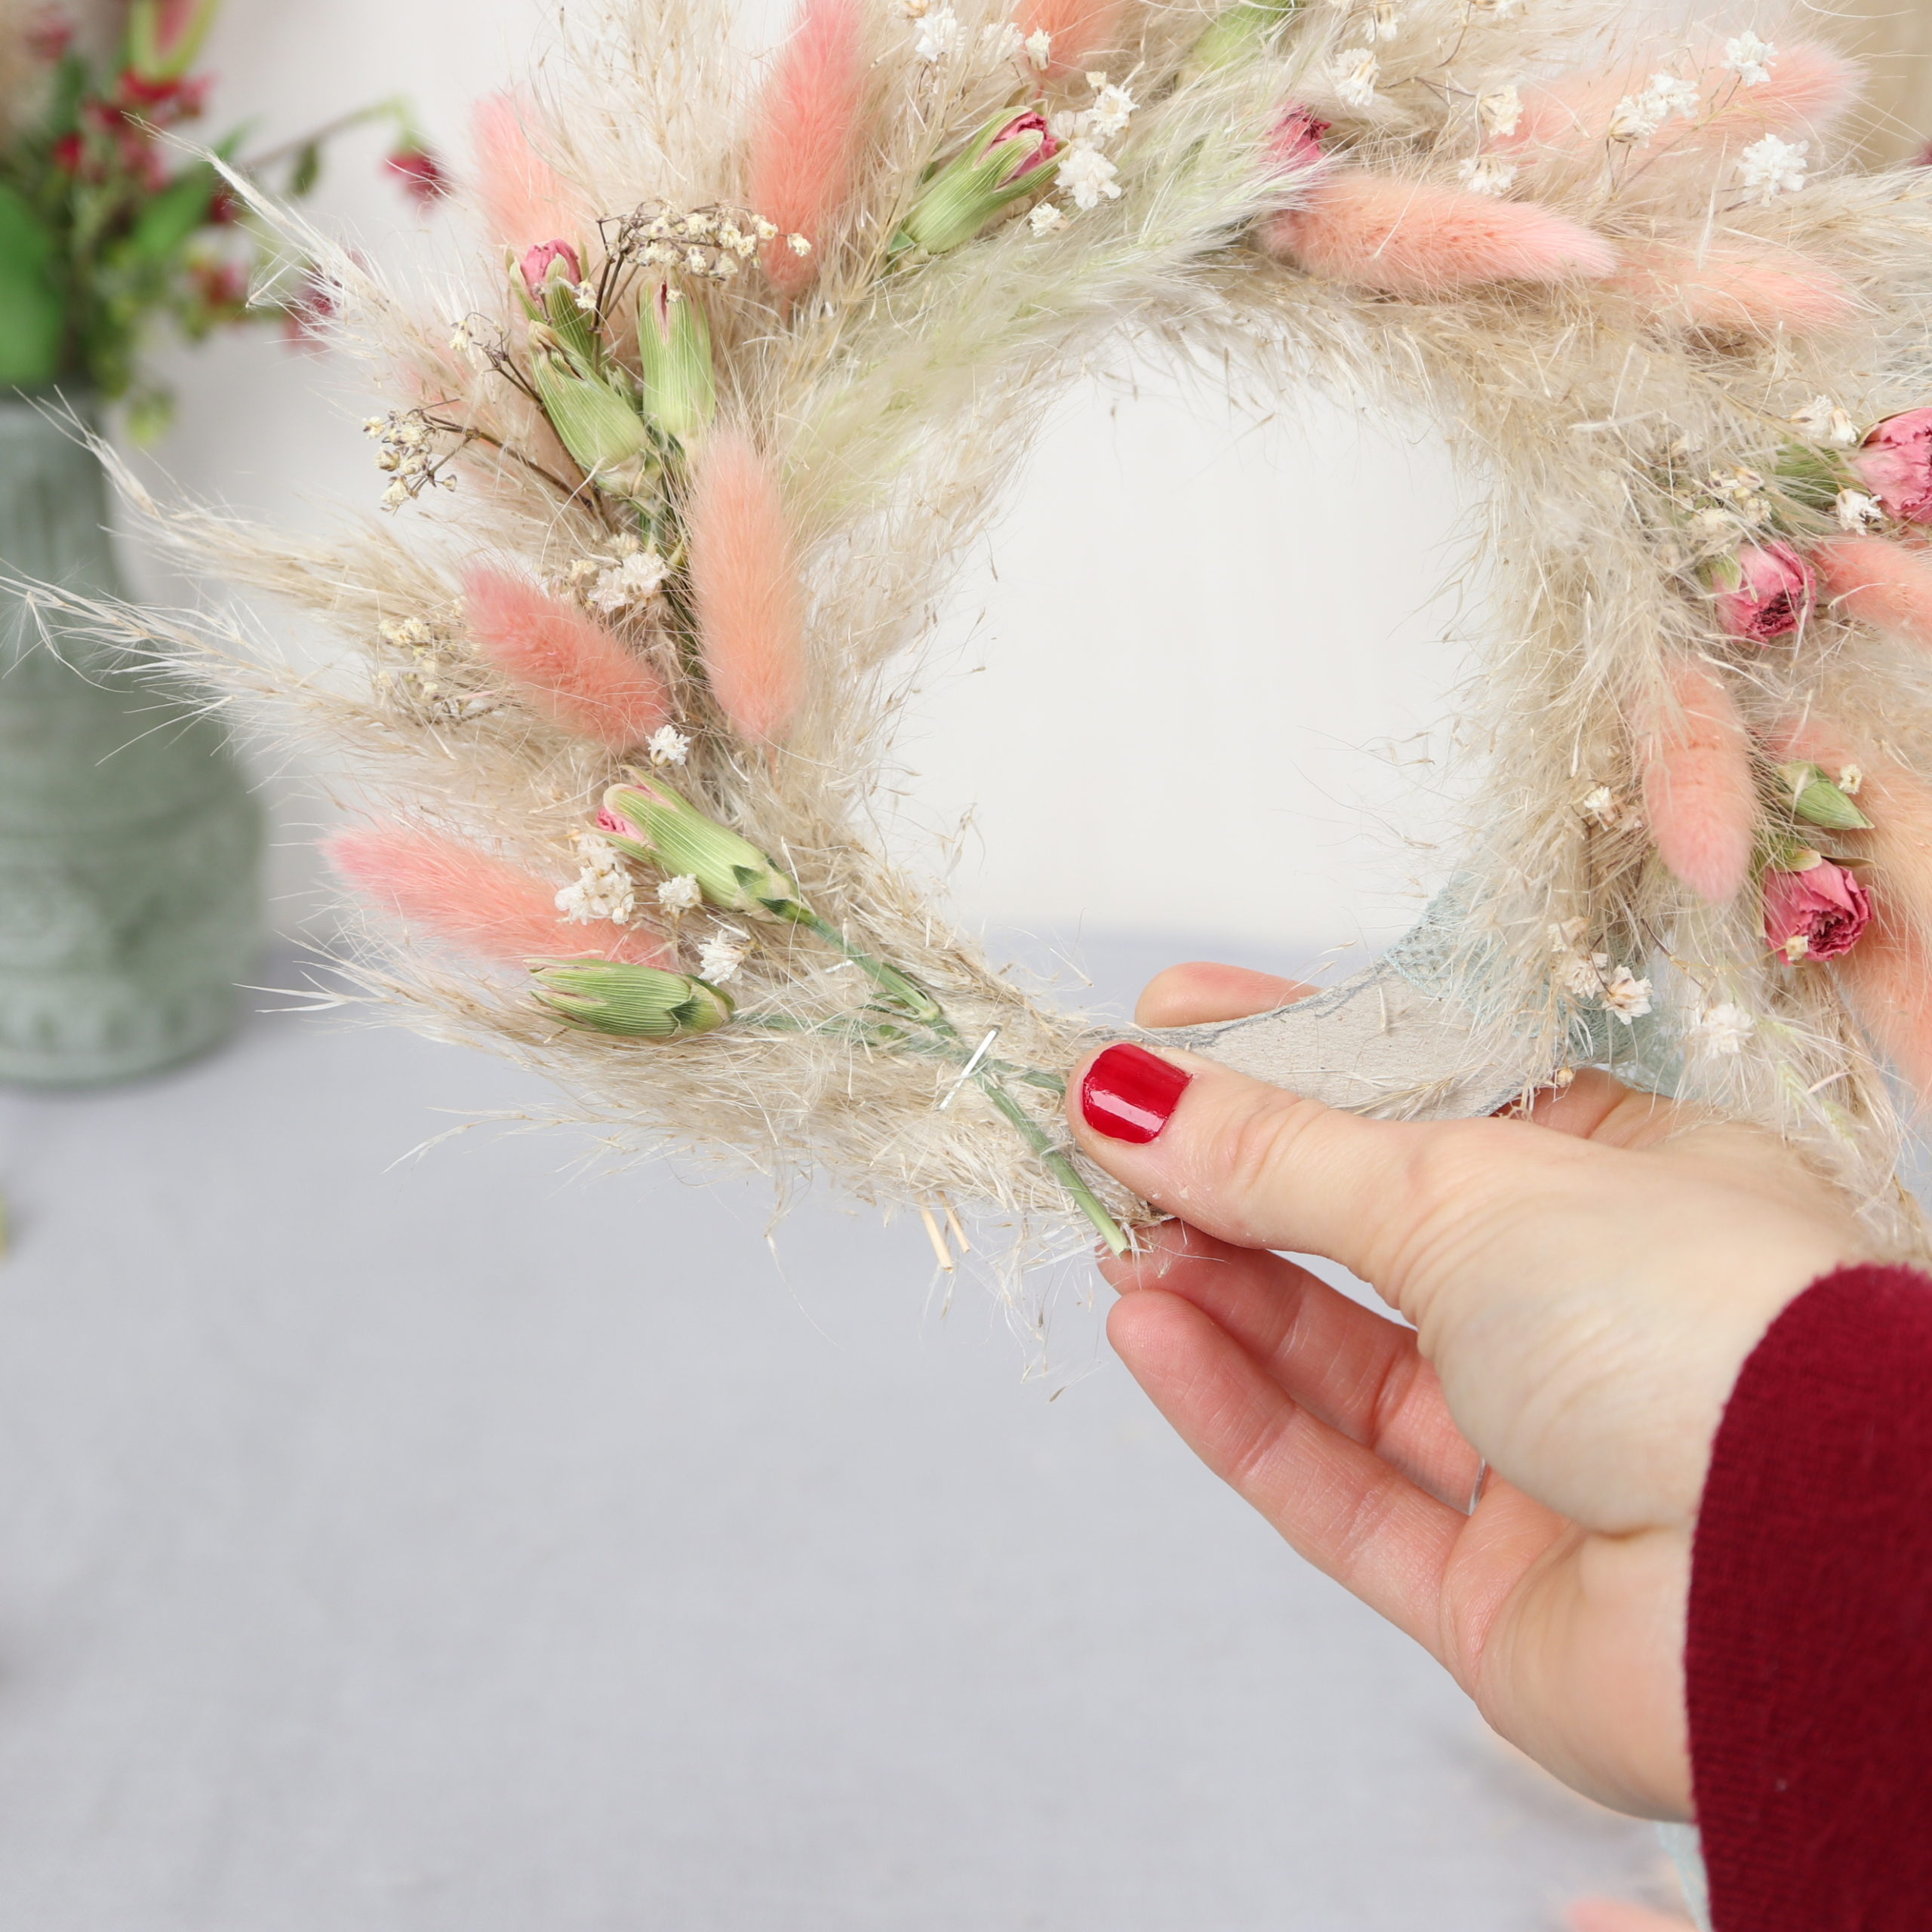
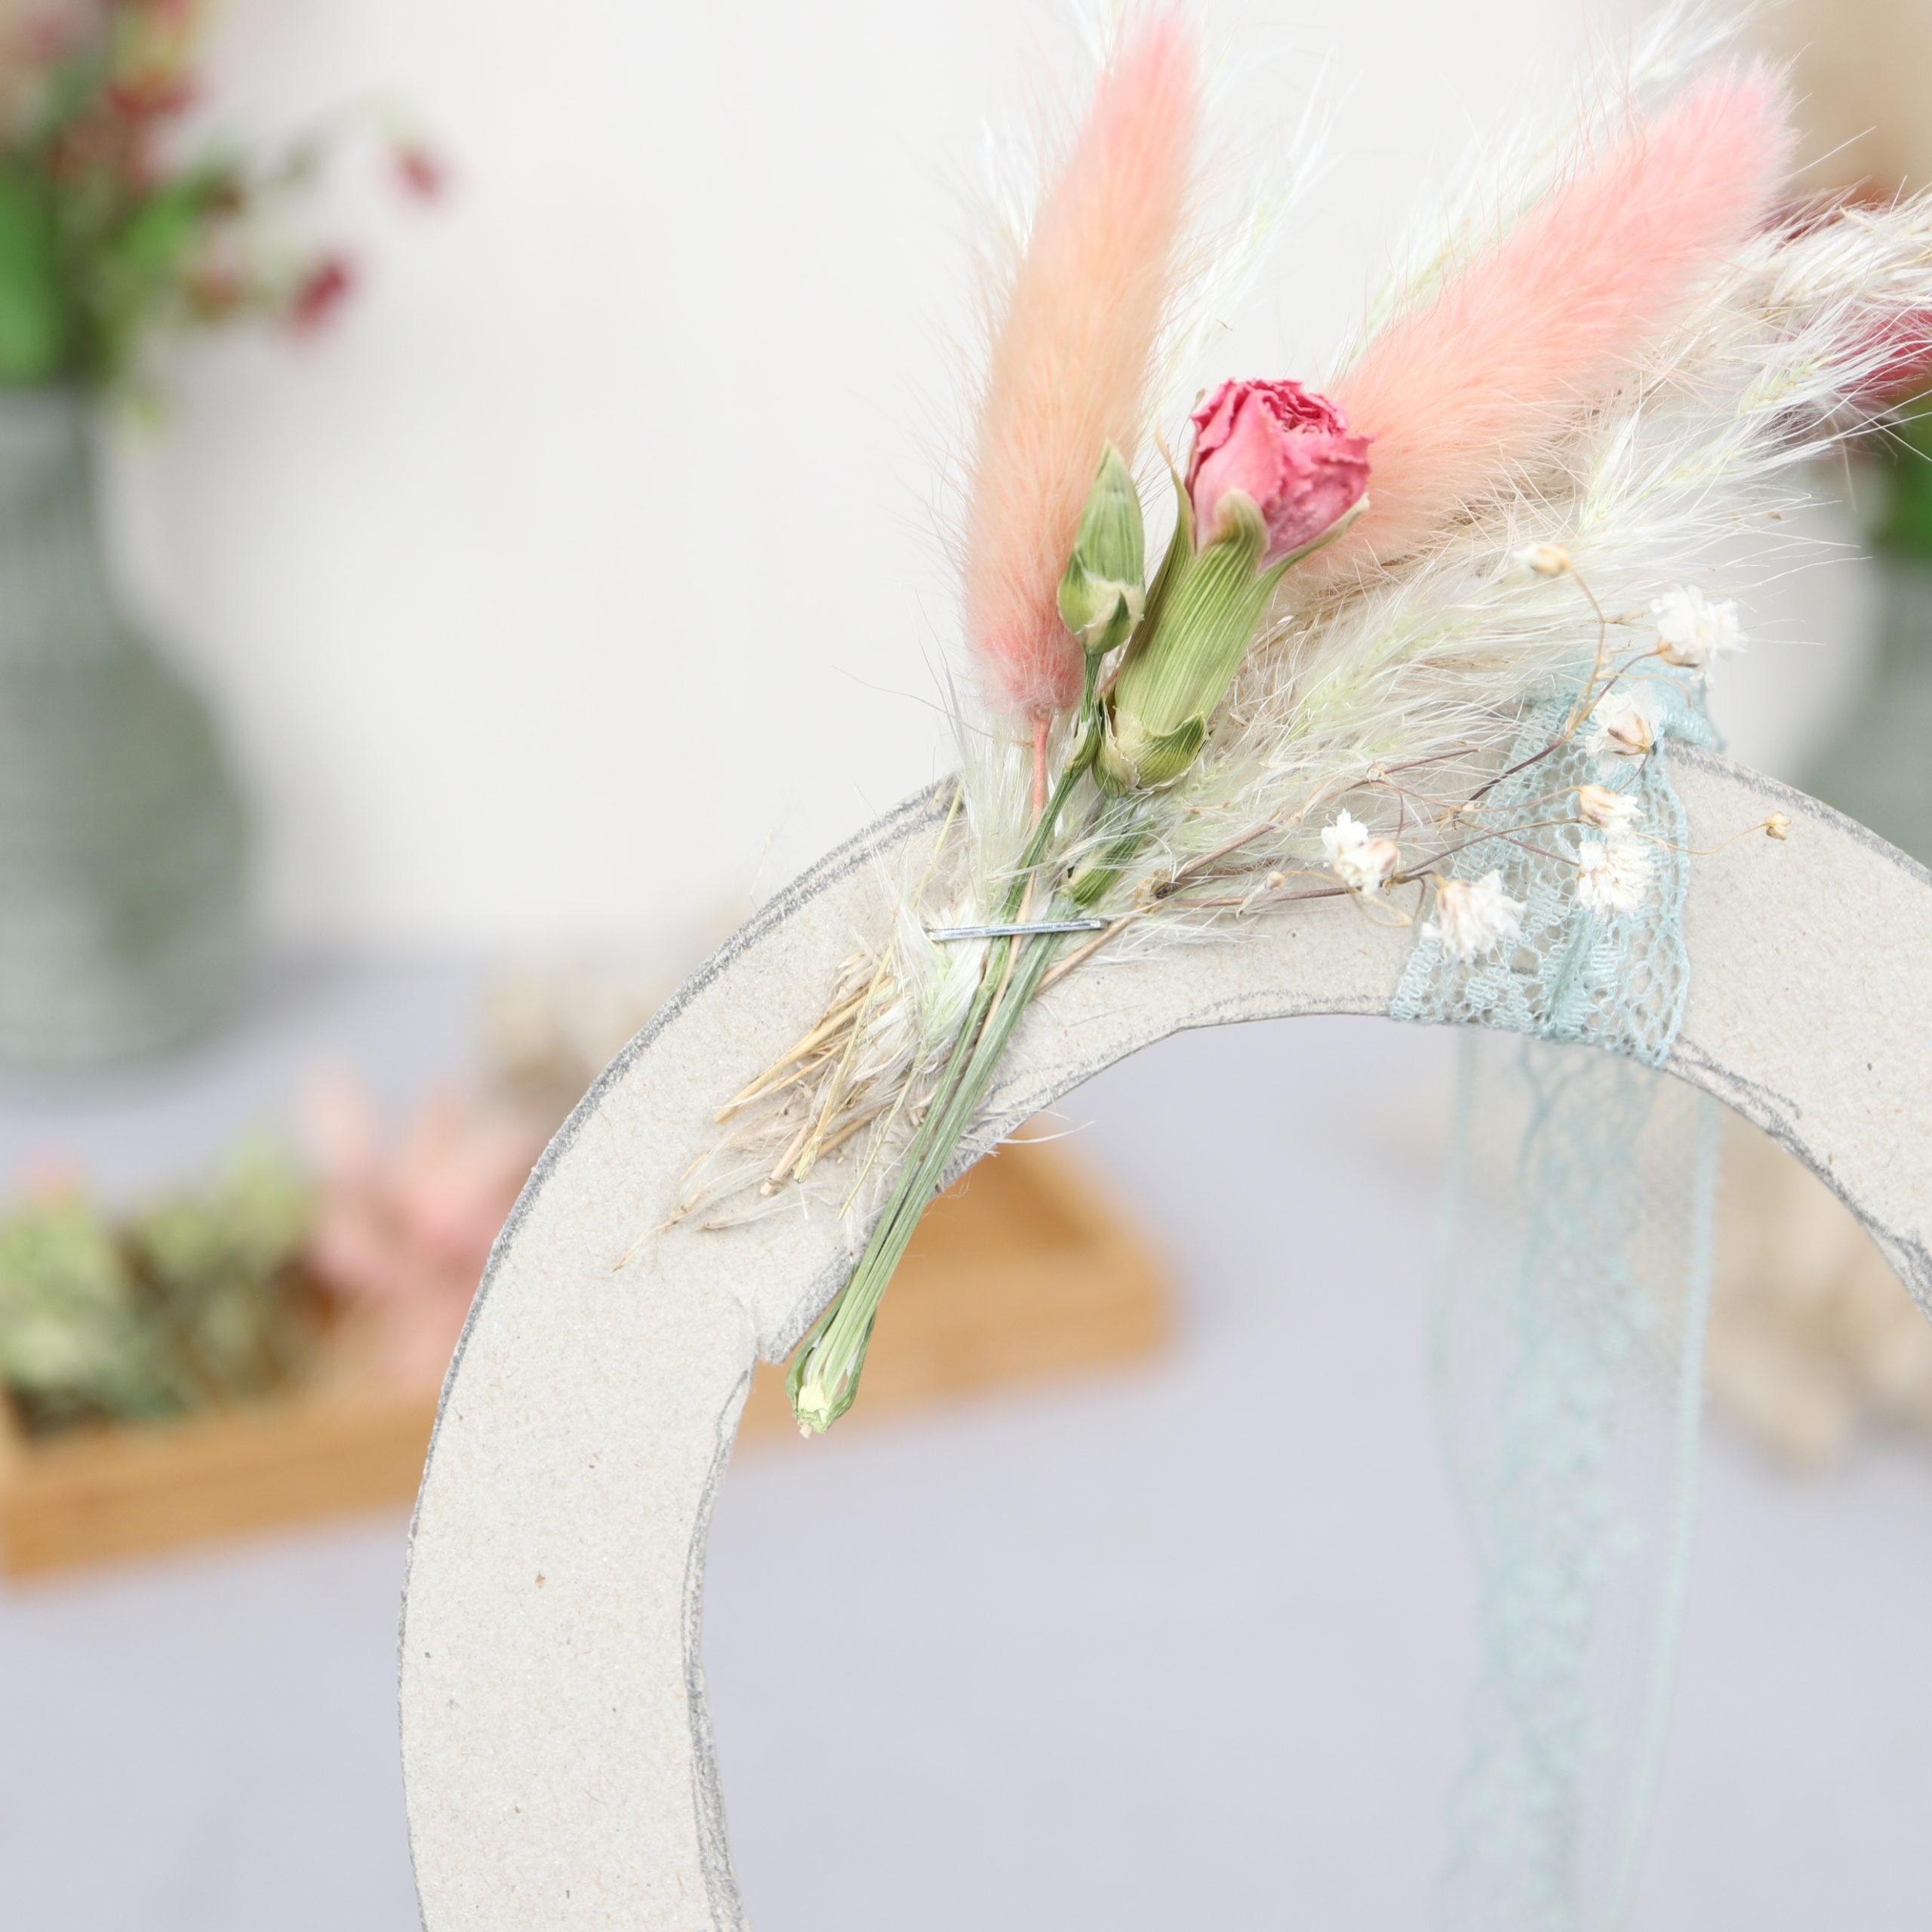
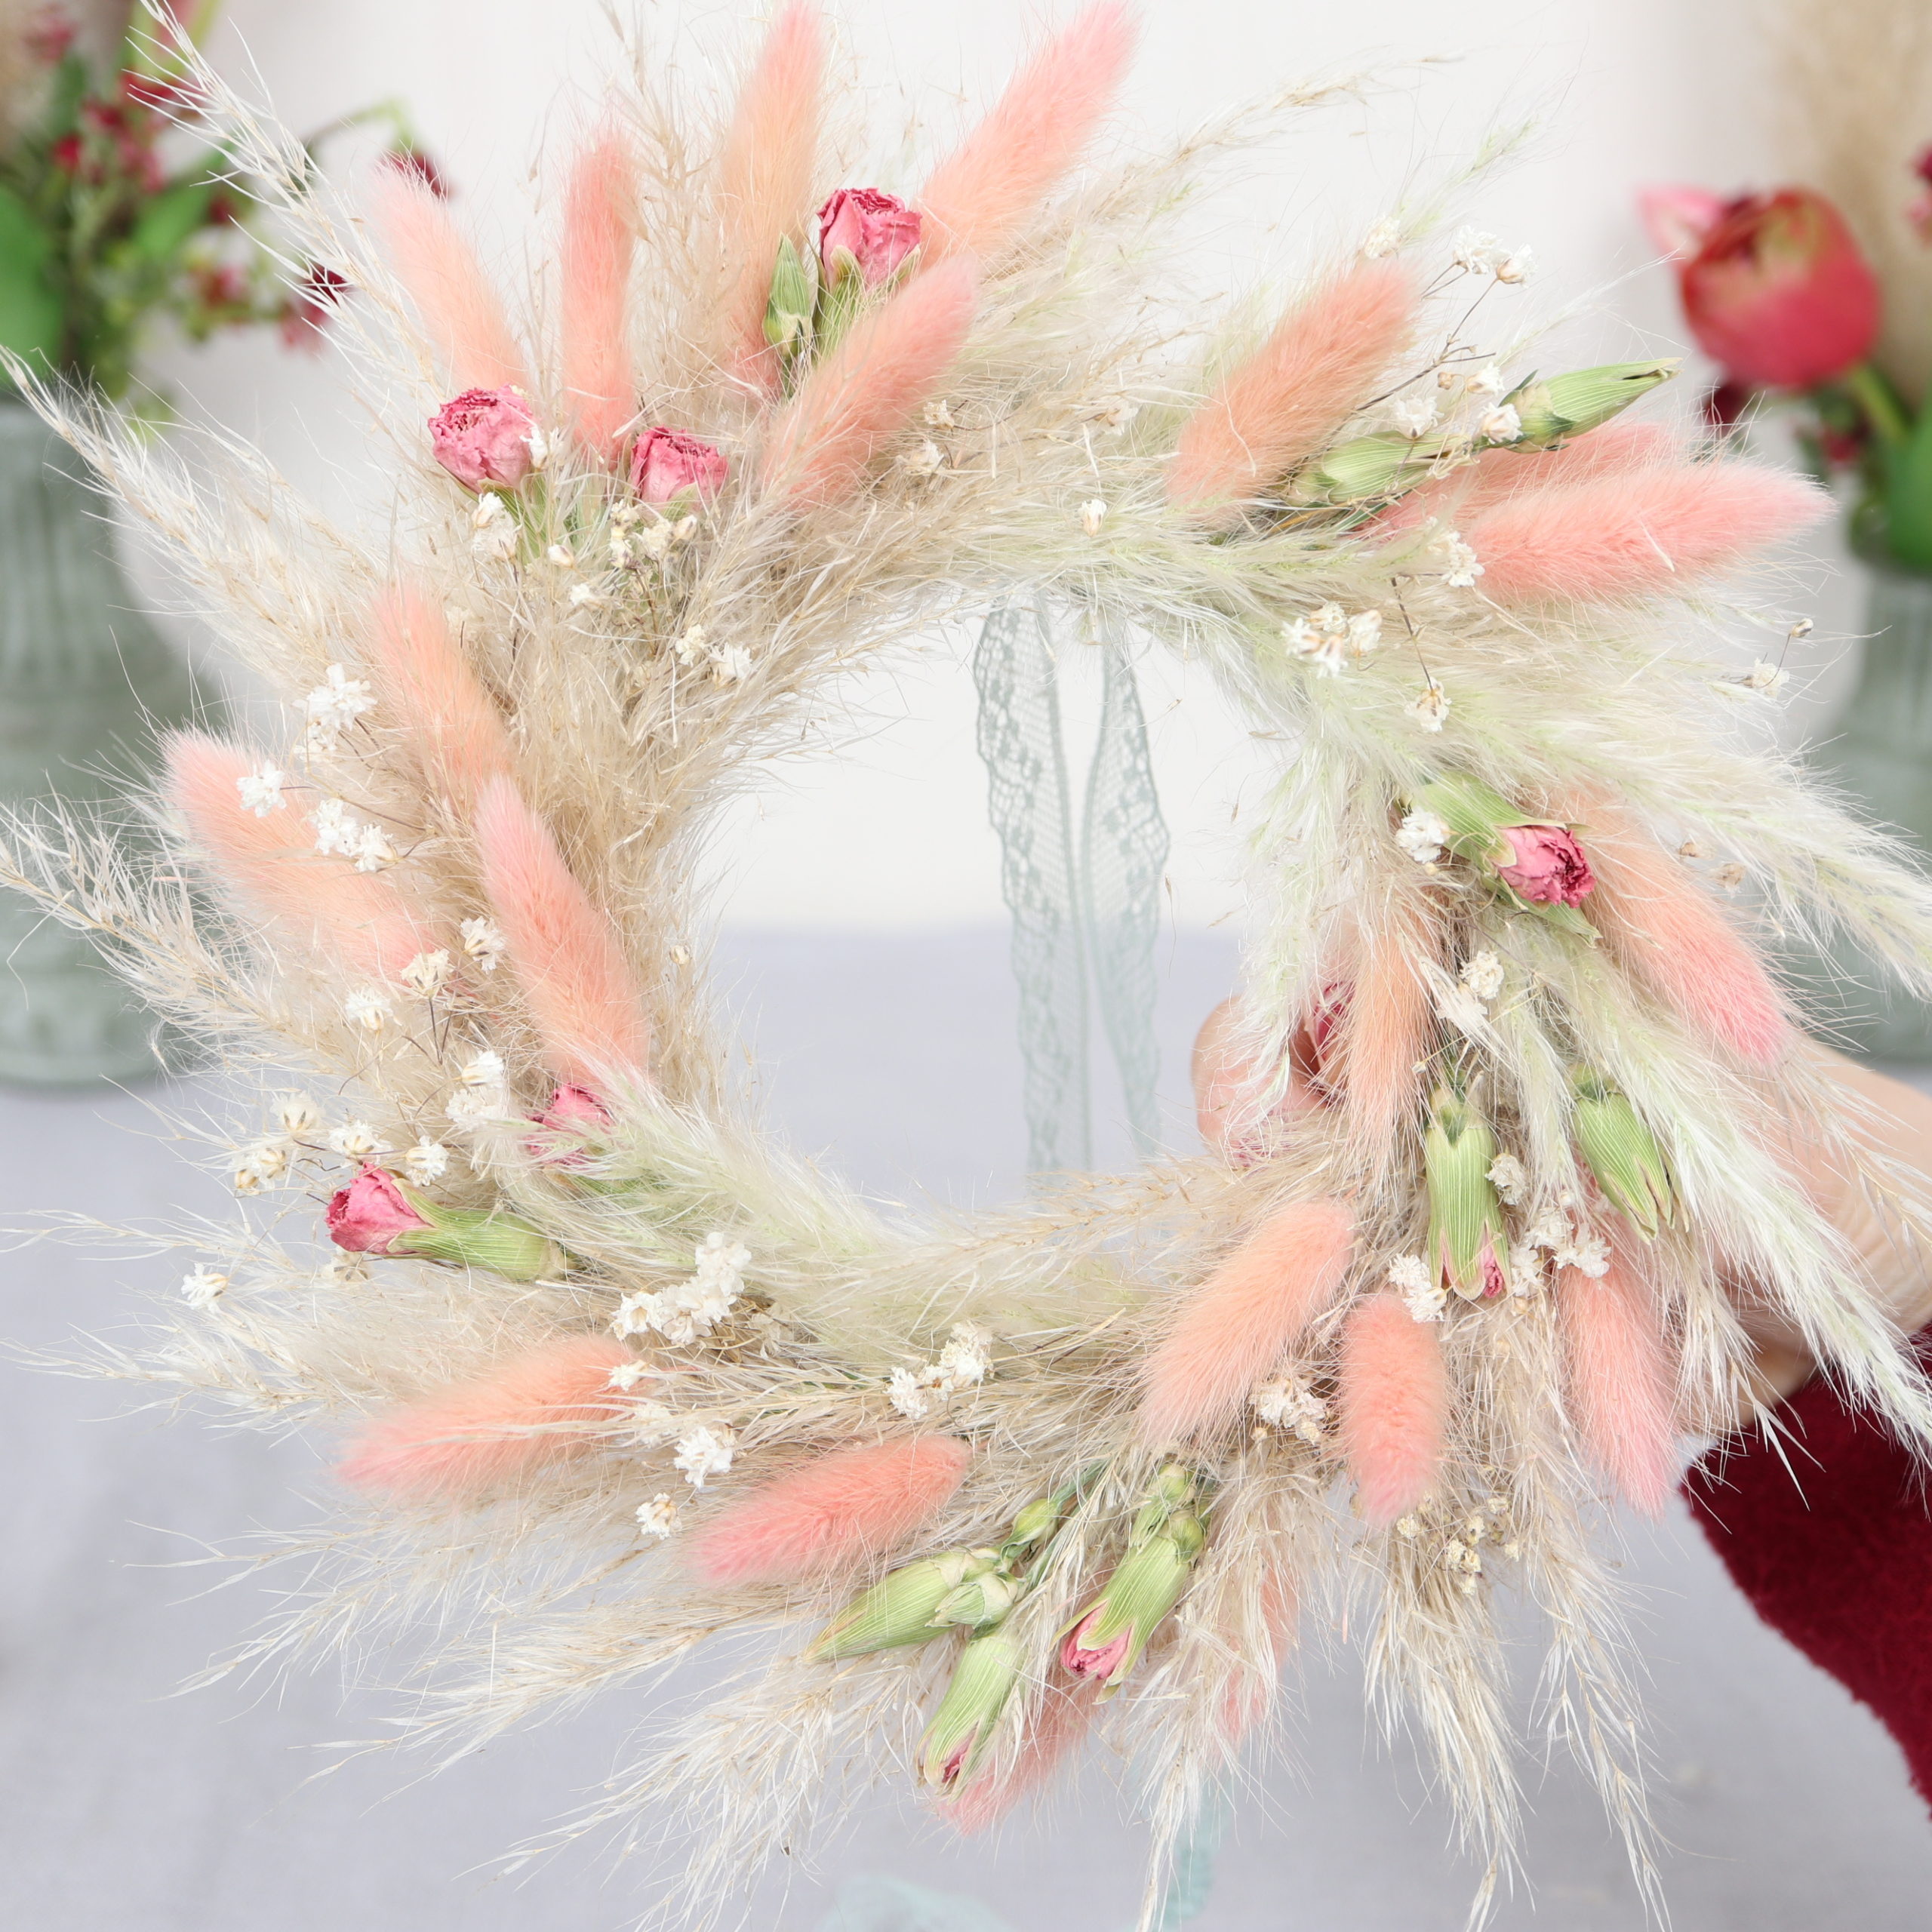
I hide the stems of the last bundle under the first bundle and staple them down again. This is how the finished wreath looks:
And this is how the dried flower wreath looks from behind:

Tip: For better durability you can spray a little hairspray on the wreath!
And the simple dried flower wreath is ready! I hope you enjoyed this DIY as much as I did and you like the sight of the flower decoration!