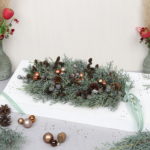
Today I show you a great upcycling idea, a floral pin frog from an old lid!

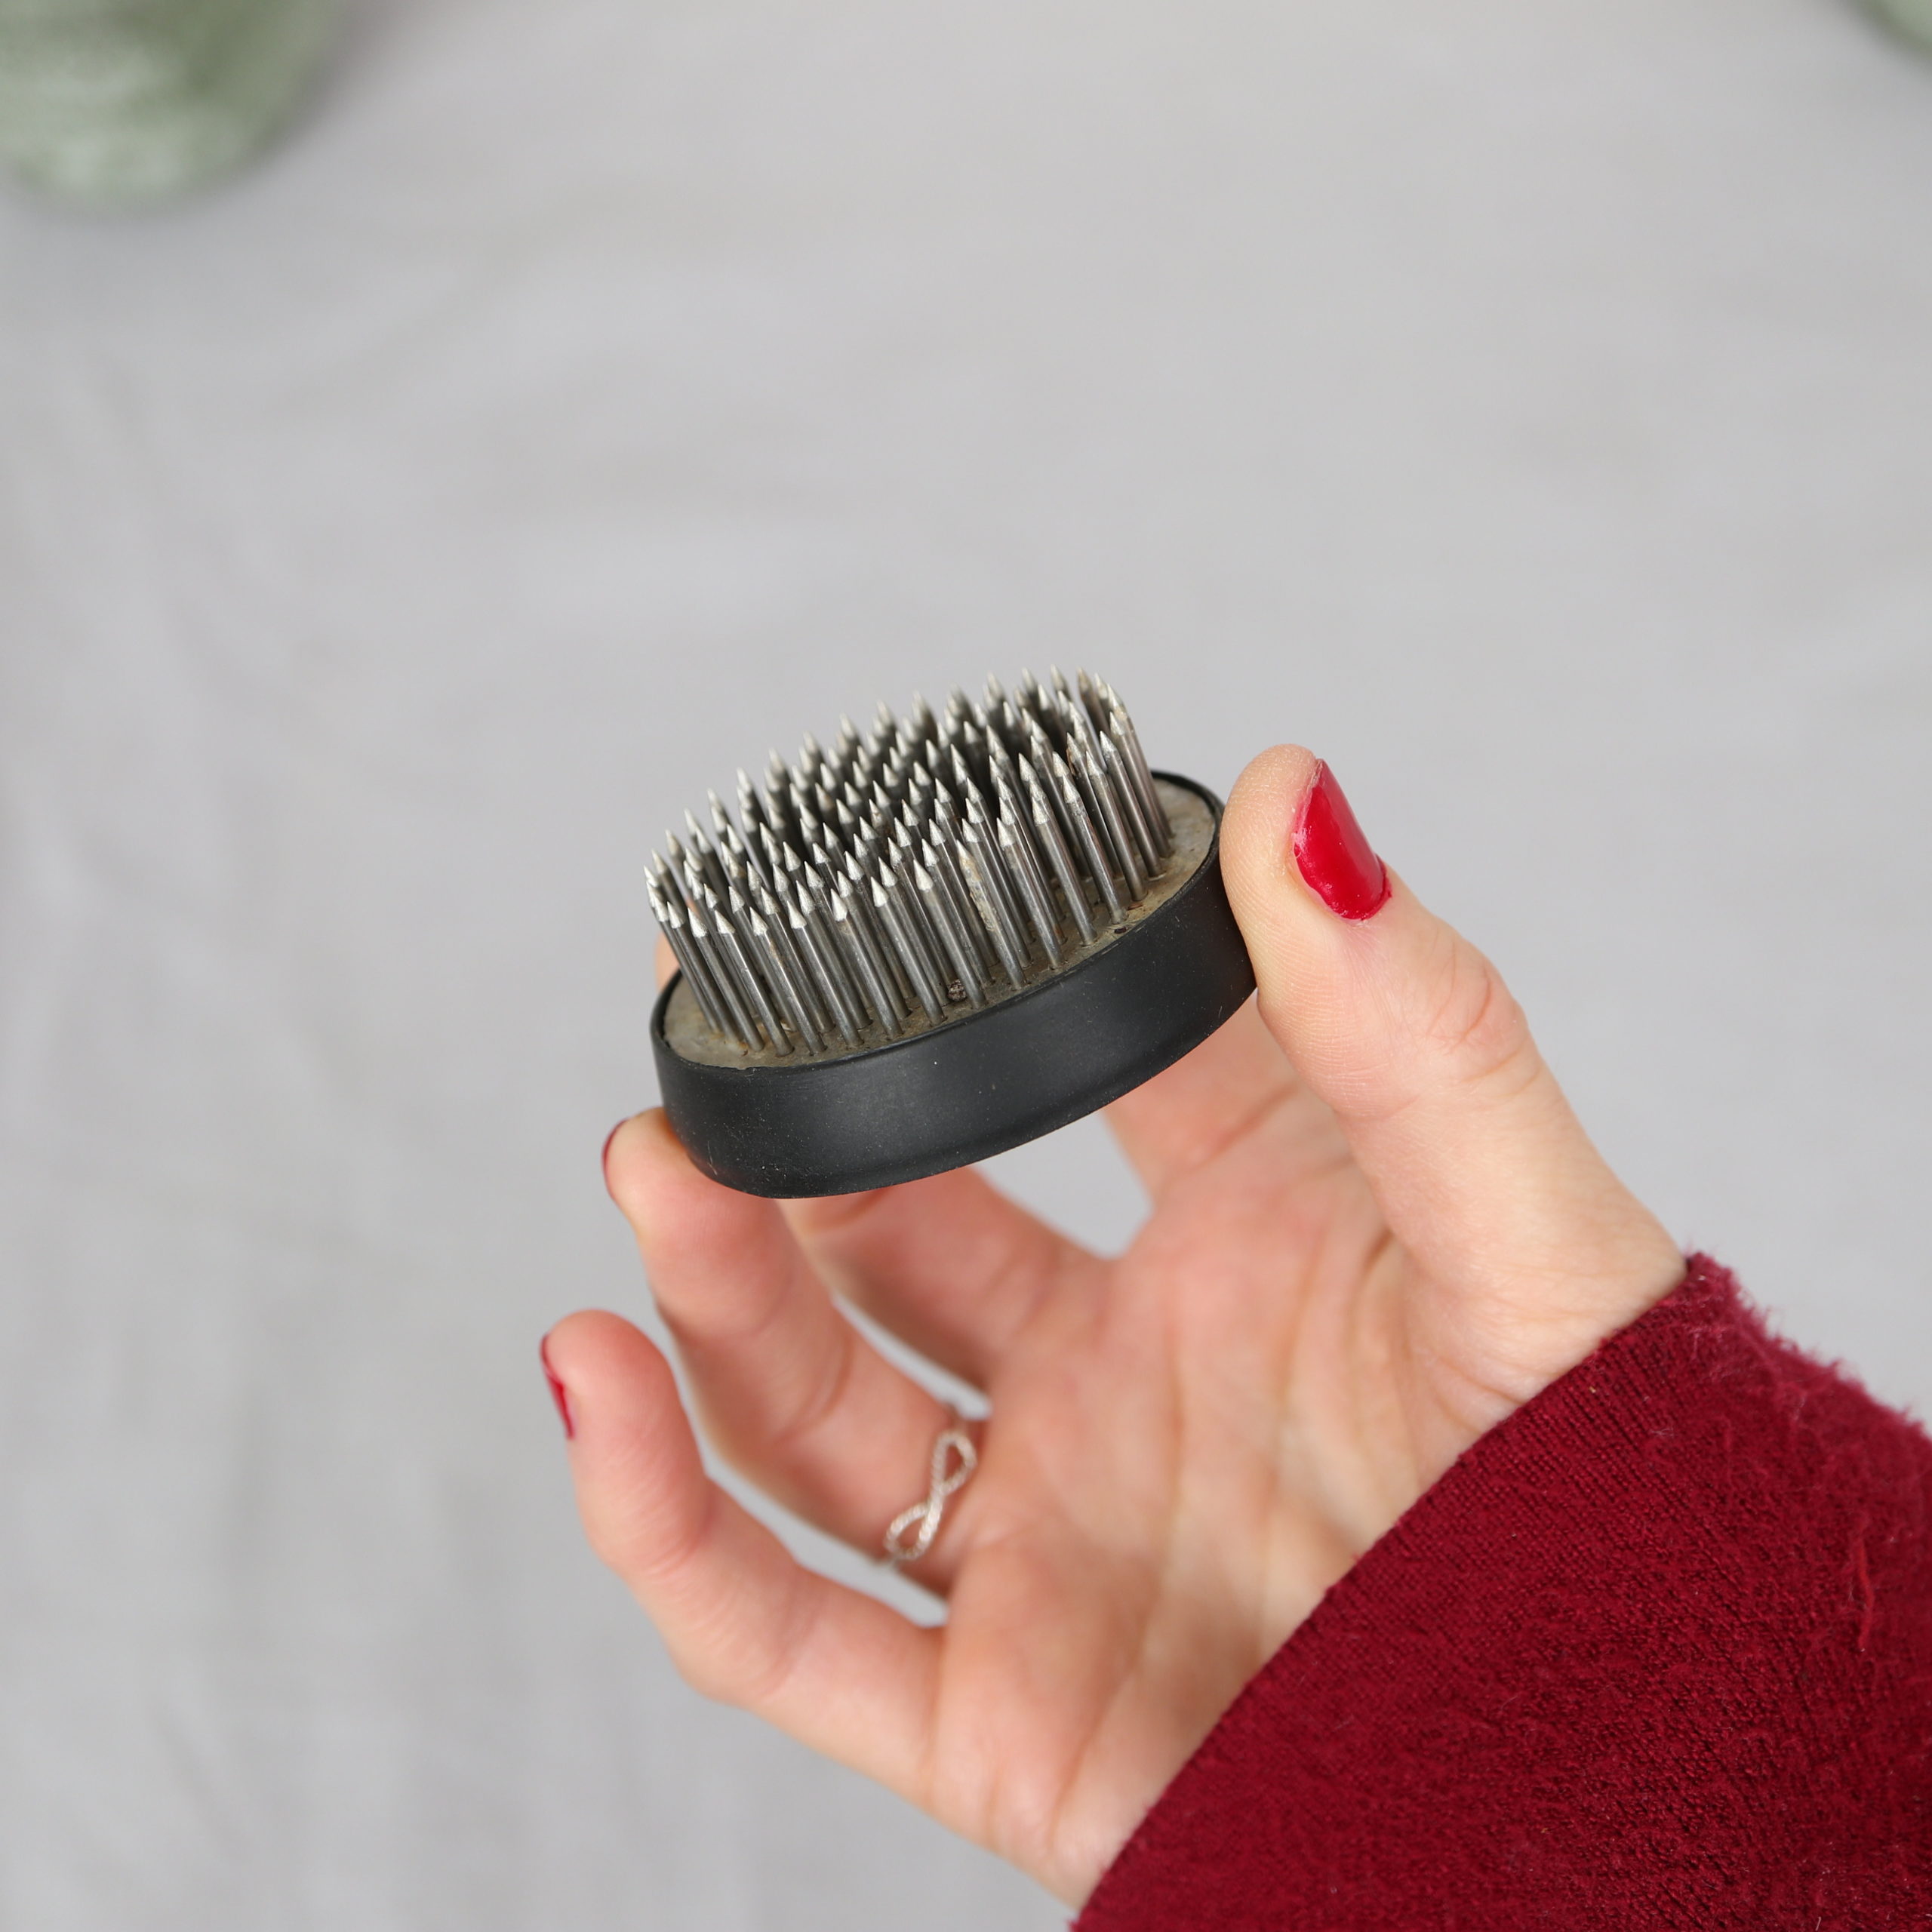
With a floral pin frog, also called kenzan, it is super easy to create flower arrangements. Pin frogs consist of many small spikes, on which you simply stick the plant stems. The use of pin frogs can be considered as sustainable floristry, because it is an environmentally friendly base for flower arrangements and is therefore a great alternative to (artificial) floral foam.
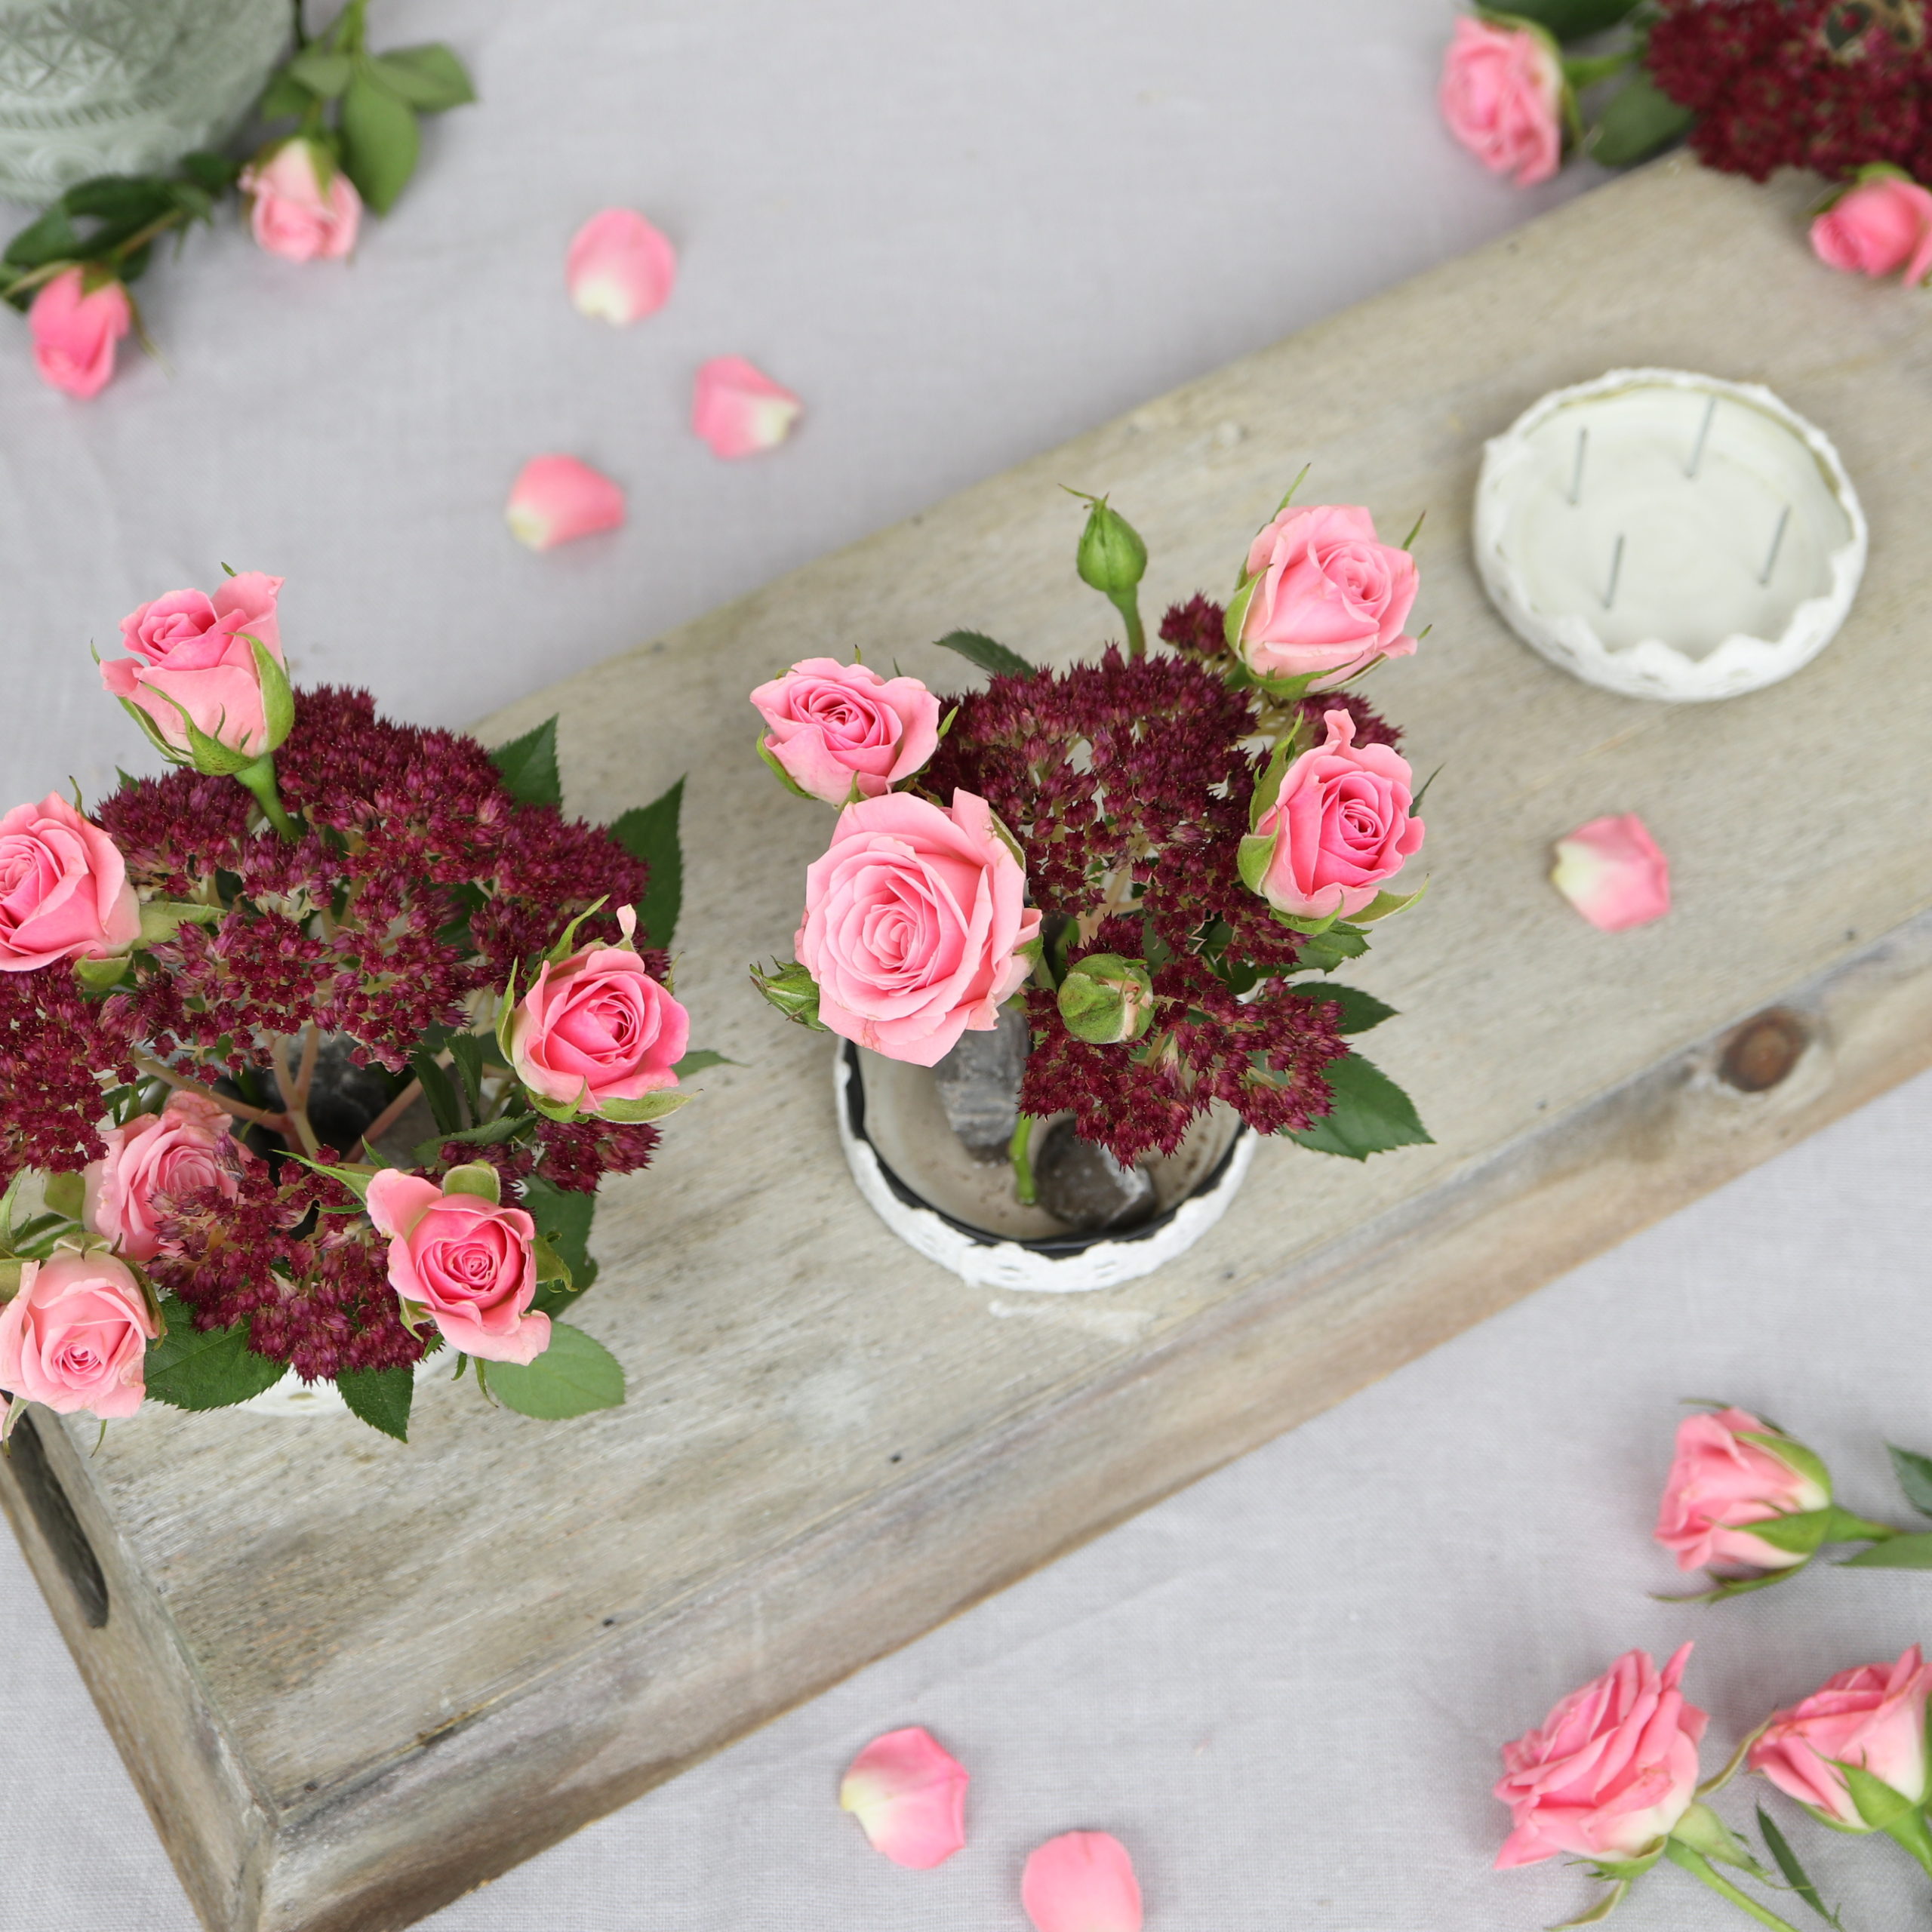
This is how a floral pin frog looks like:
A simple version of a pin frog can easily be tinkered in almost no time! For this you simply use an old tin lid, in which small nails are hammered. With the following step-by-step instructions you can easily make the upcycling pin frog yourself!
Tools
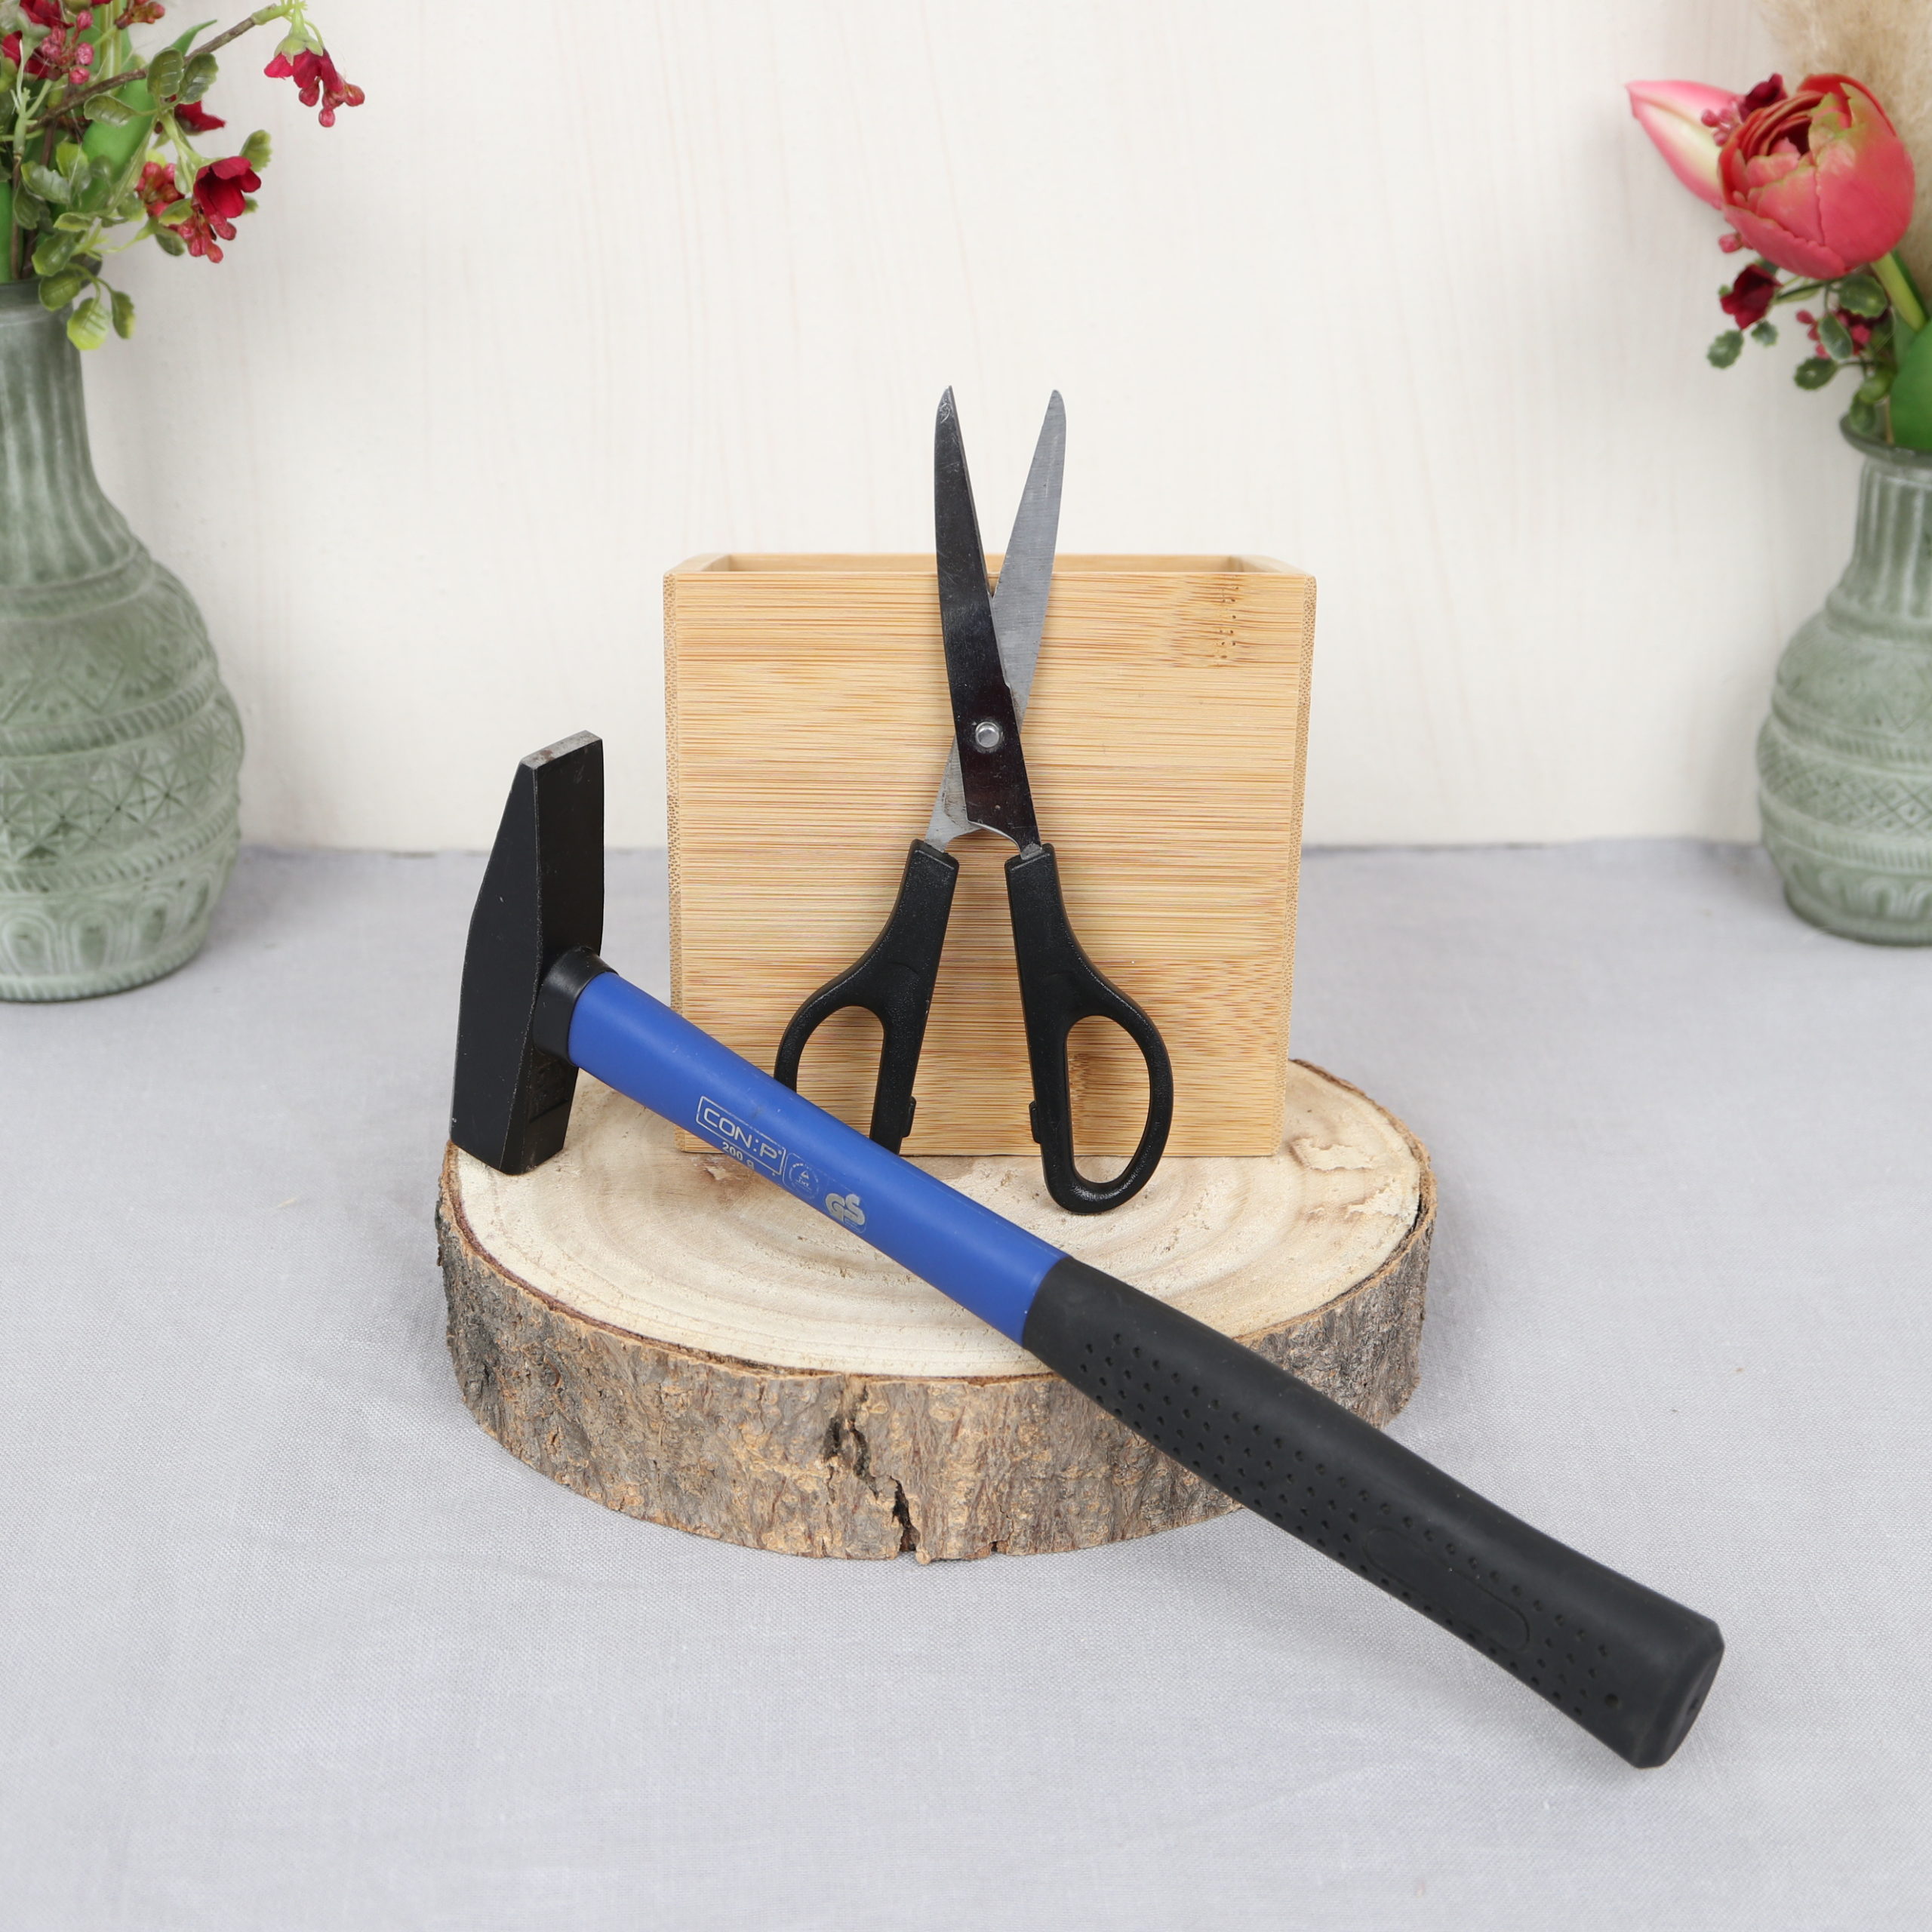
Here you can see what tools I used for the pin frog. You need a hammer and scissors.
Materials

These are the materials I used for the pin frog: an old canning lid, five small nails, duct tape, and self-adhesive lace tape.
Upcycling Guide
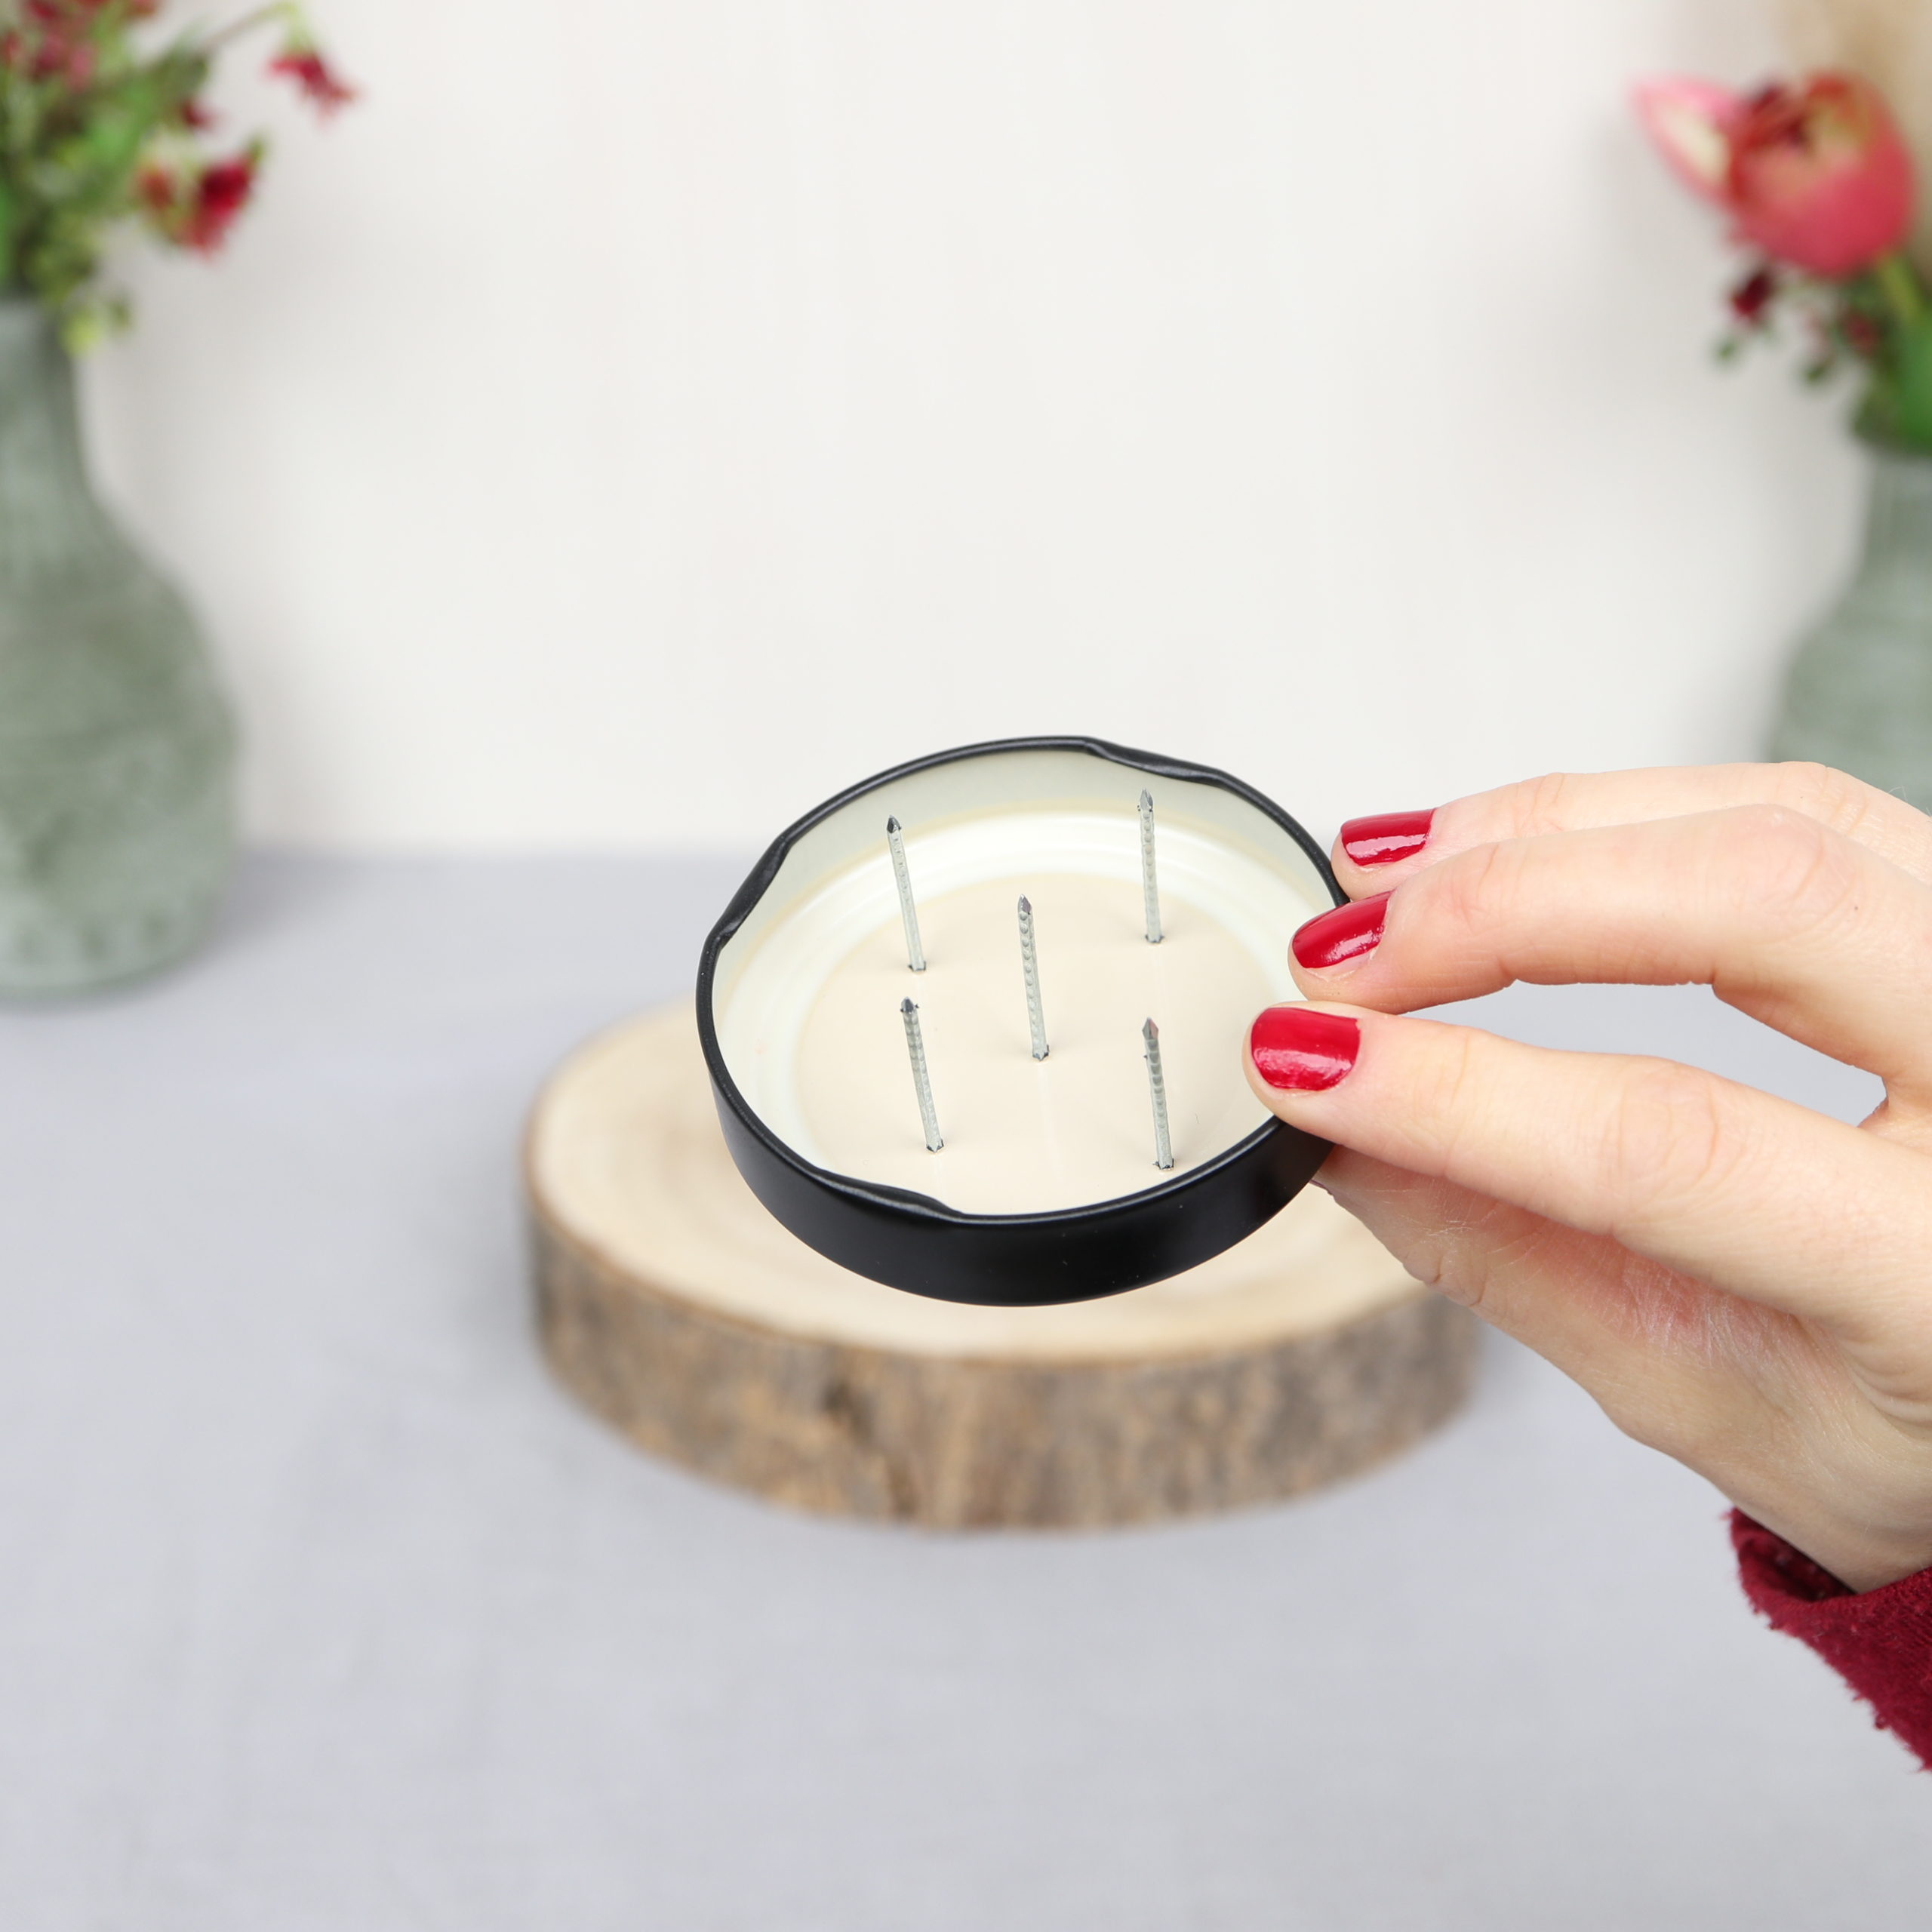
Step 1: Hammer nails into lid
In the first step, I hammer the five nails into the top part of the lid.
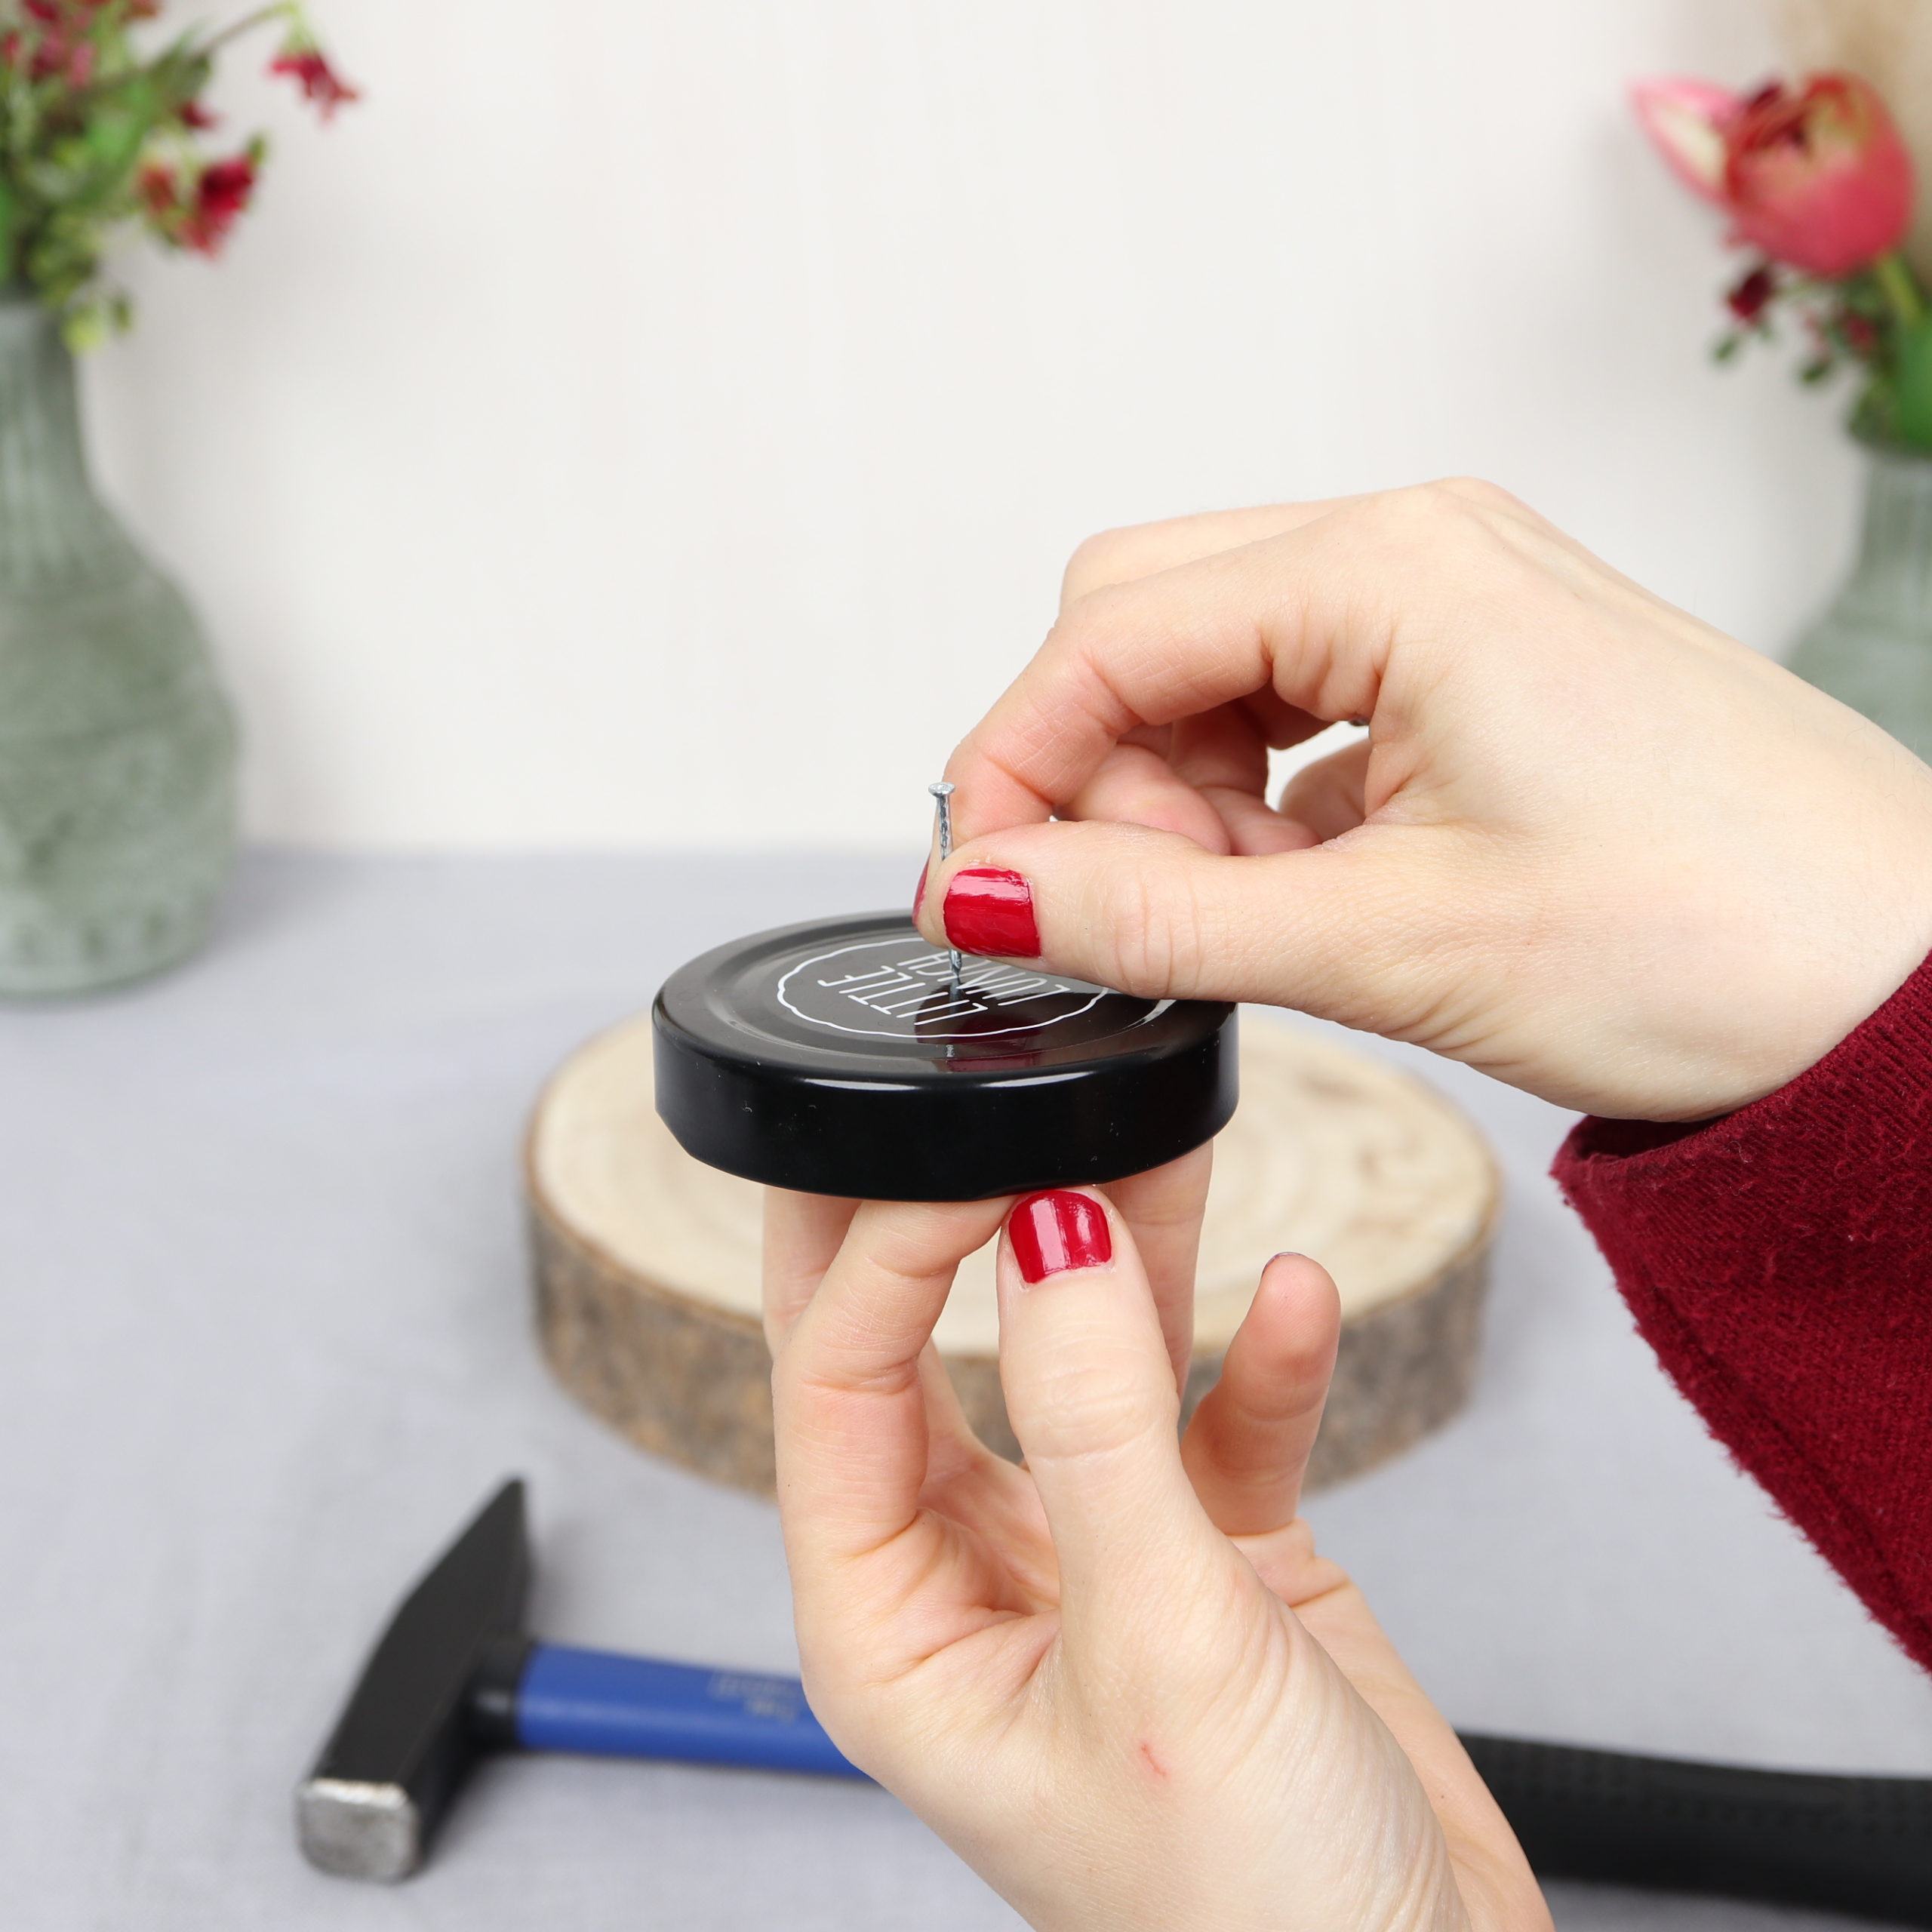
For this I use small narrow nails, so that even thin flower stems fit well on the nails.
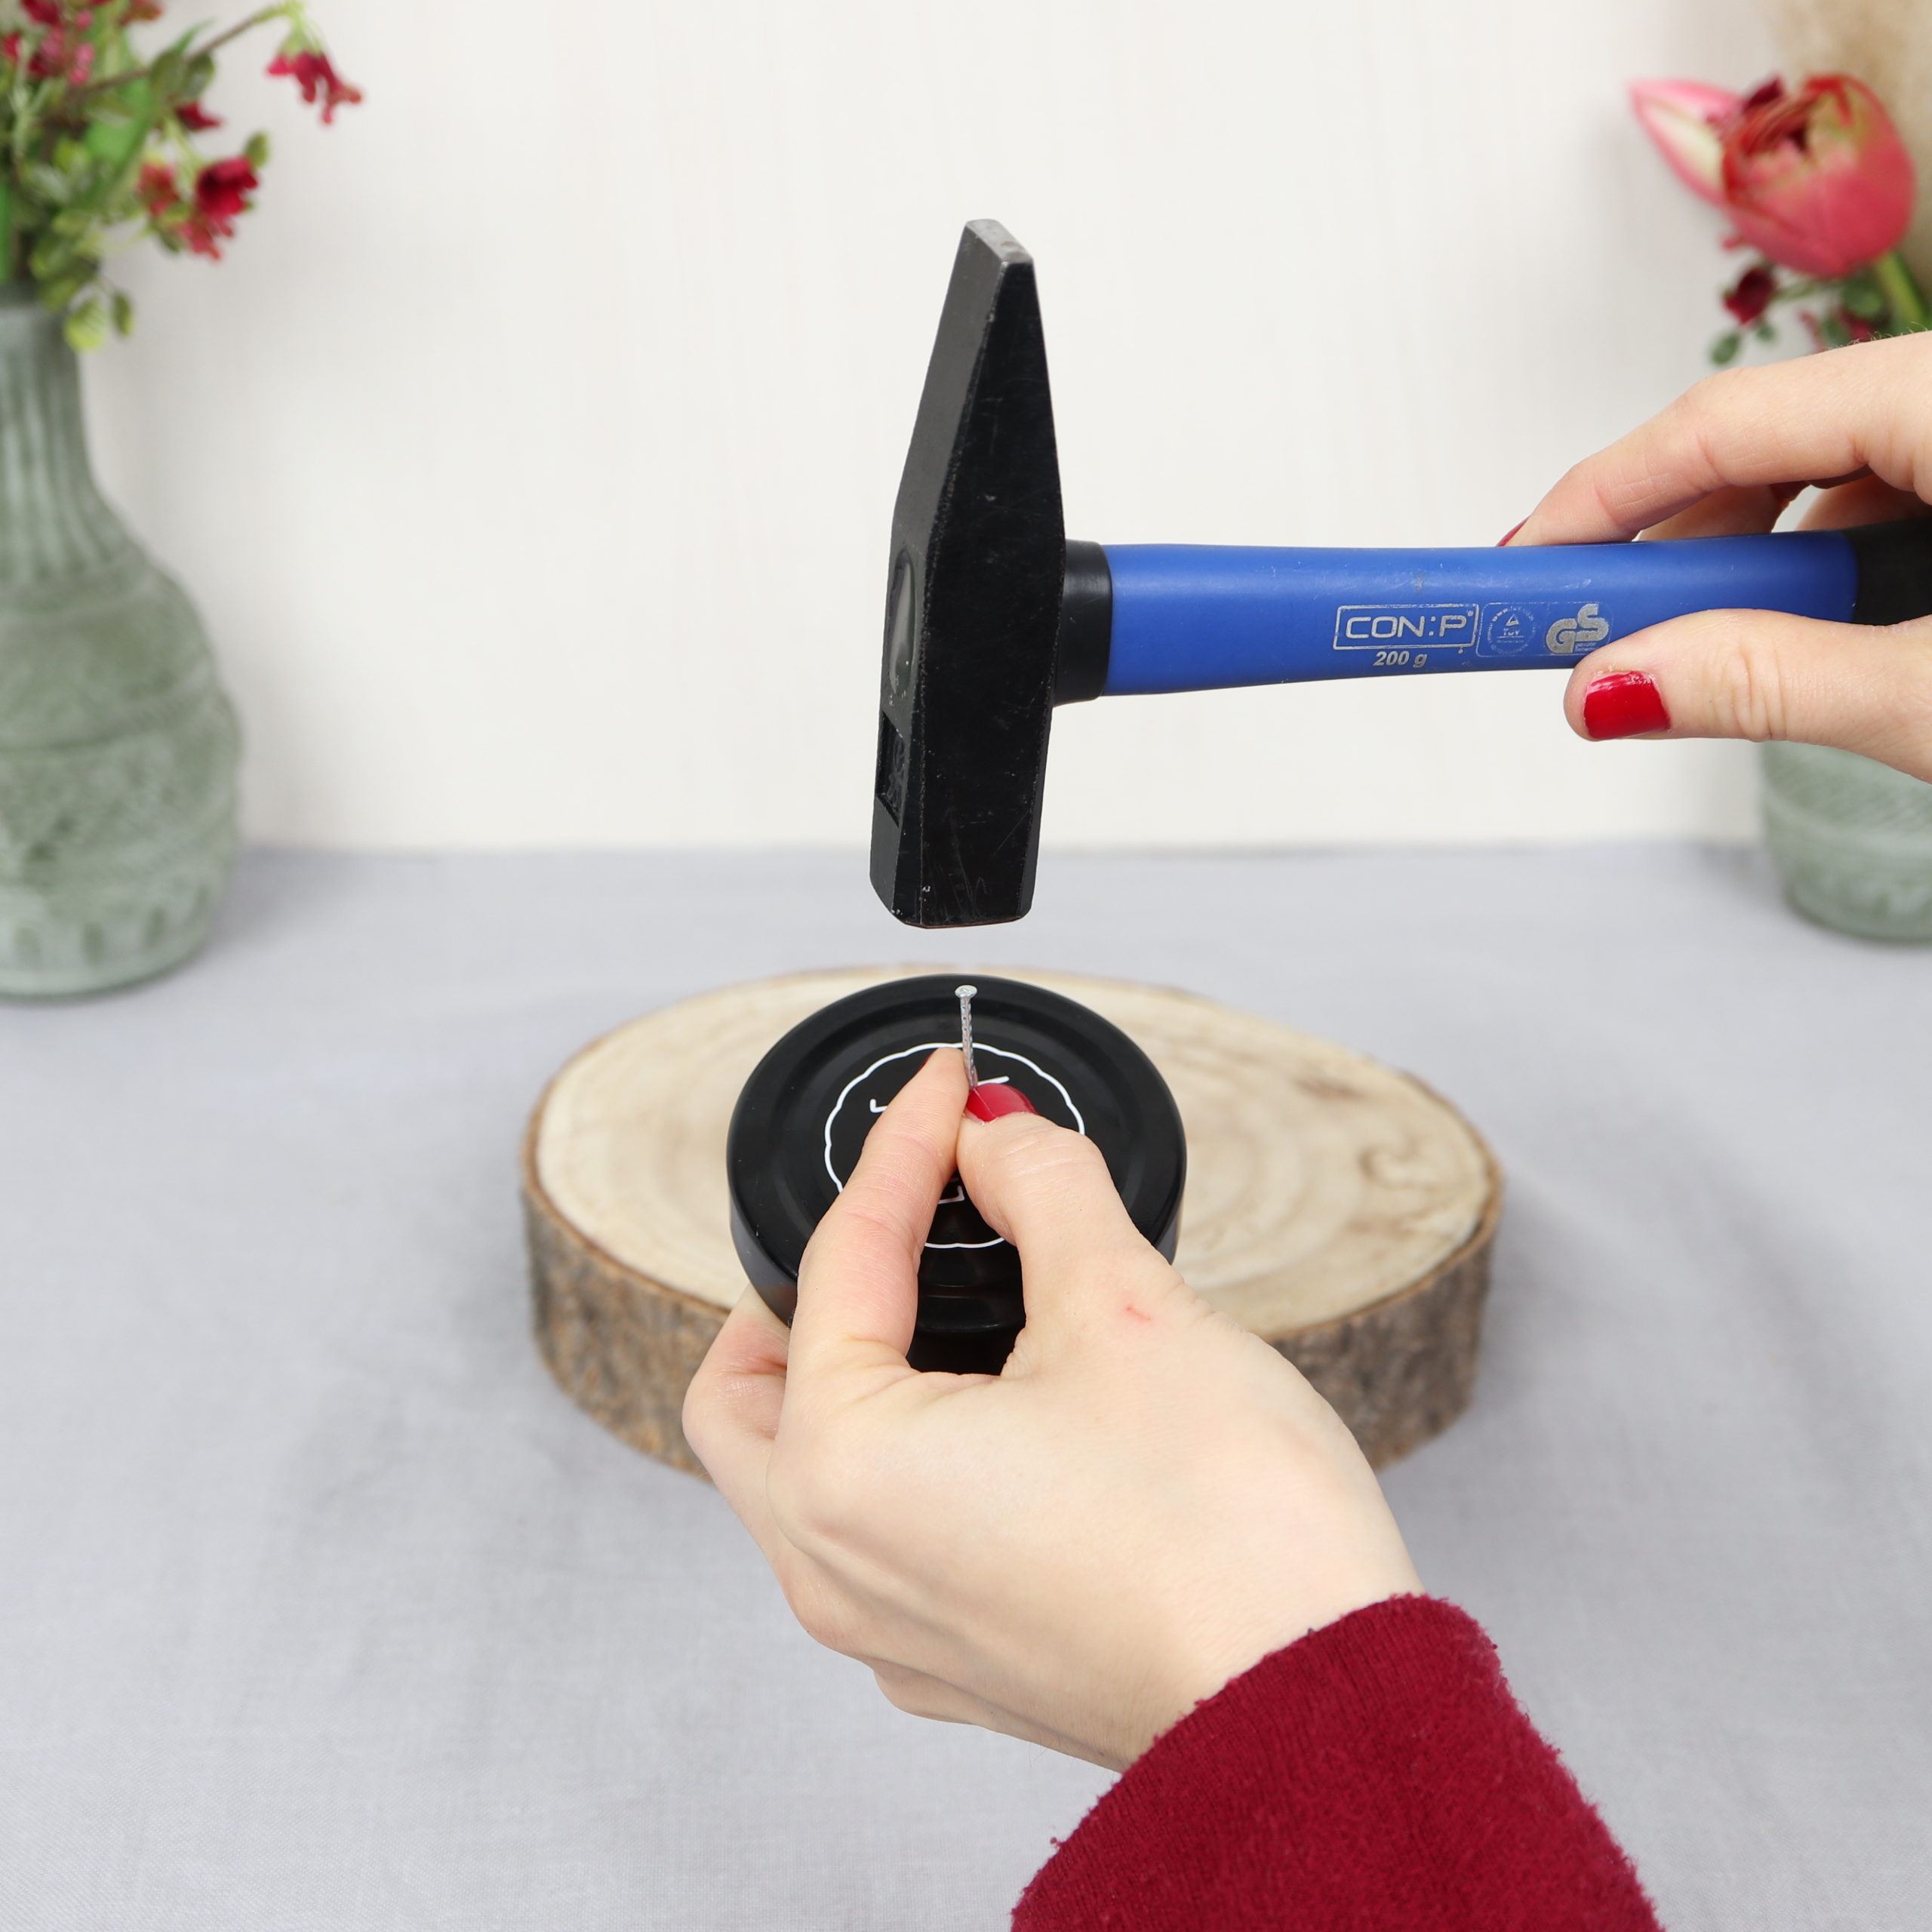
Tip: Put something under the lid to avoid damaging the underlying surface while hammering!
Step 2: Apply duct tape
Pin frogs are often placed in a container with water. Our self-made pin frog allows to fill water inside the pin frog itself. To achieve this, I add some duct tape. As a result, the water does not run through the small openings of the nails.
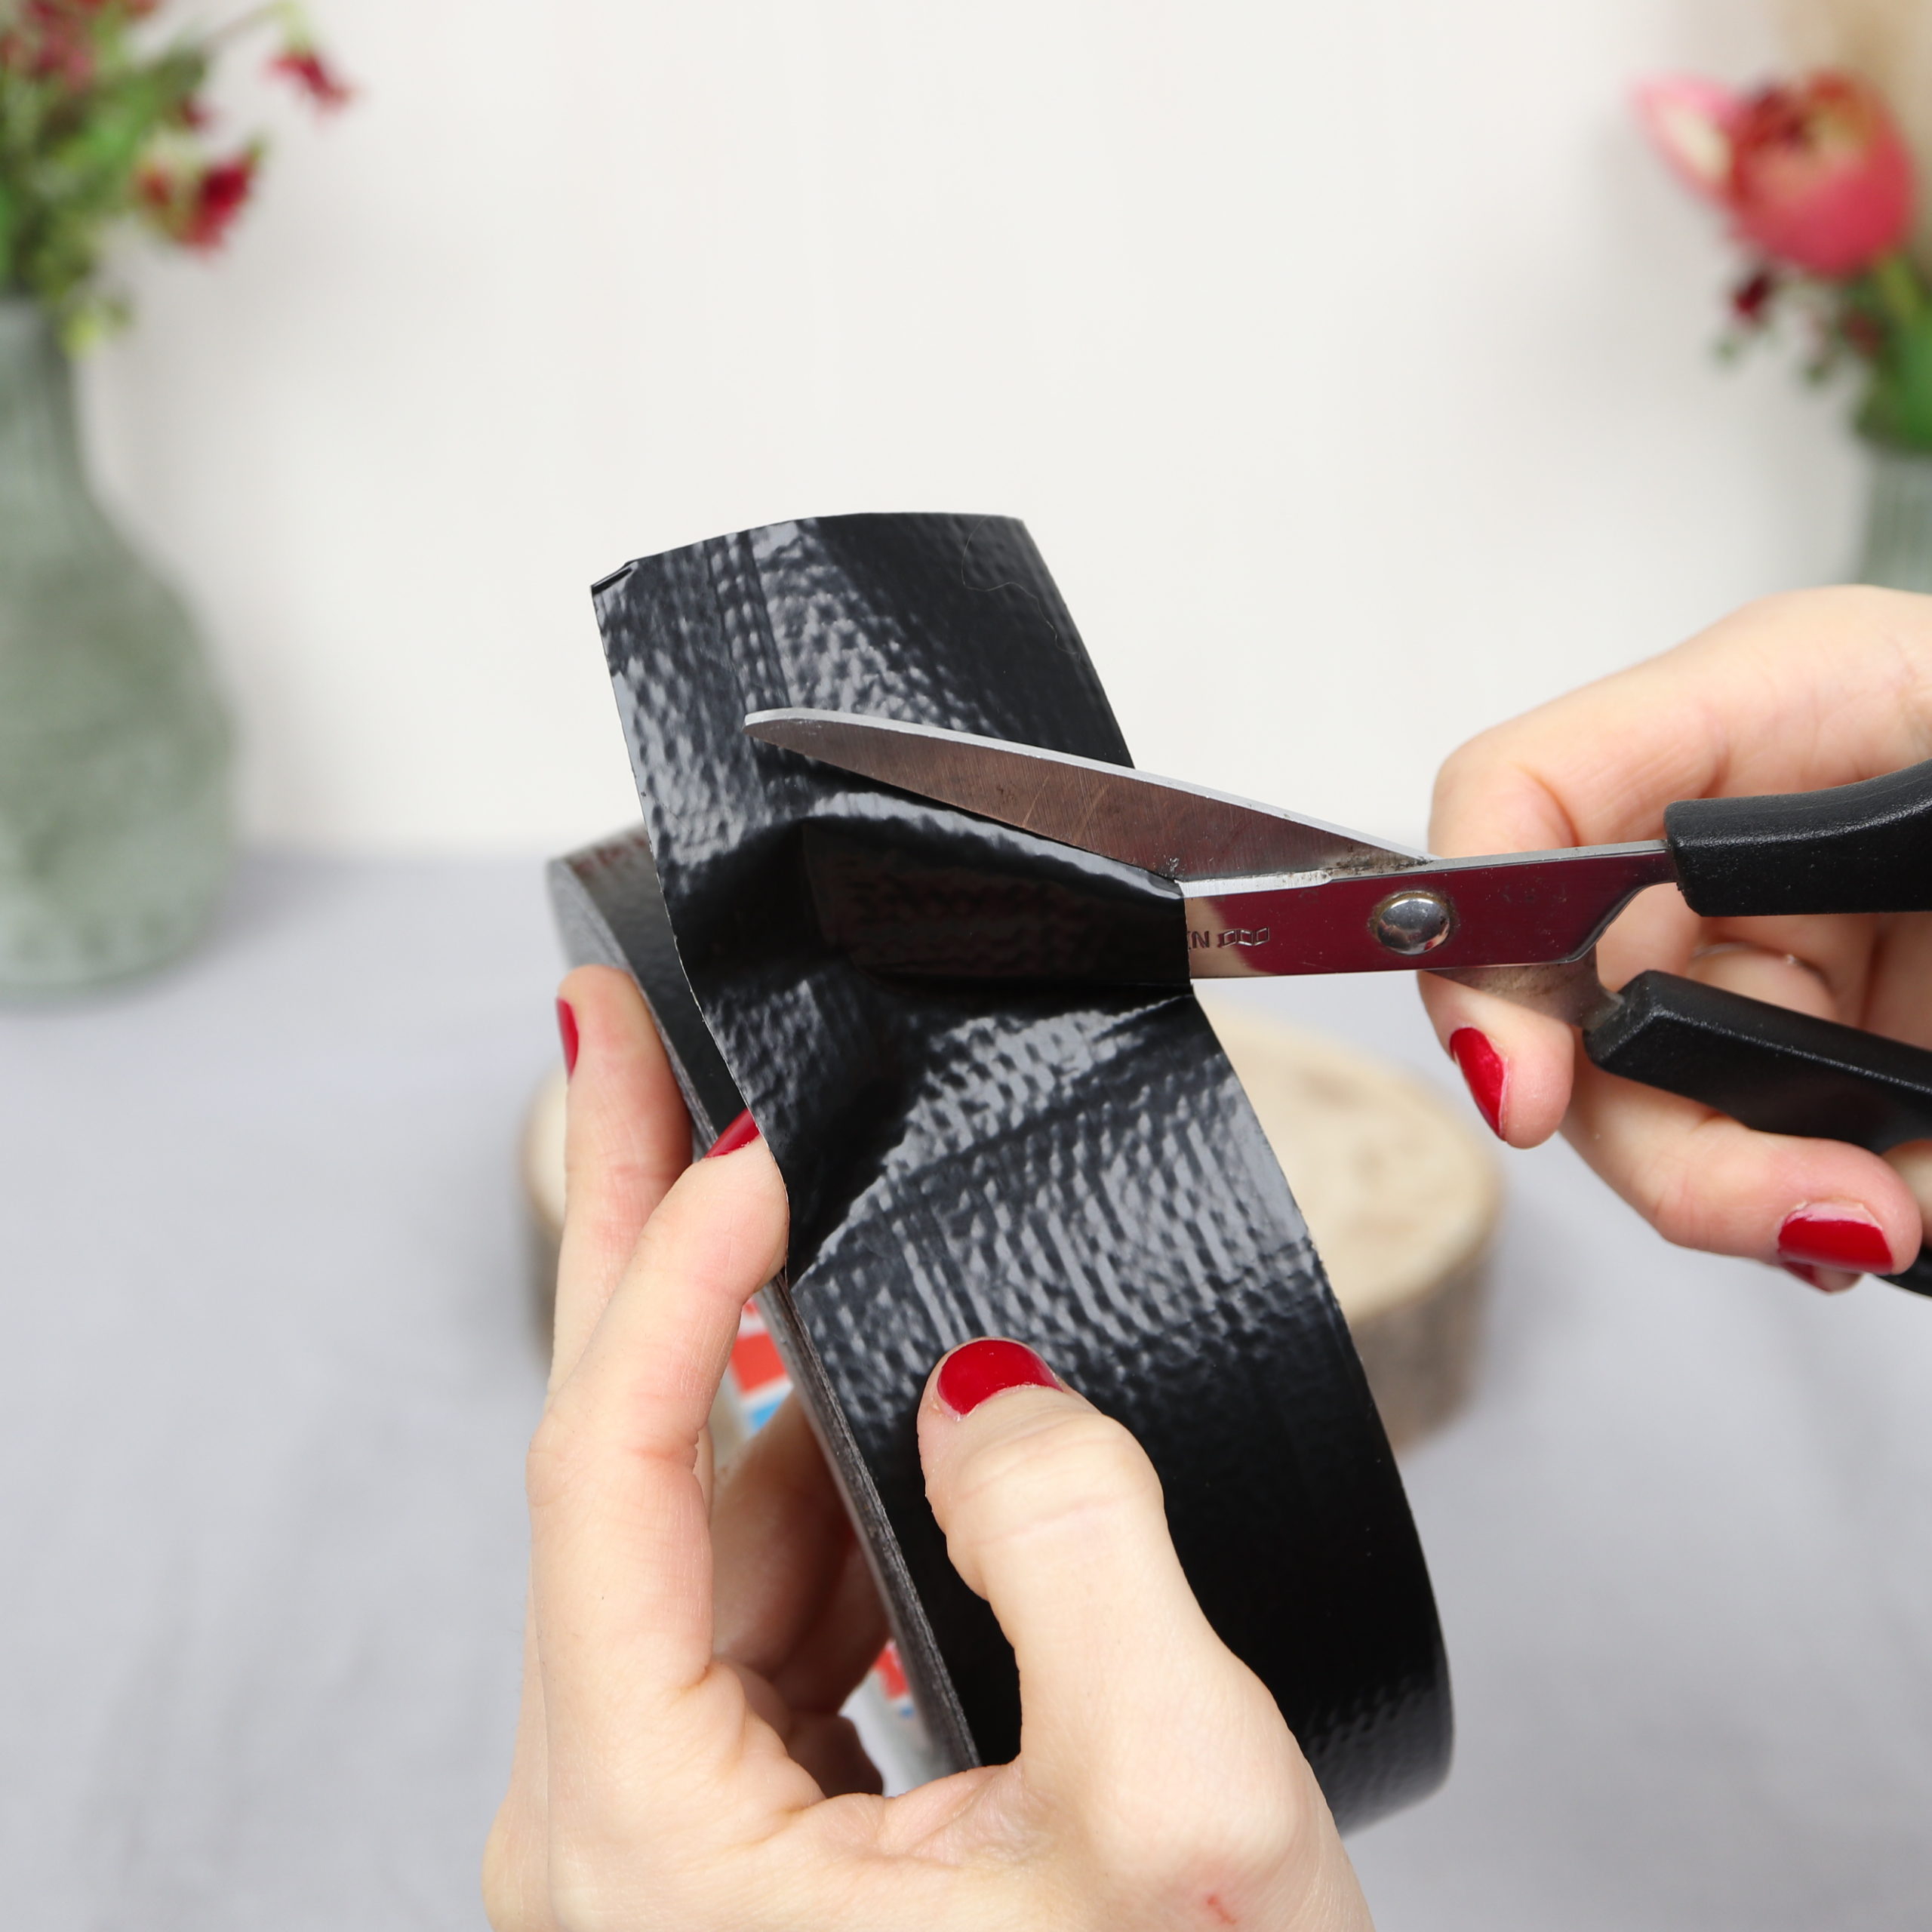
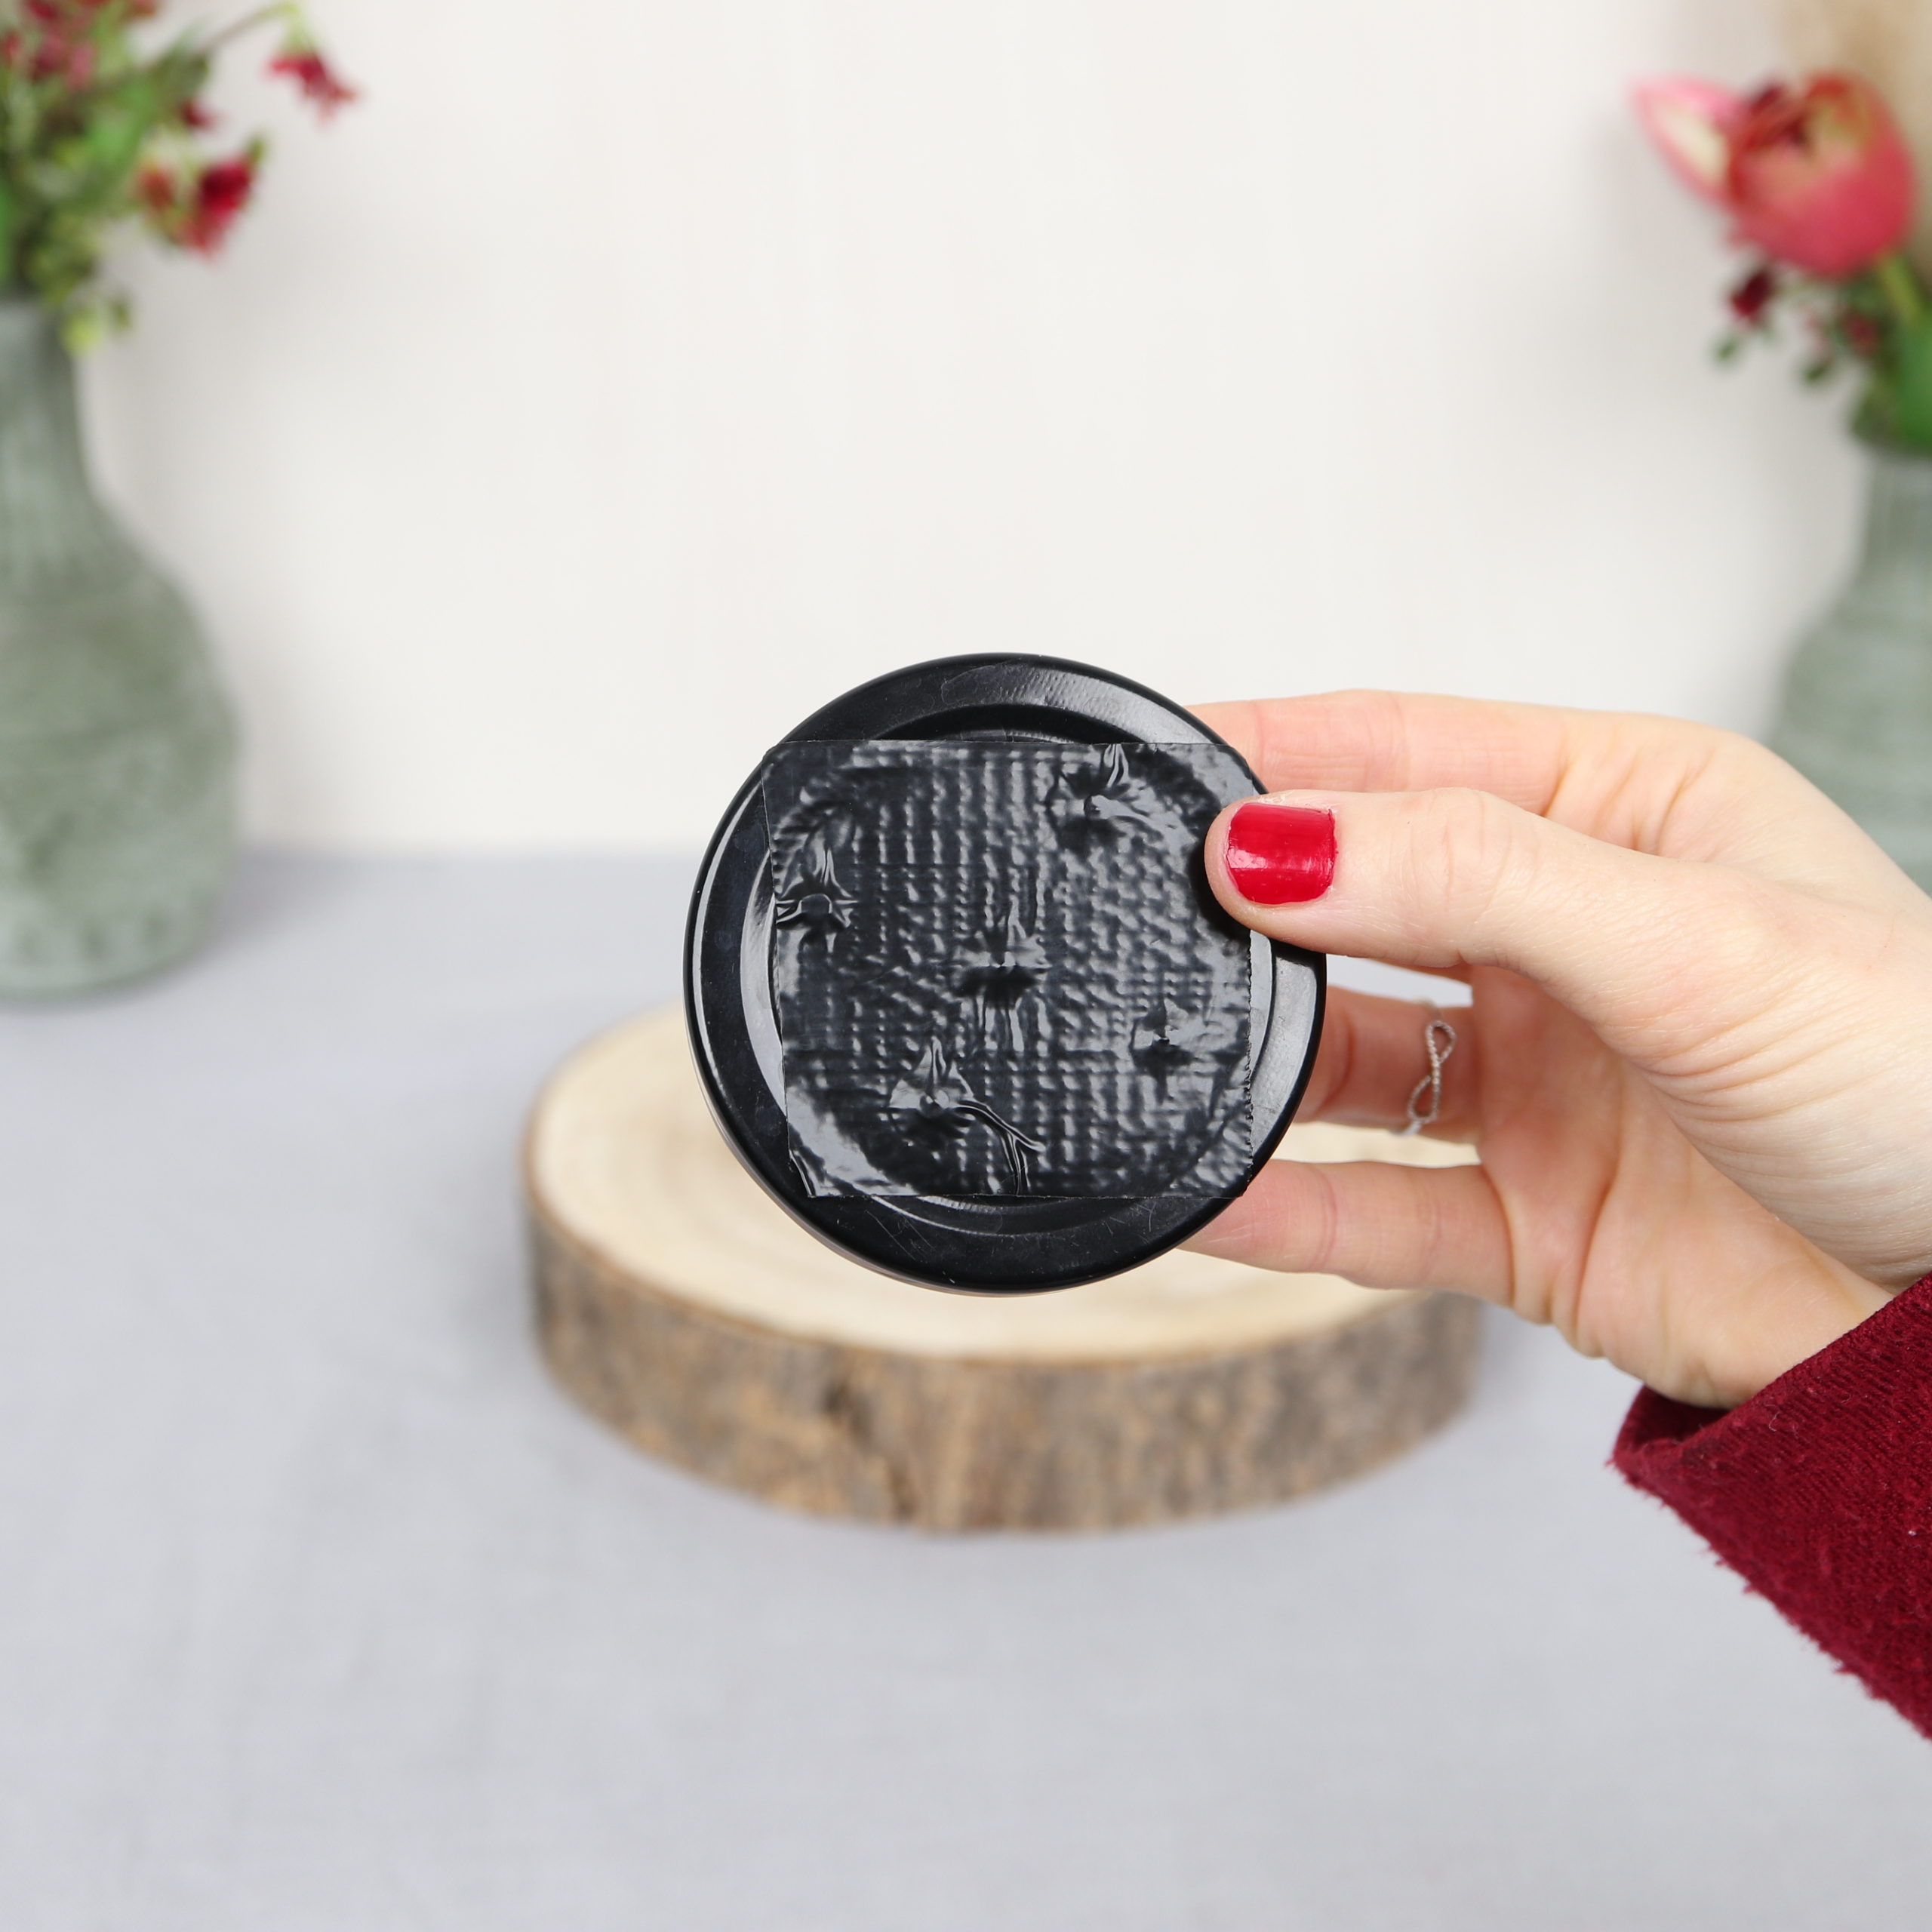
In particular, I cut a piece of tape with scissors and stick it over the nail heads.

I press the duct tape to the lid with a significant amount of force.
Step 3: Stick on lace tape
Now the pin frog is made more beautiful.
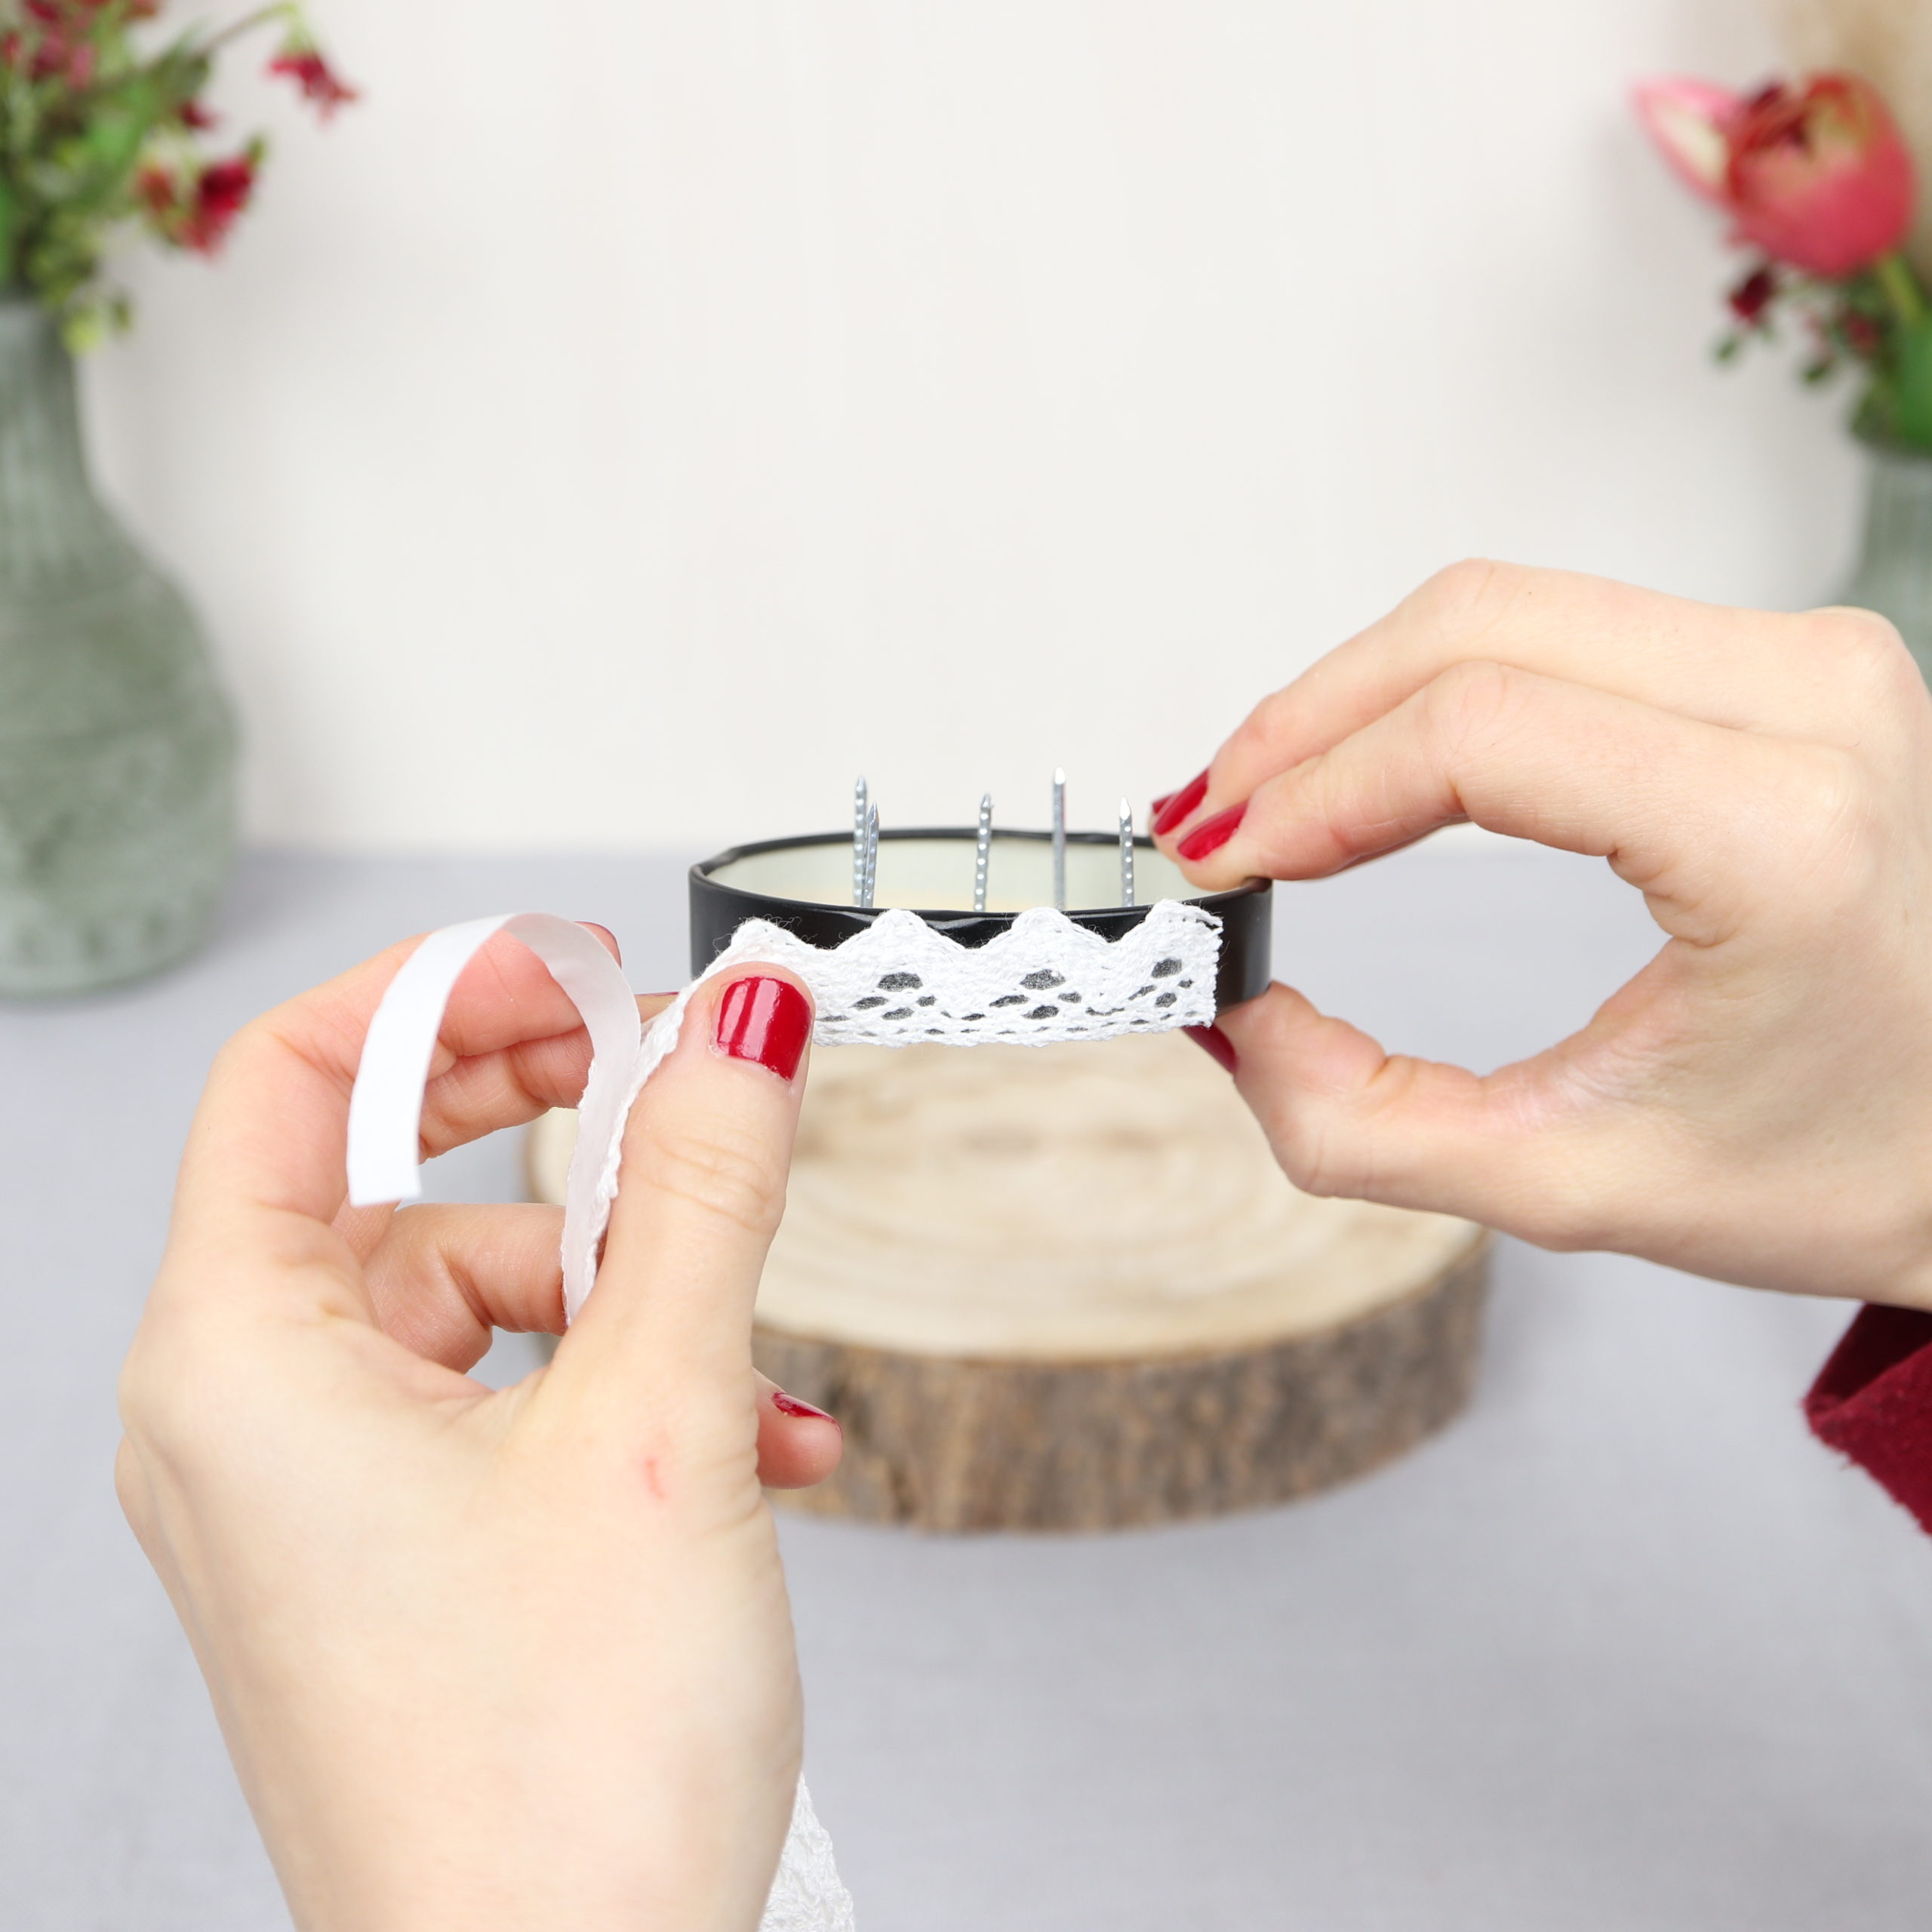
To do this, I stick a piece of self-adhesive lace ribbon to the outer part of the pin frog.
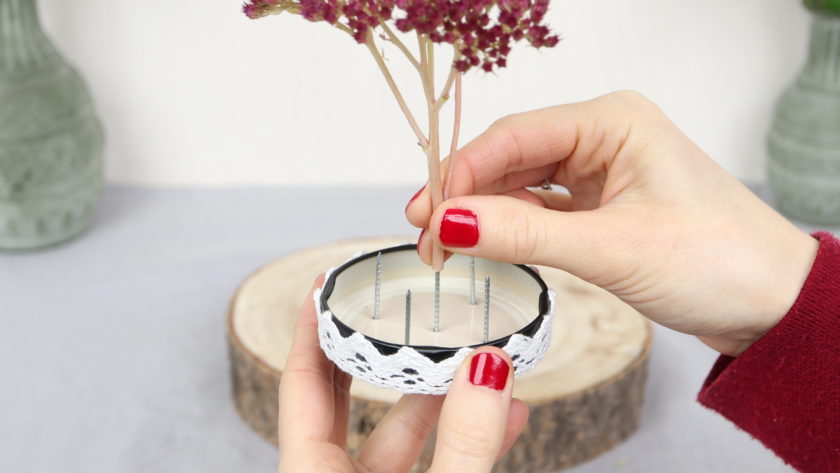
Now you can add flowers and water to your homemade pin frog! It should be possible to easily attach the stems to the nails.
Tip: Since the pin frog has little weight, you can try to add something with more weight, so that the pin frog does not fall over. I add small pebbles to the pin frog.

And ready is the homemade pin frog! I hope this DIY has made you as much fun as me and you like the sight of the new flower decoration!
If you are looking for more DIY ideas and tutorials for flower arrangements with pin frogs, feel free to check here: