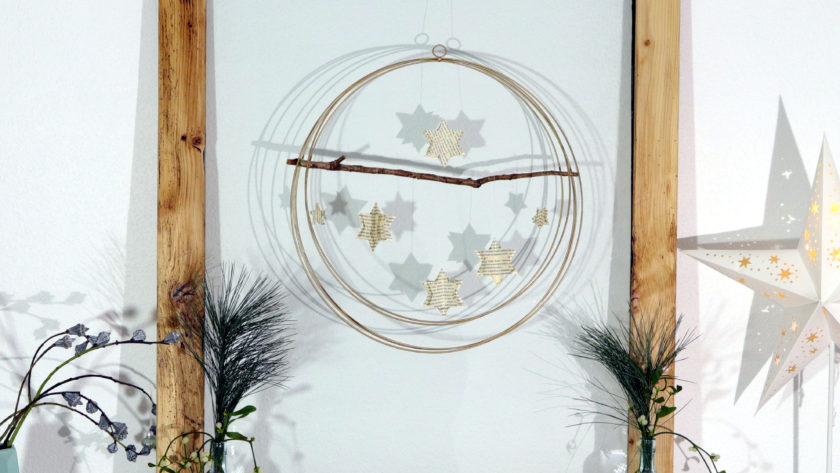
This article teaches how to make Christmas rings in two different variants. The Christmas rings have a very special detail: Paper stars made out of pages from an old book.
Tools
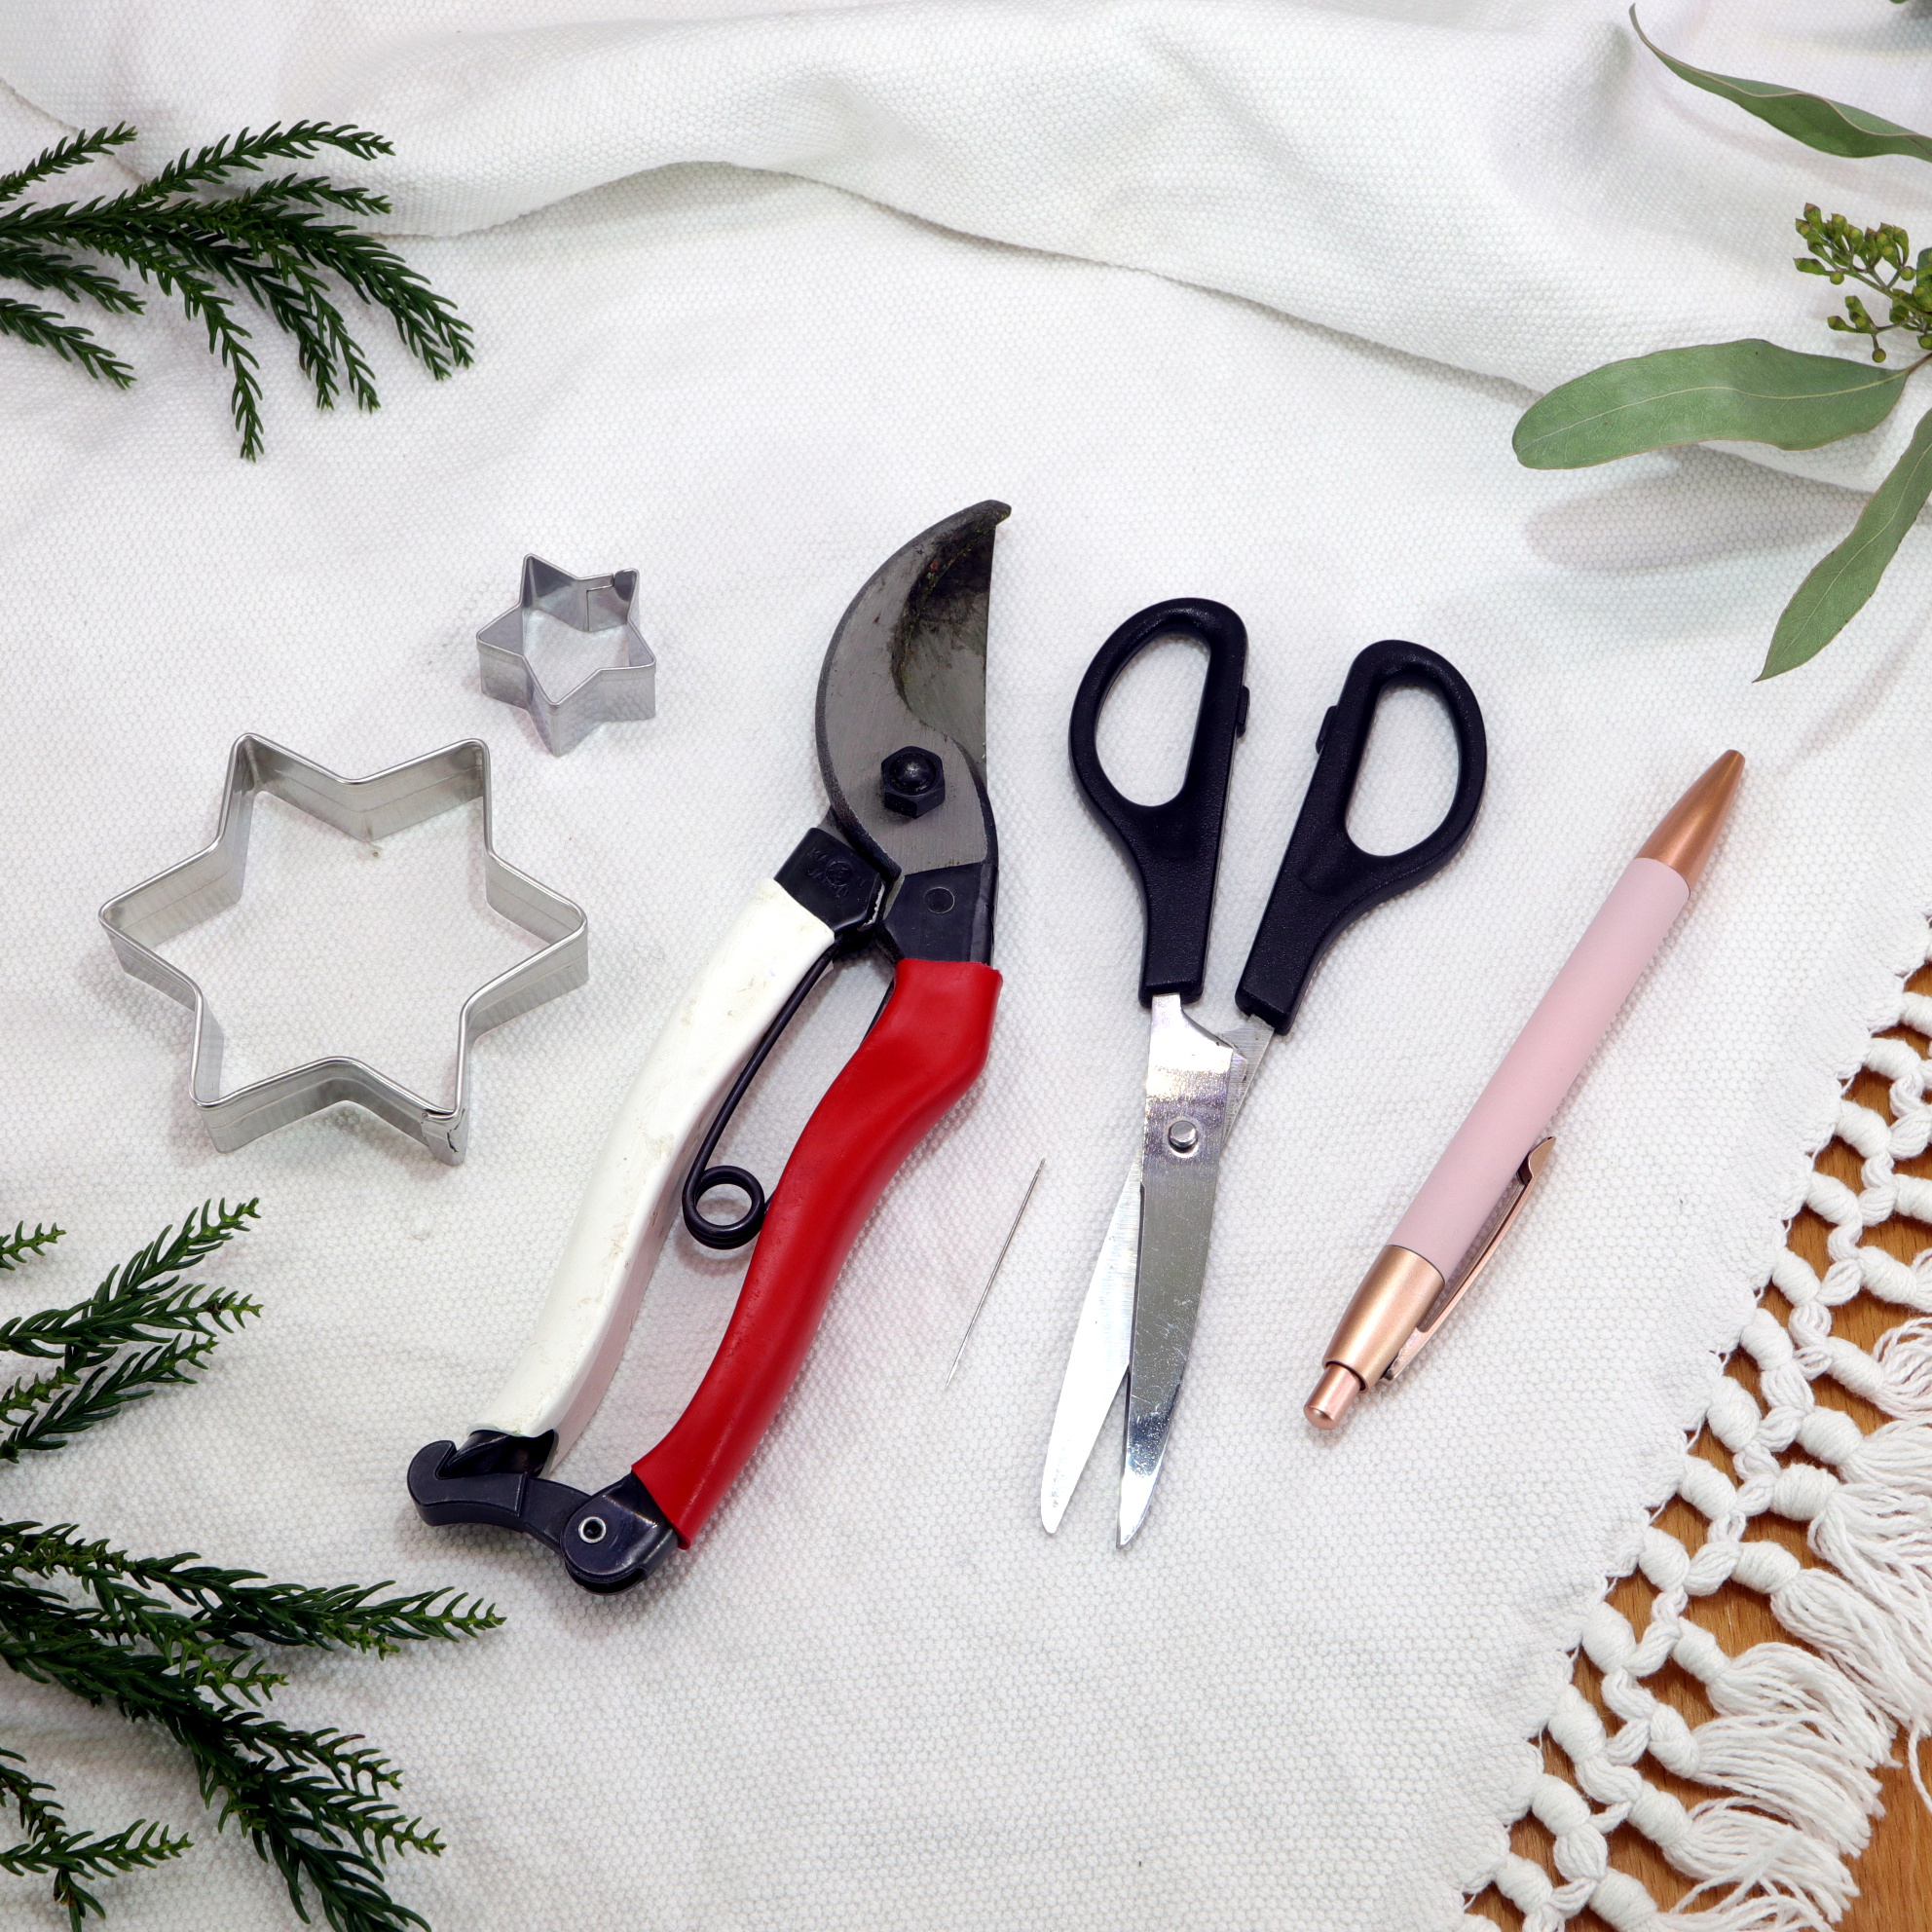
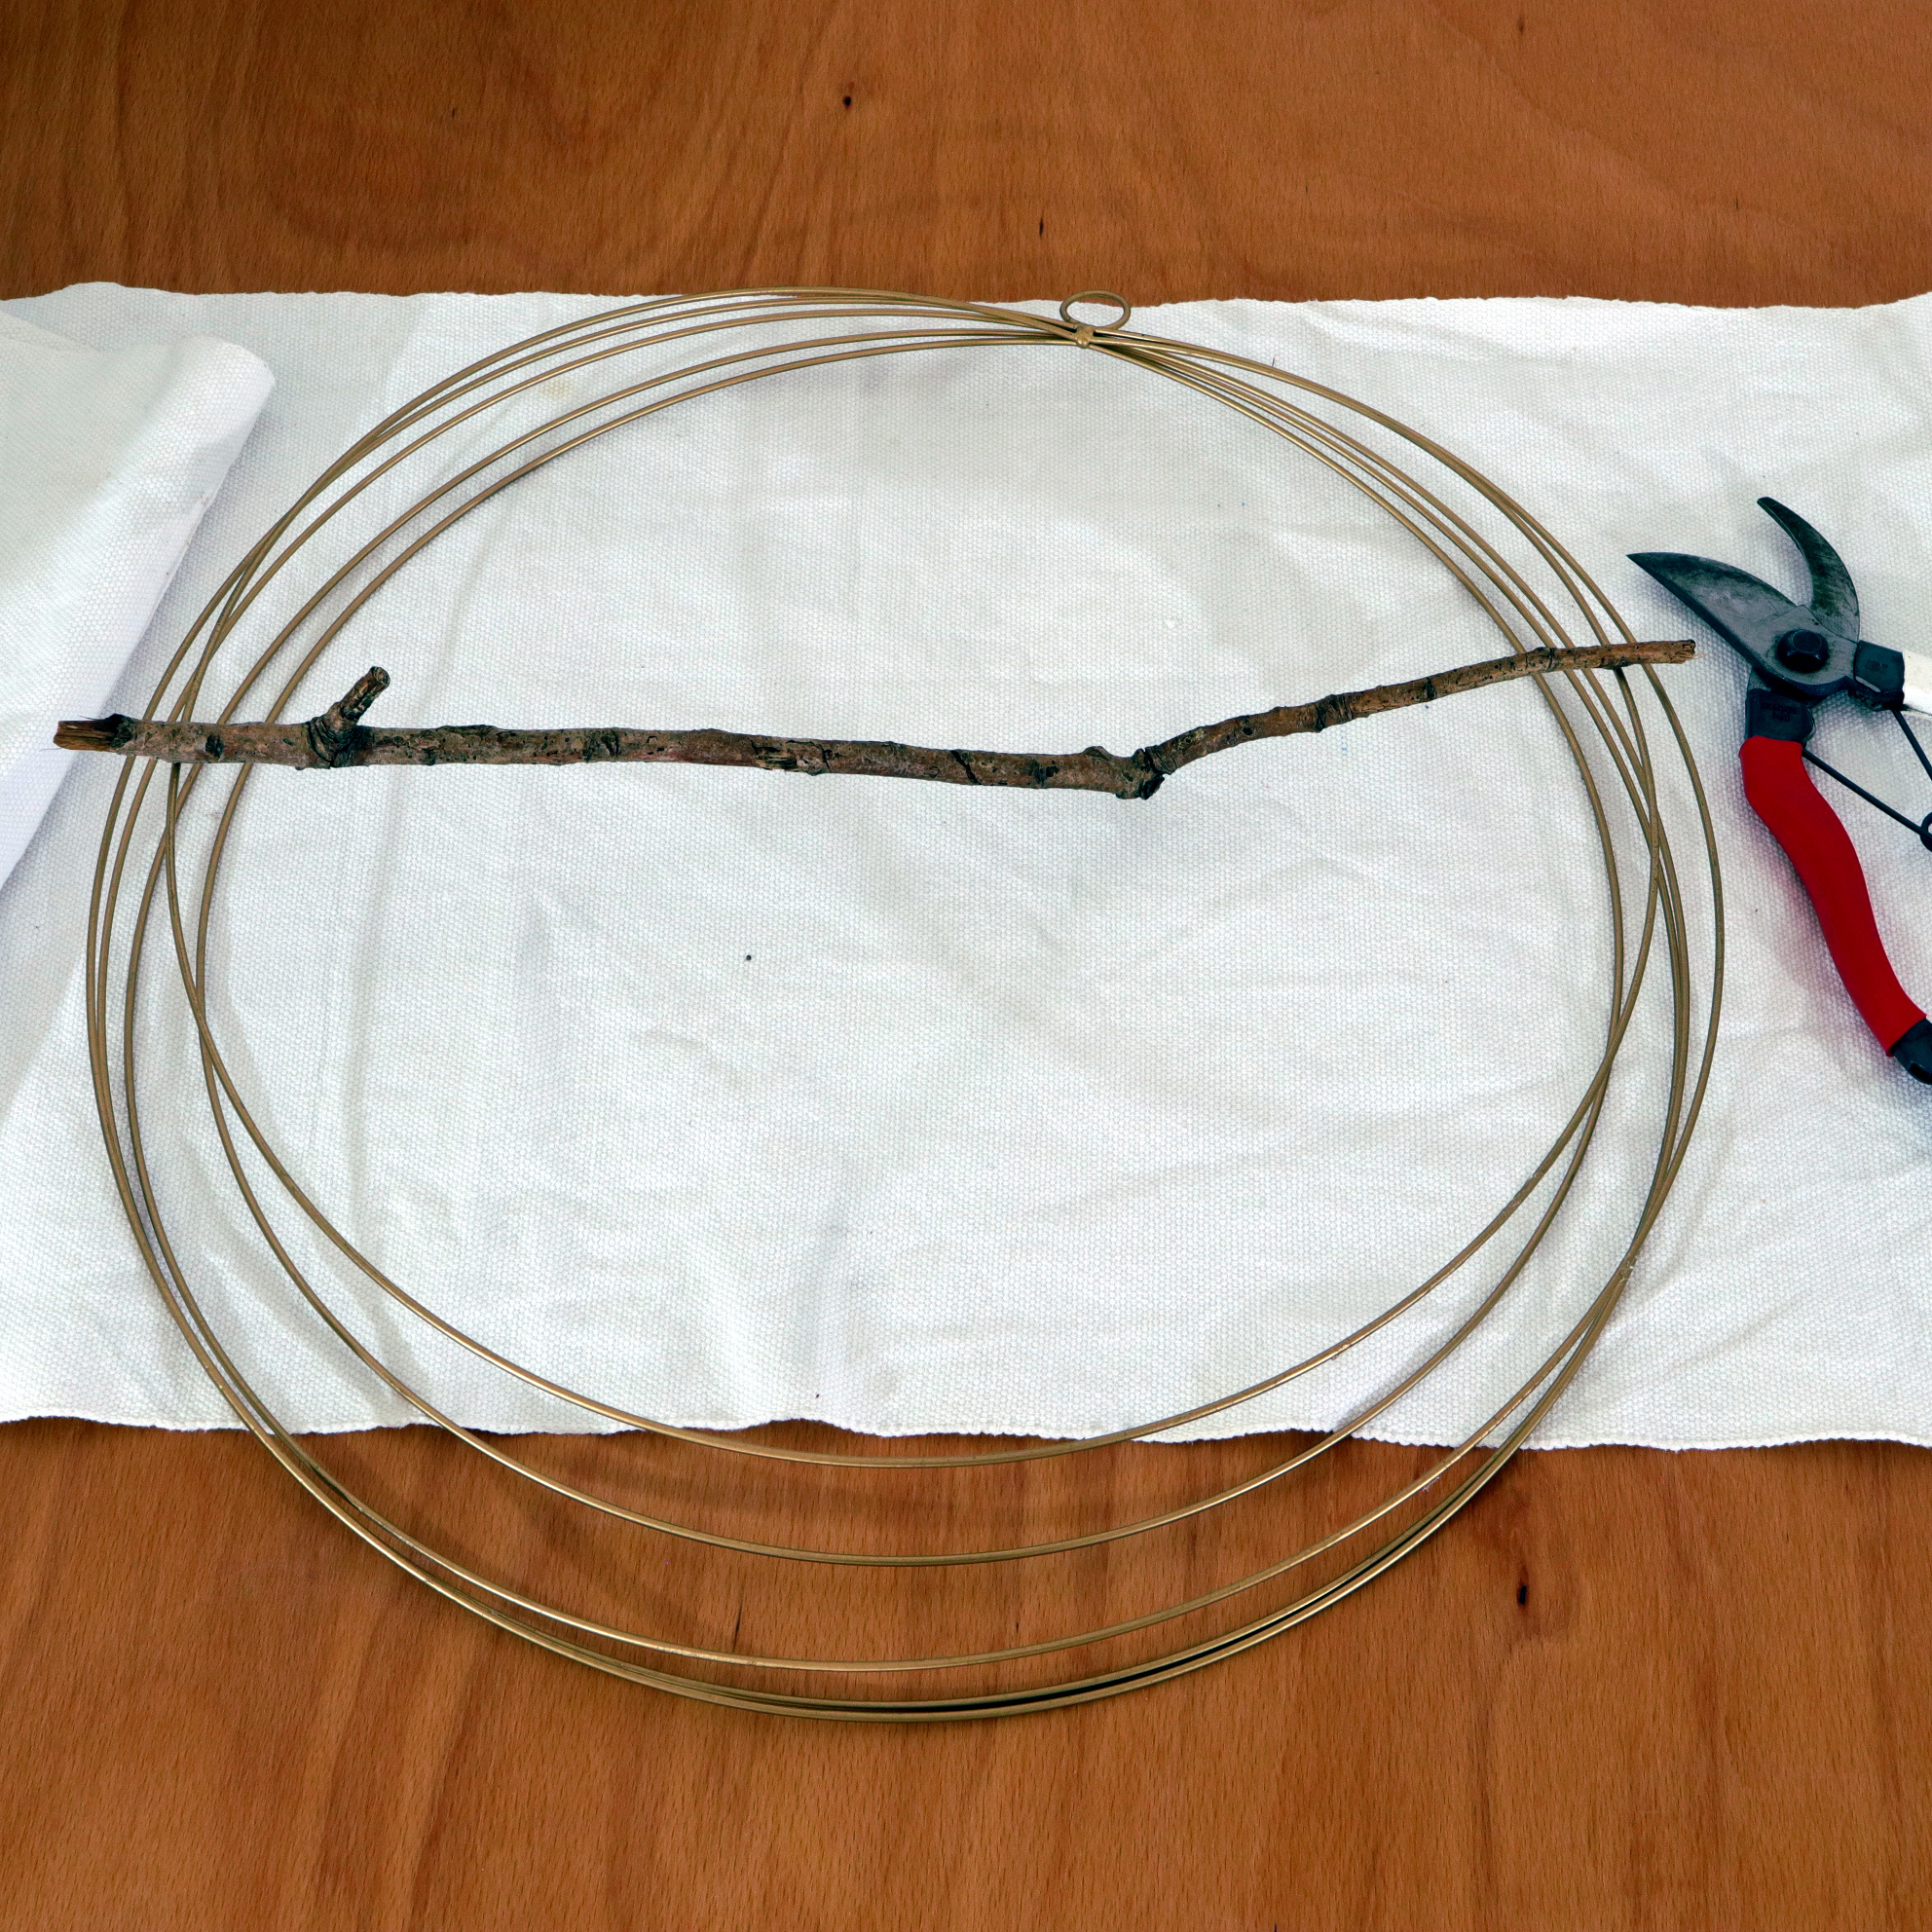
The picture shows all the tools that I used. The gardening scissors are utilized to shorten a branch. The star cookie cutter serves as a template for the stars. The pen is required to draw the stars with help of the cookie cutters on the book pages. The pair of scissors is used to cut out the stars. Finally, we need a needle (or alternatively a sewing machine) to make the stars more special.
Materials
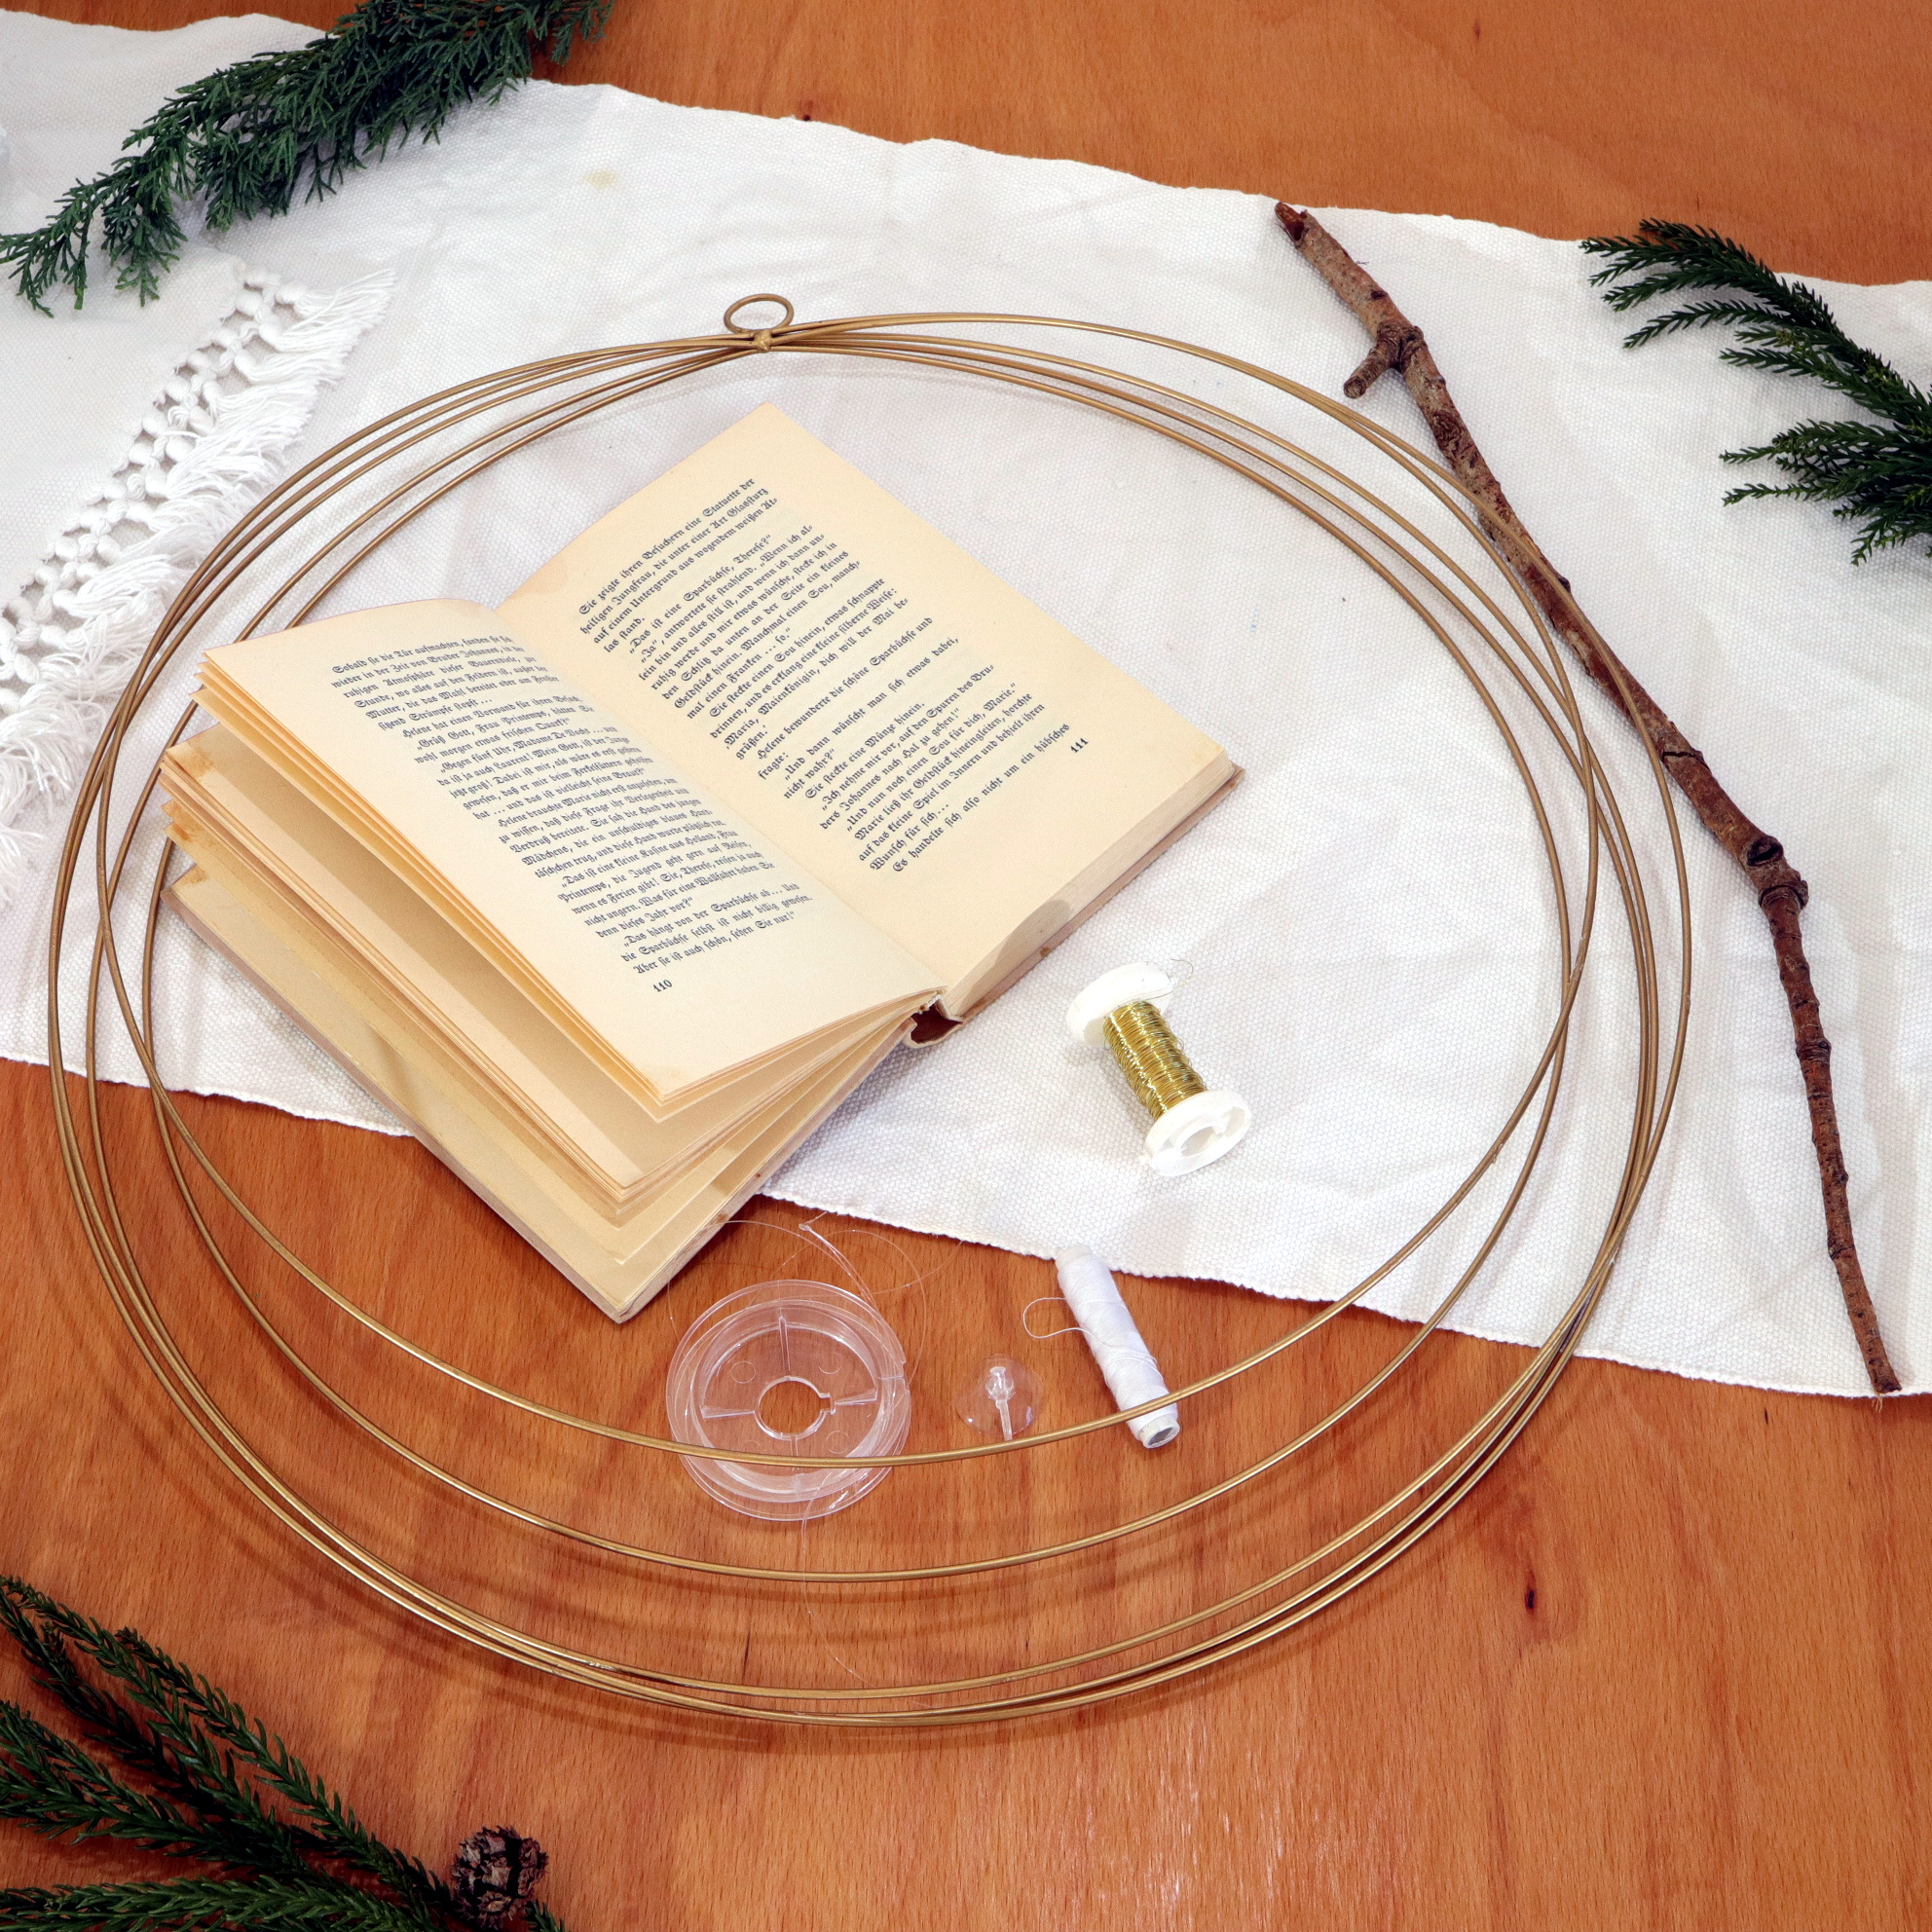
Here you can see which materials I used to make the Christmas ring: You need a “ring” as base material. Then, an old book (with a special font), a small branch, a suction cup hook and nylon string to hang up the ring, wire (gold), thread for making the stars.
| Material | Suche auf (Affiliate Link*) |
|---|---|
| Small branch / twig | |
| Old book | |
| Christmas Ring | |
| Nylon string | |
| Wire (gold) | |
| Thread | |
| Suction cup hook |
DIY Guide
Step 1: Cut branch

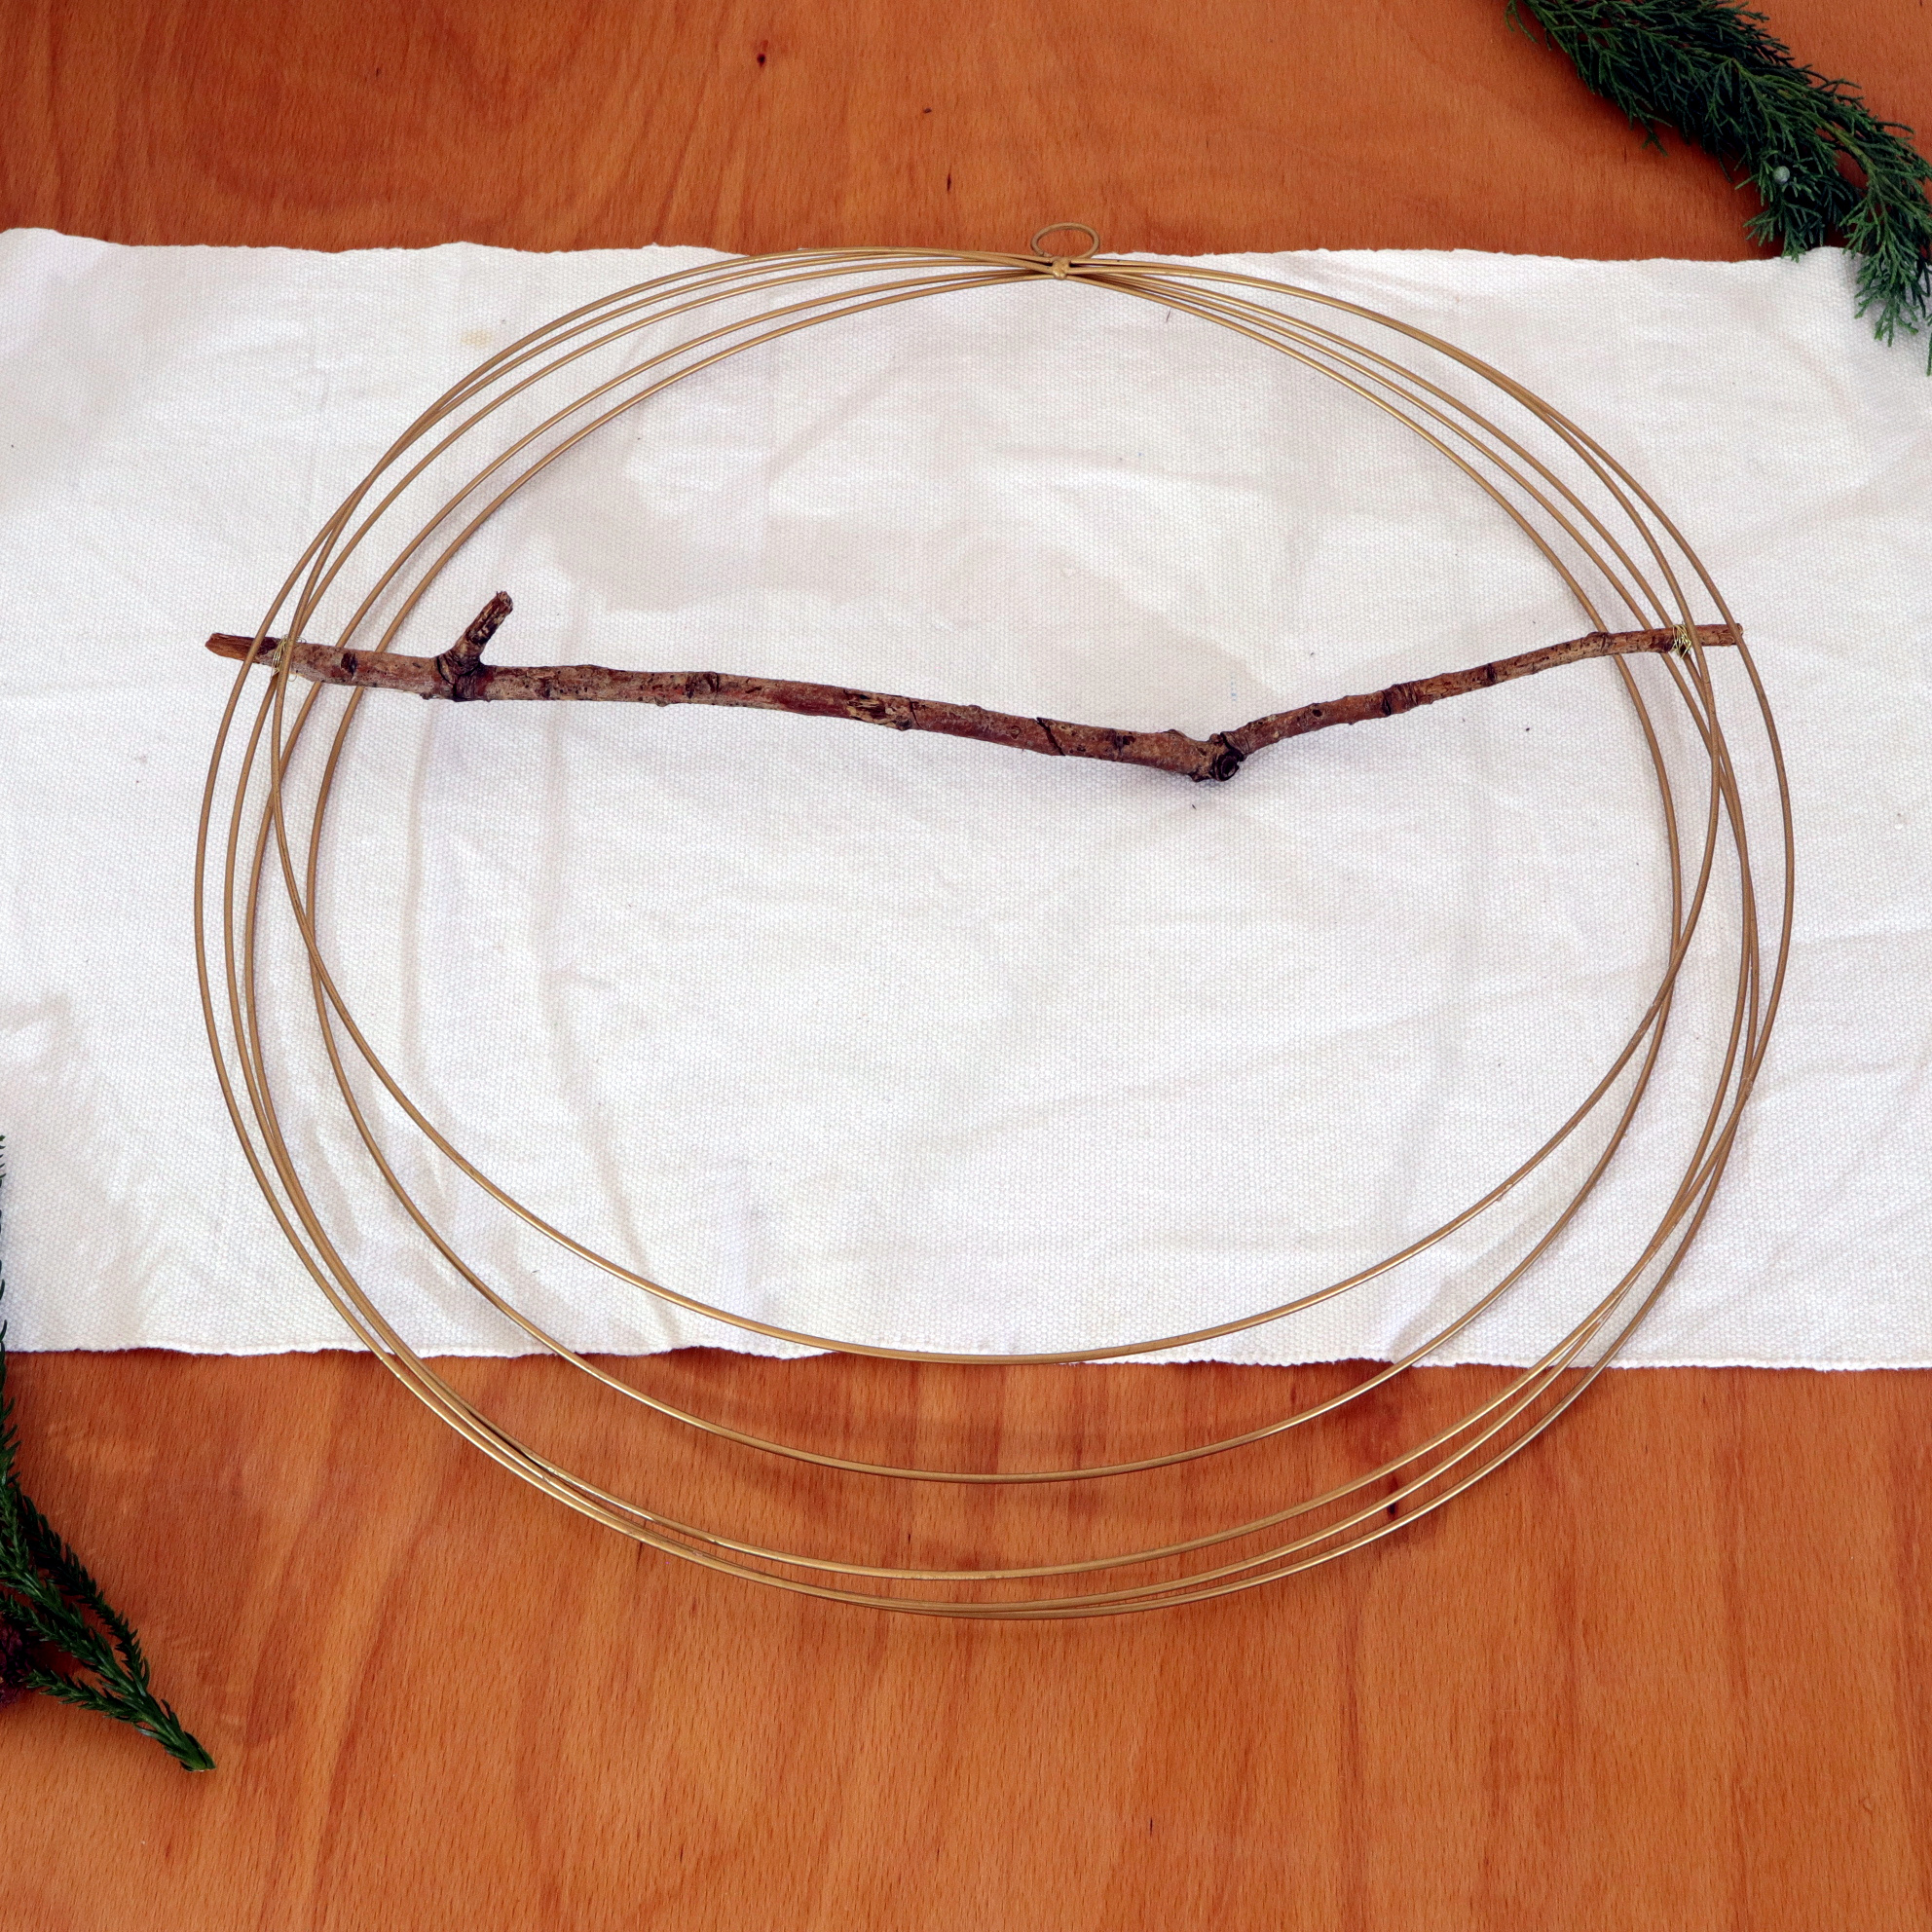
As first step, the branch has to be cut to the final length by utilizing the gardening scissors. The length depends on the ring’s diameter and the desired position of the branch. As you can see on the next picture, the length of my branch is almost equal to the ring’s diameter length:
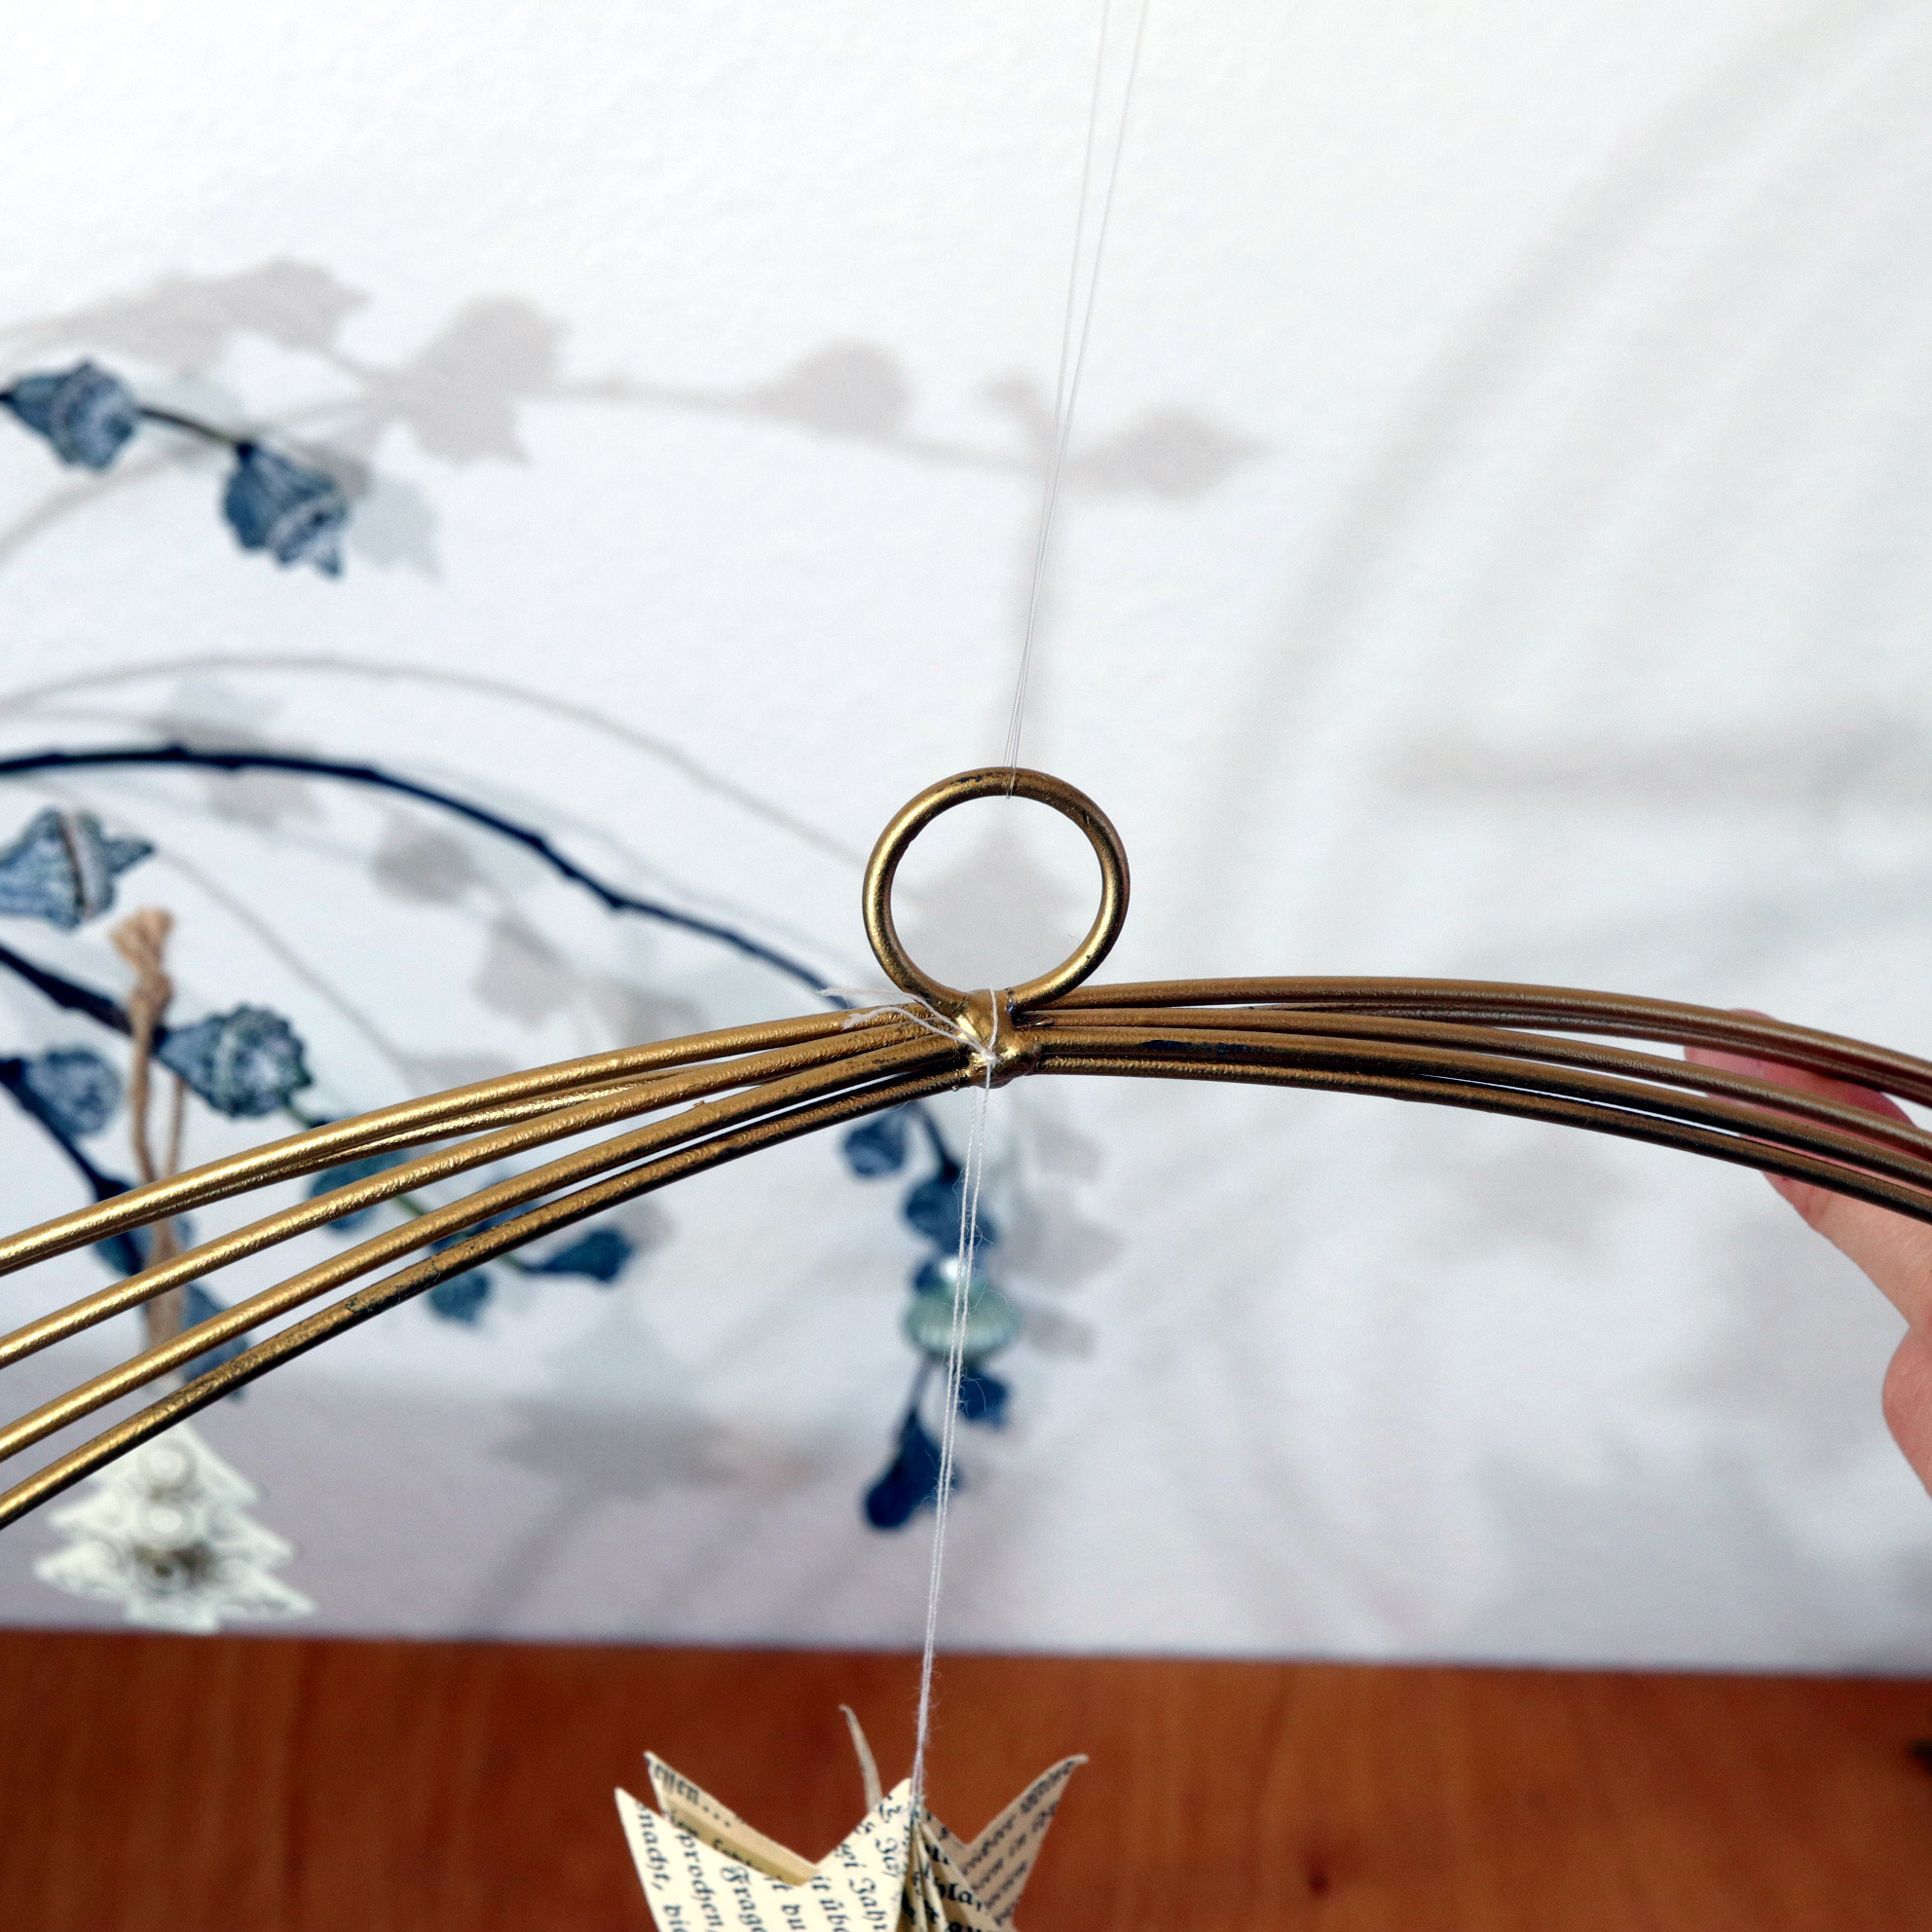
Step 2: Tie the branch to the ring
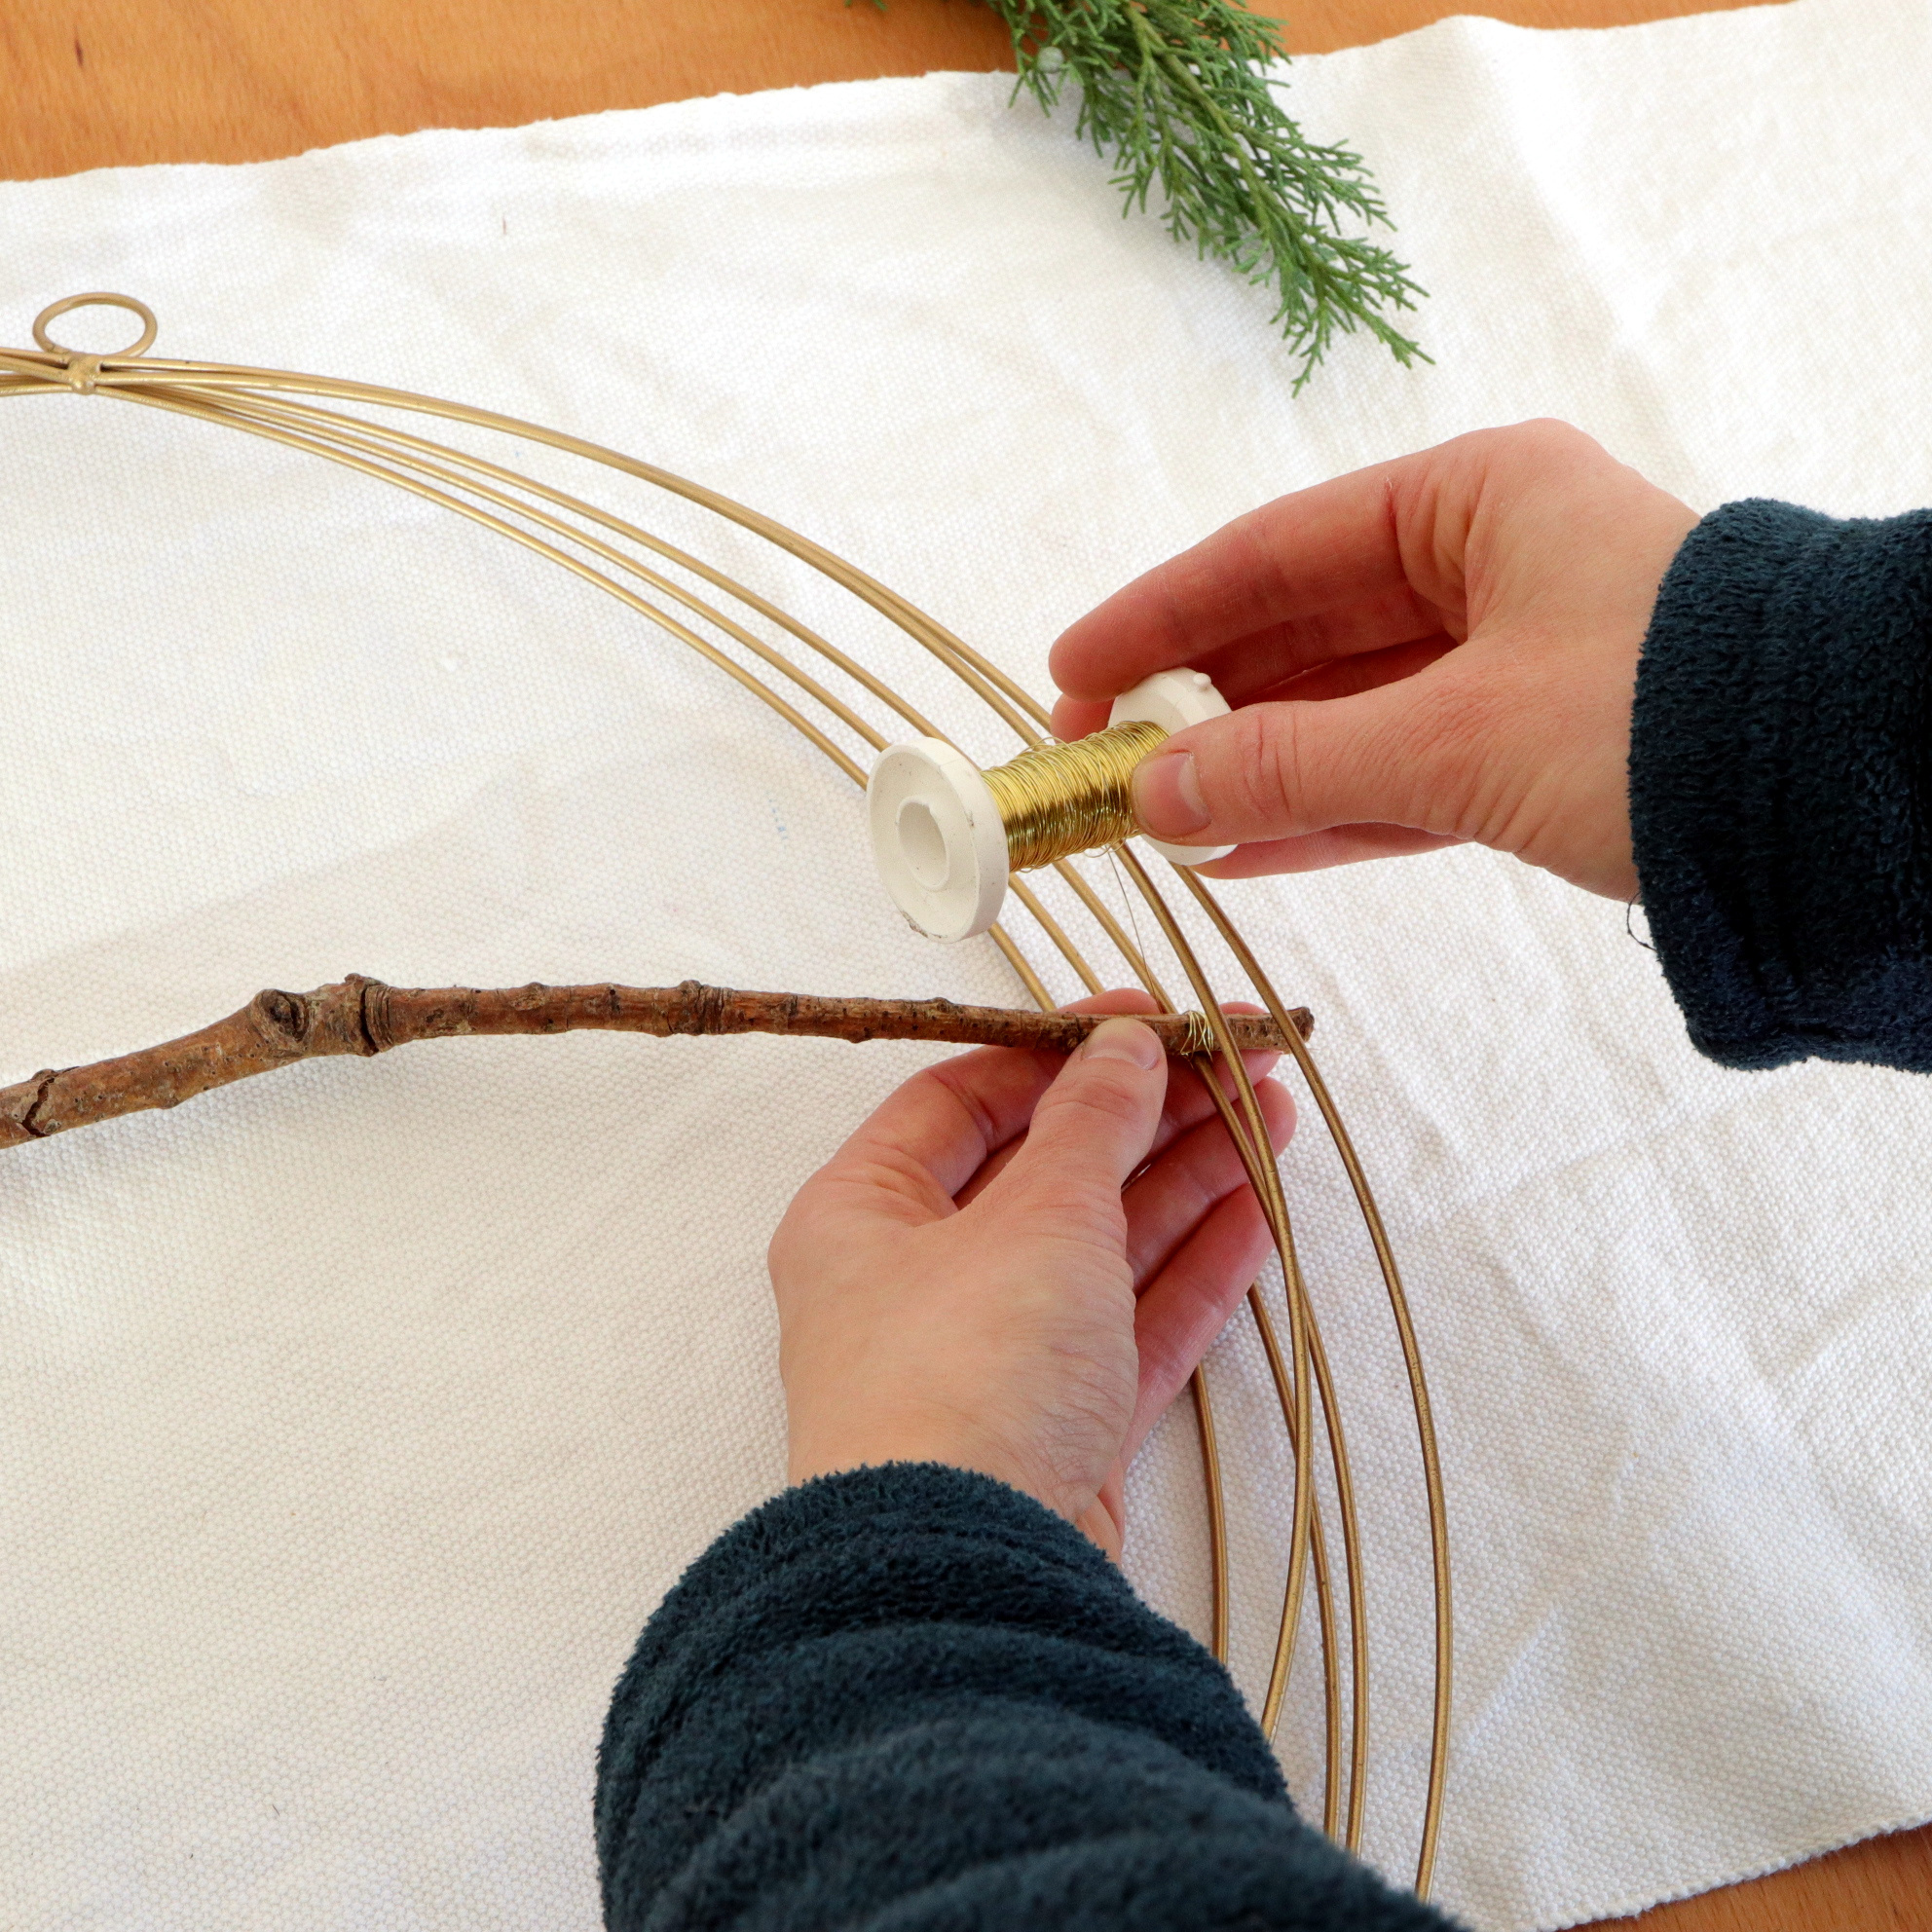
Next, use the golden wire to tie the branch to the ring. If your ring has a different color, you can also choose another color. The branch must be bound tight to the ring. The next picture shows how I tied the branch to the ring:
Step 3: Cutting out paper stars

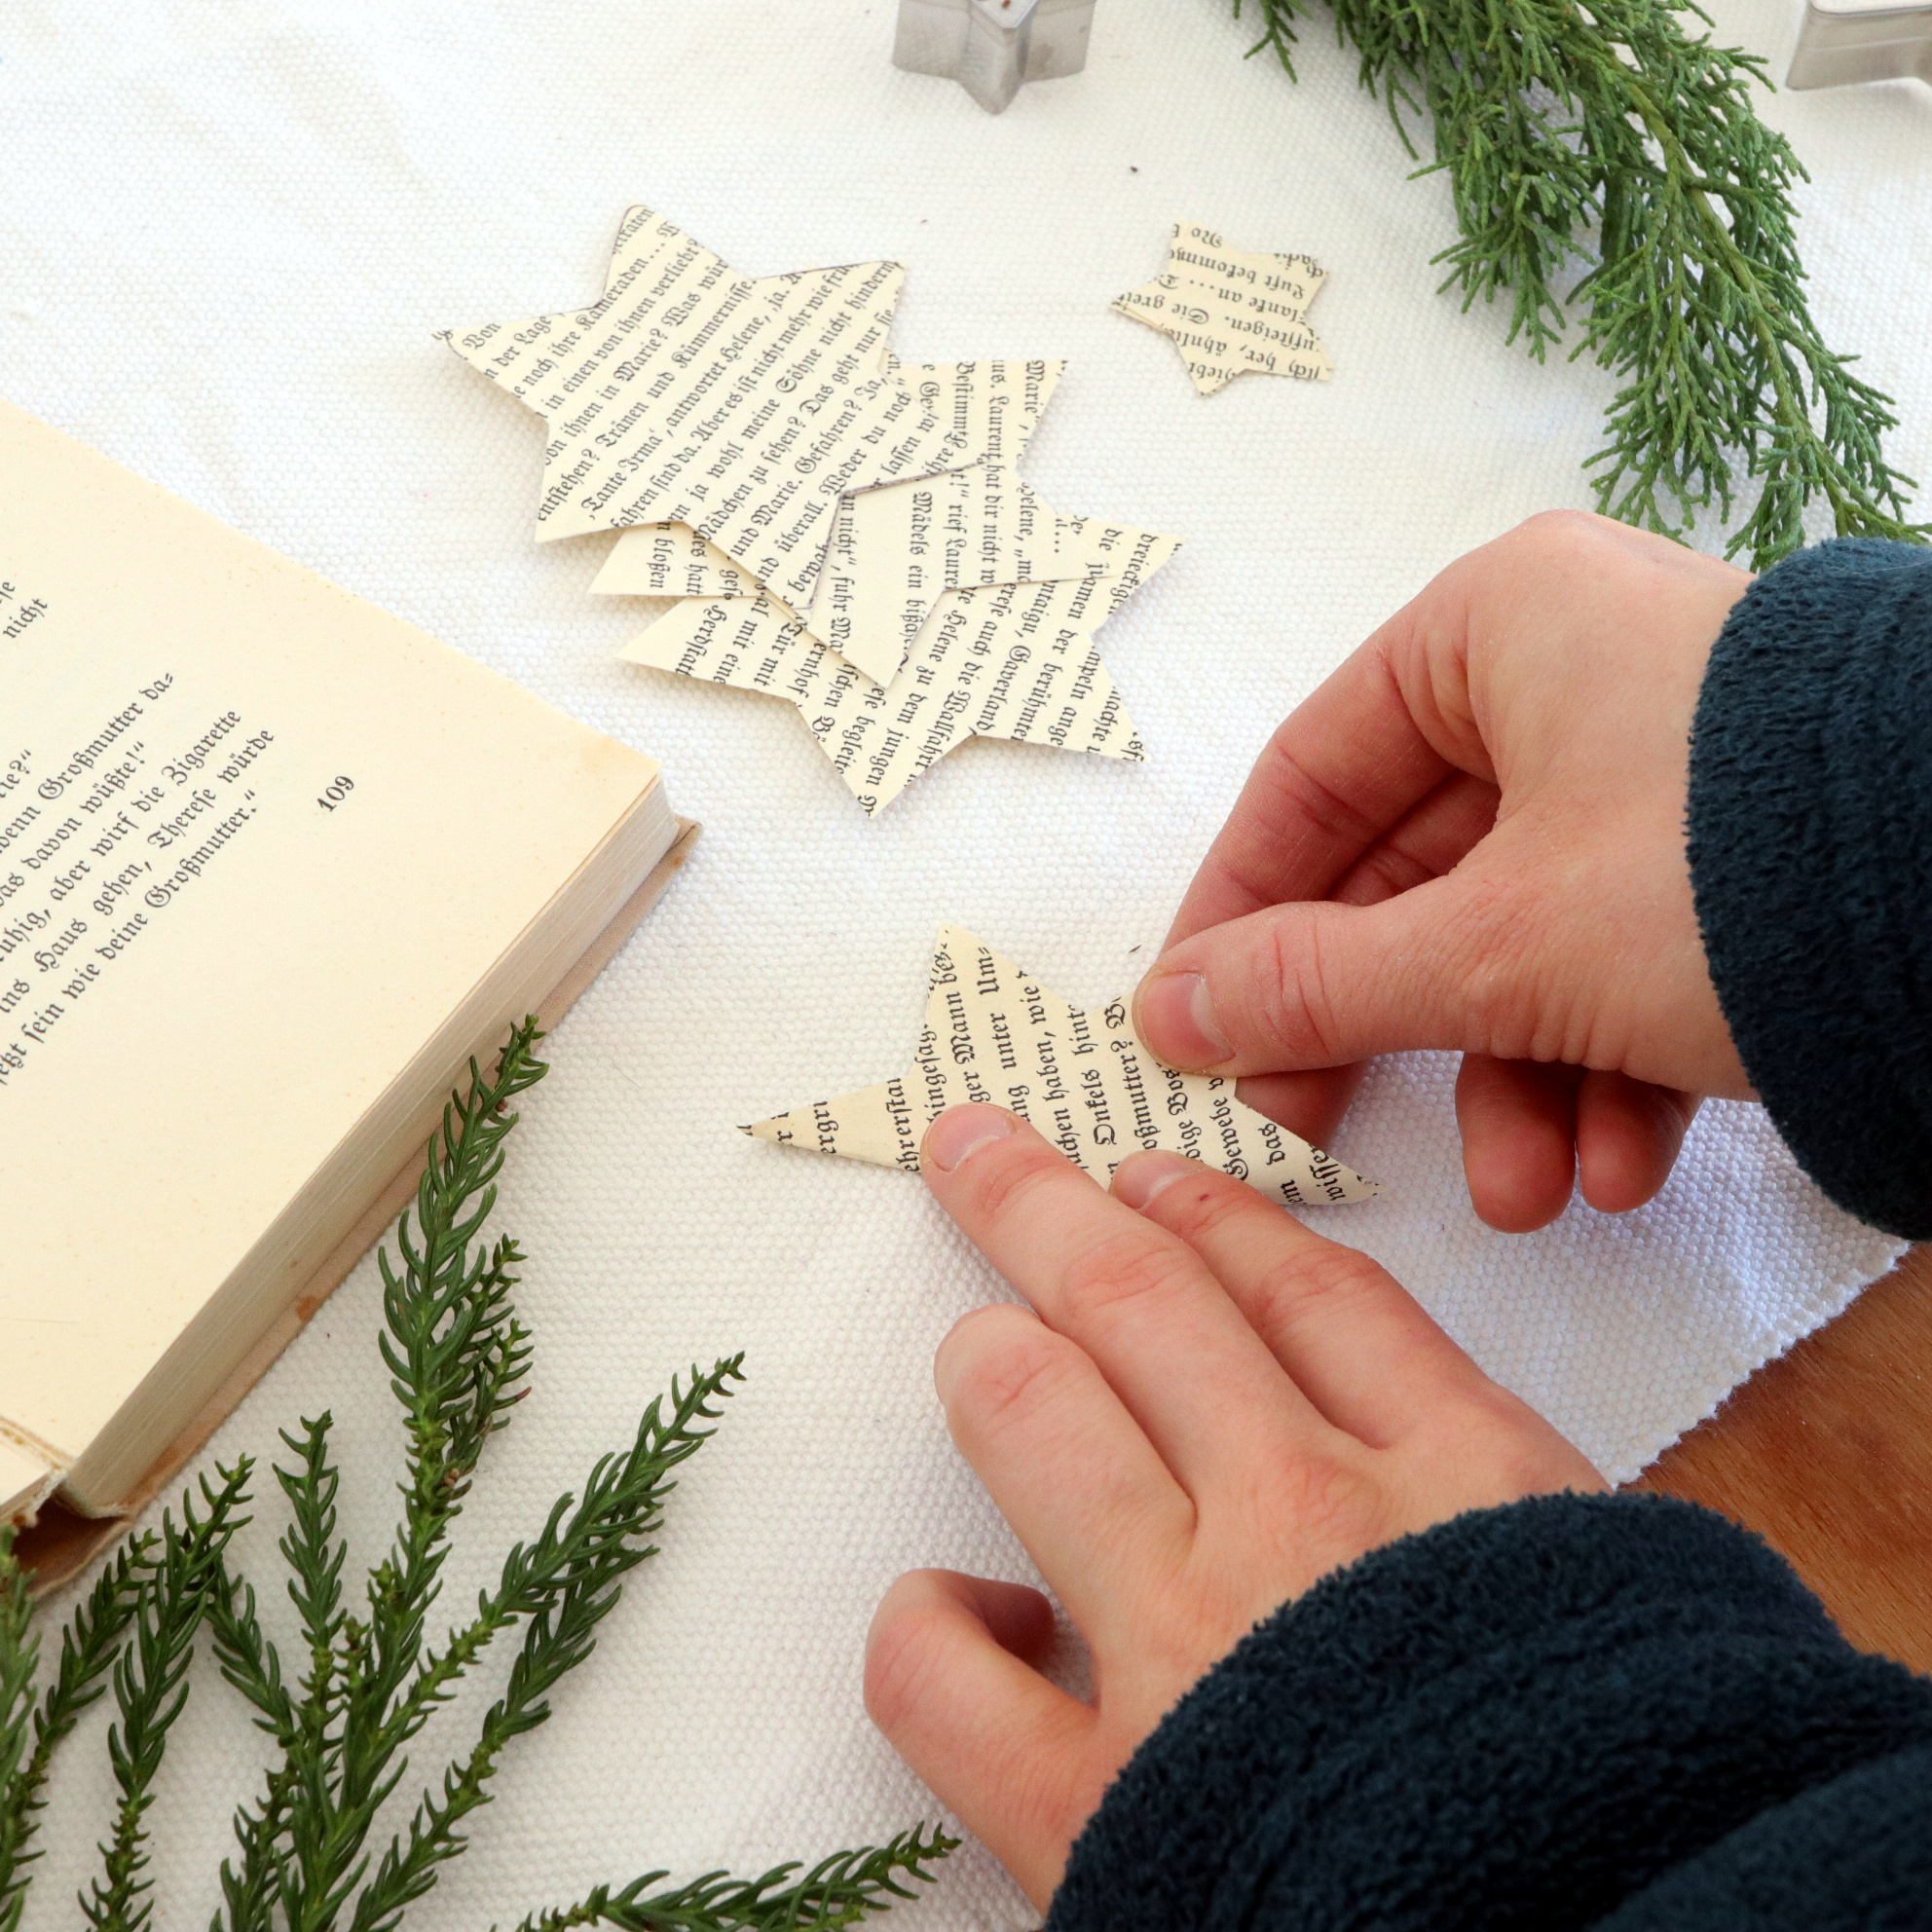
The next step is to cut out paper stars for the Christmas ring. The base material comes from an old book. I bought my old book from a Second-Hand Store.
As a template for the stars, I used cookie cutters. Take out a page from the book, place the cookie cutter onto the page, and then draw a star with the help of the cookie cutter and the pen. I used cookie cutters of different sizes, as I wanted to have some variety of stars on my Christmas ring.

The next step is to use the scissors to cut out the star layers. To be more efficient, place multiple pages on top of each other. As a result, you do the cutting once, but you get multiple star layers out of it.
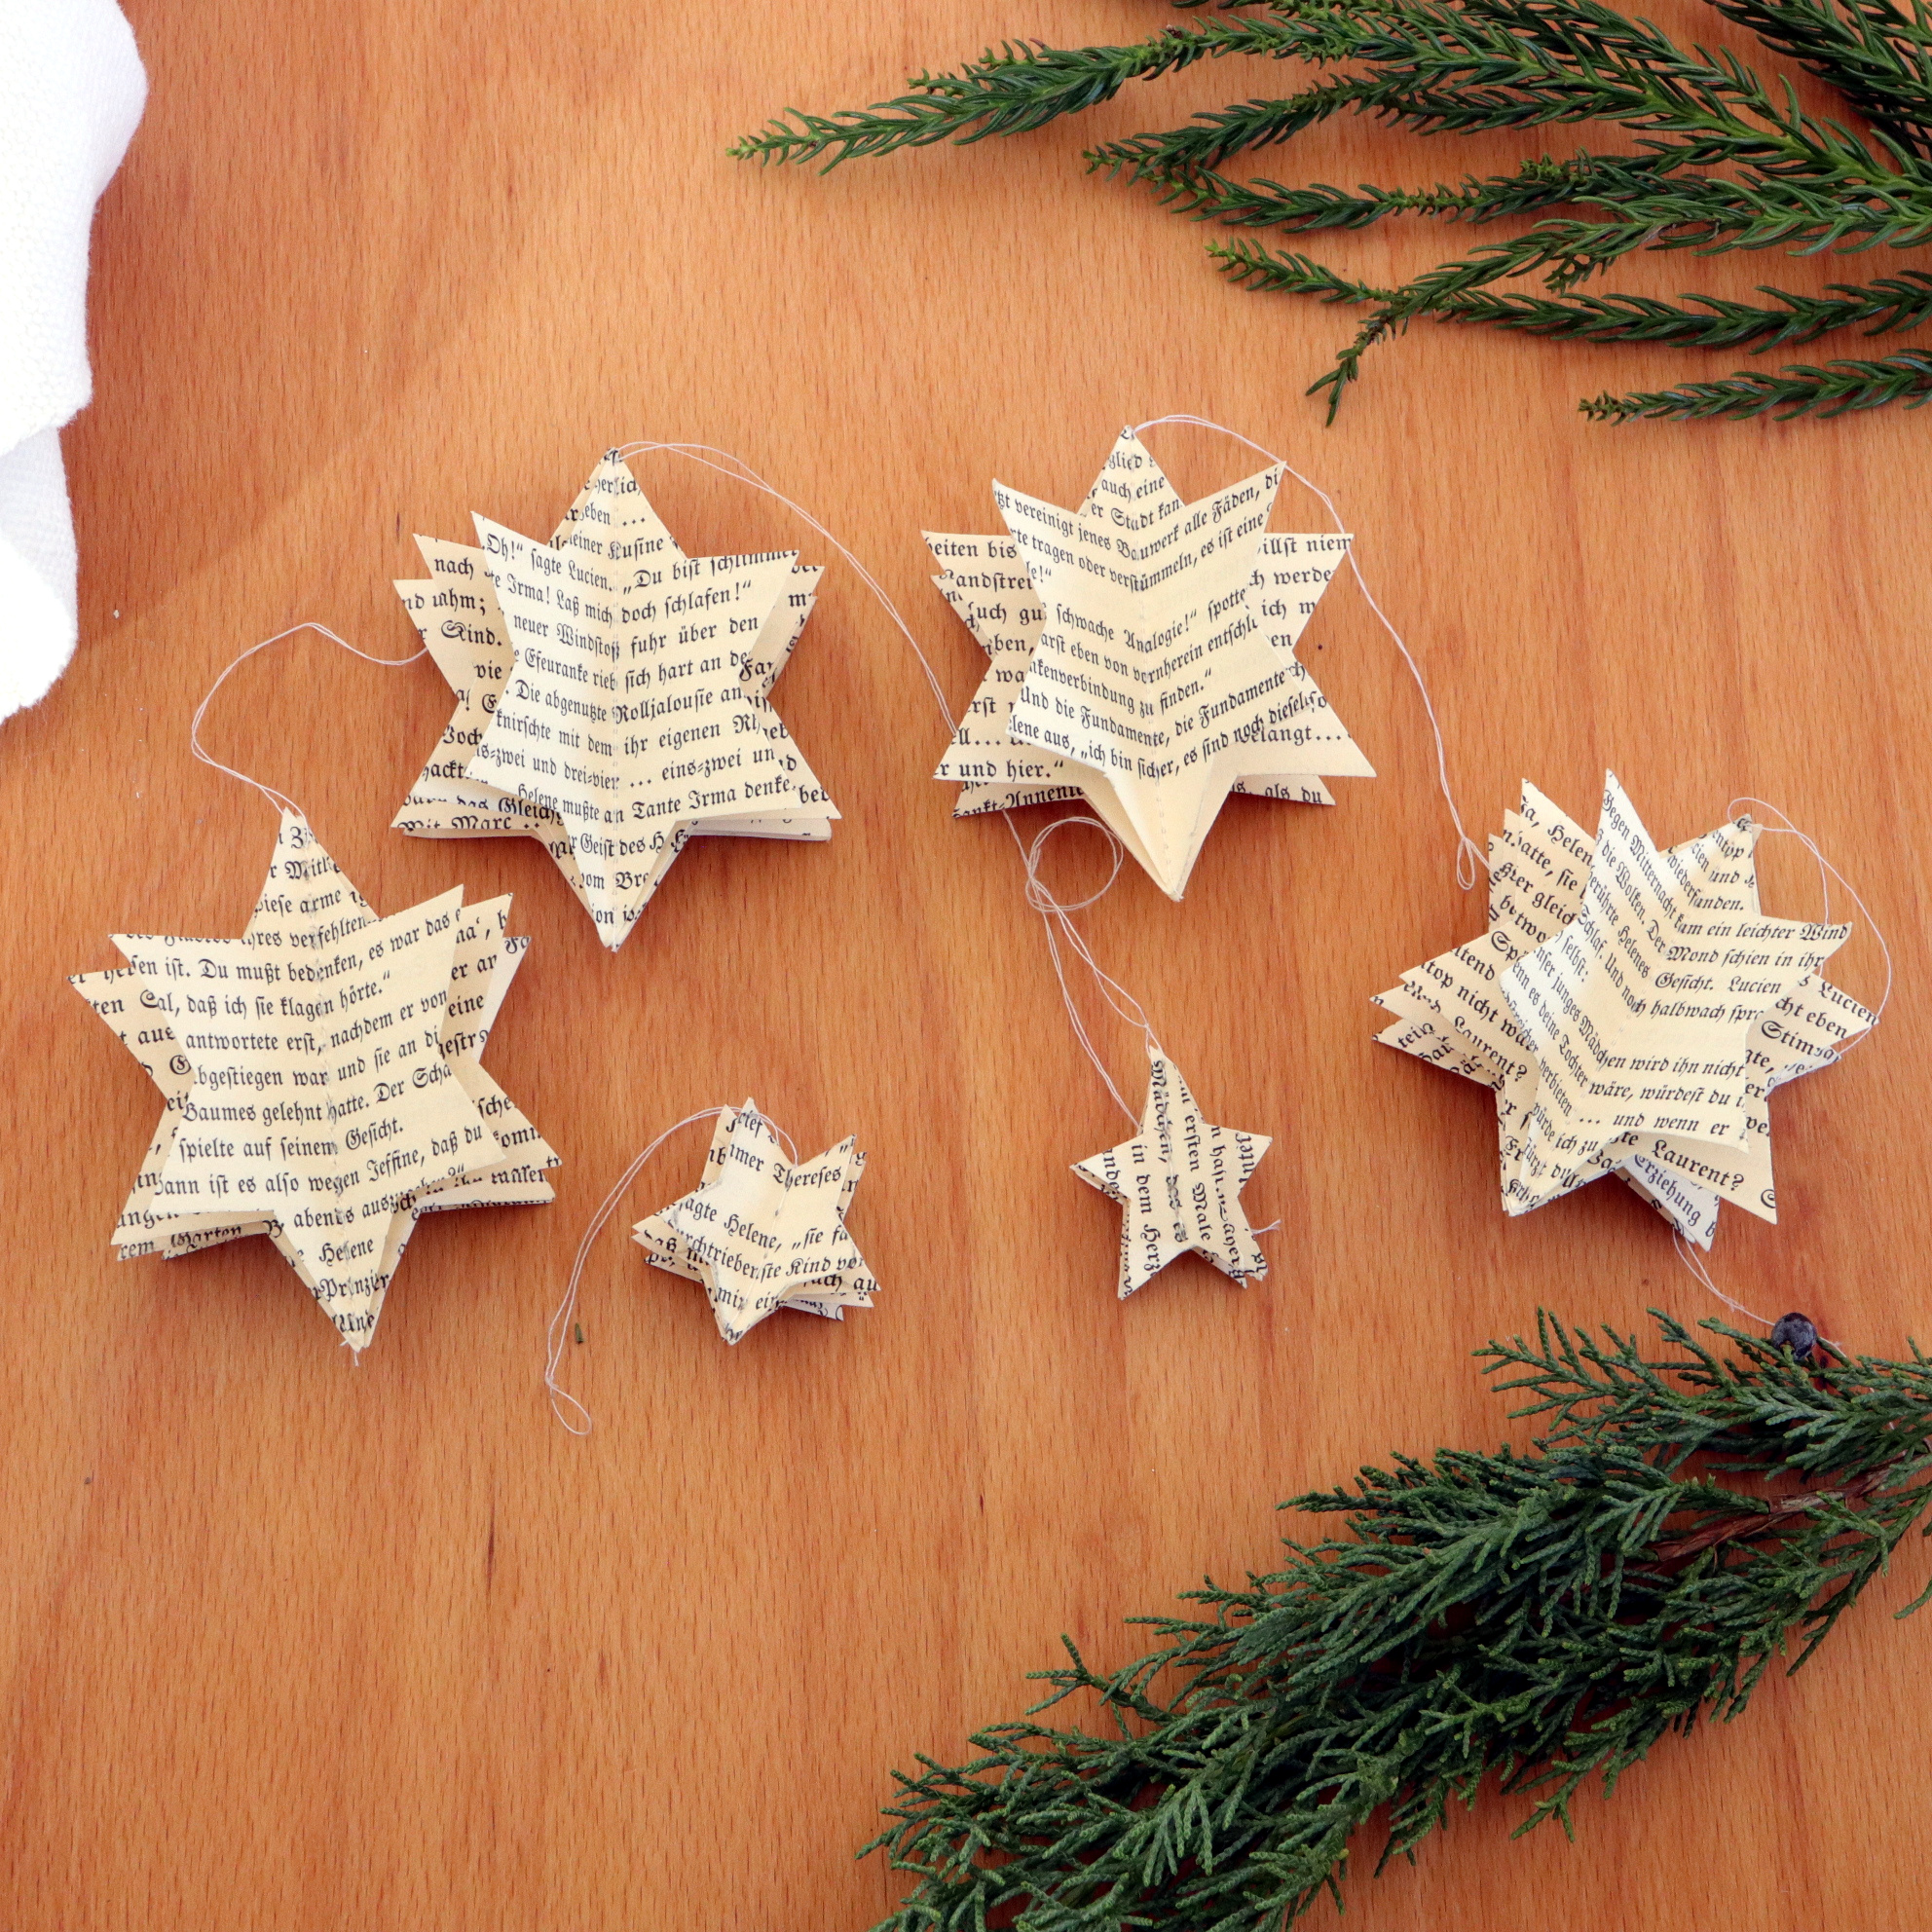
In total, I made four bigger stars and two smaller stars. Each star requires between three and five star layers. Thus, you need 12 (bigger) star layers for four bigger stars and 6 (smaller) star layers for two smaller stars.
Step 4: Sewing the Stars
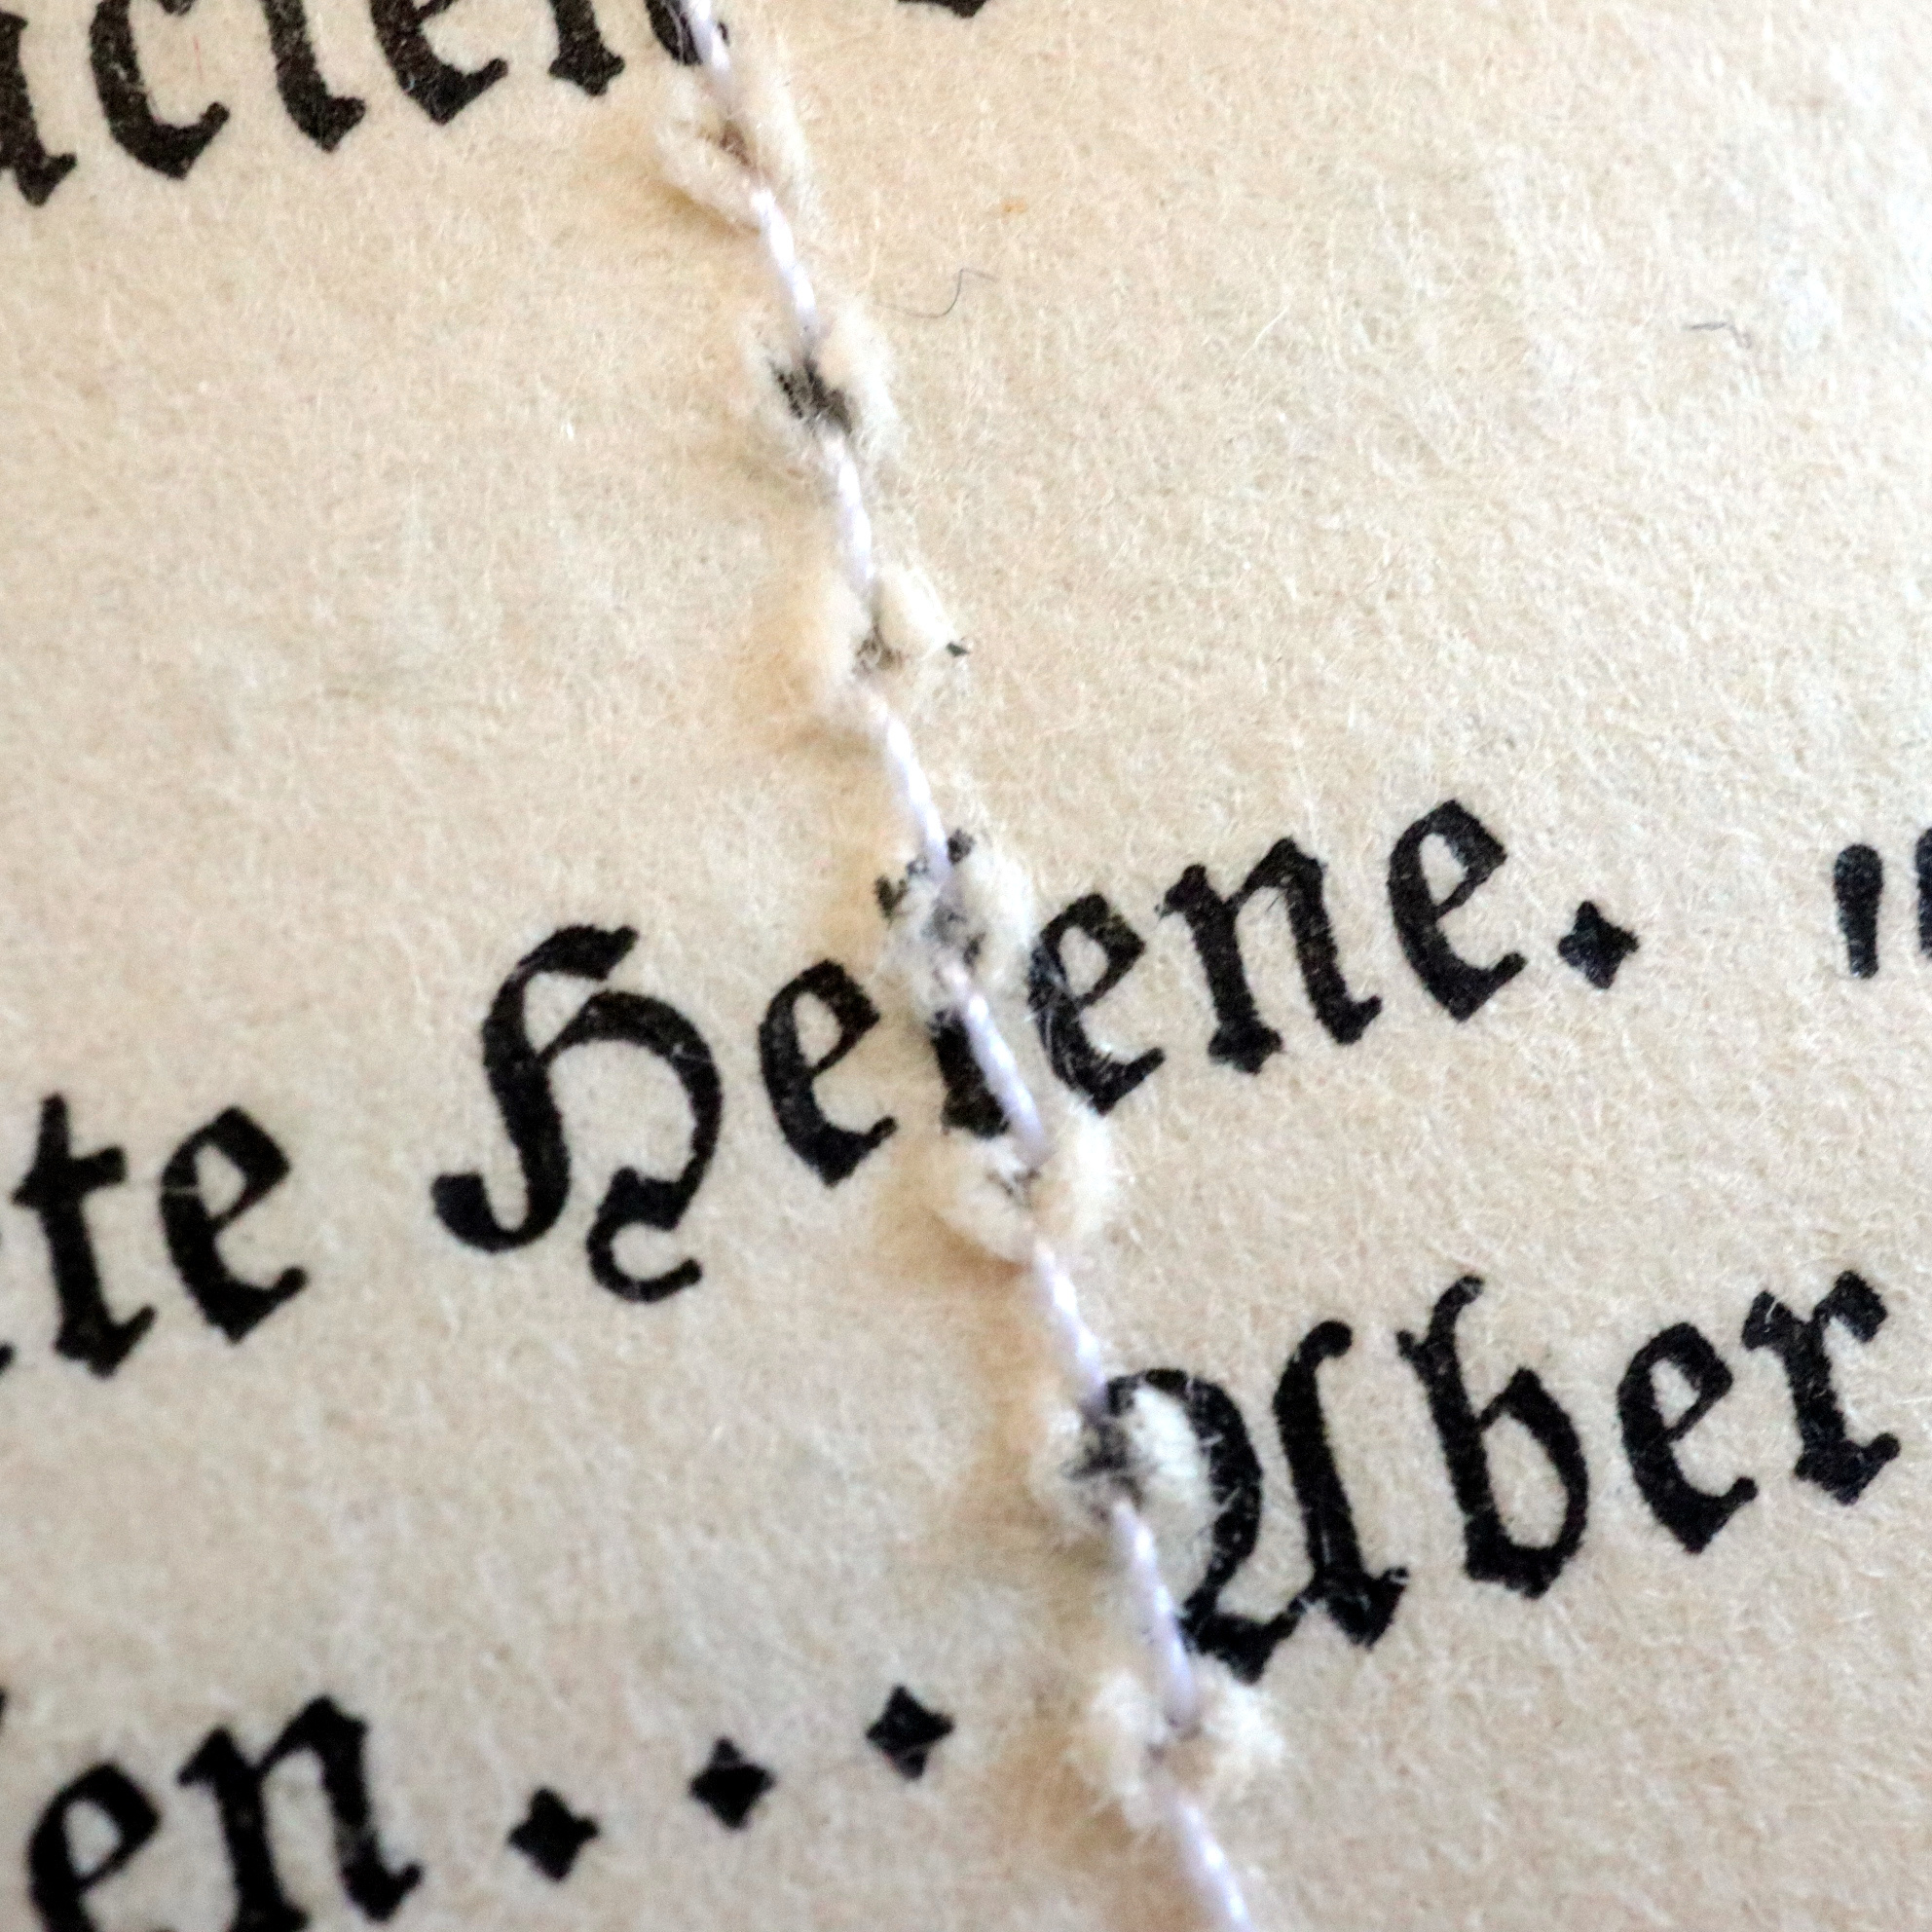
Next, the star layers are sewed together in order to get a star. Just take three to five layers (depends how many layers you prefer for your final star), and fold the star on the top in the middle. After the fold, you have a line at which you sew the star layers together.

Sew onto the line from bottom to top. For each star, you need to have some thread left — to hang up the star on the branch later. So do not cut off the thread right away, when you have sewed to the top. I recommend to keep about 5-10cm of thread.
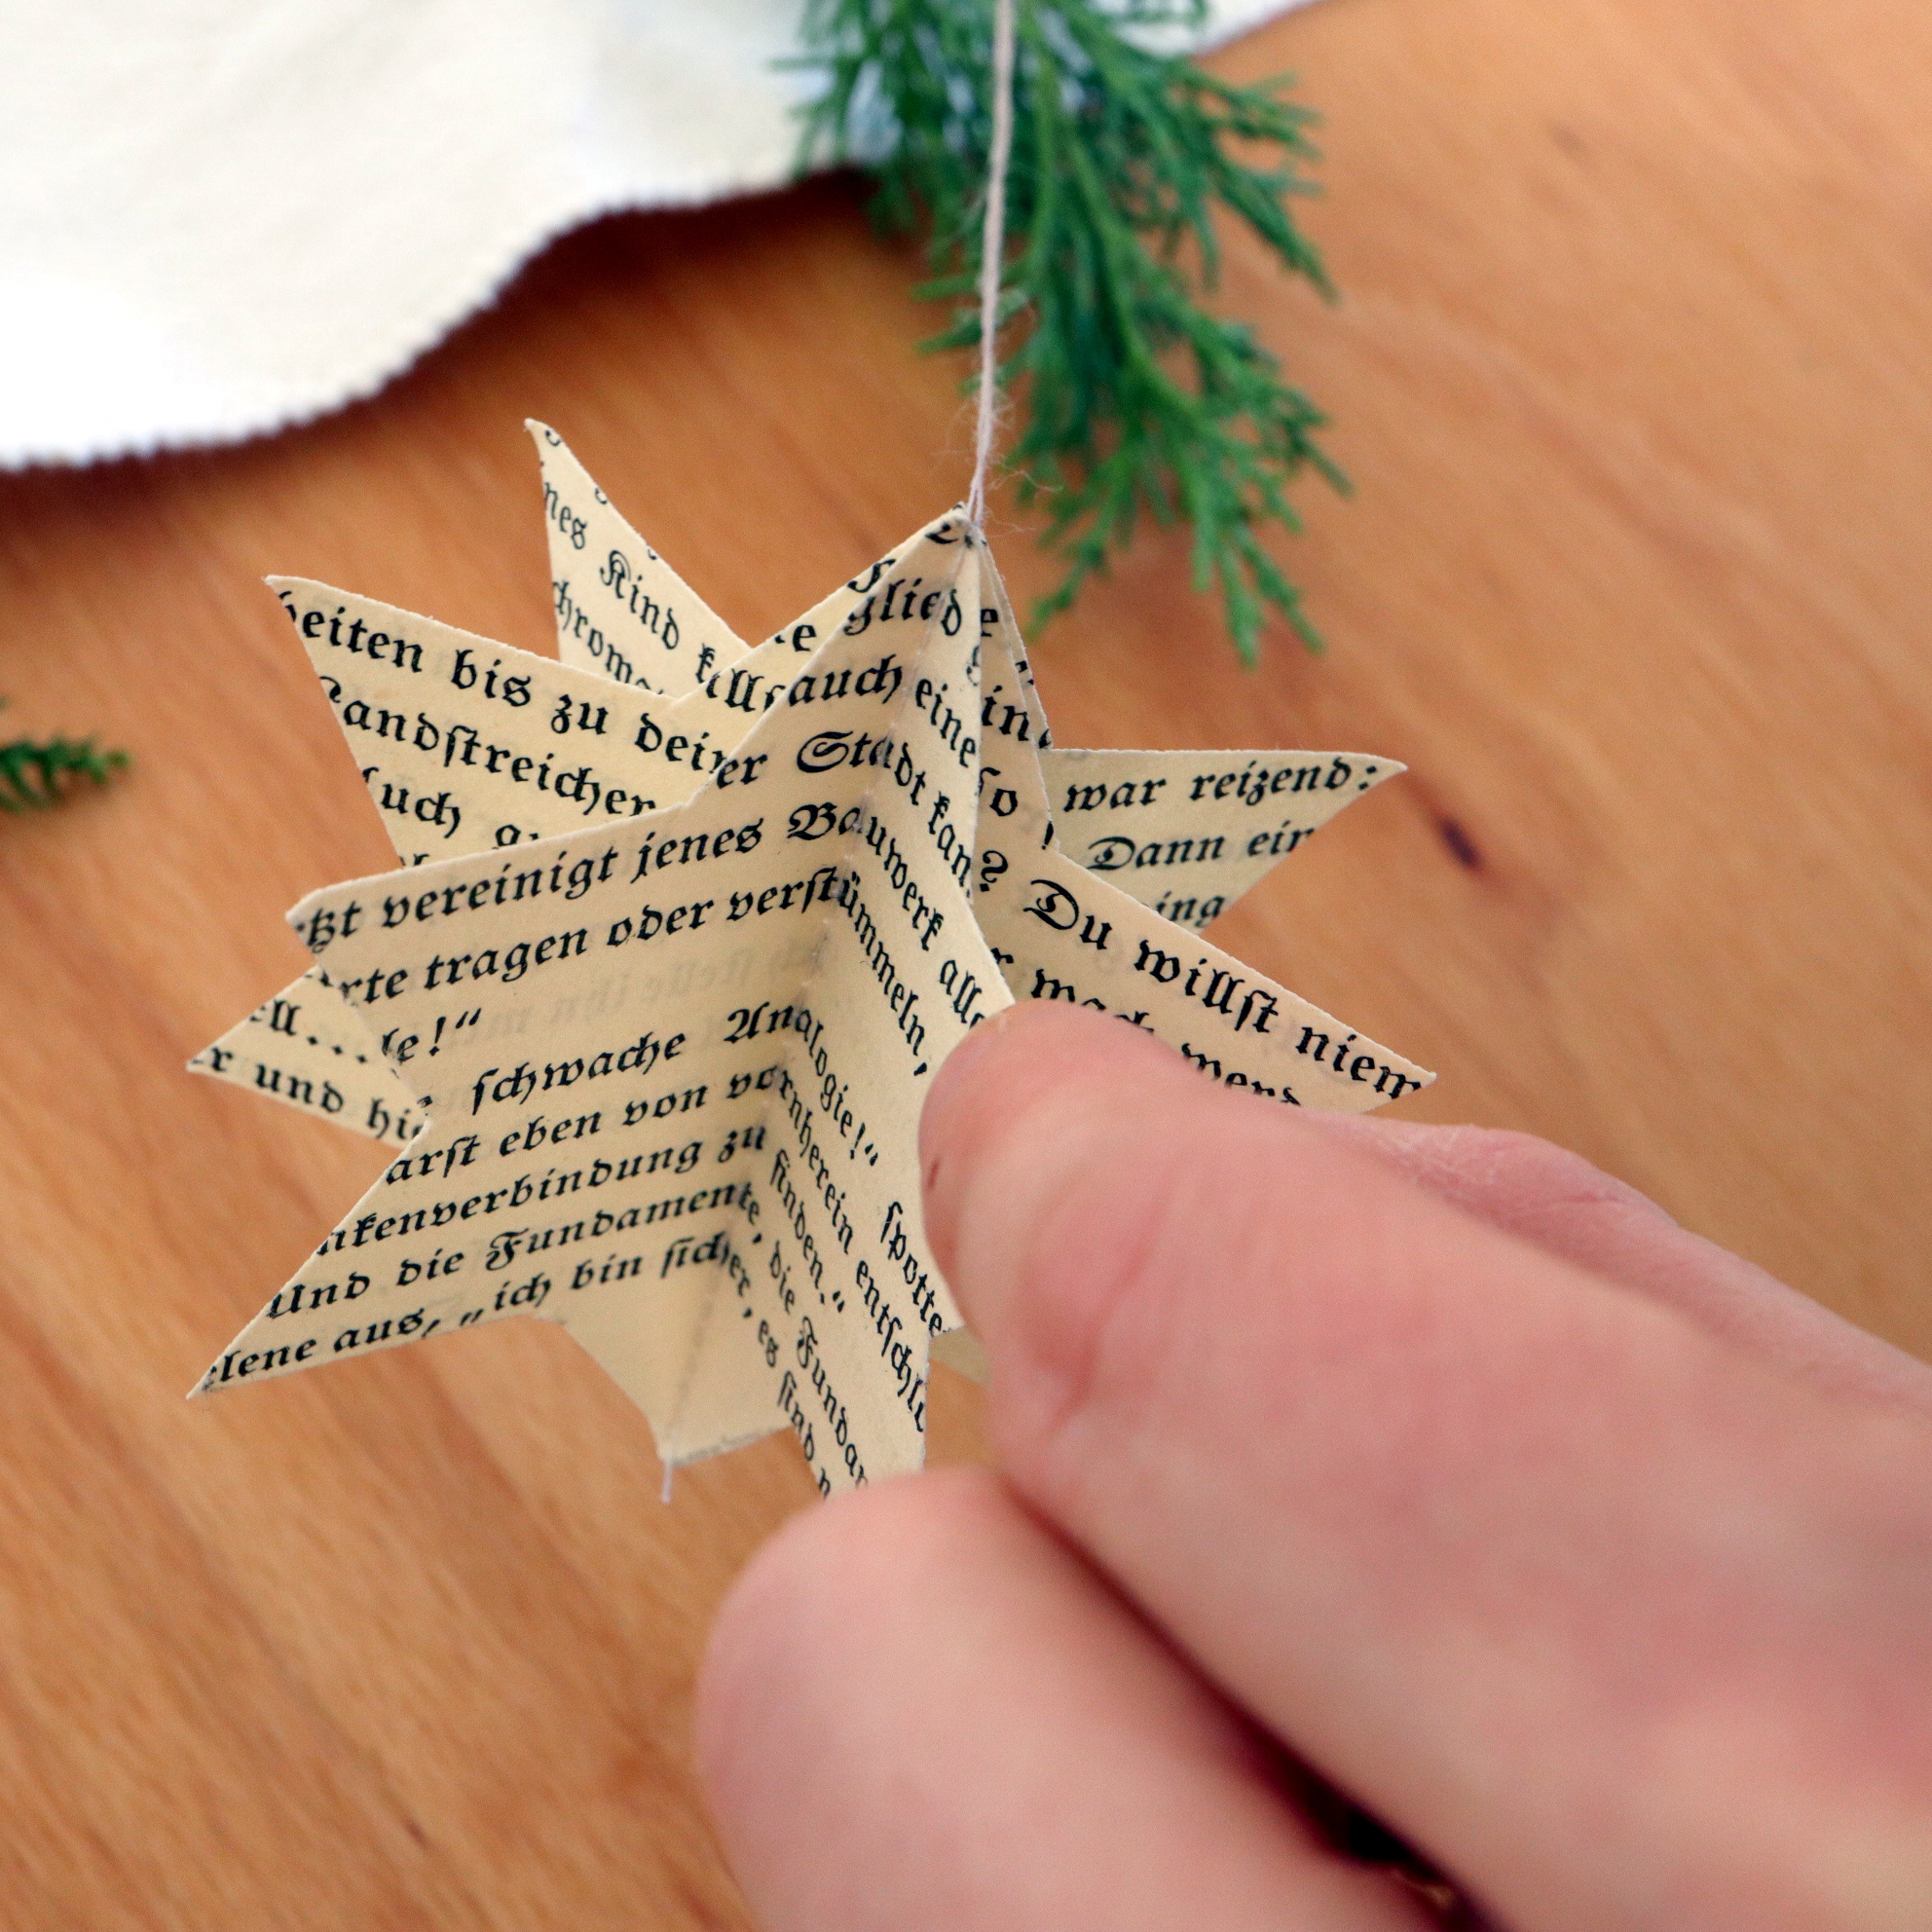
Next, you can fold out the star layers. The result should look like this:
Step 5: Make more stars and hang them up
Make as many stars as you like.
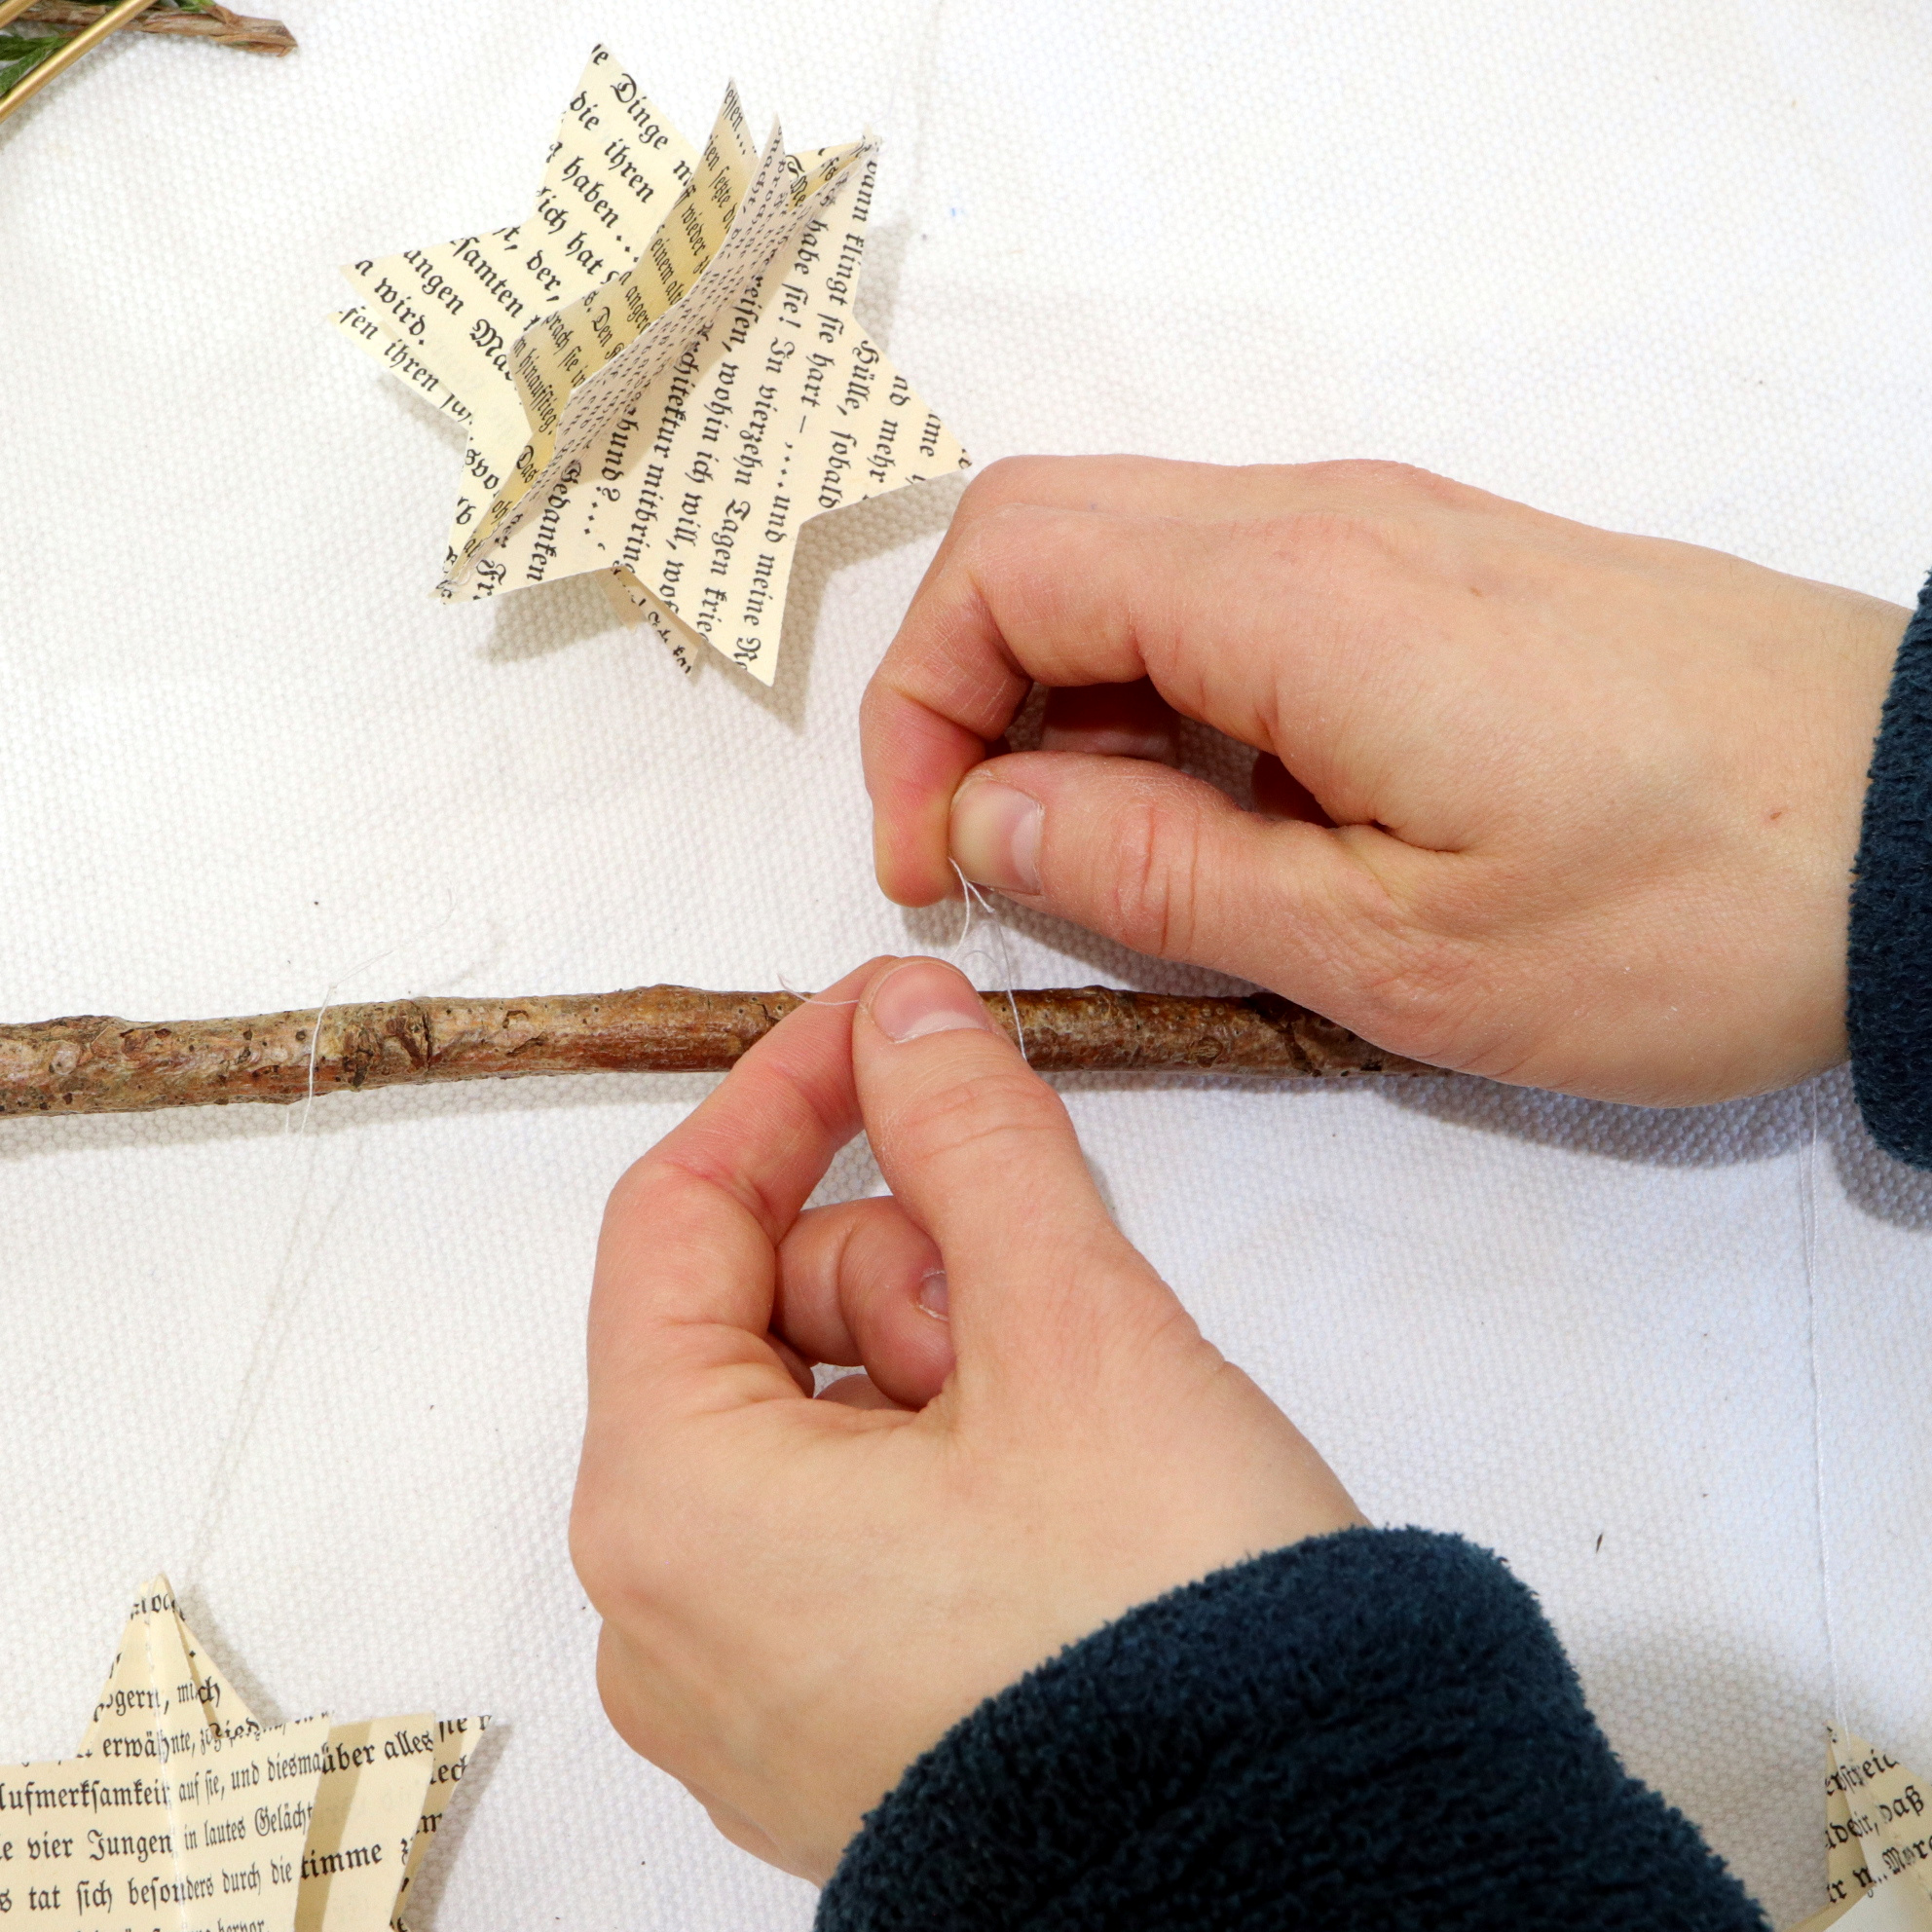
The last step is to hang up the stars on the small branch. Additionally, you can also hang up the stars on the ring. I did also hang up one star on top of the ring.
Step 6: Hang up the Christmas Ring on a Window
The last step is to mount the suction cup hook on the window. Then use the nylon string to hang the Christmas ring on the hook. It is very important to have a clean and dry window when using the suction cup. Otherwise your ring might just fall down after some time. As an alternative, you can also use the curtail rail etc., for hanging up the Christmas ring.
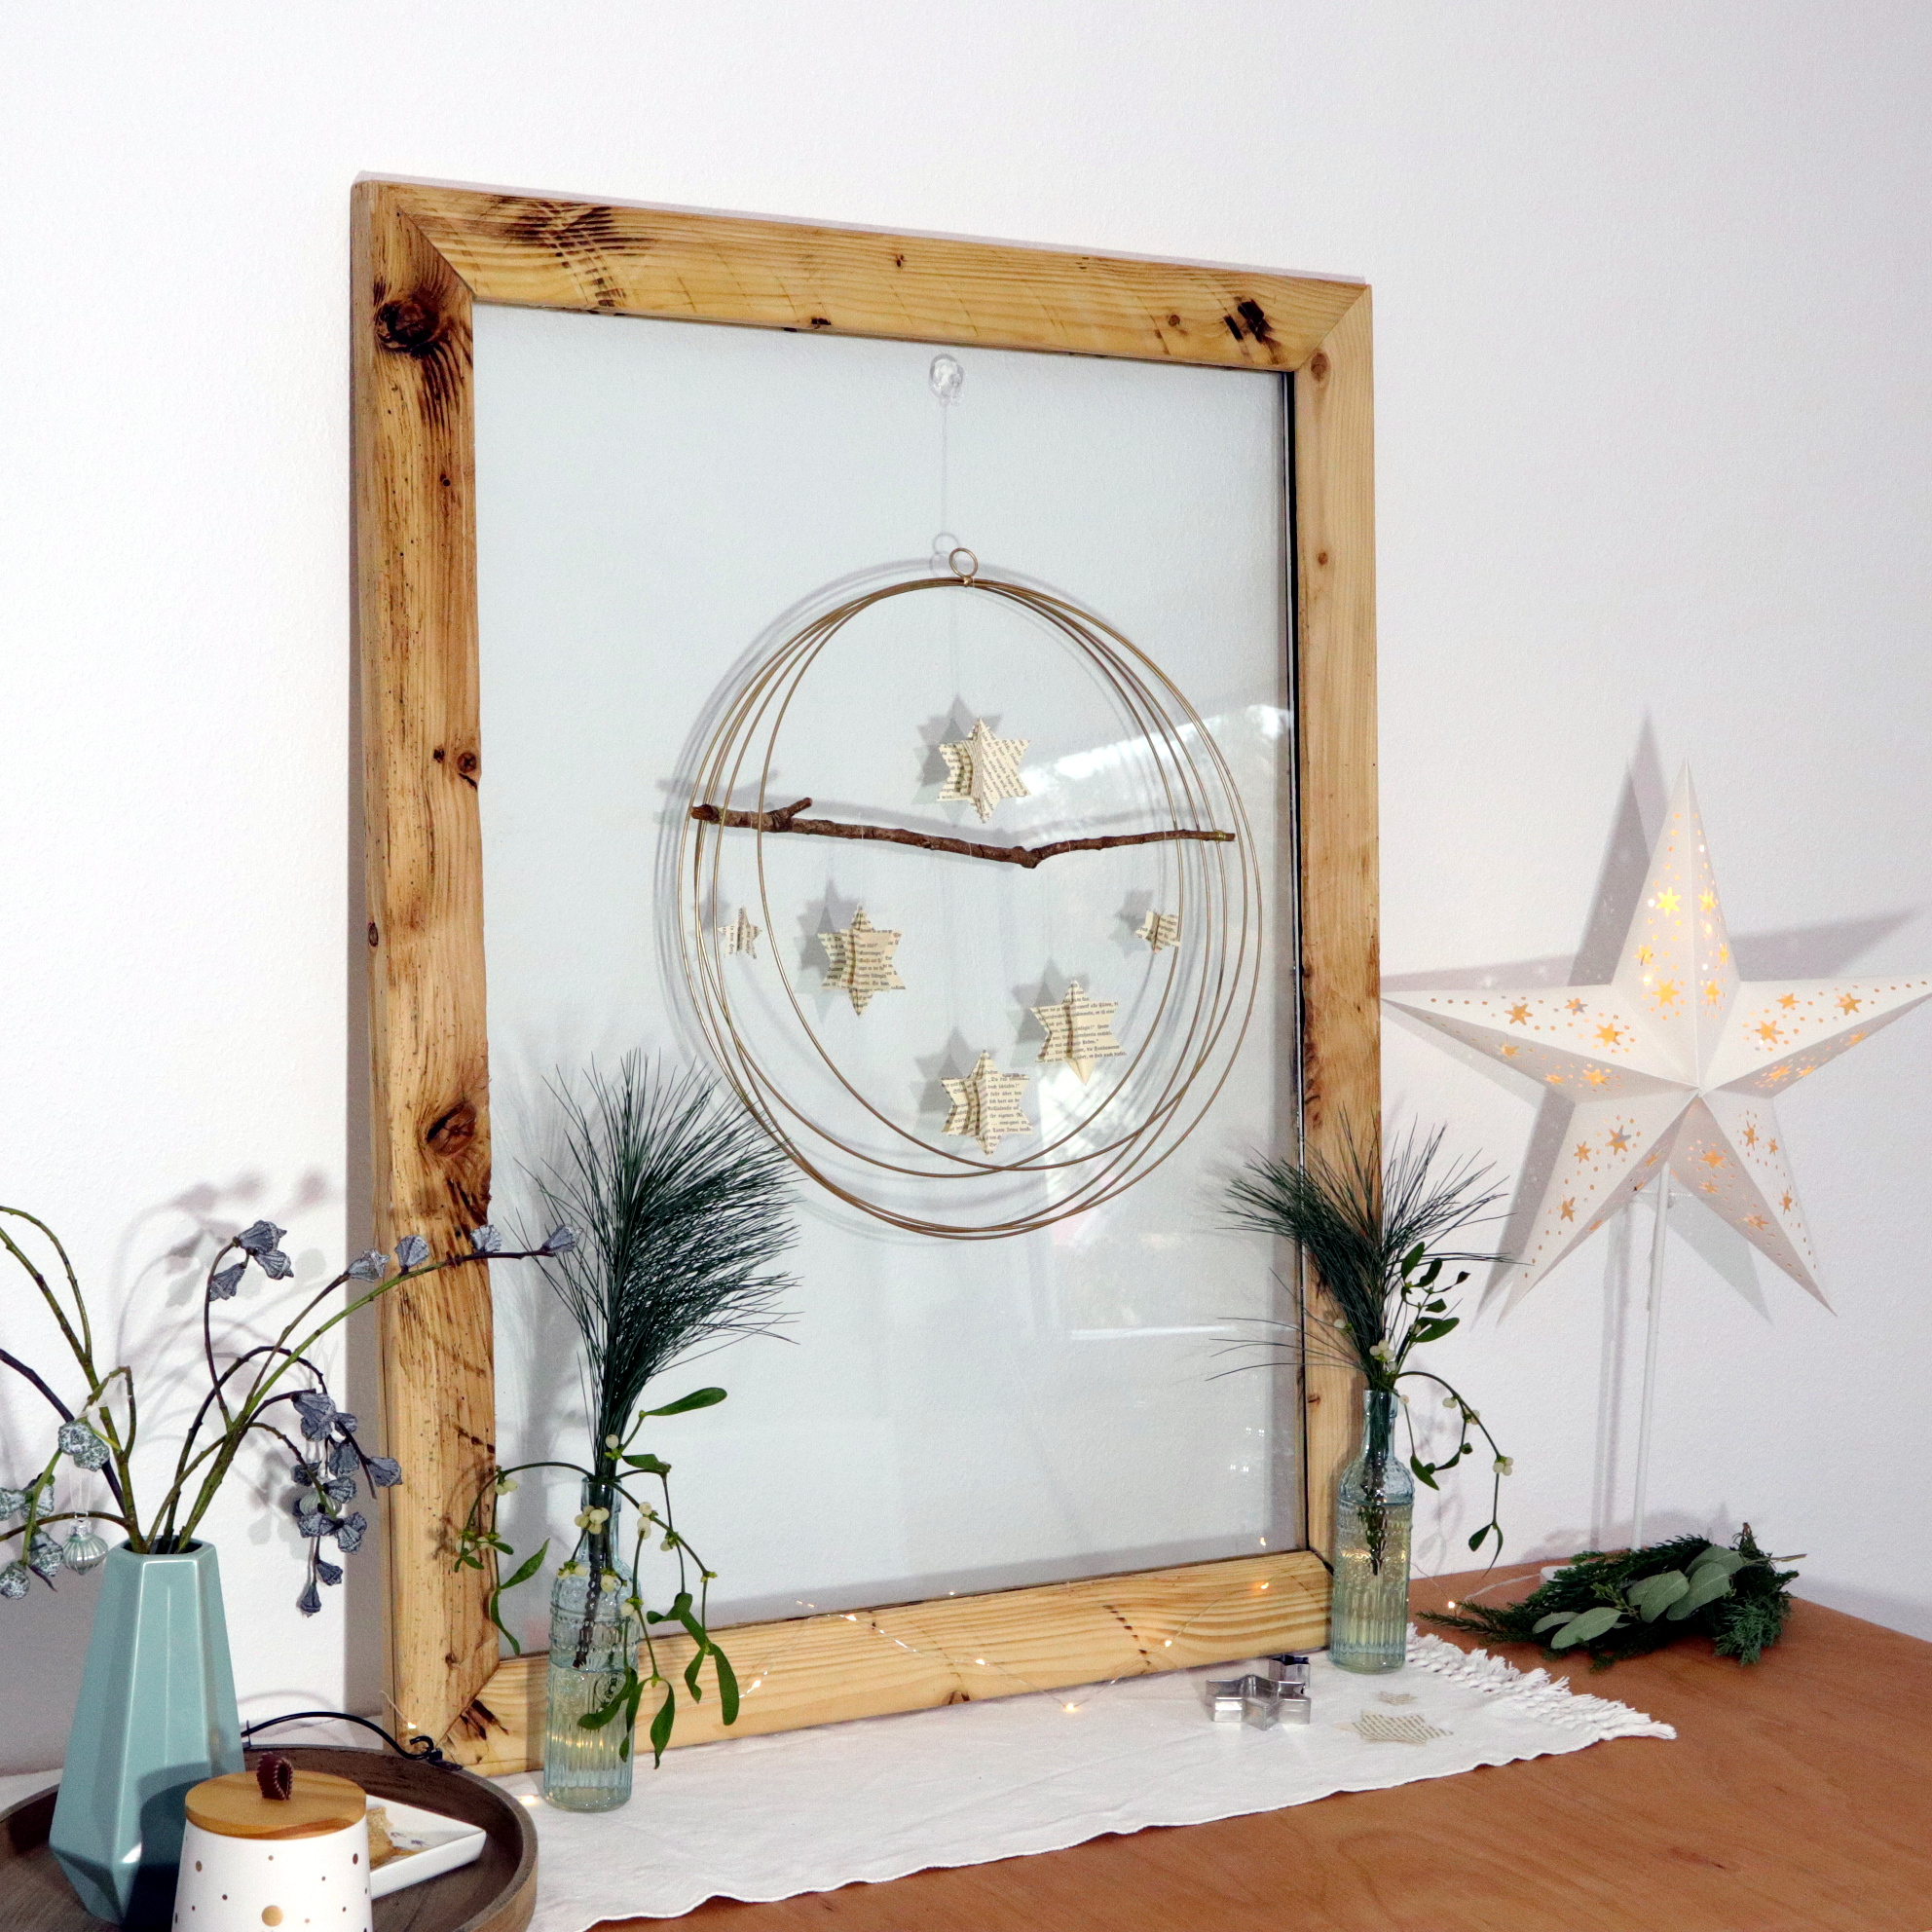
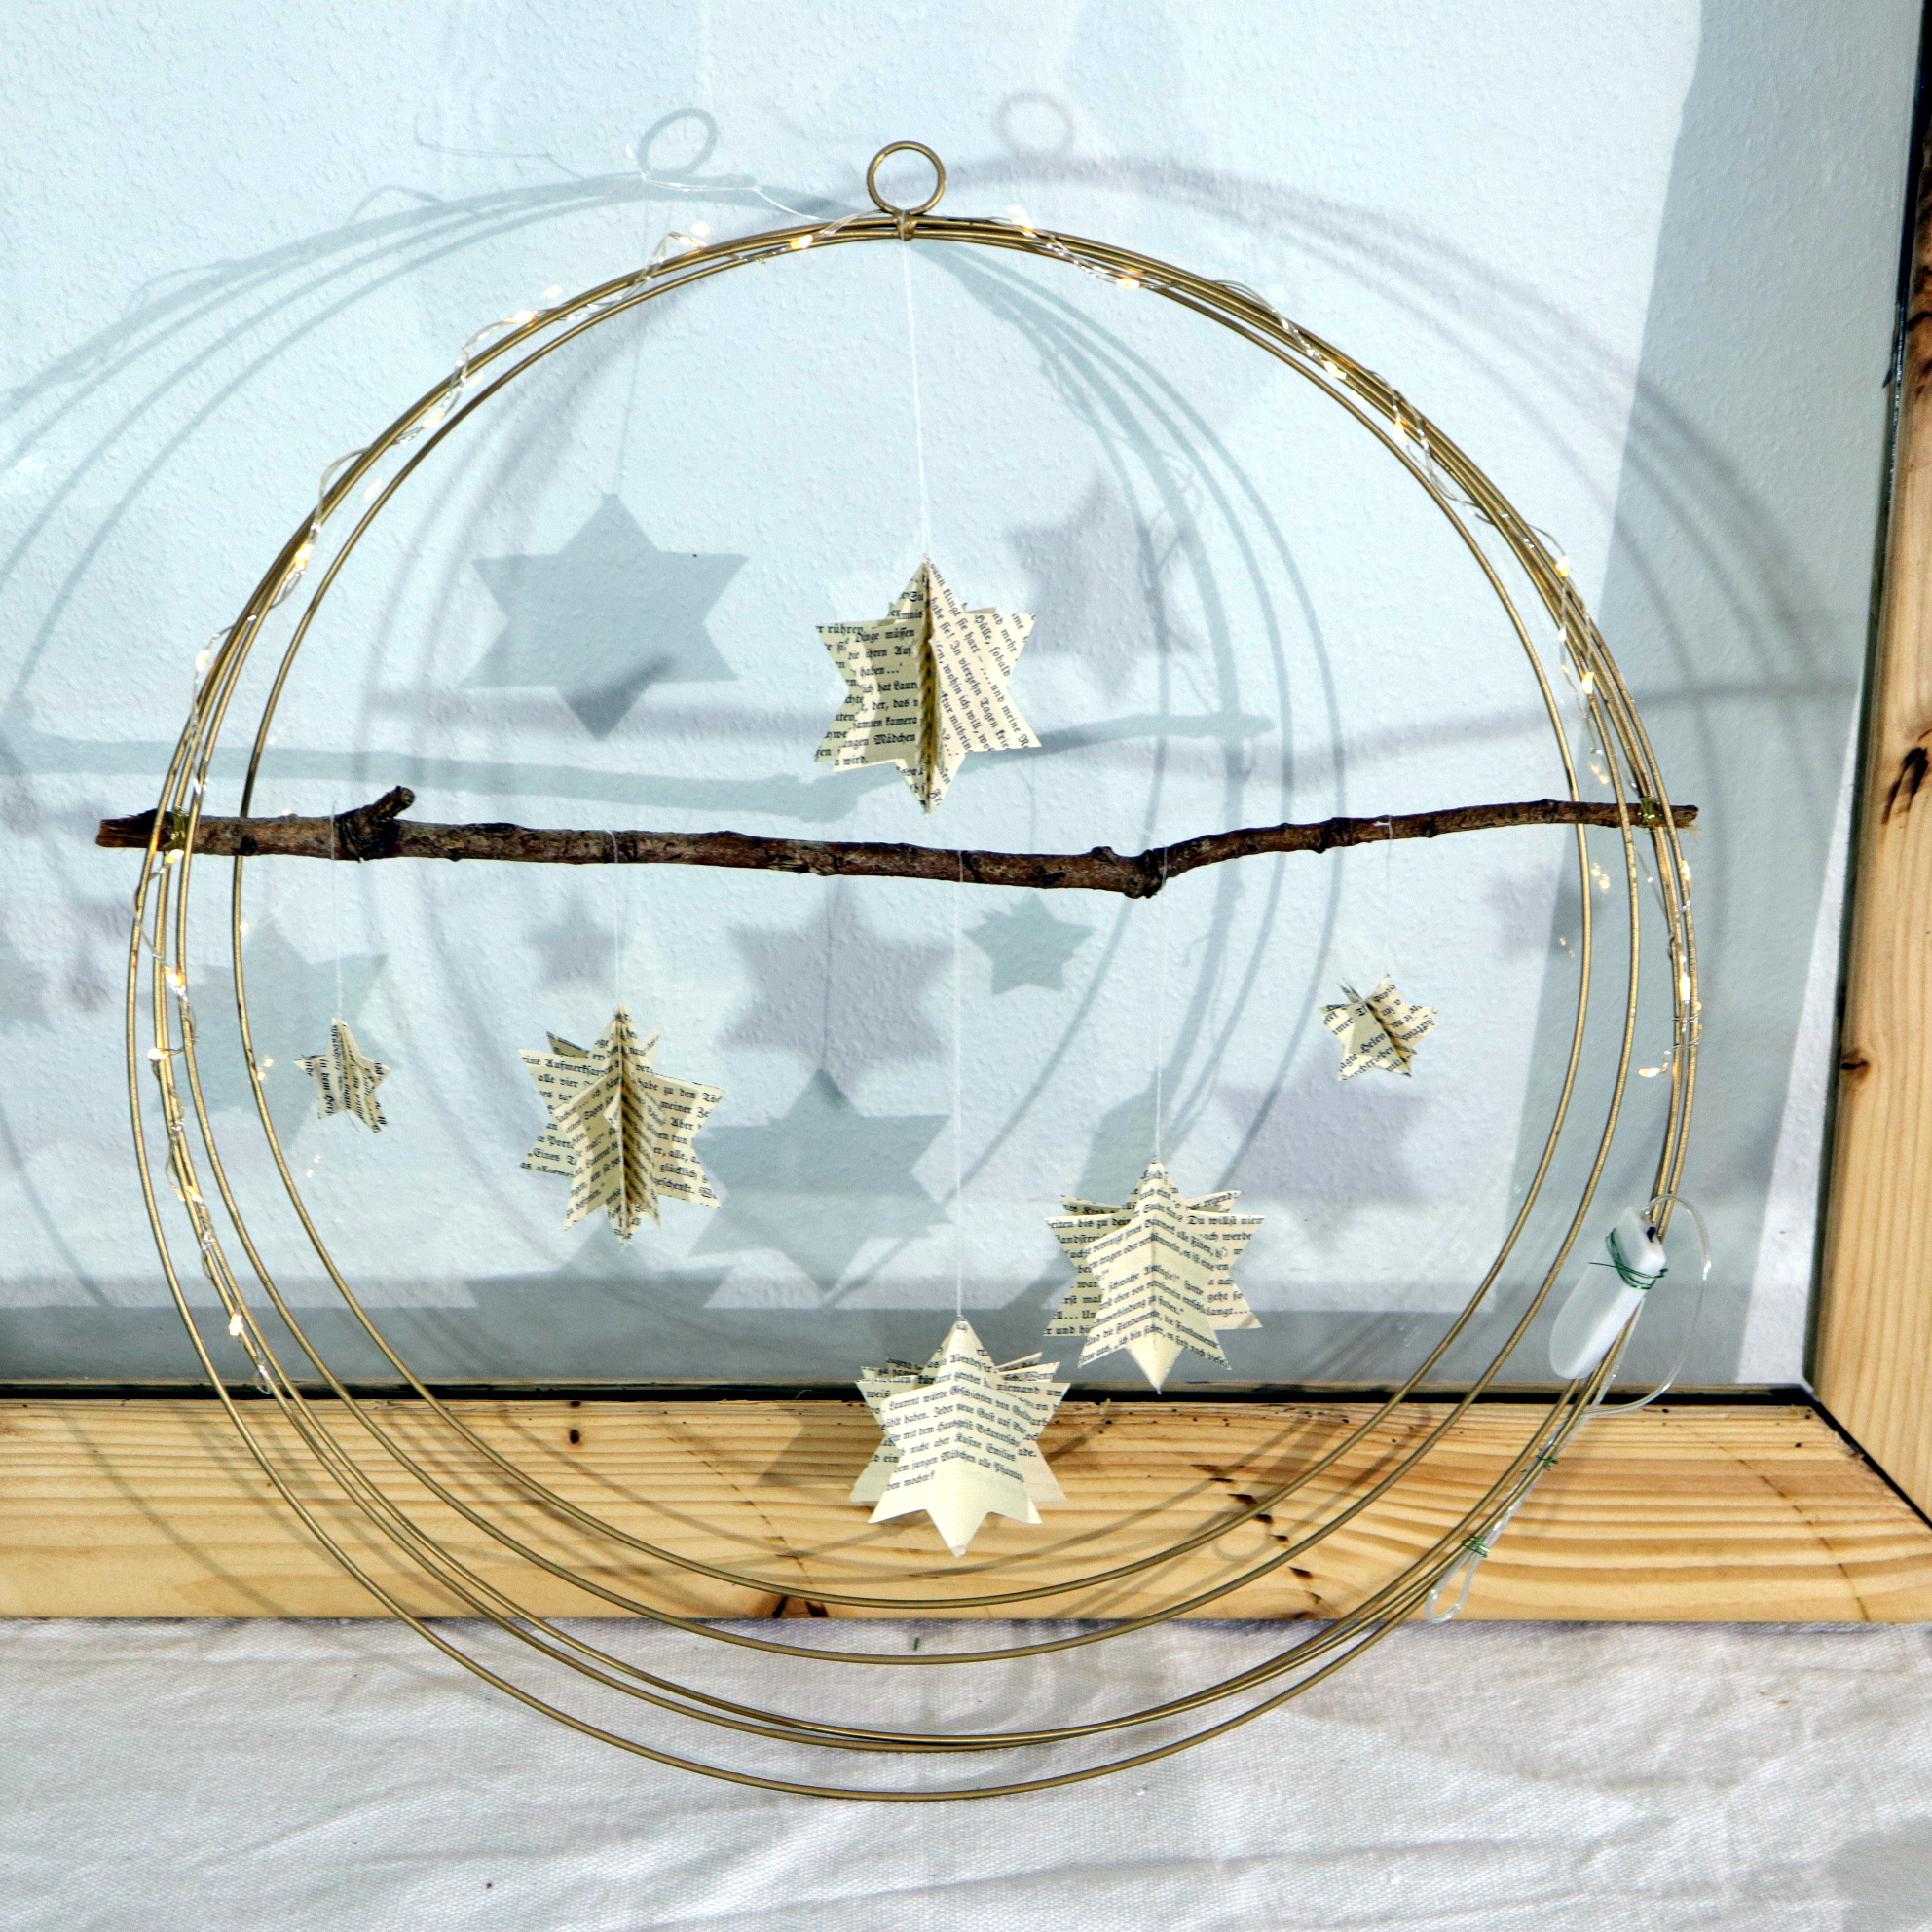
The next picture shows the final result:
Variant: Fairy Lights and Twigs
If you like more details on your ring, you could use LED fairy lights and twigs as I did.
Materials
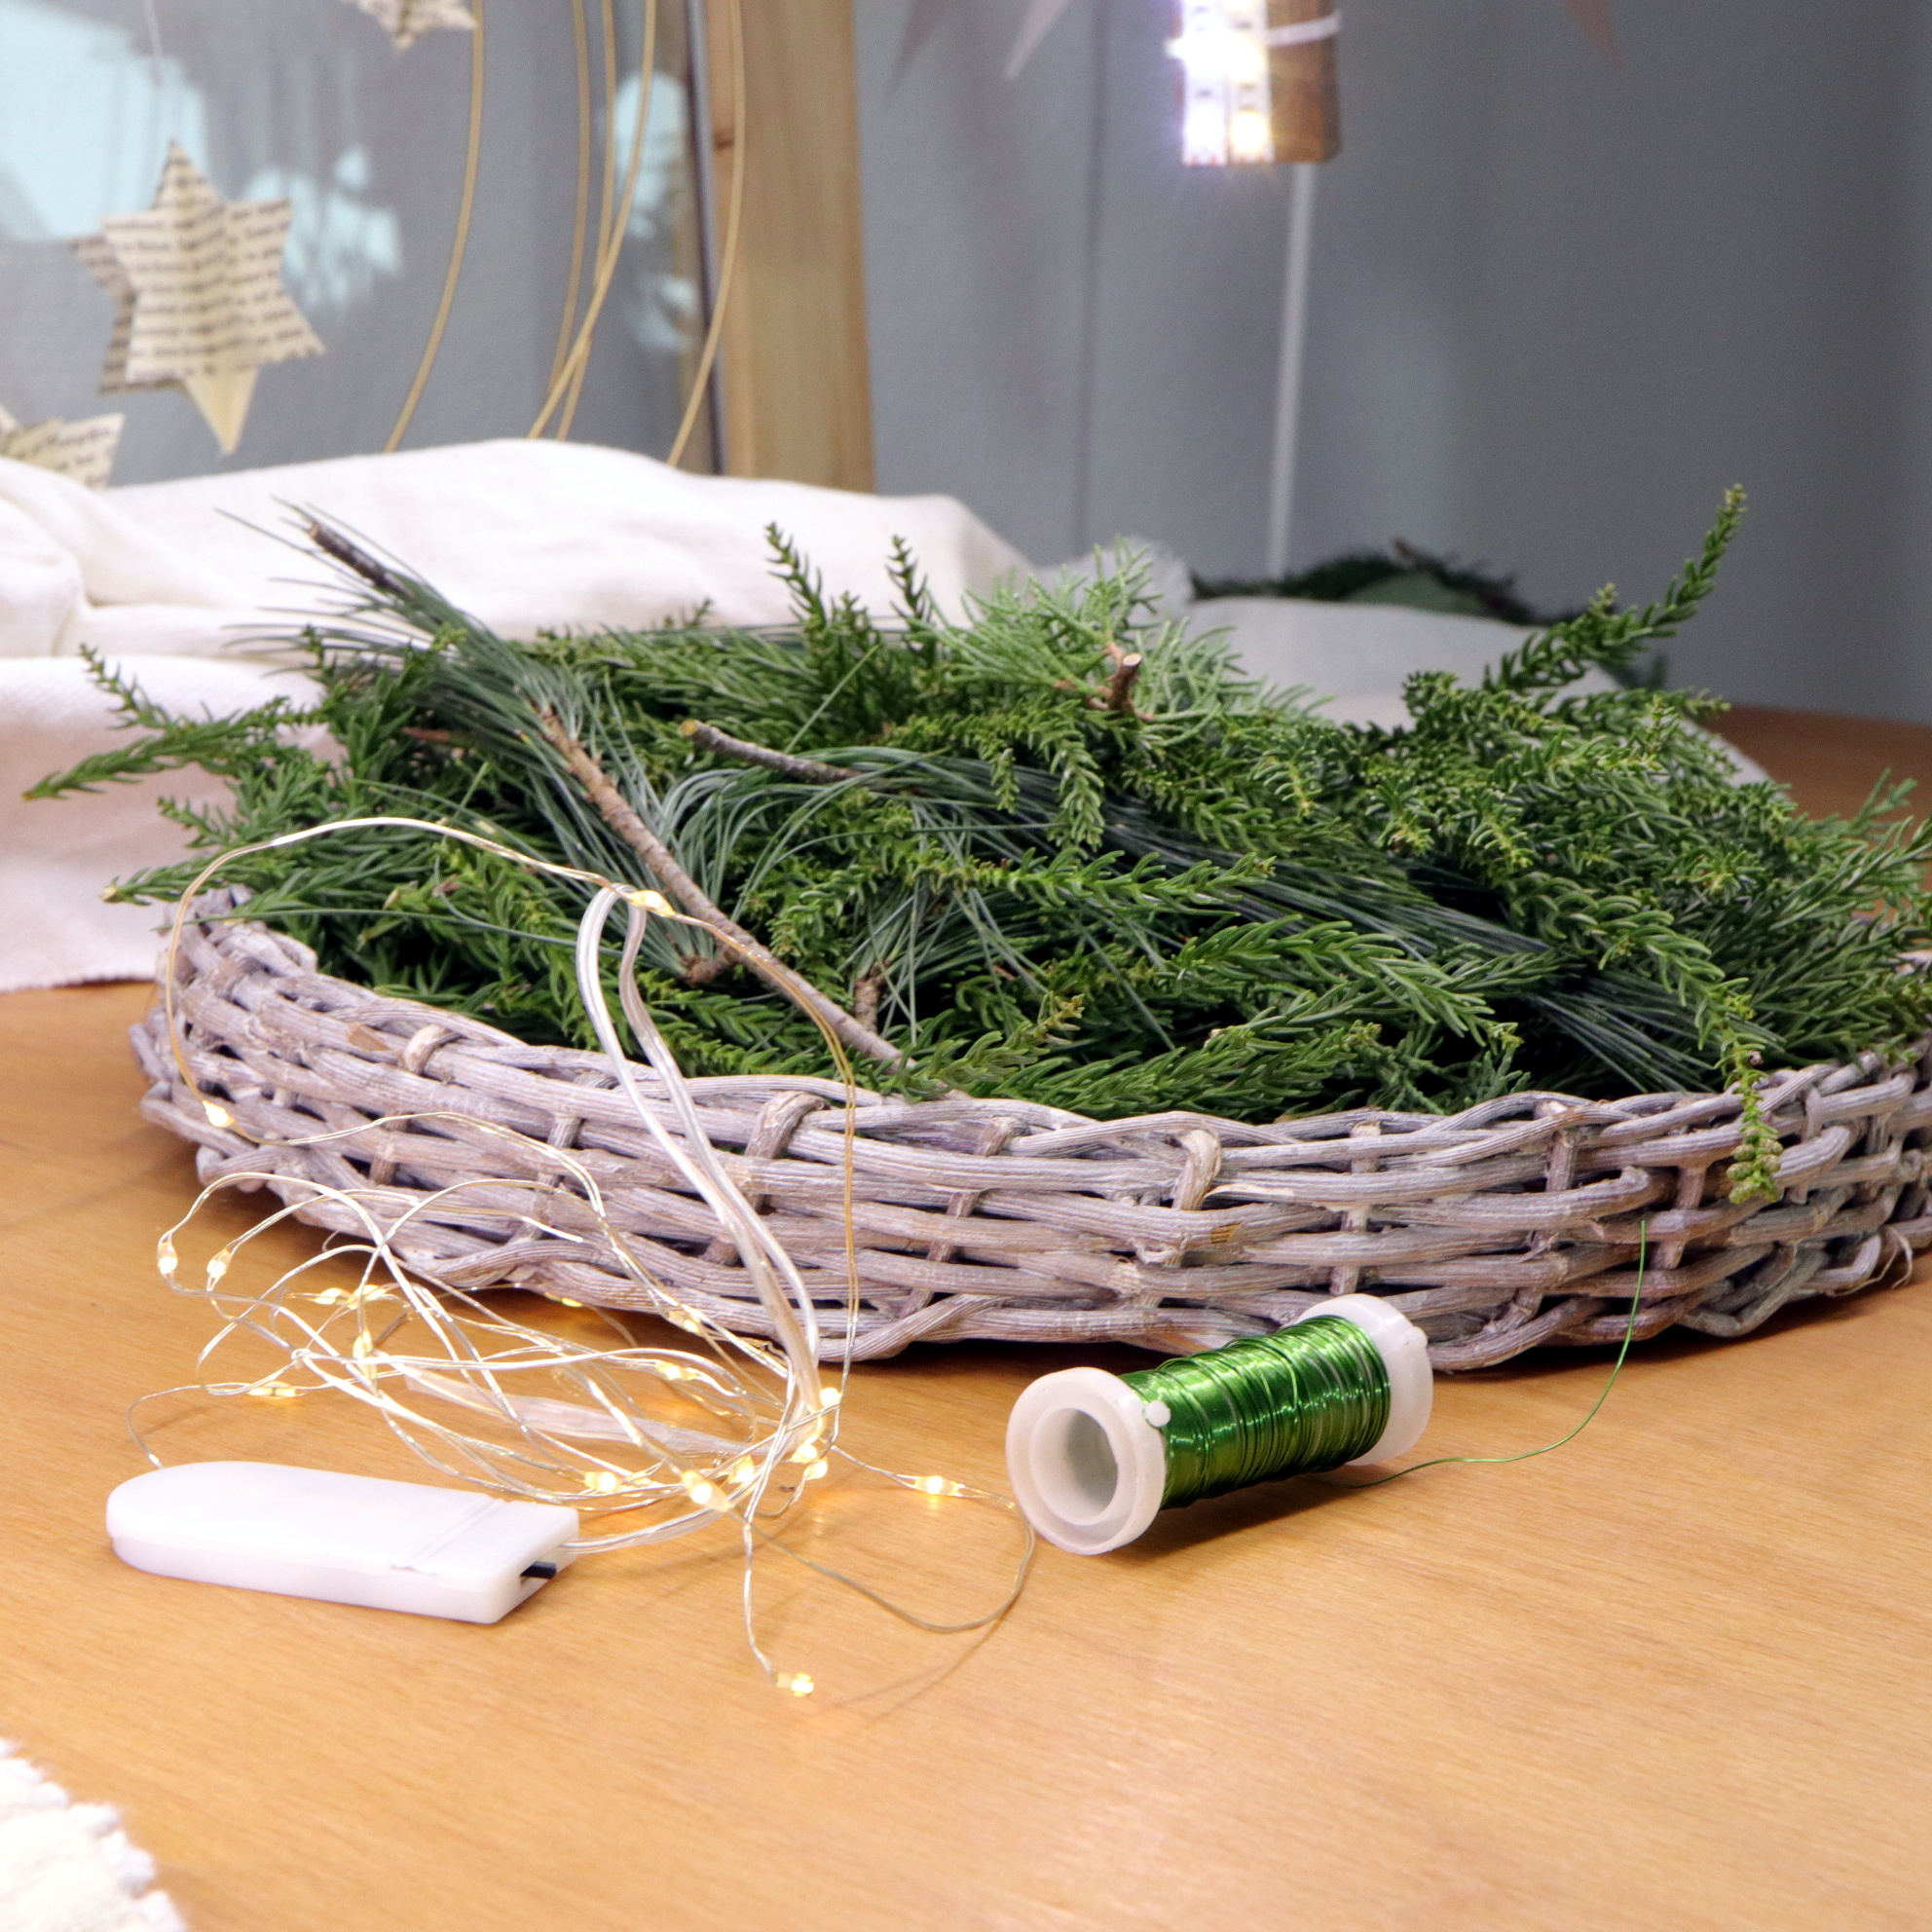
In addition to the first variant, you need fairy lights (LED lights) with a small battery, green floral wire and some Christmas twigs.
| Materialien | Suche auf (Affiliate Link*) |
|---|---|
| Fairy lights (LEDs with small battery) | |
| Floral wire (green) | |
| Christmas twigs |
Step 1: Fairy lights winding
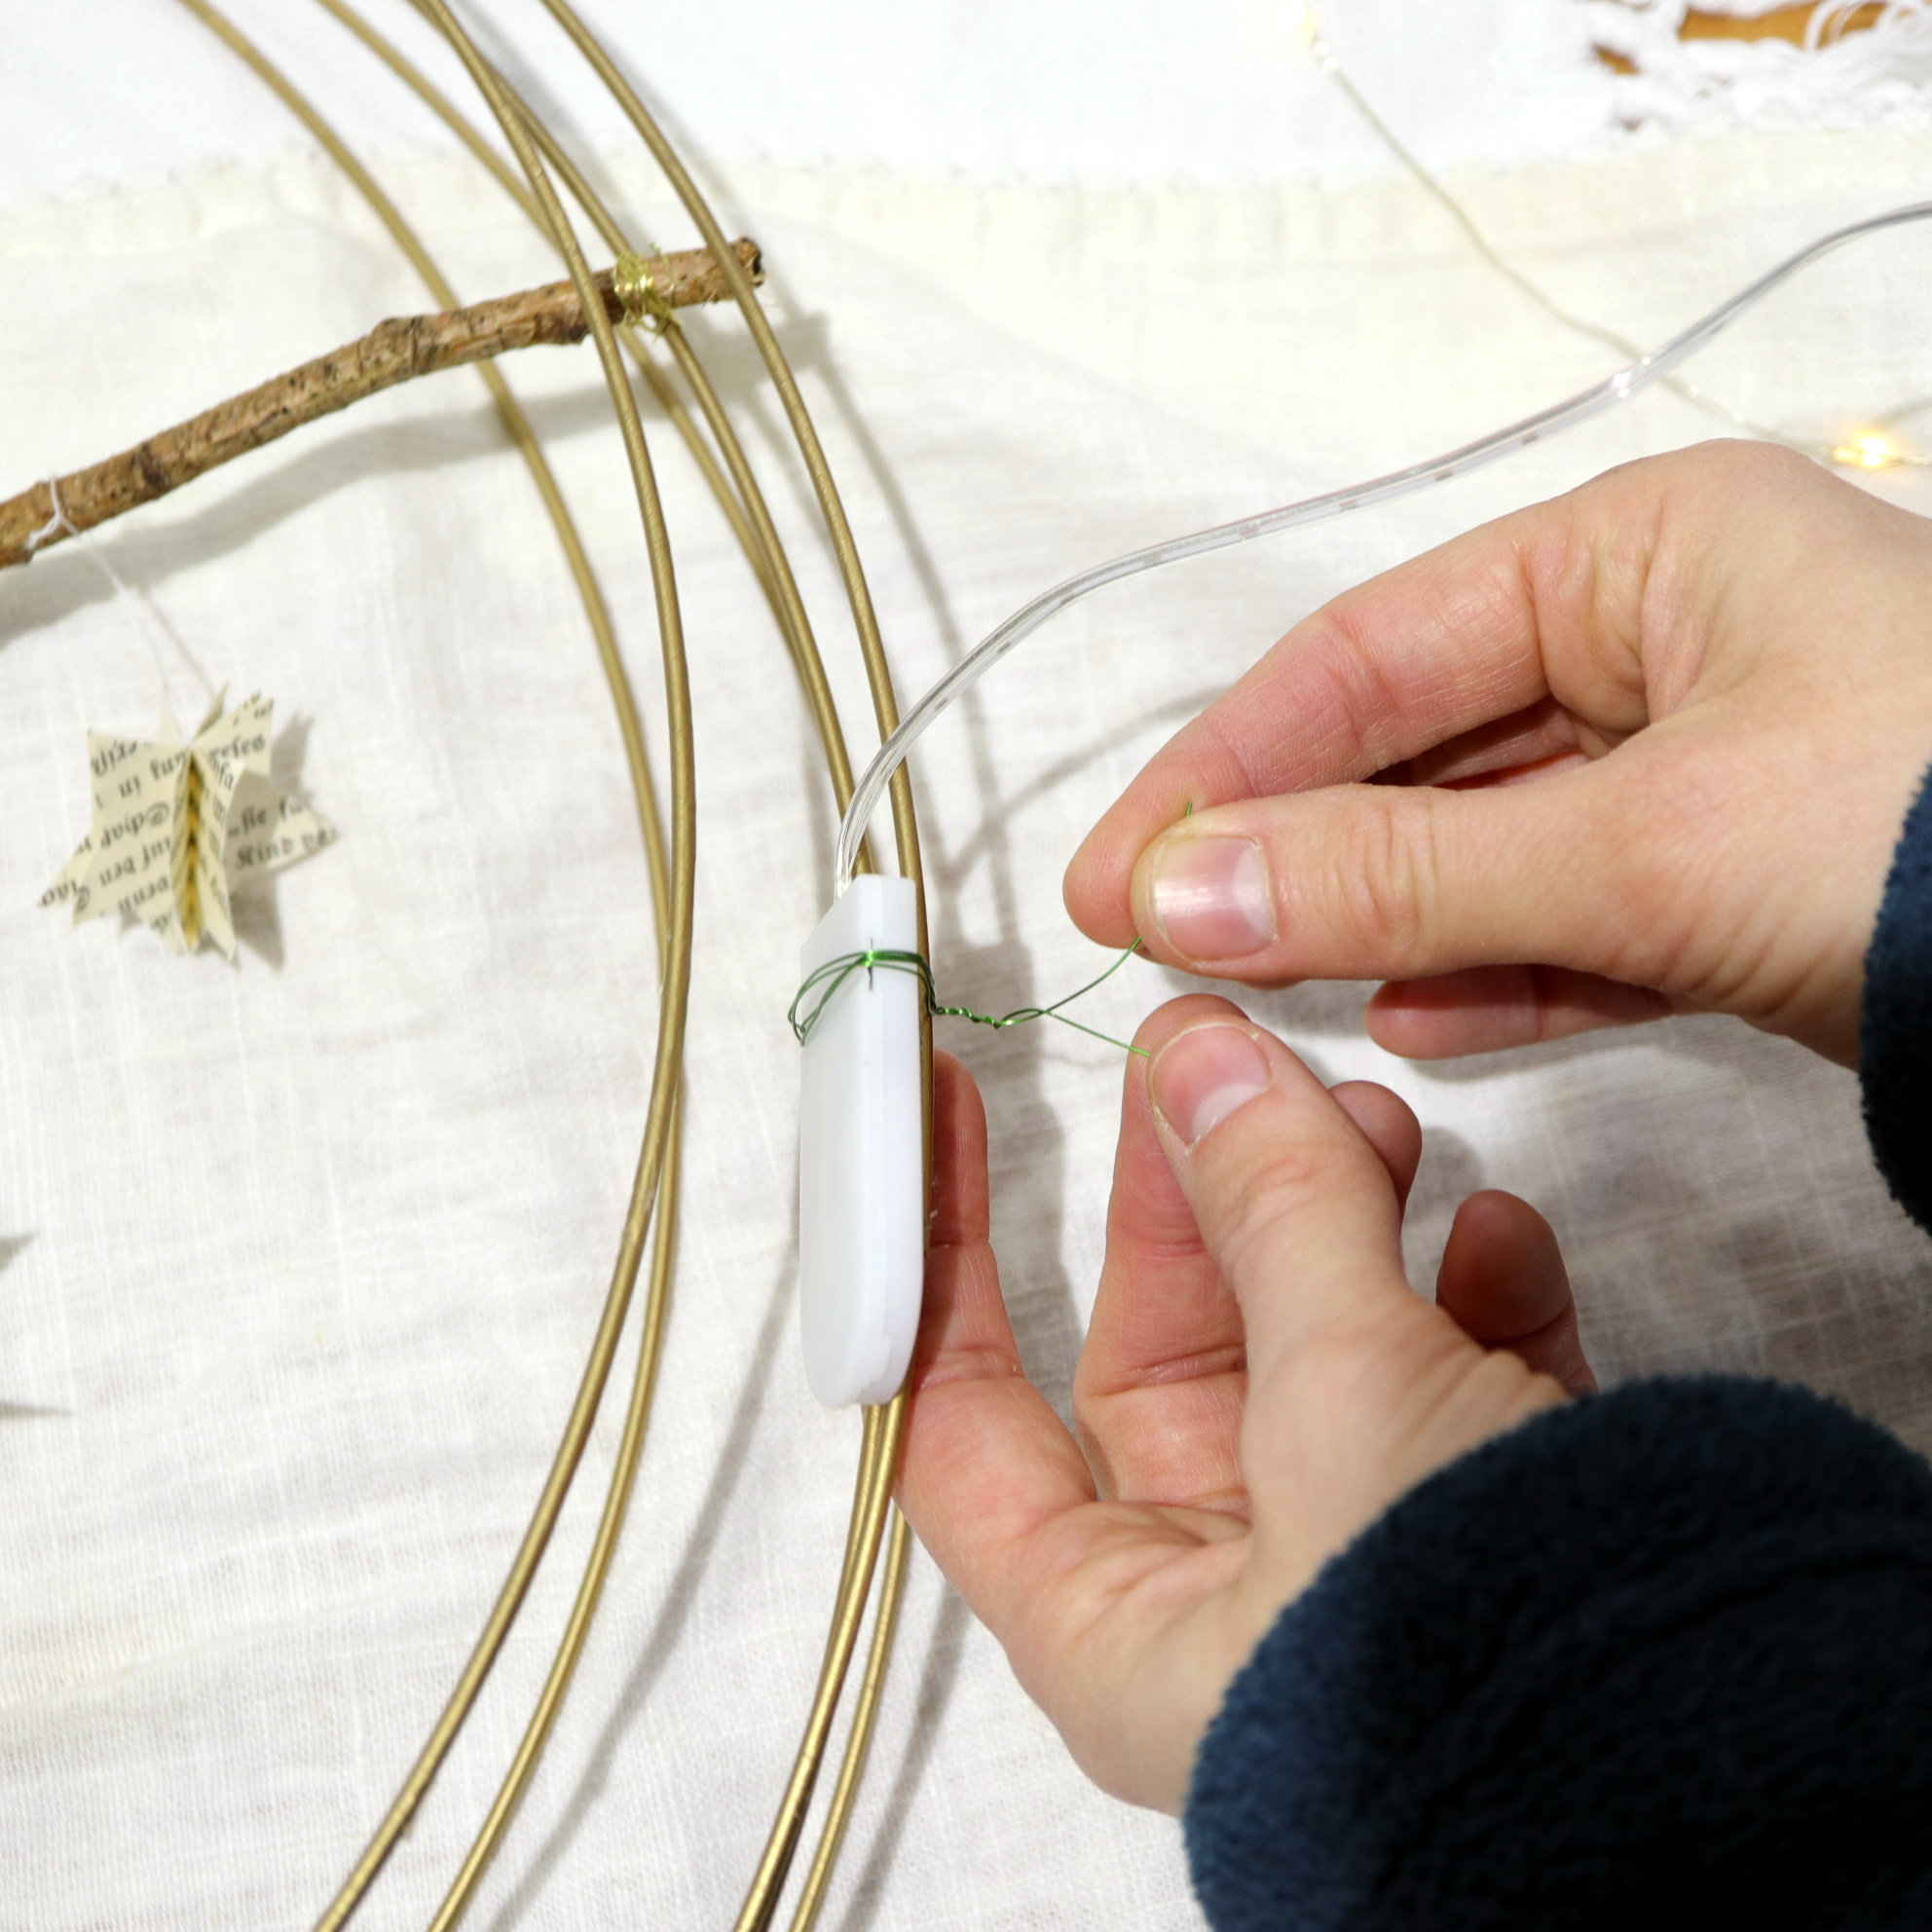
The first step is to wind the fairy light at the upper part of the Christmas ring. As you can see, I used a fairy light with a very small battery unit. On the previous and the next picture, you can see how I mounted the battery unit on the Christmas ring by using the floral wire.
Later, the battery unit will be hidden under the Christmas twigs.
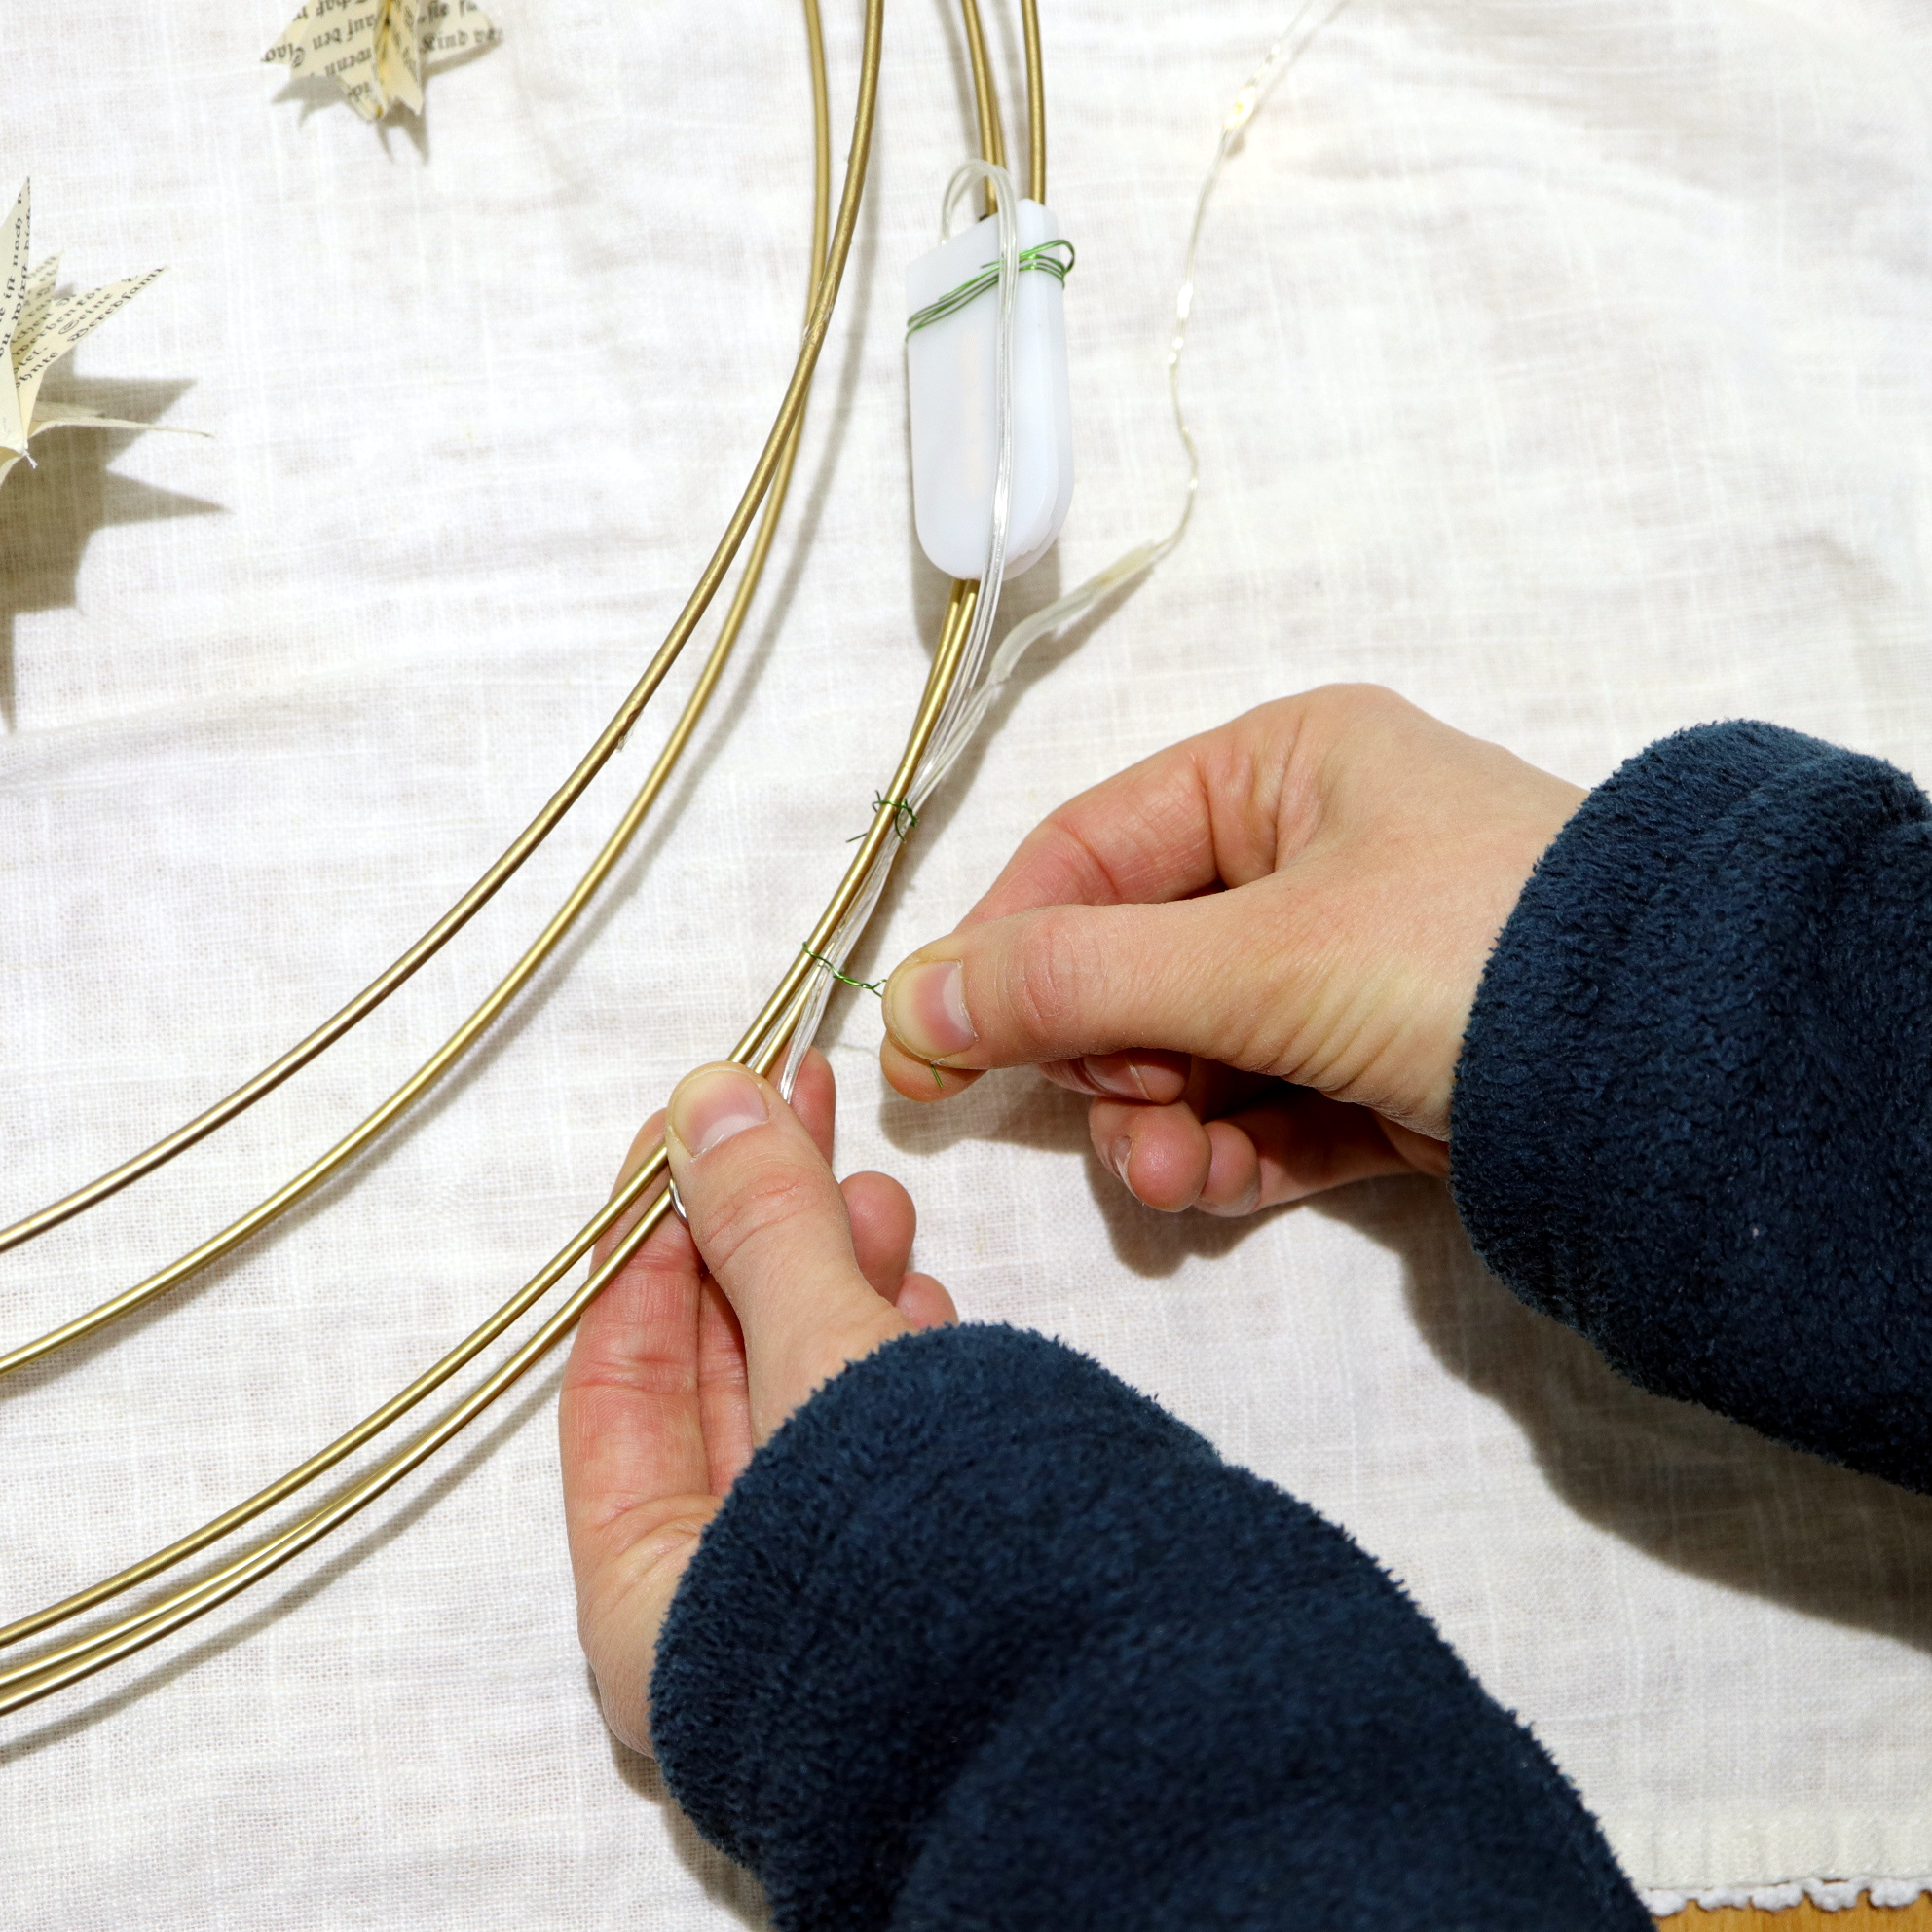
Typically, there are 3-5cm of cable/wire without LEDs, I winded them on the lower part of the Christmas ring.
The wire with LEDs is winded around the upper part of the Christmas ring.
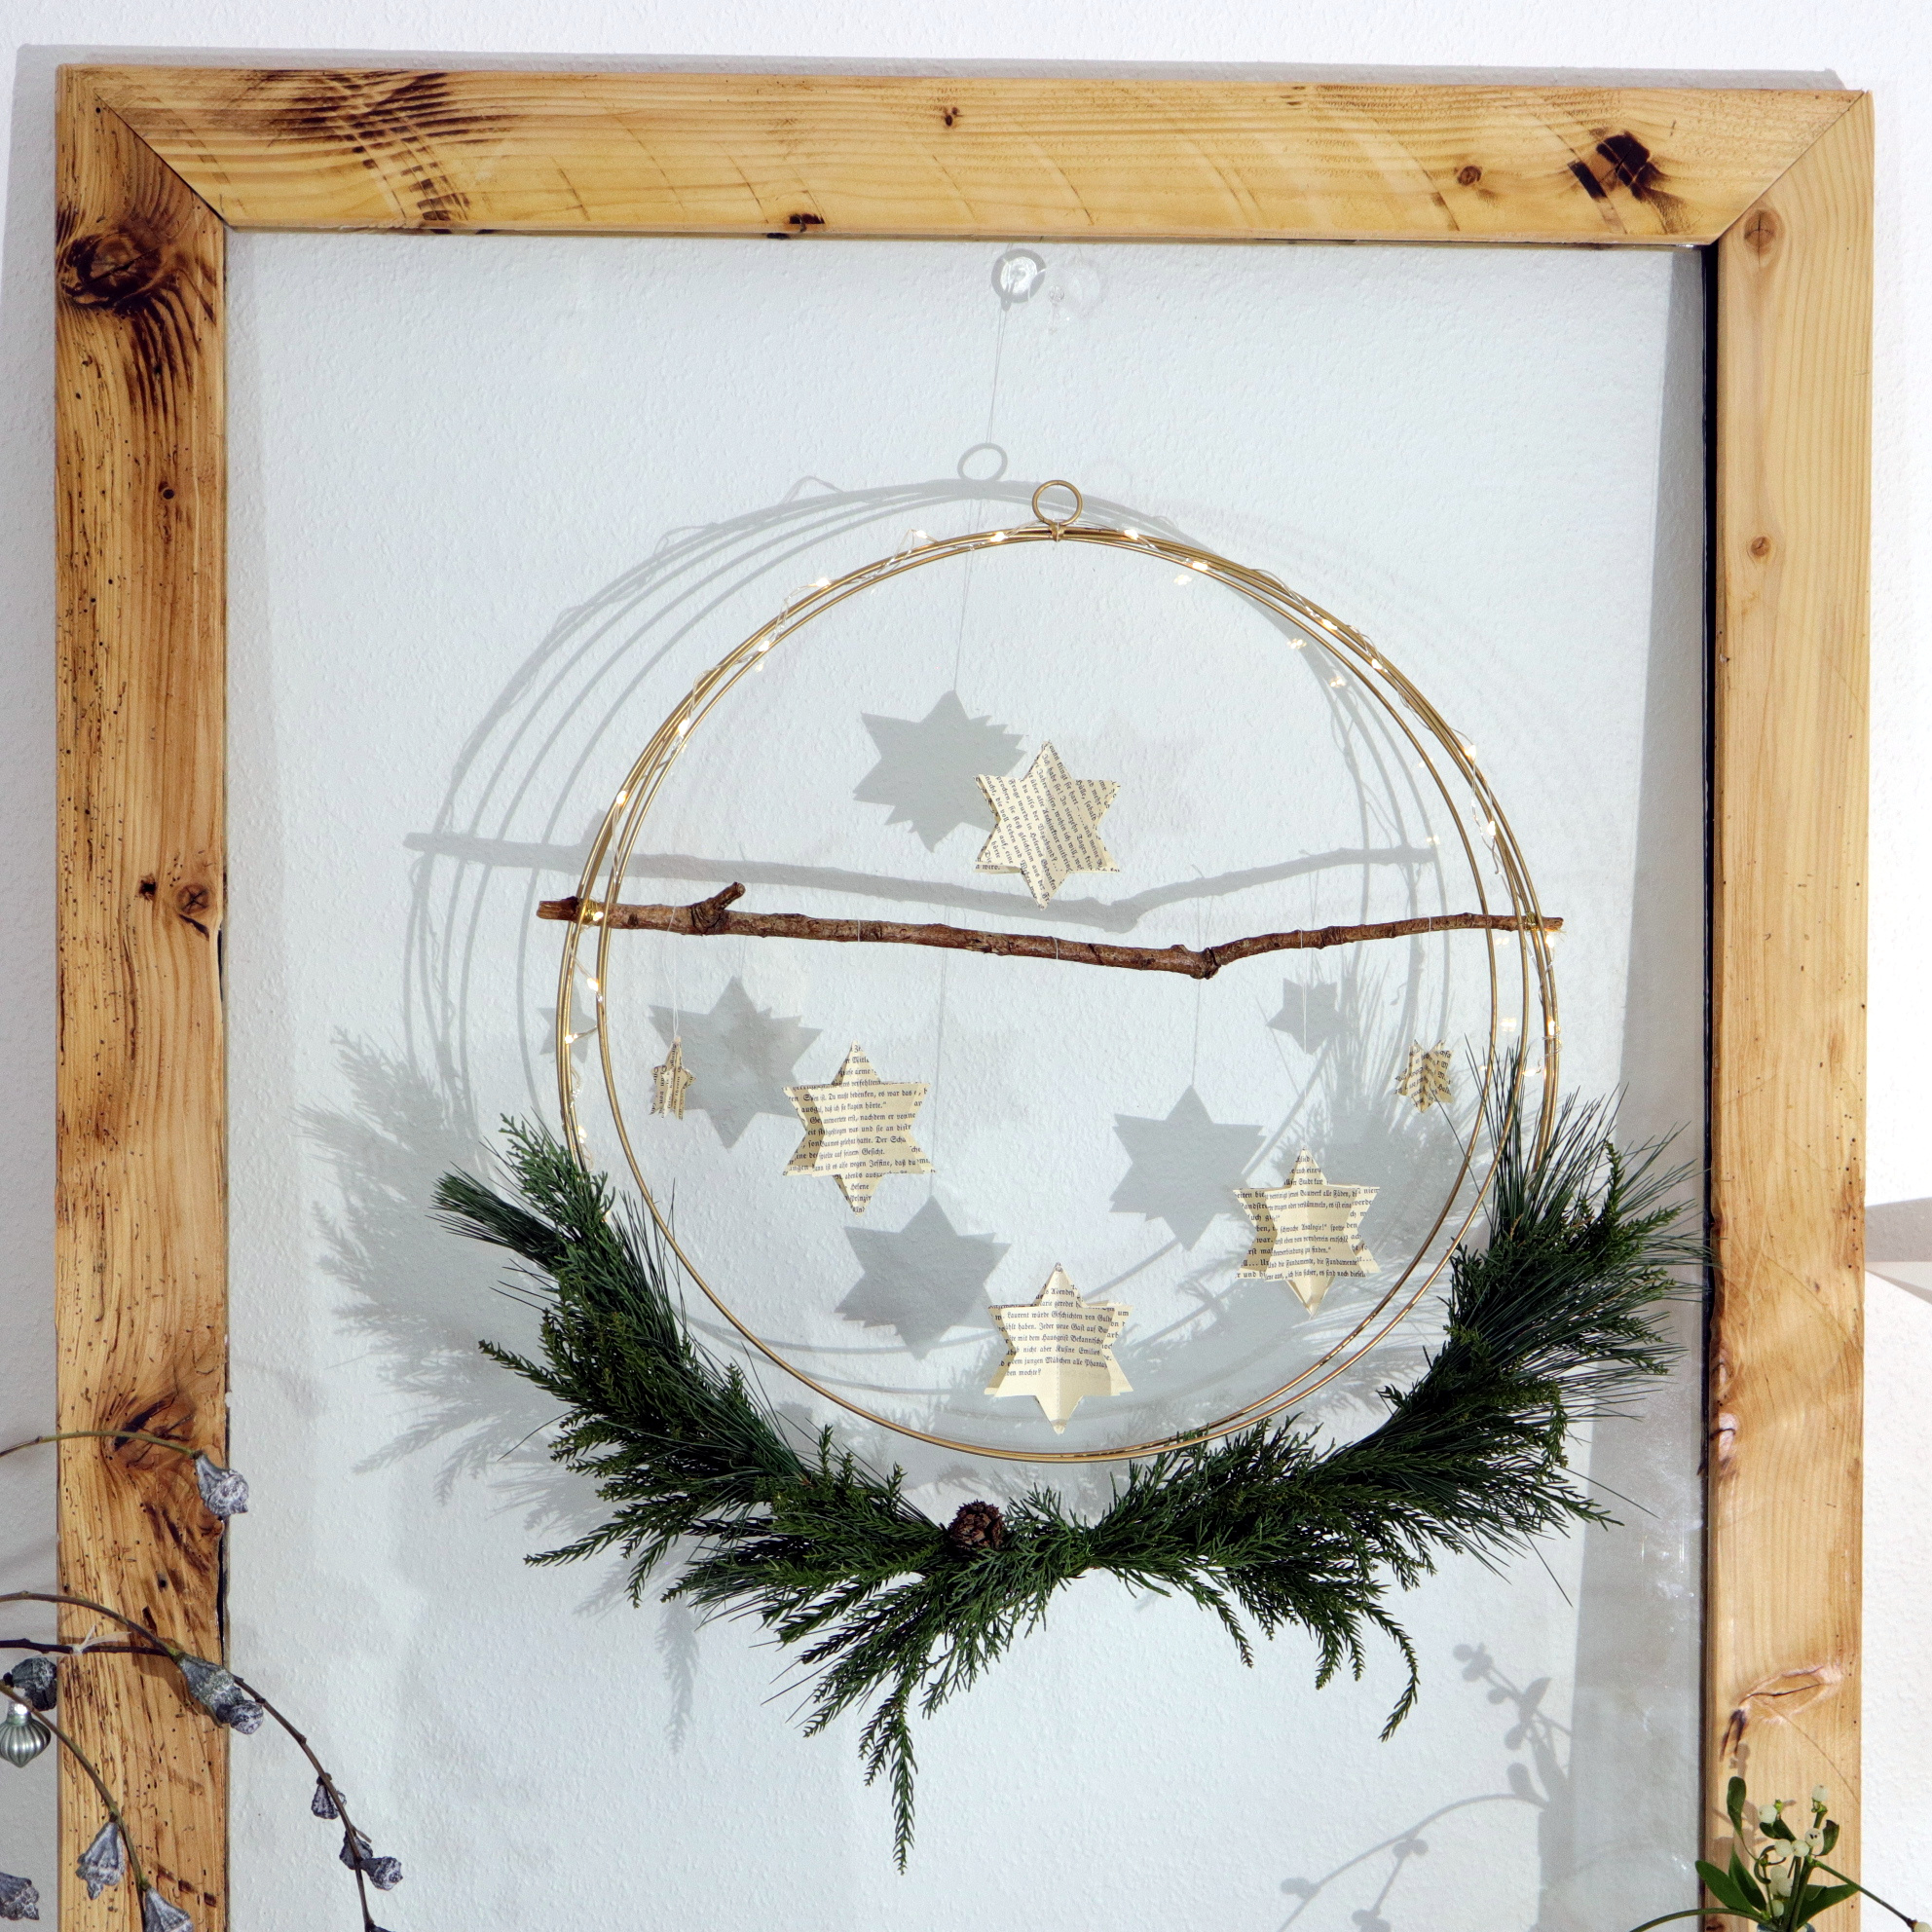
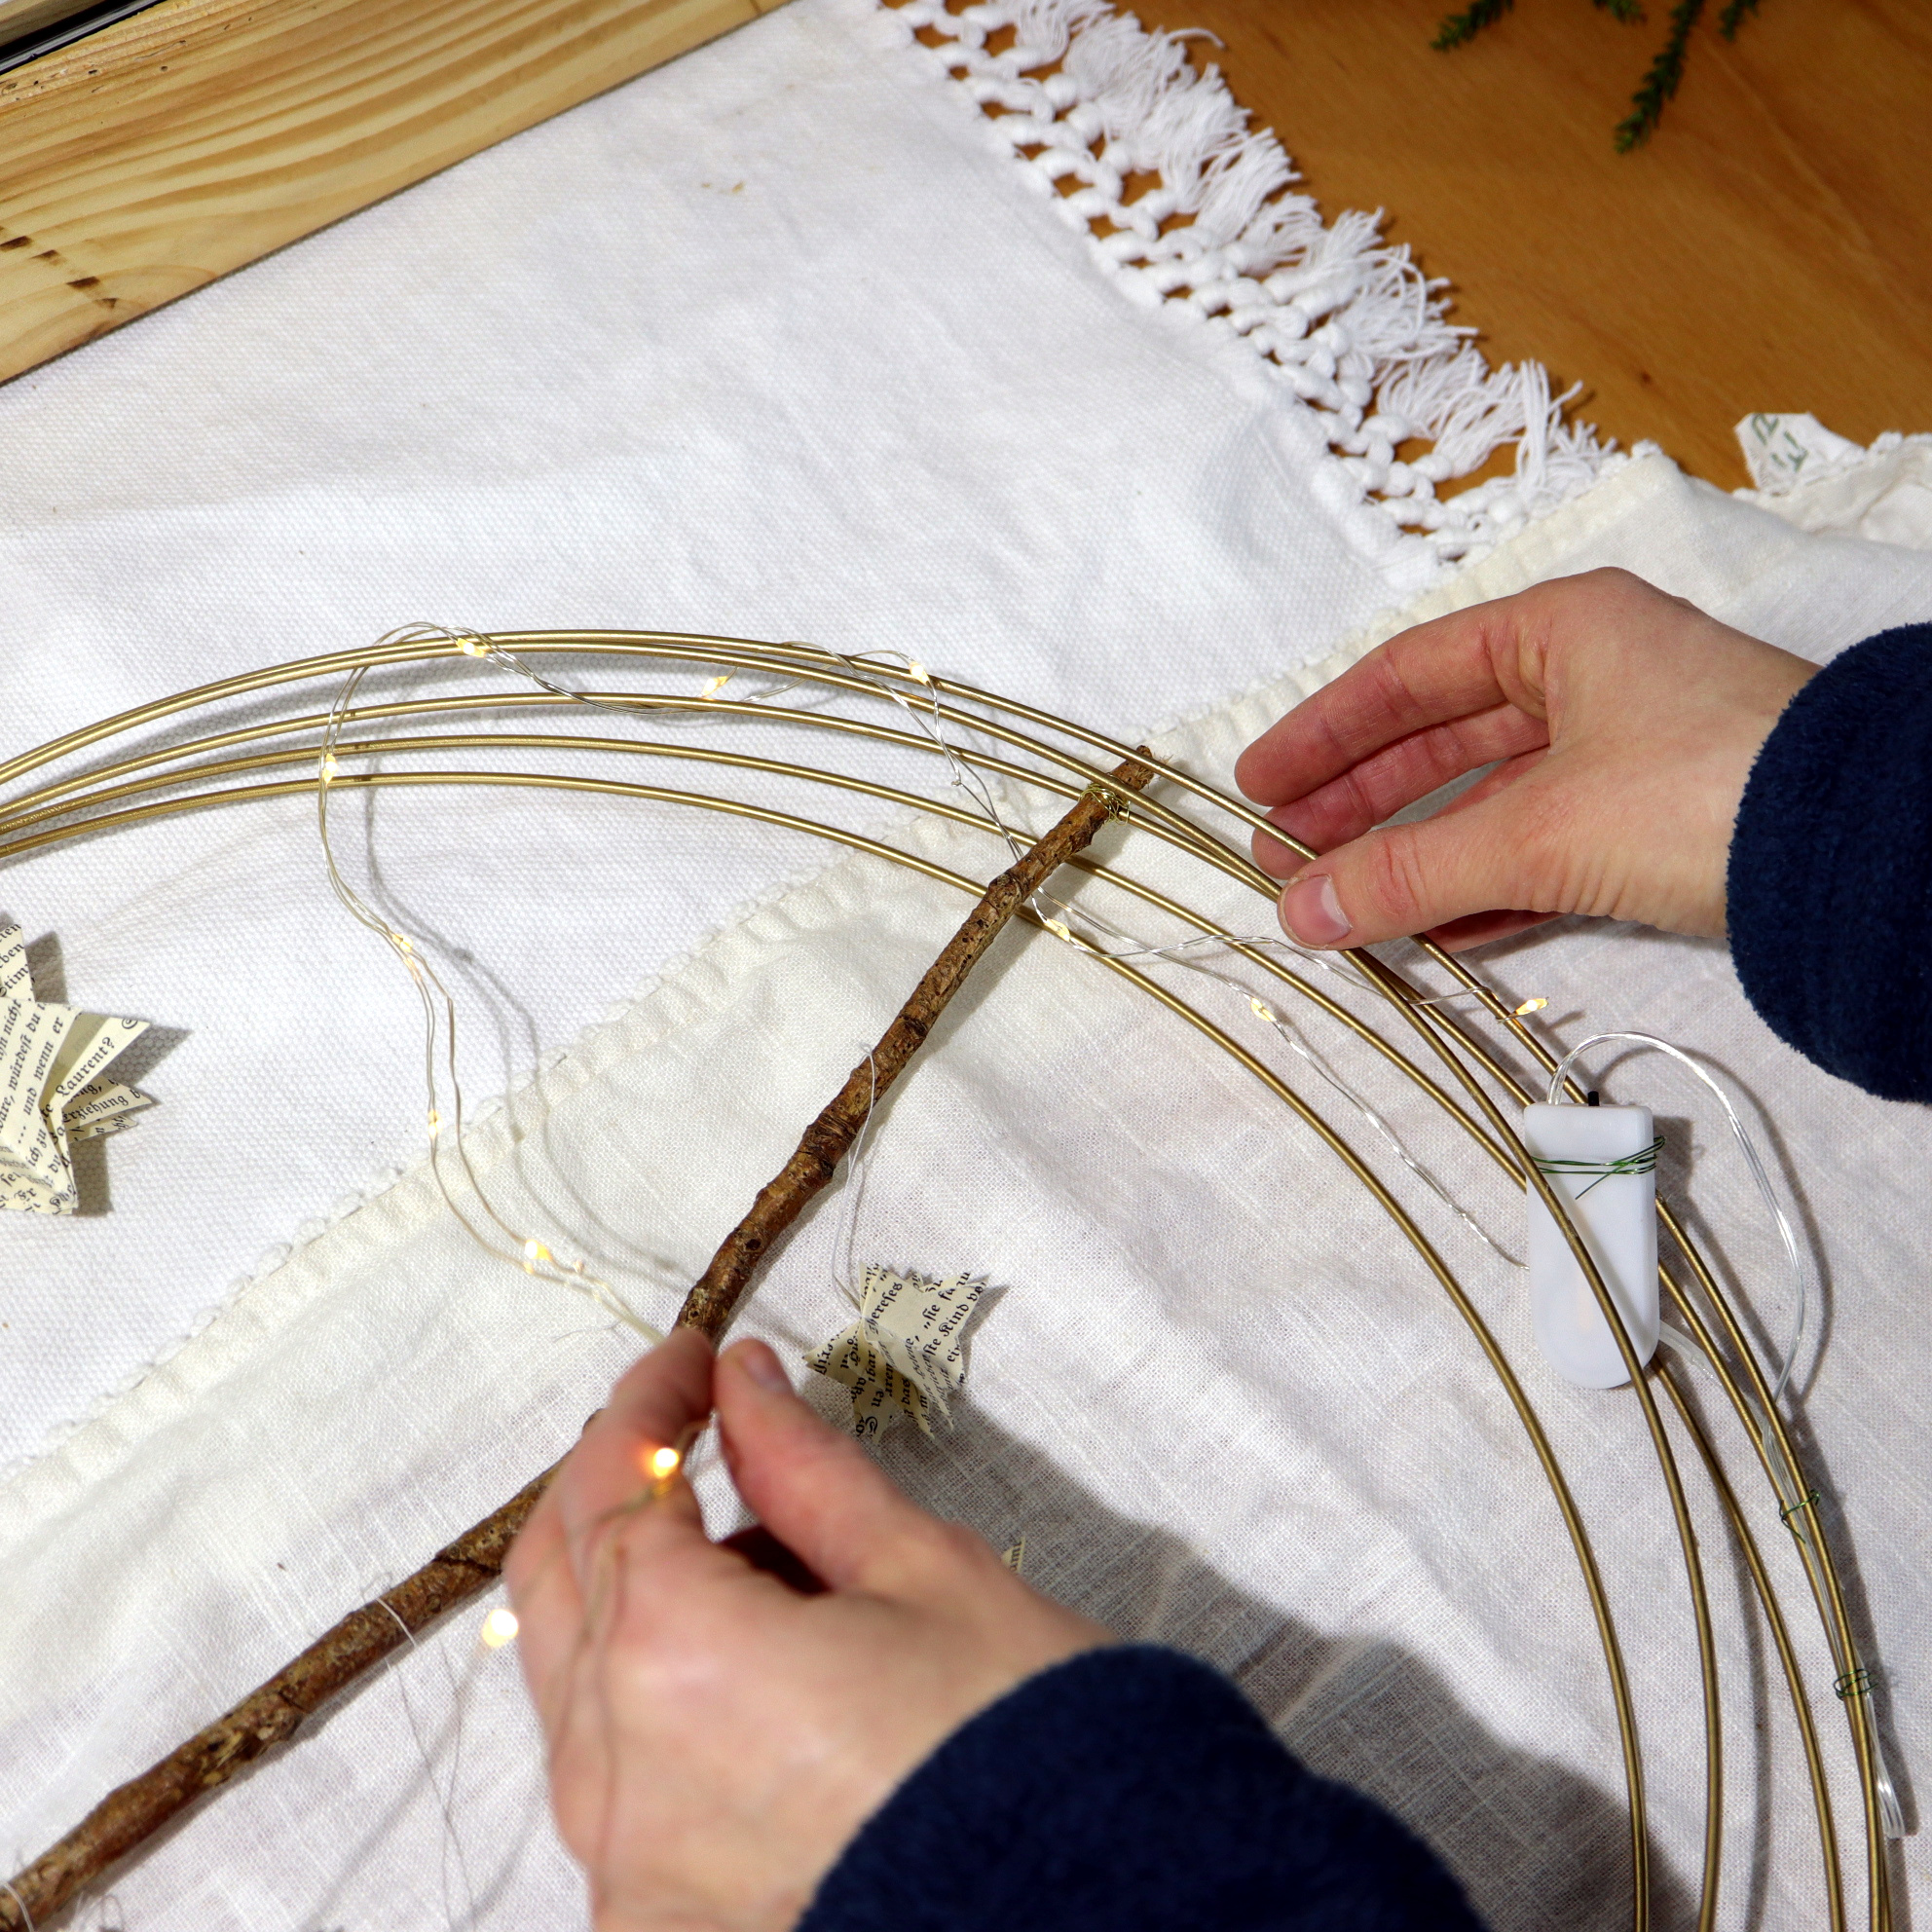
This picture shows how the Christmas ring could look like with the fairy lights.
Step 2: Make some Christmas Twigs
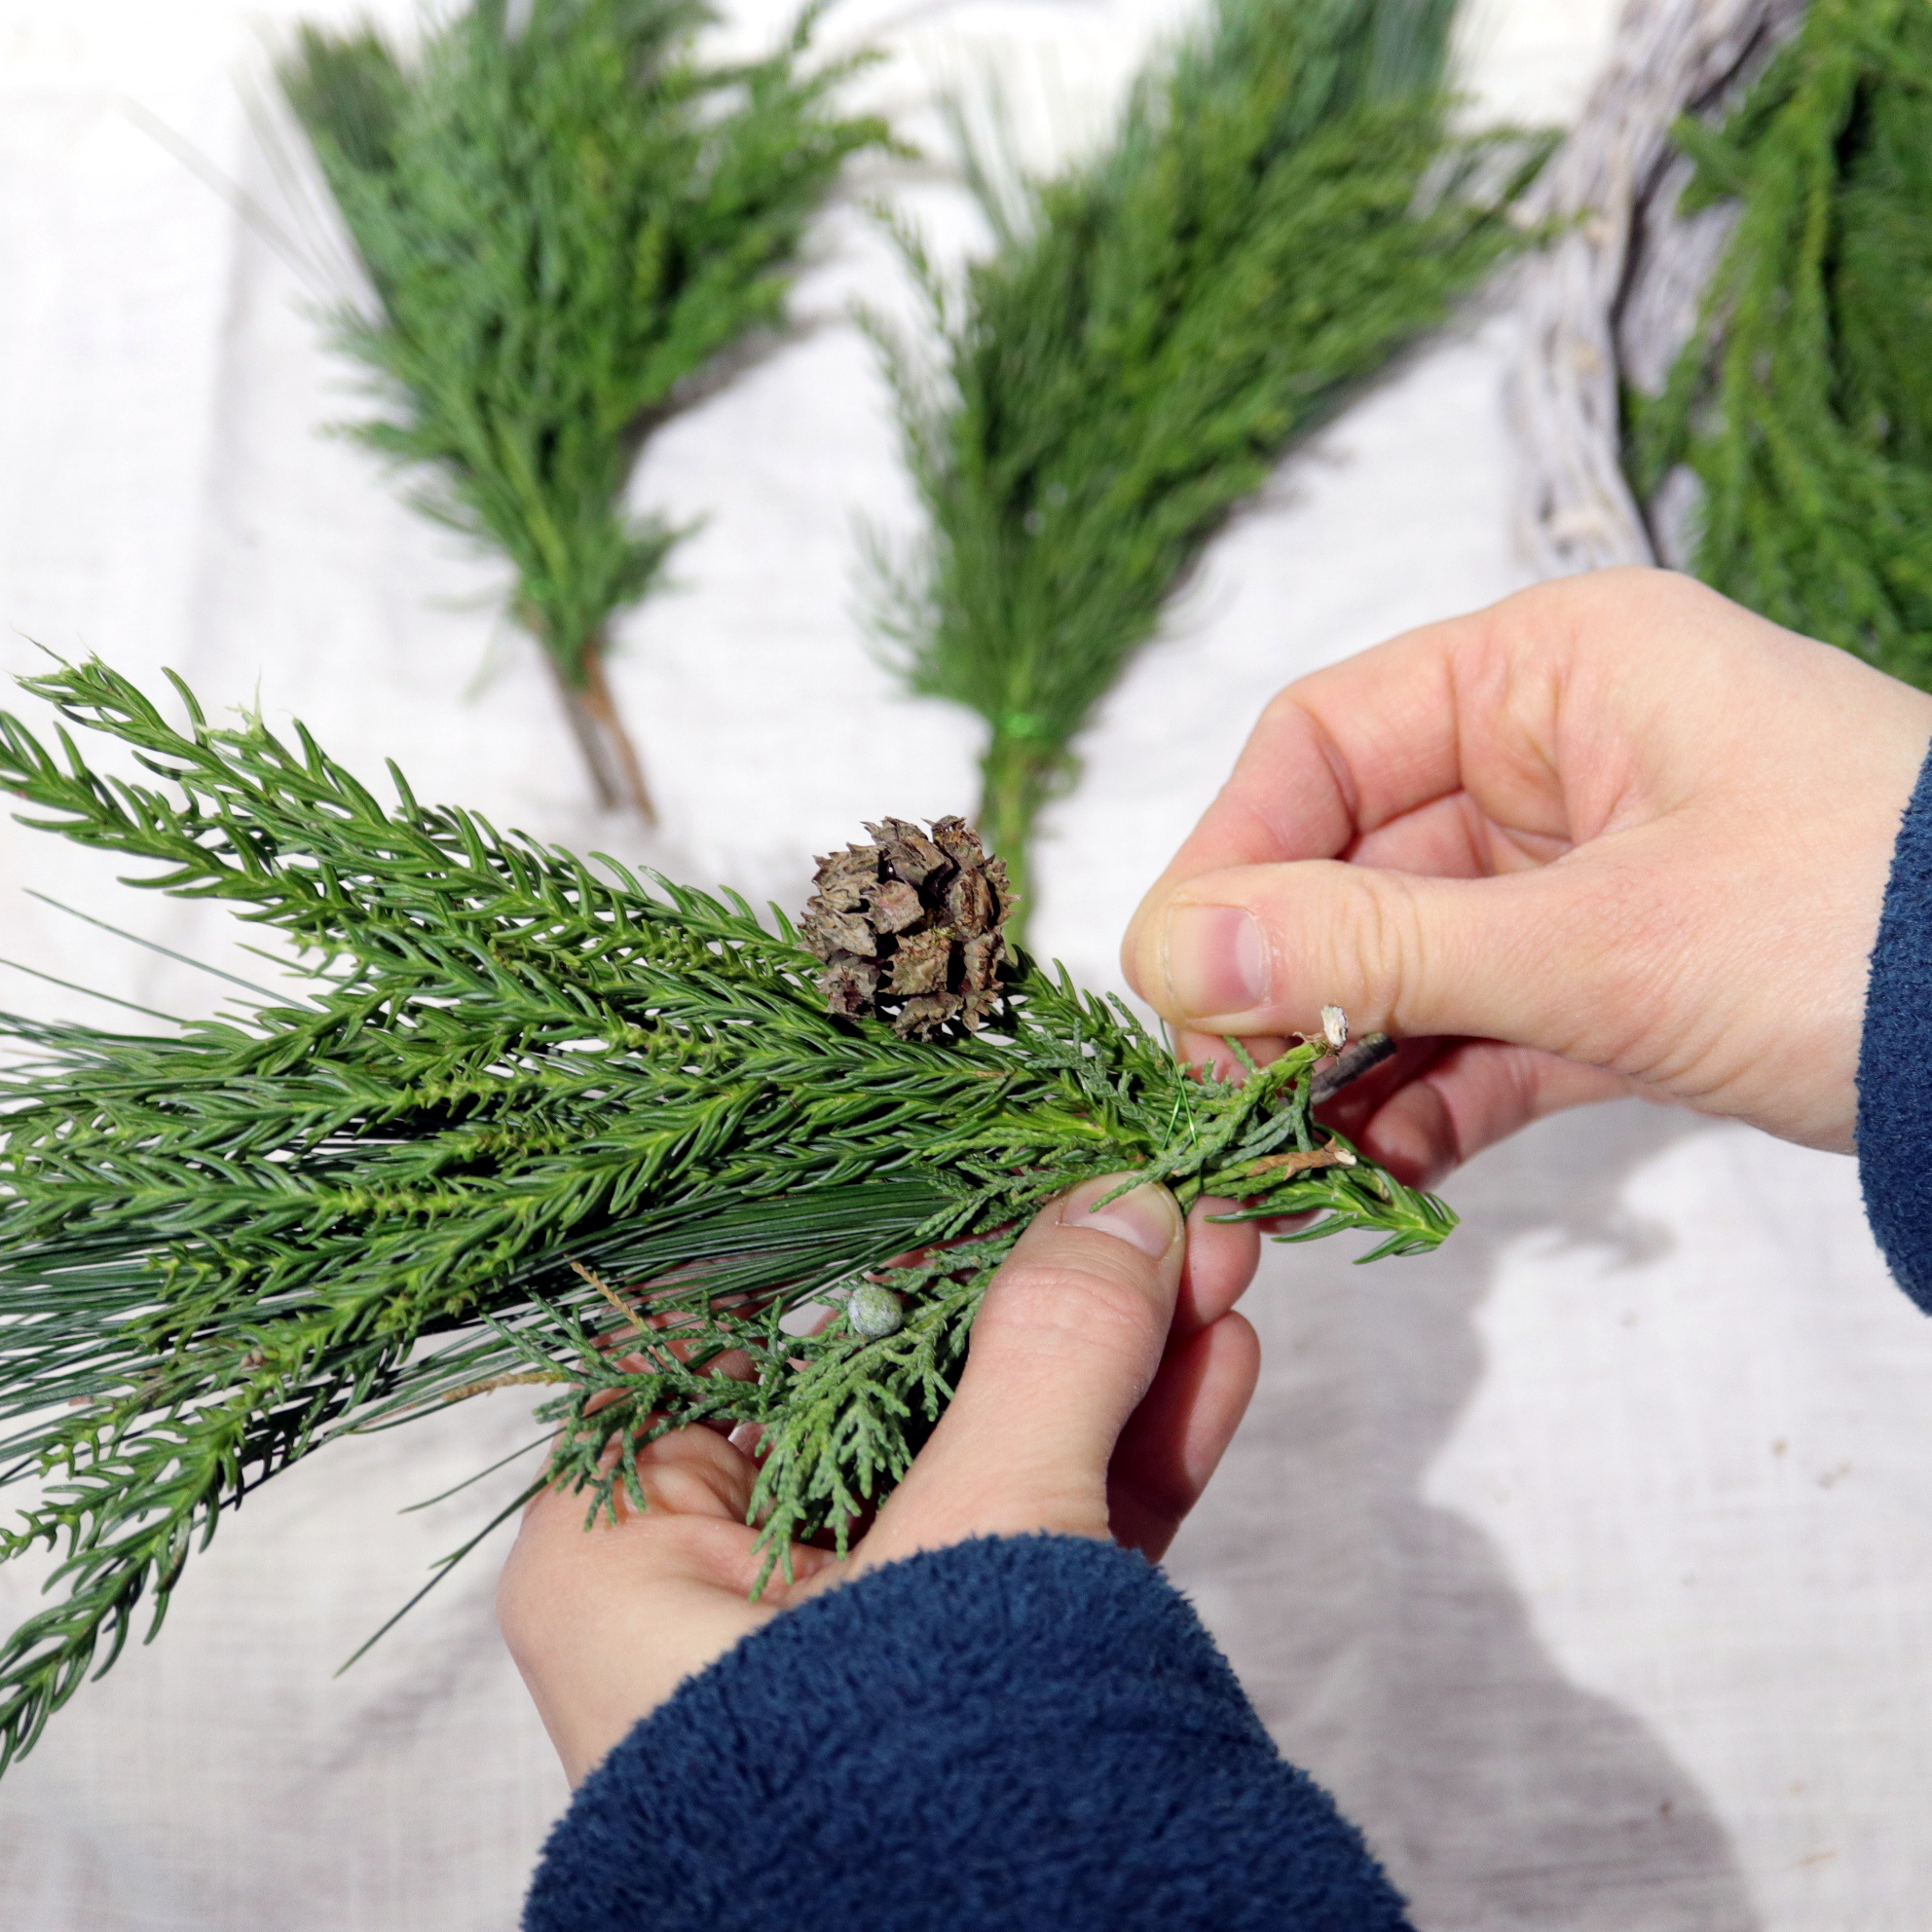
You need a few Christmas twigs. Use the floral wire to make a few of them.
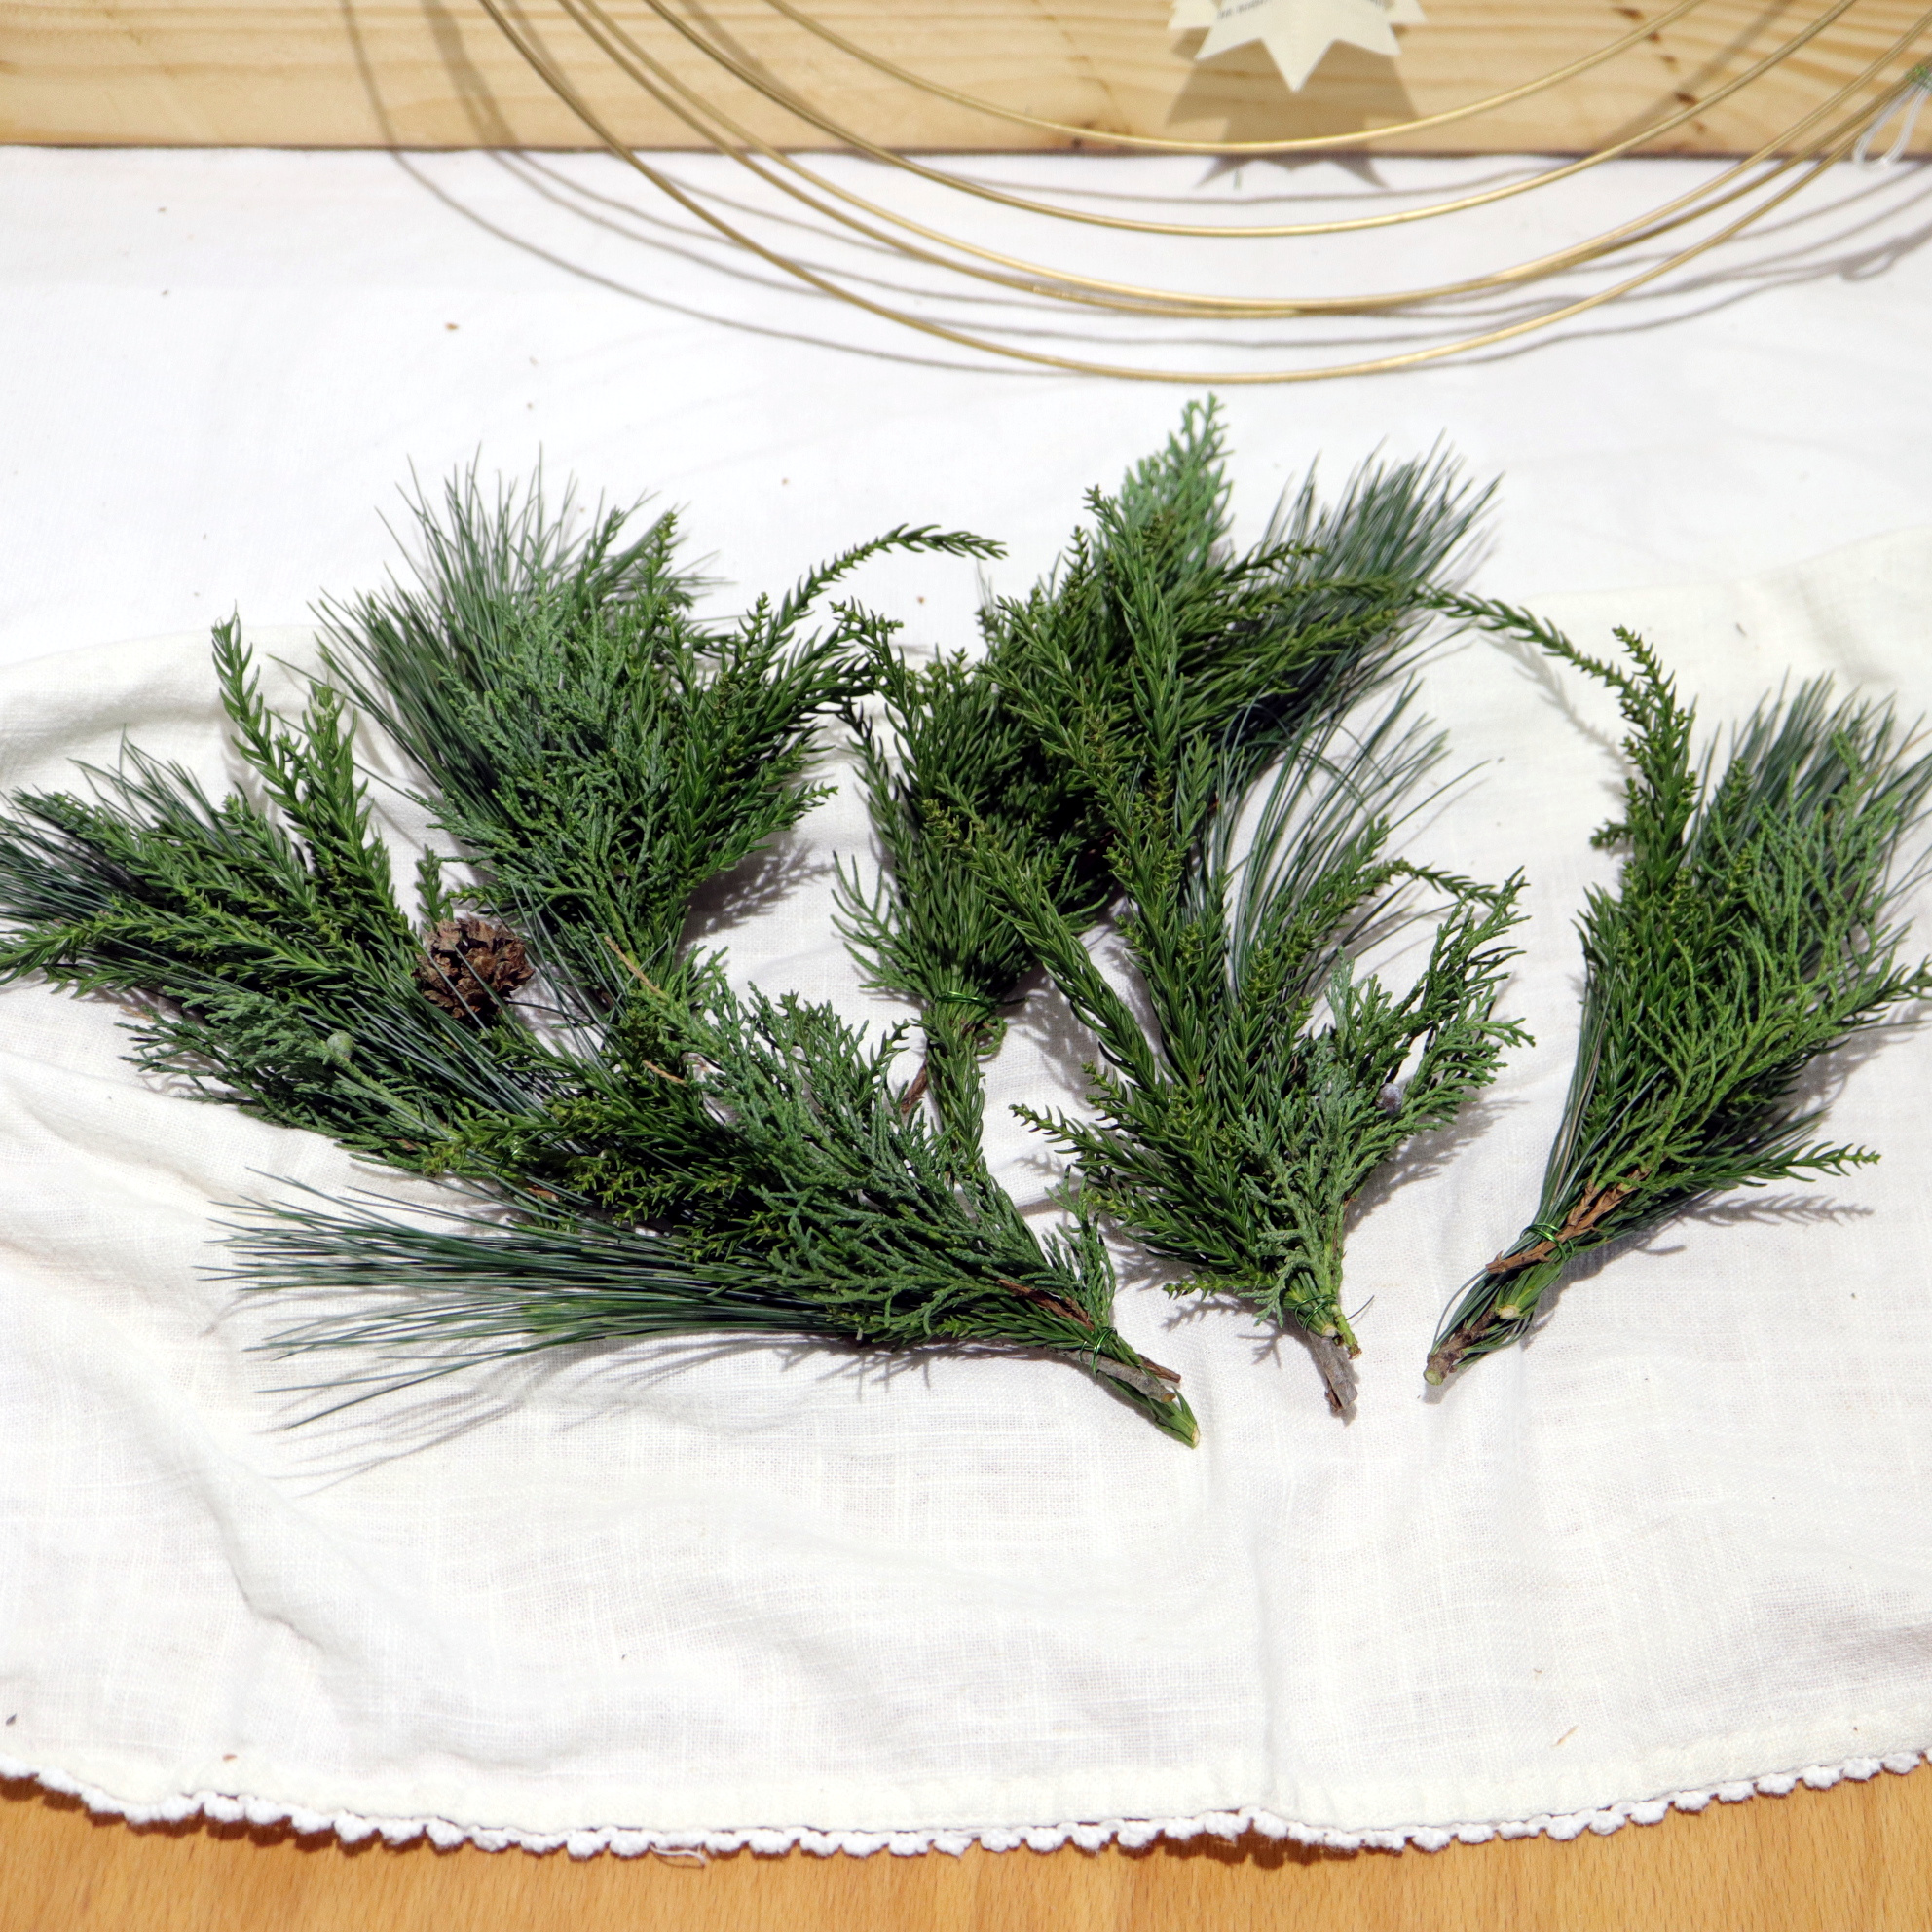
In total, I made six Christmas twigs for my Christmas ring.

Next, use the floral wire to mount the Christmas twigs on the lower part of the Christmas ring.
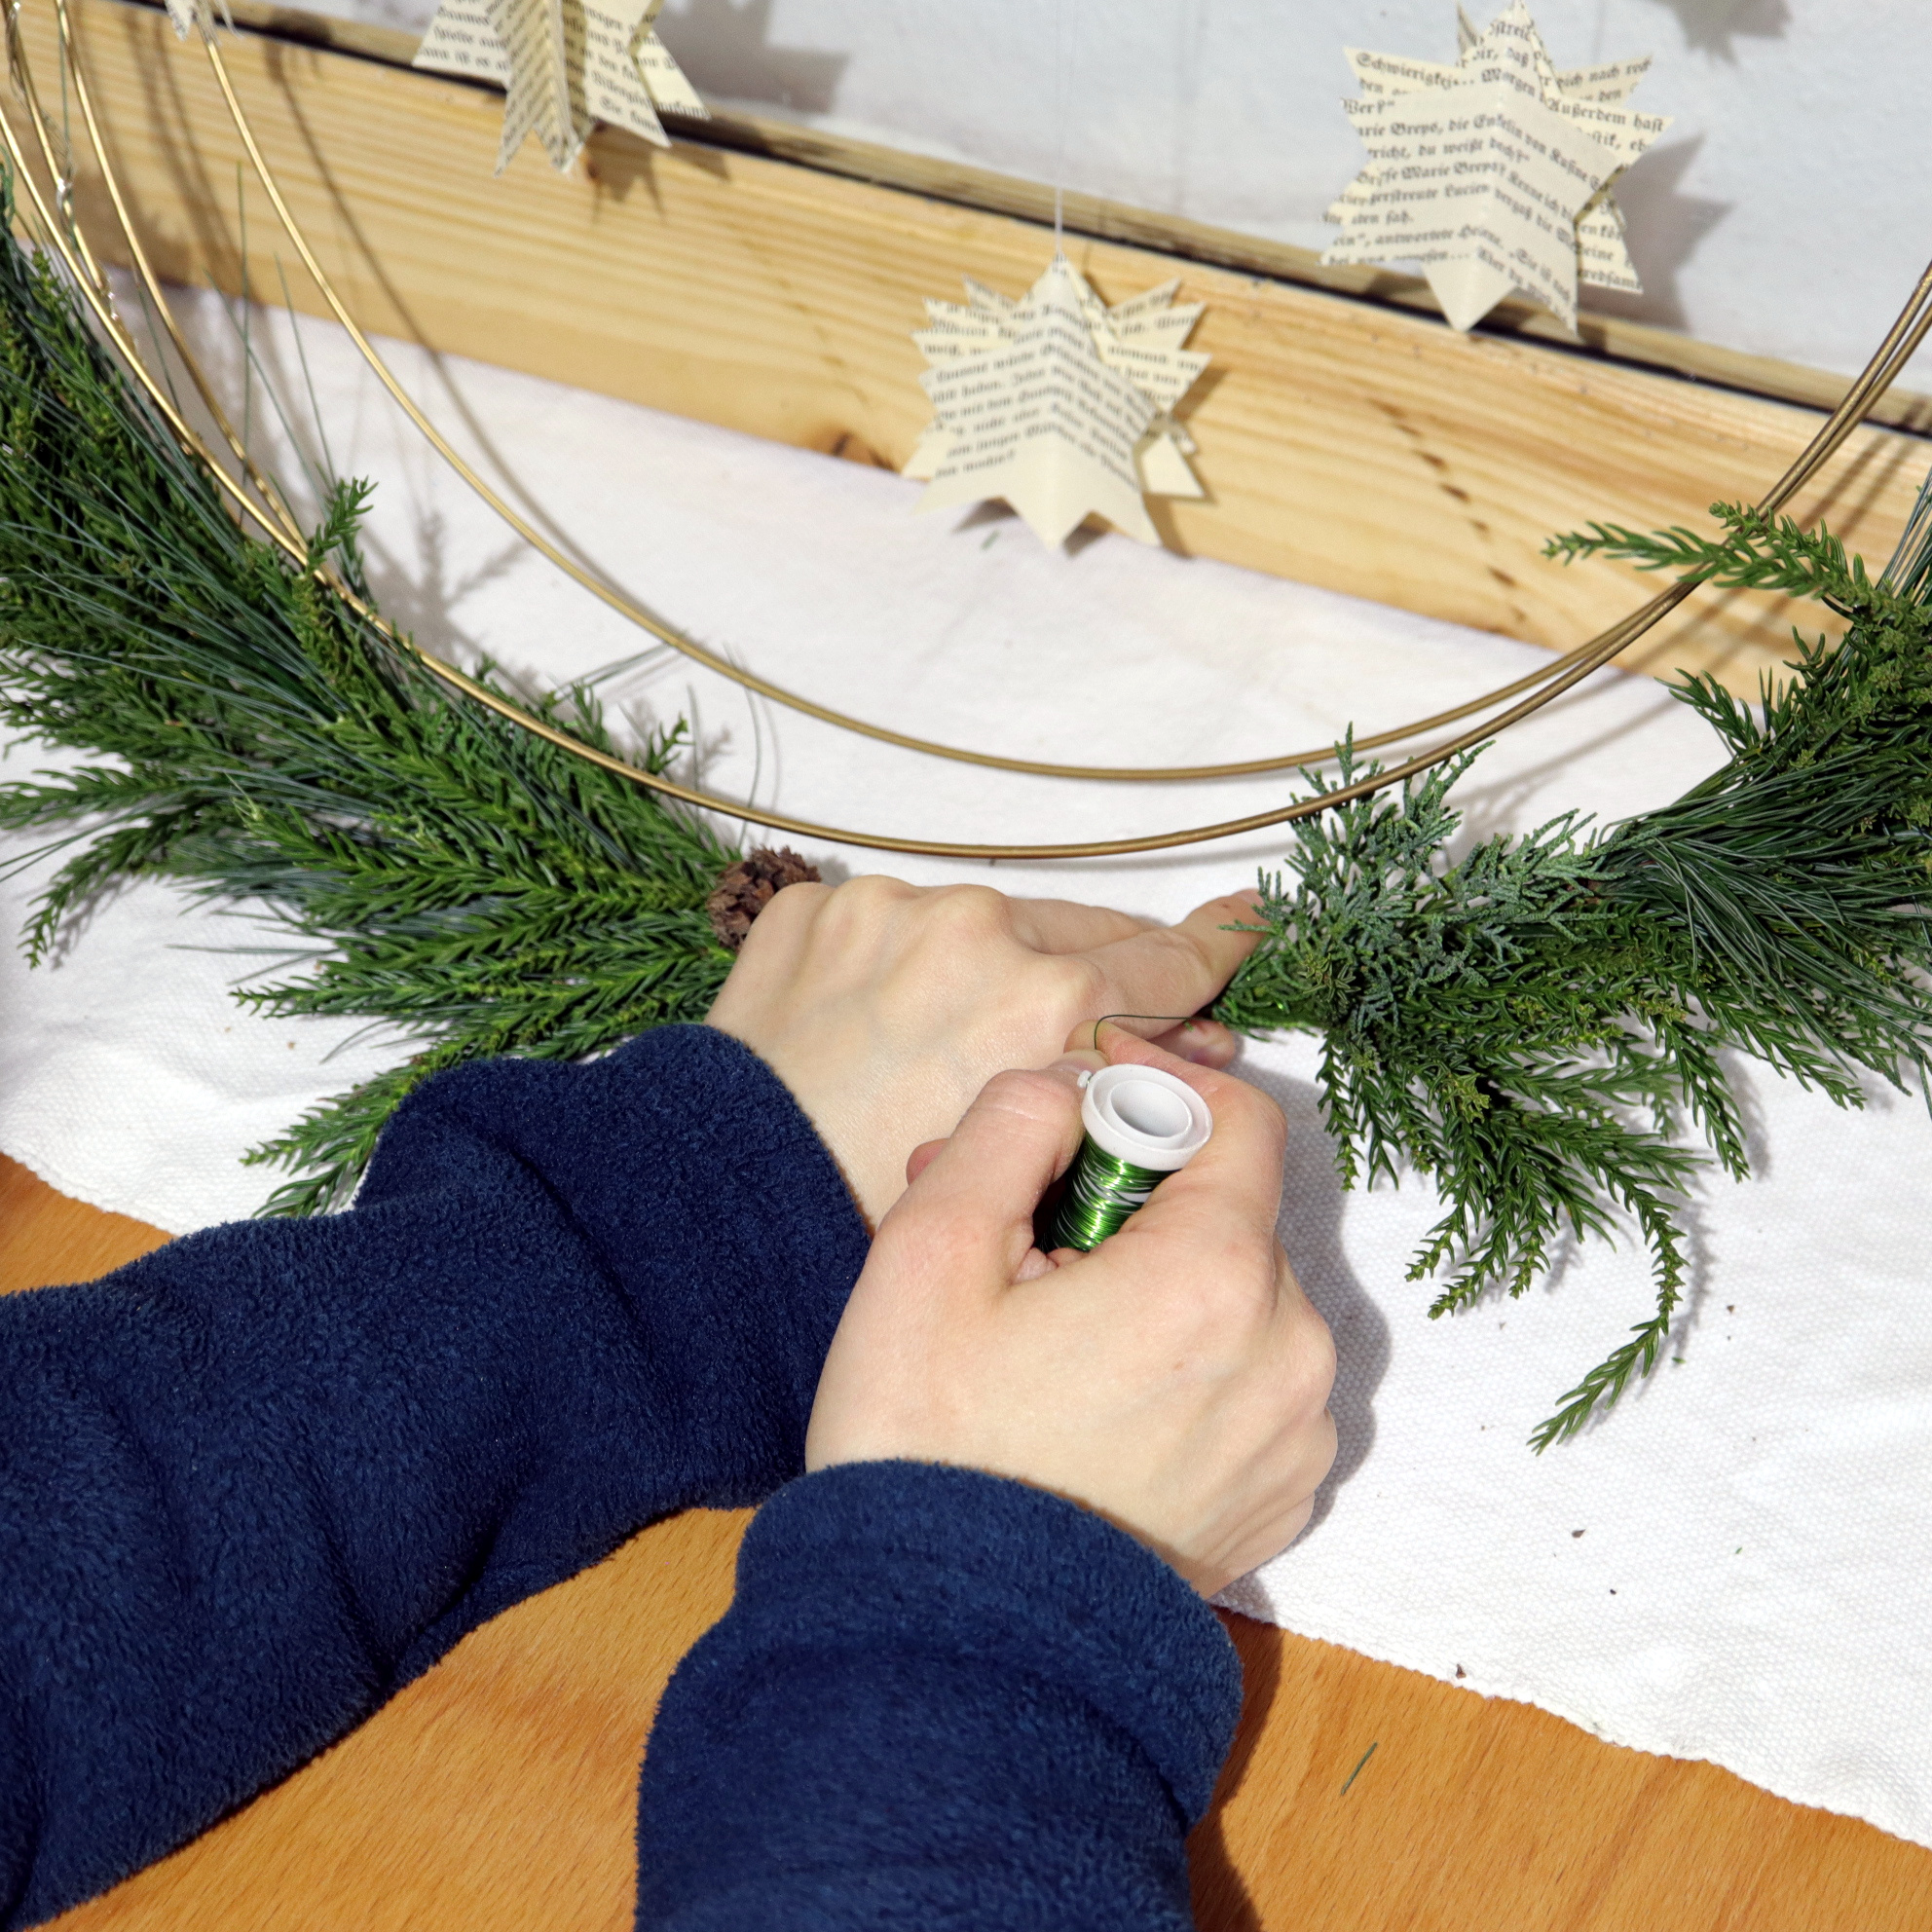
I added three twigs on each side.

Now you have a Christmas ring that is even at night a real eye catcher.
I hope you had as much fun as I had while making this Christmas ring. Enjoy!