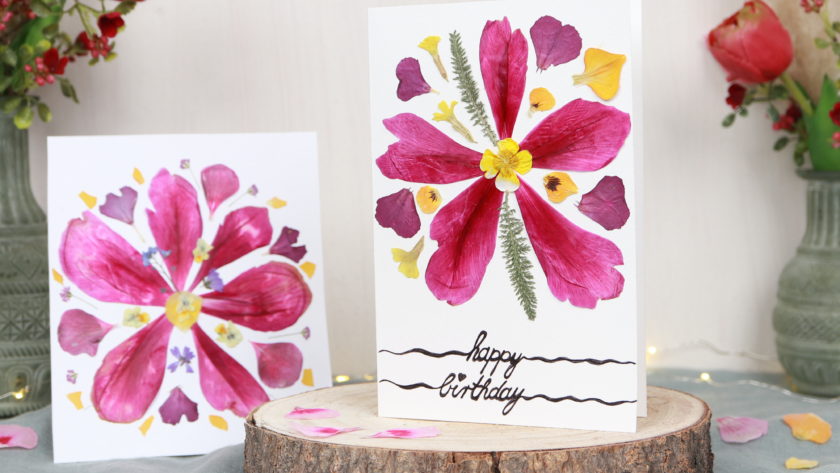
Today I will show you how to craft a birthday card with pressed flowers. A homemade gift for the birthday just remains something special. Like this flower greeting of a different kind!
Maybe you also collect different flowers throughout the year? I like to do this very much and then press the flowers. You can use a flower press or just a book to do this. I put the flowers in an older book between two pages and weigh it down with other books for about a week.
Pressed flowers can be used to create great DIY artwork. For example, this individual greeting card, about which the birthday boy or girl will certainly be very happy! With the following step-by-step instructions you can easily make the card with pressed flowers yourself!
Tools
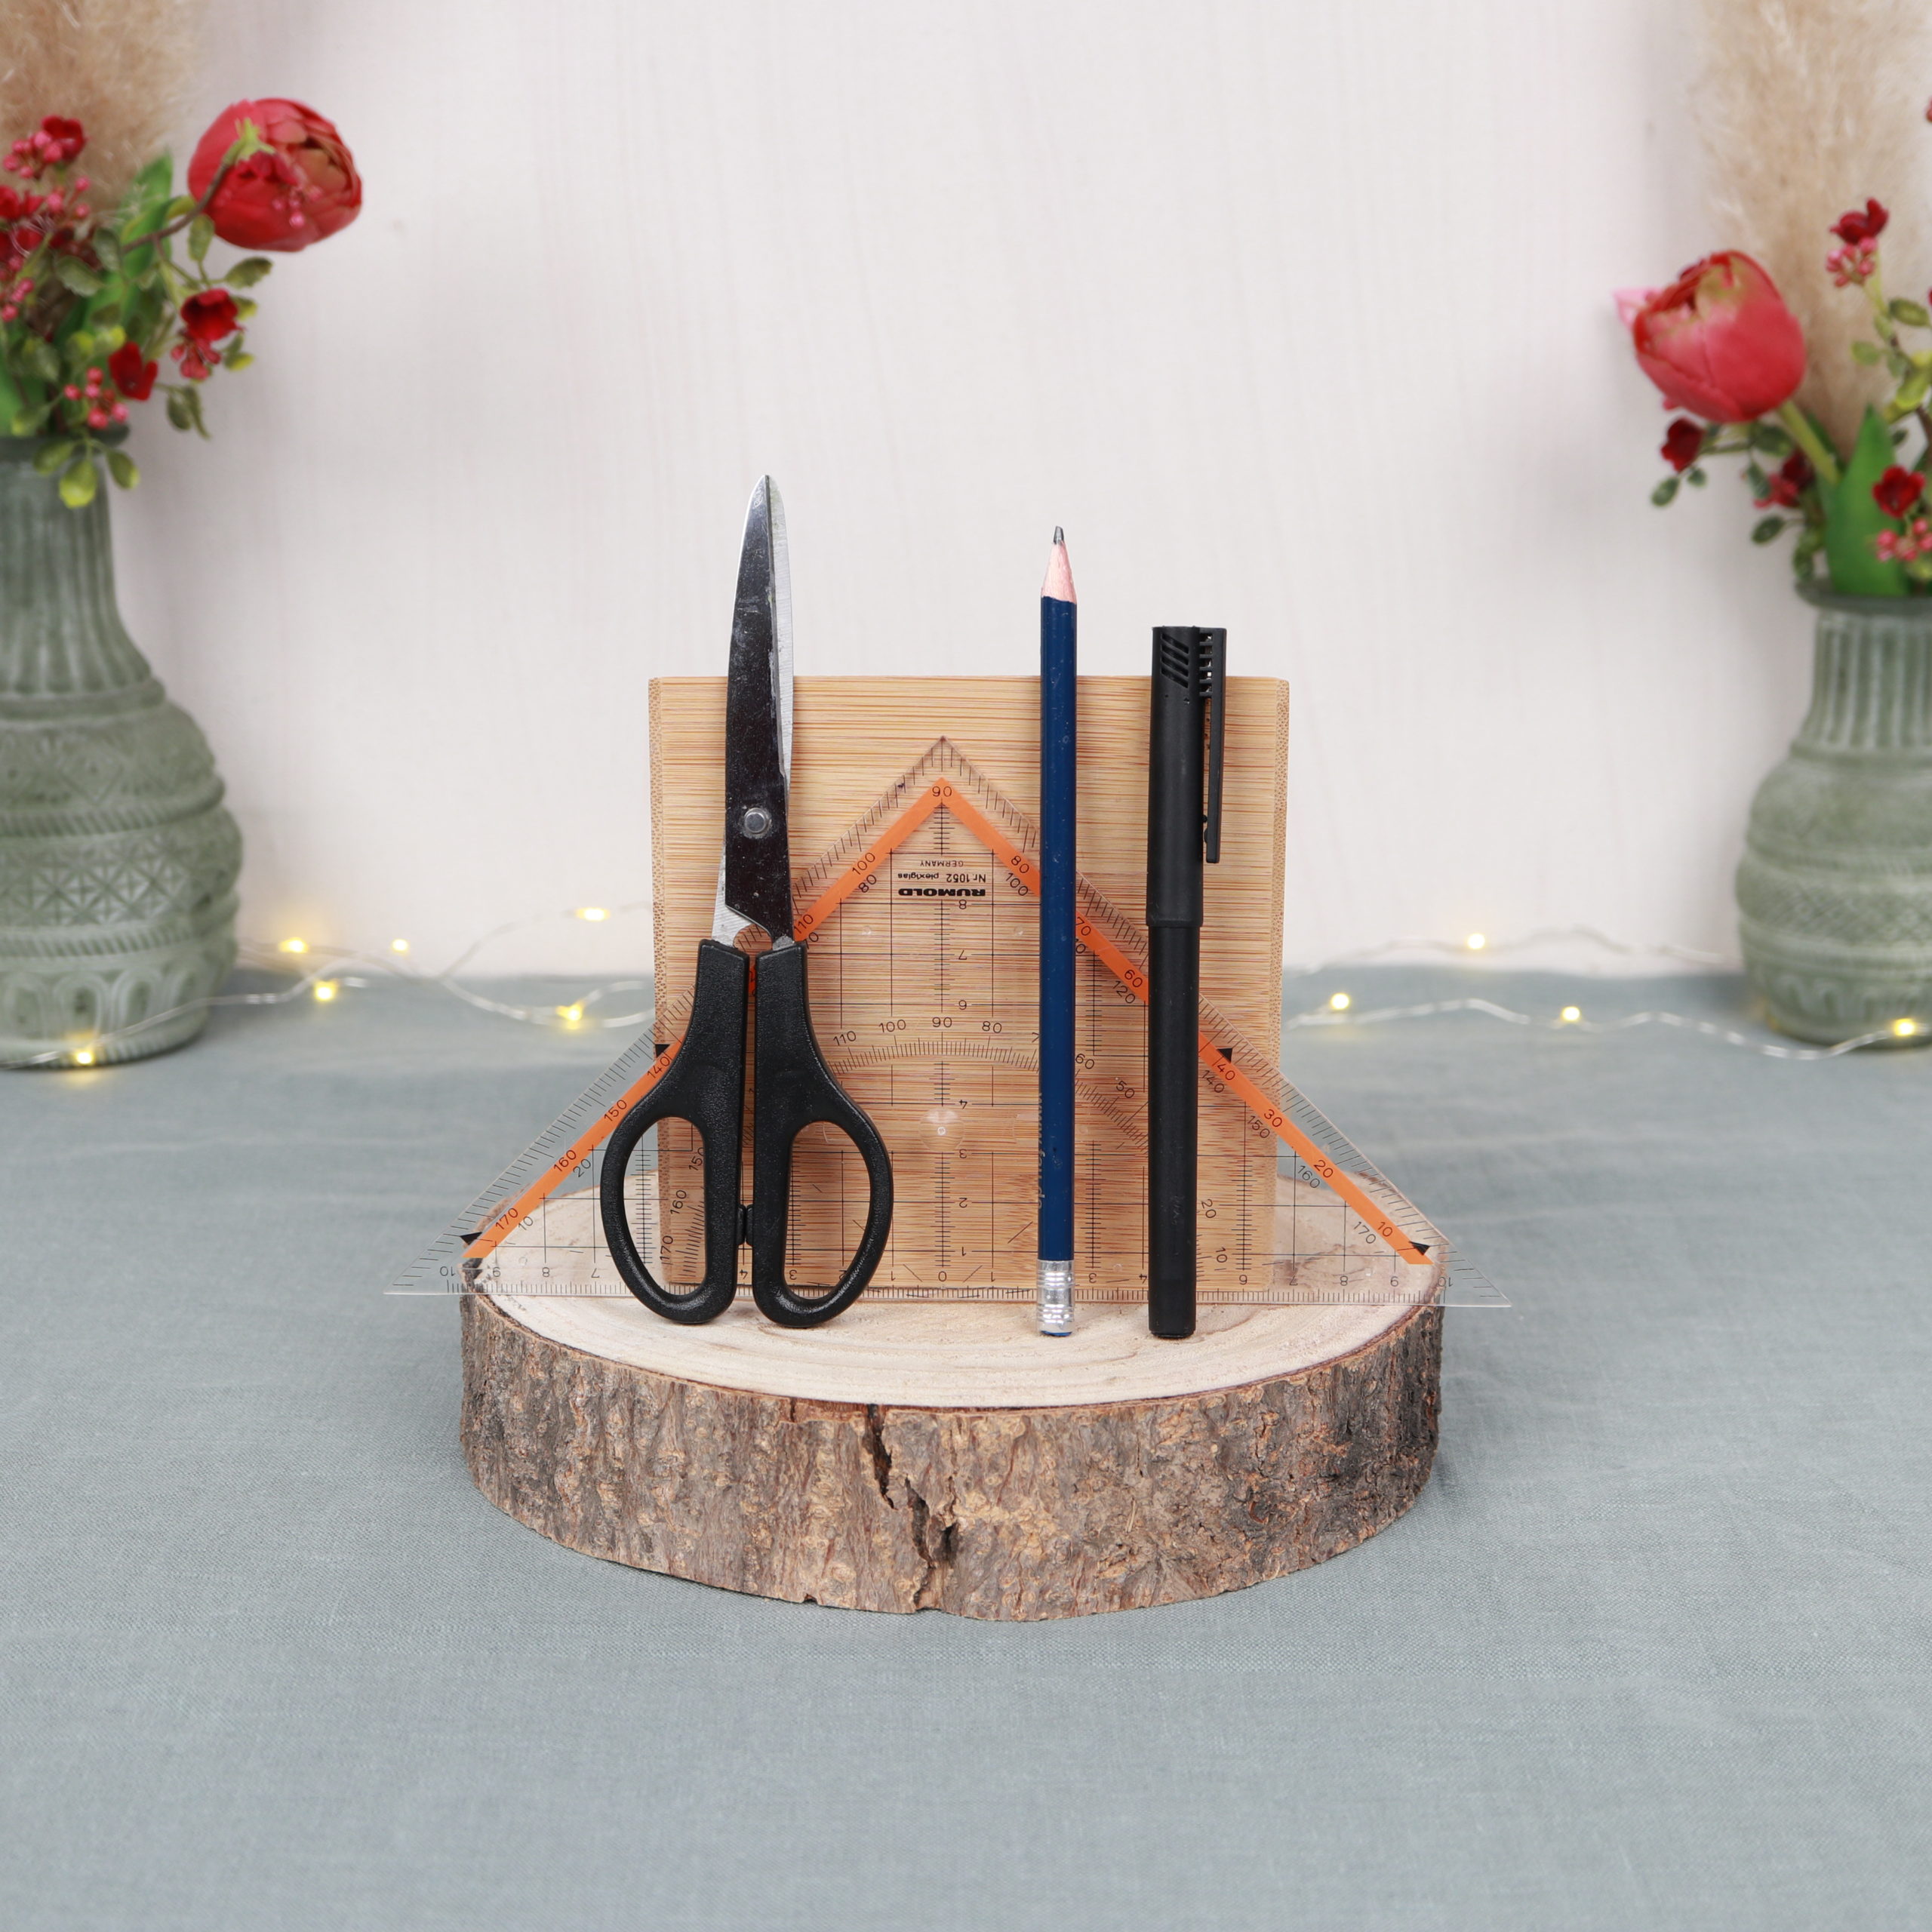
Here you can see what tools I used for the greeting card. You need scissors, a pencil, a ruler and a fineliner.
Materials
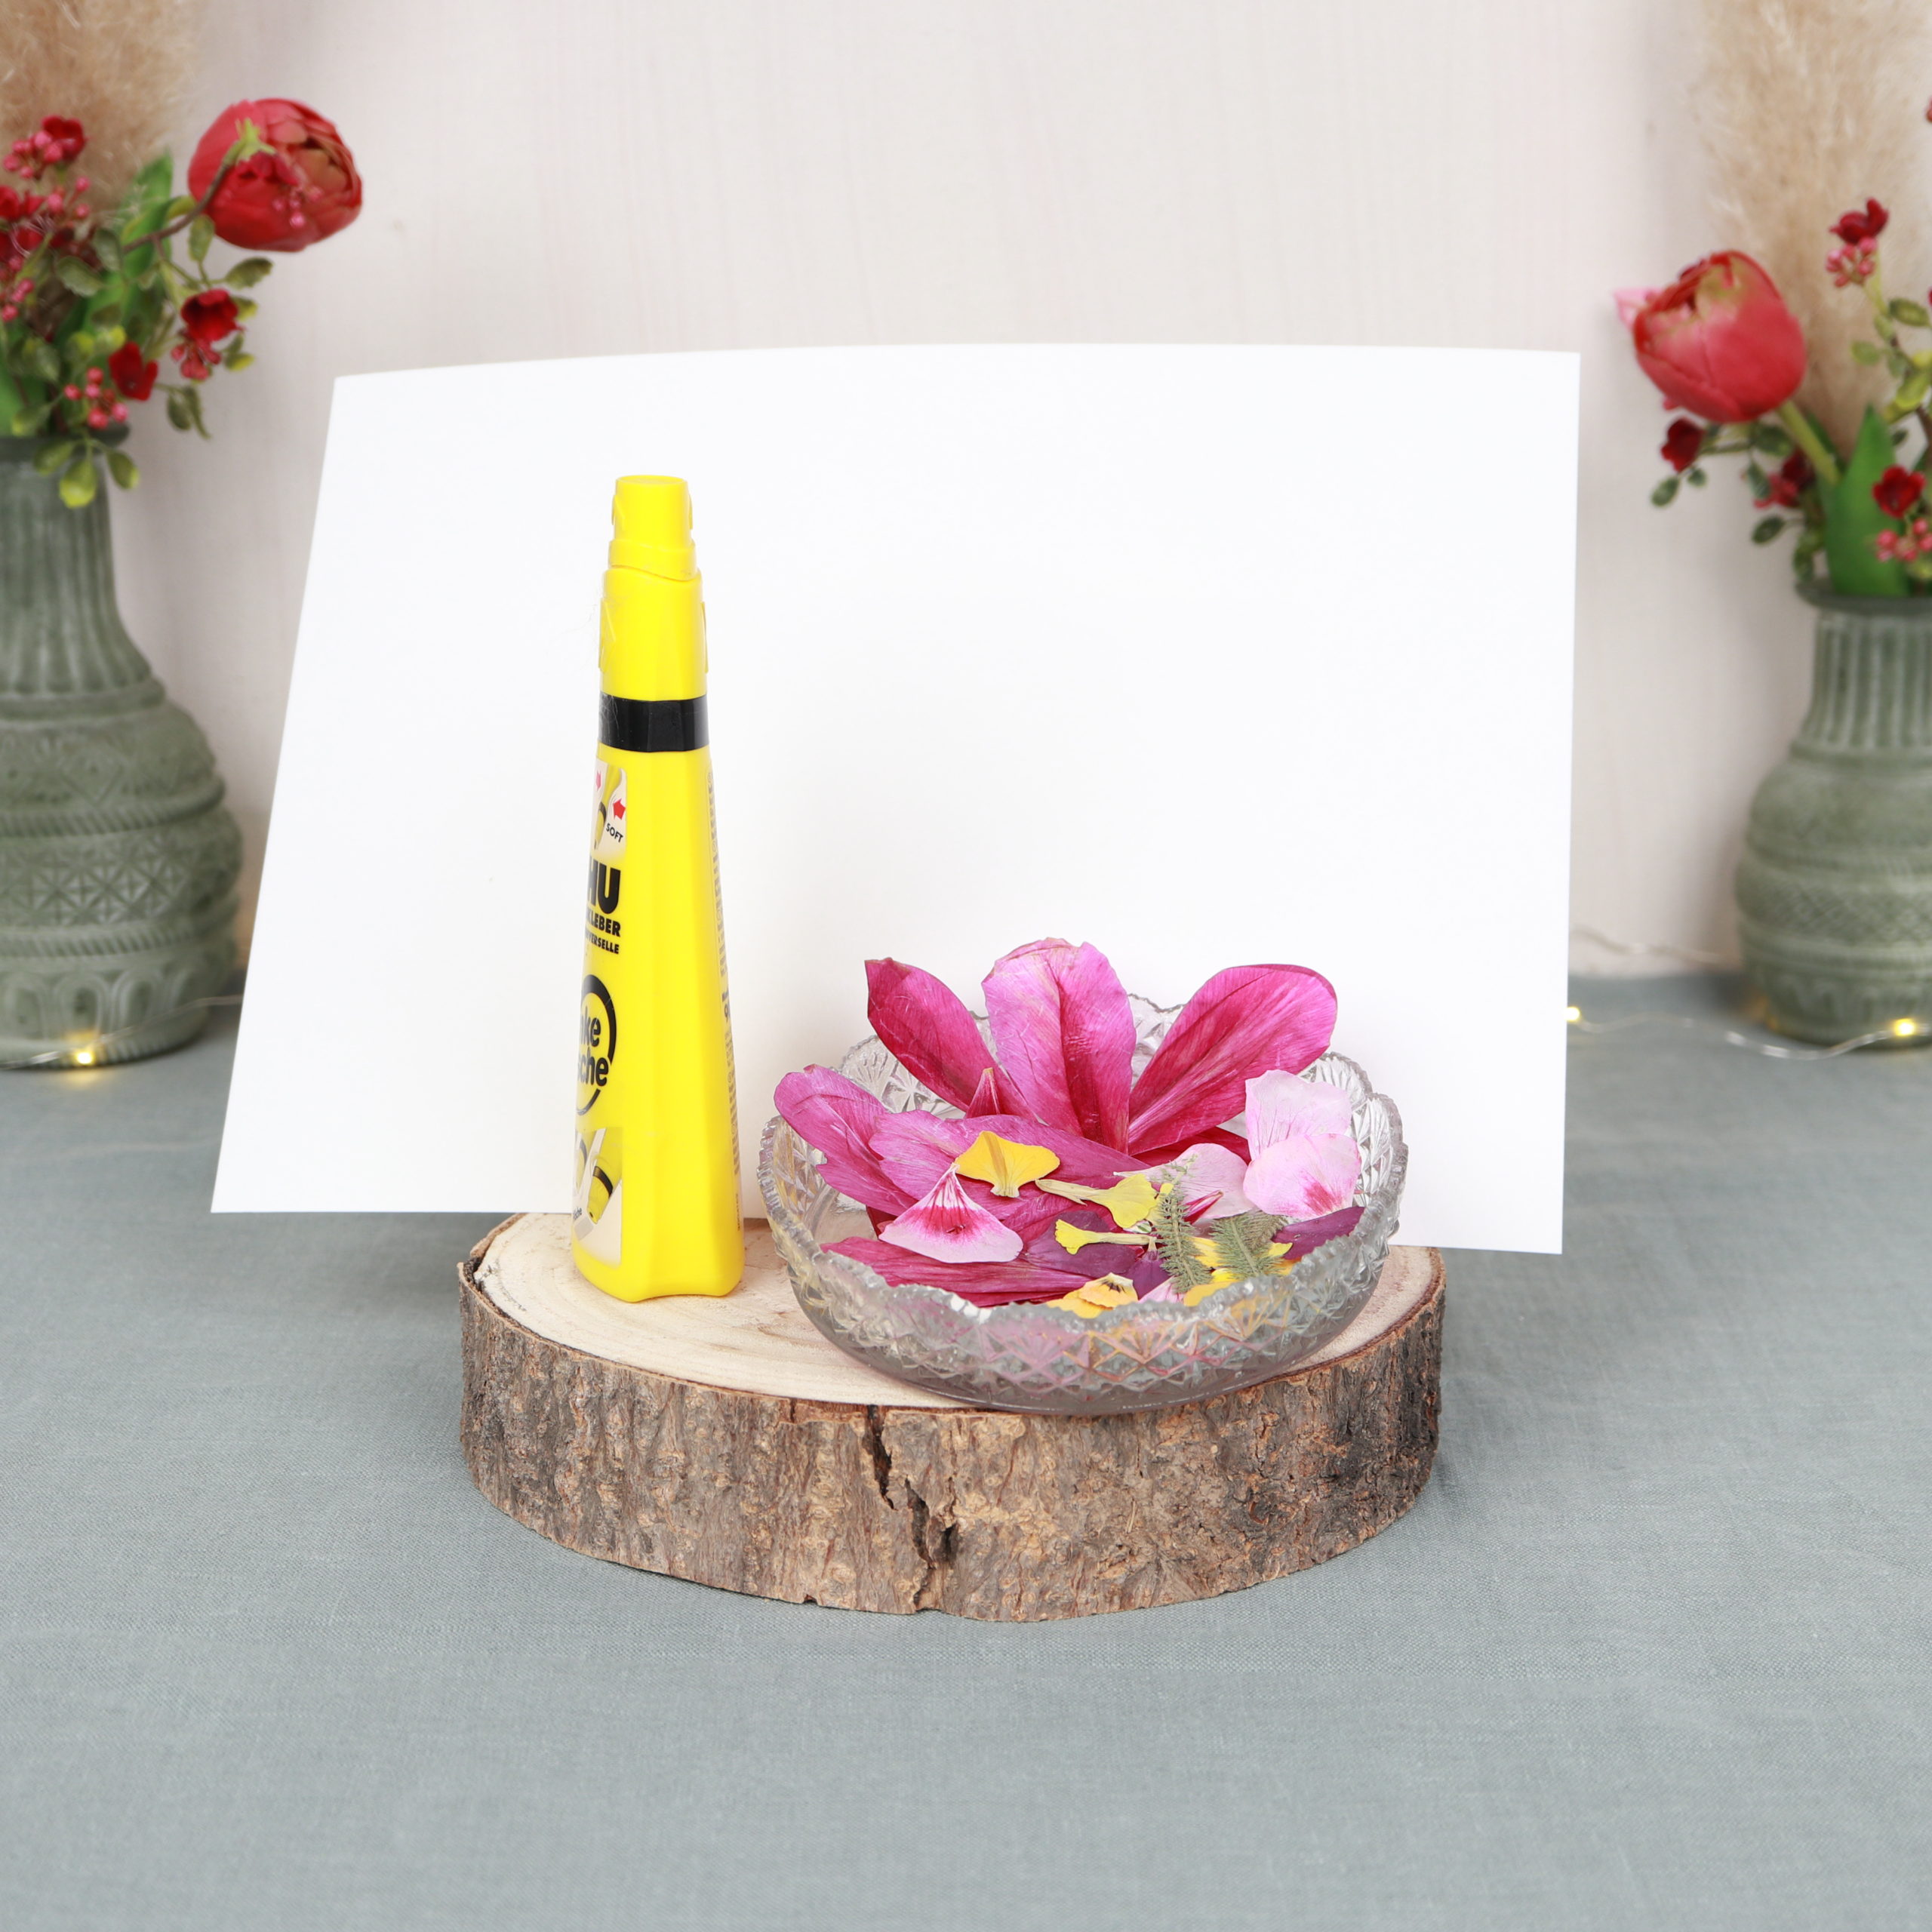
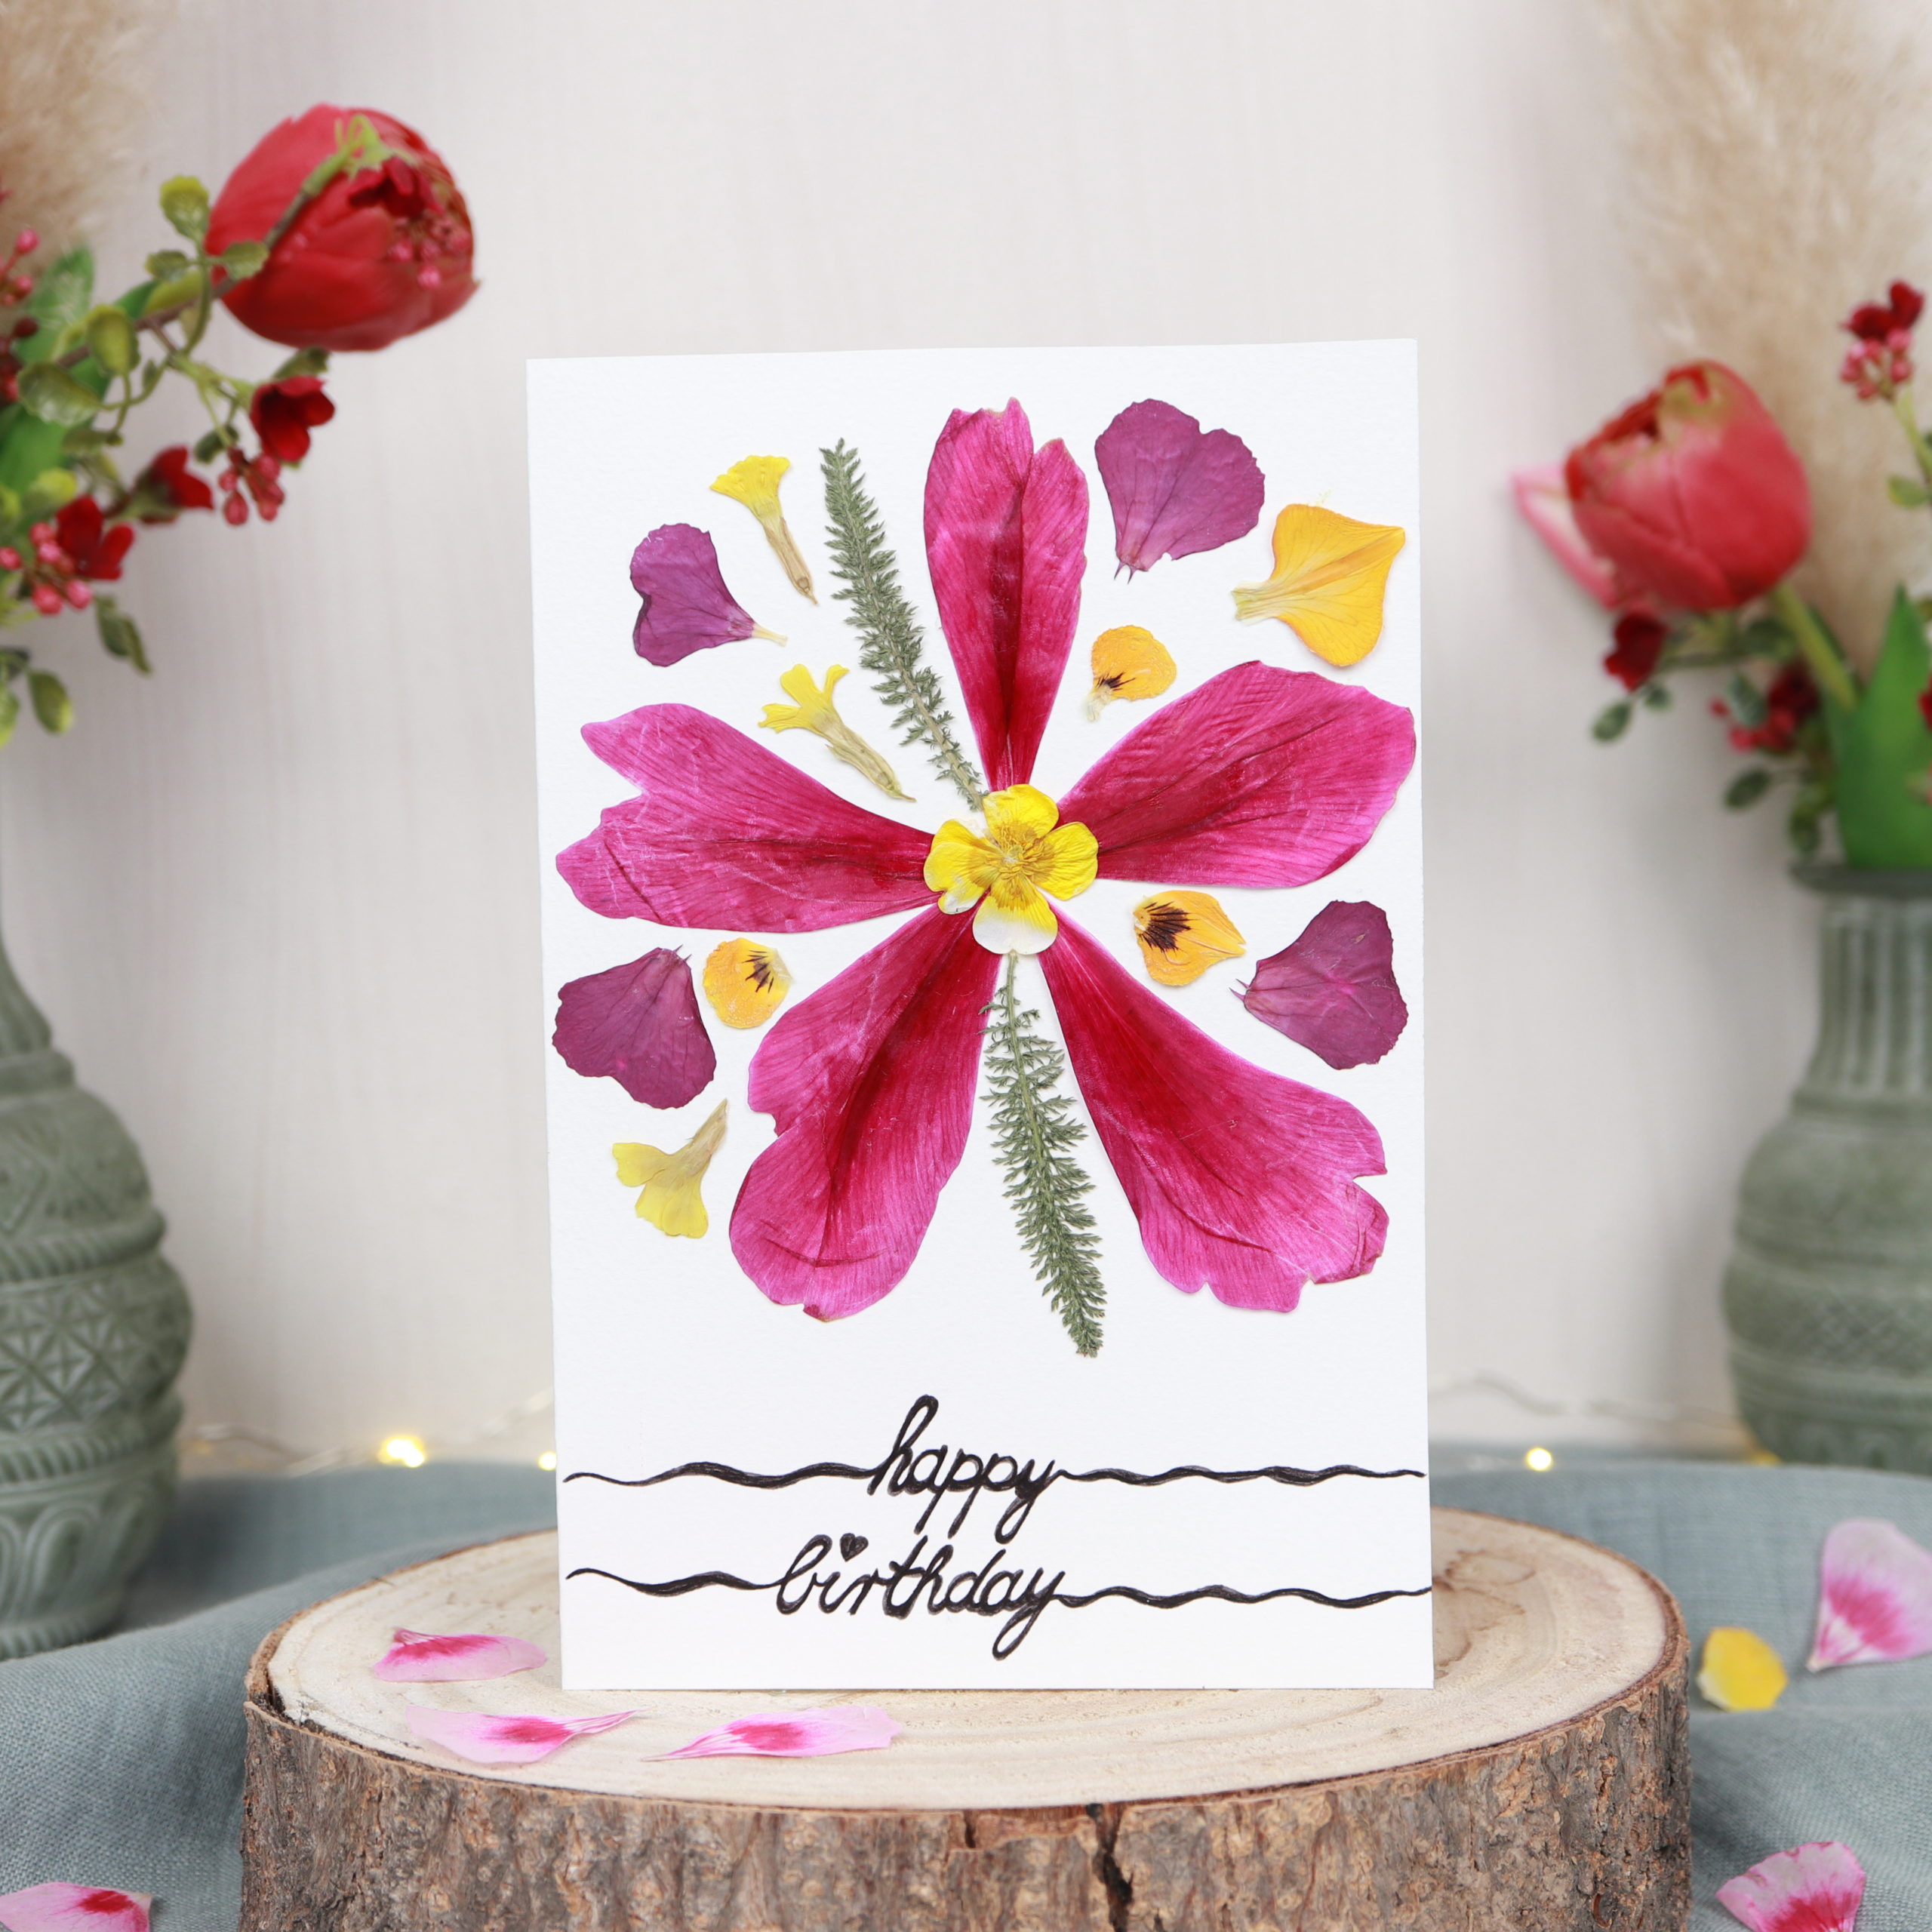
I used these materials for the card with pressed flowers: Watercolor paper (it’s a little thicker and has a nice texture), craft glue, pressed flowers and blossoms. I use here, among others, flowers of peonies, geraniums and a buttercup. I pressed the flowers myself, but there are also online quite great flower sets with beautiful pressed flowers.
DIY Guide | Craft birthday card with pressed flowers
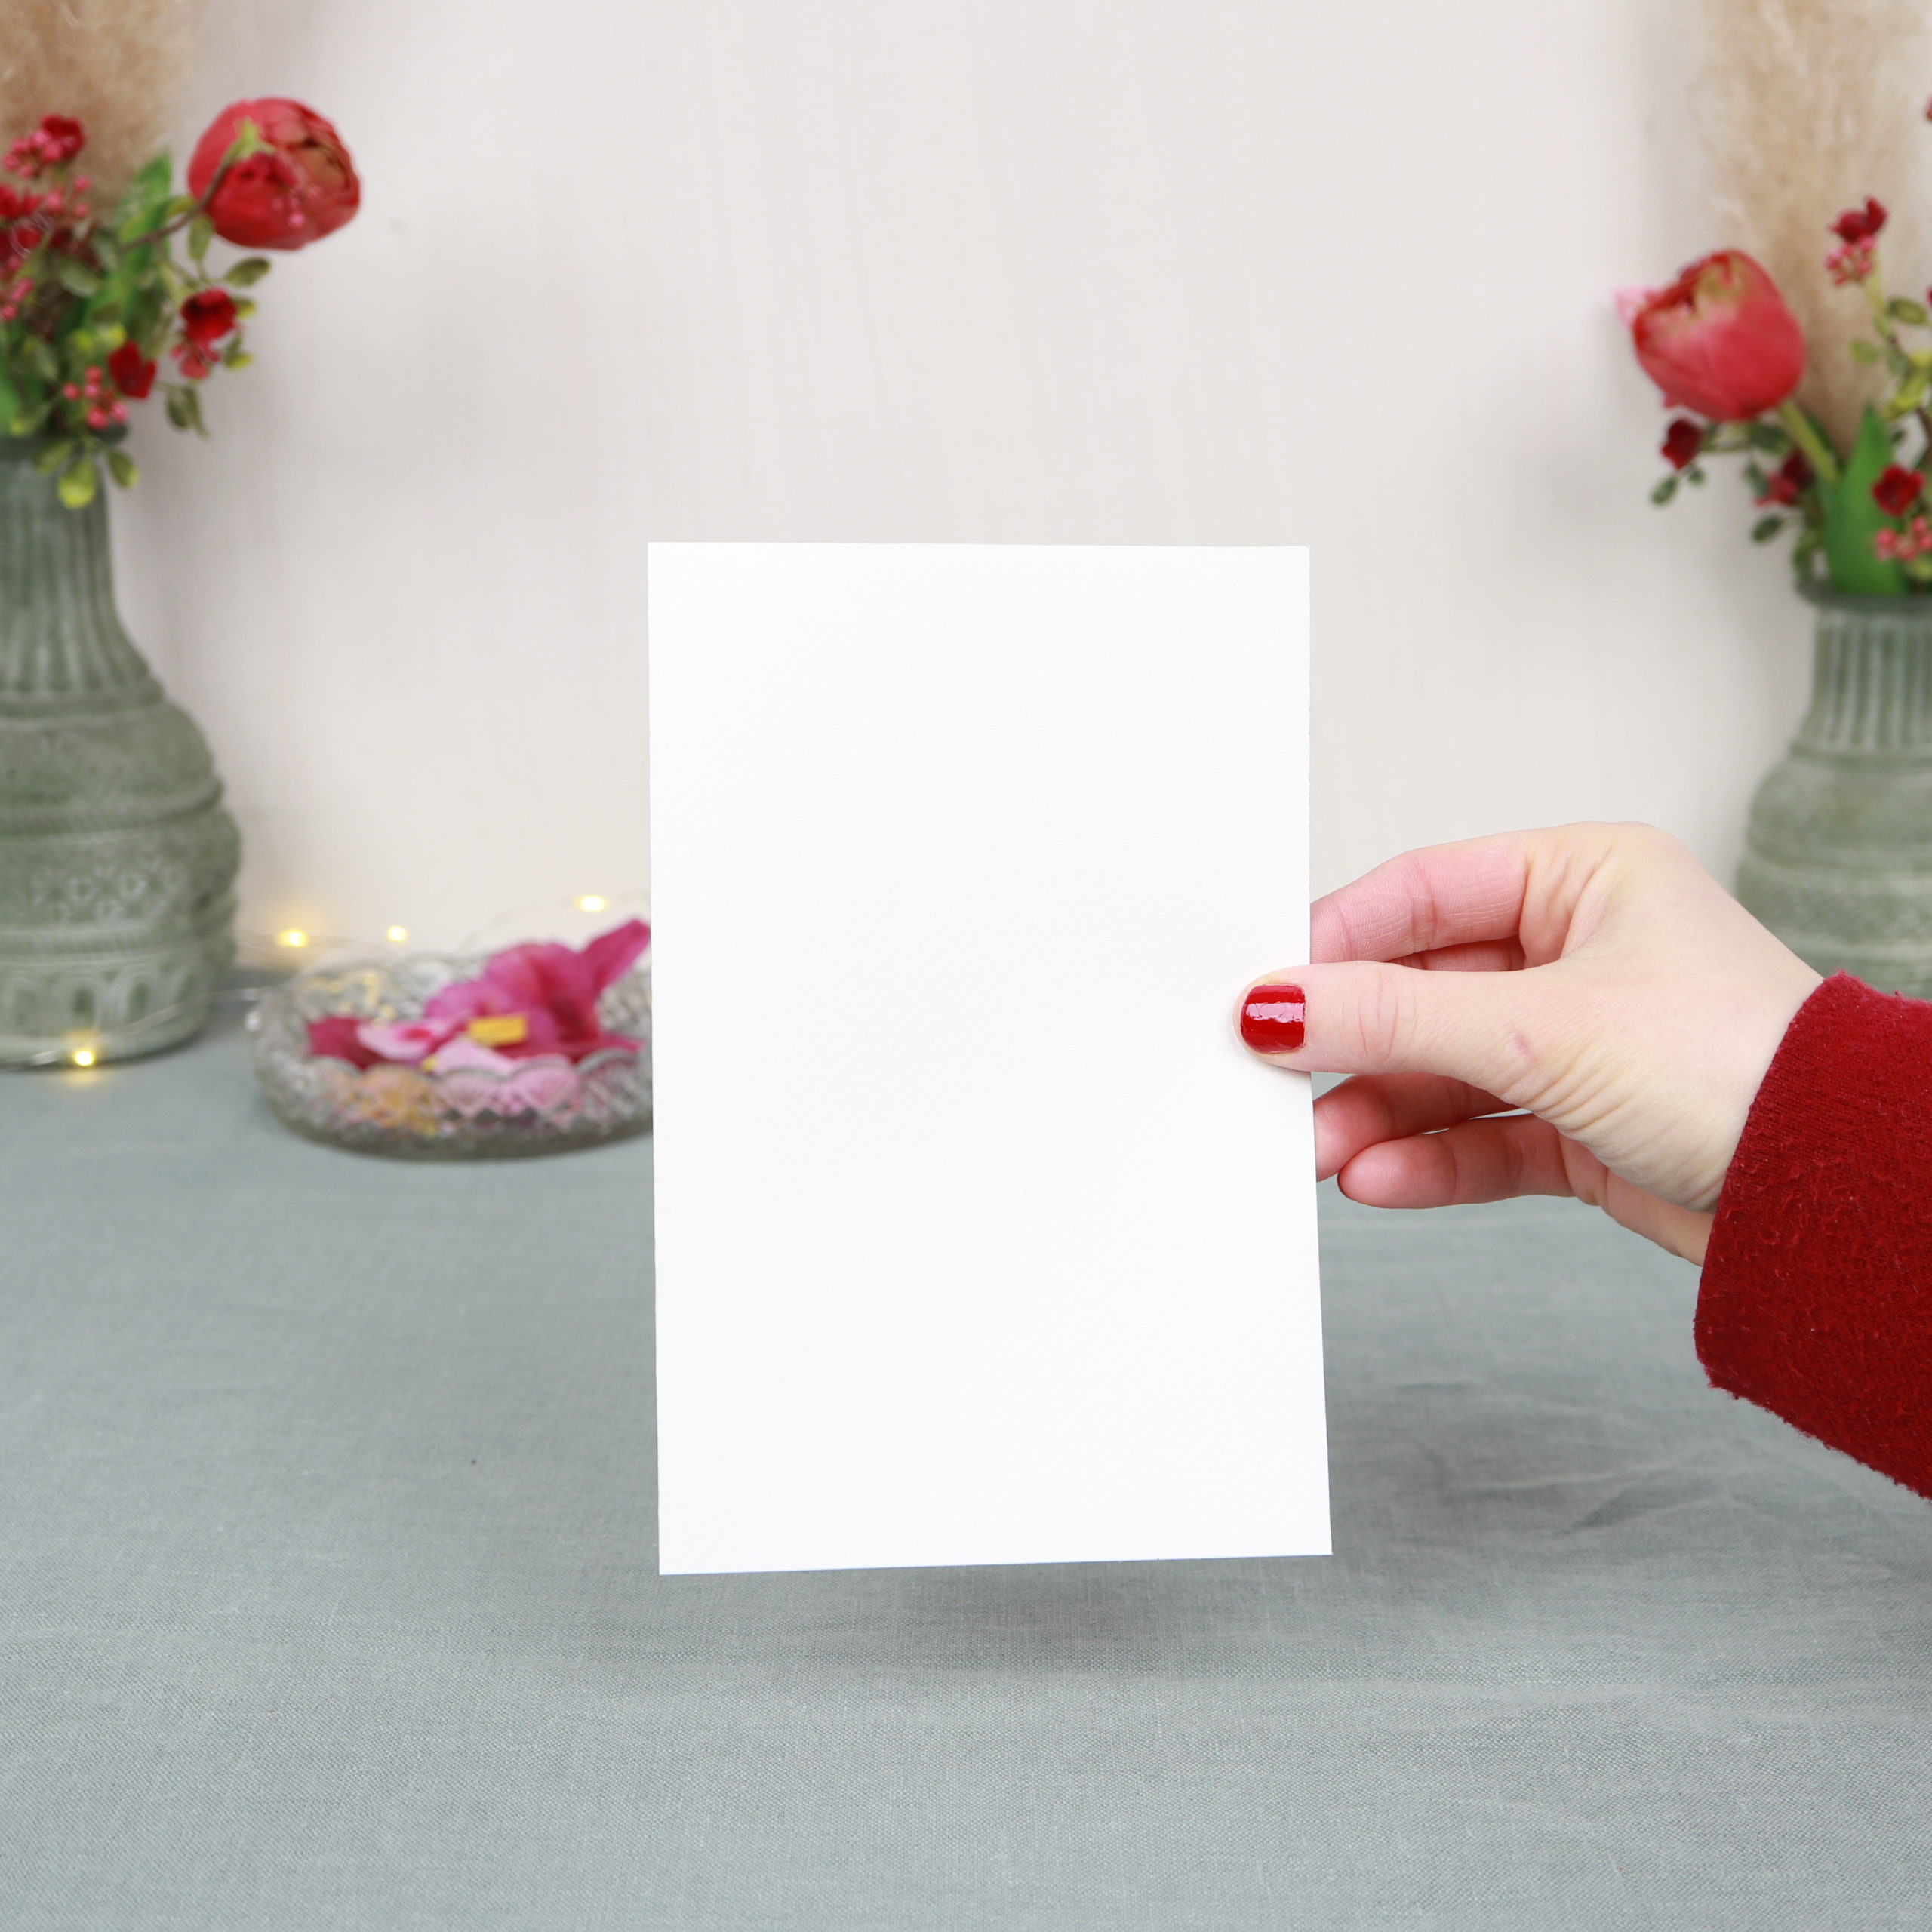
Step 1: Crop card
In the first step I crop the card.
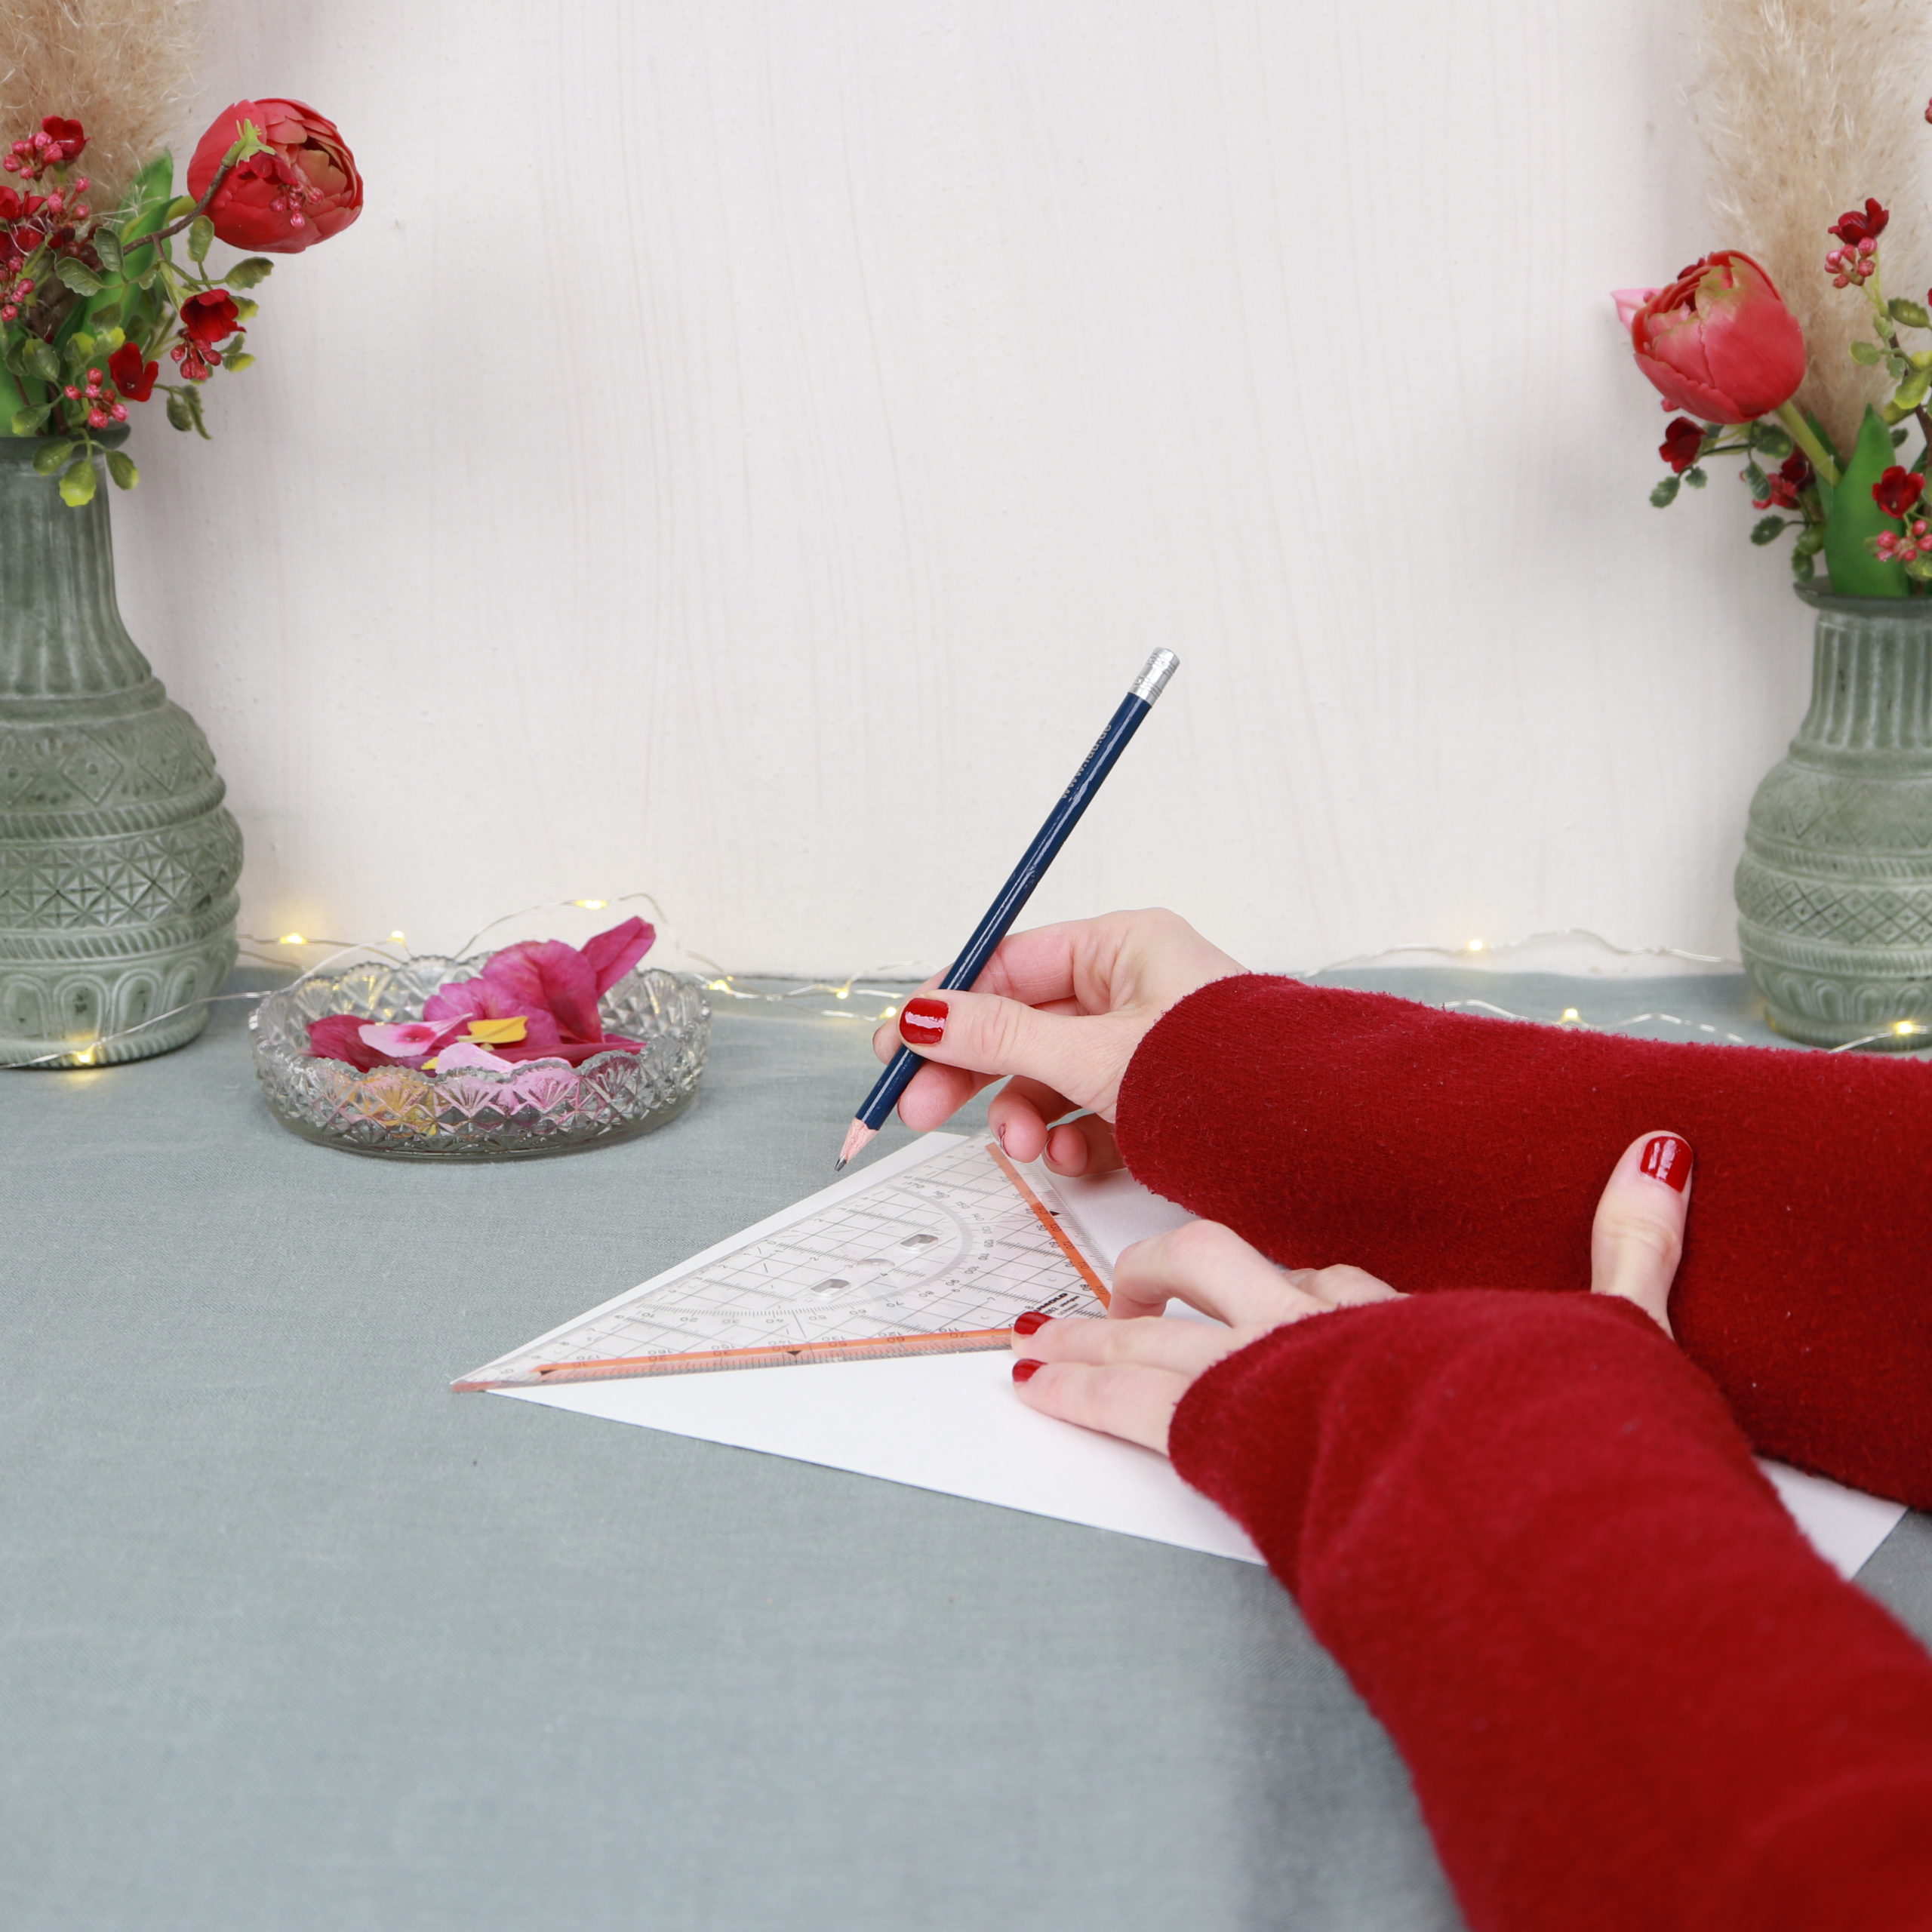
To do this, I draw the size on the watercolor paper with a ruler and pencil. I use the dimensions 17.5 cm * 23 cm. So the card fits into a standard envelope (german measures 😉 ).
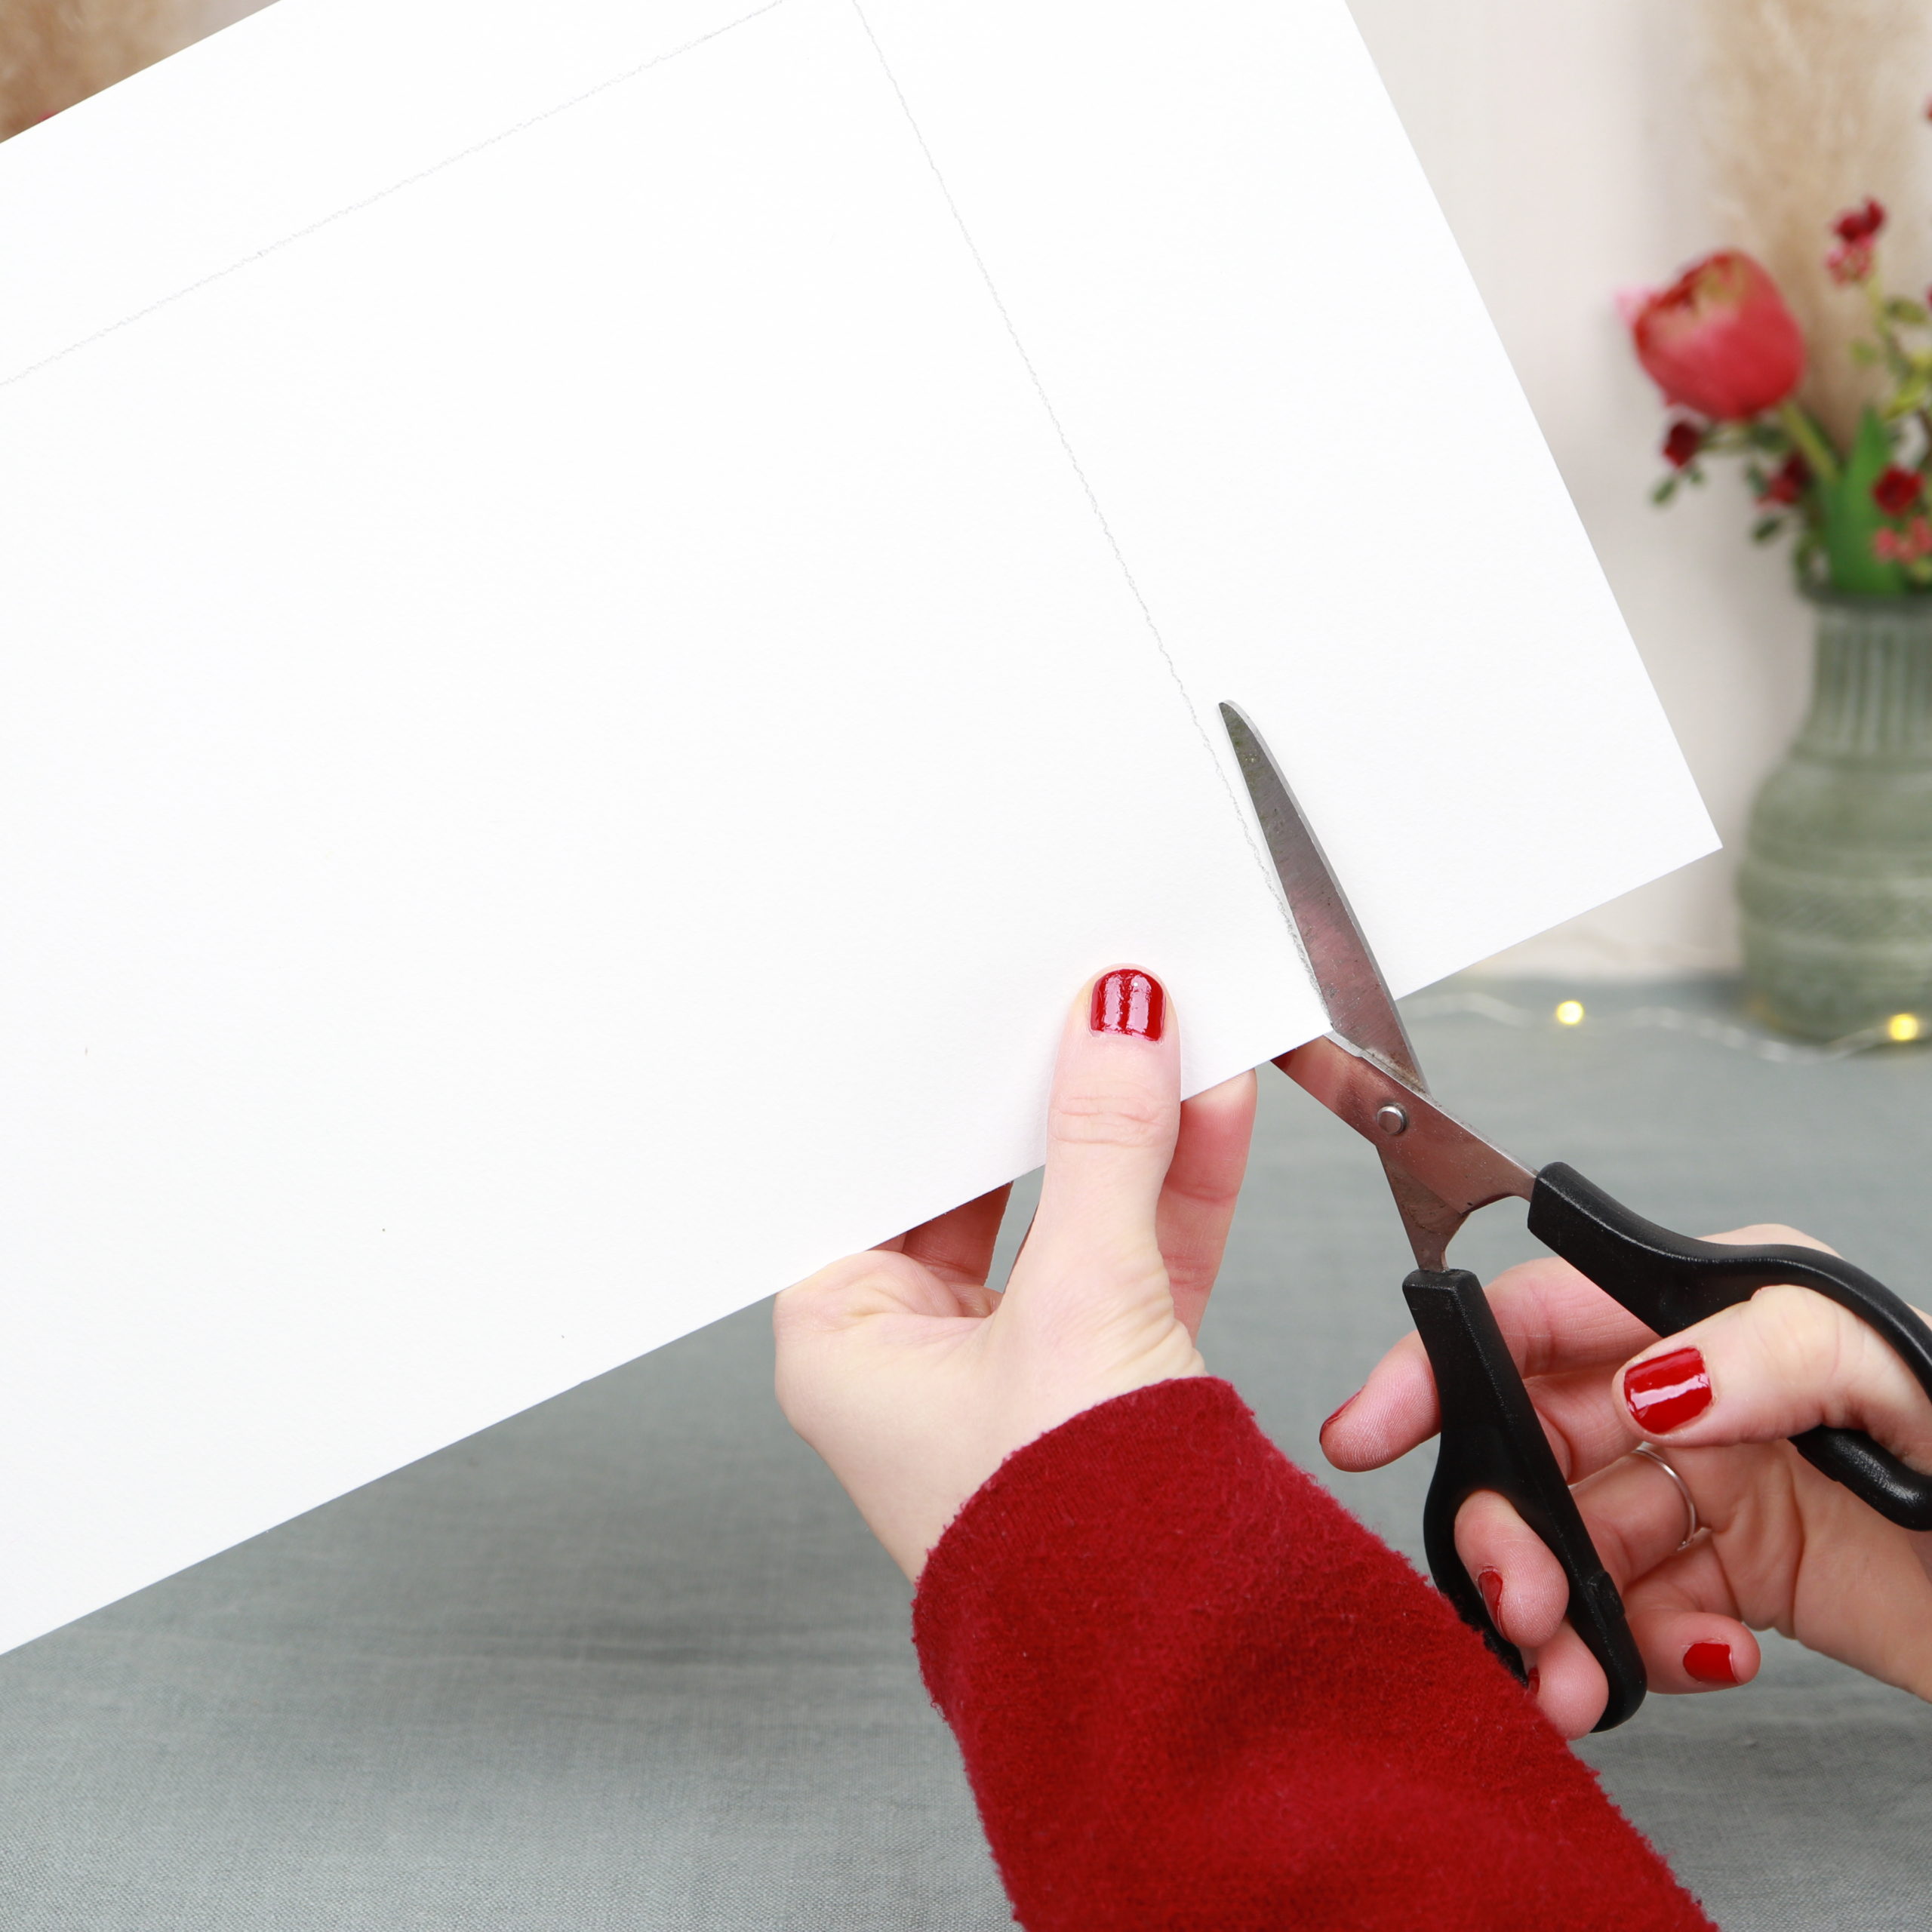
Then I cut out the card.
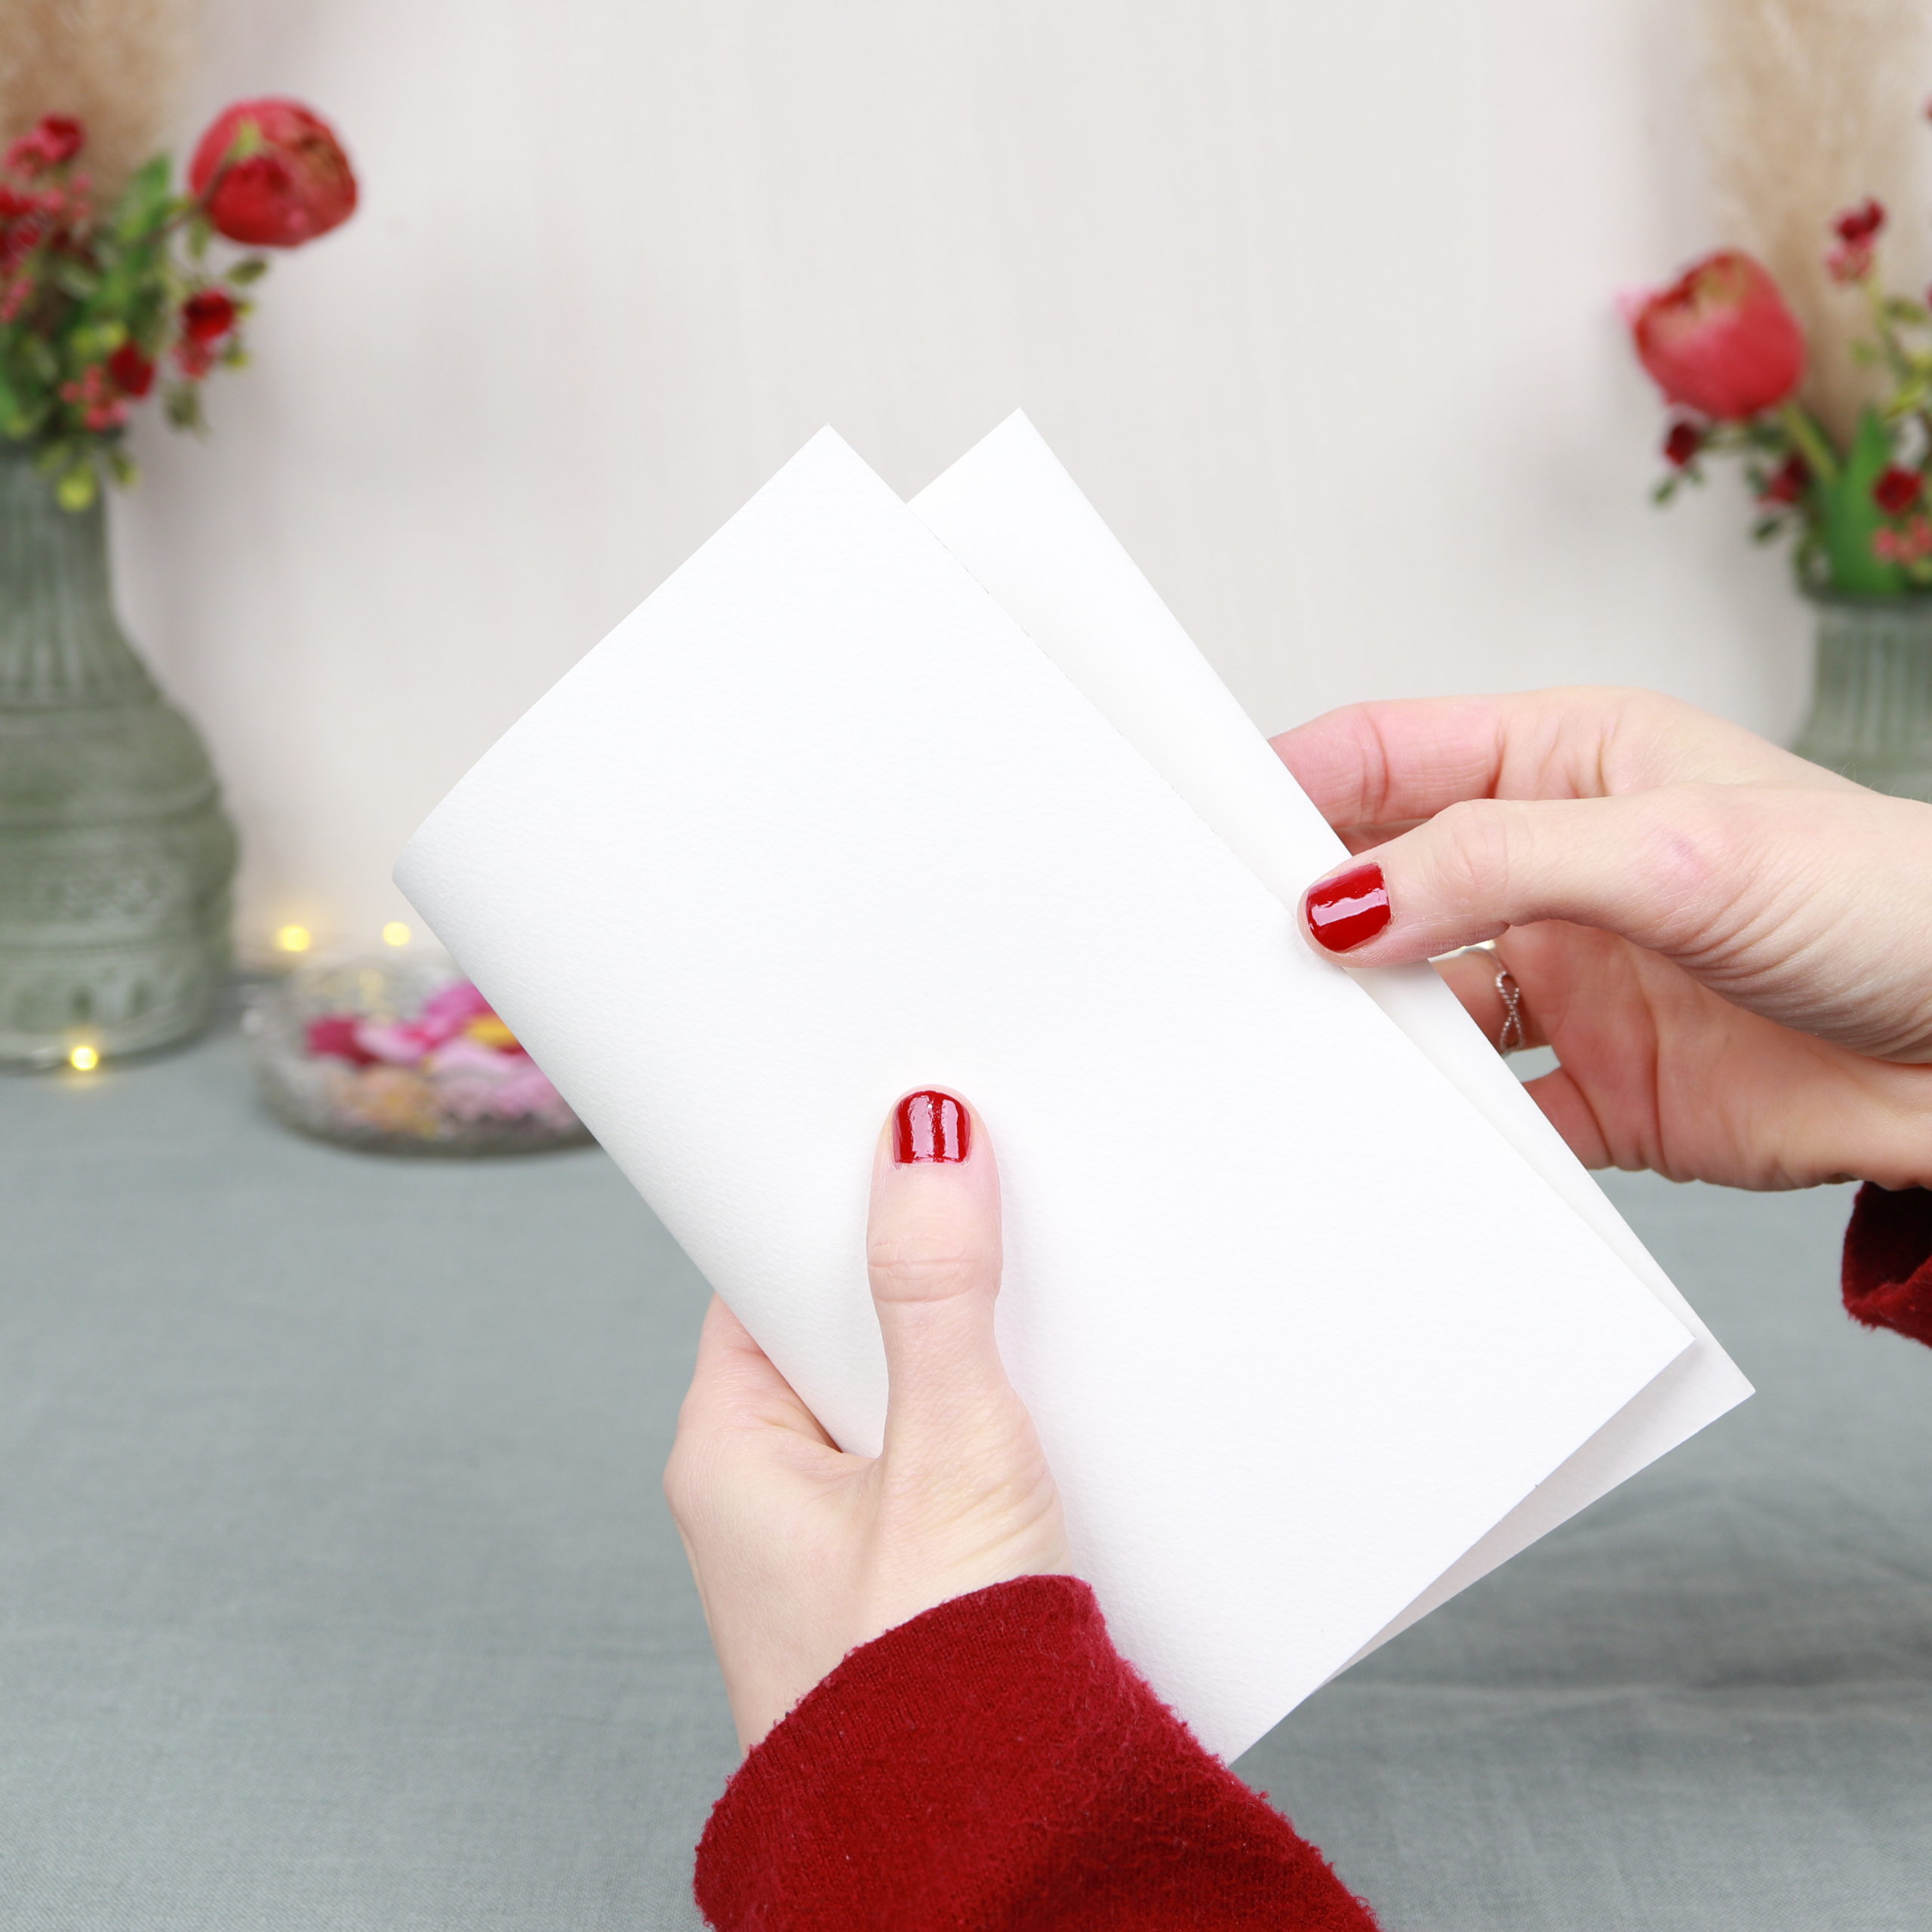
Now I fold the paper in half.
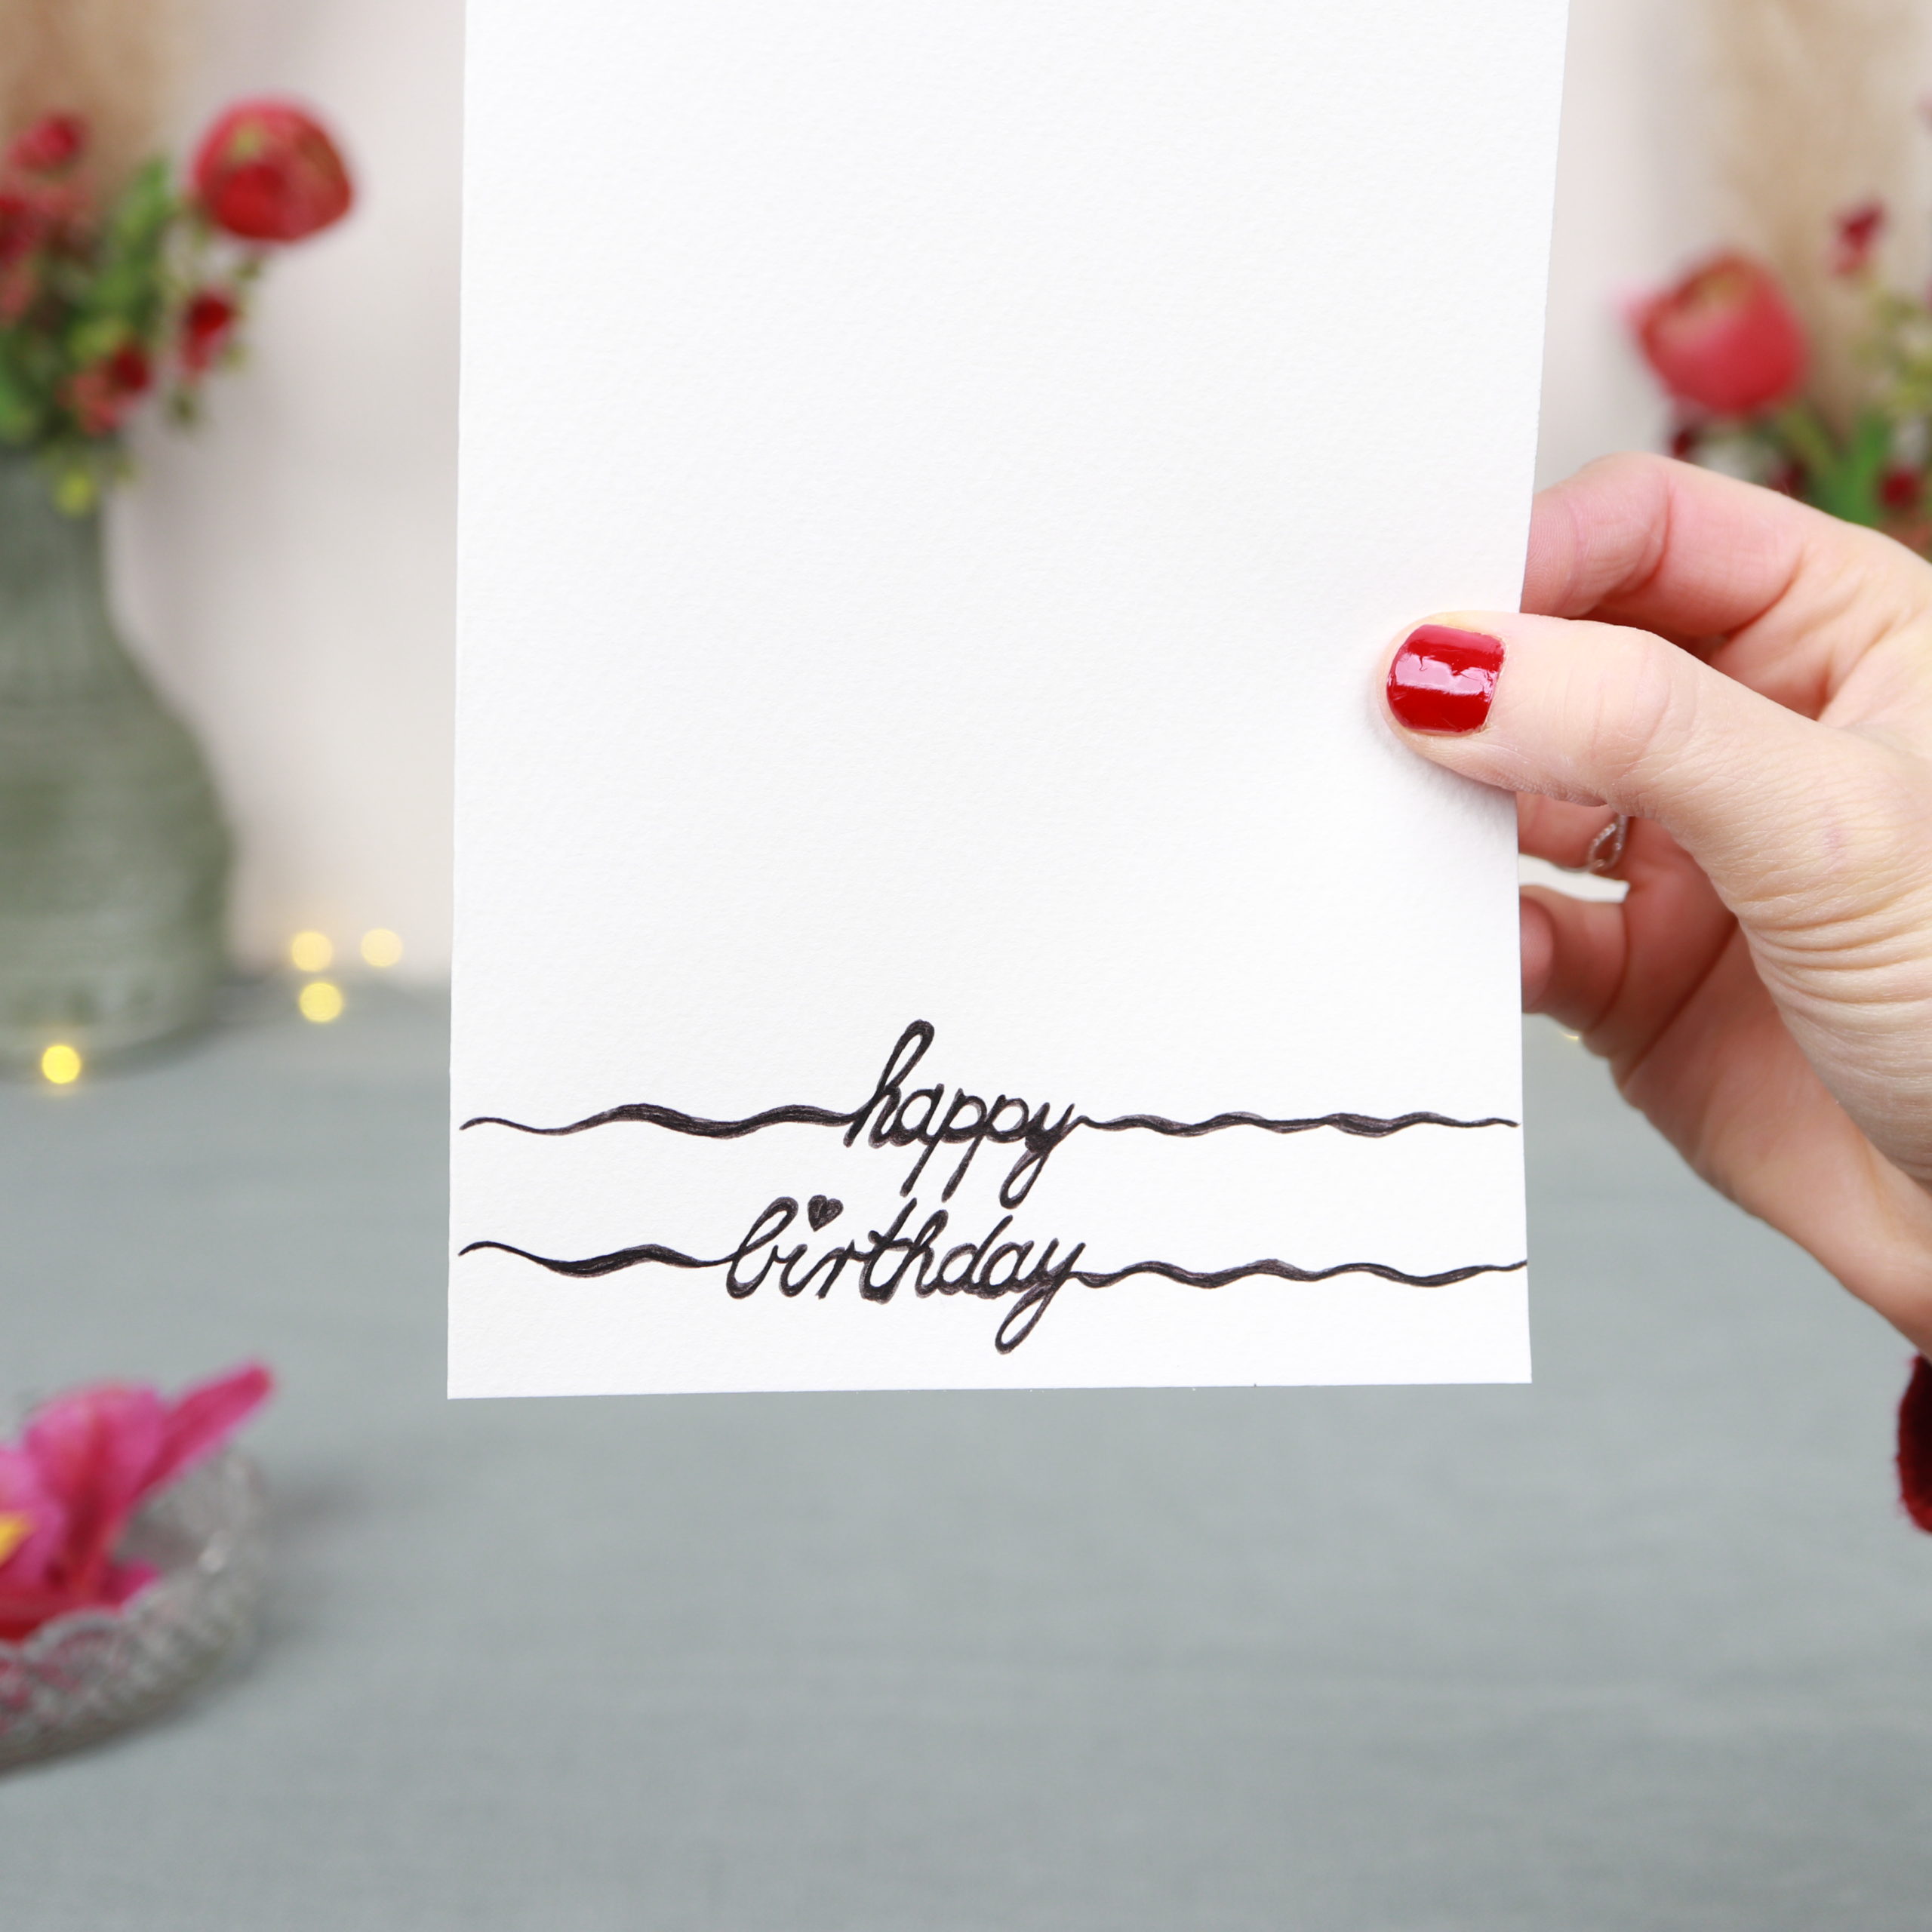
Step 2: Paint on lettering
In the second step I paint the lettering “happy birthday” on the card. I am unfortunately still quite unpracticed in hand lettering 😉 .
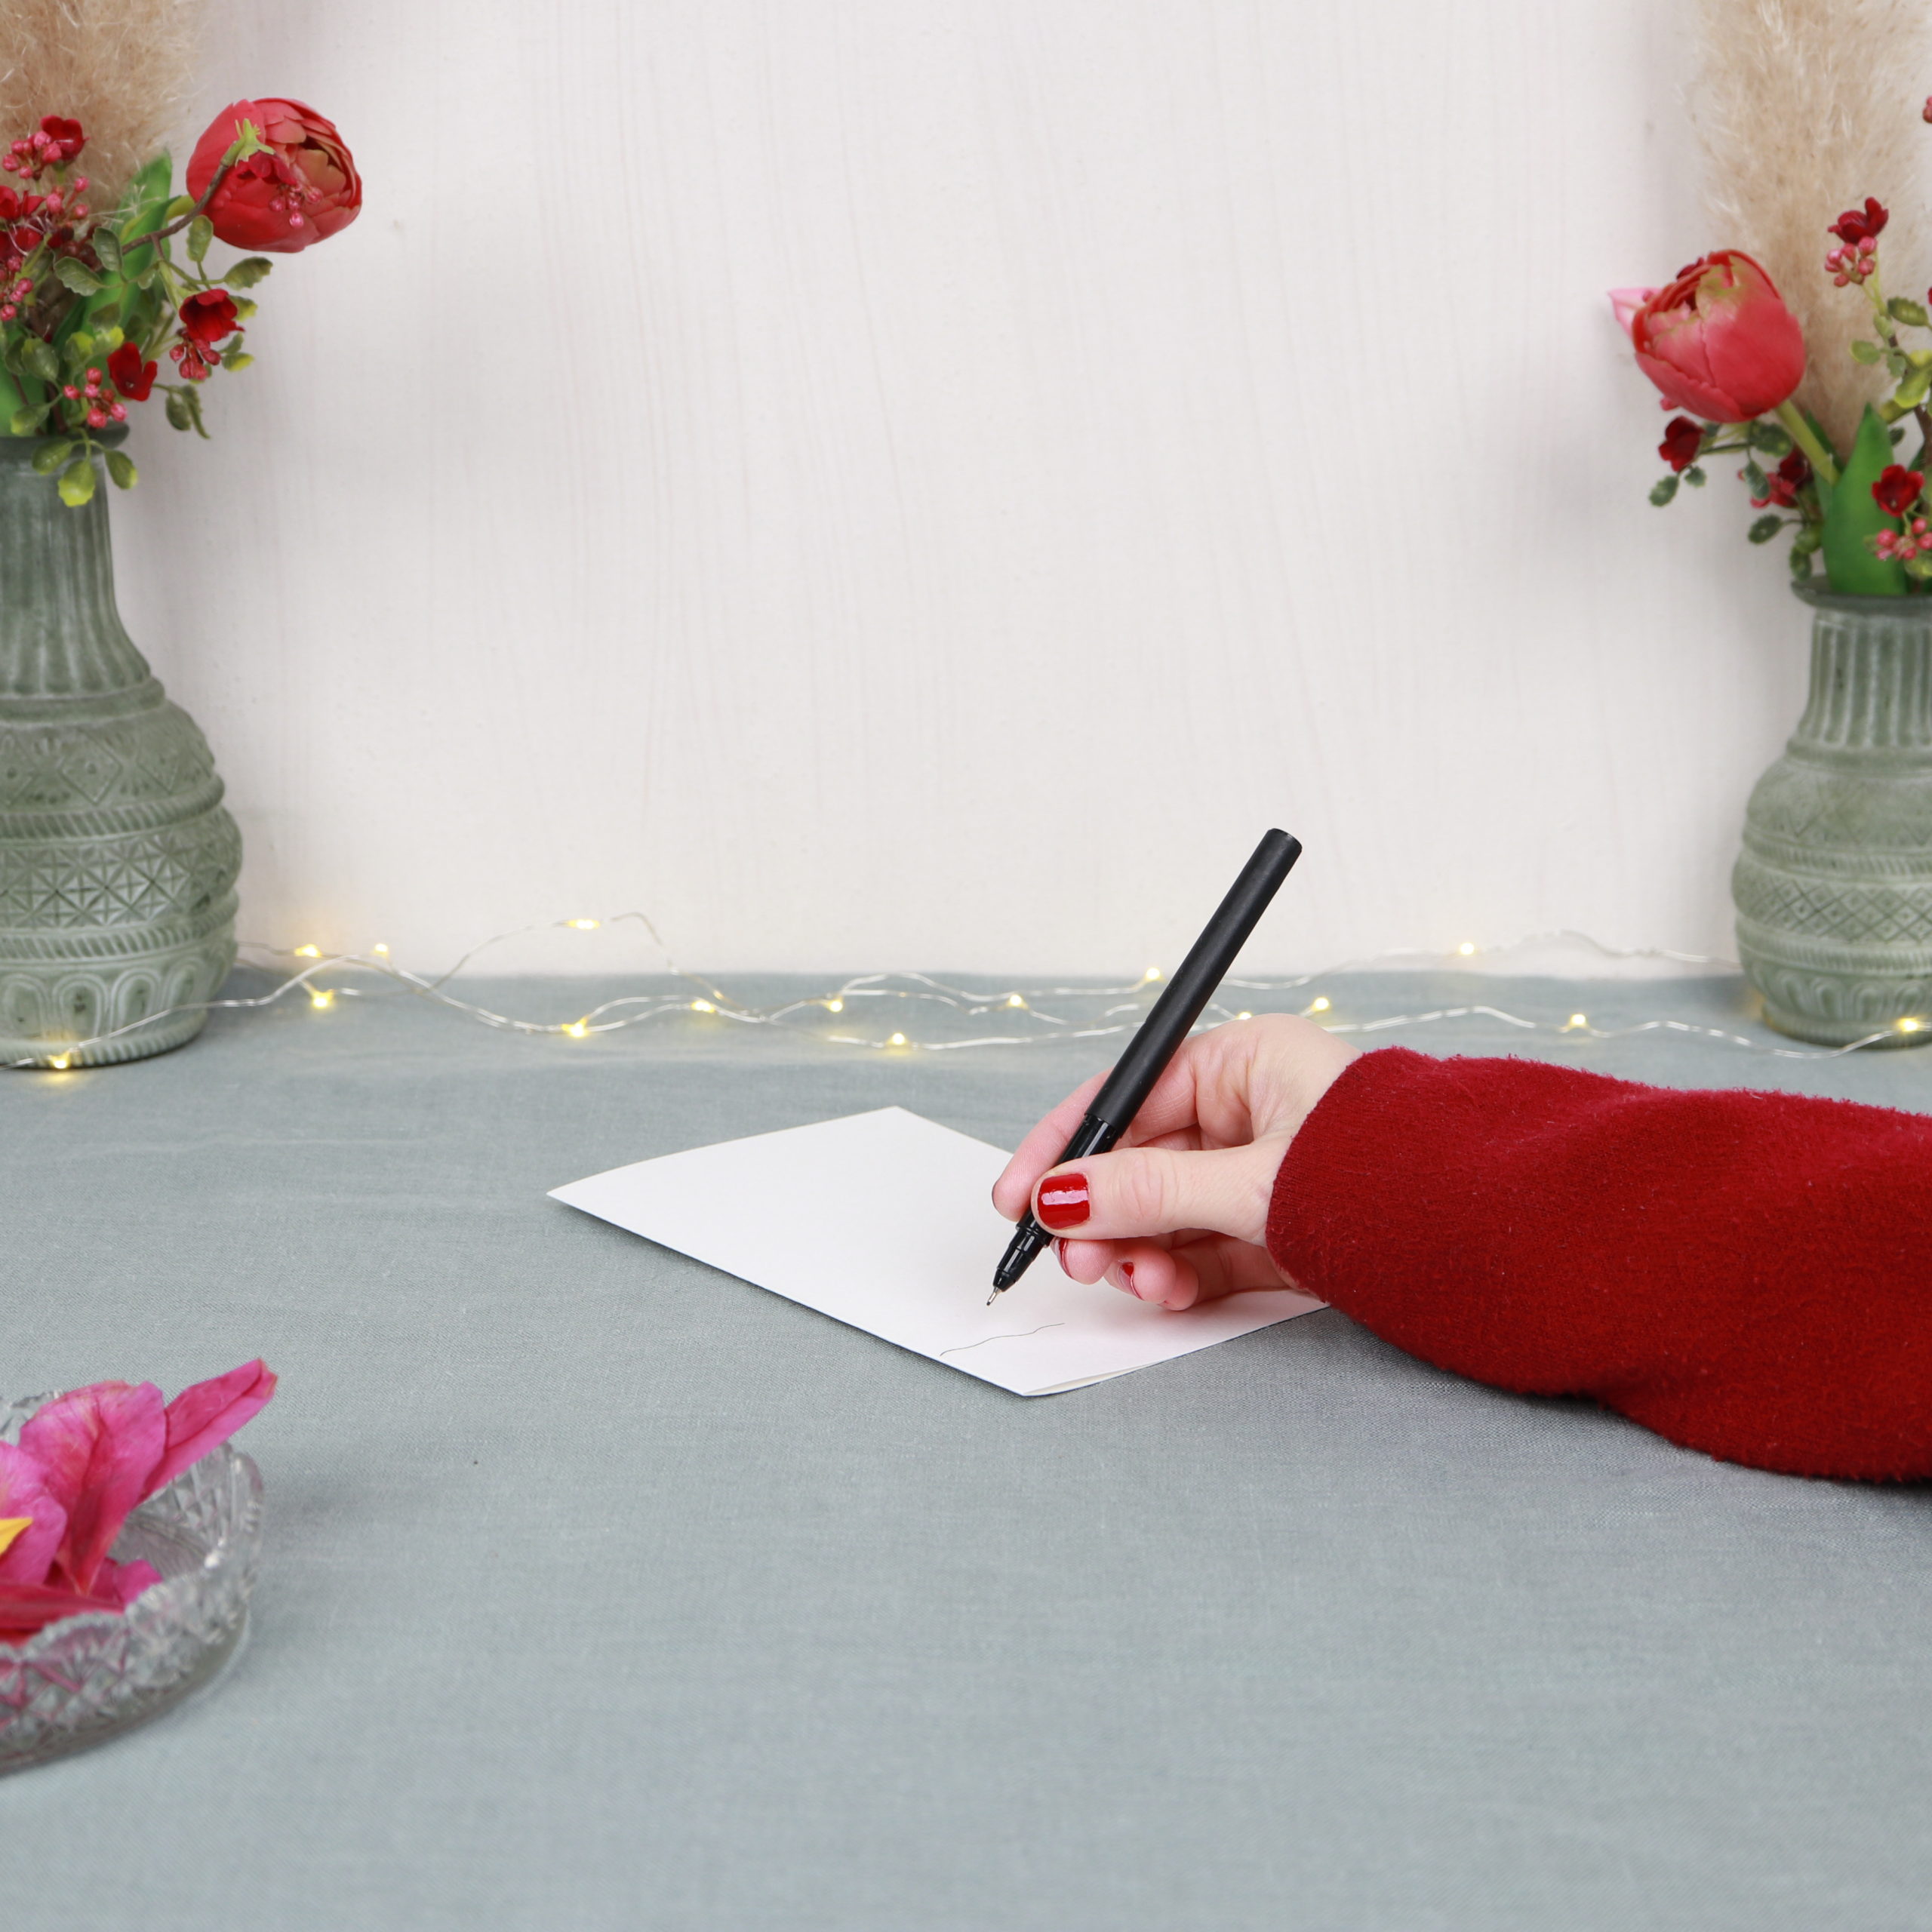
I use a black fineliner for this.
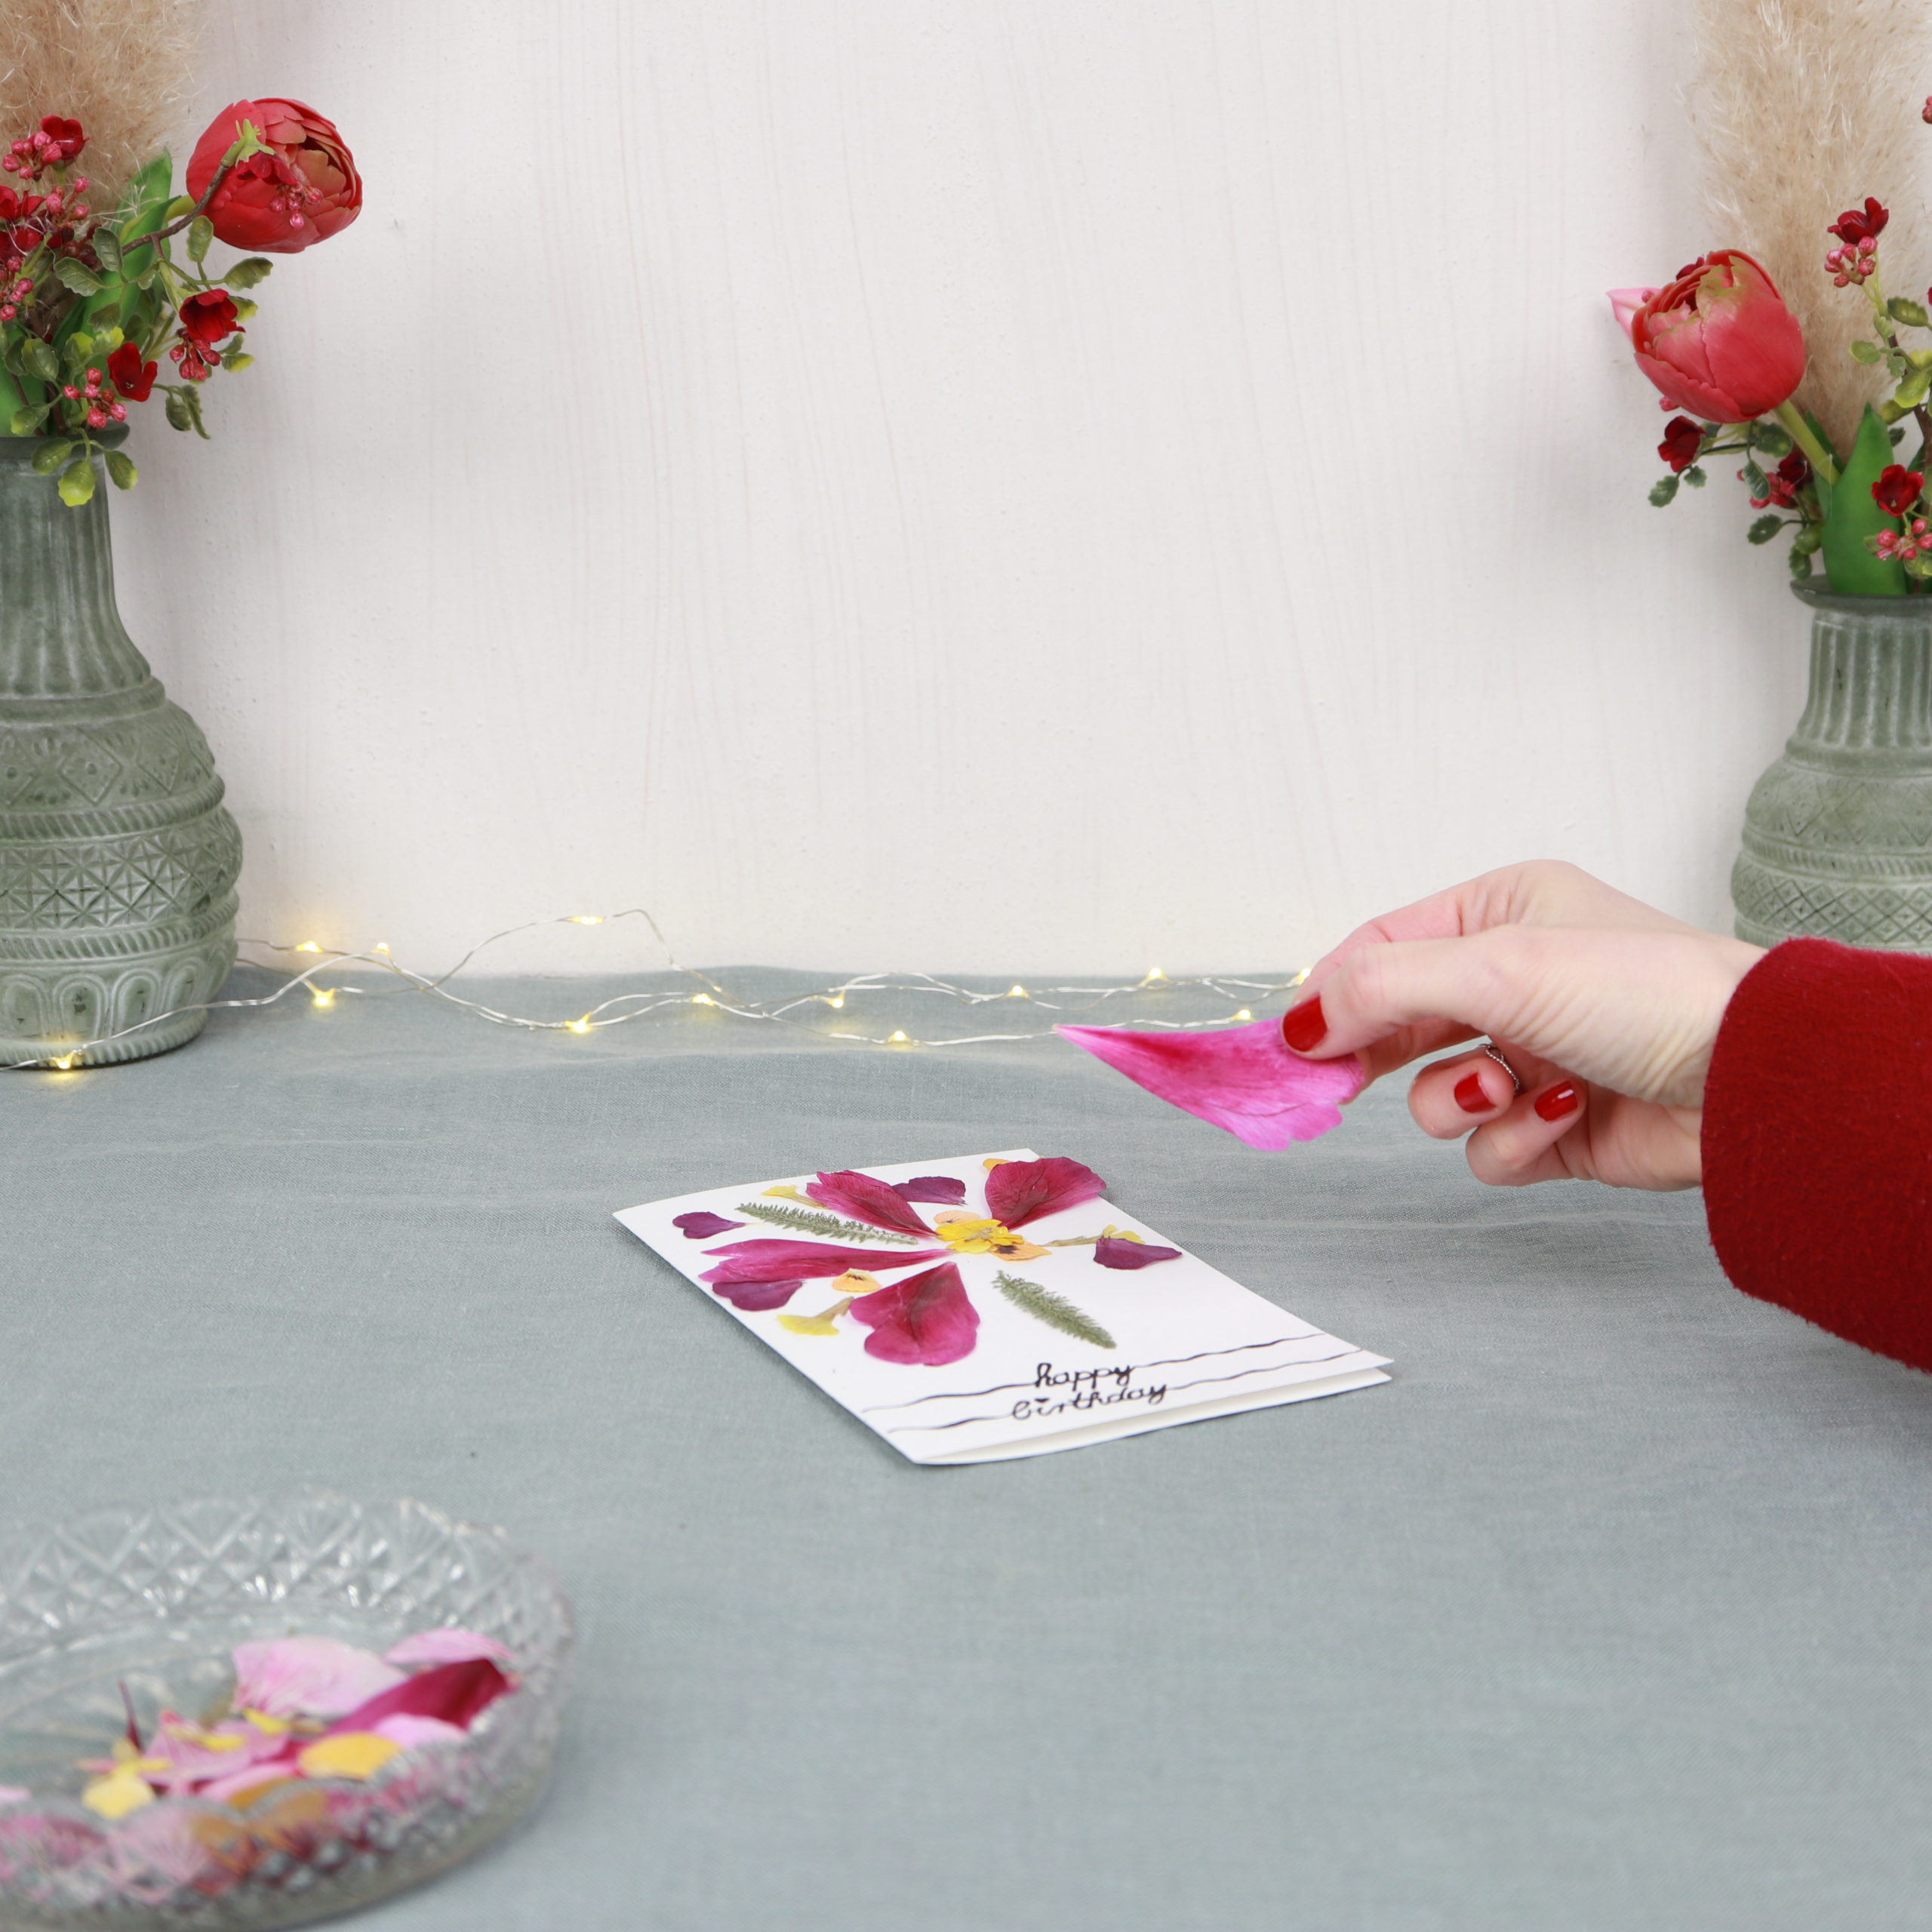
Step 3: Arrange flowers on paper
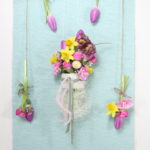
Then I arrange the flowers on the paper.

Since dried flowers are very fragile, you have to work very carefully.
Tip: You can also use tweezers to grab the flowers!
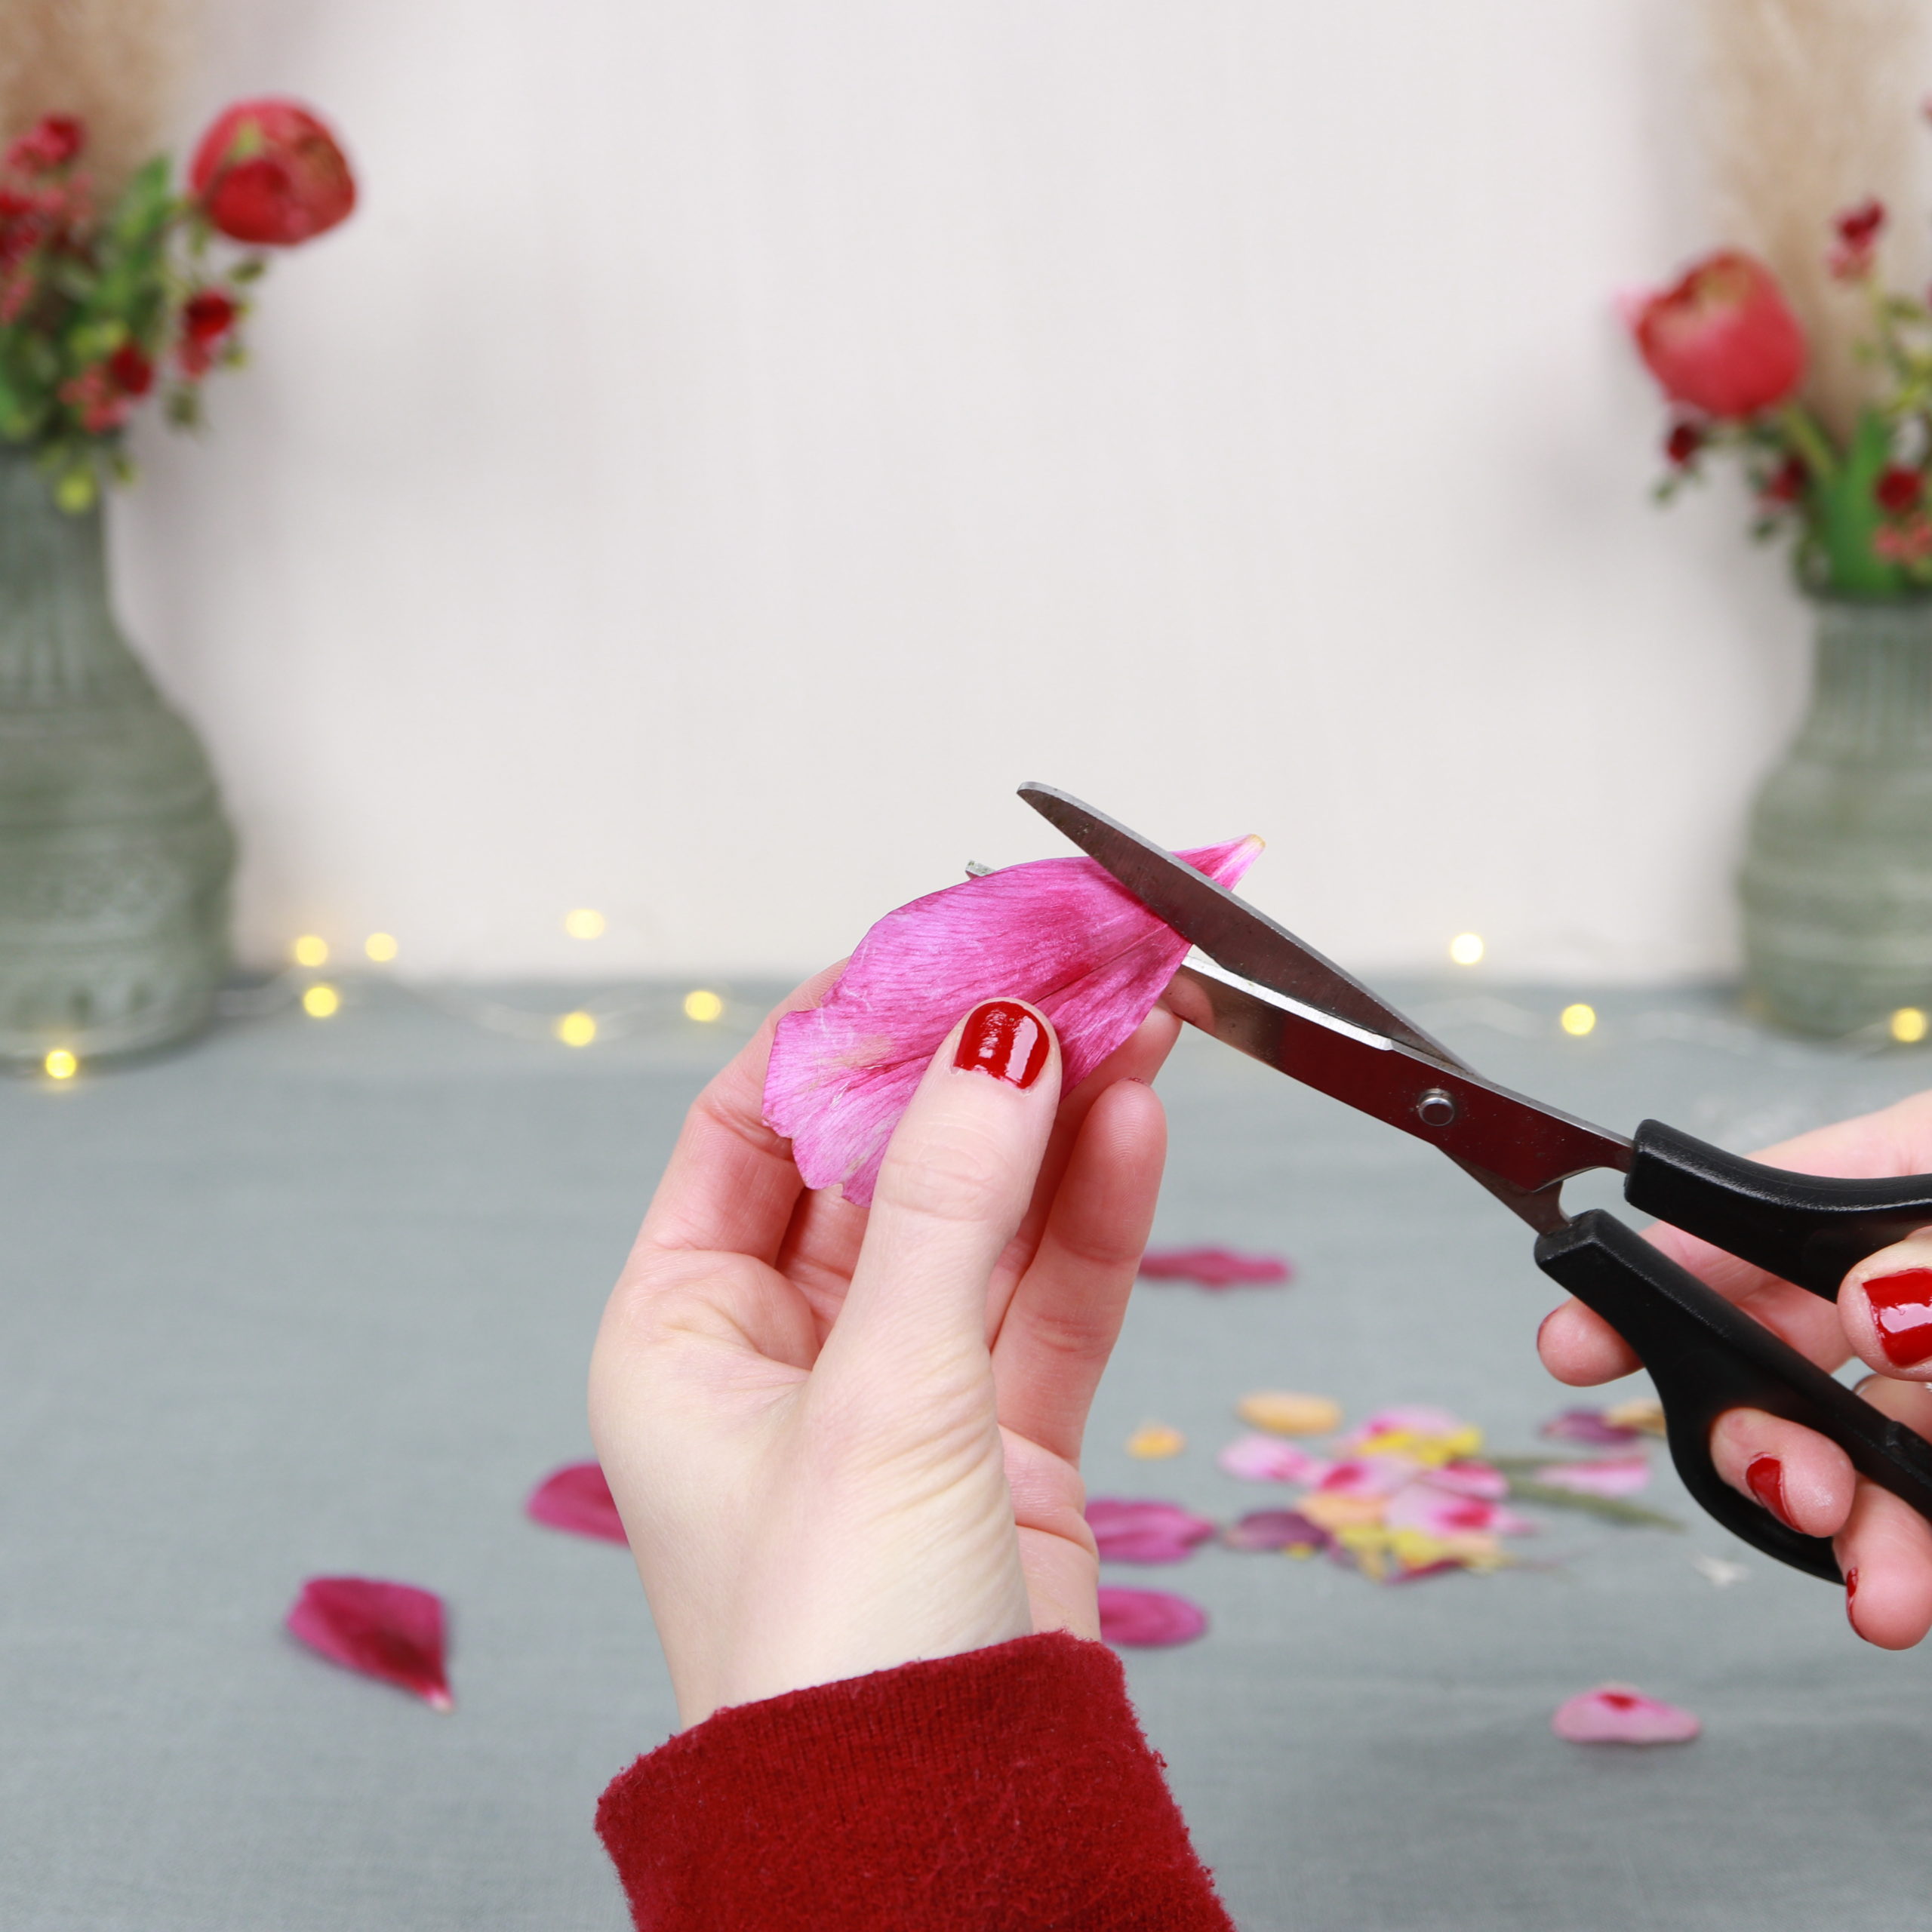
If the flowers are too long, you can trim them with scissors.
Step 4: Glue flowers
Now you can glue the flowers on the paper.
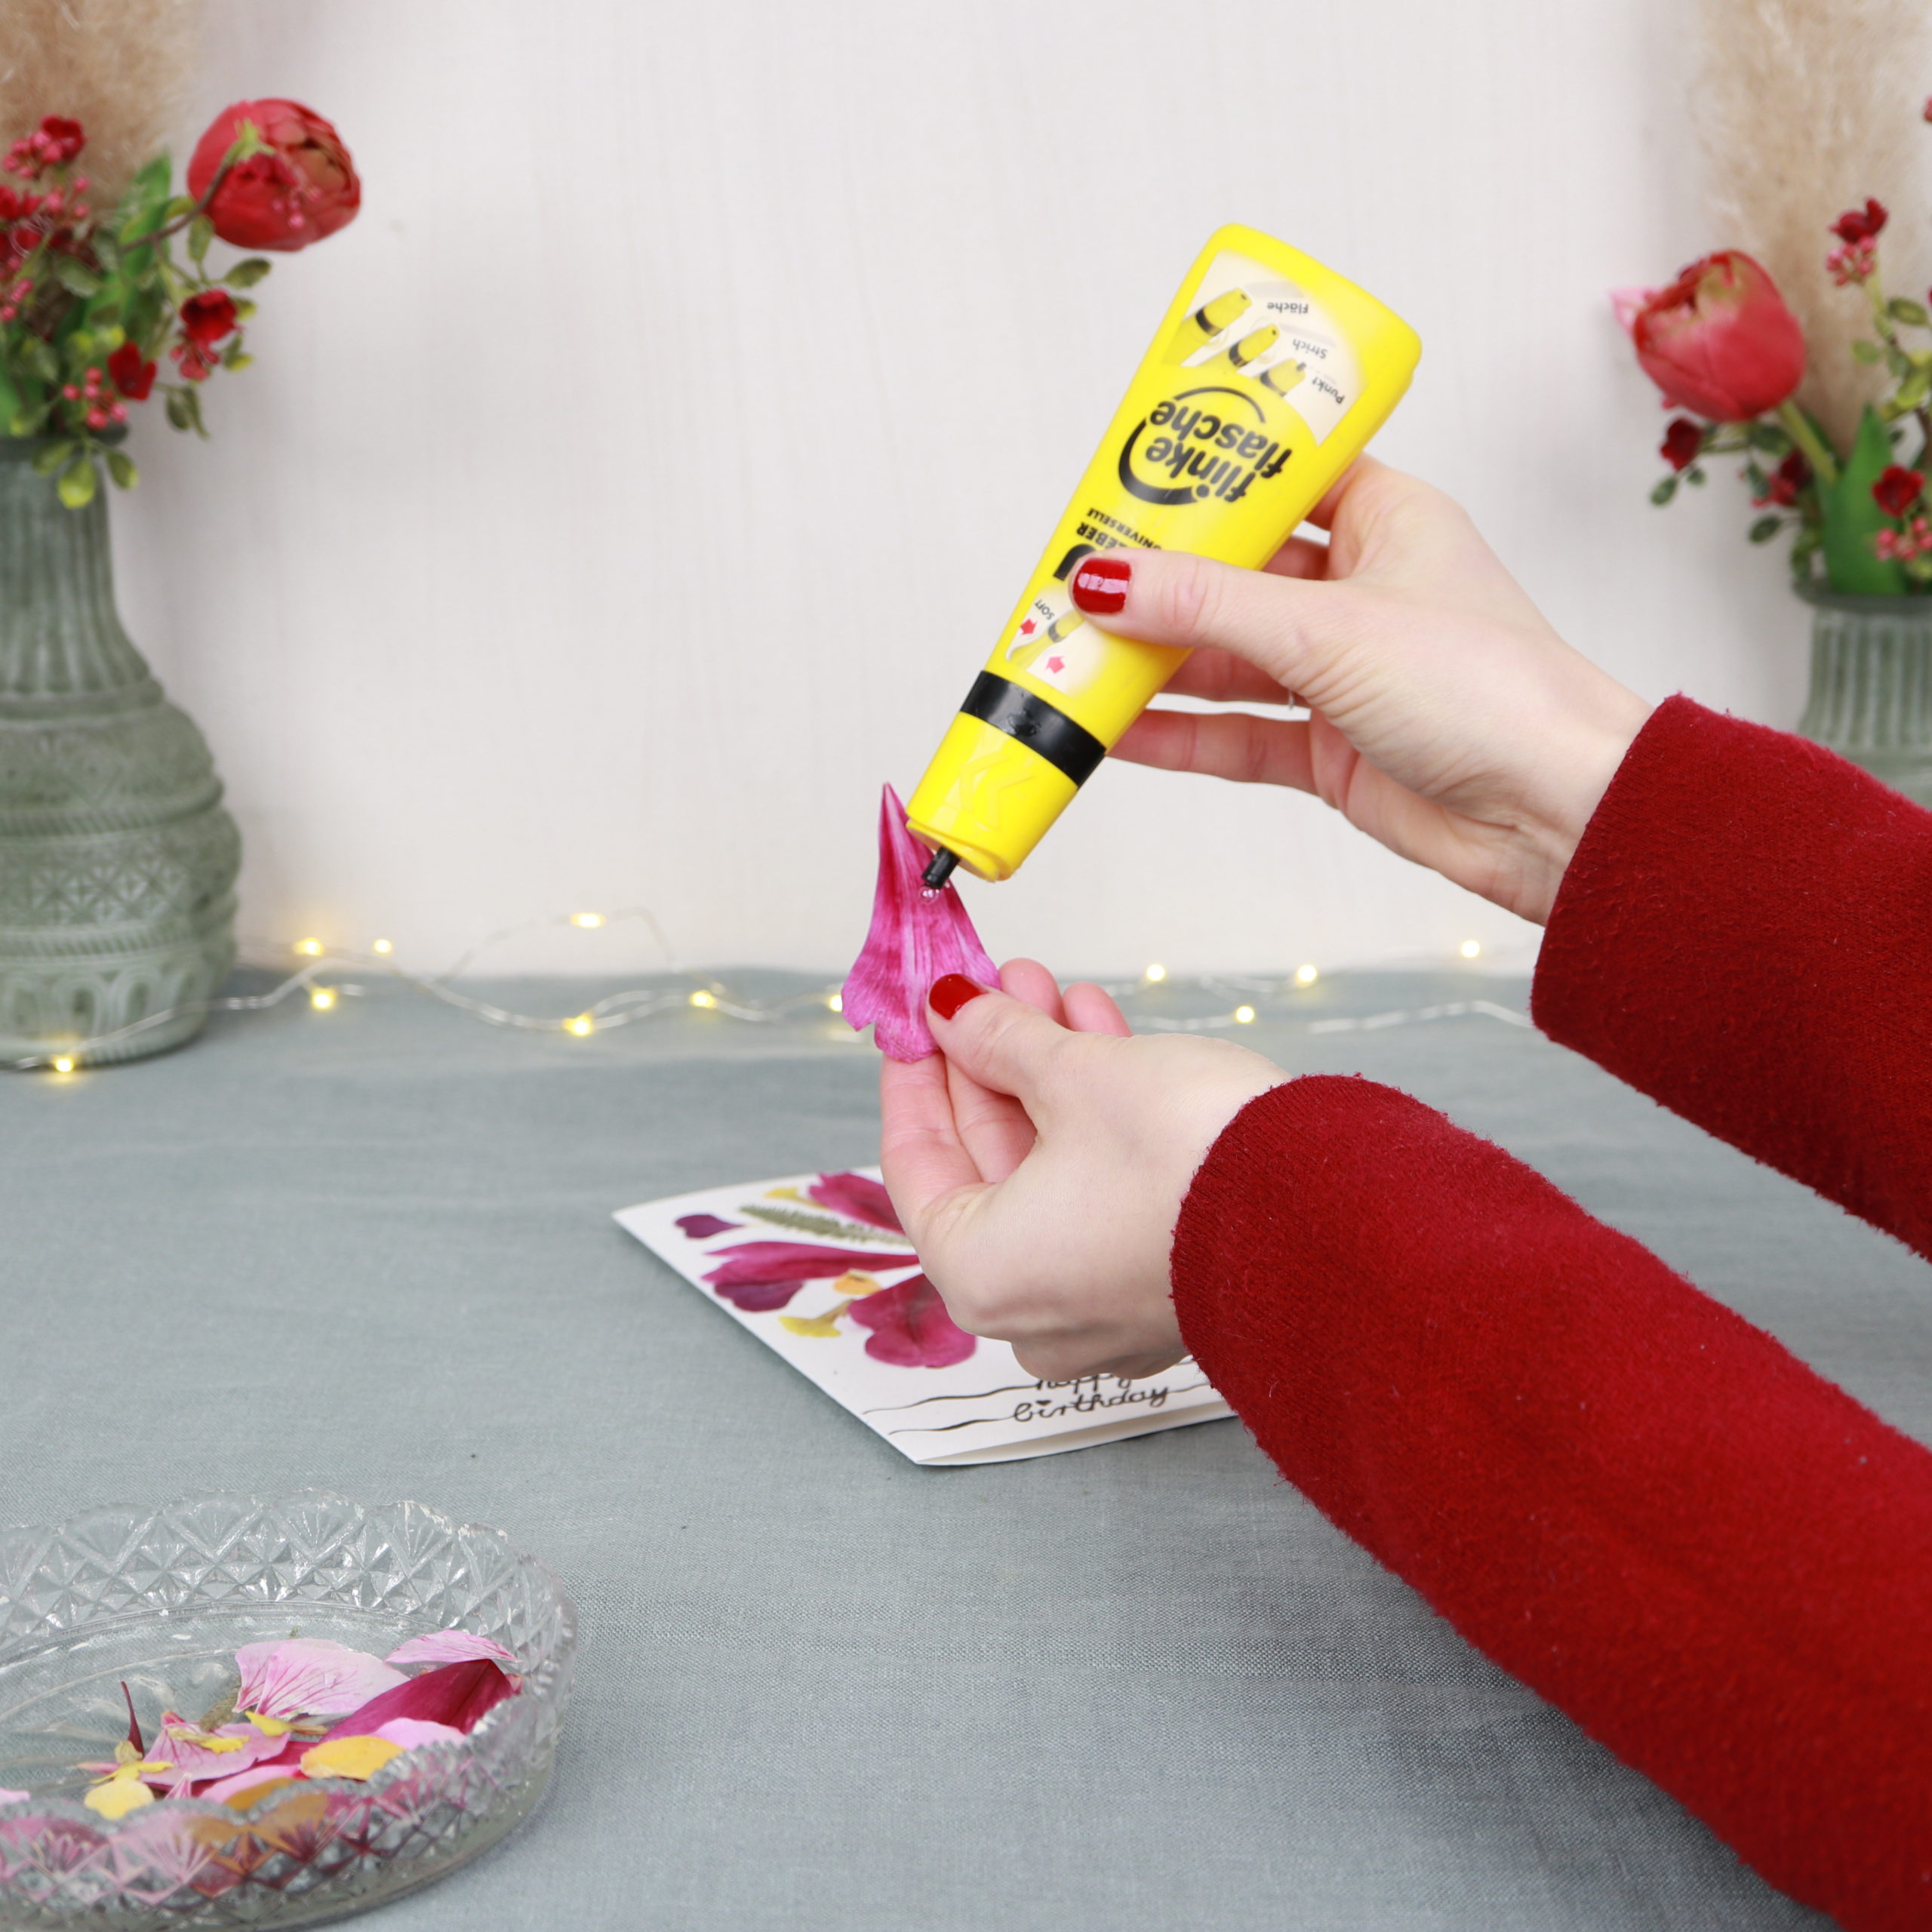
I use an all-purpose glue for this.

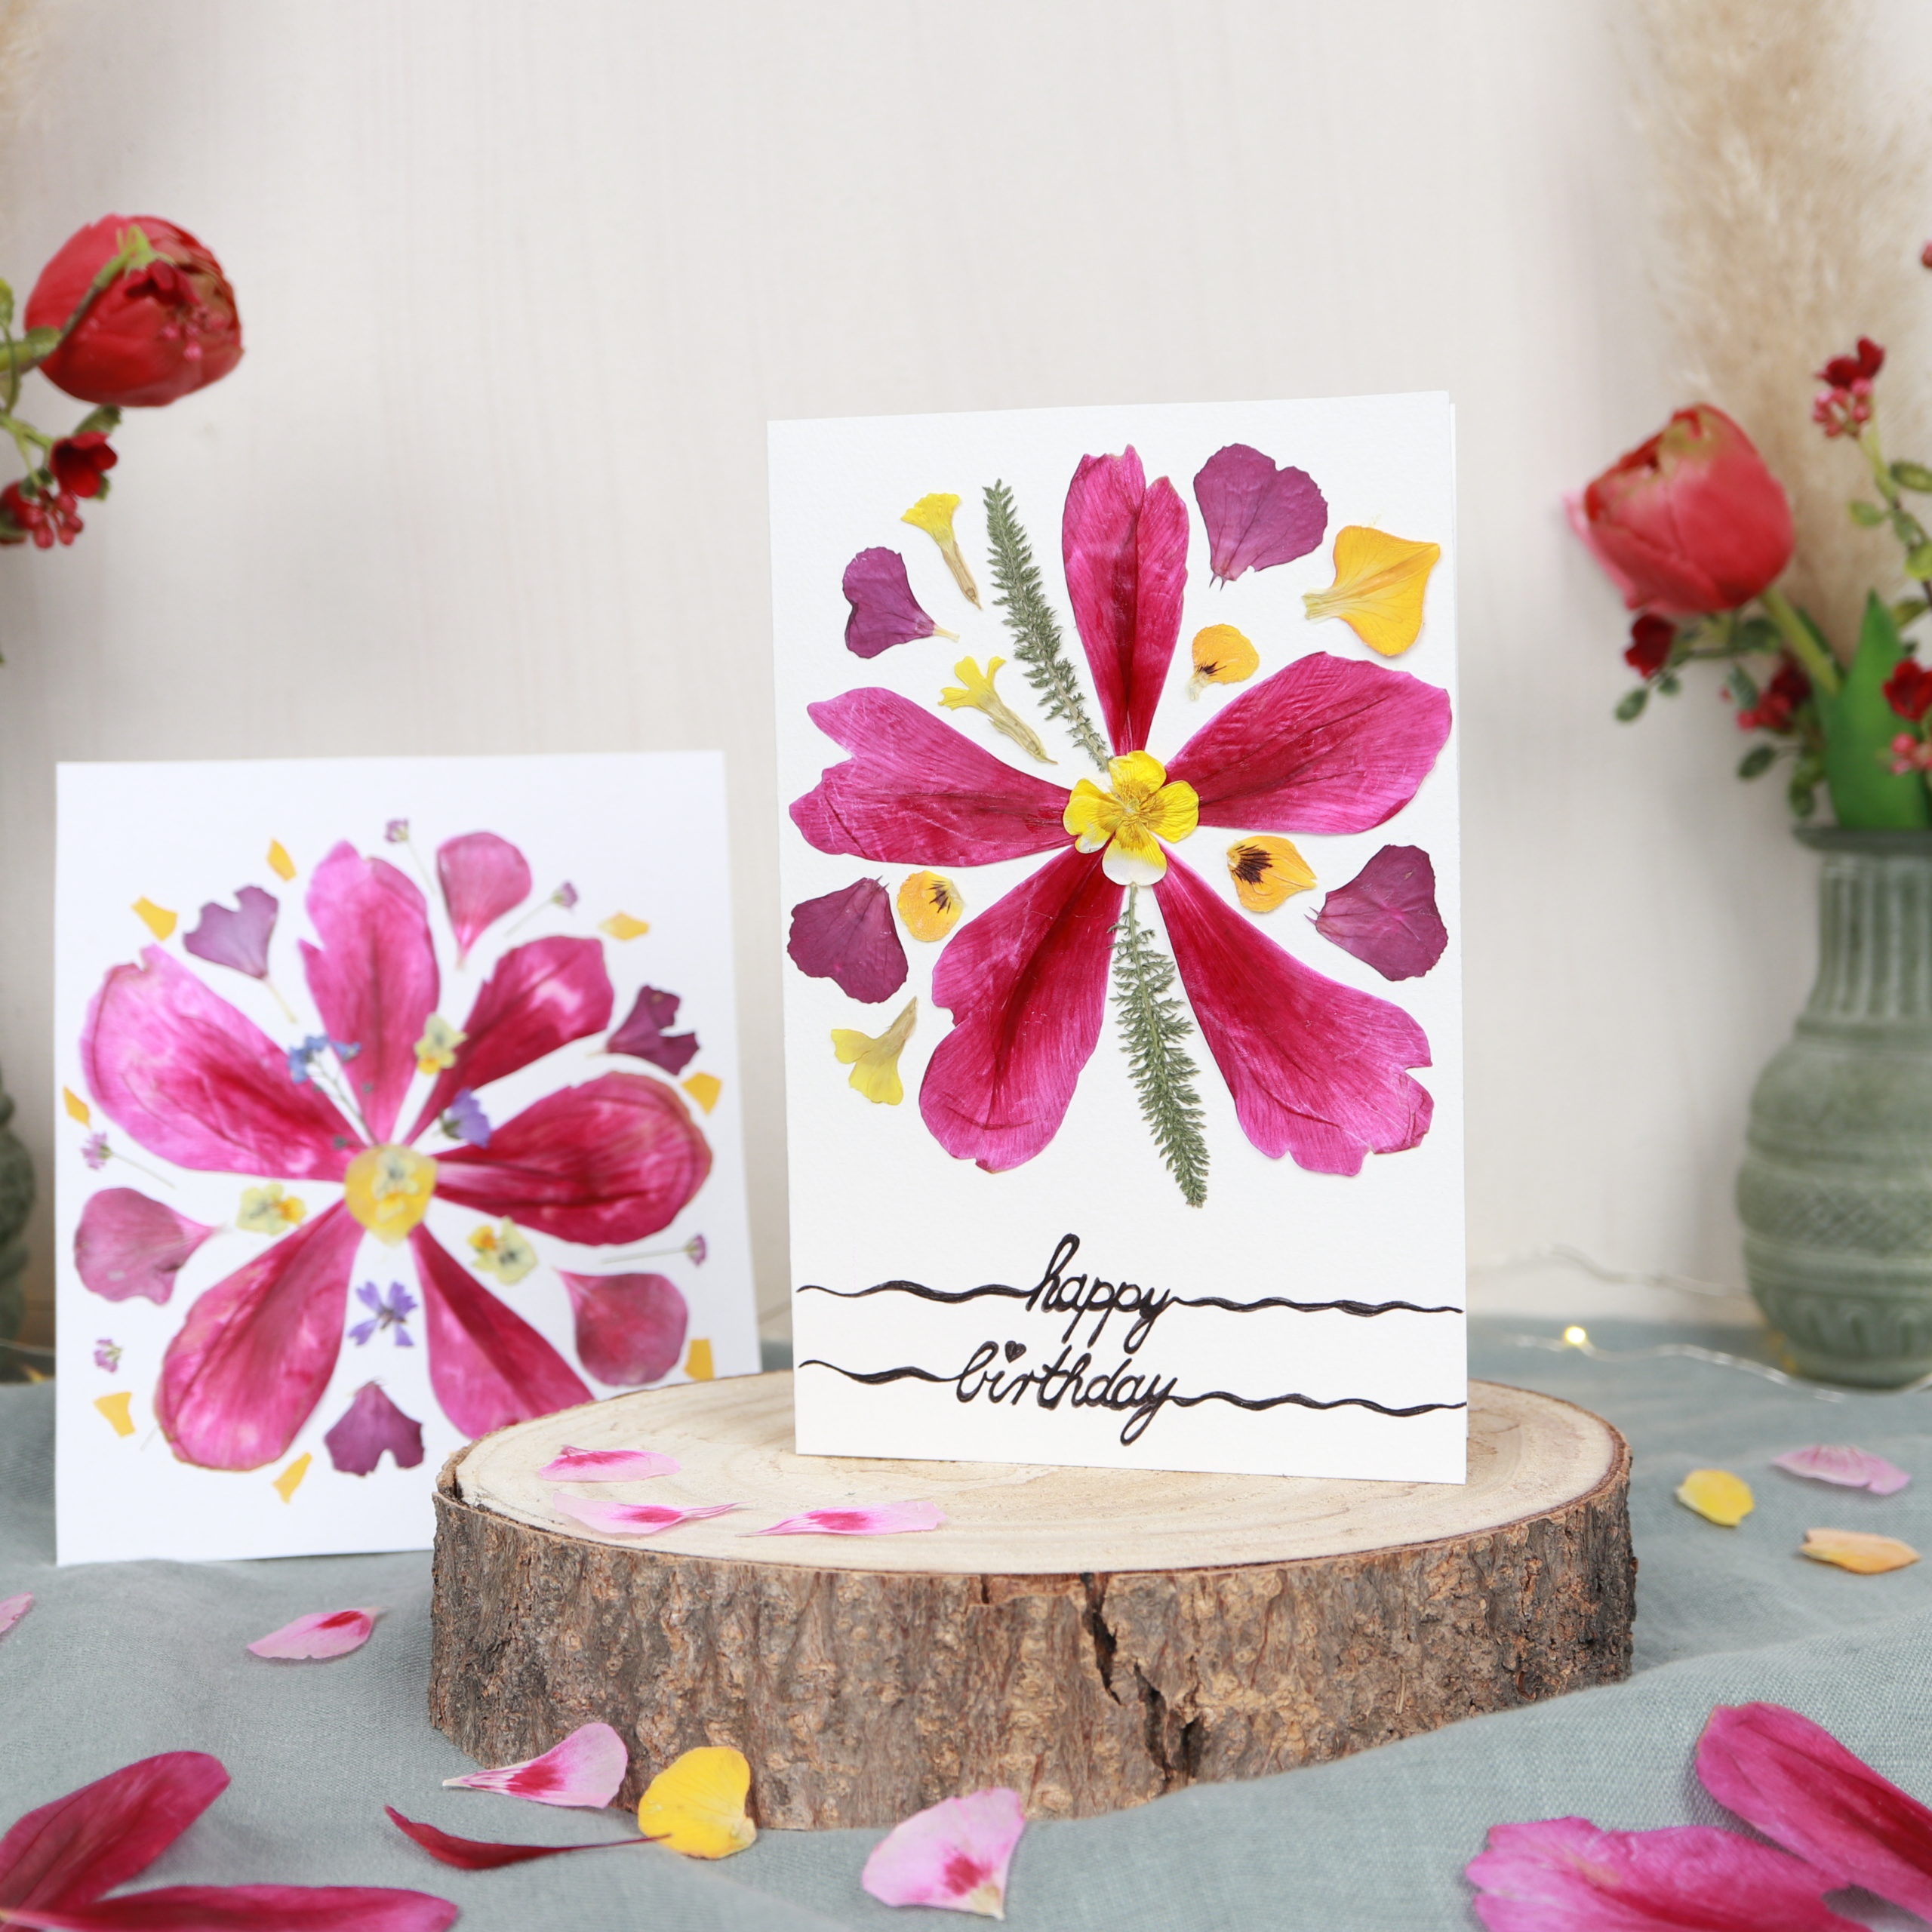
And the birthday card is done! I hope this DIY has made you as much fun as me and the birthday girl or boy is happy about the individual gift!
If you want to make a homemade gift tag, feel free to check out this DIY with milk carton!

Have a nice day!
Jenny <3