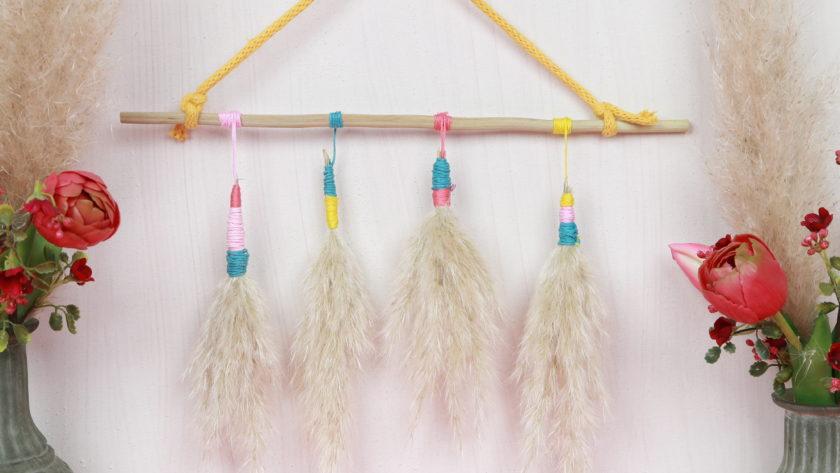
Today I will show you how you can make a colorful pampas grass decoration yourself! Pampas grass is still very popular and is often used as a boho decoration: For example in wreaths, as rings or together with other dried flowers in bouquets. On the blog you will find many more DIY ideas with pampas grass. If you like pampas grass, I can recommend the stapled flower wreath or the pampas grass cloud.

In today’s DIY, I use a complete pampas grass frond. The stem is used to tie pampas grass bunches to it. Colorful yarn is used for the wrapping. When finished, you have a colorful wall decoration, which you can easily recreate with the following step-by-step instructions!
Tools
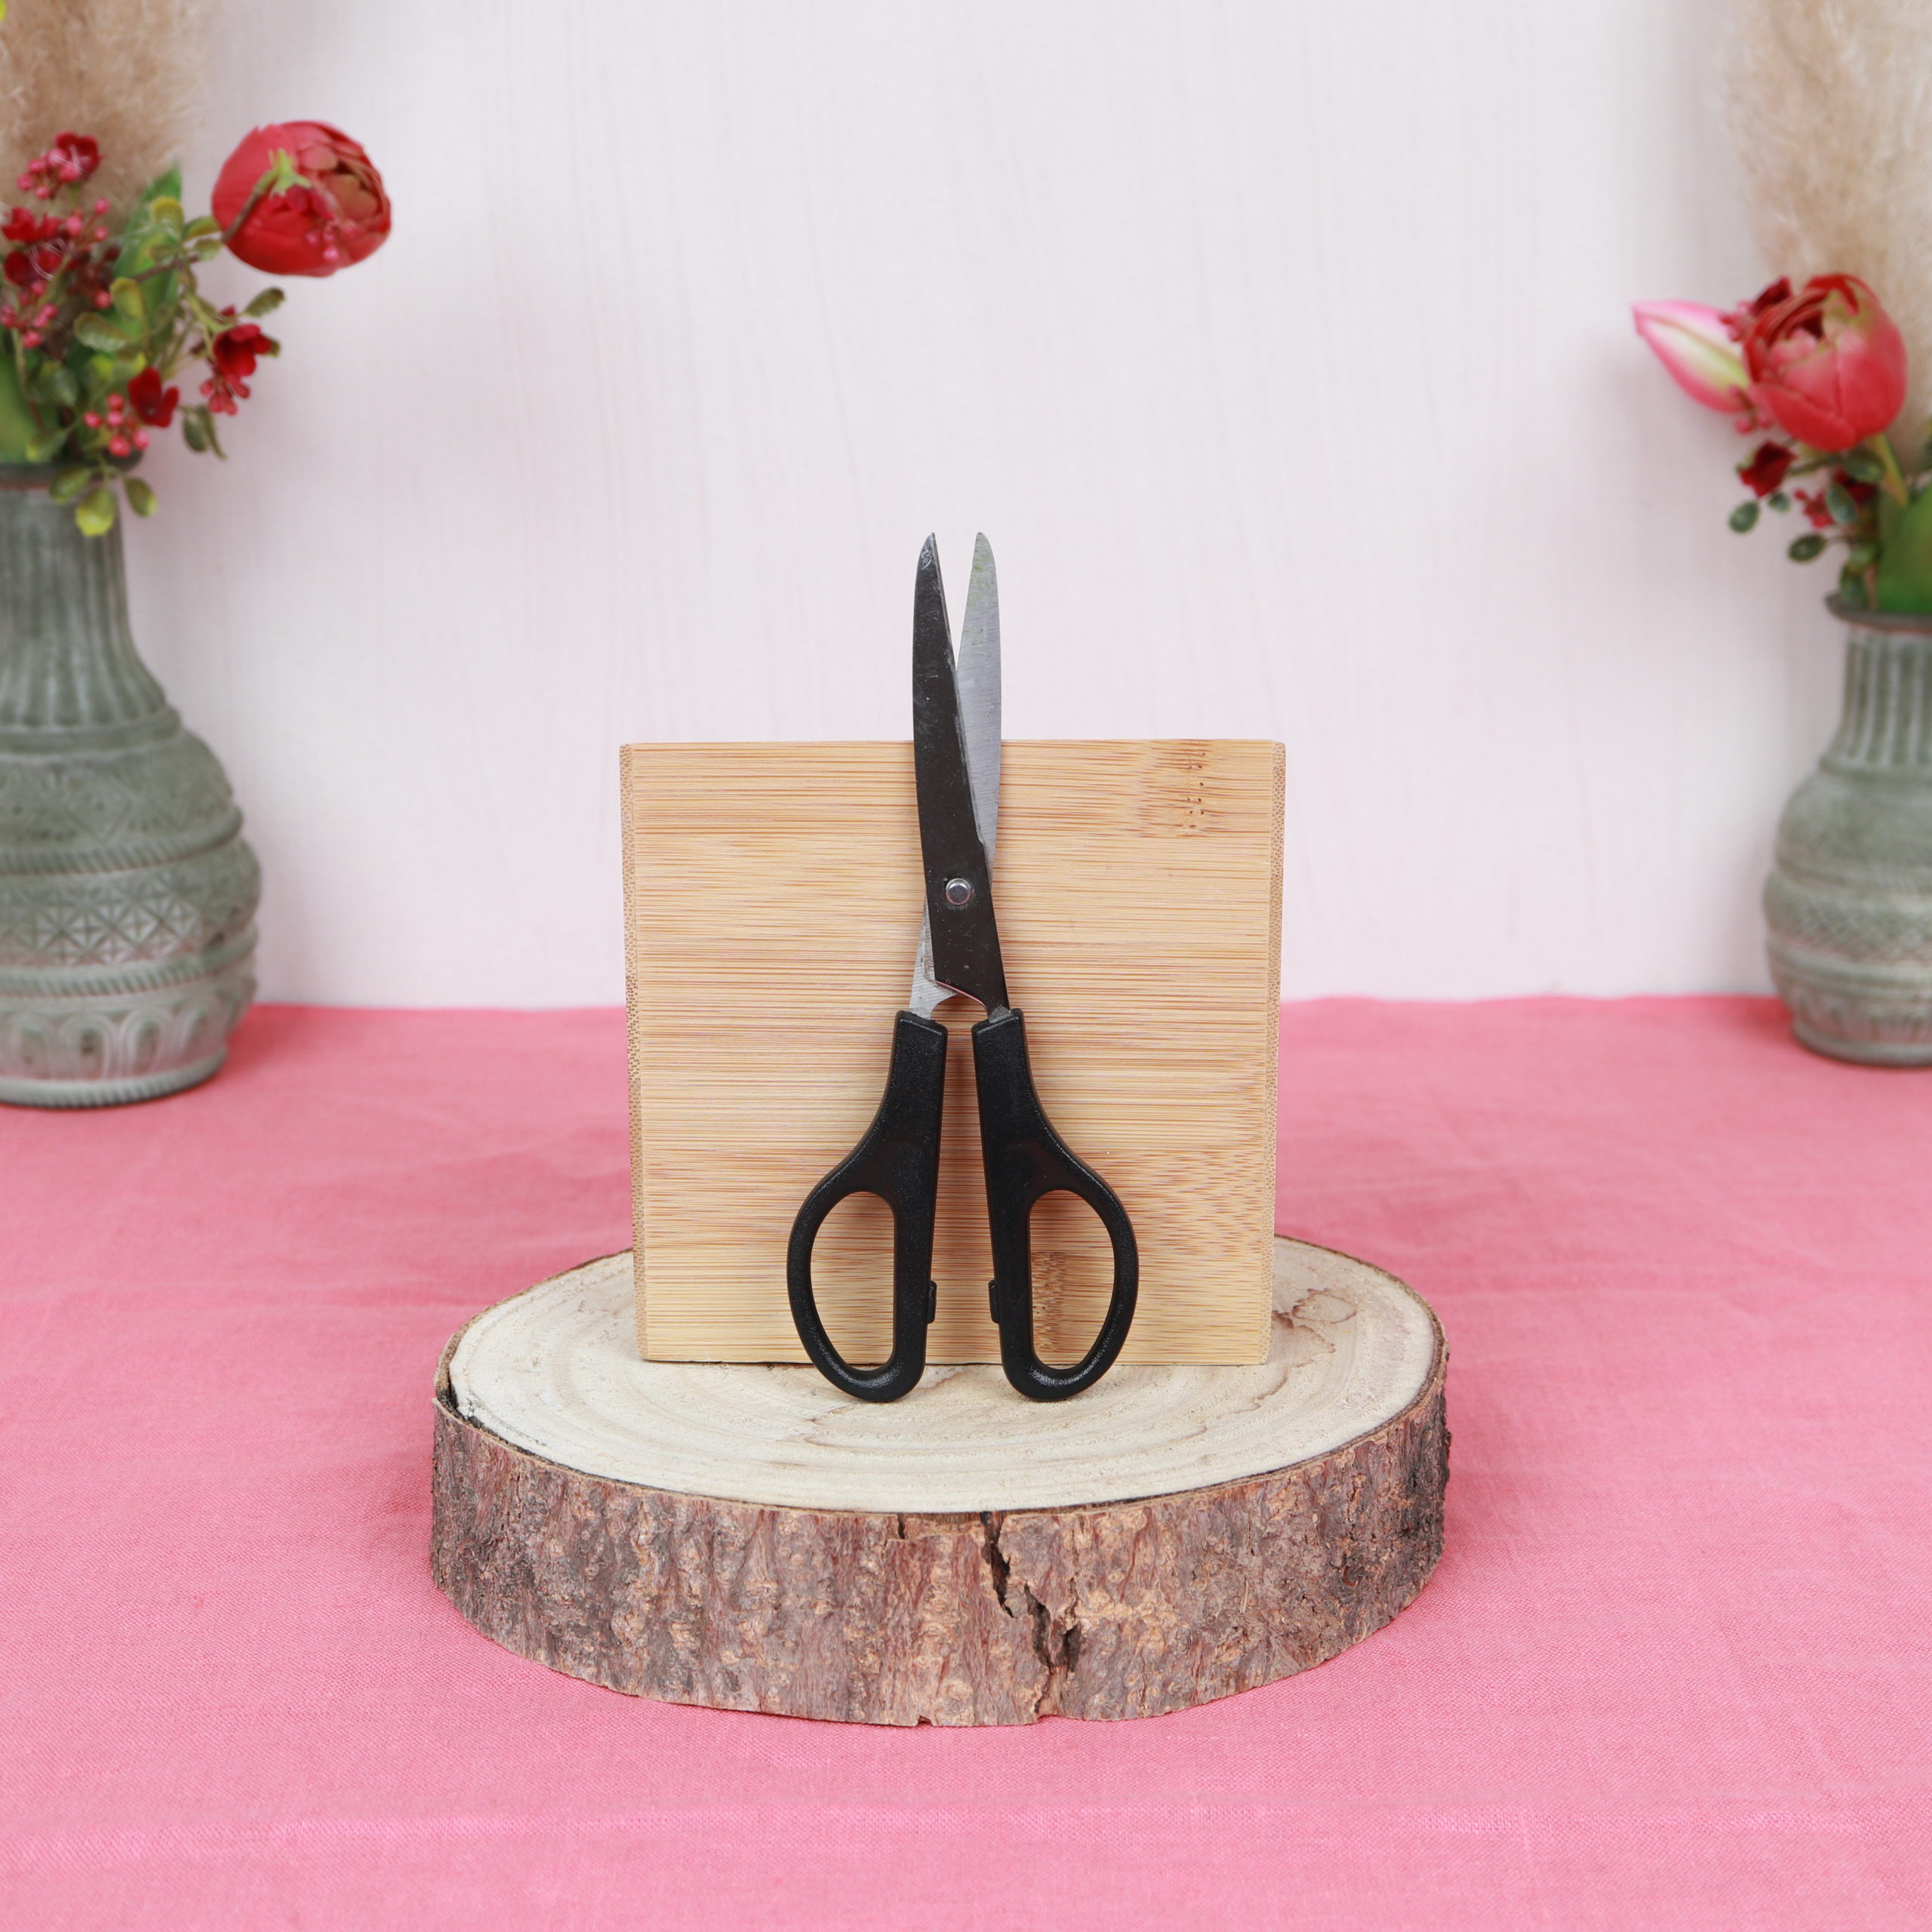
Here you can see what tools I used for the pampas grass decoration. You only need a pair of scissors.
Materials
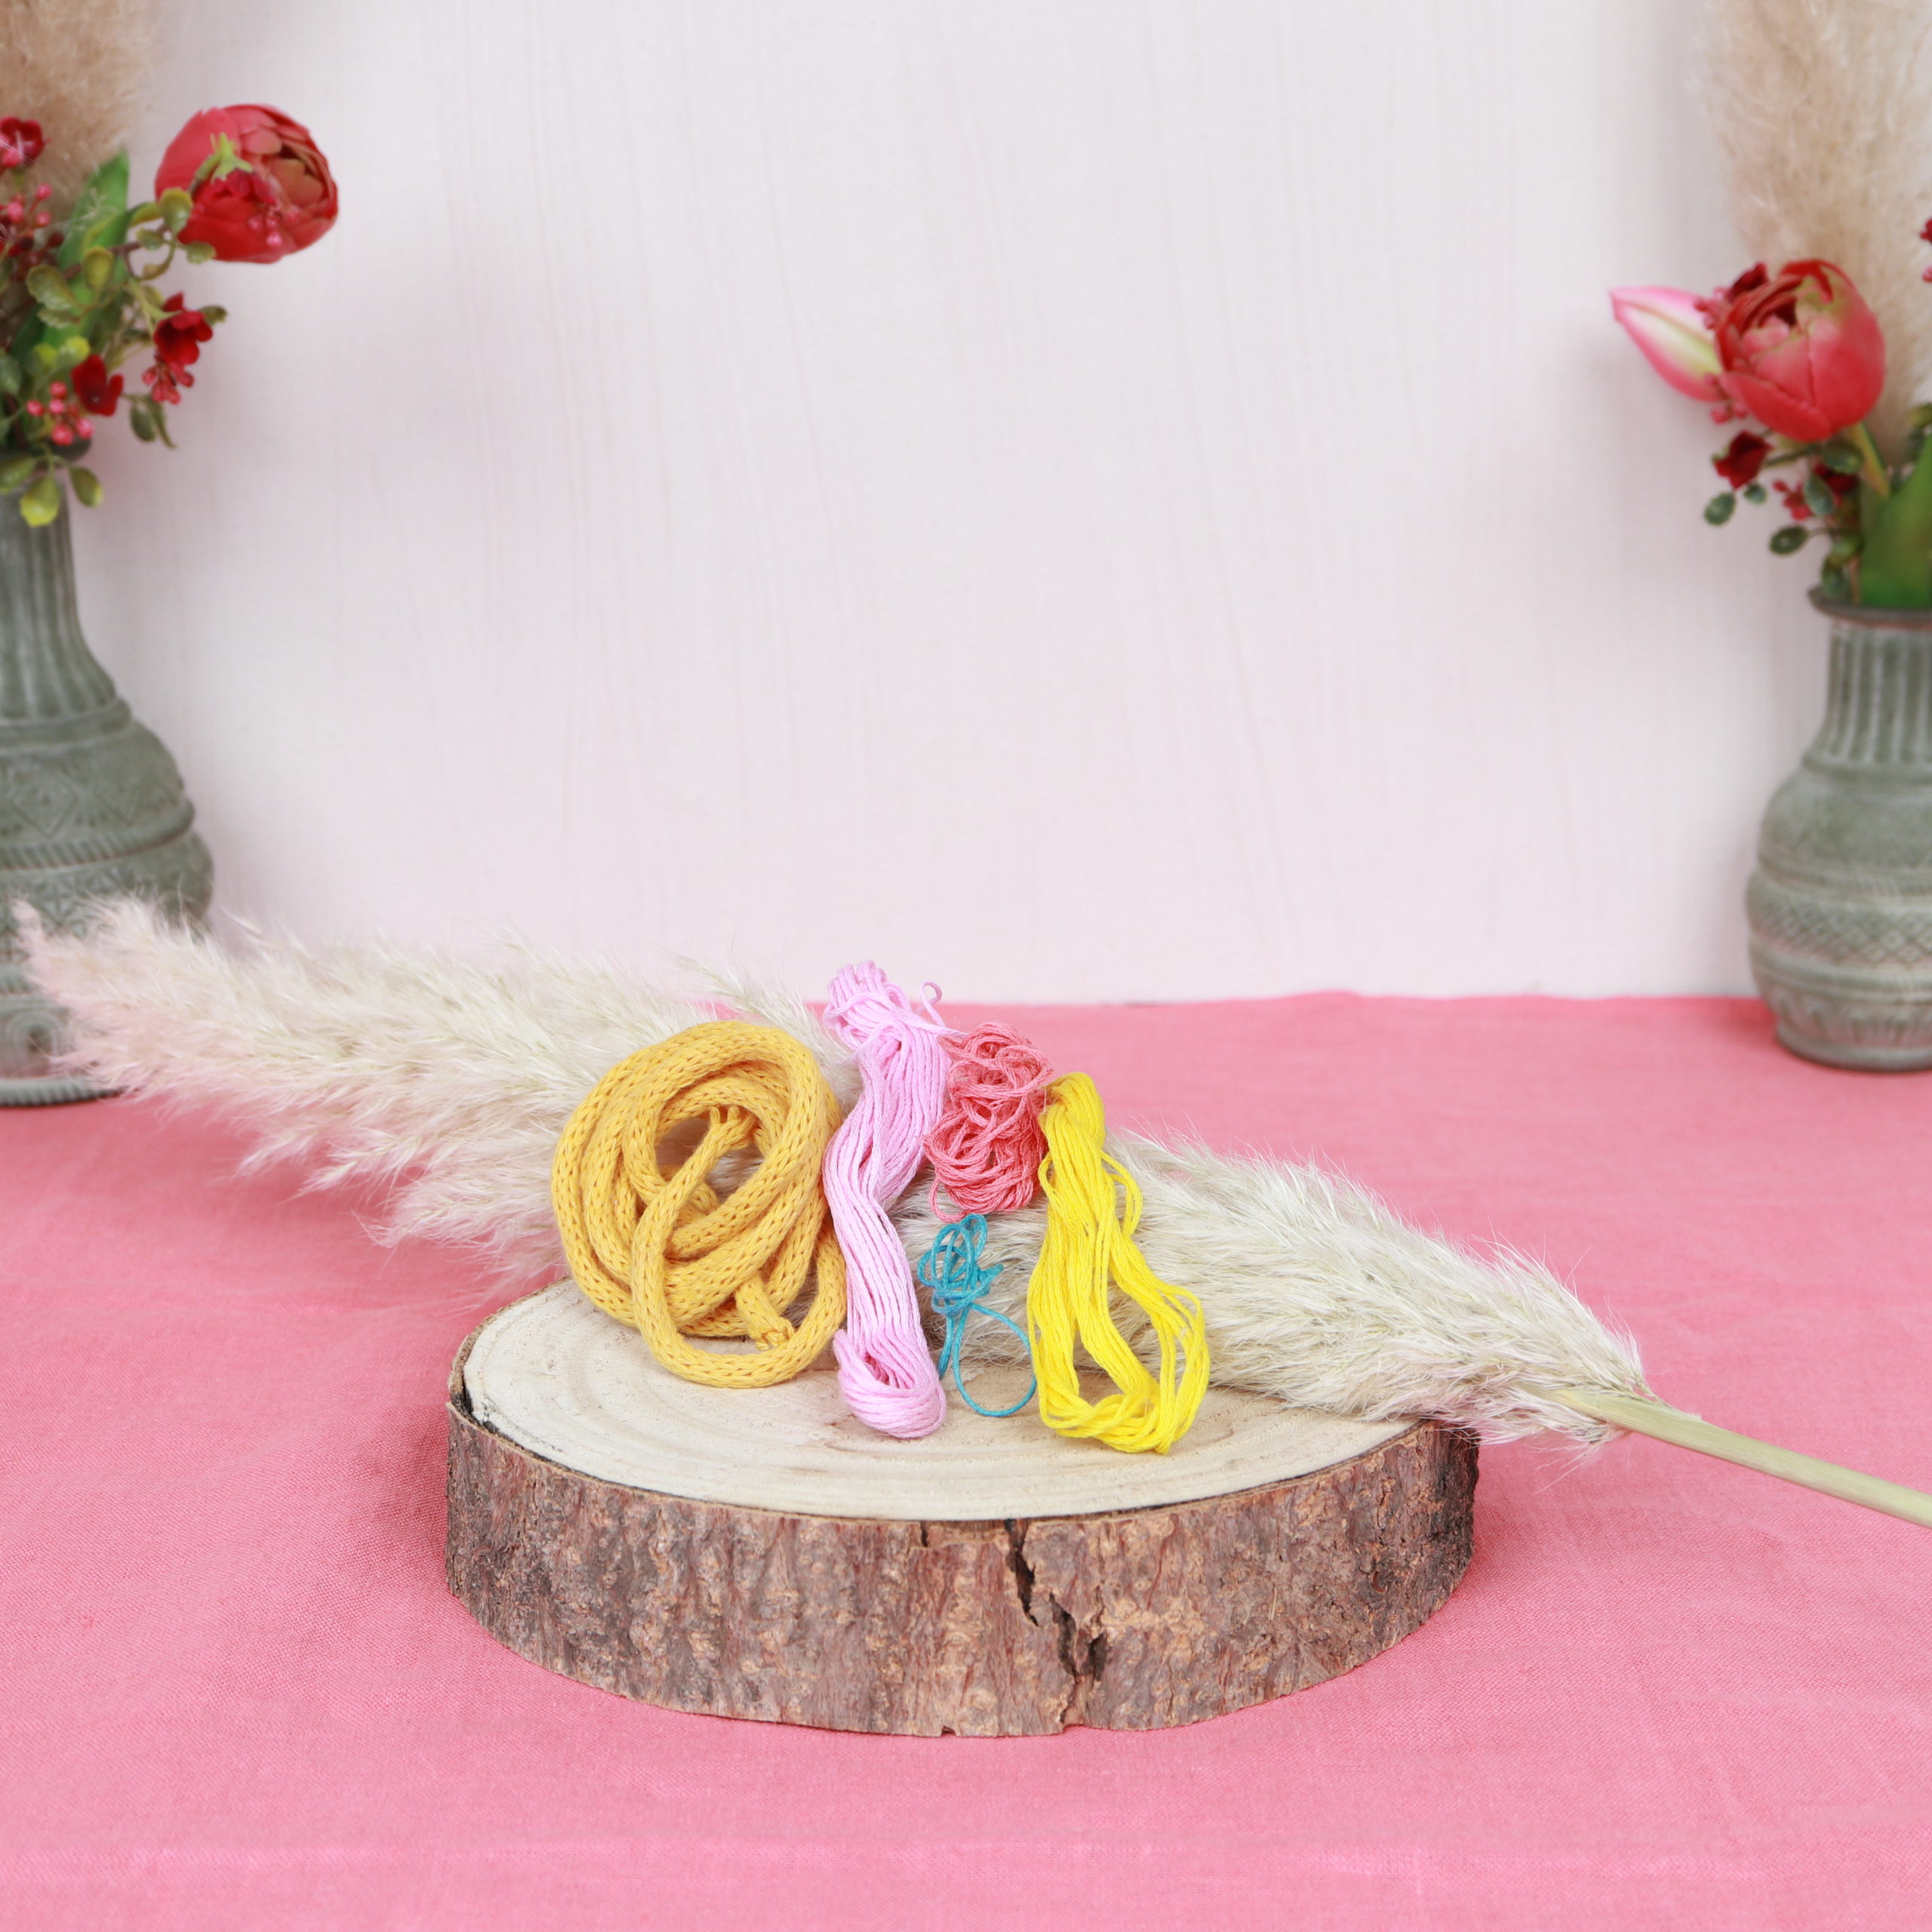
These are the materials I used for the colorful wall decoration with pampas grass: a pampas grass frond, thin yarn in different colors to wrap around the bunches, and a slightly thicker yarn (e.g. macramé yarn) for hanging.
DIY Guide | Pampas grass decoration do it yourself
Step 1: Take apart pampas grass frond
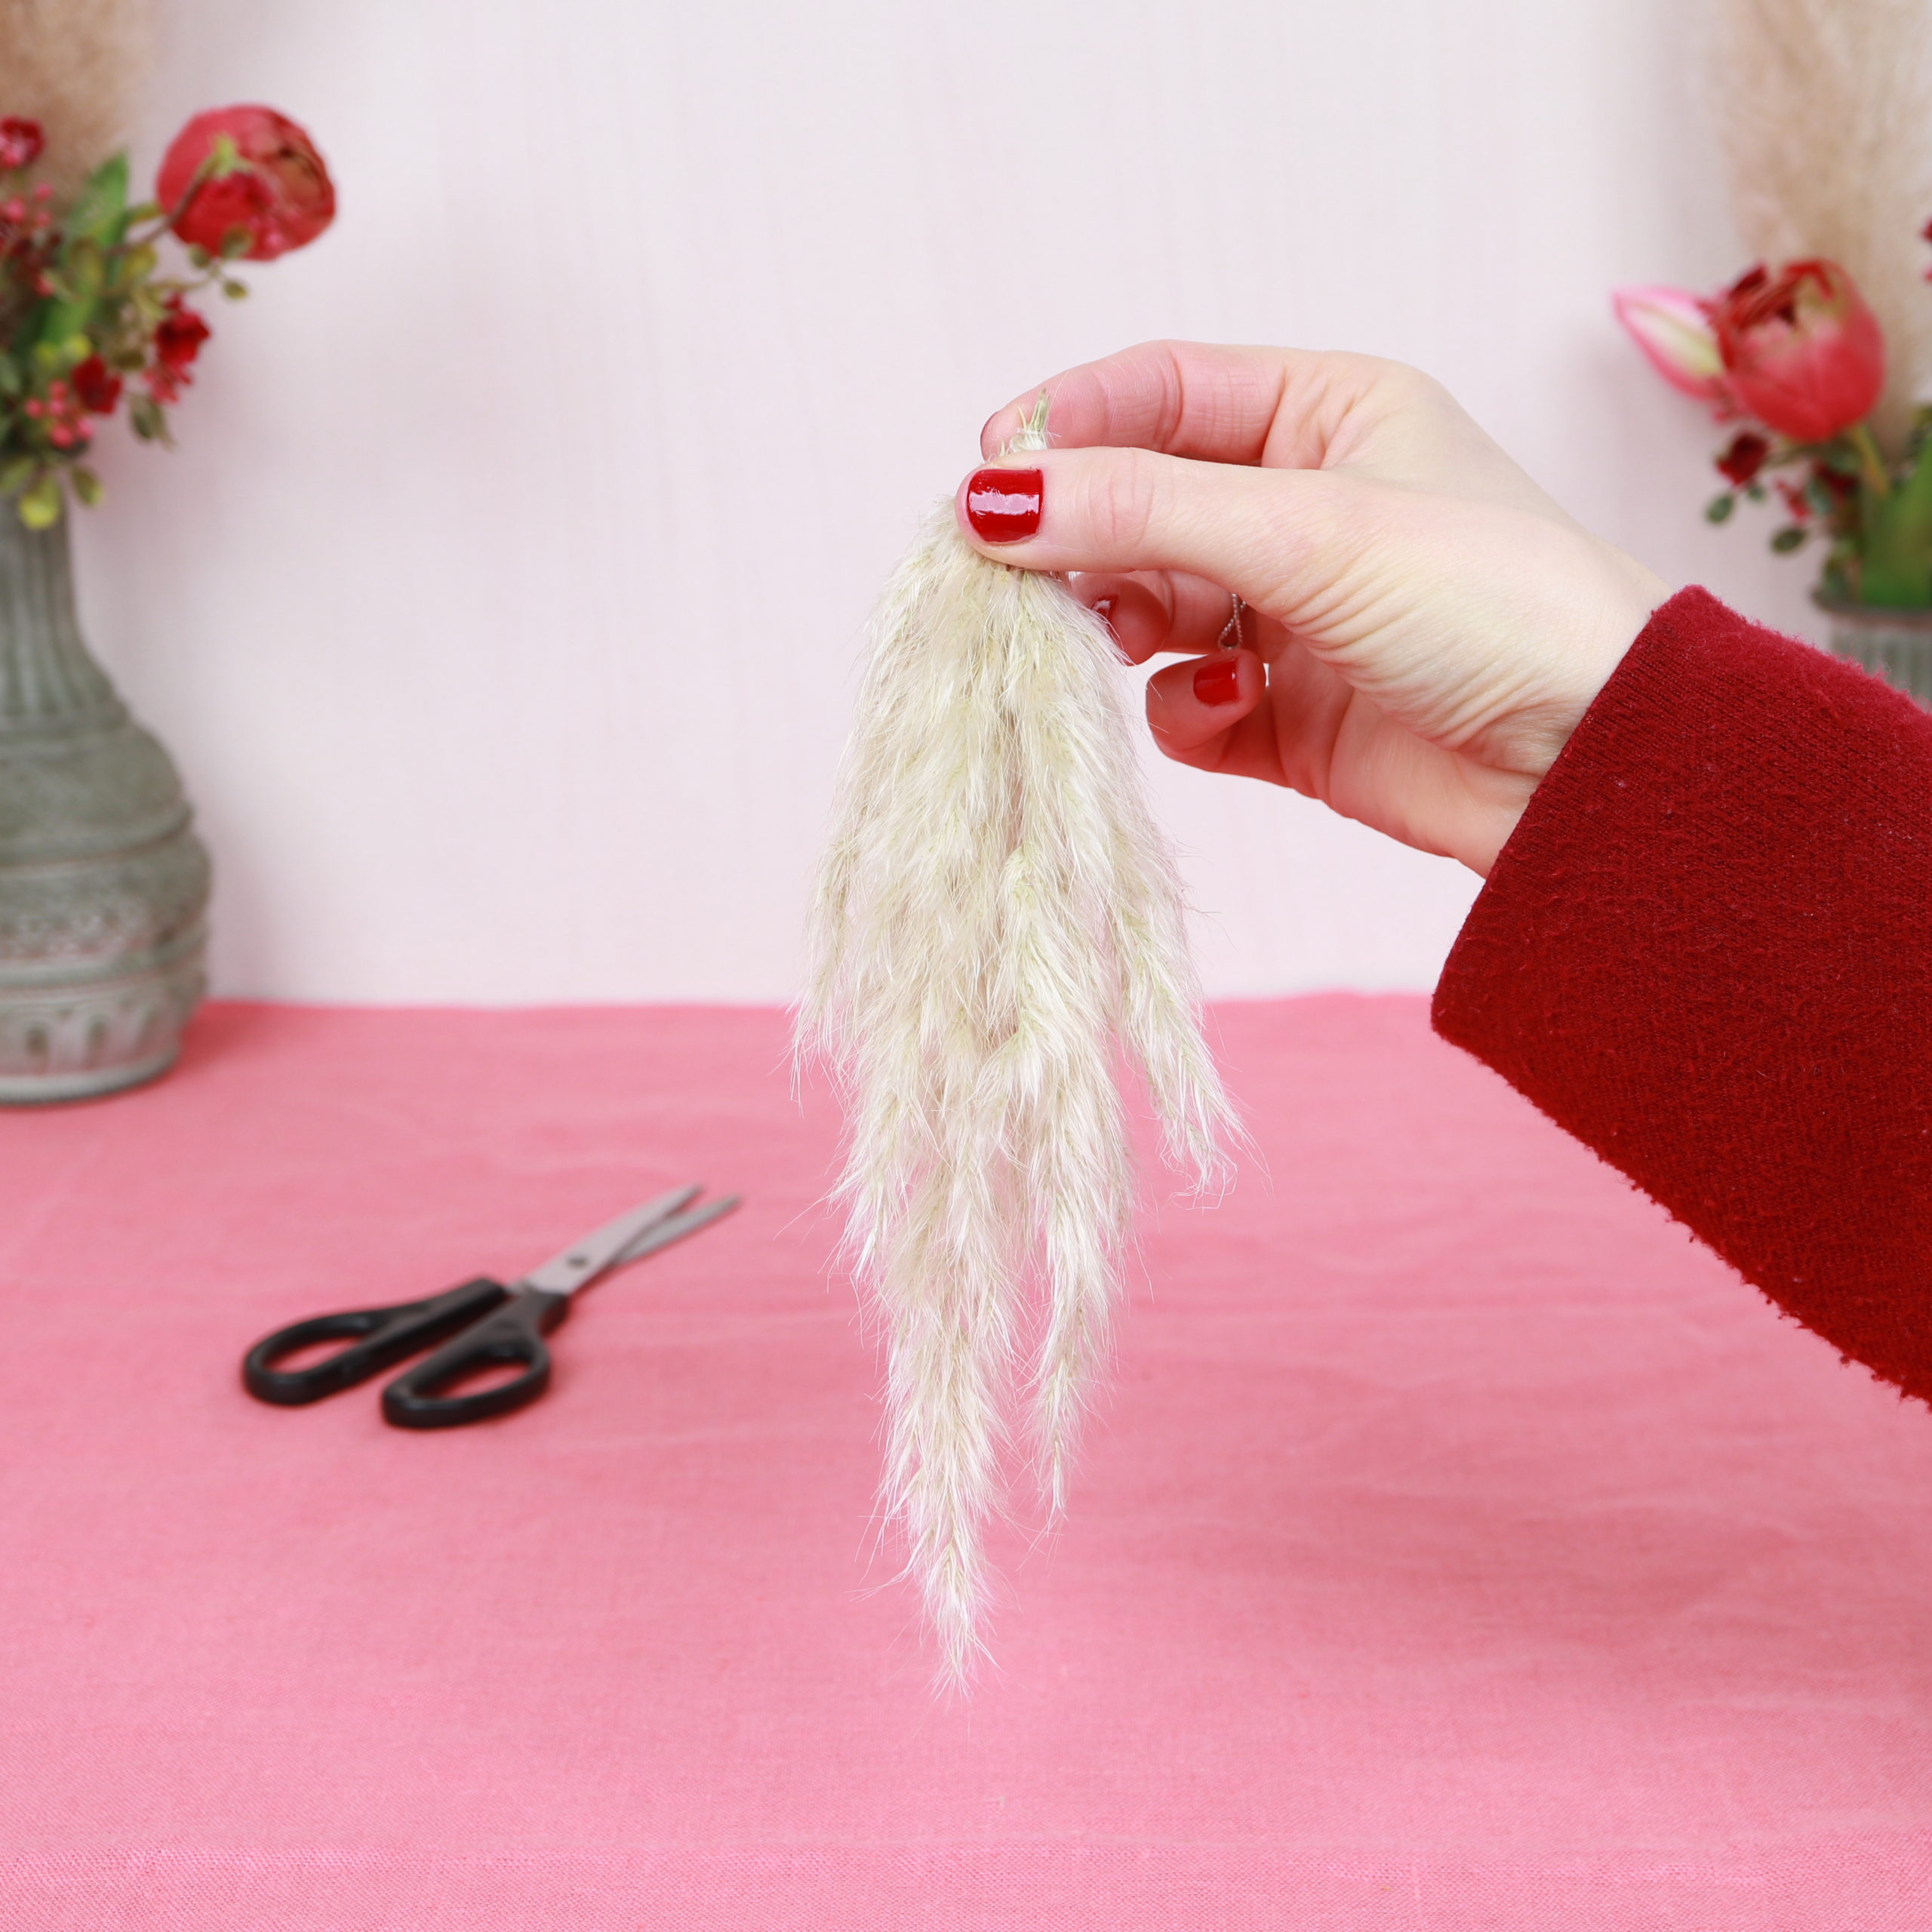
In the first step, I take apart the pampas grass frond.

To do this, I separate the small puffs from the pampas grass stem. This is done quite easily by hand.

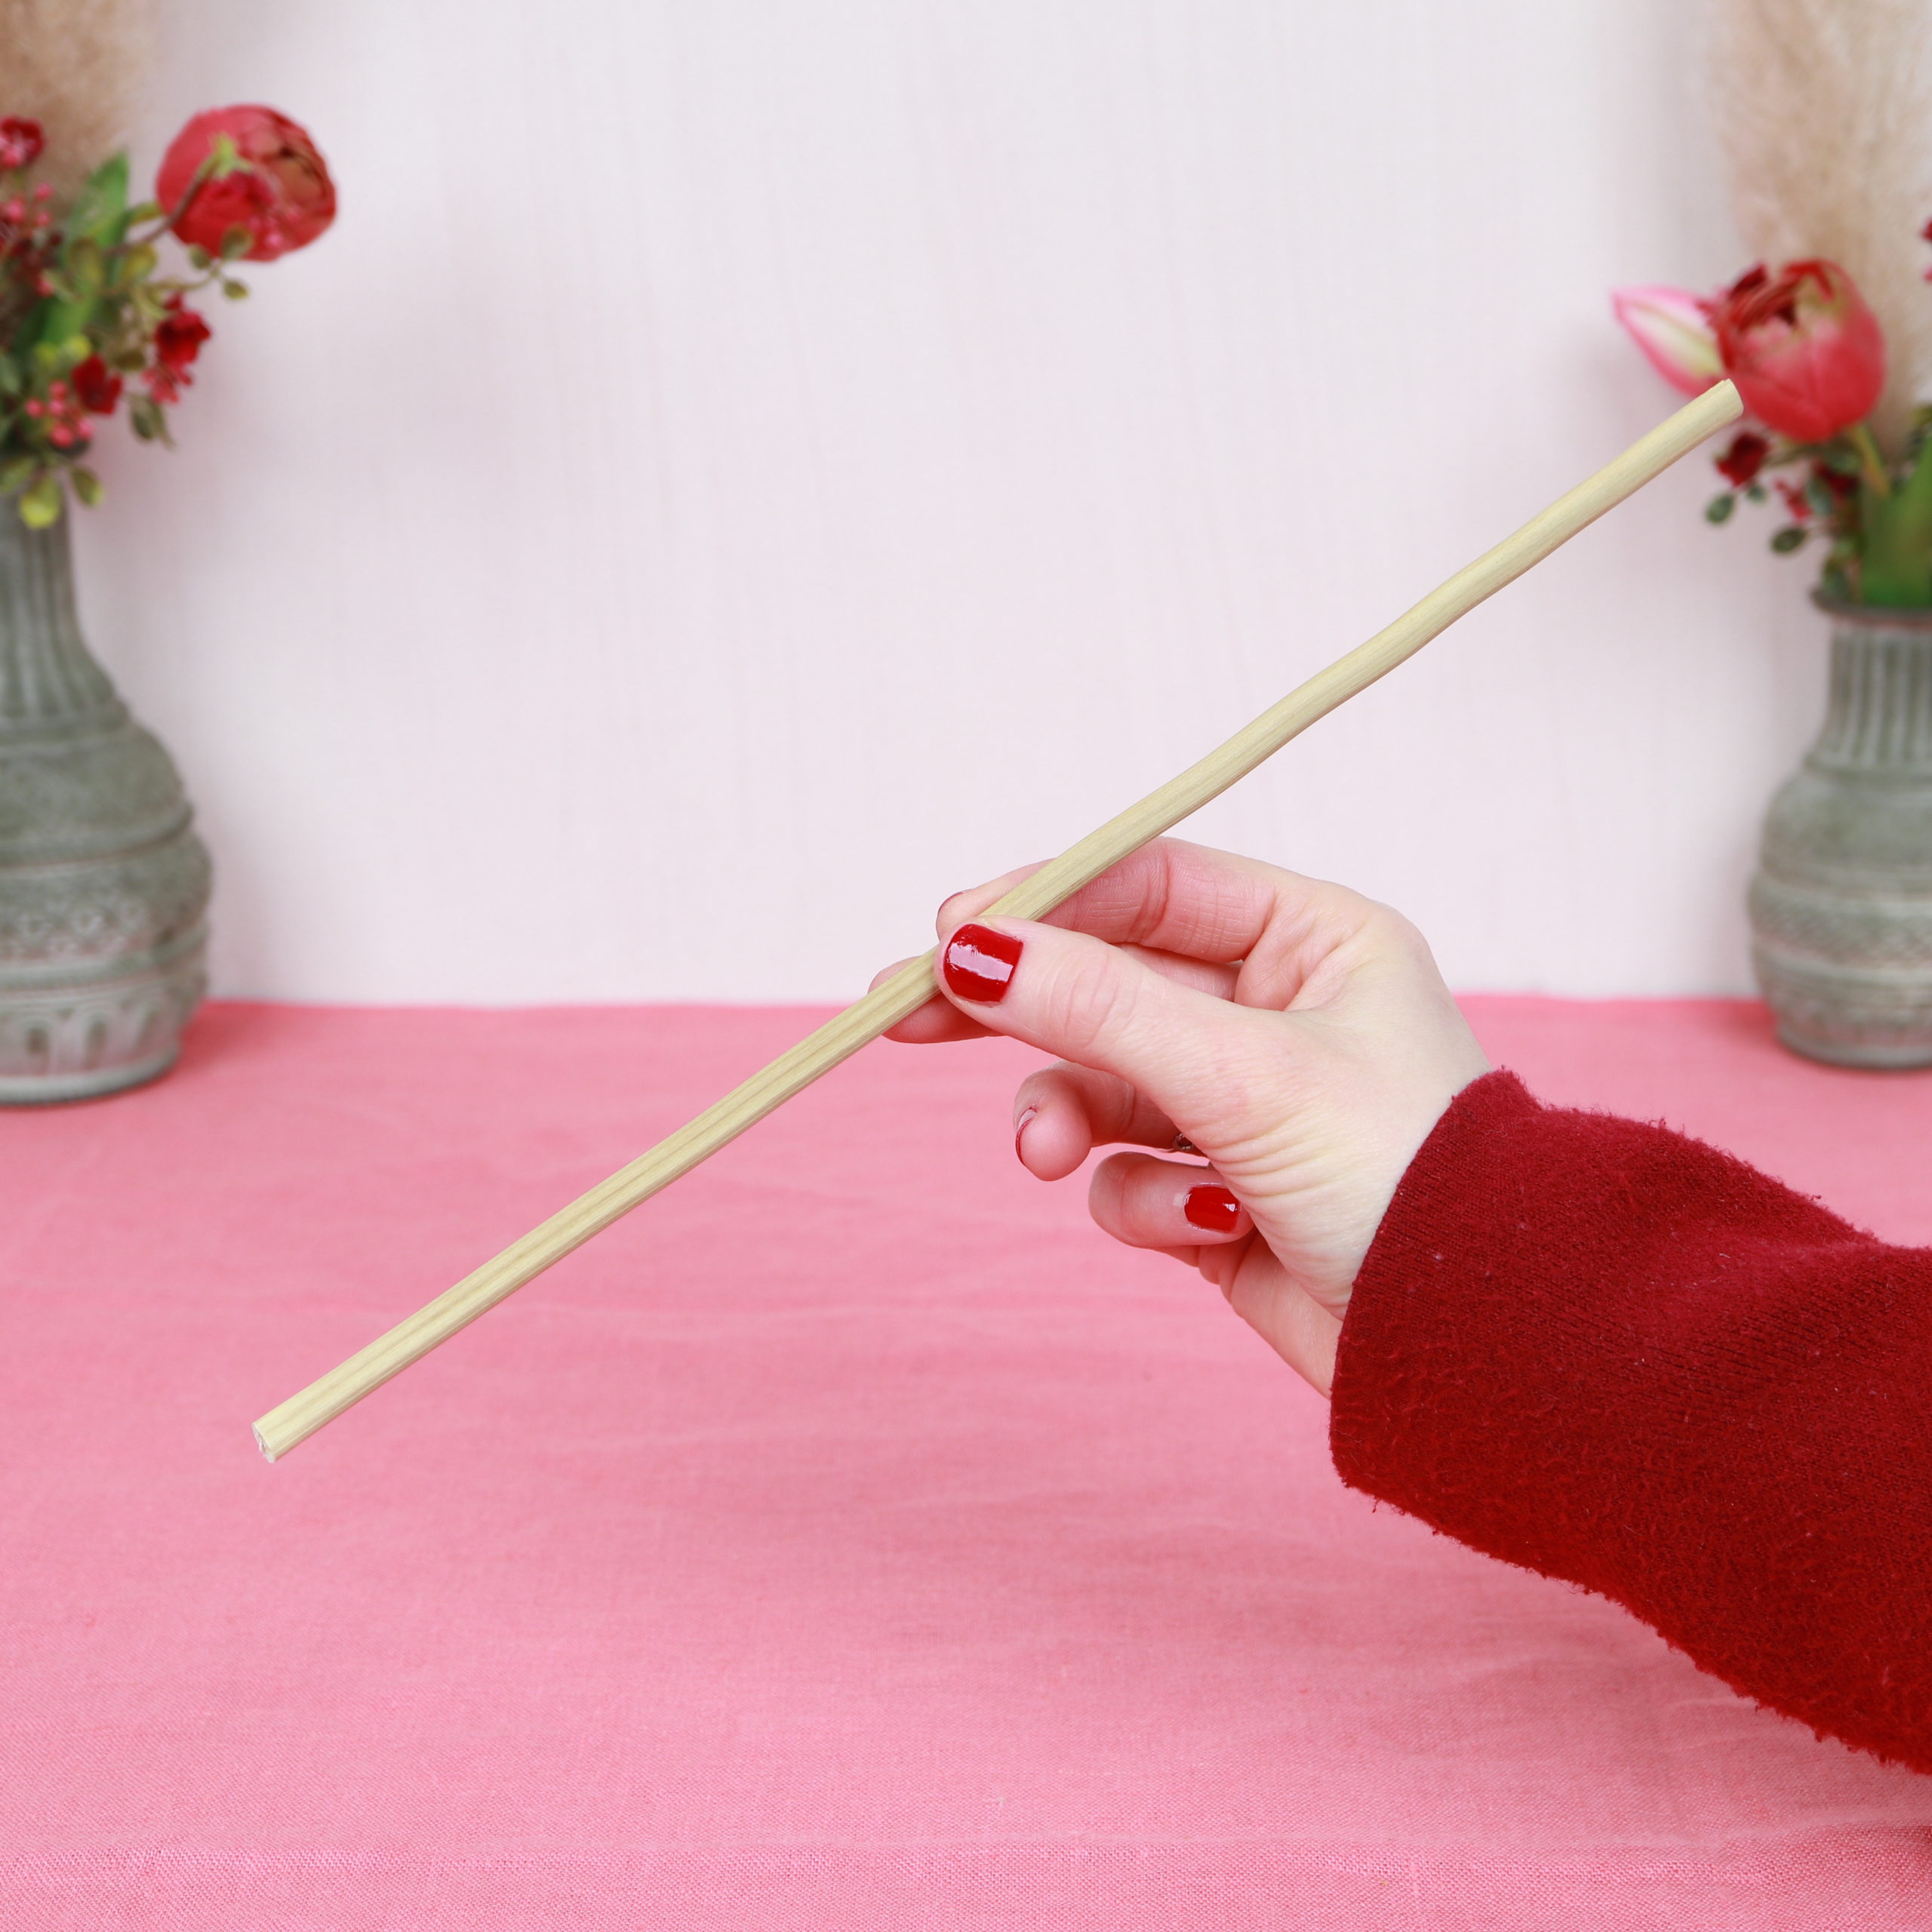
Then I cut the stem to the desired length.
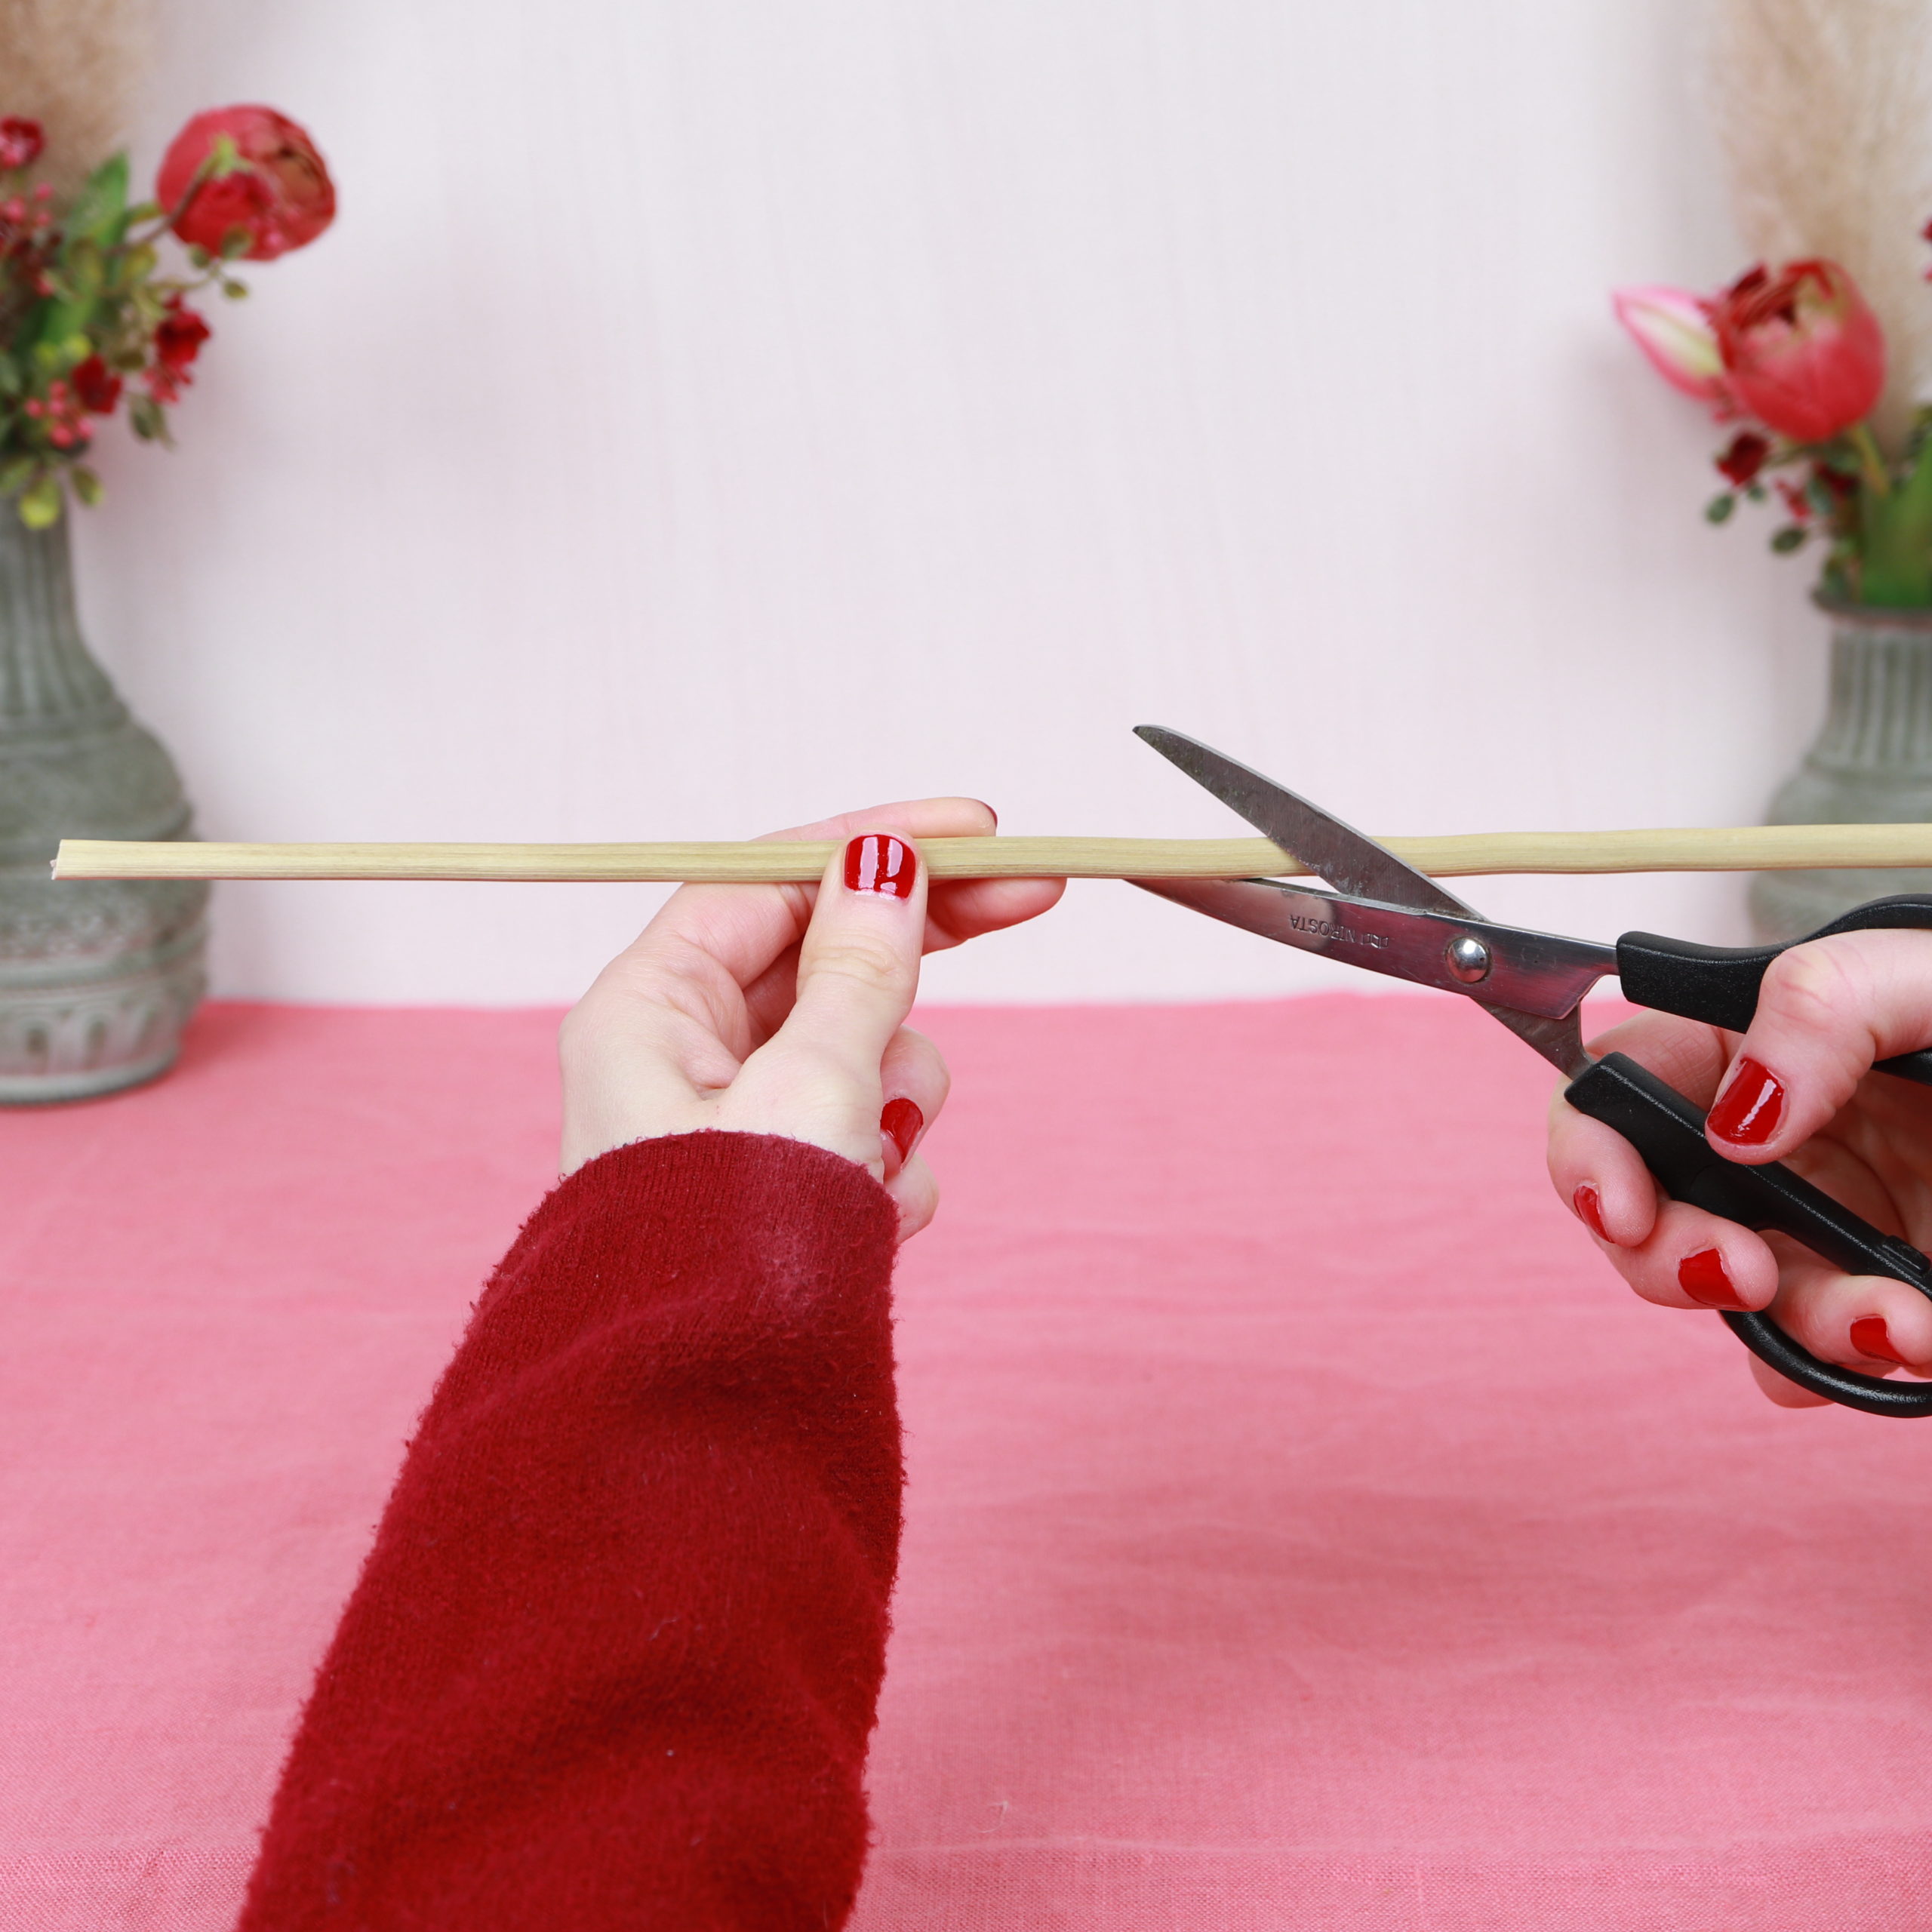
Pampas grass bunches are later tied to the stem.
Step 2: Craft bunches
Now I make the pampas grass bunches.
I take several pampas grass fluffs together to form them into bunches.
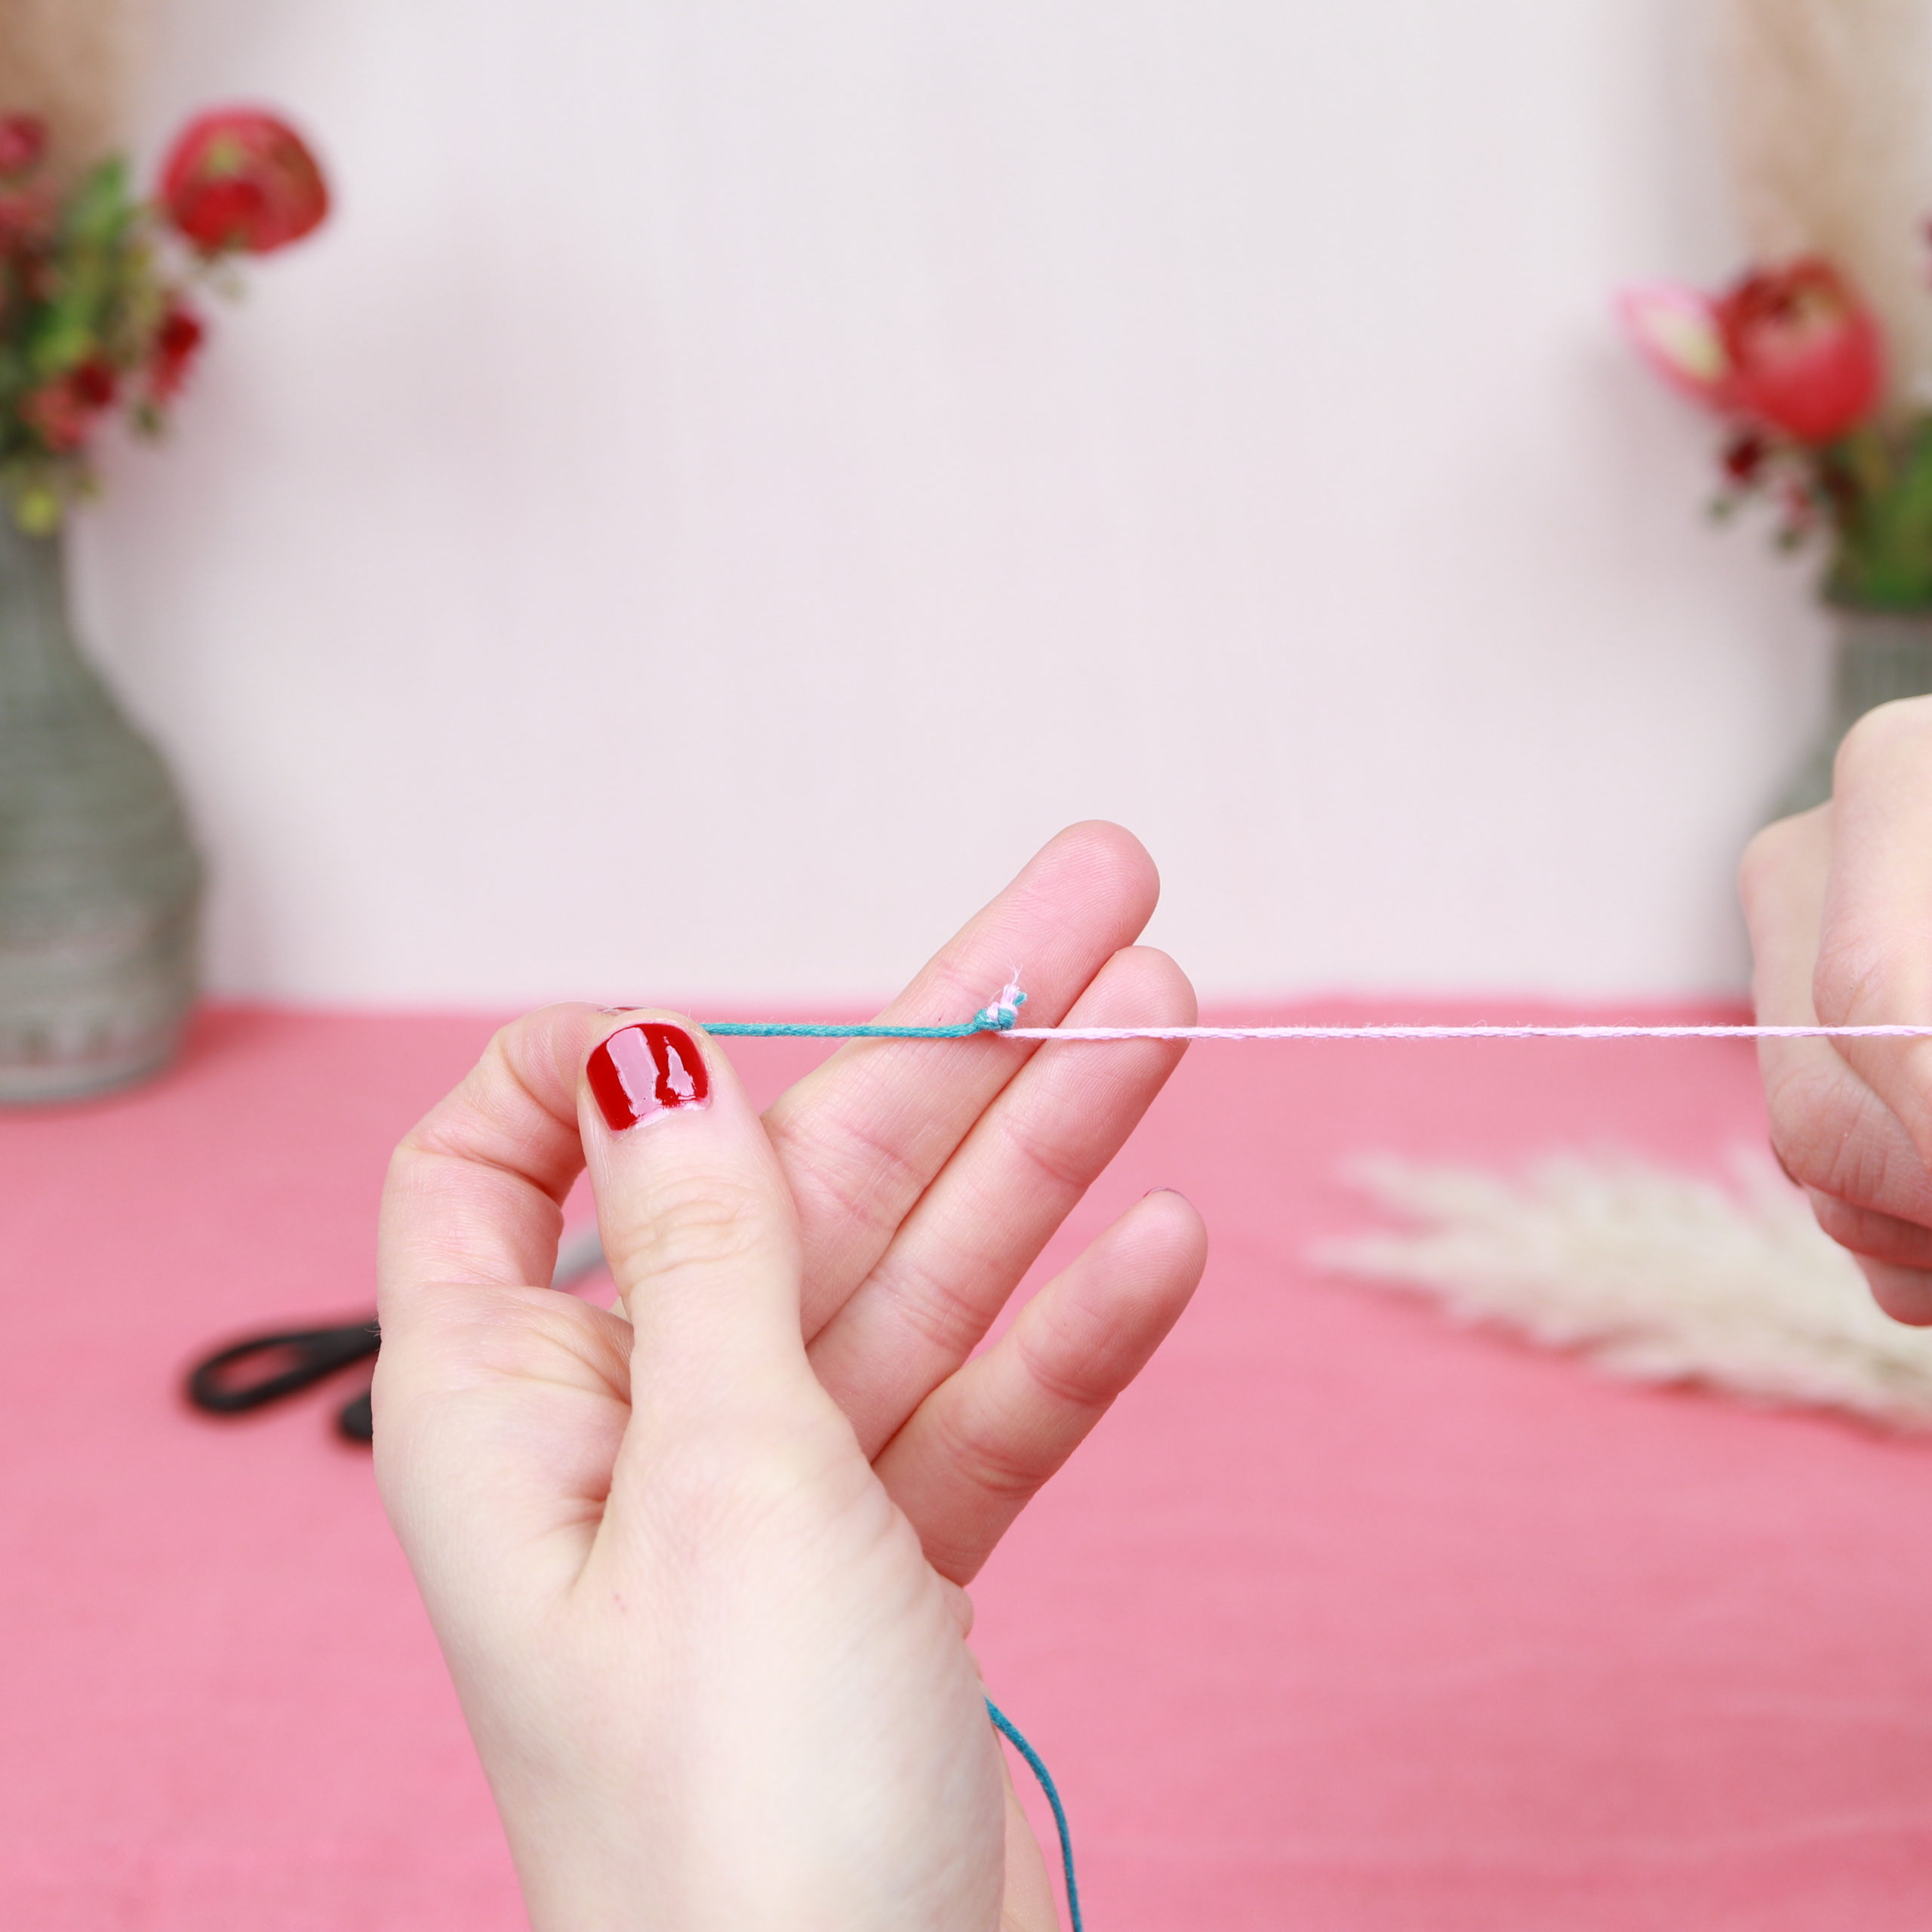
For each bunch, I choose two or three colors of yarn. I cut a piece of each and knot the pieces together. The pieces form a string which is used for wrapping.
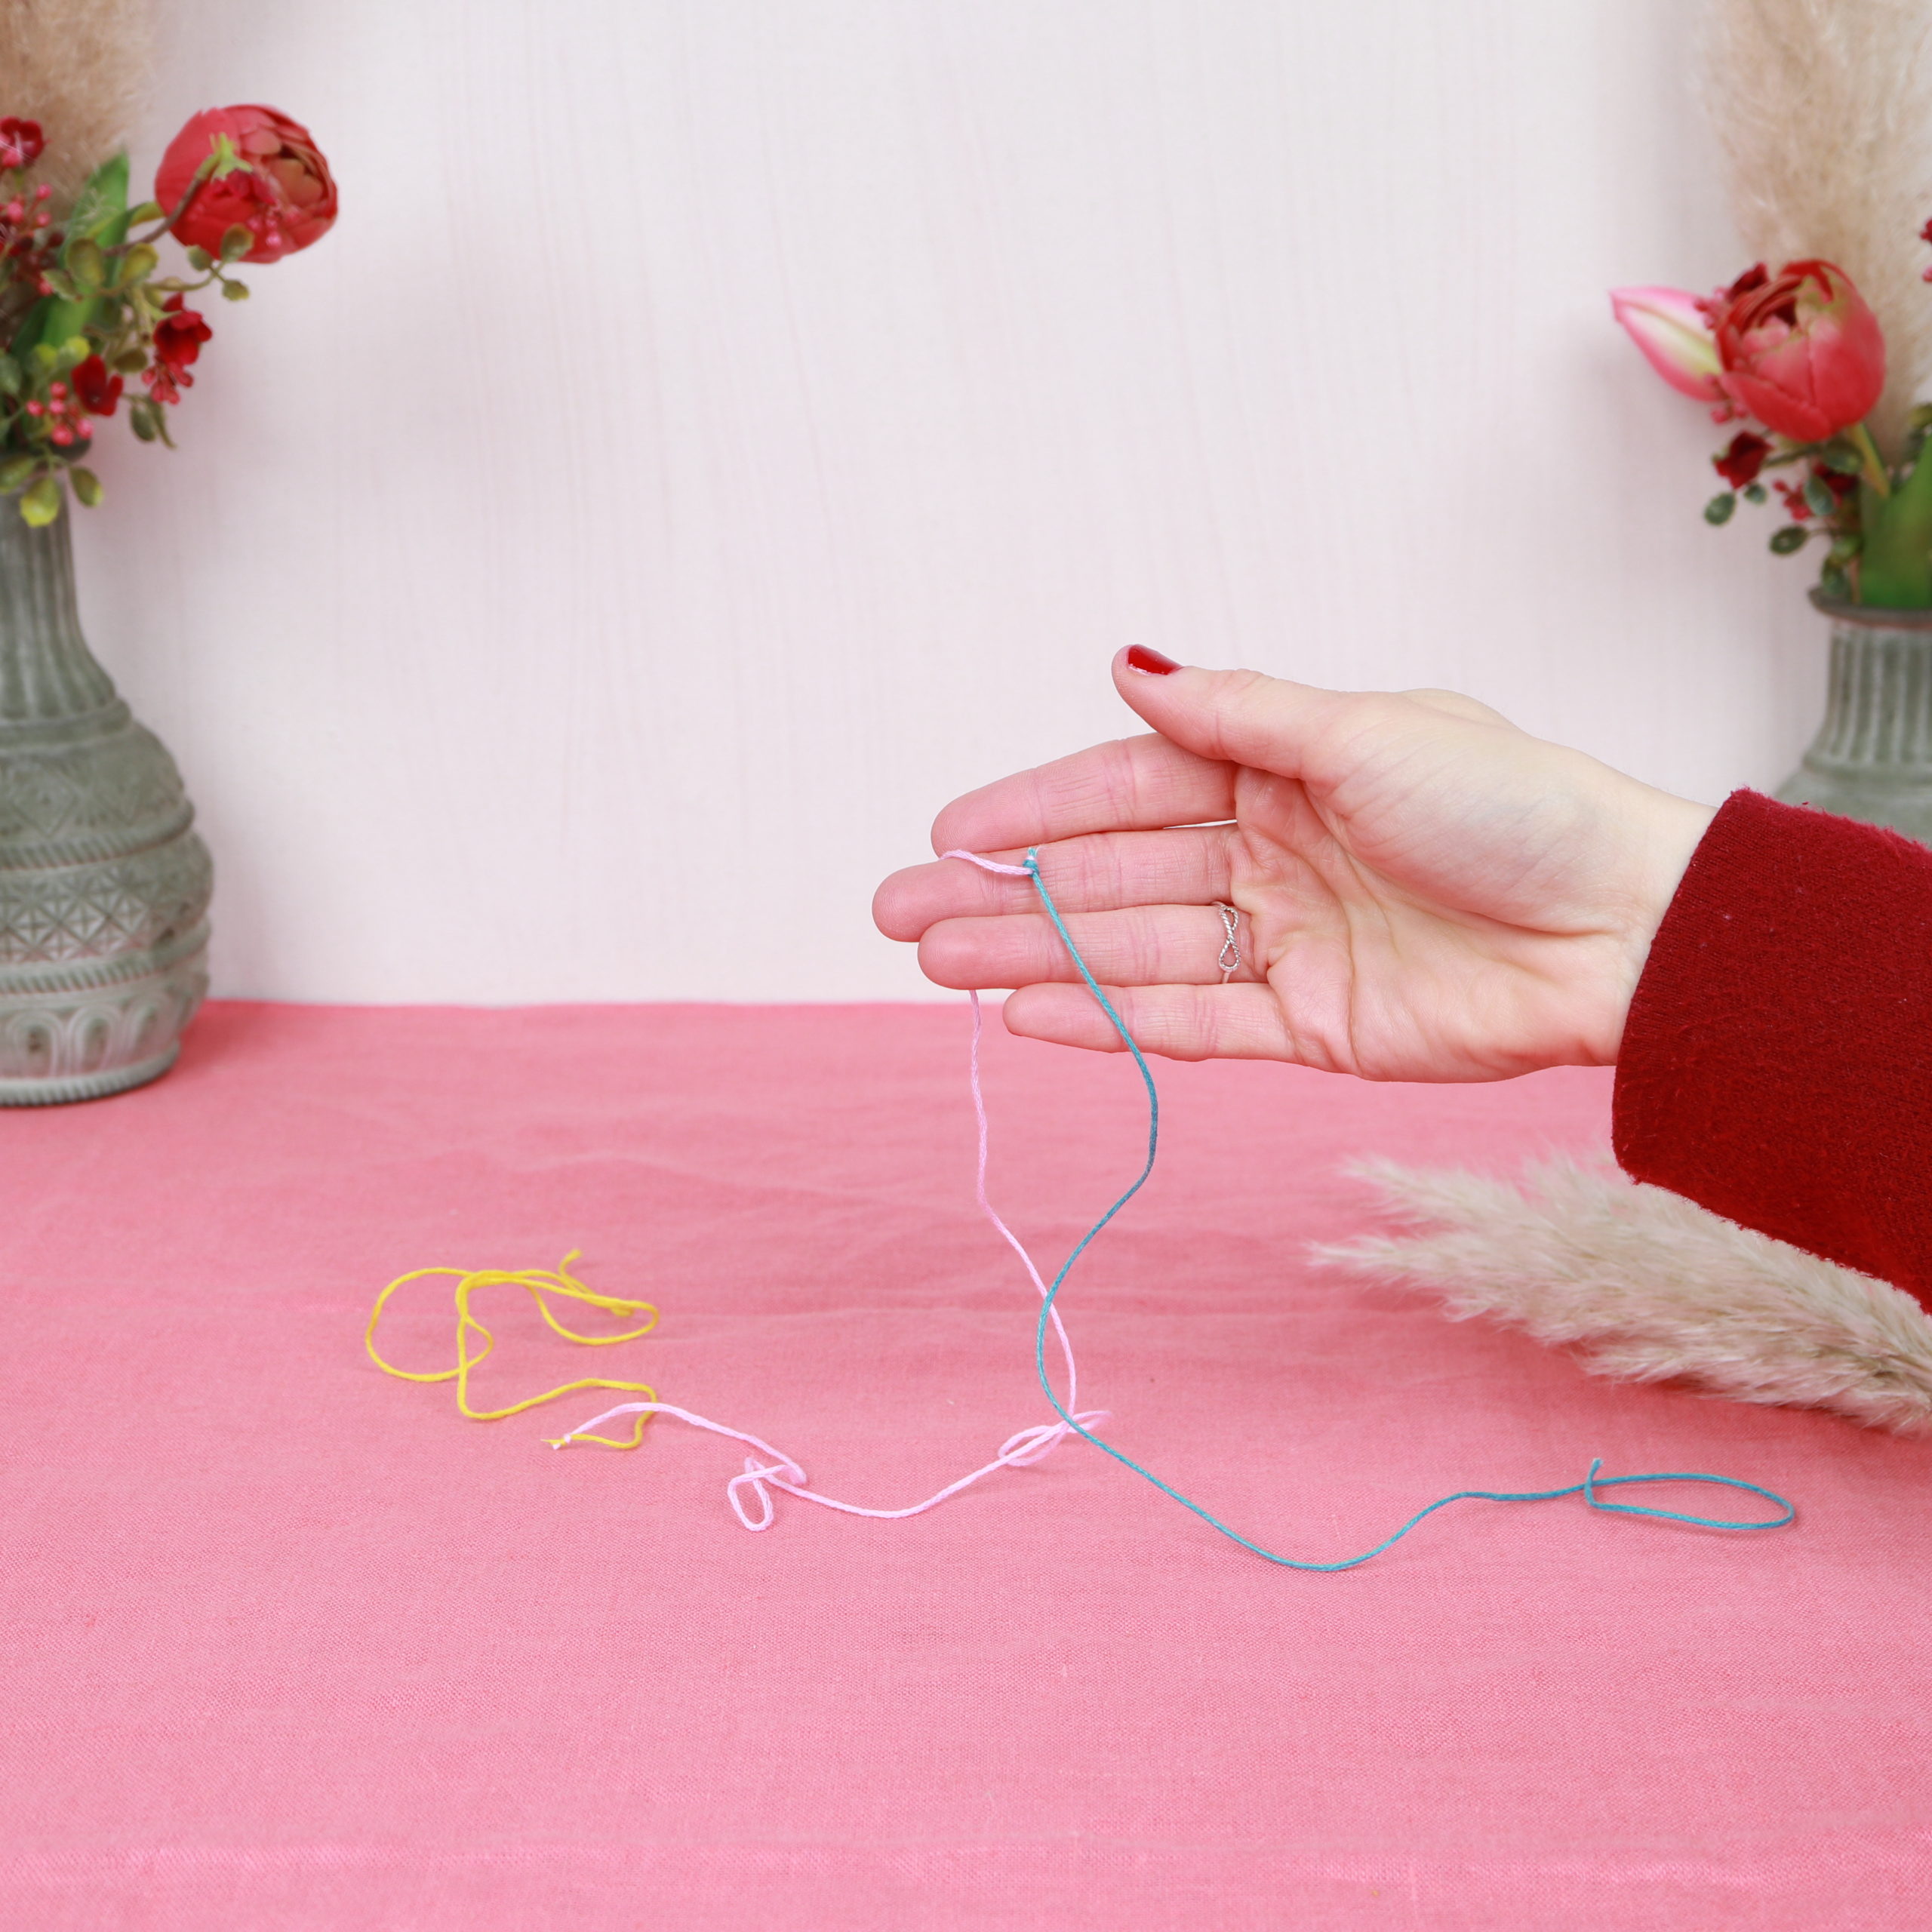
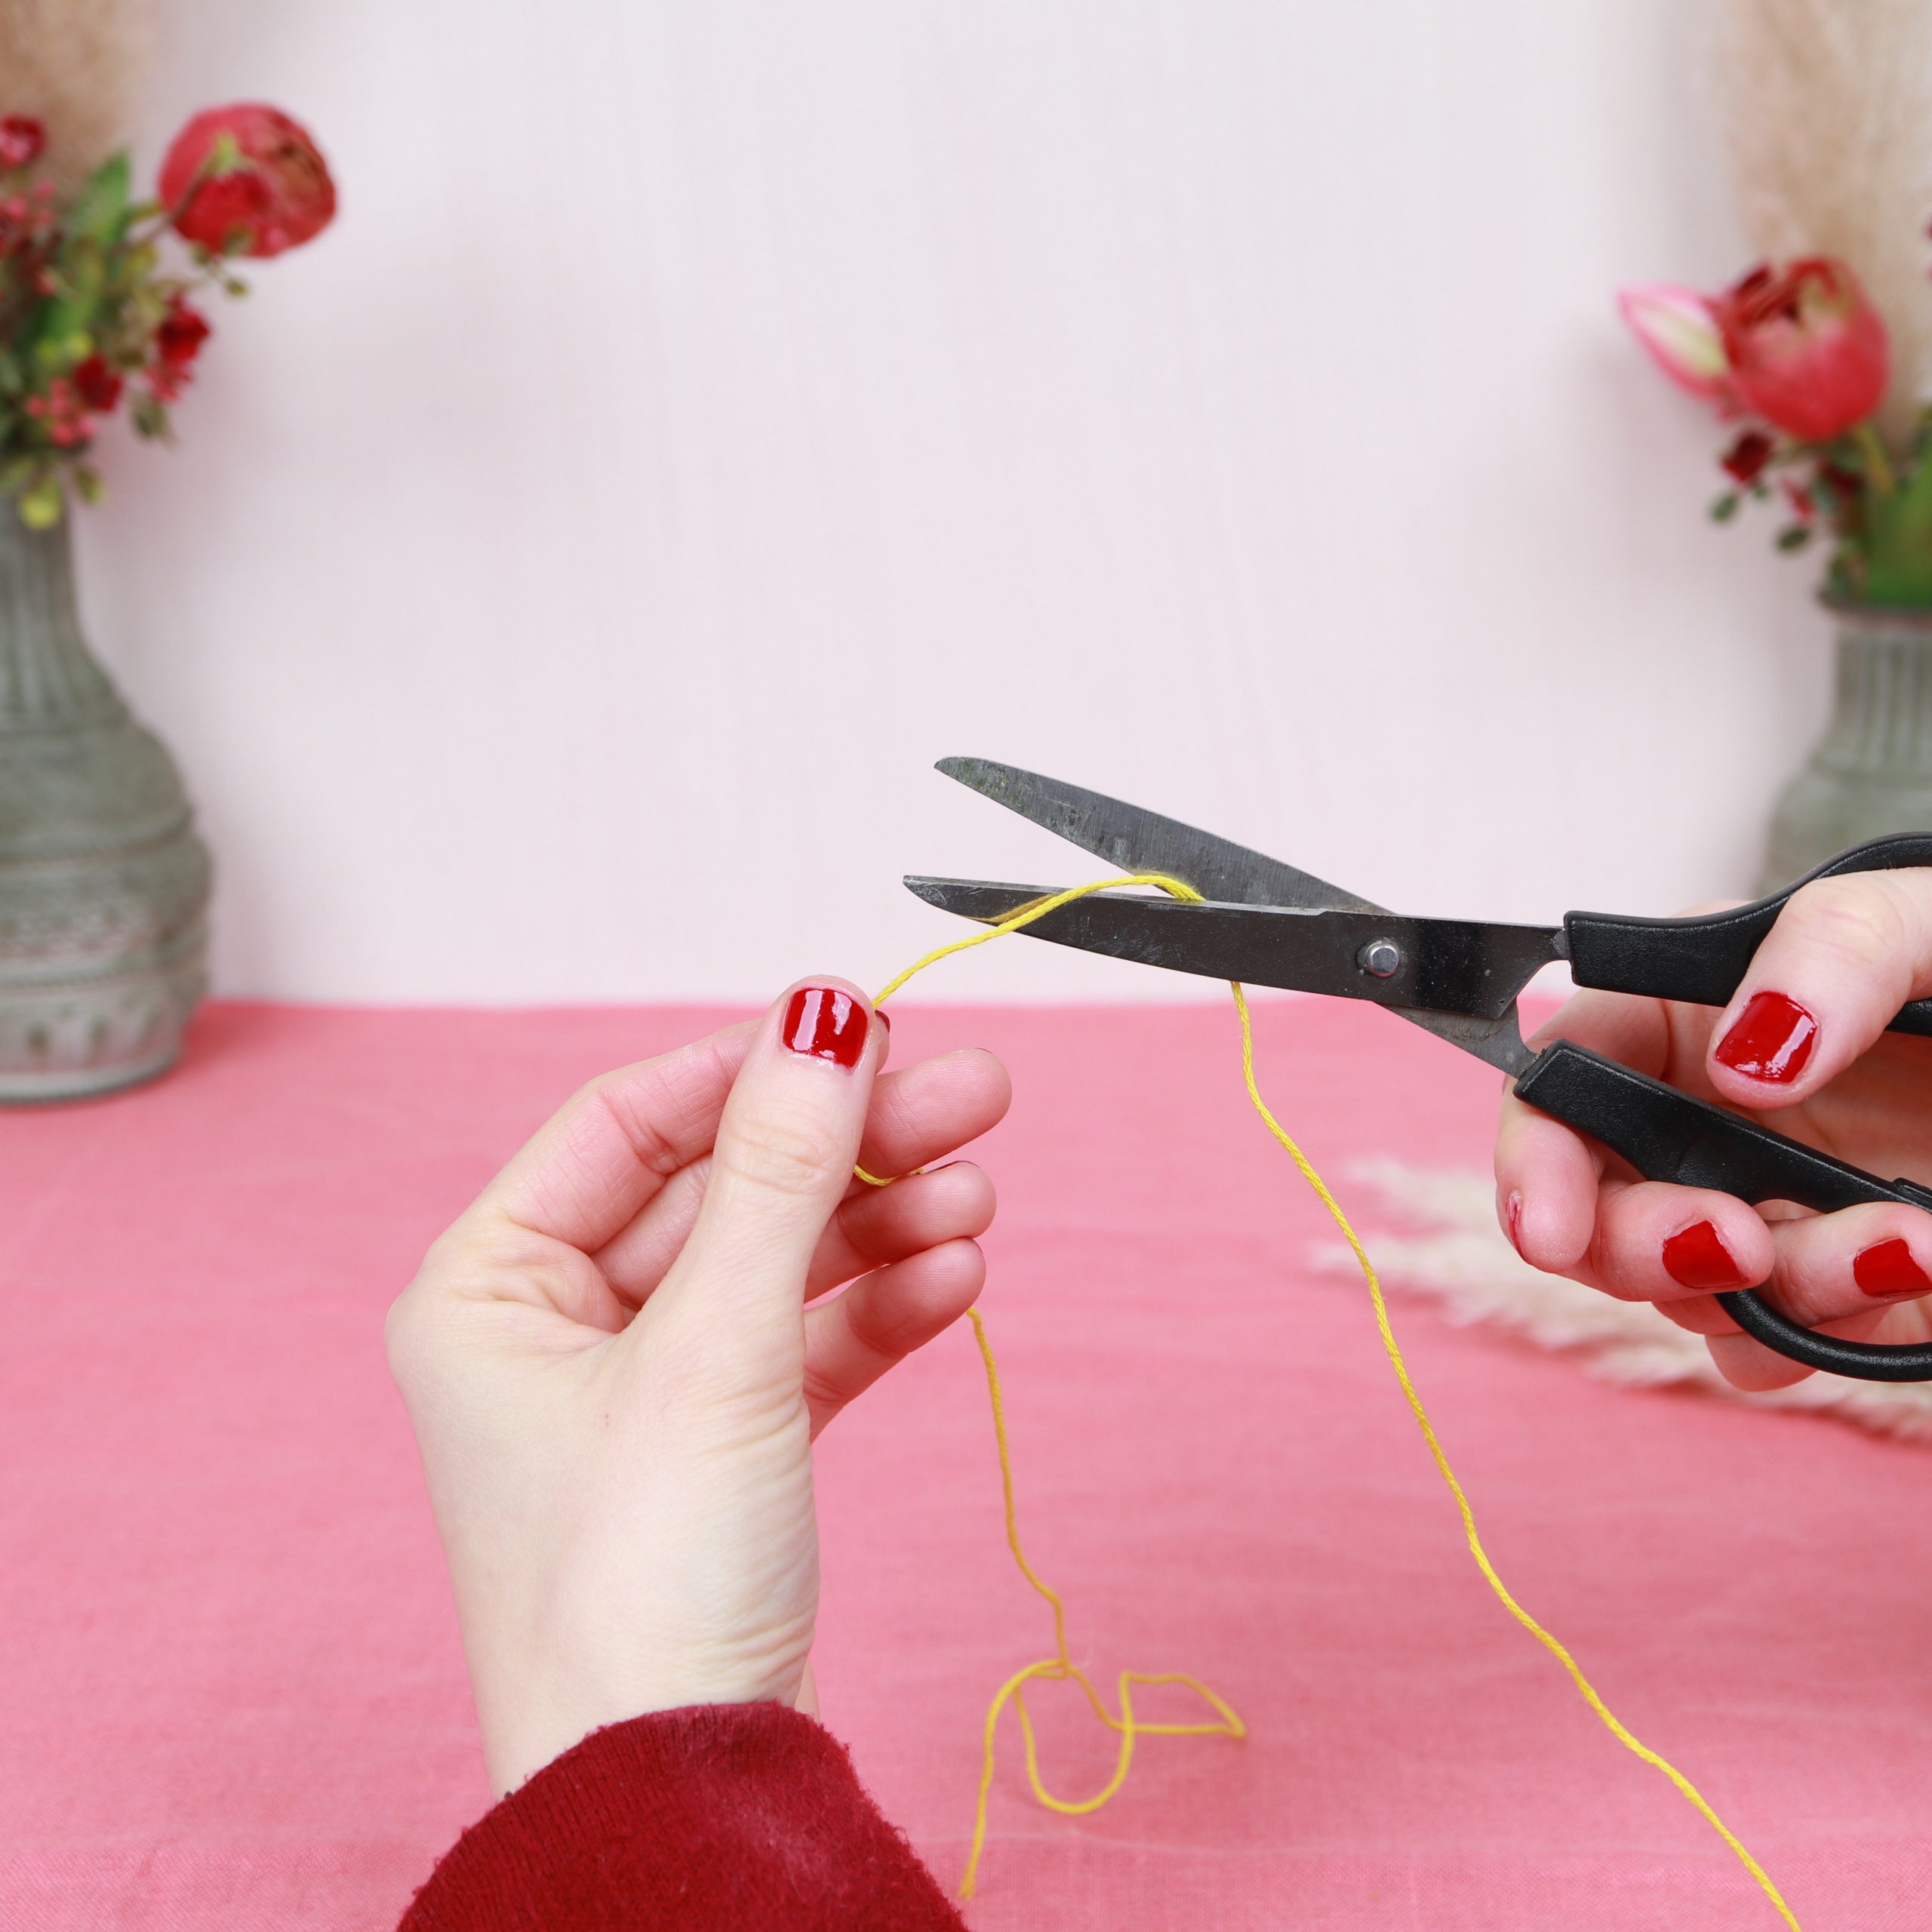
An extra string is needed to hang the pampas grass bunch. This is also cut off from the yarn.
Now I put the extra string on the pampas grass bunches. The upper end will be used later to let the bunch hang down from the stem. The lower end will later be knotted with the strings used for wrapping.

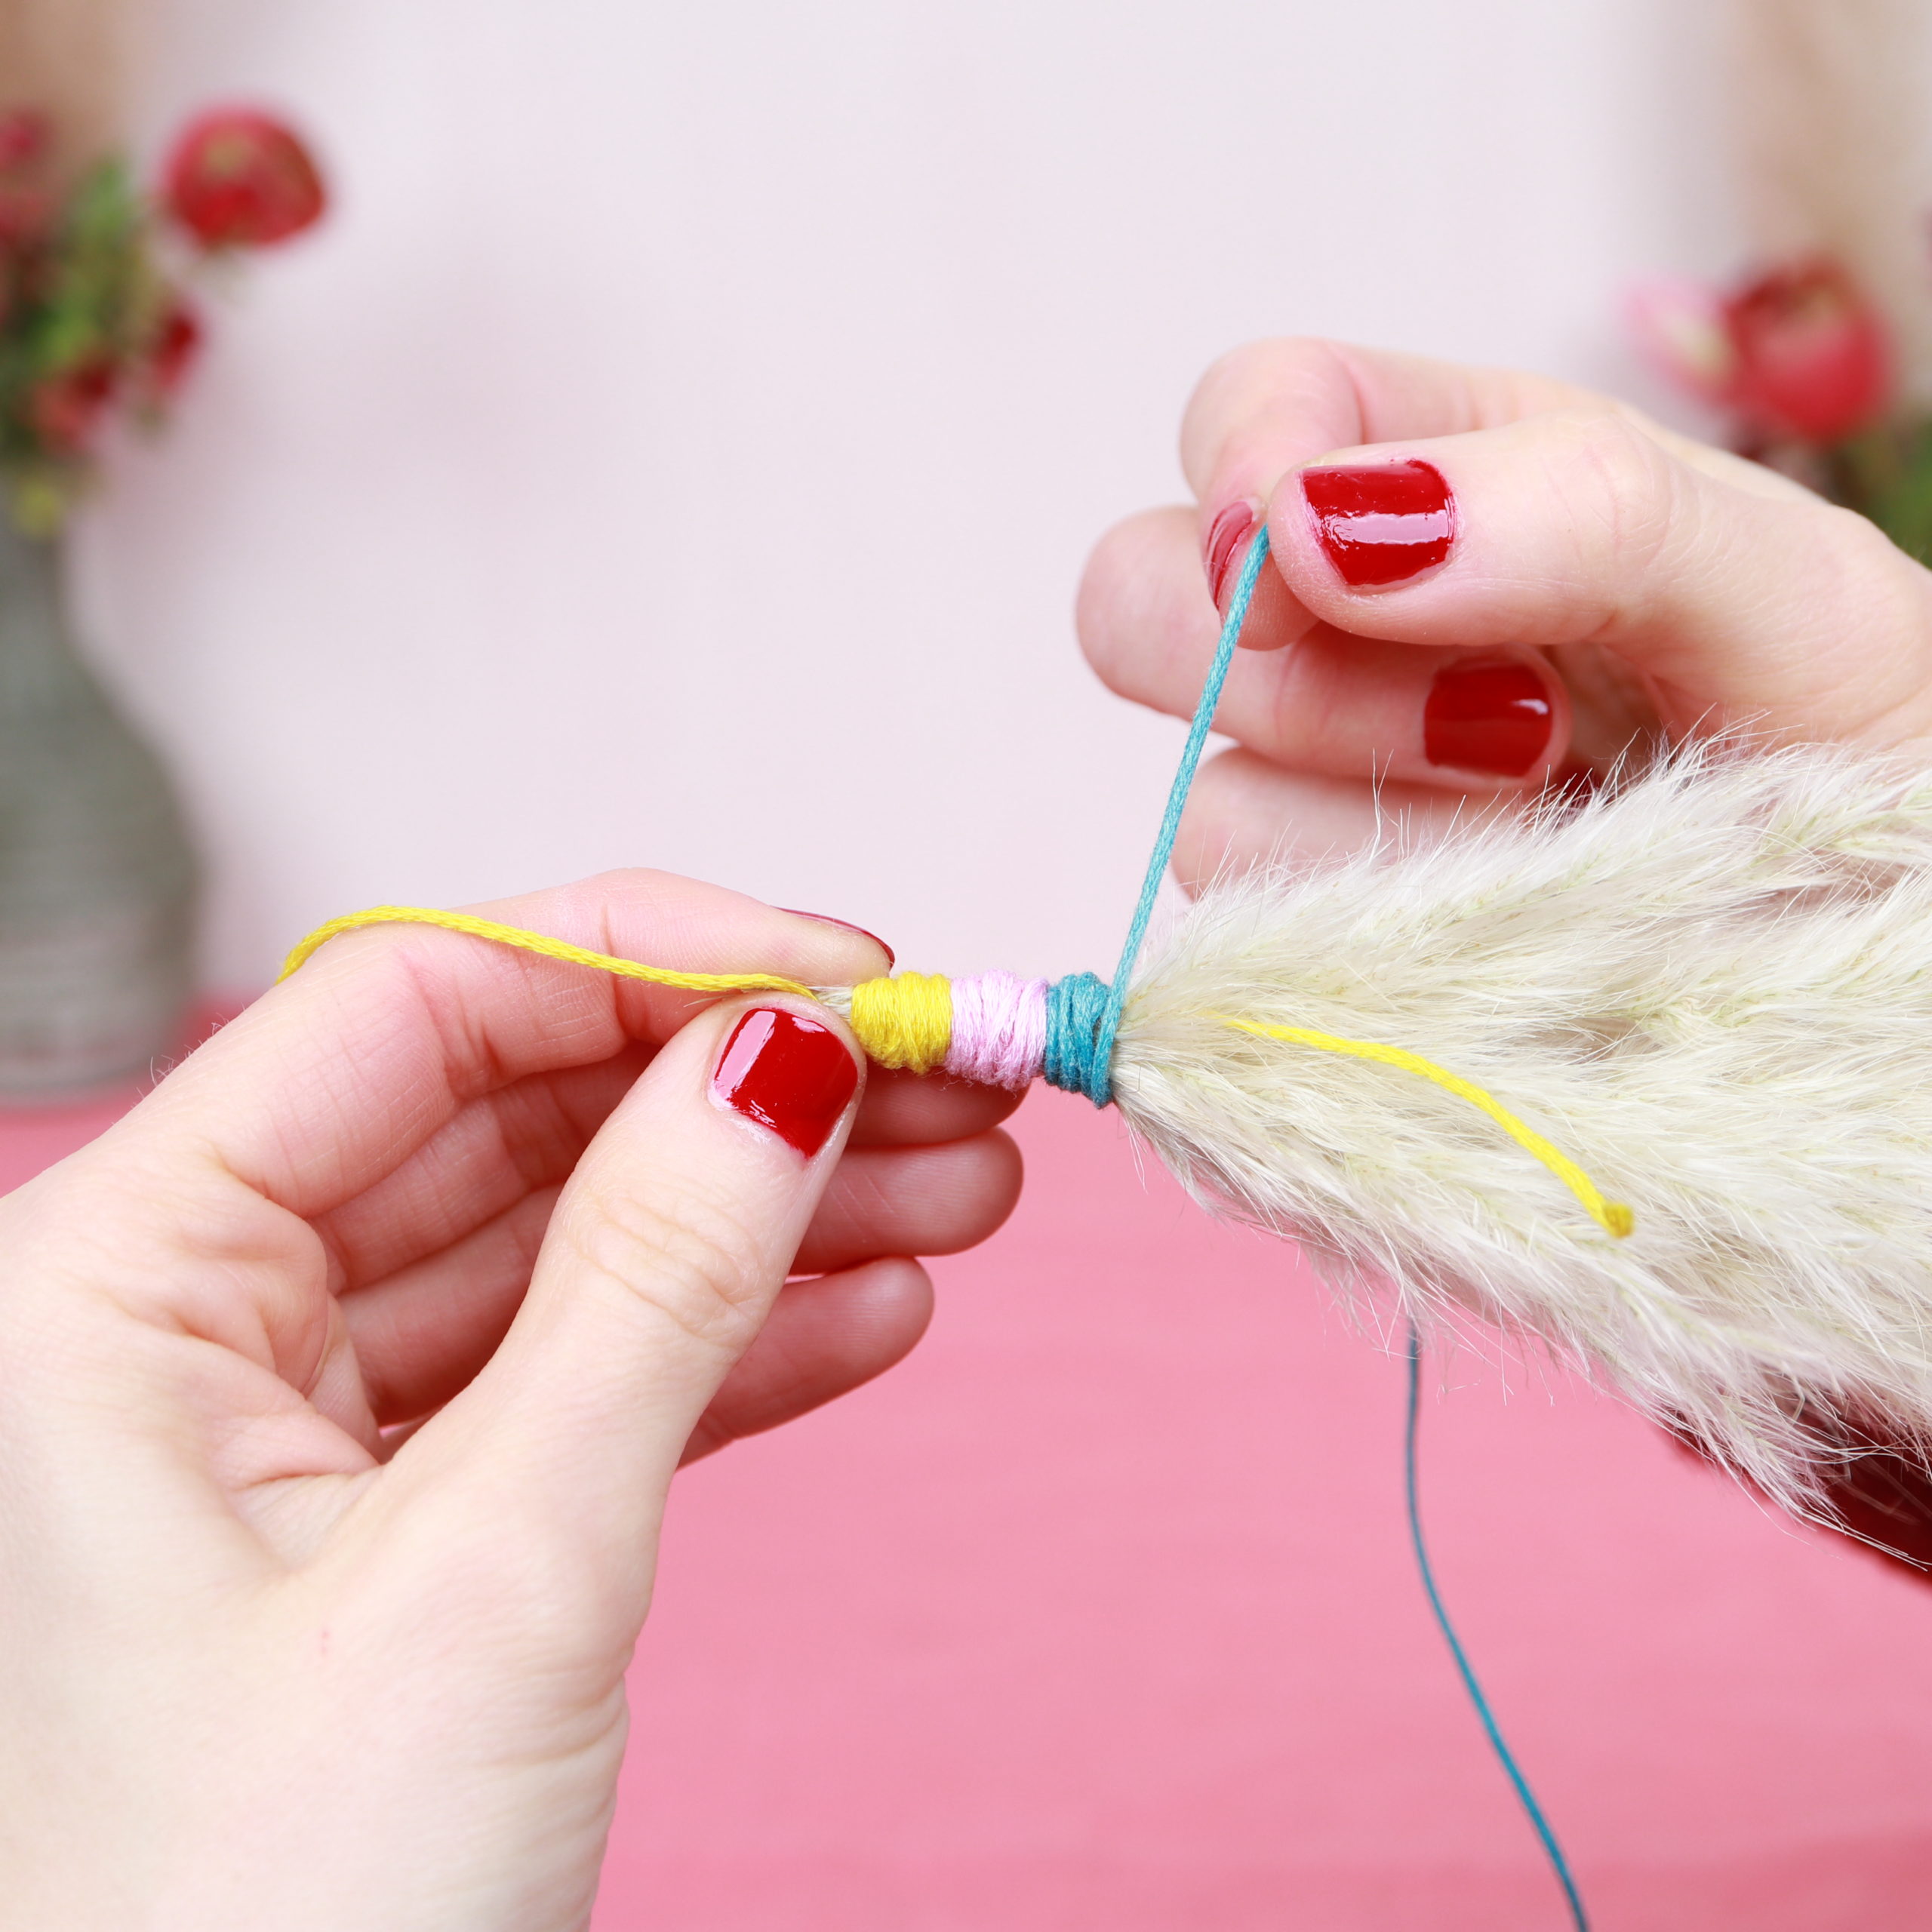
Now I take the multicolored string for wrapping, wrap them around at the top of the bunch one time, and then knot them.
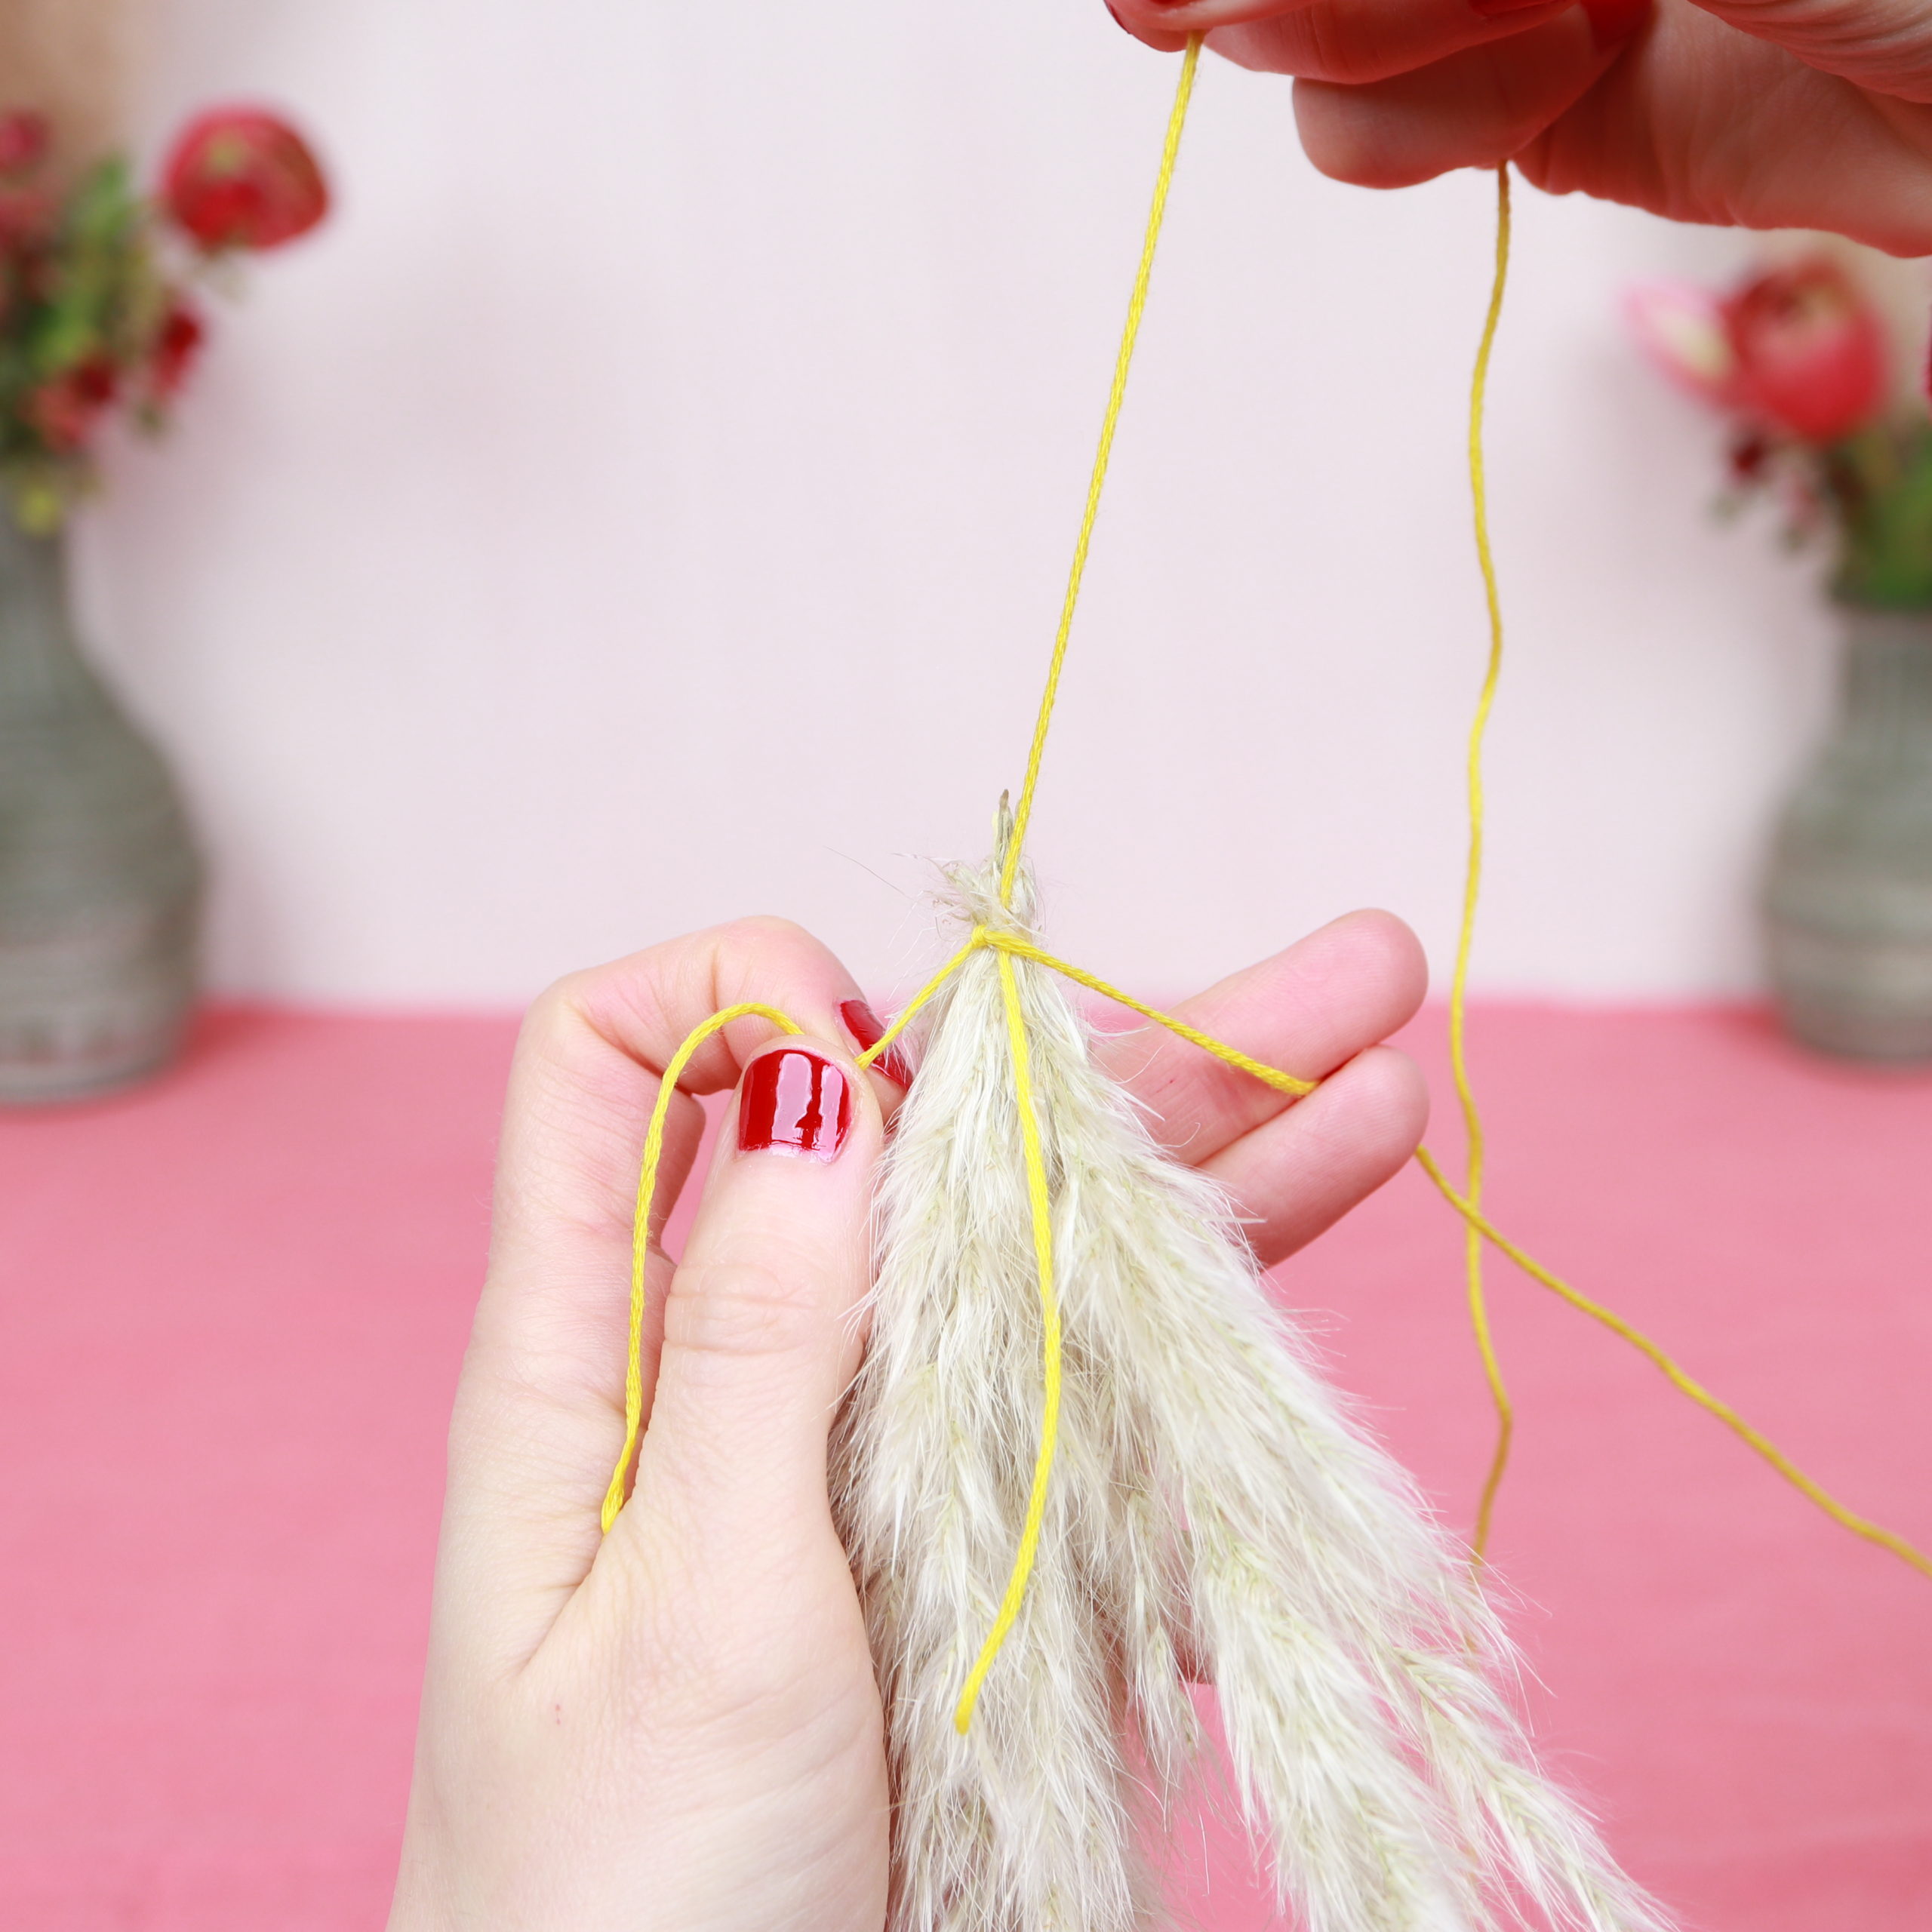
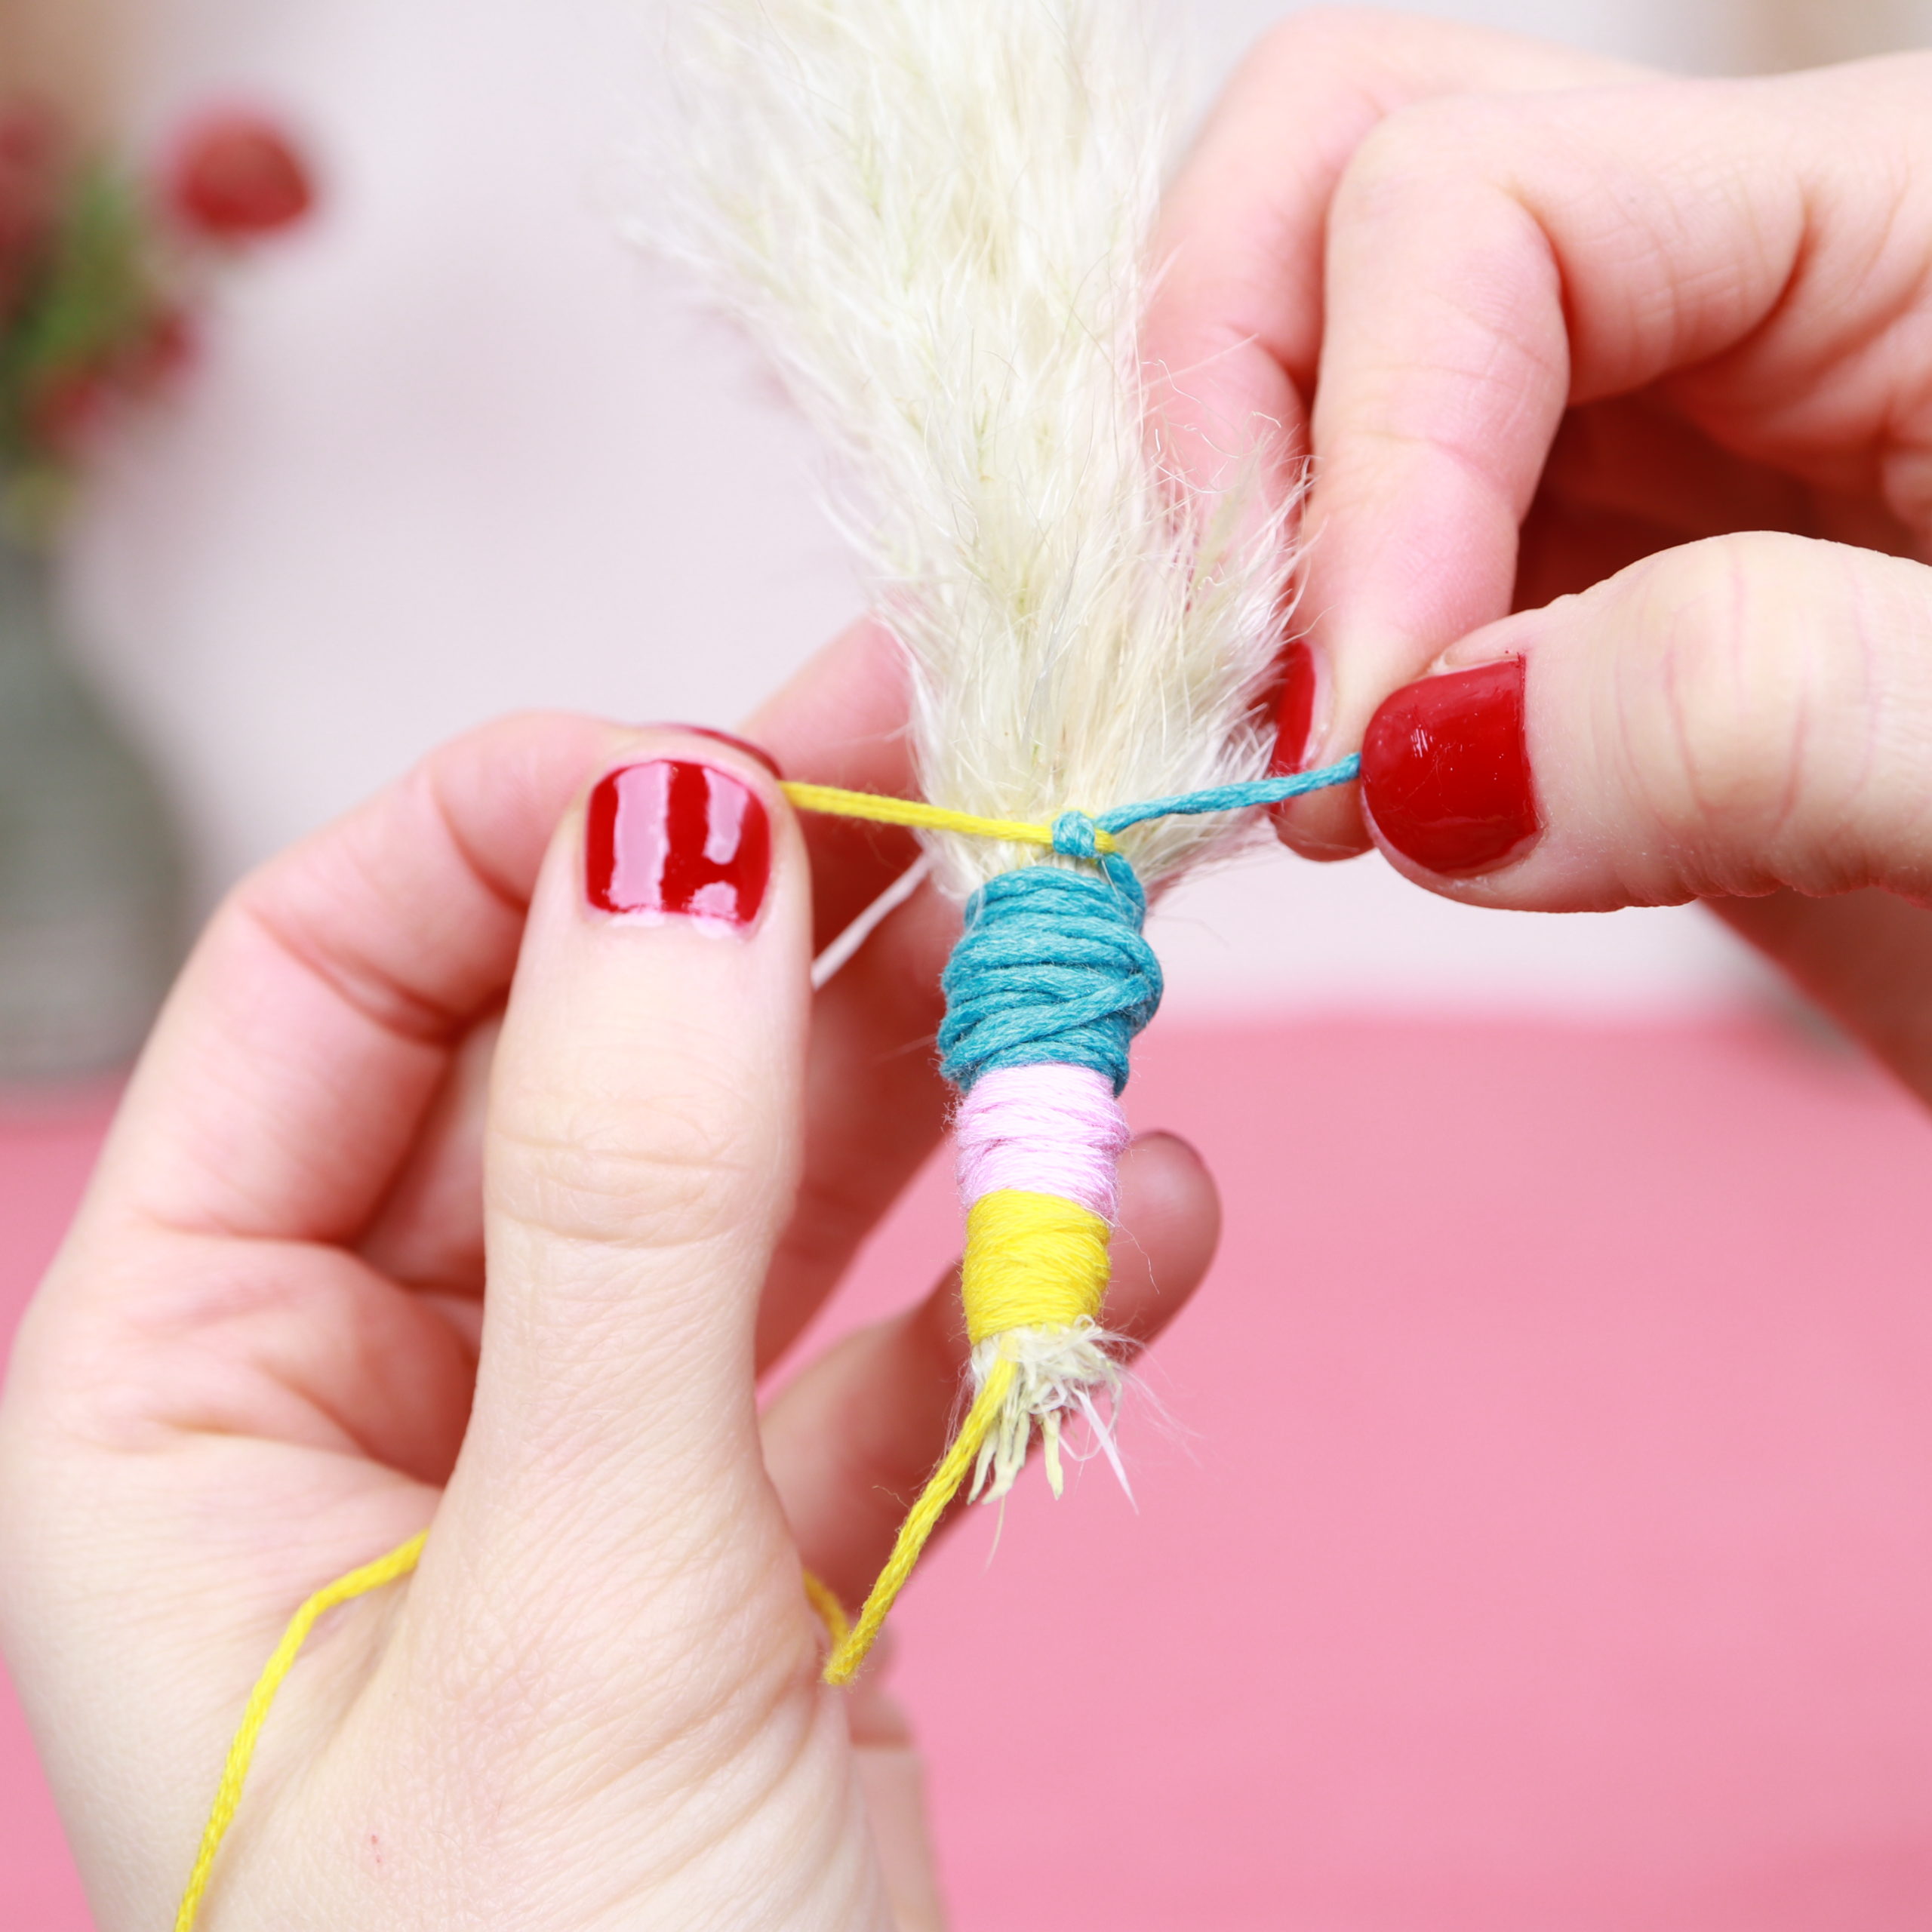
Then I wrap the multicolored string around the pampas grass bunch multiple times. Moreover, I use the extra string for the wrapping.
Finally, I knot both ends and cut off any excess.
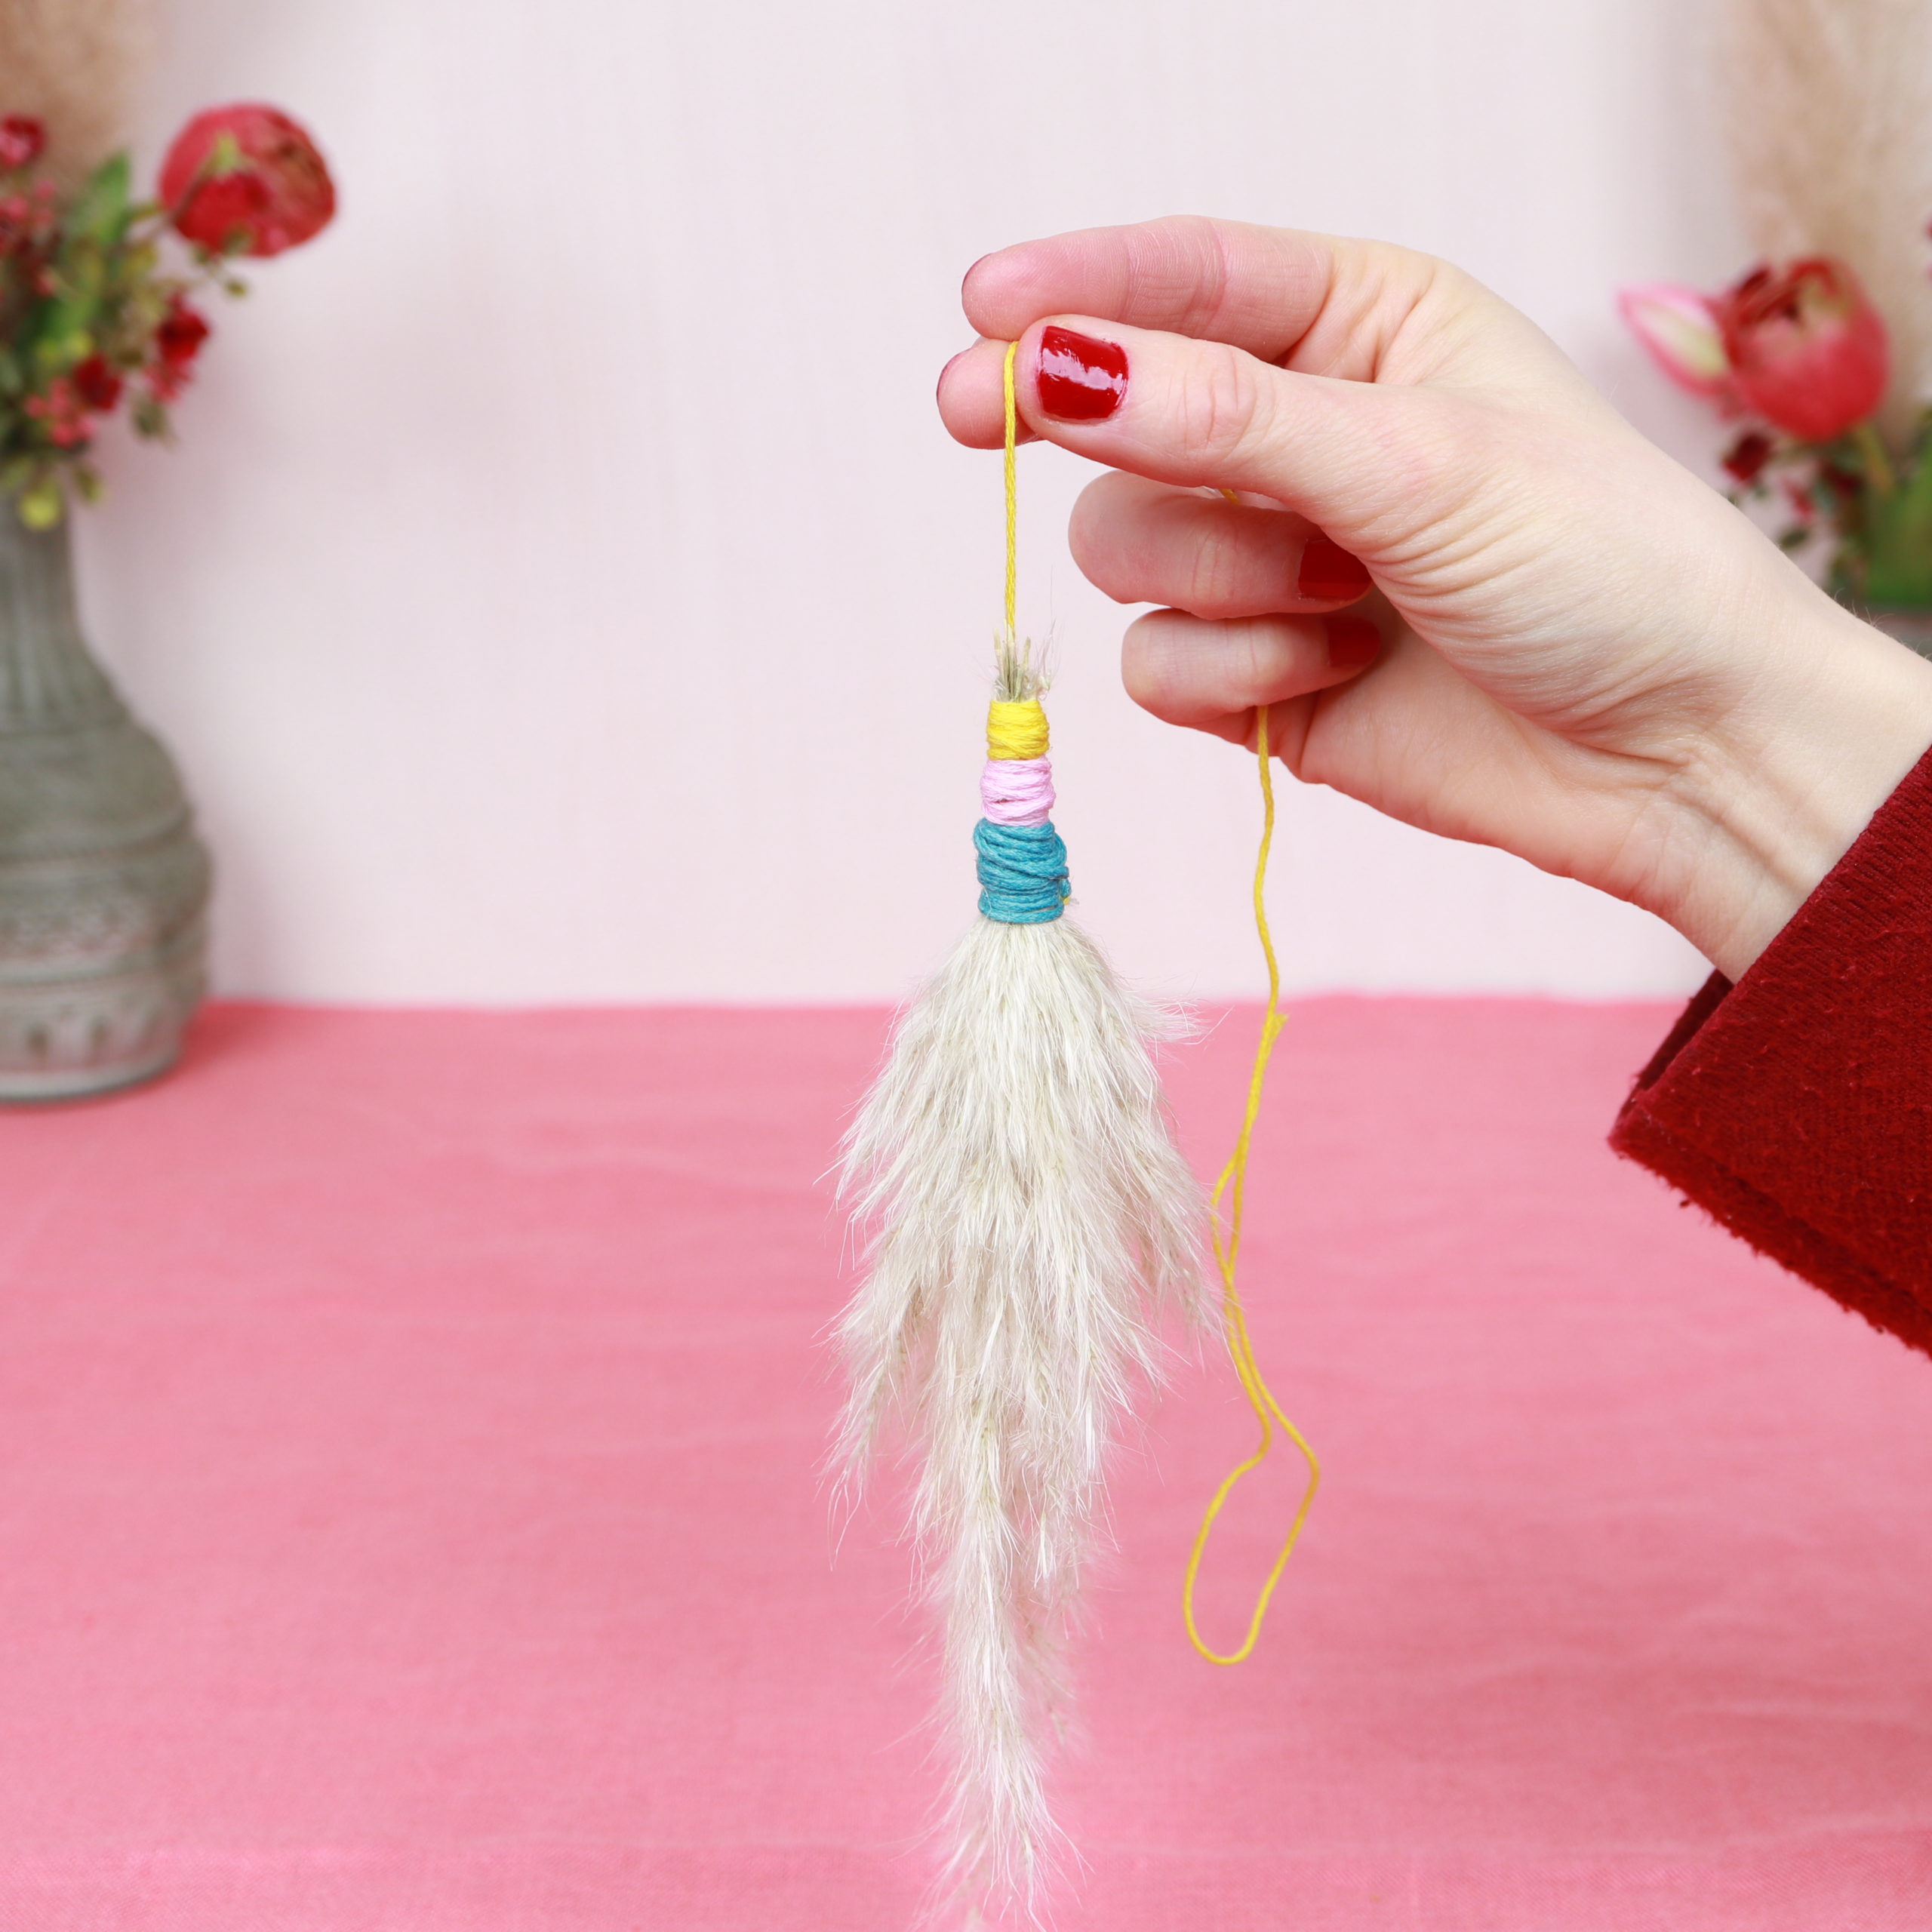
The pampas bunch then looks like this:
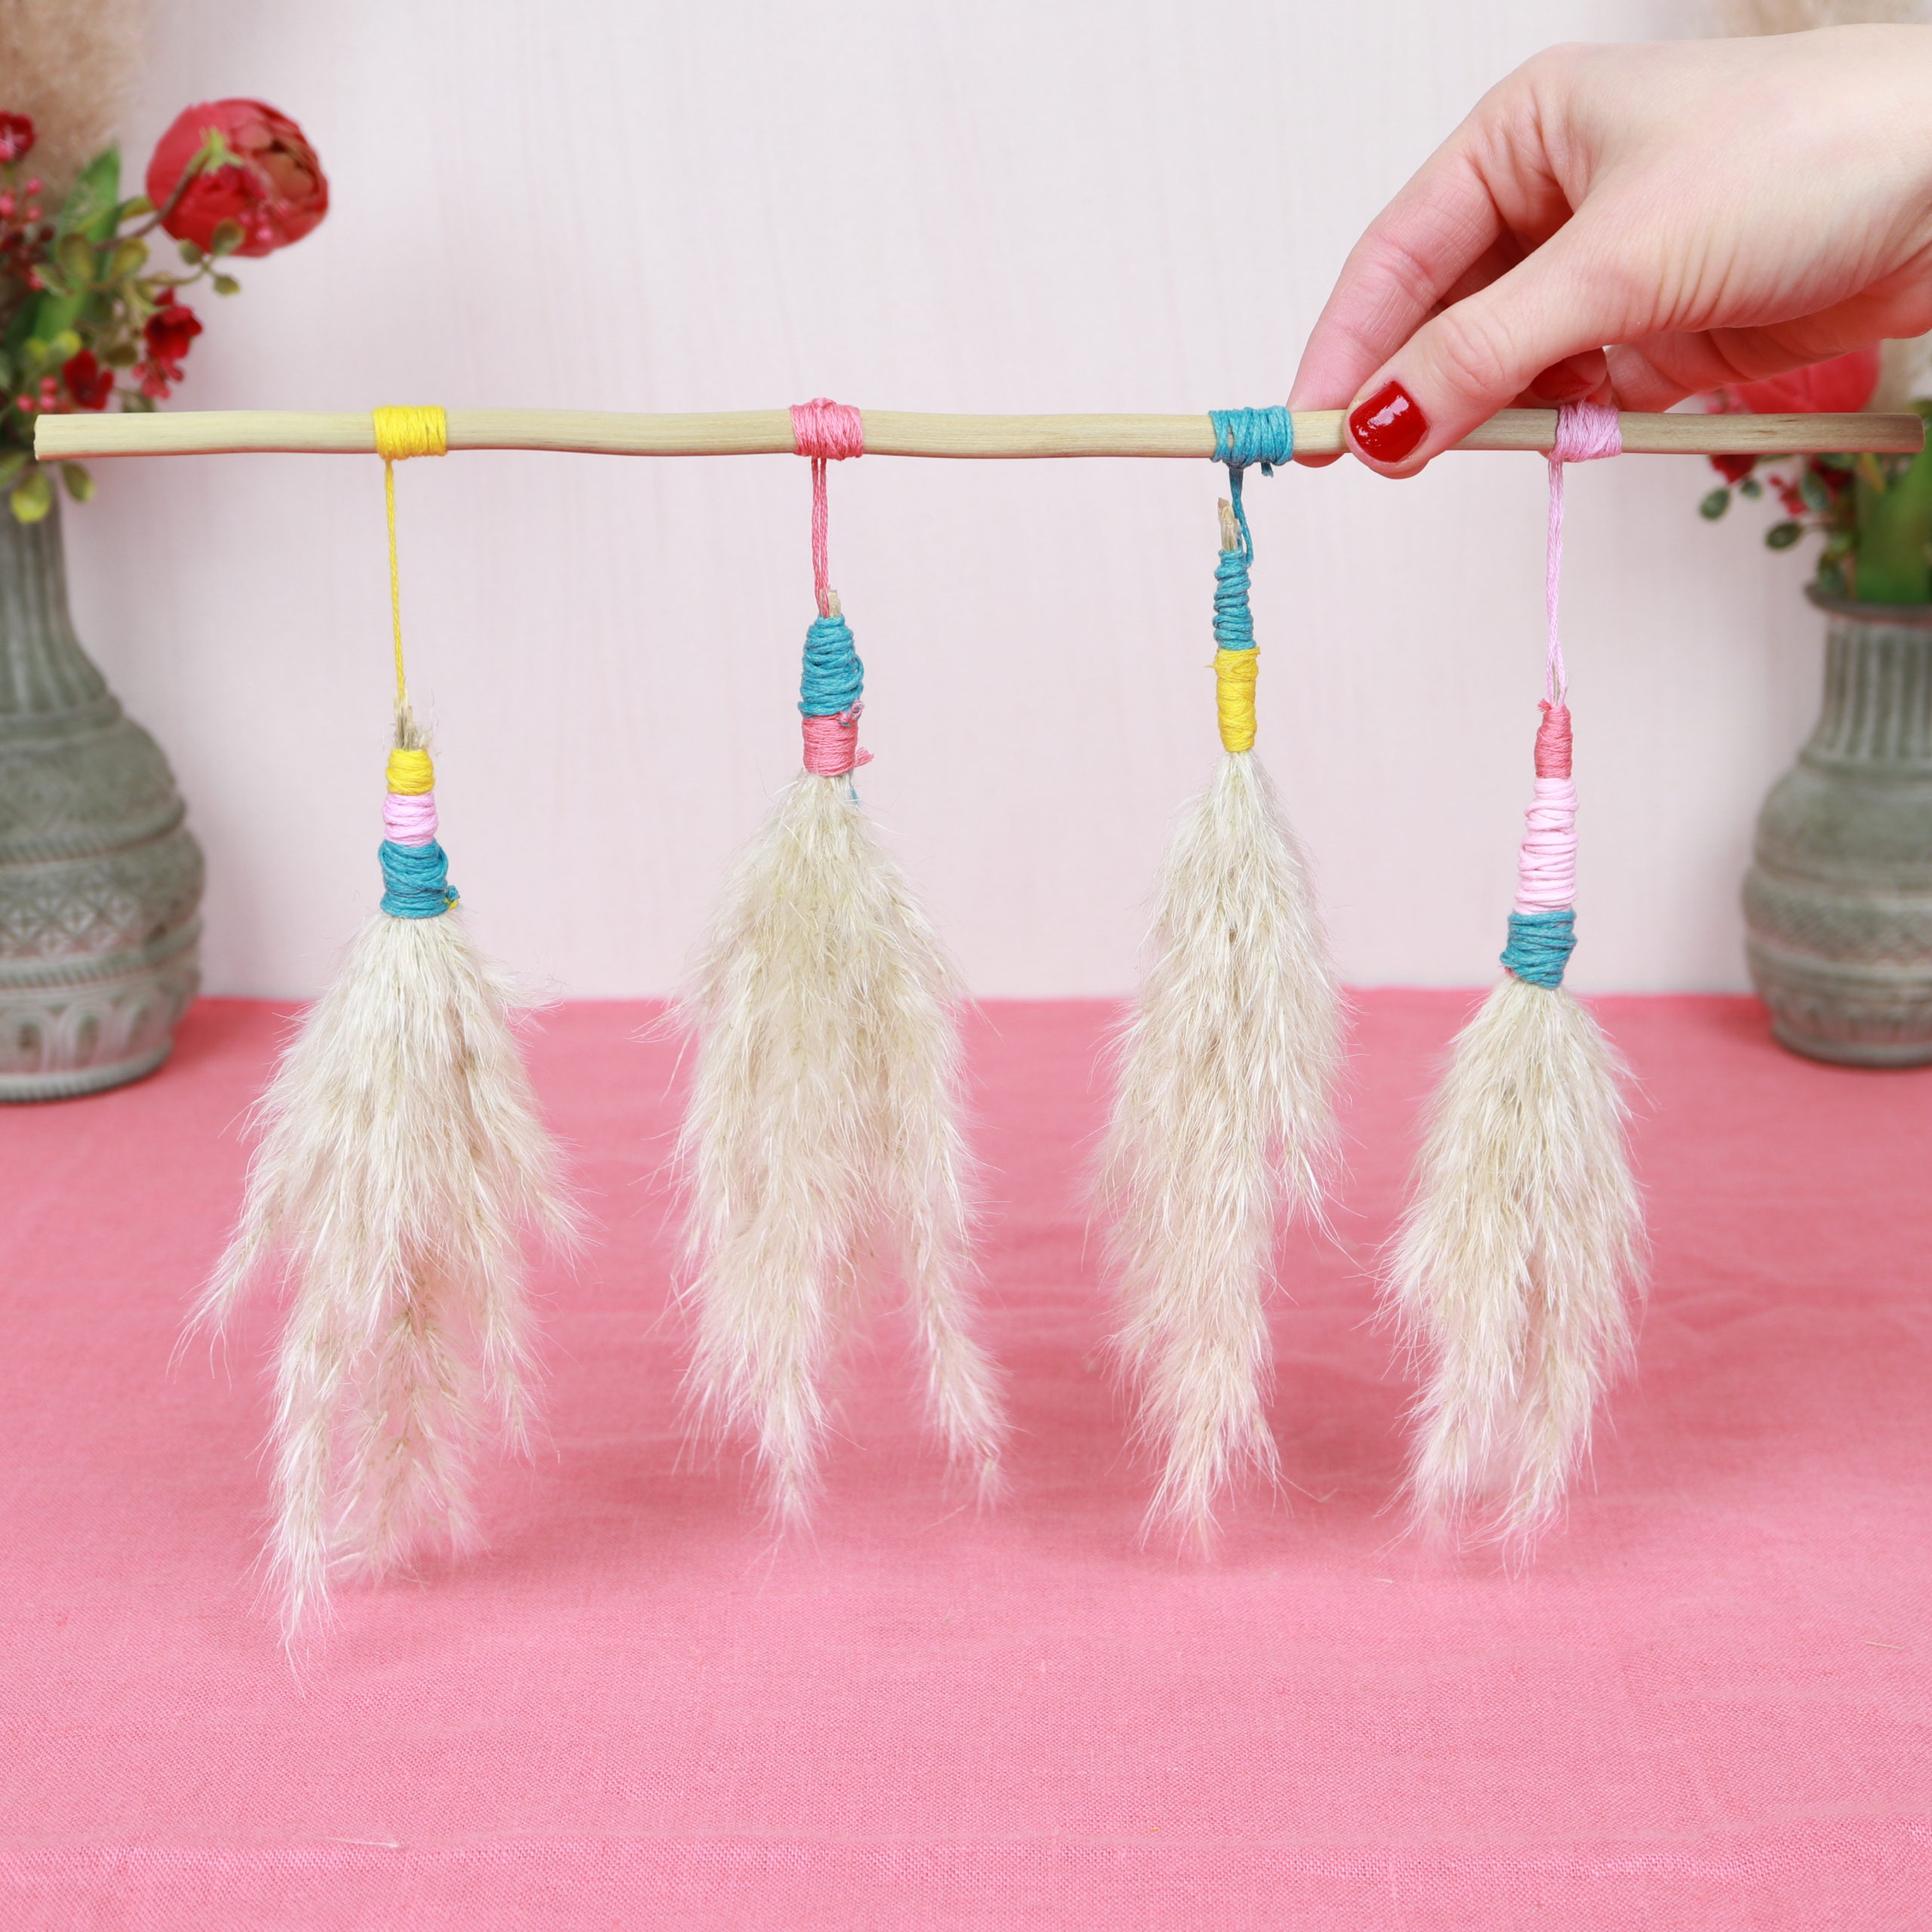
Step 3: Tie pampas grass bunches on the stem
The pampas grass bunches are now tied to the stem.
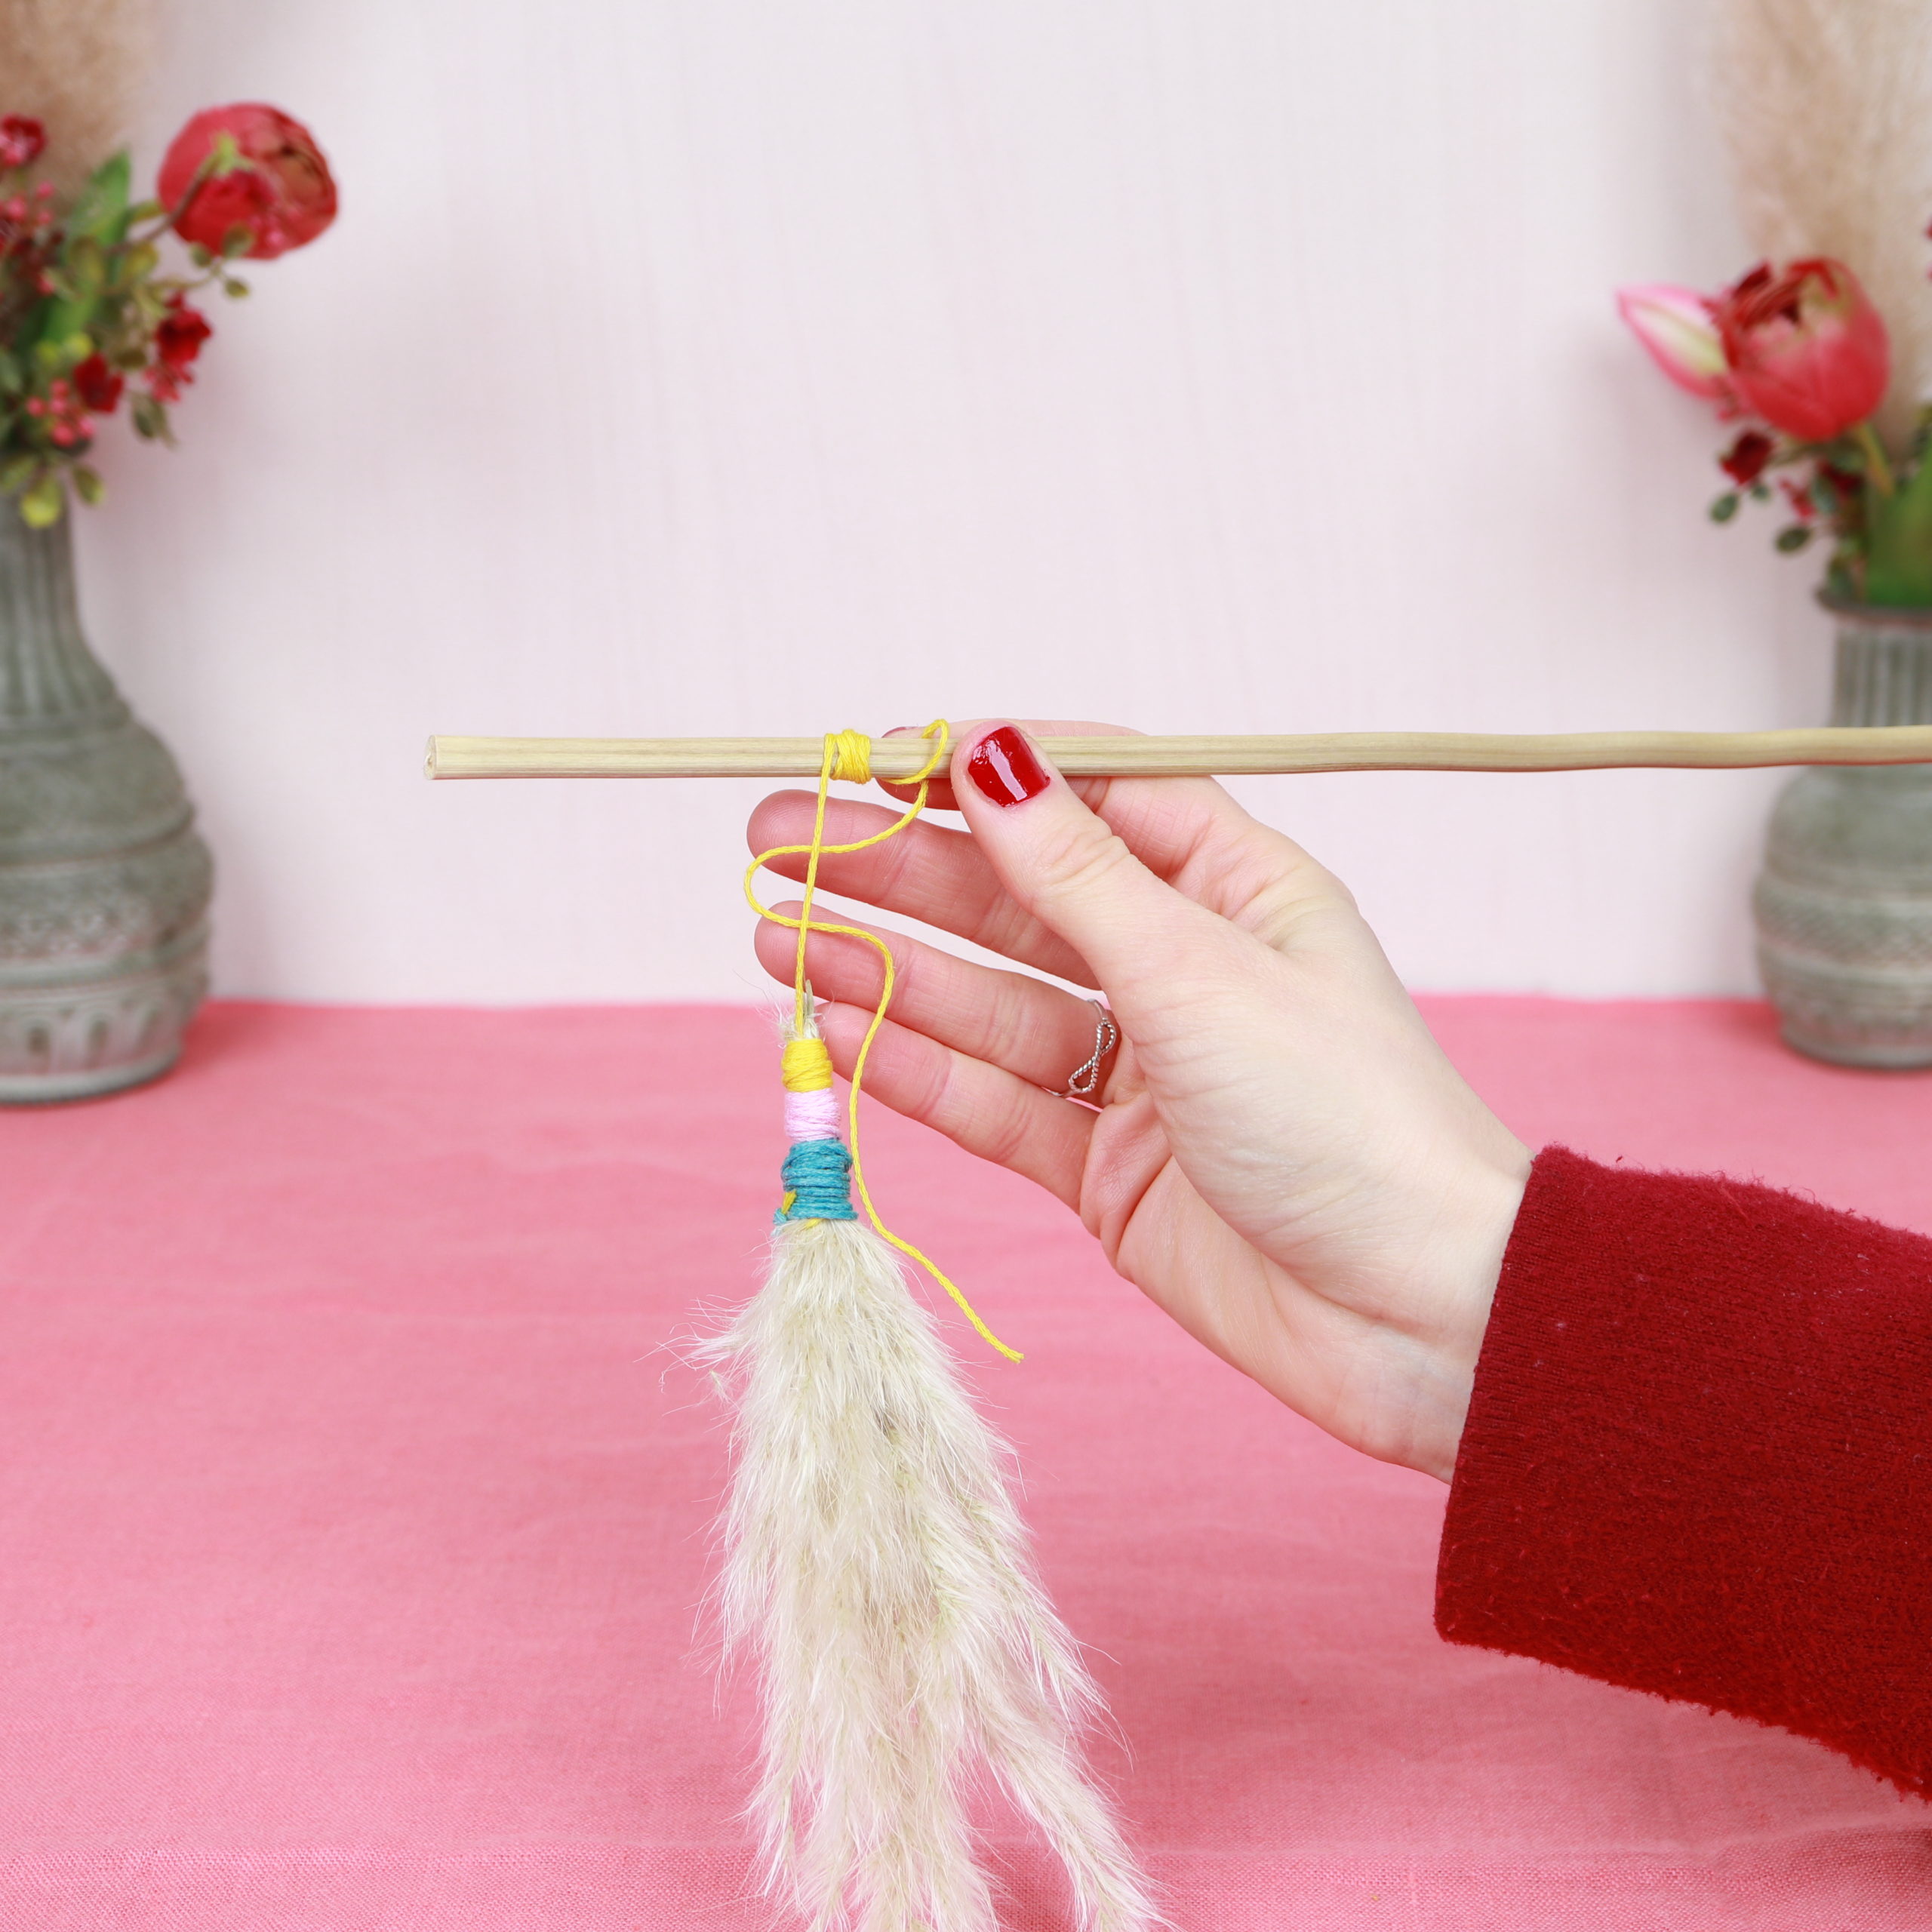
You can also wrap the stem with some yarn at this point.
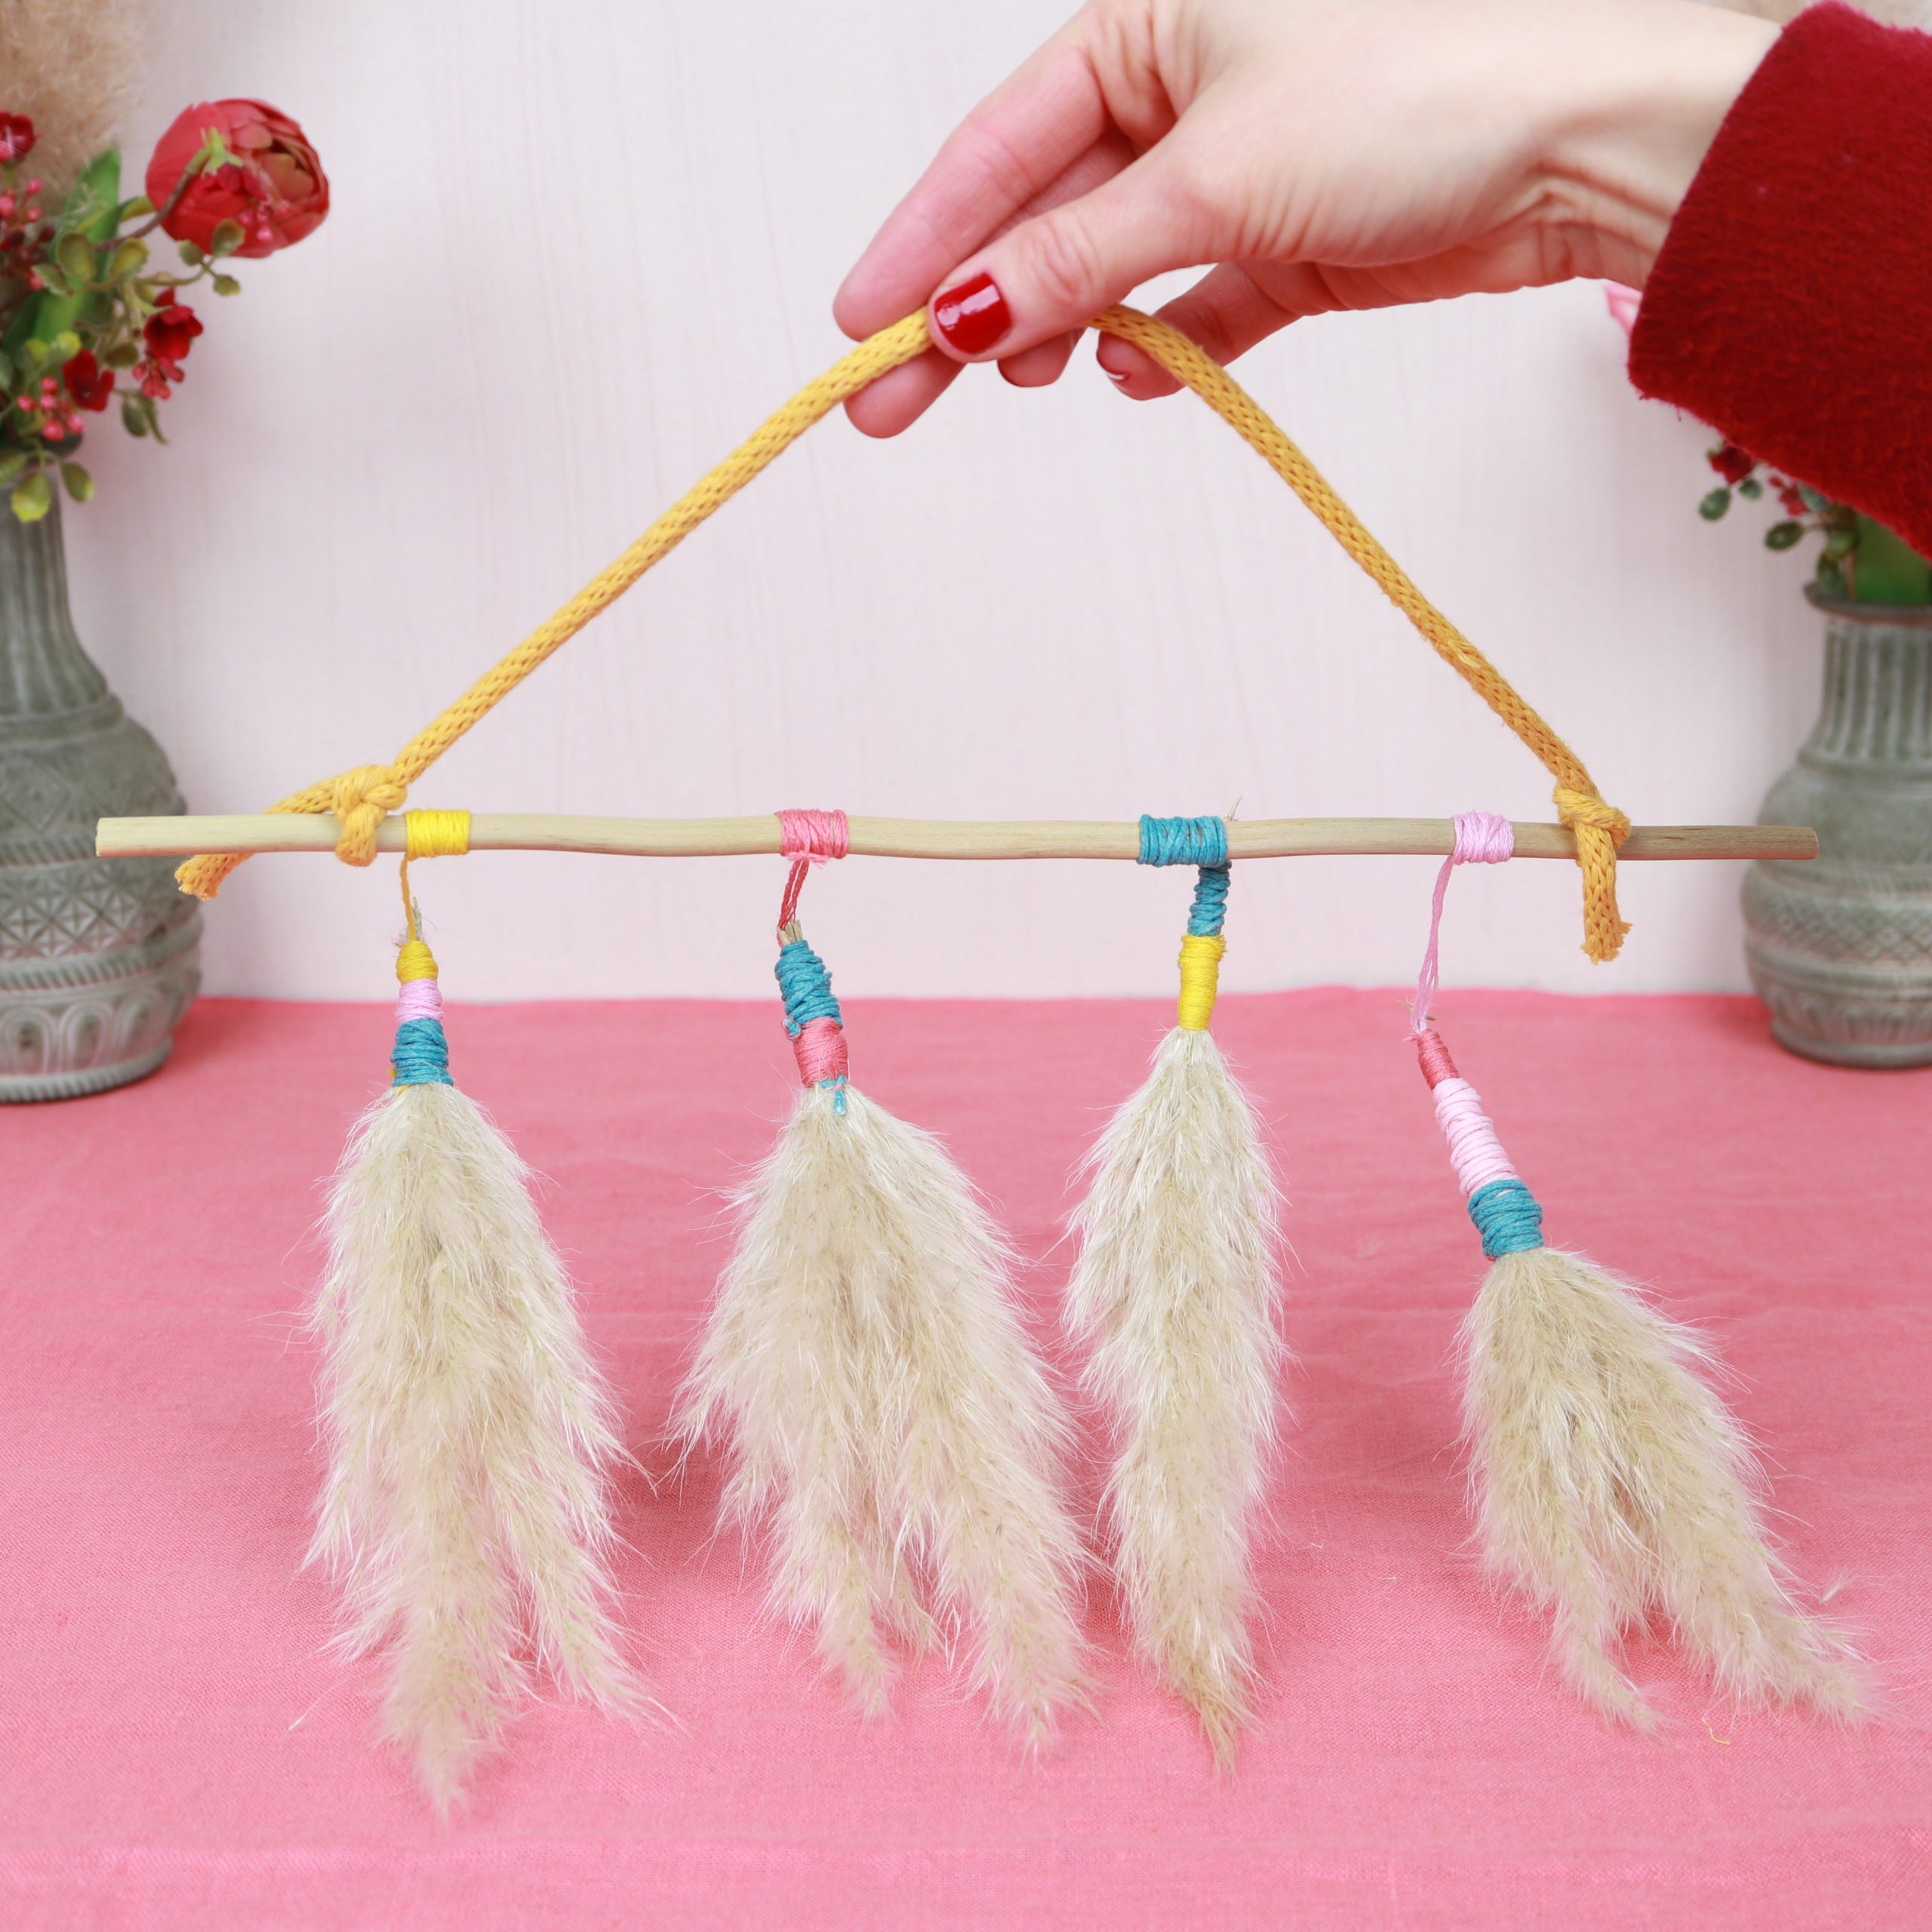
Step 4: Attach macramé yarn
Finally, I cut a long piece of macramé yarn.

The ends of which I attach to the stem with a knot.
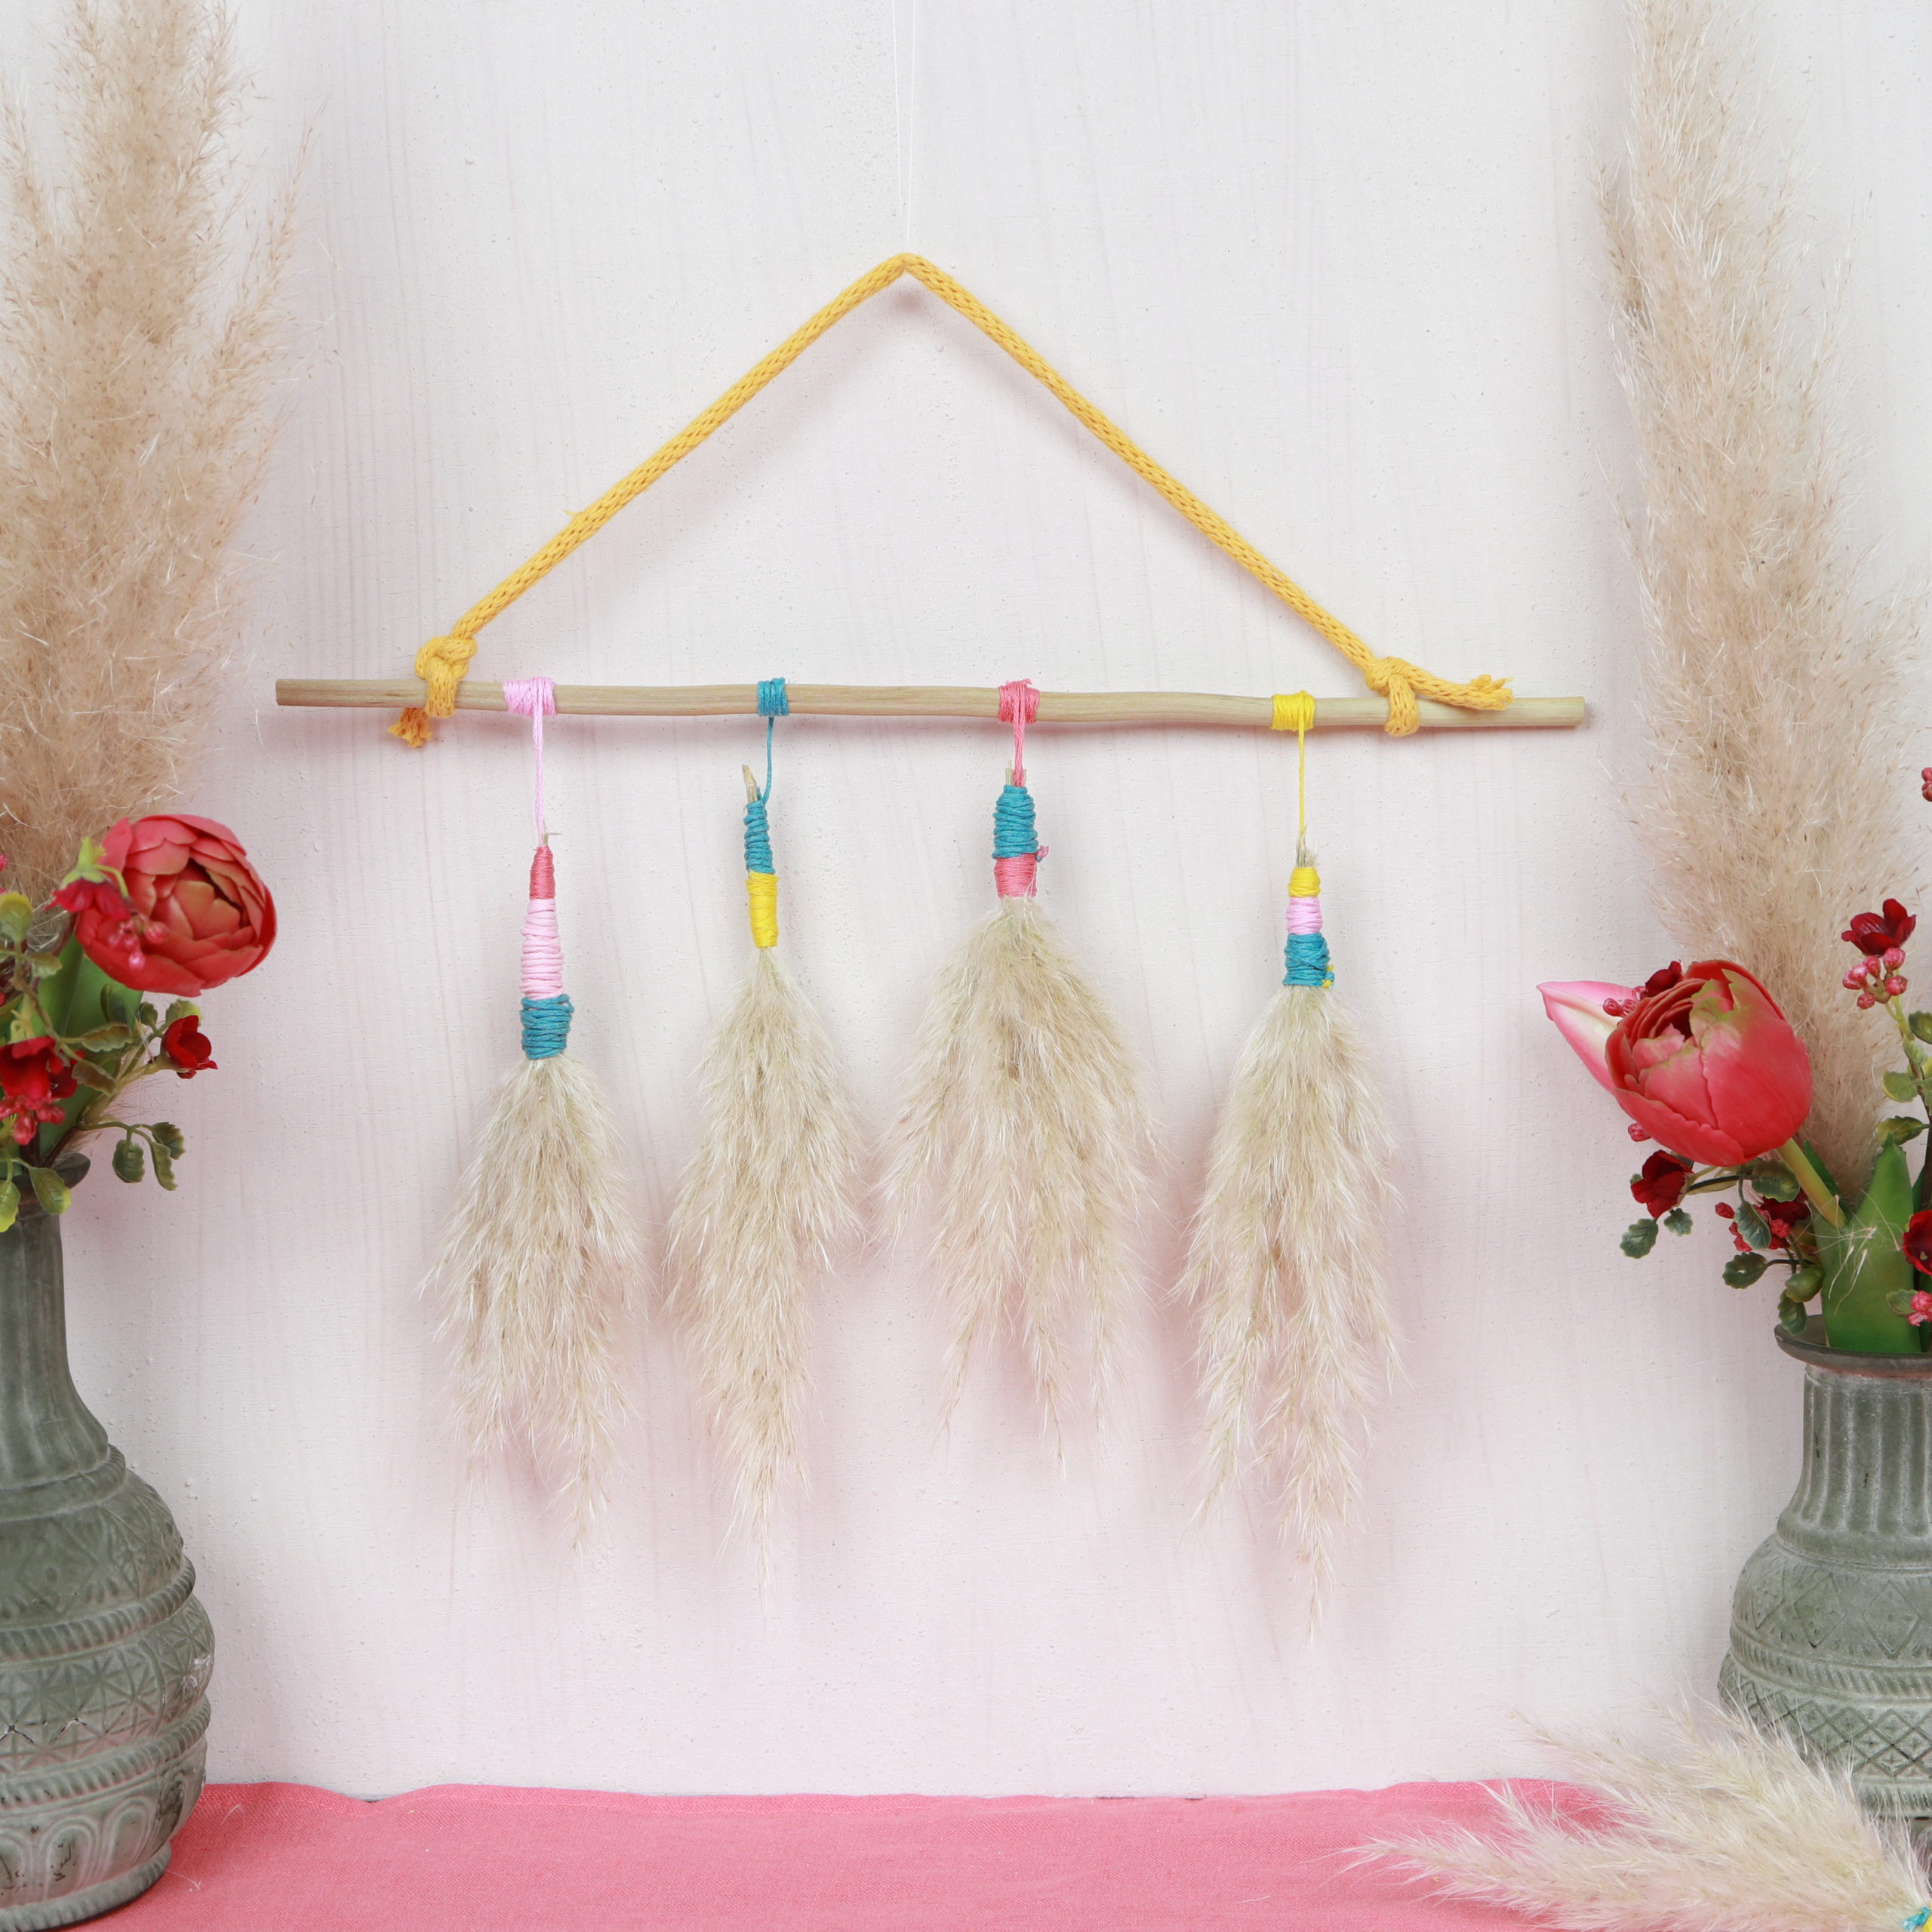
And ready is the colorful decoration with pampas grass! I hope this DIY has made you as much fun as me and you enjoy the sight of the colorful wall decoration!
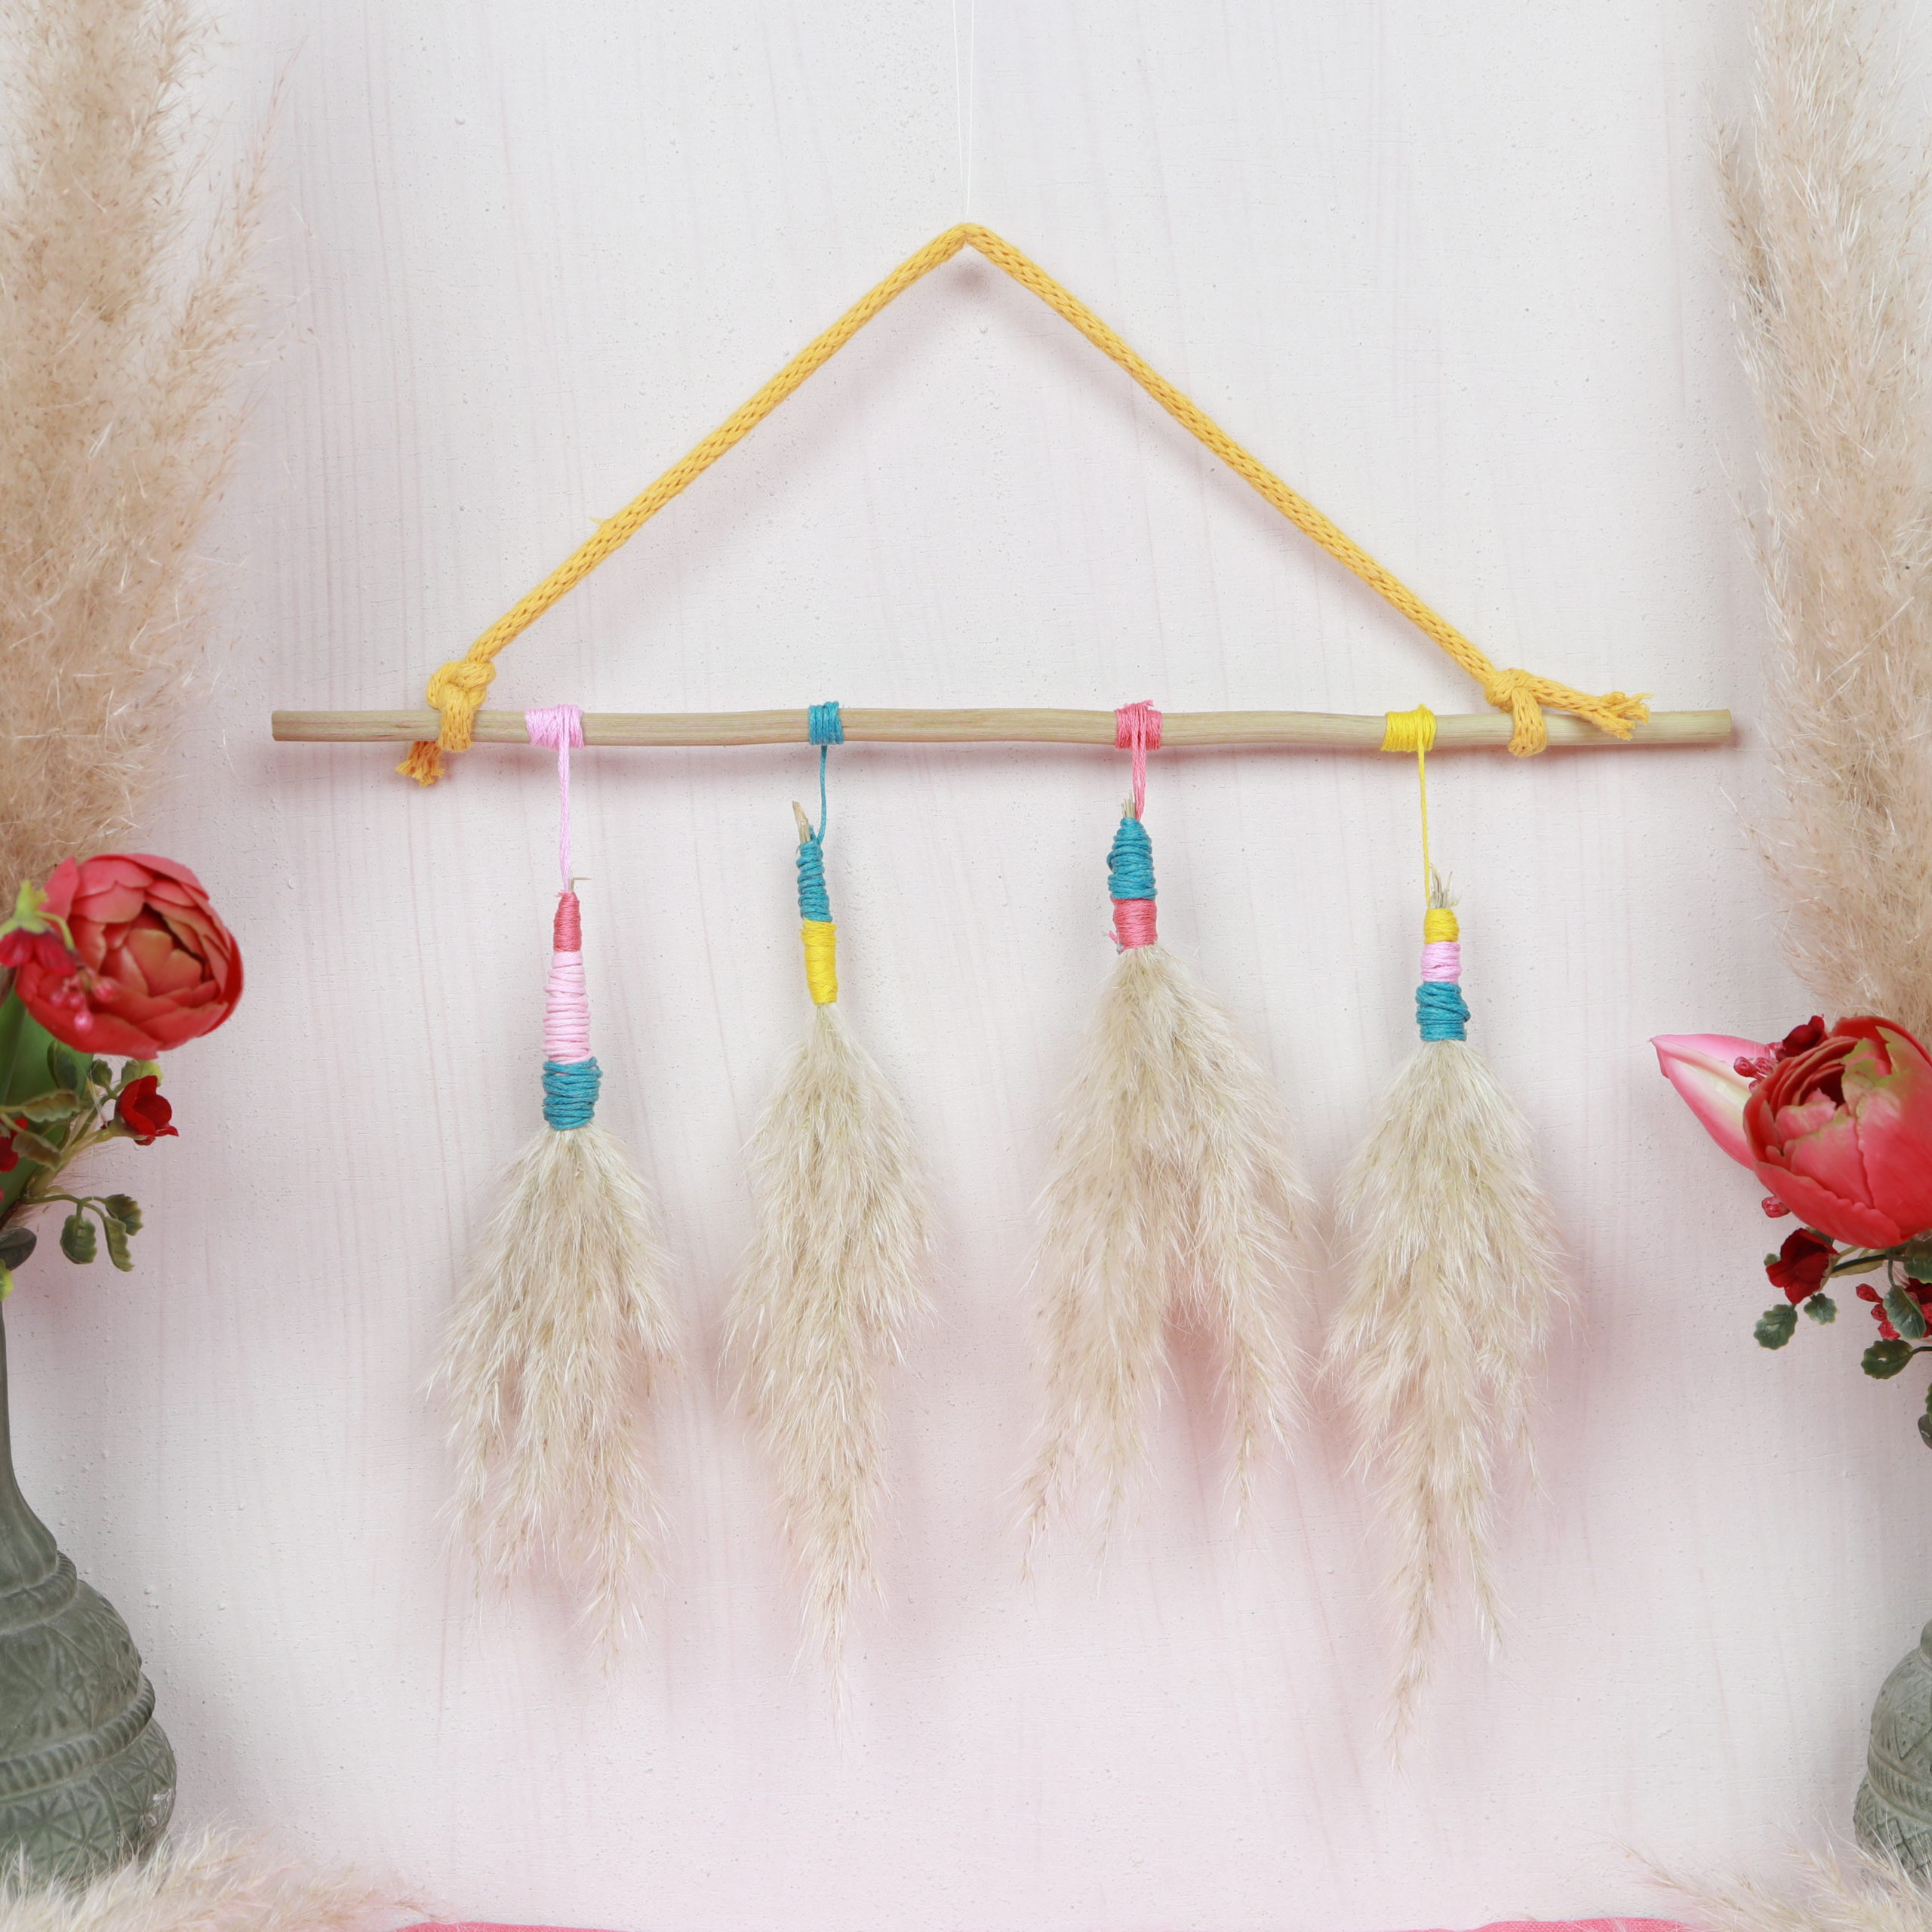
Have a nice day!
Jenny <3