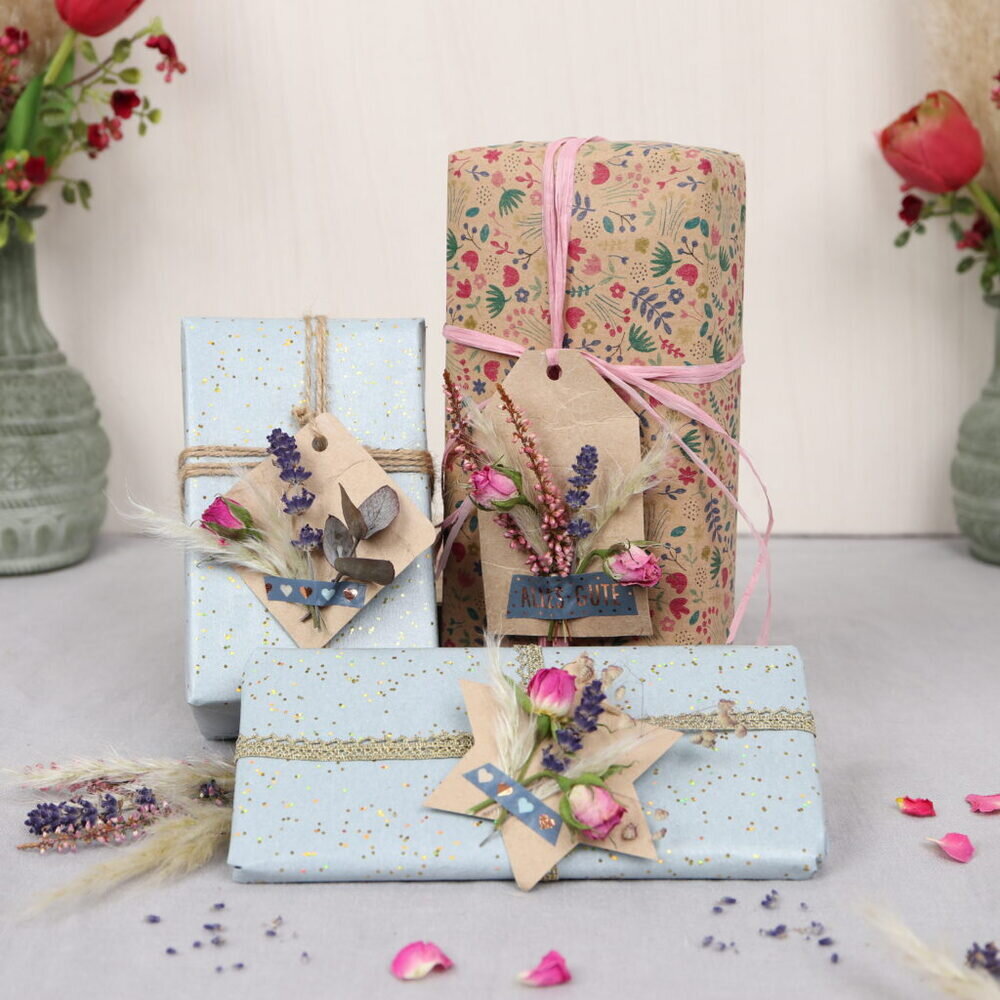
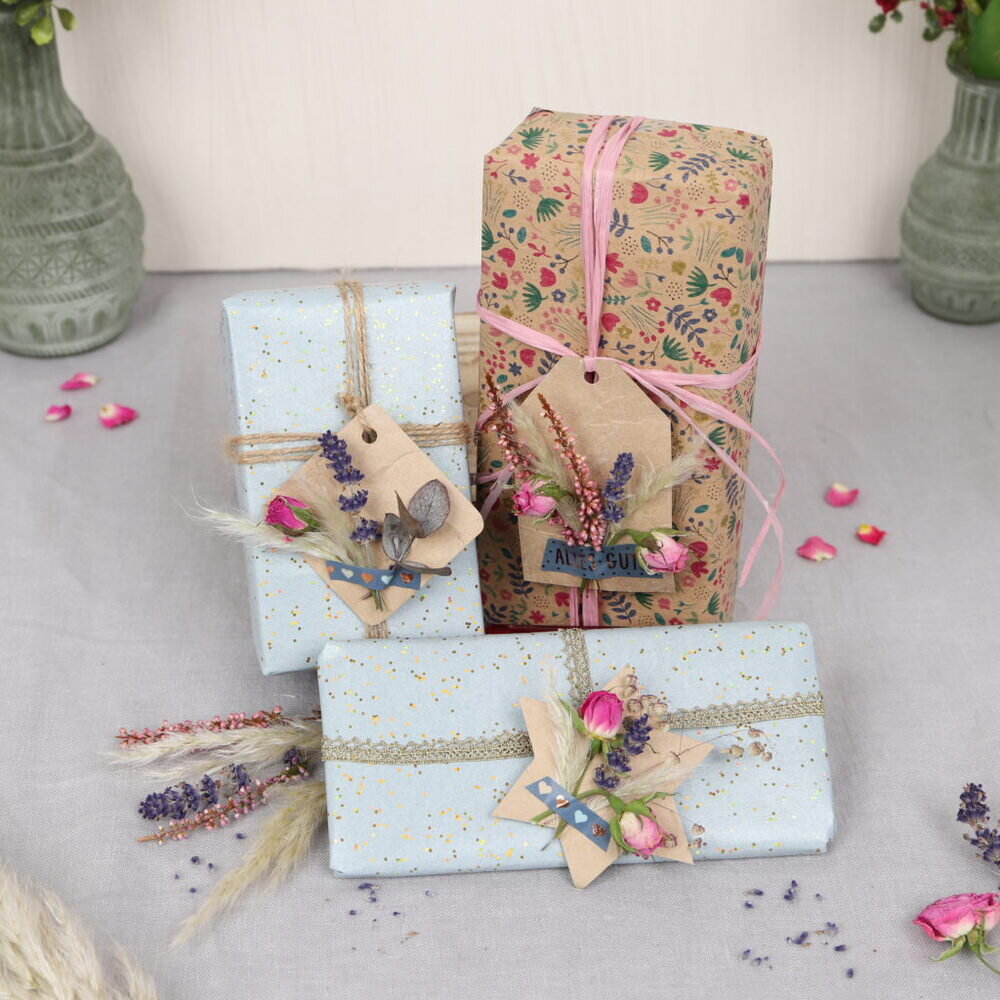
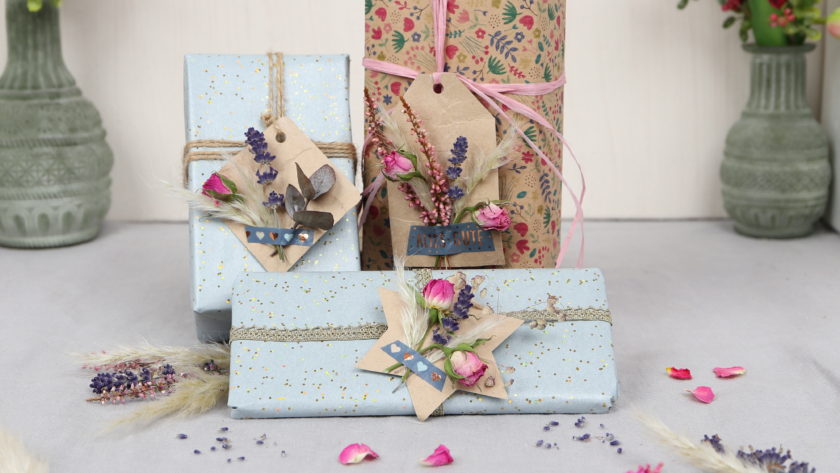
Do you also like to collect empty milk cartons for crafting? My collection is growing steadily. Now it’s time to reduce my stock pile of a milk cartons ;). I have already made planters for succulents from milk cartons. Today, I show you another simple upcycling idea, namely a gift tag from milk cartons with dried flowers!
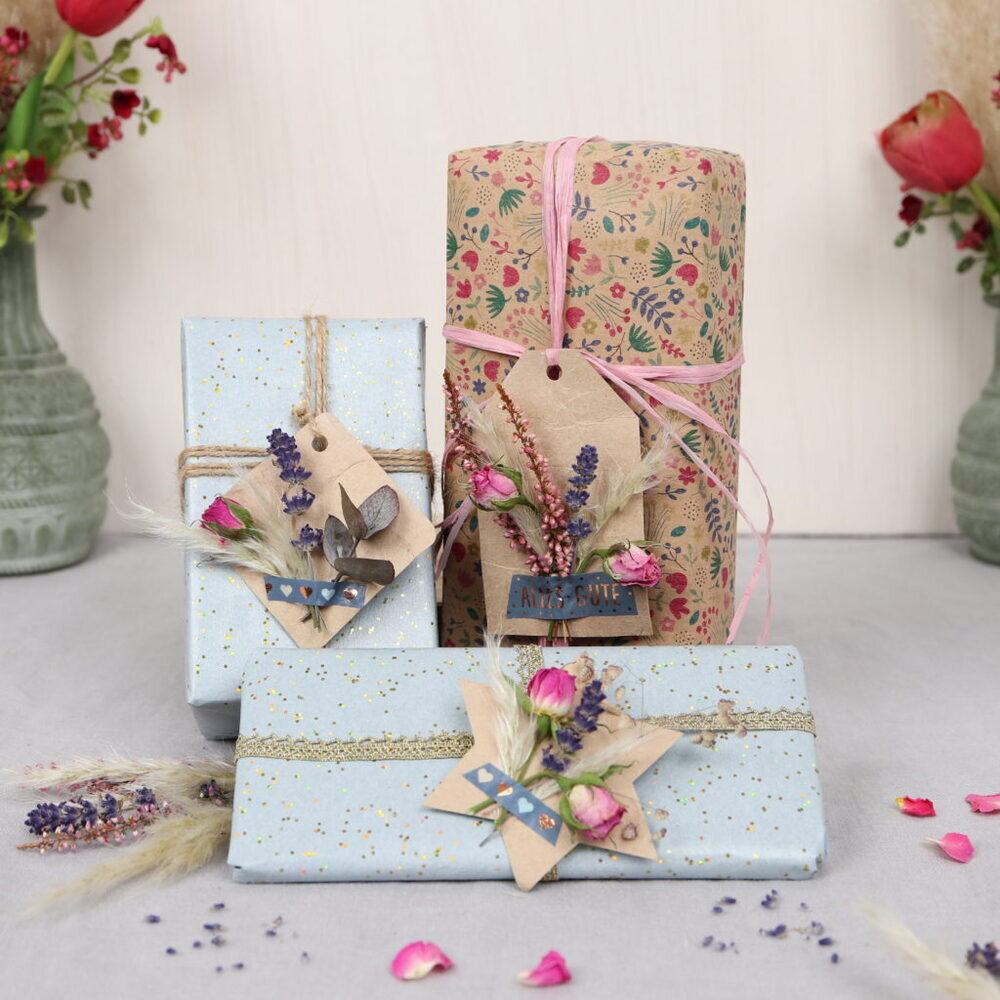
For the gift tag I cut out the desired shape from the milk carton, pull off the carton’s top layer and attach the dried flowers with washi tape. With the following step by step instructions you can easily make the gift tag yourself!
Tools
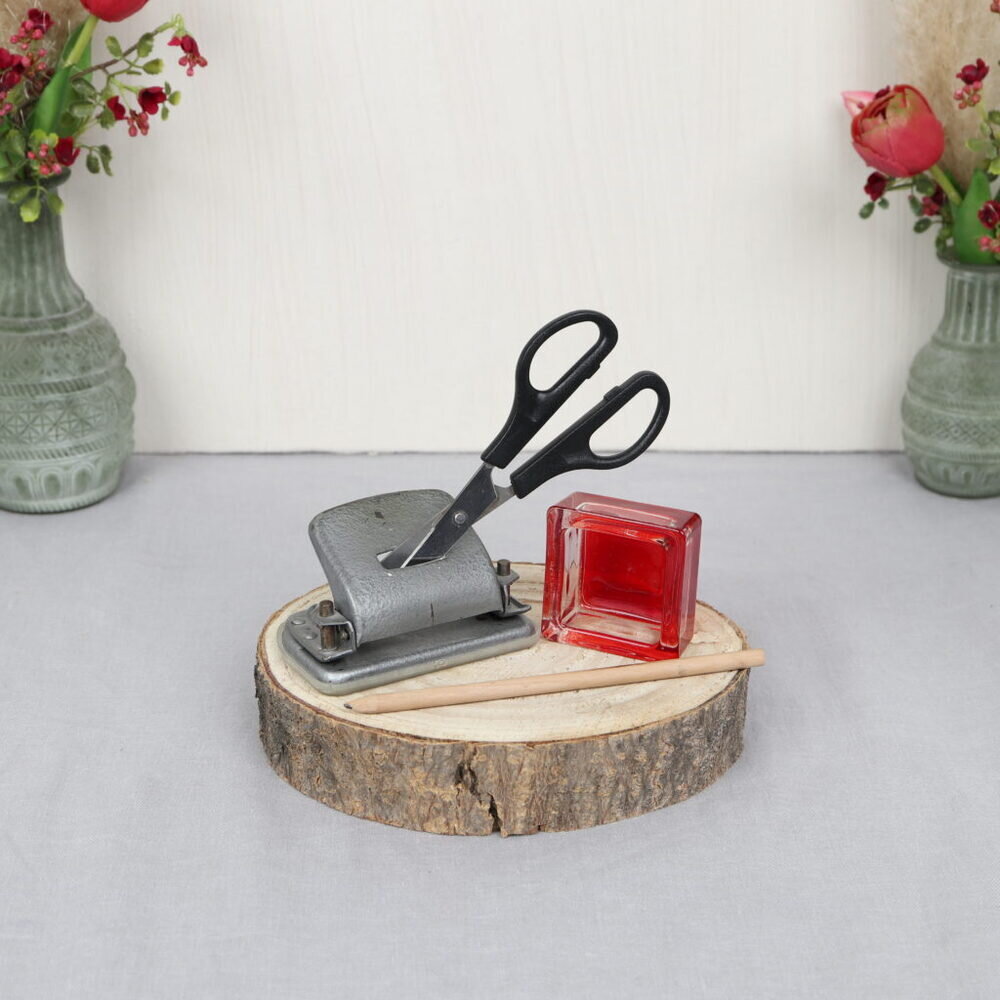
Here you can see what tools I used for the gift tag. You’ll need scissors, a pen, a hole puncher, and something for the shape. For example, a jar that has the shape for a round tag. I use a square candle holder.
Materials
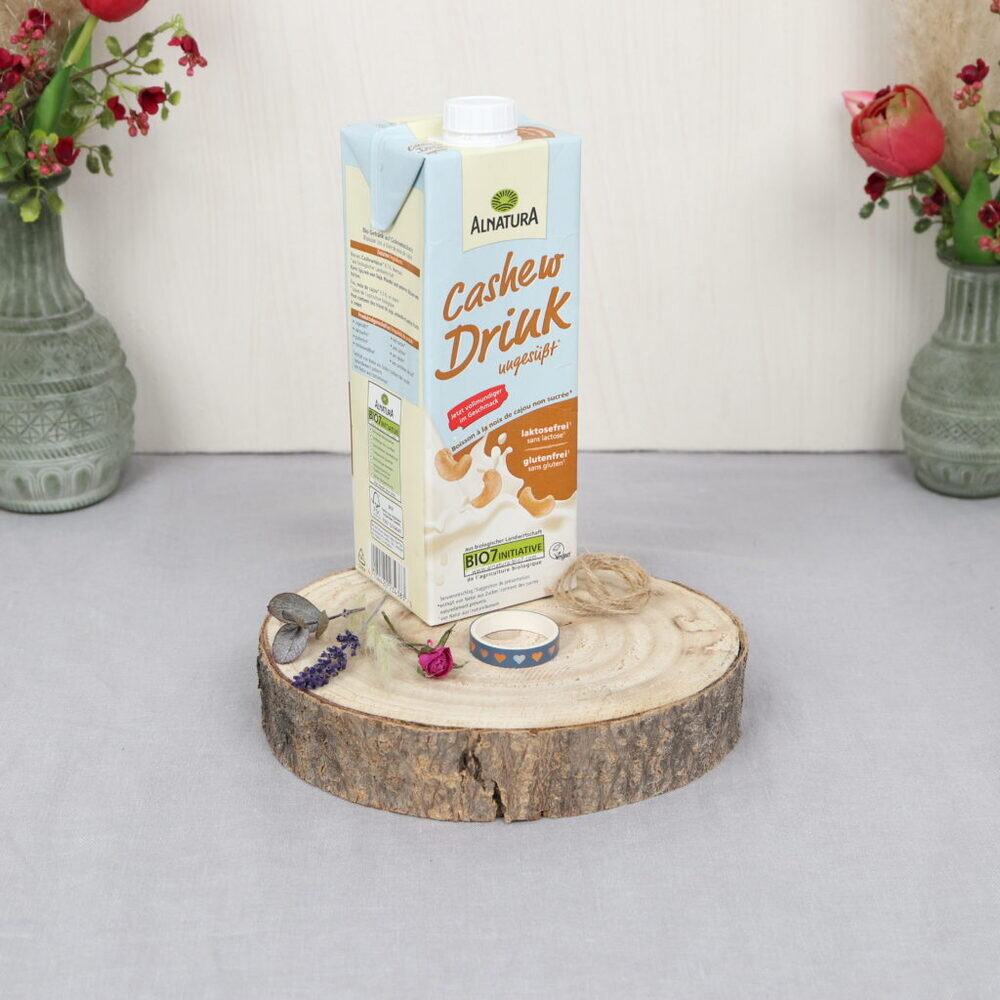
These are the materials I used for the milk carton gift tag: a milk carton, dried flowers (eucalyptus, lavender, pampas grass and a rose), a piece of jute twine and washi tape with hearts.
| Material | Search on |
|---|---|
| Milk carton | |
| Eucalyptus | |
| Lavender | |
| Pampas grass | |
| Rose | |
| Jute twine | |
| Washi tape with hearts |
Upcycling Guide for Gift Tag
Step 1: Crumple milk carton
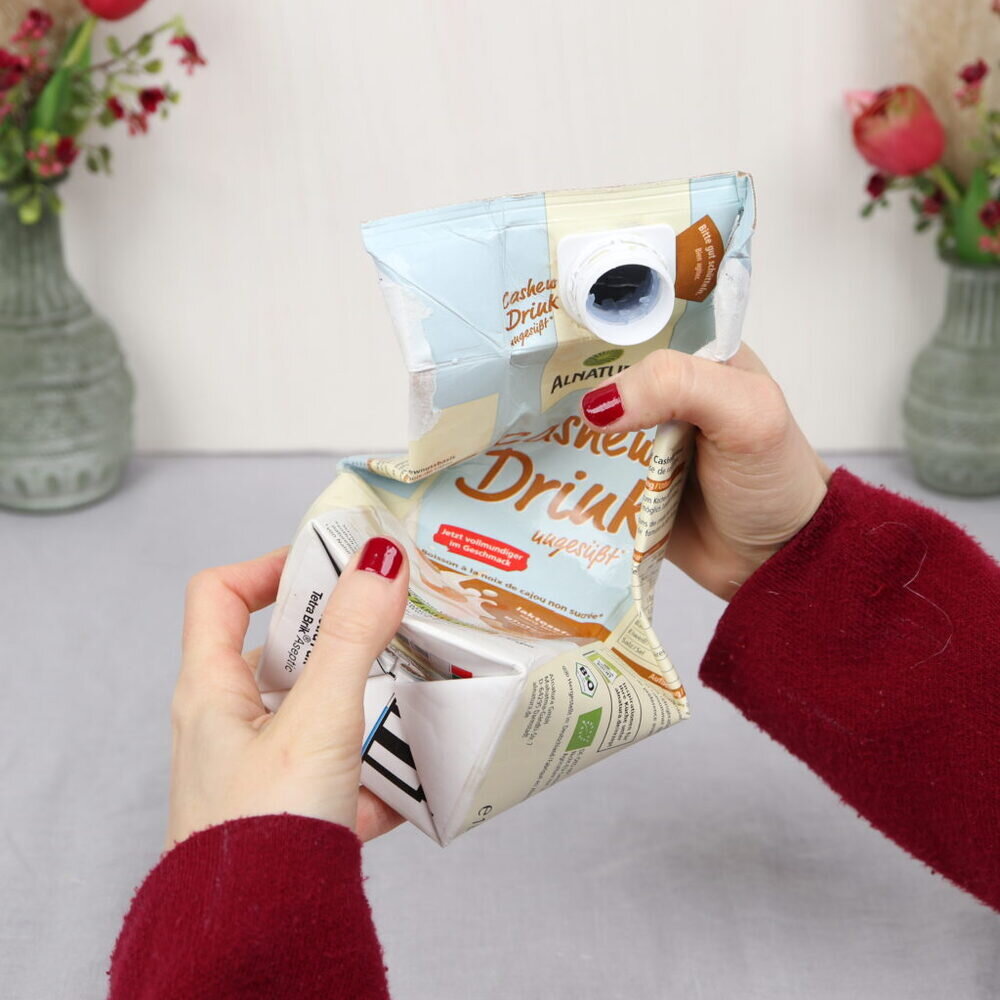
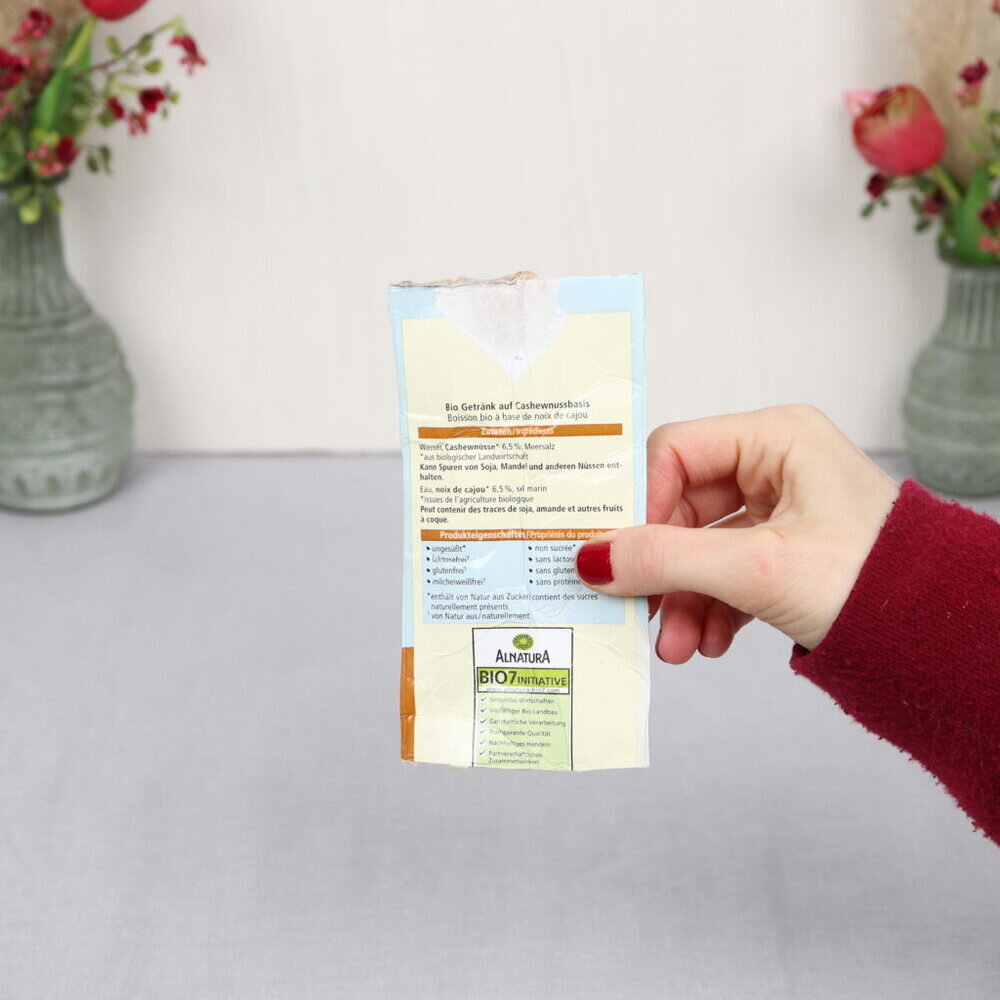
In the first step, I detach the top corners from the milk carton and crumple the milk carton so that the gift tag gets the “used look”.
Step 2: Cut tetrapack
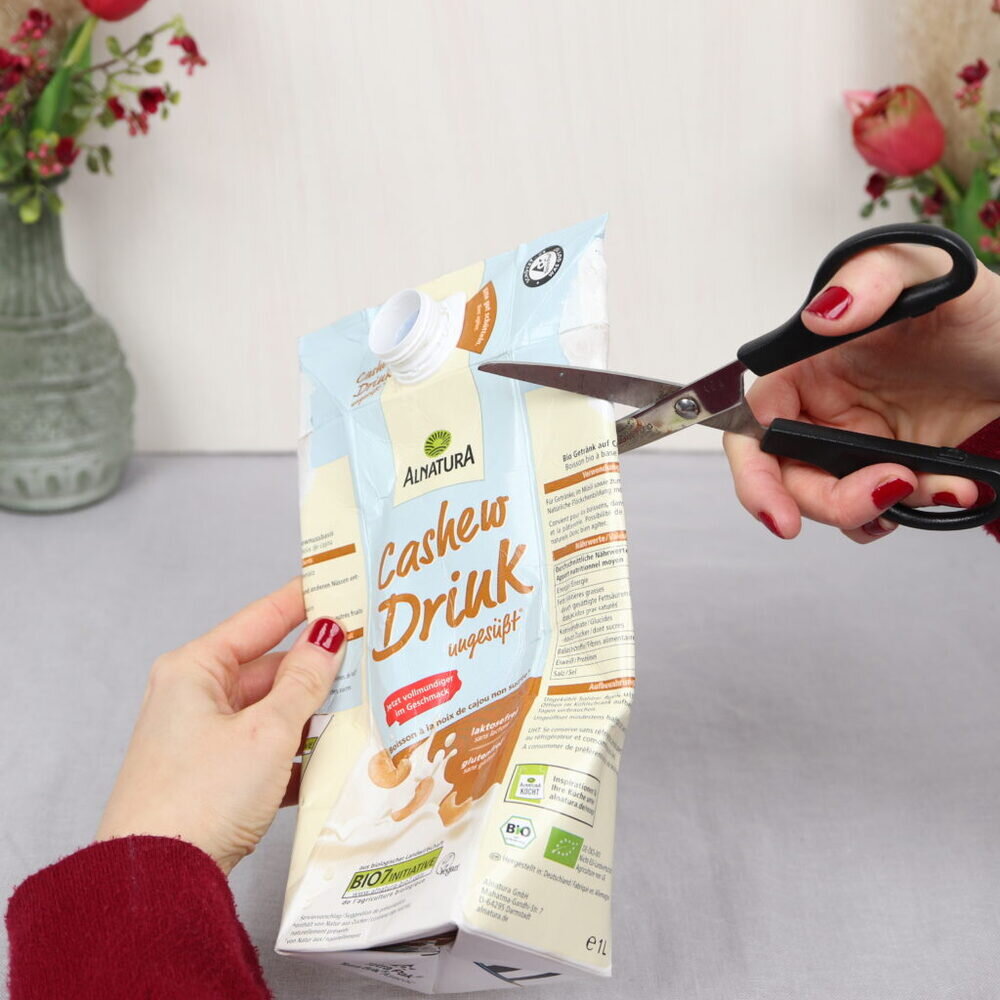
Then I cut out a piece of the milk carton.
Step 3: Peel off the top layer
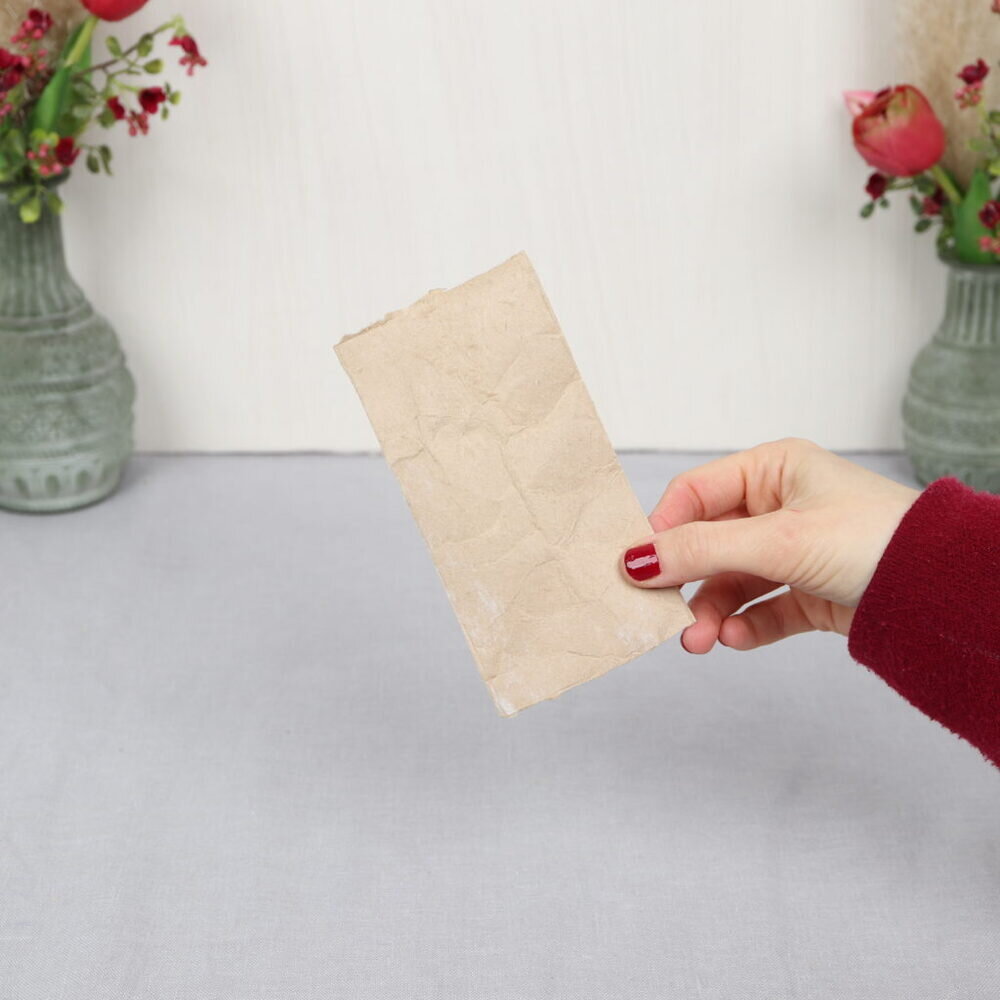
Now I pull off the top layer of the carton.
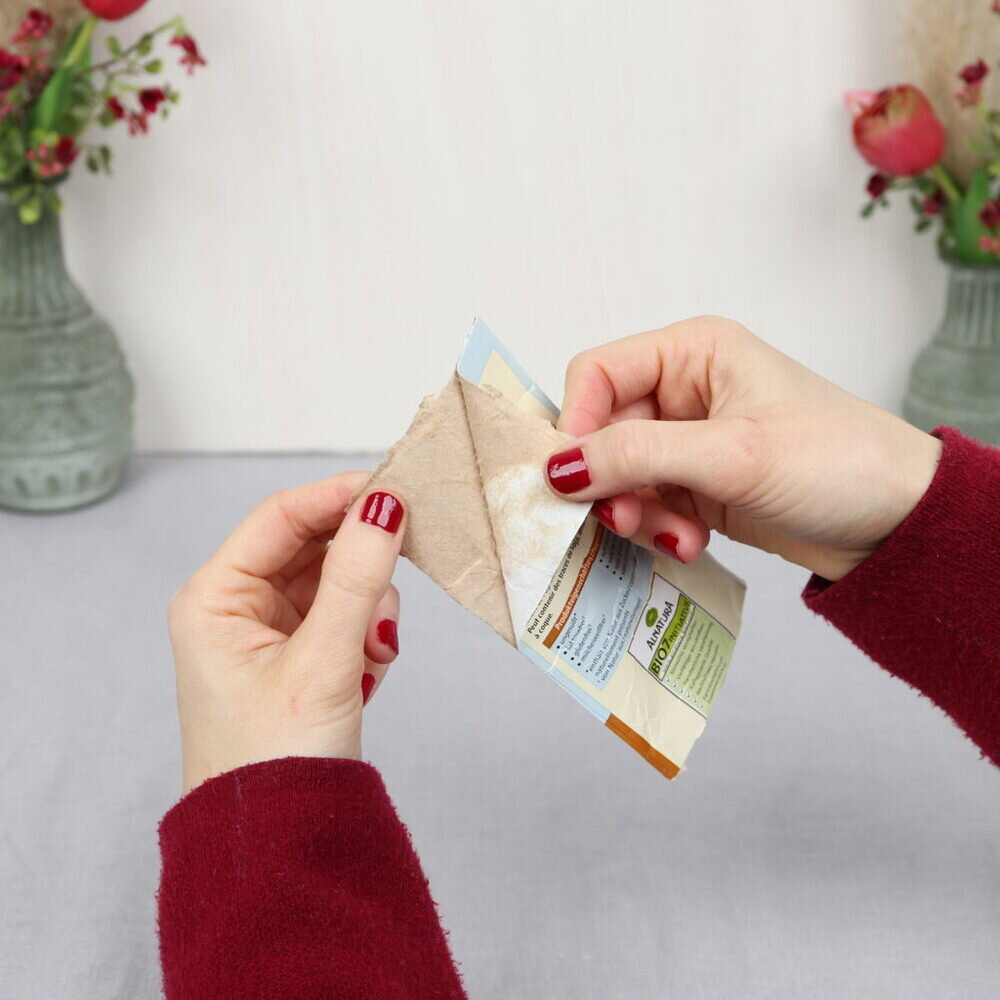
This works quite well if you go between the layers with your fingernail at one corner and then separate them.
Step 4: Draw shape
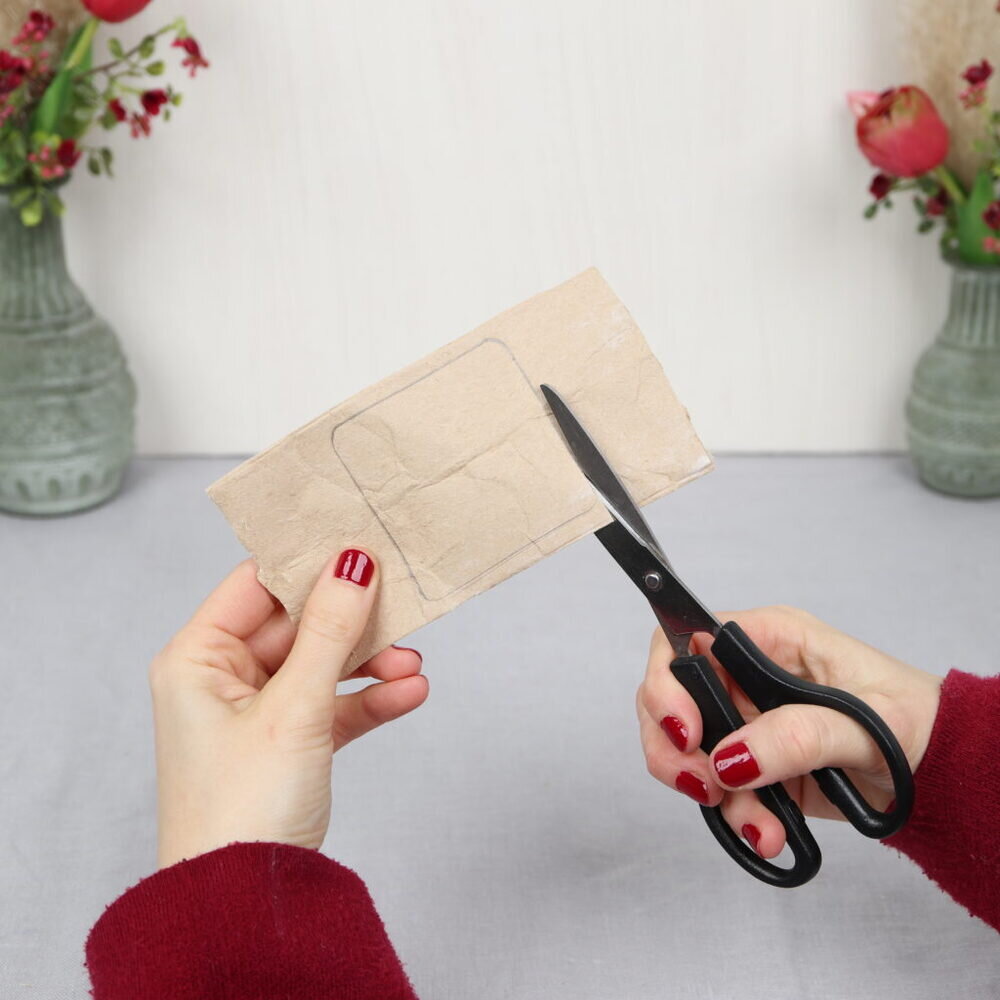
In the next step, I go around the square shape with the pen.
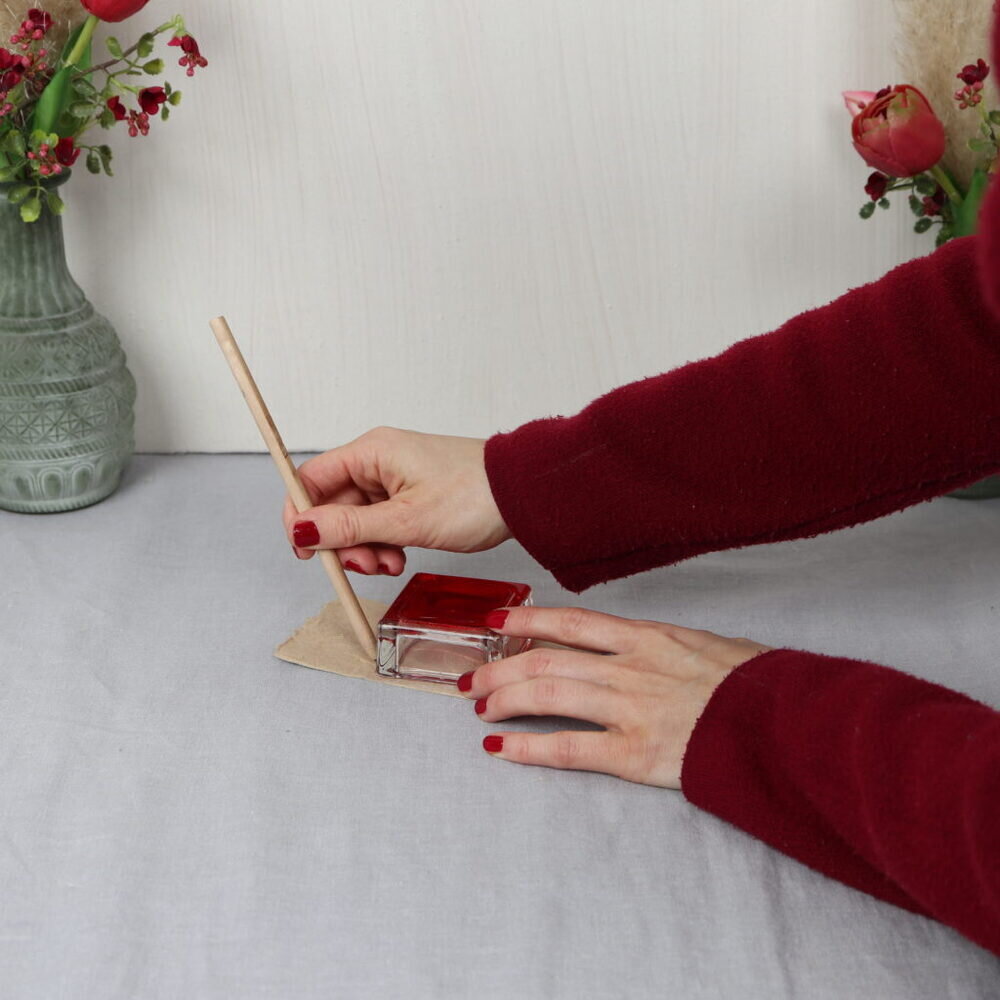
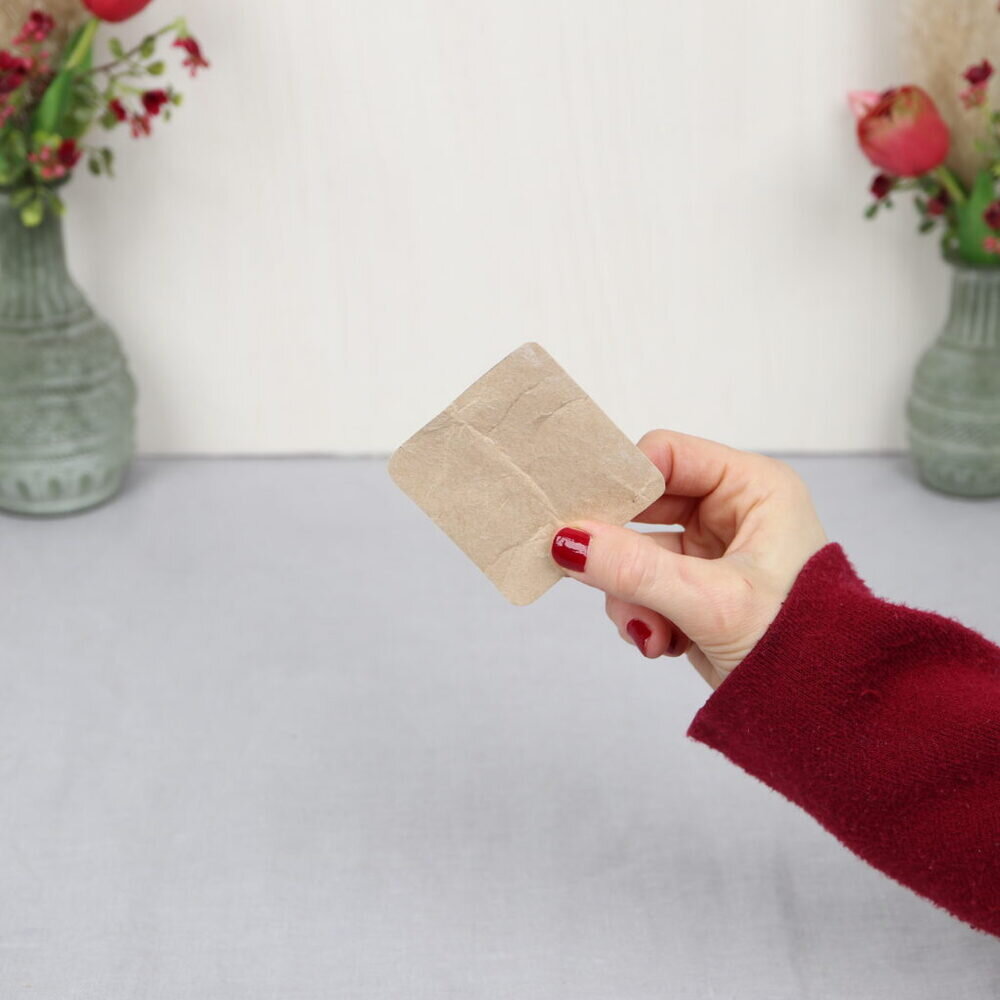
Then I cut out the shape.
Step 5: Punch hole in gift tag and attach jute twine
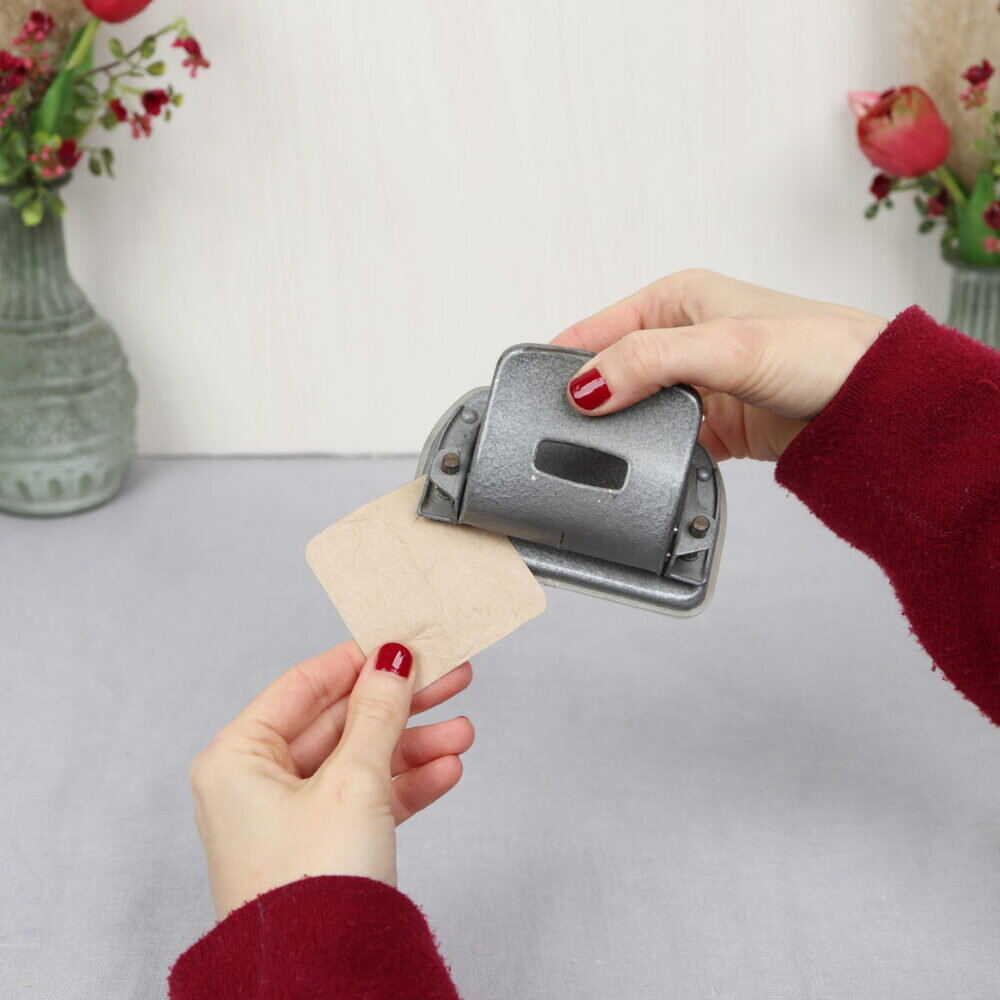
Now I punch holes in the tag. With the holes I can tie the gift tag to the gift later.
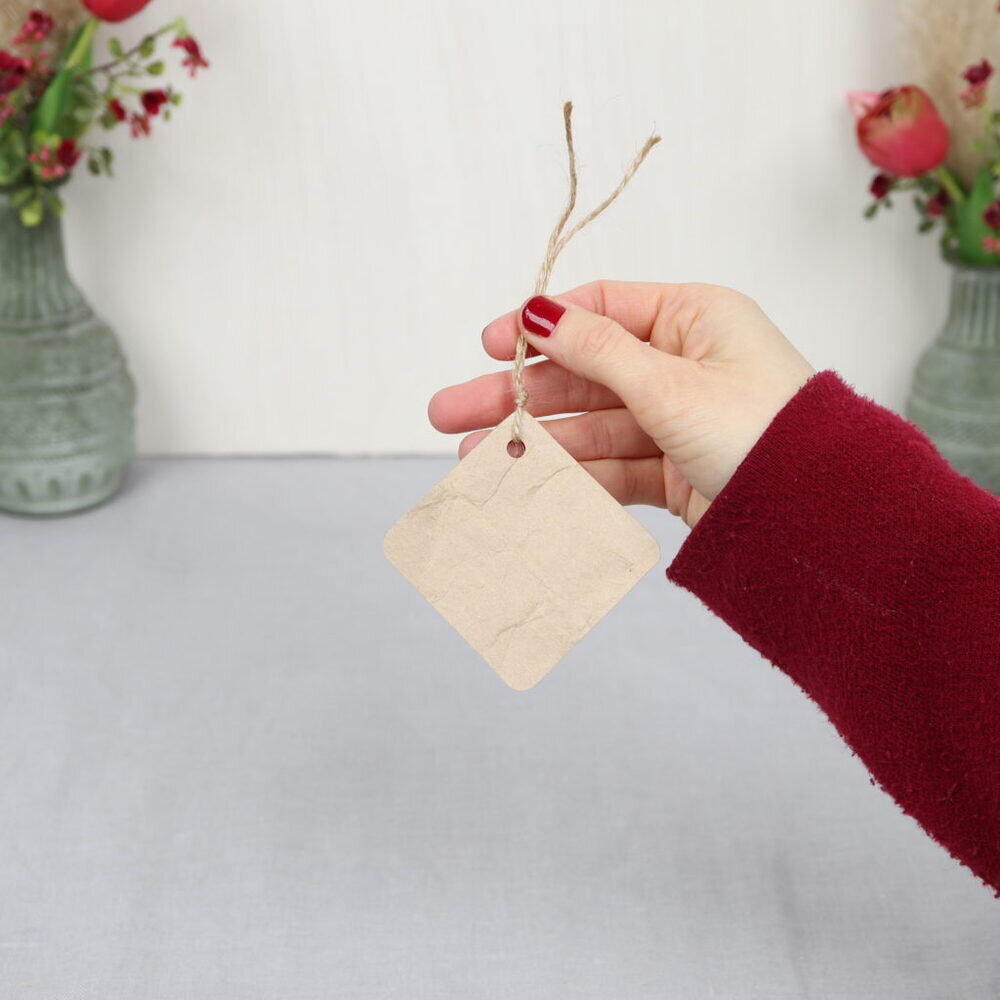
To do this, I knot a piece of jute string directly to the gift tag.
Step 6: Glue dried flowers
Now I take the dried flowers and put them on the gift tag.
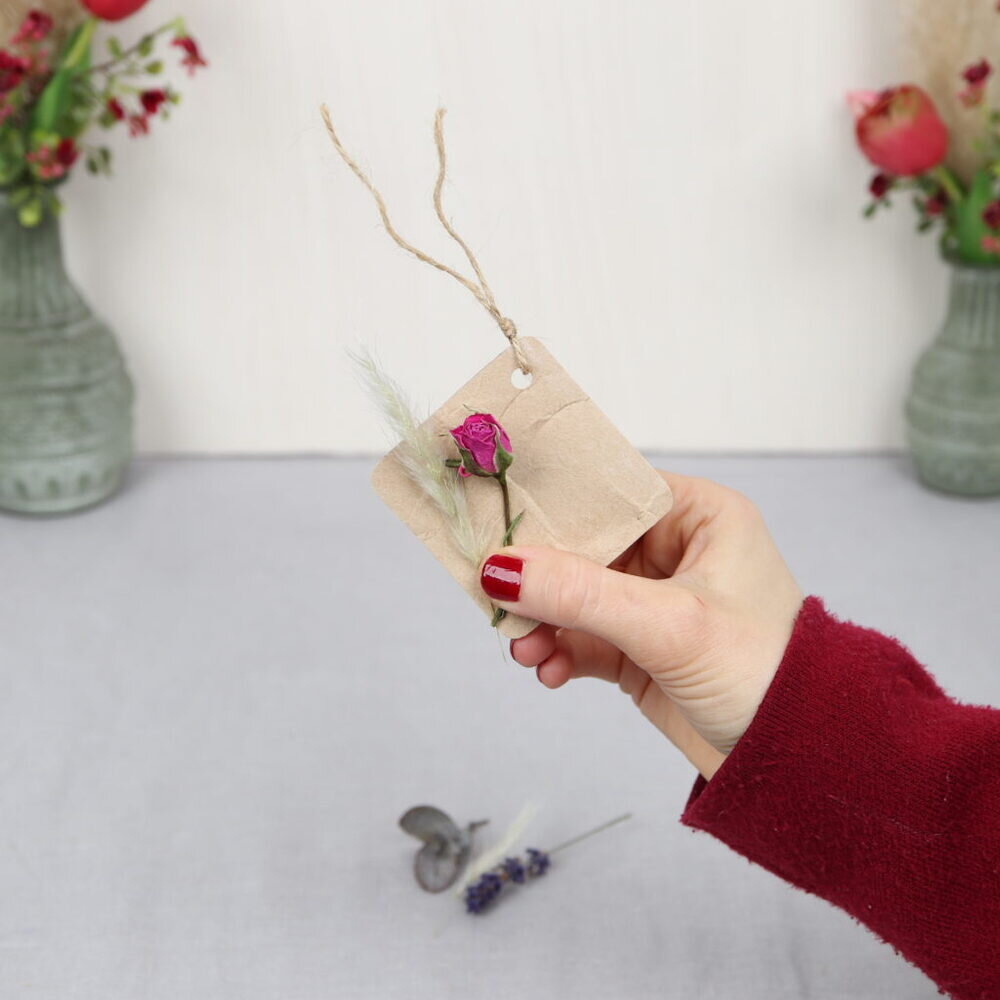
Then I attach a piece of washi tape to the gift tag.
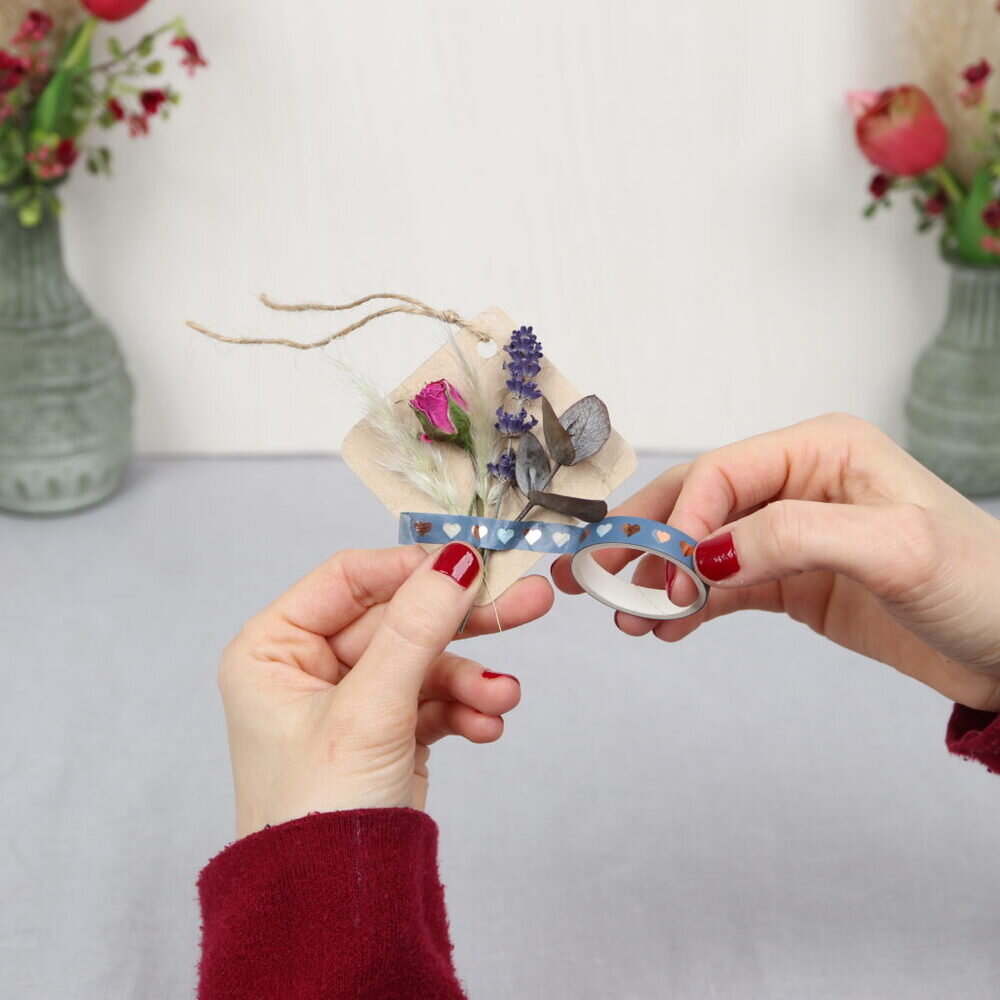
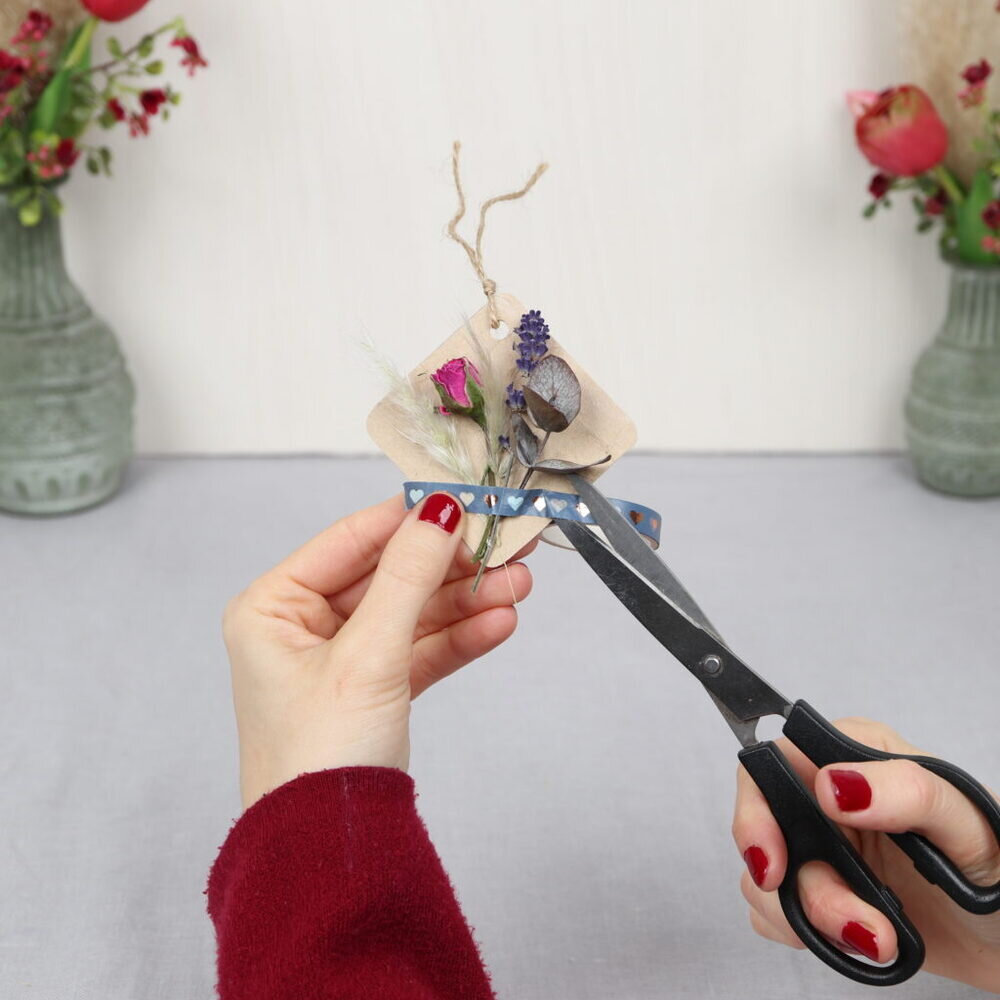
I shorten the ends of the stems with scissors.
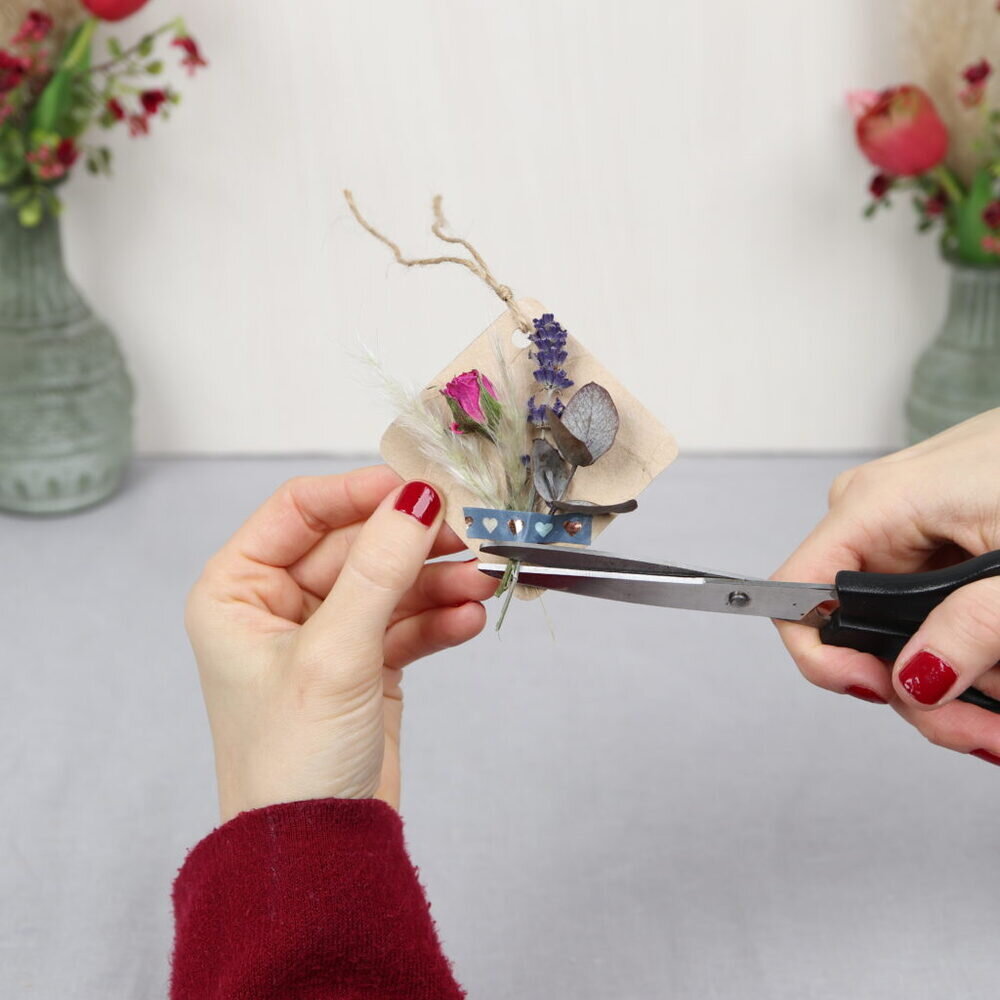
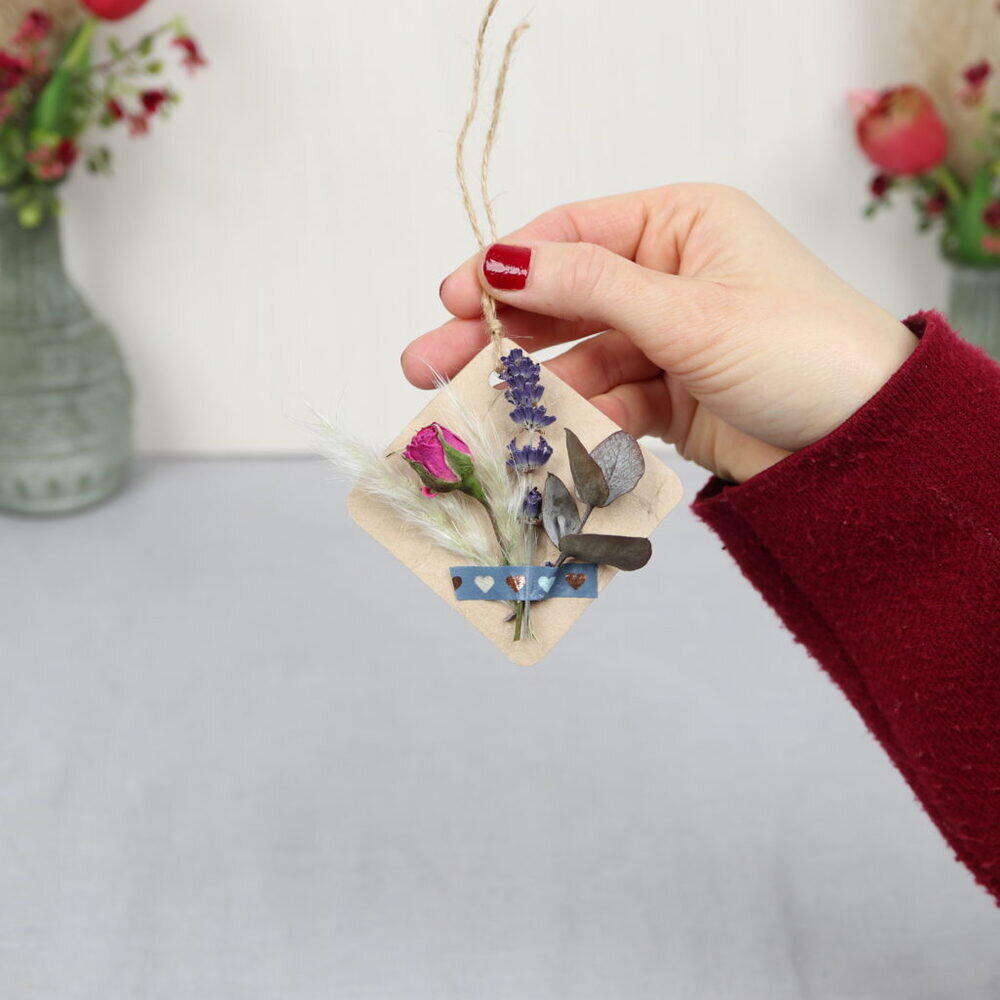
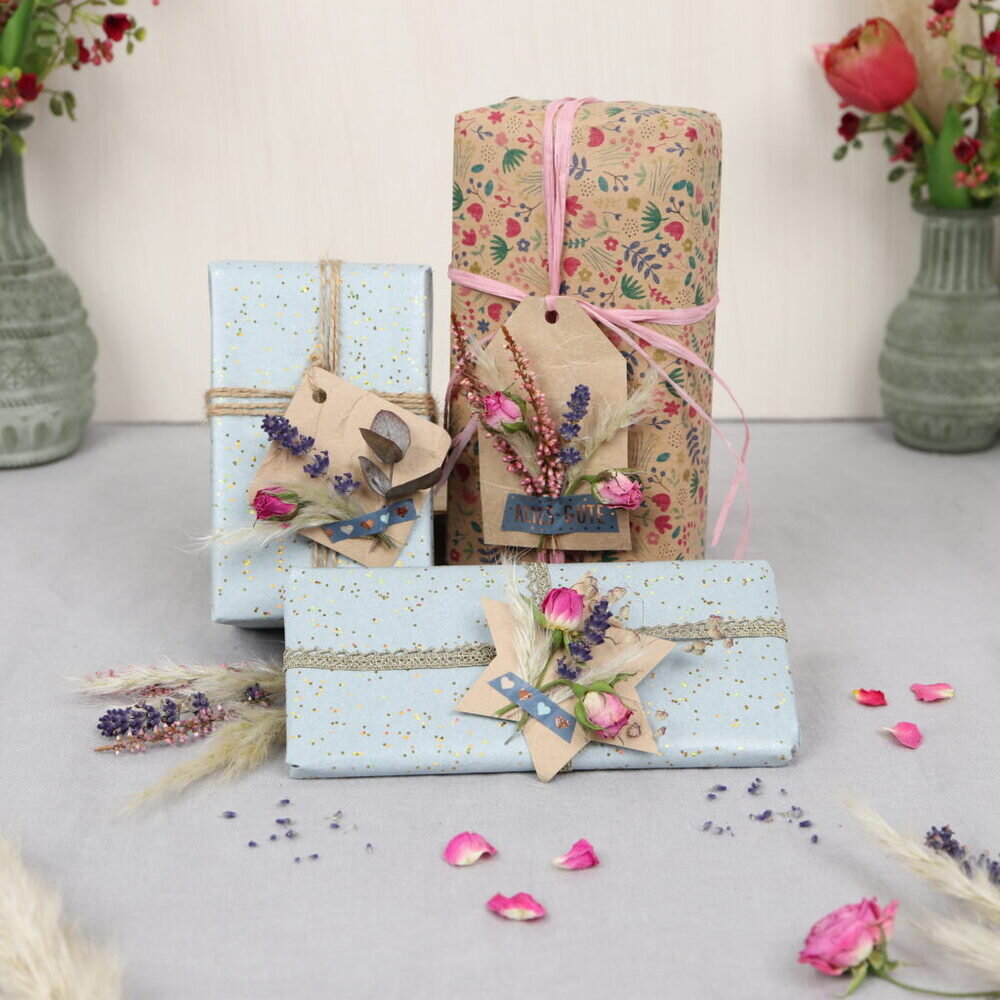
And the upcycling gift tag is ready! I hope this DIY has made you as much fun as me and you give someone a joy with your self-made gift tag!
