Today I show you how to dip flowers in wax and cover them with a pretty wax coat! When I waxed my hyacinths recently, I had some wax left over. I immediately used that to preserve the beautiful gypsophila. I have already used the same method for my homemade wax roses. Gypsophila is also well suited for preservation with wax. The finished flowers can, for example, be decorated in a vase, incorporated into a floral arrangement or tied into a great wreath! Because of the wax layer, you can even use them outside as decoration element.
With the following step-by-step instructions you can easily make the wax flowers yourself!
Tools

Here you can see which tools I used for the waxed gypsophila: Flower scissors for cutting. In addition, a kitchen pot for the water bath and an old glass jar in which the wax is melted. I use a wooden skewer to stir.
Tip: Since liquid wax is very difficult to remove, use protection accessories that can get dirty and protect your workspace well.
| Tools | Search on… |
|---|---|
| Flower scissors | |
| I use the Japanese flower pruners Okatsune 103 | |
| Kitchen pot | |
| Glass jar | |
| Wooden skewer |
Materials
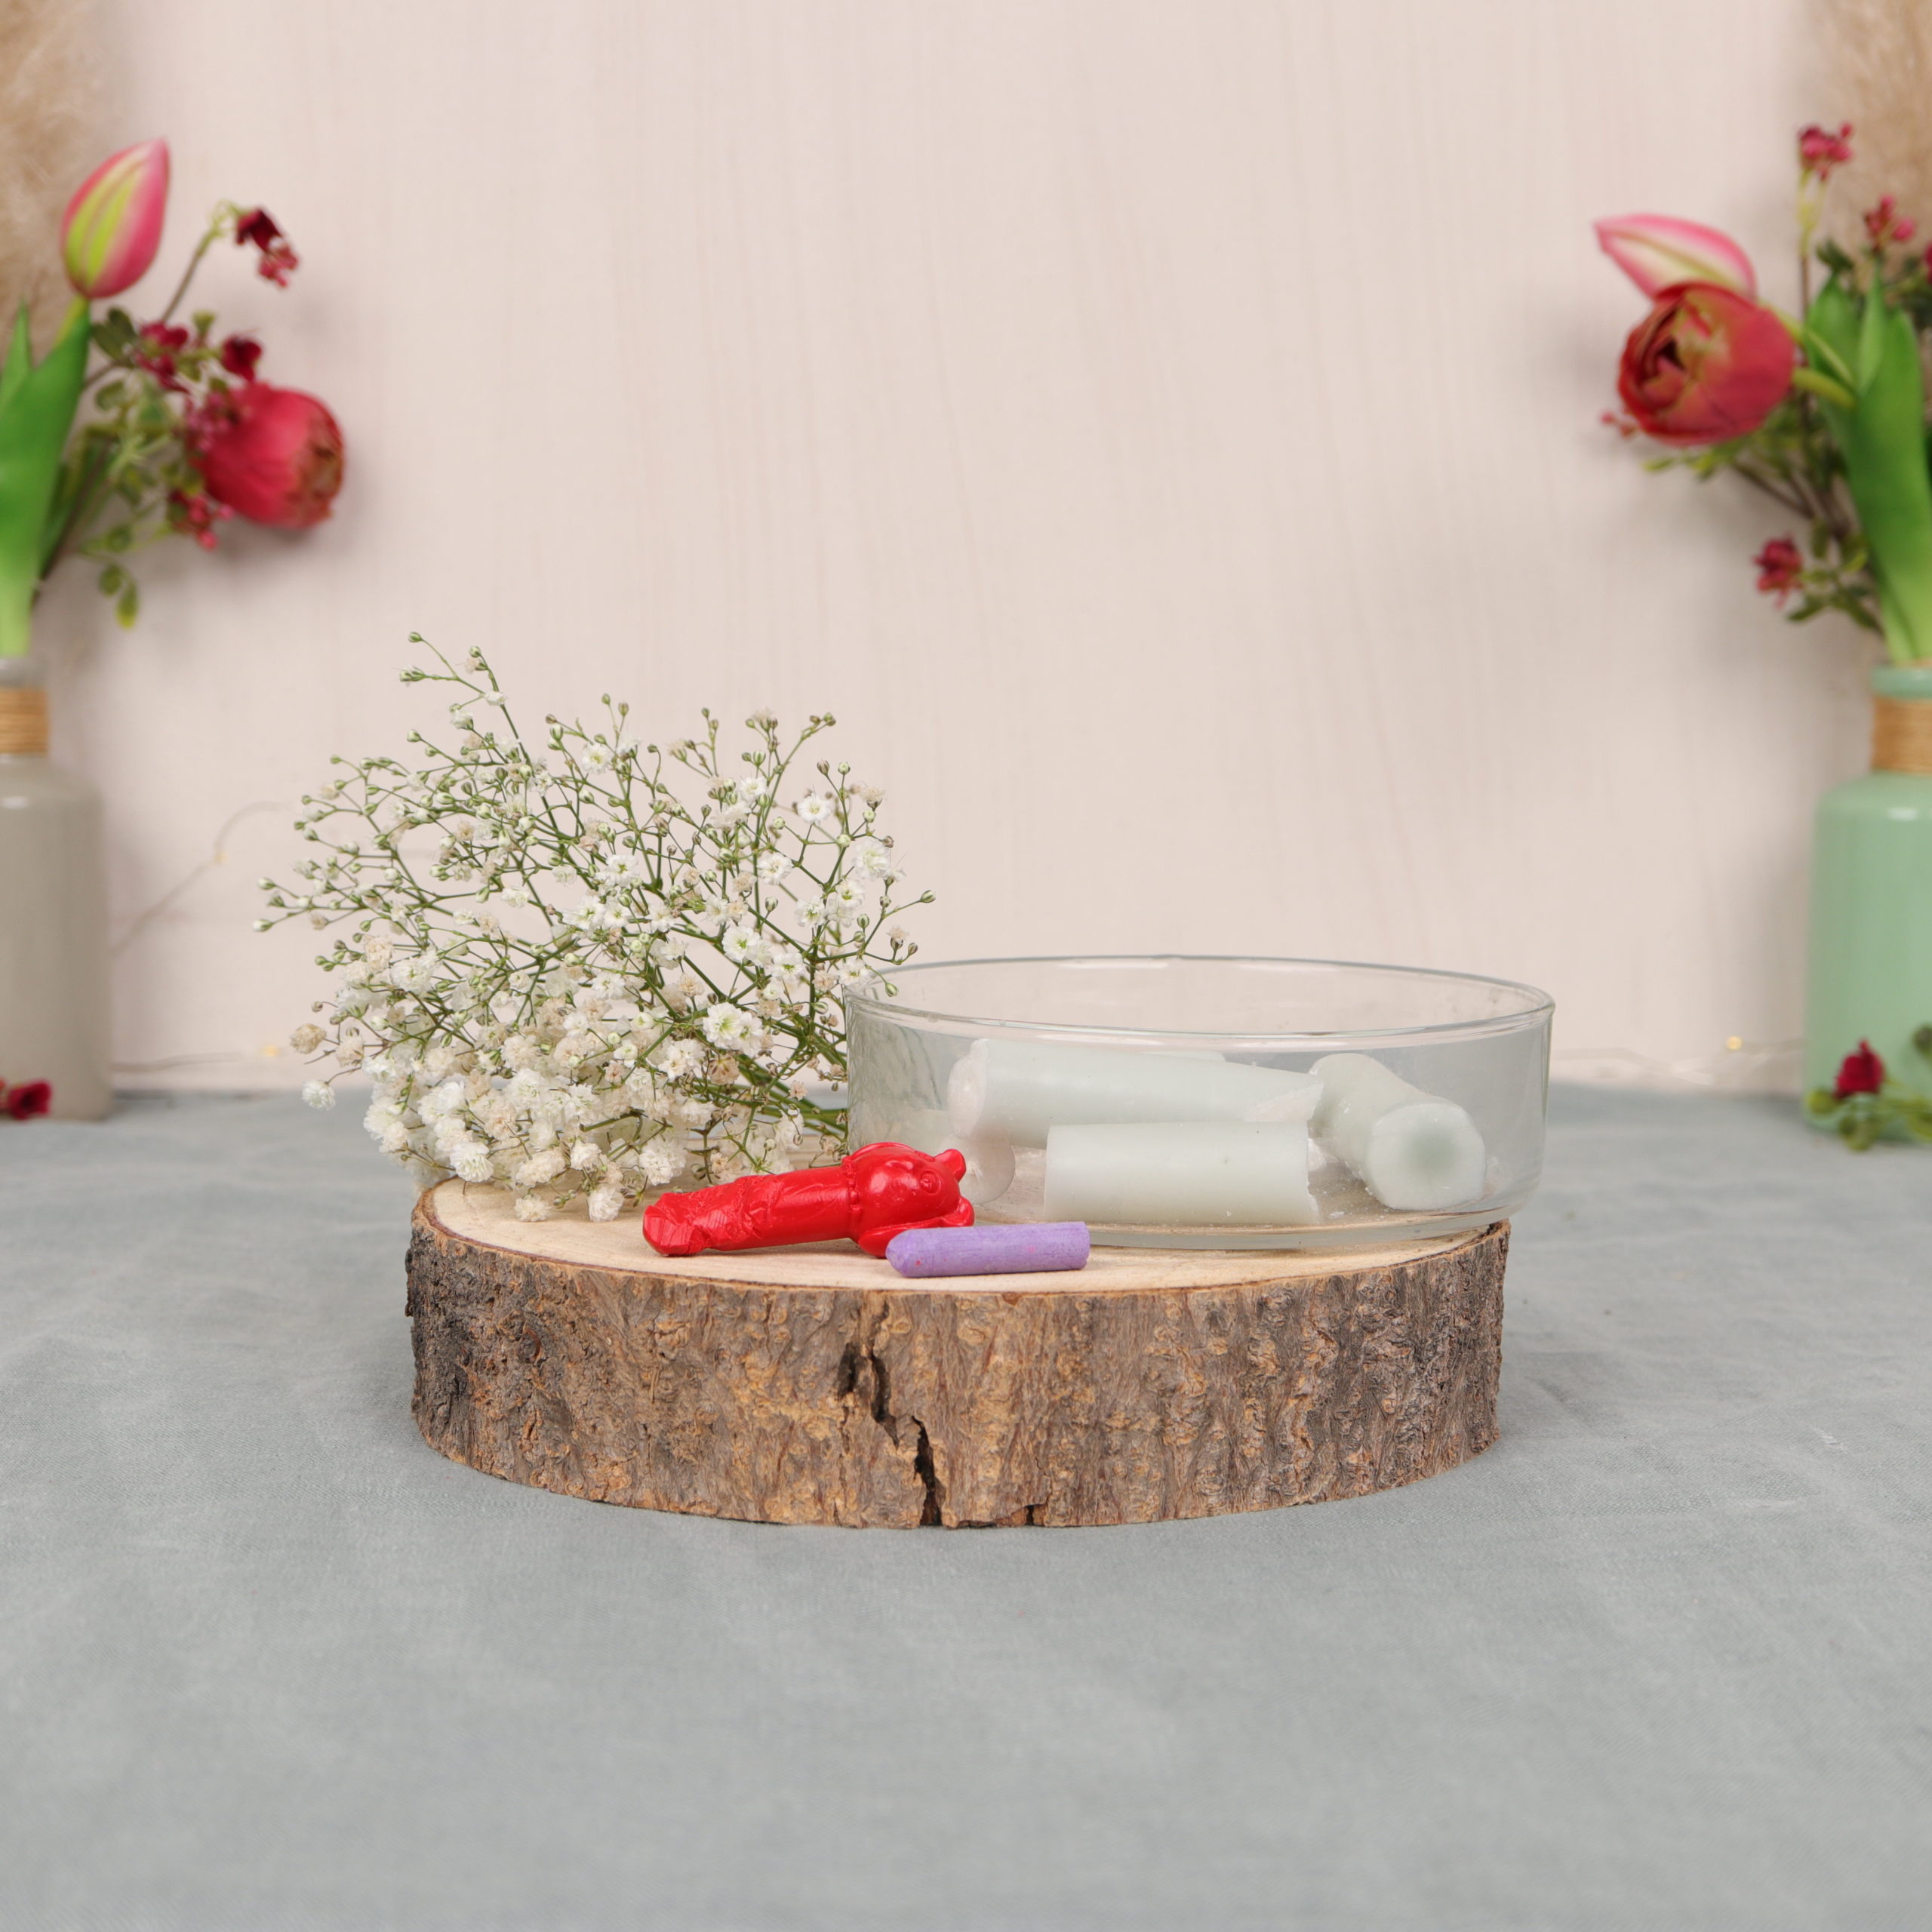
I used these materials for the flowers in wax: fresh gypsophila and leftover wax. I wanted to color some flowers. Since my leftover wax was light in color, I used a piece of a red wax crayon and a piece of purple chalk. Unfortunately, the wax crayon did not completely dissolve for me, but that varies from wax crayon to wax crayon. With the purple chalk, however, the wax has changed color very well, so I’ll show you this variant. The procedure is the same for both.
Instructions | Make your own gypsophila in a wax coat
Step 1: Cut gypsophila
In the first step I cut the gypsophila to the desired size.

I use my scissors for this.
Step 2: Melt wax
Now I melt the wax in a water bath. To do this, I pour hot water into the kitchen pot and put the glass jar in it.
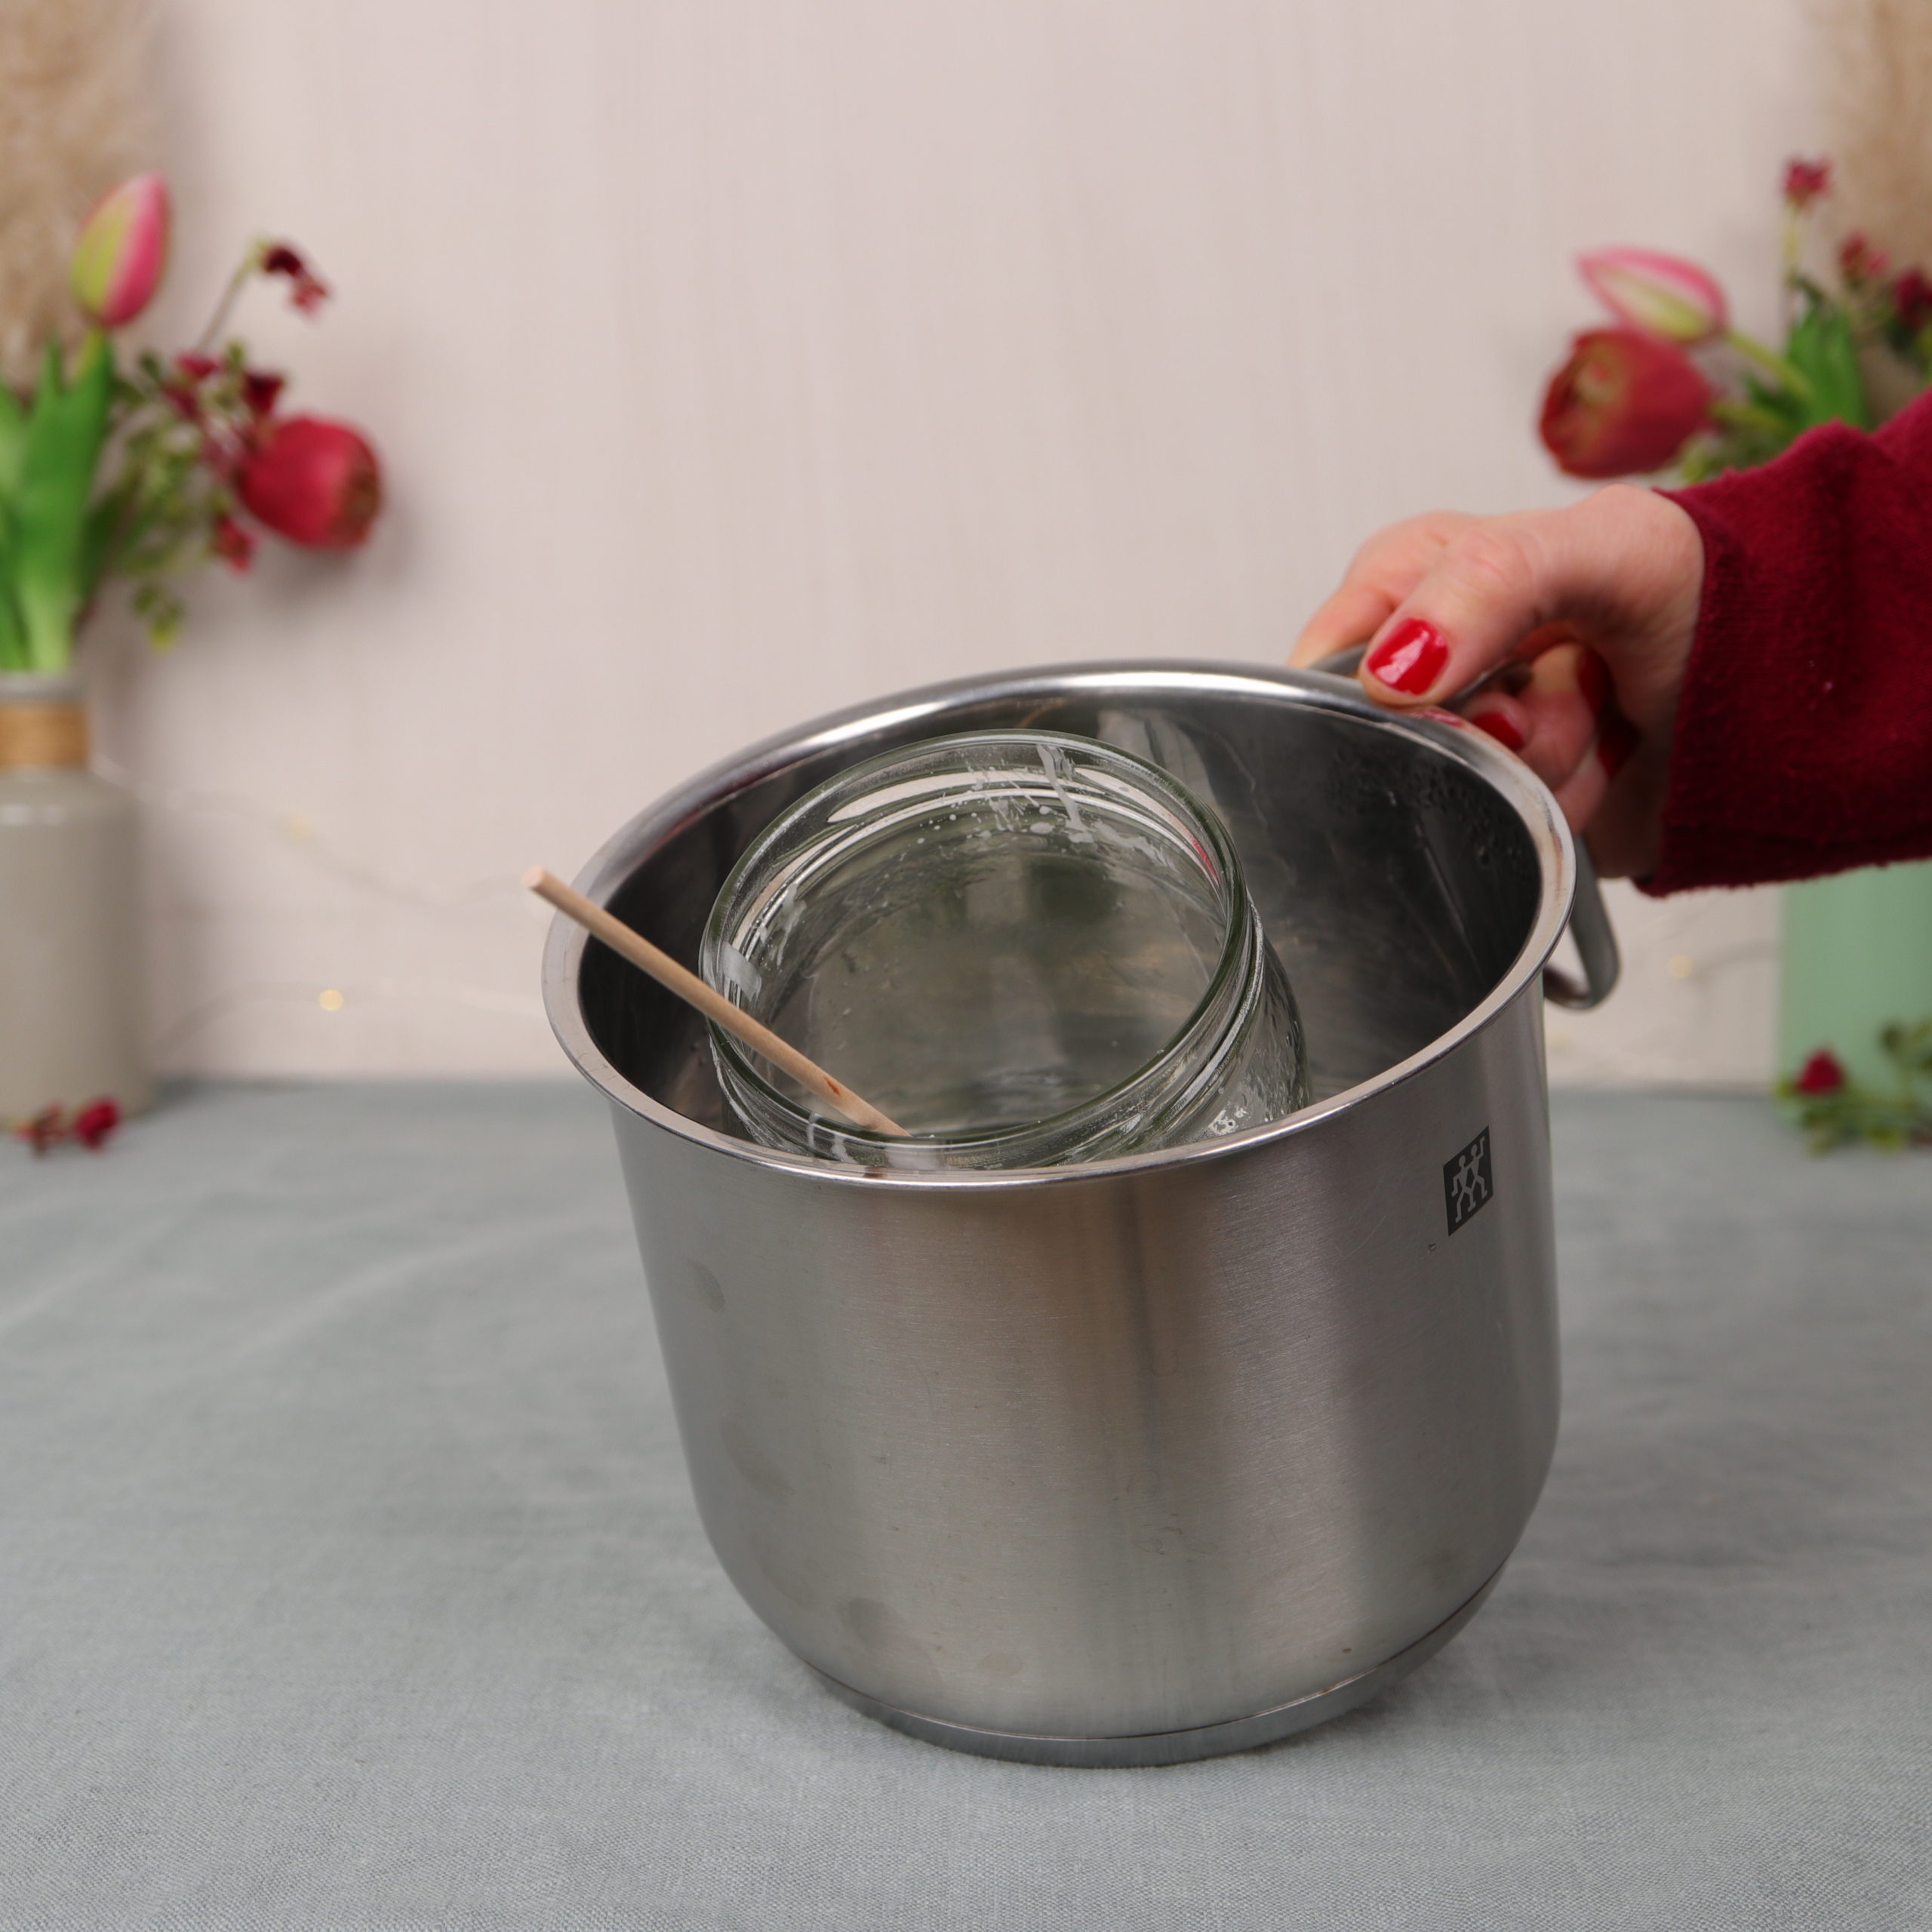
I put the leftover candles in the glass jar. The wax will melt due to the heat. This may take a few minutes. I use the wooden skewer to stir.
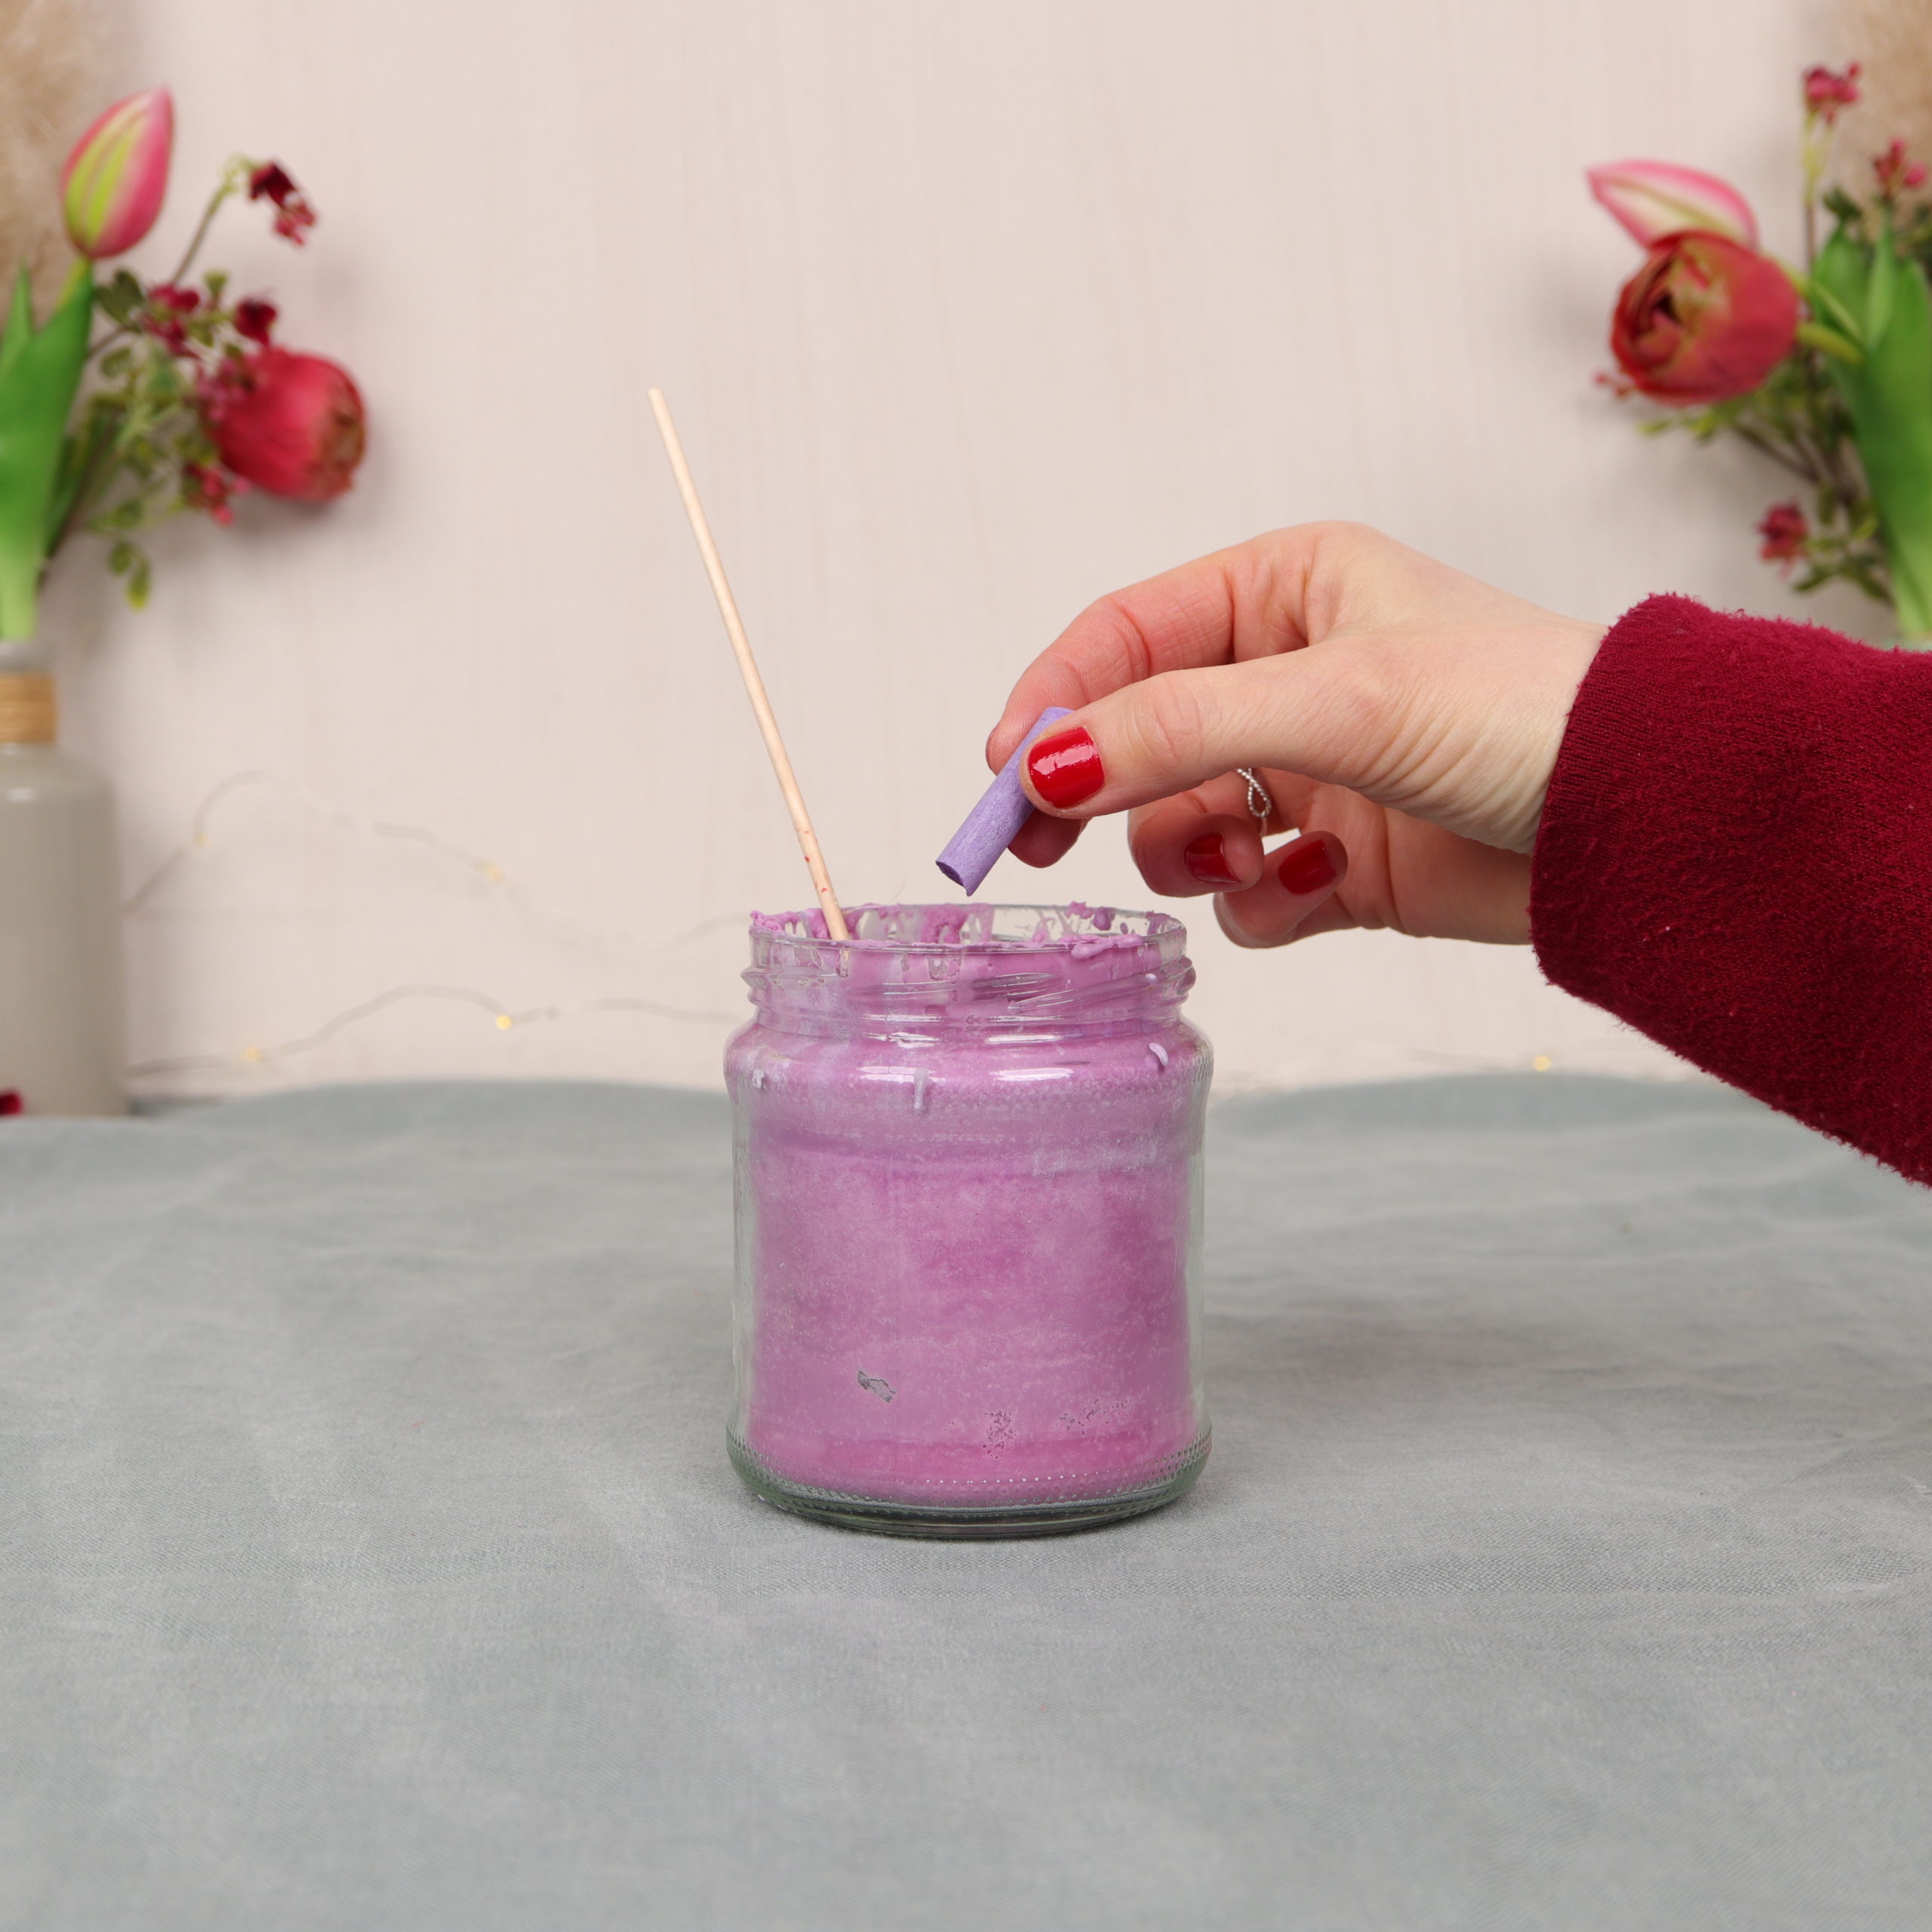
Step 3: Color wax with chalk
To color the wax I now use the purple chalk.
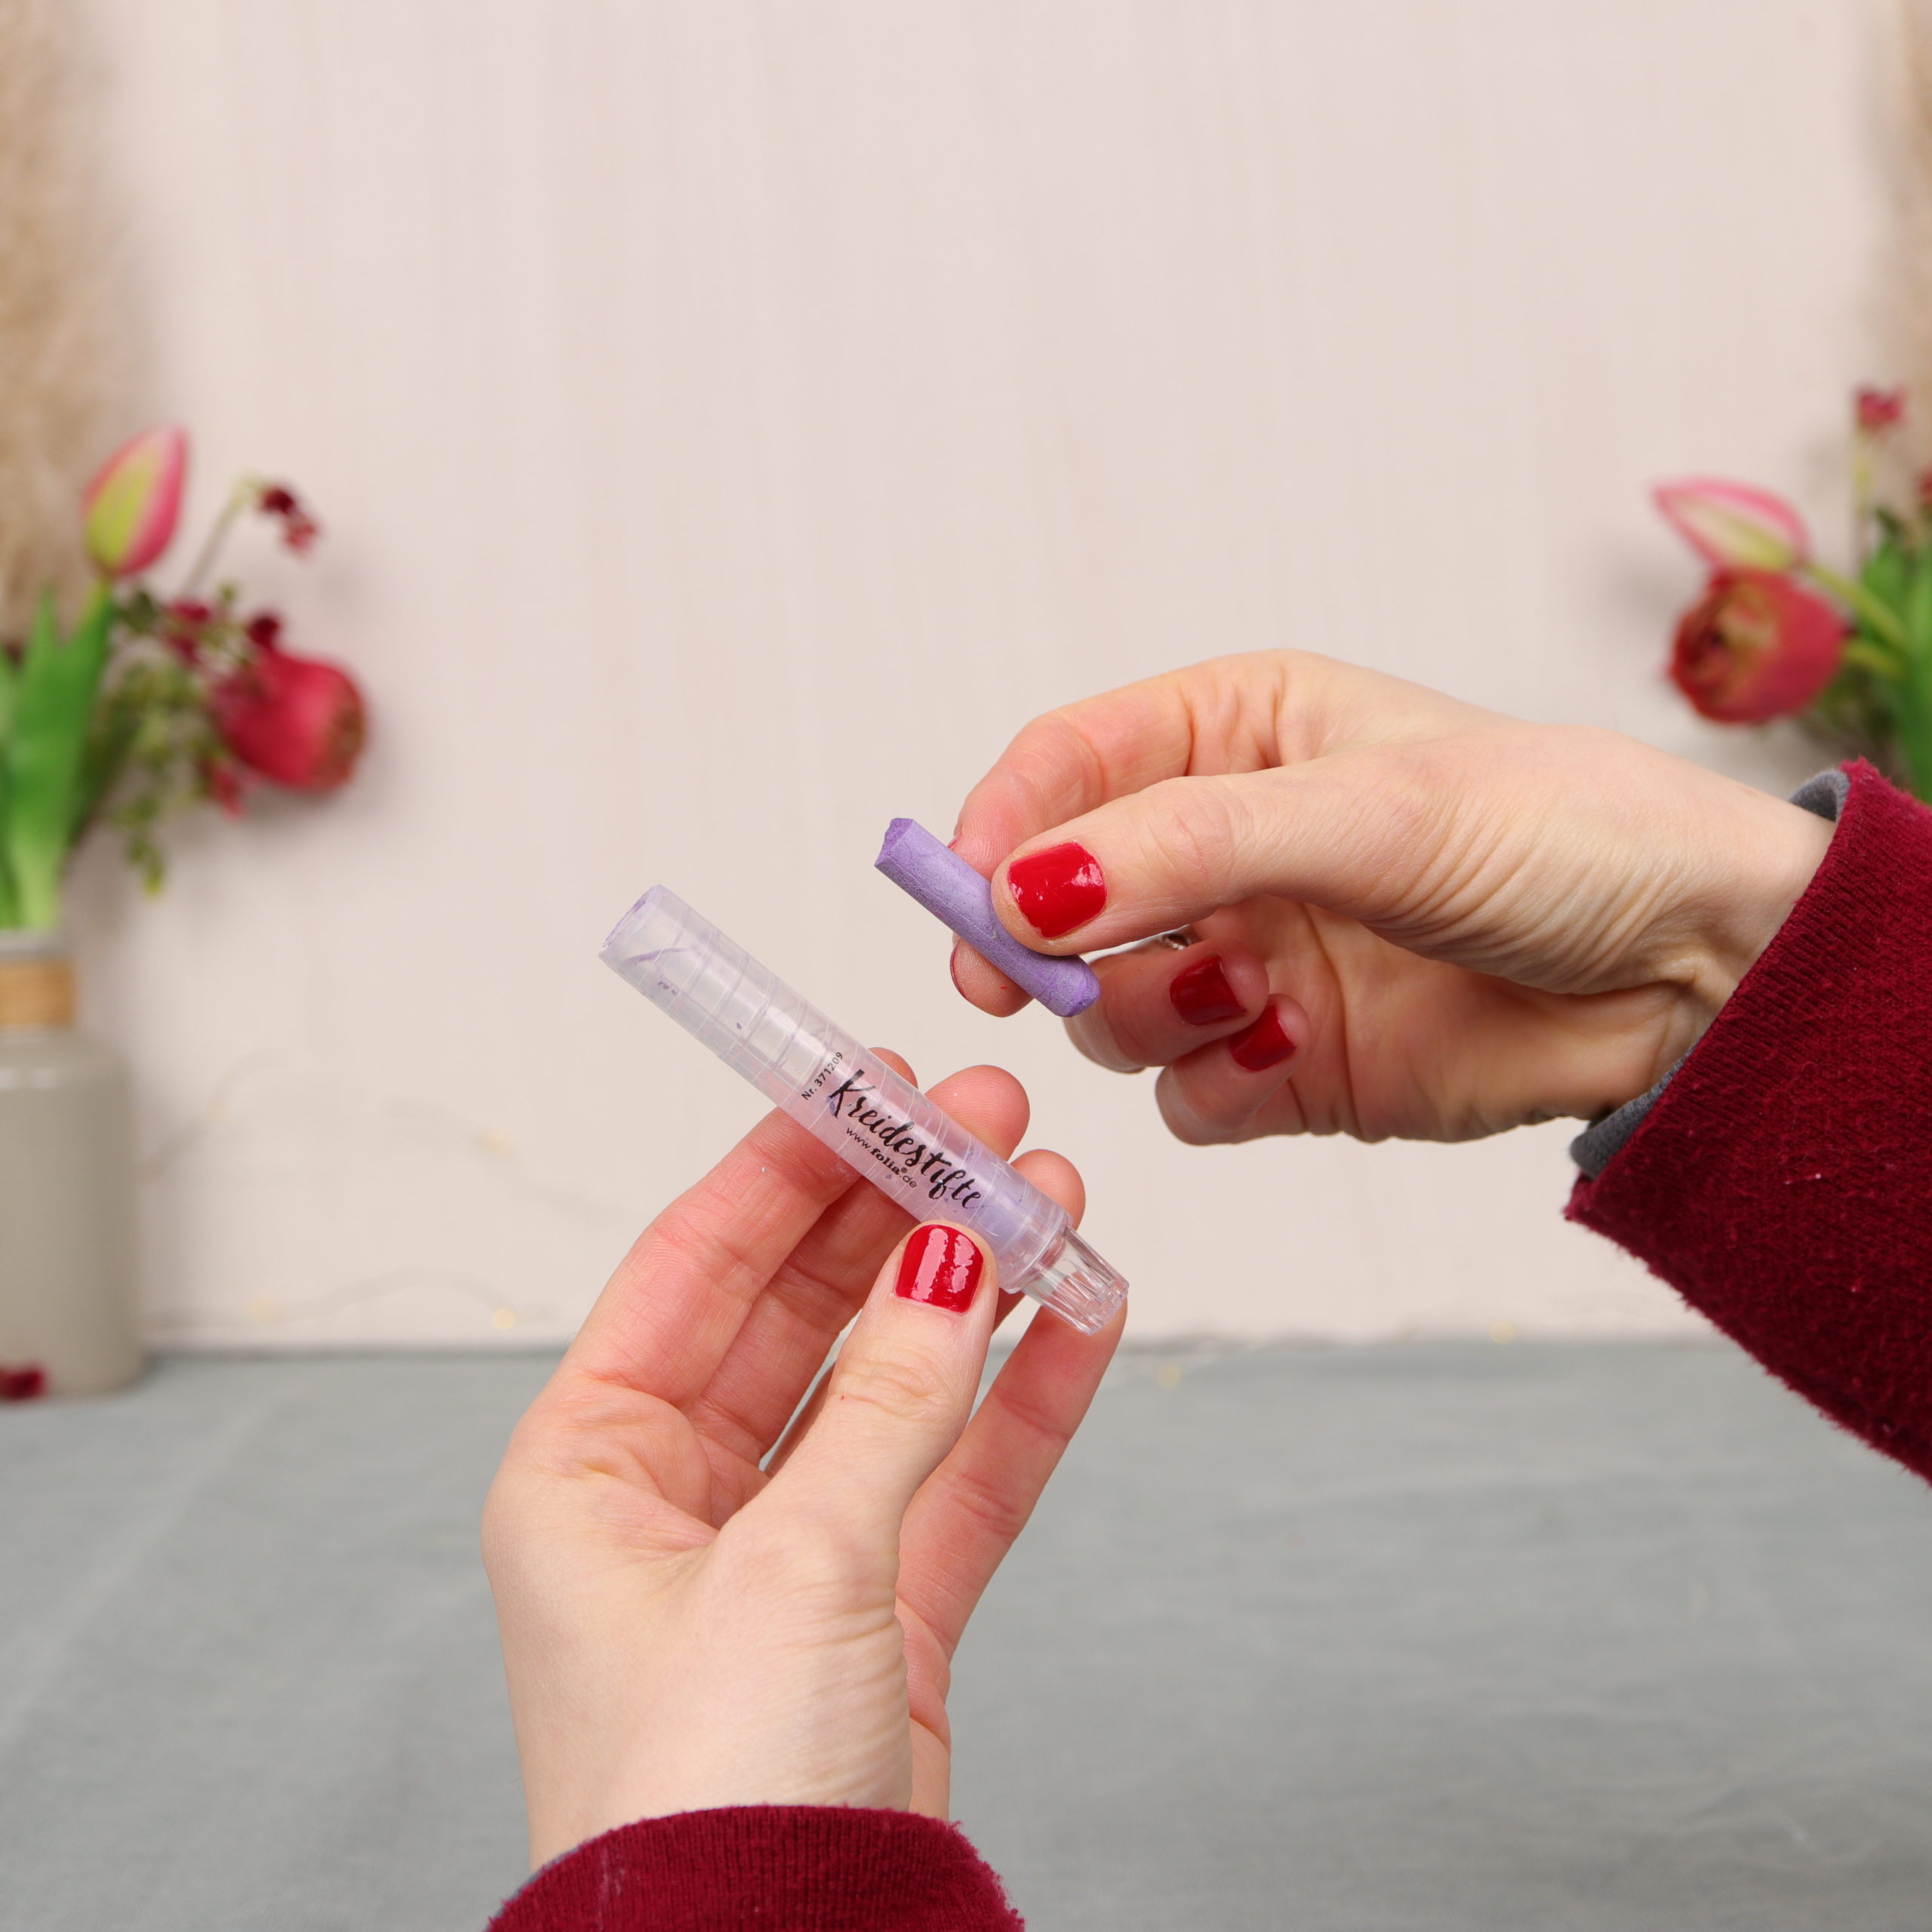
I drop a piece into the hot wax and stir with the wooden skewer.
Step 4: Dip gypsophila into the wax
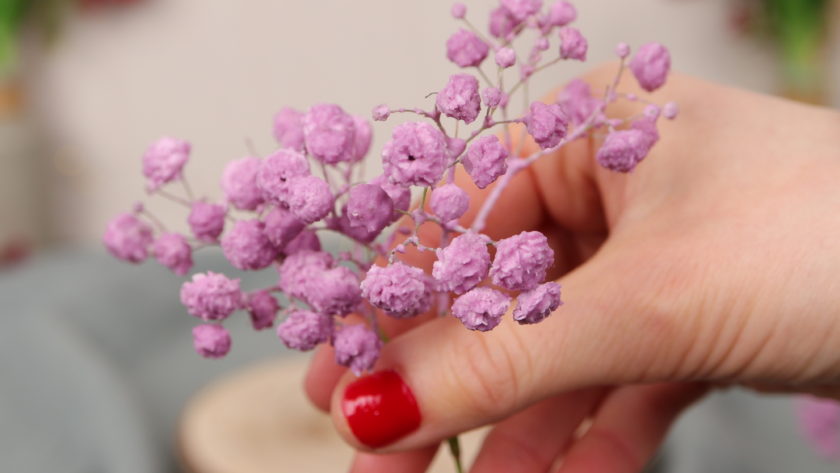
When the chalk has dissolved in the wax and turned it purple, you can dip the gypsophila into the wax.

However, make sure that the wax is not too hot, otherwise the delicate blossoms will scorch. Let the wax cool down a bit and then dip the gypsophila into the wax several times until you are satisfied with it. I let it cool down in my hands for a bit.
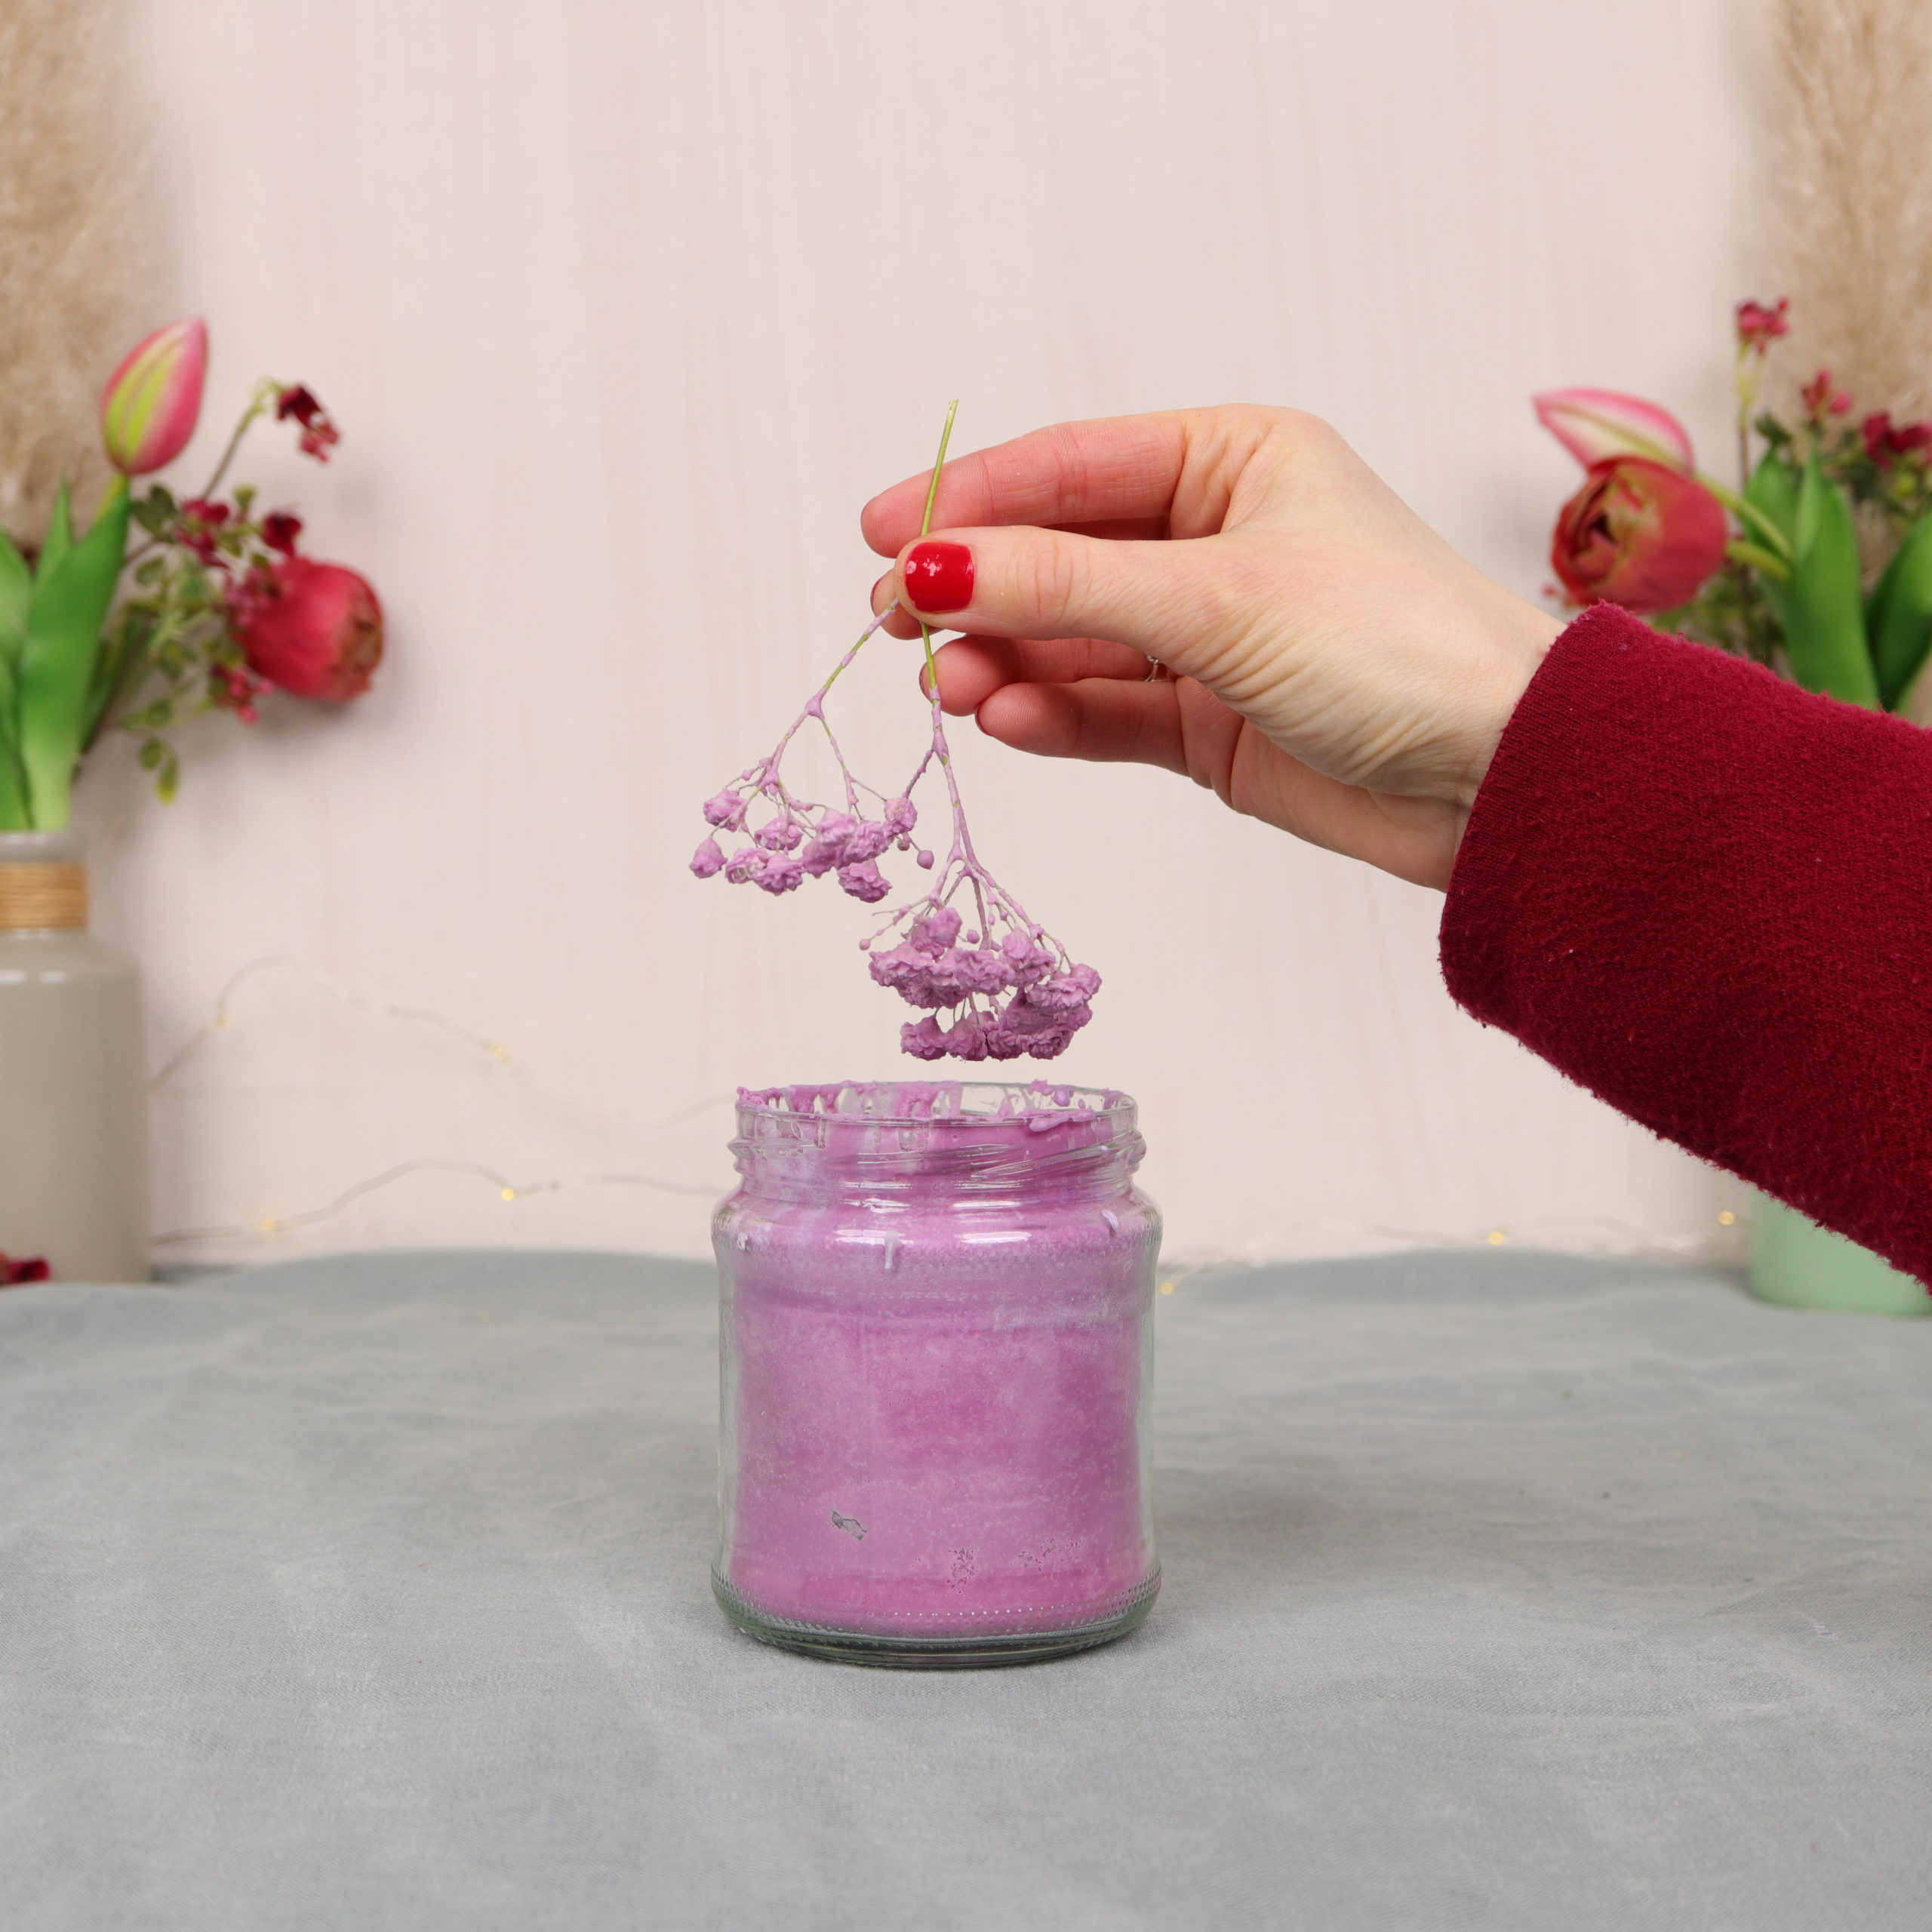
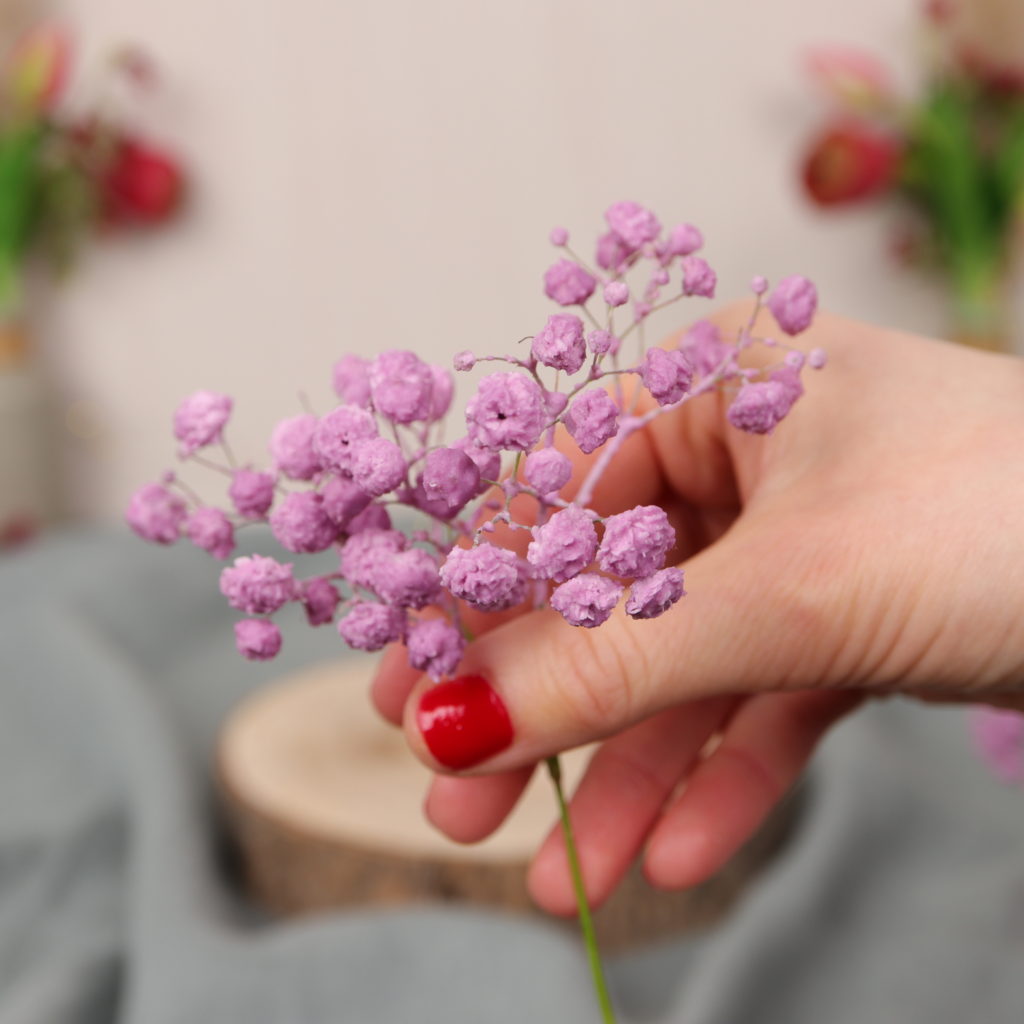
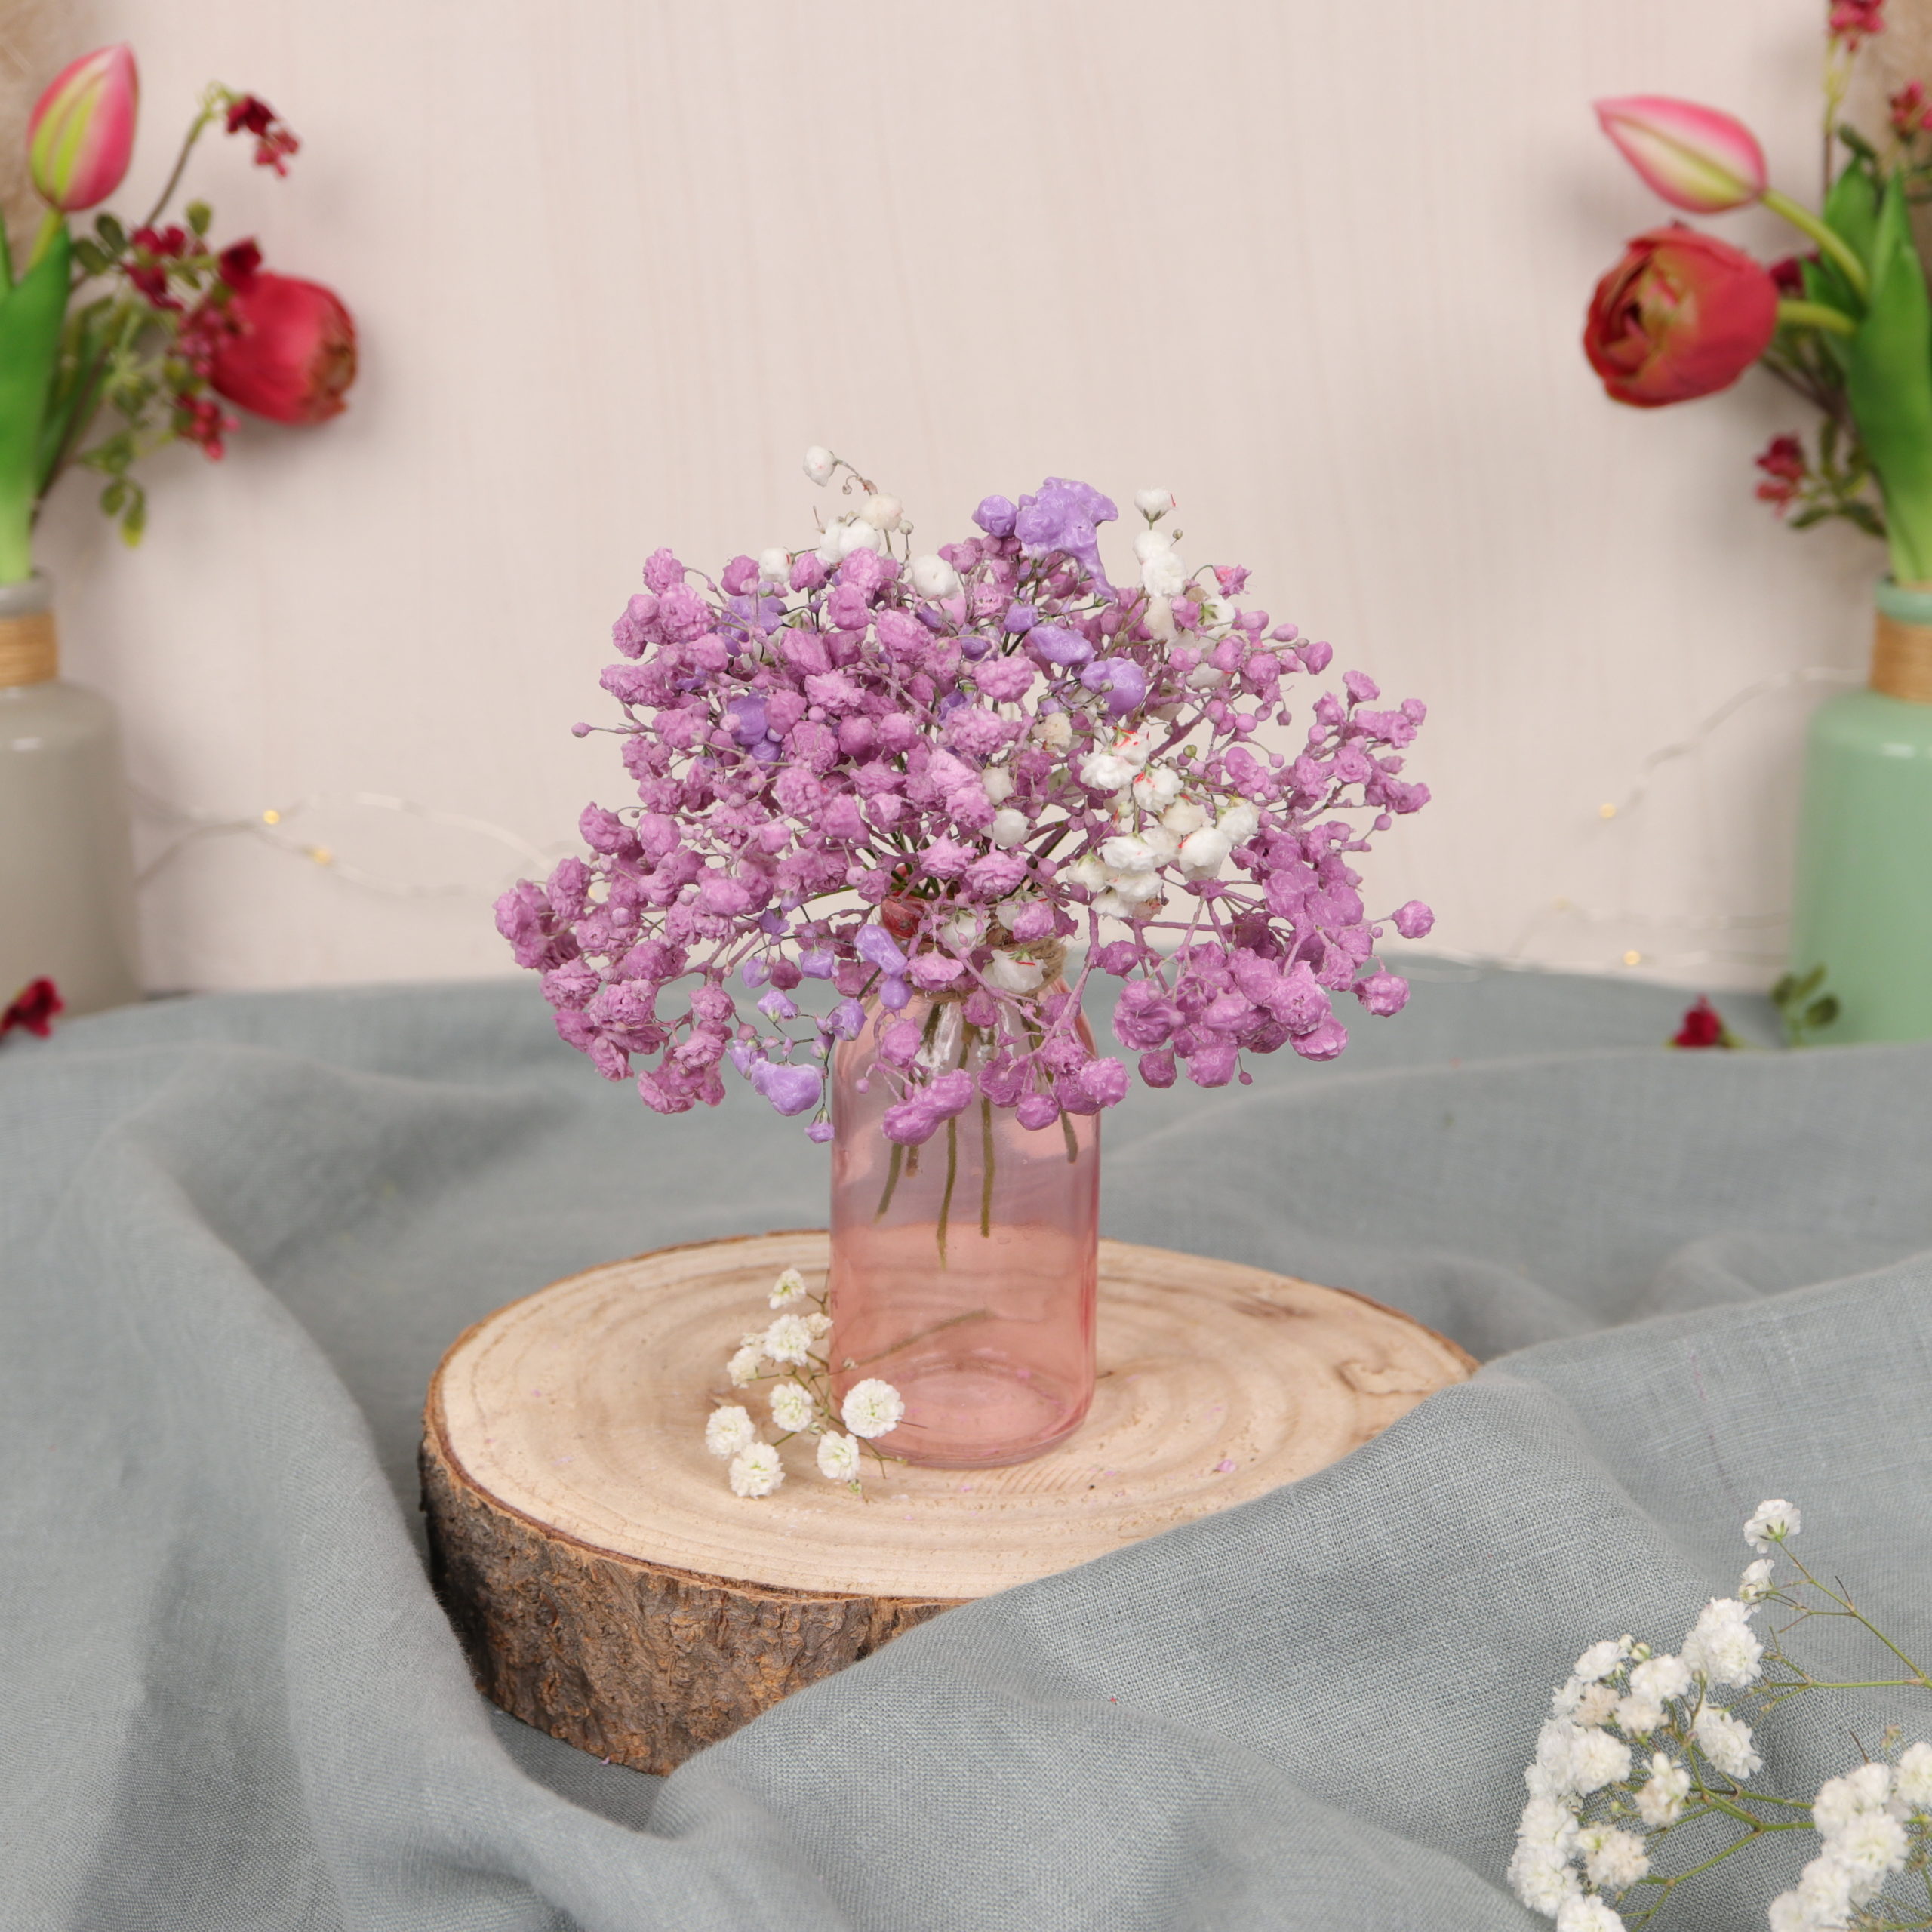
And the waxed gypsophila is ready! I hope you had as much fun with this DIY as I did and that you enjoy looking at the floral decoration!