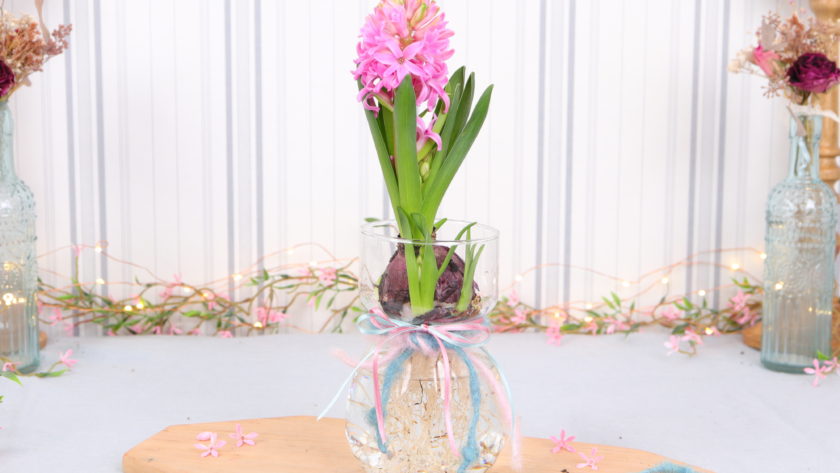
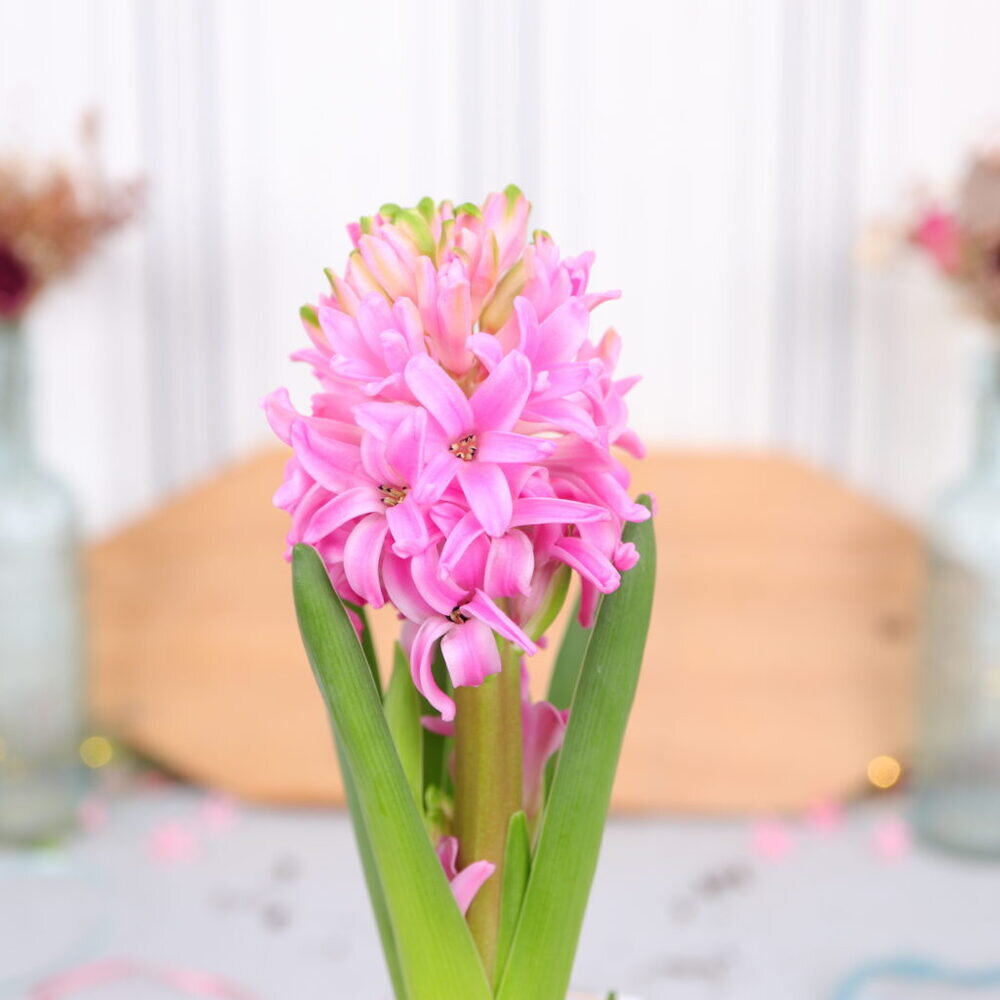
Today I’ll show you how to decorate a hyacinth in a glass vase! Hyacinths are among the classic early bloomers and are popular bulb plants. With their colorful blossoms and scent, the heralds of spring brighten up our homes and shorten our wait for spring.
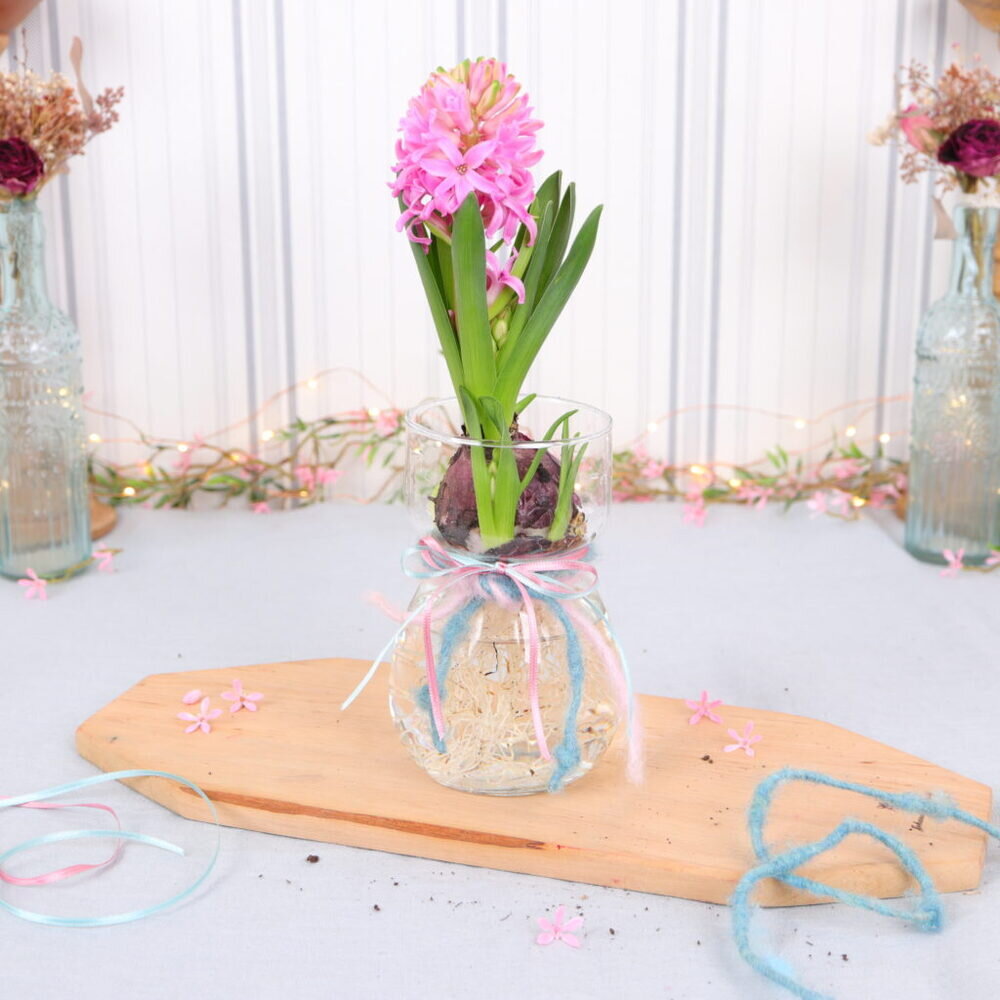
Instead of decorating the hyacinth as a cut flower or in moss, I decorate it in a glass vase. The hyacinth vase, also called hyacinth glass or onion vase, is suitable for this. These special vases are used for growing hyacinths without soil. To do this, the flower bulb, which has not yet formed any roots, is placed in the upper bowl. The roots grow through contact with the water in the bulbous part of the vase.
I was a bit impatient and used a pre-planted pink hyacinth in a pot for this DIY. With the following step-by-step instructions, you can quickly and easily make the spring decoration yourself!
Tools
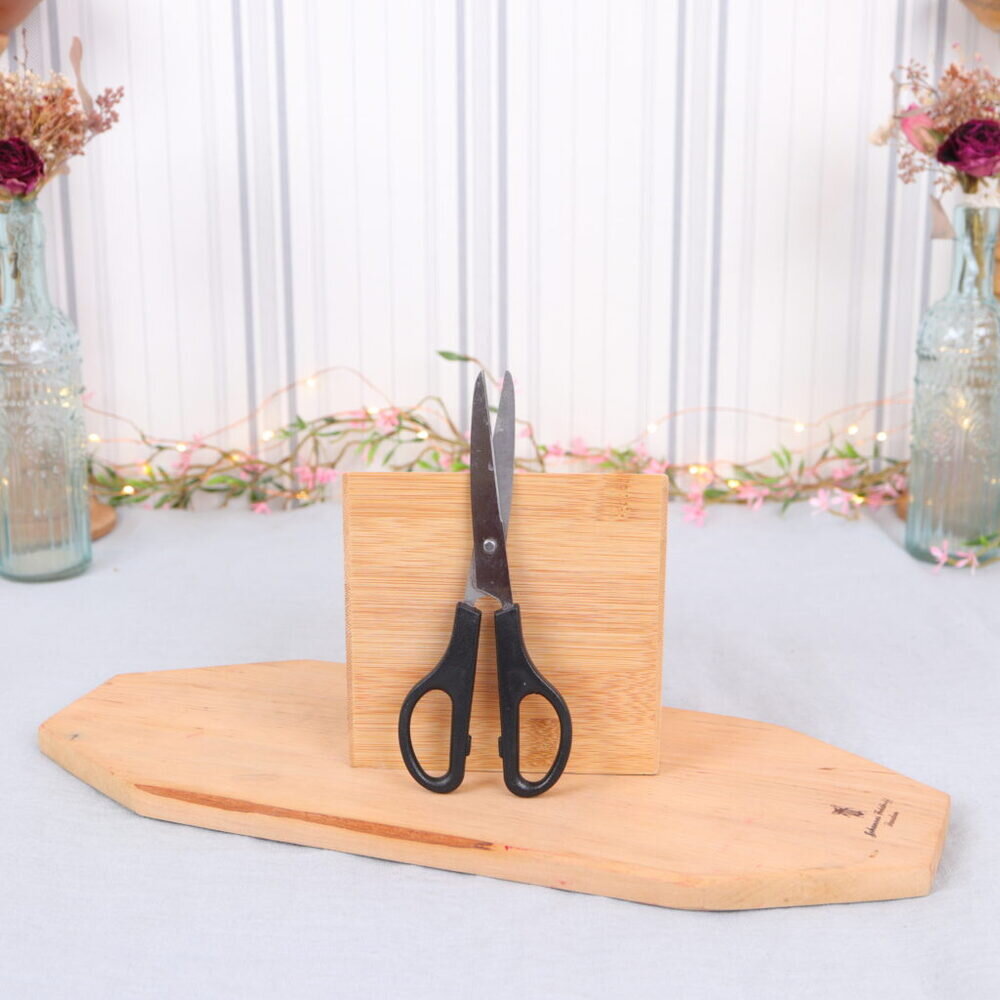
Here you can see which tools I used for the spring decoration. You only need scissors to cut the ribbons.
Materials
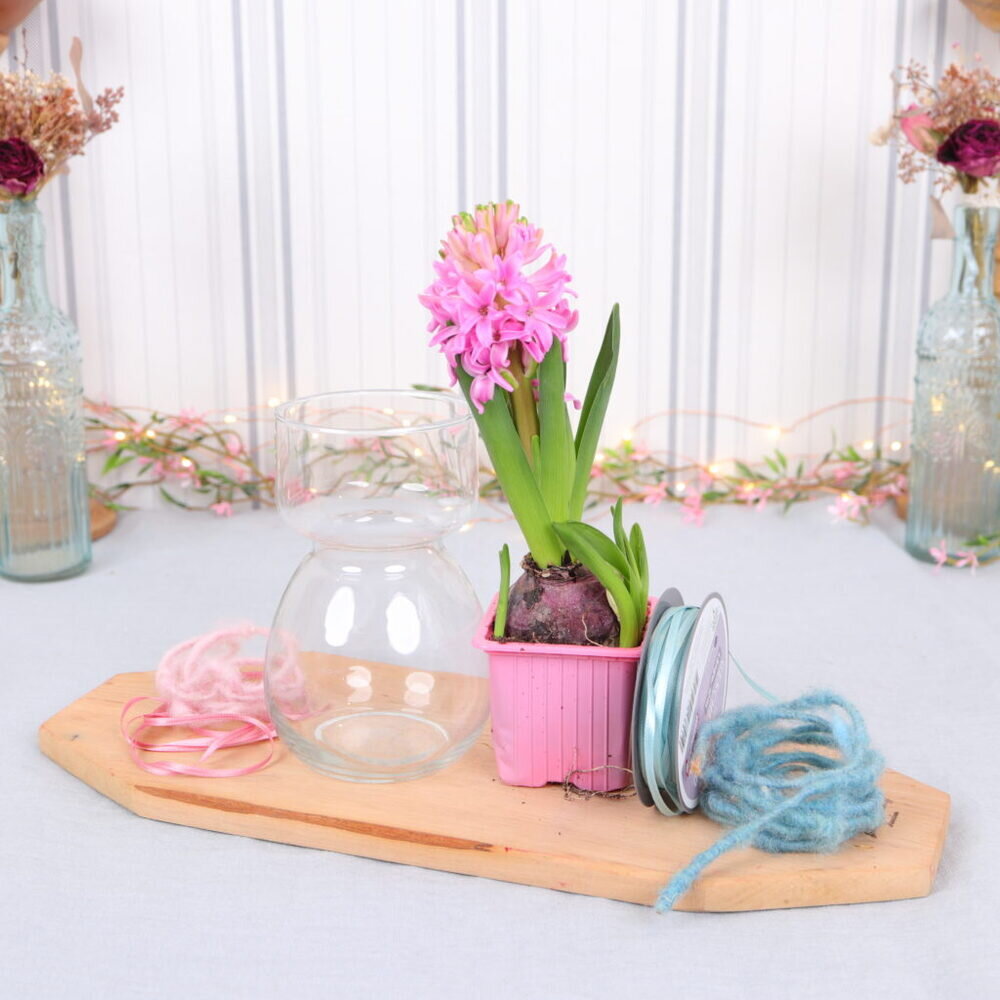
These are the materials I used for the hyacinth in the vase: a hyacinth vase, a hyacinth plant, and colorful ribbons in shades of pink and blue (I use wool cord and satin ribbons).
Instructions | Hyacinth in a glass vase
Step 1: Remove soil
In the first step I free the hyacinth from the soil.
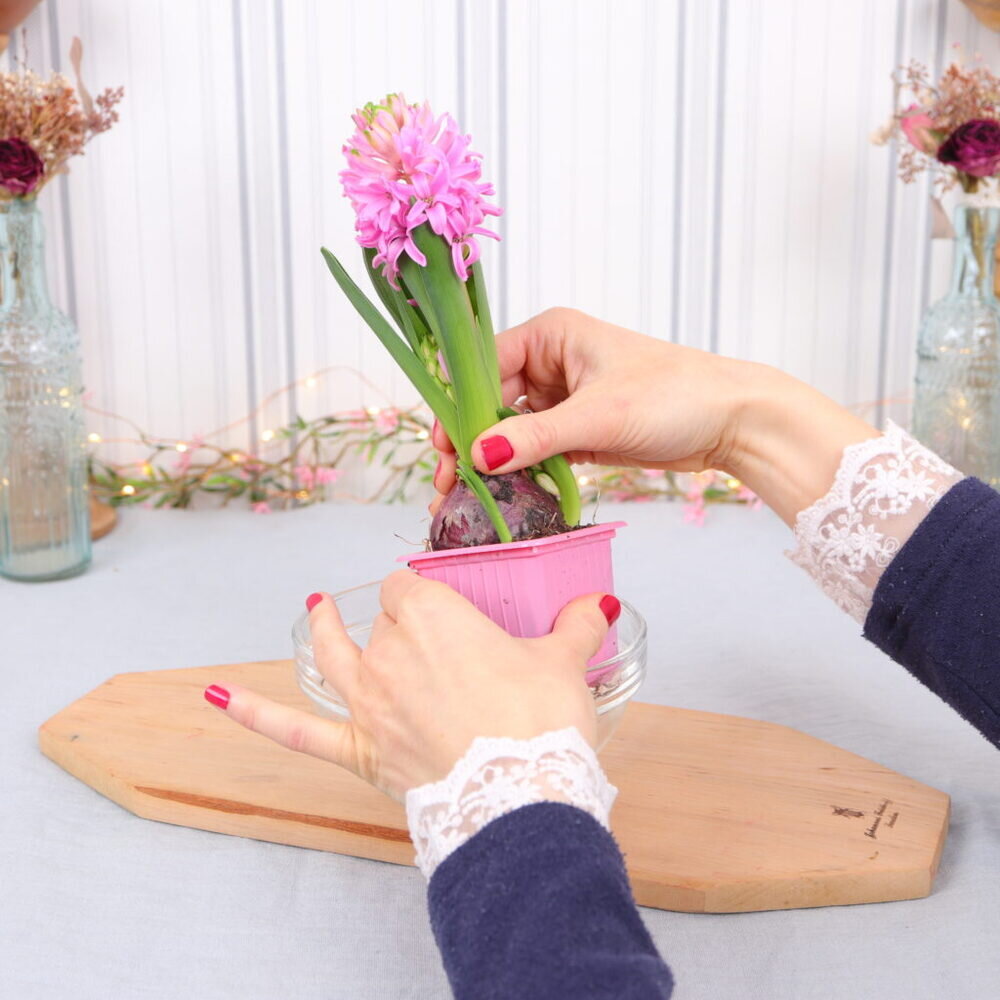
To do this, I take the hyacinth out of the pot and slowly crumble the soil with my hands.
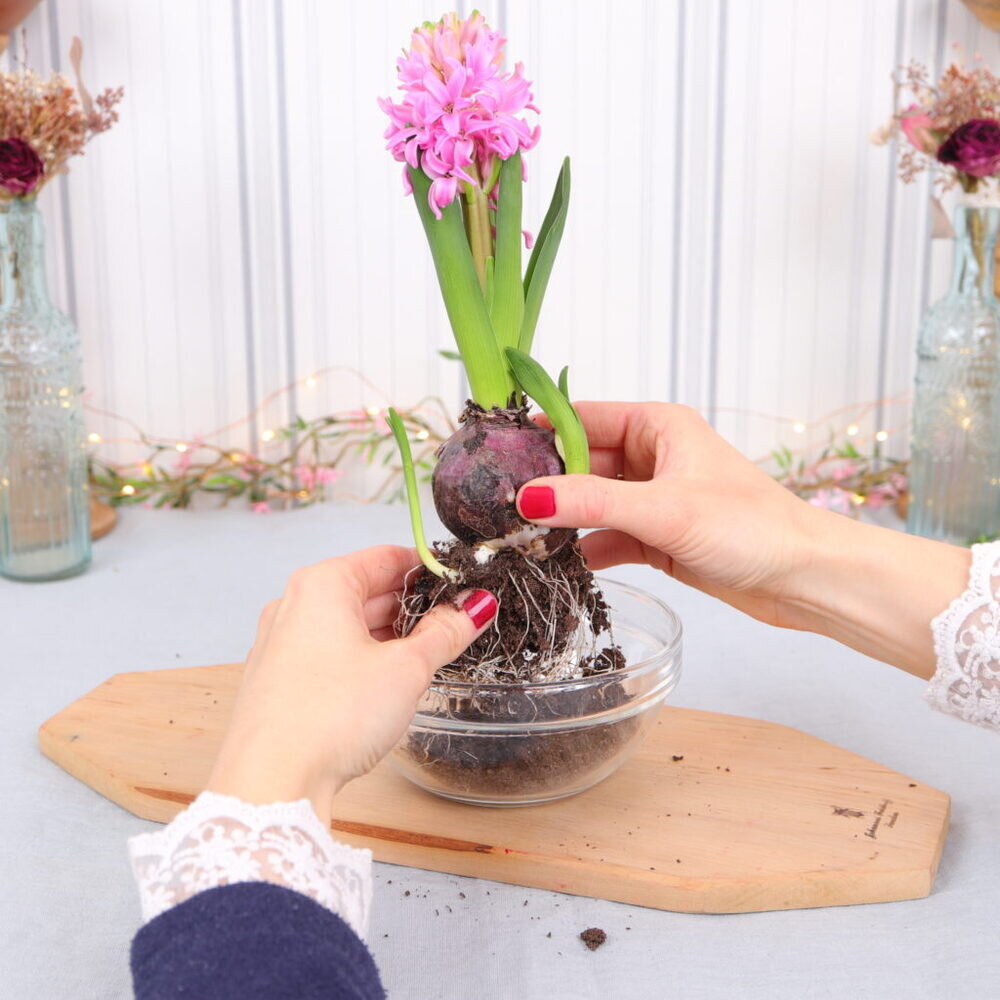
I am very careful not to damage the roots.
Step 2: Wash hyacinth
I wash off the last pieces of soil with water.
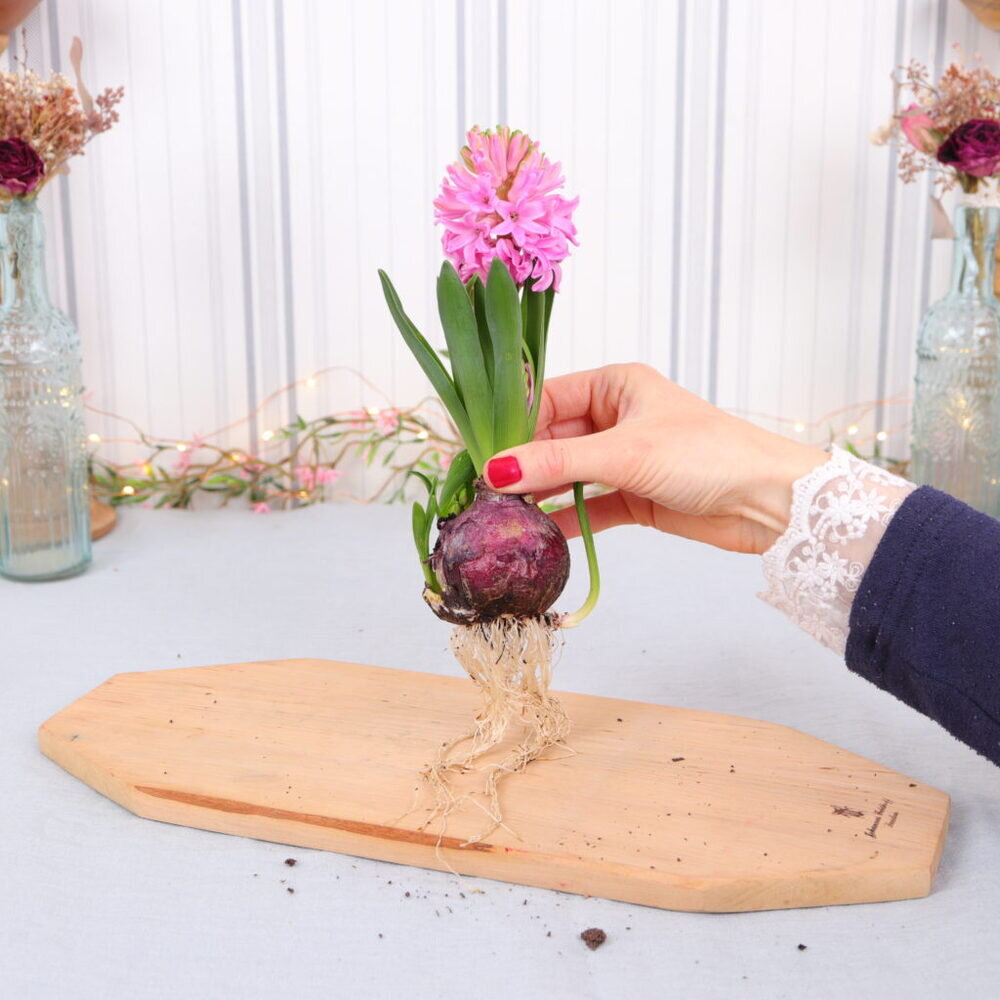
Tip: Make sure that no soil gets into the drain of the sink.
Step 3: Put hyacinth in the vase
Now I fill the vase with water.
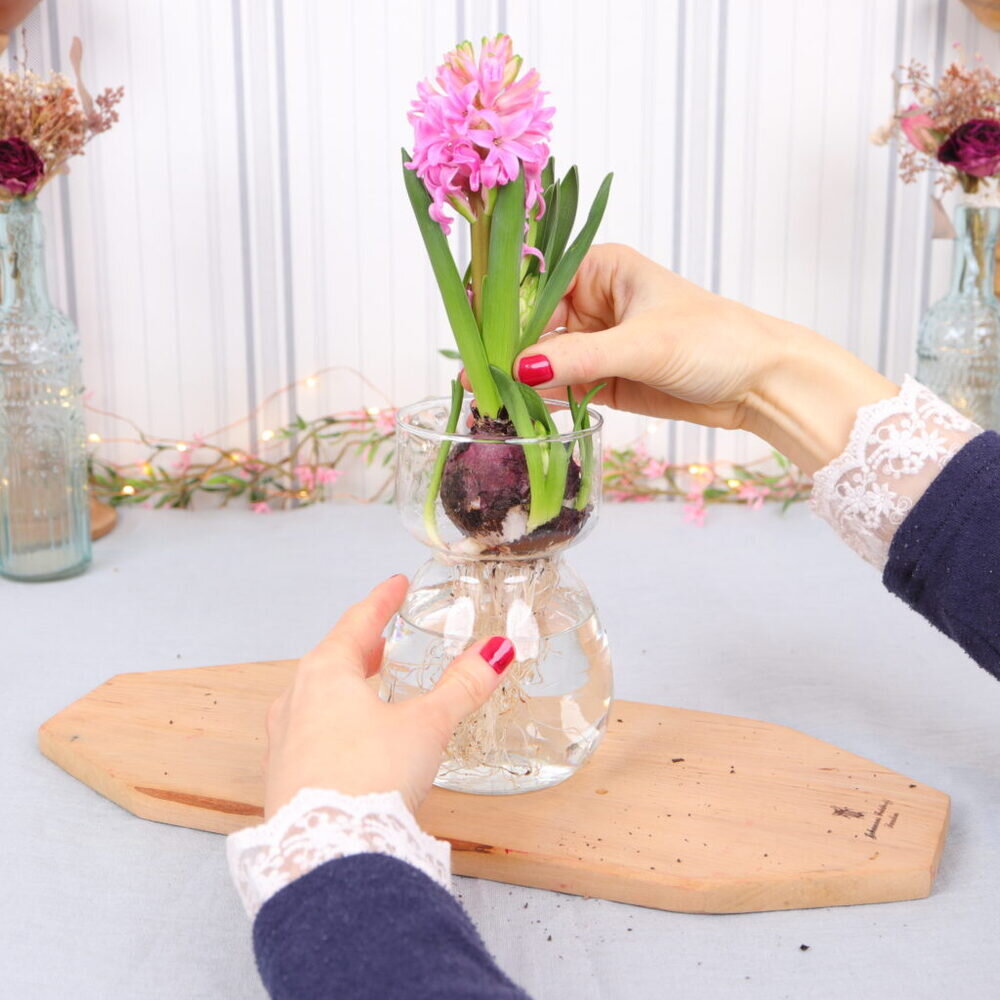
I make sure that the water stays below the bulb so that the bulb doesn’t sit in the water later. Otherwise the bulb could become moldy.
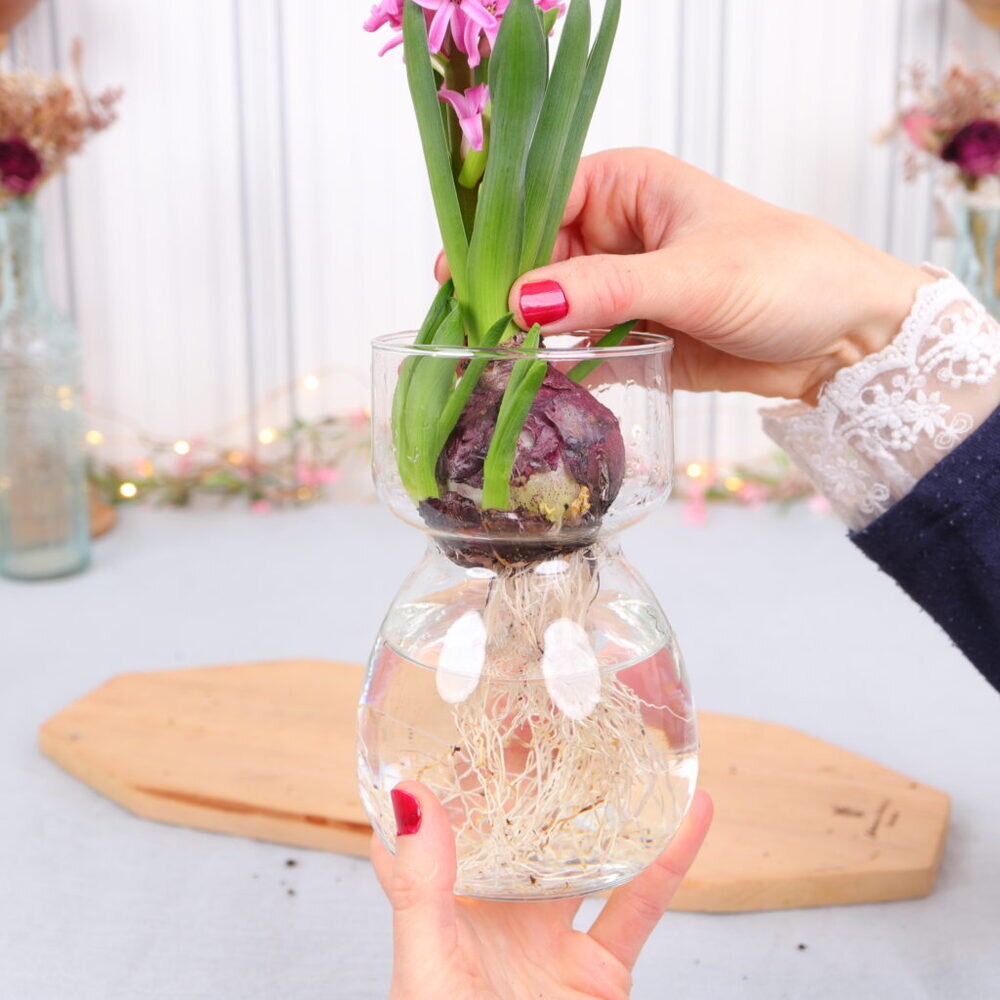
Now I put the bulb in the bowl so that its roots are floating in the water.
Step 4: Attach ribbons
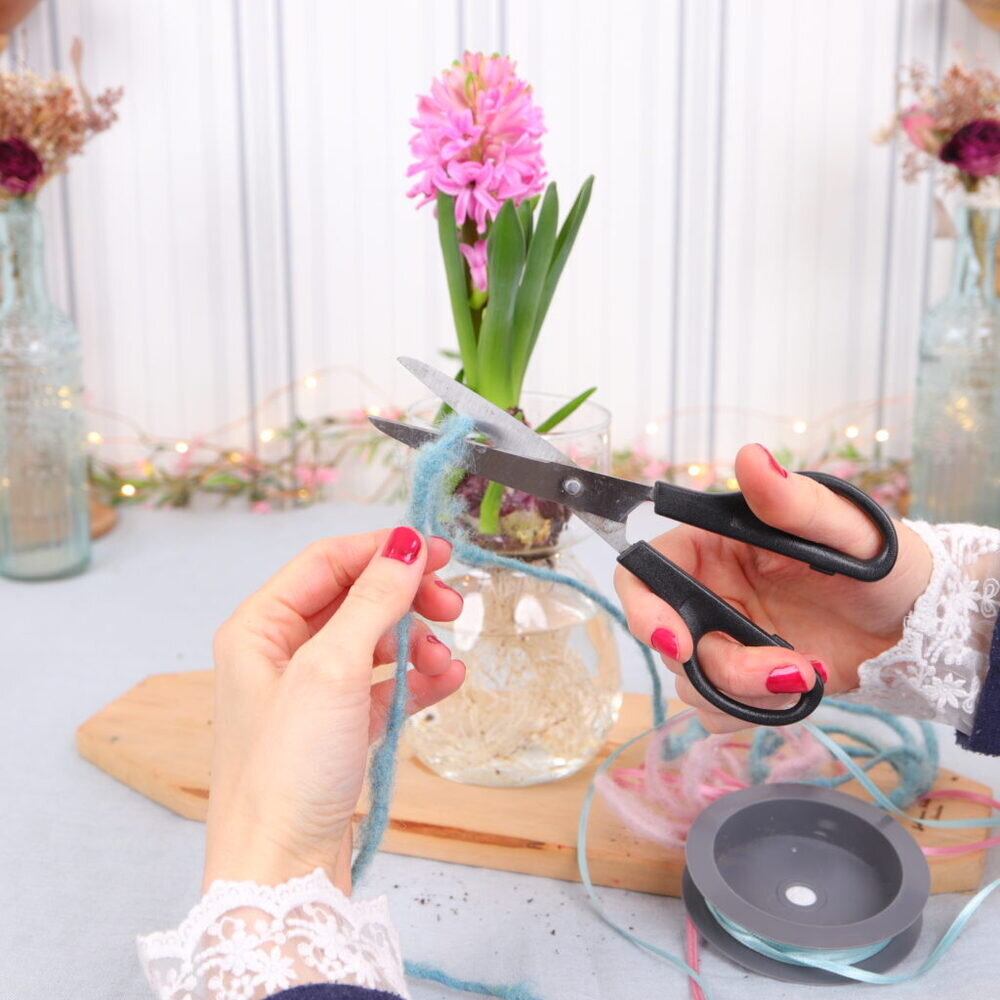
In the last step I cut different ribbons.
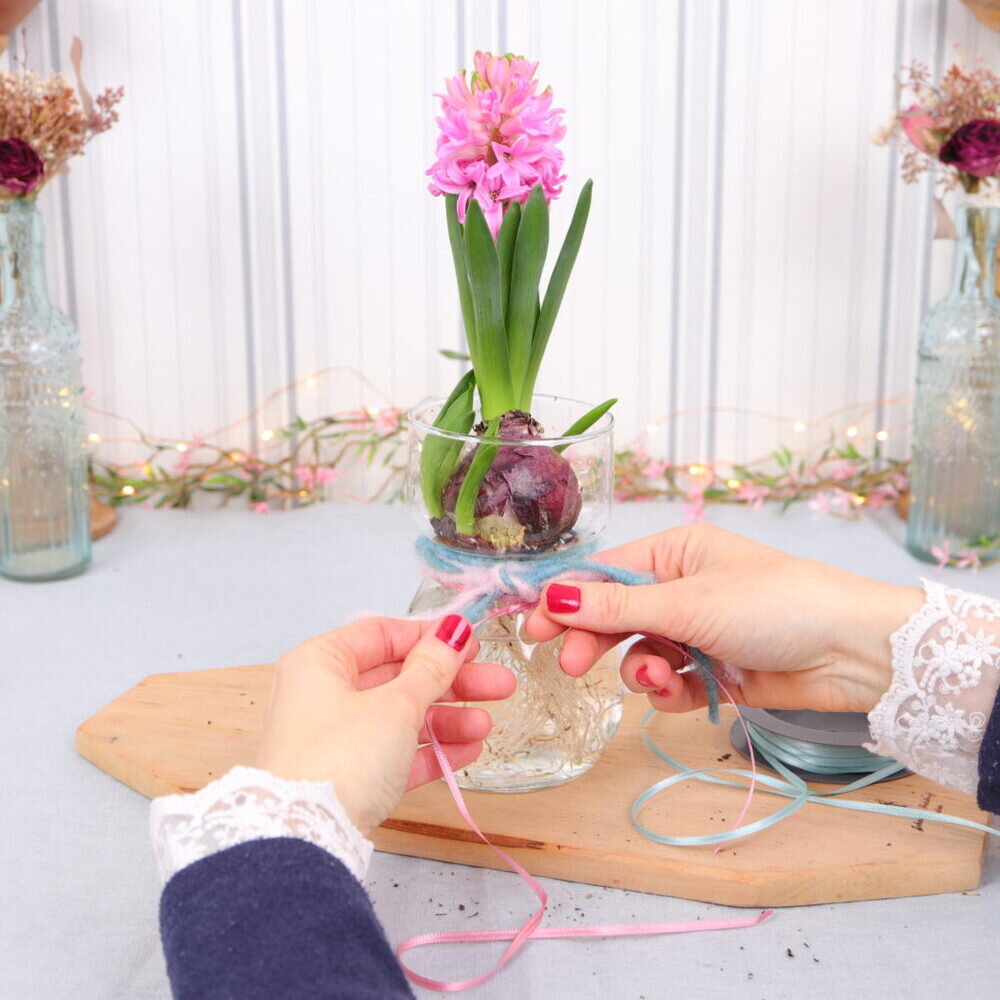
I tie this around the narrow part of the vase and close it with a bow knot.
Tip: Change the water regularly to keep it nice and clear.
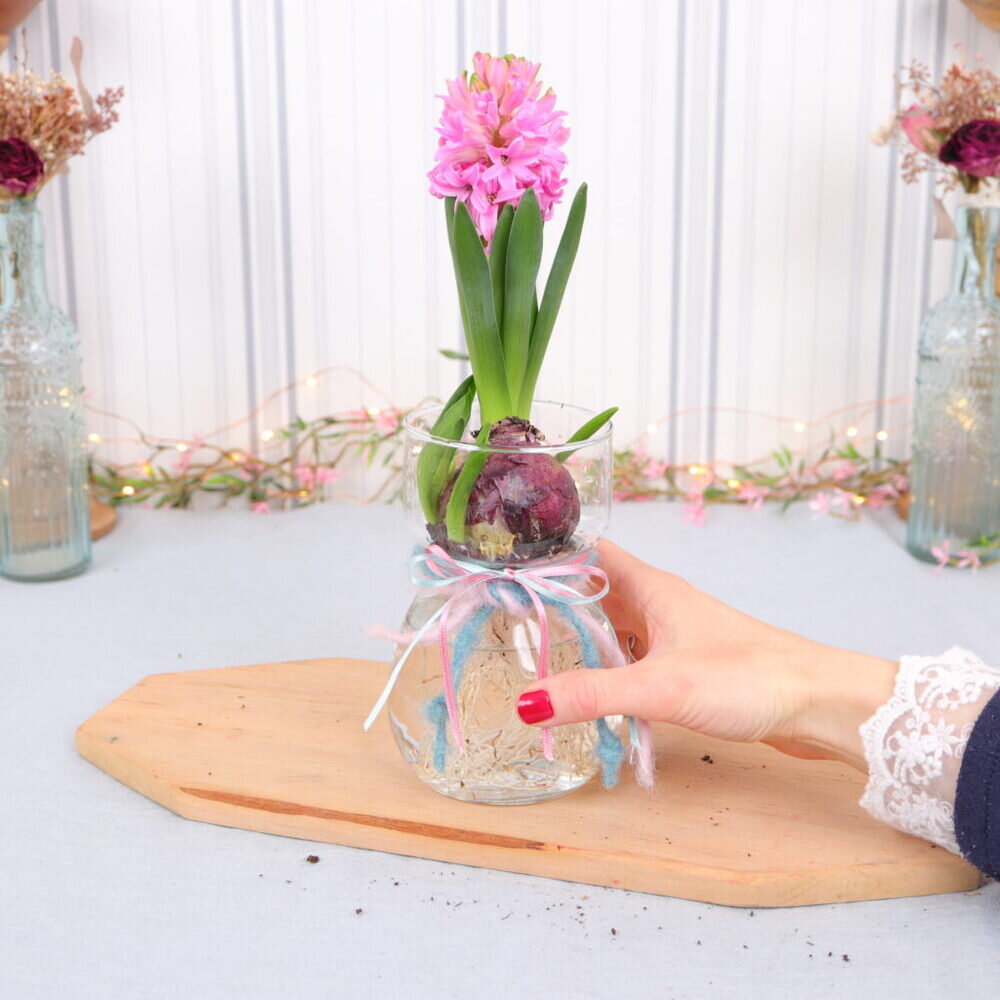
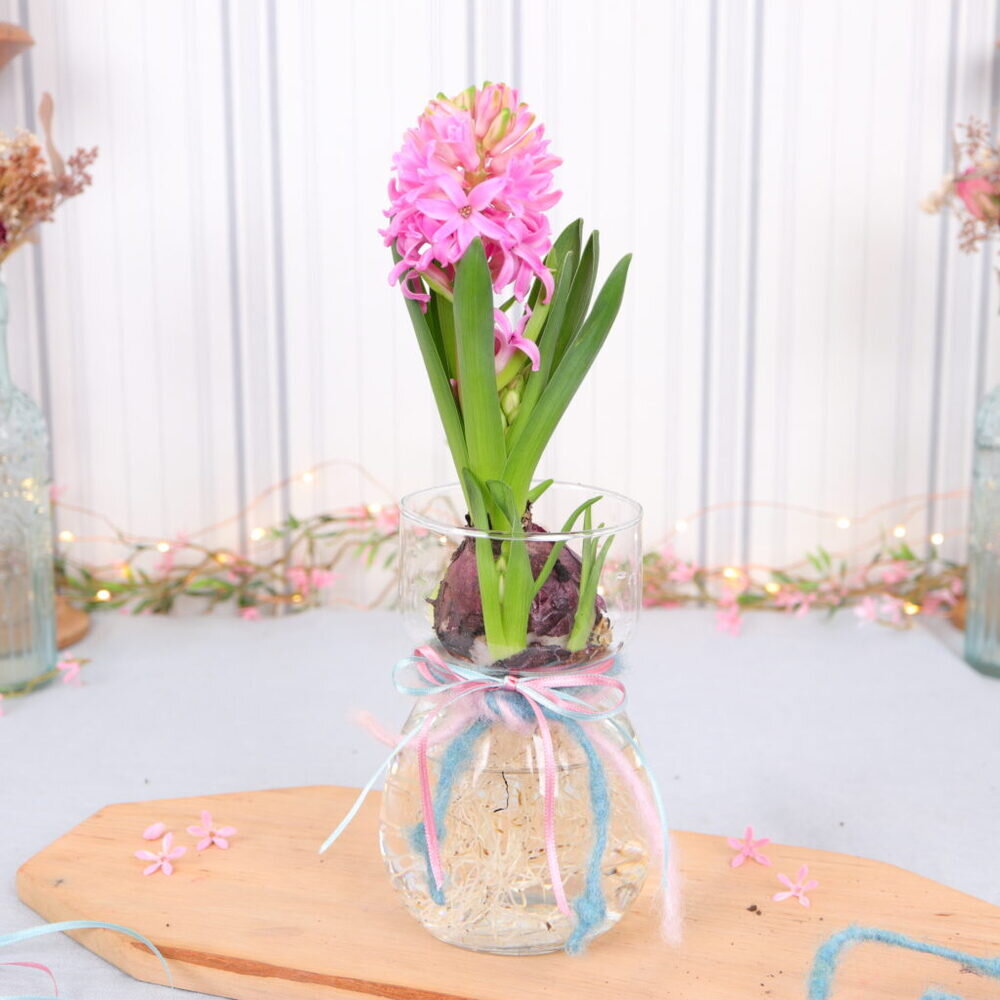
And the hyacinth in the glass vase is ready! I hope you enjoyed this DIY as much as I did and that you enjoy looking at the colorful spring decorations!
Are you looking for inspiration and other DIY ideas for spring? Then have a look here:
