Today I show you with a step by step tutorial how you can easily make an autumnal flower arrangement yourself without floral foam. As a natural and sustainable alternative to foam, I use (pottery) clay. This is more environmentally friendly than conventional floral foam (see Floral Foam FAQ | Sustainability, disposal, microplastics,..) and can be perfectly used as a plugging base as well!
For more information and tips on using clay in flower arrangements, check out my FAQ: Clay as an alternative to floral foam.
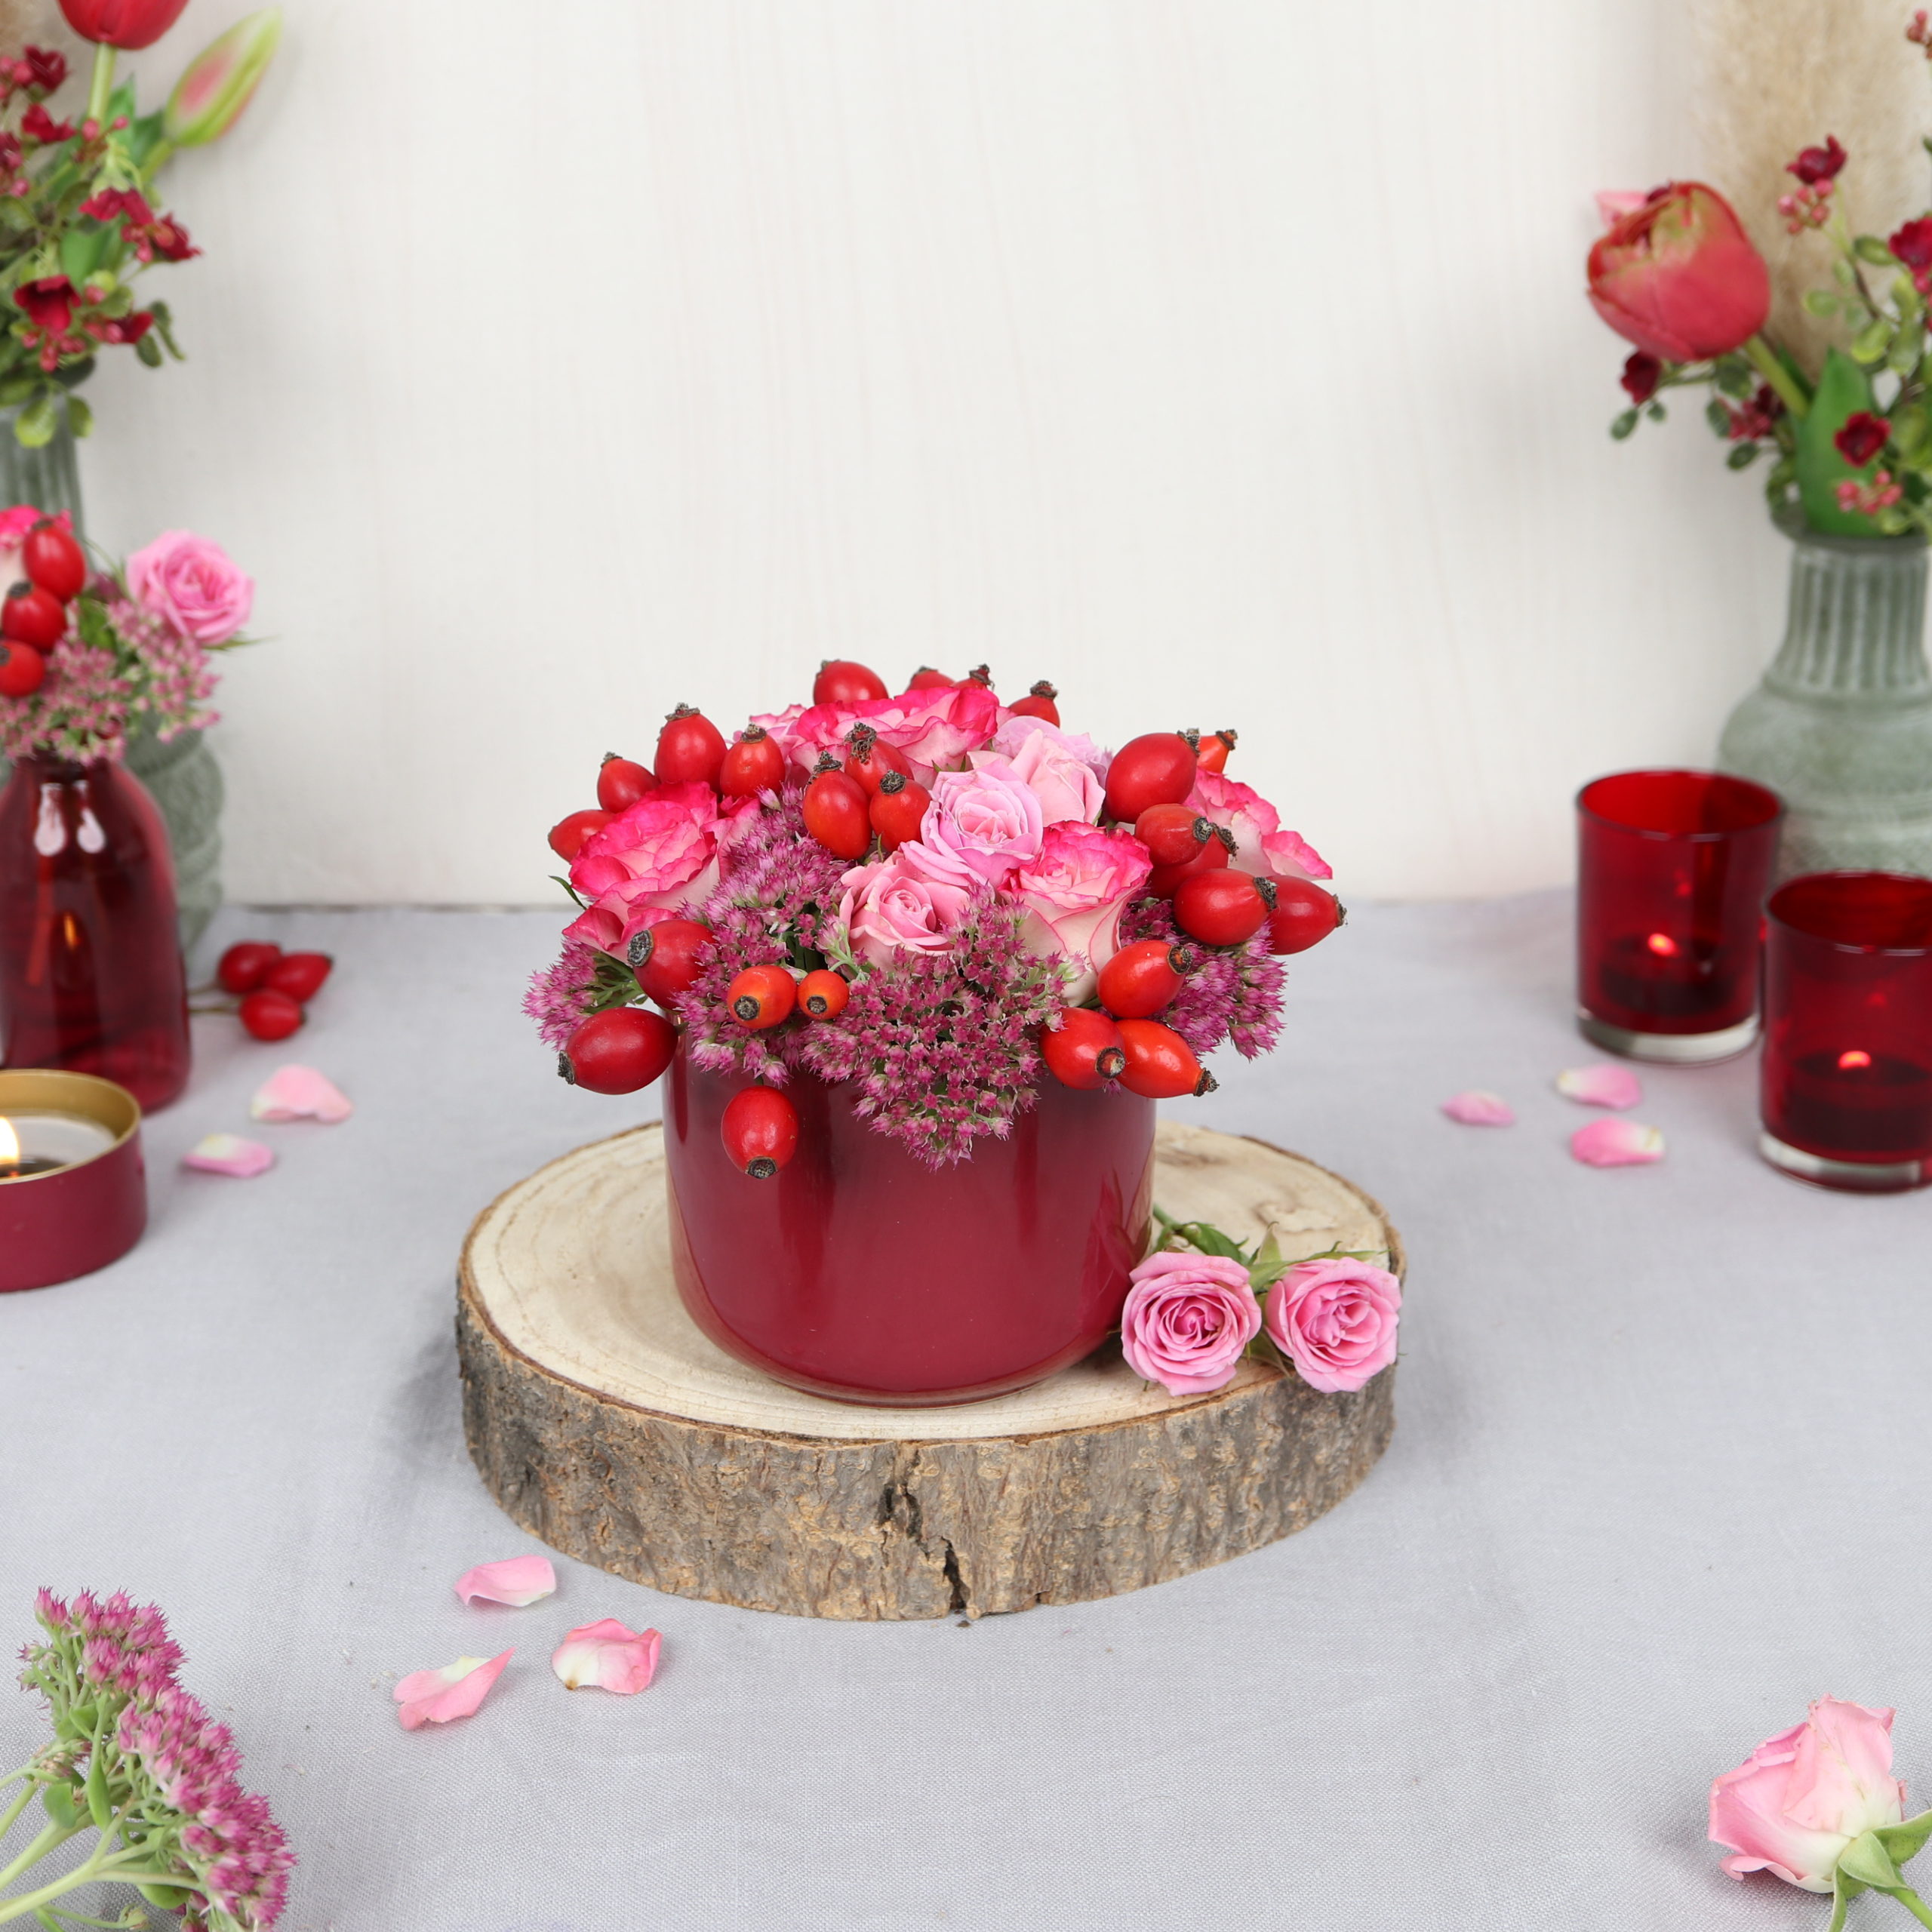
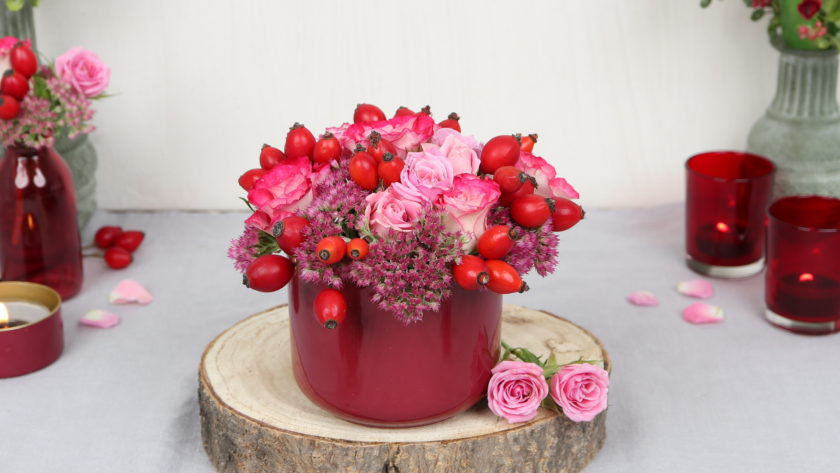
Let’s start with the autumn floral arrangement with rose hips, roses and stonecrop!
Tools
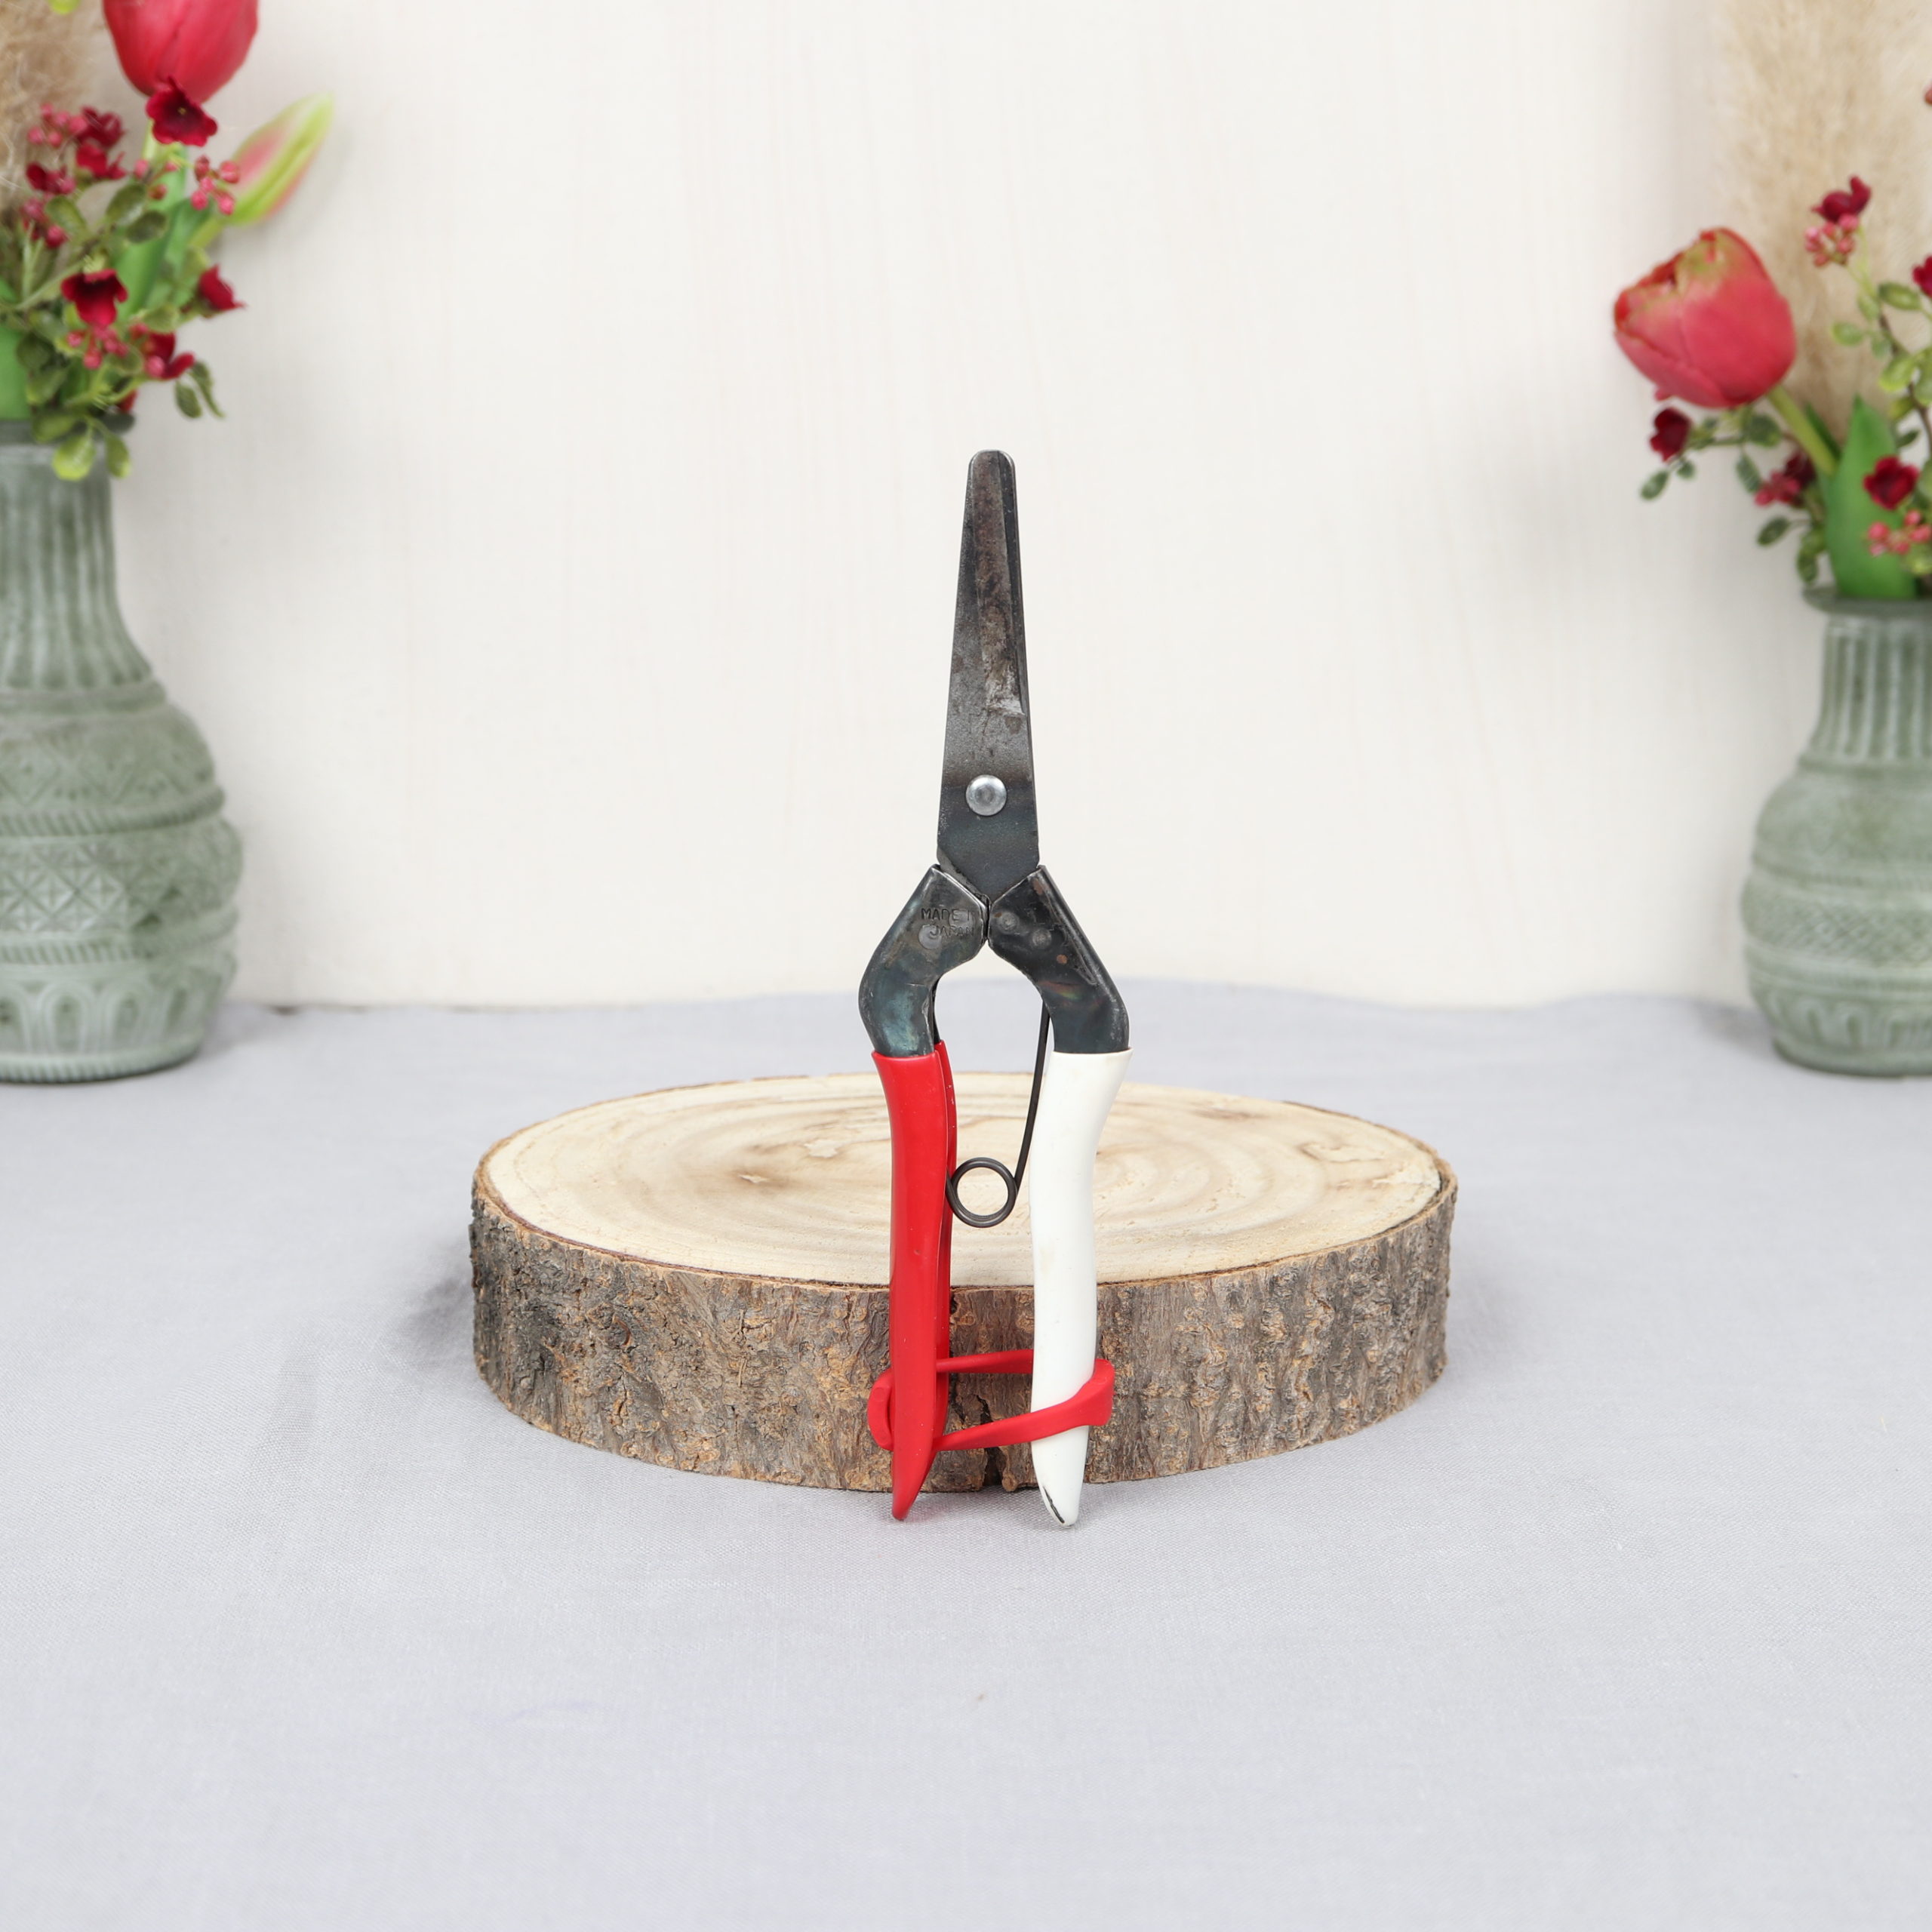
Here you can see what tools I used for the autumn flower arrangement. All you need is a pair of flower scissors.
Materials
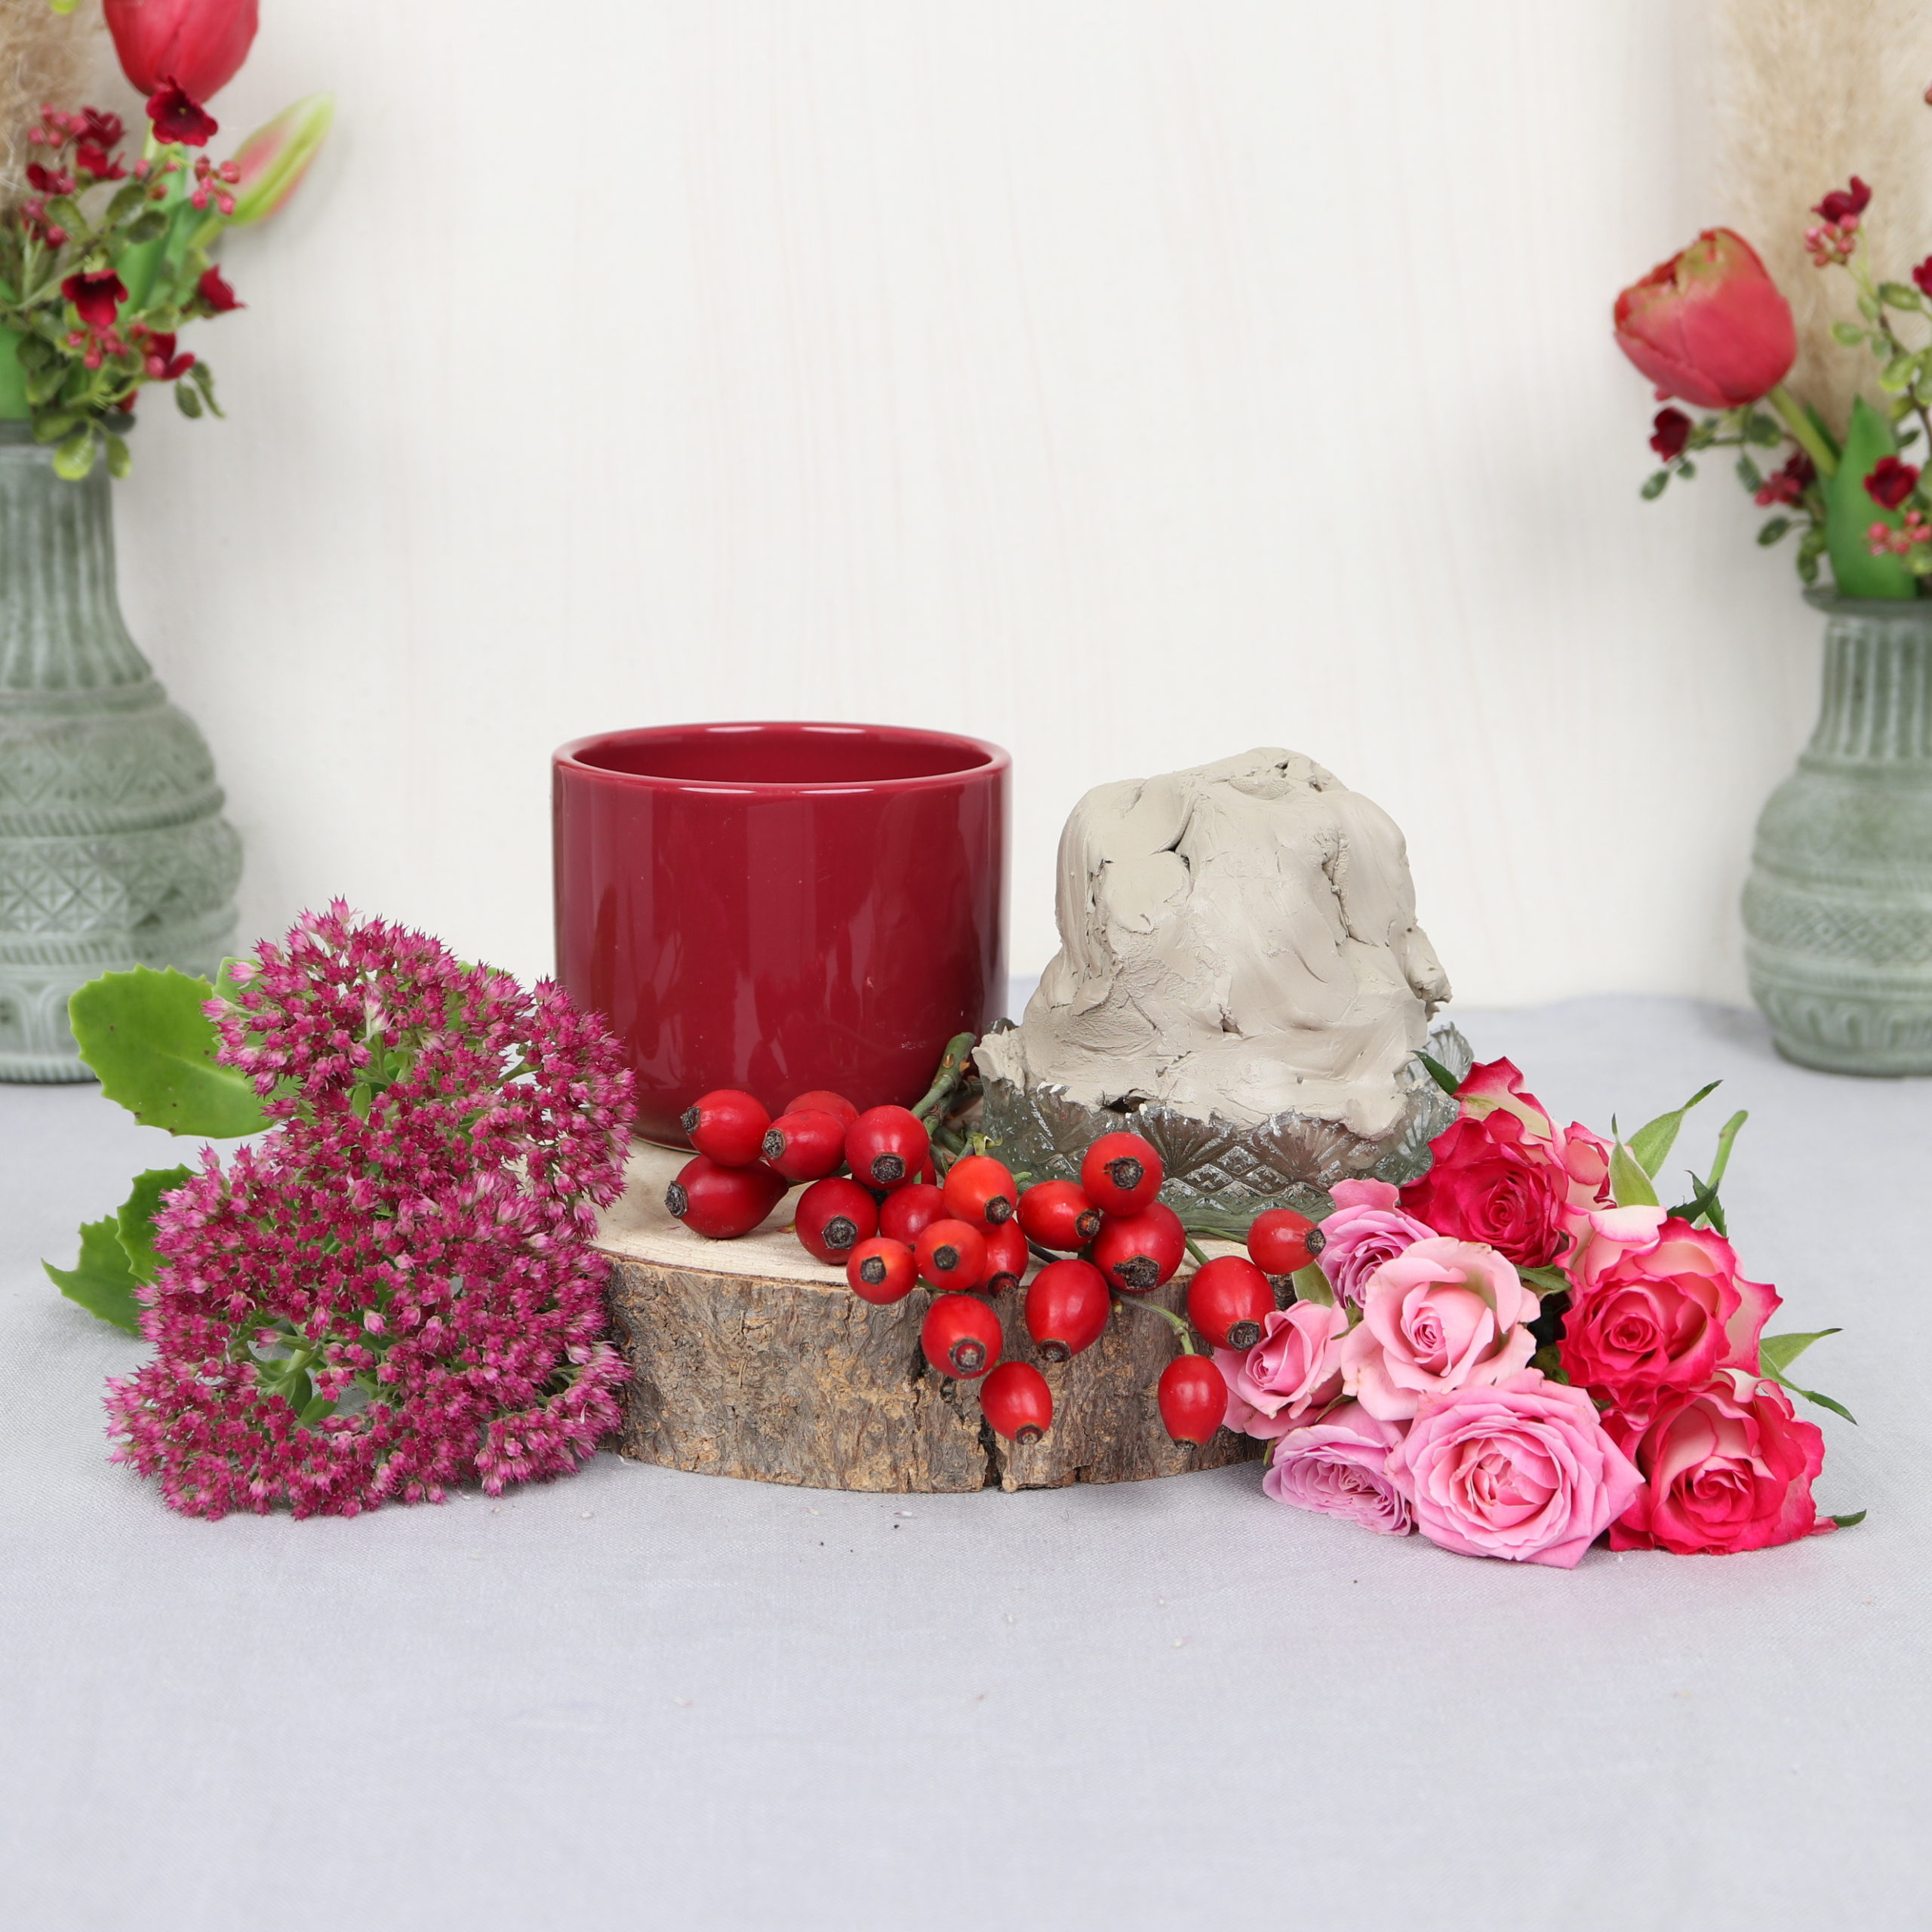
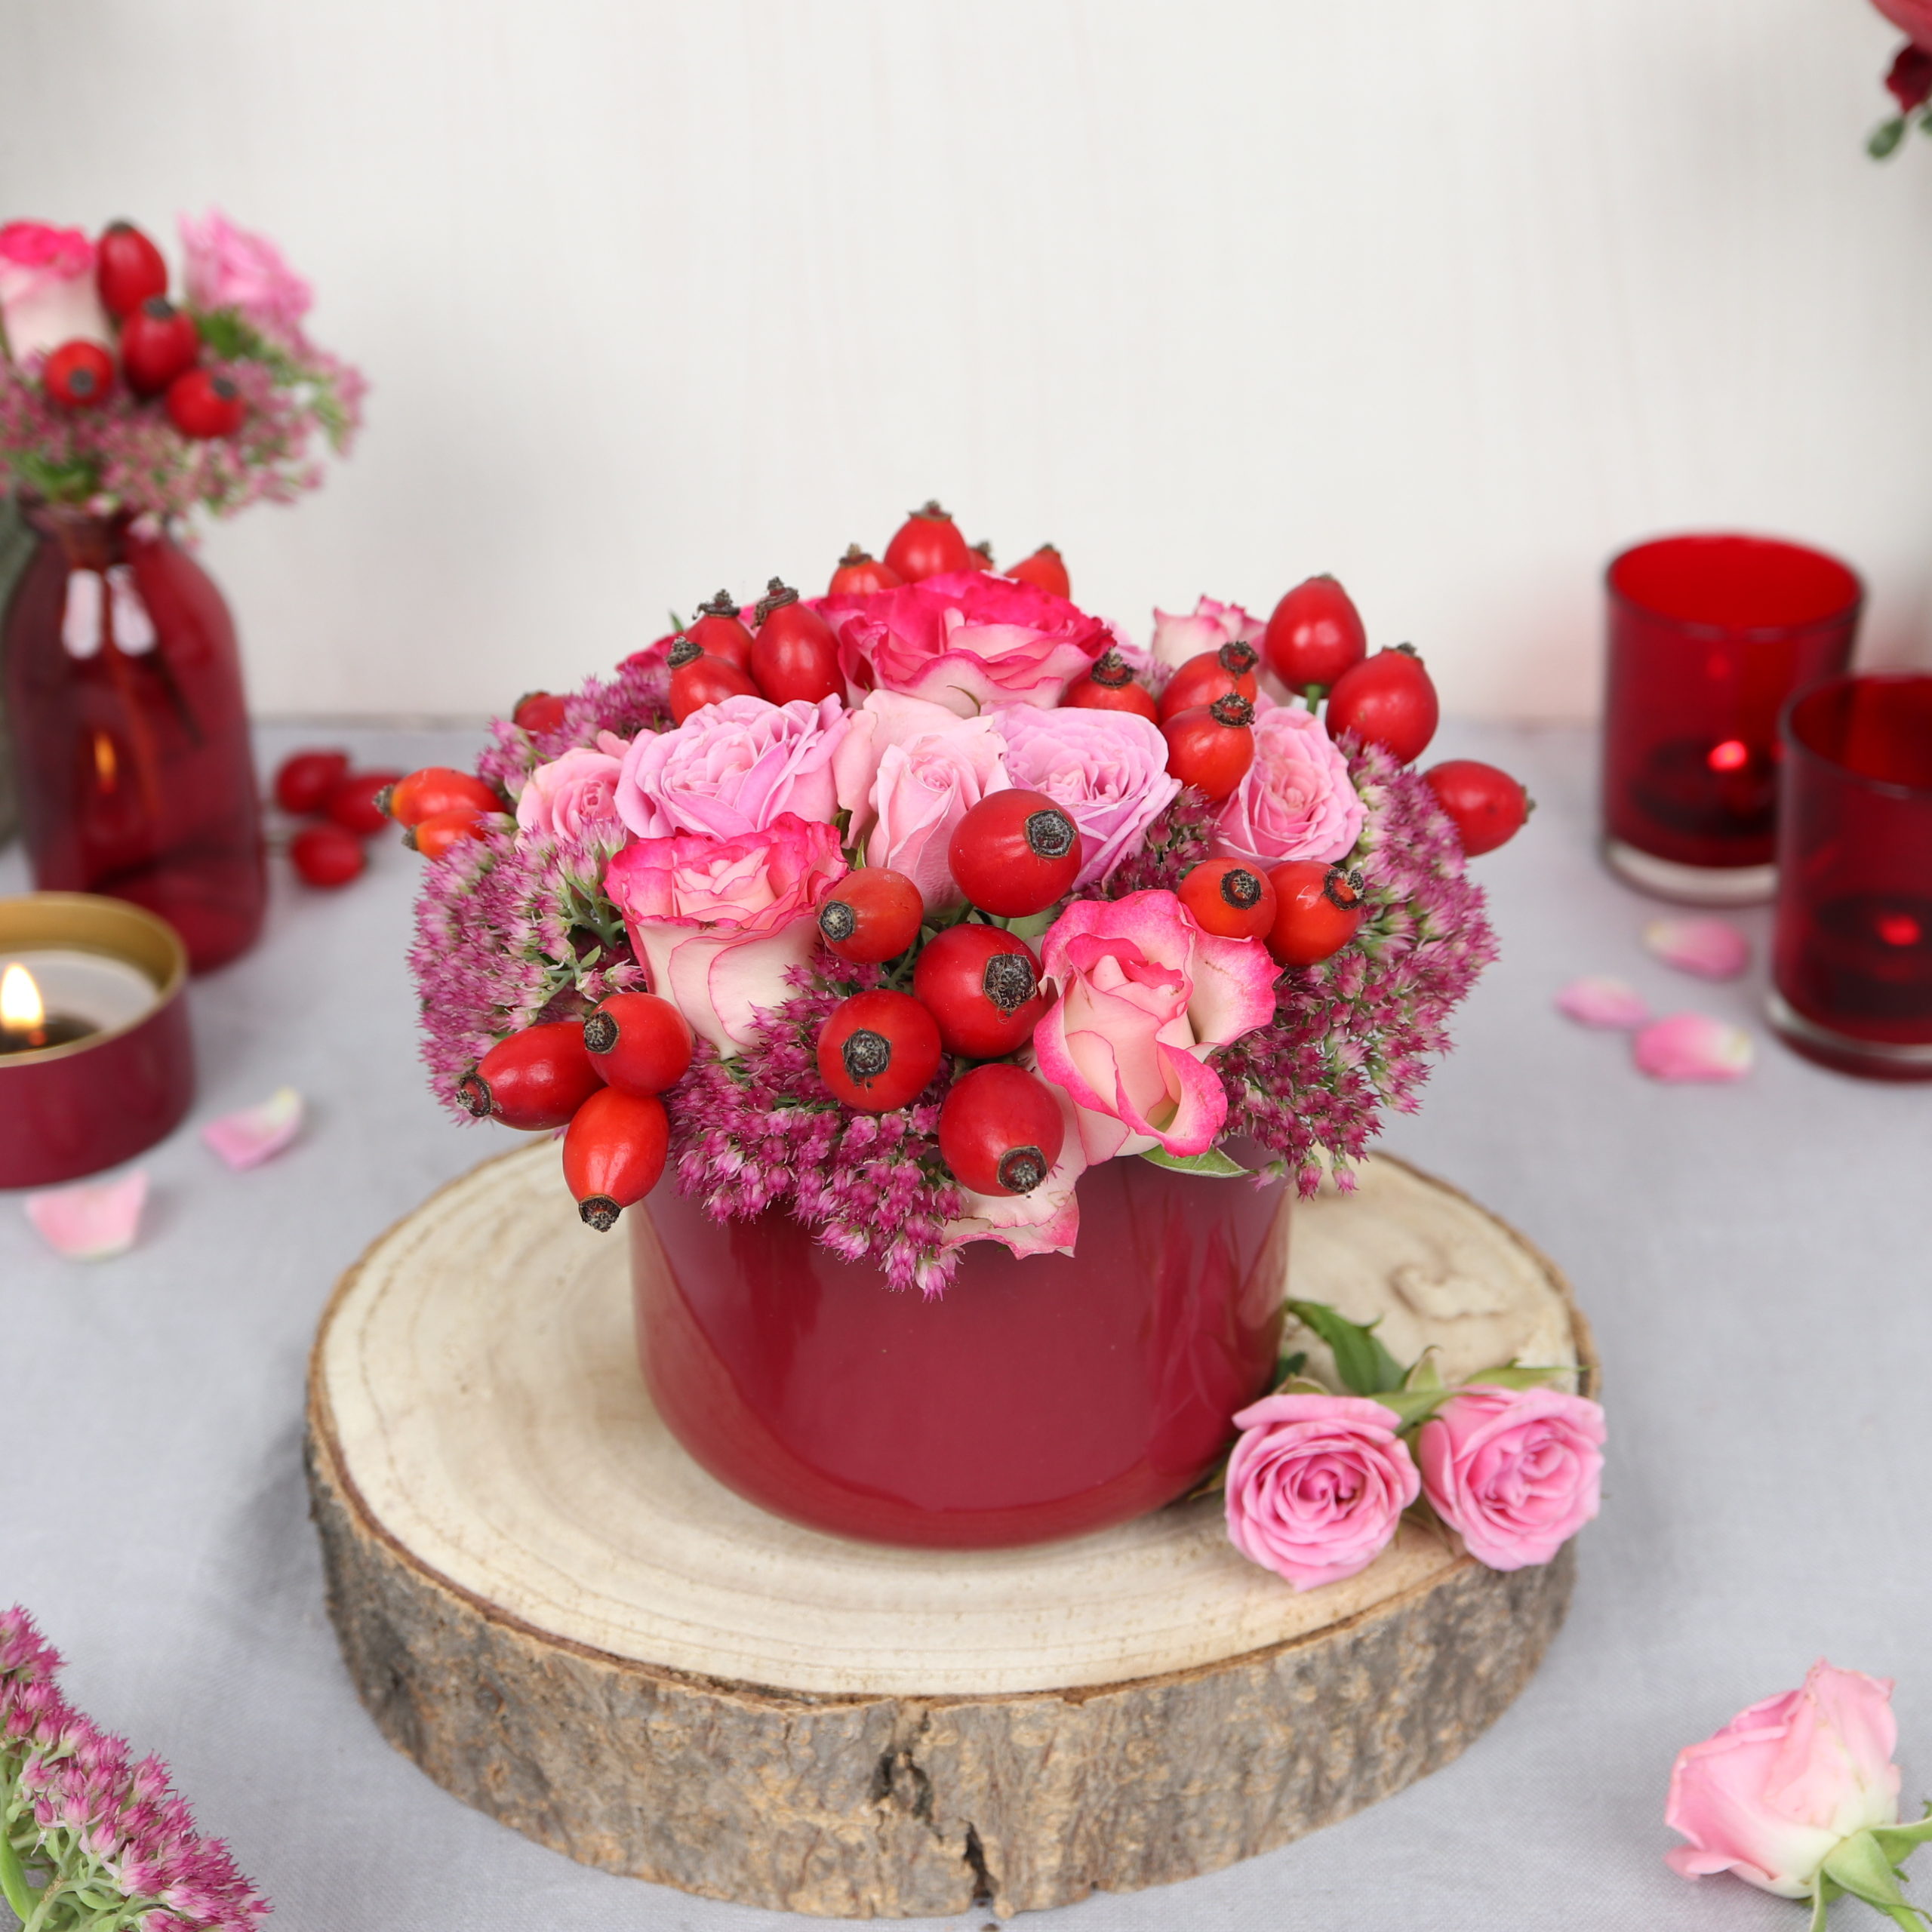
These are the materials I used for the floral arrangement: a burgundy planter, pottery clay, rosehip branches, stonecrop and roses in shades of pink.
Instruction | Floral foam free autumn flower arrangement
Step 1: Fill planter with clay
The first step is to fill the planter with the clay. I like to use smooth ungrained pottery clay. This clay variant is very soft and the flowers are easy to put in.

Tip: If you want to protect your planter, you can simply protect it with a piece of foil before you put the clay inside. This also makes it easier to remove the clay when the arrangement has faded!
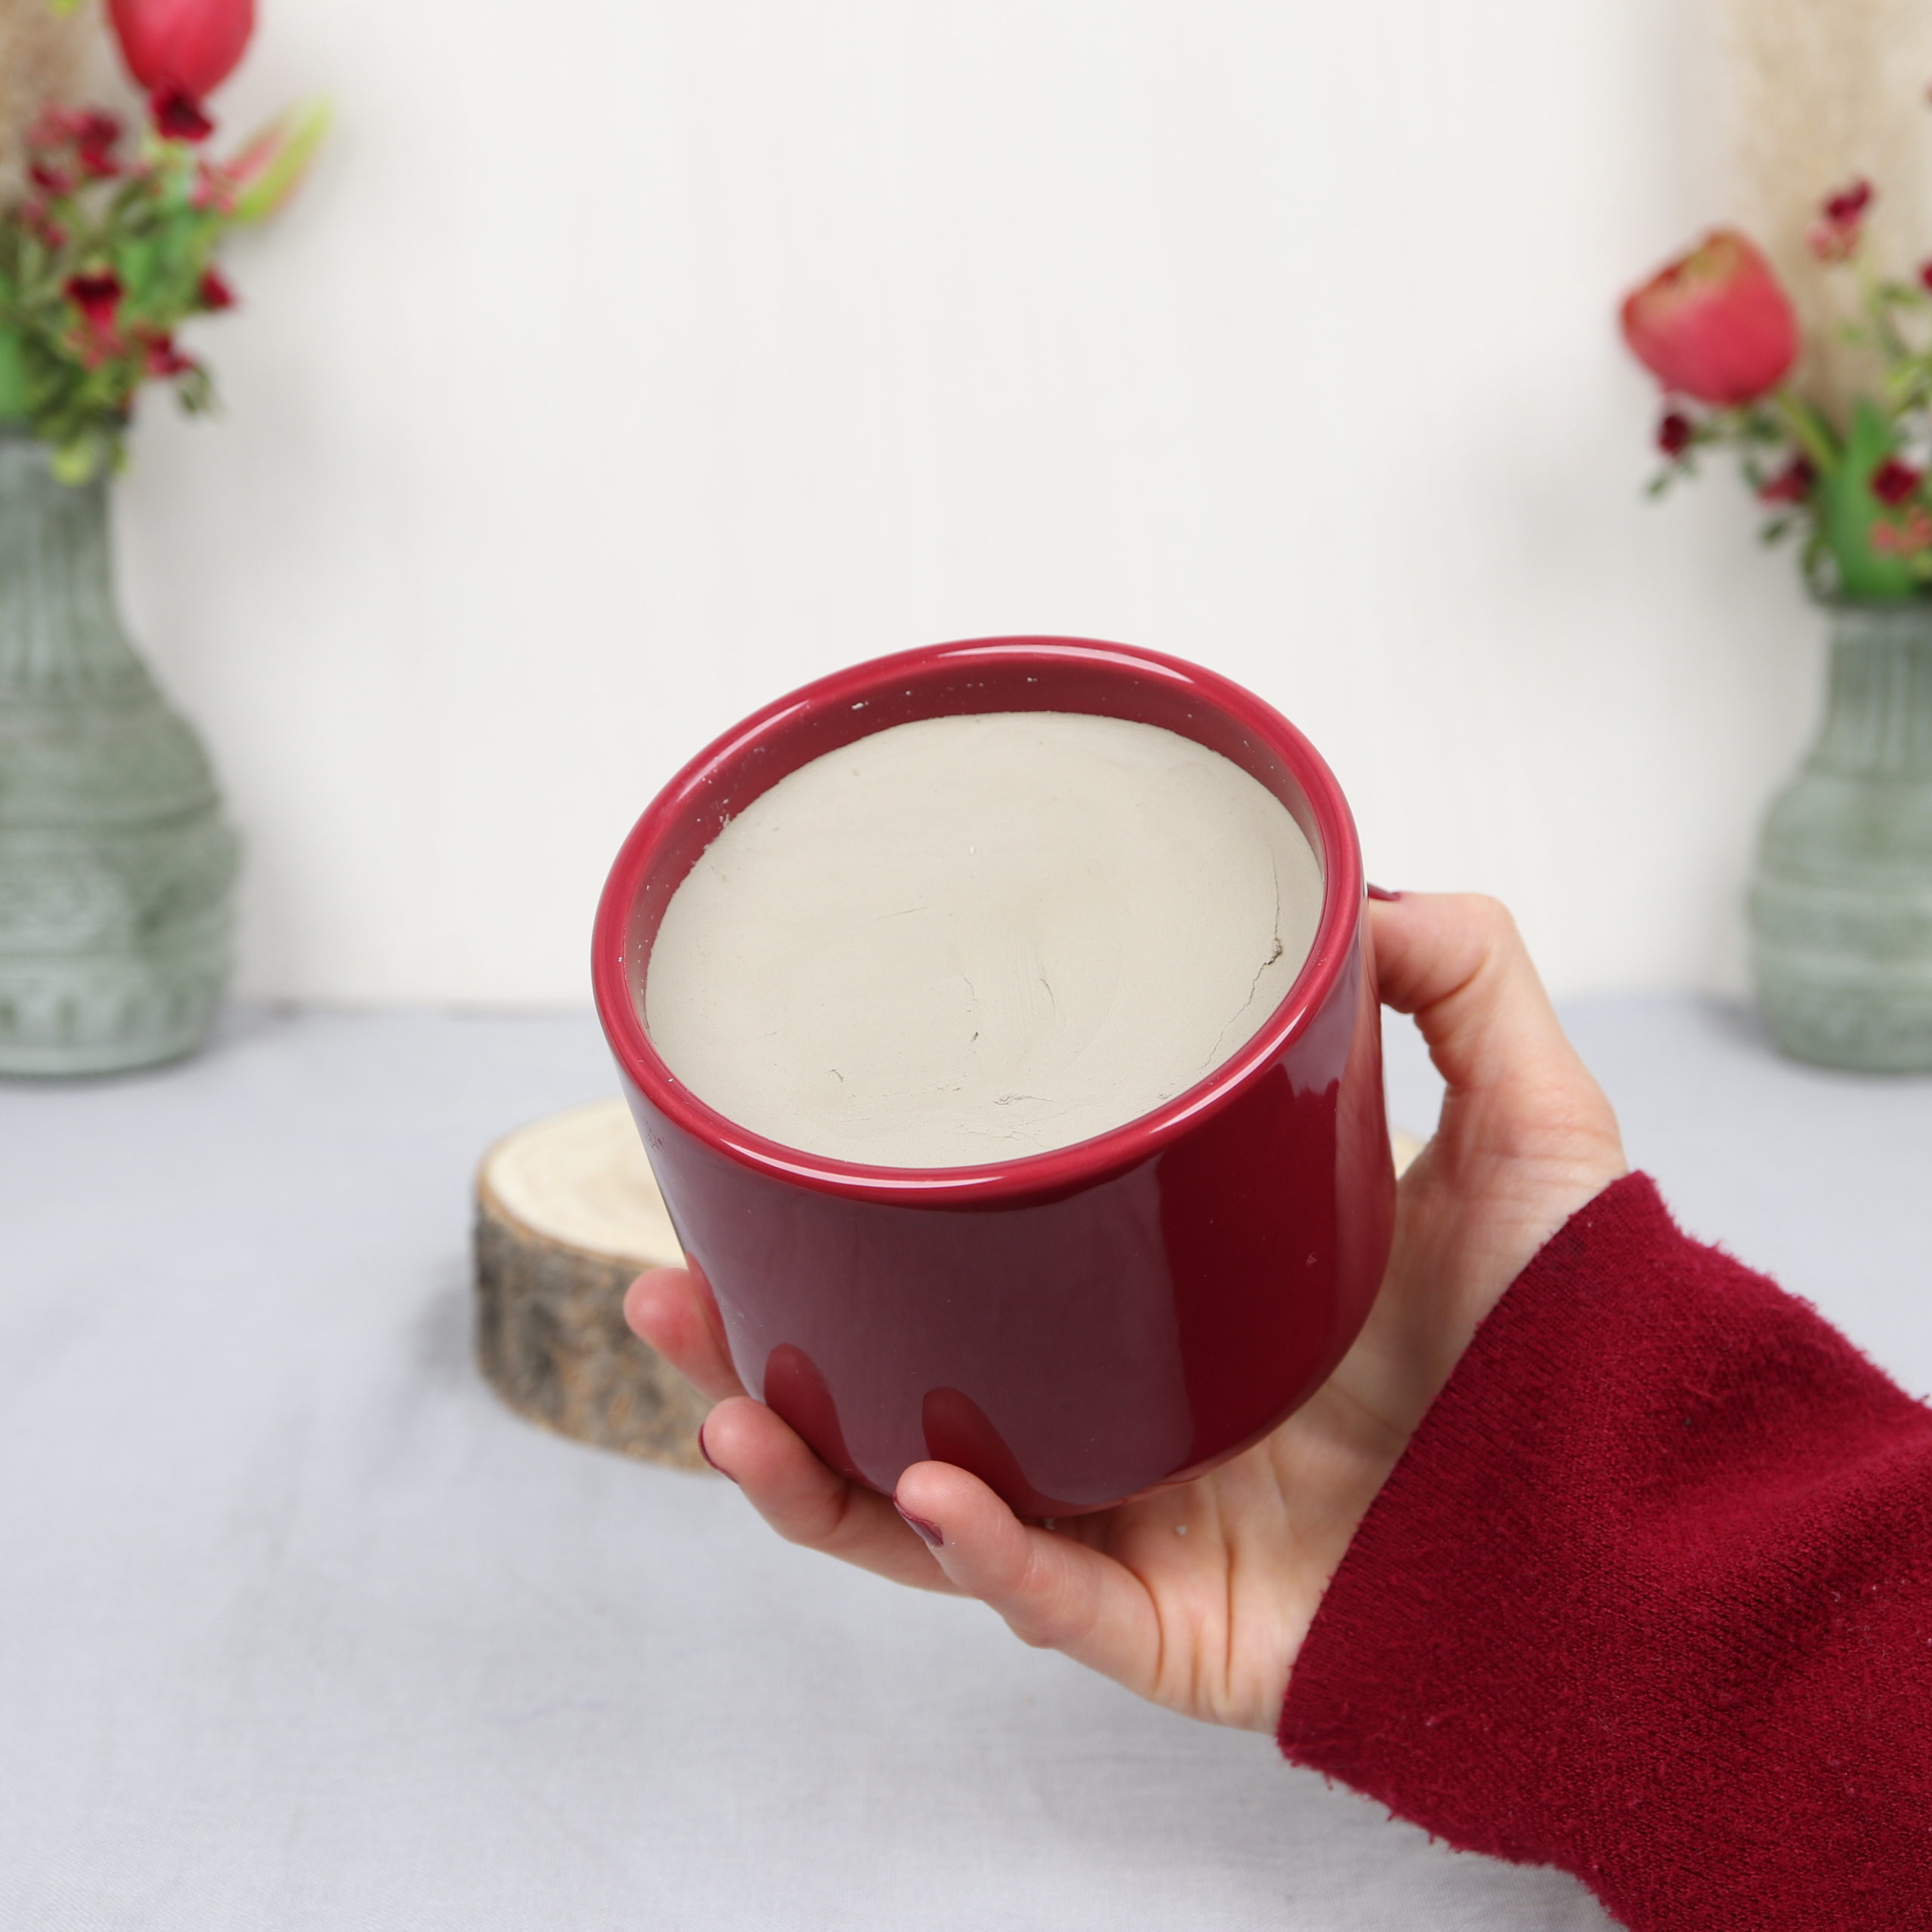
Put on gloves if necessary and put in the clay.
Step 2: Cut flowers
In the second step I prepare the fresh flowers for the arrangement.
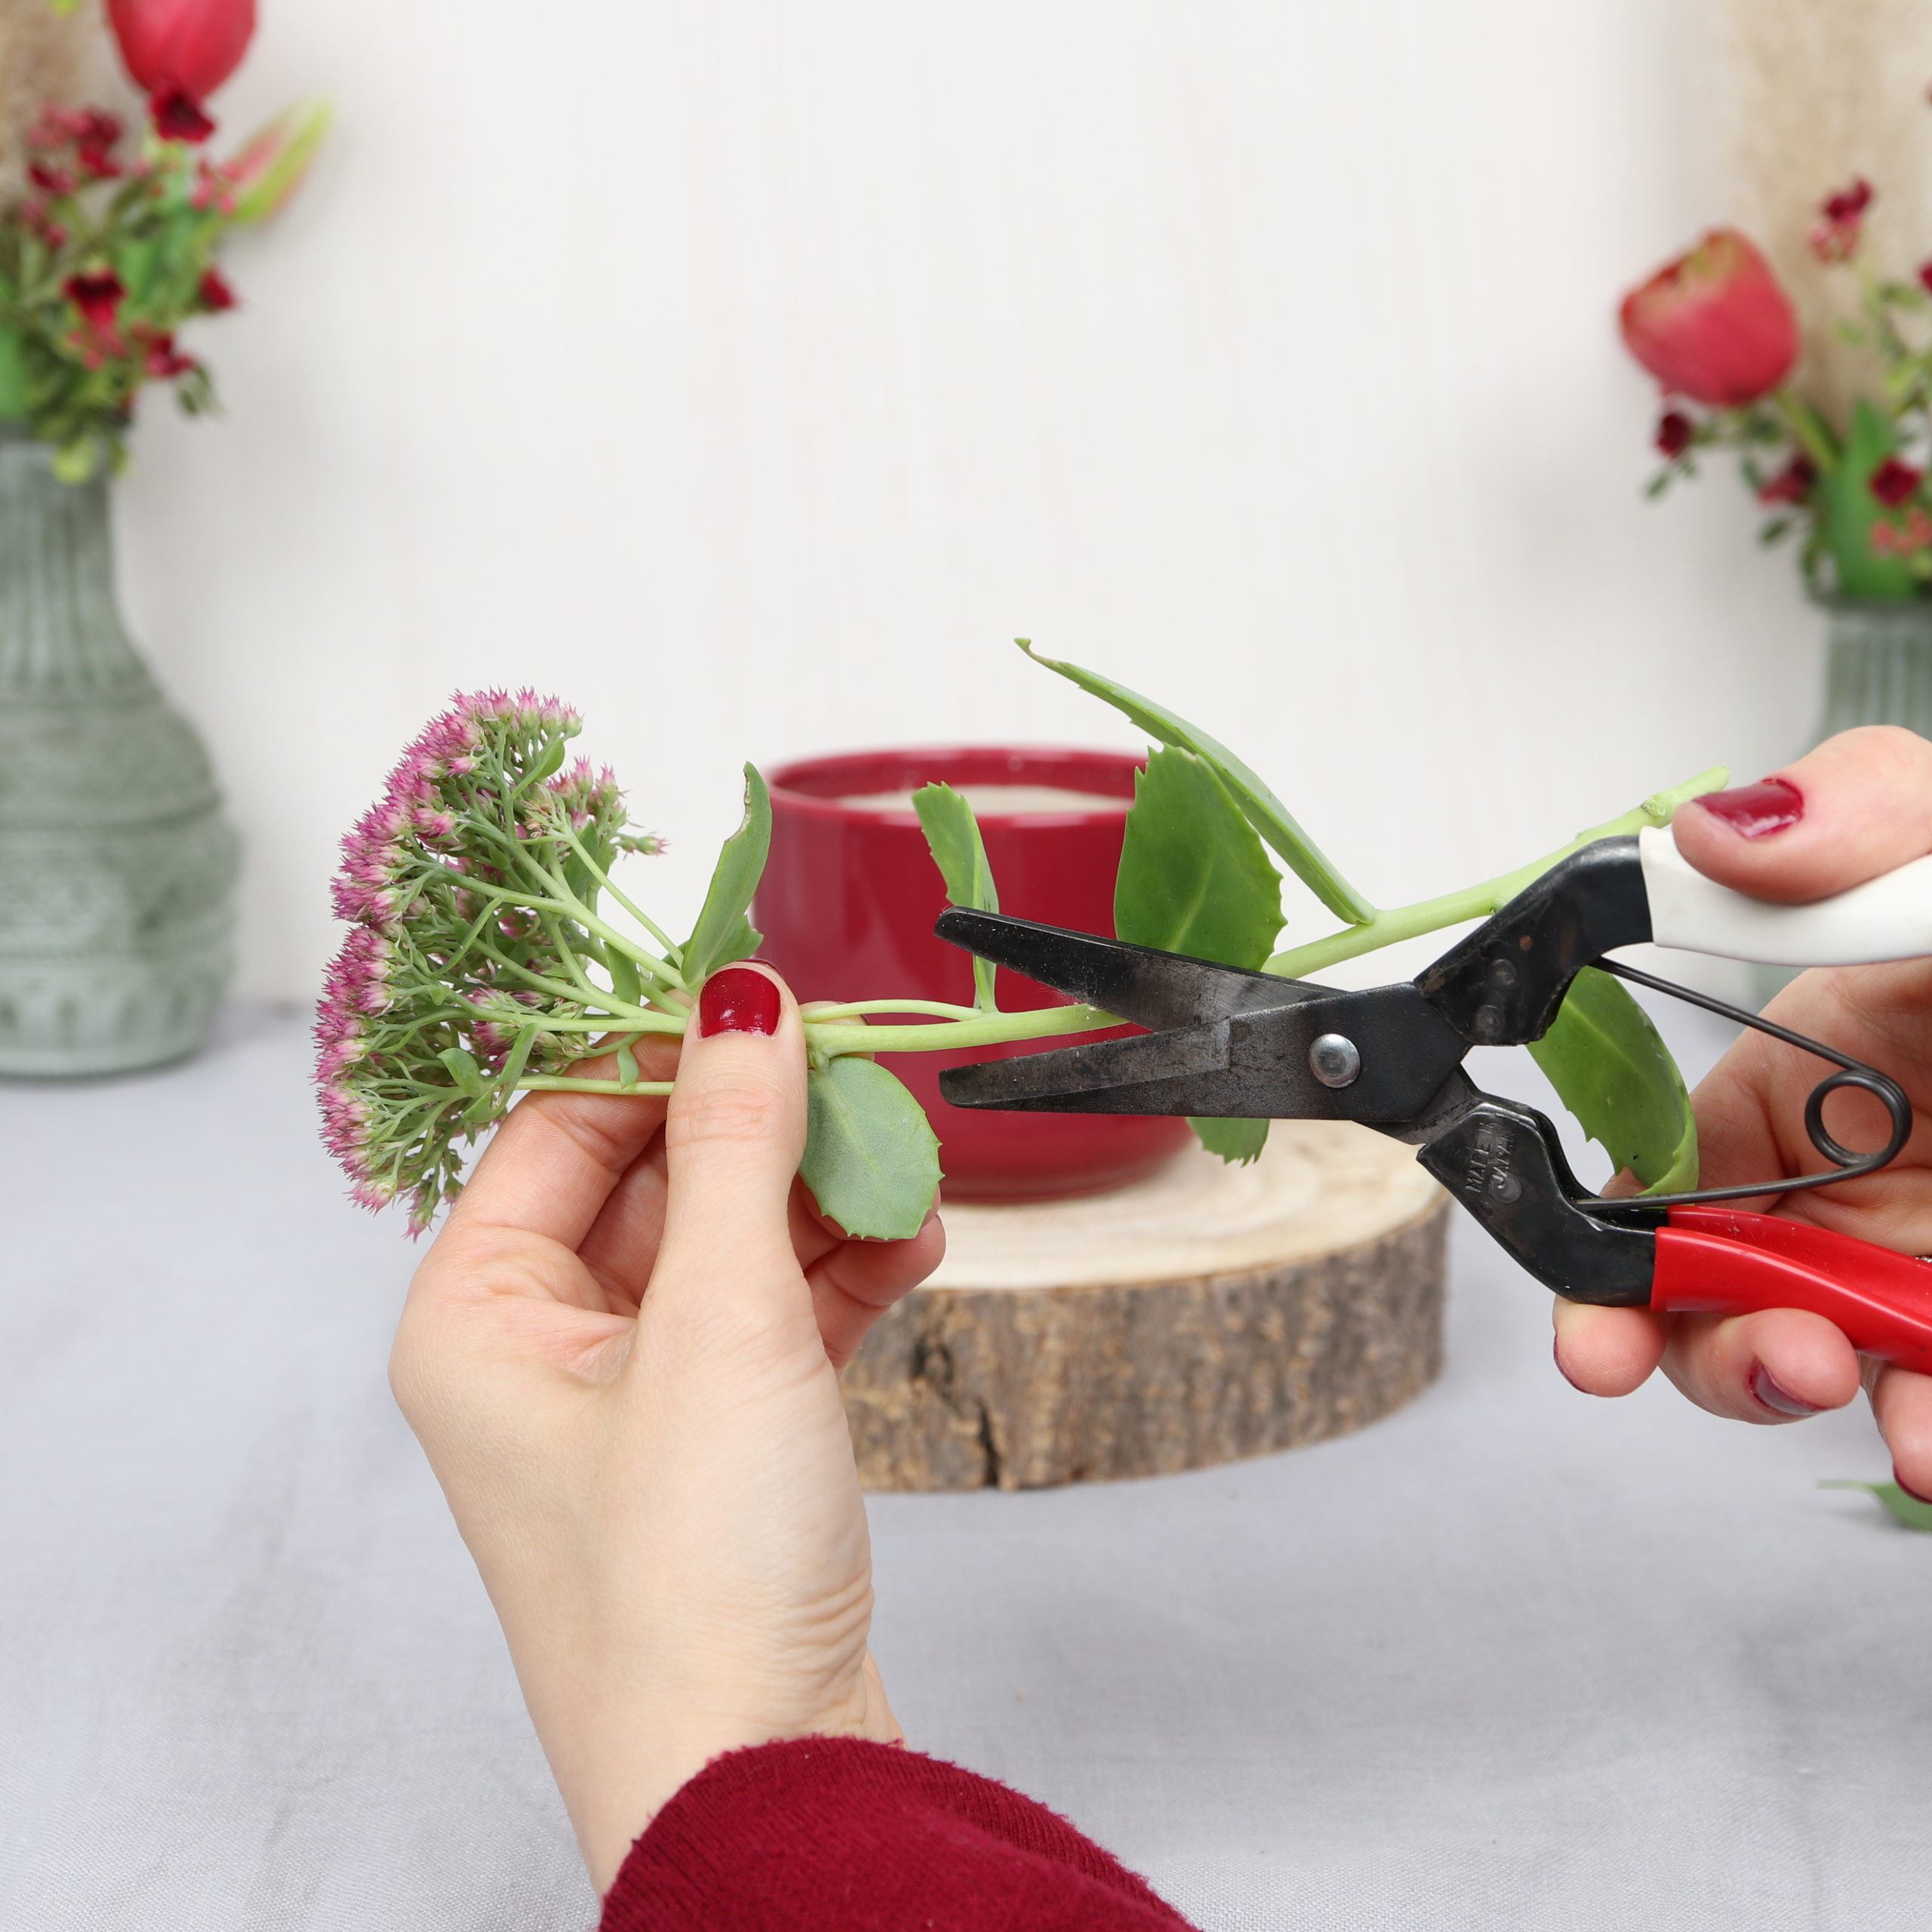
To do this, I remove all the leaves and cut off the thorns of rose hips, so I do not hurt myself on them.
Then I cut the flower stems with the flower scissors to about five centimeters.
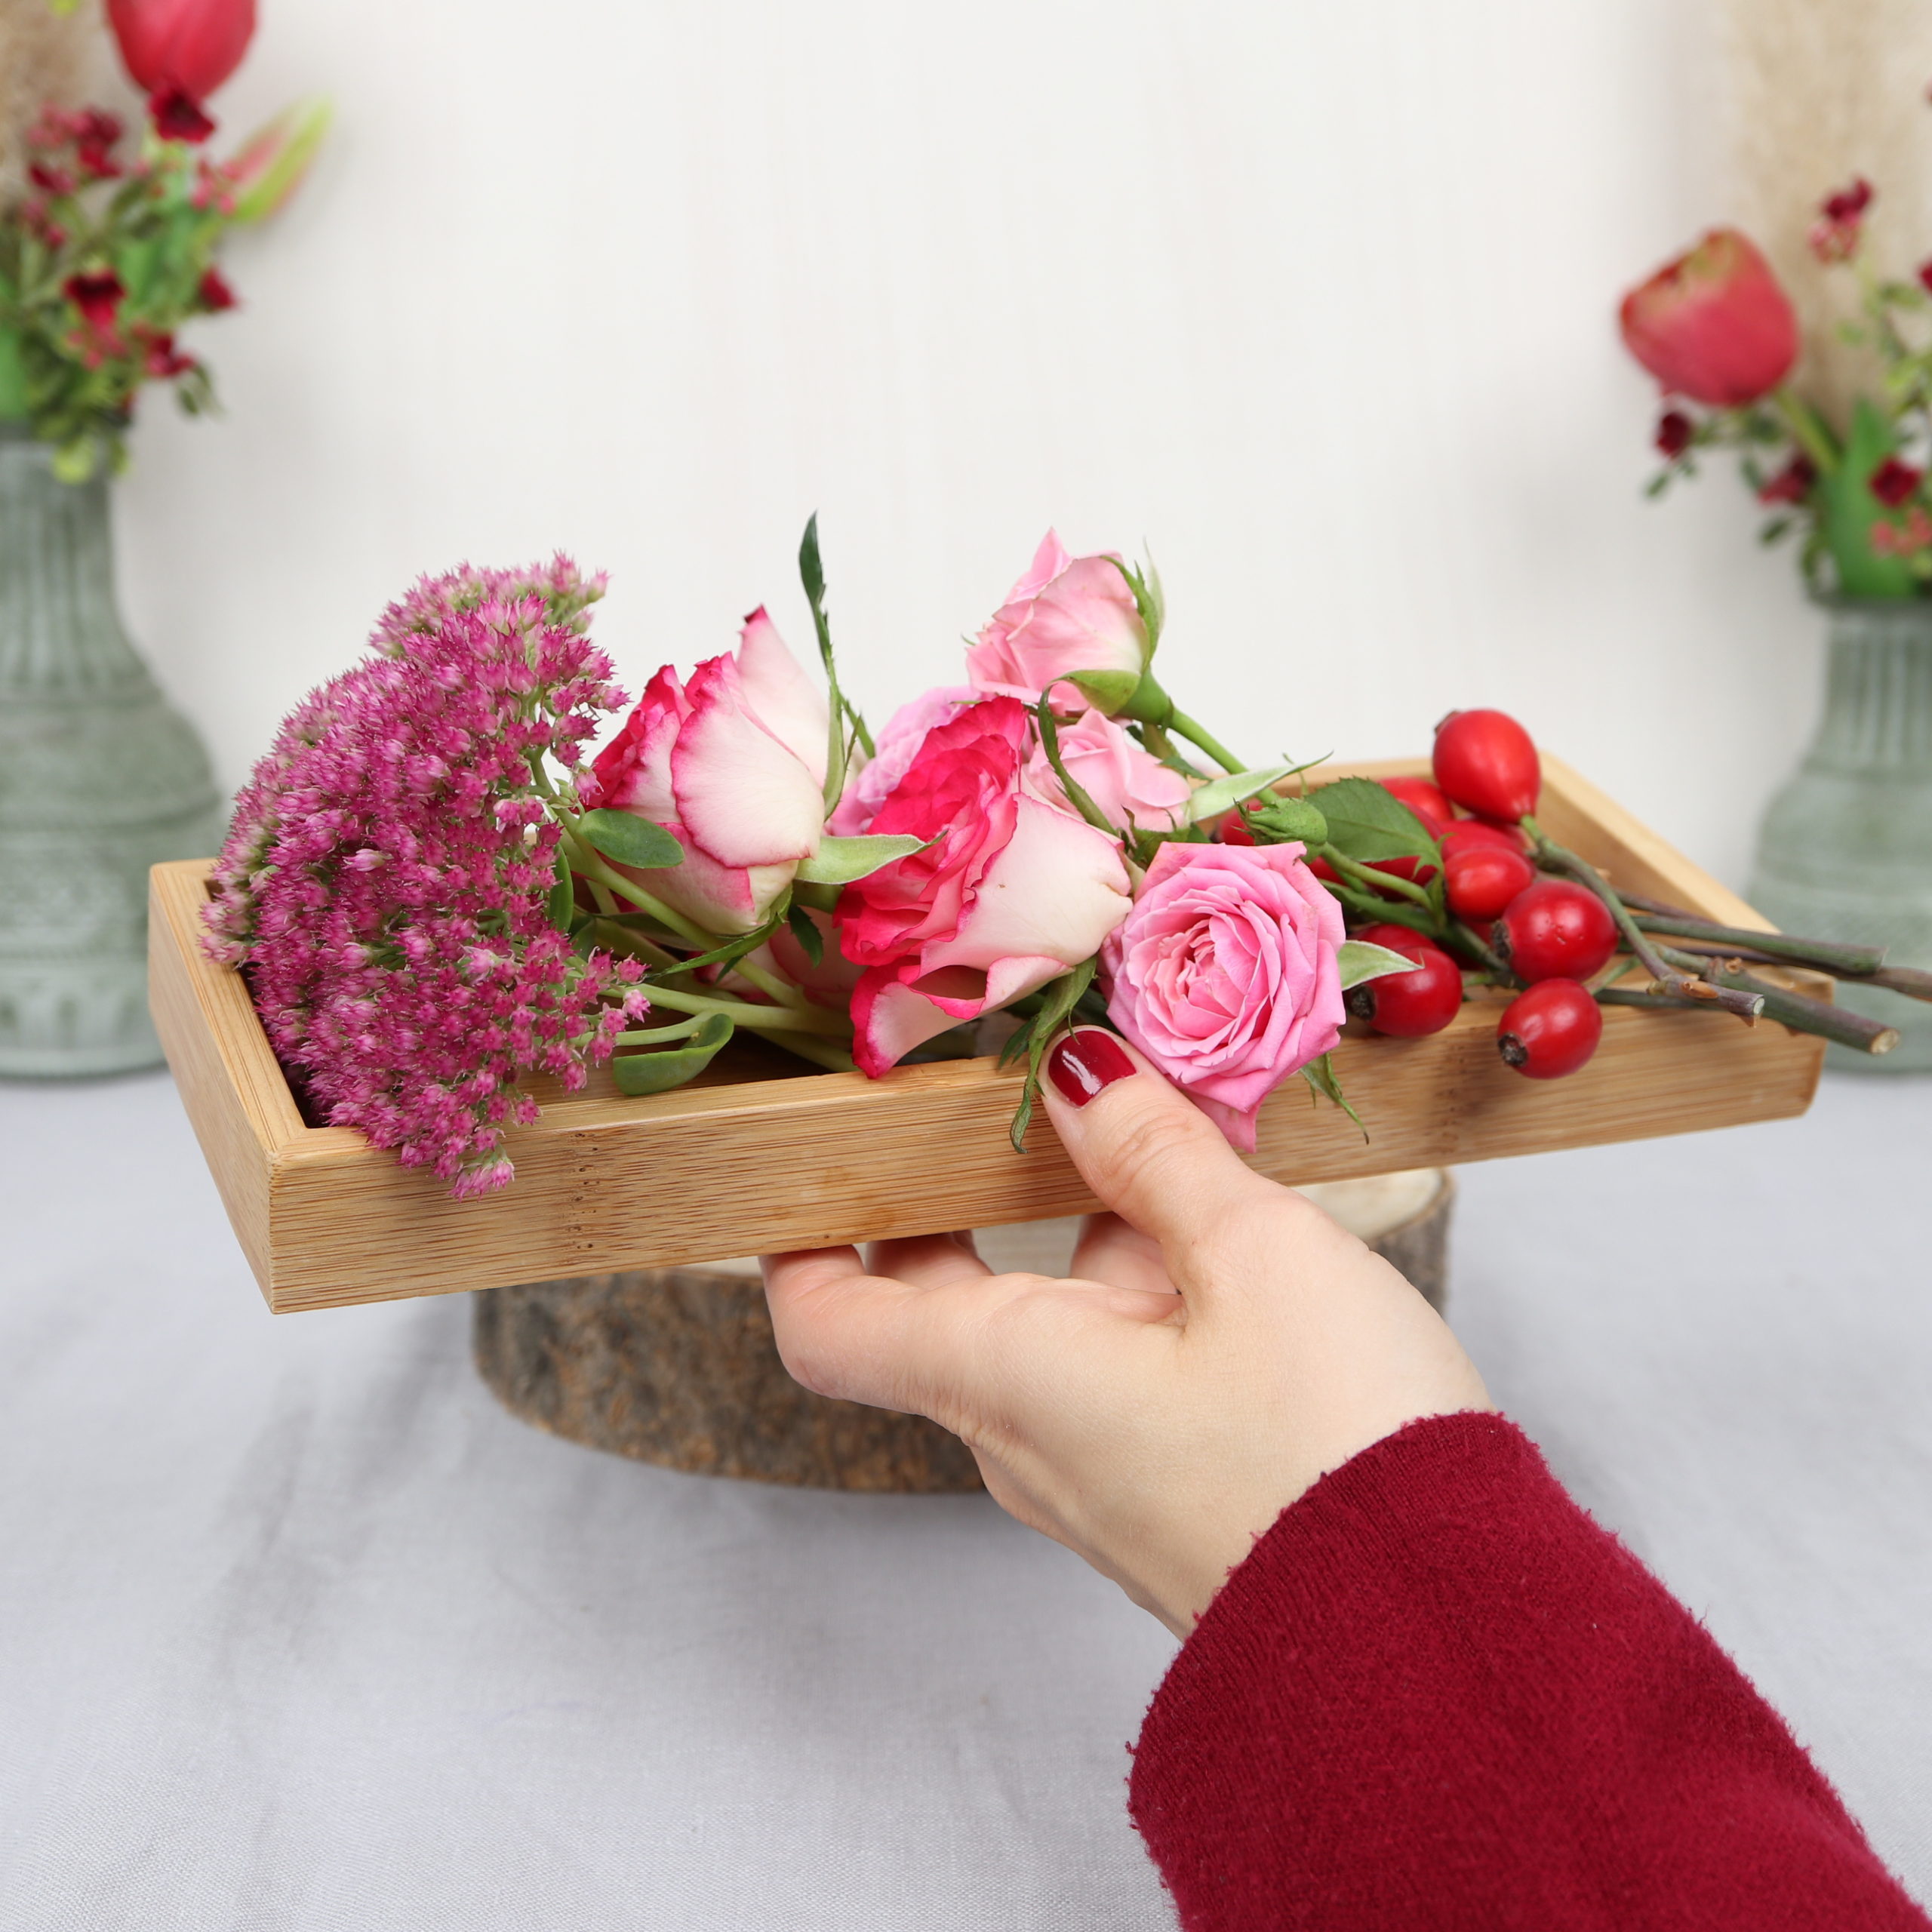
Step 3: Insert flowers
Now the cut flowers can be inserted into the clay.
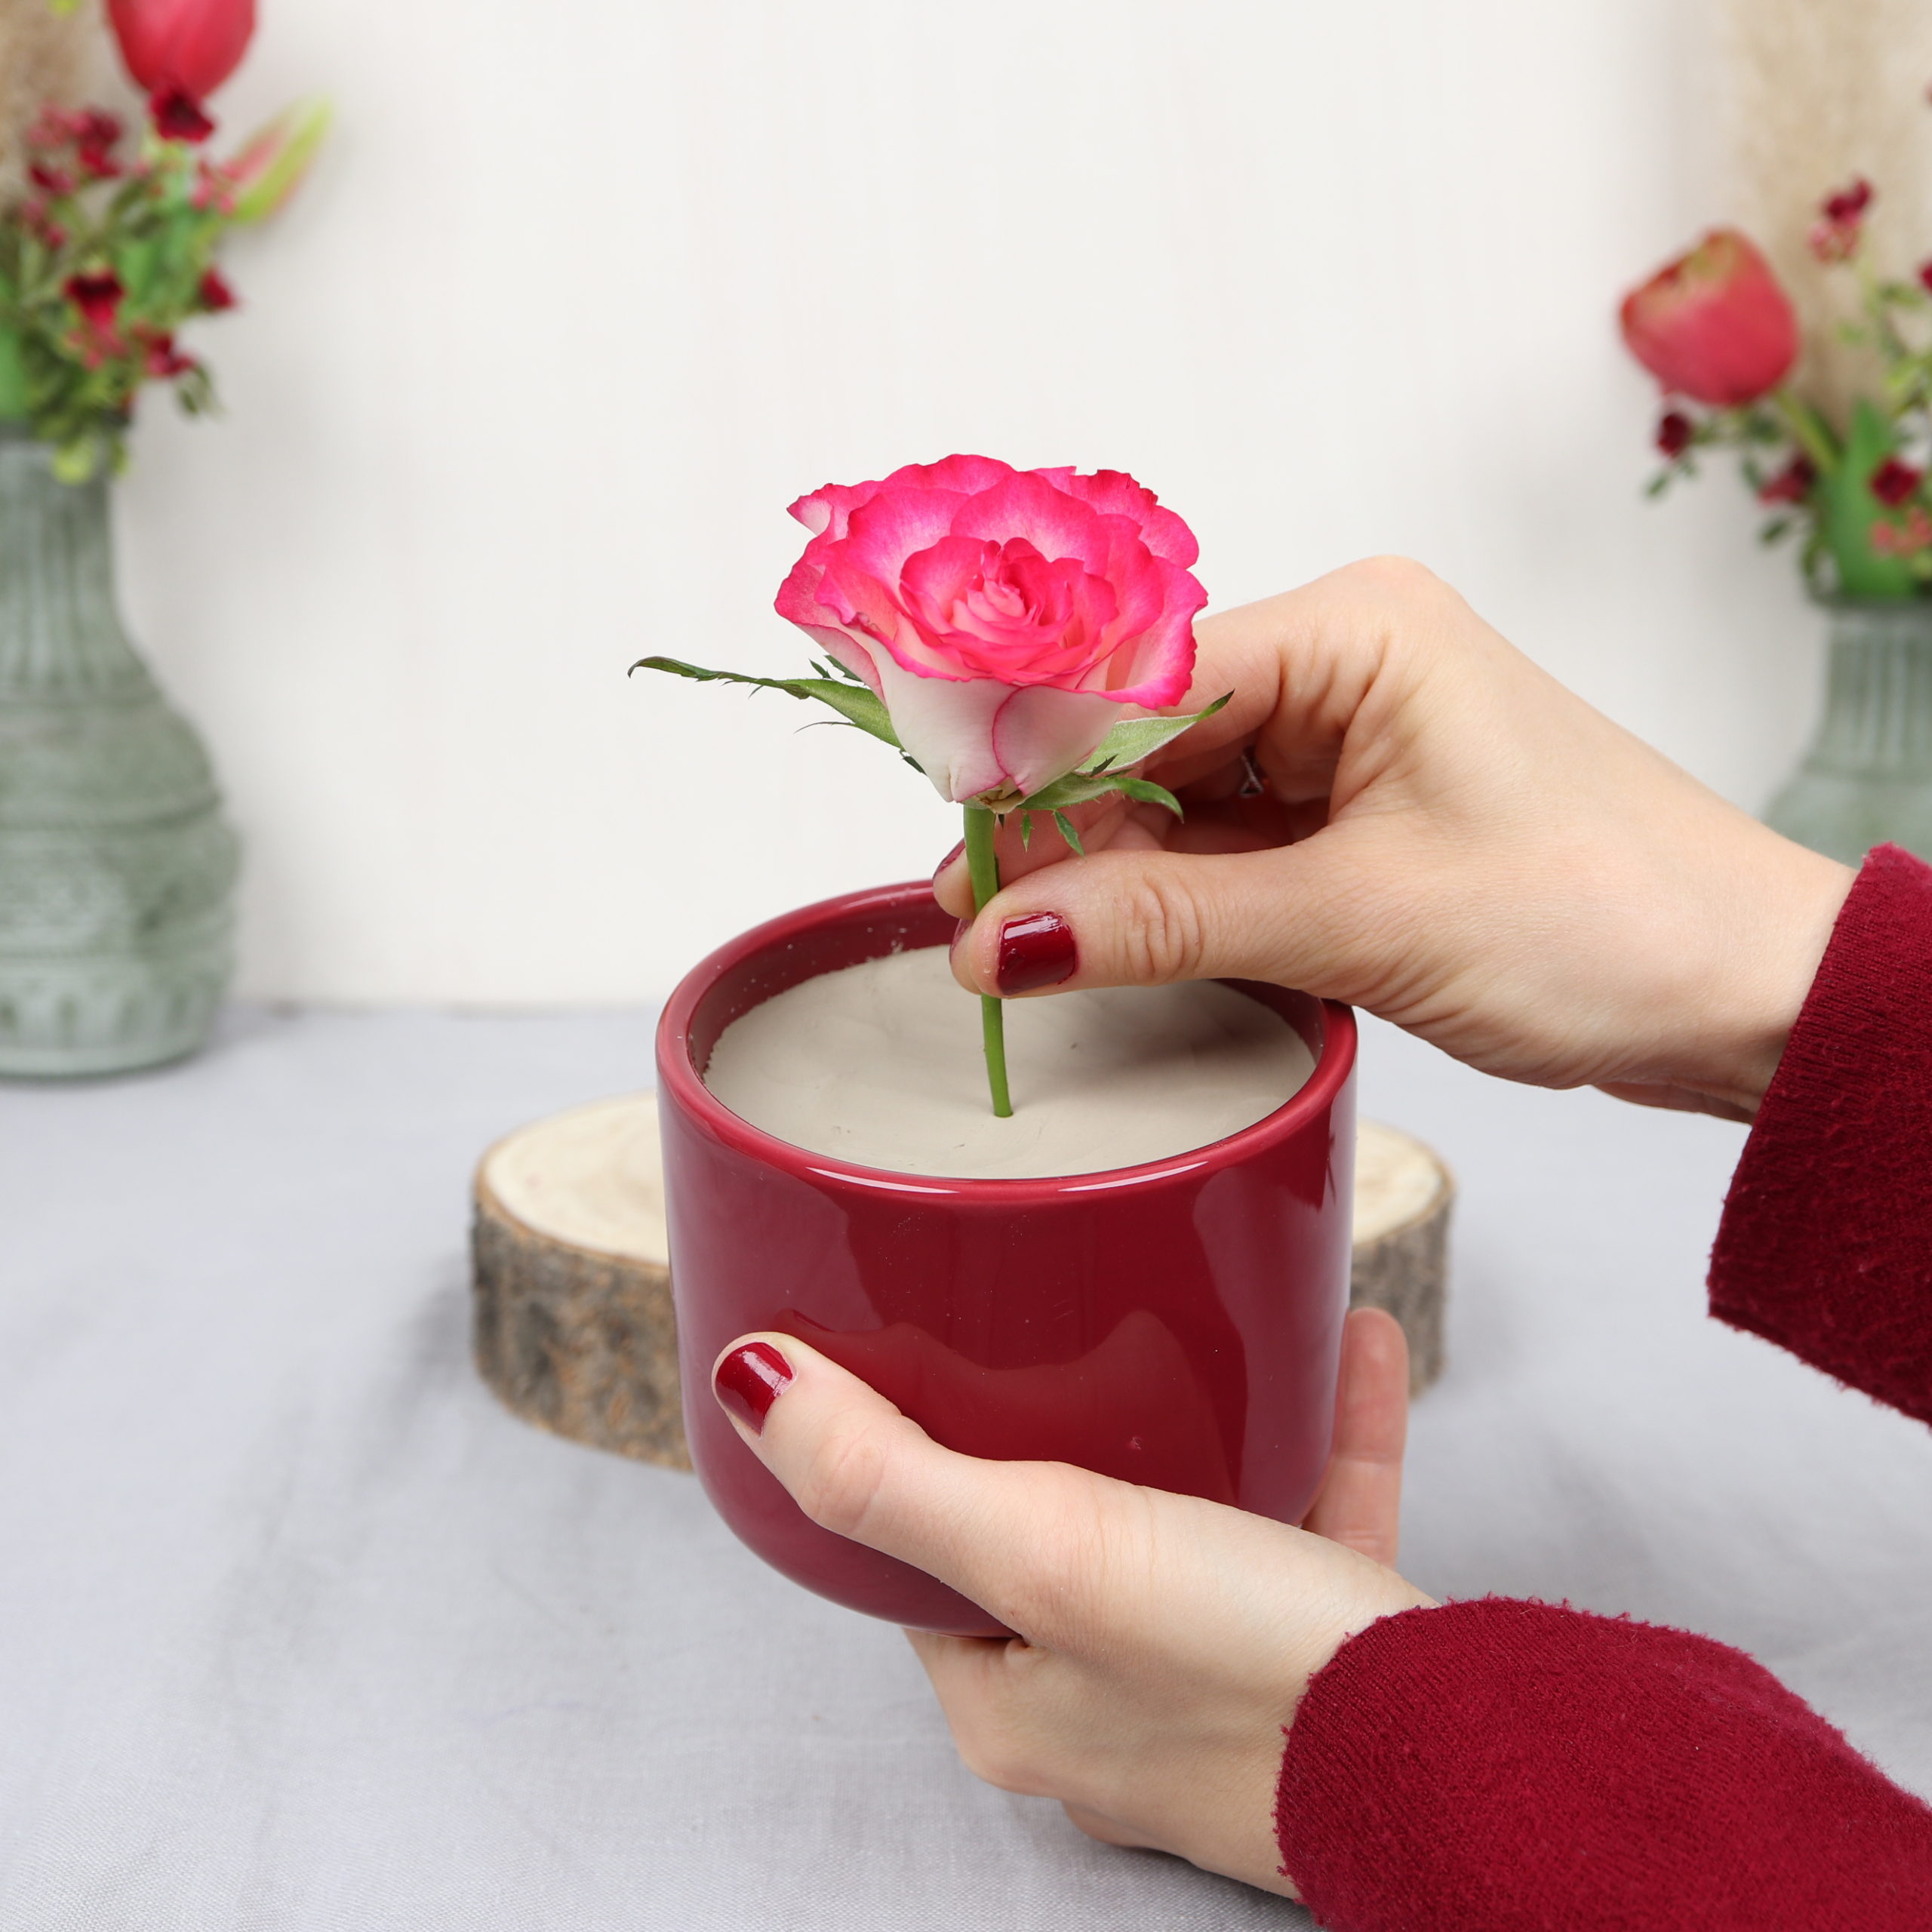
I put the roses and stonecrop in the clay first and fill in the gaps with the rosehip branches.
I make sure that the clay is well covered with the flowers. Because the less air gets to the clay, the less it dries out!
Tip: If you regularly give a little water on the clay, the surface remains soft and the flowers are well supplied. Thus, the arrangement remains fresh for many days!
Did you know that you can also reuse clay for other flower arrangements? You can find all the information about this with tips and tricks on how to soften hard clay again in my FAQ: Clay as an alternative to floral foam.
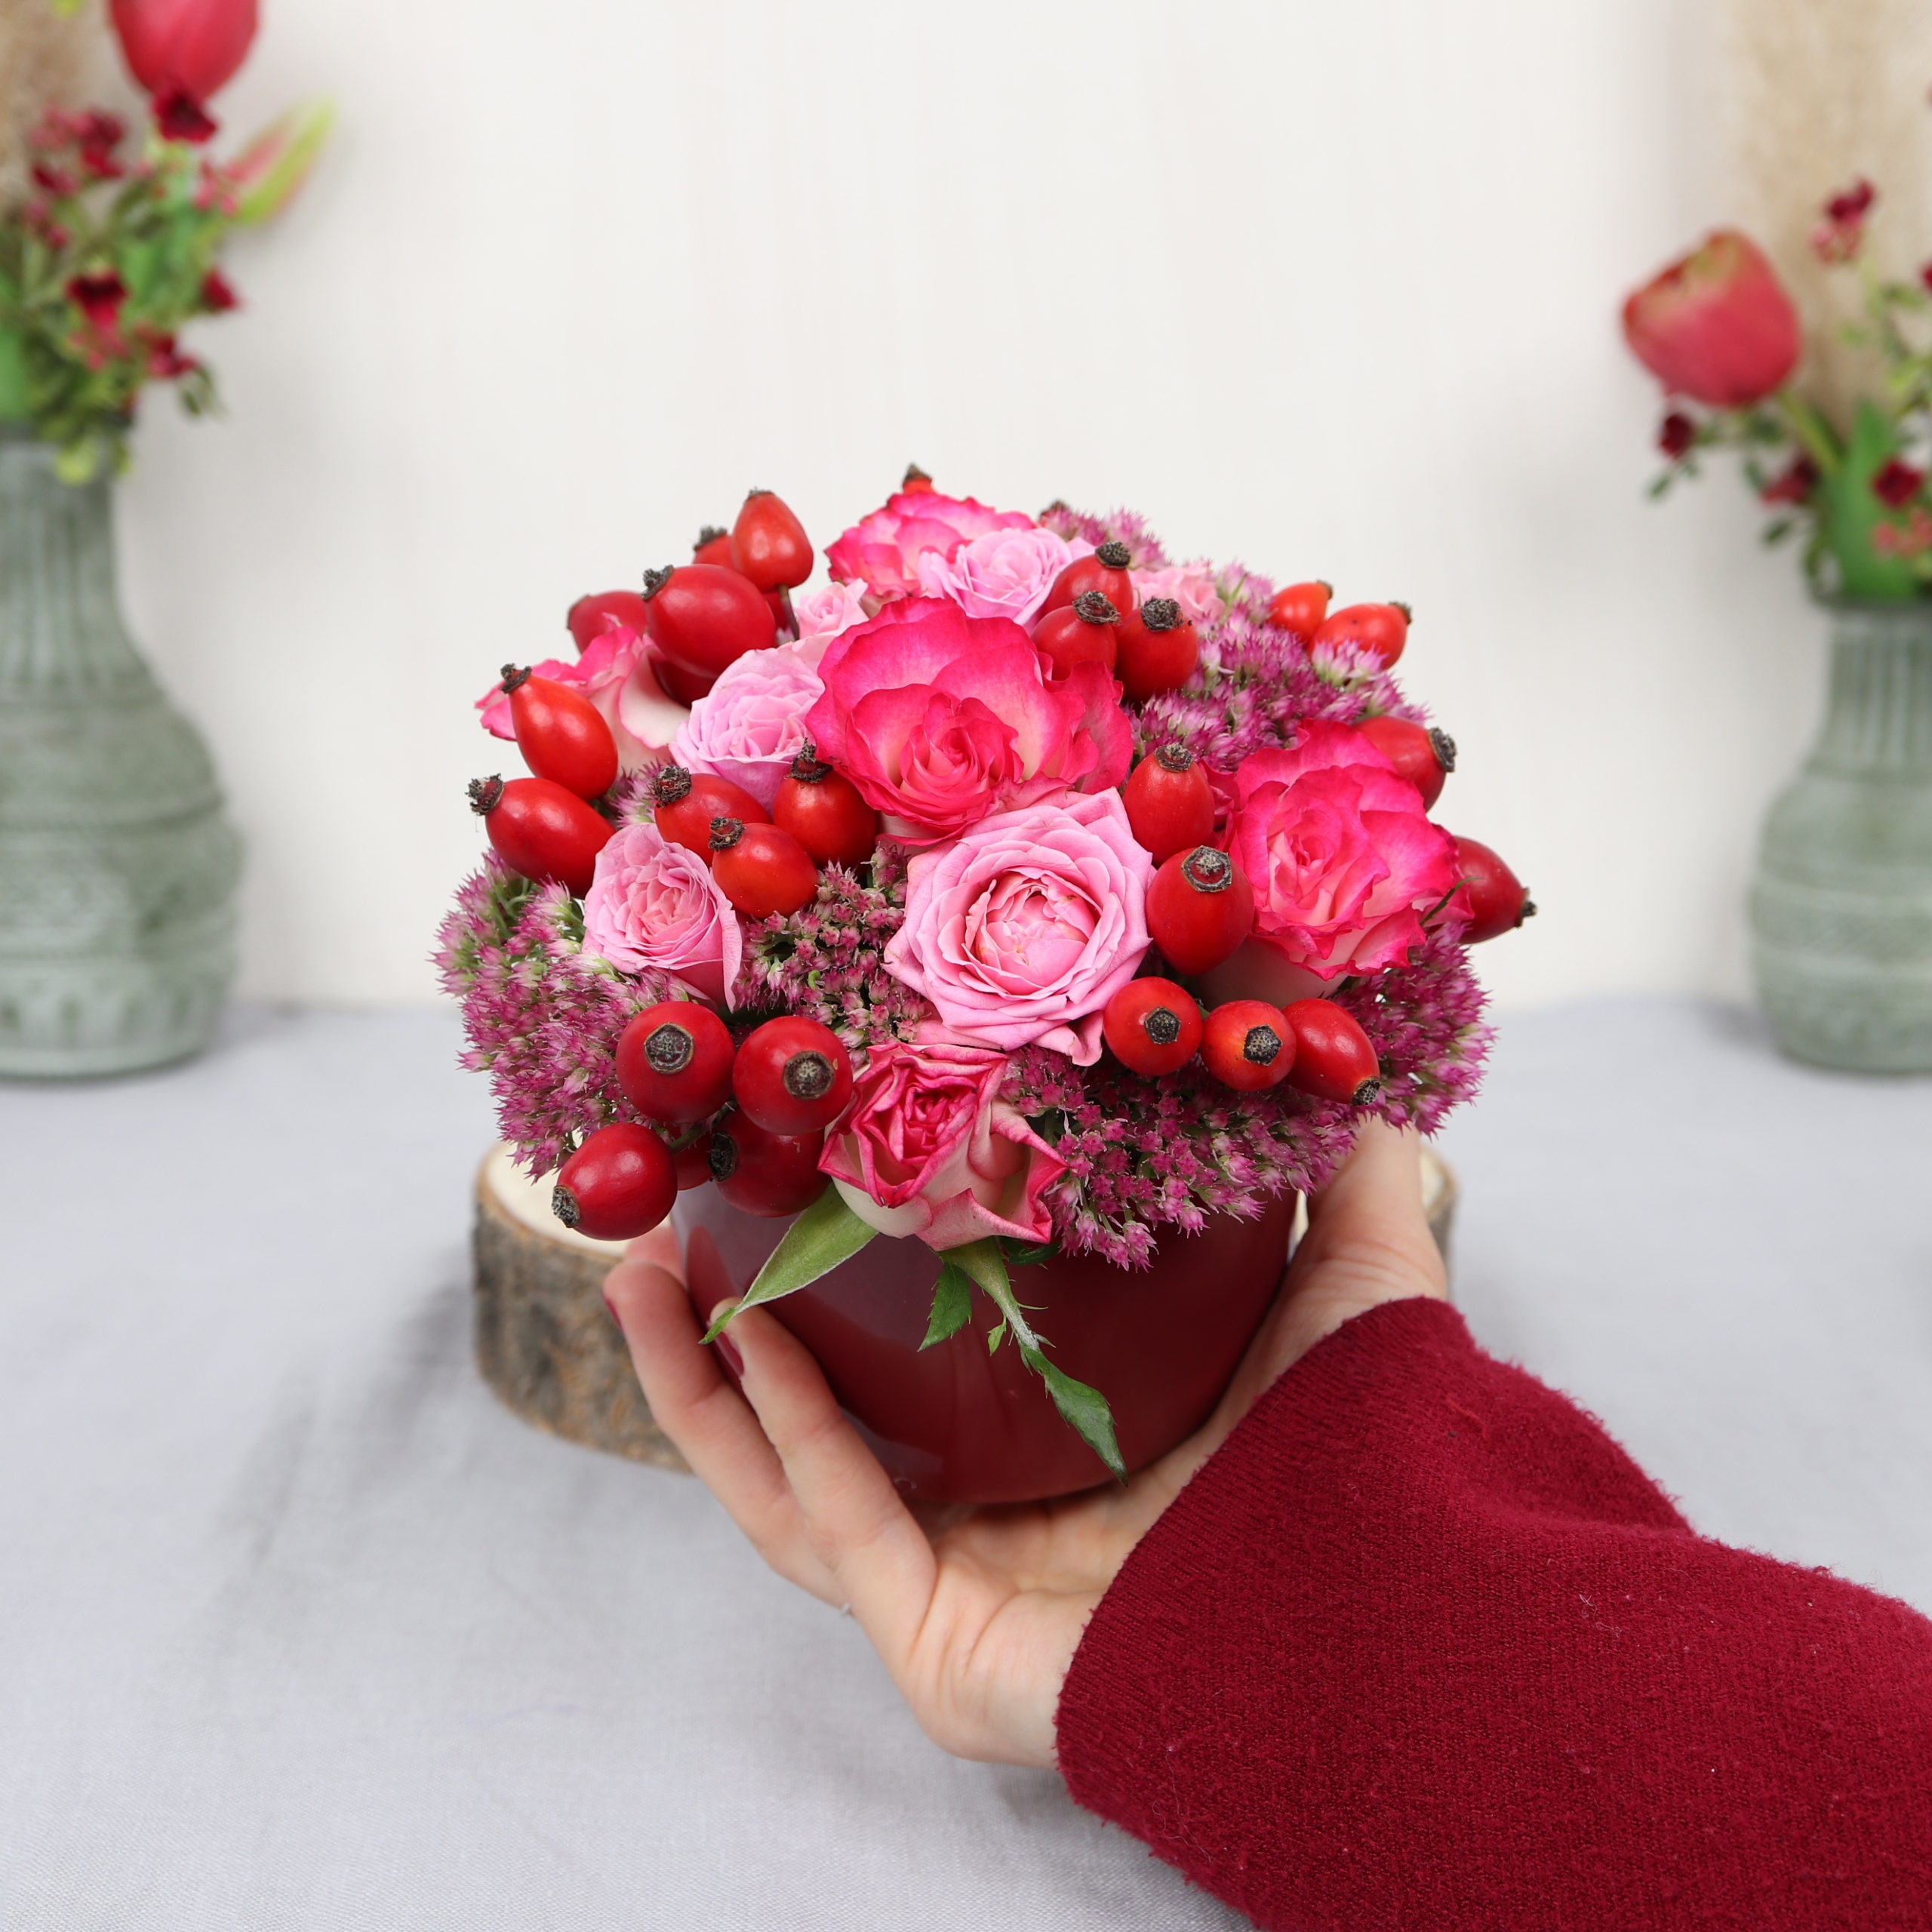
And ready is the autumn flower arrangement without floral foam! I hope this DIY has made you as much fun as me and you enjoy the sight of your flower decoration!