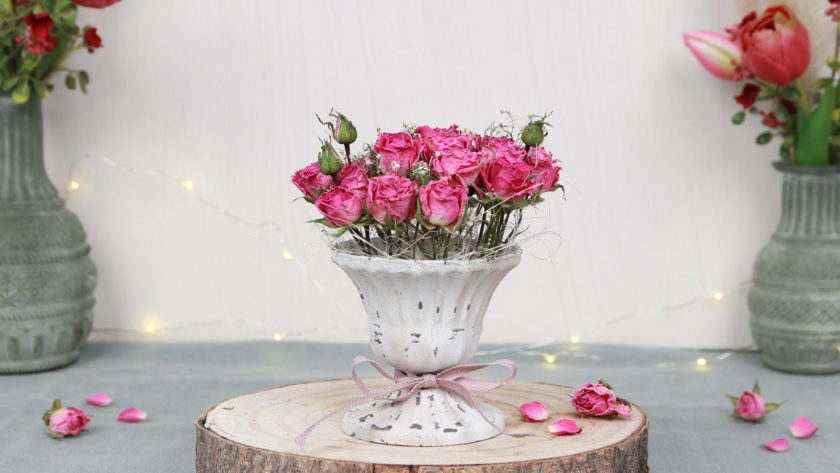
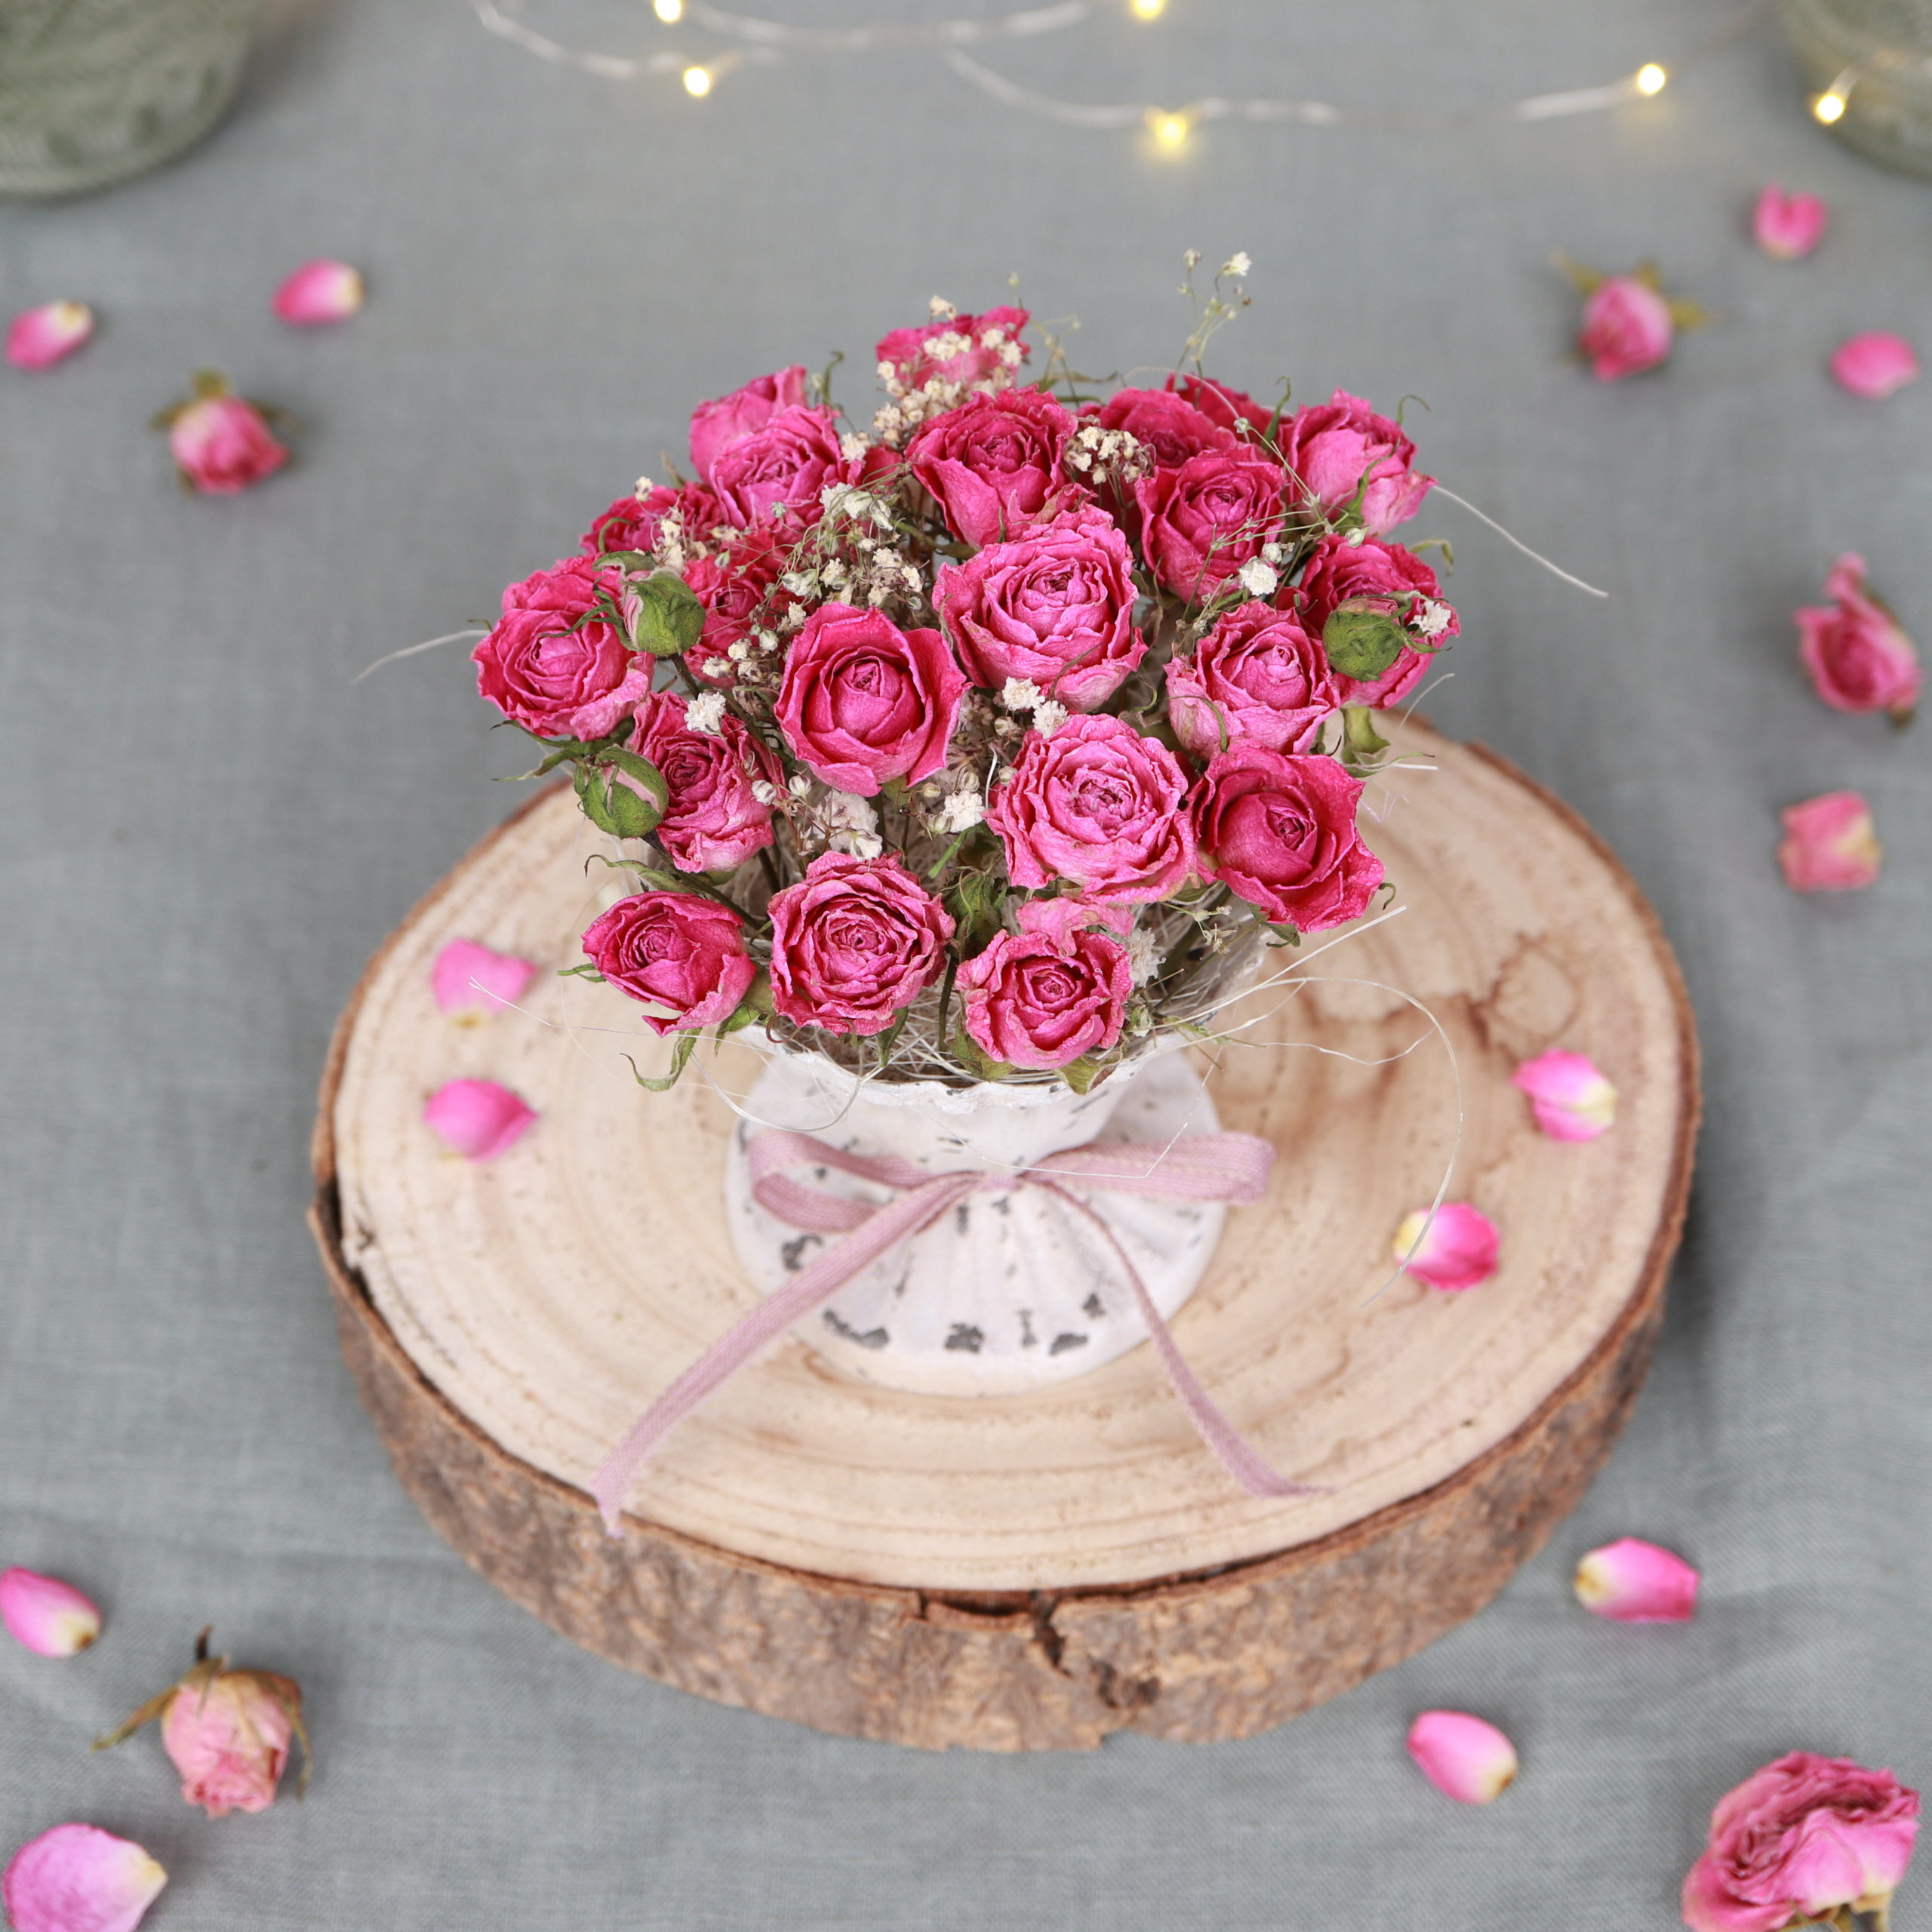
Today I will show you how you can make a flower arrangement with dried roses in a shabby chic look yourself! With the nostalgically romantic shabby chic style, the signs of age are appreciated. Here I use a pretty white shabby vase. As a “floral foam” I use sand, which I cover with sisal fiber. I stick dried pink roses and dried gypsophila into the sand. I dried the flowers myself. I just hung them upside down in our apartment for a few days.
![](https://lena-kate.com/wp-content/uploads/2022/02/11_diy_flower_arrangement_shabby_chic_look_dried_roses_-babys_breath-1024x1024.jpg)
With the following step-by-step instructions you can easily make the flower arrangement with dried flowers!
Tools
![](https://lena-kate.com/wp-content/uploads/2022/02/00_tools_diy_vintage_roses-1024x1024.jpg)
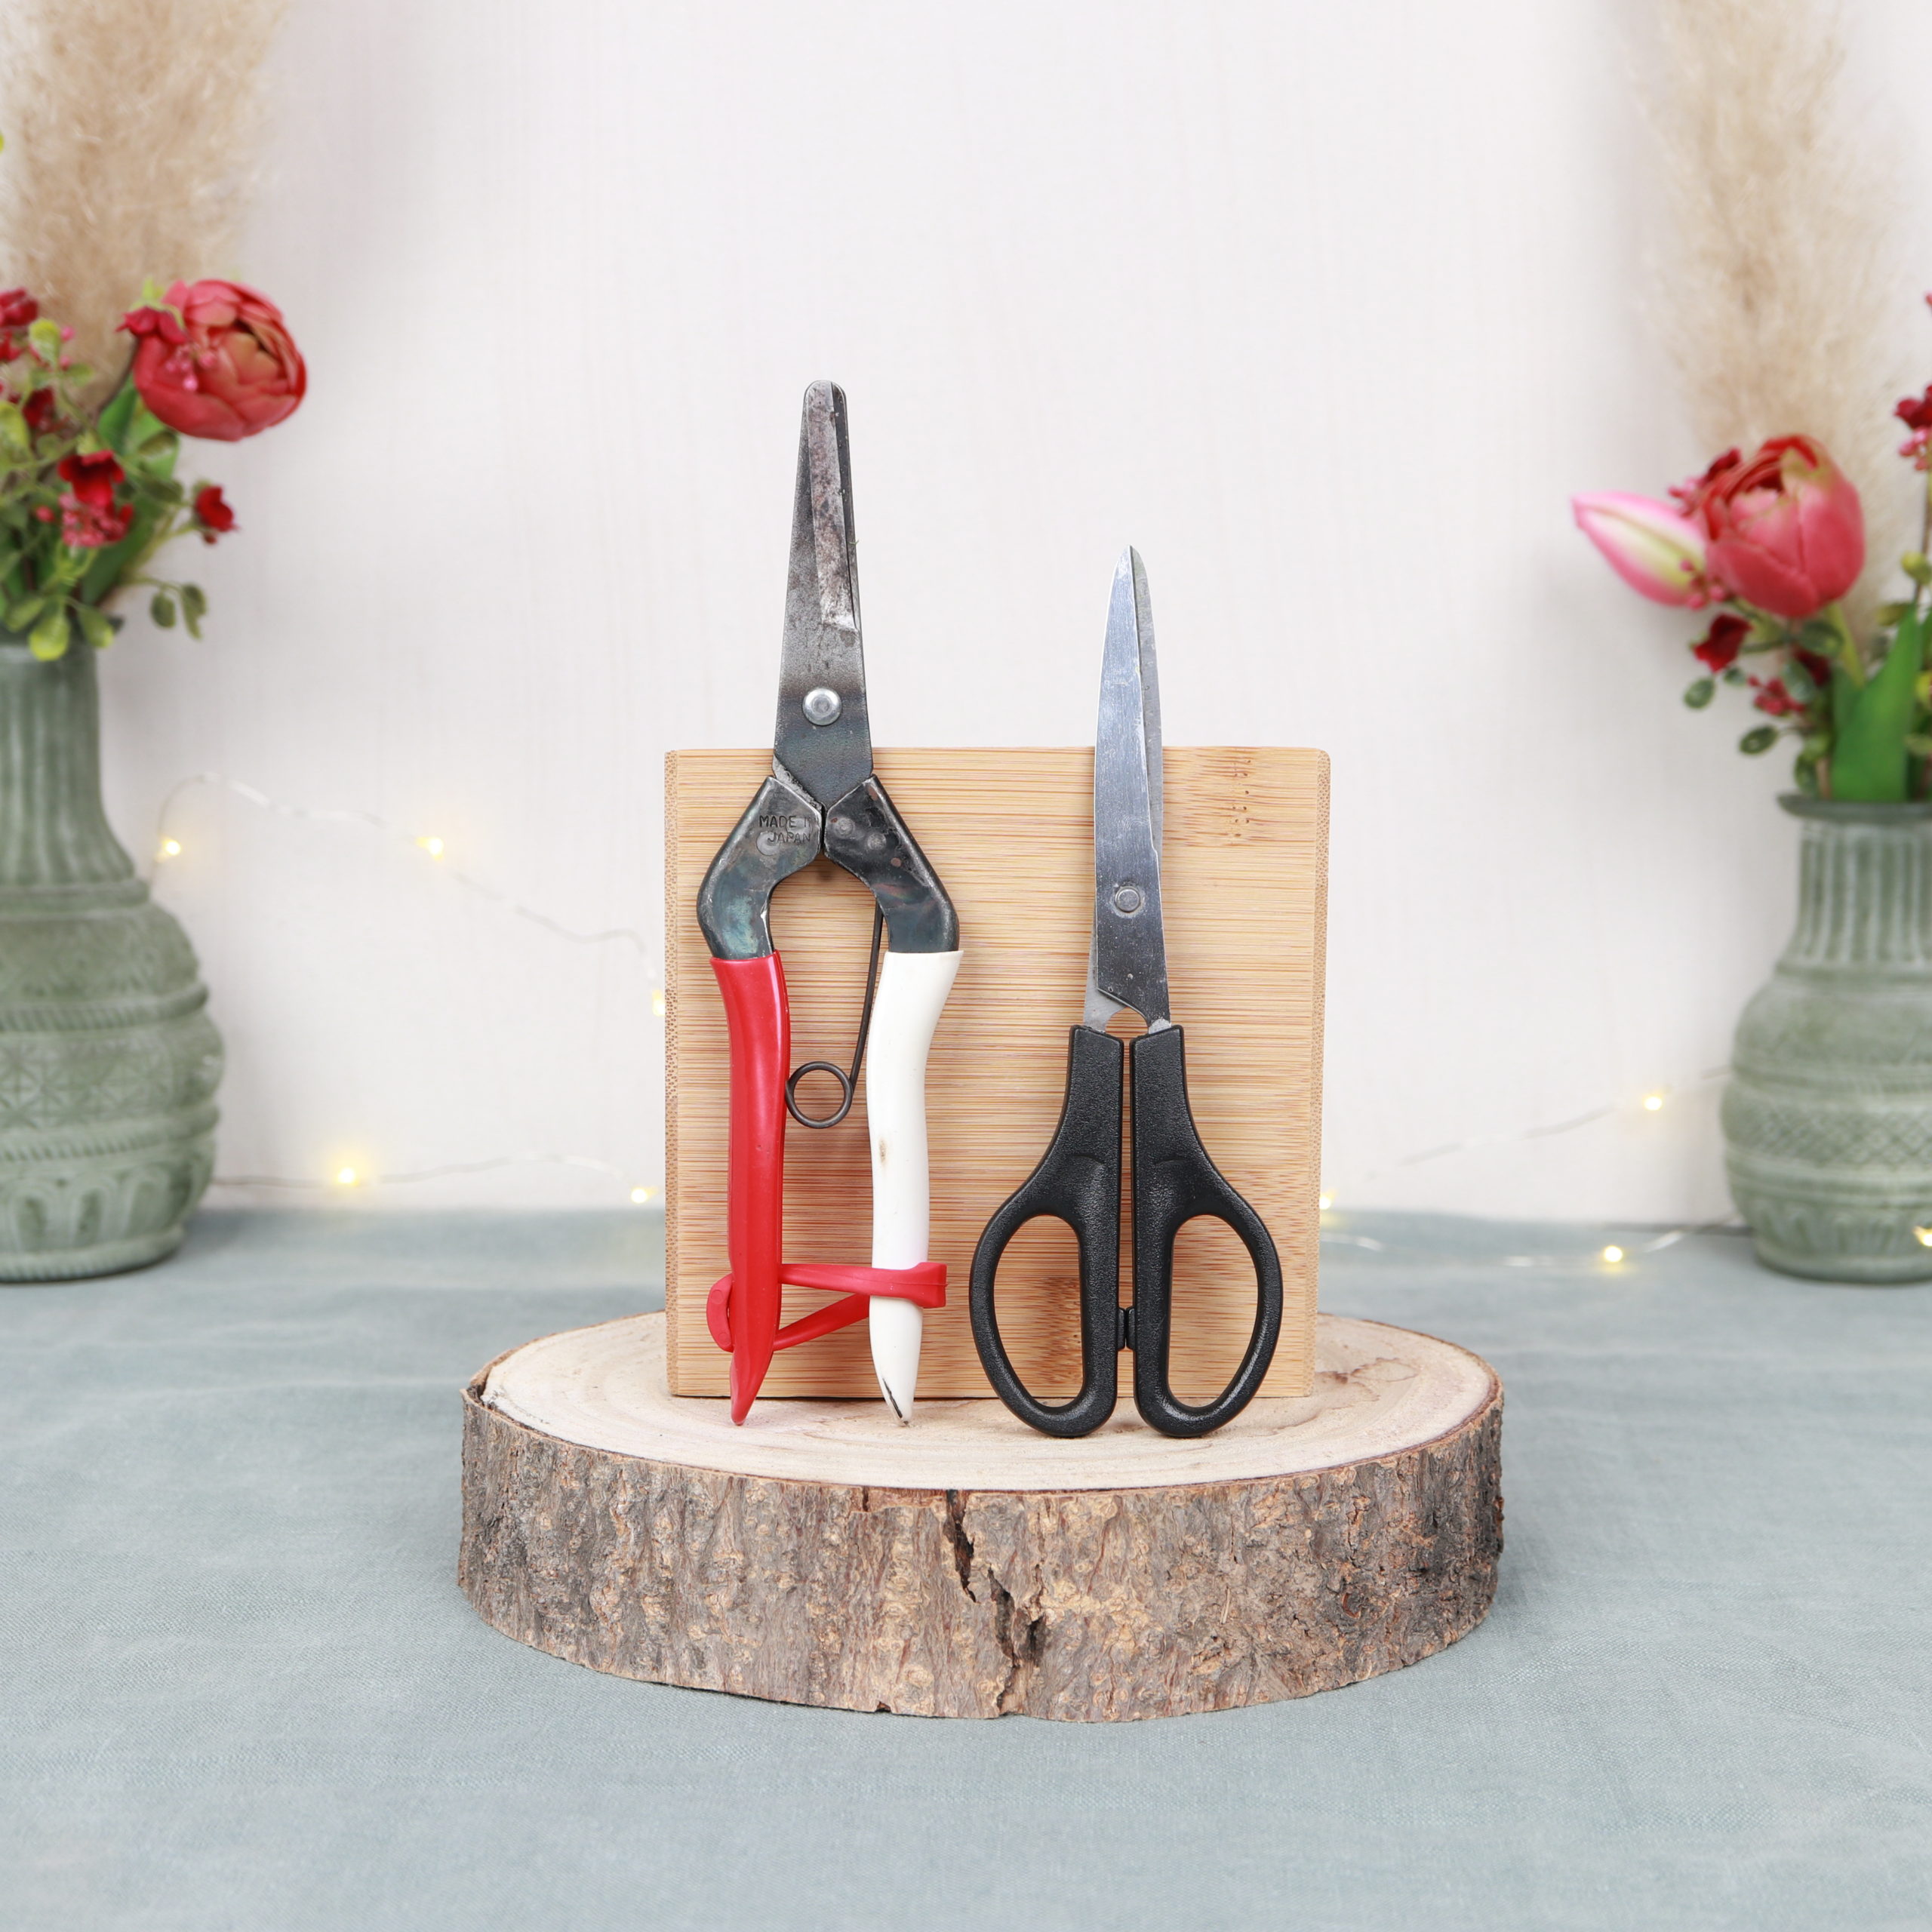
Here you can see which tools I used for the flower decoration in the shabby look: flower scissors and household scissors.
Materials
![](https://lena-kate.com/wp-content/uploads/2022/02/01_materials_diy_vintage_roses-1024x1024.jpg)
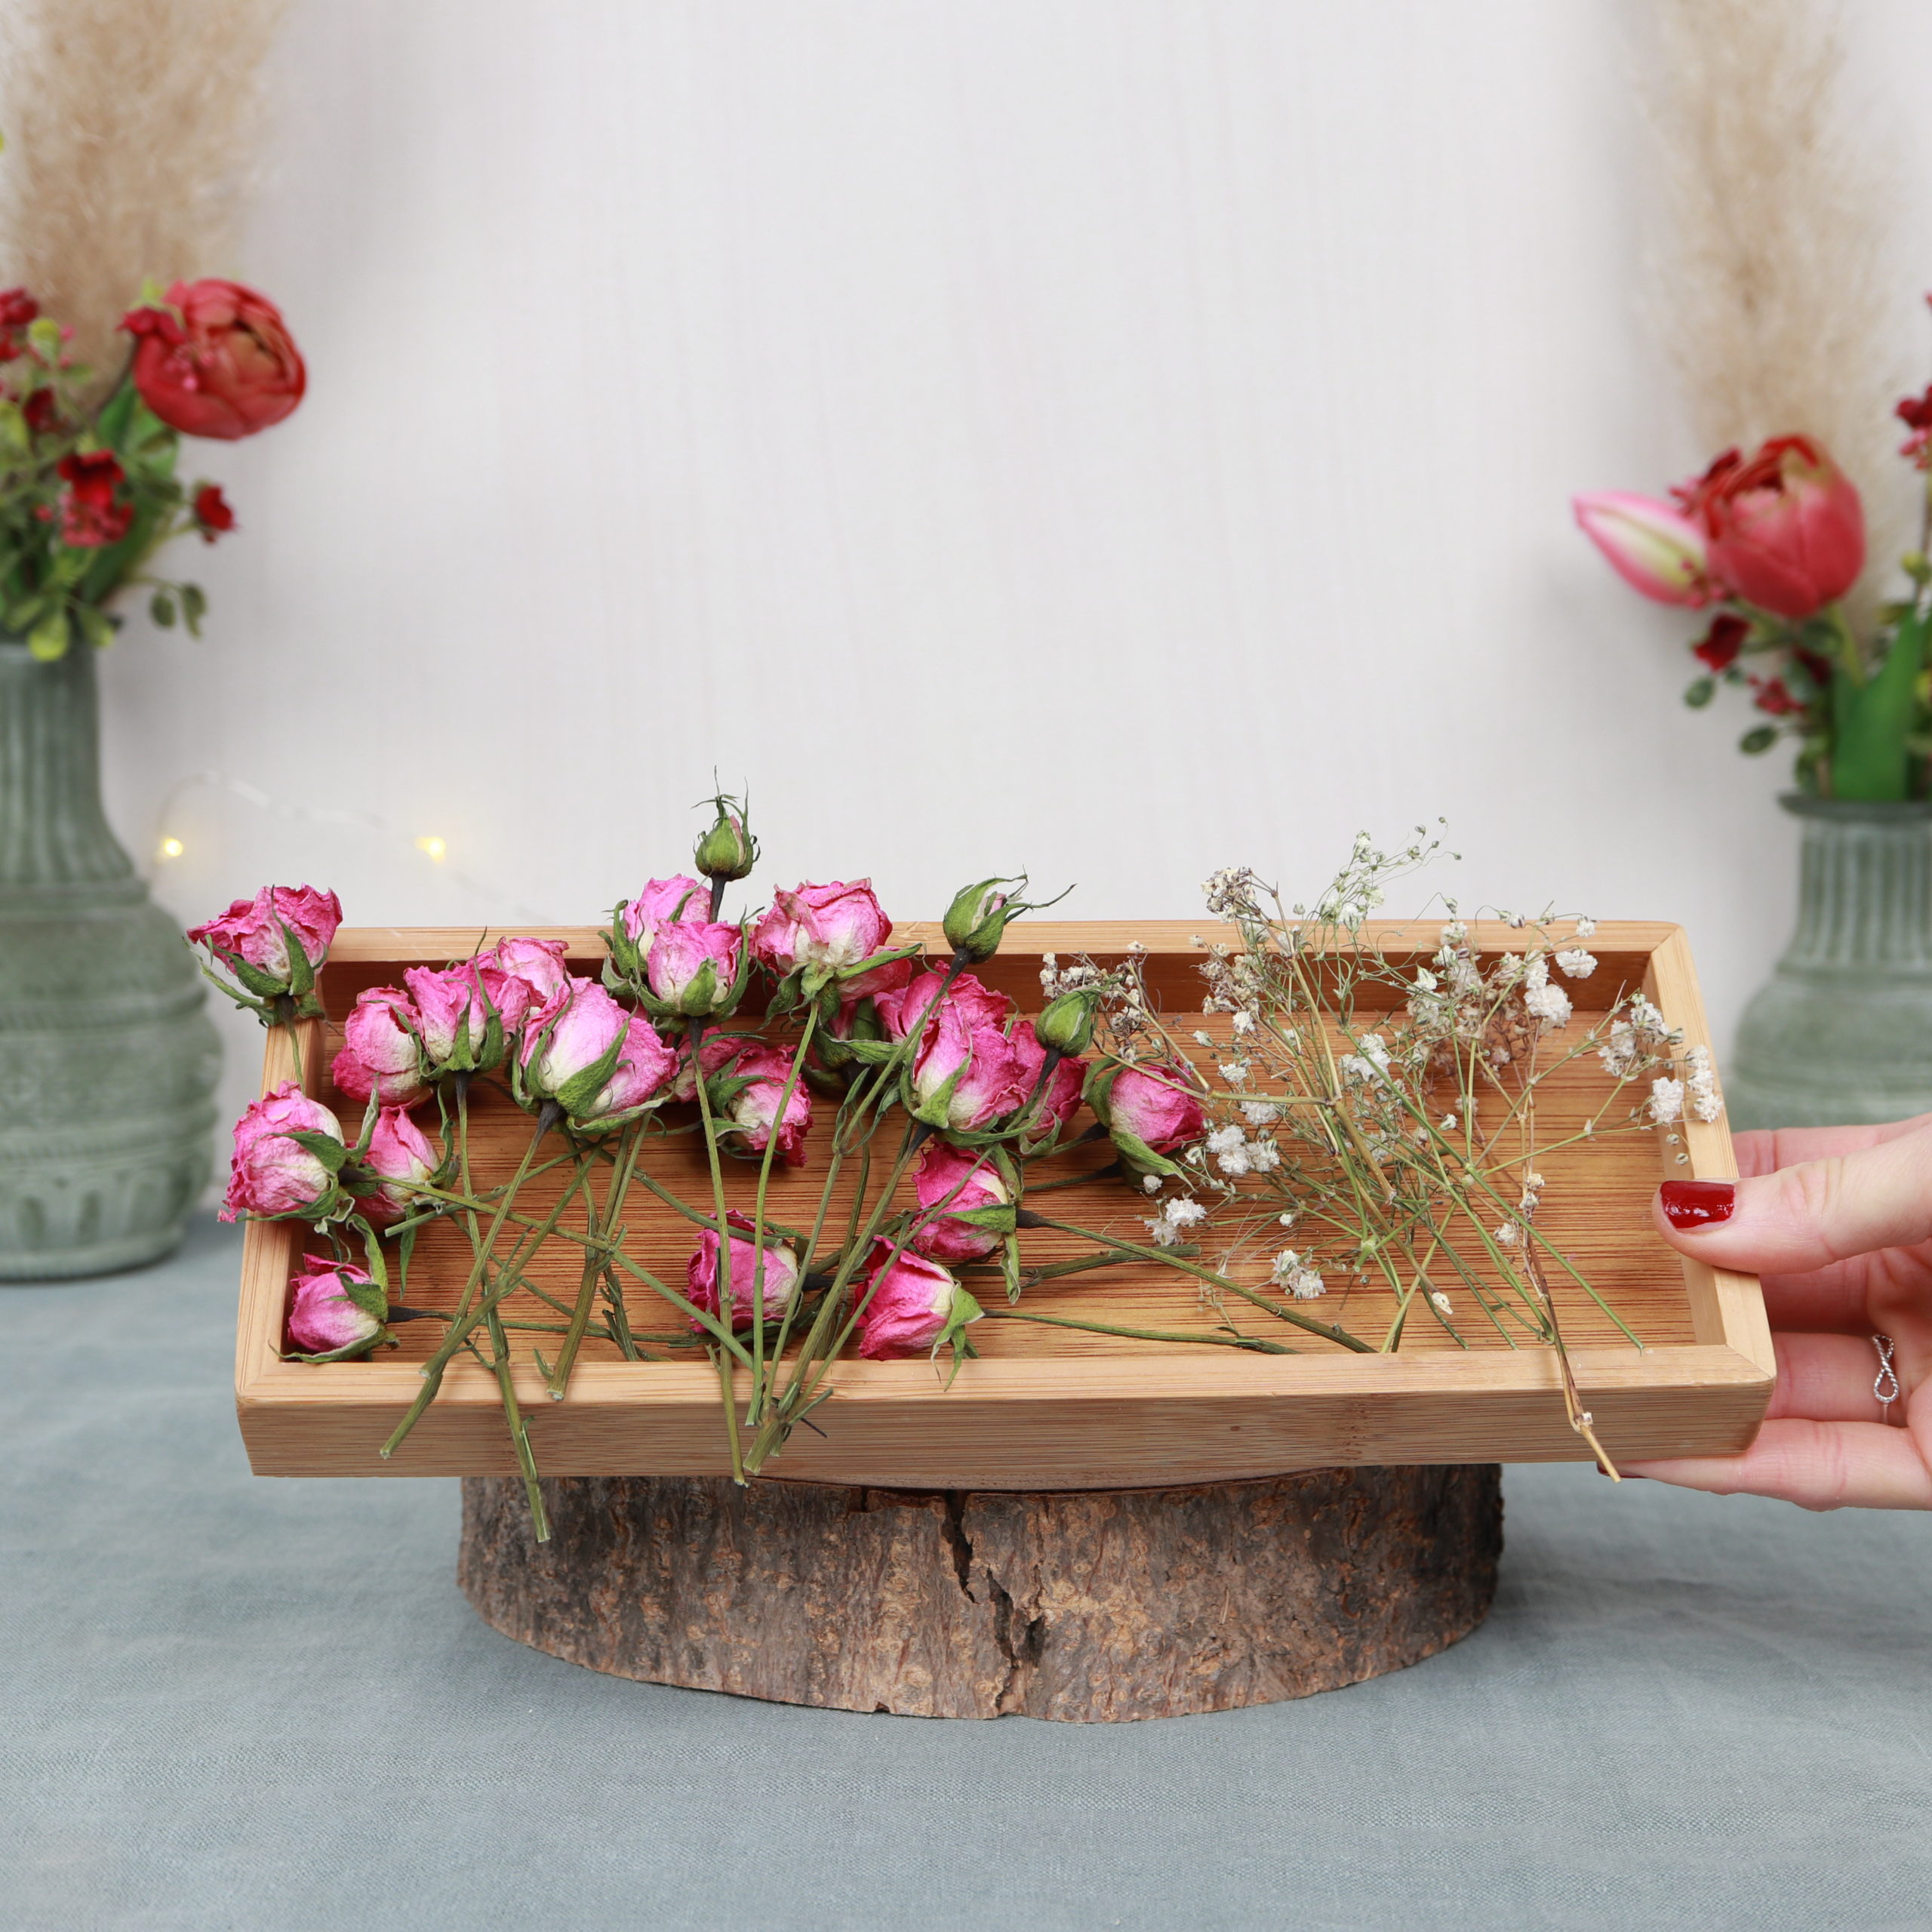
I used these materials for the rose arrangement: dried roses and dried gypsophila. A white vase in a shabby chic look, sisal fiber, sand and a pink ribbon.
Instructions | Shabby chic decoration: floral arrangement with dried roses
Step 1: Cut flowers
First I cut the roses and the gypsophila.
![](https://lena-kate.com/wp-content/uploads/2022/02/02_cut_roses_diy_flower_arrangement_shabby_chic_look_dried_roses_-babys_breaths-1-1024x1024.jpg)
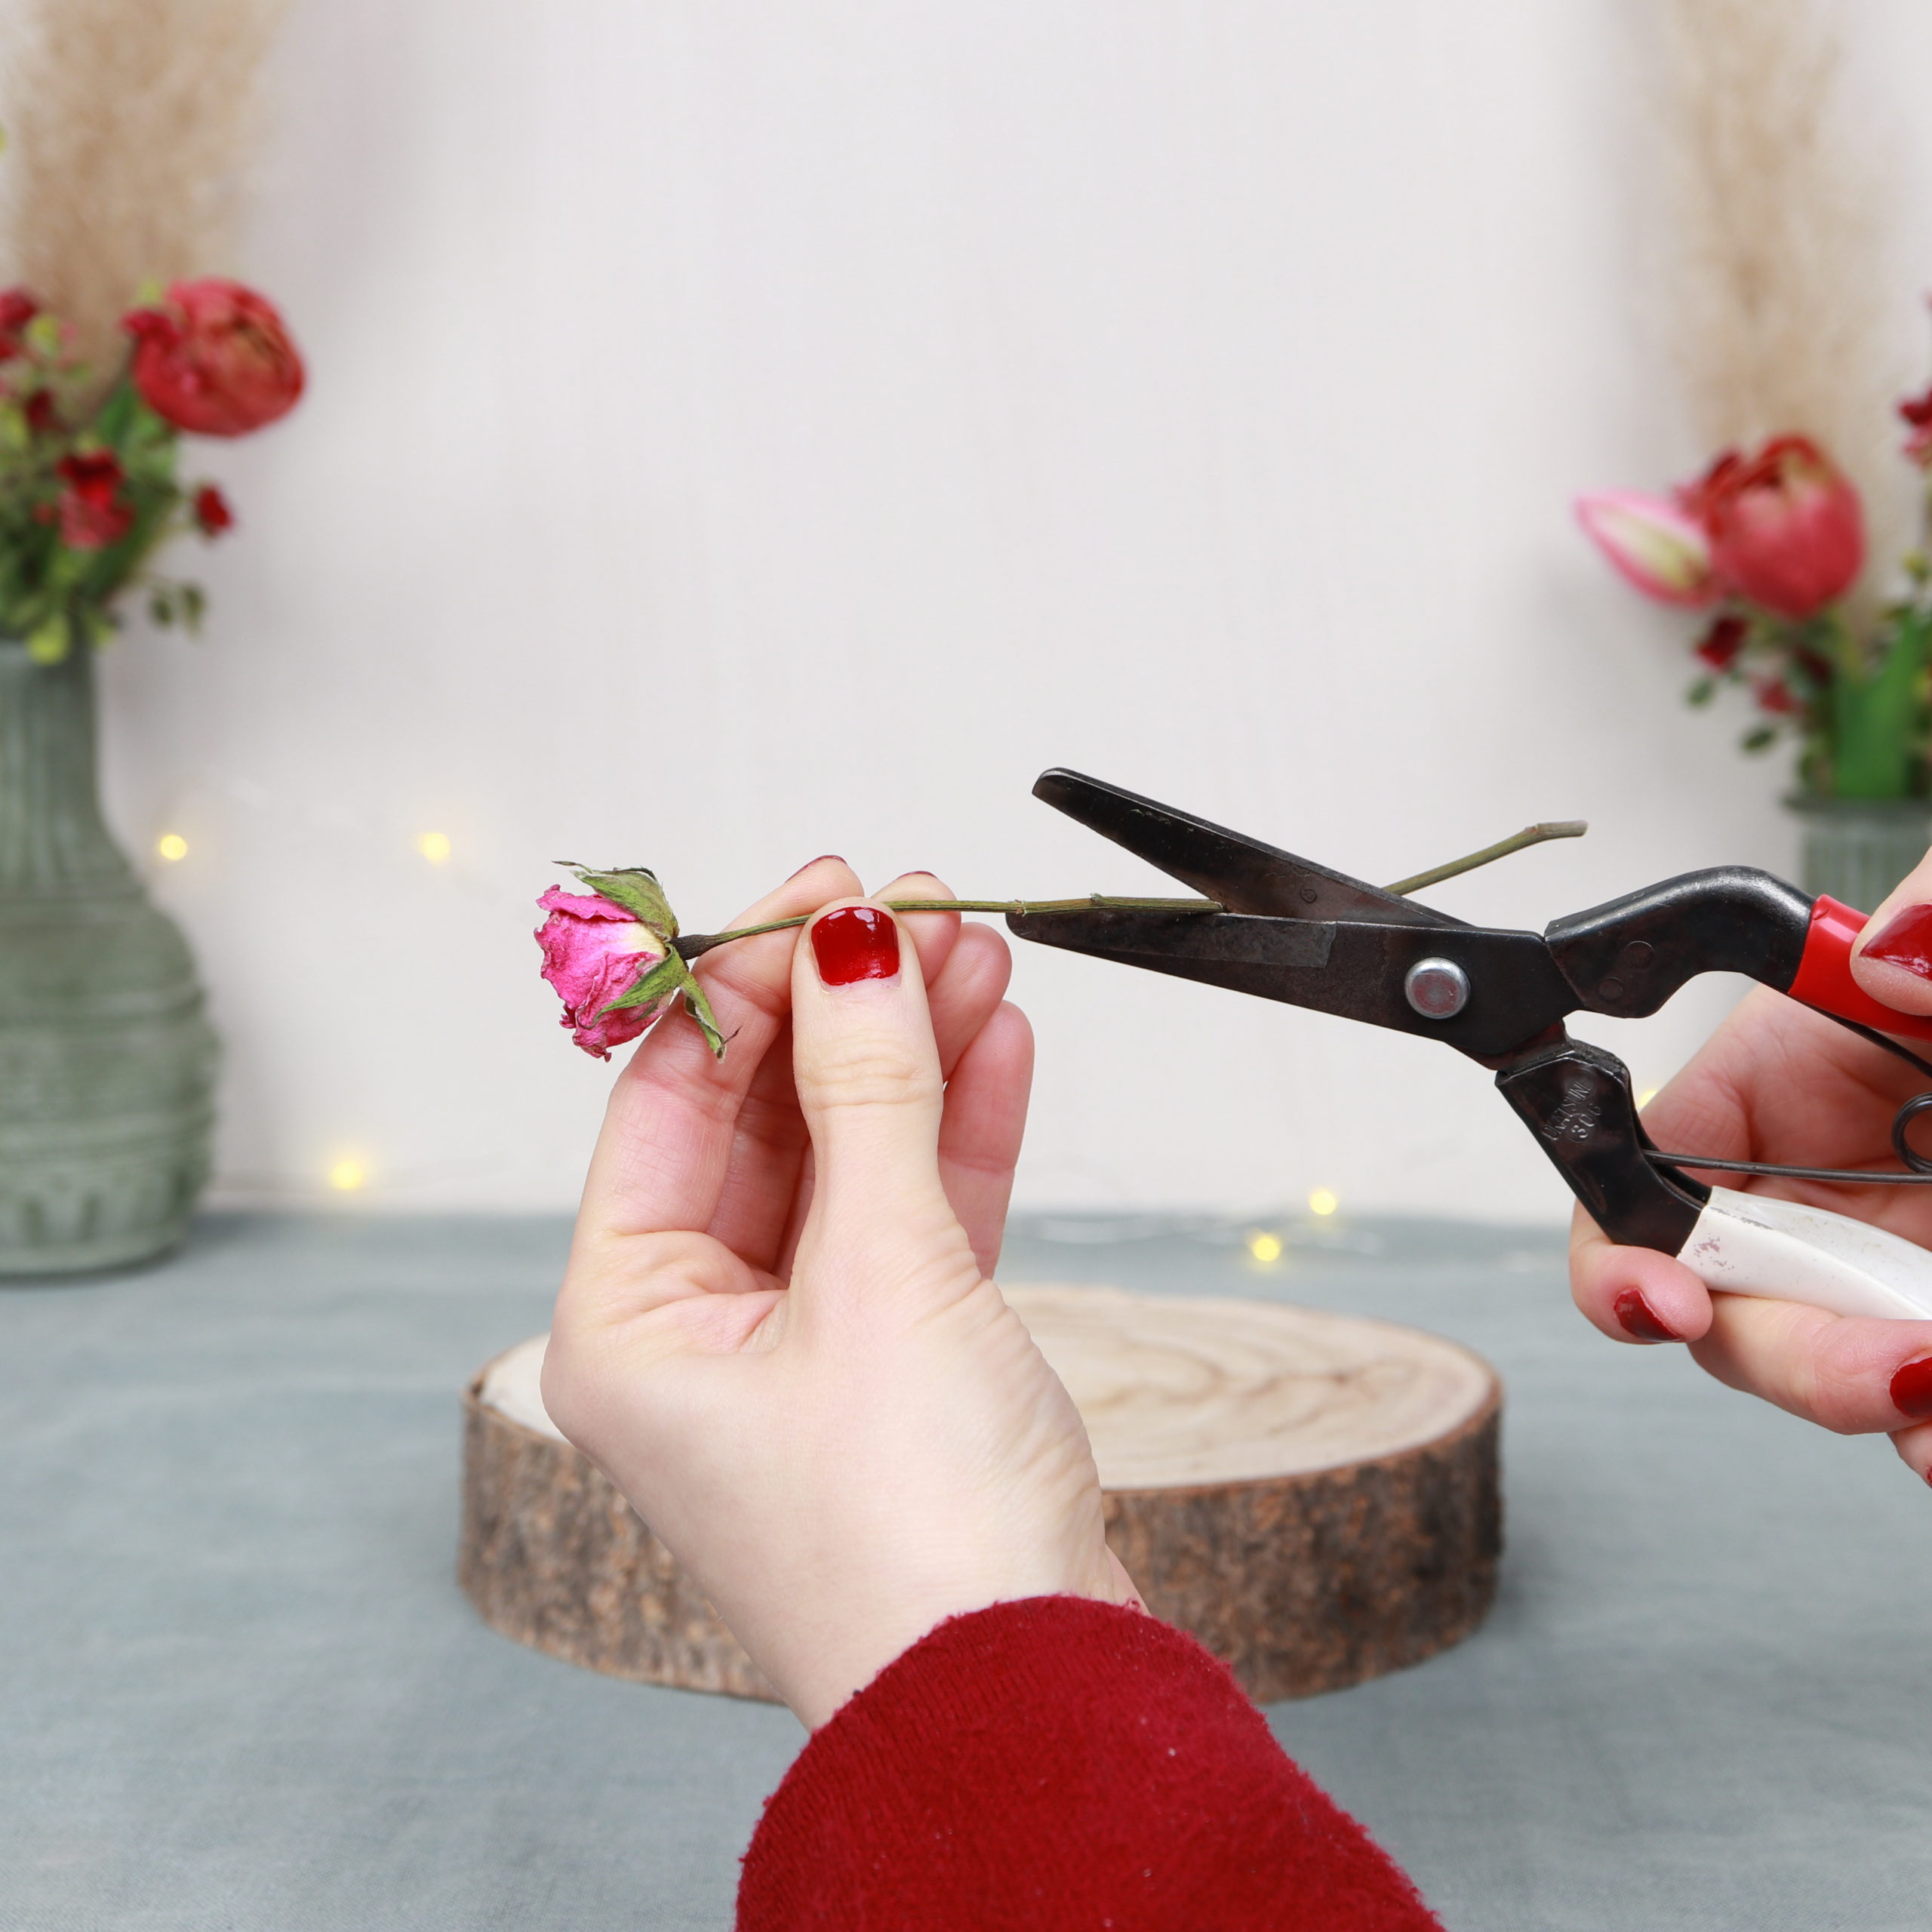
I use my flower scissors and measure the length of the vase.
![](https://lena-kate.com/wp-content/uploads/2022/02/03_pink_roses_diy_flower_arrangement_shabby_chic_look_dried_roses_-babys_breath-1-1024x1024.jpg)
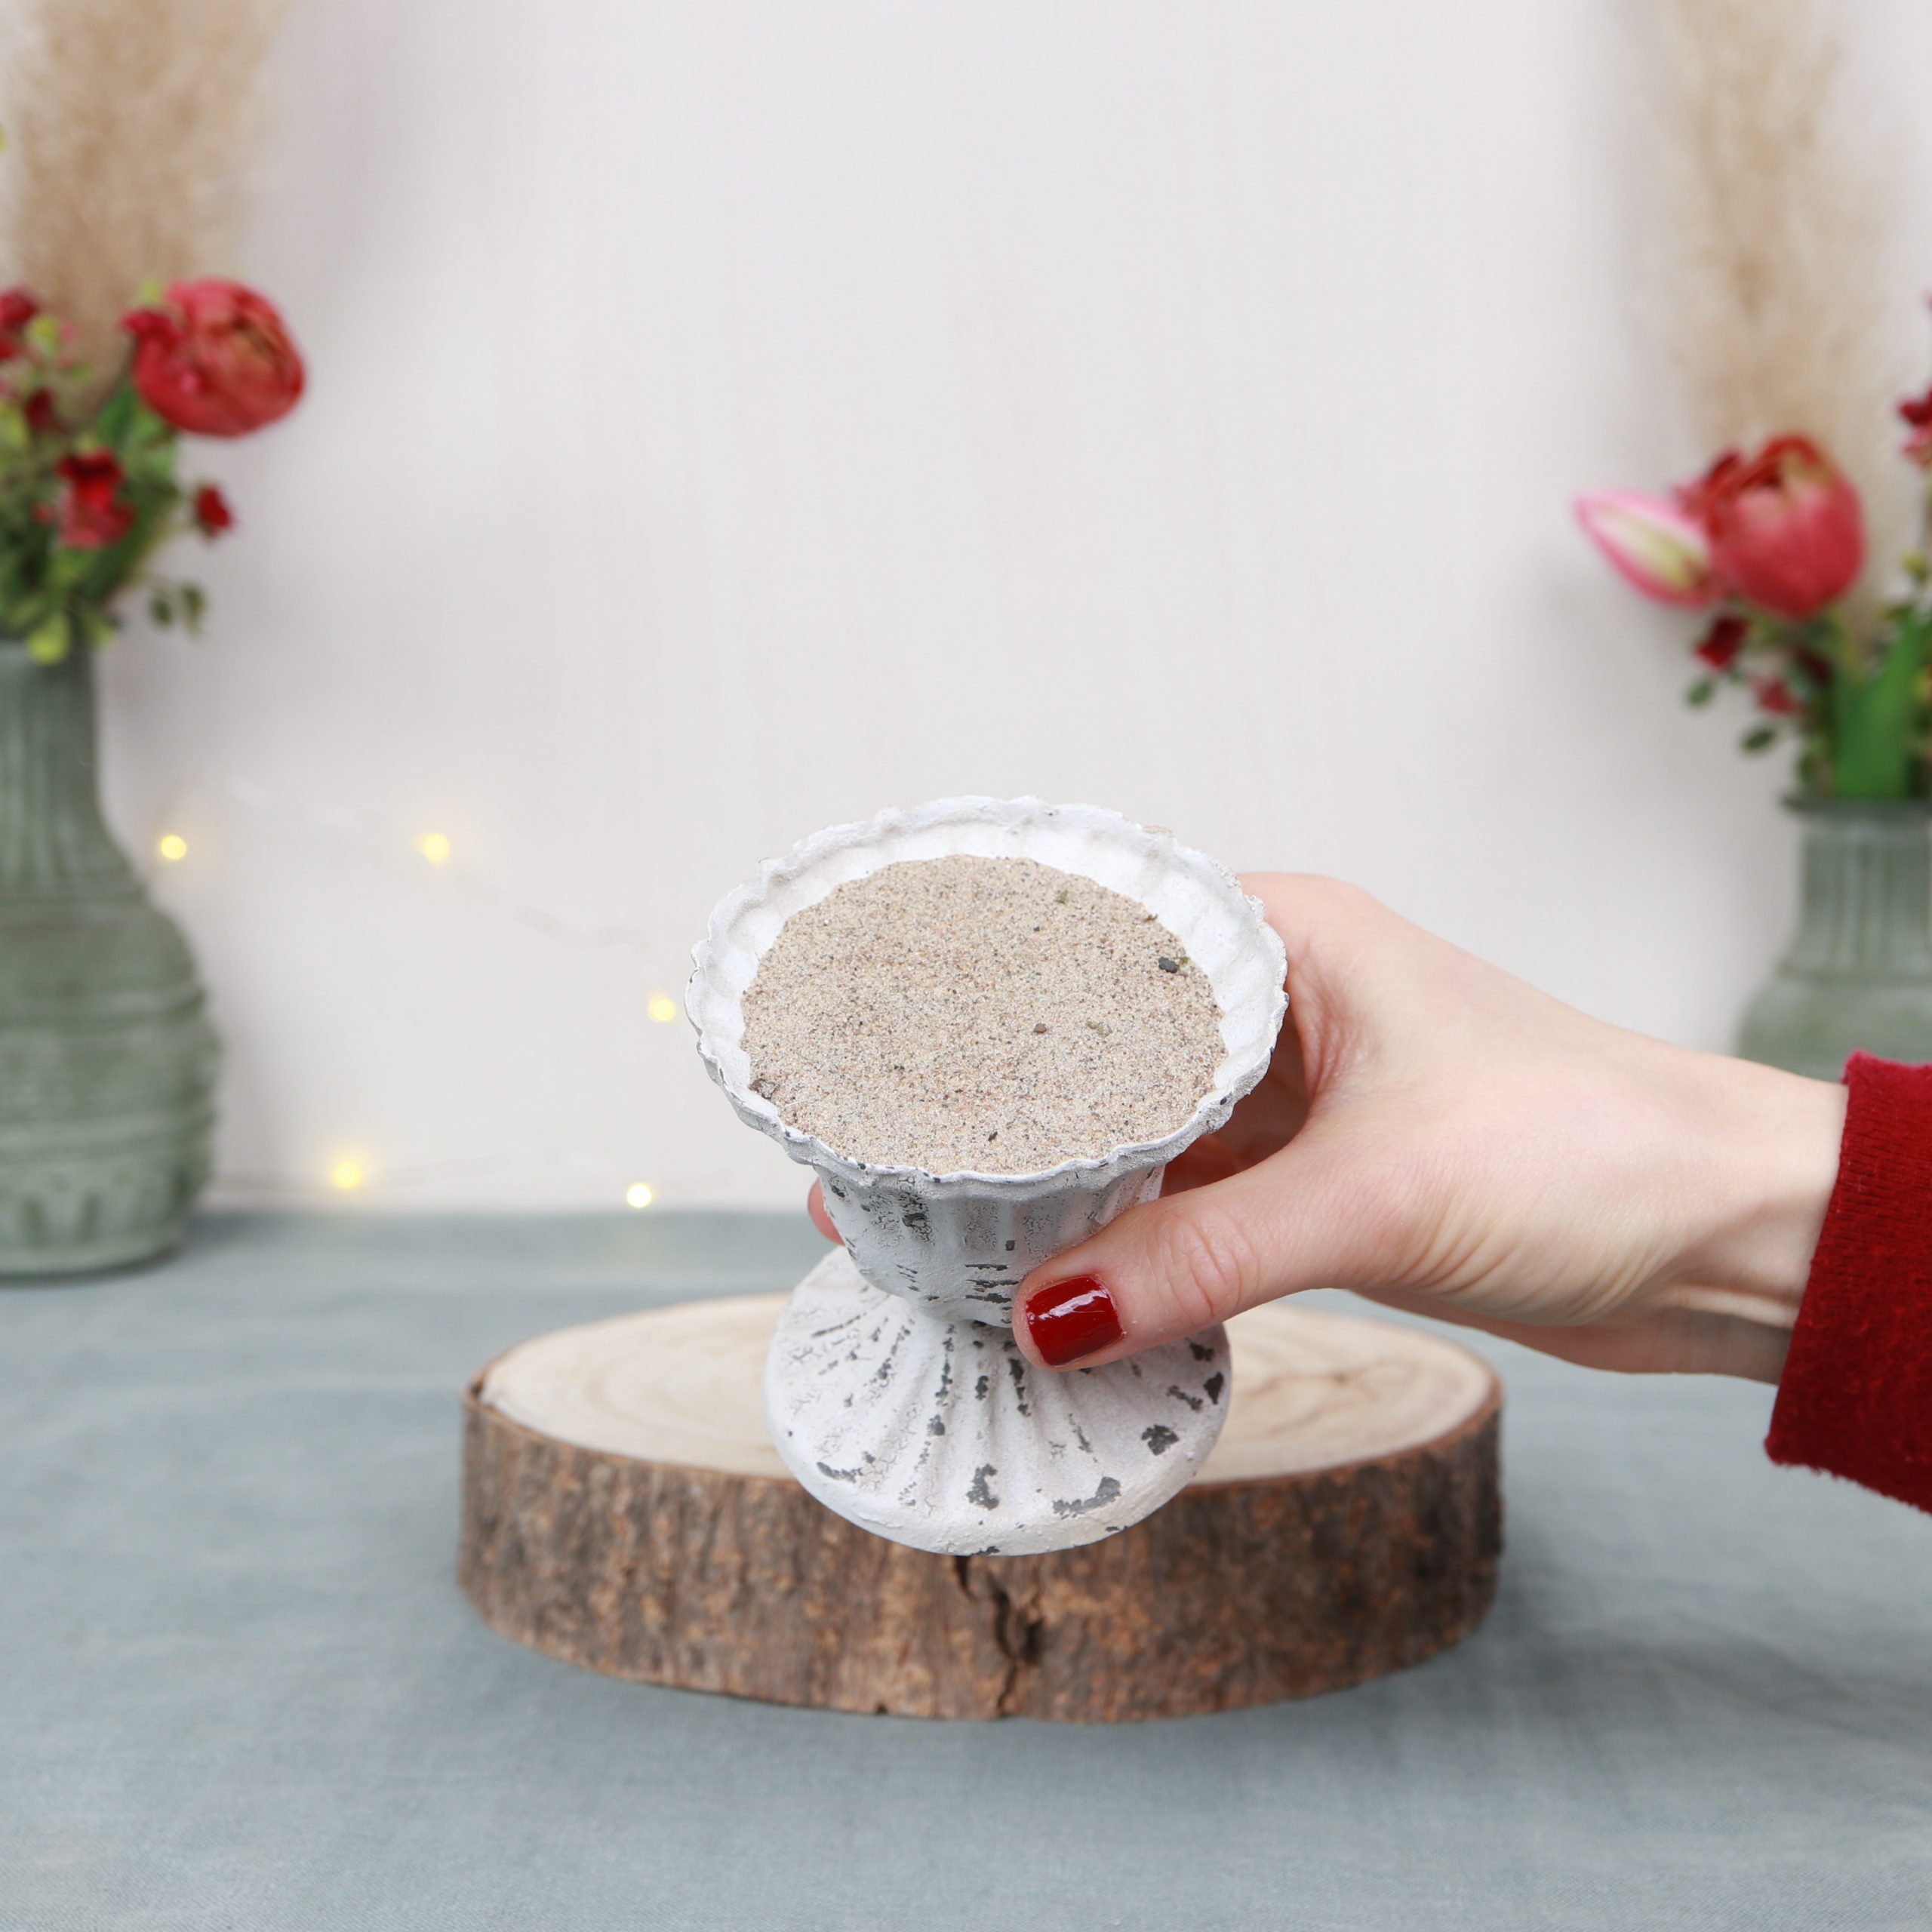
Step 2: Fill the vase with sand
Now I fill the dry sand into the vase.
![](https://lena-kate.com/wp-content/uploads/2022/02/04_insert_sand_diy_flower_arrangement_shabby_chic_look_dried_roses_-babys_breath-1-1024x1024.jpg)
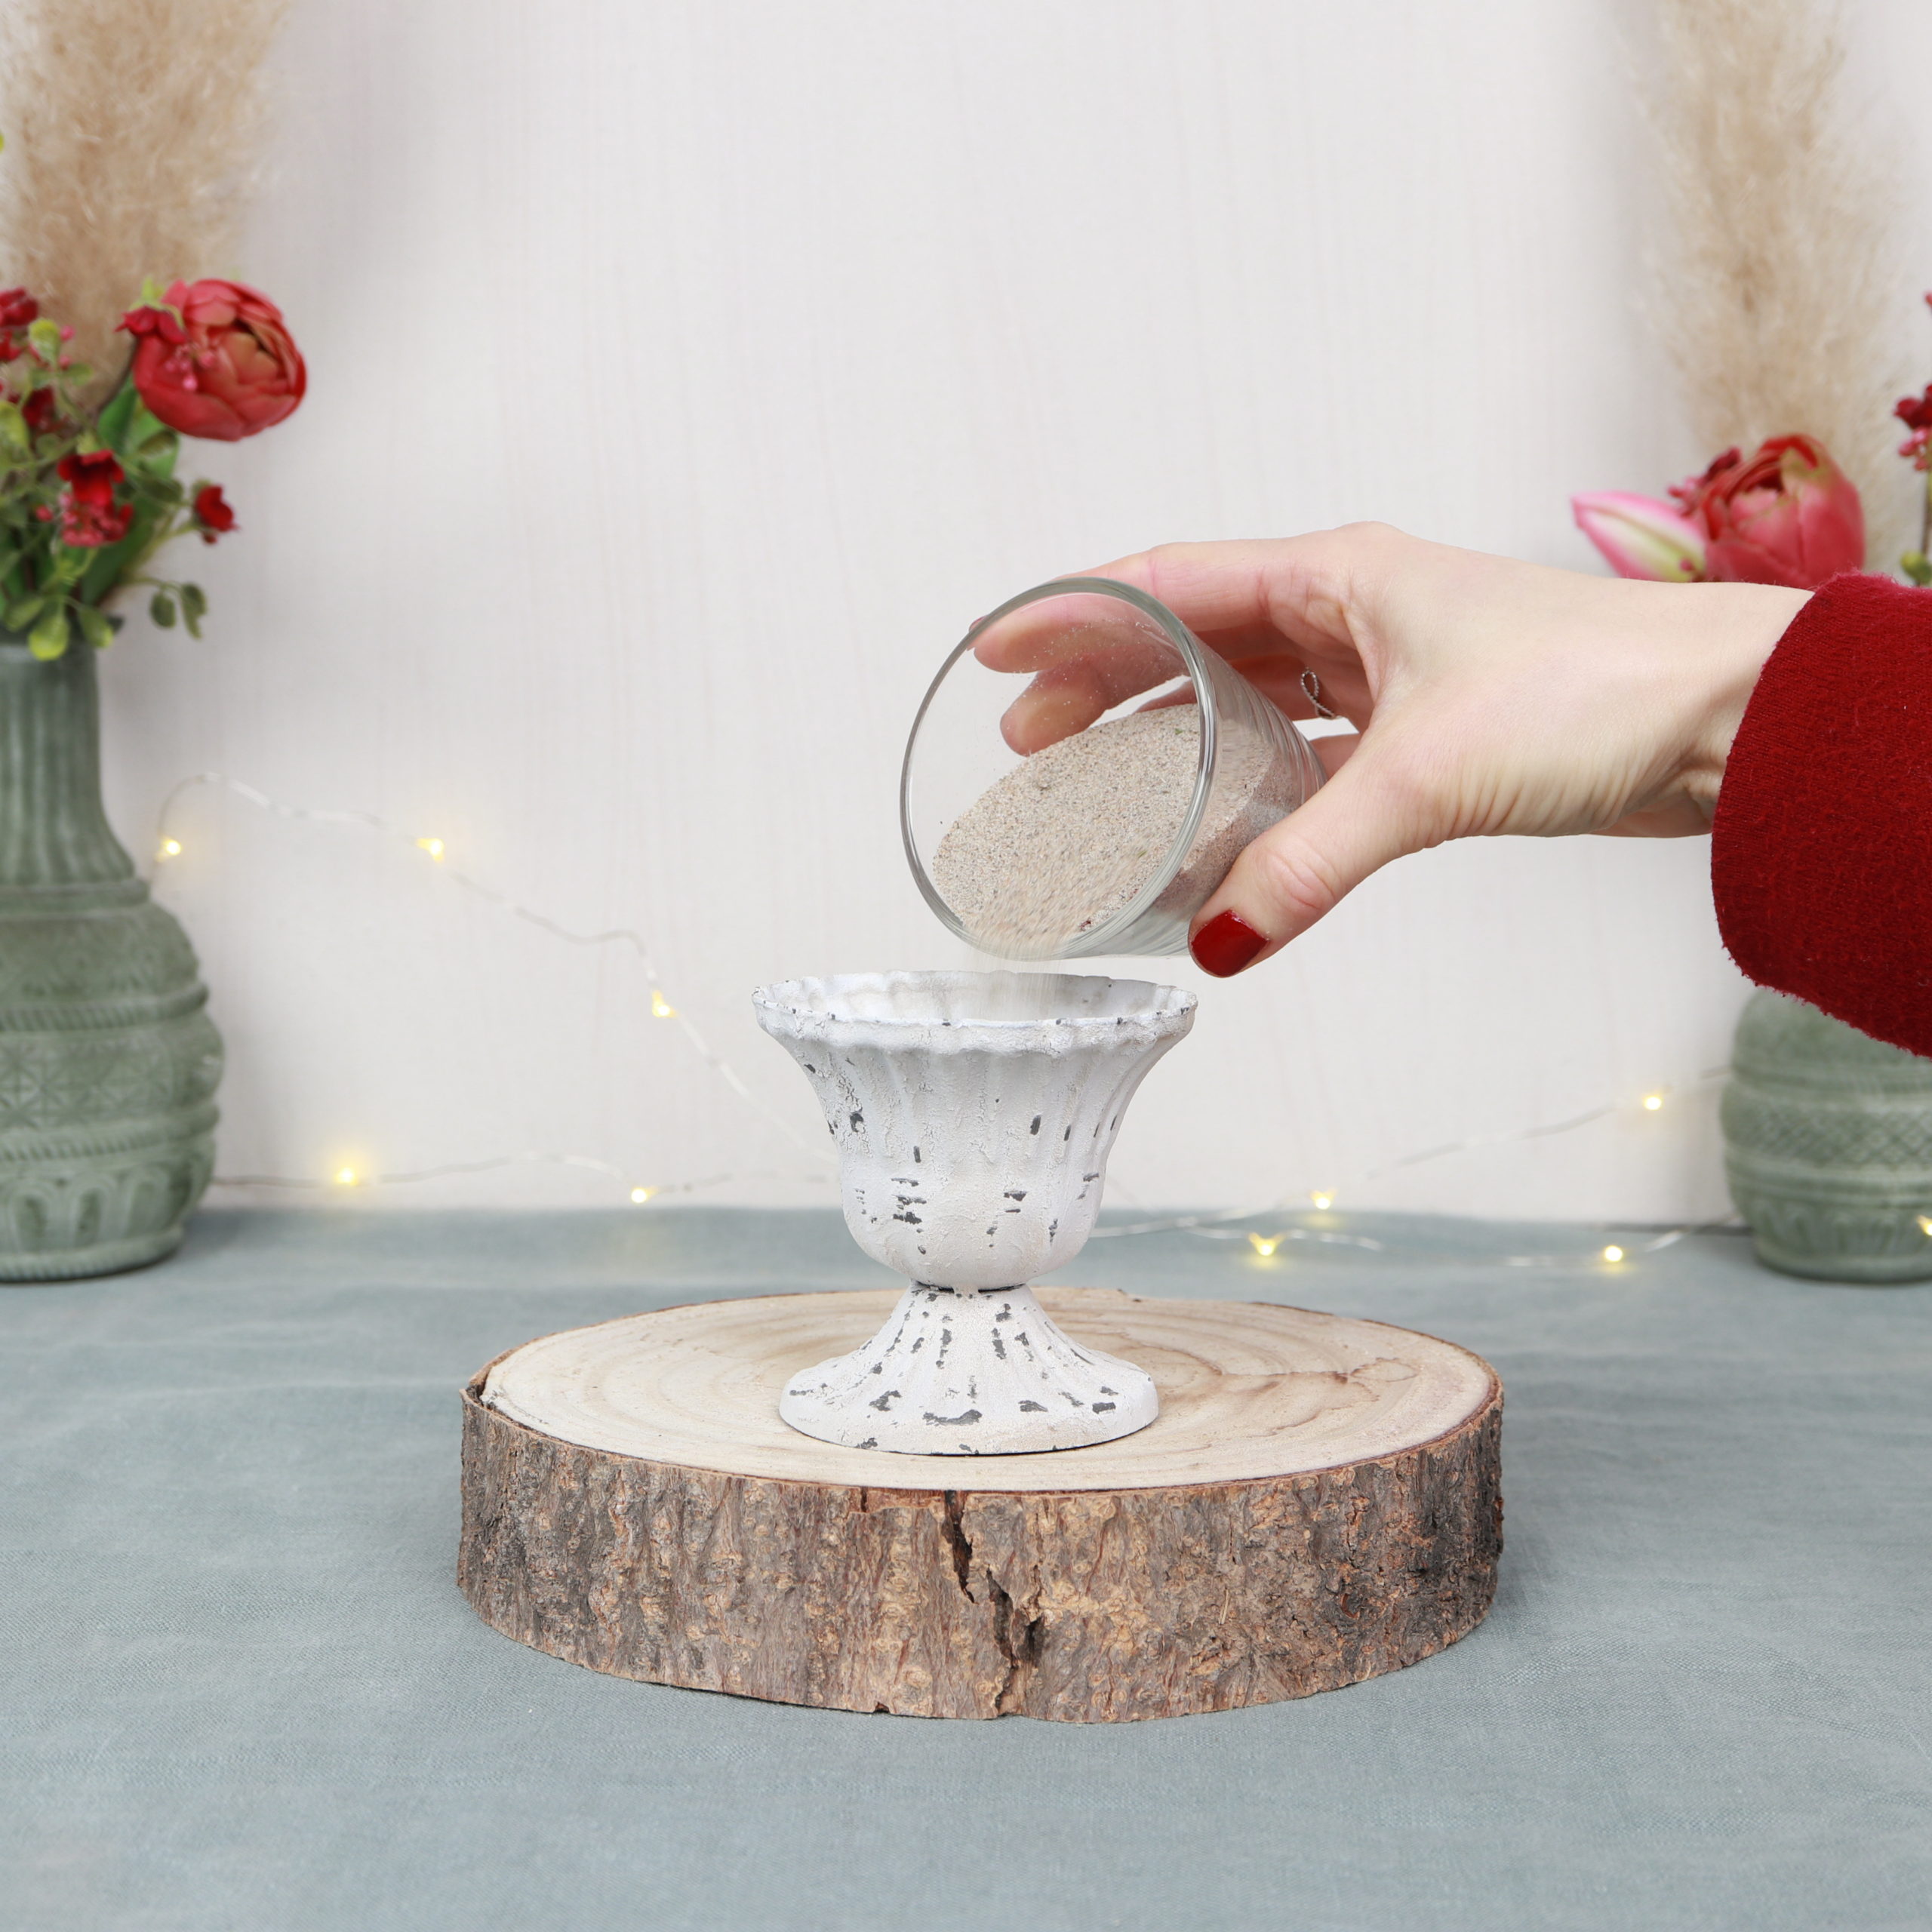
I fill the sand almost to the top.
![](https://lena-kate.com/wp-content/uploads/2022/02/05_sand_diy_flower_arrangement_shabby_chic_look_dried_roses_-babys_breath-1-1024x1024.jpg)
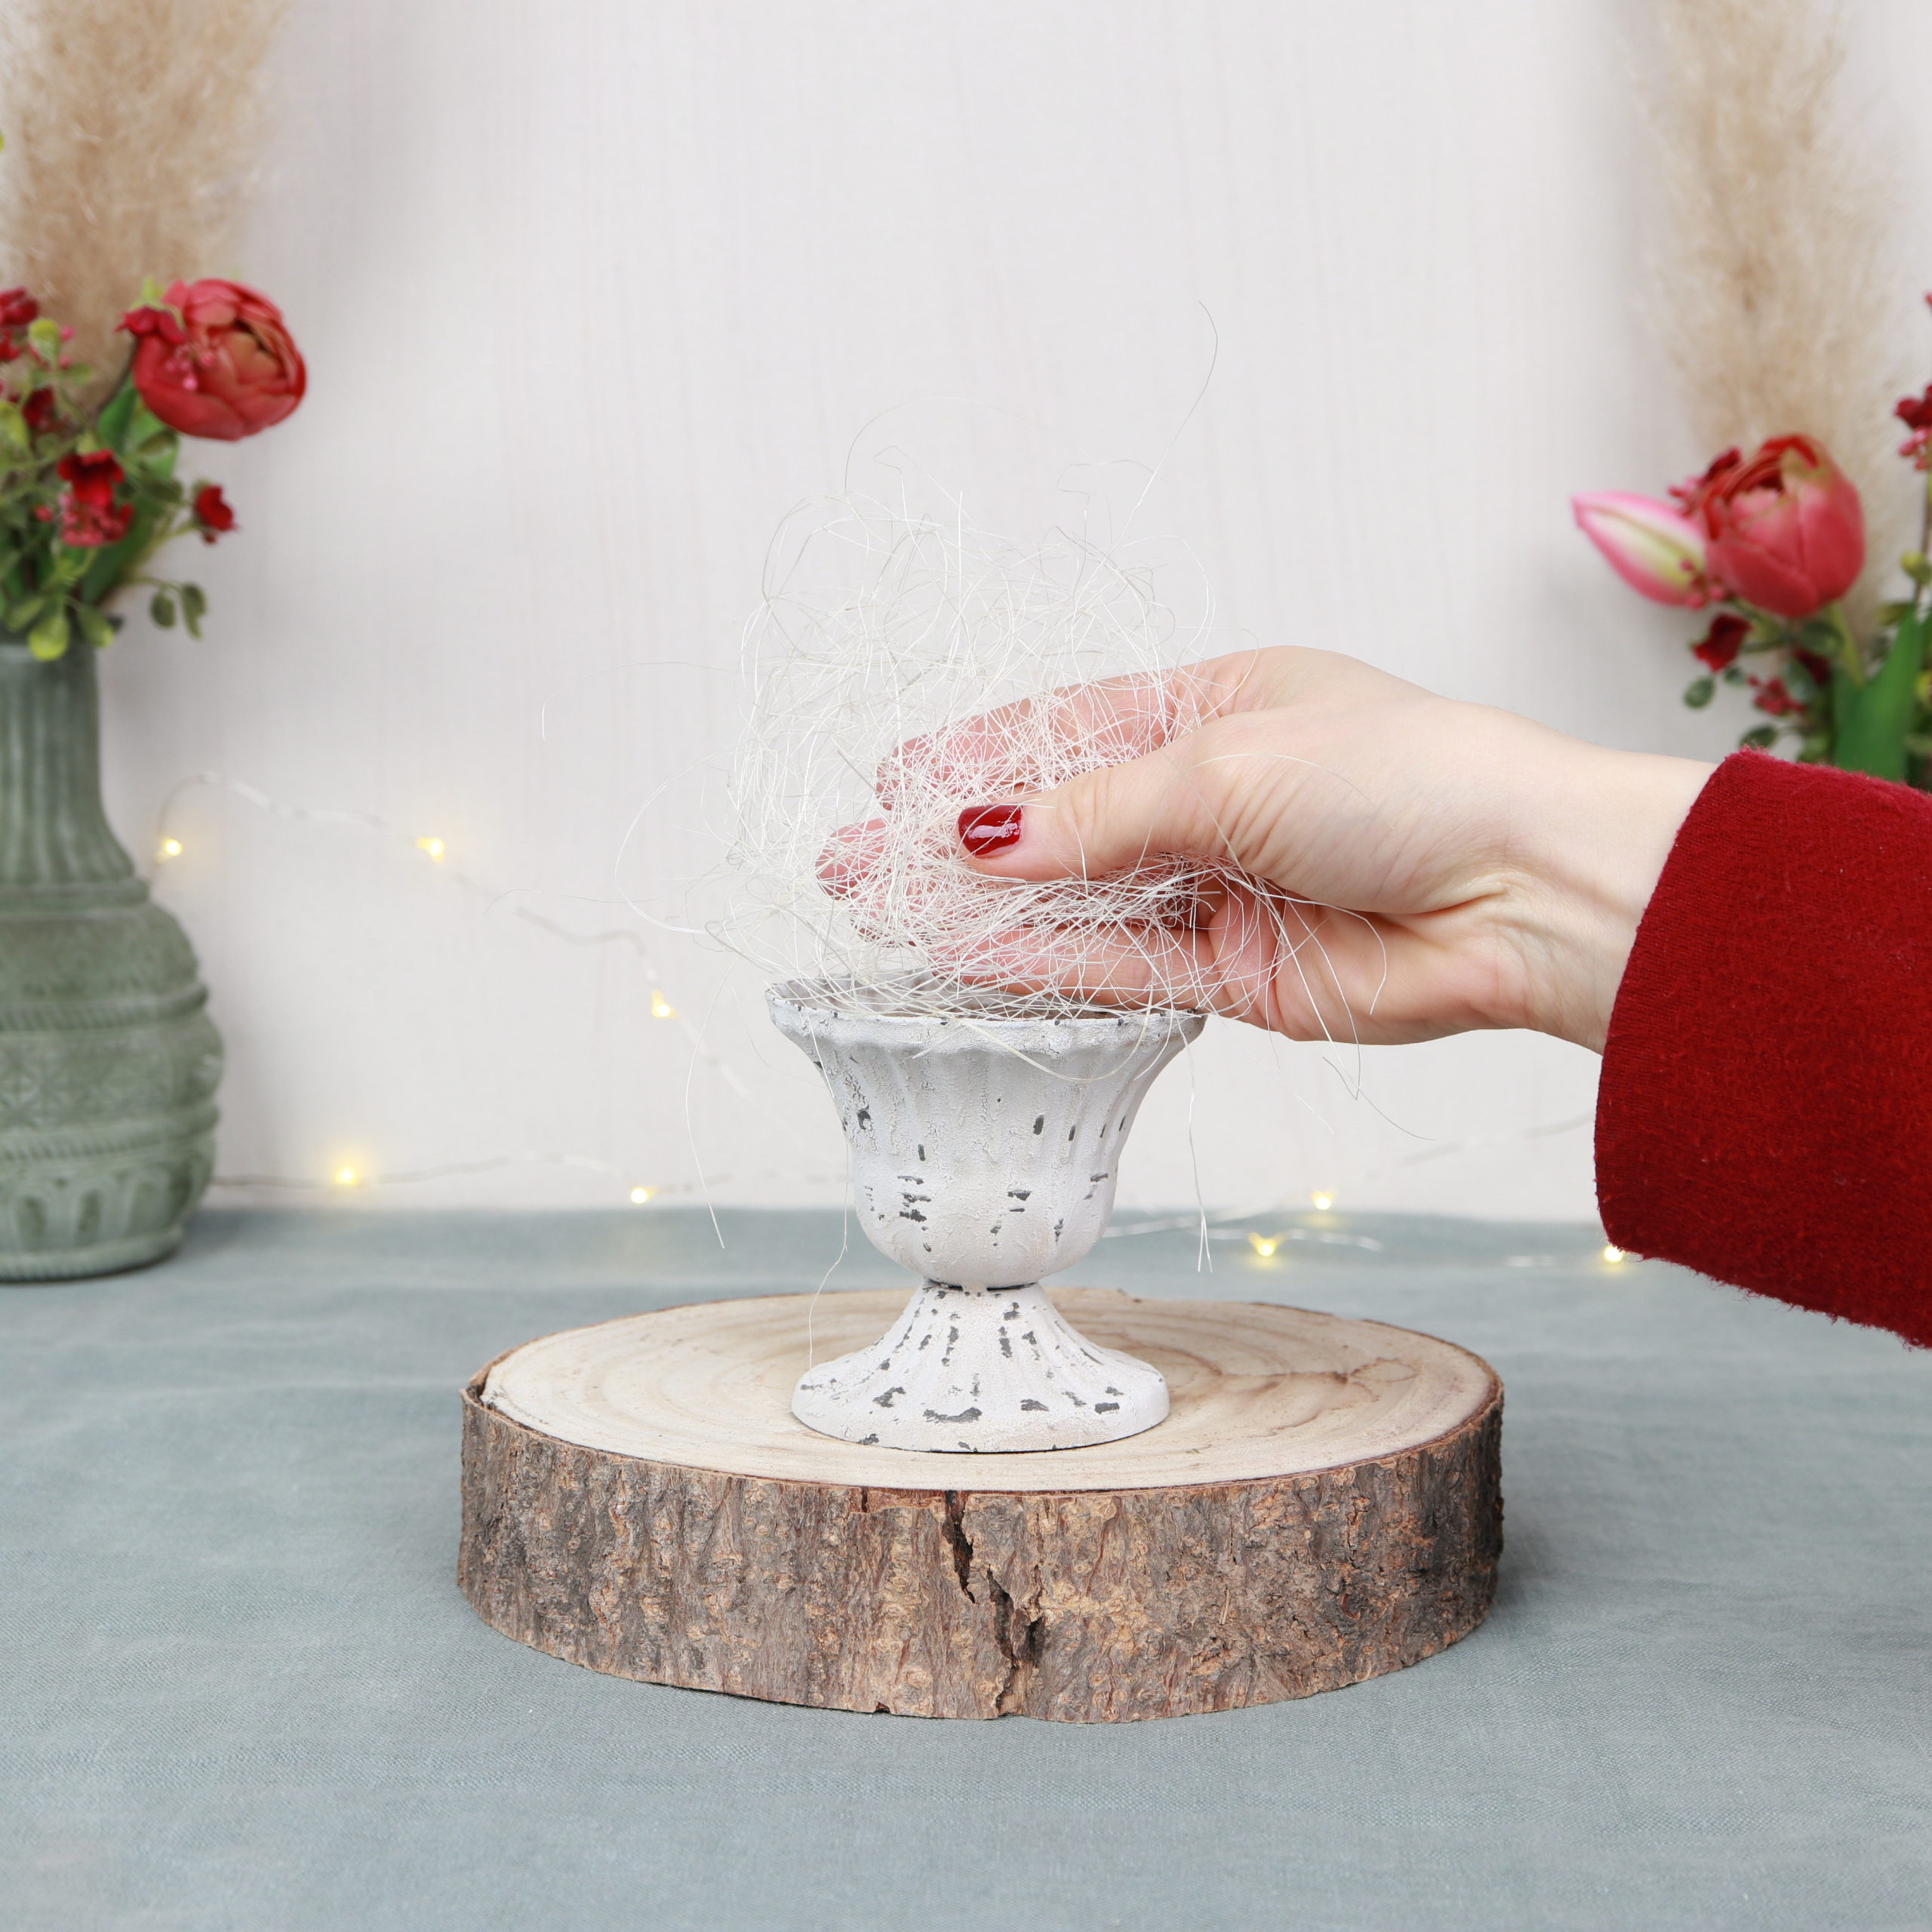
Step 3: Cover sand with sisal fiber
Then I cover the sand with sisal fiber.
![](https://lena-kate.com/wp-content/uploads/2022/02/06_insert_sisal_diy_flower_arrangement_shabby_chic_look_dried_roses_-babys_breath-1024x1024.jpg)
Step 4: Insert dried flowers
Now I stick the roses through the sisal fiber into the sand.
![](https://lena-kate.com/wp-content/uploads/2022/02/07_insert_rose_diy_flower_arrangement_shabby_chic_look_dried_roses_-babys_breath-1-1024x1024.jpg)
![](https://lena-kate.com/wp-content/uploads/2022/02/08_roses_diy_flower_arrangement_shabby_chic_look_dried_roses_-babys_breath-1-1024x1024.jpg)
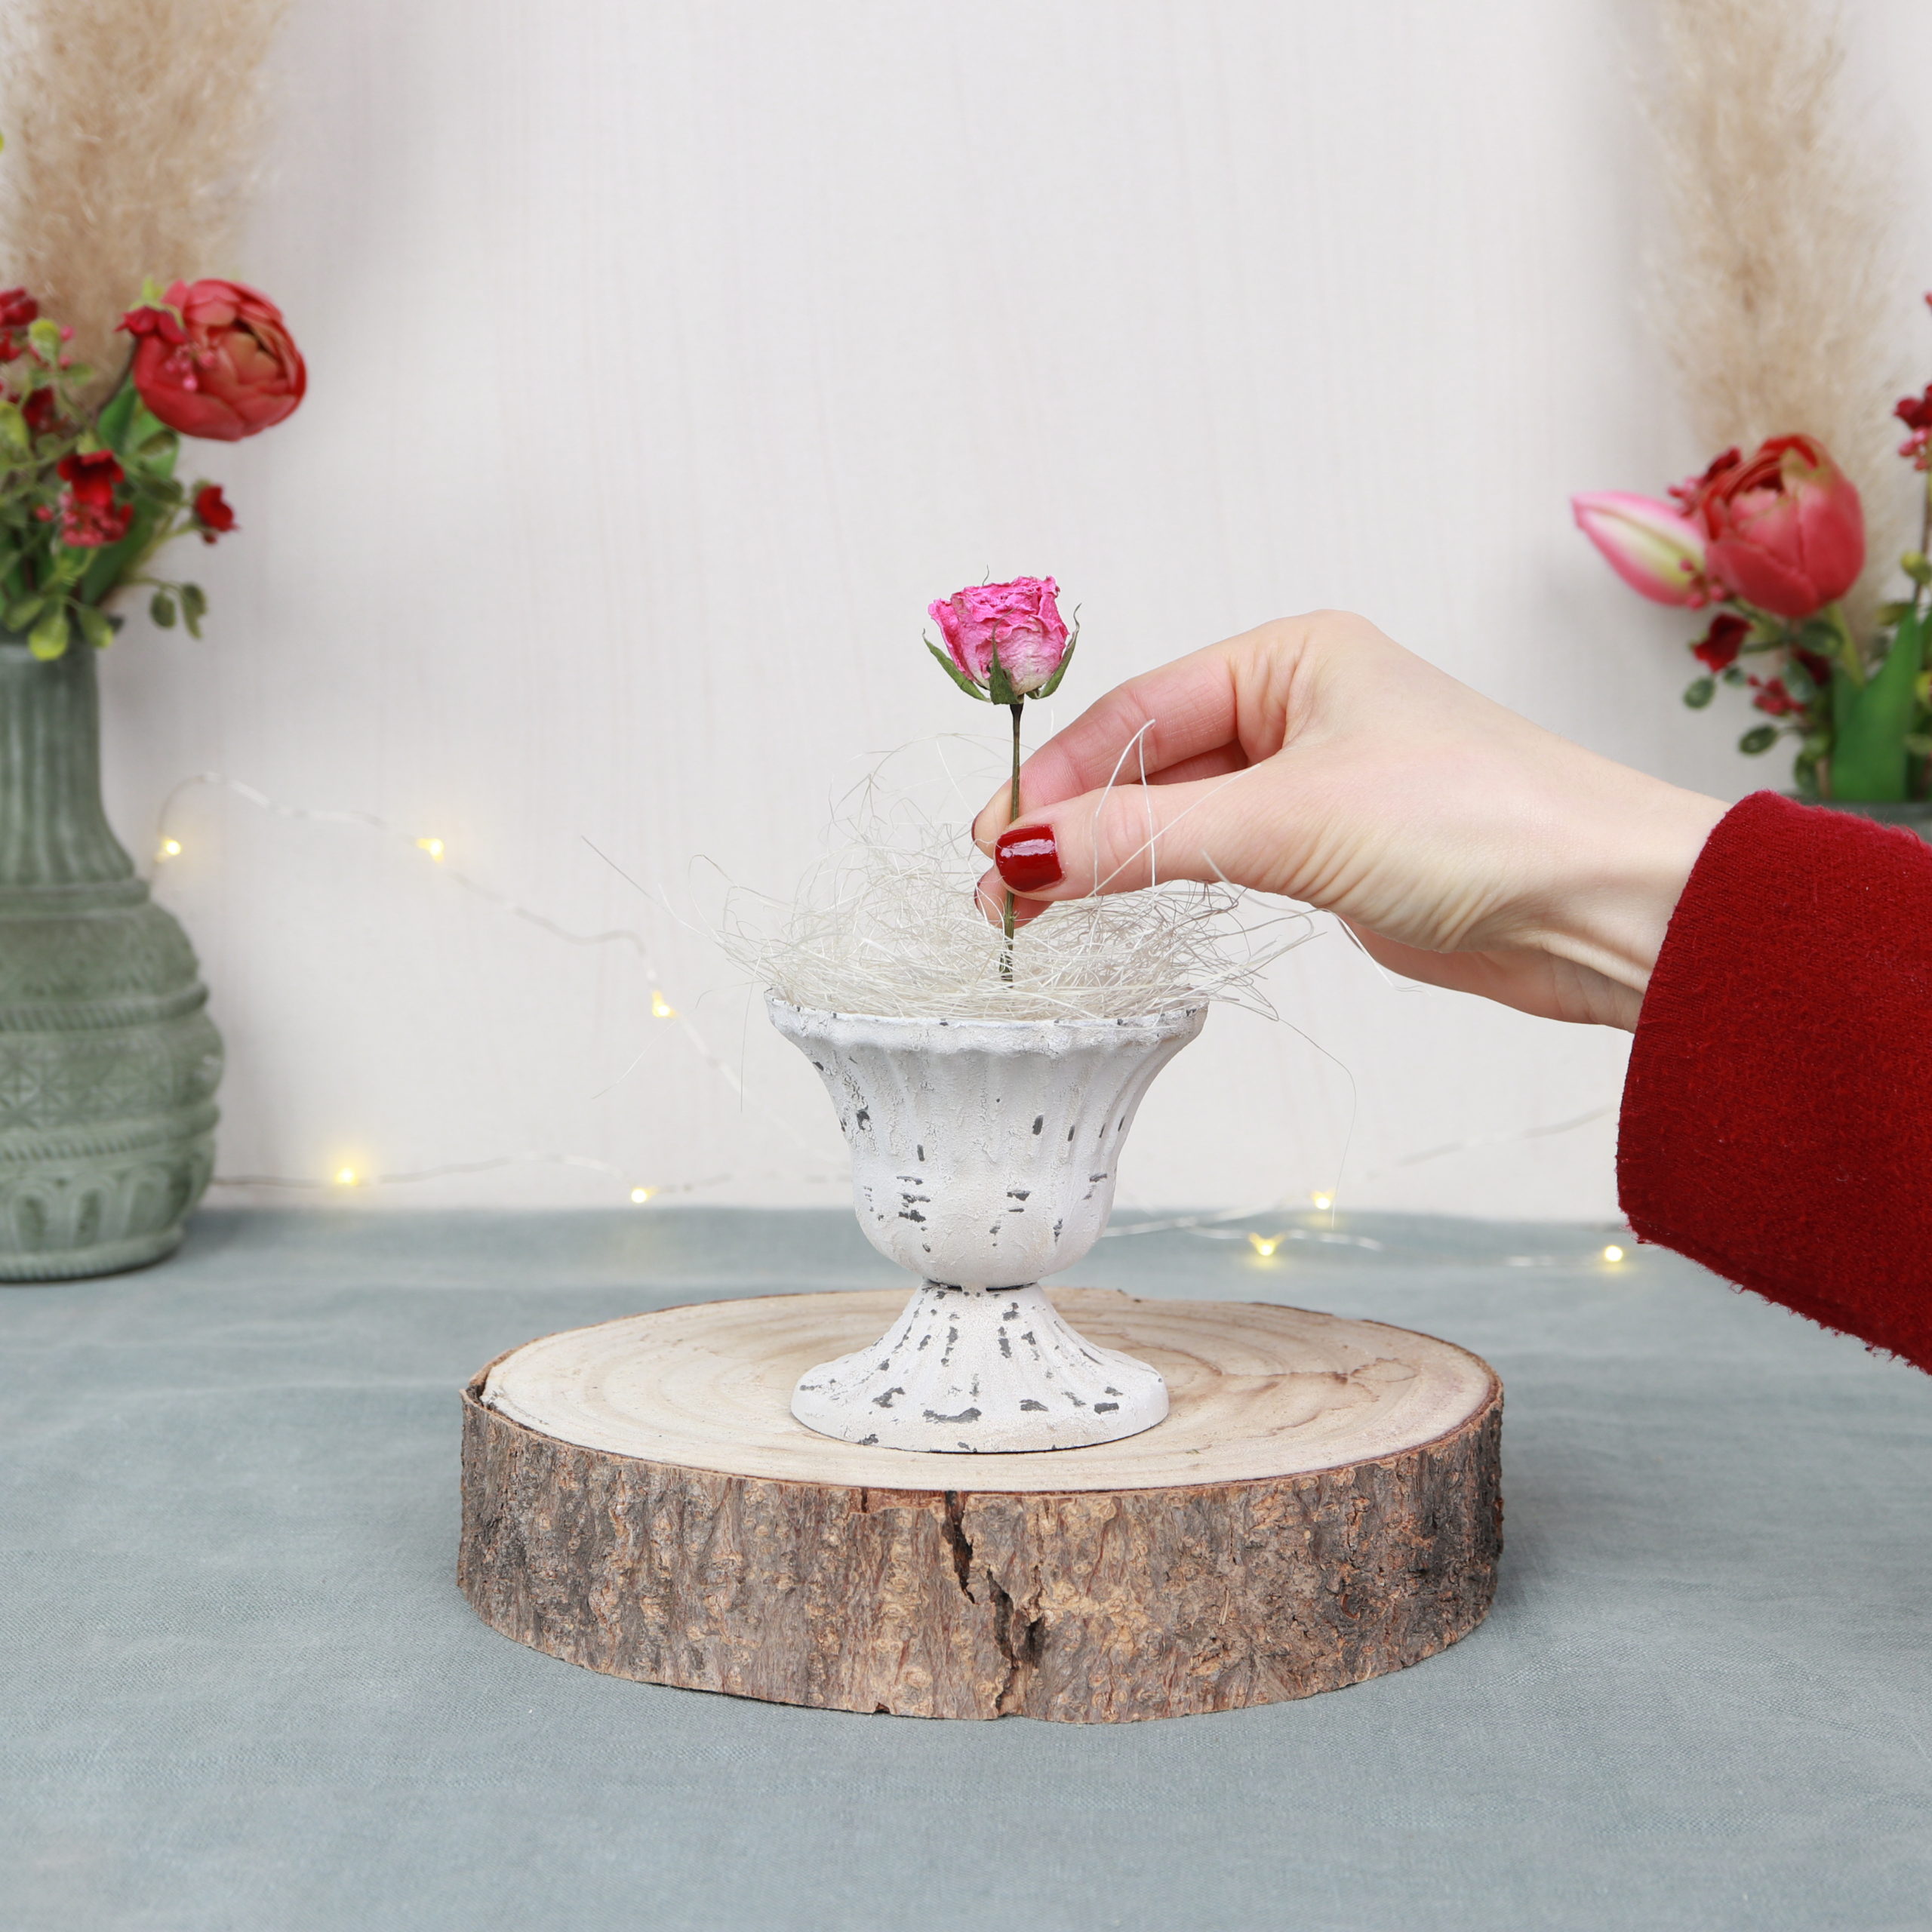
I distribute the roses evenly and fill the gaps with gypsophila.
![](https://lena-kate.com/wp-content/uploads/2022/02/09_insert_diy_flower_arrangement_shabby_chic_look_dried_roses_-babys_breath-1024x1024.jpg)
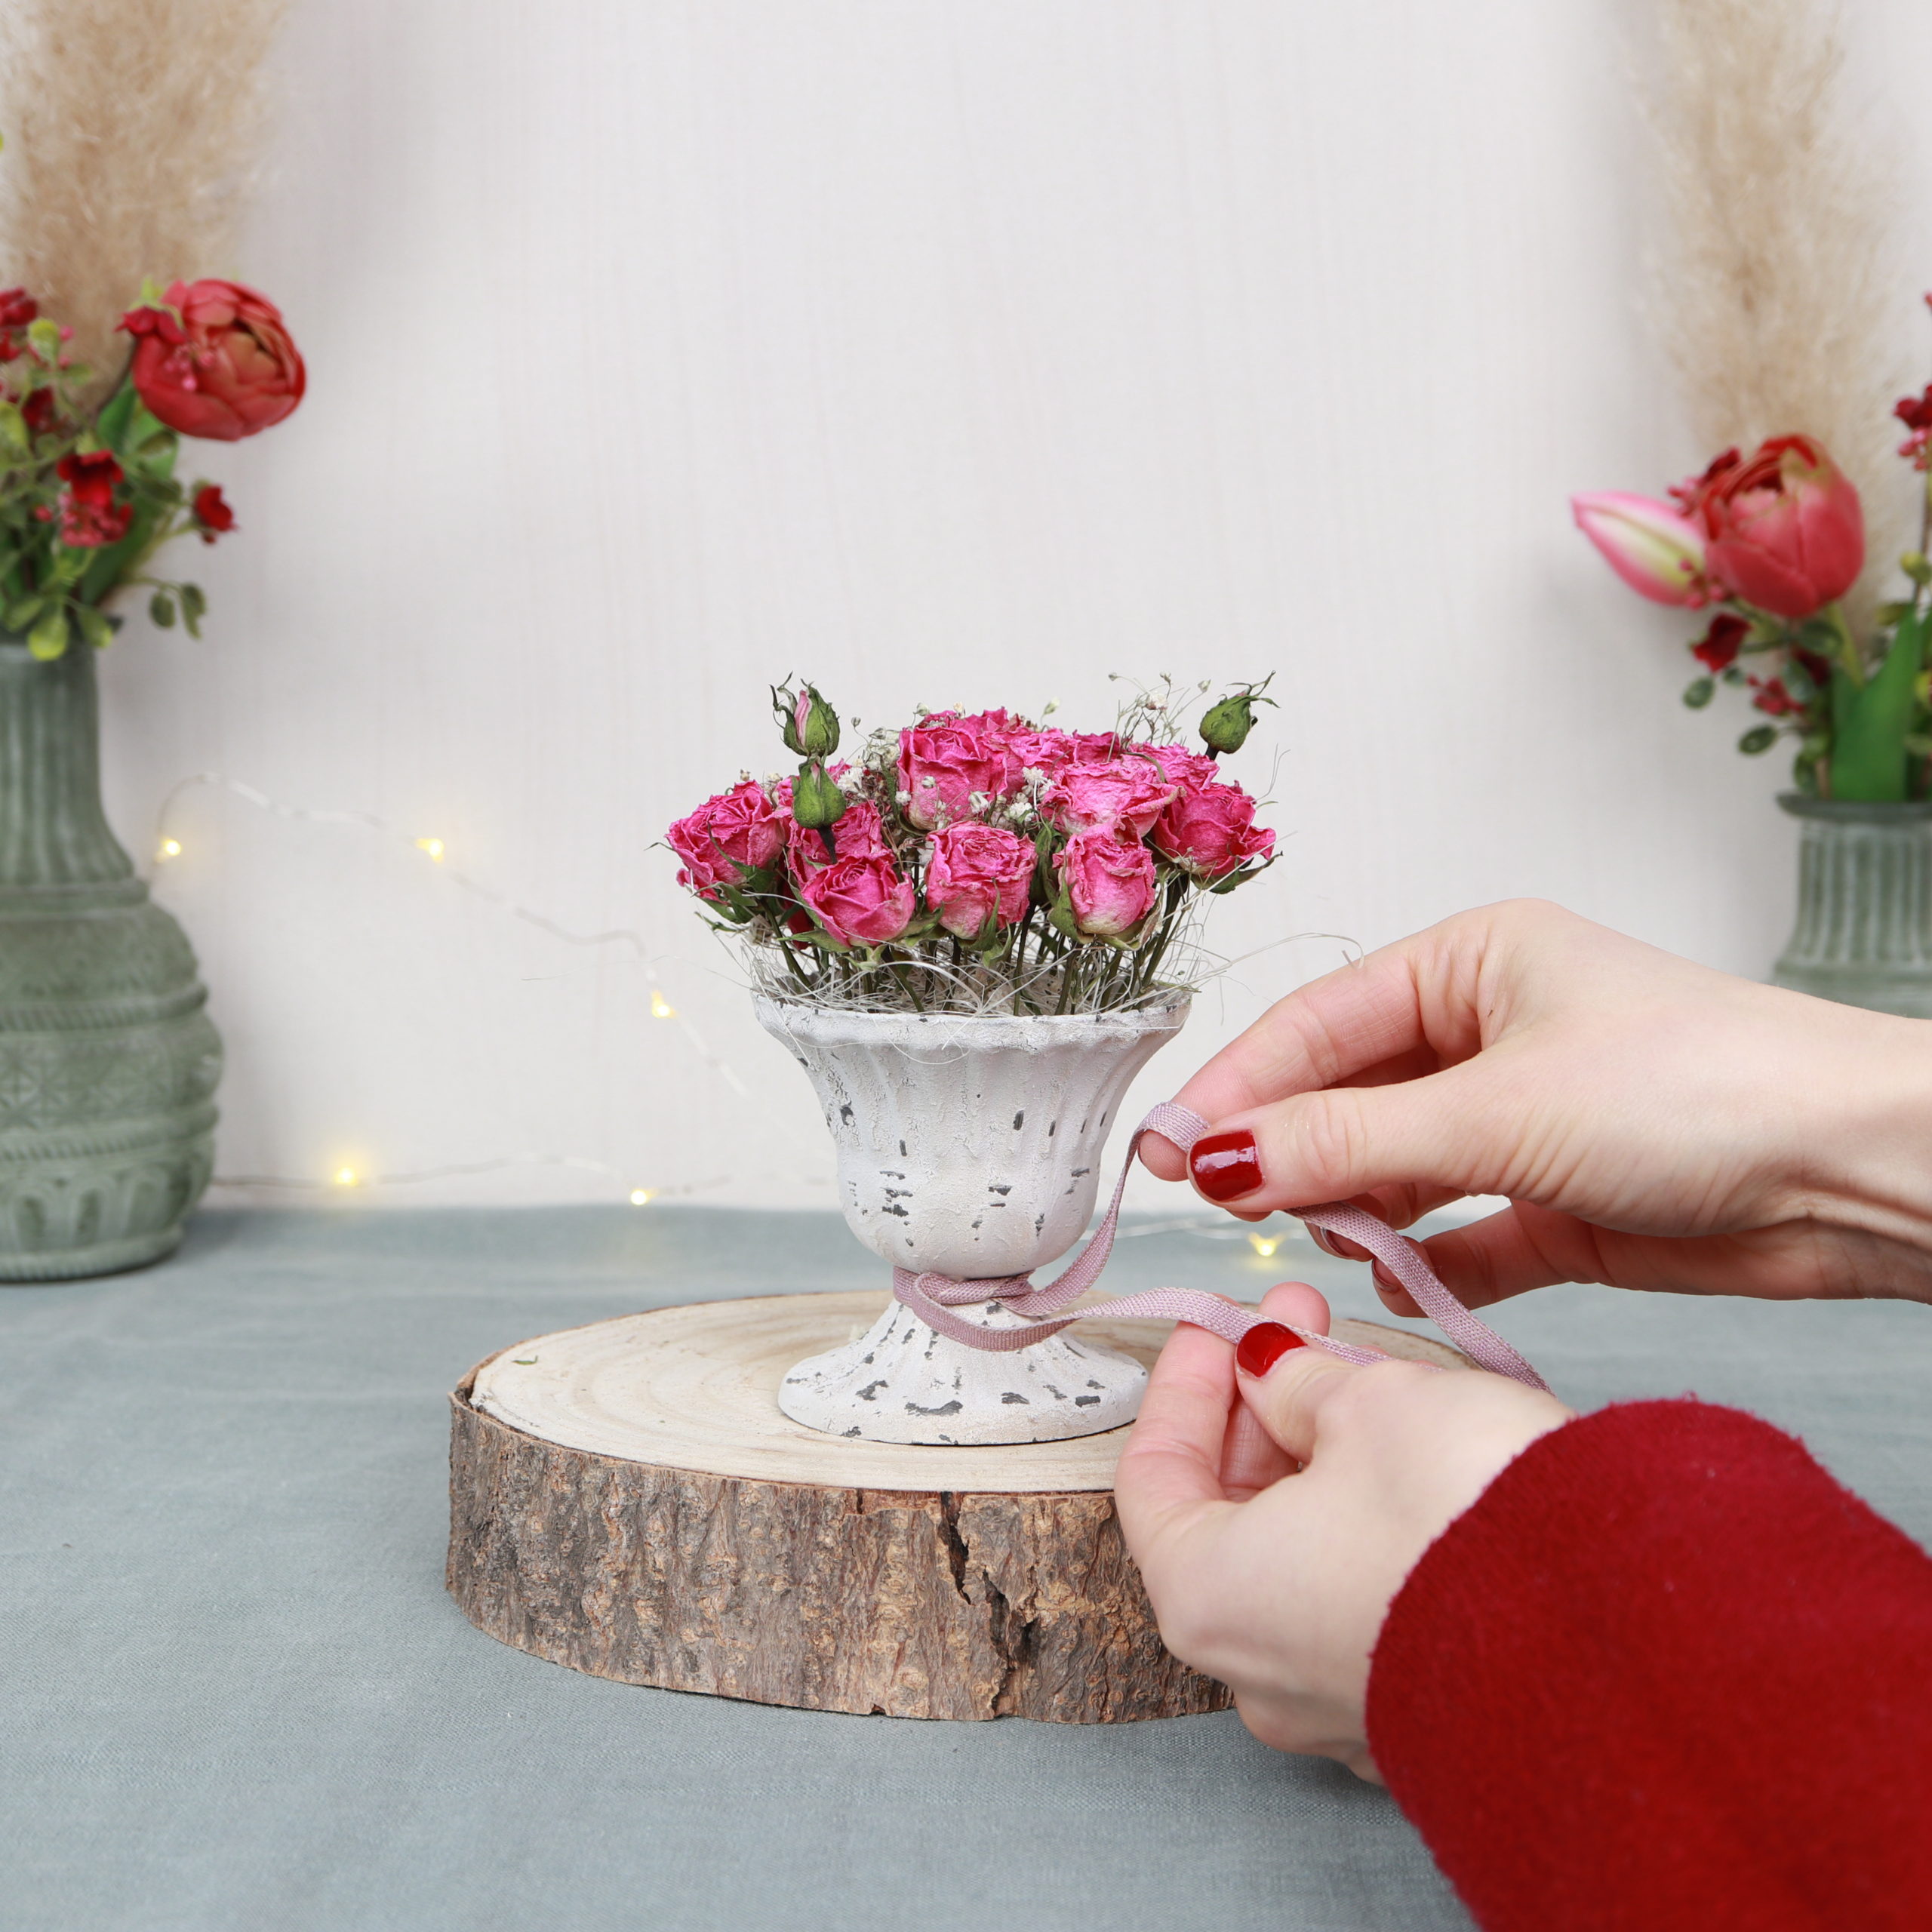
Step 5: Attach pink ribbon
In the last step I cut a piece of the pink ribbon and make a bow knot when attaching the ribbon to the shabby chic vase.
![](https://lena-kate.com/wp-content/uploads/2022/02/10_ribbon_diy_flower_arrangement_shabby_chic_look_dried_roses_-babys_breath-1024x1024.jpg)
![](https://lena-kate.com/wp-content/uploads/2022/02/11_diy_flower_arrangement_shabby_chic_look_dried_roses_-babys_breath-1-1024x1024.jpg)
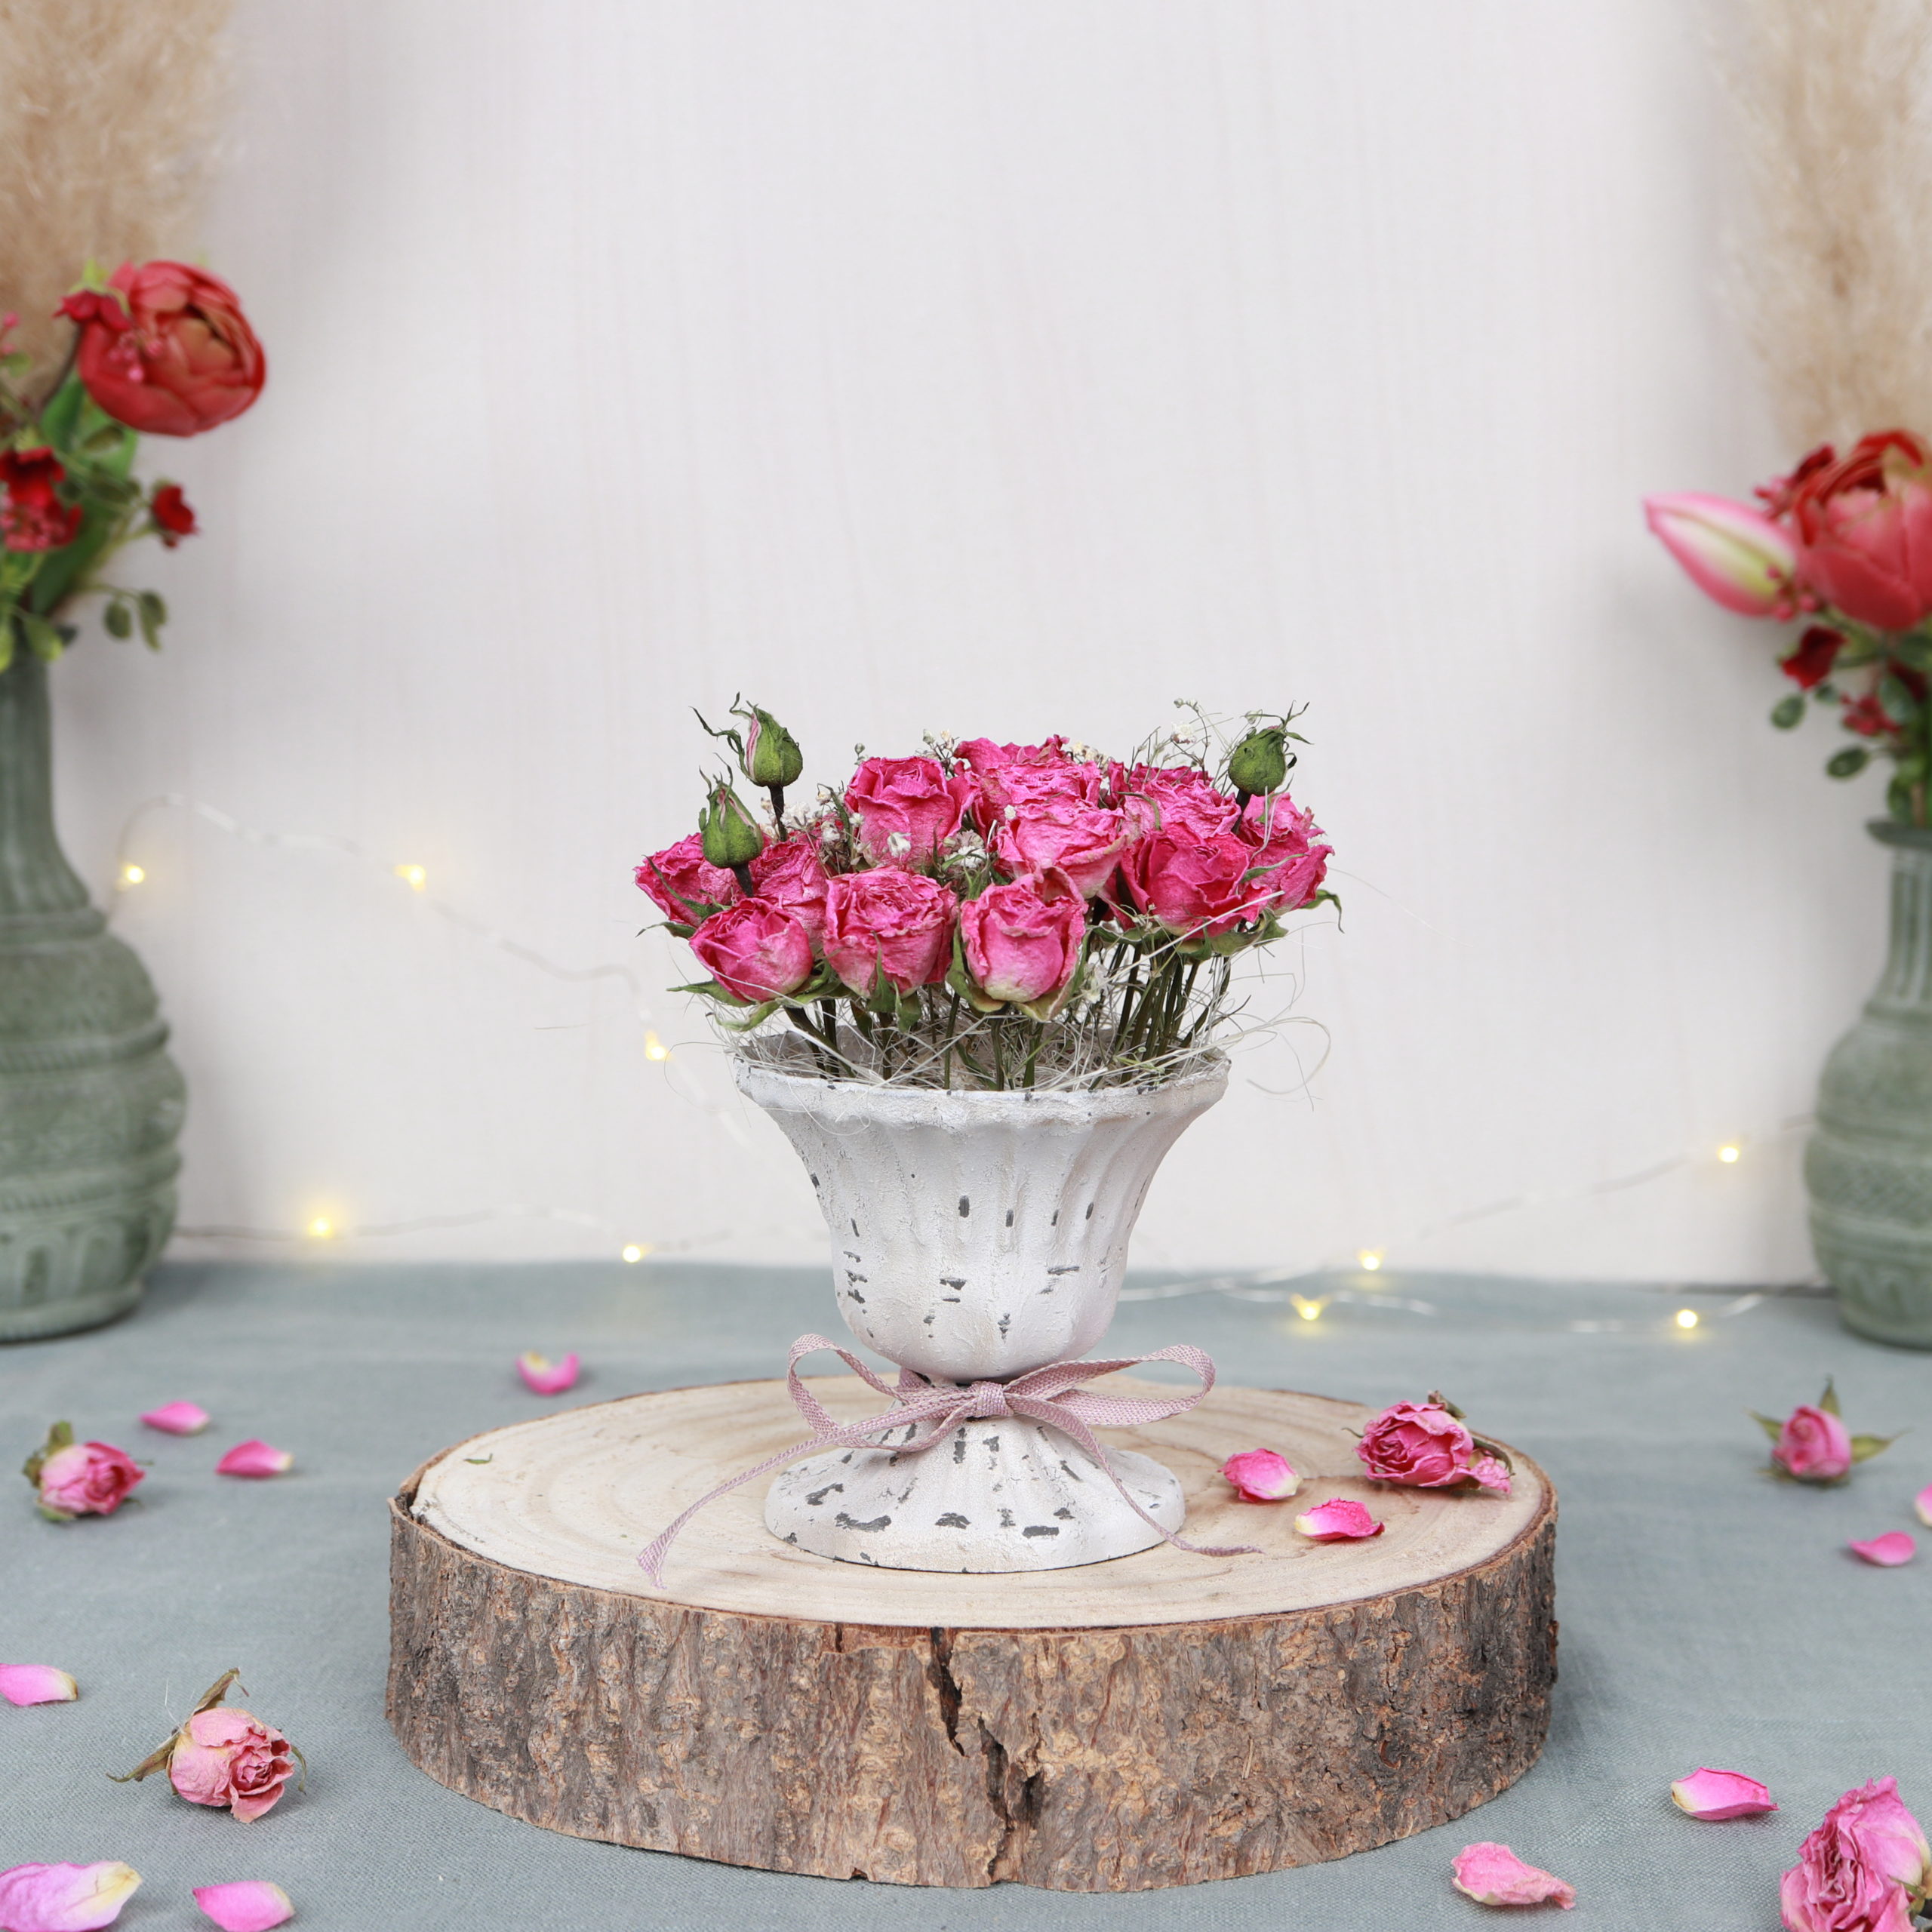
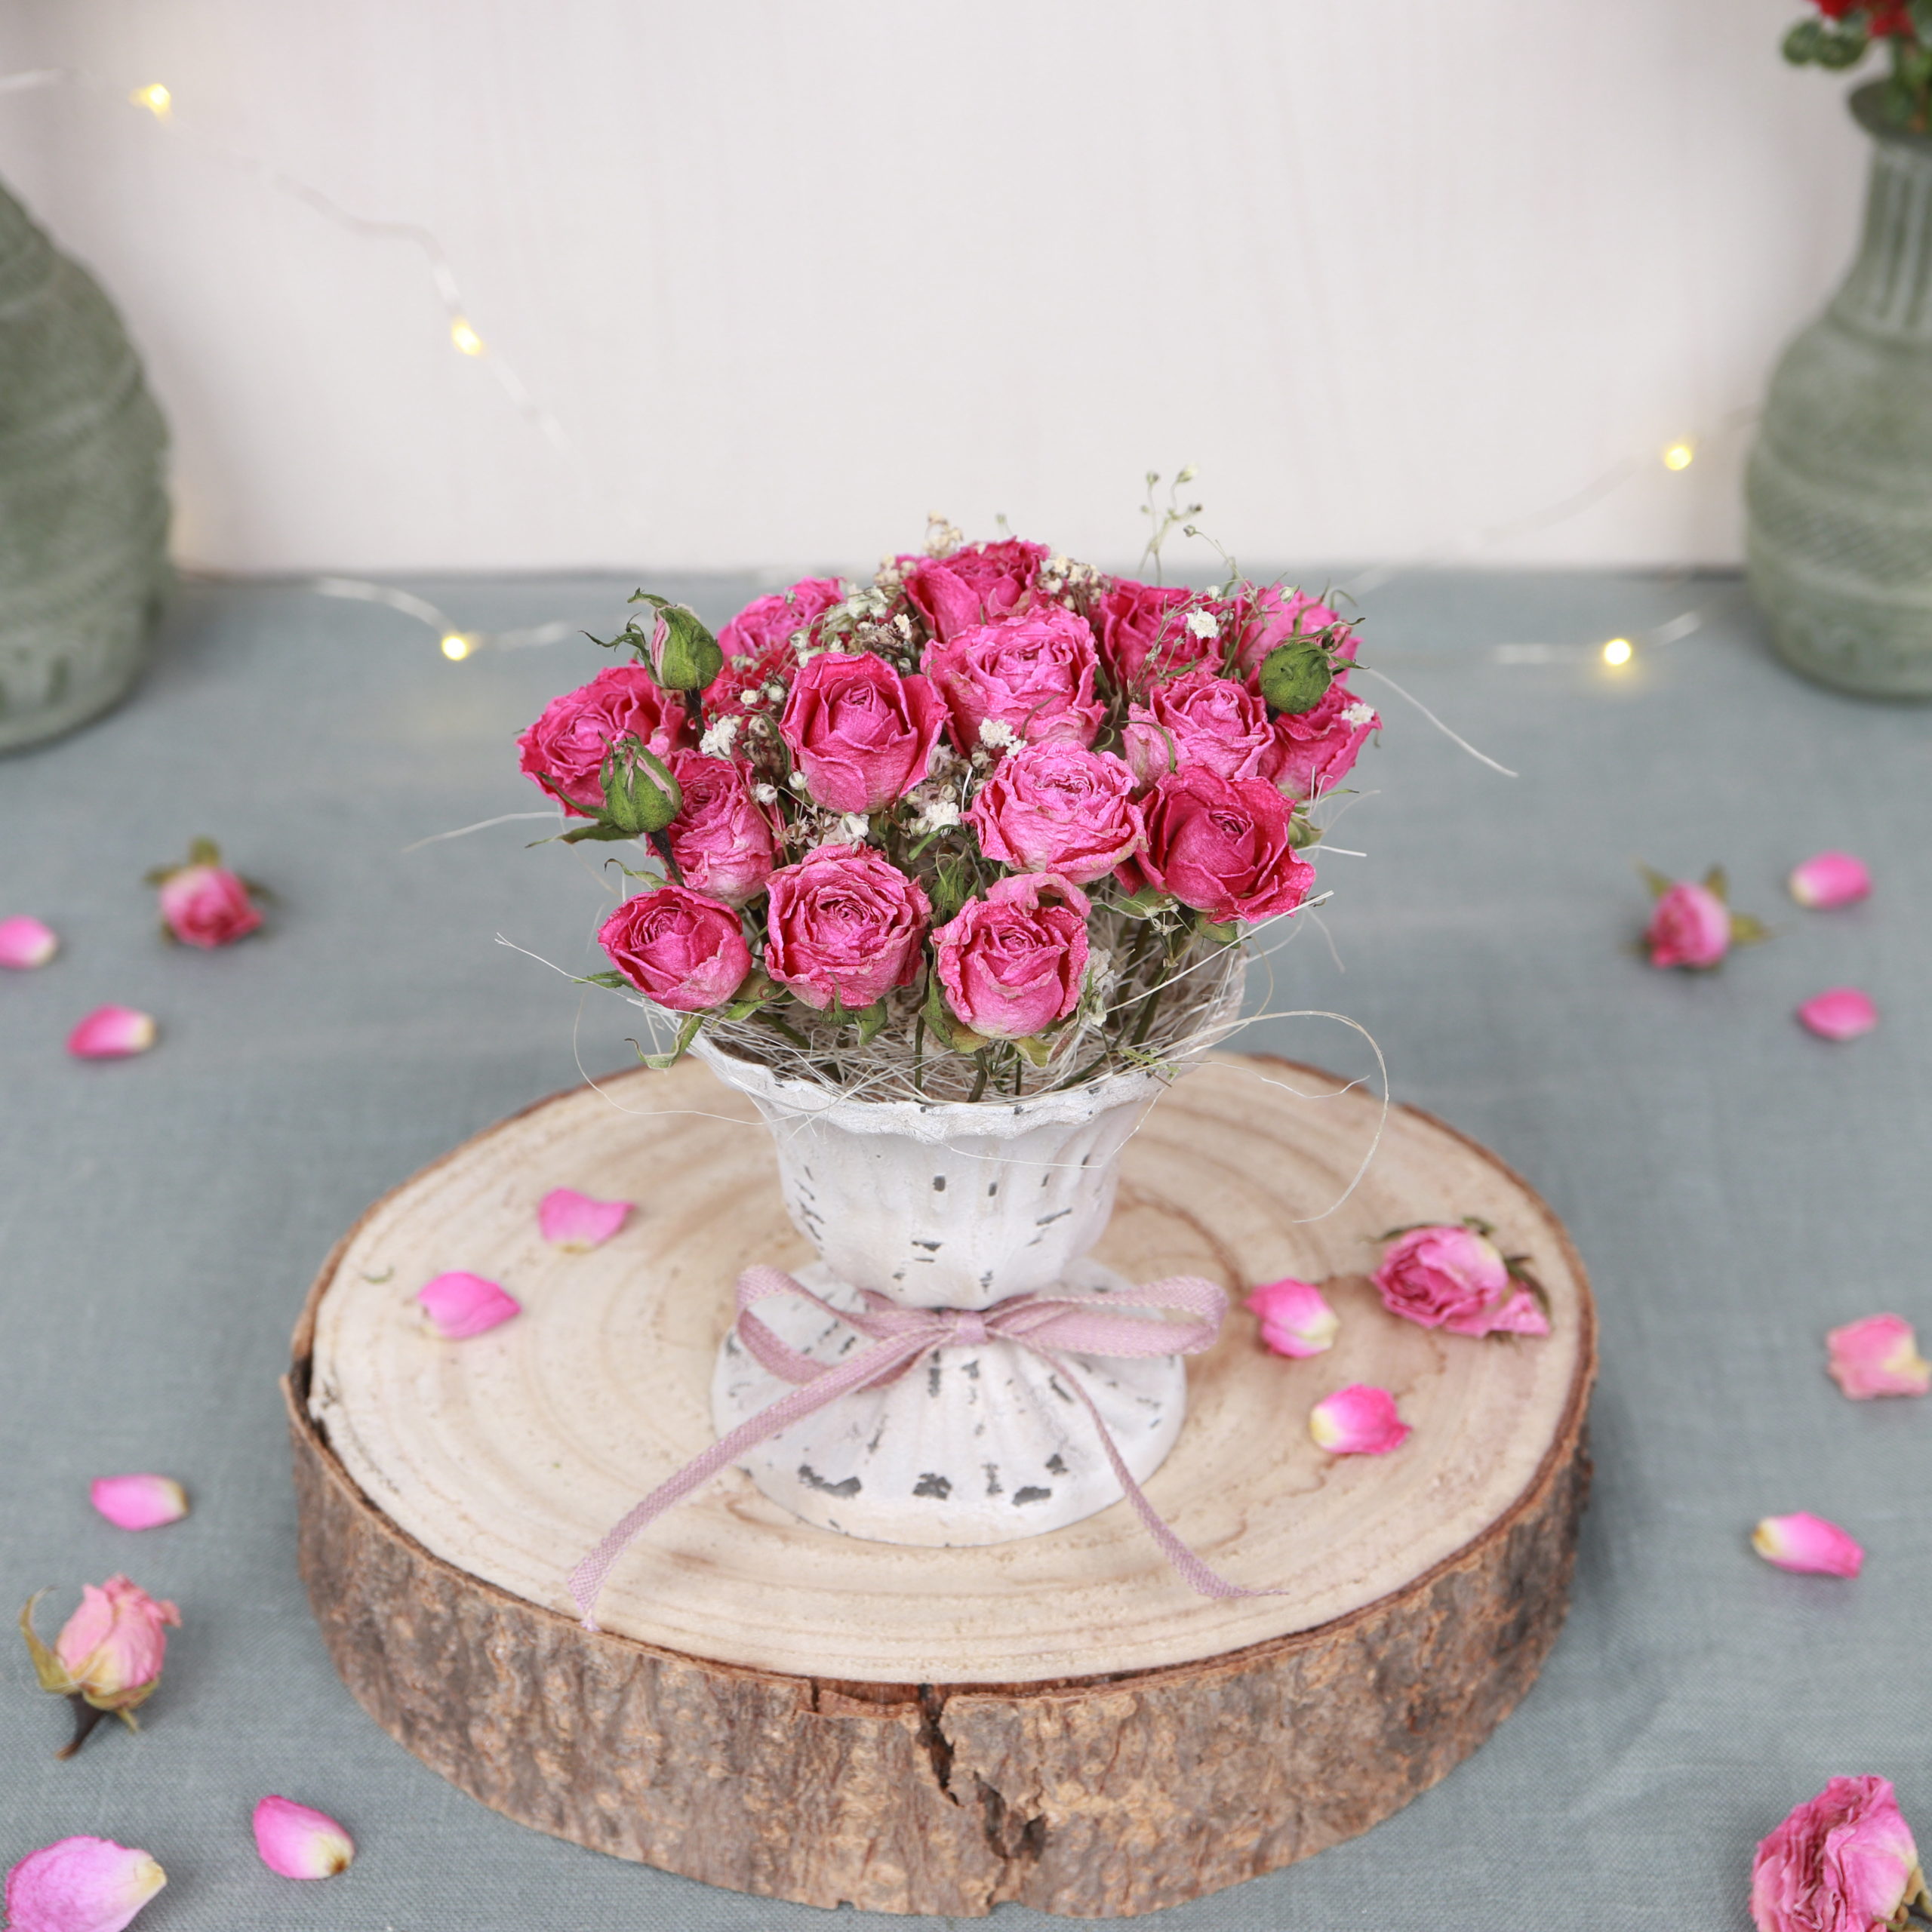
And the romantic, nostalgic floral arrangement is complete! I hope you had as much fun with this DIY as I did and that you enjoy looking at the shabby chic decoration!
![](https://lena-kate.com/wp-content/uploads/2022/02/12_diy_flower_arrangement_shabby_chic_look_dried_roses_-babys_breath-1024x1024.jpg)
![](https://lena-kate.com/wp-content/uploads/2022/02/13_diy_flower_arrangement_shabby_chic_look_dried_roses_-babys_breath-1024x1024.jpg)
For more DIY ideas with dried roses, have a look here: