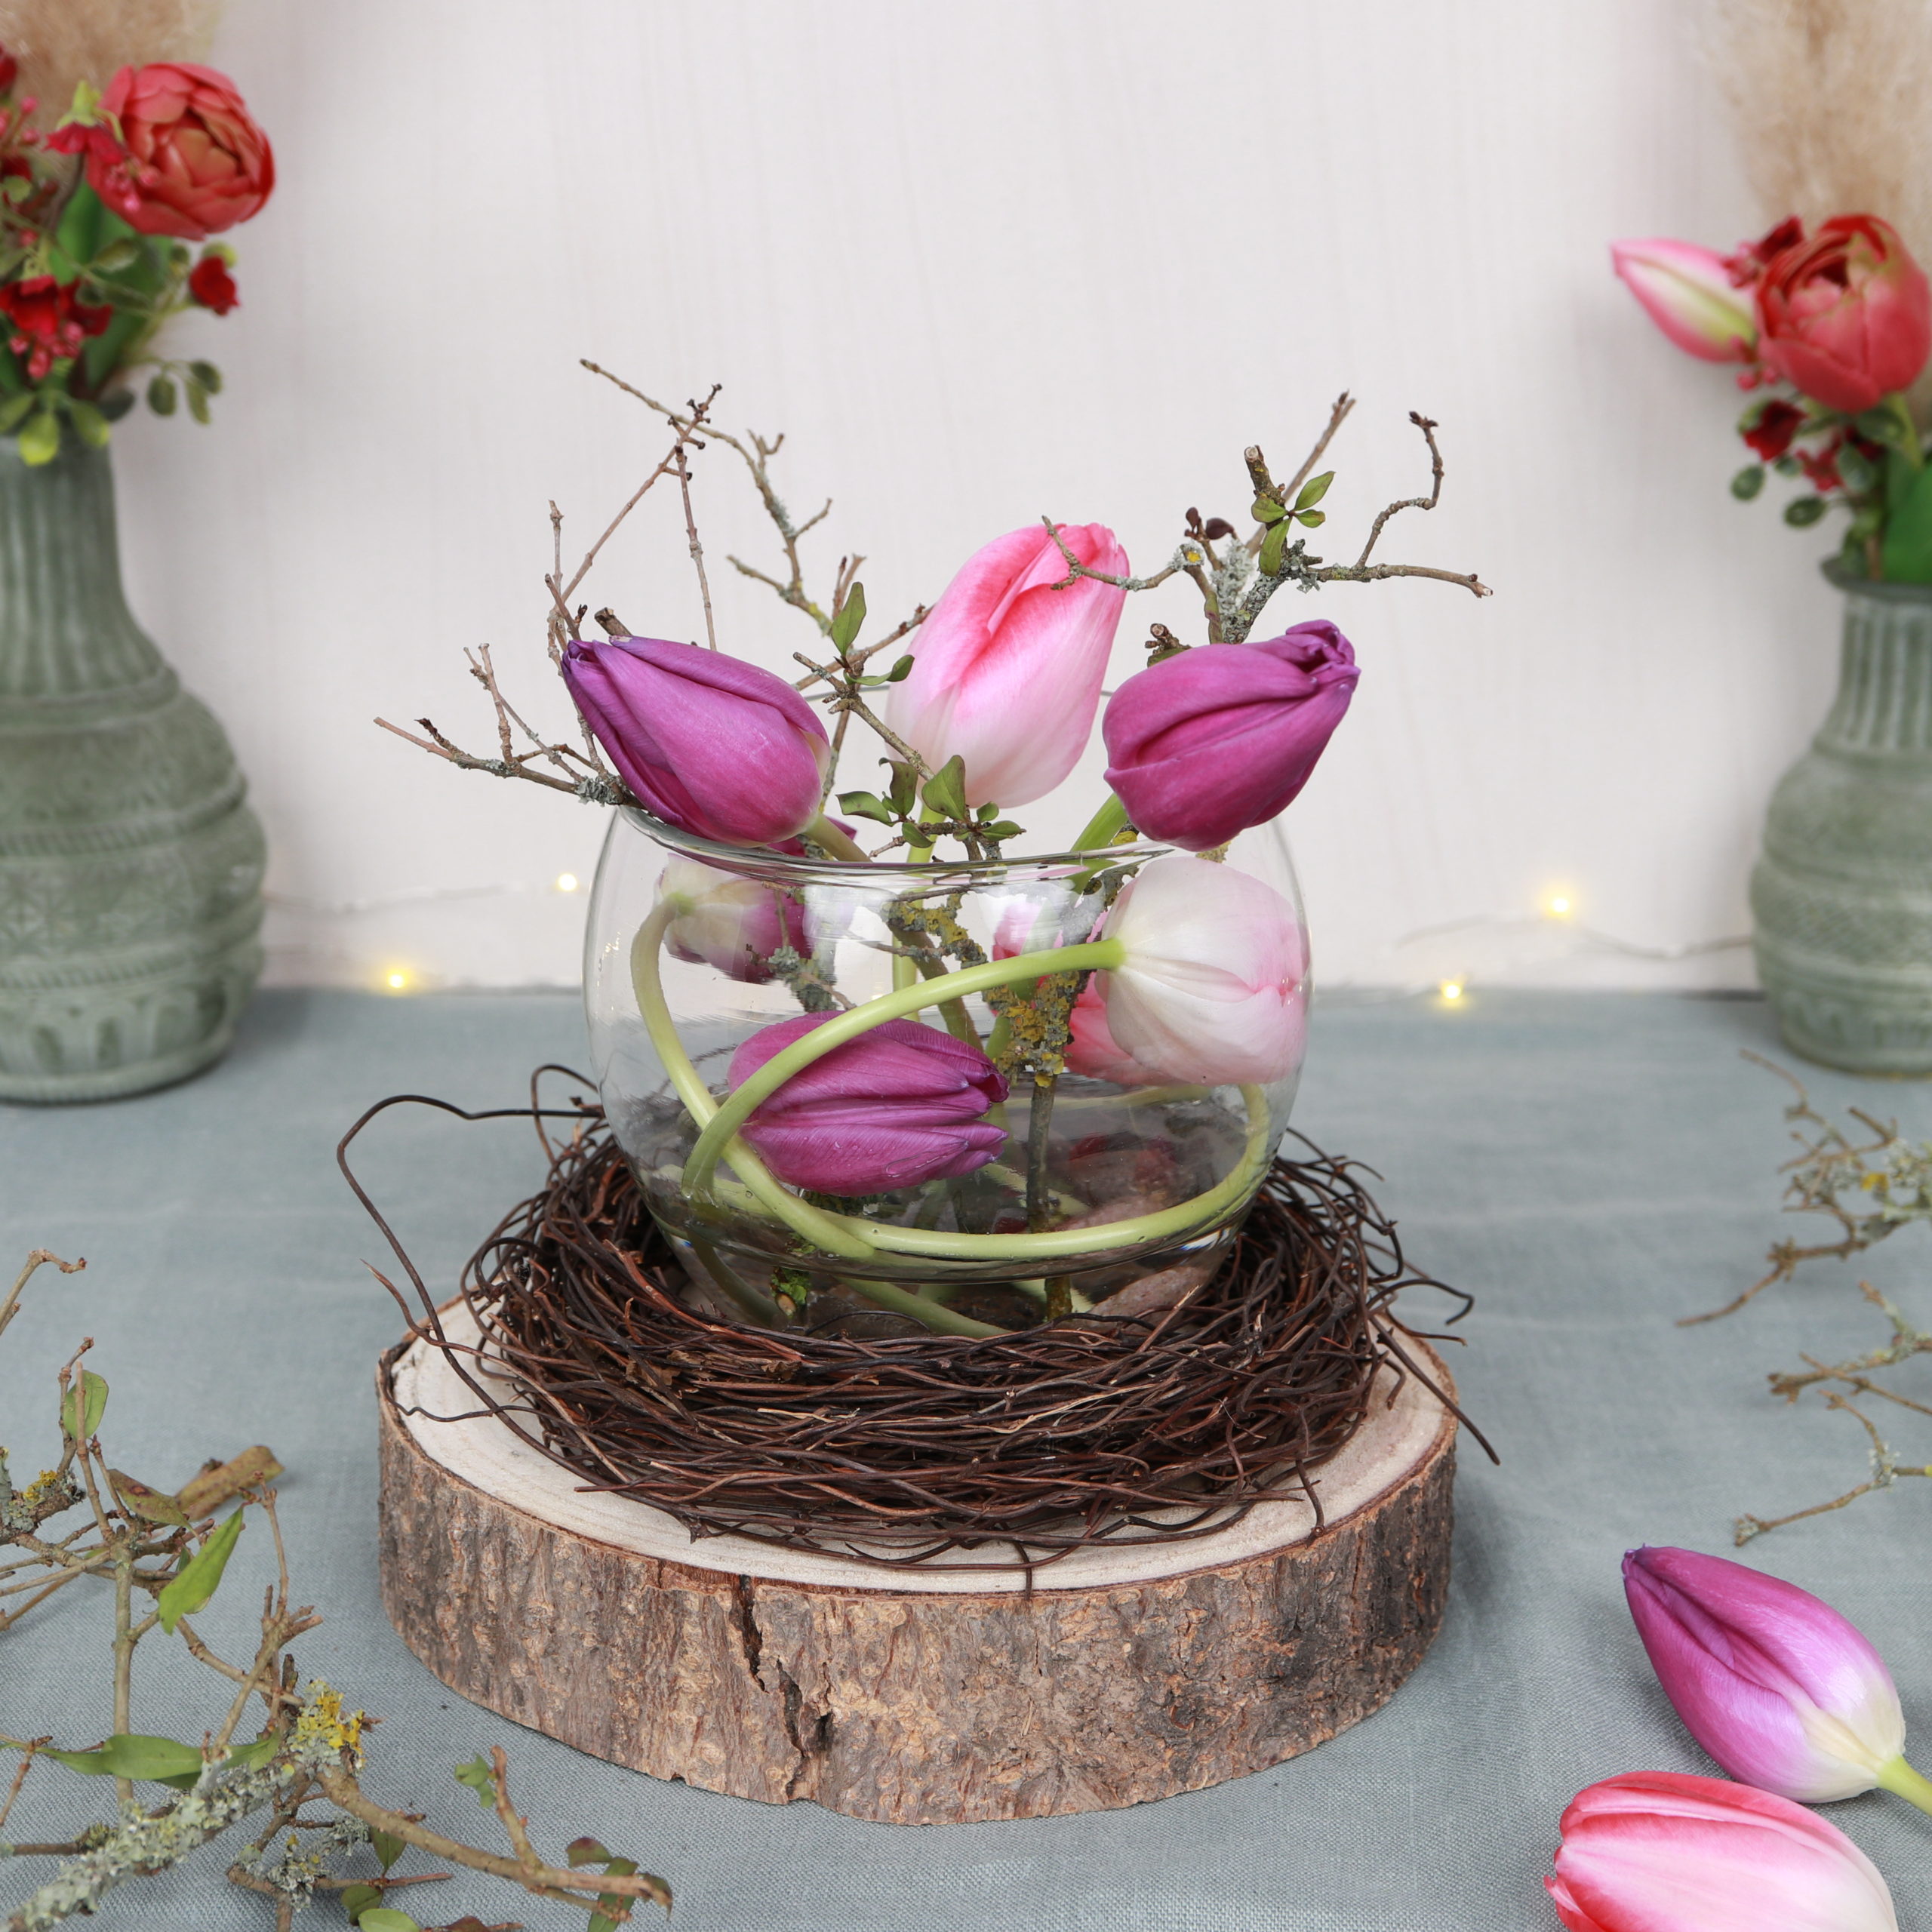
Especially during the dreary winter days at the beginning of the year, I get a lot of joy from a few bright splashes of color and beautiful flowers. Today I’ll show you how to make a vase decoration with tulips! Since tulips have quite flexible stems, they can be easily arranged in a spherical vase. You can adjust them to the round shape and so fill the inside of the vase. And if you add a few branched branches, they serve as a natural support for further tulips. A wreath of vines completes the table decoration.

With the following step-by-step instructions you can easily make the decoration yourself!
Tools
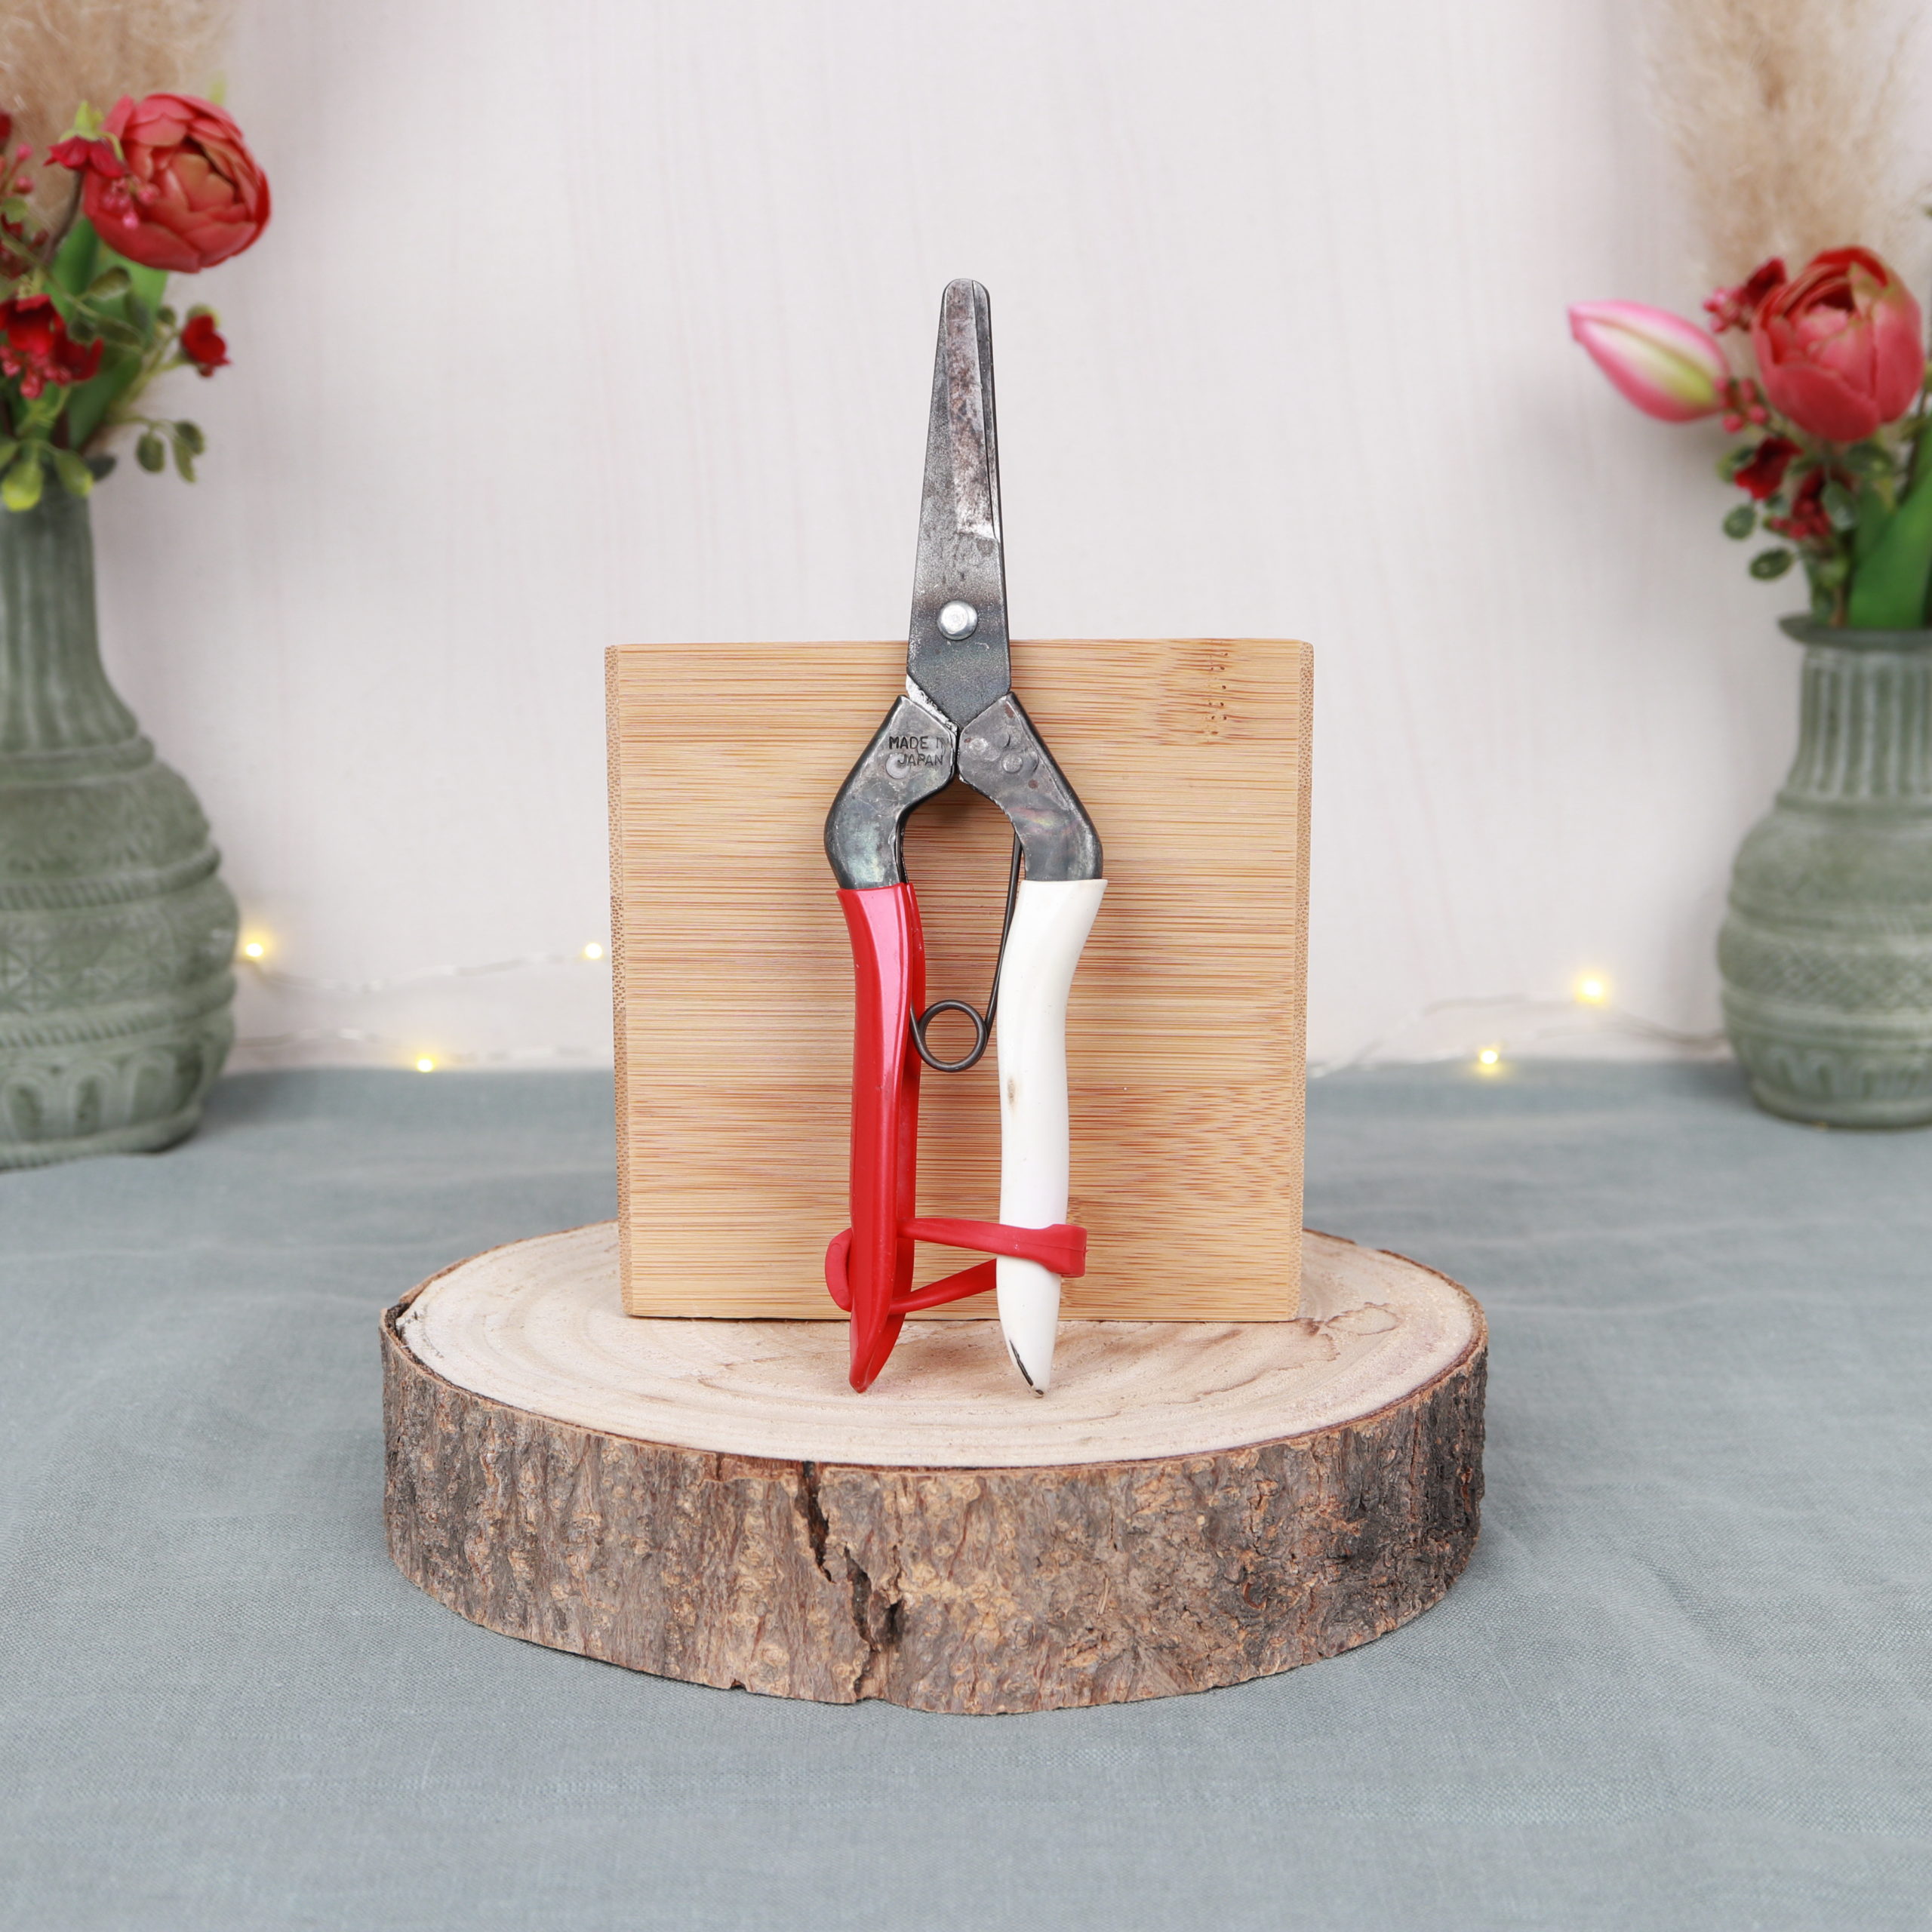
Here you can see which tools I used for the tulips and vase decoration. You only need flower scissors to cut the tulips.
Materials
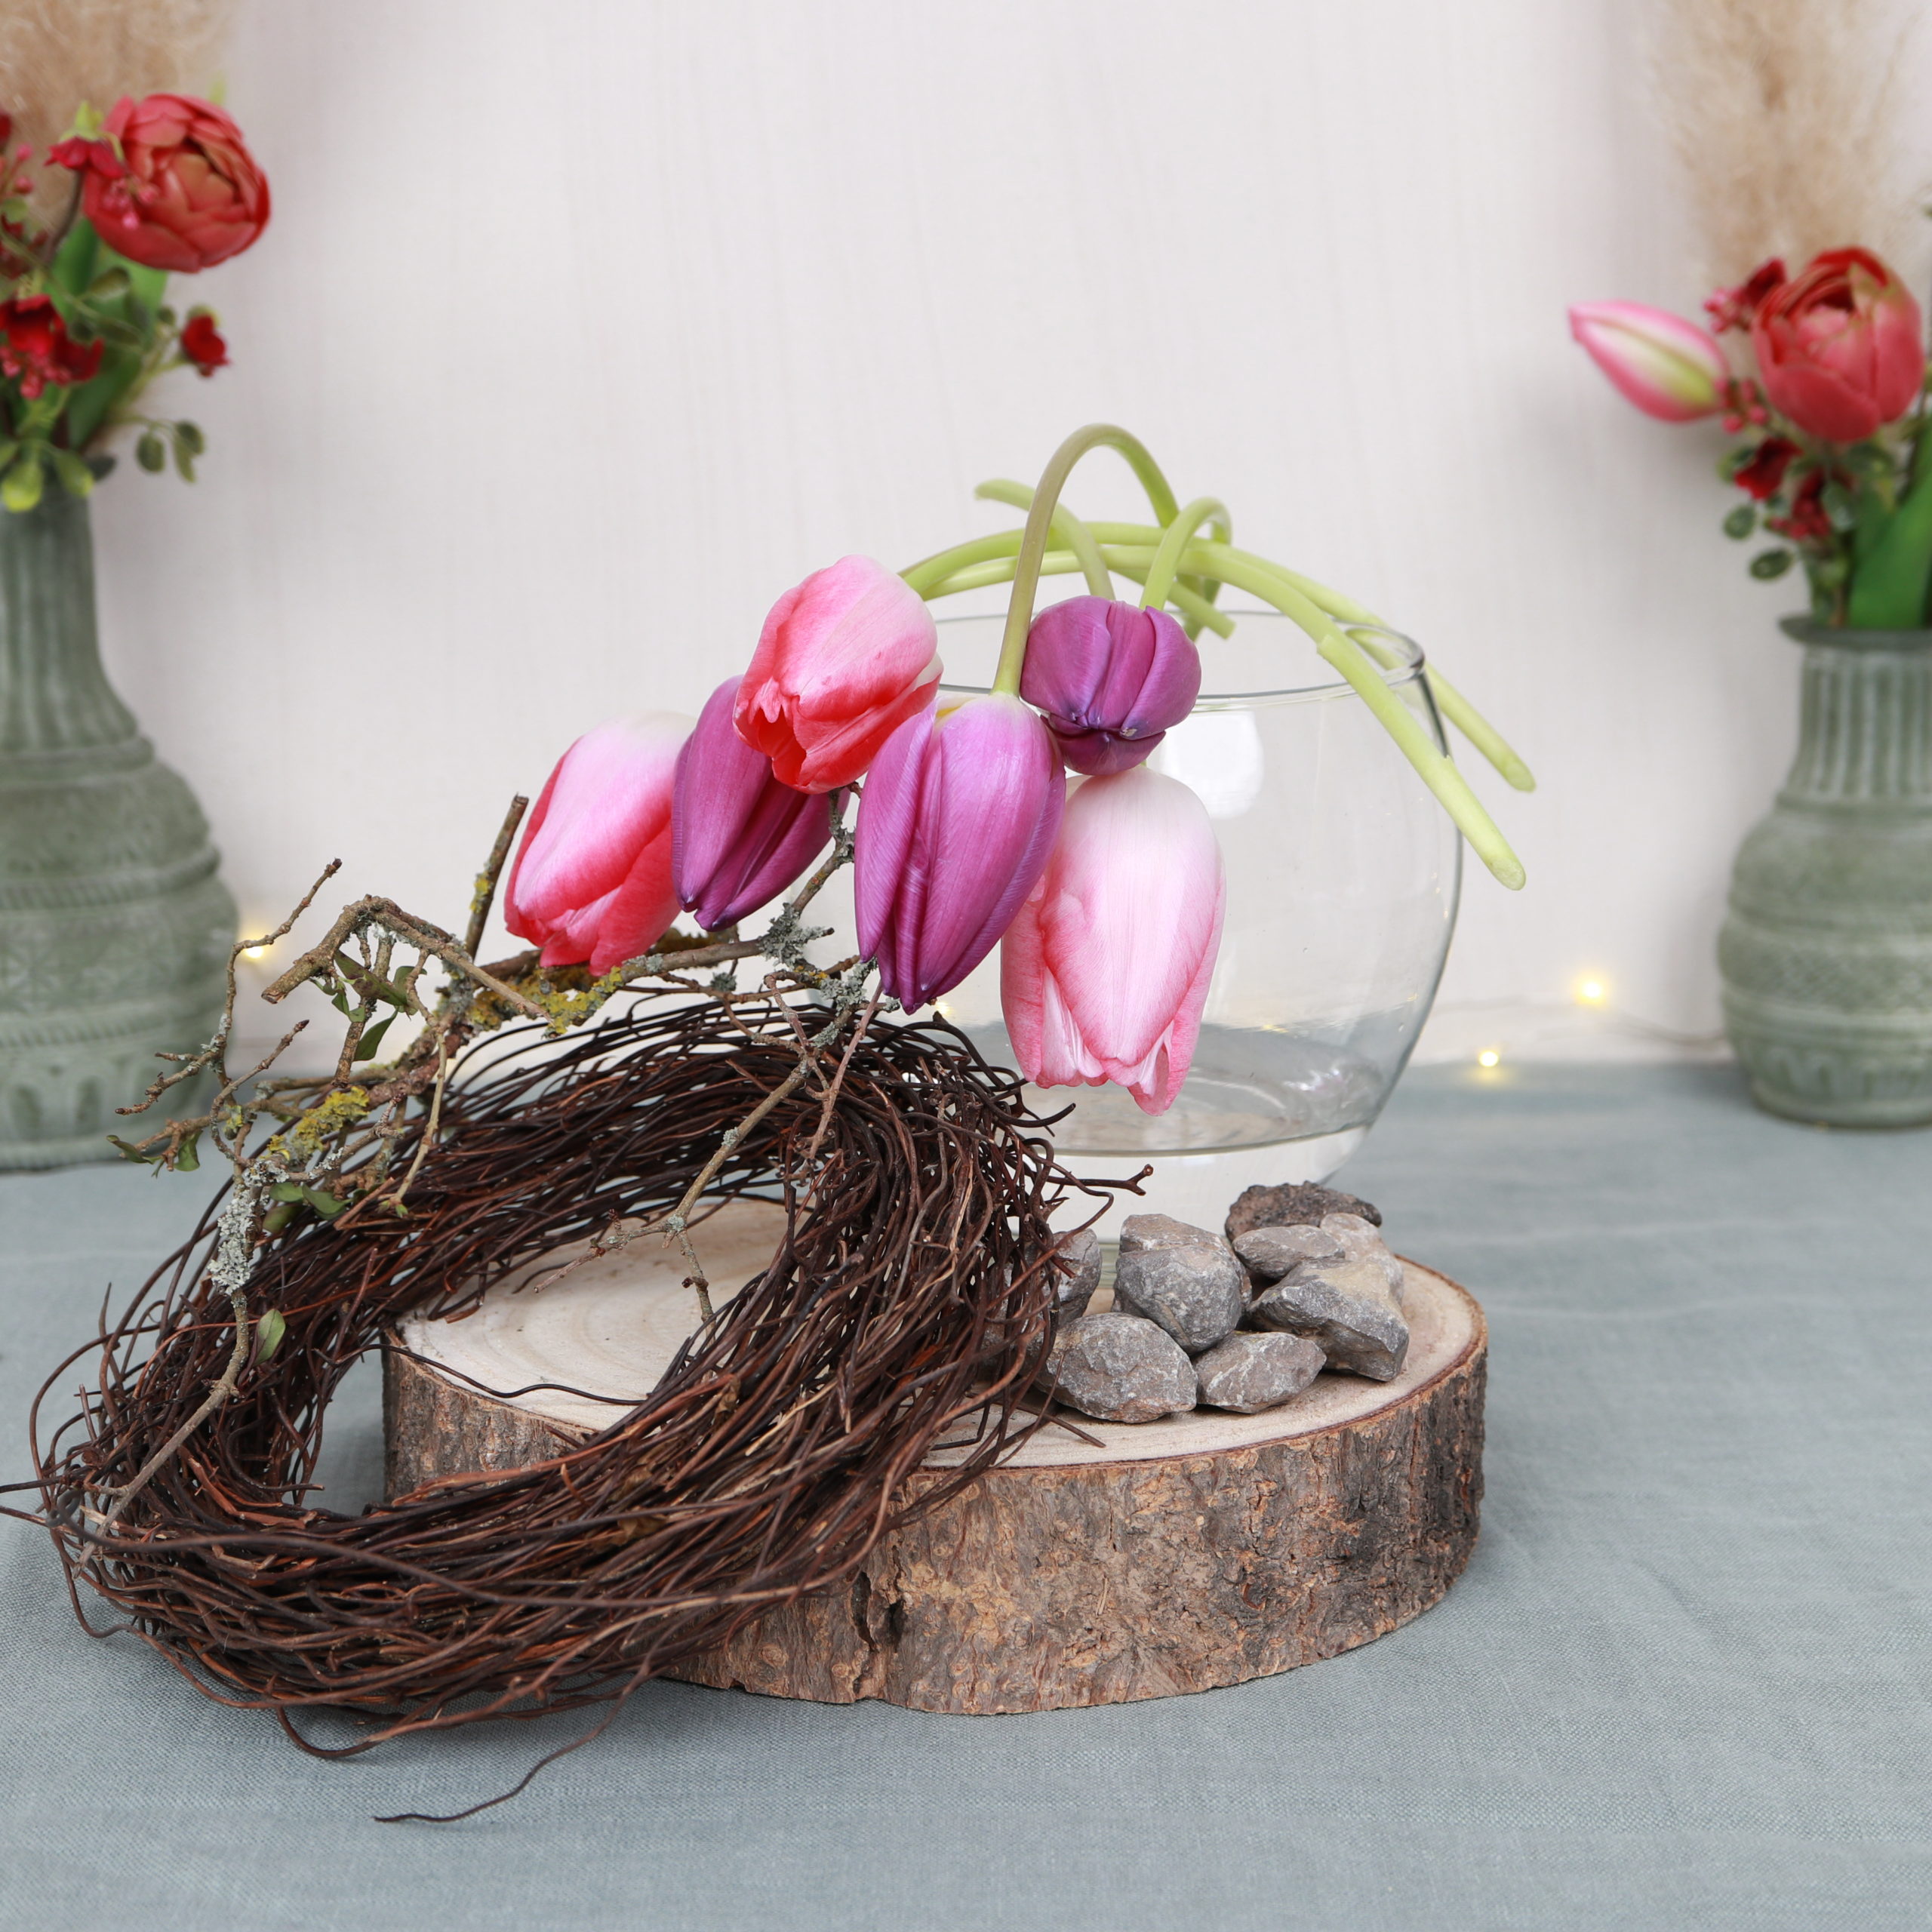
I used these materials for the winter spring decorations: a spherical glass vase (filled with water), a wreath of vines, several stones for the bottom of the vase, tulips and branches.
Instructions | Decorate a vase with tulips
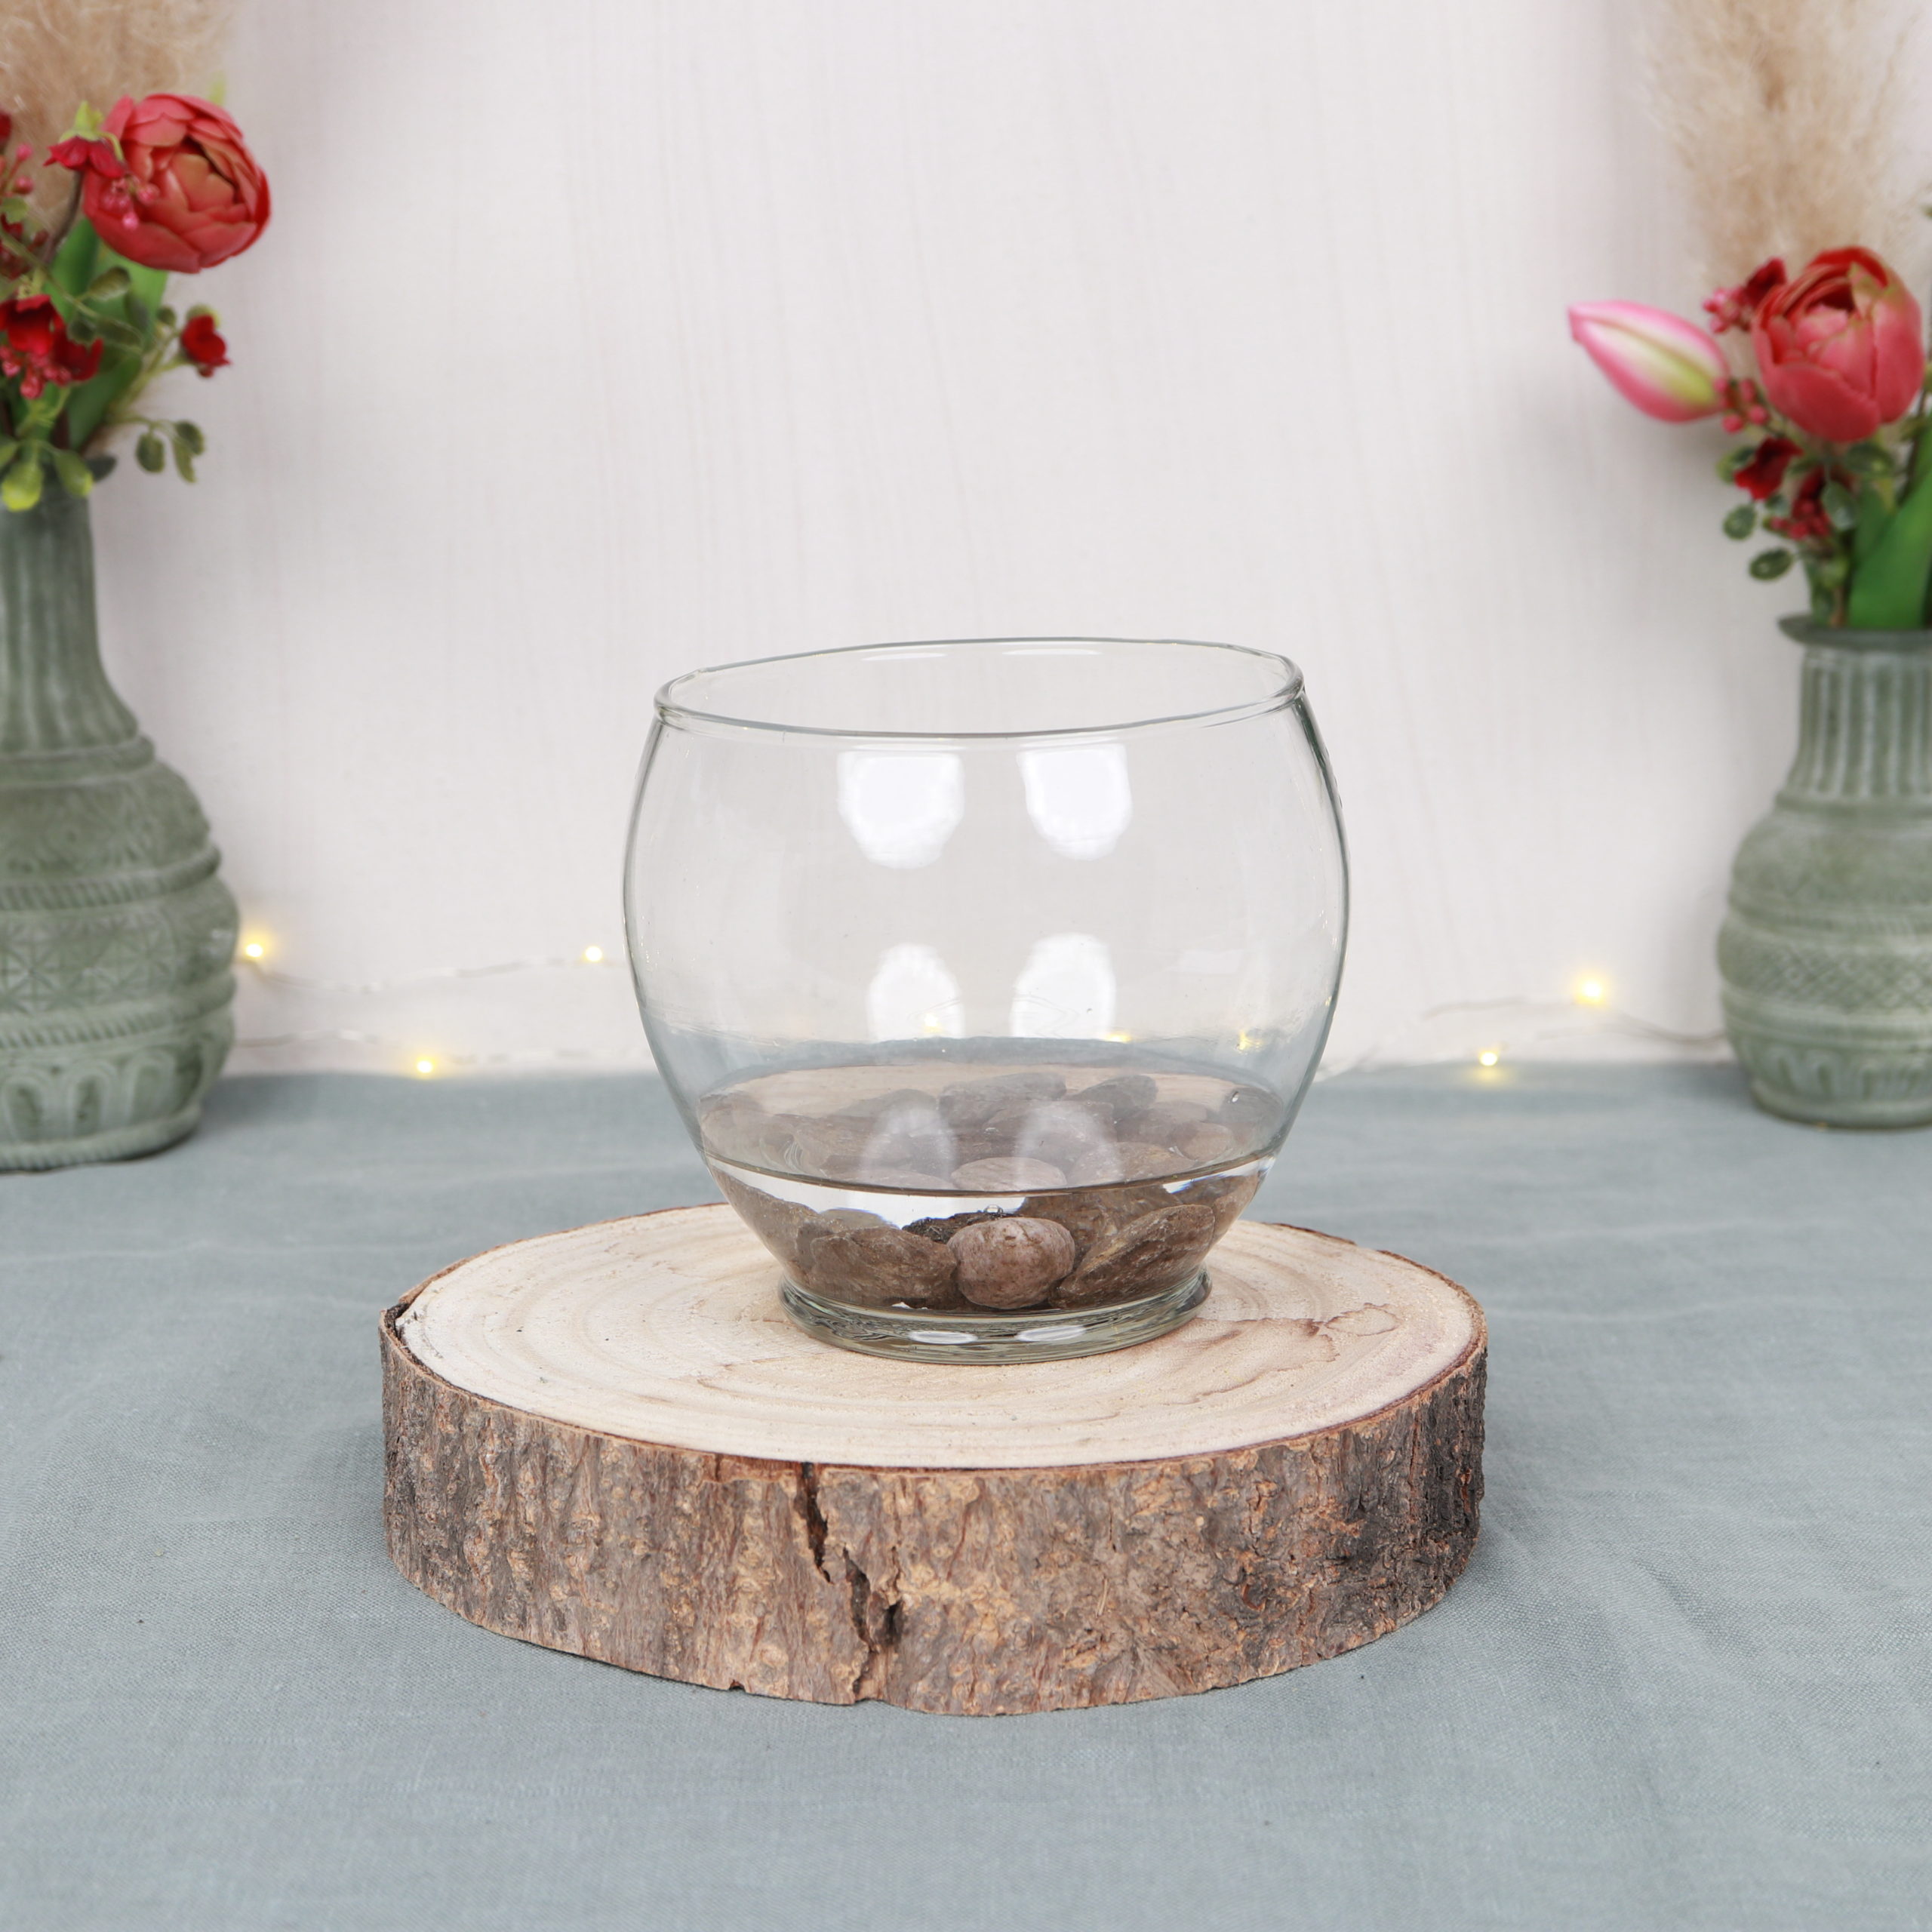
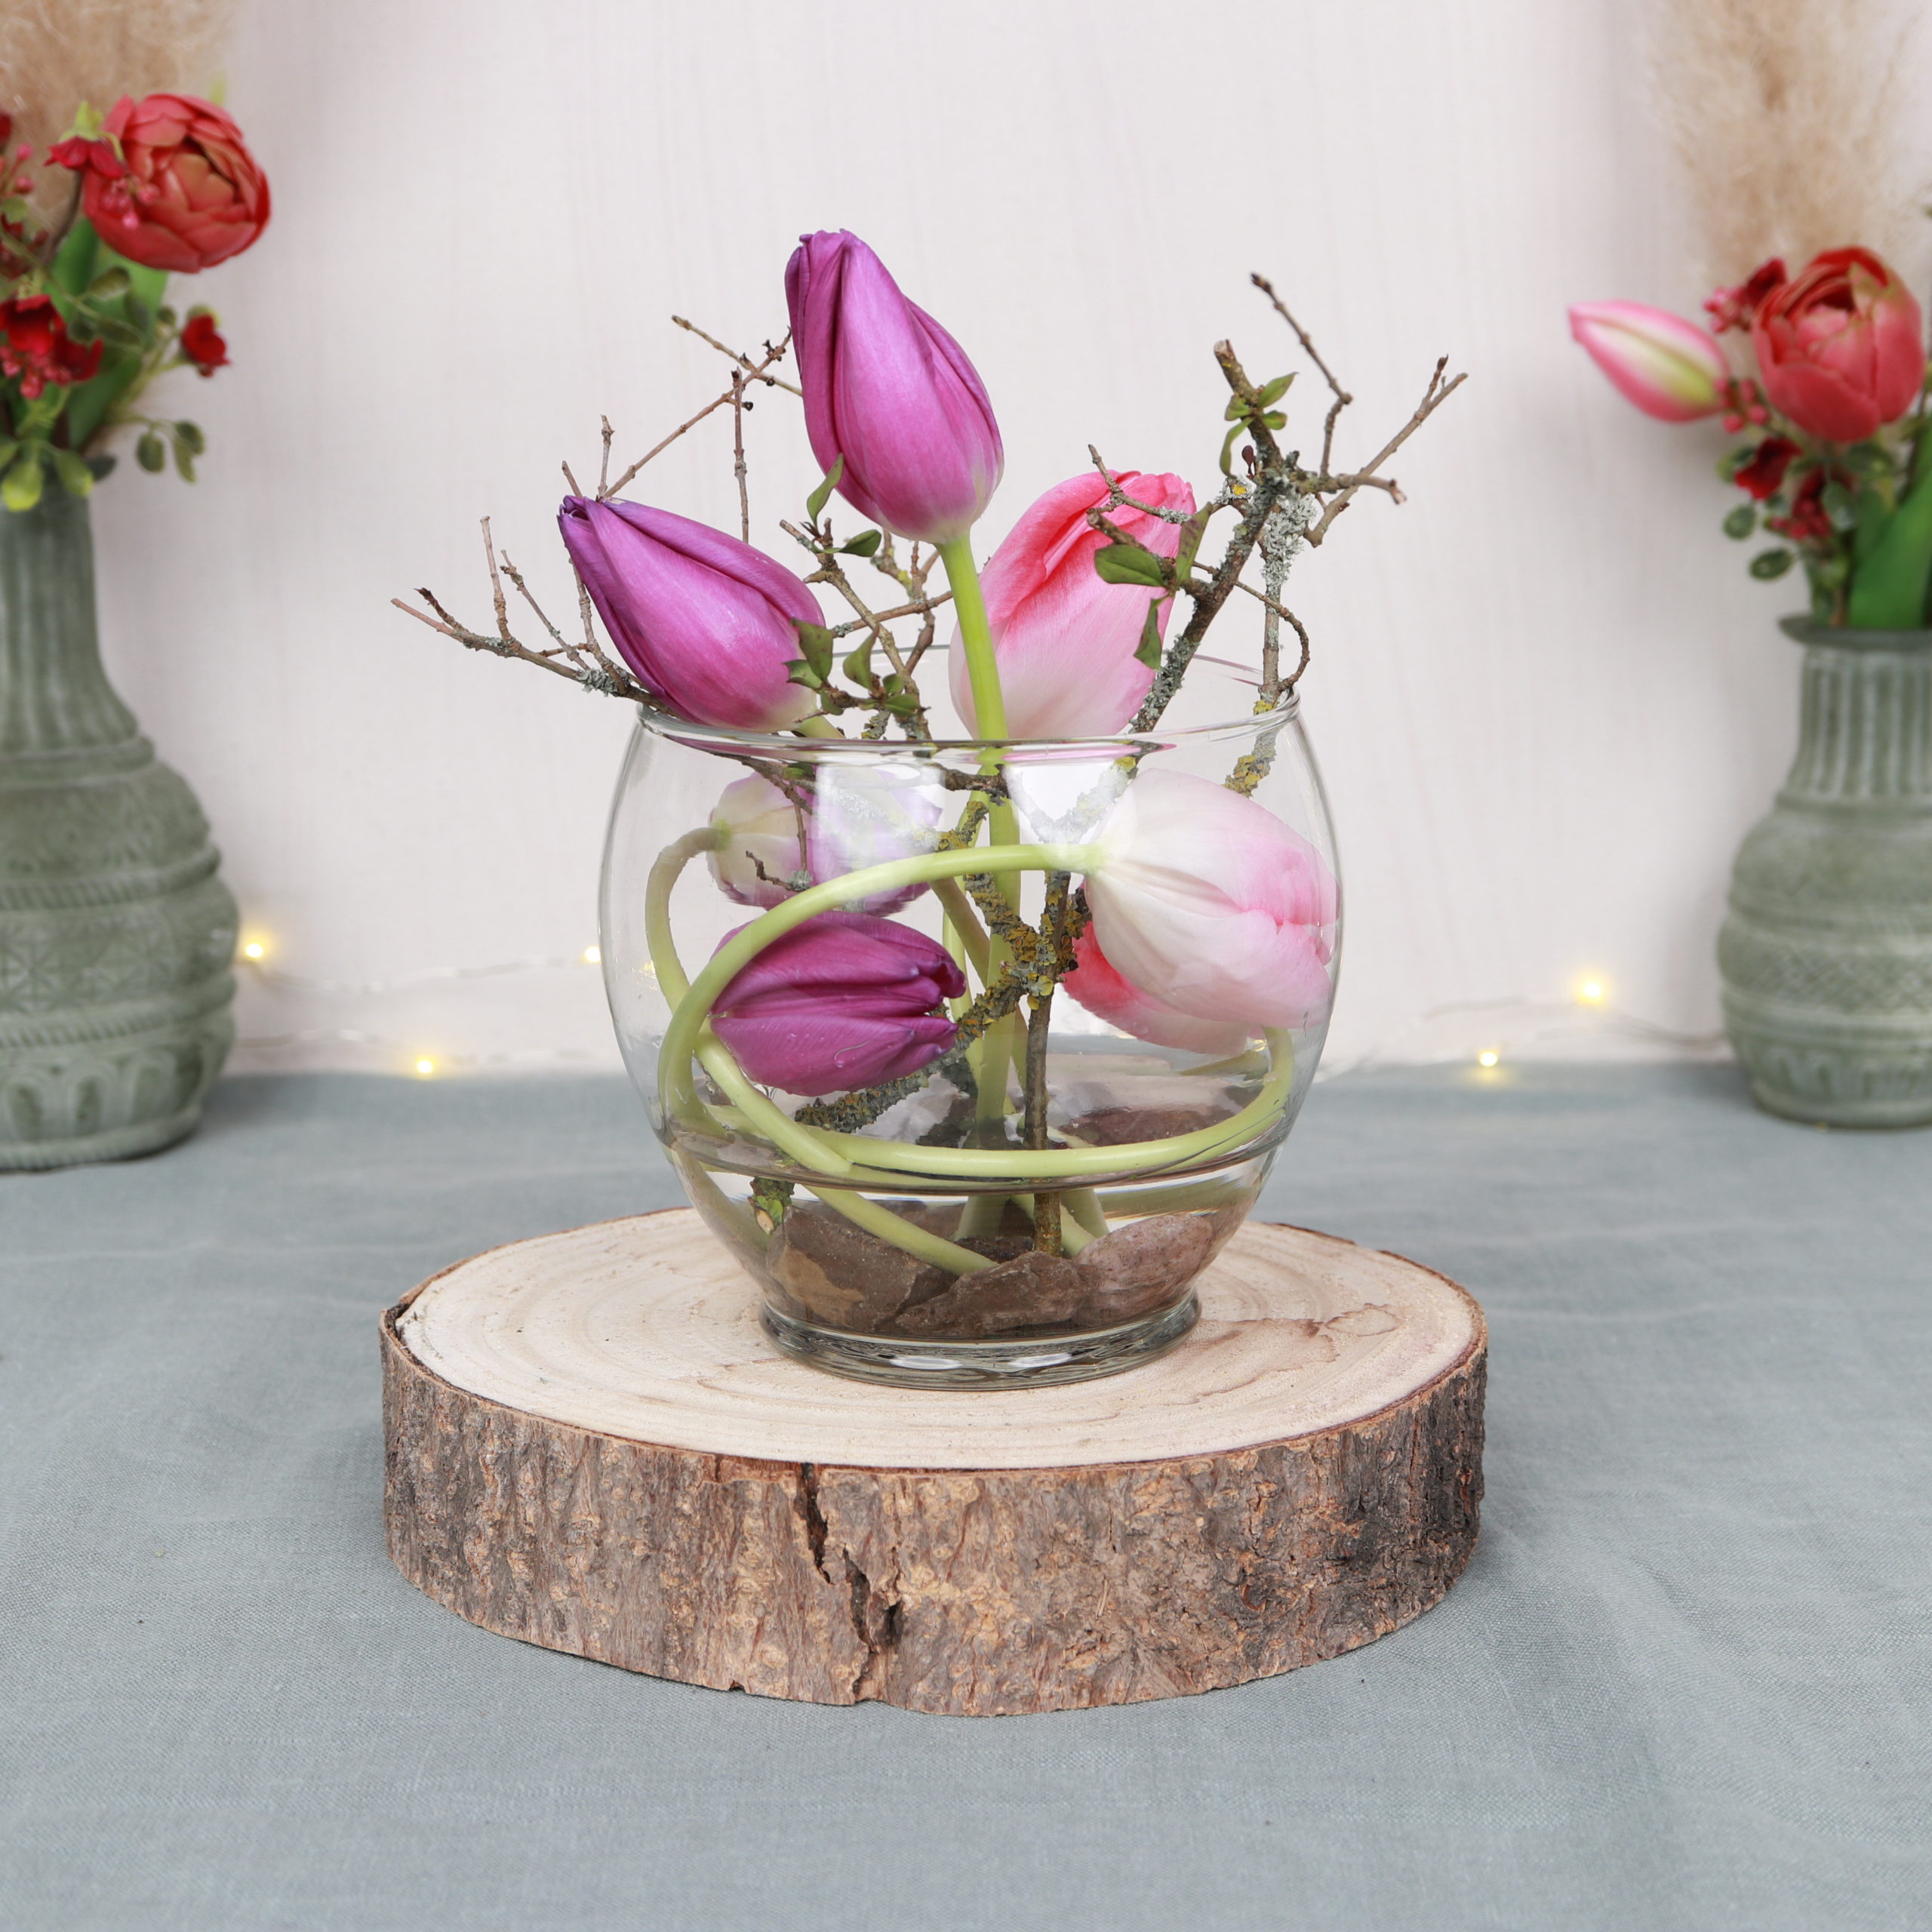
Step 1: Put stones in the water
First I put the stones in the vase.
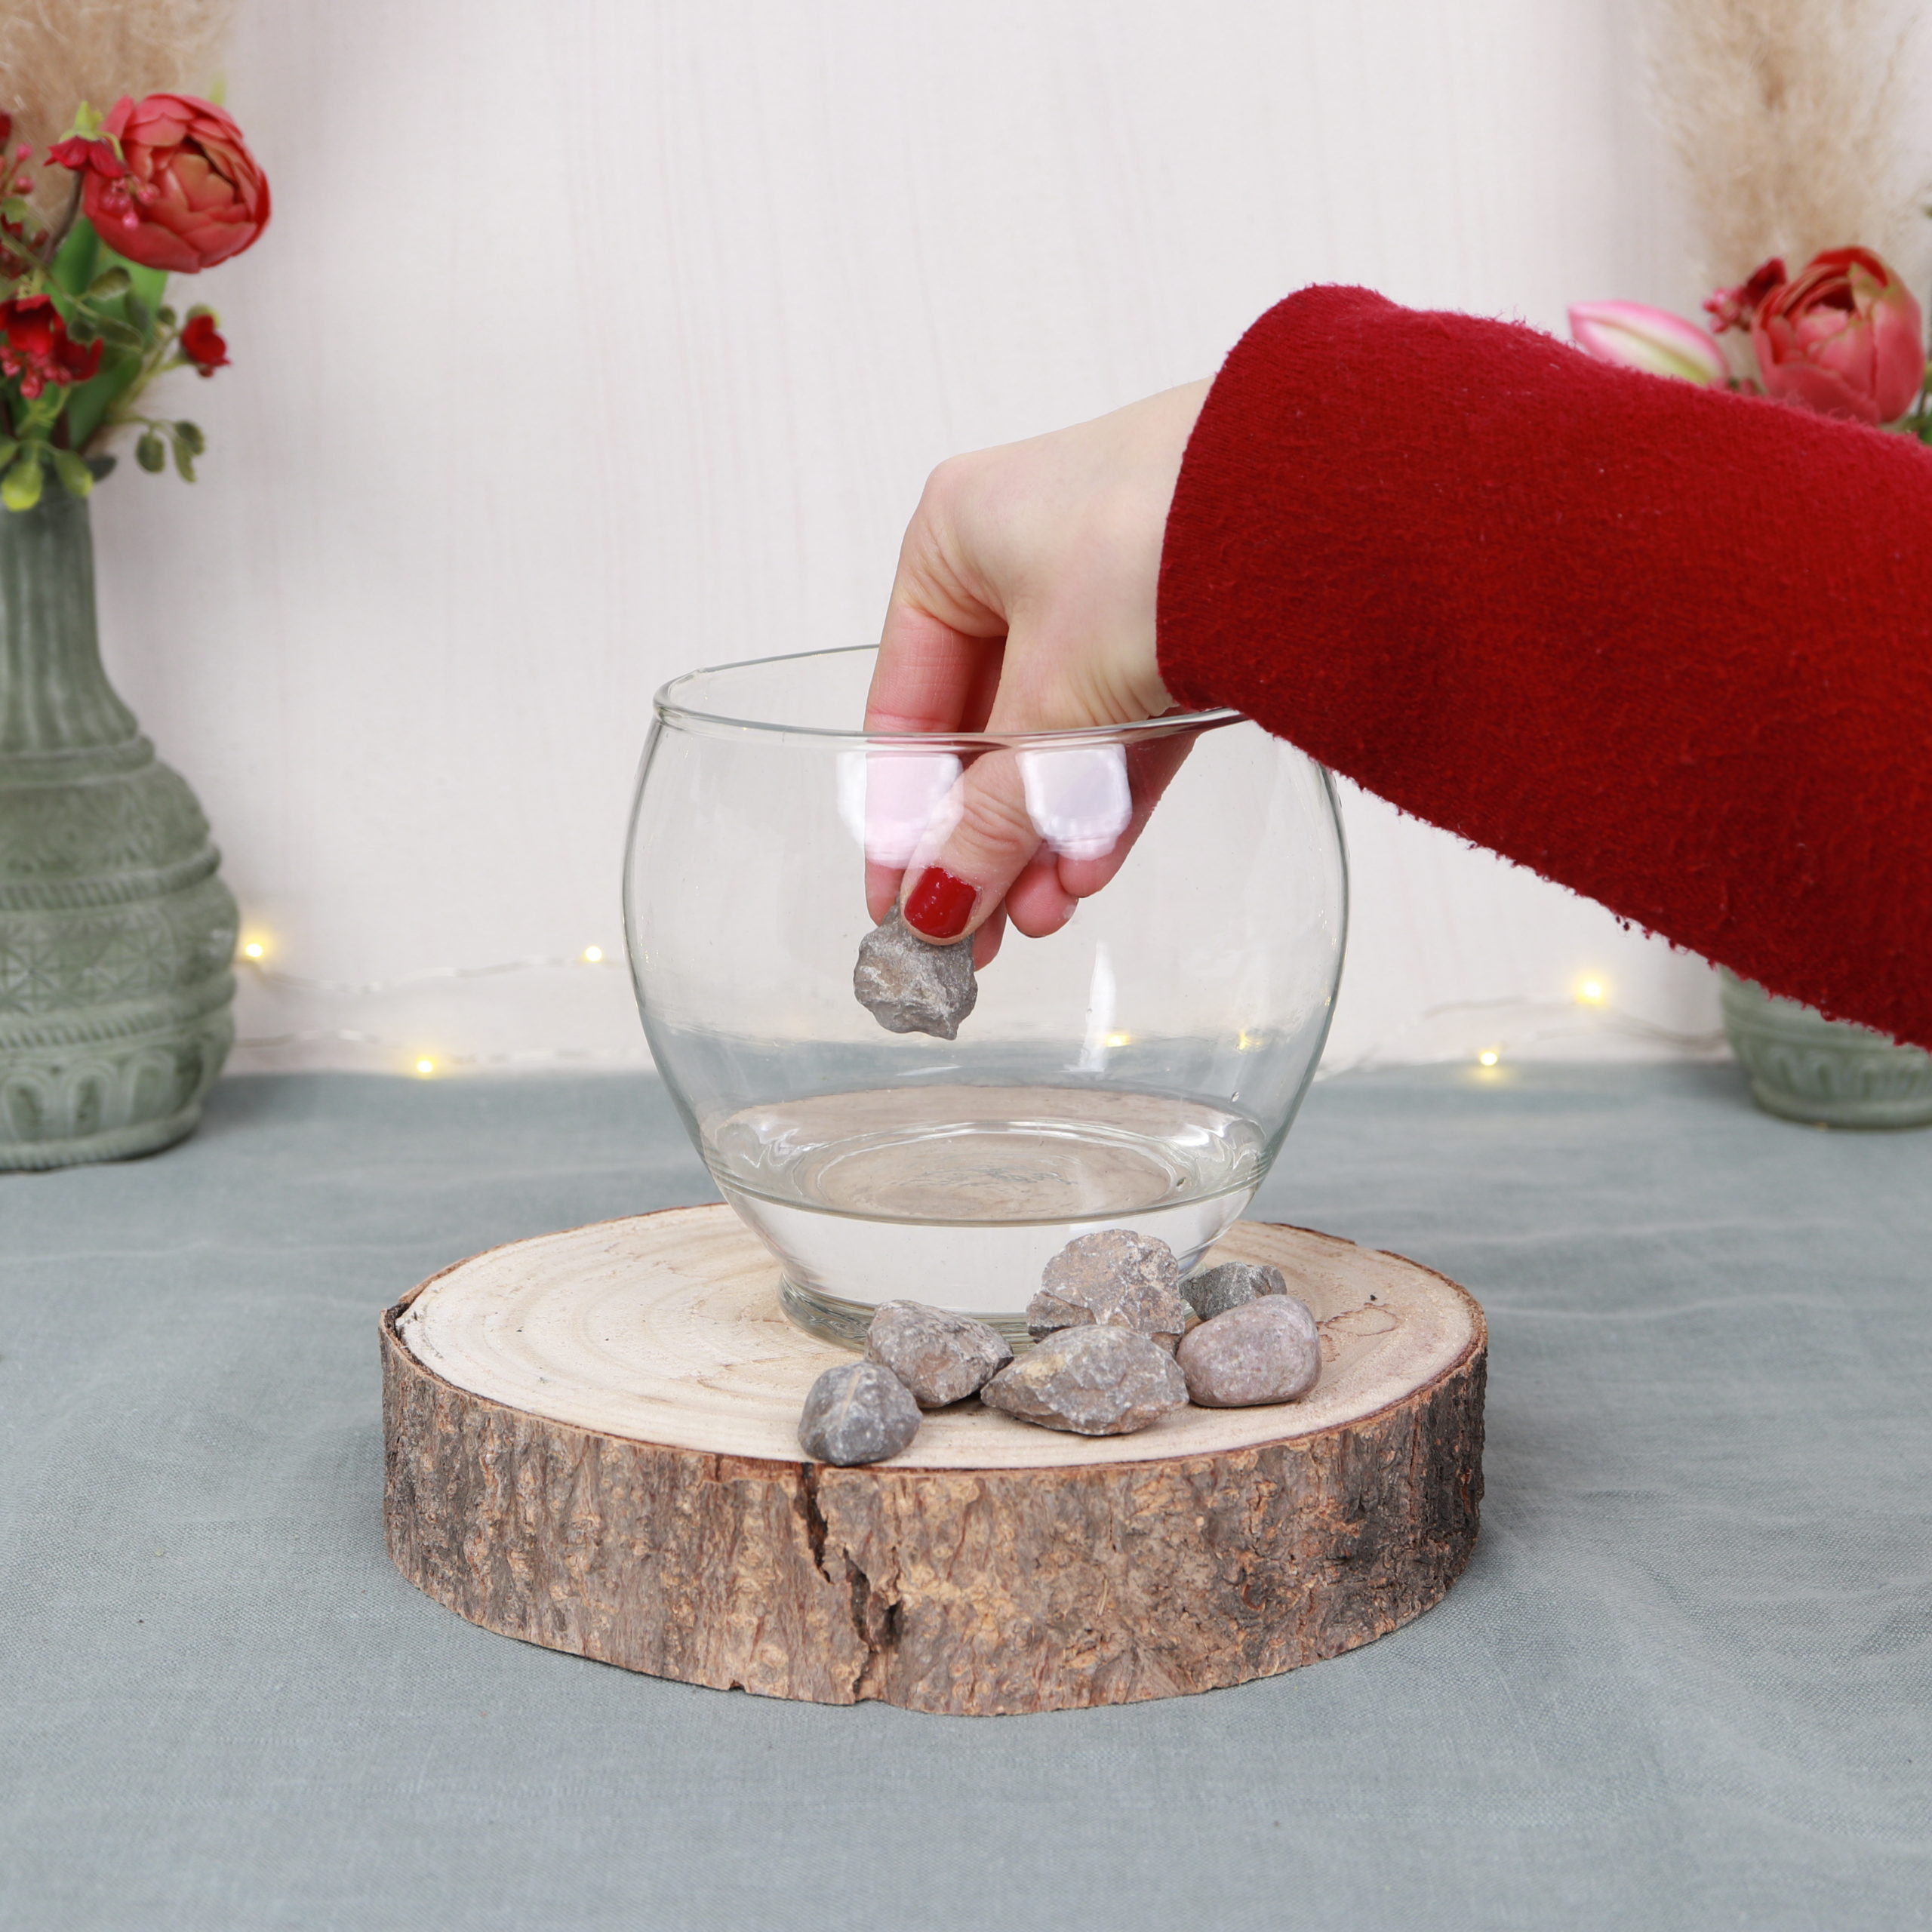
The stones will later give the tulip stems additional support.
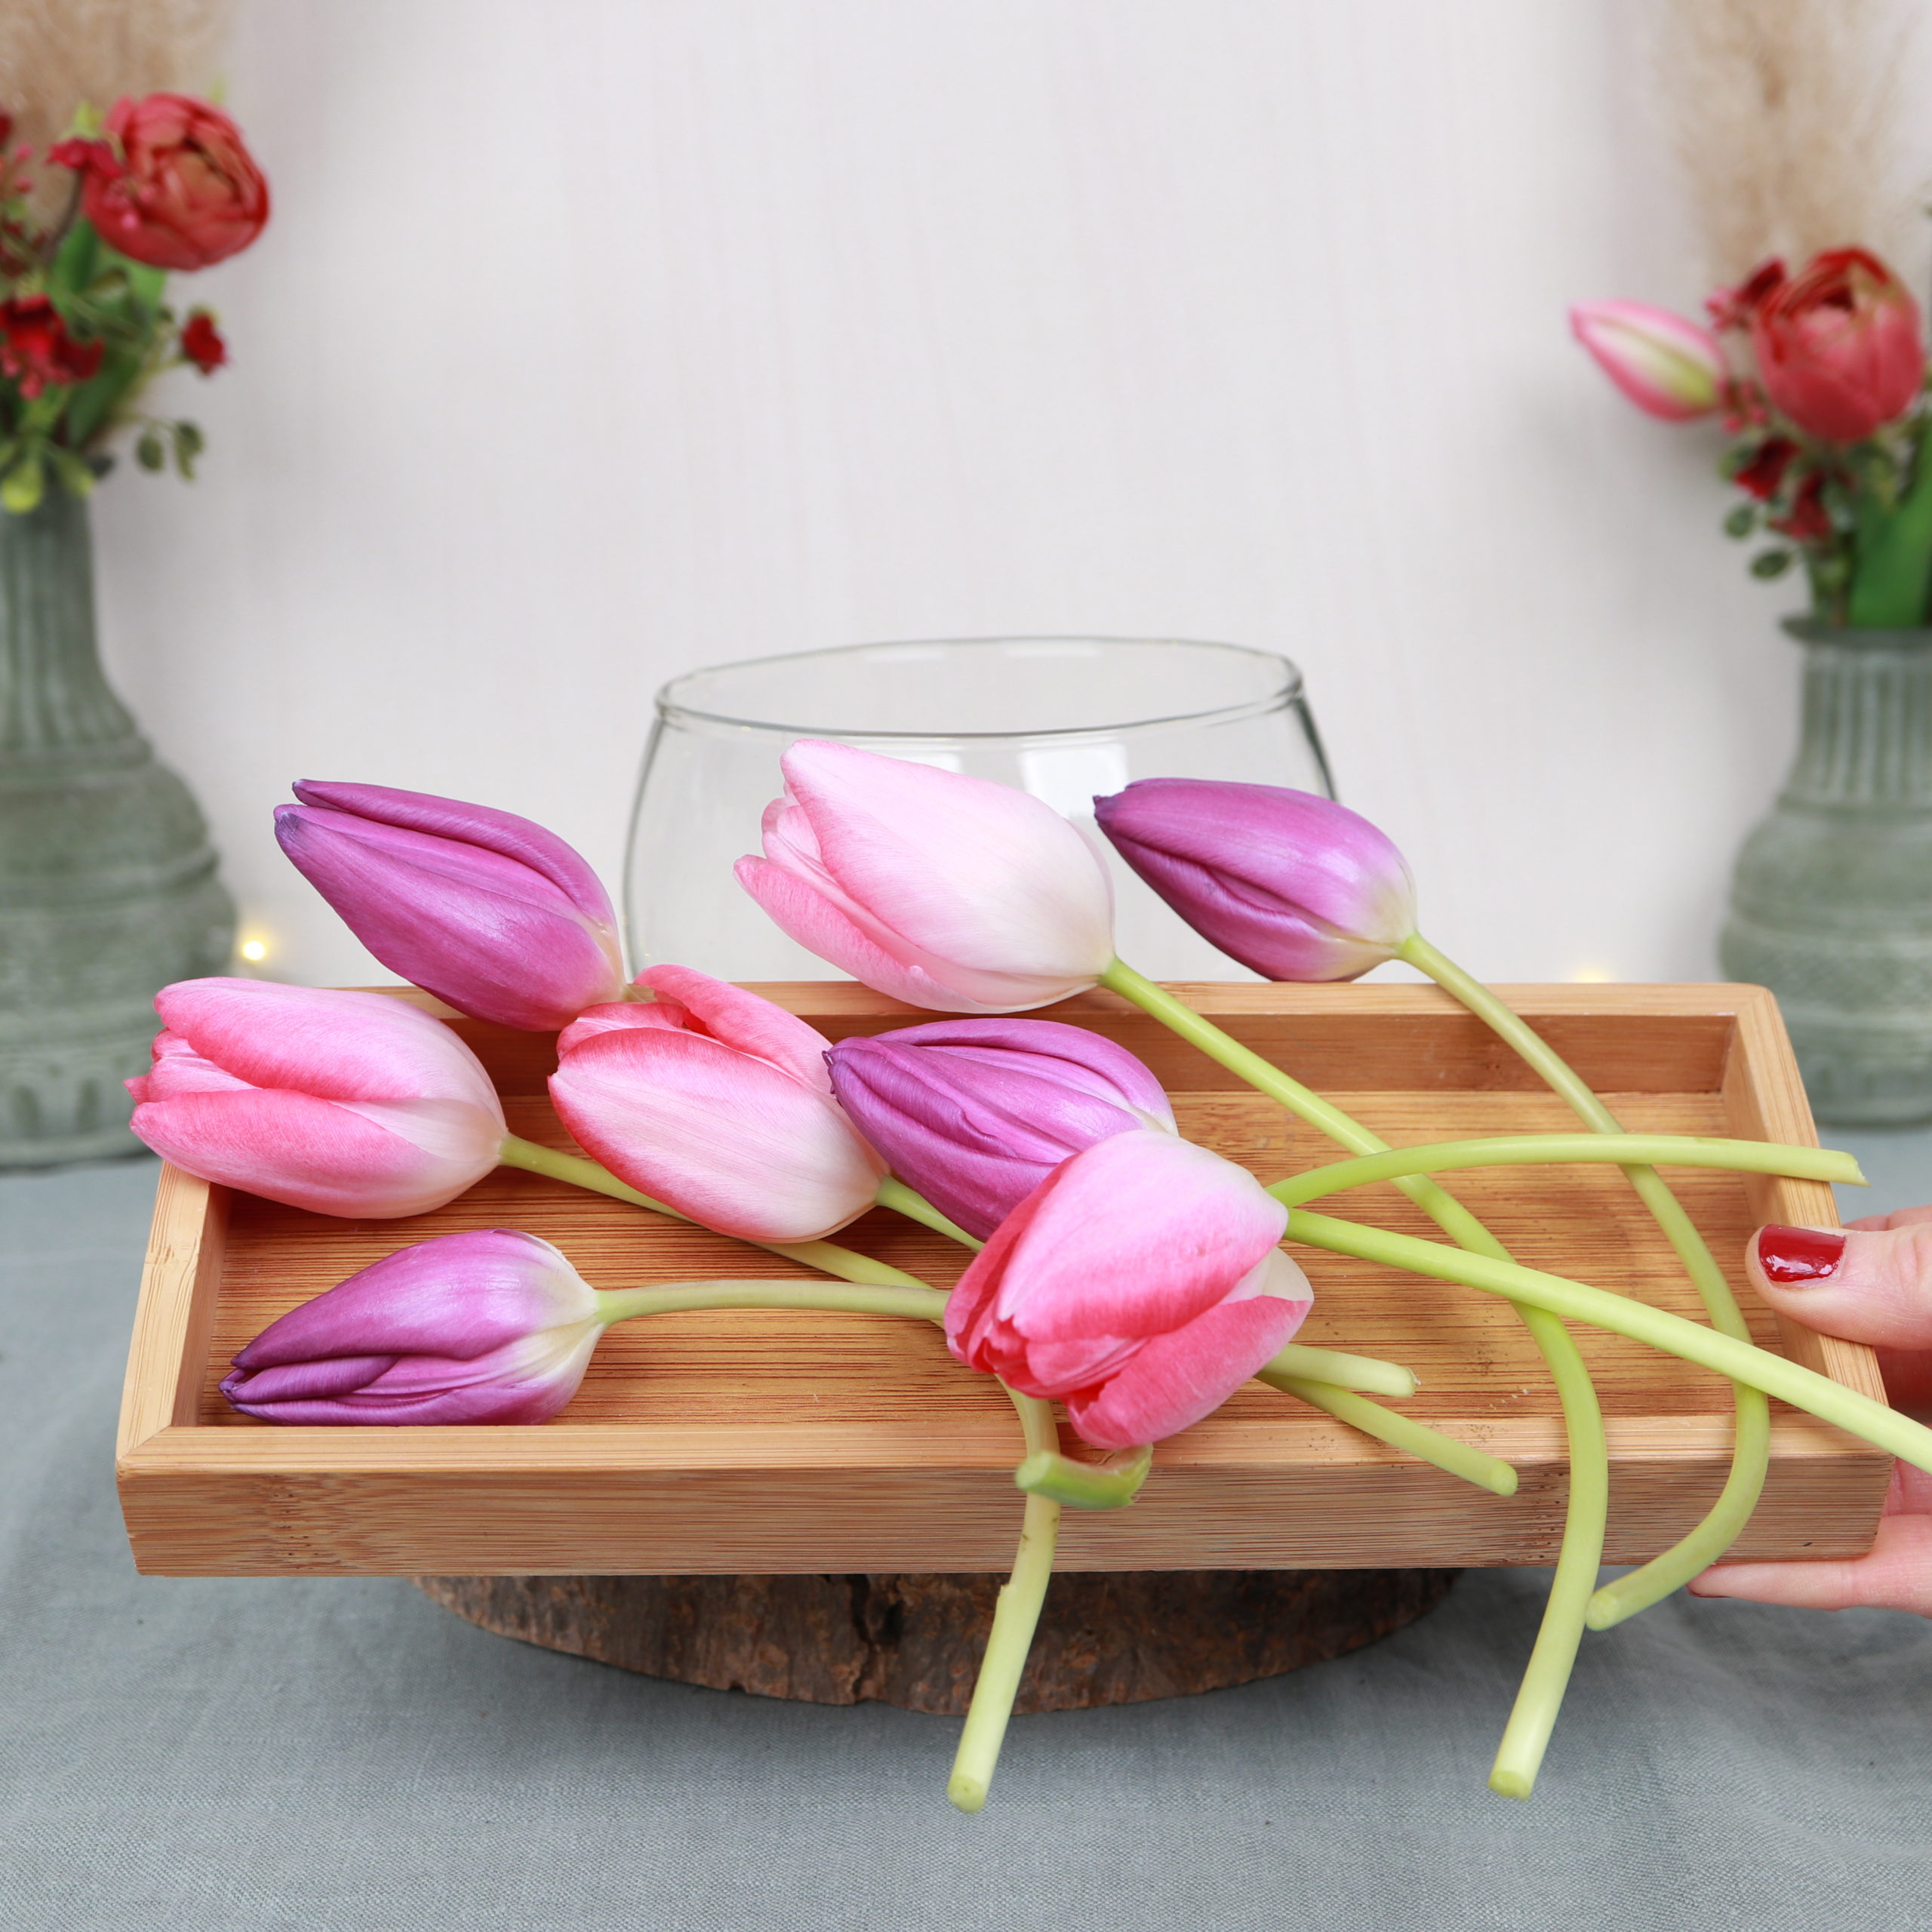
Step 2: Cut the tulips
Now I cut the tulips with the flower scissors.
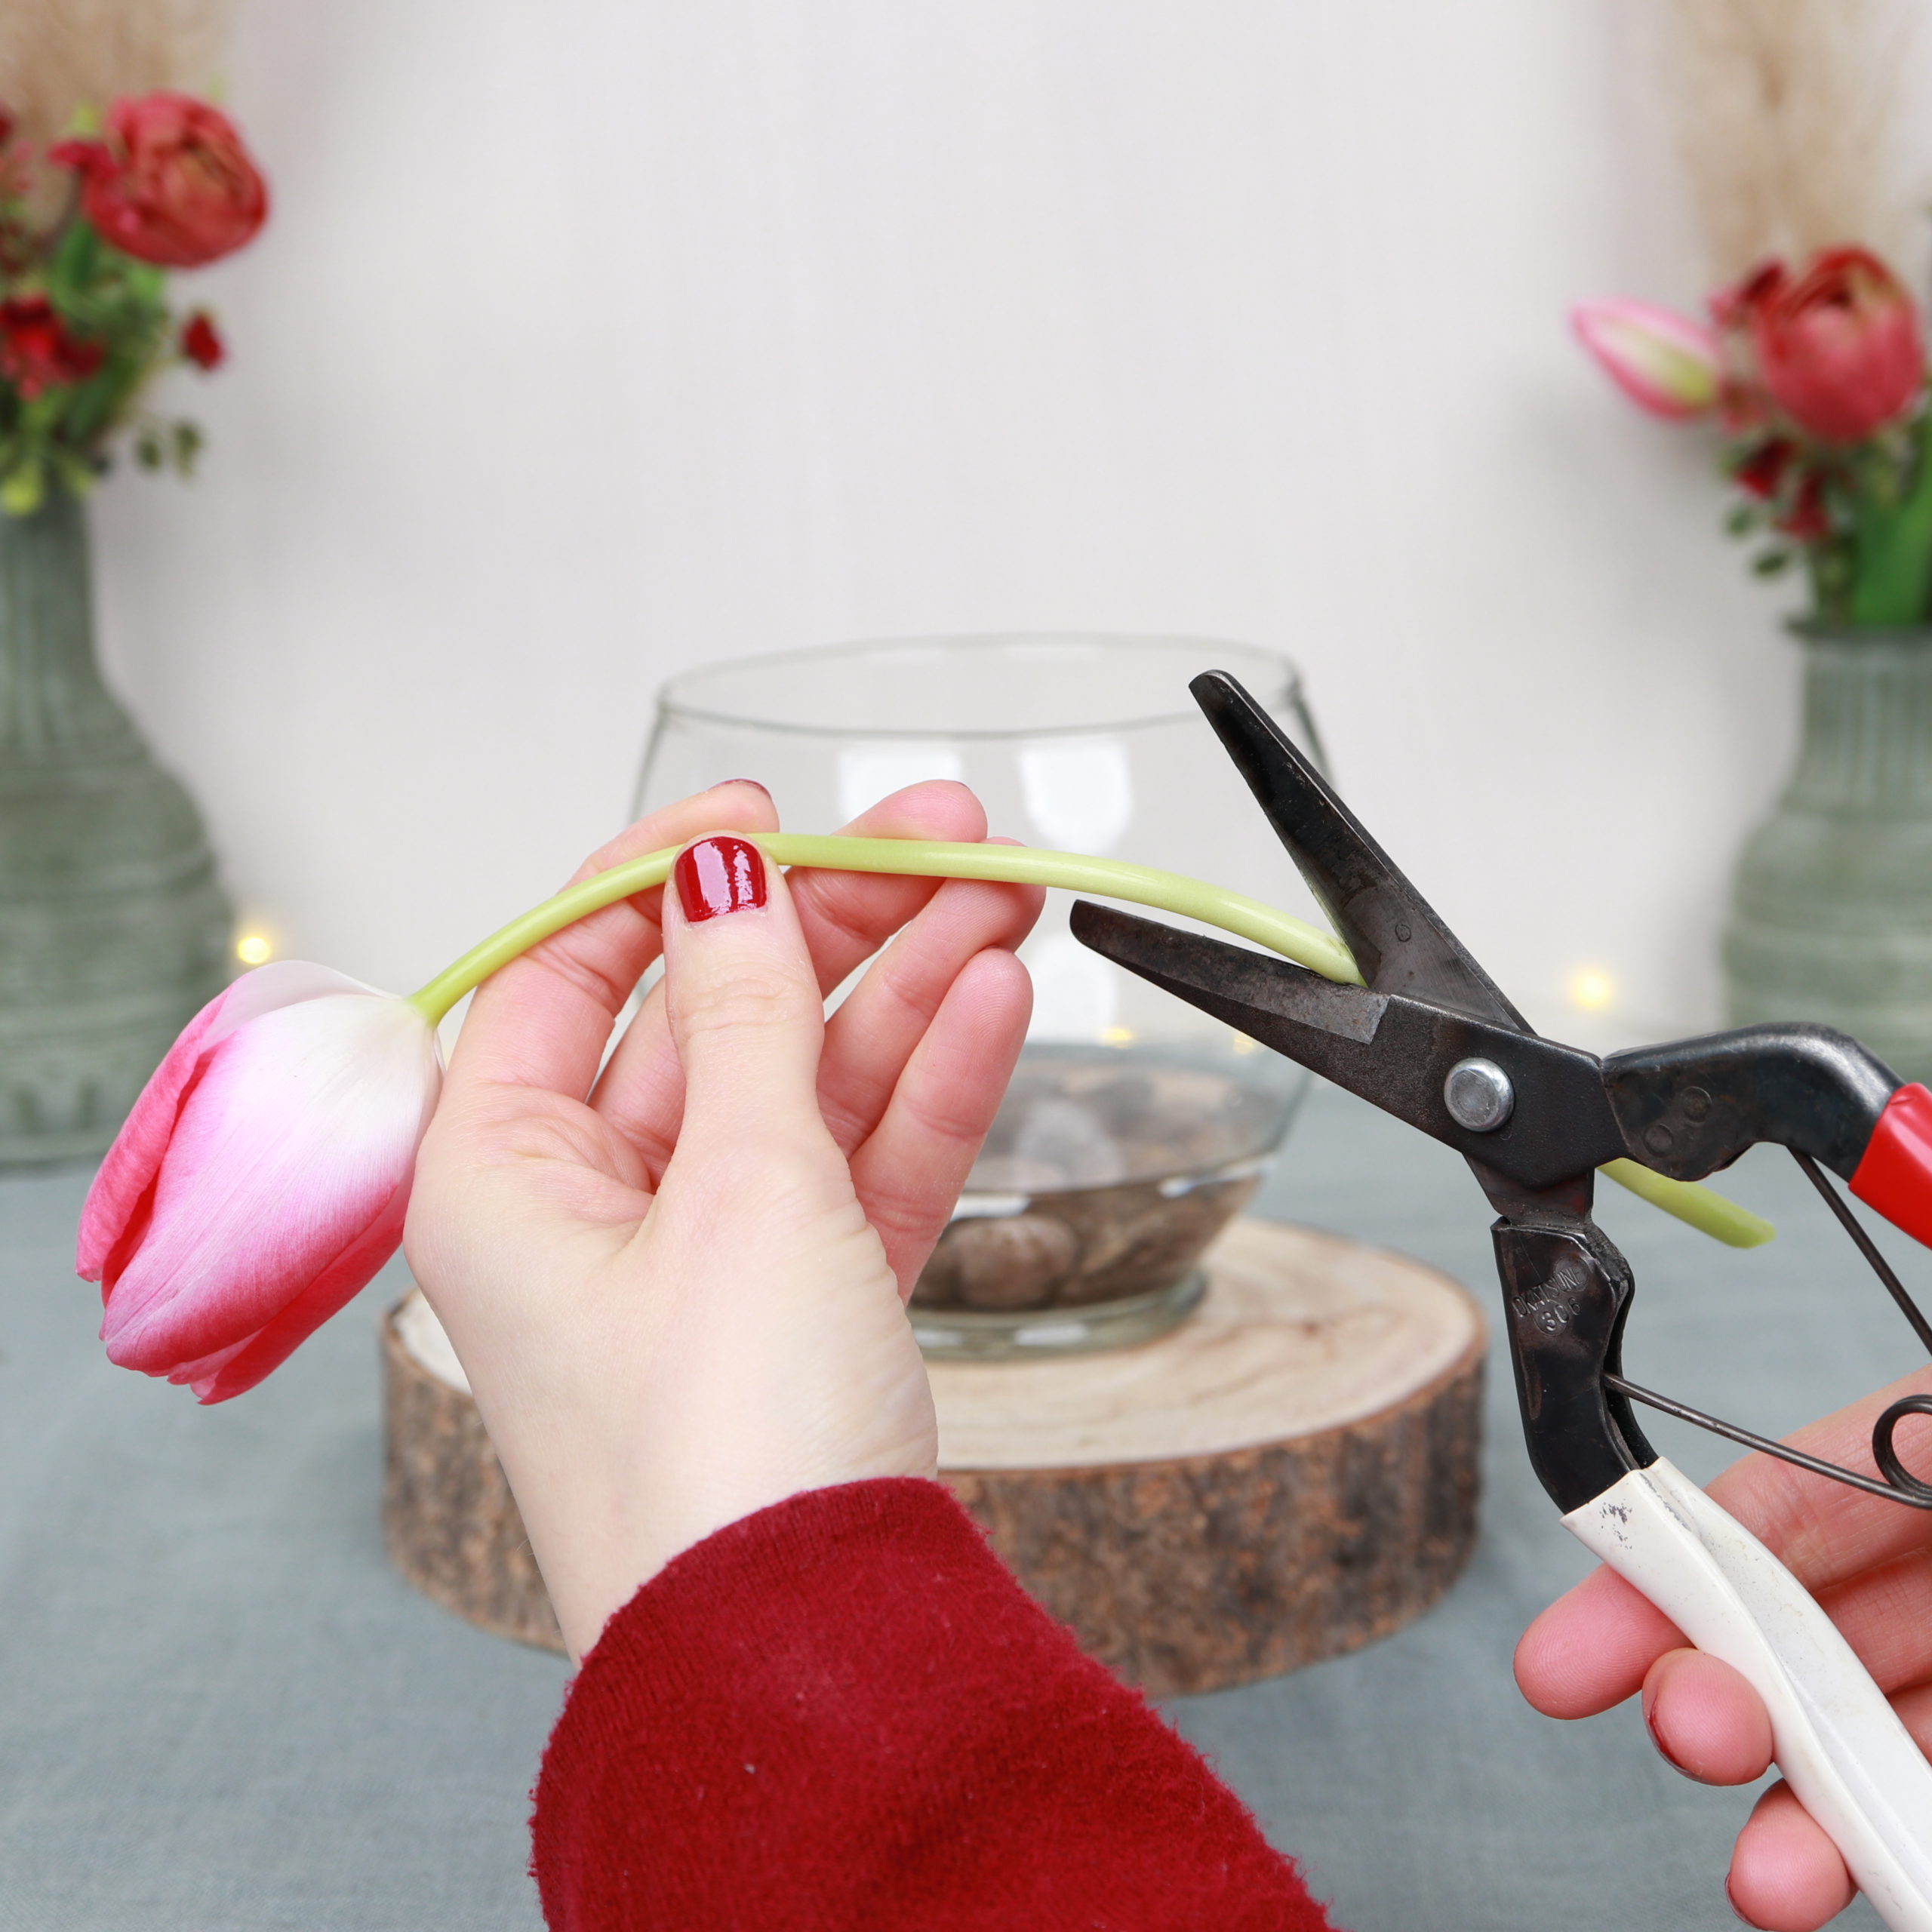
I remove all the leaves and cut the stems to different lengths. I leave the tulip stems that I want to arrange in the vase longer than the tulips that I put upright at the center of the vase.
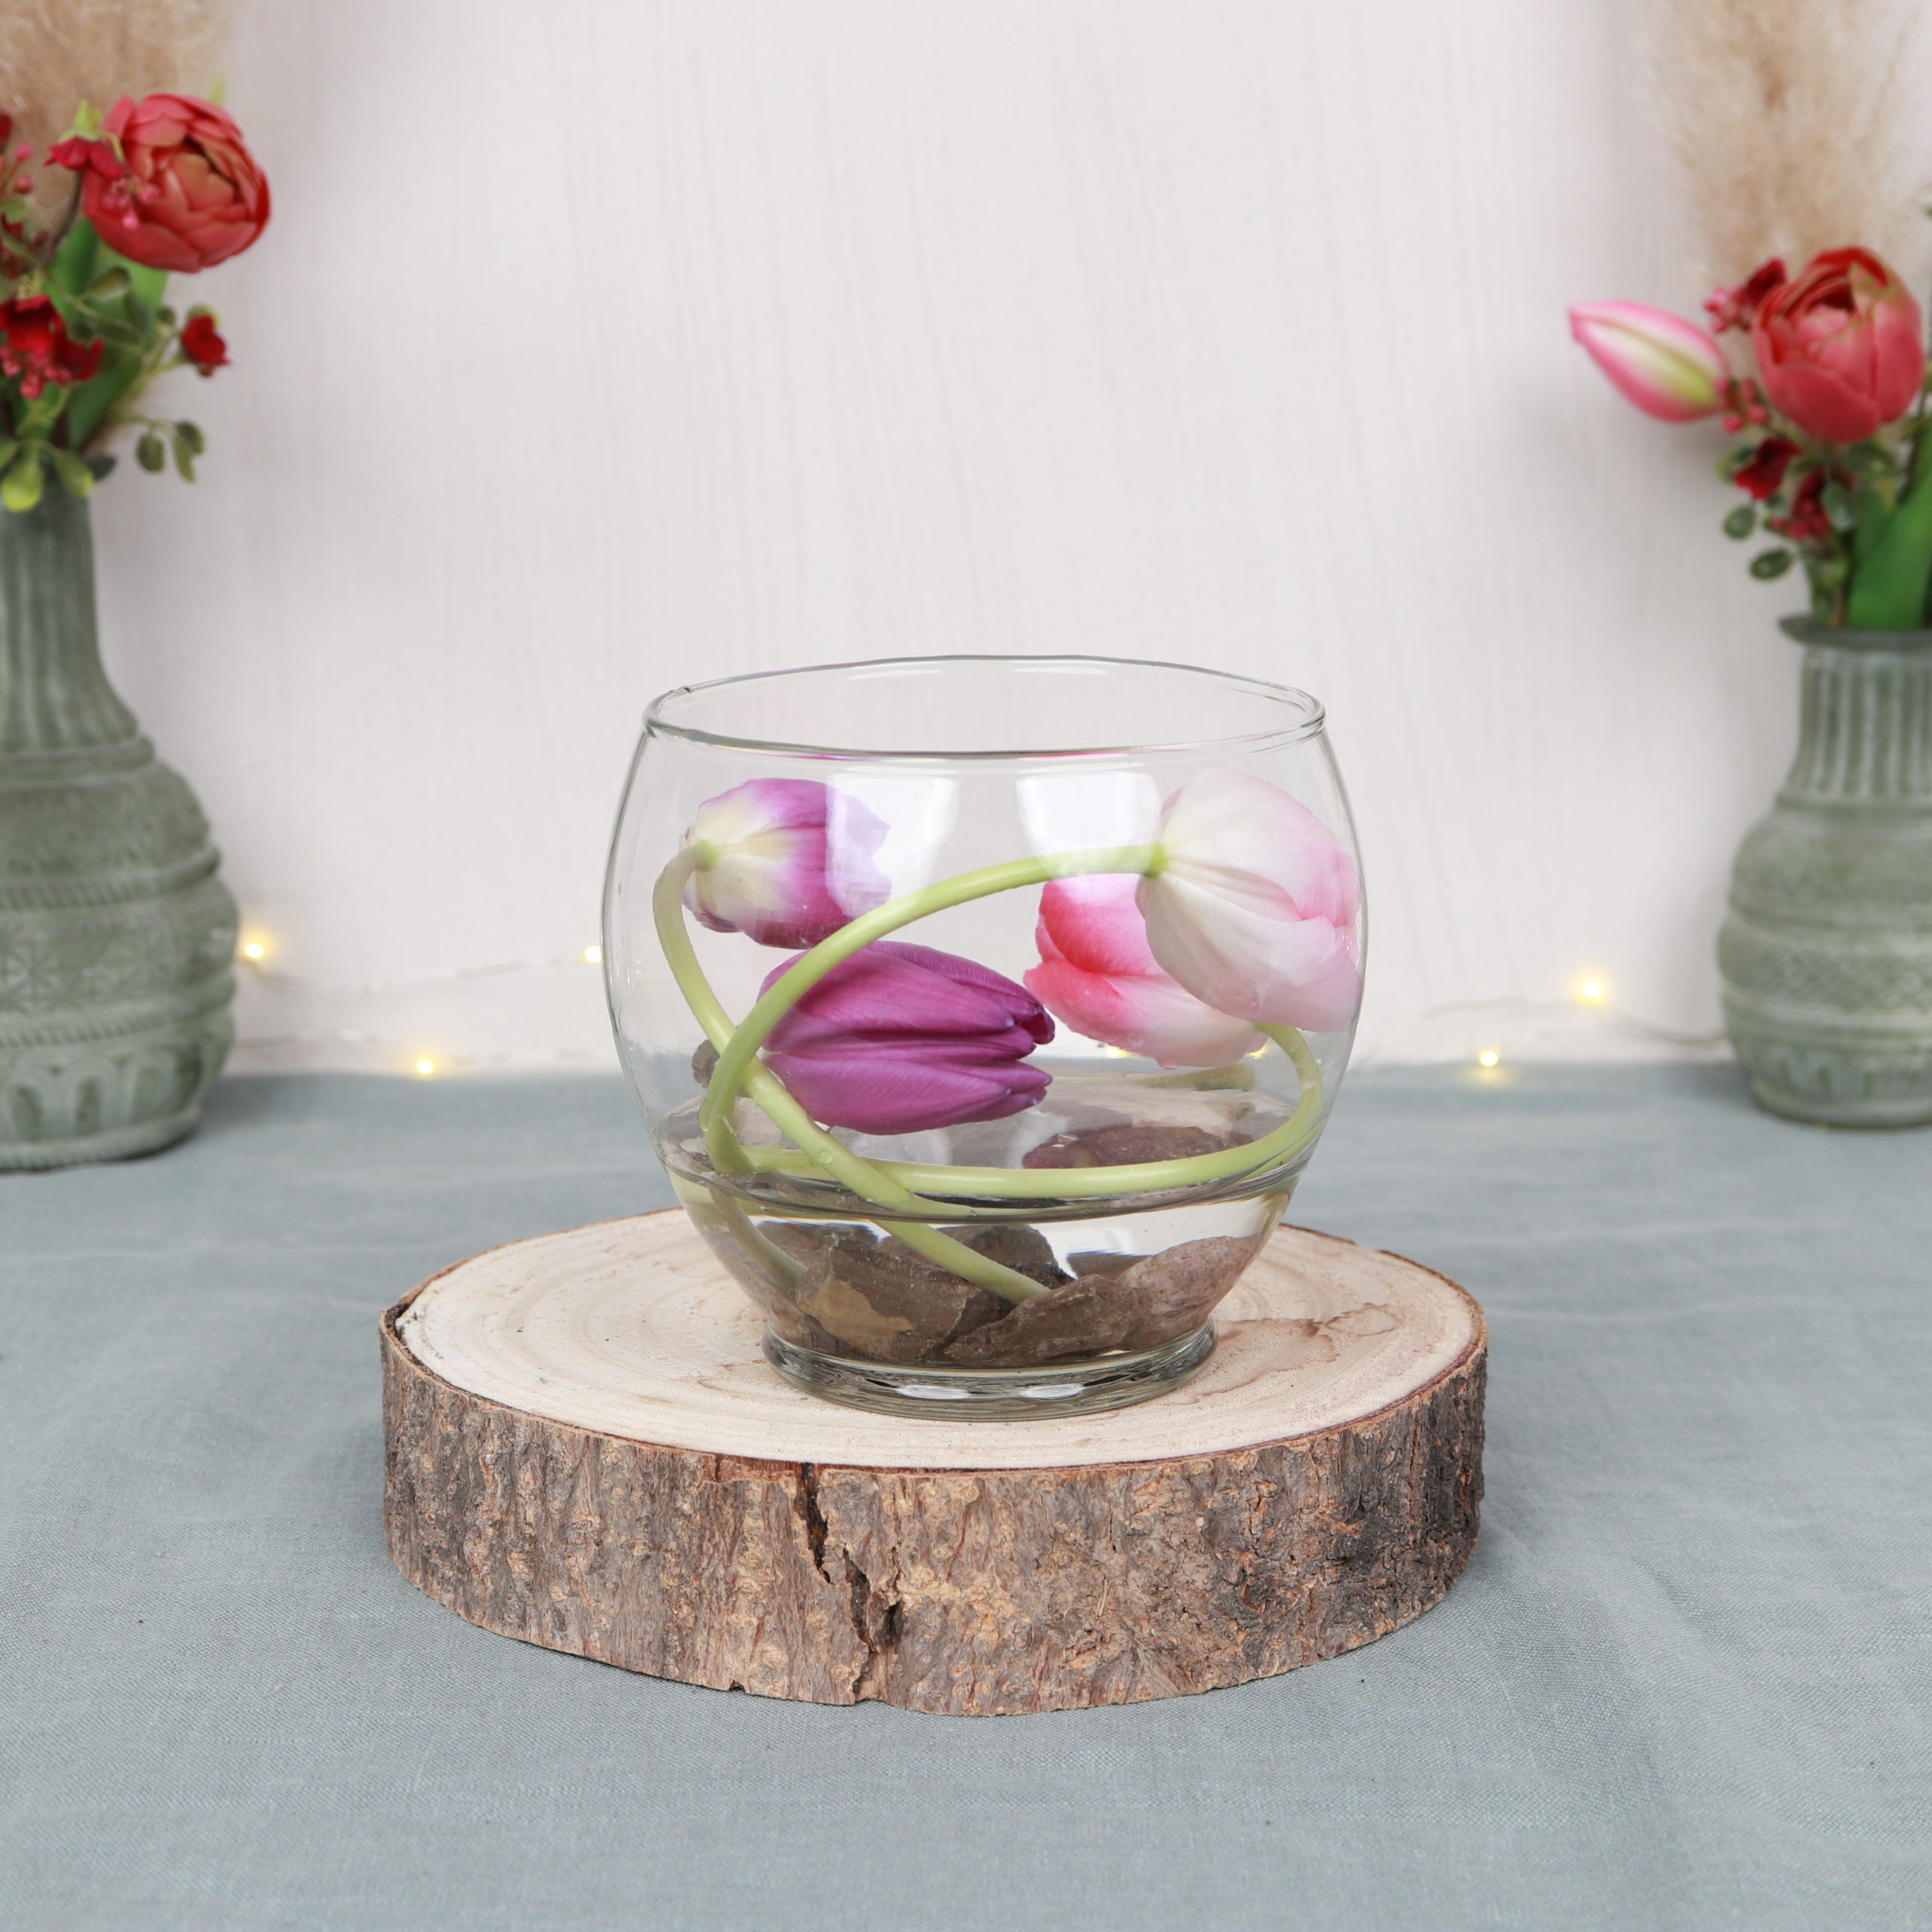
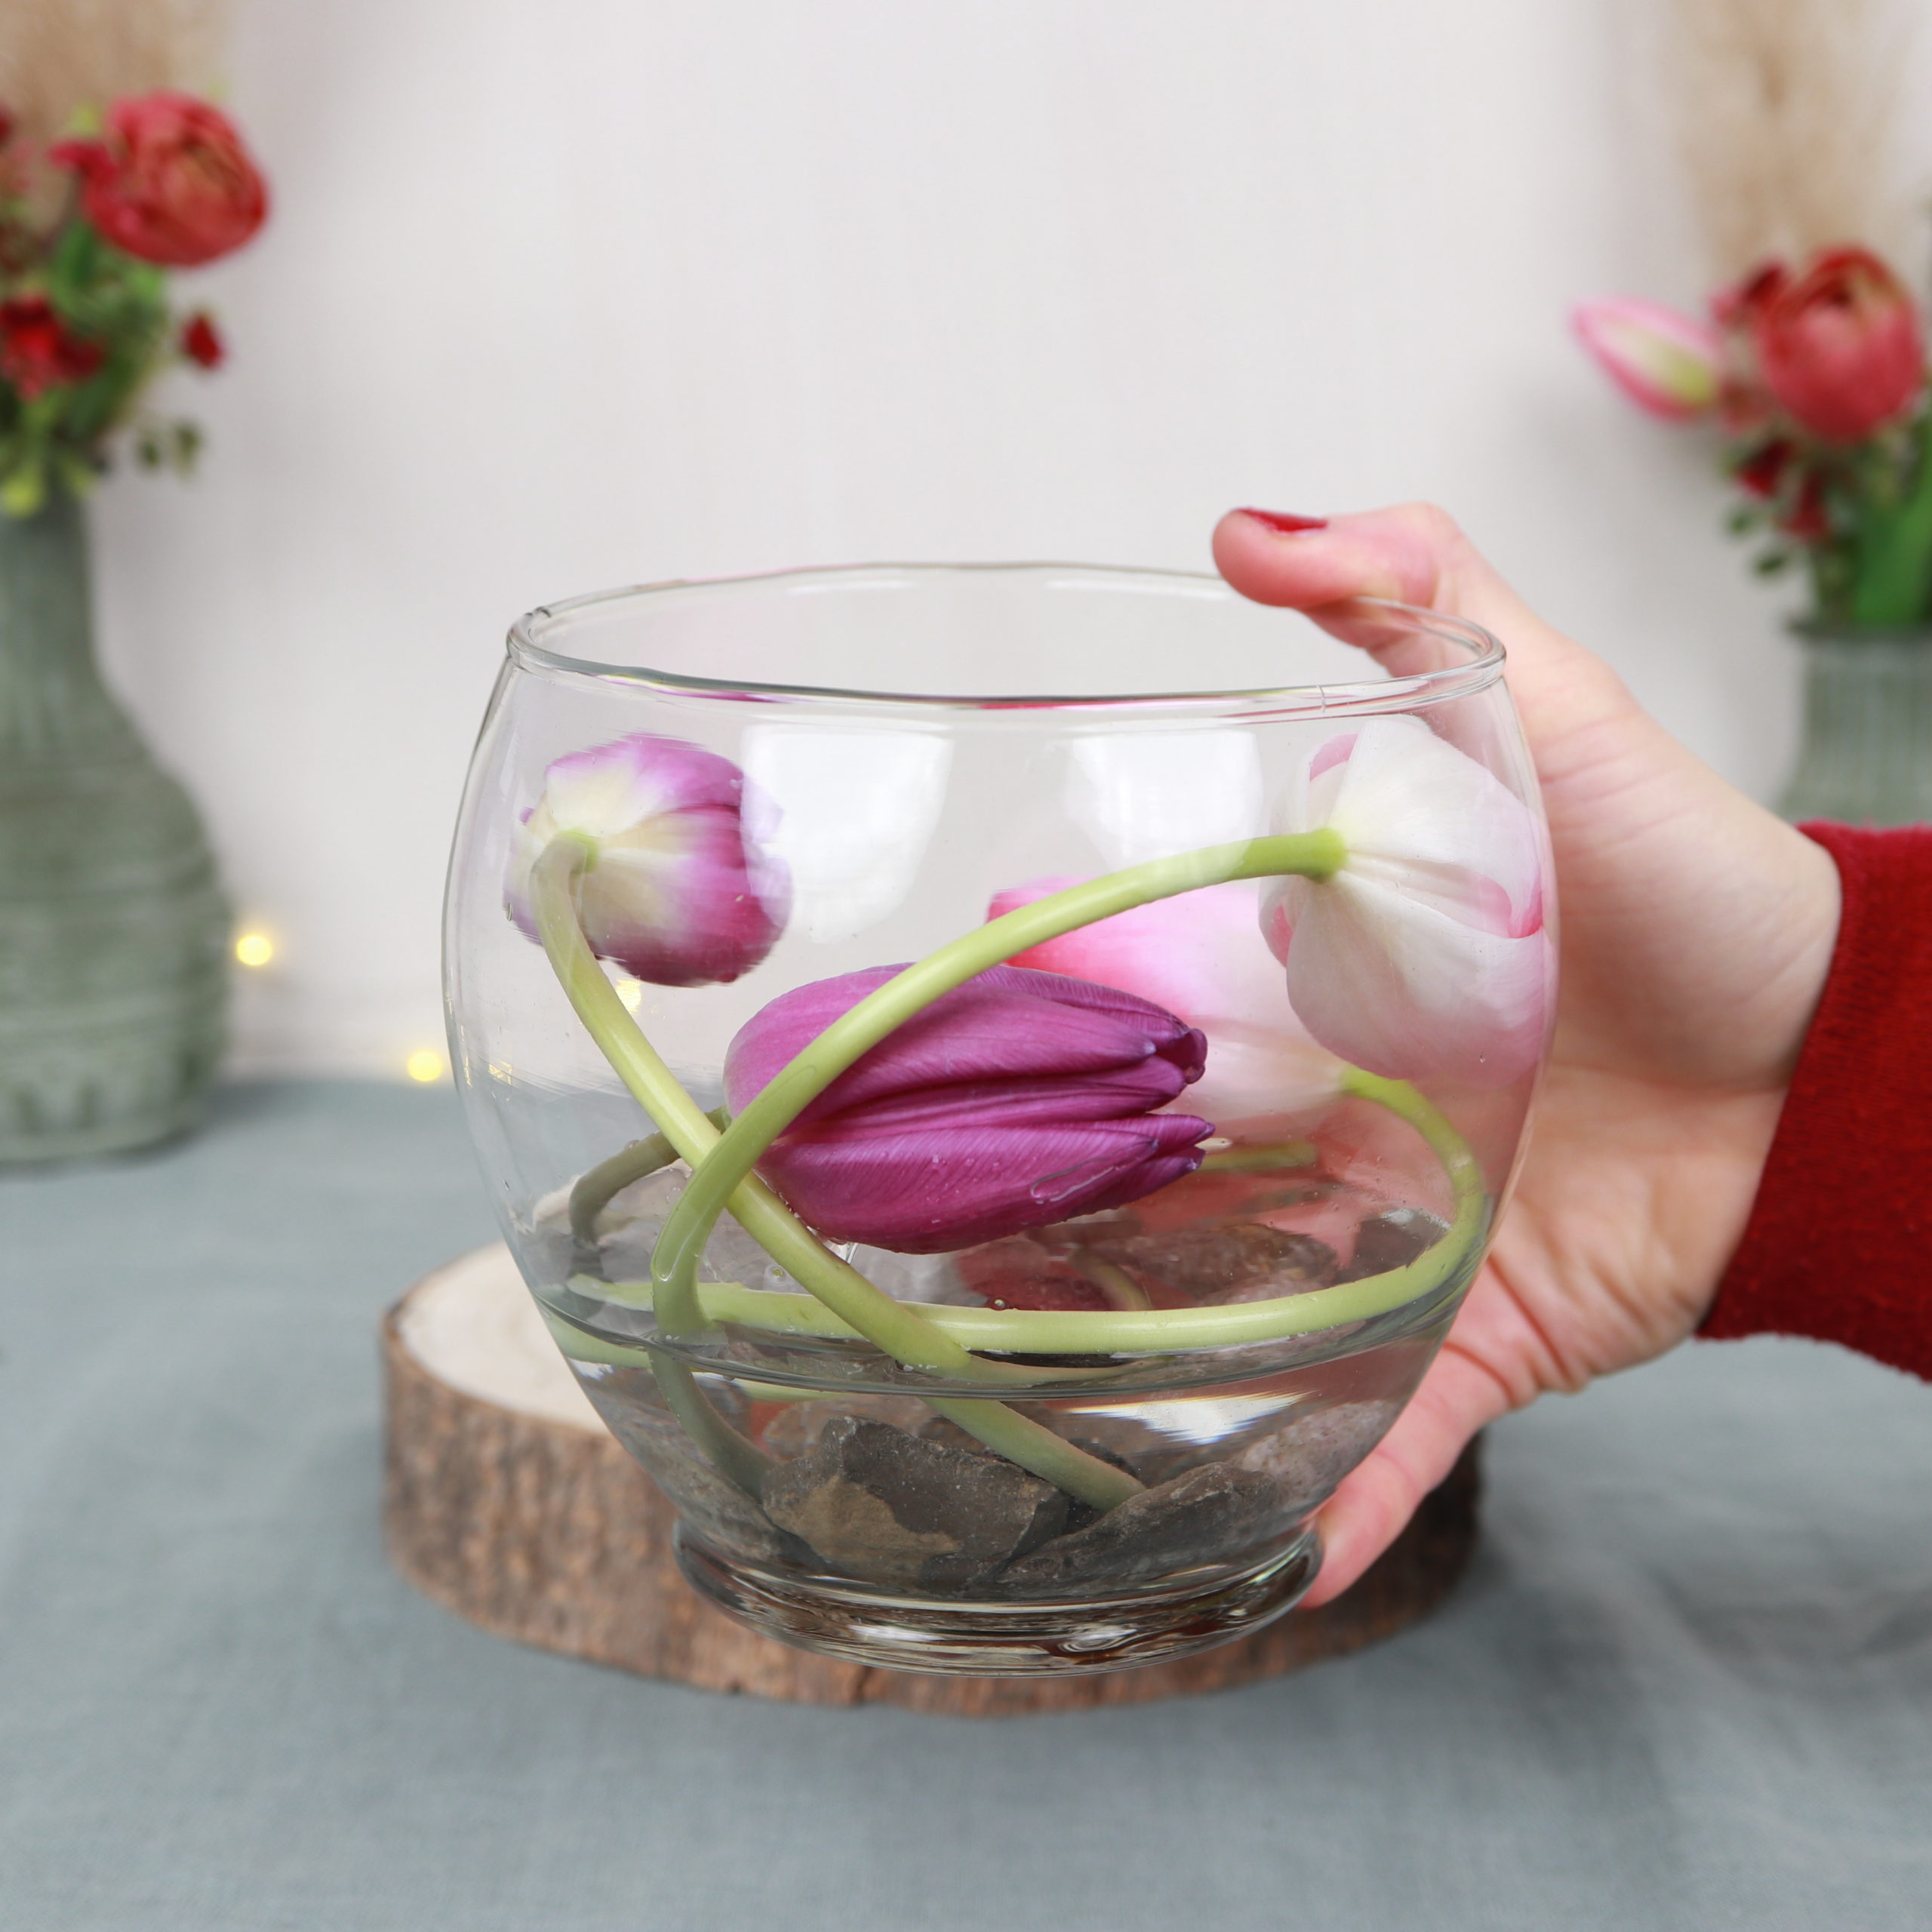
Step 3: Arrange the tulips in the ball vase
Now I put the tulips in the glass vase.
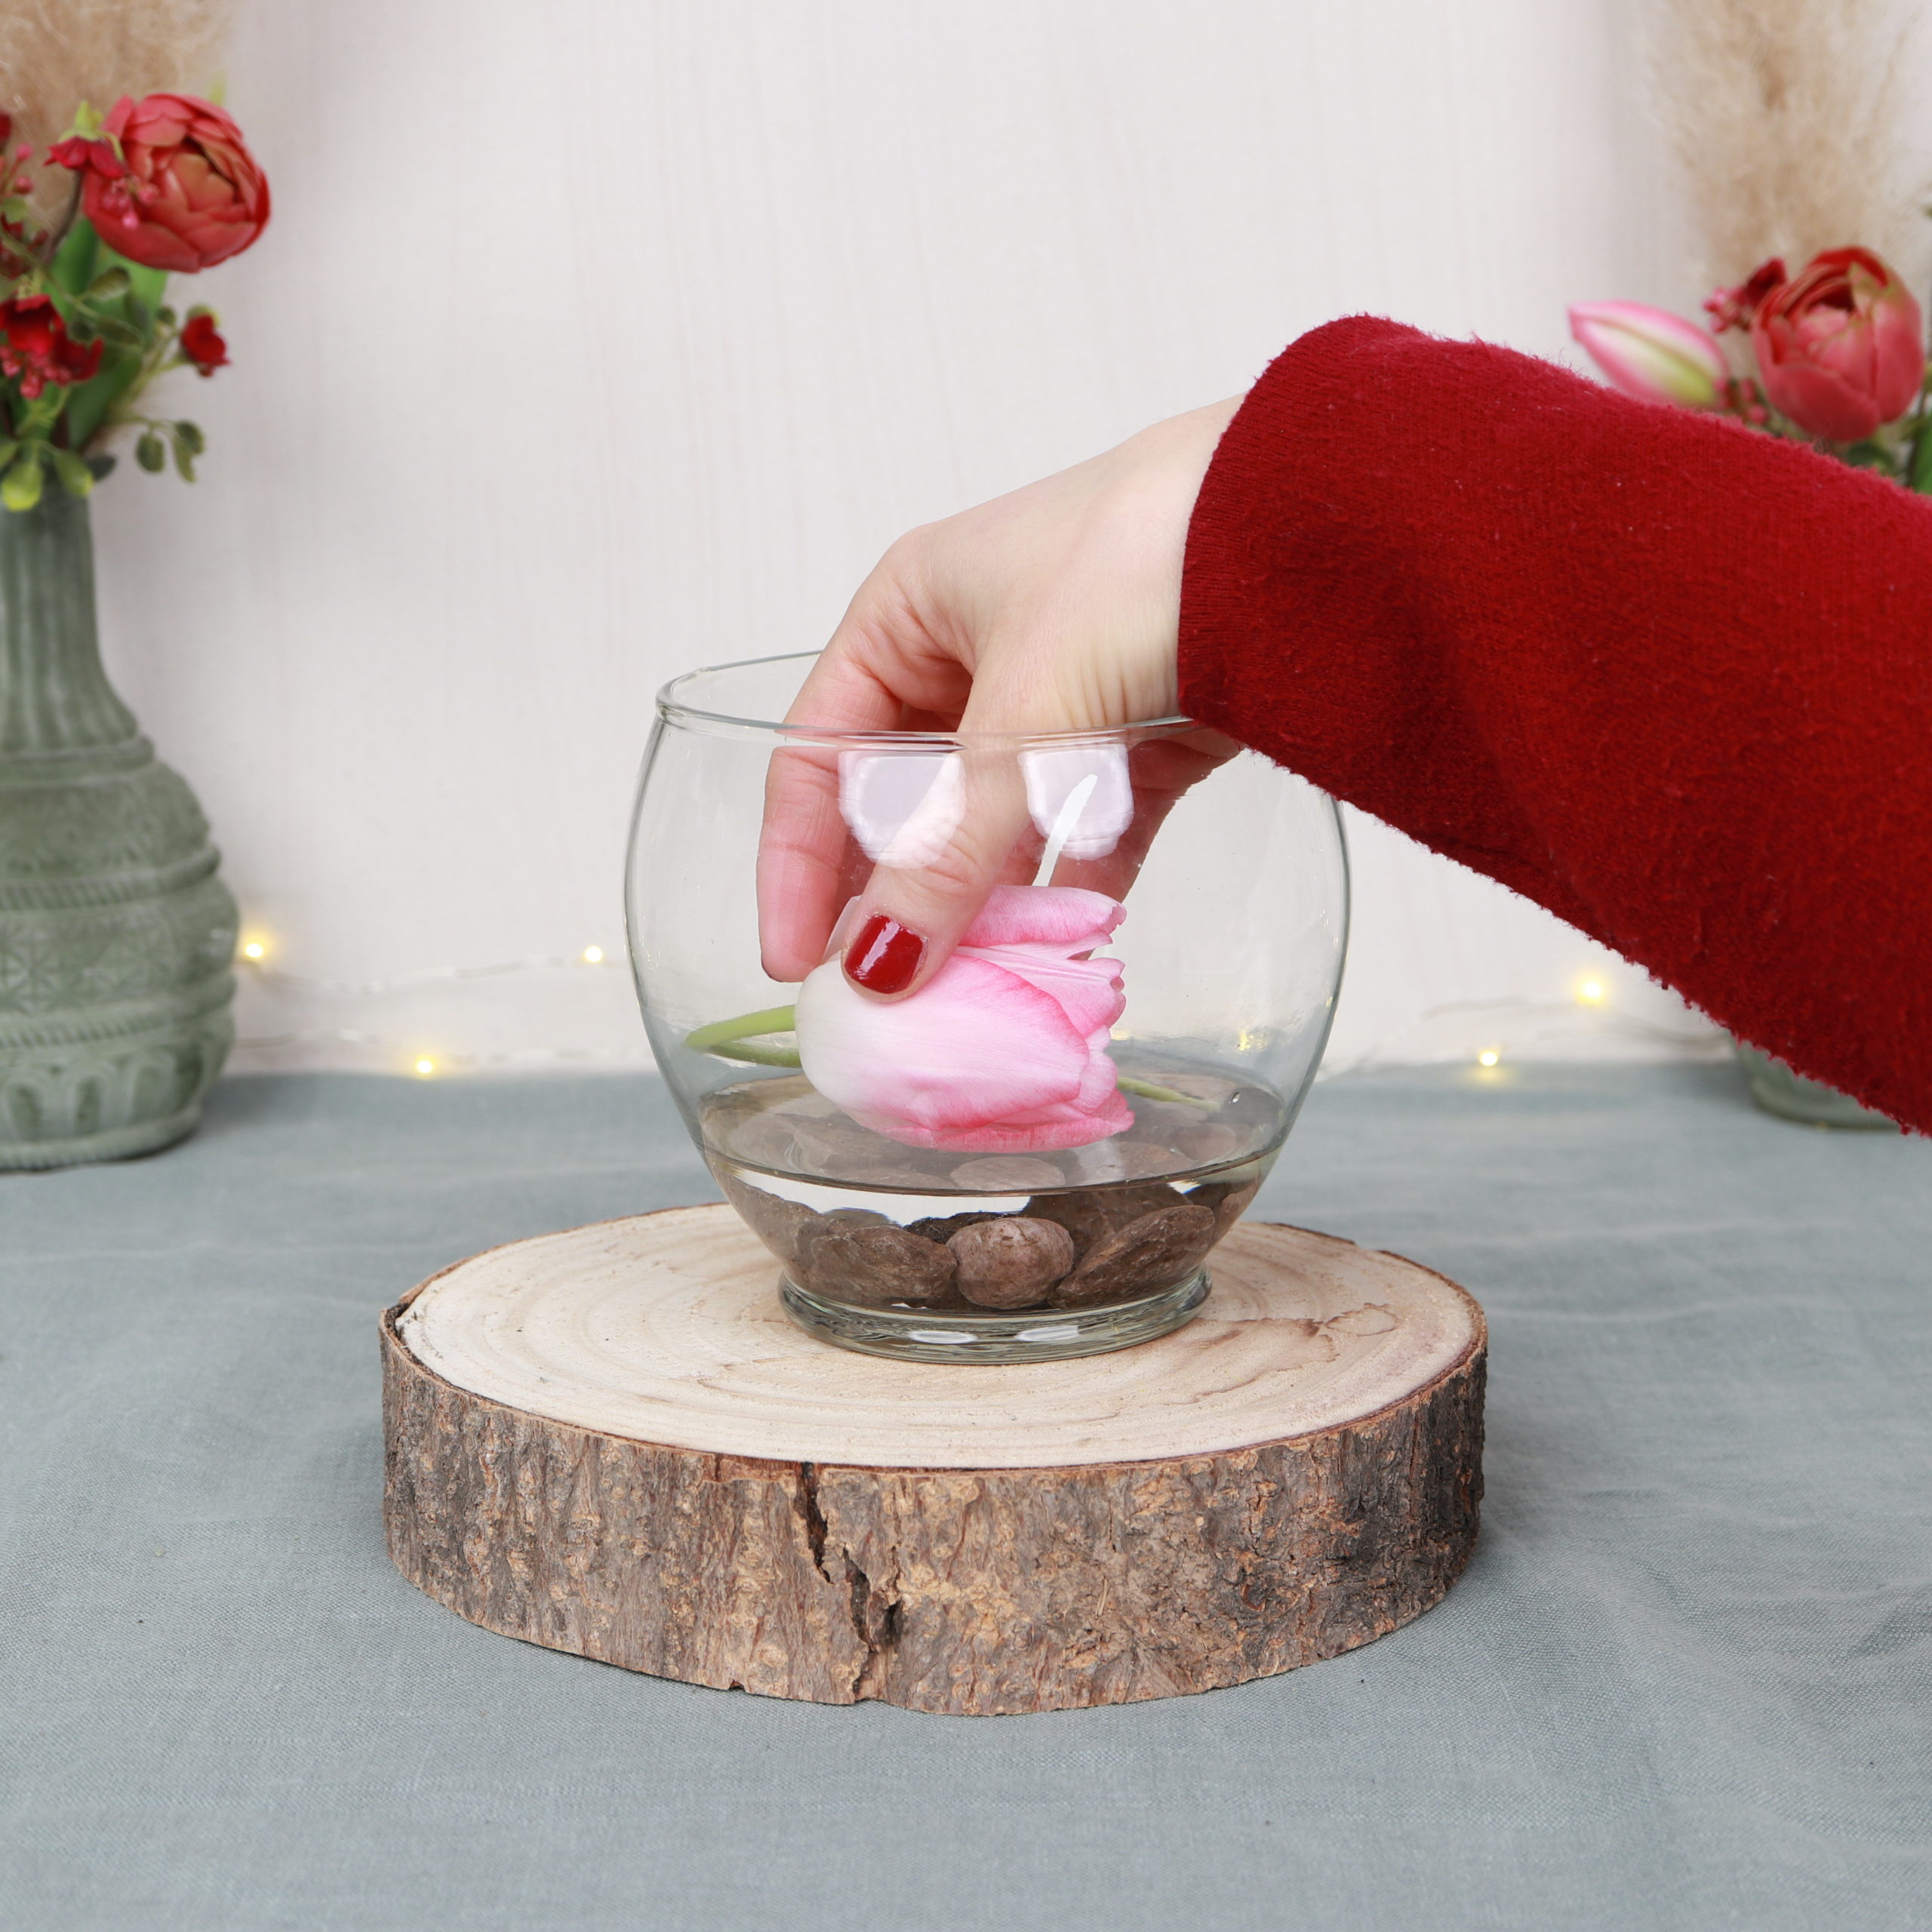
I put the stems between the stones and then bend them along the round ball-shaped glass vase.
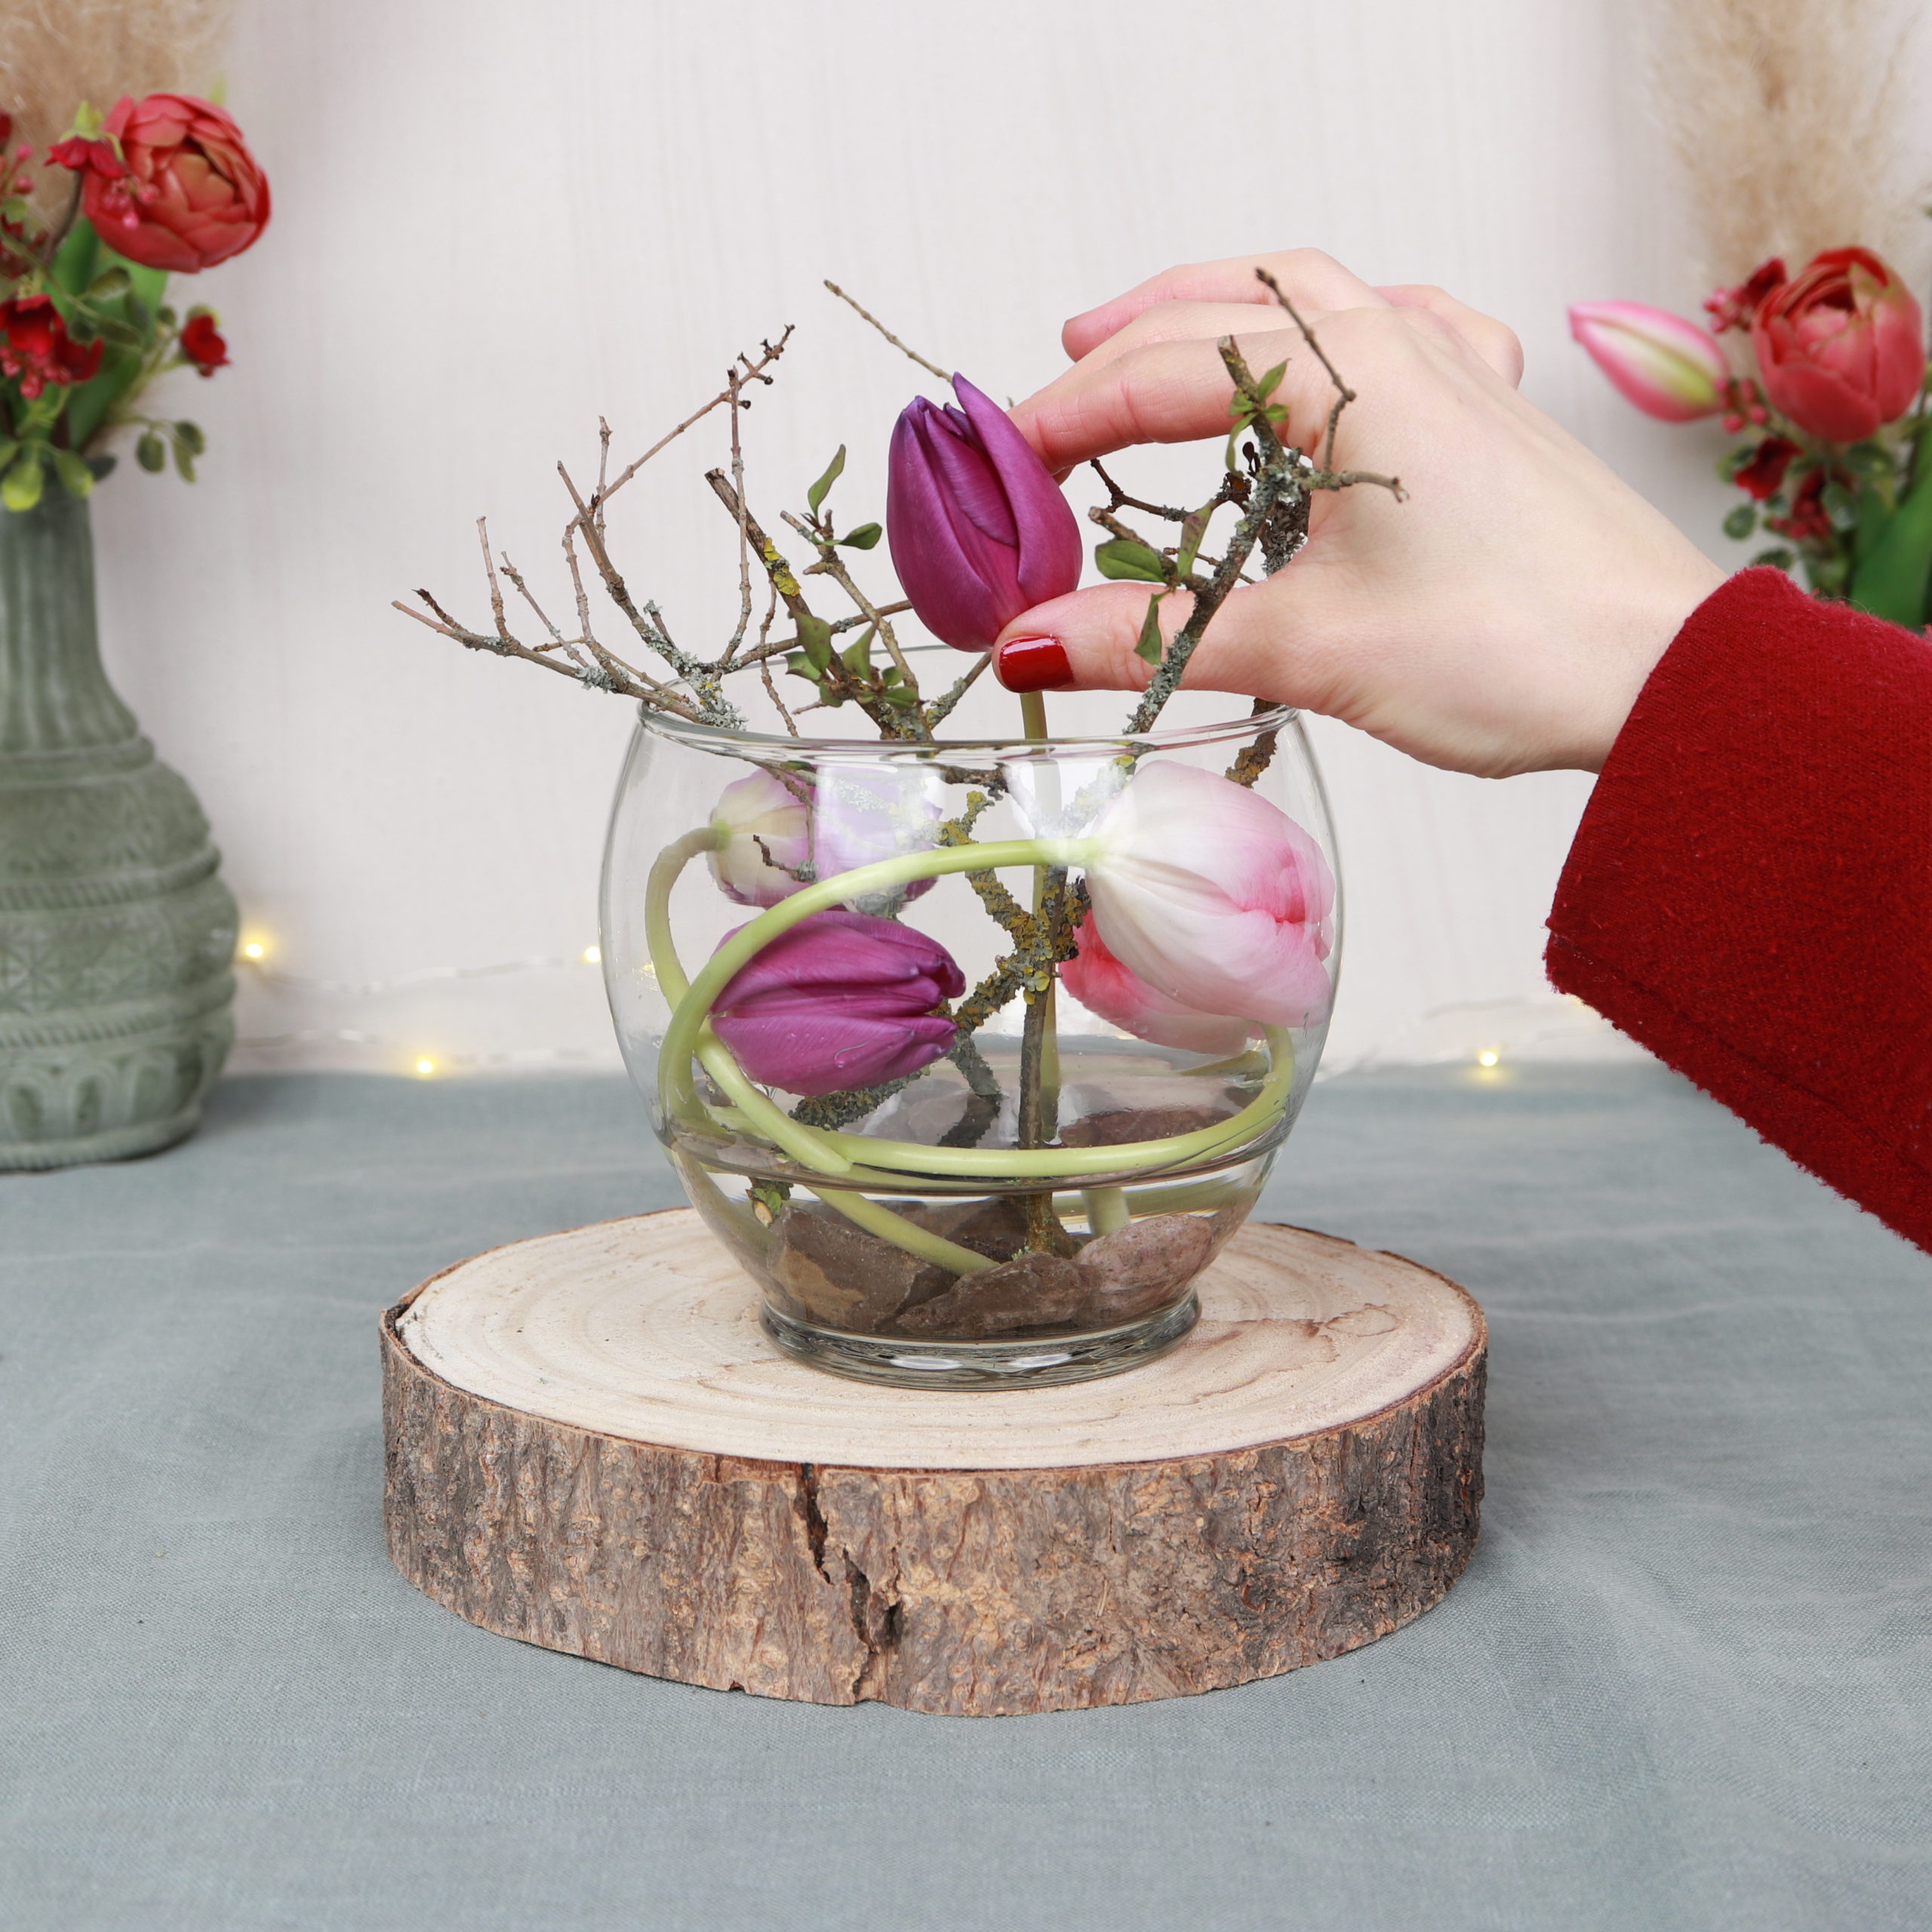
Step 4: Insert branches and more tulips
Now I put a few branches in the water.
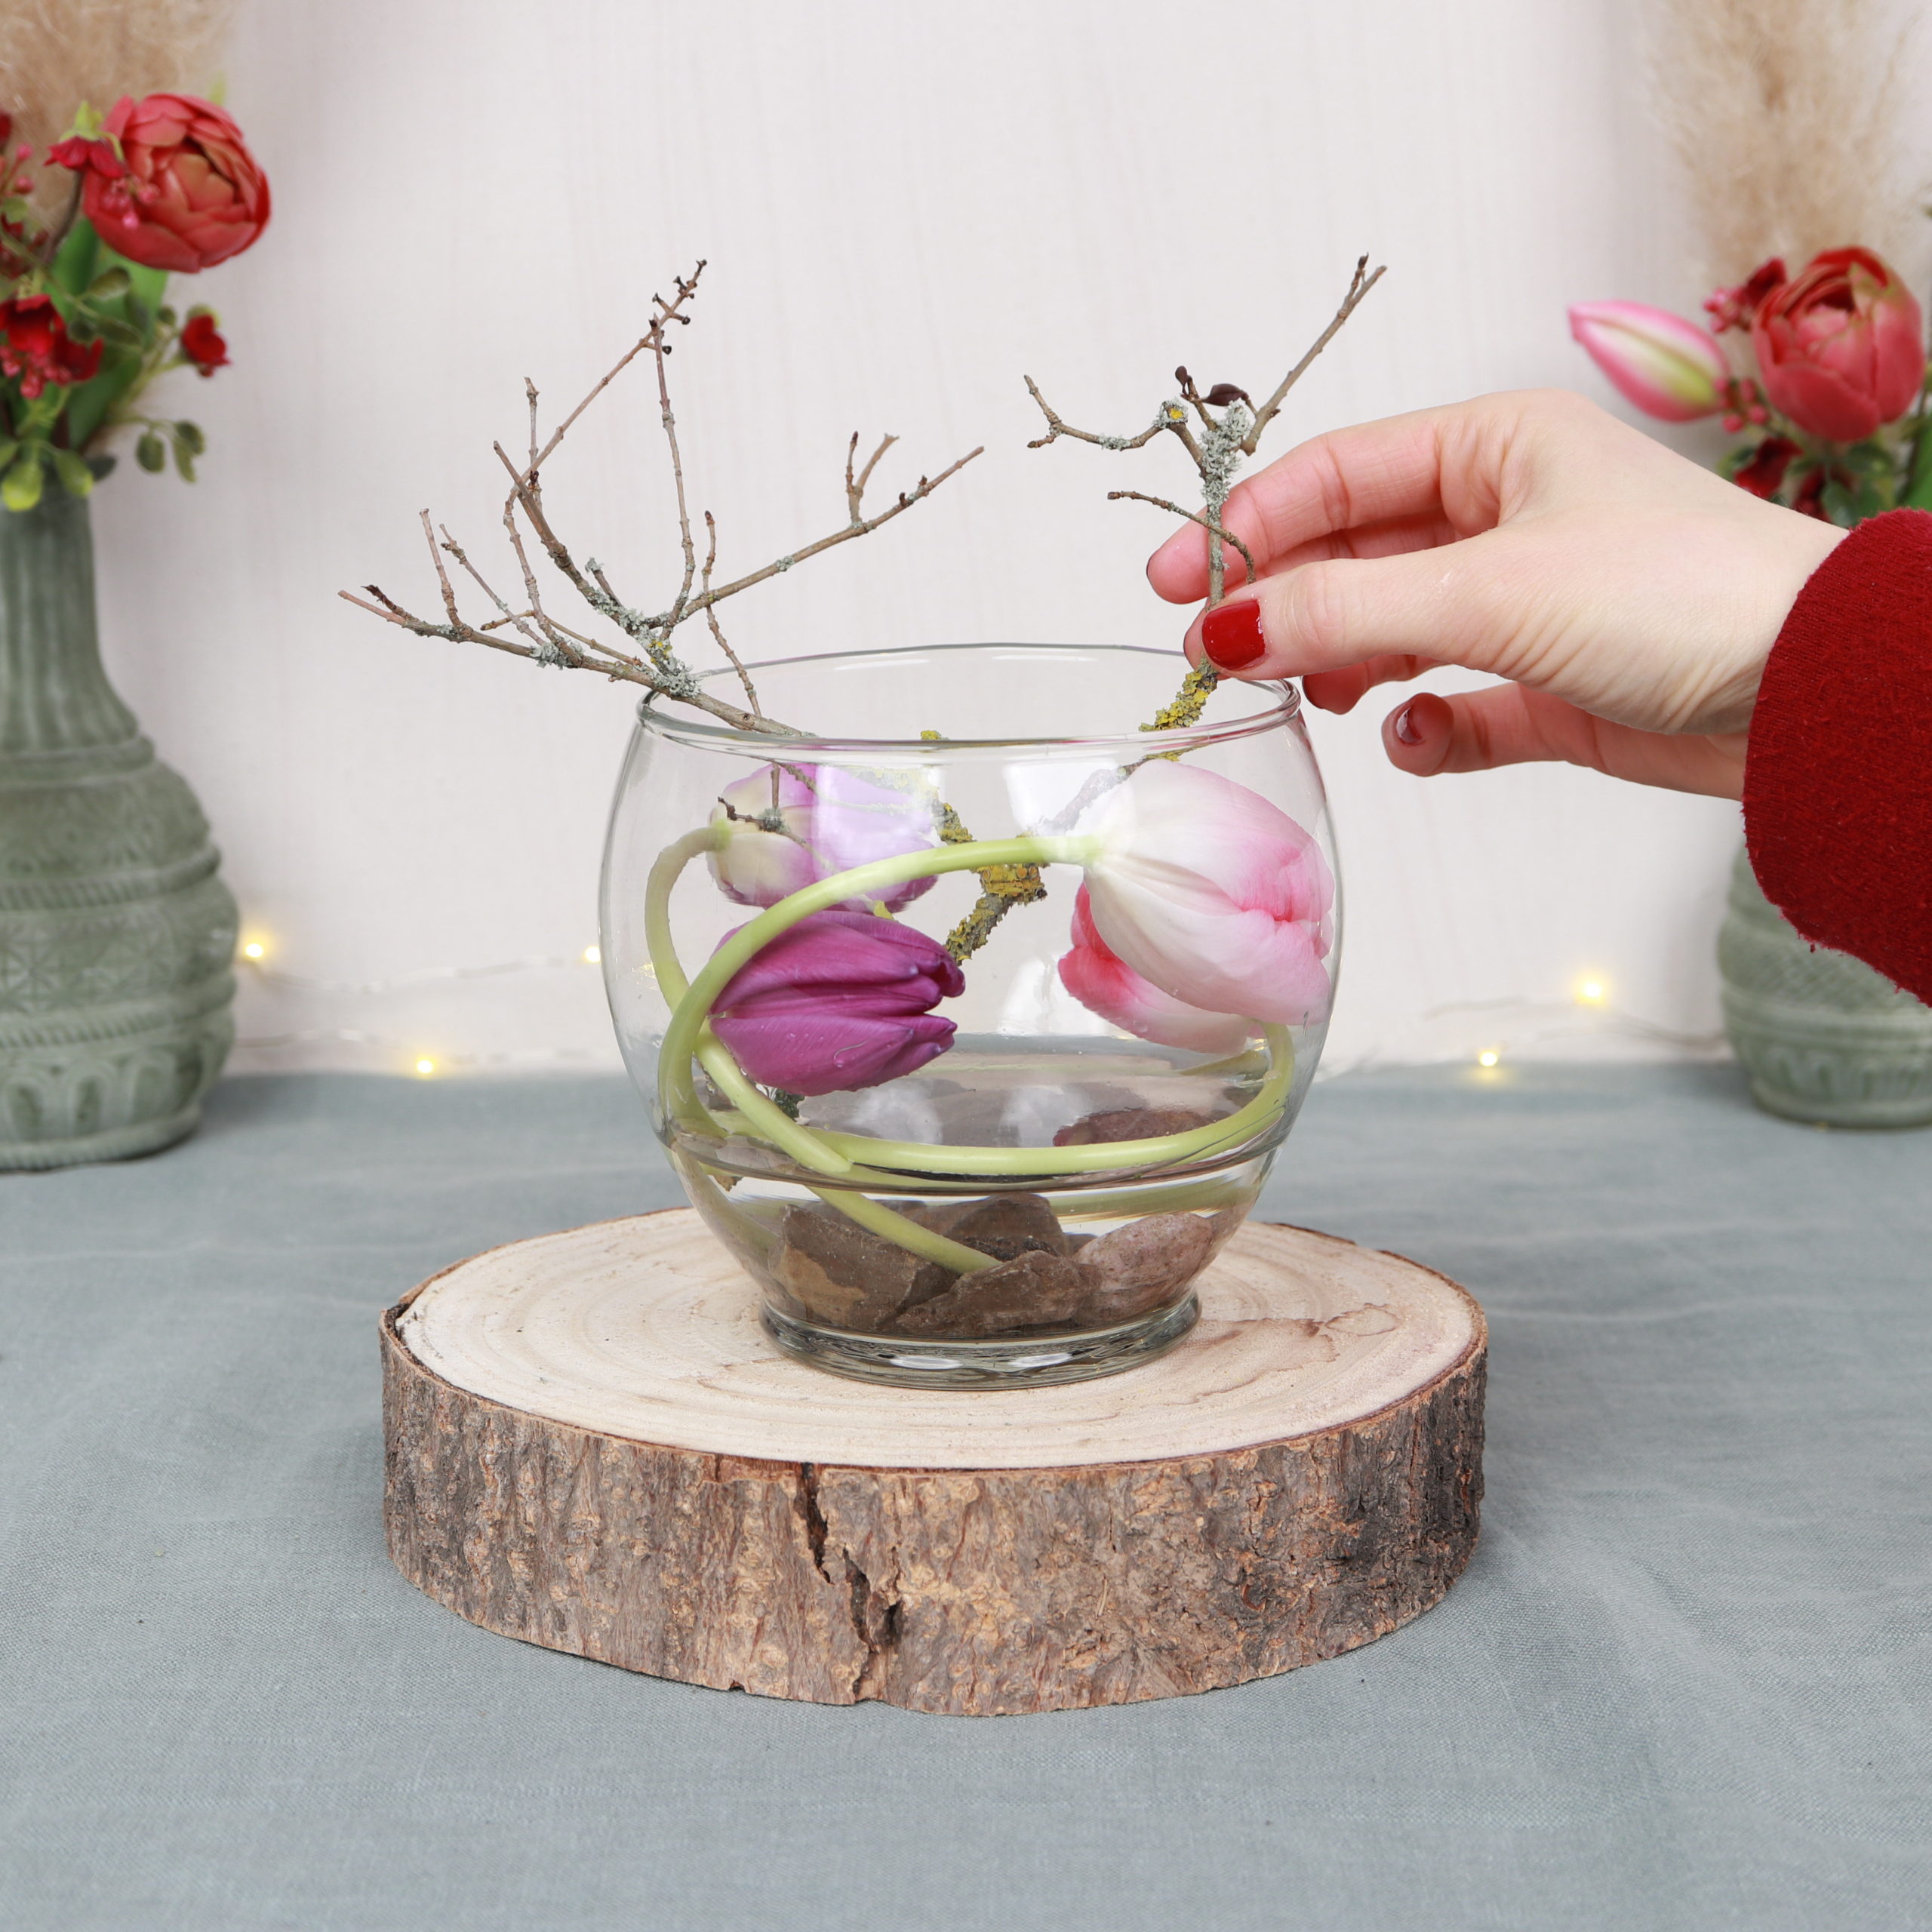
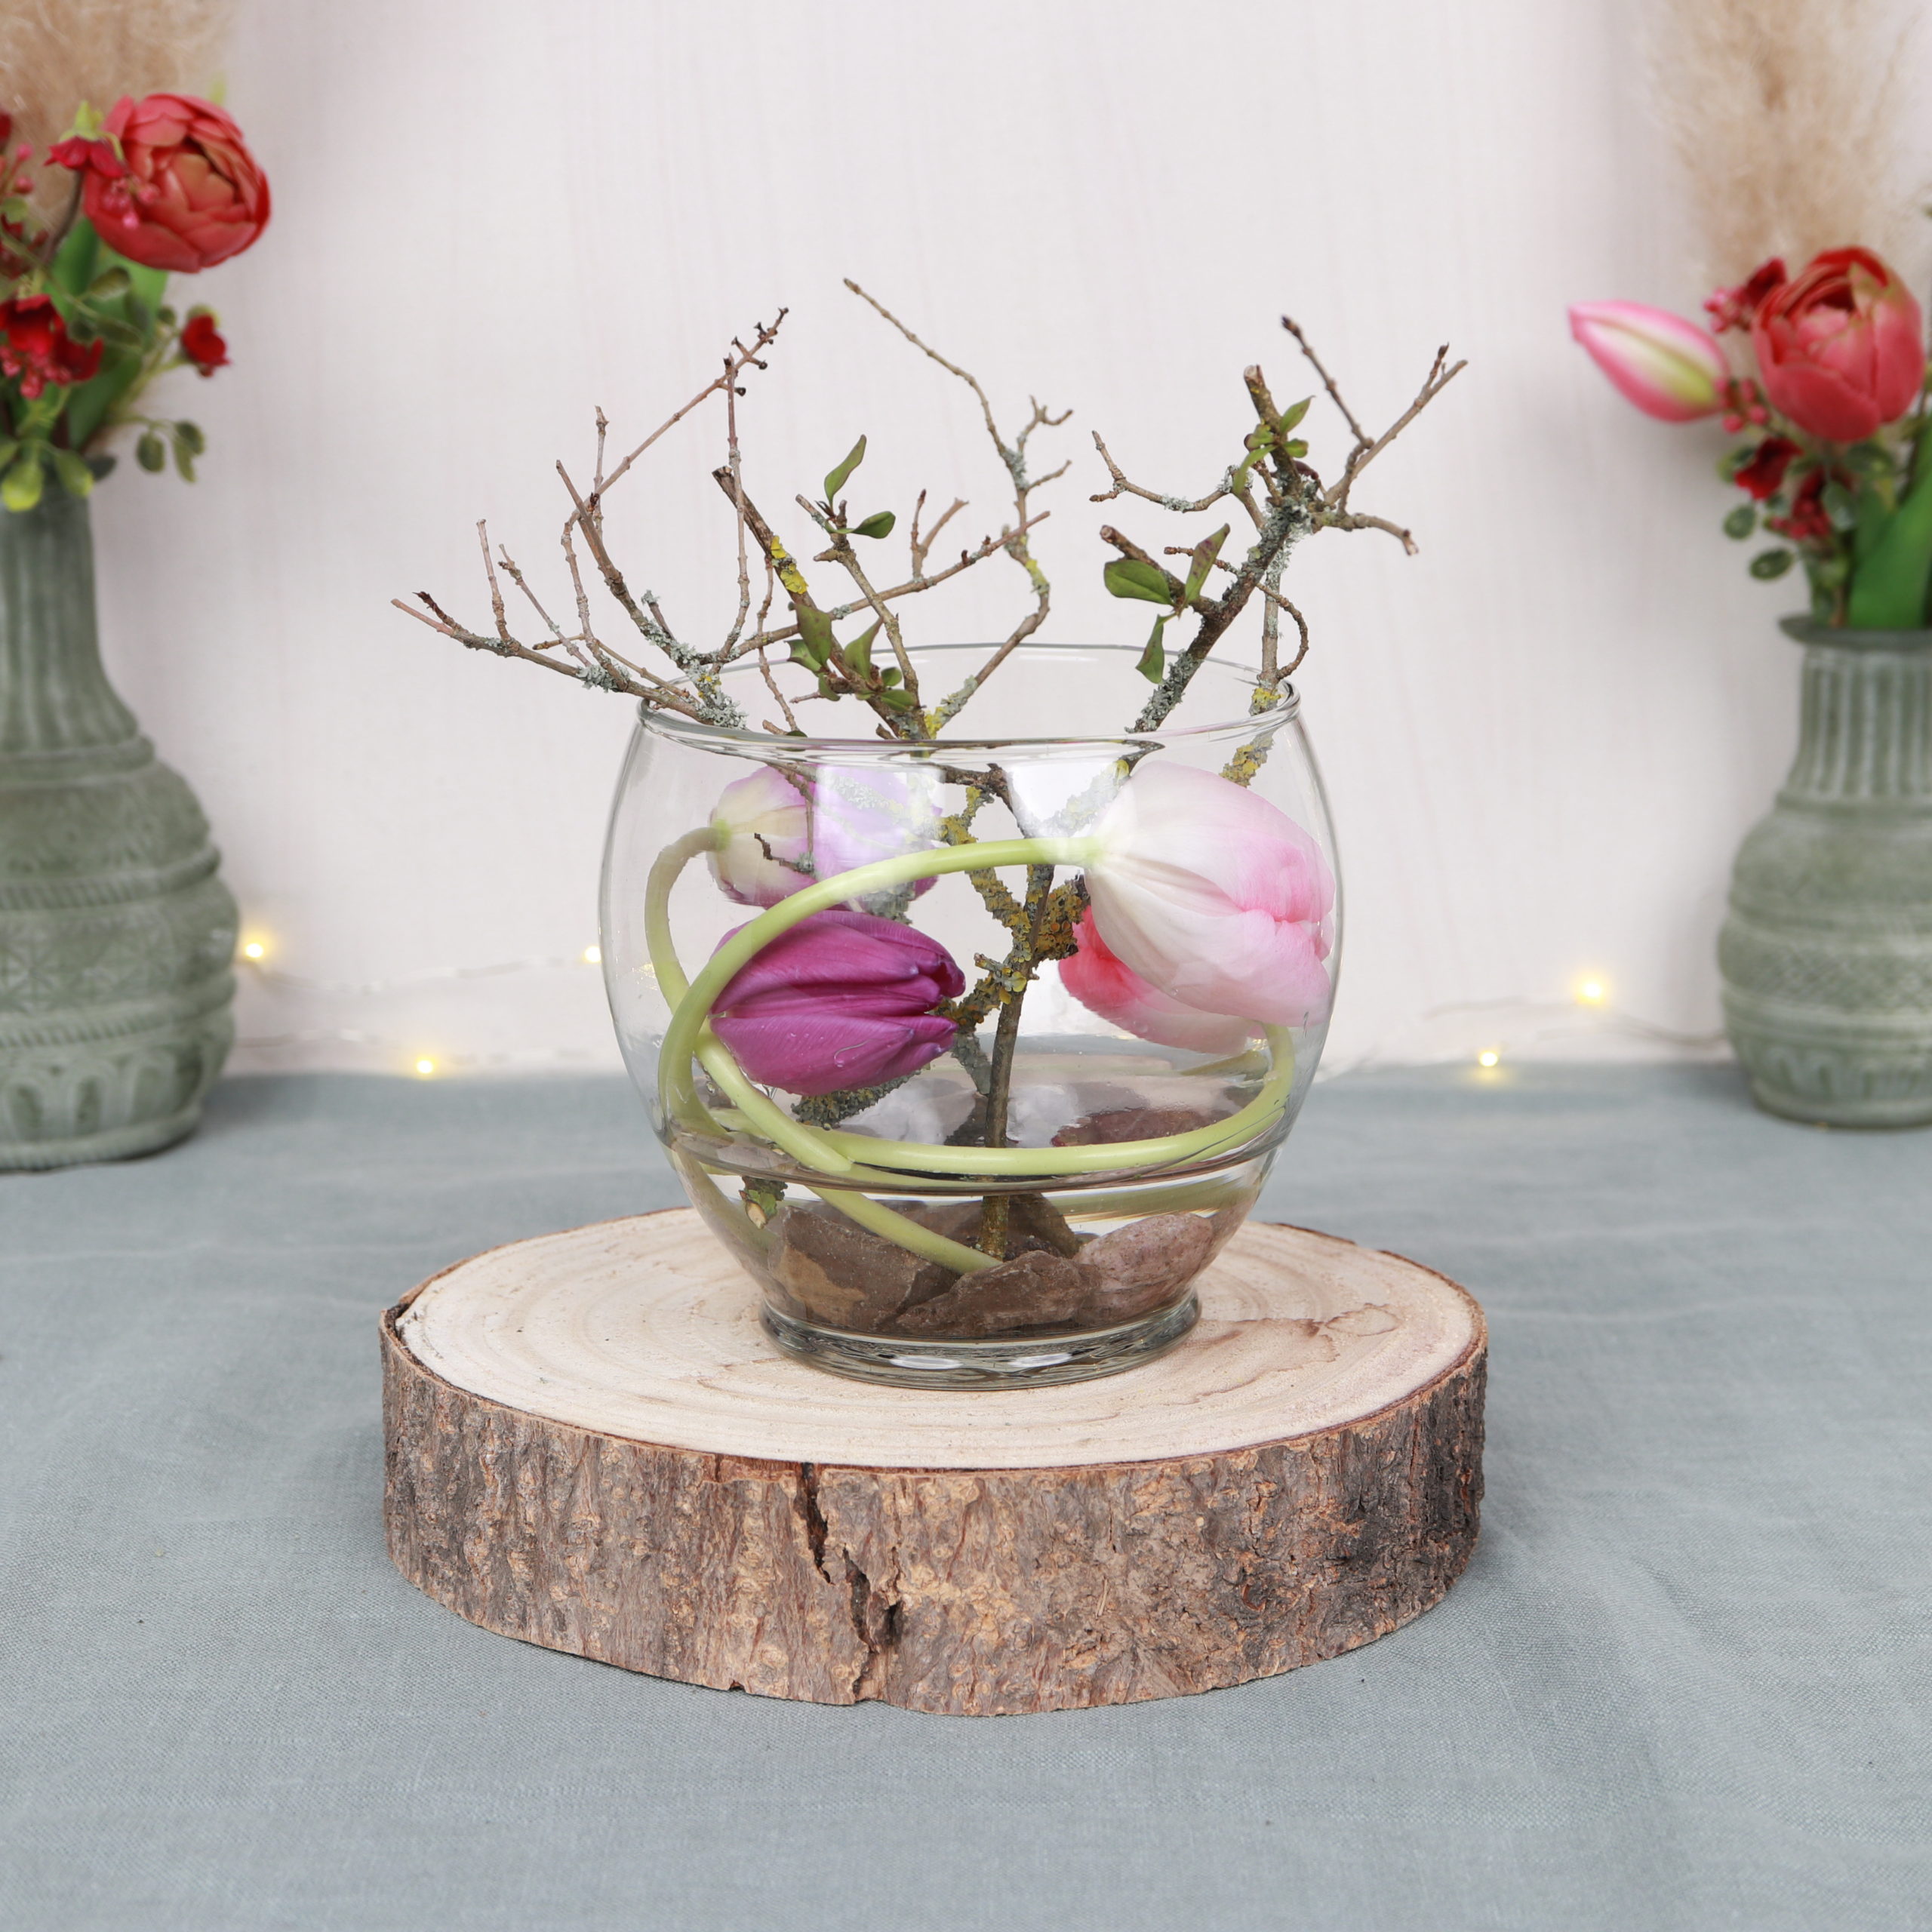
Then, I place more tulips between the branches.
Step 5: Place the vase
Finally, I place the vase in the center of a wreath of vines.

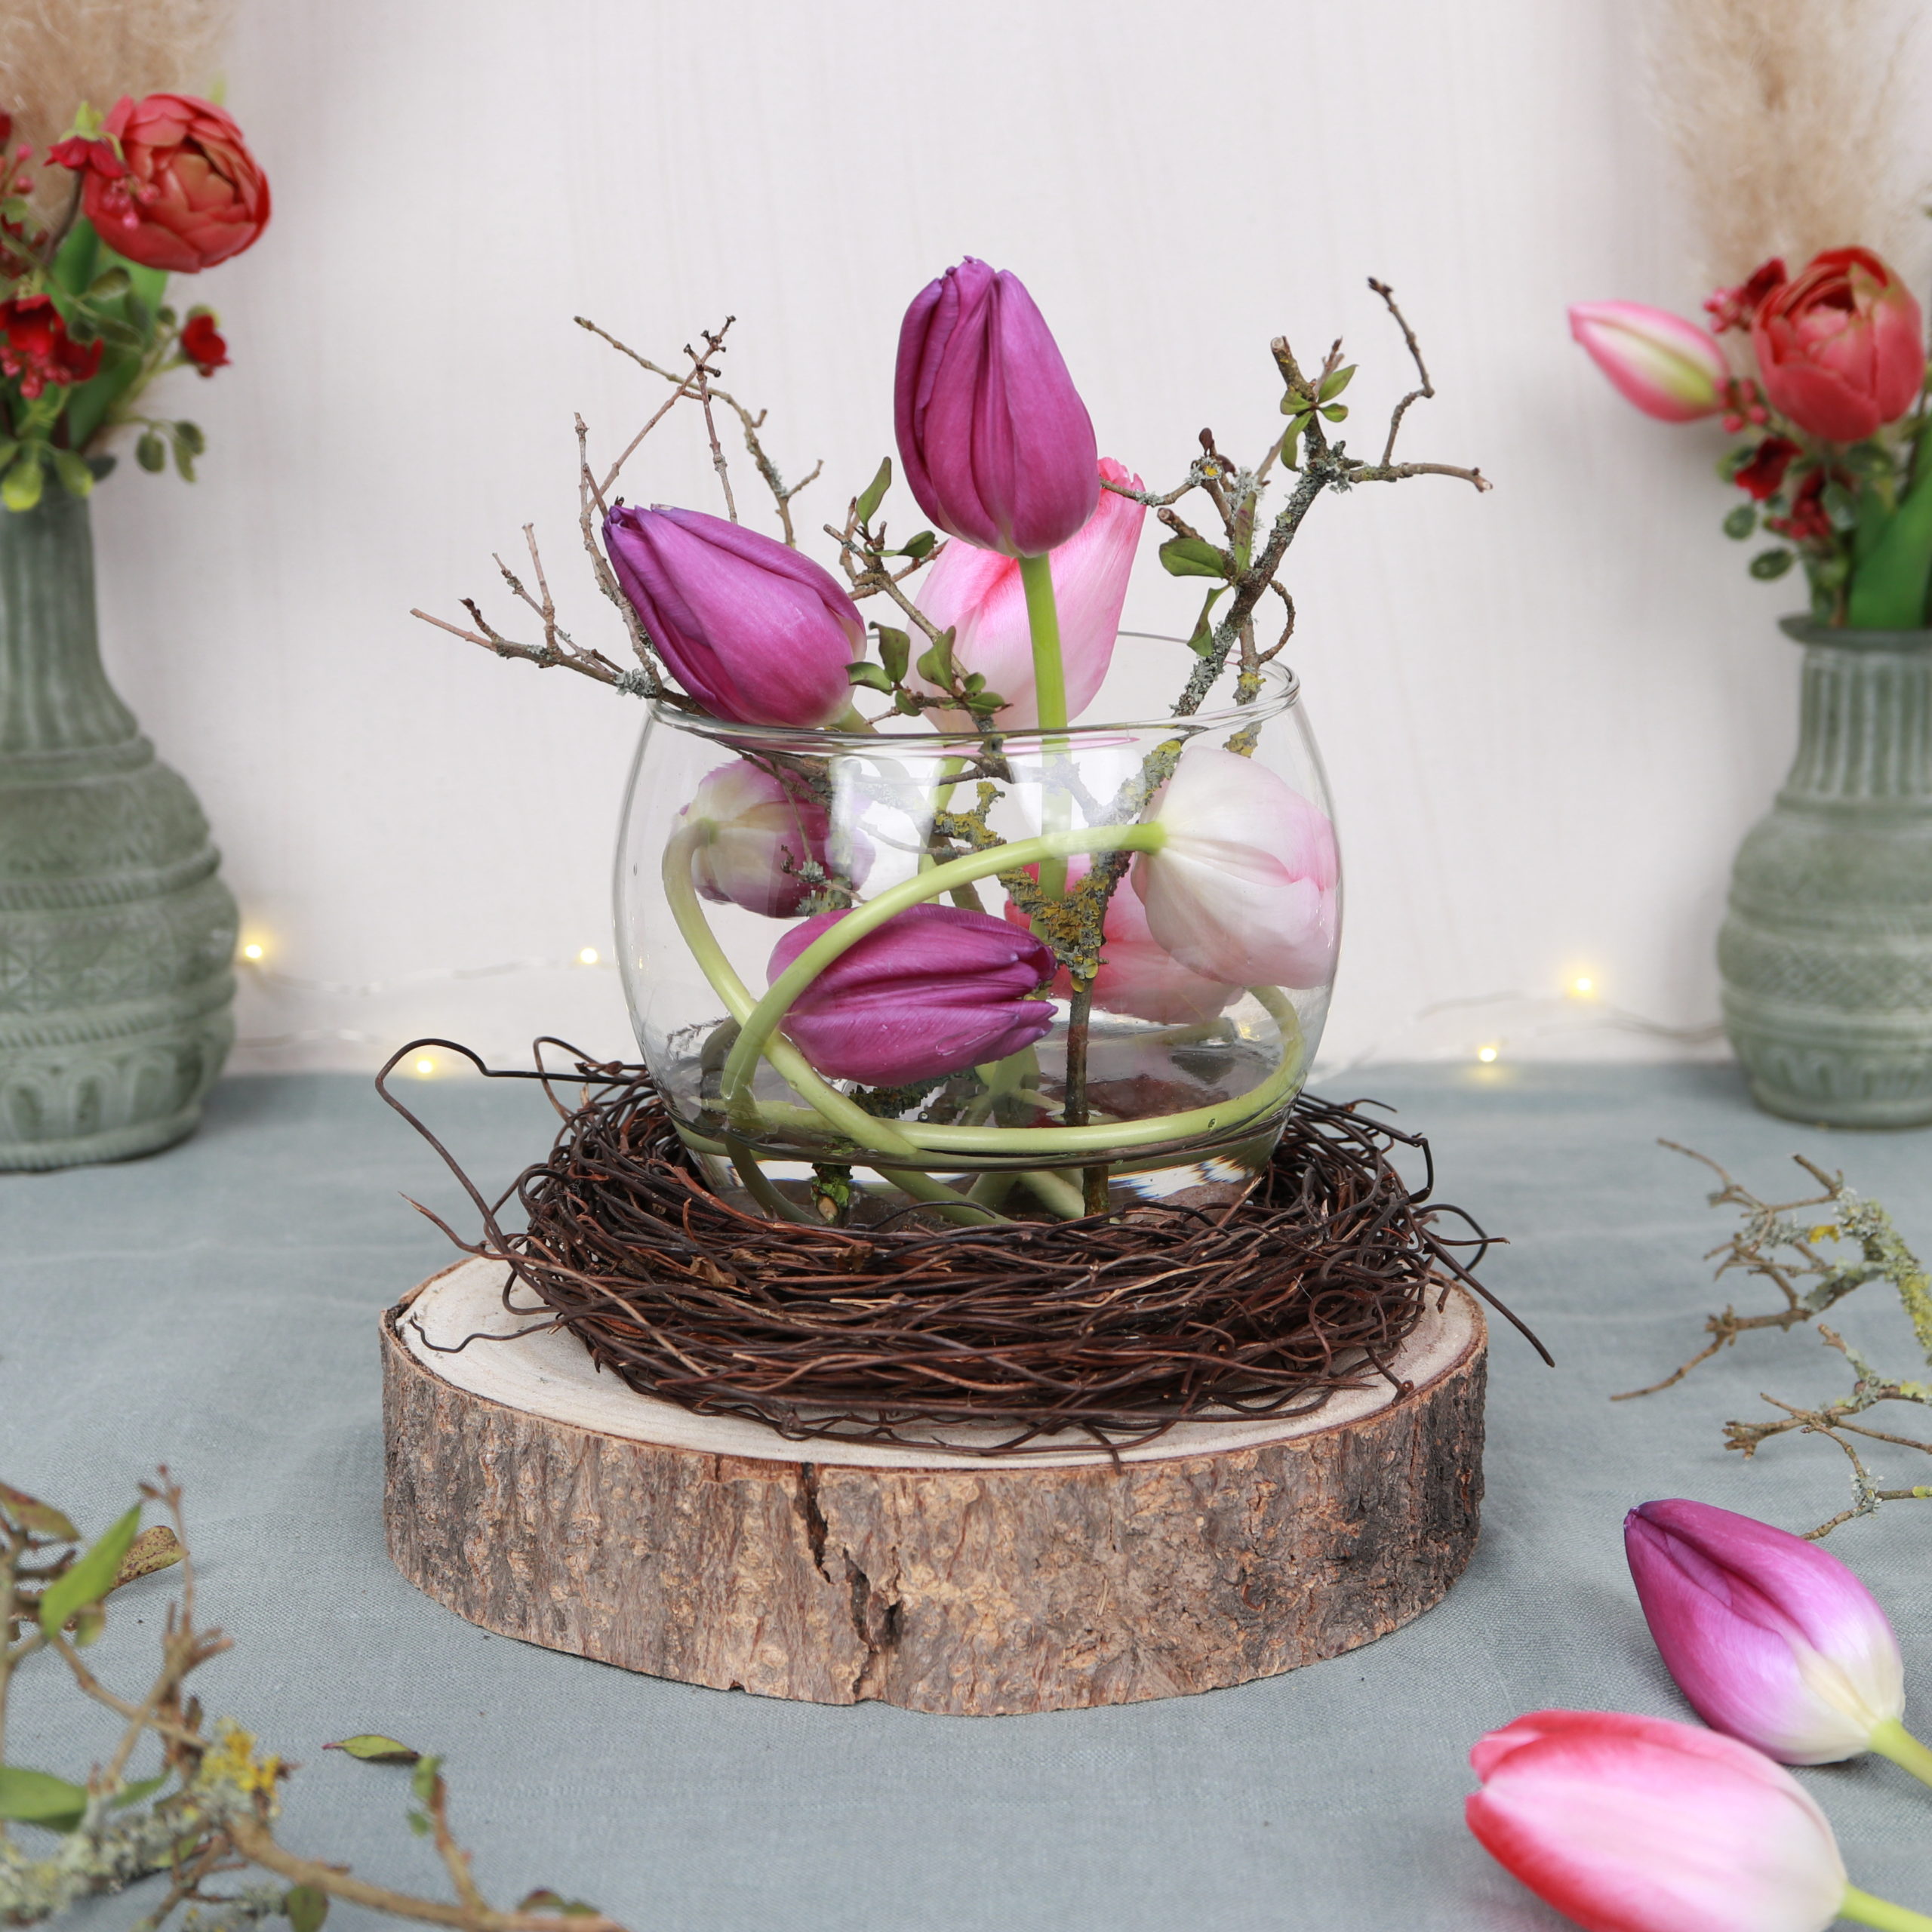
And the decoration is done! I hope you had as much fun with this DIY as I did and that you enjoy the table decoration with a vase and tulips!