This DIY tutorial teaches how to make an rose arrangement.
Tools
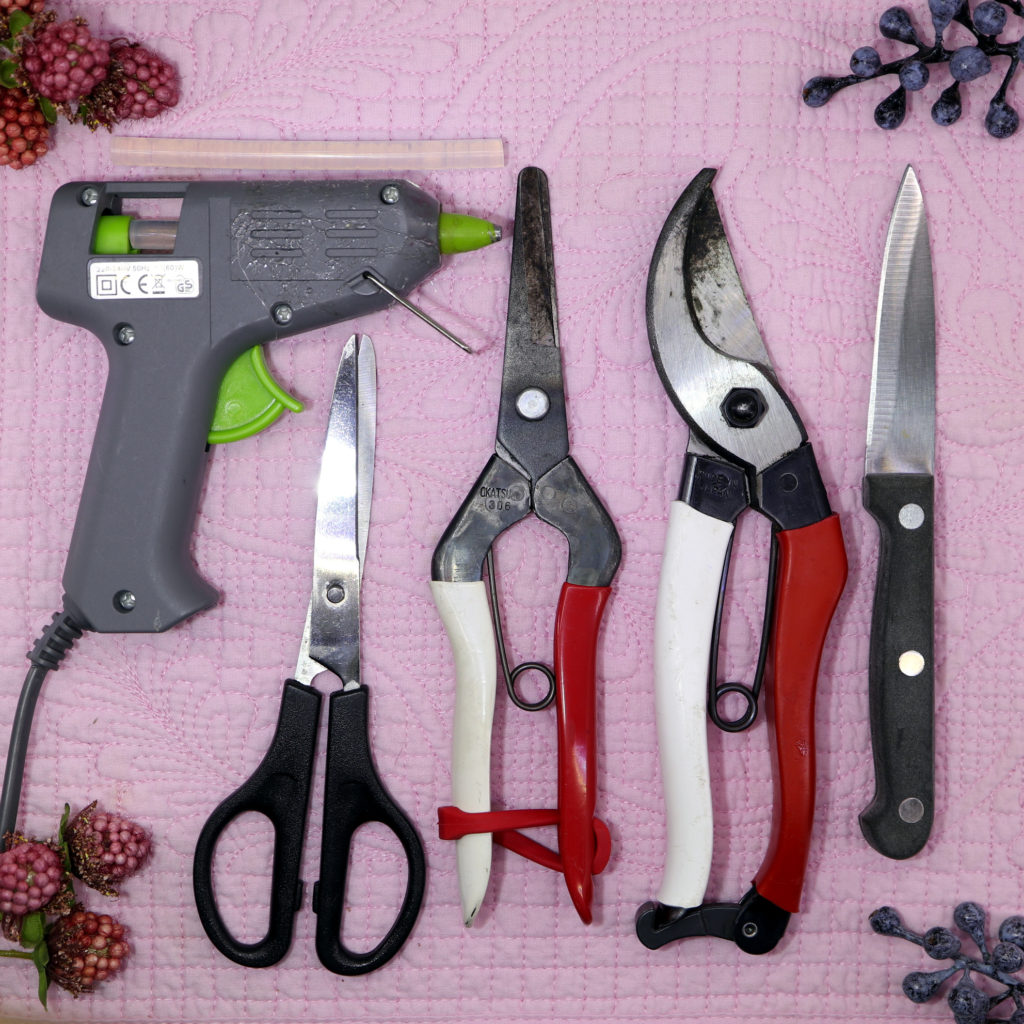
These are the tools that I used to make the rose arrangement: Harvest shears, pruners, knife, scissors and a hot glue gun.
| Tool | Search on… |
|---|---|
| Harvest shears | |
| I use the Japanese harvest shears Okatsune 304 | |
| Pruners | |
| I use the Japanese pruners Okatsune 103 | |
| Knife | |
| Scissors | |
| Hot glue gun | |
| Hot glue sticks |
Materials
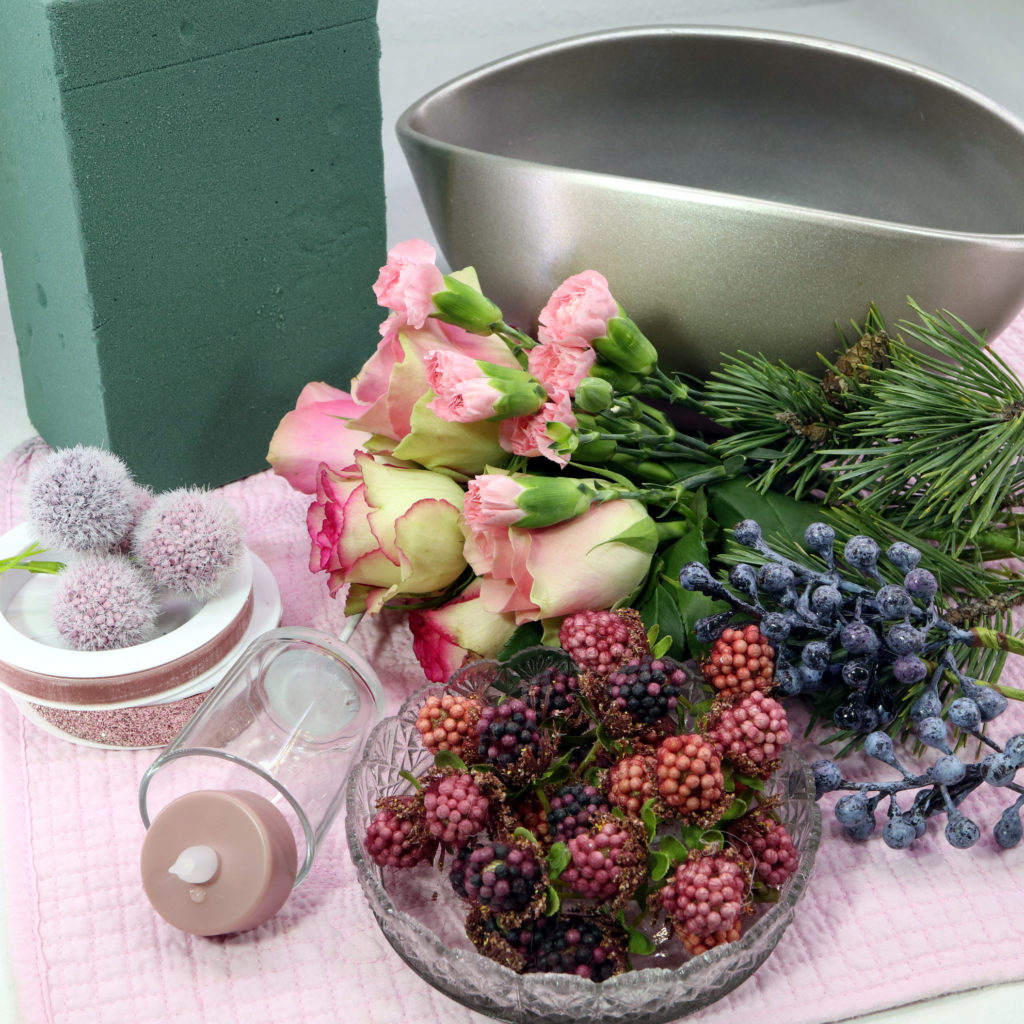
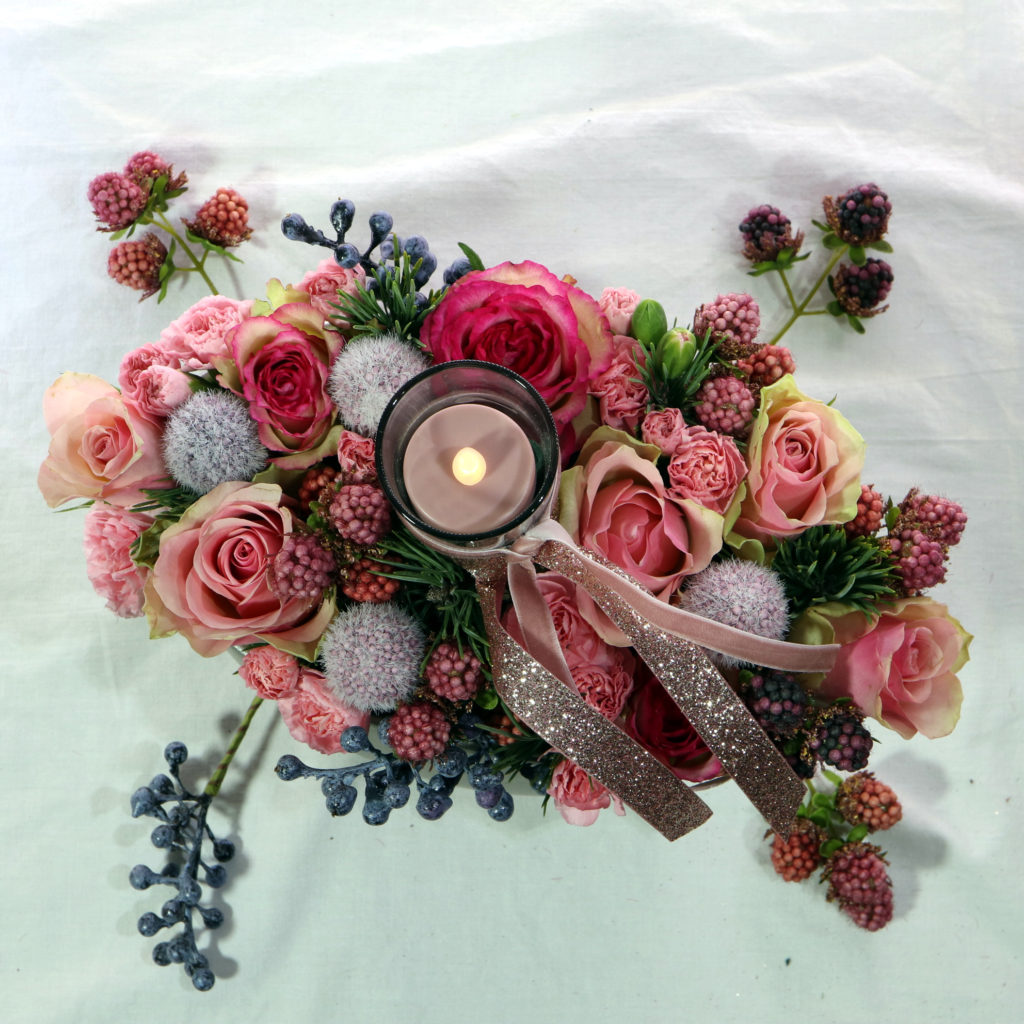
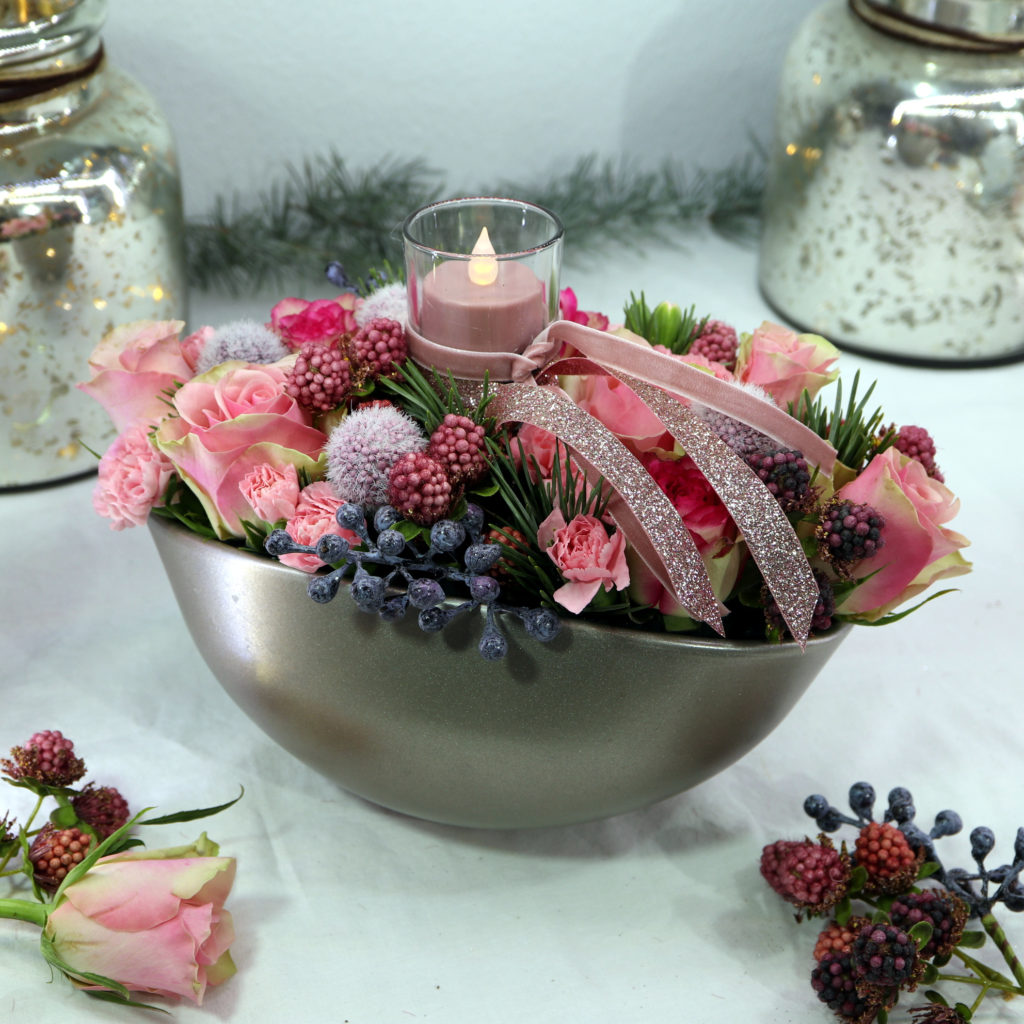
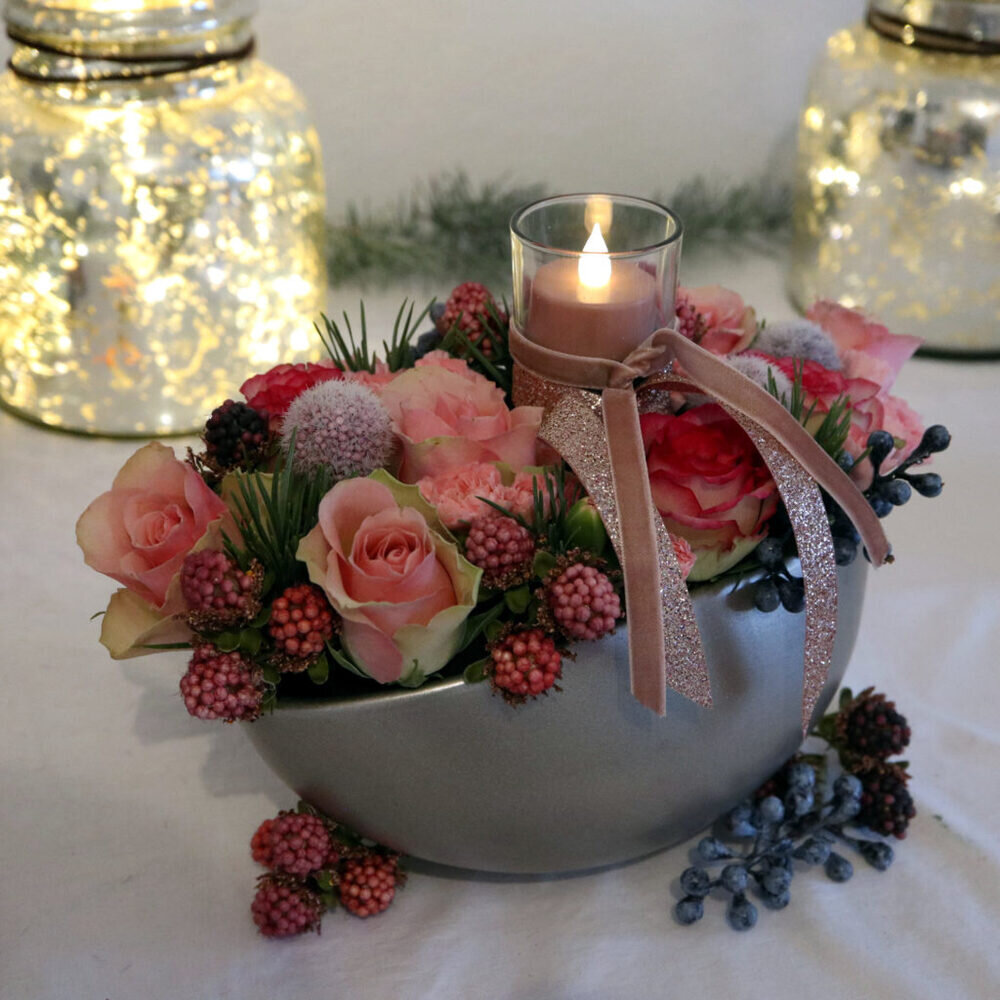
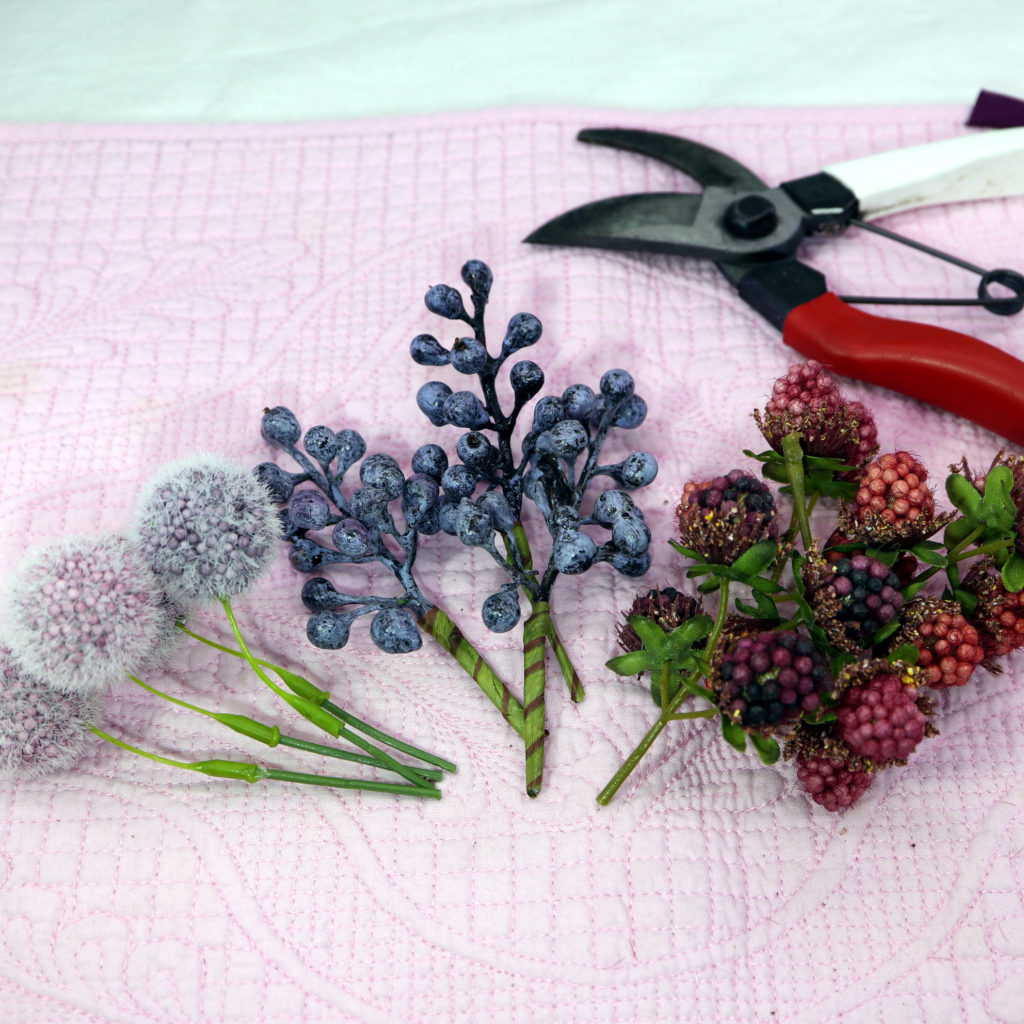
These are the materials that I used for the rose arrangement: silver flower pot, floral foam, roses, carnations, evergreen, artificial berries, artificial spherical flowers, candle holder, LED tea light and ribbons.
Guide
Step 1: Floral foam preparation
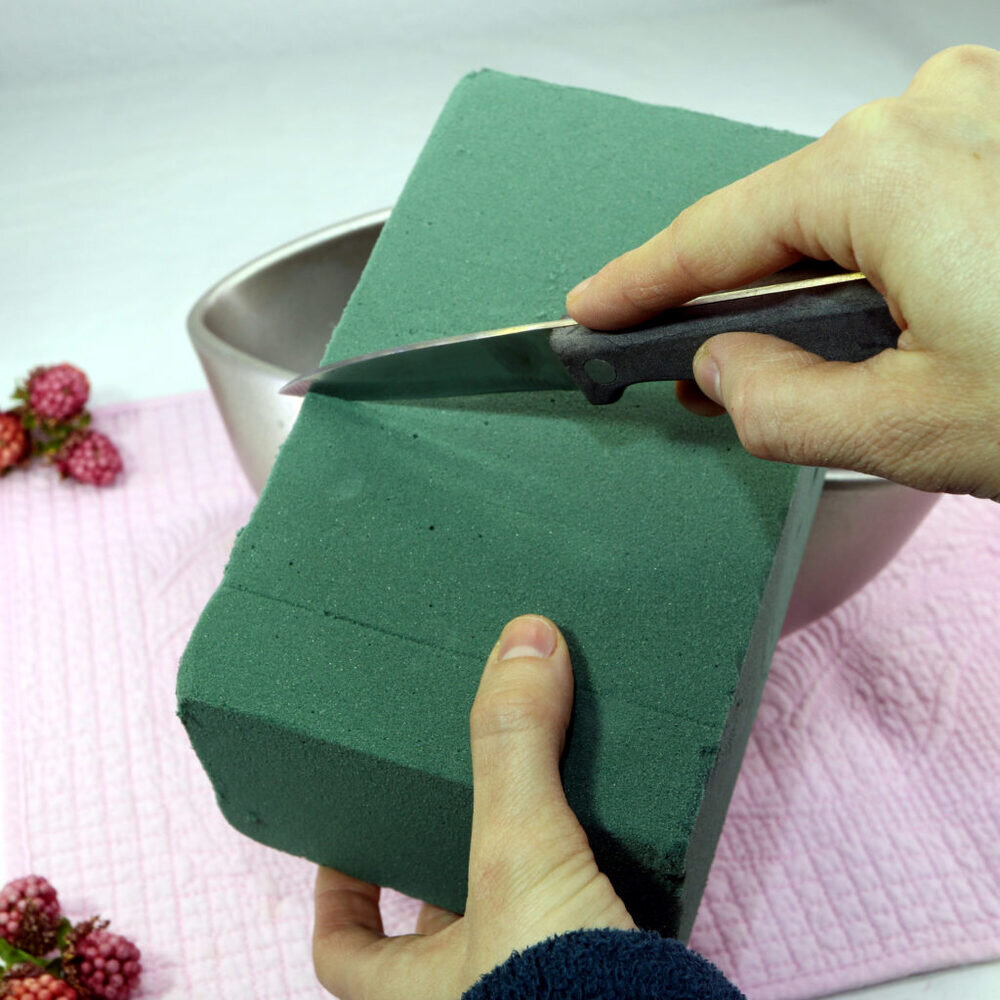
The first step is to cut out some pieces of floral foam. The pieces must fit into the flower pot.
Step 2: Watering the floral foam
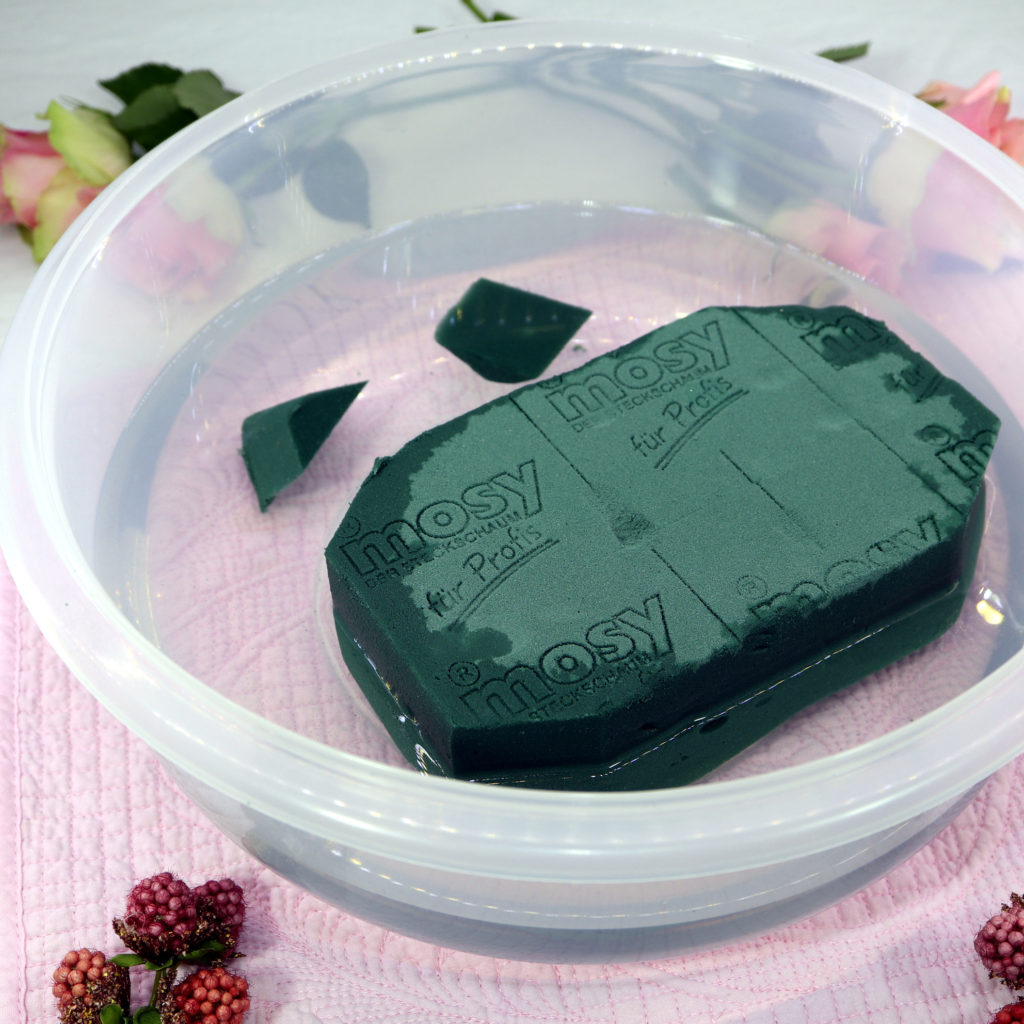
Next, the floral foam must be watered. Just put the floral foam into a bowl full of water and wait for a few moments.
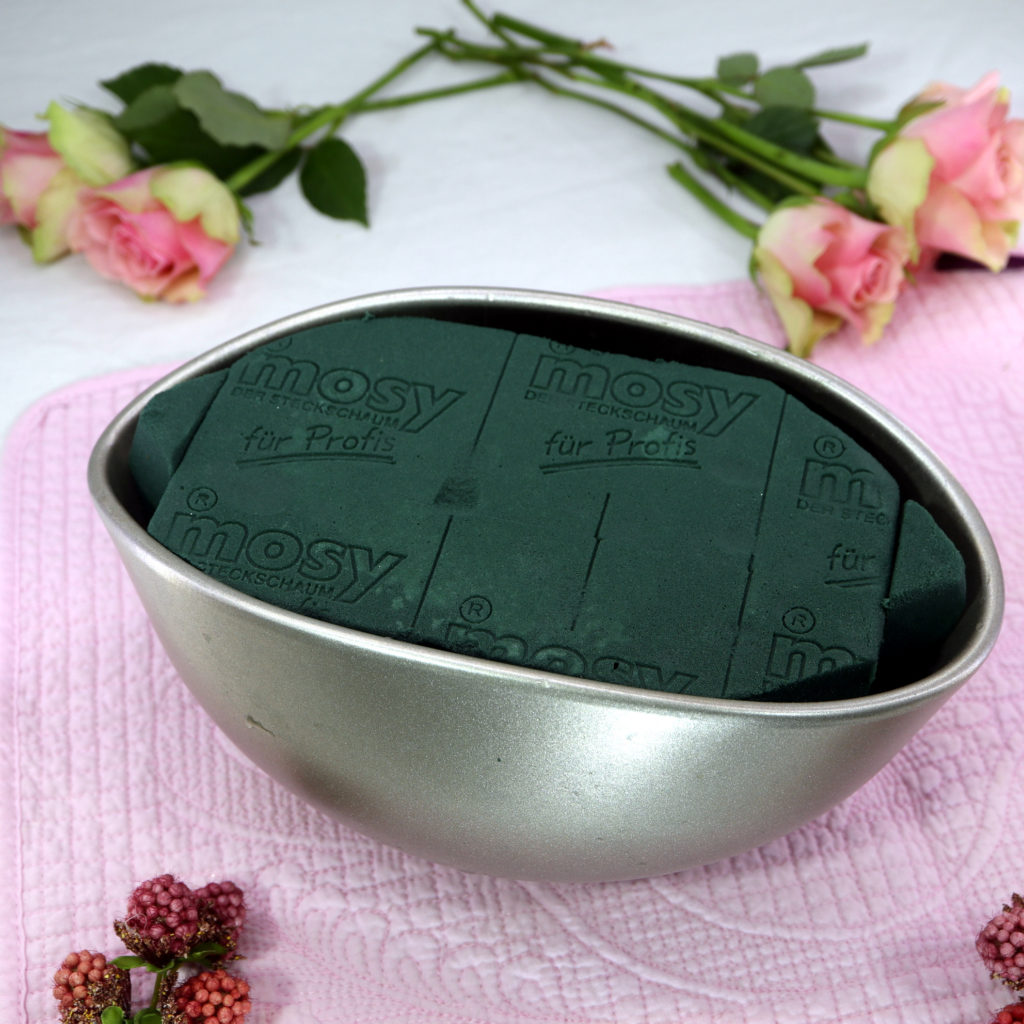
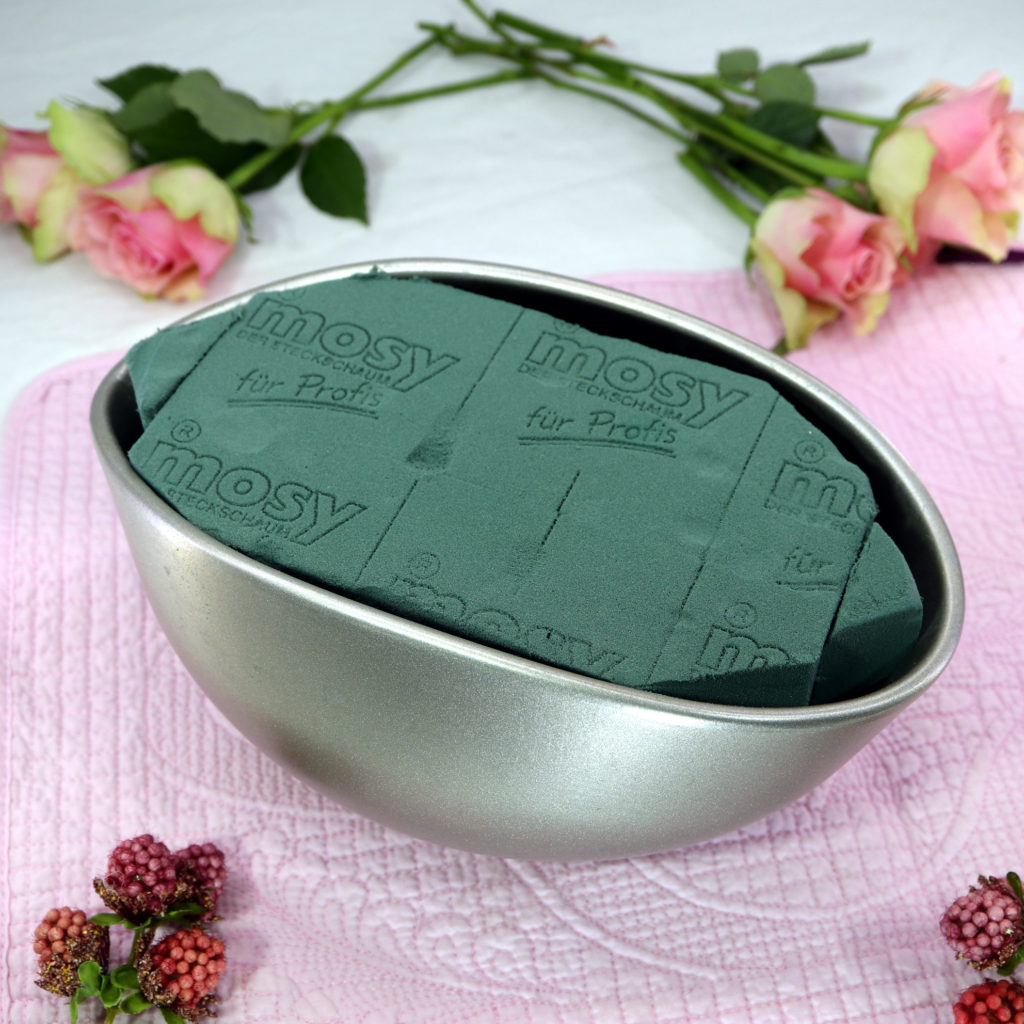
When the floral foam is fully soaked with water, you can put it back into the flower pot.
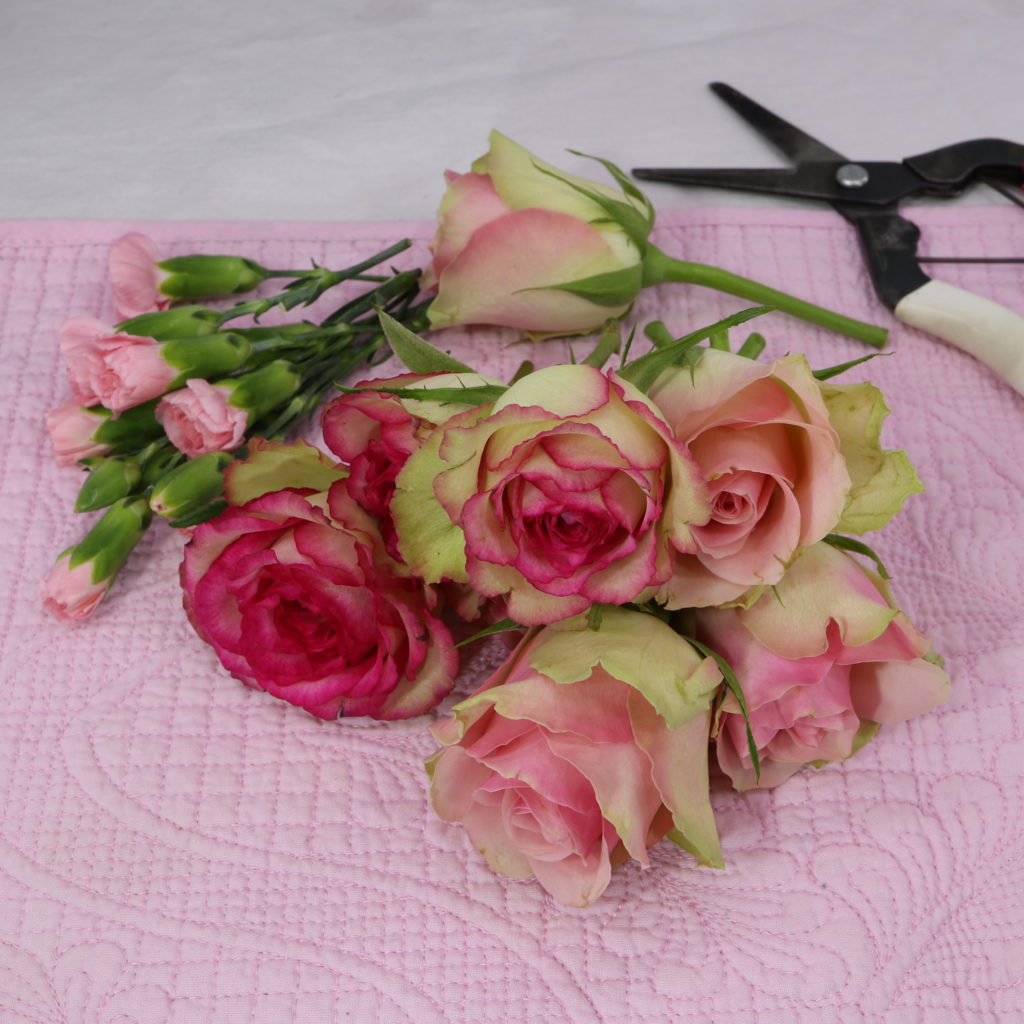
Step 3: Cut the flowers

Use the harvest shears to cut the roses and carnations to the right length (about 4cm).
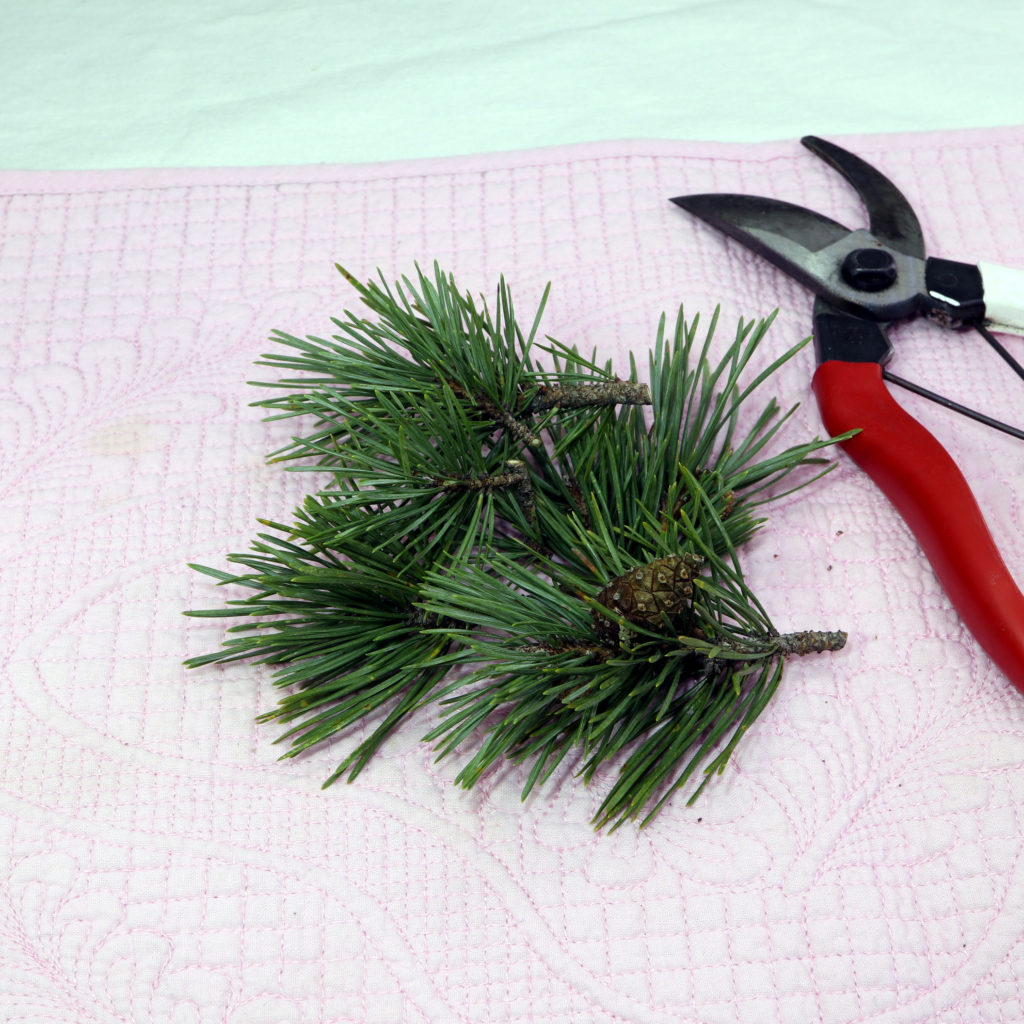
Step 4: Evergreen twigs
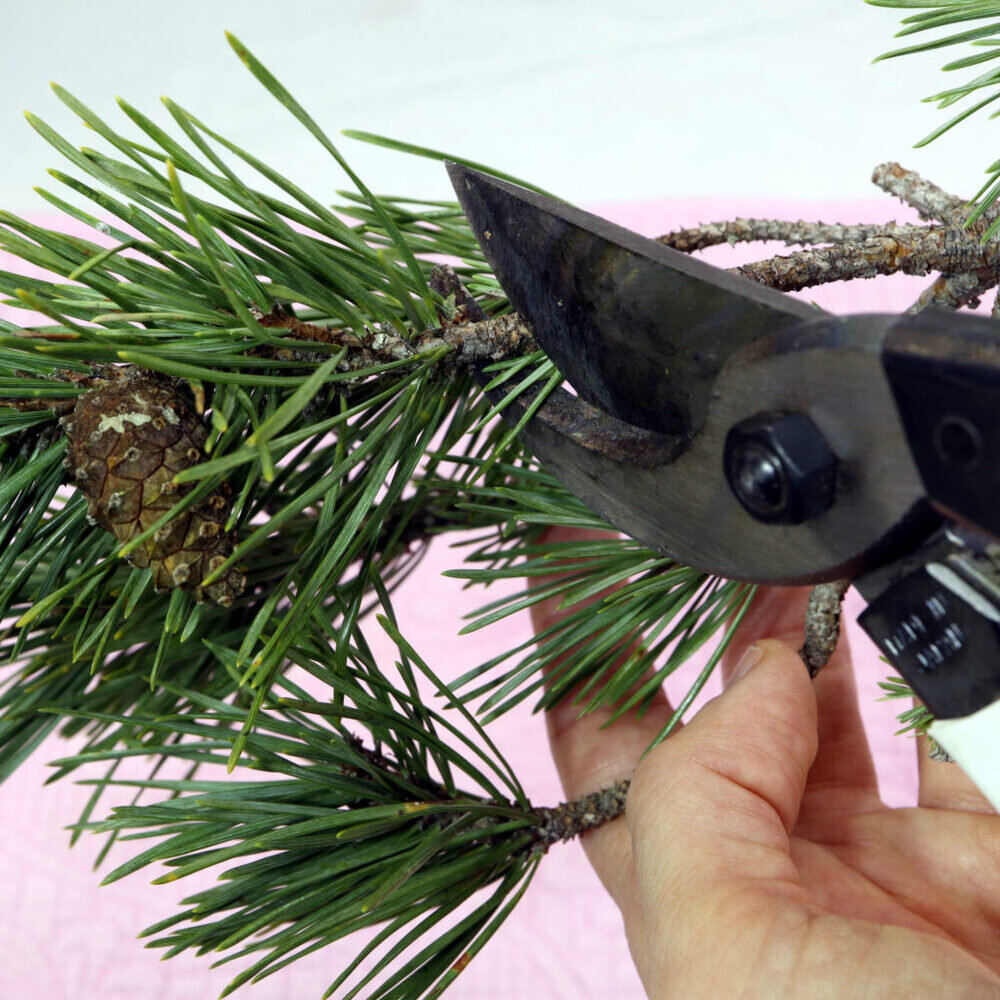
Next, use the pruners to cut the evergreen twigs to the right length. Again, I cut them to a length of about 4cm.
Step 5: Cut the Artificial Decoration Elements
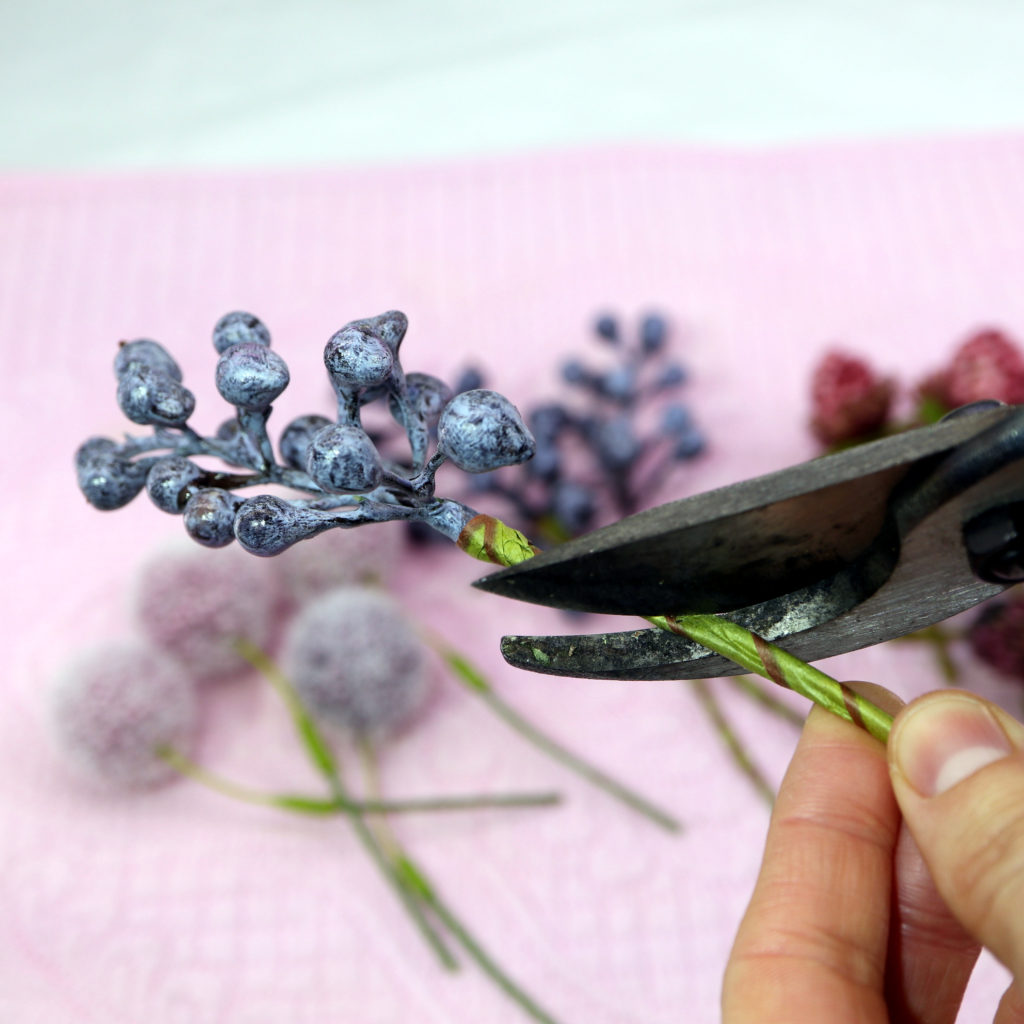
Next, cut the artificial berries and flowers to the right length.
Step 6: Insert element into floral foam
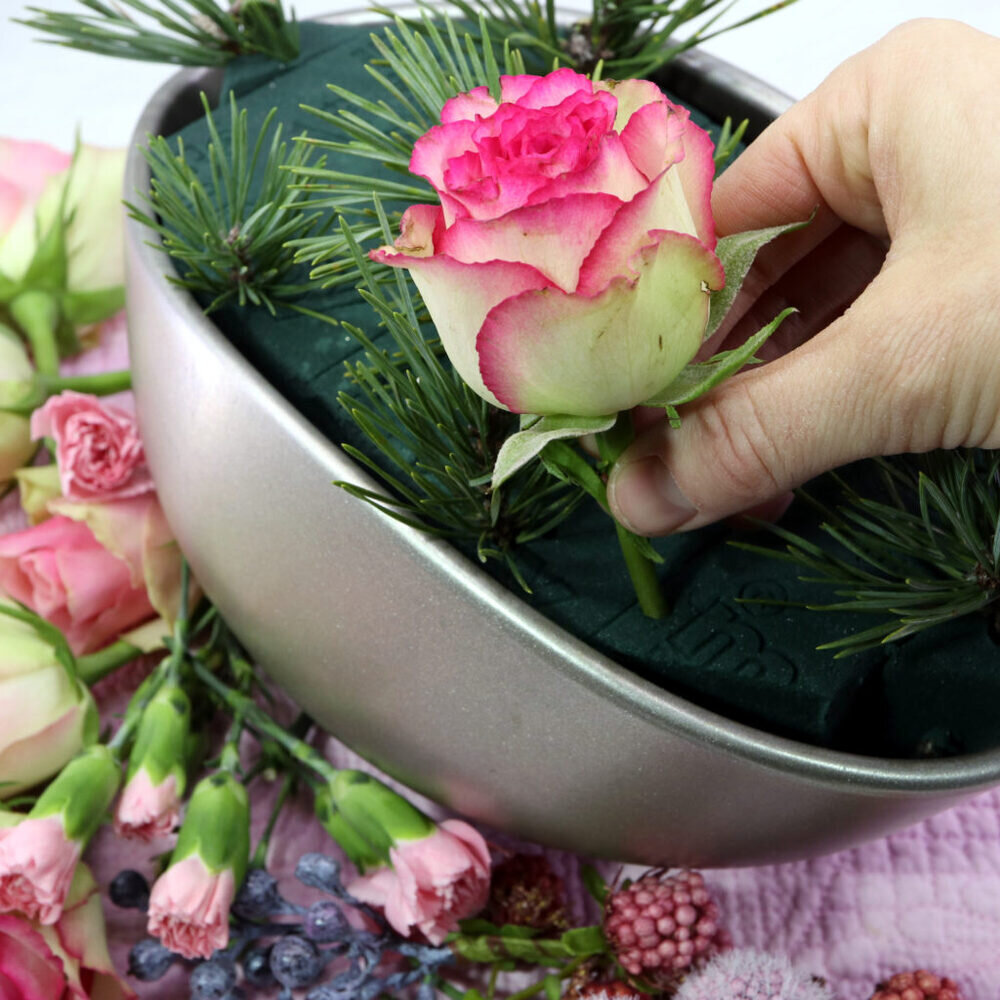
Now, you can insert all the flowers and twigs into the floral foam. Arrange them as you like.

Leave some space at the center to place their the LED tea light later on.
Step 7: Prepare Candle Holder
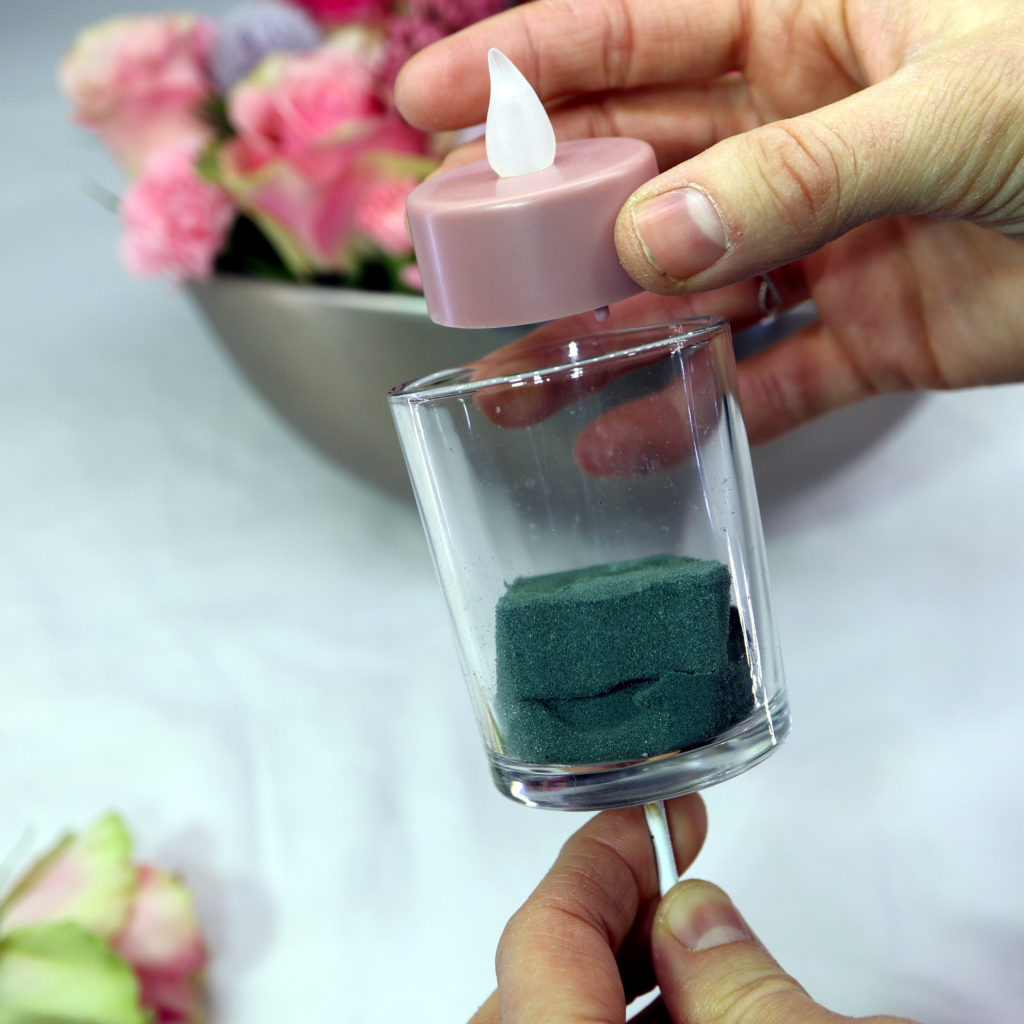
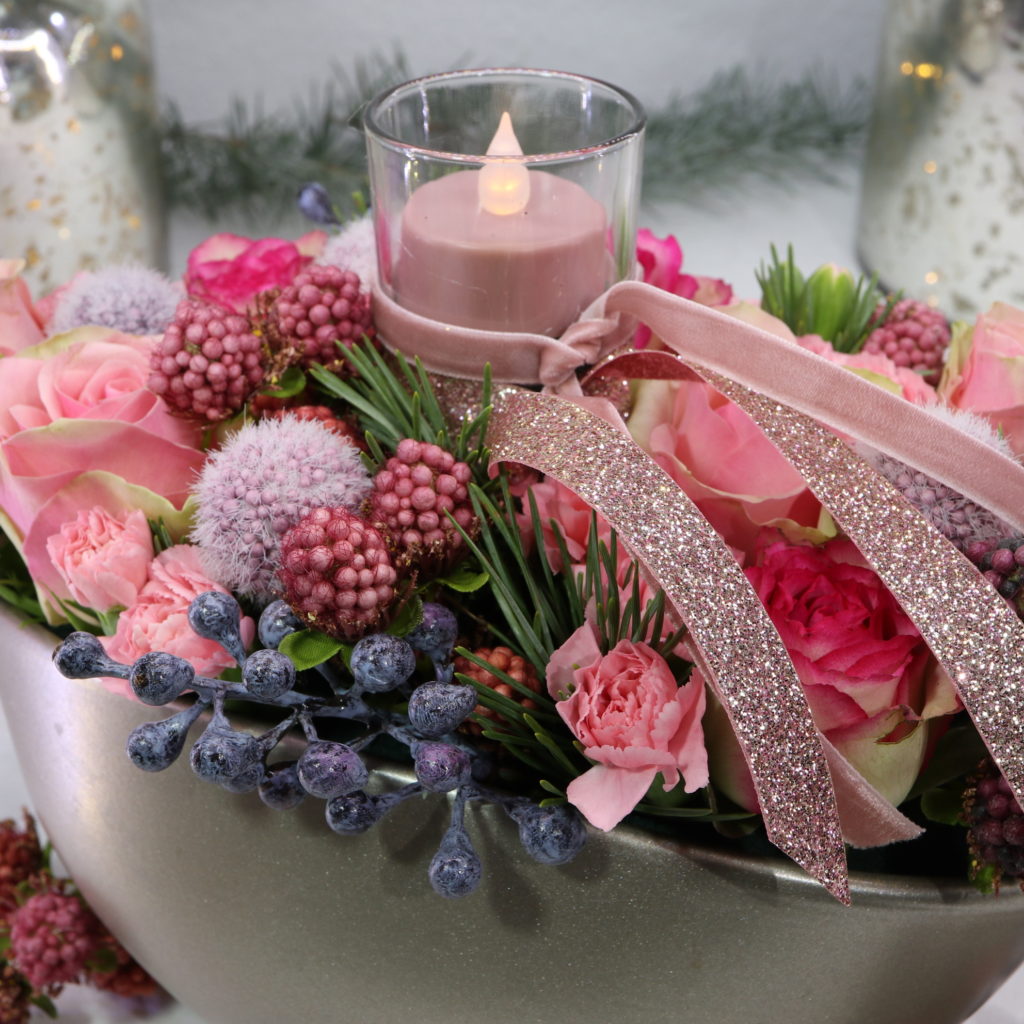
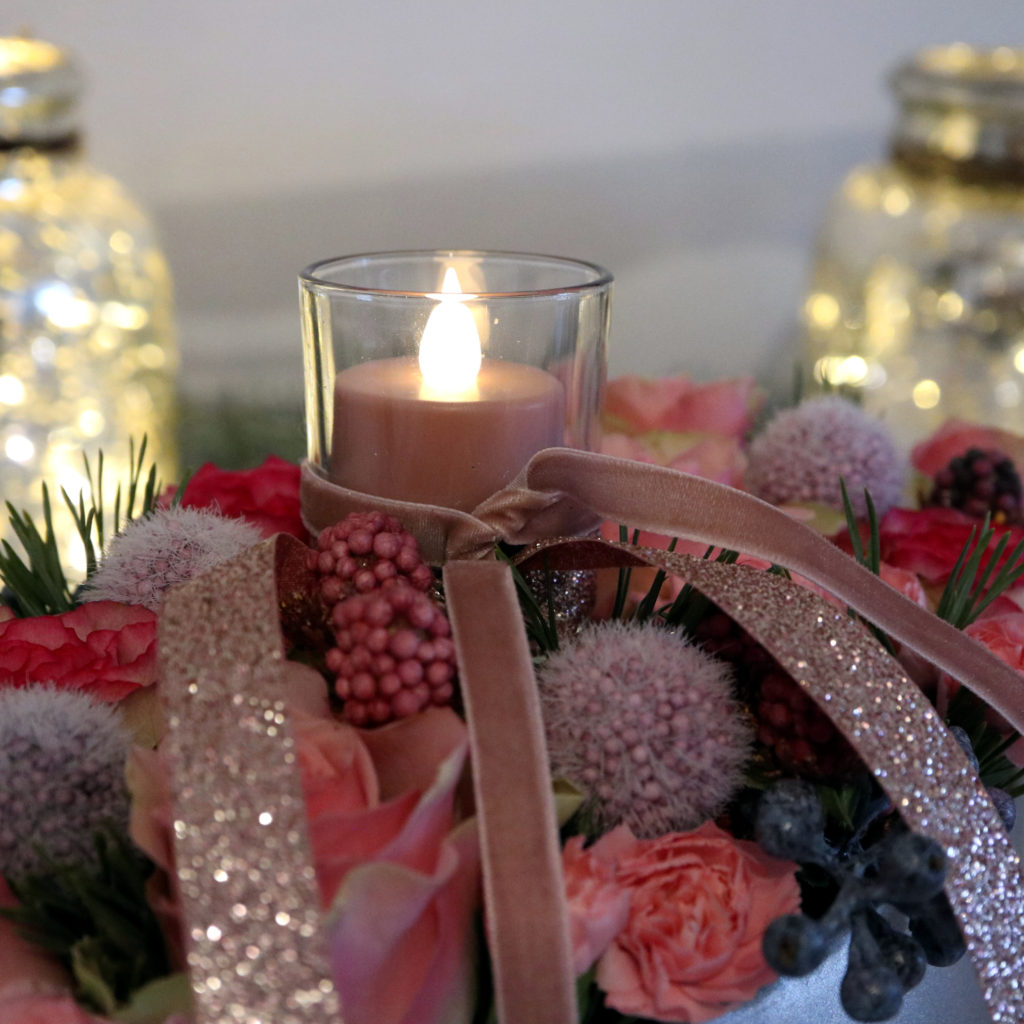
I placed some floral foam into the candle holder. As a result, the LED tea light is a bit higher. The floral foam will be covered by some ribbon.
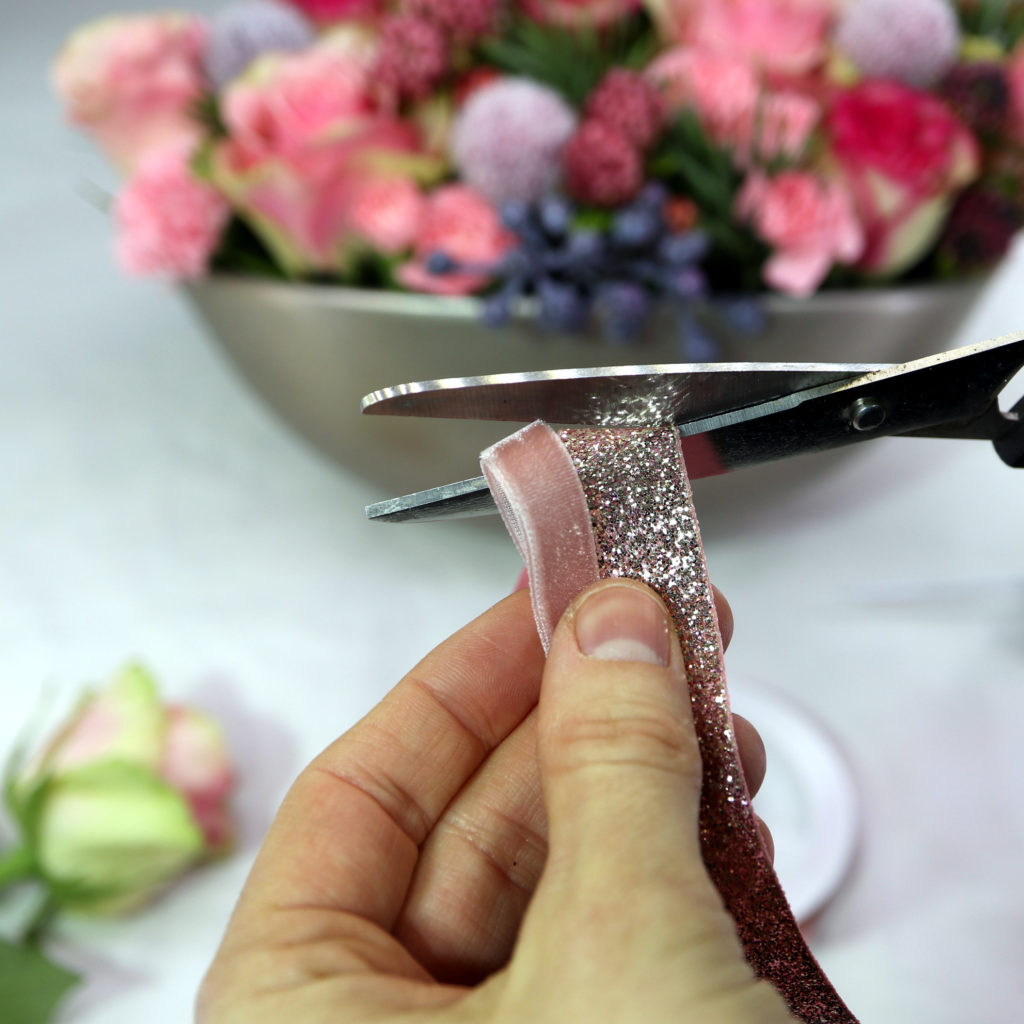
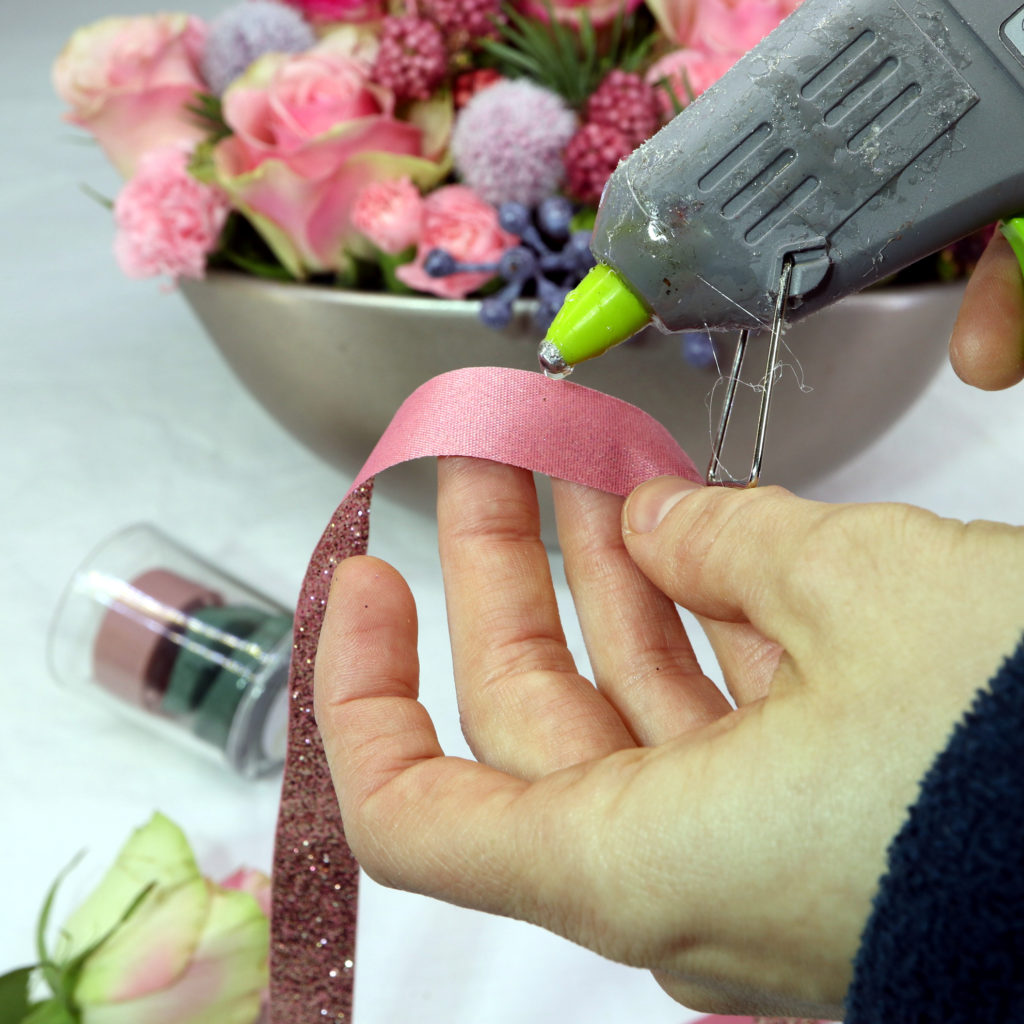
I cut all the ribbon to the right length. With the help of the hot glue gun, I’m able to fix the ribbons to the candle holder.
Step 8: Add Candle Holder to Flower Pot
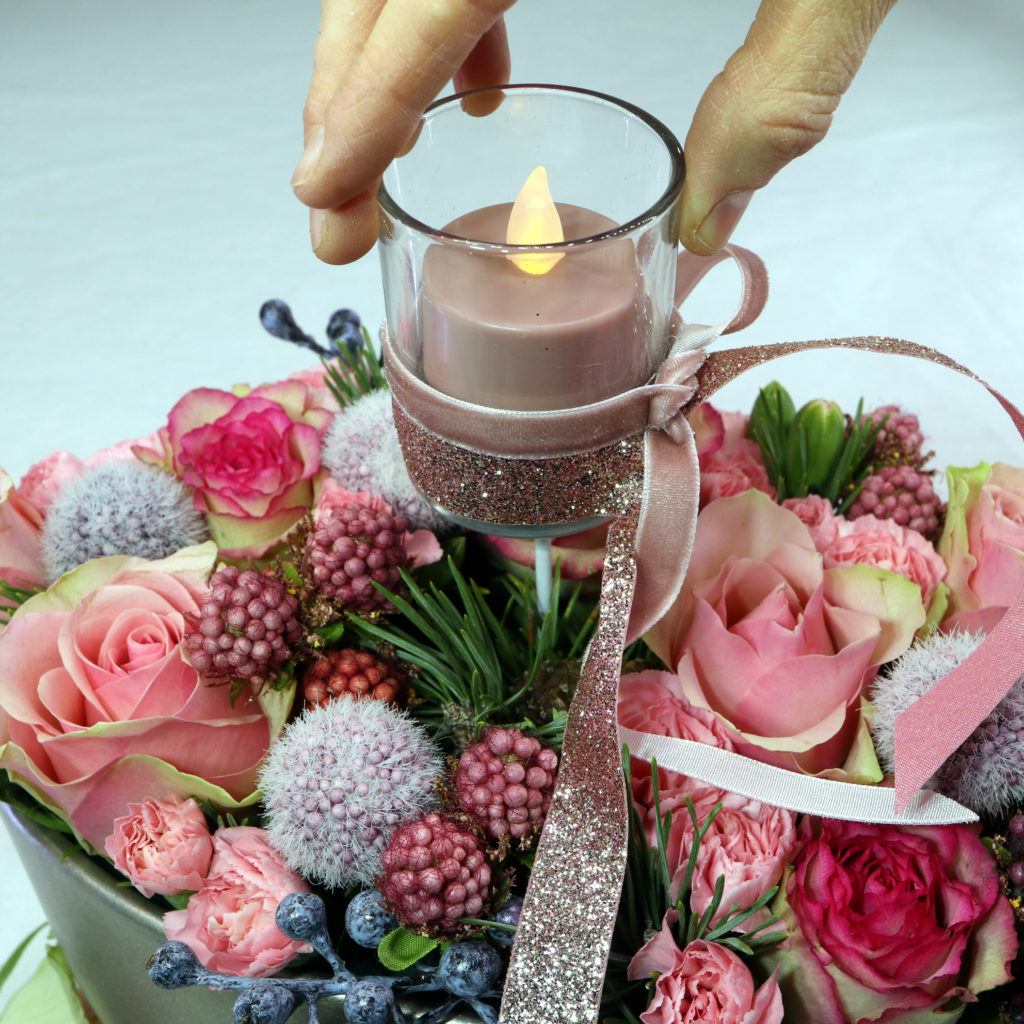
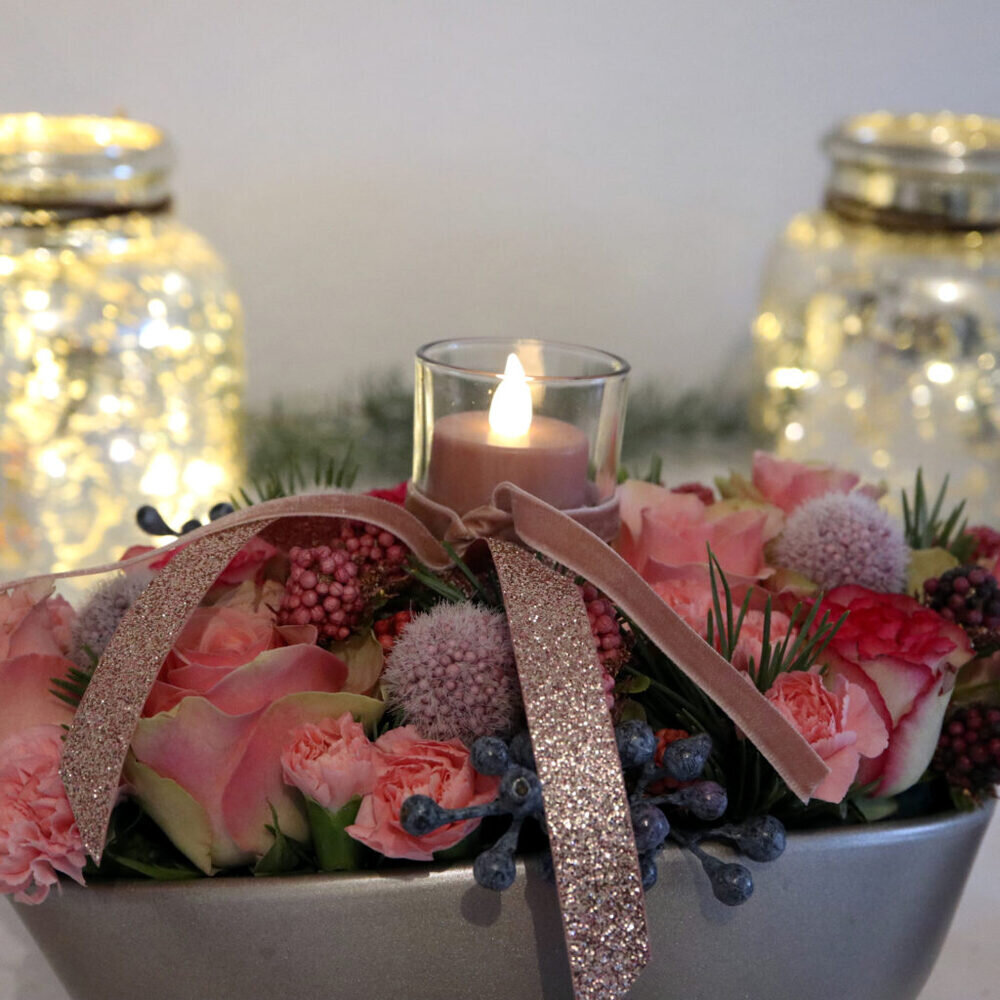
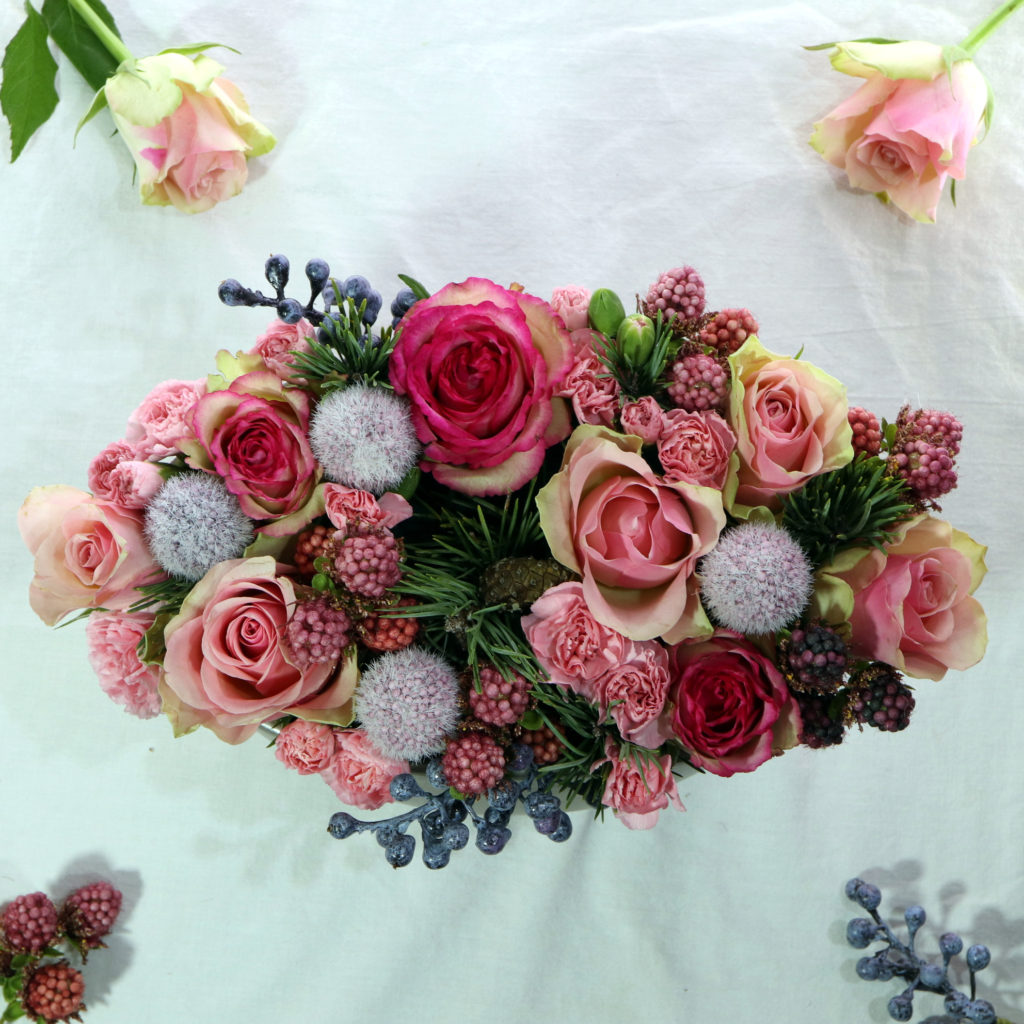
The last step is to add the candle holder and LED tea light to the flower pot.
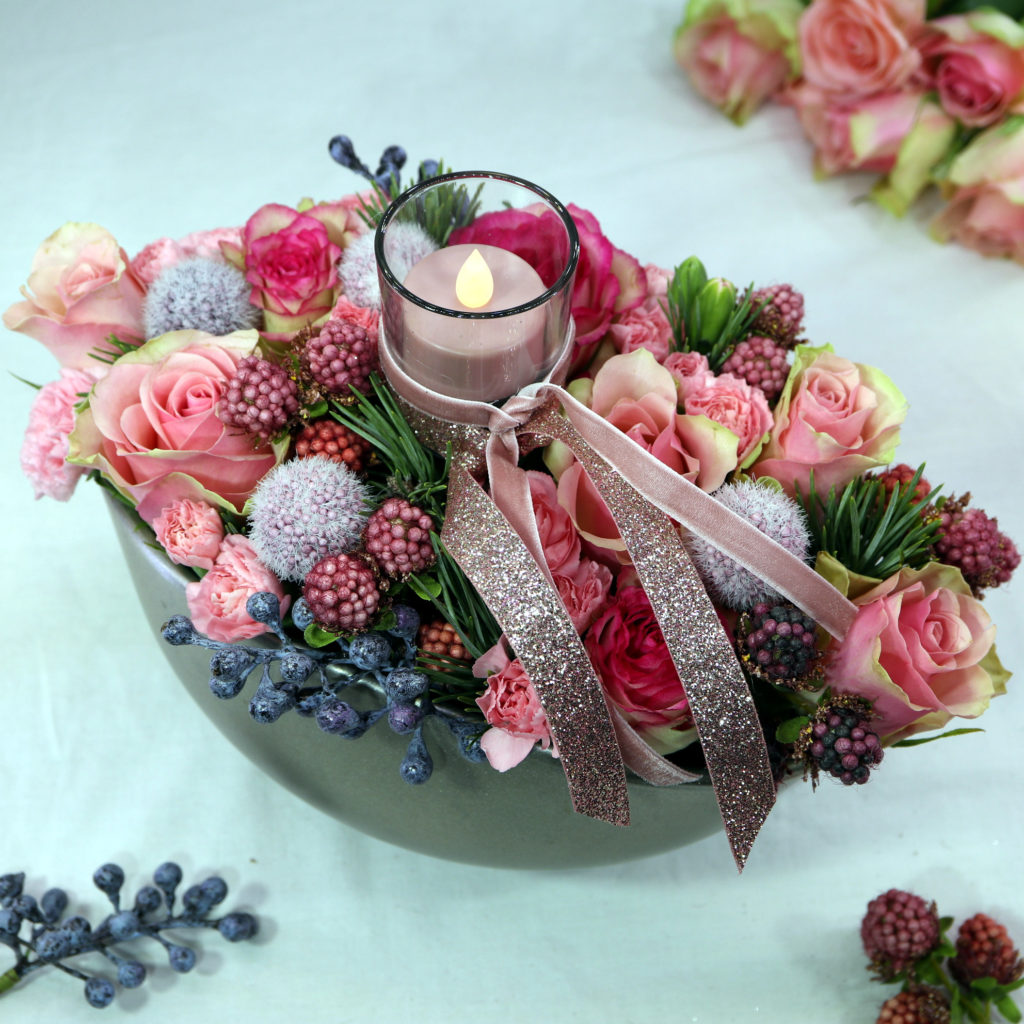
And you’re done! I hope you had some fun making the flower arrangement!