
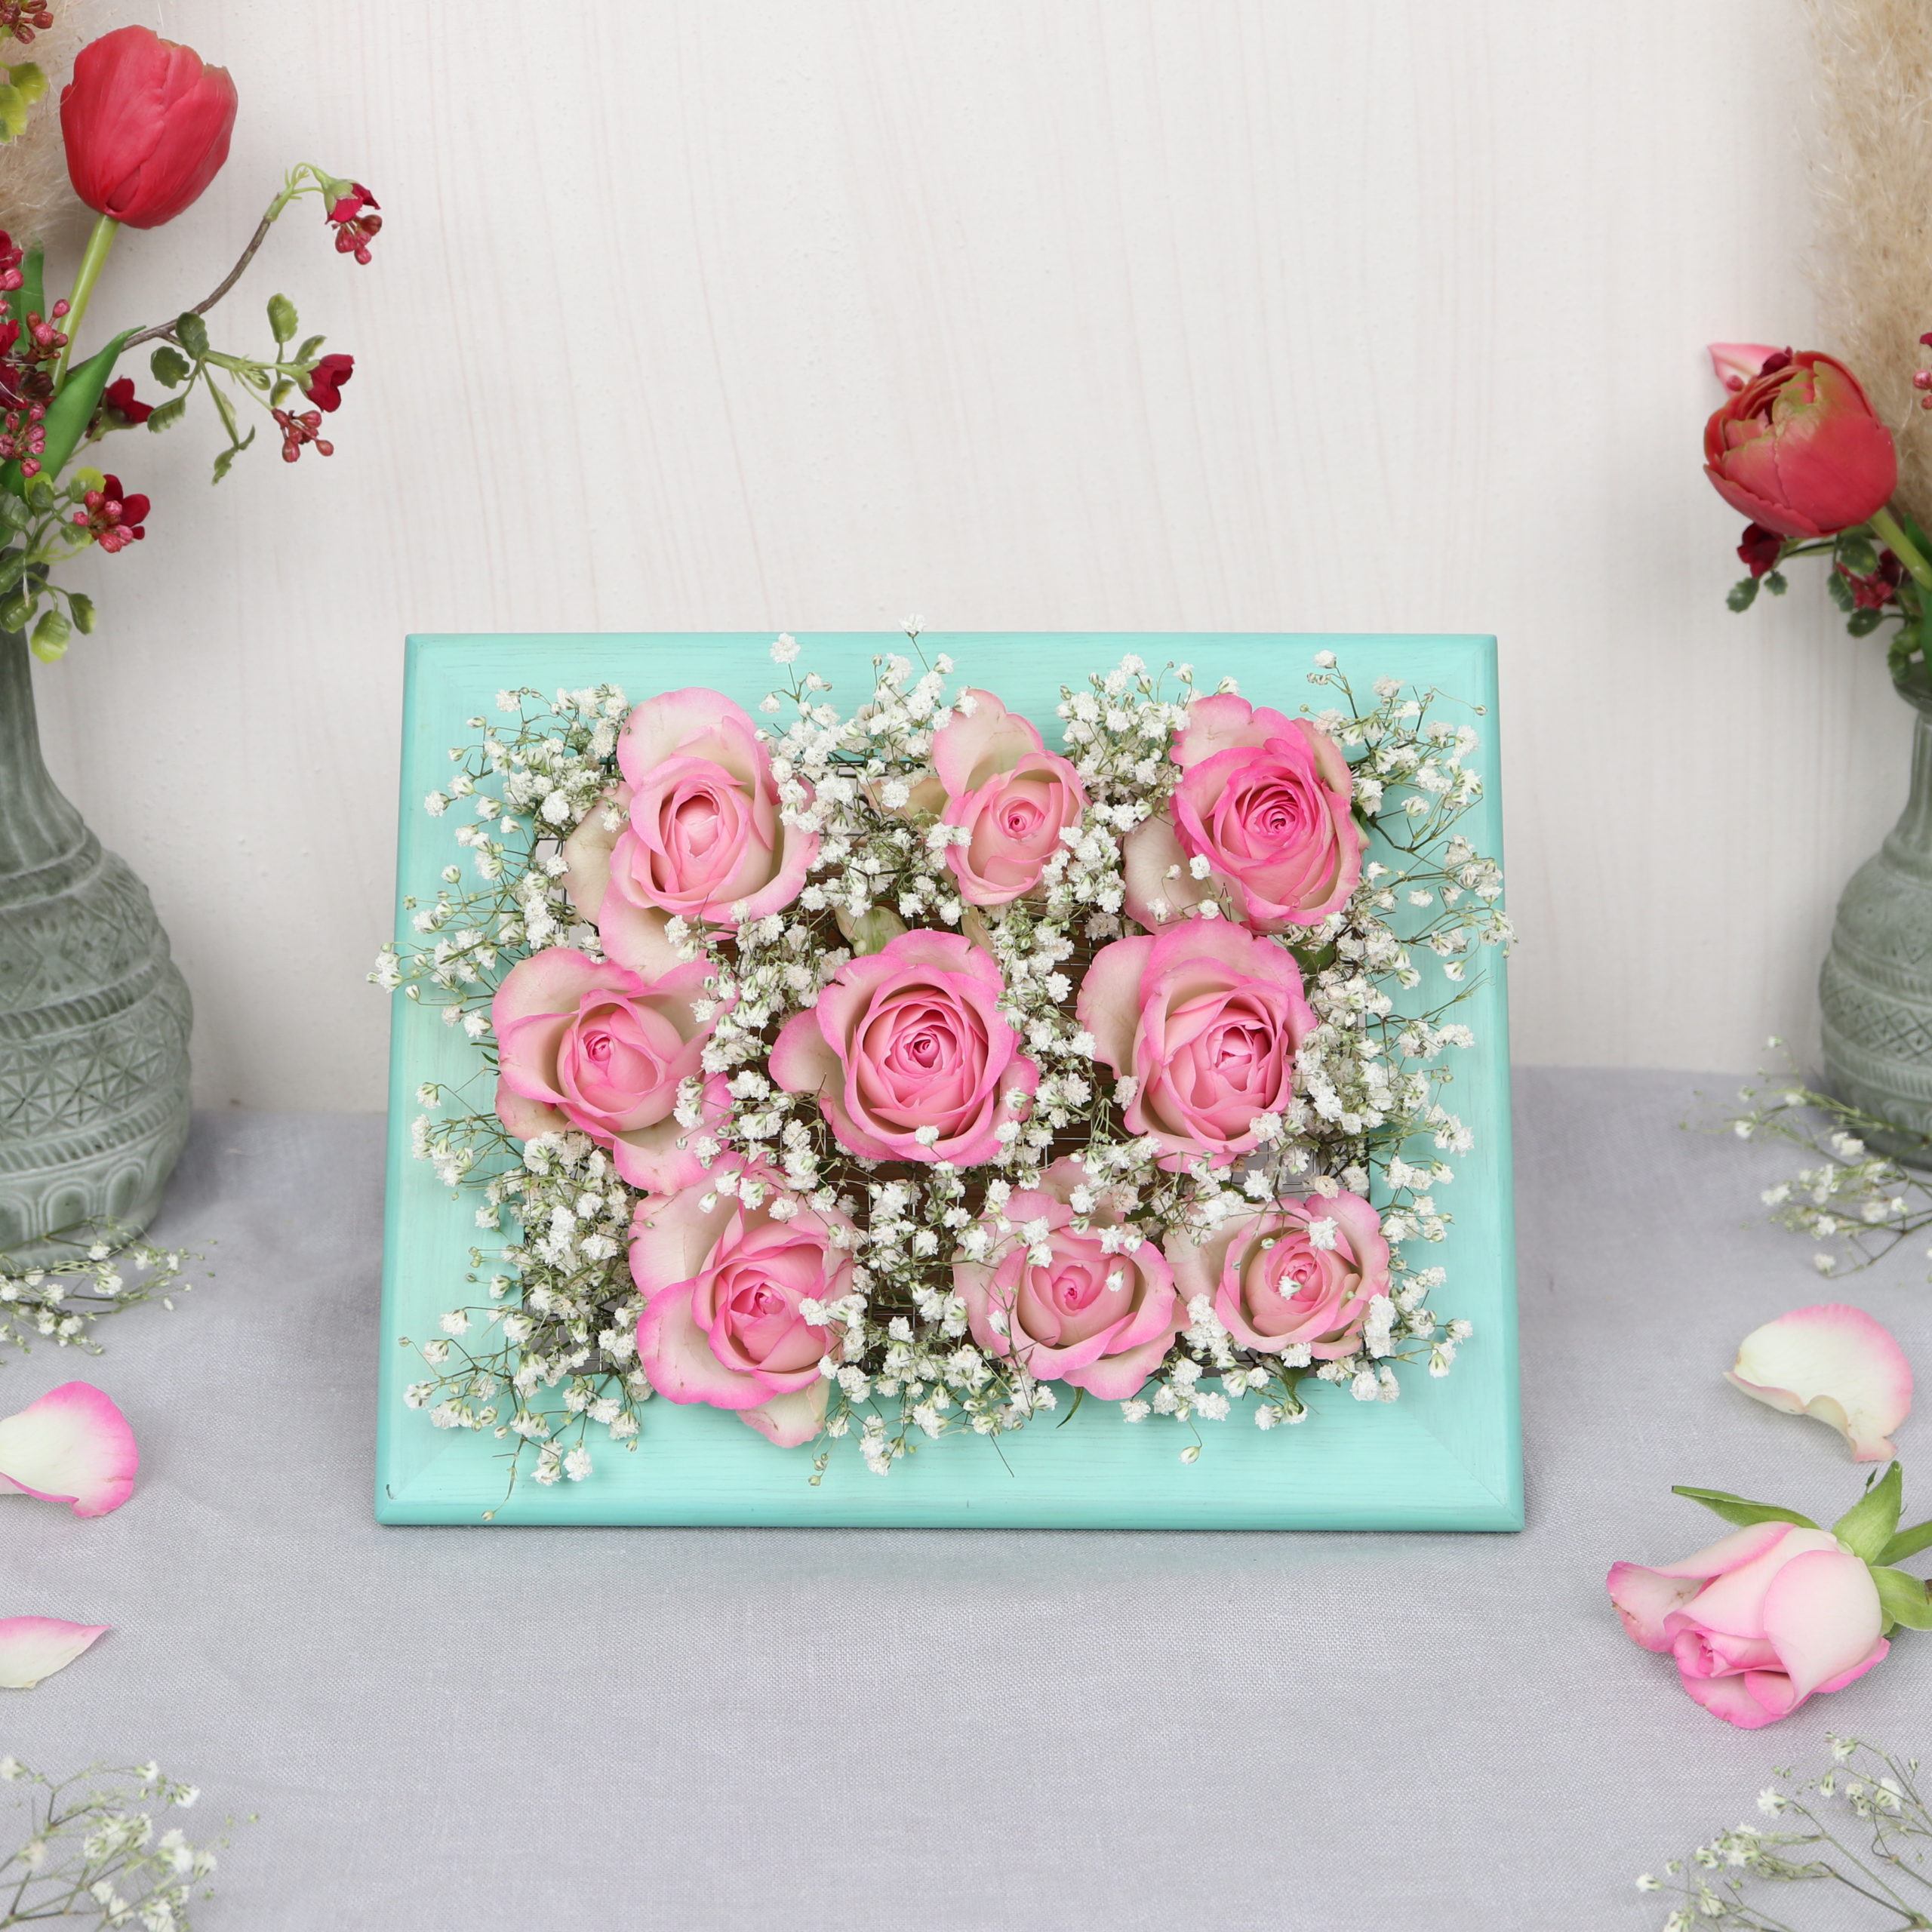
Today I show you a great wall decoration with fresh roses and baby’s breath. I’m thinking often about making a so-called “flower wall”: a wall that is completely decorated with flowers! Today’s DIY goes into the same direction and can be considered as the flower wall’s little sister: The flower frame. I guide you on how to make a flower frame with chicken wire and a brad nailer.
Chicken wire is a popular craft material. I have already used wire as an alternative plug compound for flowers and made a beautiful flower arrangement with it. For the flower frame frame I use chicken wire as a holding grid for the flowers. For this I staple it to the picture frame with a brad nailer and then put roses and baby’s breath through the grid!
With the following step by step instructions you can easily make the “flower frame” yourself!
Tools
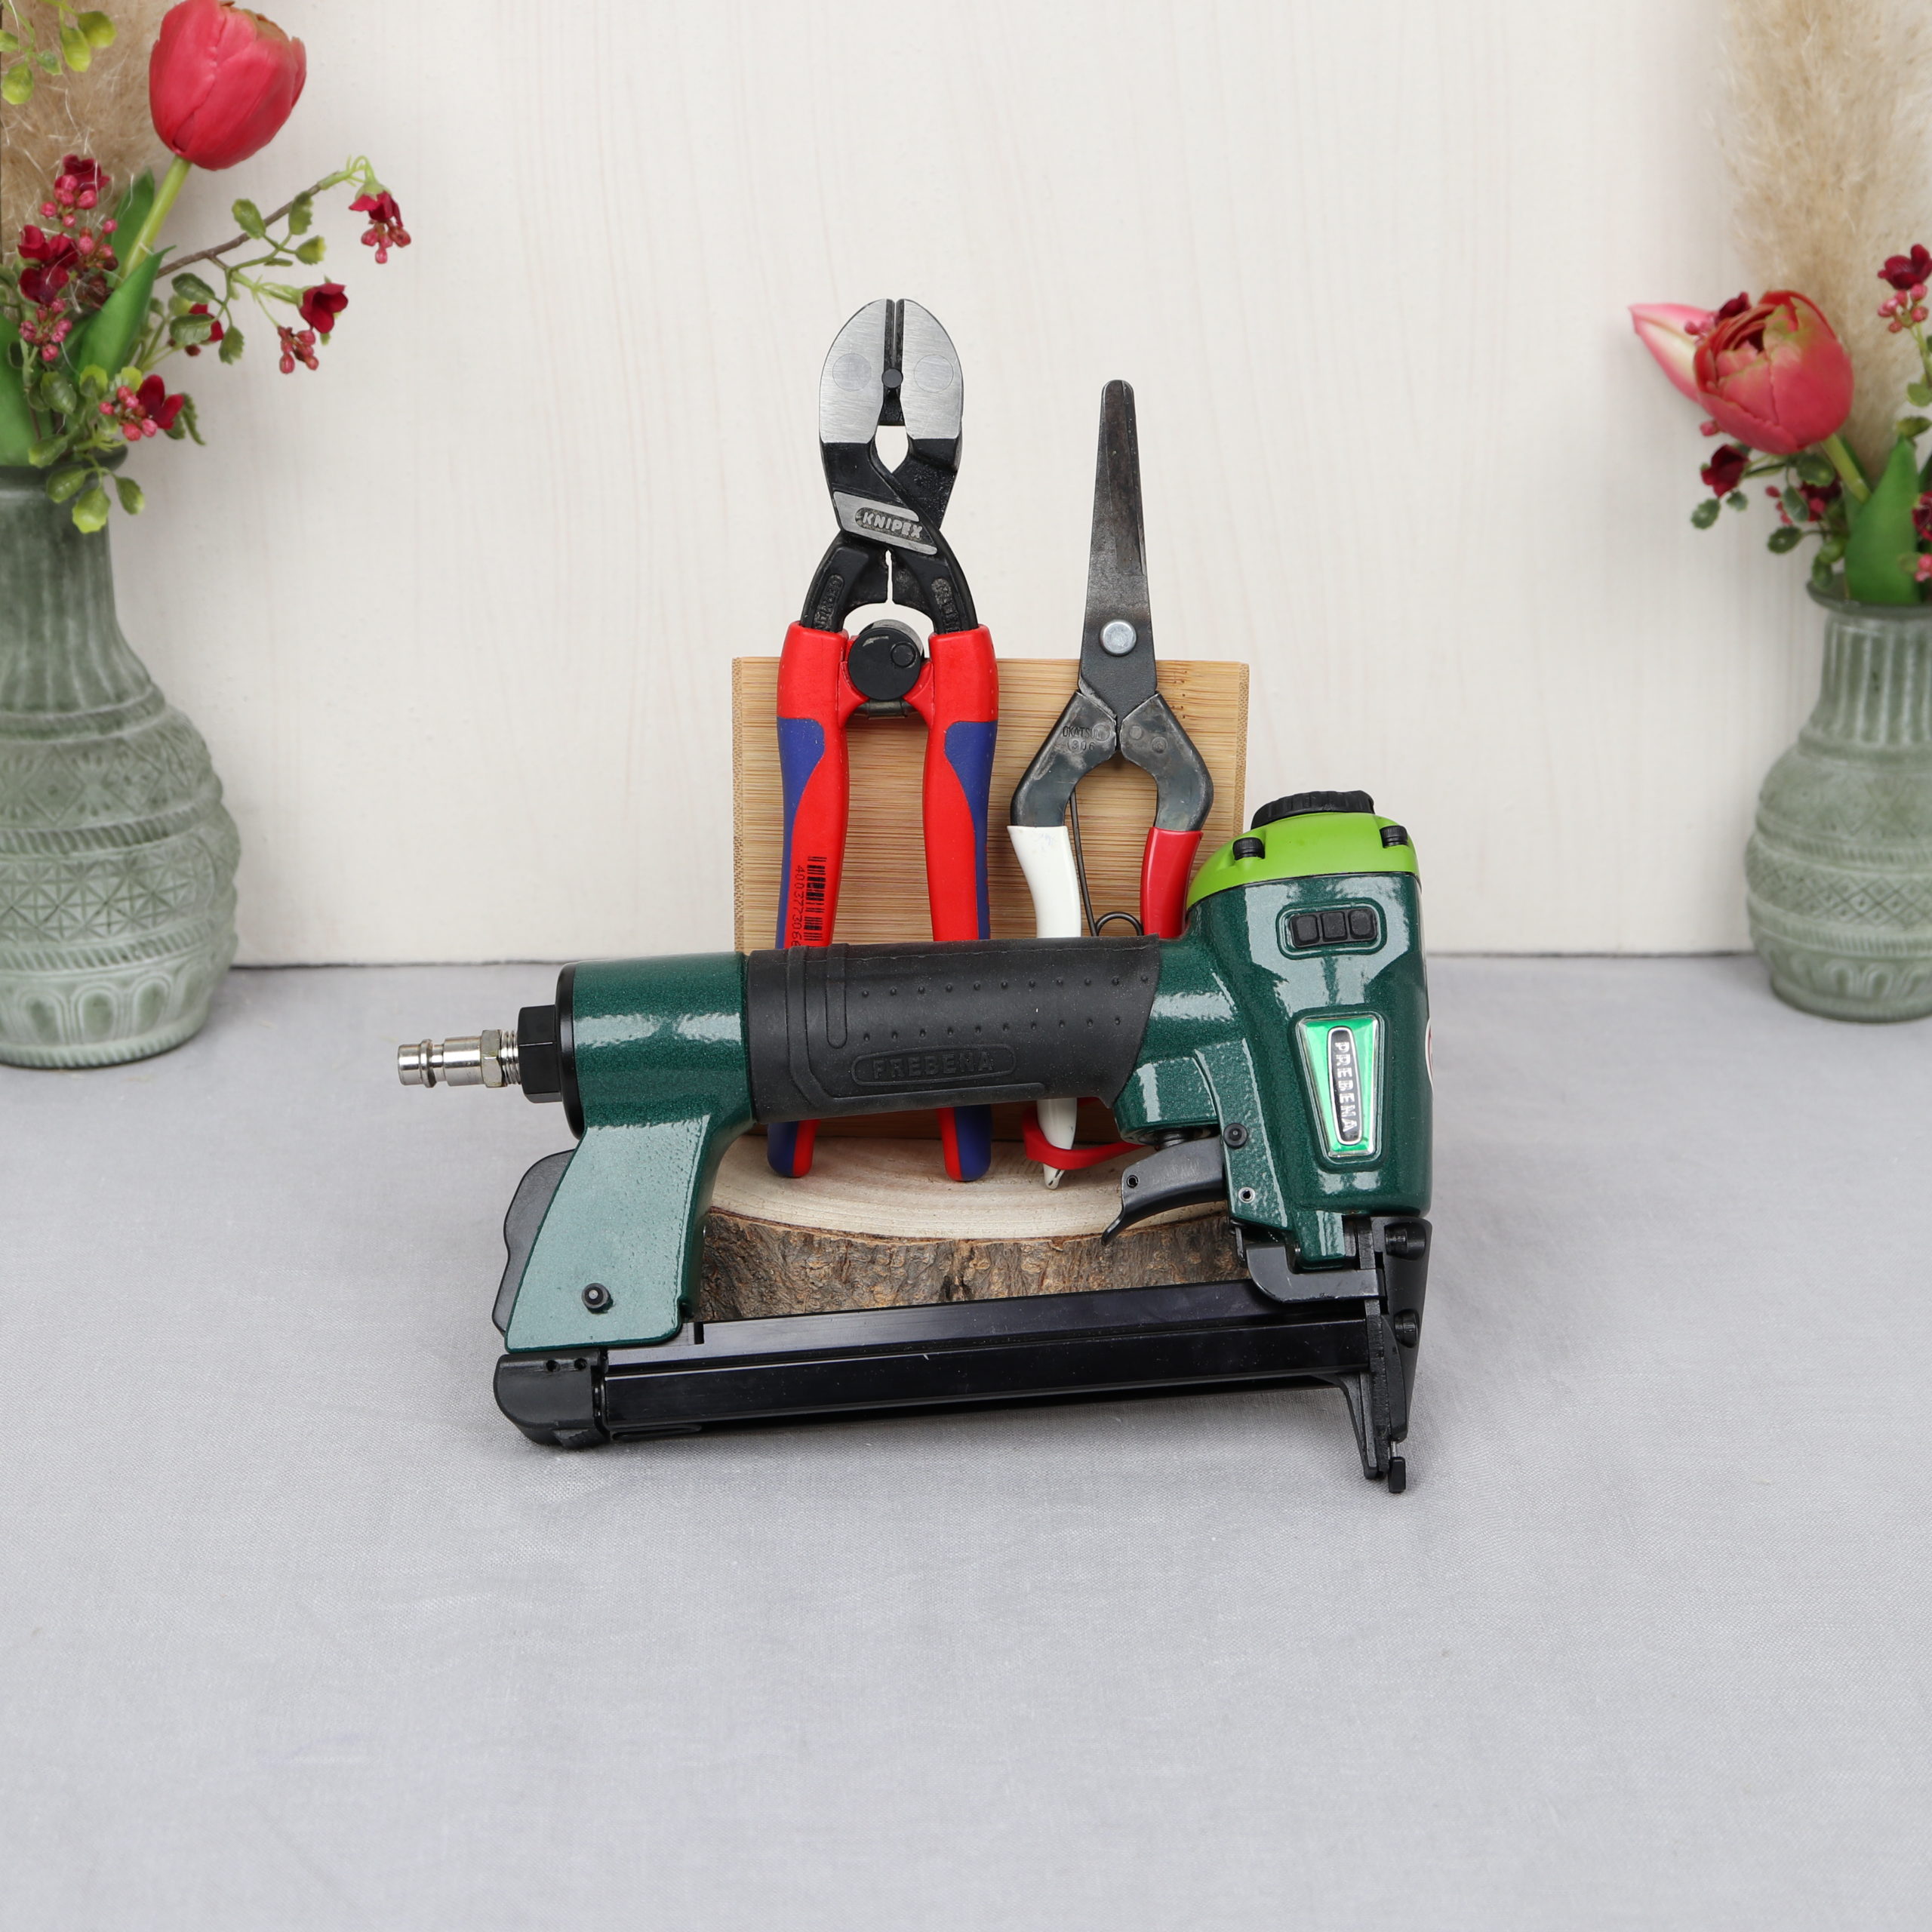
Here you can see what tools I used for the flower picture frame. You need a brad nailer to staple the chicken wire to the picture frame. There are all kinds of brad nailers: electric brad nailers, cordless brad nailers, or pneumatic brad nailers. I used a pneumatic brad nailer for which I required also an air compressor (not shown in the picture). In addition, I use a bolt cutter or side cutter to cut the chicken wire and flower shears to shorten the fresh flowers.
| Tool | Search on |
|---|---|
| Brad nailer | |
| Brads | |
| Bolt cutter | |
| Flower shears | |
| I used the Japanese flower shears Okatsune 304 |
Materials
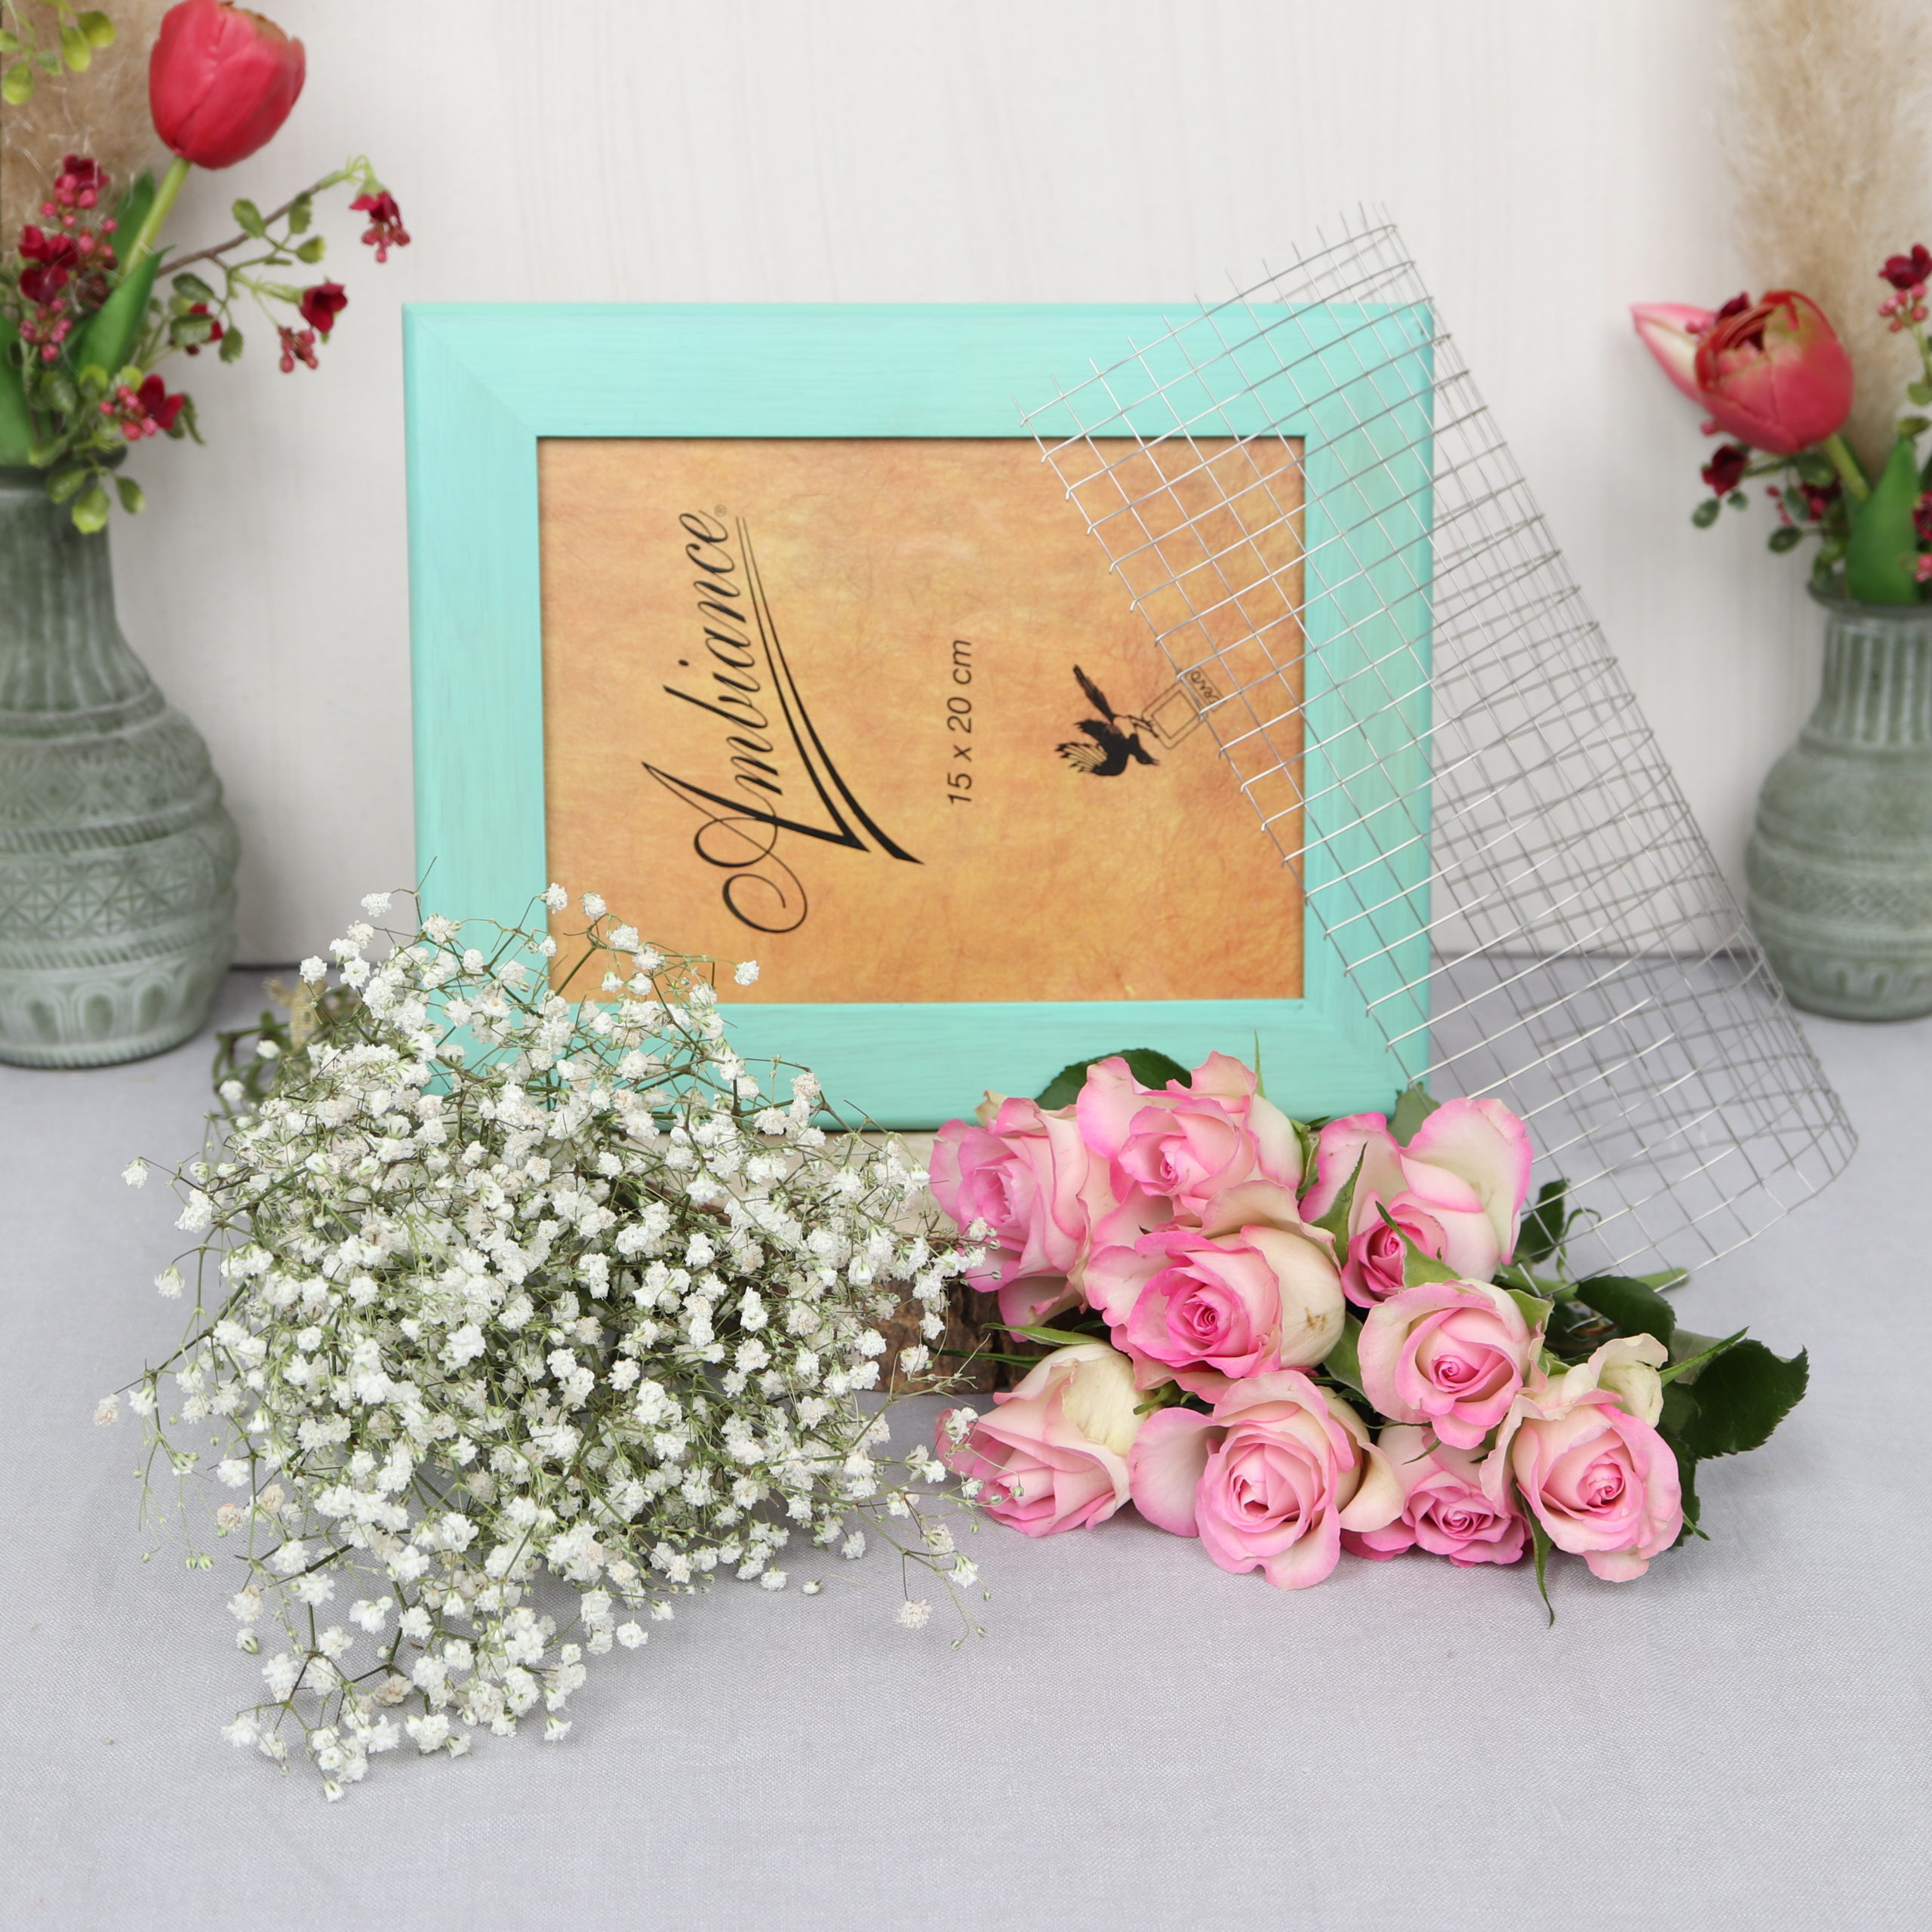
These are the materials I used for the picture frame with flowers: a wooden picture frame, chicken wire (rabbit wire, wire mesh,…), roses and baby’s breath.
Flower frame guide
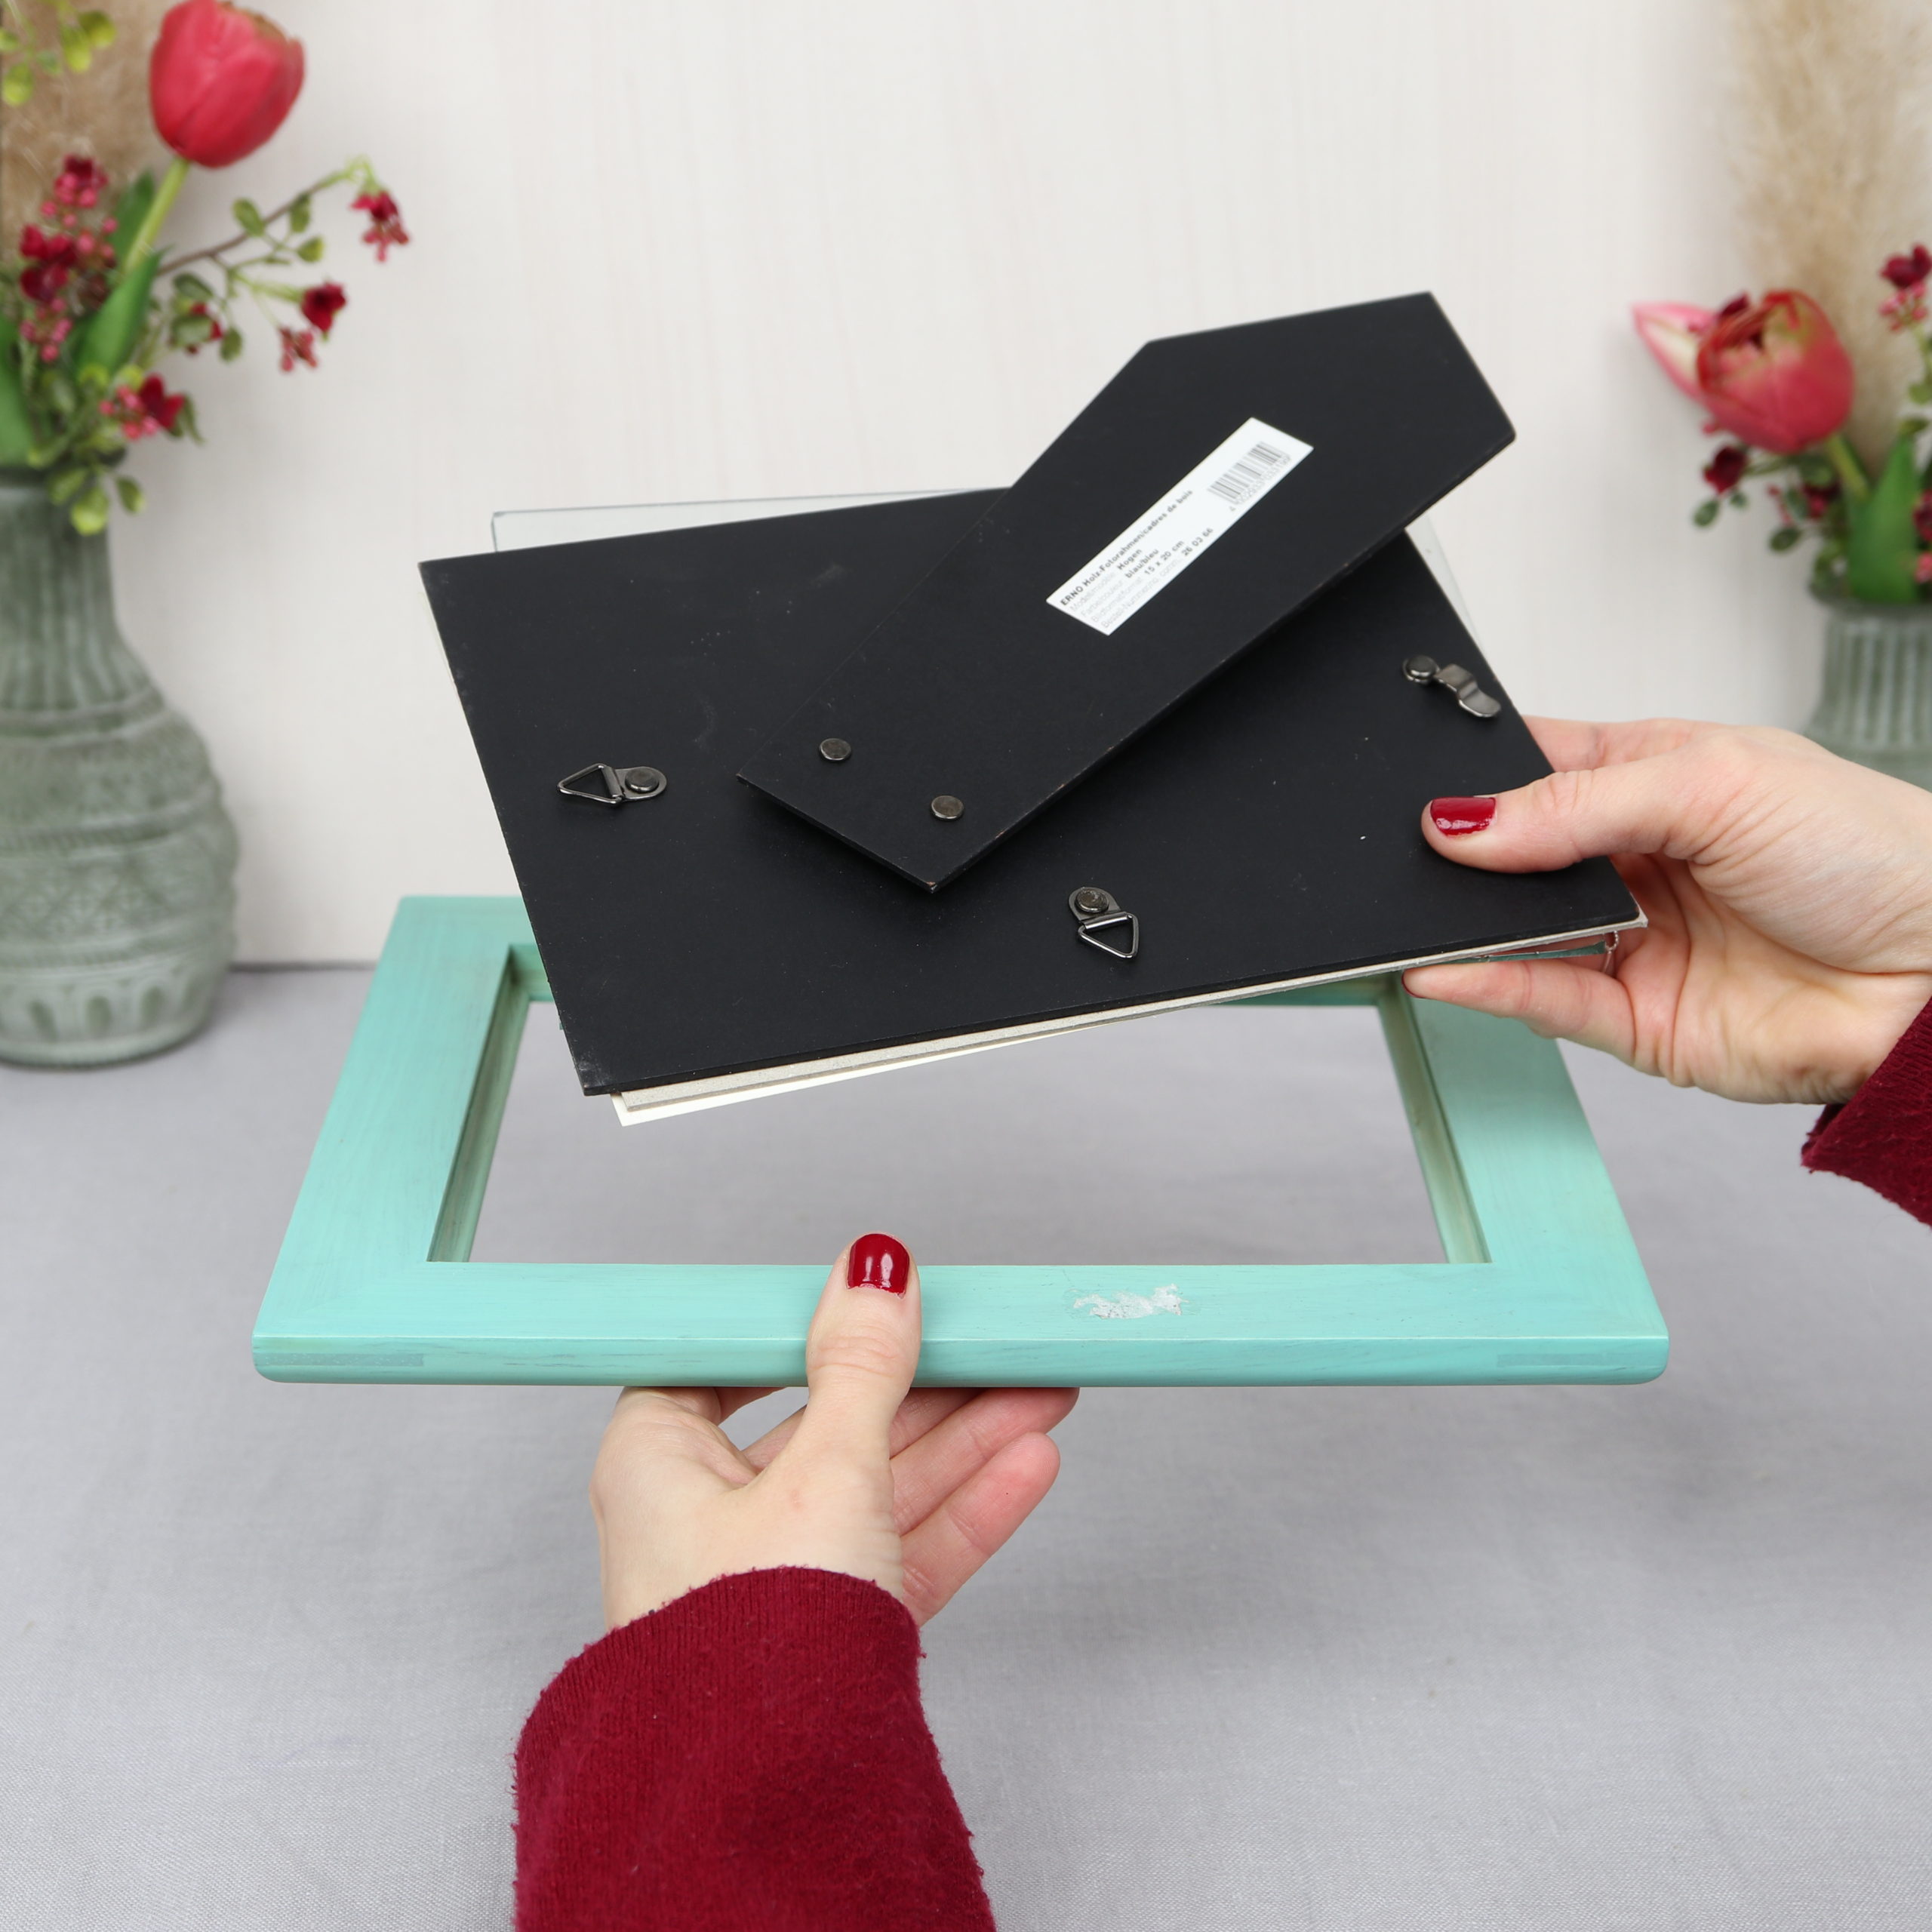
Step 1: Prepare picture frame
In the first step, I remove the back panel and the glass from the picture frame.
Step 2: Cut the chicken wire
Then I cut the chicken wire. To do this, I put it on the picture frame to get the right size.
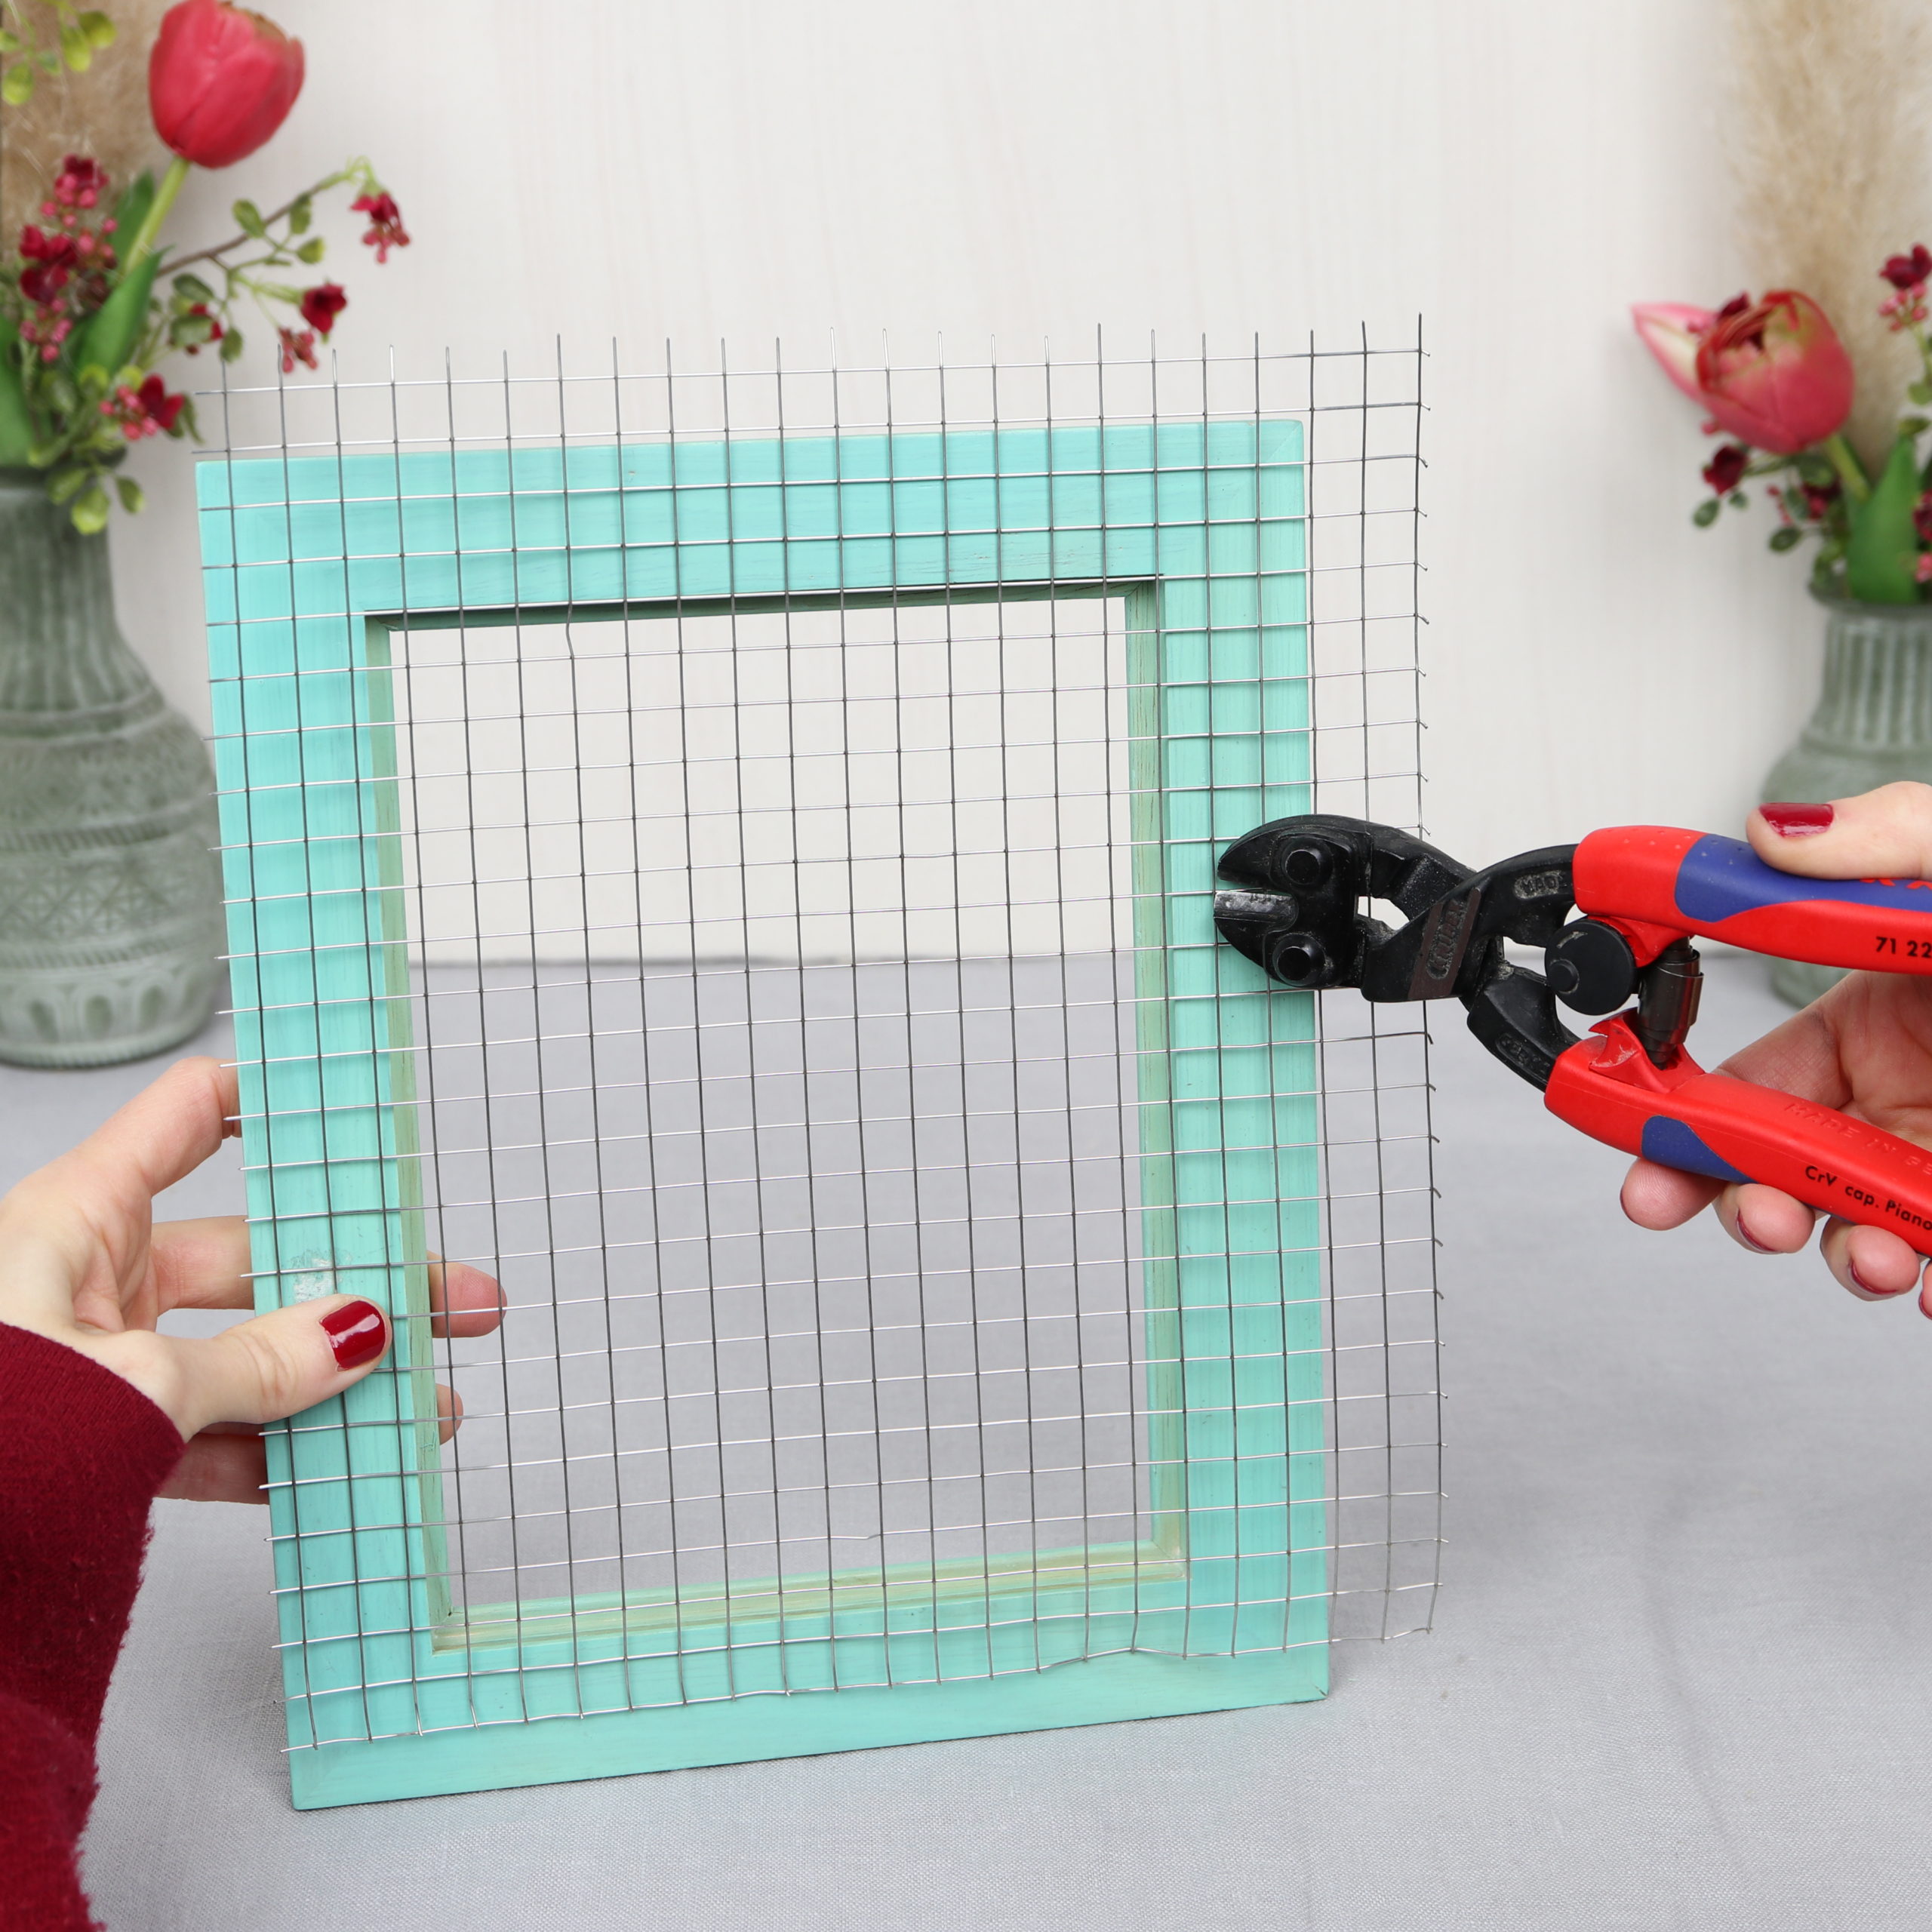
Then I clip the wire with the bolt cutter.

Step 3: Staple chicken wire to picture frame
Now you can staple the chicken wire to the picture frame.
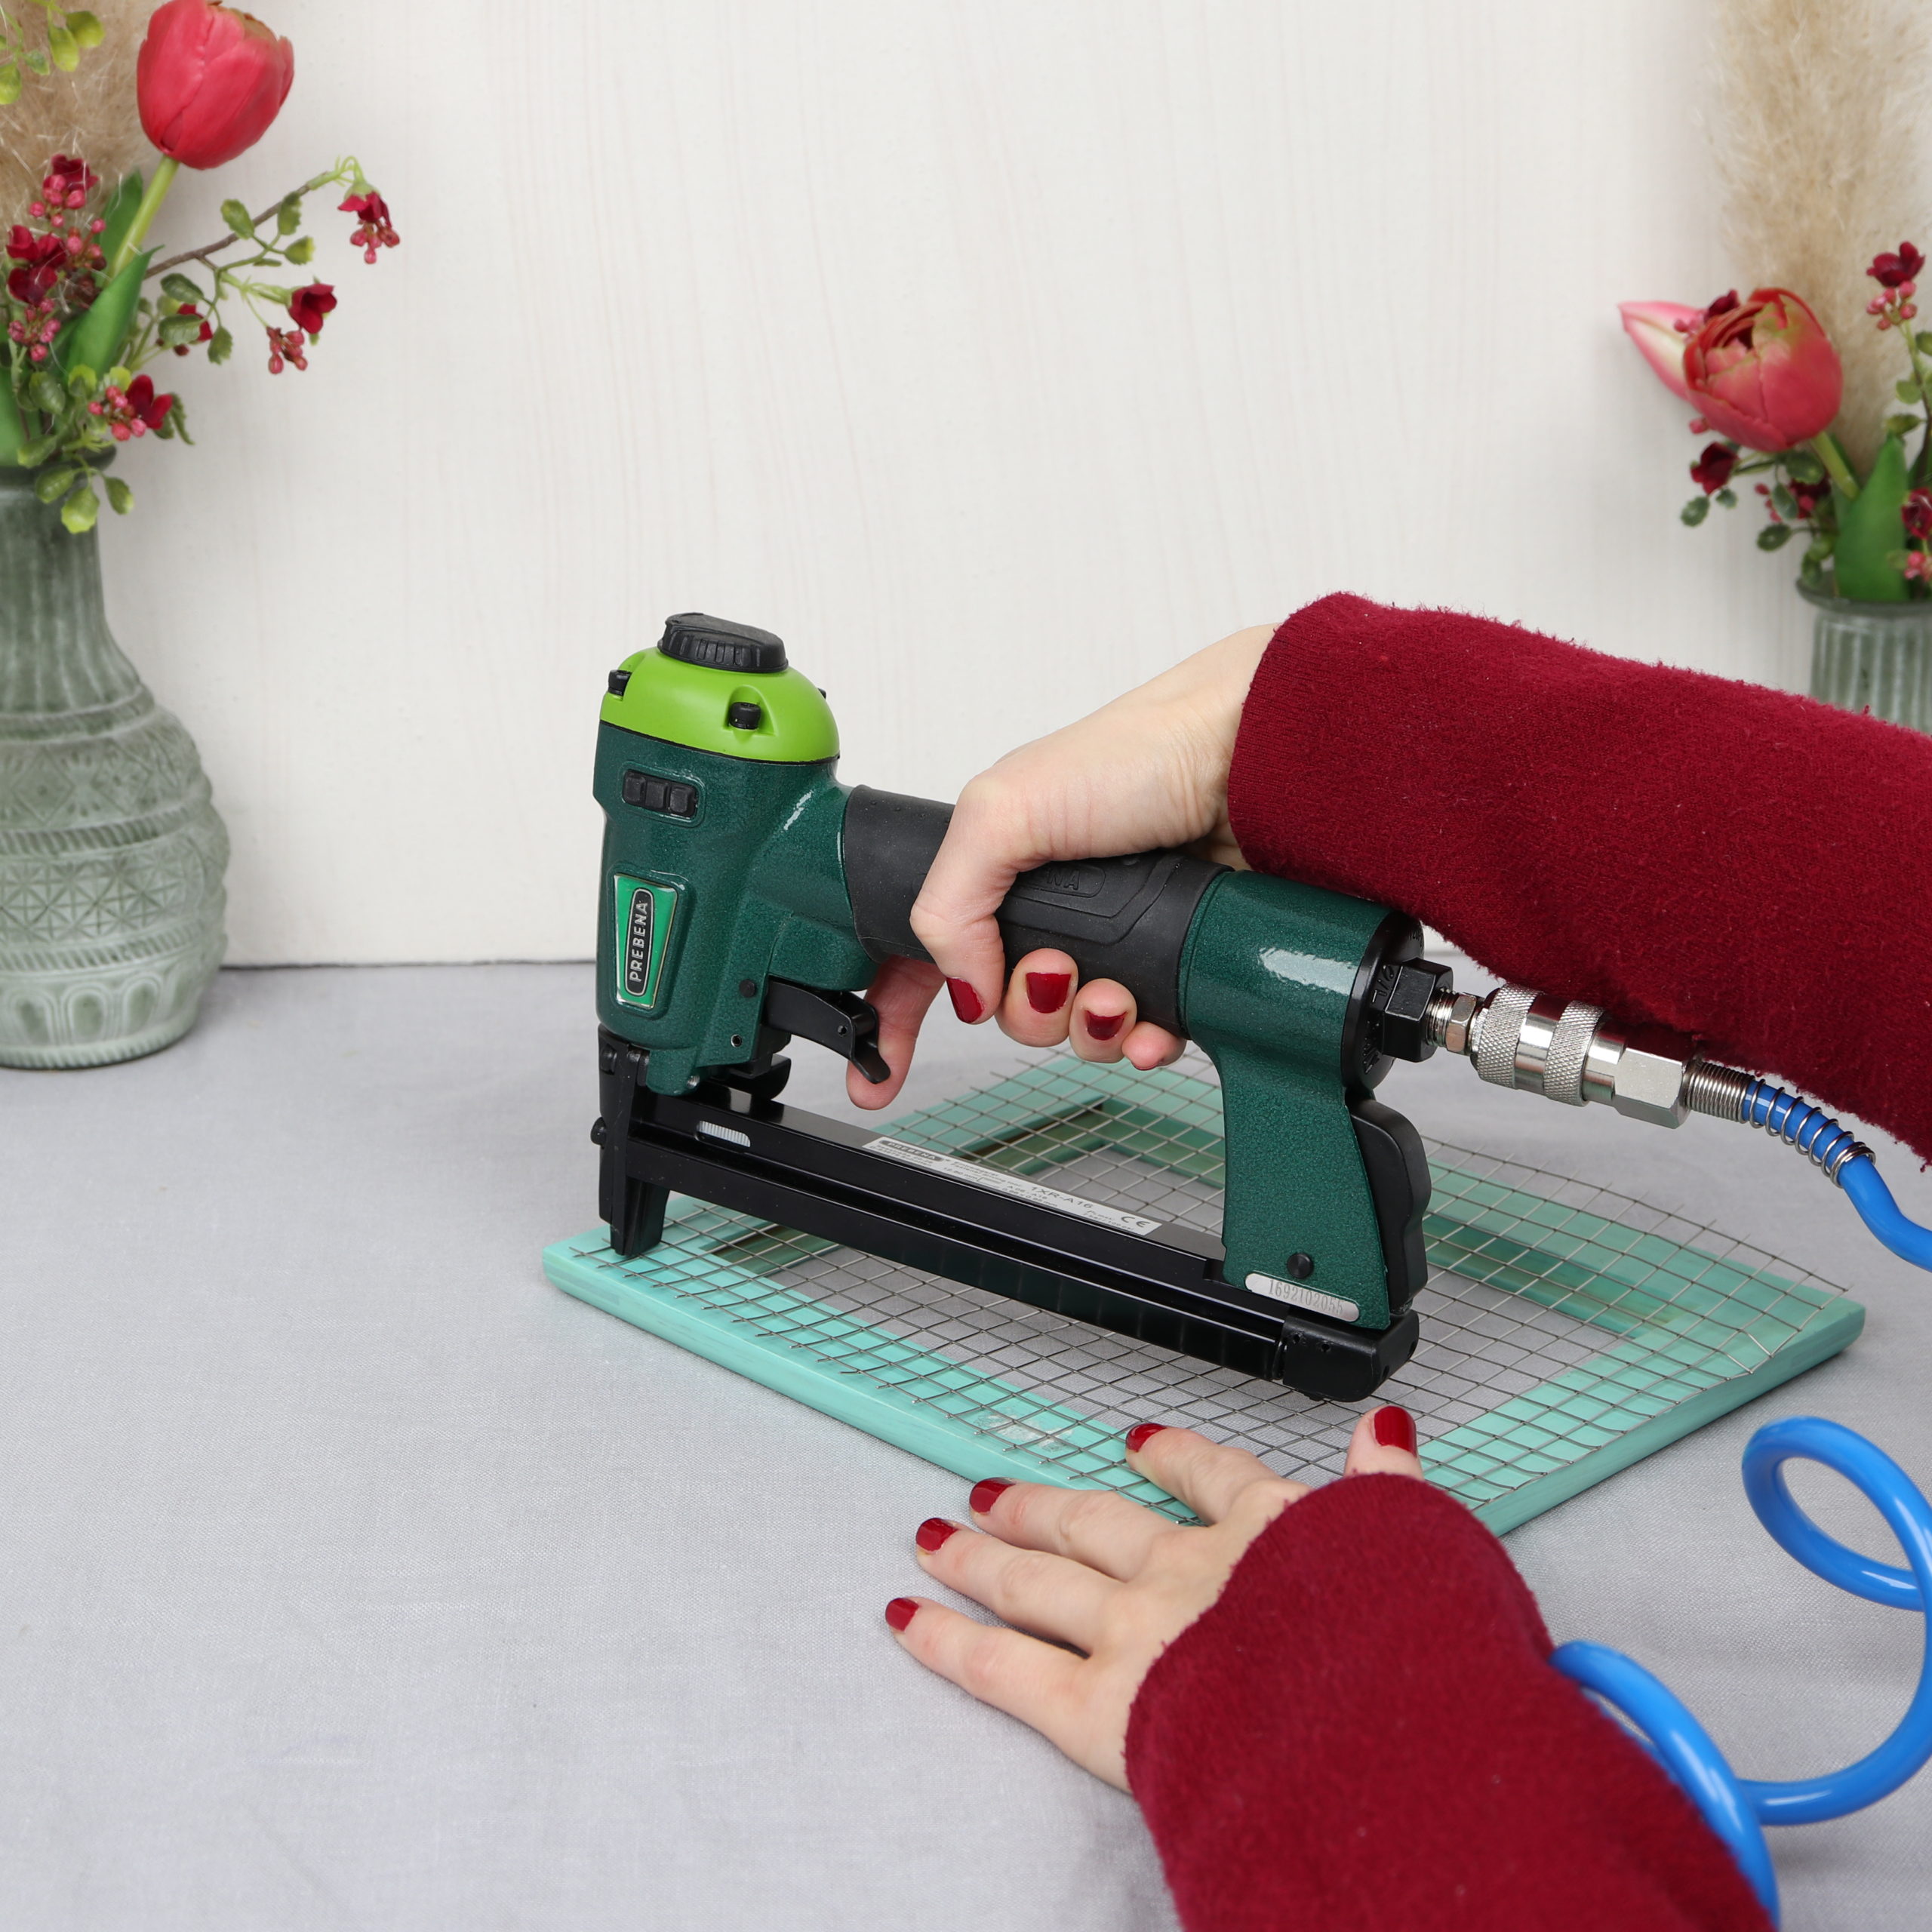
With my pneumatic tacker it was super fast and easy!
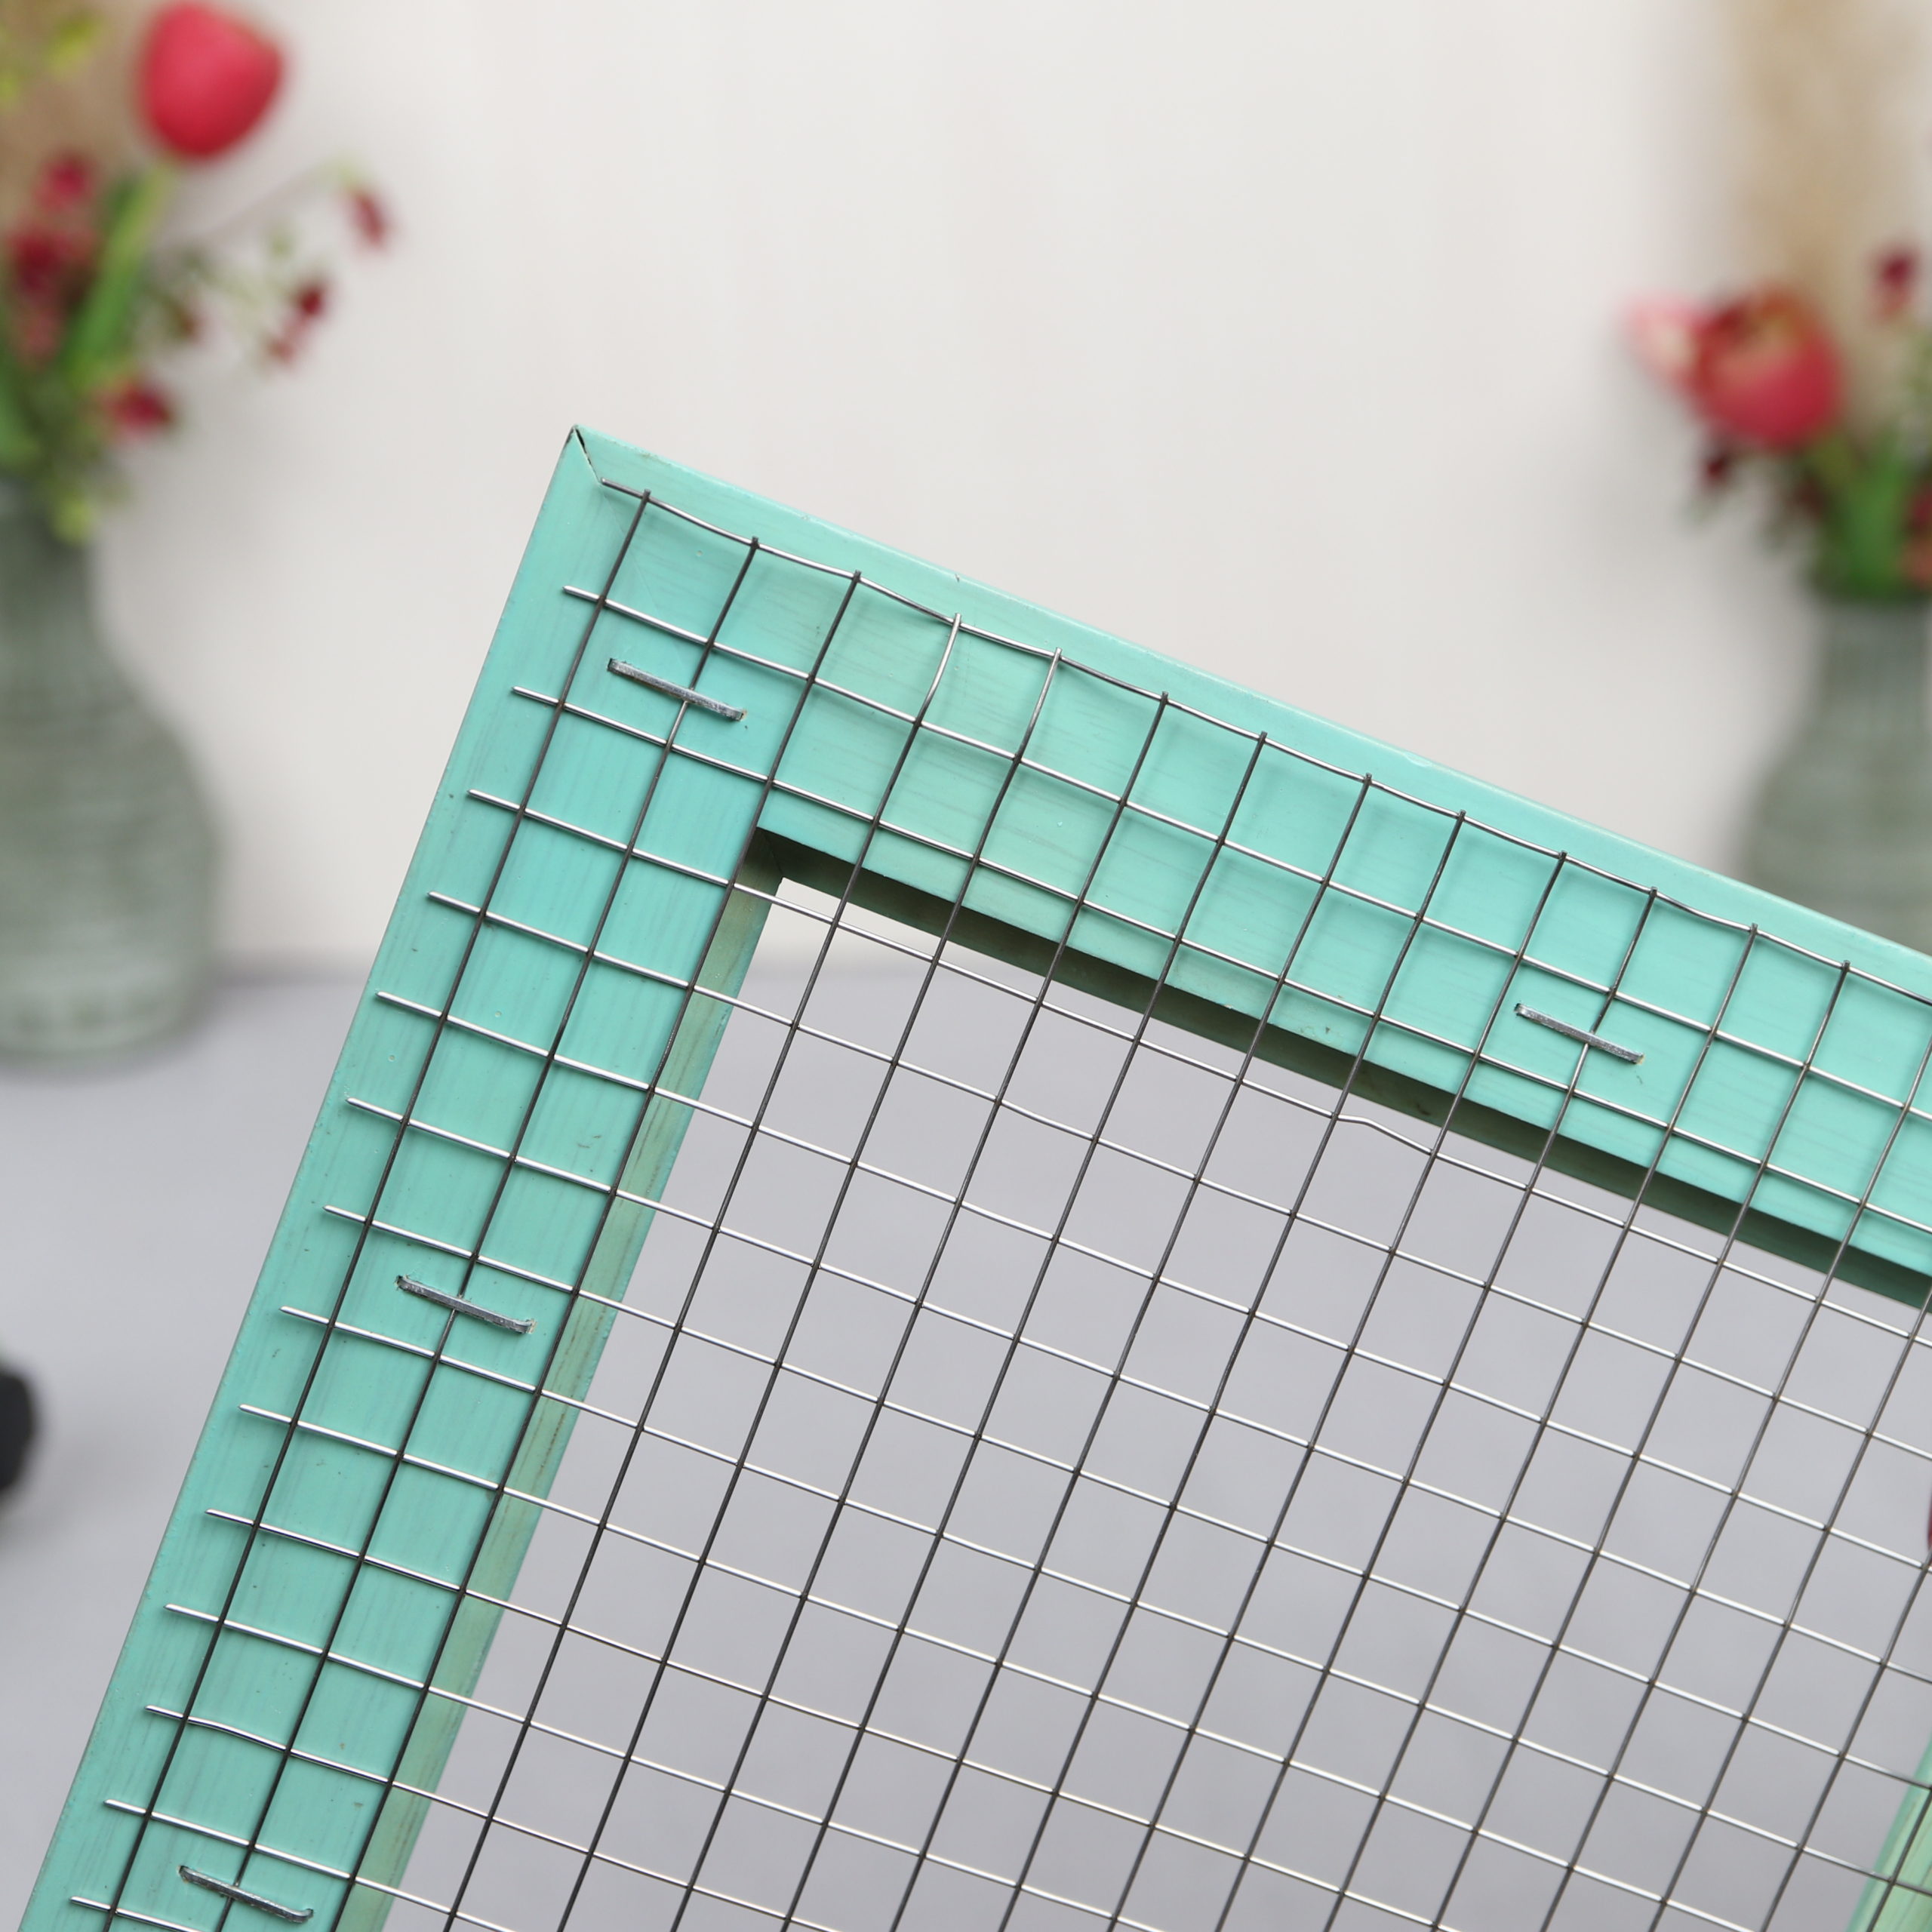
The result then looks like this:

Step 4: Cut flowers
With the flower shears I cut the stems of the fresh flowers very short.
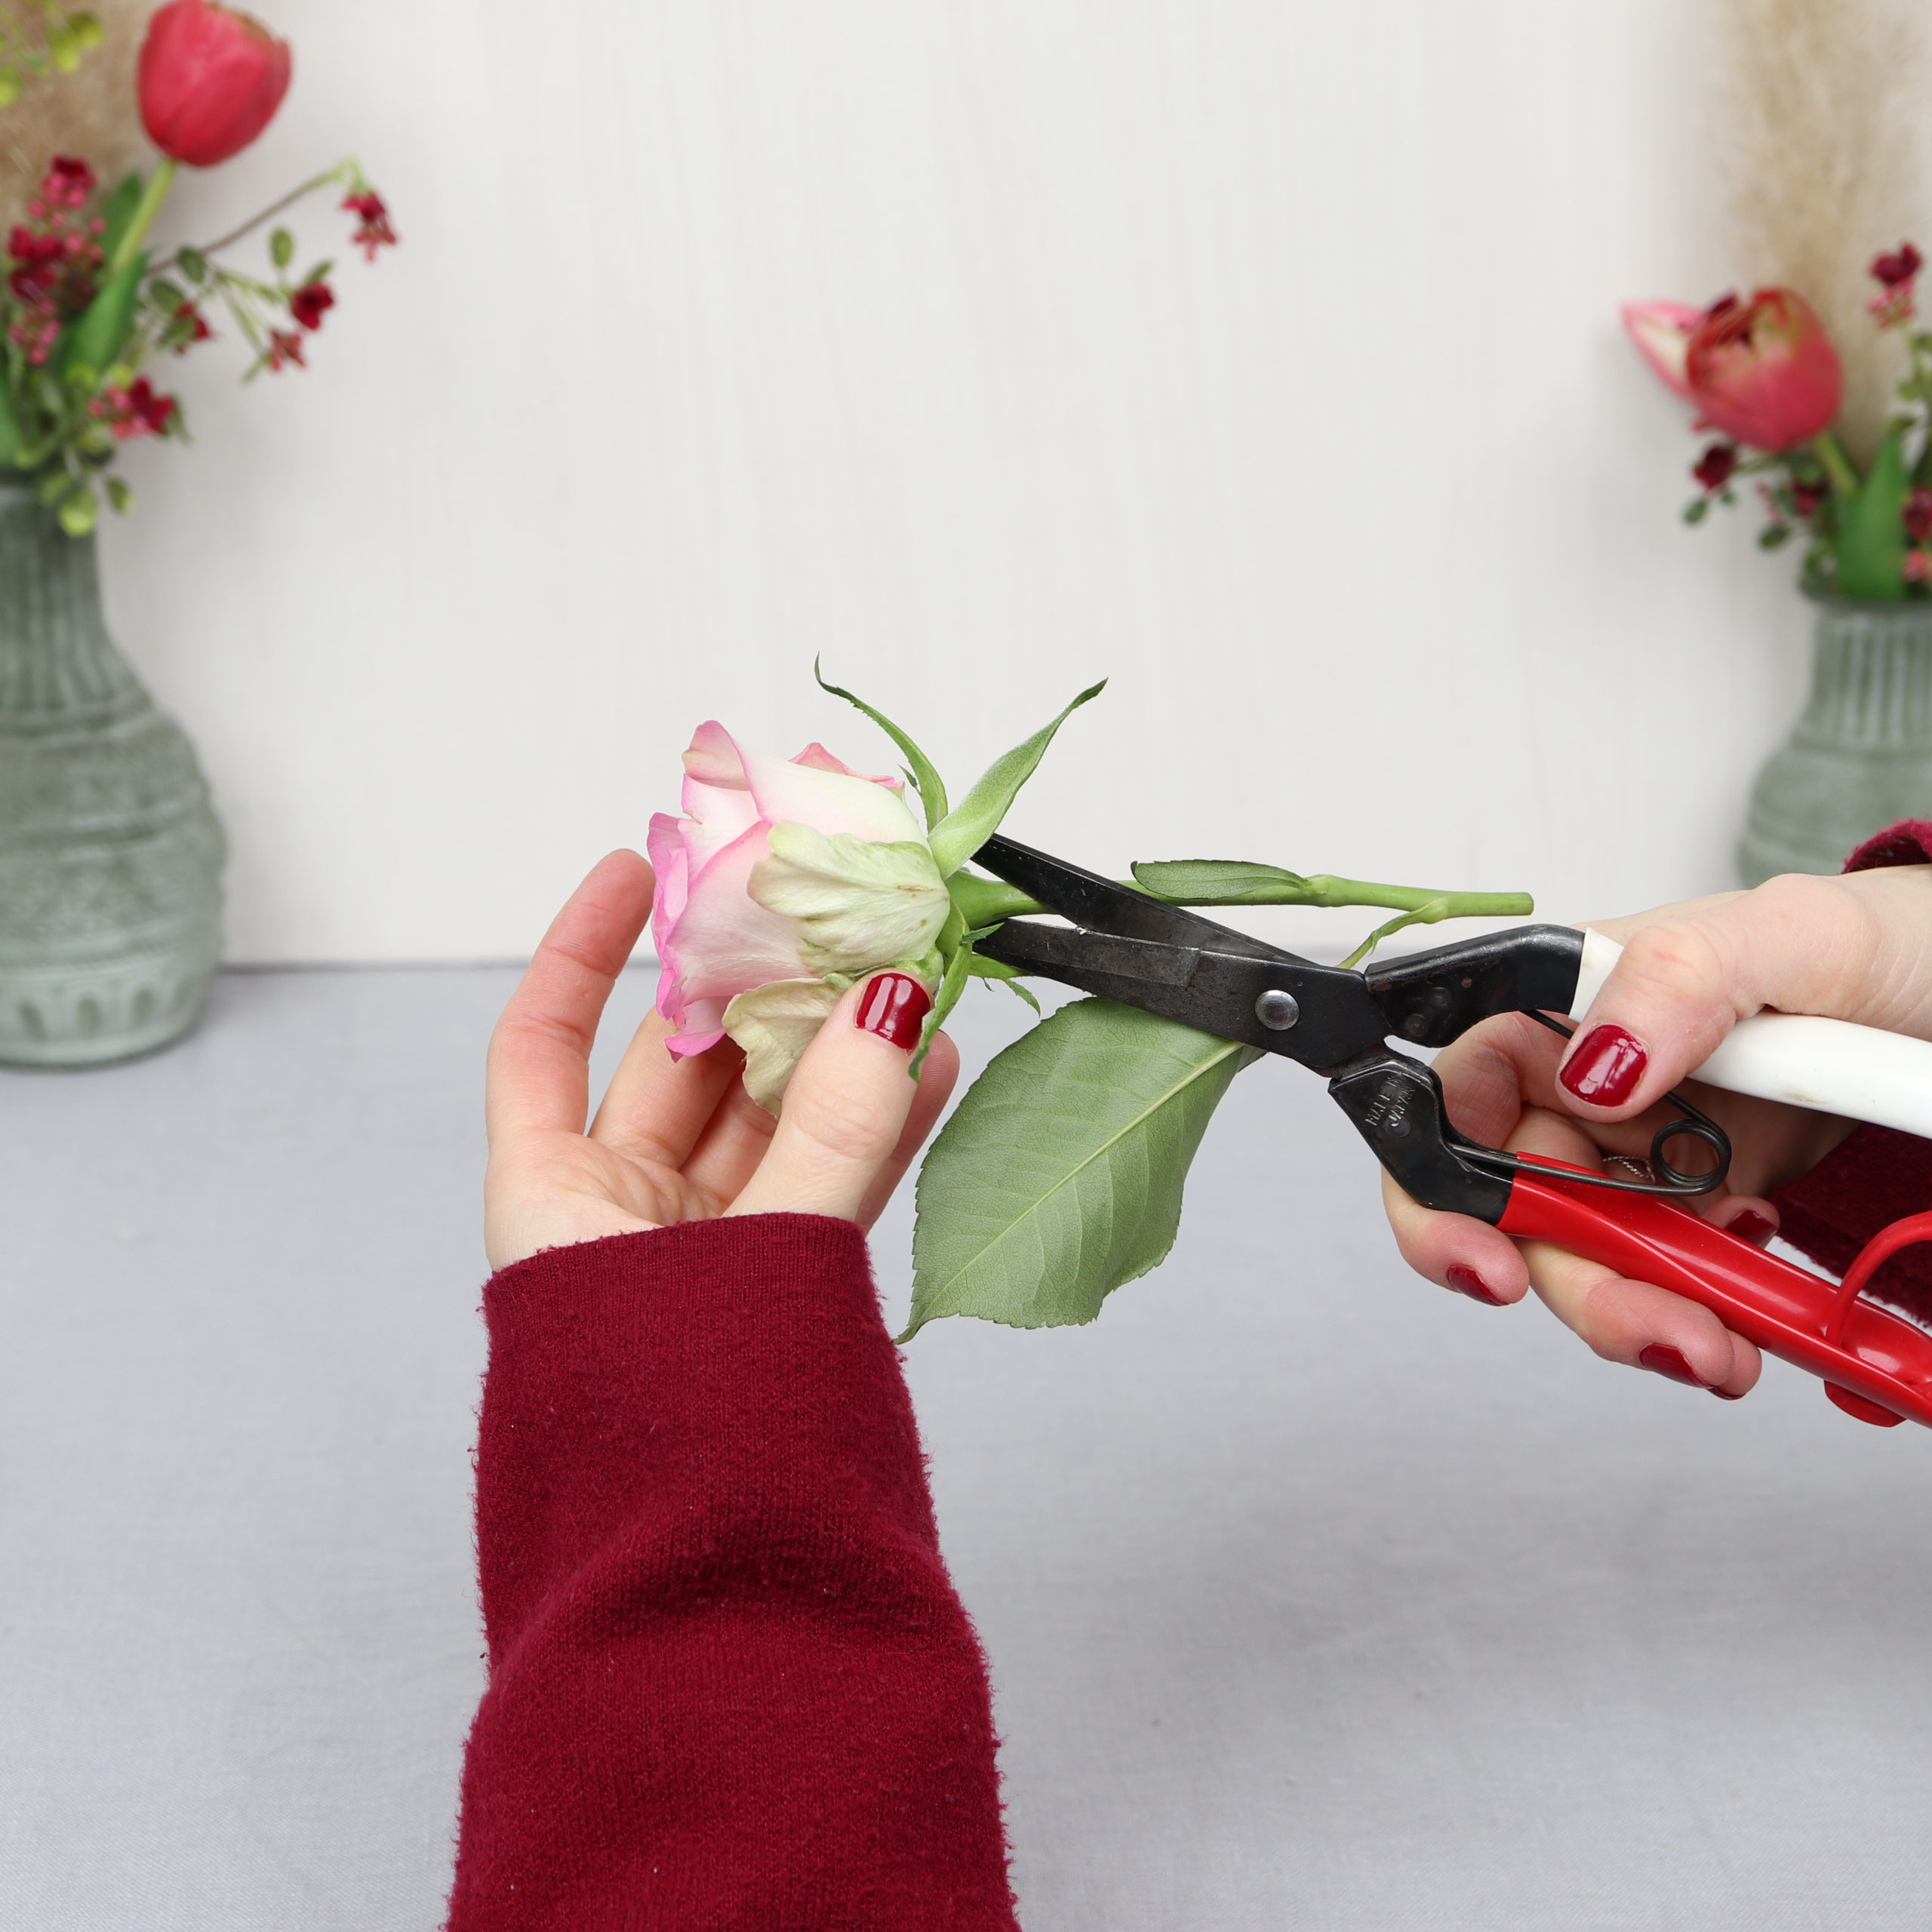
I leave the stems of the baby’s breath a little longer to make it easier to push them through later.

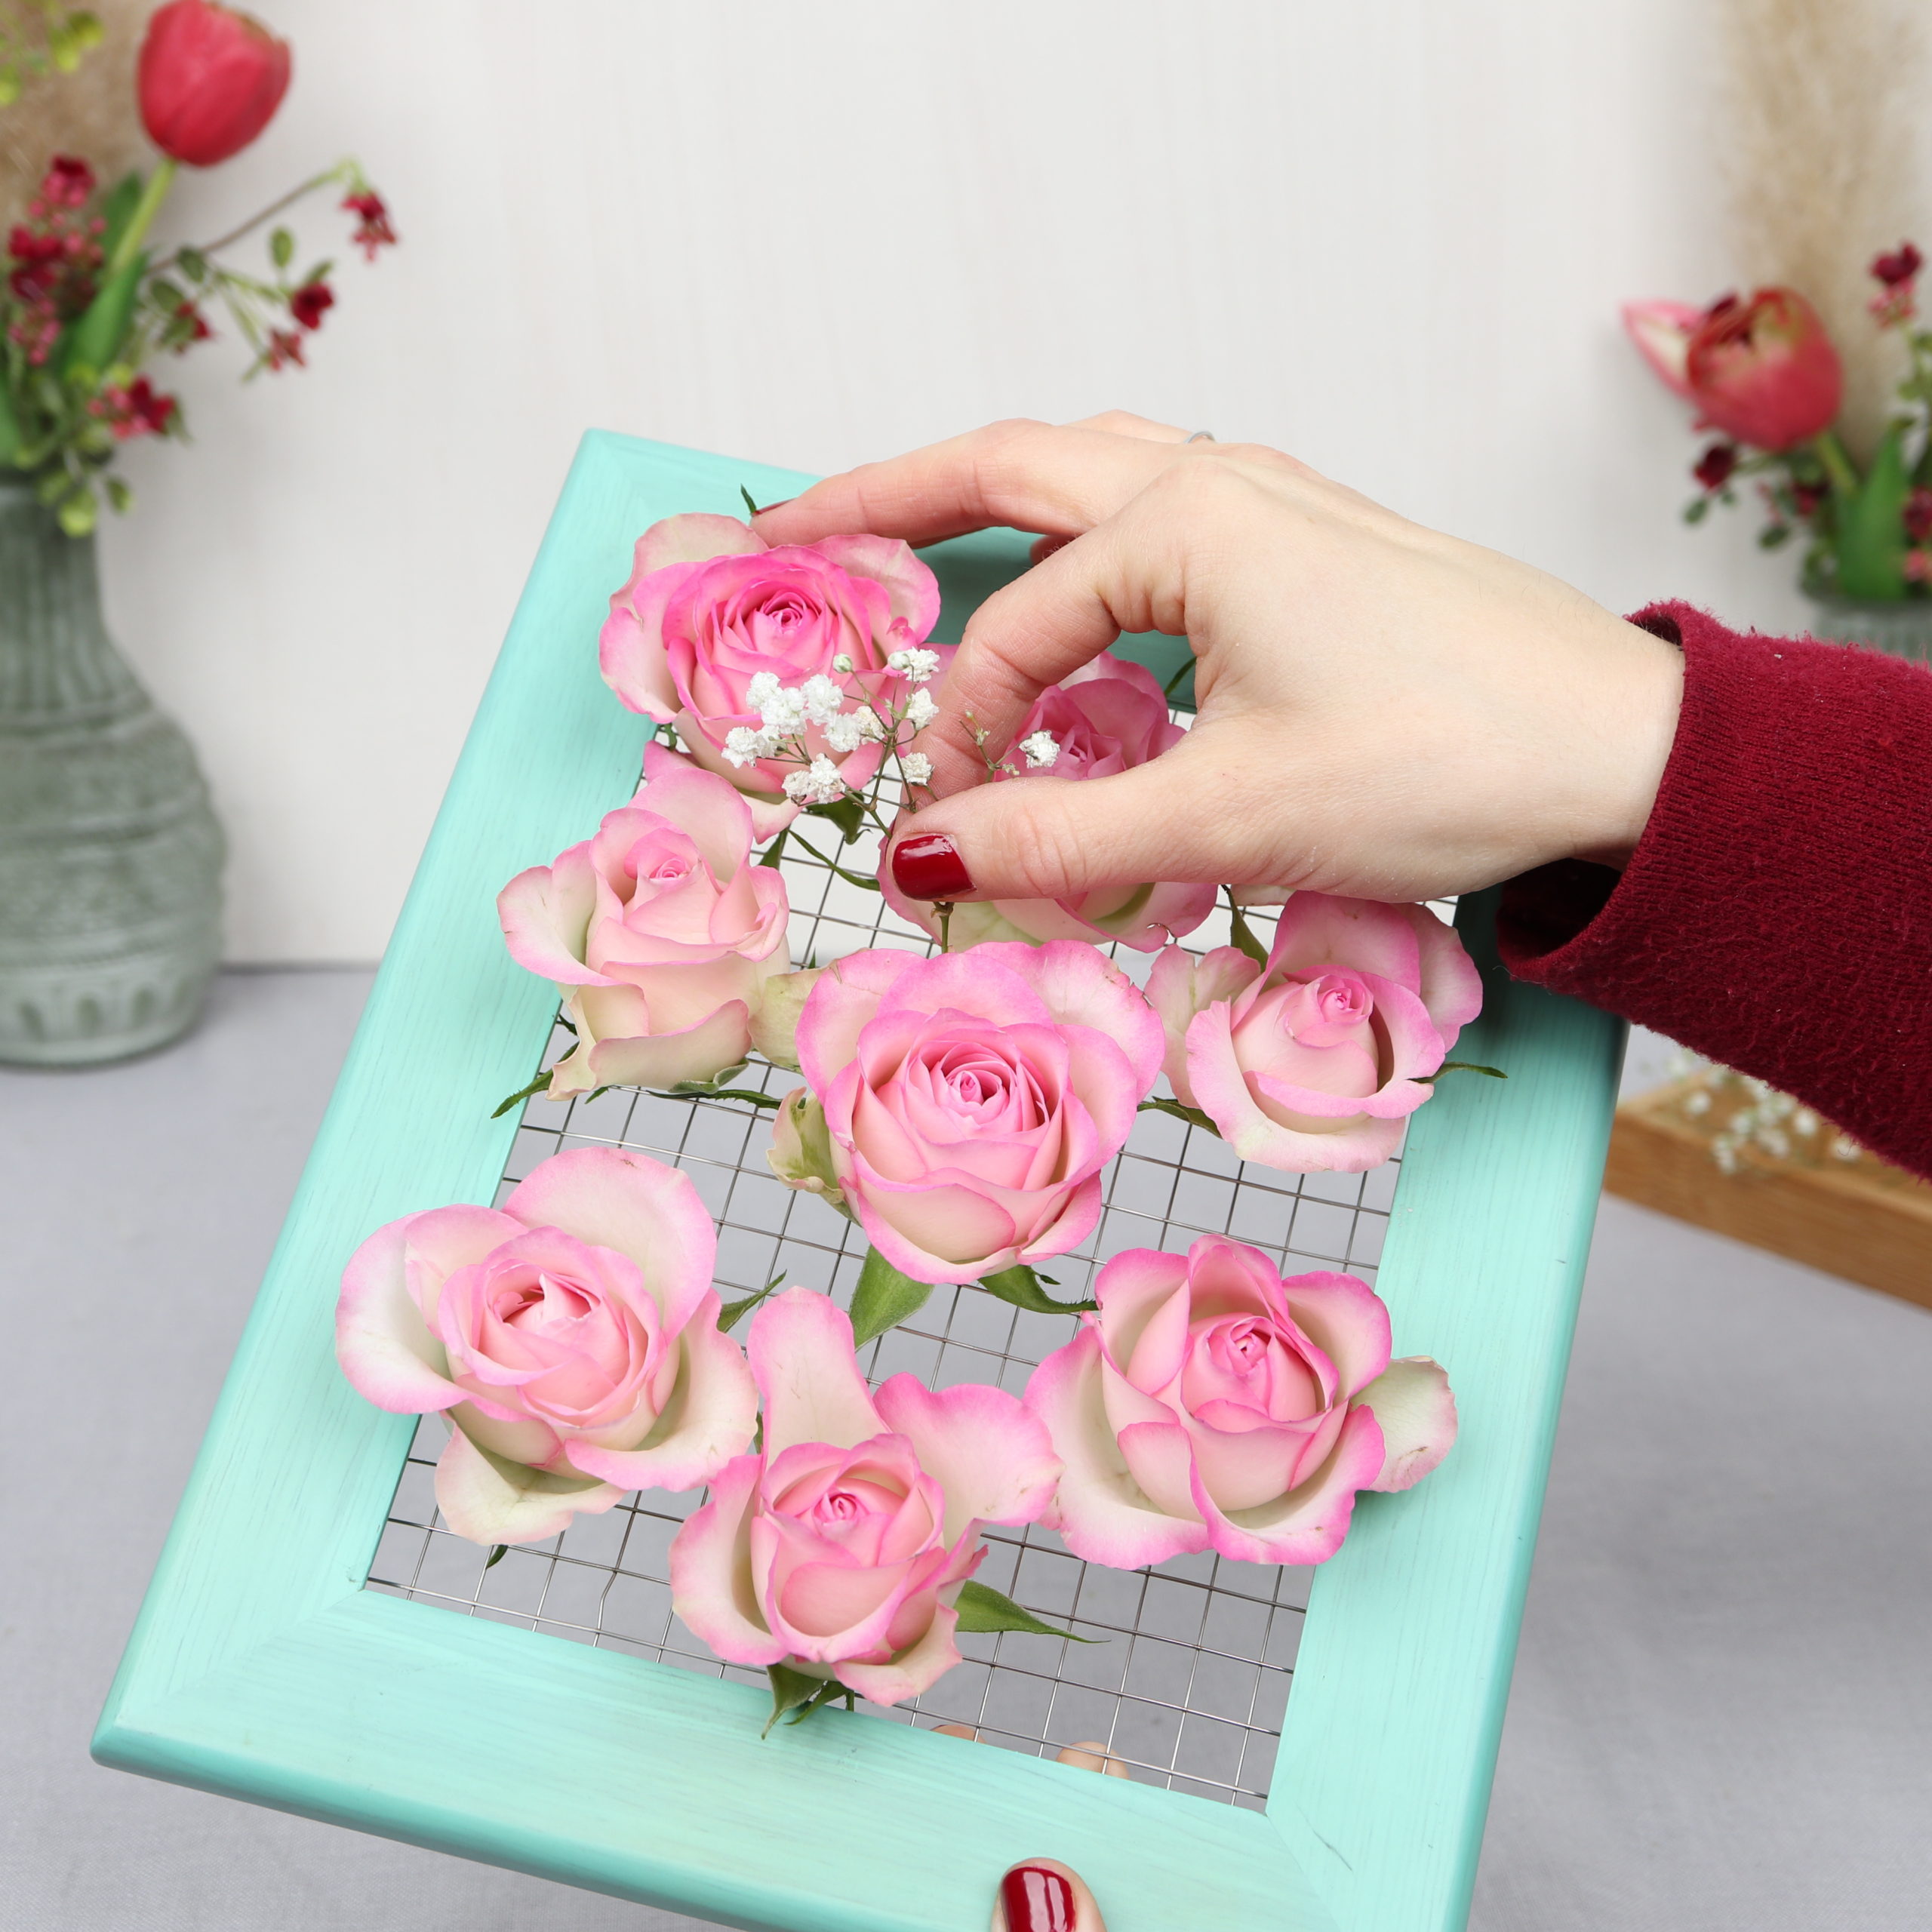
Step 5: Put flowers through the chicken wire
The next step is just to put the flowers through the wire mesh.

I first put the roses through the wire.

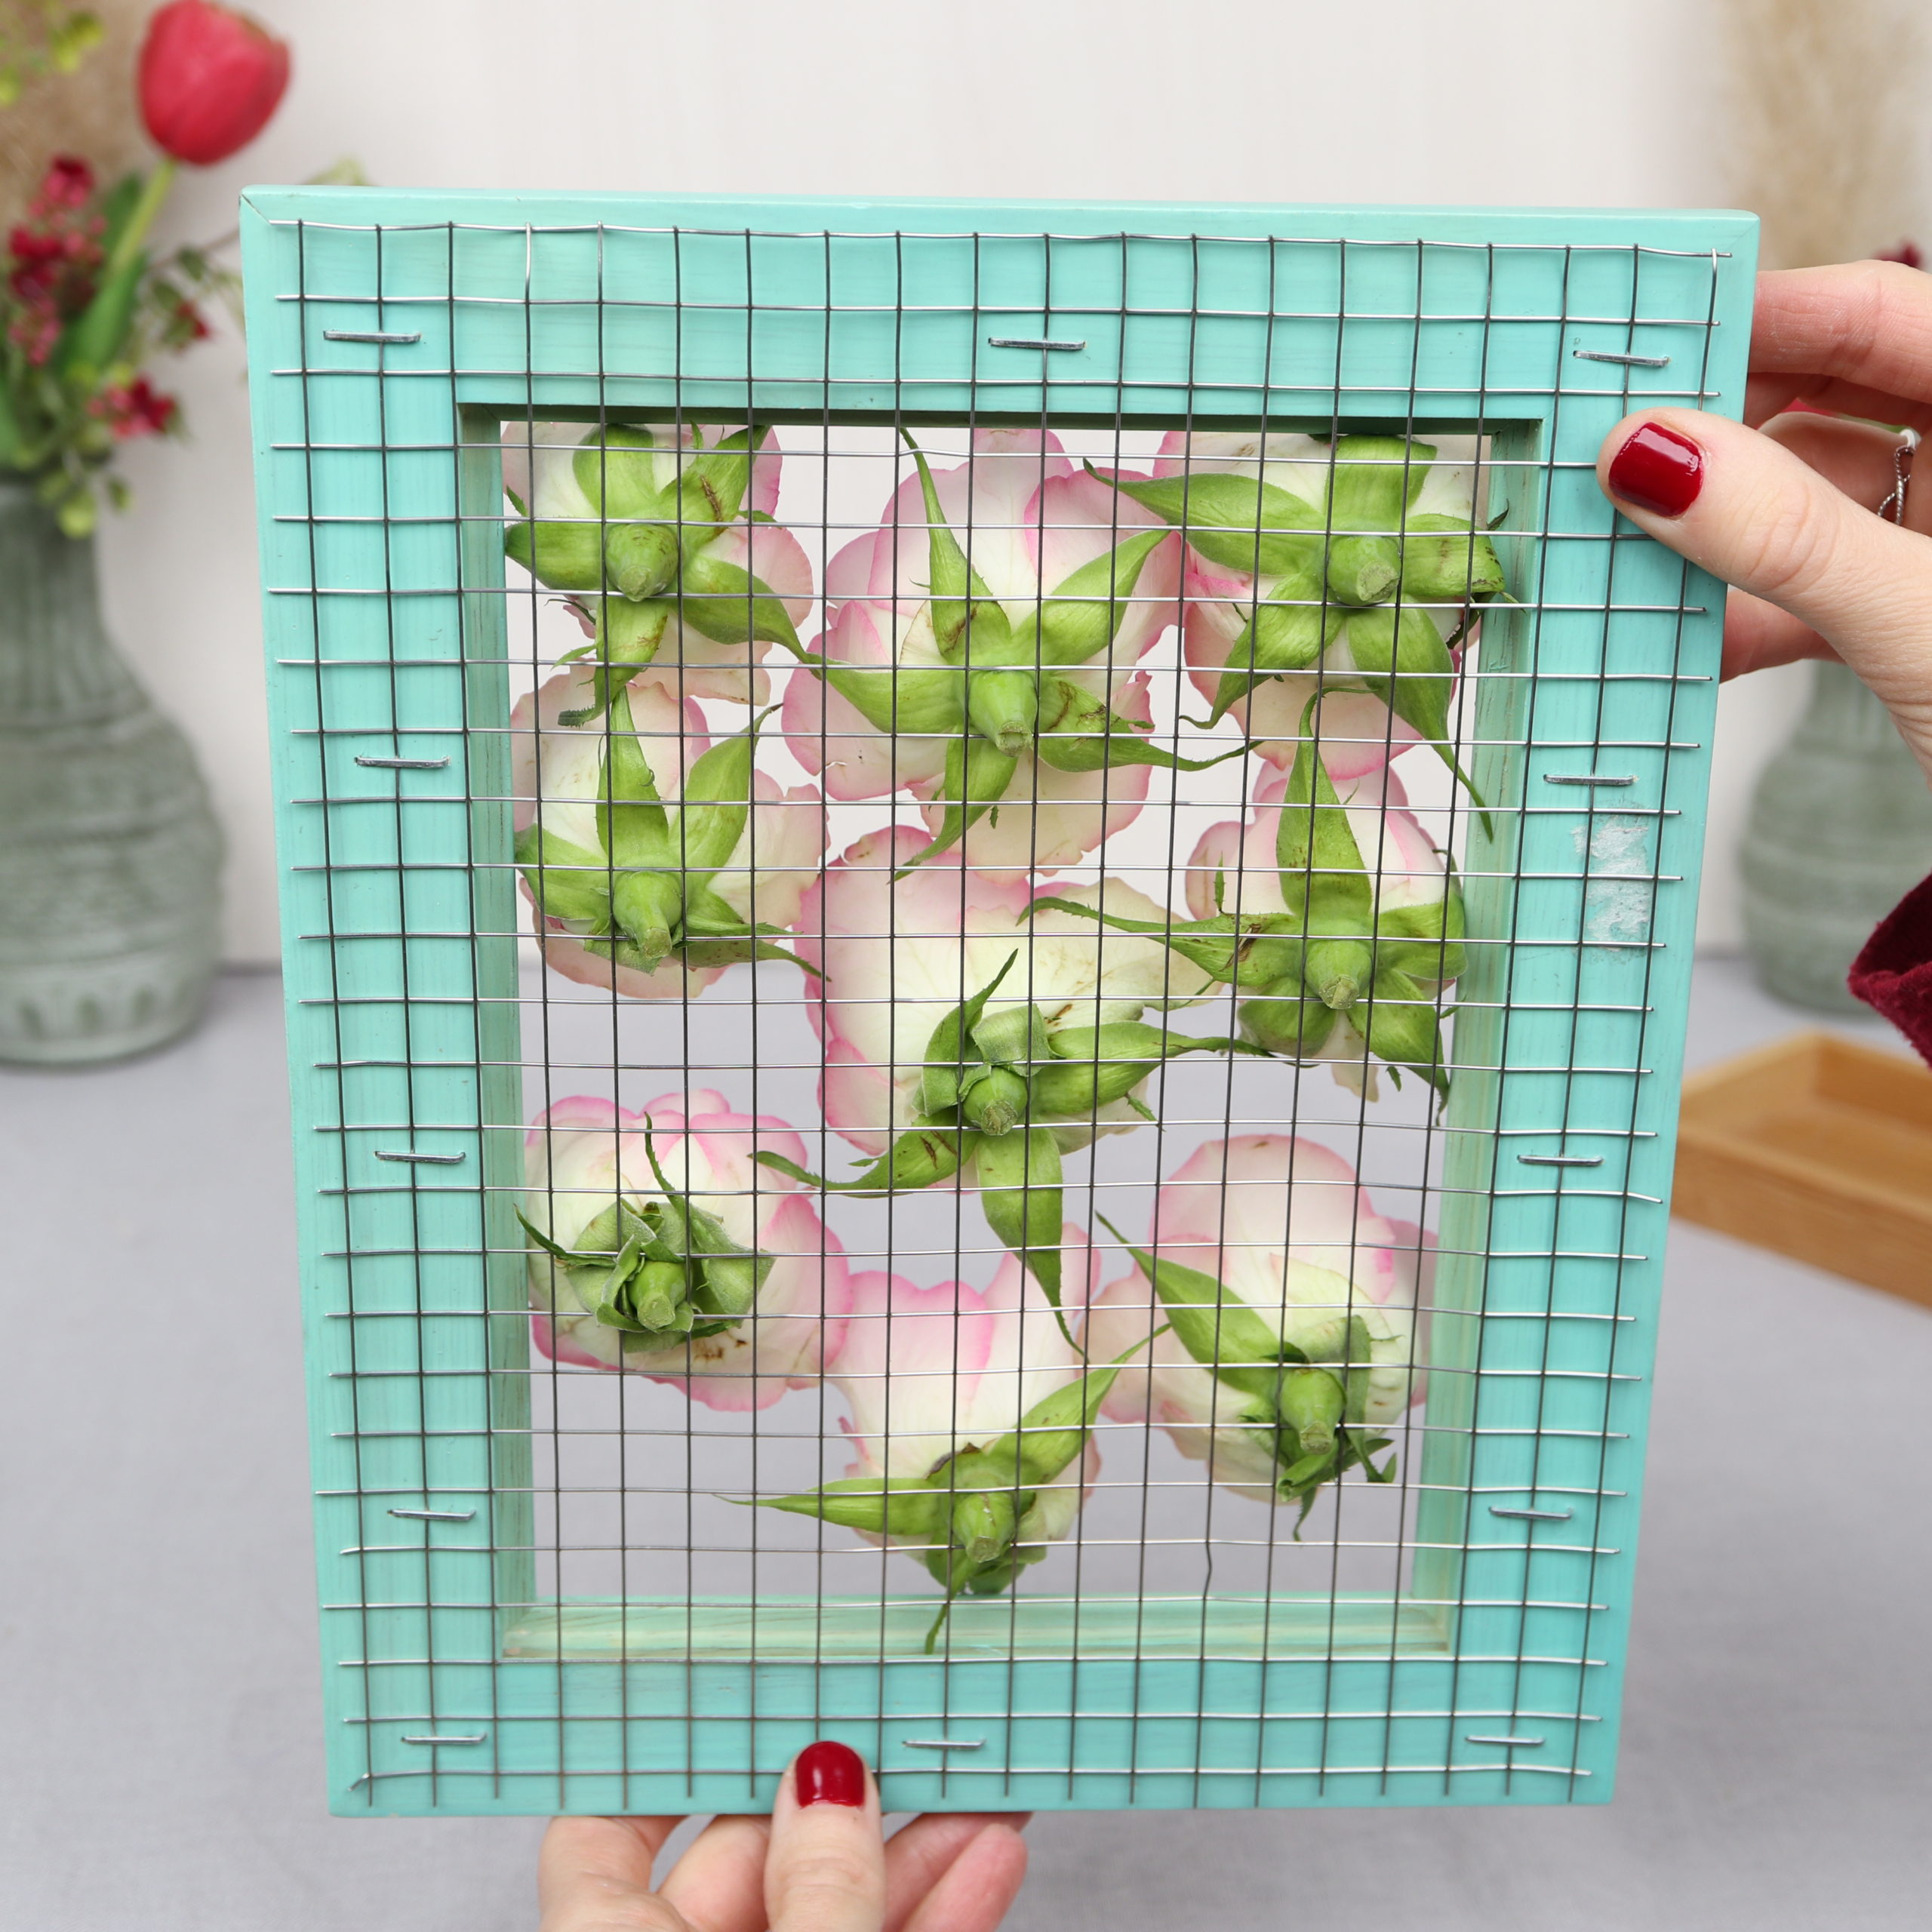
I press them a little harder into the wire and twist them in slightly so they hold well. This is how the frame with the roses looks from behind:
Then I fill in the gaps with the baby’s breath.
Step 6: Cut stems
In the last step I cut off the protruding stems.

Tip: When the flowers dry, they lose some of their fullness. You can then simply add new fresh flowers in addition to the dried ones!
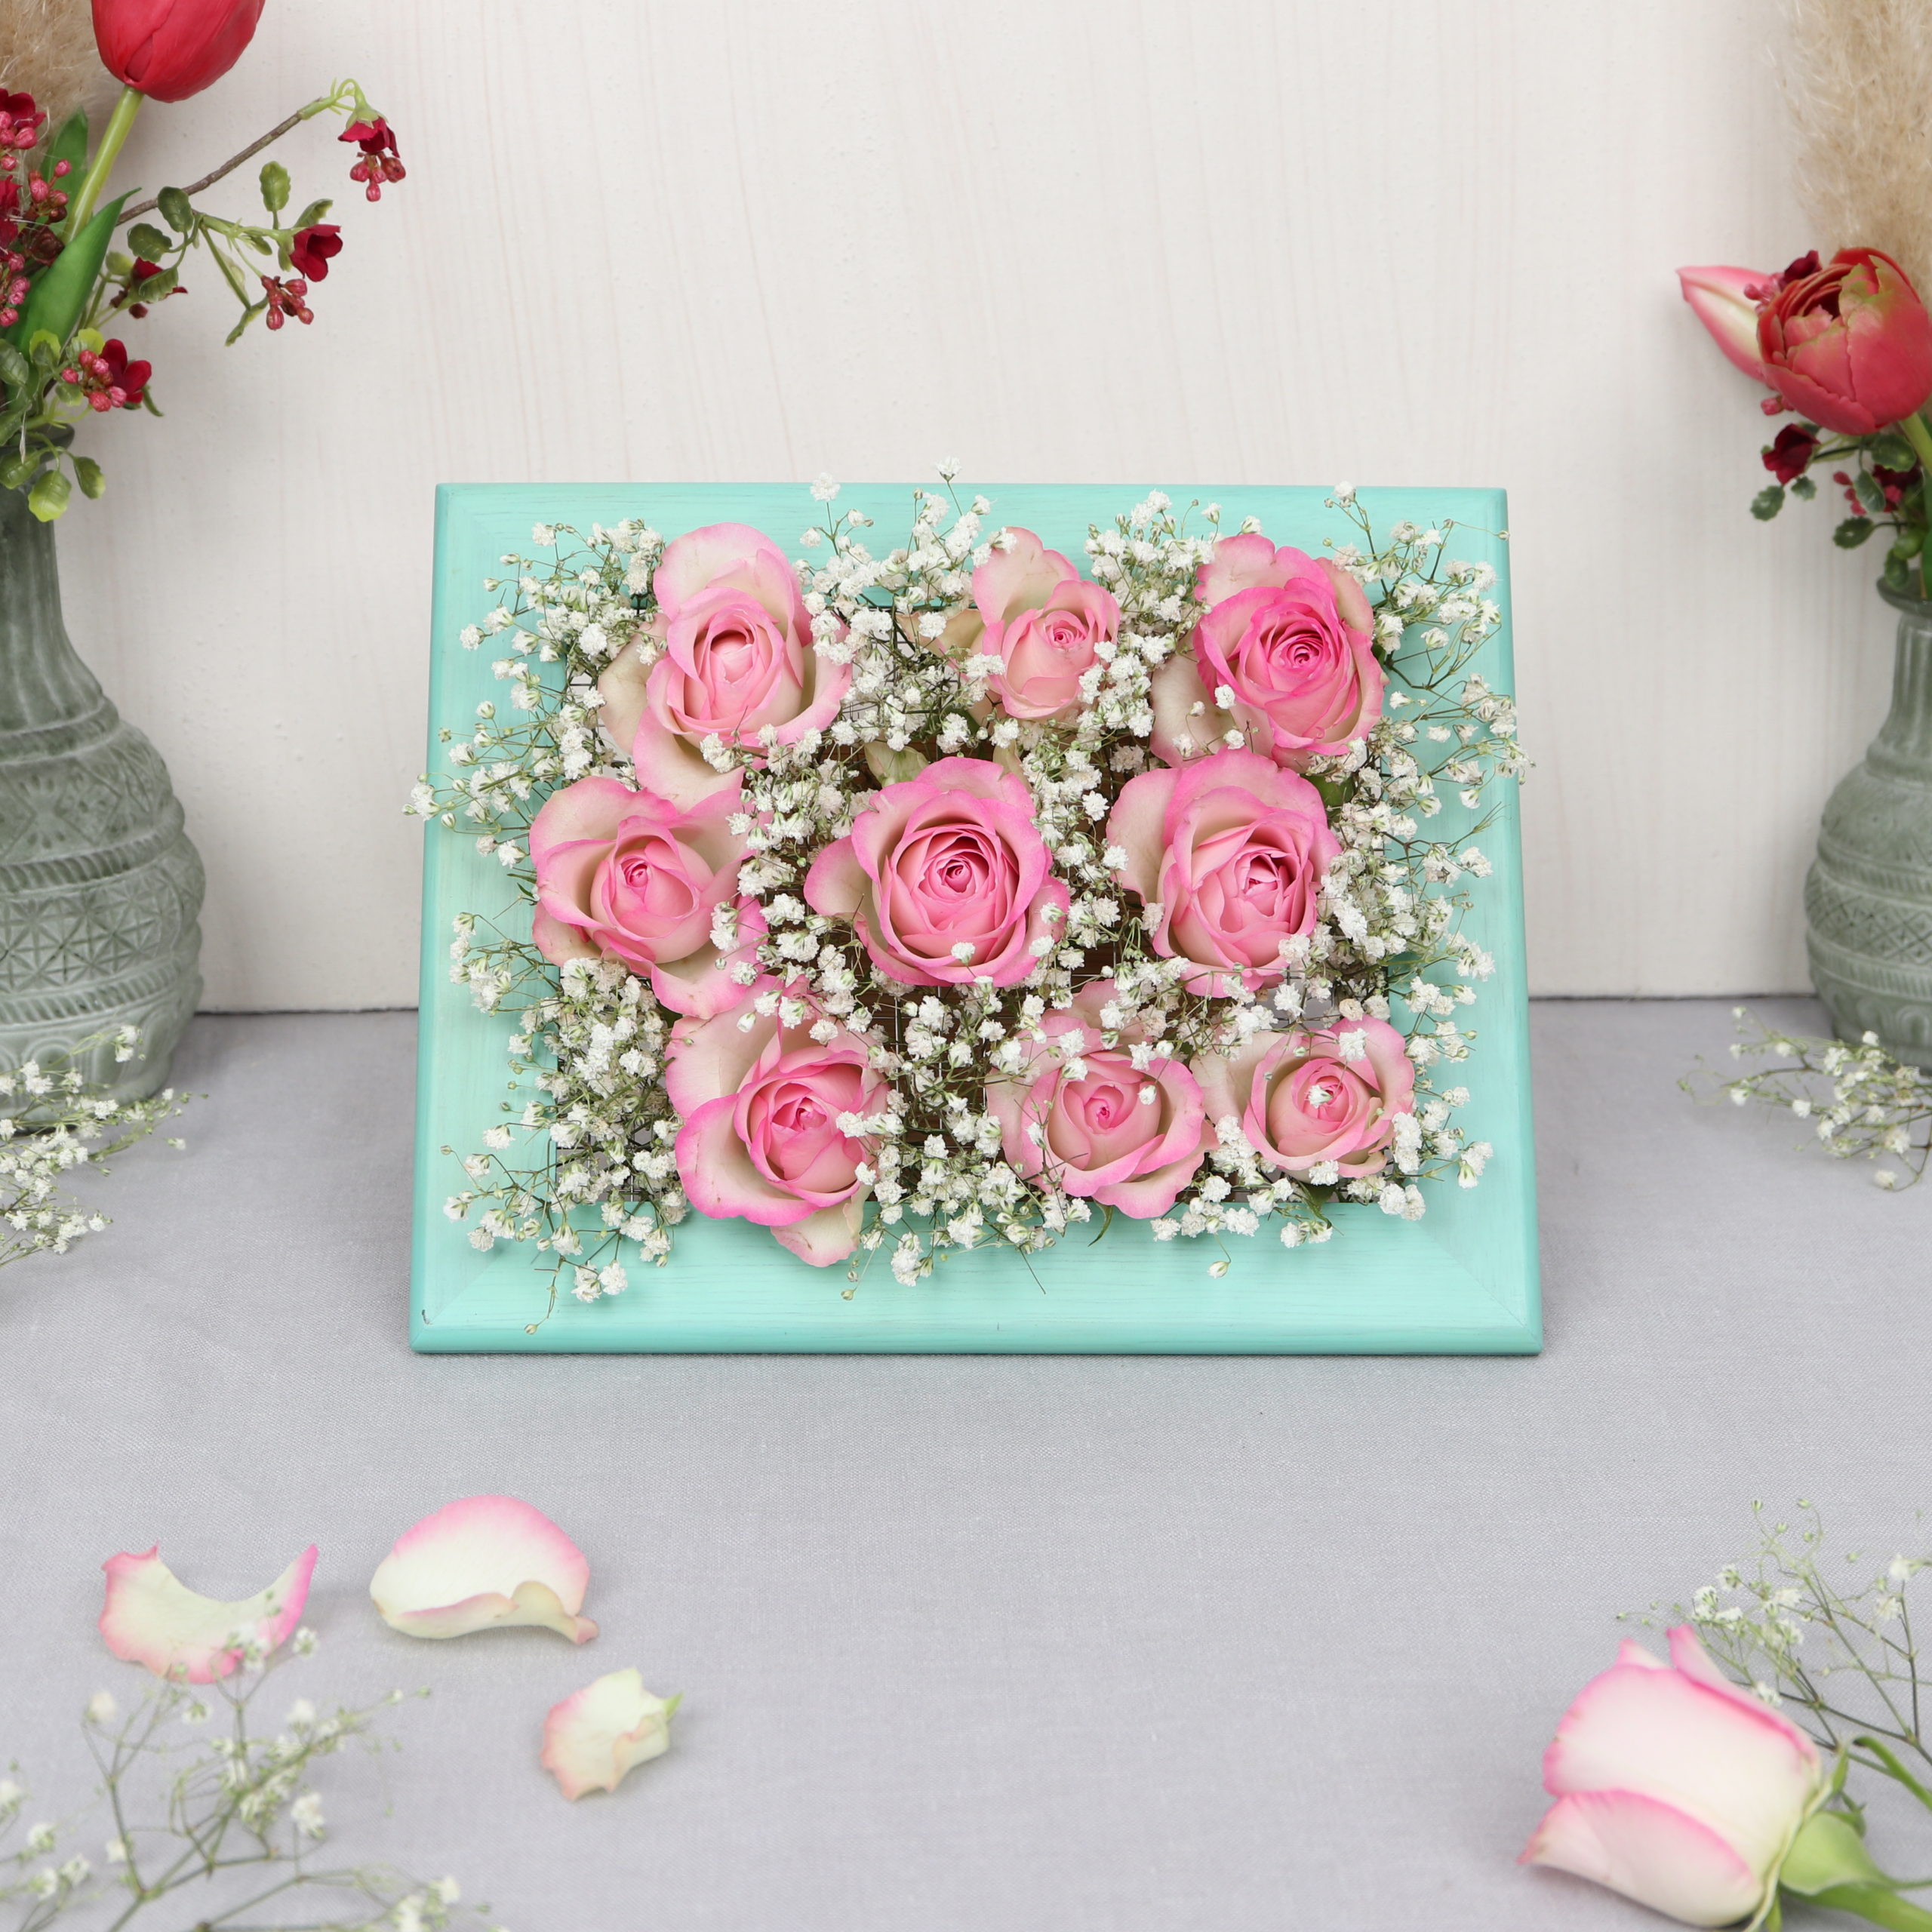
And the flower frame is ready! You can of course also do the whole thing with a huge wooden frame that fills an entire wall. You could then use this as a photo background for weddings, etc.! And of course you can also use dried flowers, paper flowers or artificial silk flowers for the flower frame!

I hope you enjoyed this DIY as much as I did and you like the sight of the floral wall decoration!