Today I’m going to show you an upcycling idea on how to make a door wreath yourself using a plastic lid as a wreath ring basis!
Maybe you would like to make a wreath and don’t have a plain wreath ring at hand. And ask yourself: what else can I use as a base for the wreath? Or the other way around: you notice the many plastic covers and lids that end up in the trash and wonder if you could use it in an upcycling project! Good news is, such plastic lids can be used as a wreath basis. The round shape is often already given or quickly cut with scissors to the exact right form. Since the material is durable, the wreath can be used as an outdoor decoration. Wrapped with beautiful branches of fir or cypress, no one suspects what is hidden underneath!

I have decorated the green wreath with a Christmas pendant and am using it as a Christmas decoration for the front door. You can of course make the wreath at any season of the year and decorate it accordingly. You don’t have to use it as a front door wreath, you could also use it as a table decoration and put a nice candle in the middle.
With the following step-by-step instructions you can easily make the green door wreath yourself!
Tools
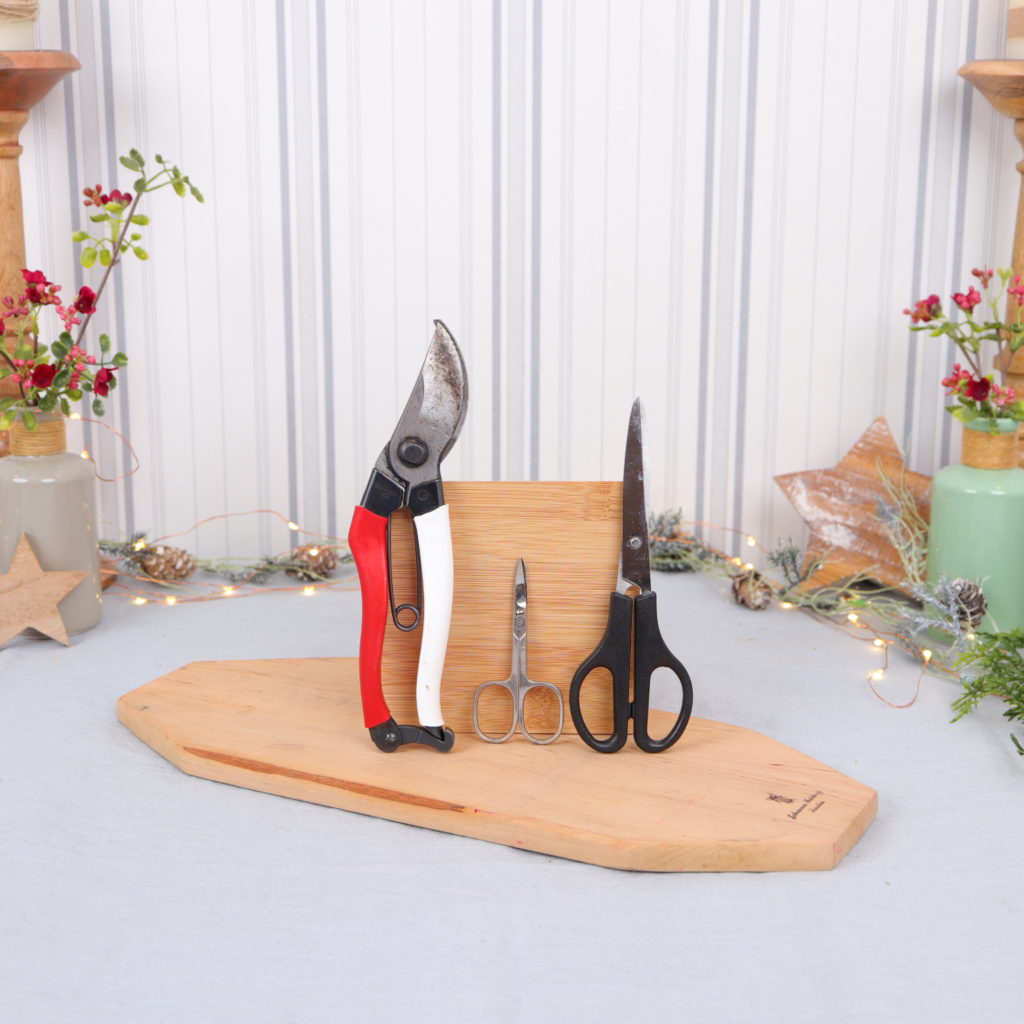
Here you can see which tools I used for the door wreath. You will need small scissors to cut the yogurt plastic cover, normal scissors to cut the ribbon, and pruners to cut the green sprigs.
Materials

I used these materials for the door decoration: a plastic cover (the larger the diameter of the cover, the larger will be the wreath later), a decorative ribbon for hanging the wreath, a decoration tag (Christmas decoration), green branches and floral wire.
Instructions | Front door wreath with a plastic lid
Step 1: Cut the plastic lid
In the first cut I cut the plastic lid. This works particularly well with small scissors.
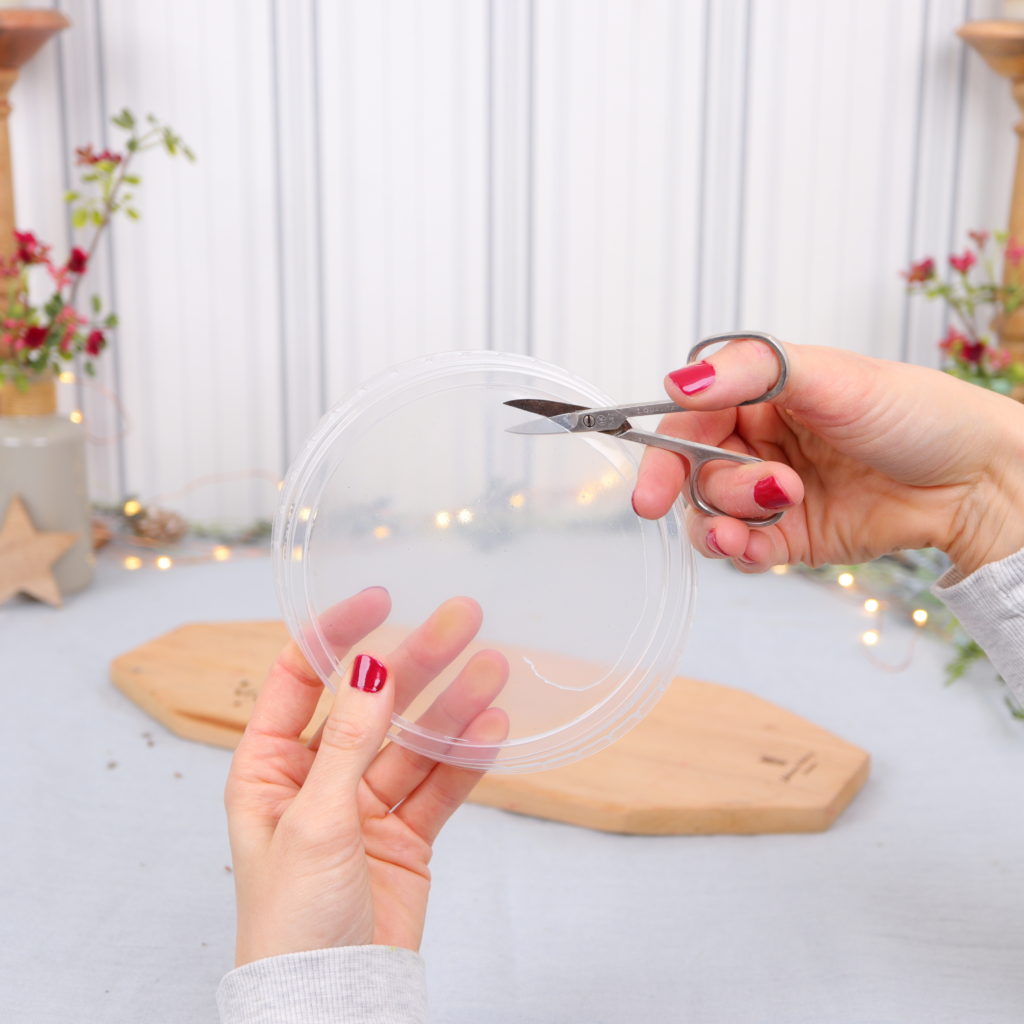
I poke a hole in the plastic lid and then cut out the inside until a ring is left.
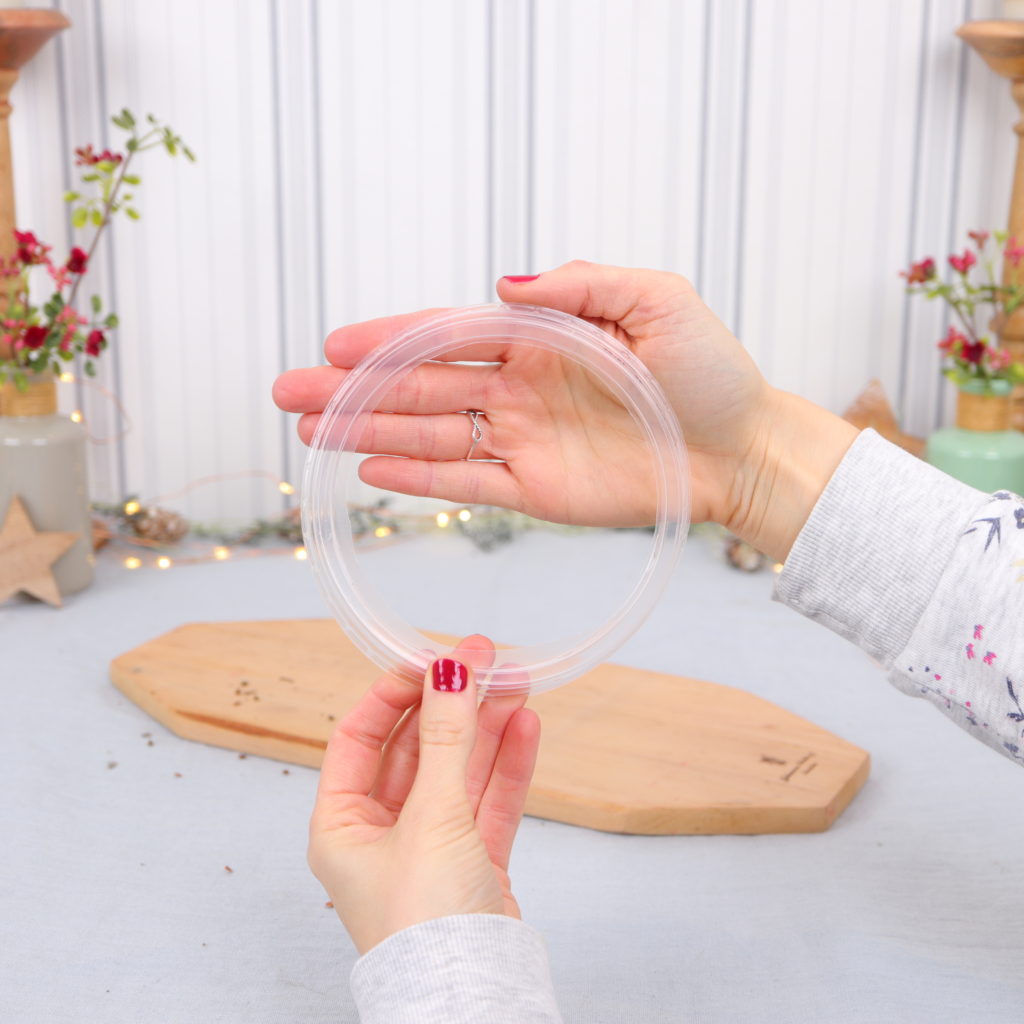
Step 2: Cut green branches
In the second step, I cut small pieces of branch.
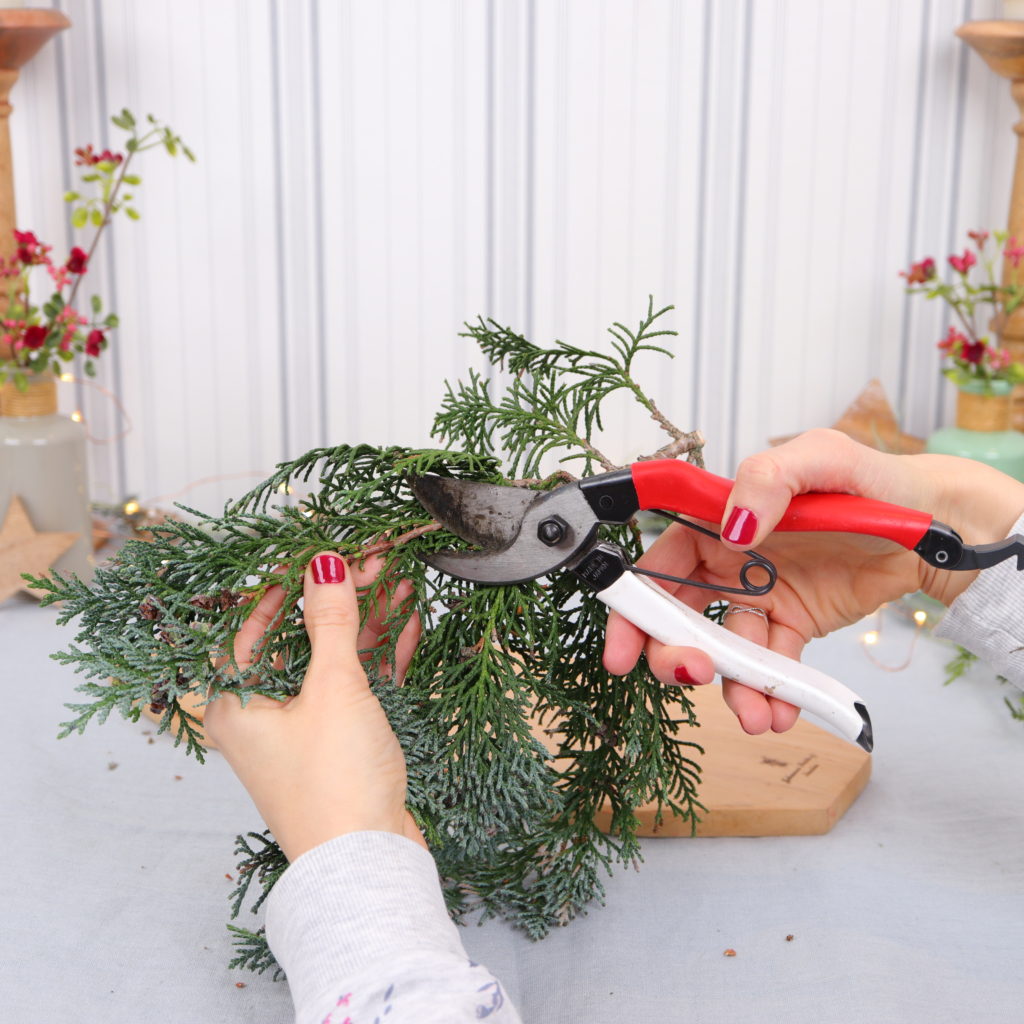
I use my pruning shears for this.

Step 3: Tie the wreath
Now it’s time to tie!
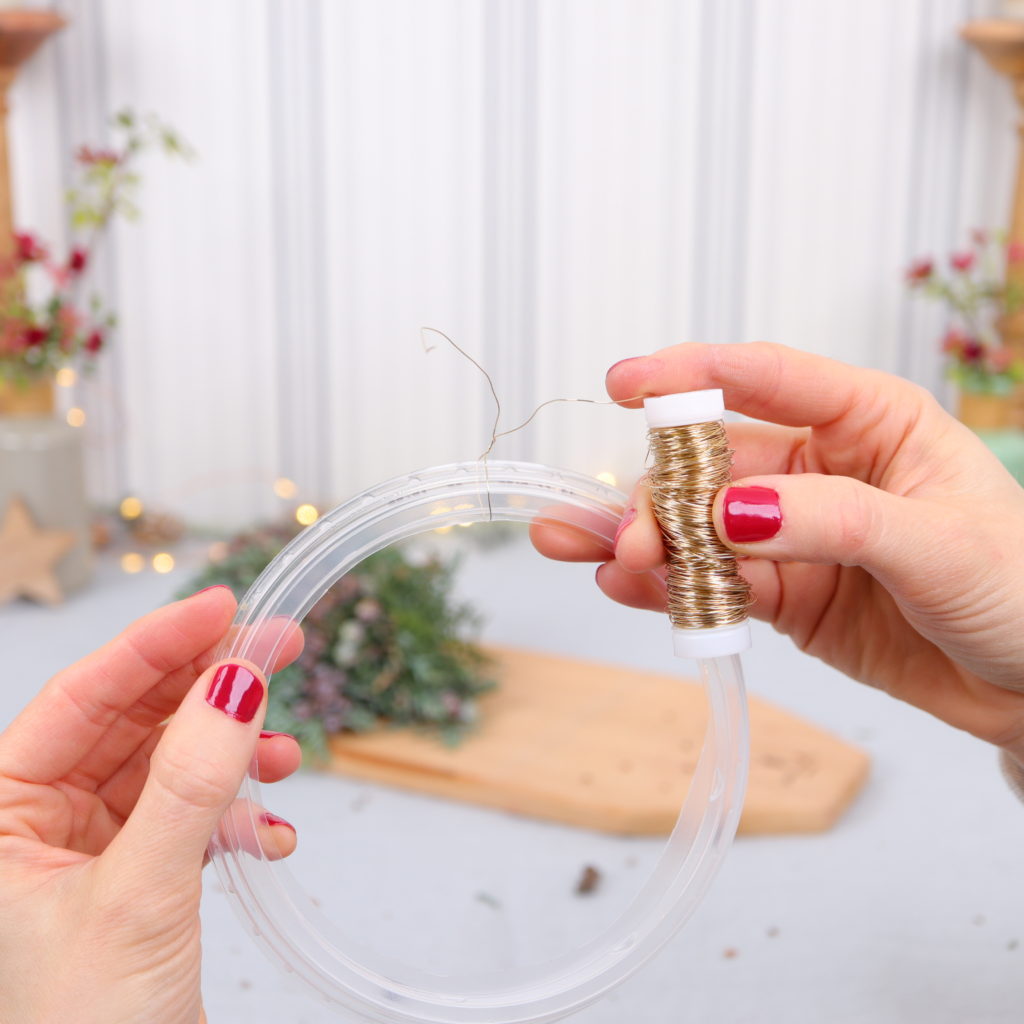
To do this, I wrap the beginning of the floral wire around the plastic ring and twist it. I let the beginning of the wire protrude a bit so that I can twist the end with it later.

Now I put a branch on the ring and wrap the floral wire tightly around it several times.
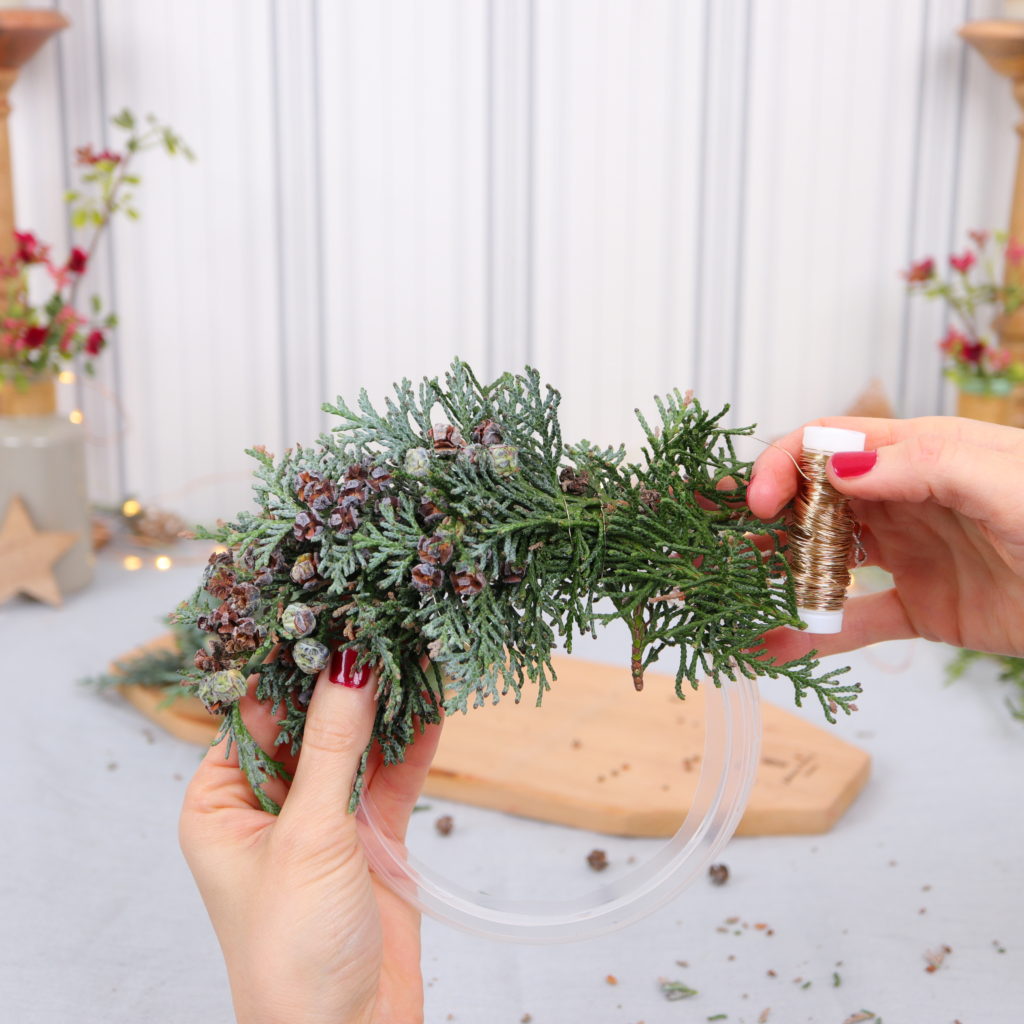
Then I put another branch a little further away from the first one and wrap again.

I continue like this until I get to the end.

I push the last branch under the first branch and wrap it again. I twist the end with the beginning piece and then cut the wire.

Now you can change the shape of the wreath if necessary. To do this, simply cut off branches or fill in gaps by inserting branches.
Step 4: Attach ribbon
In the fourth step, I cut a piece of the deco ribbon with the scissors, loop it around the wreath and knot it at the top.

Step 5: Attach Christmas tags

In the last step I tie a nice Christmas tag to the ribbon.


And the upcycling wreath is done! I hope you had as much fun with this DIY as I did and that you enjoy looking at the homemade Christmas decorations!

If you are looking for more upcycling ideas, please have a look here:
- Make your own candle arrangement from a tin can with a magnetic candle holder
- Vintage vase from empty smoothie bottle with coffee filter
- Milk Carton Plant Pots (for Succulent plants)
Have a nice day! 🙂
Jenny <3
